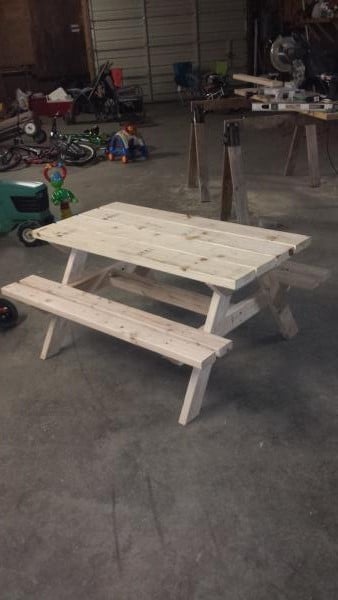
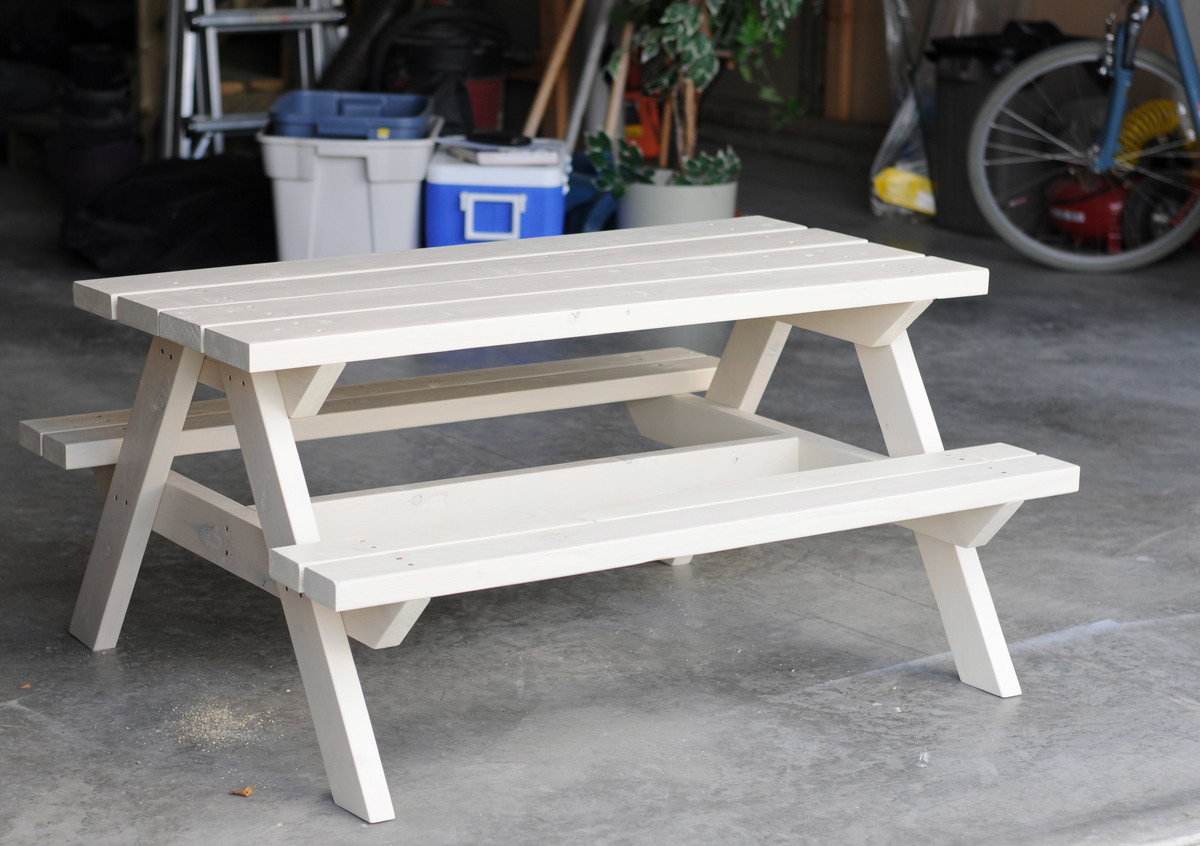
Big kids picnic table
![]()
Built from Plan(s)
Estimated Cost
35$.
Estimated Time Investment
Afternoon Project (3-6 Hours)
Recommended Skill Level
Beginner
![]()
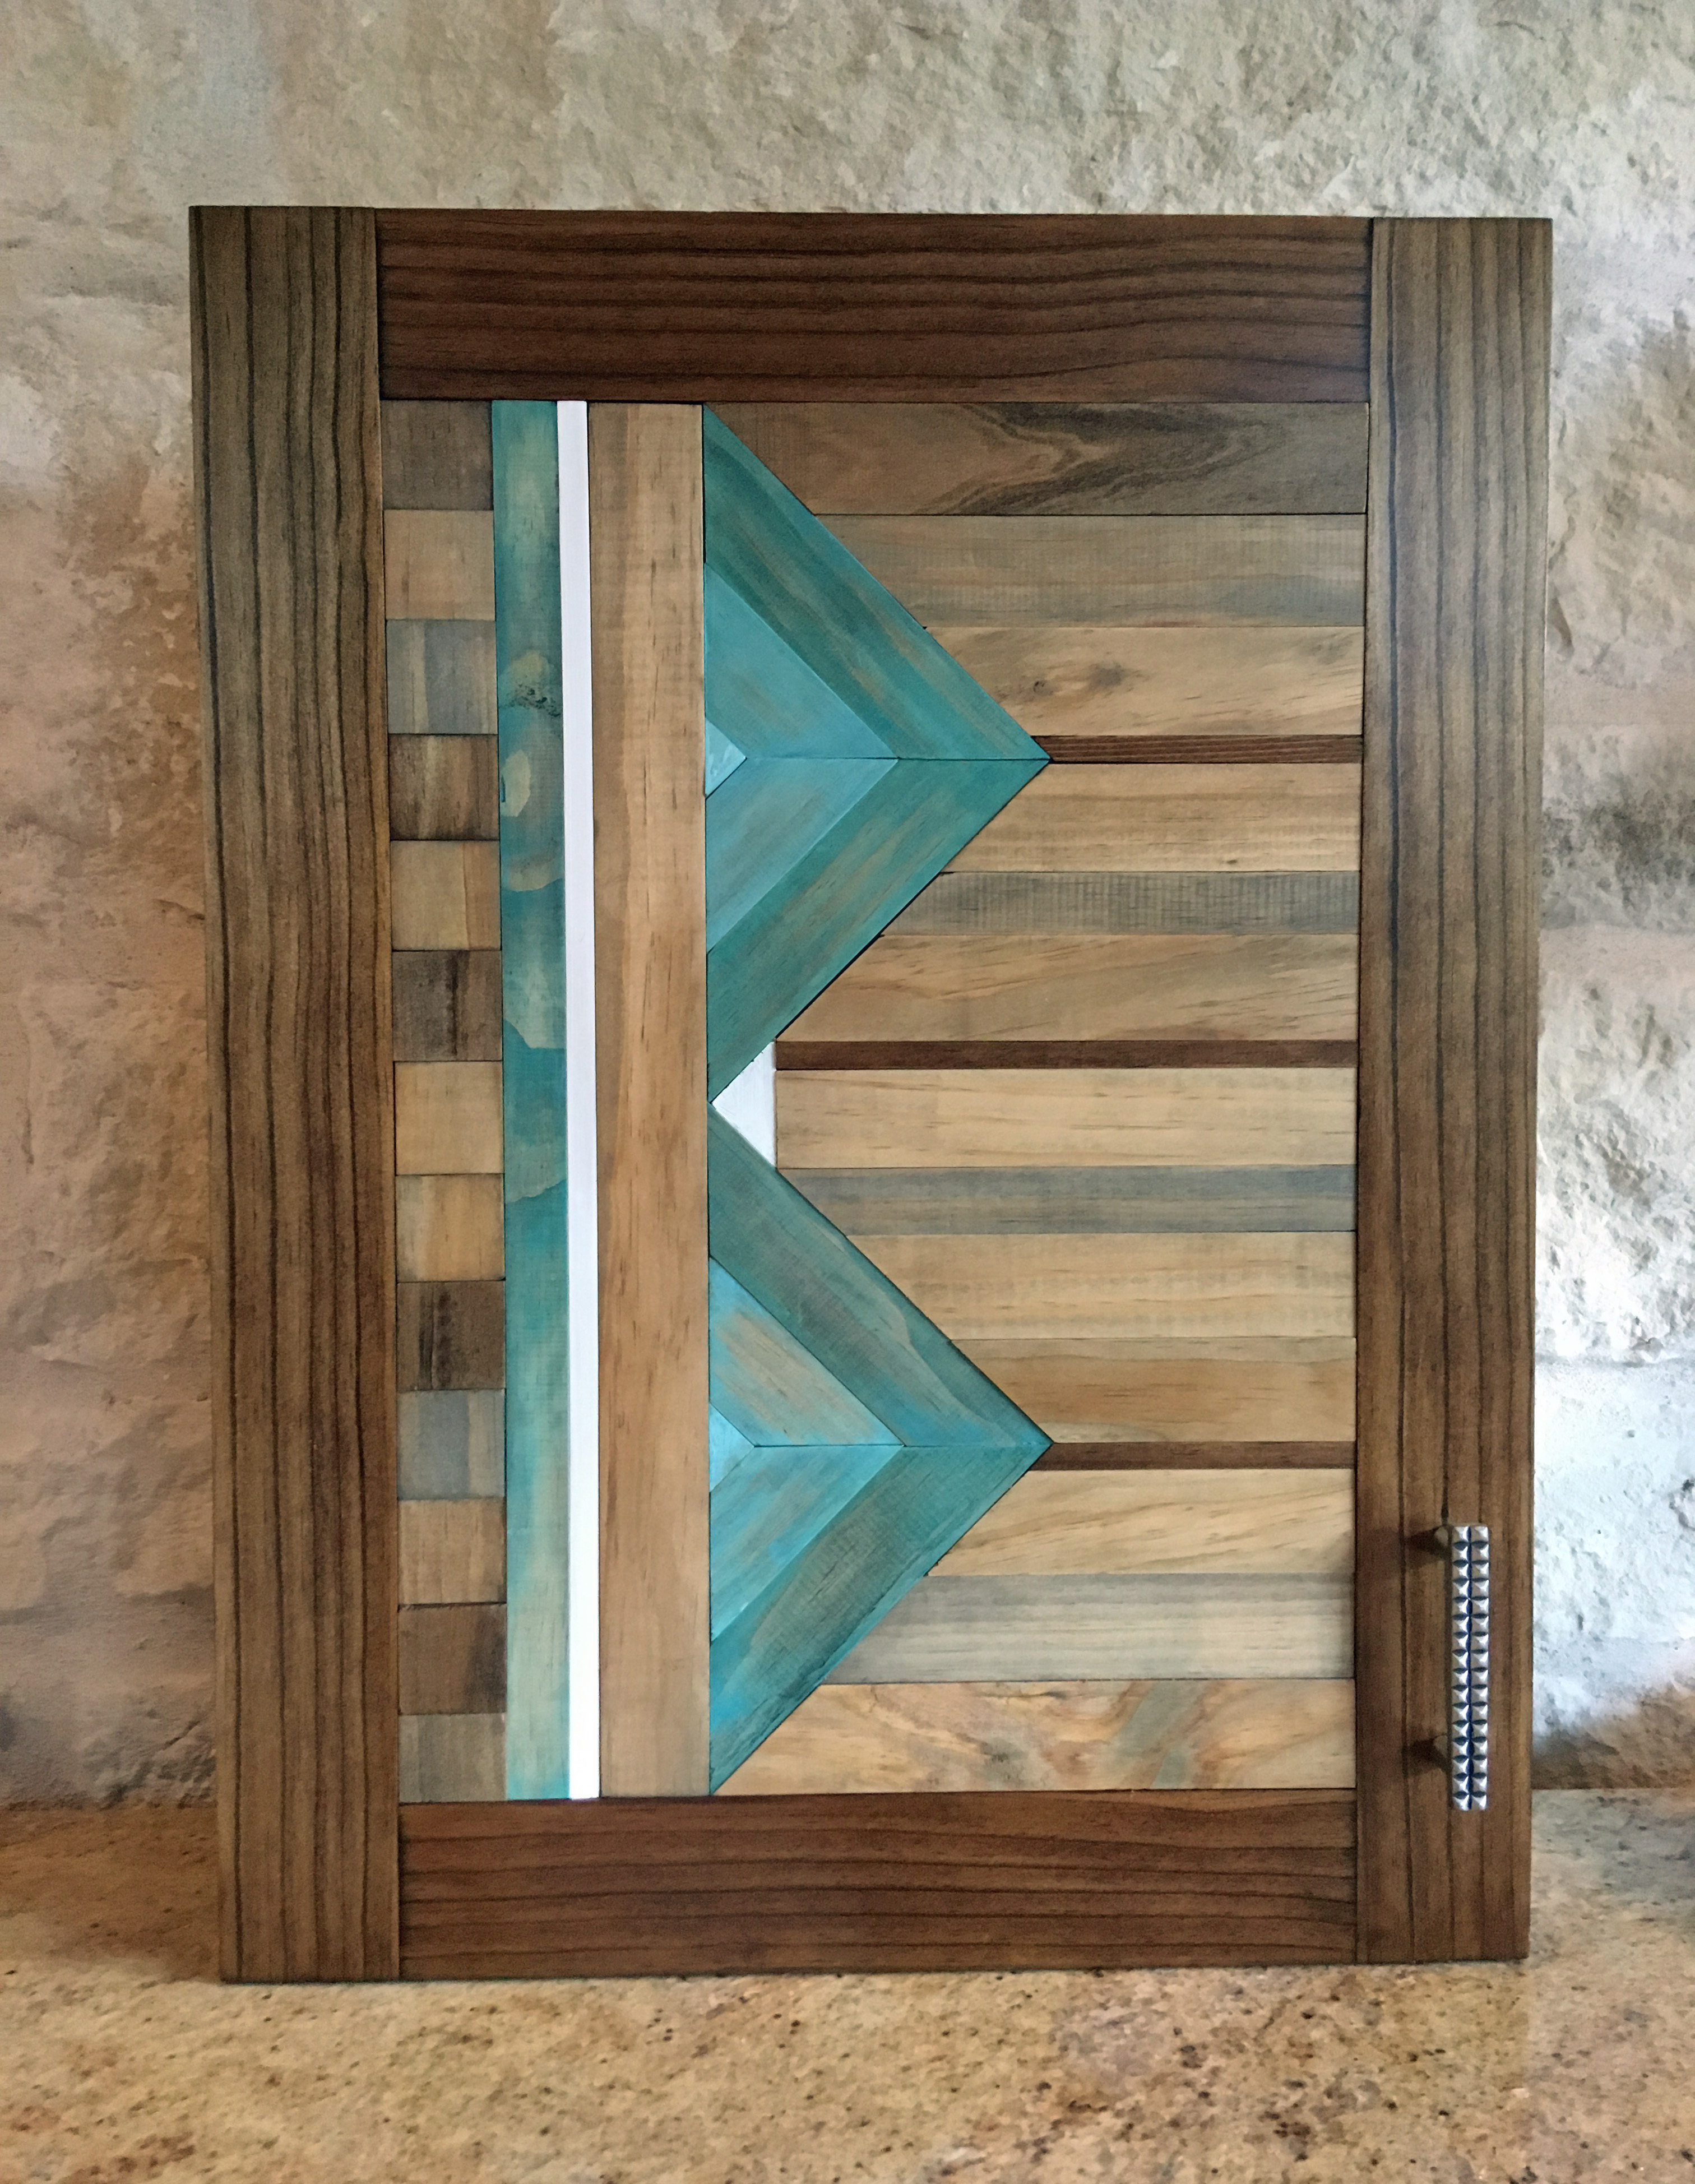
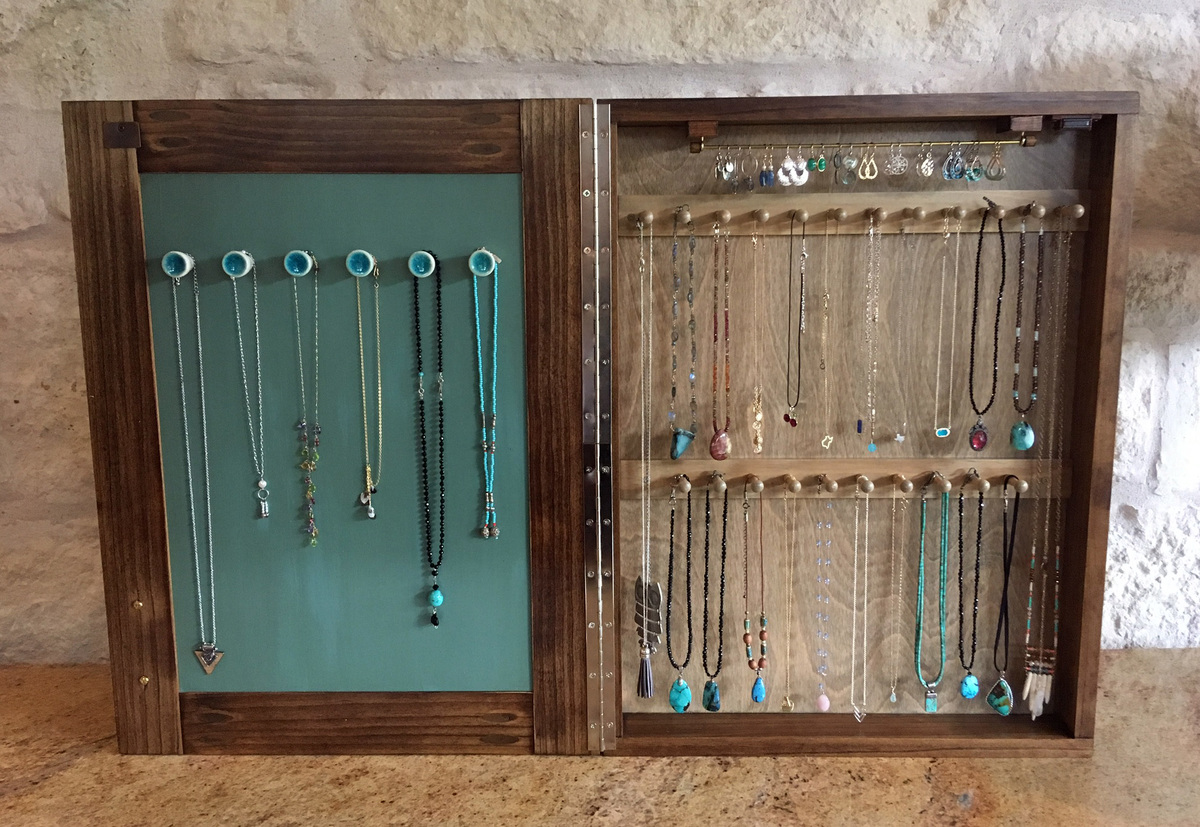
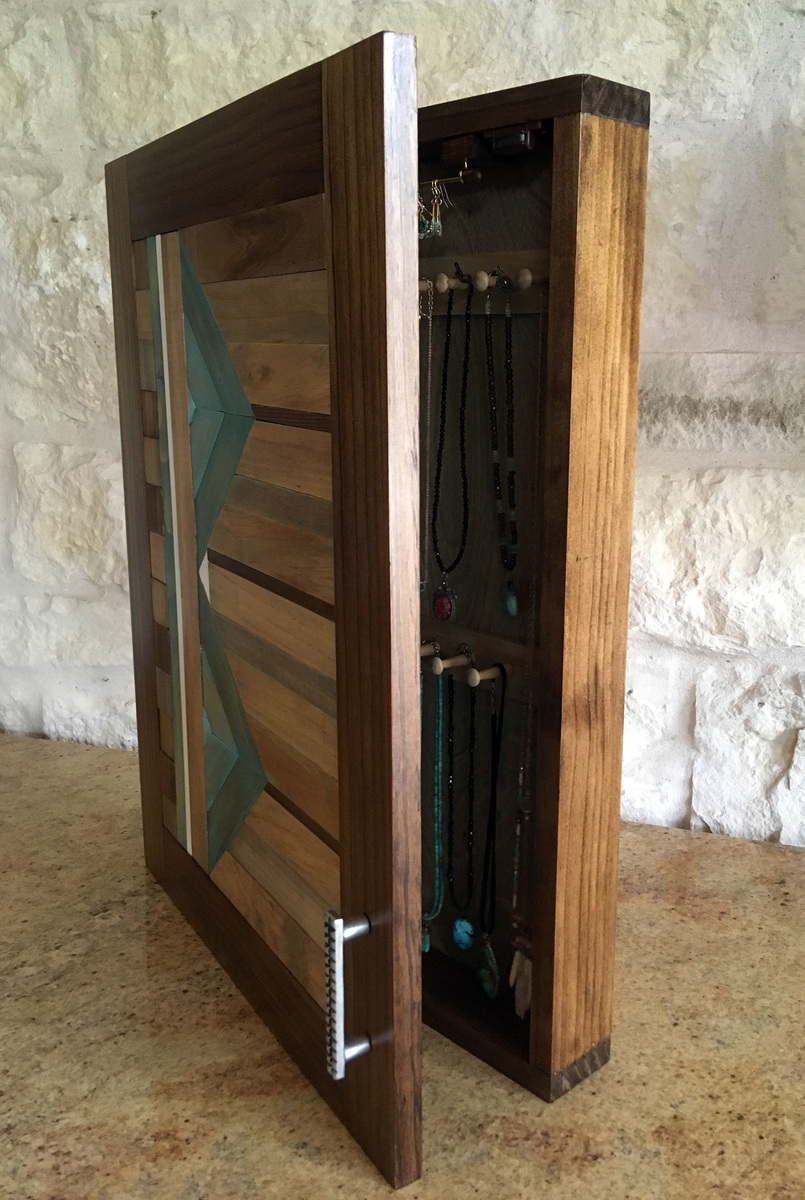
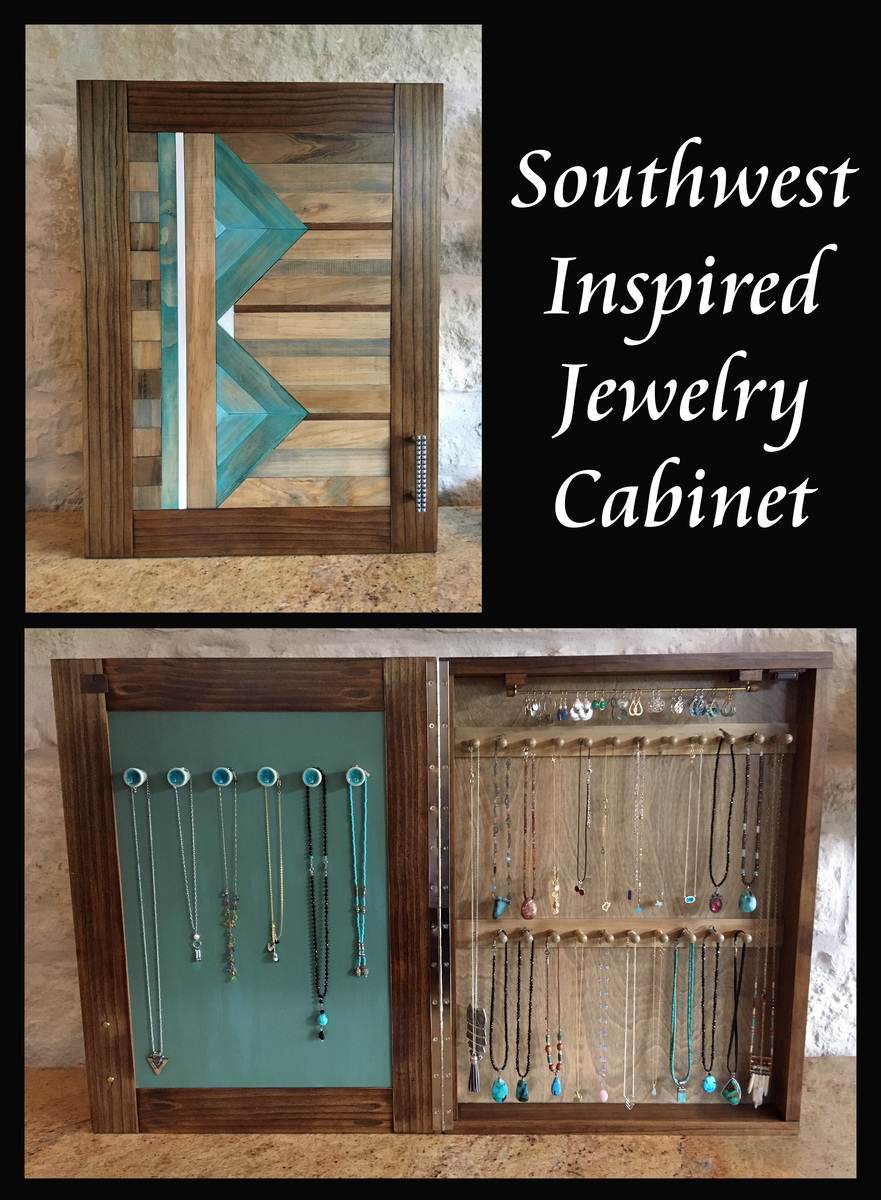
This was inspired by Ana's wall jewelry cabinet, but with a few changes. I specifically wanted the long shaker style pegs so that I could hang several necklaces on each peg. I also wanted an earring bar, and fashioned one out of an 1/8" brass rod (found on amazon), after experimenting with a few different options. This particular option was small enough to easily hold the earrings, but sturdy enough to hold the weight. To "cap off" the brass rod, I cut a few pieces off a thick dowel rod, and ran a drill through them.
My niece requested this for her fourth birthday. Hoping this earns me the best Aunt award! Had some 6x6 cedar scraps from a project, cut them down, and voila!
Mon, 06/13/2022 - 11:51
And the best aunt award goes to YOU!!! Thanks for sharing:)
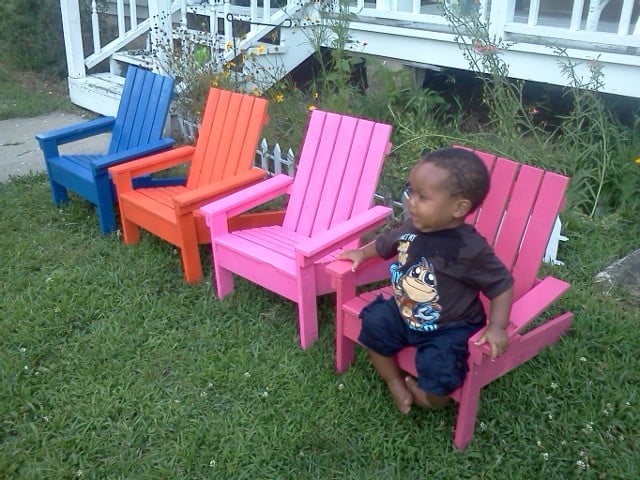
These 4 little chairs did not take very long to put together. But they did take me a while to sand, prime and paint. I hate that part of building-haha-so it always seems like it takes forever to get through with that and on to the fun part. They are very easy to make and inexpensive. My grandkids and others who have driven by and seen them out front have loved them!!
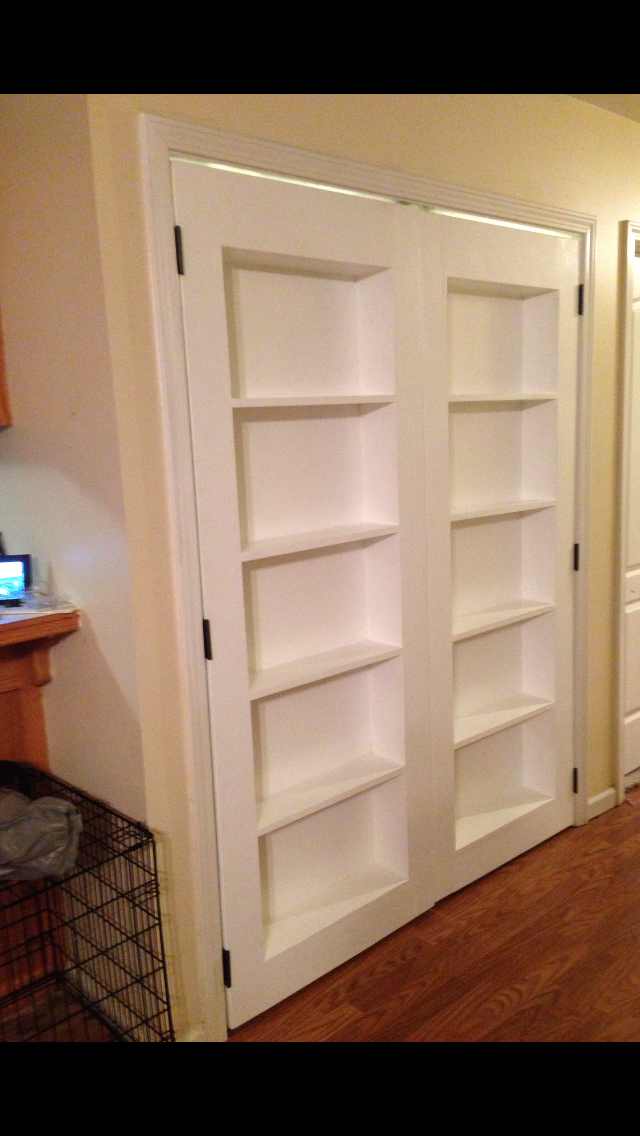
You made this project look so simple that I just had to try it. However, to suit my needs I had to make a few alterations to the plans. I had a set of bi-fold doors that were in need of replacement and I thought inset bookshelf doors would be the perfect way to replace them. This project was easy enough for me to do it myself and I am really new to the DIY game but I did have some help. I really love the way they turned out. You can read all about my my adventure at http://heresalittletmi.blogspot.com/2013/08/bookshelf-doors.html
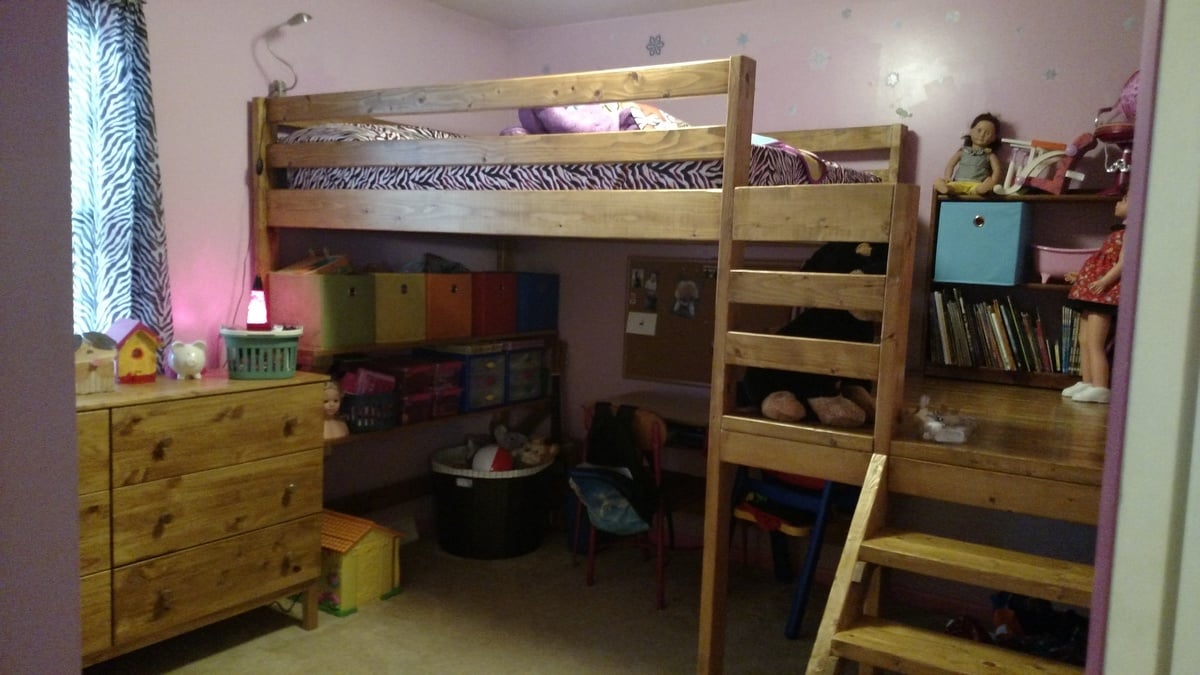
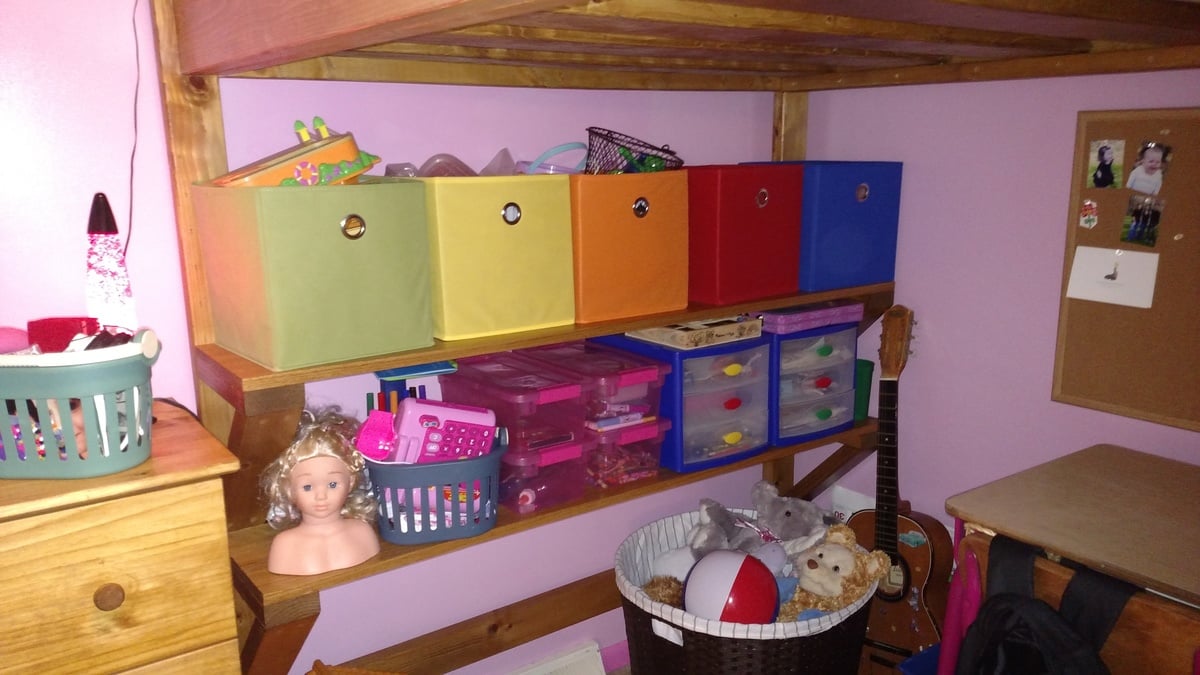
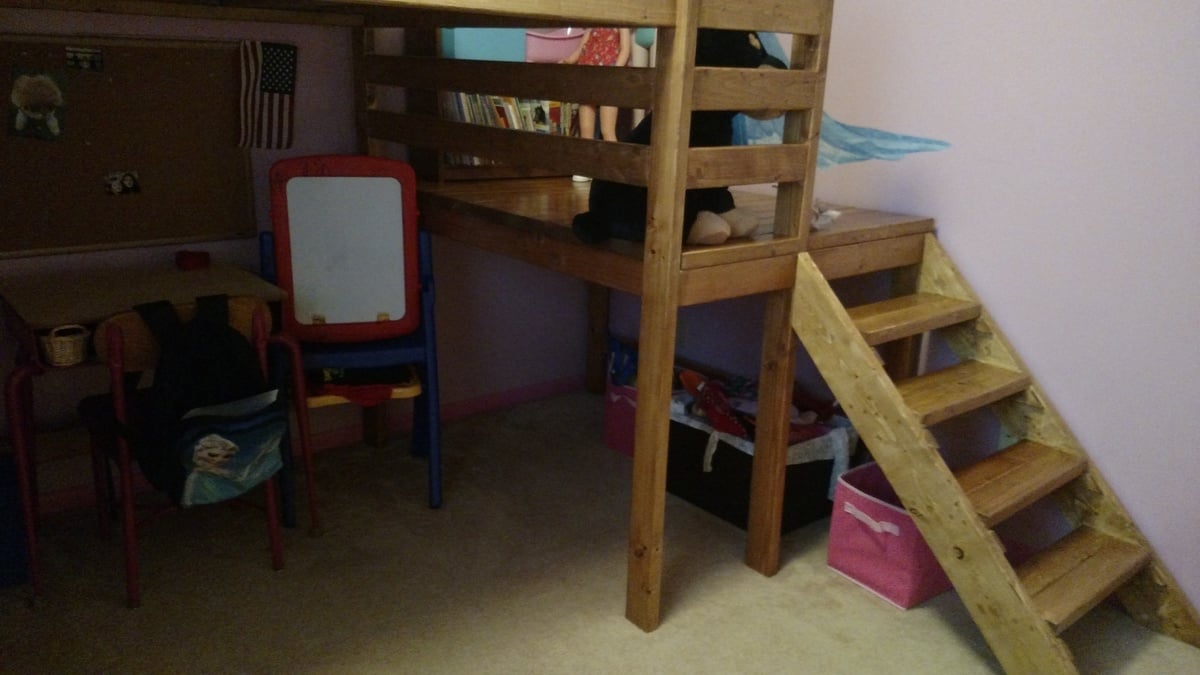
We modified the plans for the Camp Loft Bed to accommodate a full size mattress. We also extended the platform so that the bed spread wall to wall in the bedroom. Since the platform was extended, we added a short railing to prevent falls. The height was pushed up to make it taller than the junior size of the original design. This way we were able to place a desk and add 2 pine shelves underneath the head of the bed.
We added a board along the long side at the bottom to take out some wiggling. The bed itself still seemed a little shaky until we attached the platform and now it is rock solid. We have had 1-2 adults and multiple kids up there at the same time with no problem.
The bed itself could have been built in a weekend. However, the time it took to sand, stain, and clear coat added many more hours. Those hours were definitely worth it for a finished product.

Fri, 10/02/2015 - 10:43
Thank you so much for posting this. My oldest wants a loft bed, but has a full right now. I am building my 2 youngest the junior loft this fall and the oldest was jealous. I was scared to build one. Afraid it would not hold up. Thank you for showing that it does. Great job!!!
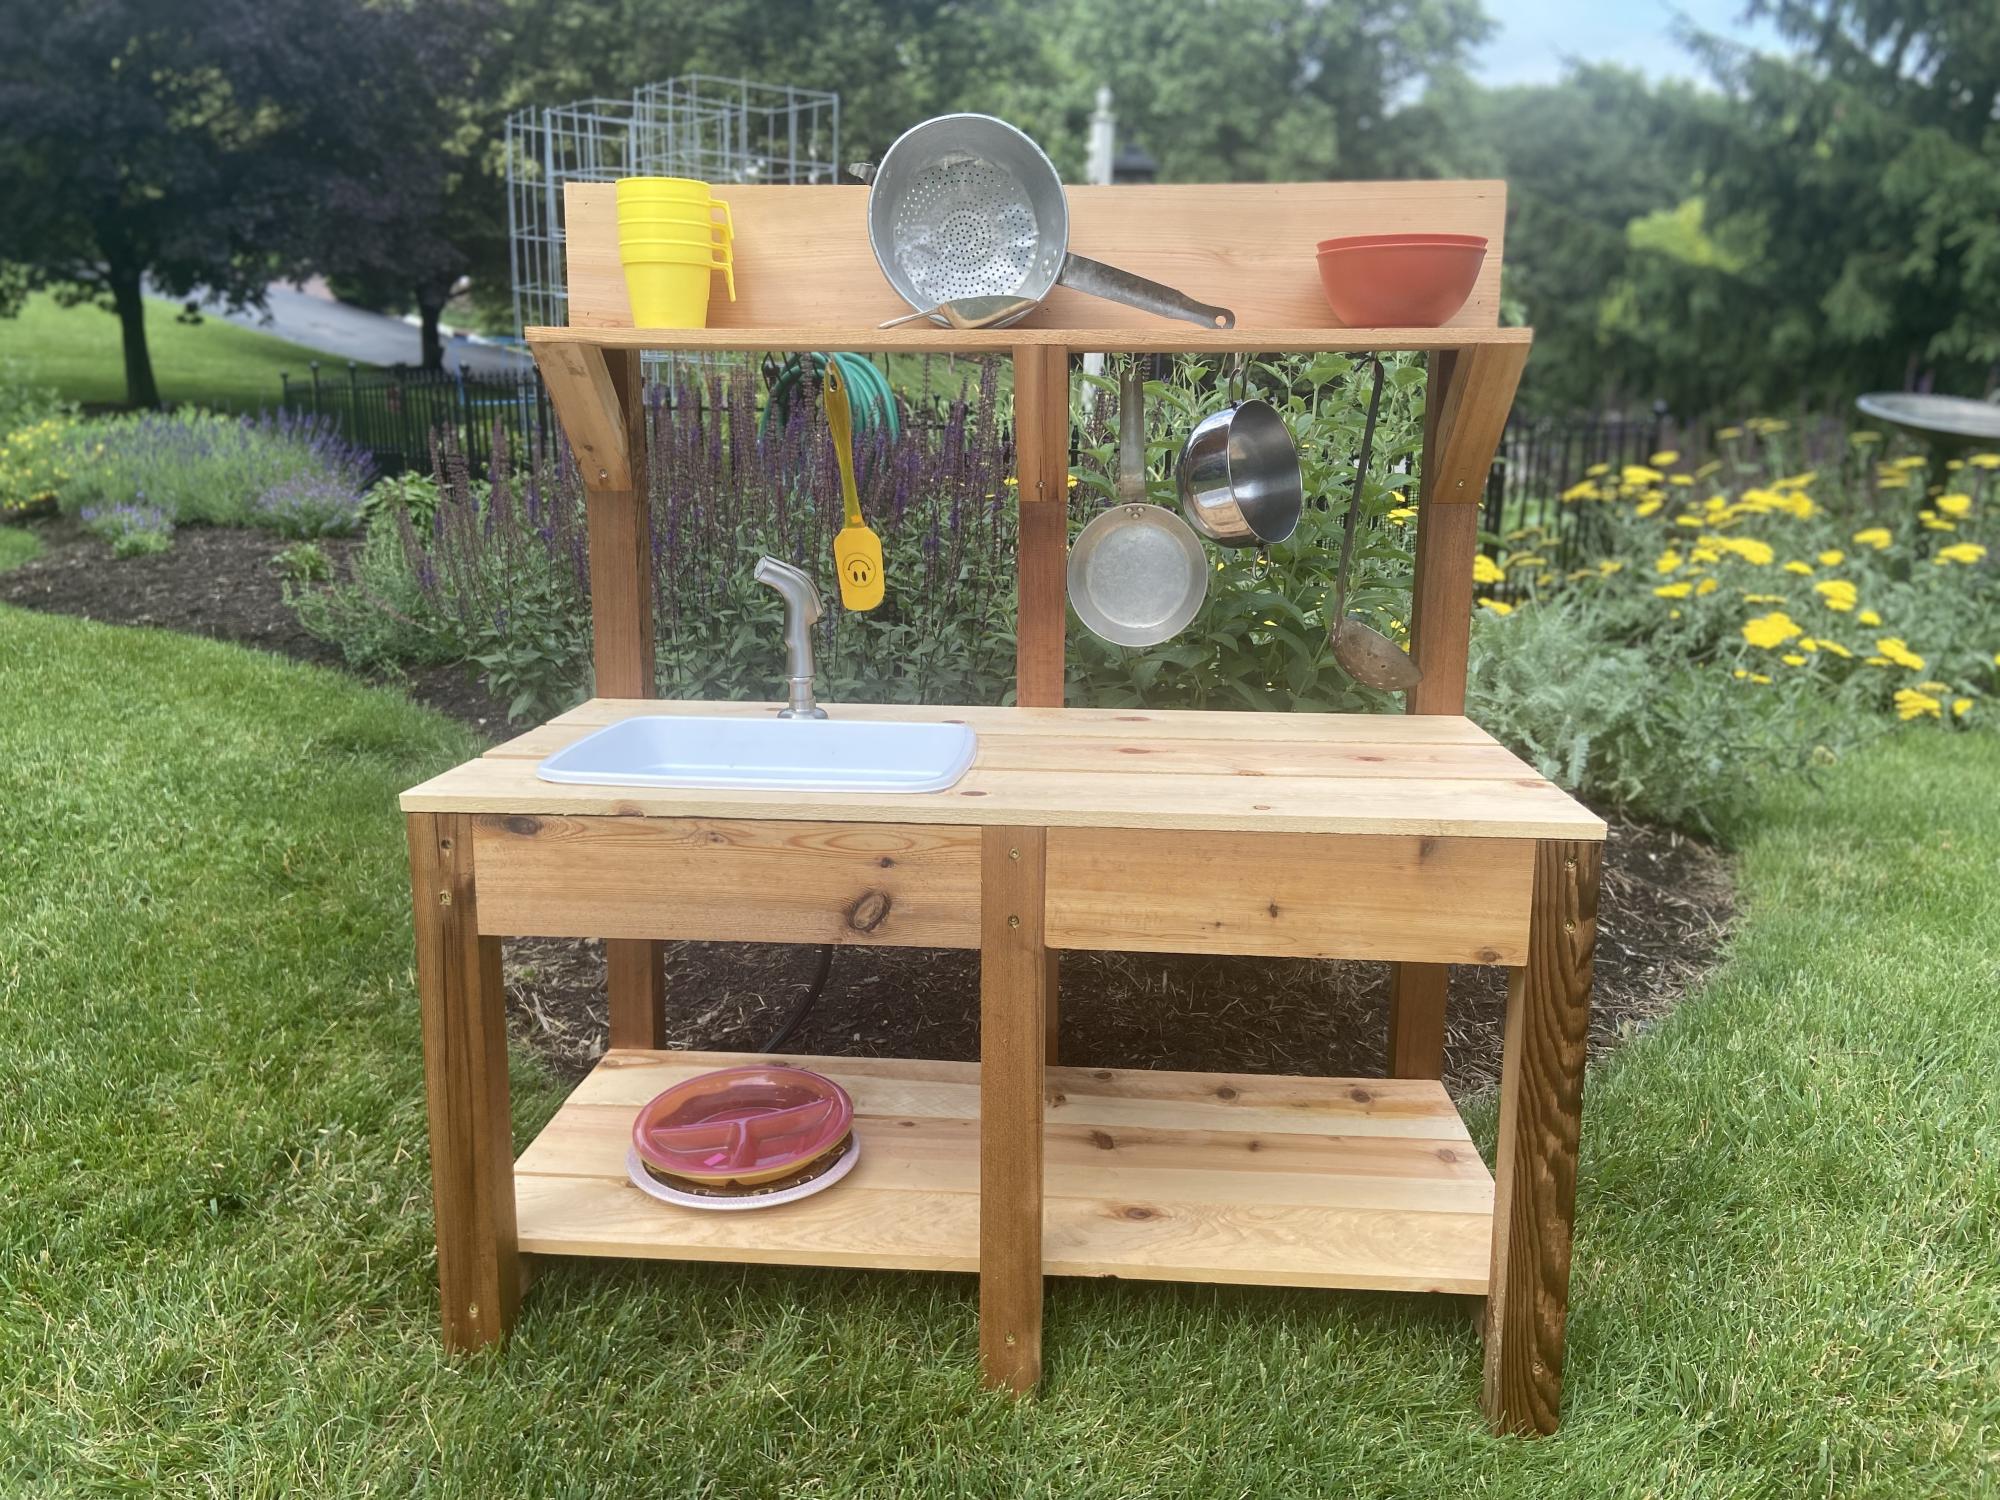
This turned out to be a great birthday gift. So much better than more toys. My 5 year old nieces loved it.

Sun, 10/14/2018 - 18:01
Beautiful! You did an amazing job, what a lucky little niece!
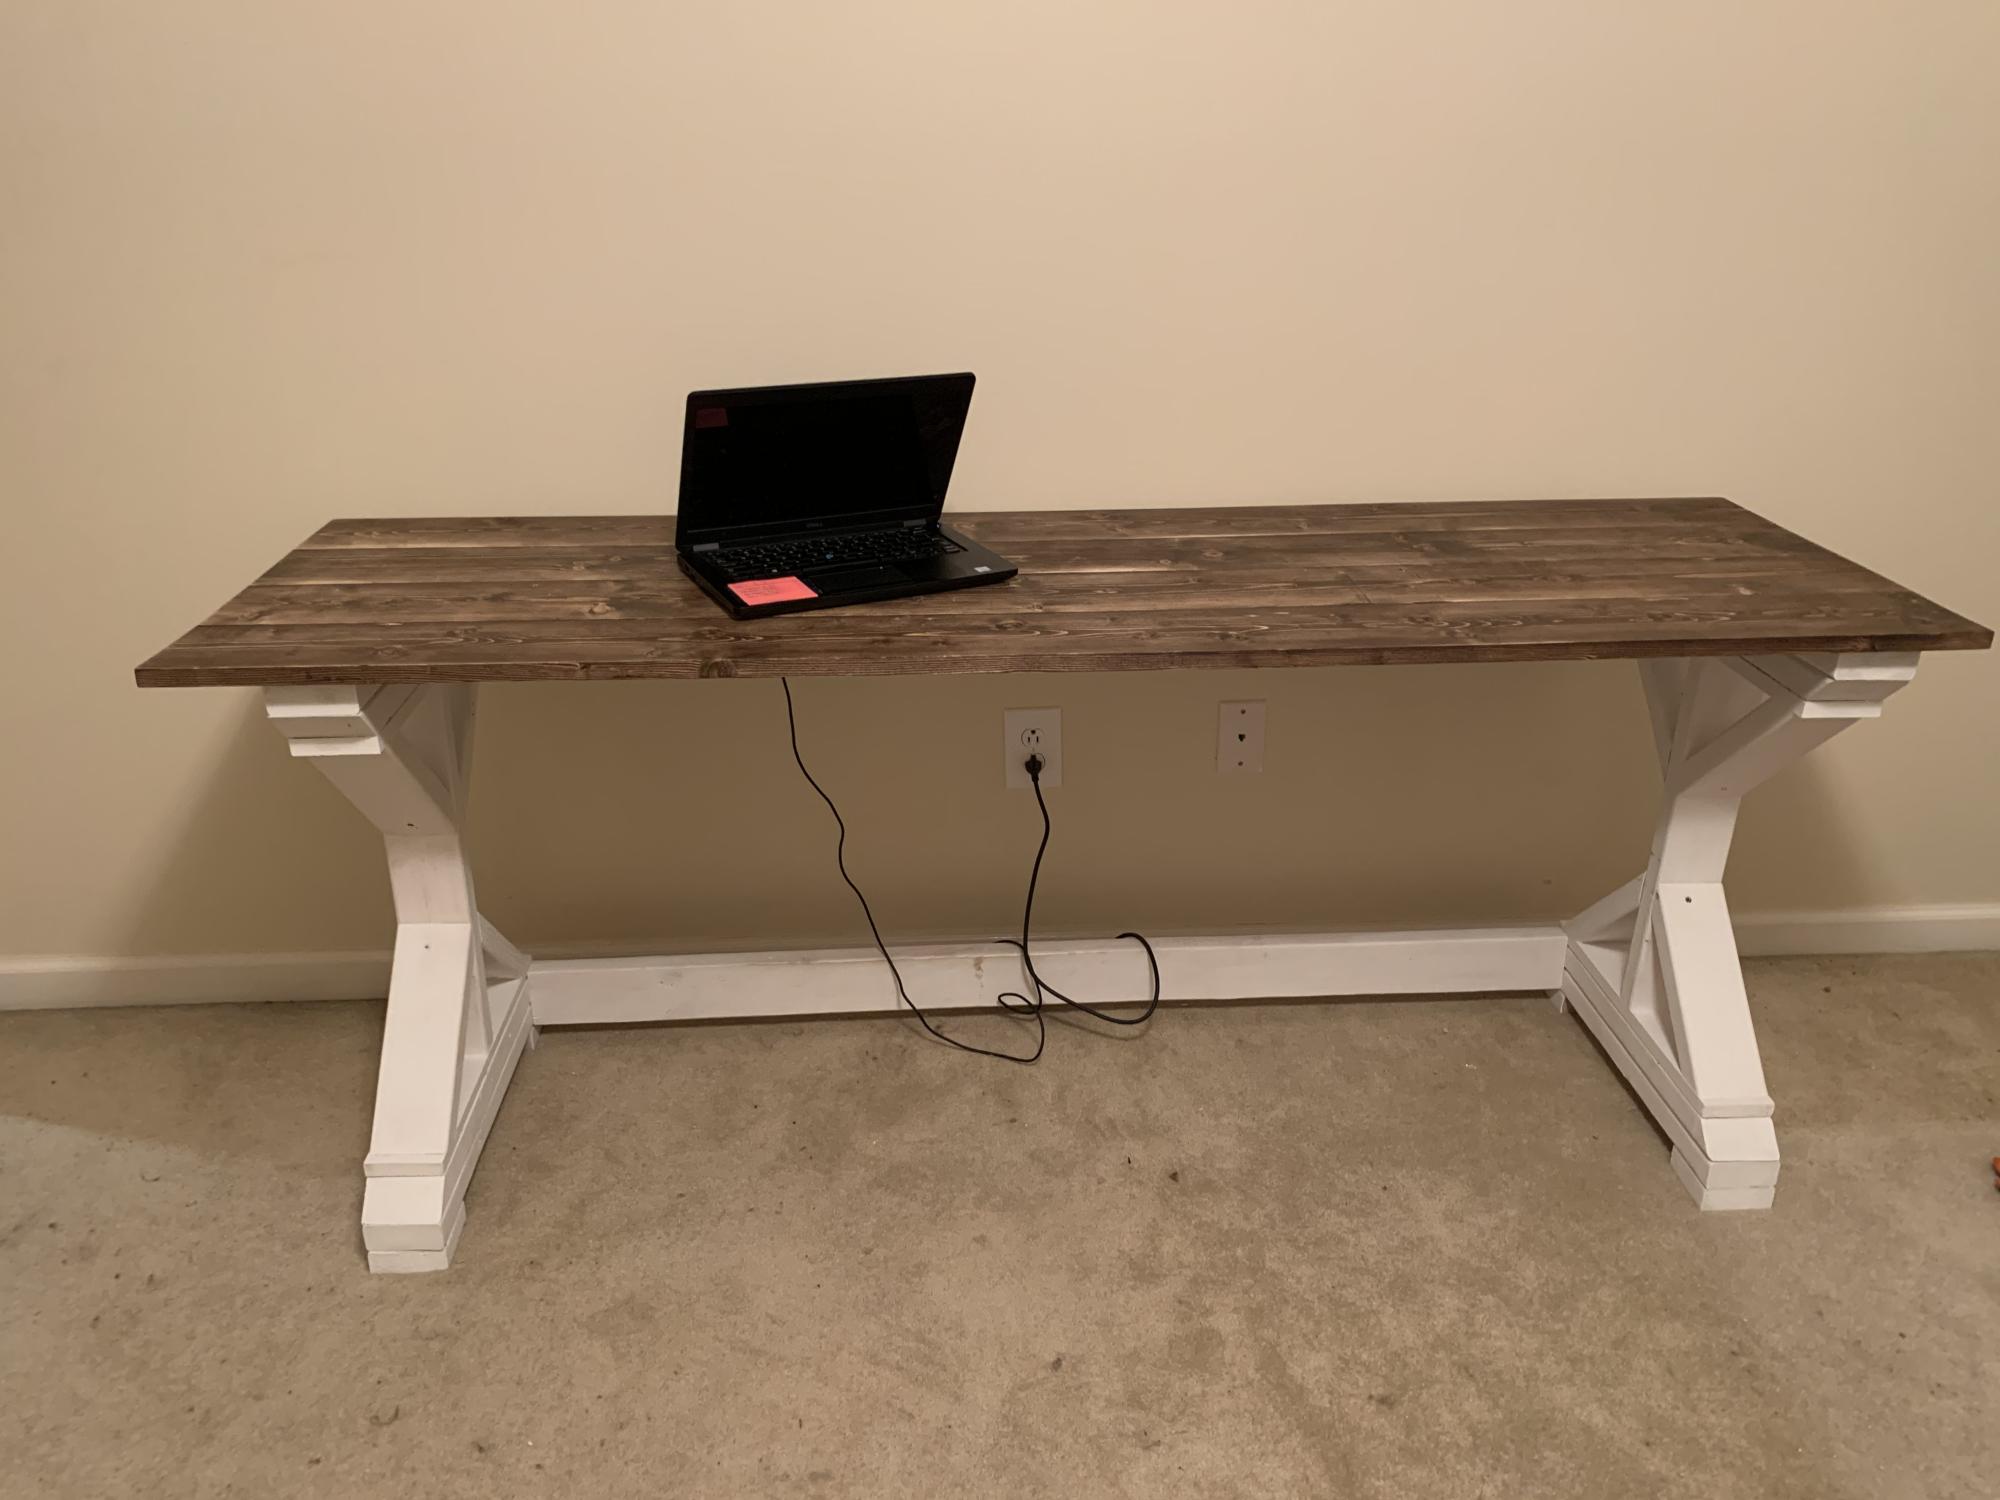
I needed a new desk for my office and this one is perfect. I made it a little longer than the plans so I could accommodate all my "stuff". Mine is 6' wide
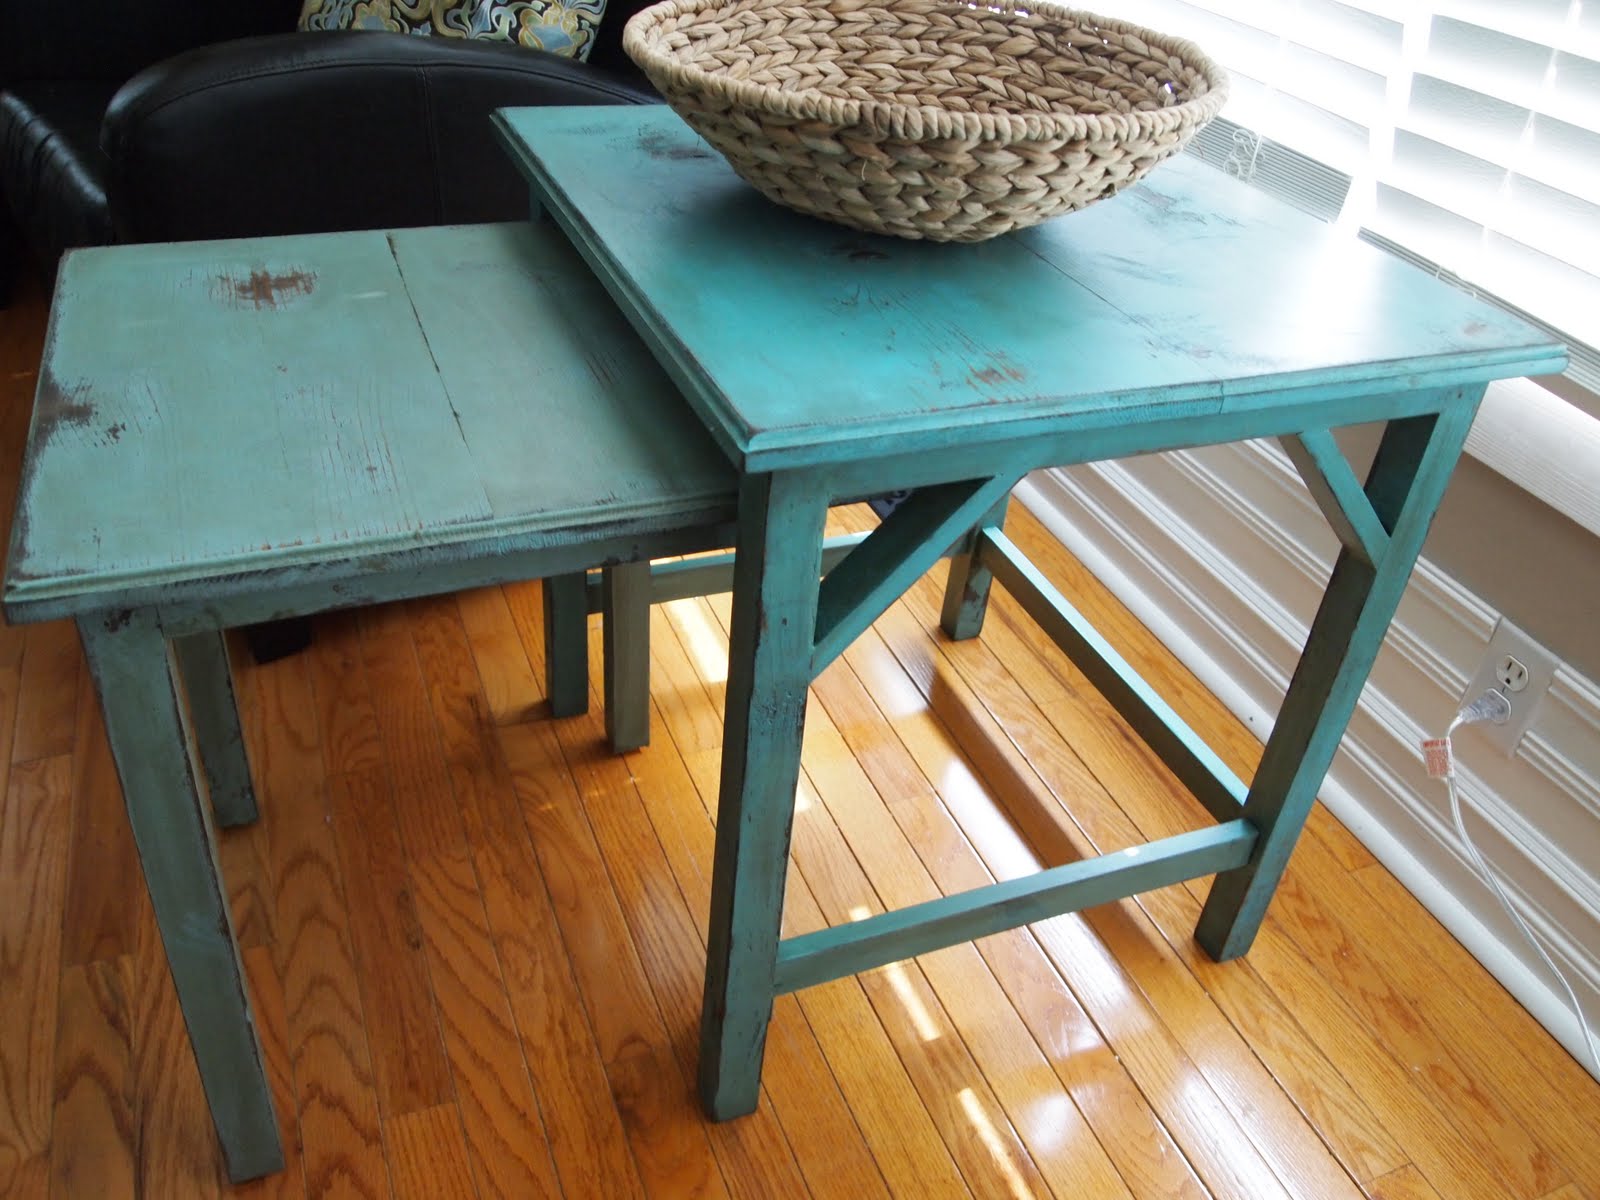
I found the cutest little nesting tables on PB, but I didn't want to spend $400. Instead, I adjusted the sizes a bit and built my own.
Tue, 07/26/2011 - 15:44
Wow you make it look so easy! Your details on your blog are awesome! Makes me want to go out and buy a router! LOL Hope your thumb is healing.
Tue, 07/26/2011 - 17:50
hahaha...I had to laugh at the thumb comment. I did break it, but that didn't stop me from picking up the router to finish the top :) I mean, it is just a thumb, not an entire arm, right?
Thank you for the kind comments. I try to post as much information as possible (and if I don't, please ask). I love seeing great project blogs, but found it frustrating when they would show the supplies or paint they used...then the finished project. But nothing in between. How did they do it?
When I found Ana's site, I was so relieved that there were communities where they thrive on sharing information. Y'all are amazing! A-MAZ-ING!
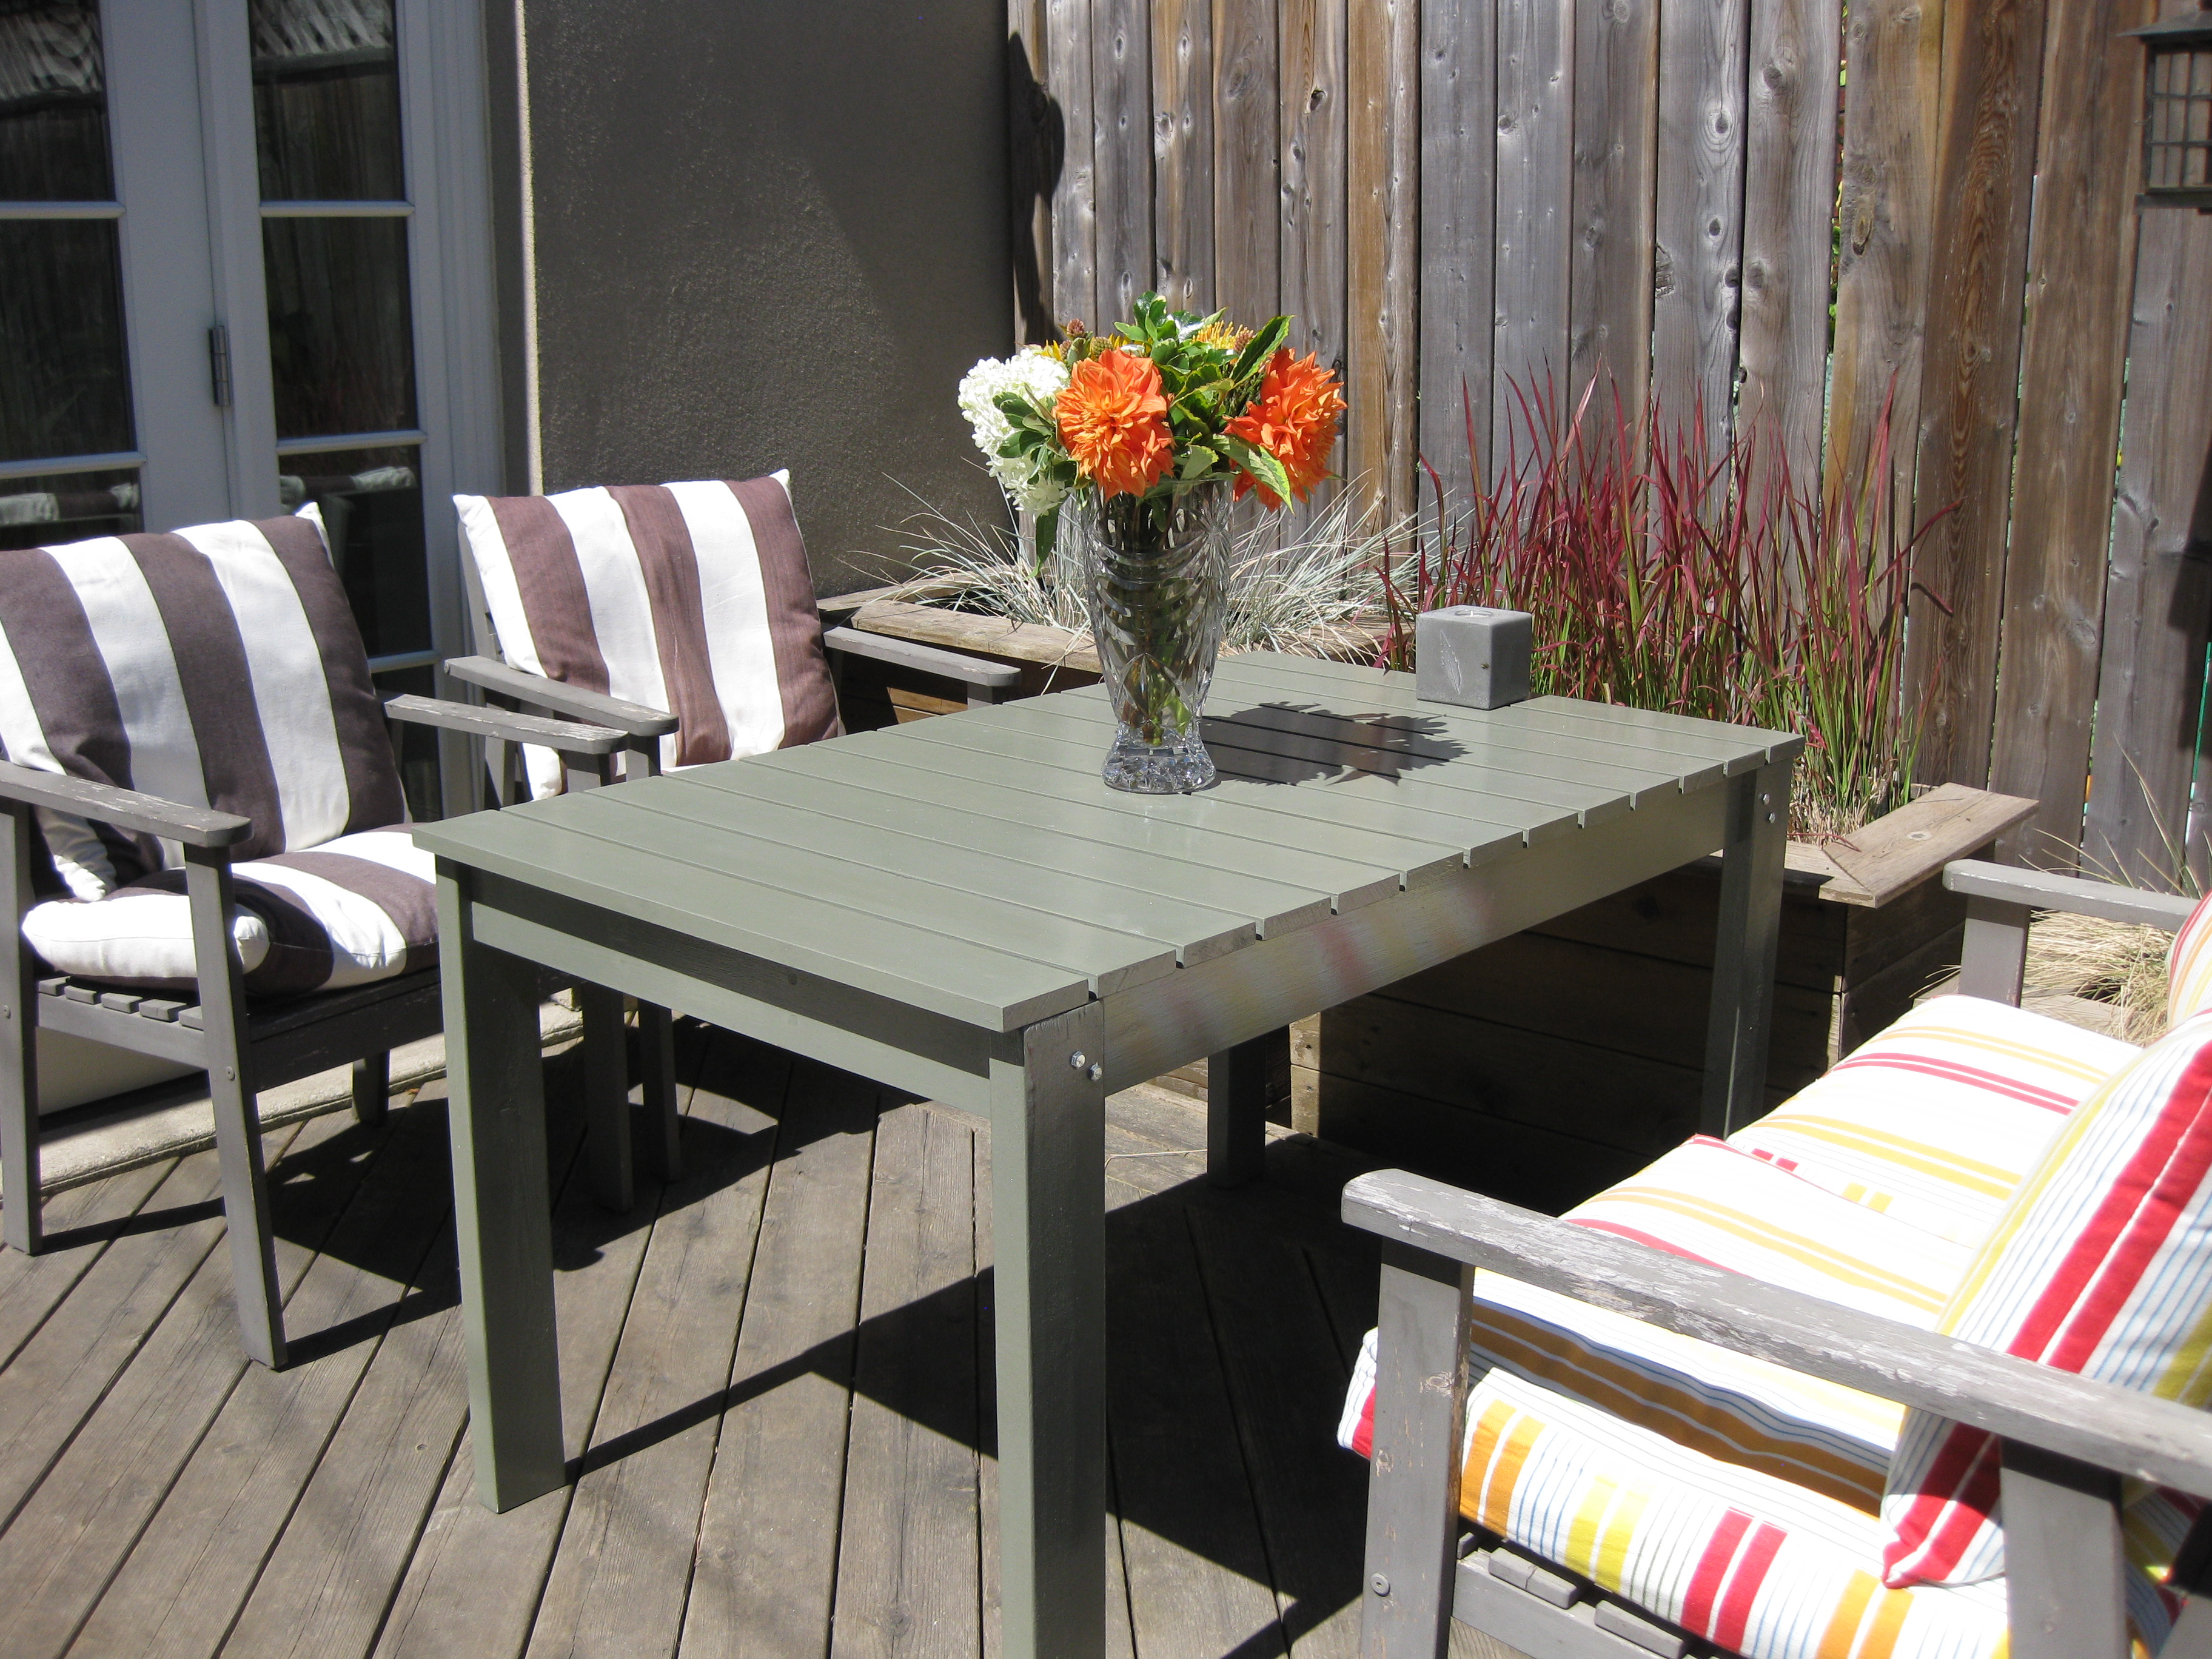
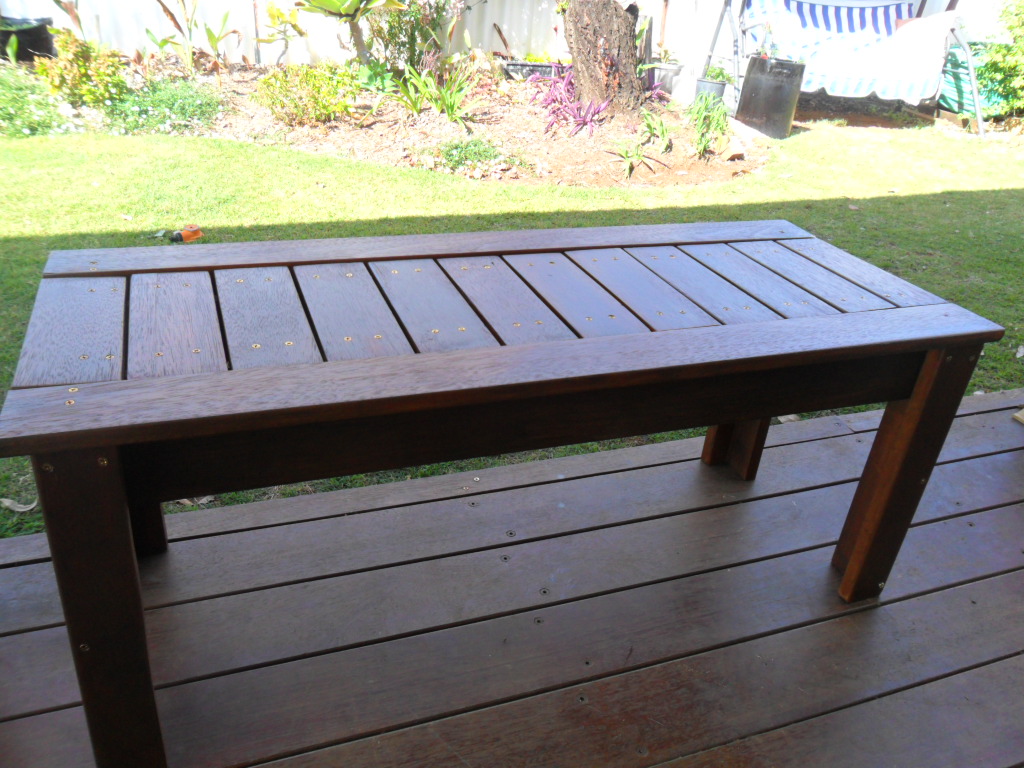
Just a simple, but solid and stable patio table to replace the IKEA version that was warping and disintegrating. So much happier with this version. Also used bolts and wing nuts for attaching the legs for easy disassembly and storage for the winter. Should get many years out of this table.
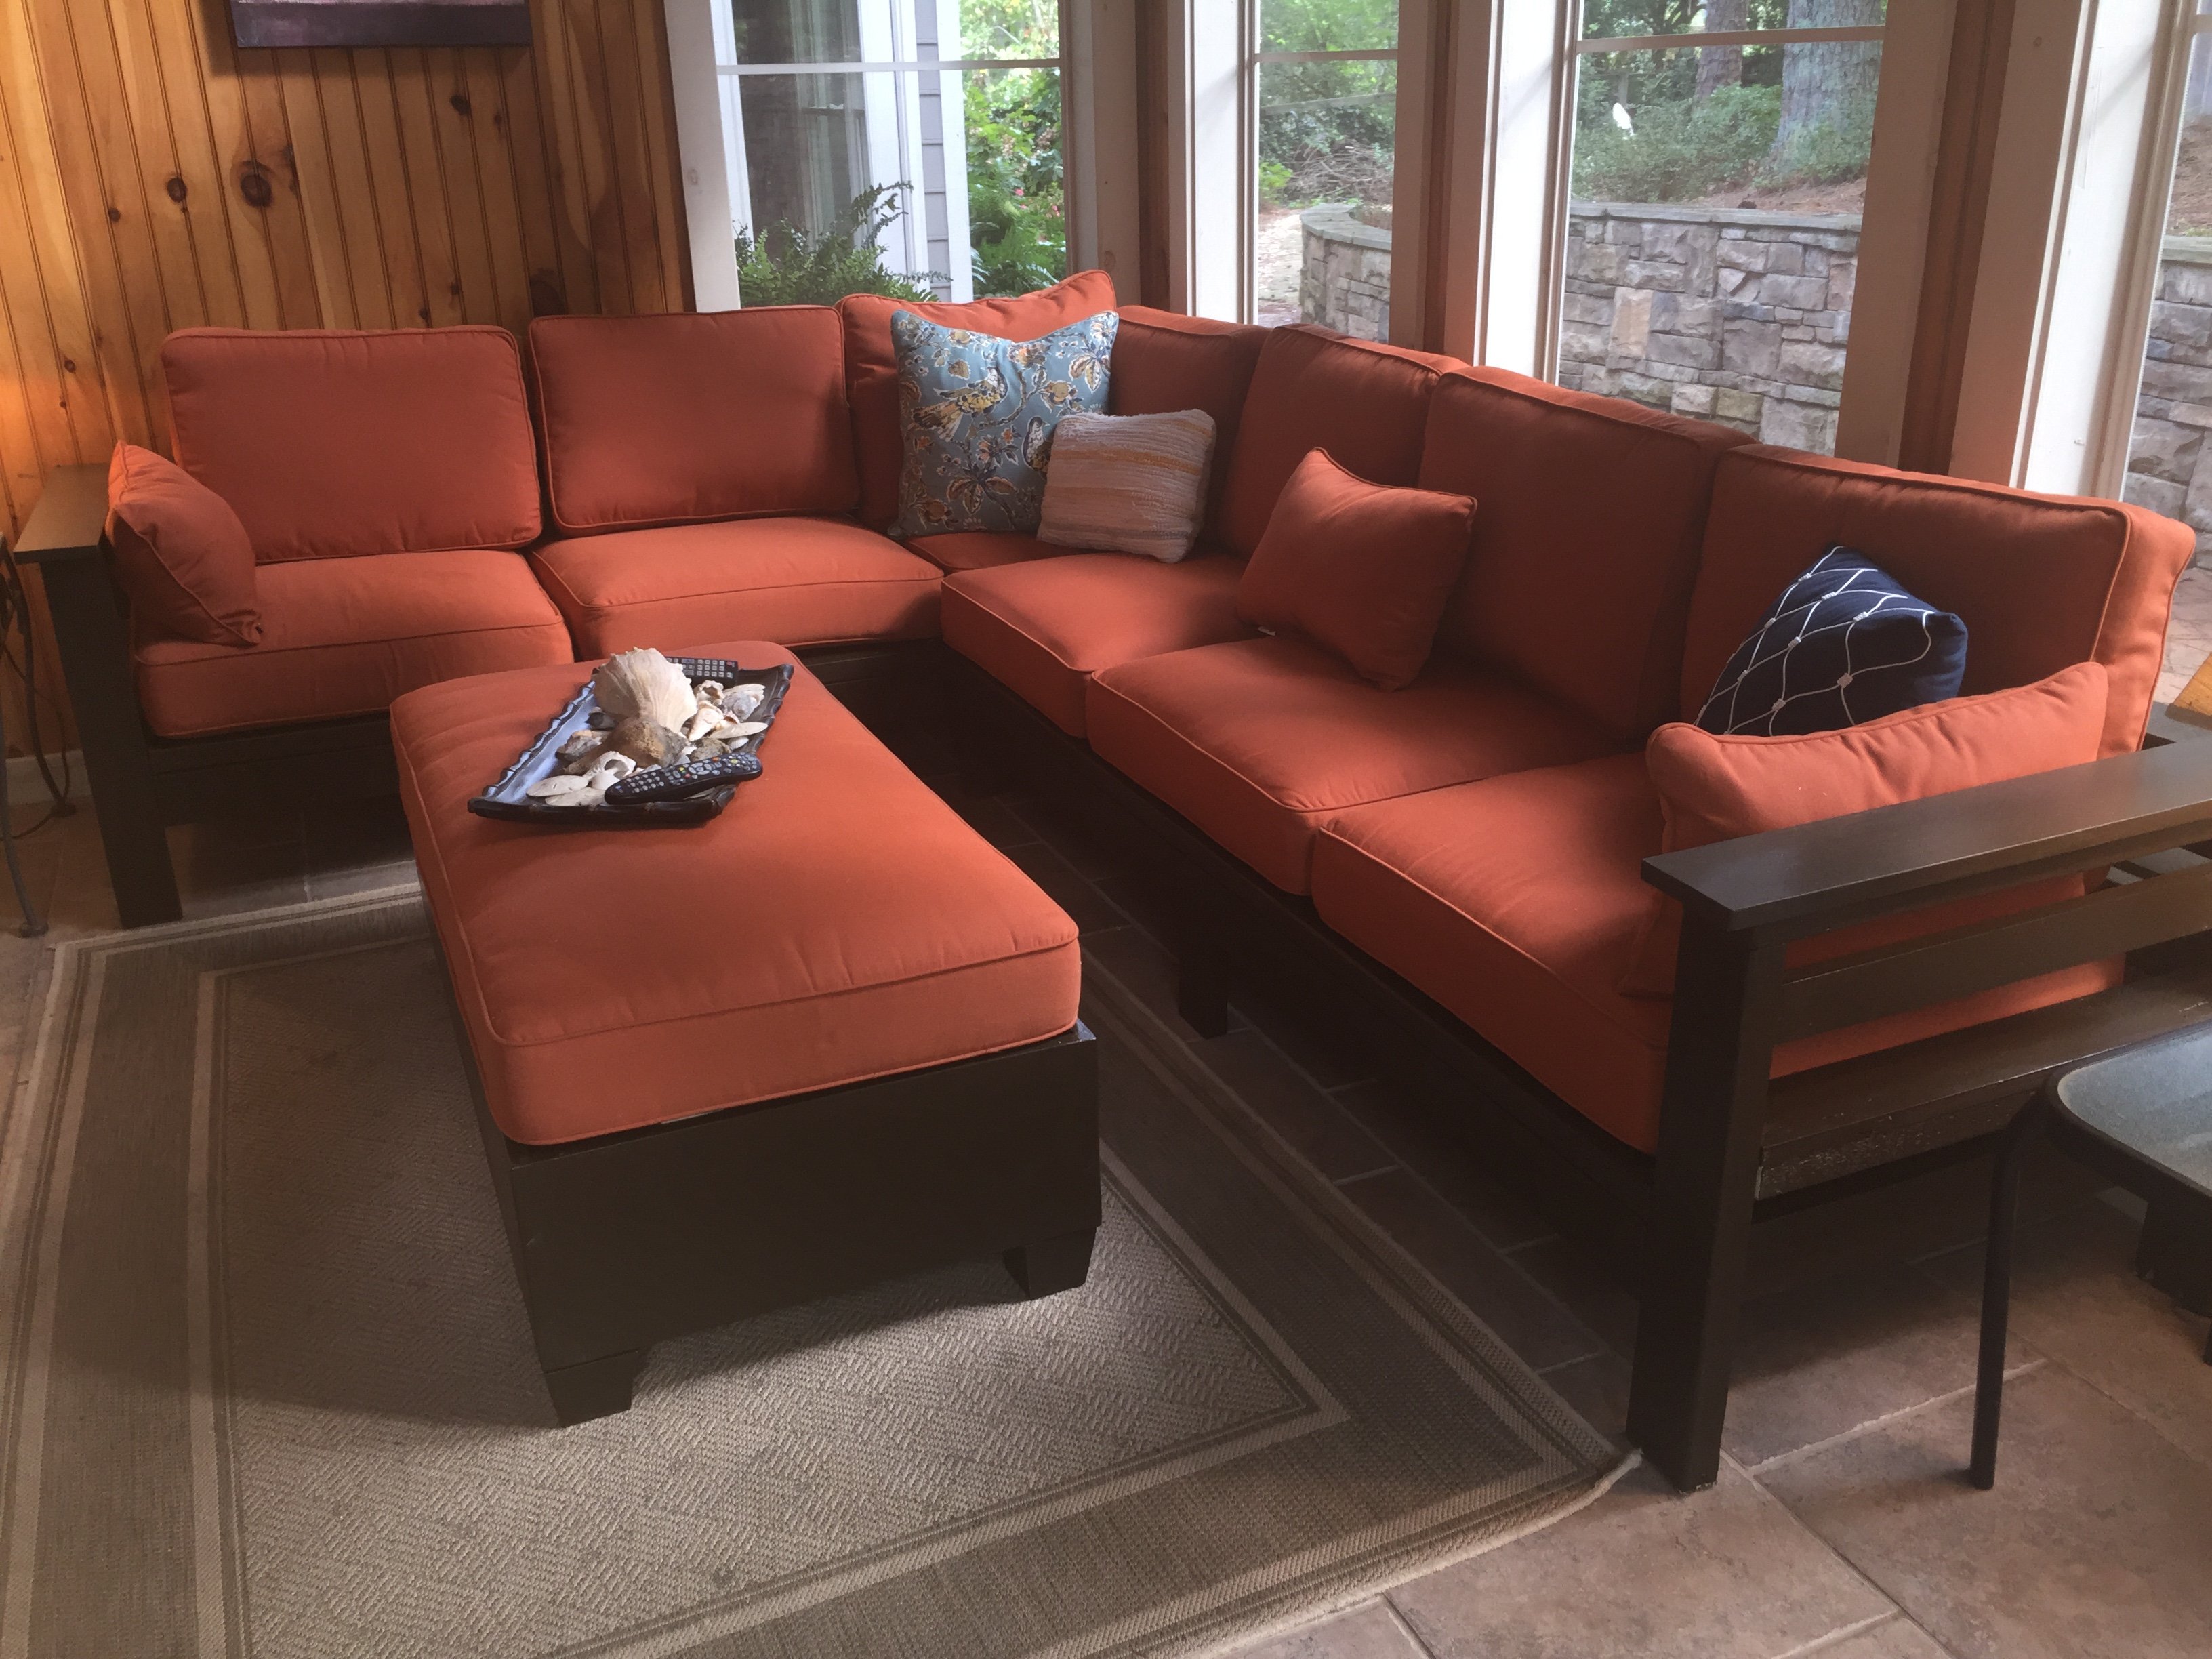
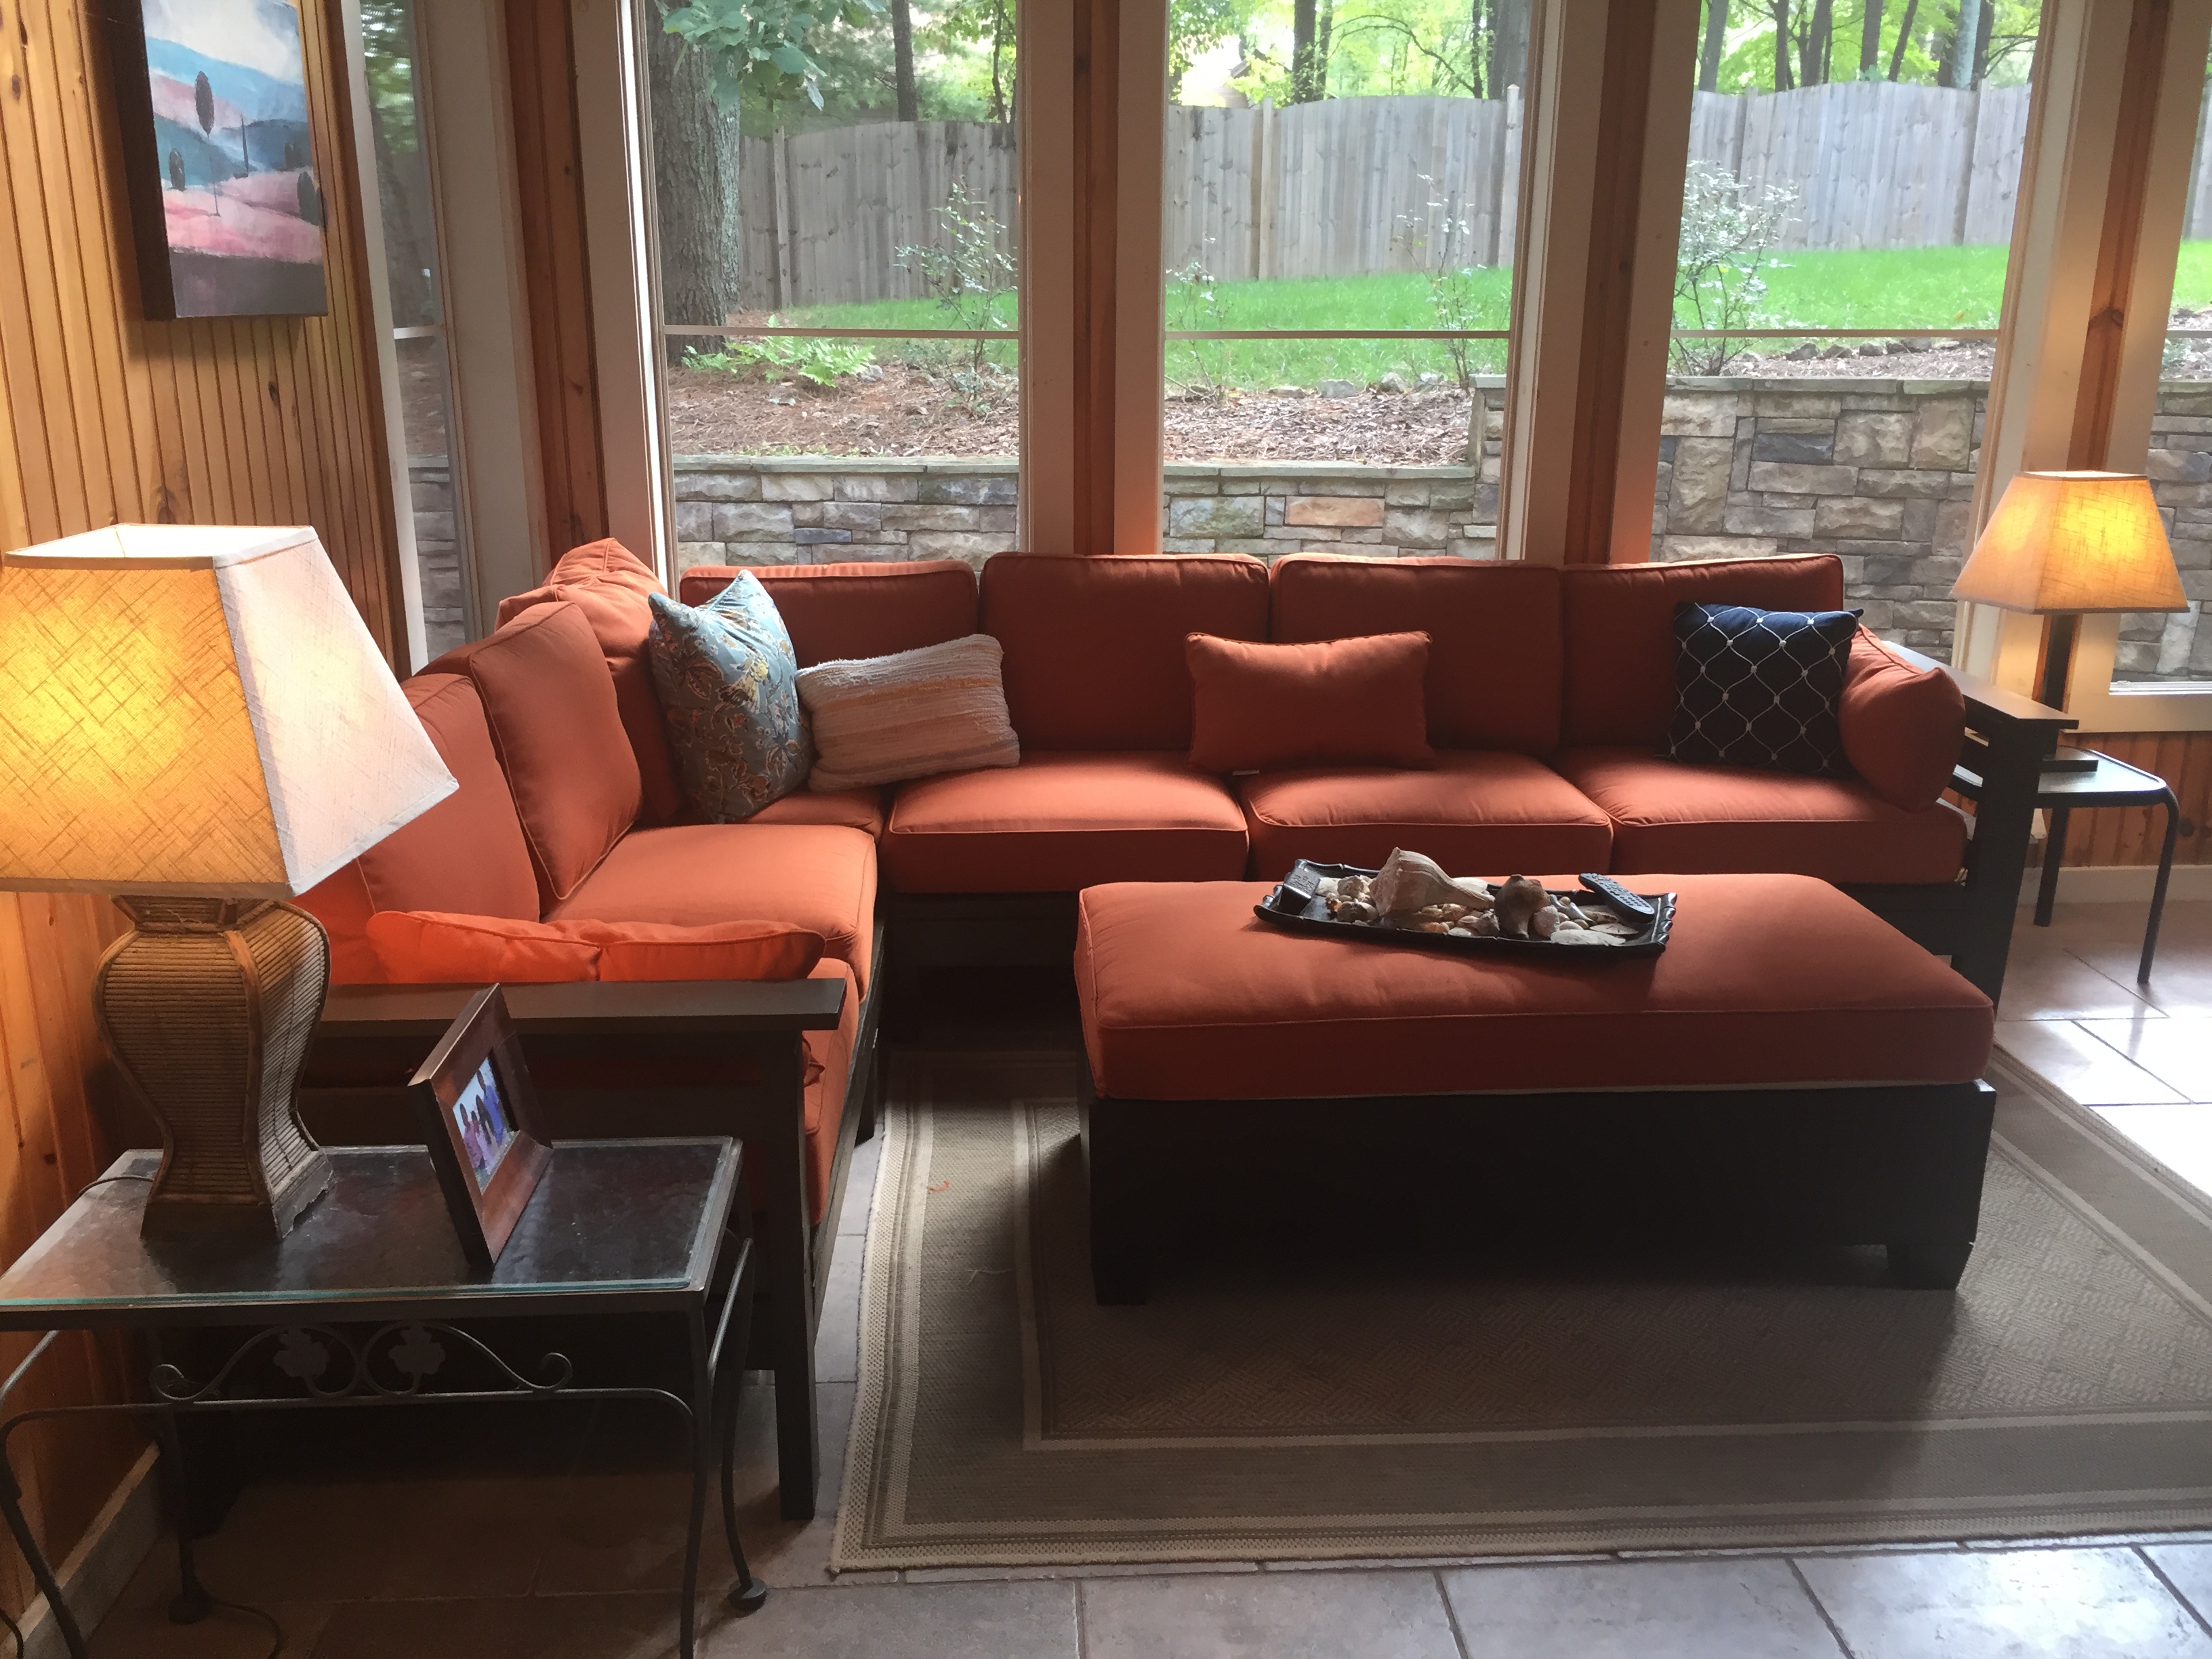
I made a few changes to Ana's plans to basically work with my cushions. I found cushions on clearance at Ballard's Backroom. I had to adjust the size of the sofas in order to fit the cushions. I also adjusted the height of the sofa, as I found it to be a little higher than I would have liked. The project took a while to complete, but it wasn't due to difficulty. This was an easy project for a novice like myself. I just primed every piece of wood with exterior primer and then painted the whole thing with 2 coats of exterior paint. It was the drying time that added to the total project time.
I also made a cocktail ottoman out of a lounge chair cushion that I purchased at Ballard's. Basically, the ottoman is a rectangular box built to the size of the cushion. I added feet purchased at Home Depot just to make it look a little less box-like. I applied a couple of coats of primer as well as the exterior paint to every piece.

this was my first furniture piece that I have built. Next is a round farmhouse kitchen table super excited to make it.

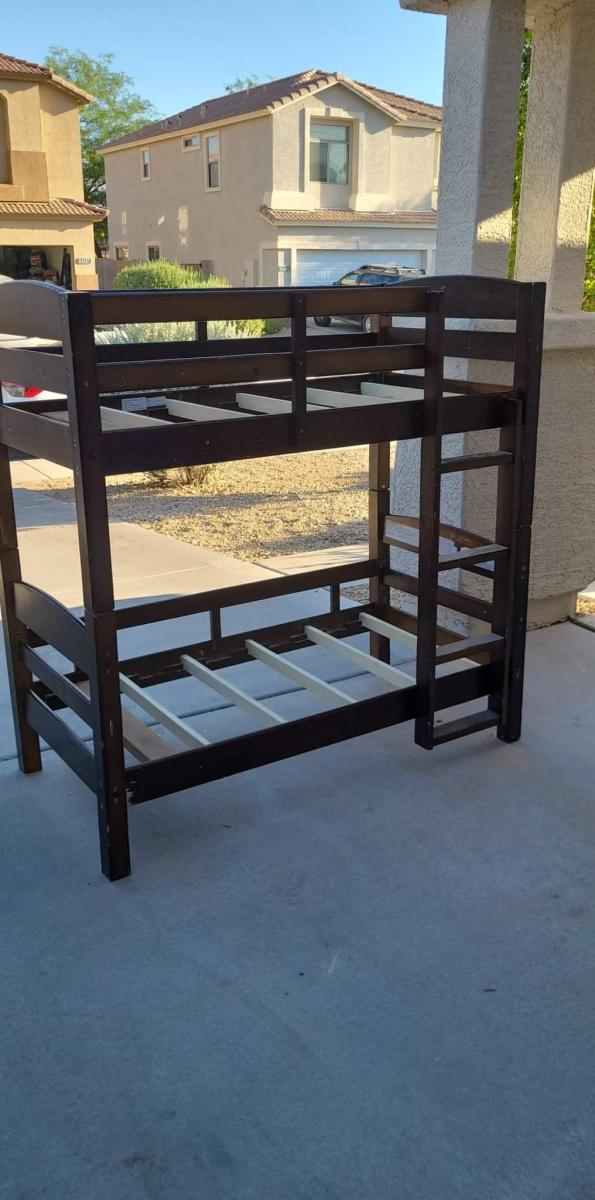
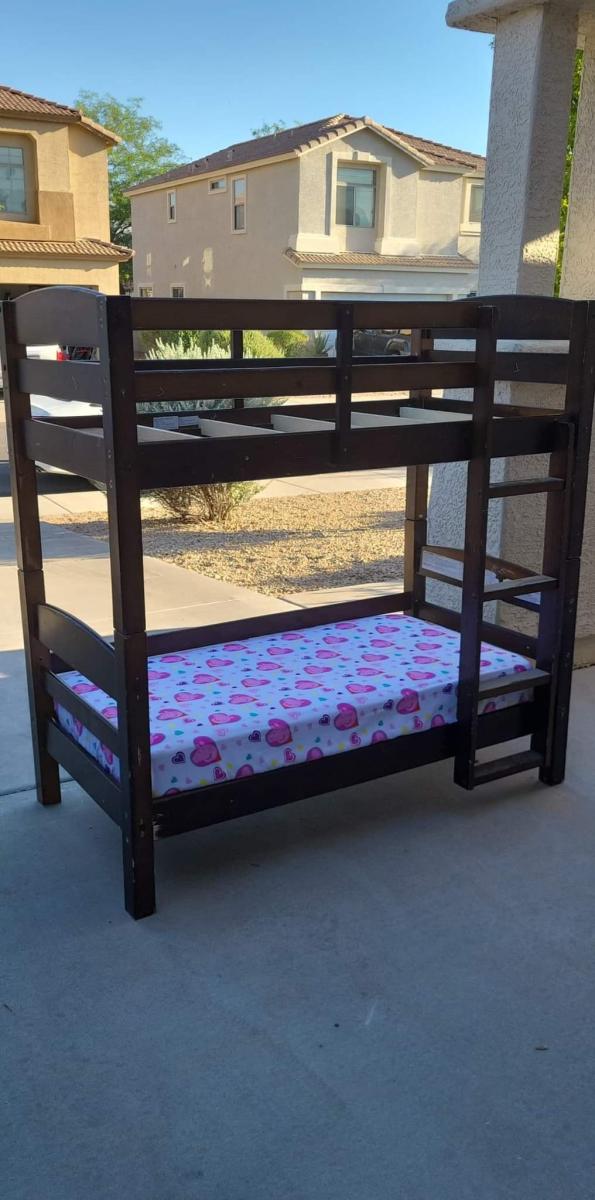
We took existing twin size bunk beds and modified the measurements to fit for 2 crib size mattresses. 1 for my 3.5yr old and the bottom for my soon to be 2yr old. It took us 12 ours to build from start to finish then about another 1hr to place in room and set it up completely. All in all they love them and sleep thru the night in there own beds lol. I also have a 7mth old in my room too...


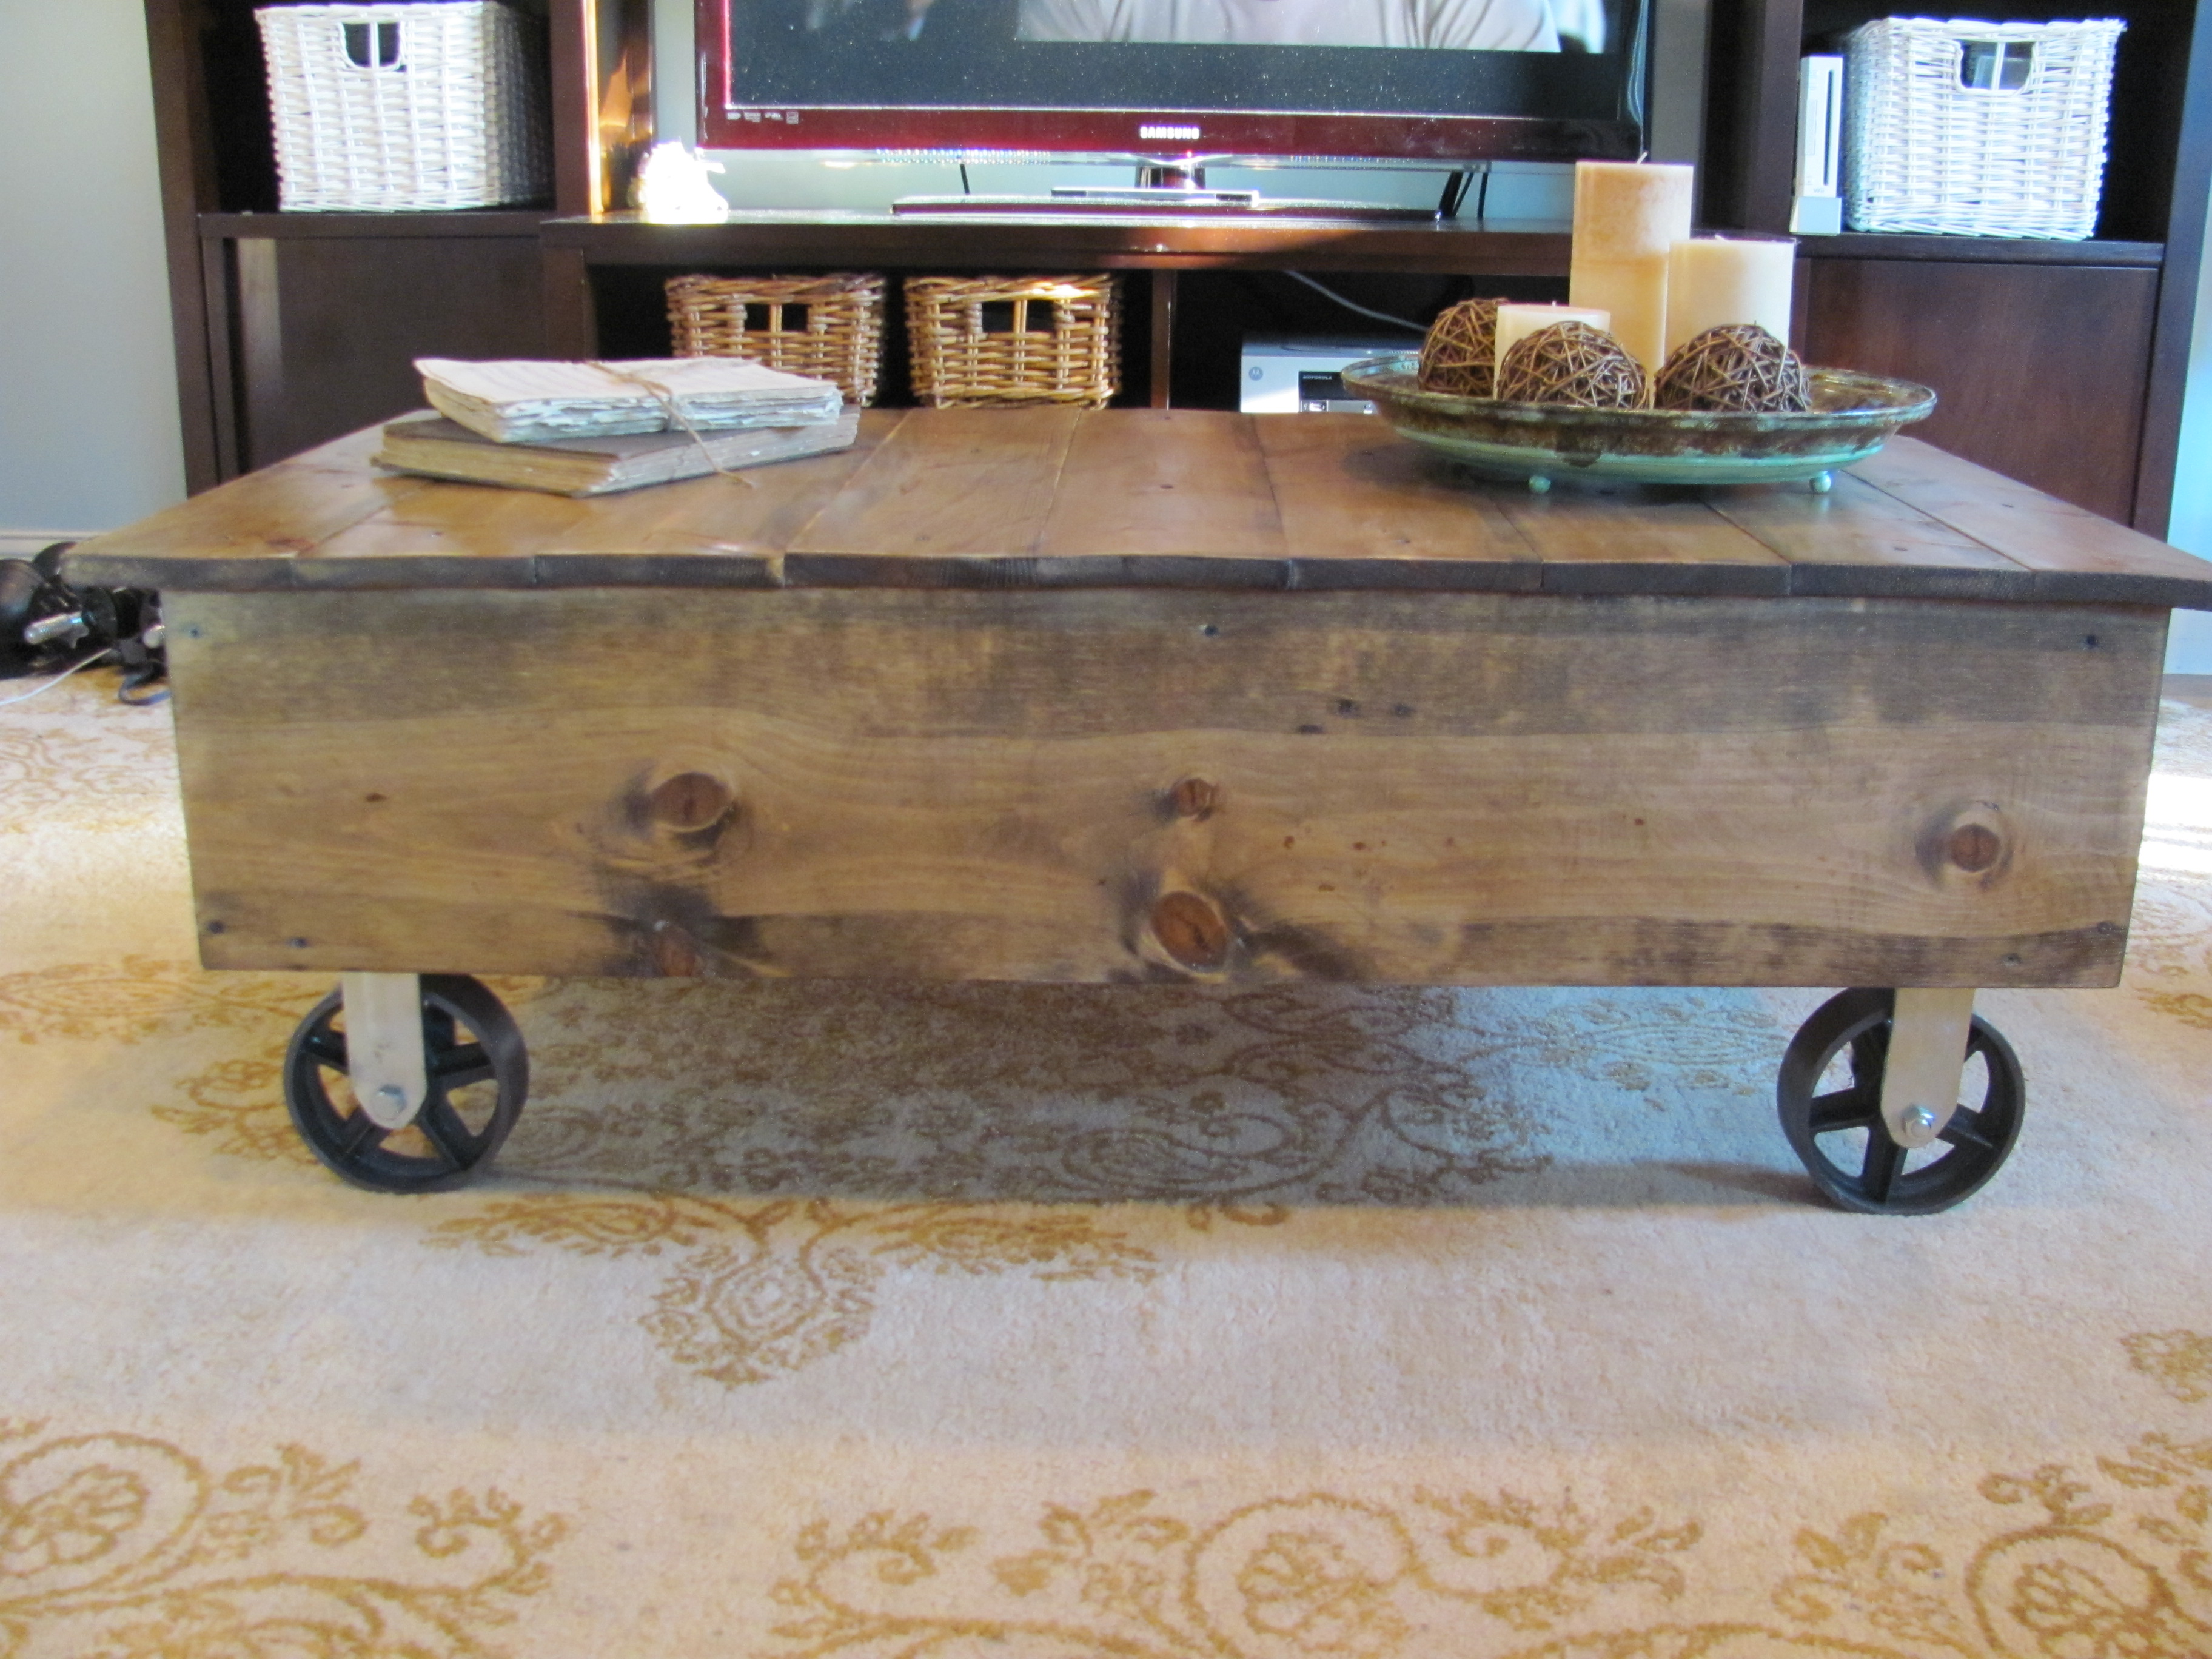
After finding the build plans for this while browsing Ana White's site, I knew I had to convince my husband to help me create this. I'd been drooling over certain high-end decor store's version for a while now, but refused to pay the costly price tag. This is now one of my favorite pieces in our home, and I love saying that we built it ourselves :) See the full post at: http://www.fromourhidingplace.com/2011/07/how-to-get-your-husband-to-bu…
Mon, 08/01/2011 - 10:19
Mind sharing where you found your casters? I am having a hard time finding anything I like. Thanks!
This was my first project..took me a week but I loved creating this!! Got plans for more! Love your website

Farm house design. I used 4x4 for the base instead of 2x4.

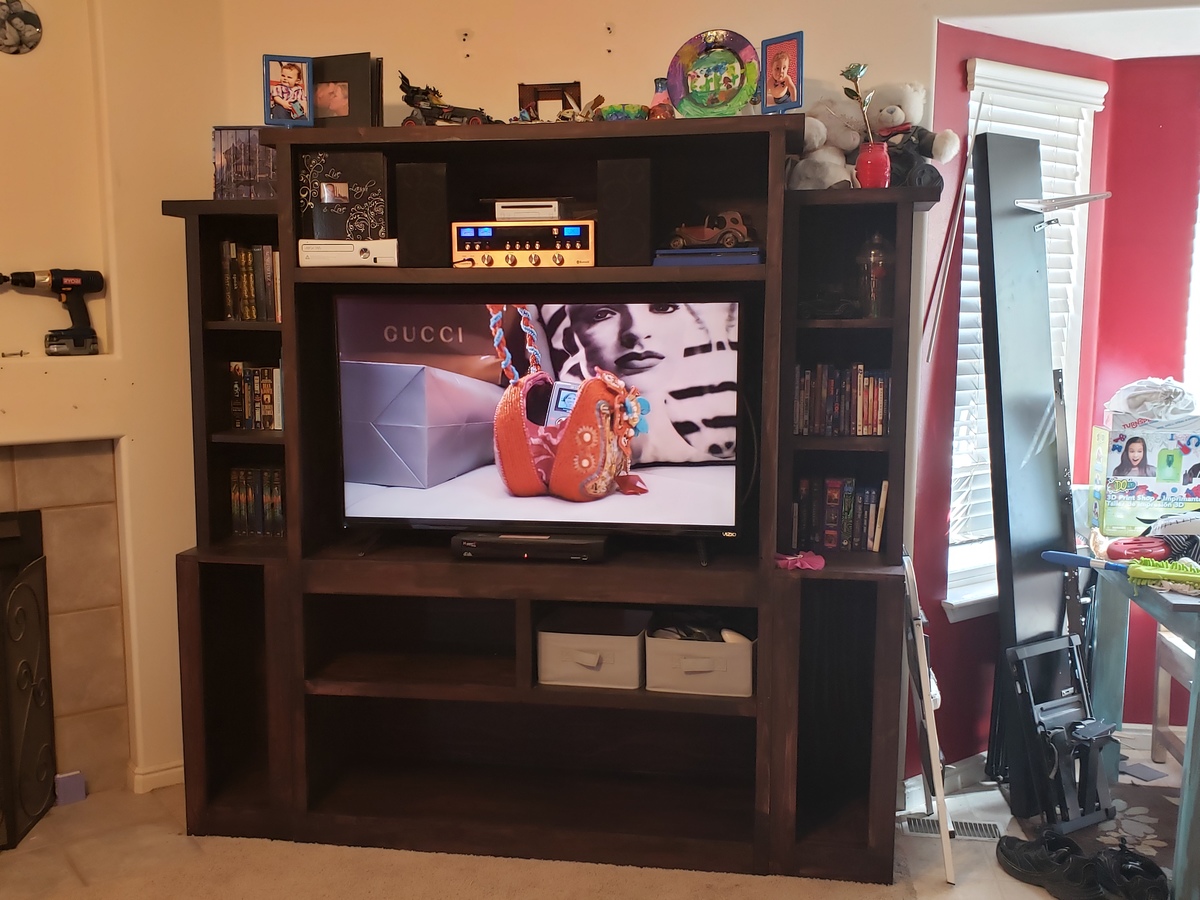
We built this piece exactly to fit our space. We needed more storage and wanted something that would hold our TV so it didn't have to be mounted any more. We used Behr paint to finish it. It is made out of pine and is very sturdy. It took us about a week to build but could have been done In a few days if we could have dedicated 100% of our time to it.
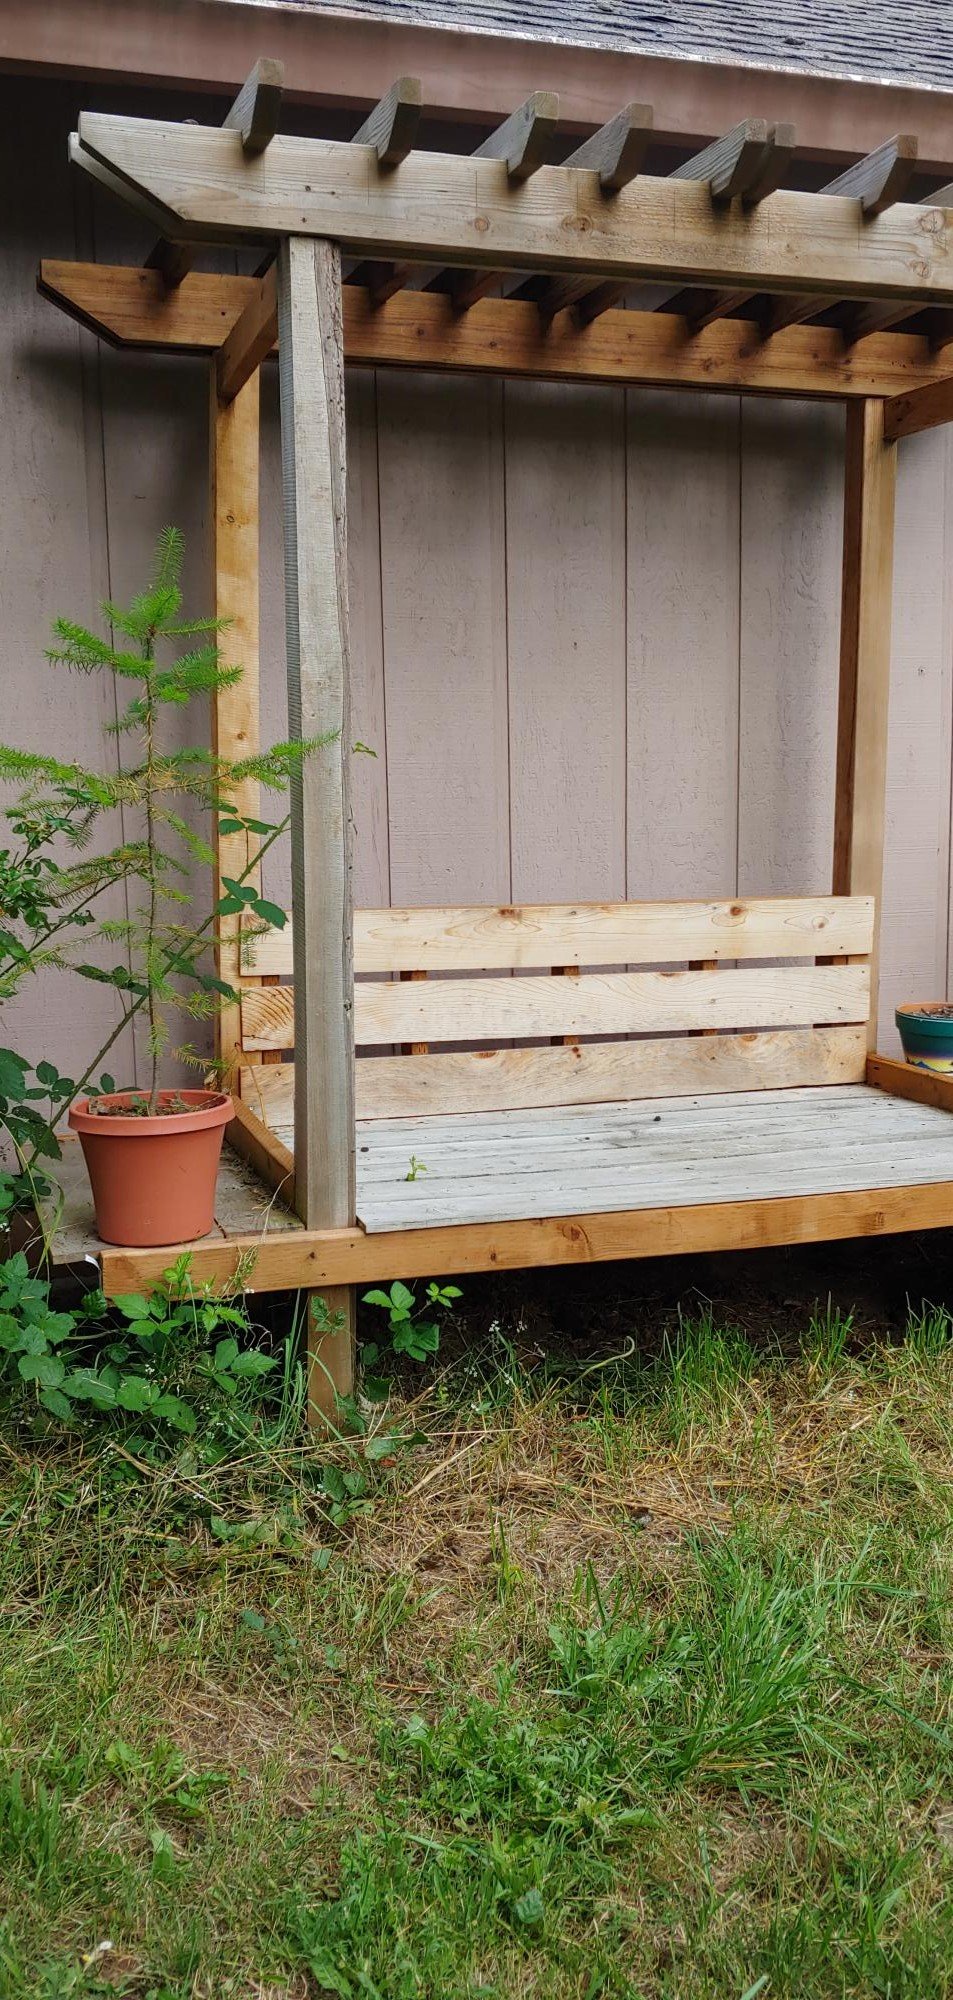
The previous owners planned to built a rose Arbor, and left the pieces in our barn. Using the Arbor bench plan I was able to use all the pieces to build this version. Great summer hangout!
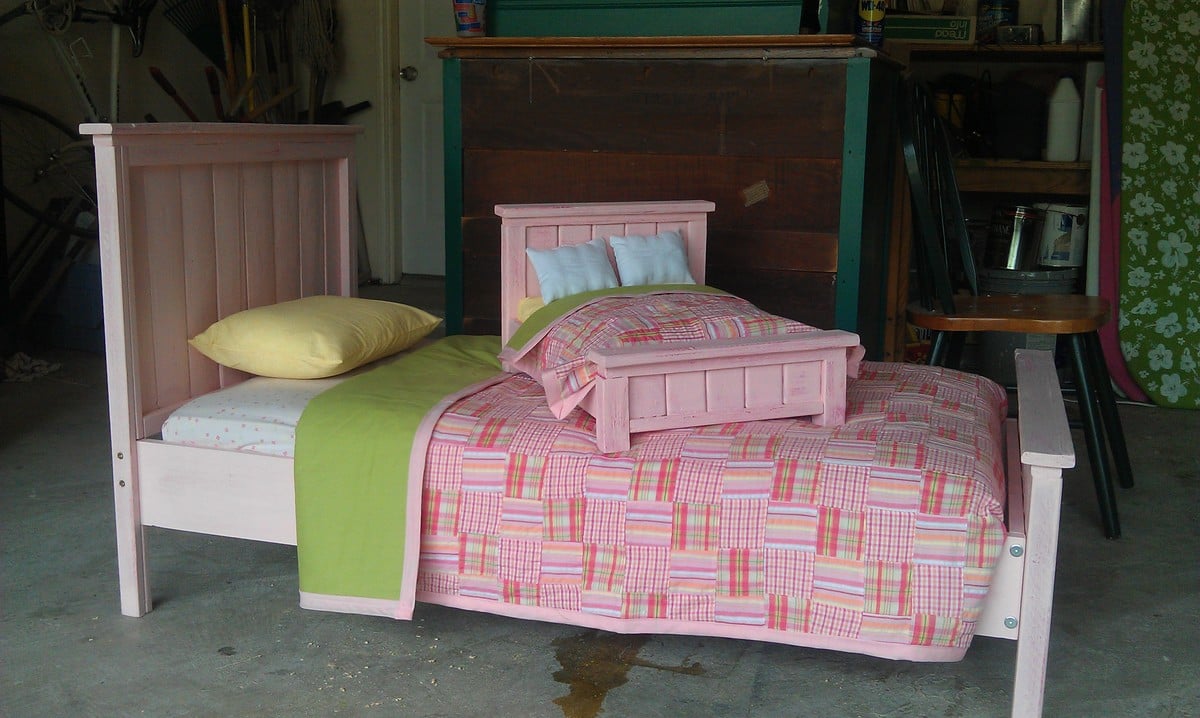
Having done a few doll beds I decided to tackle a toddler bed. I ended up donating this pair to an auction benefiting Montrose Street Reach and Little Footprints Children's Ministry. If you are interested check out http://www.littlefootprintscm.com
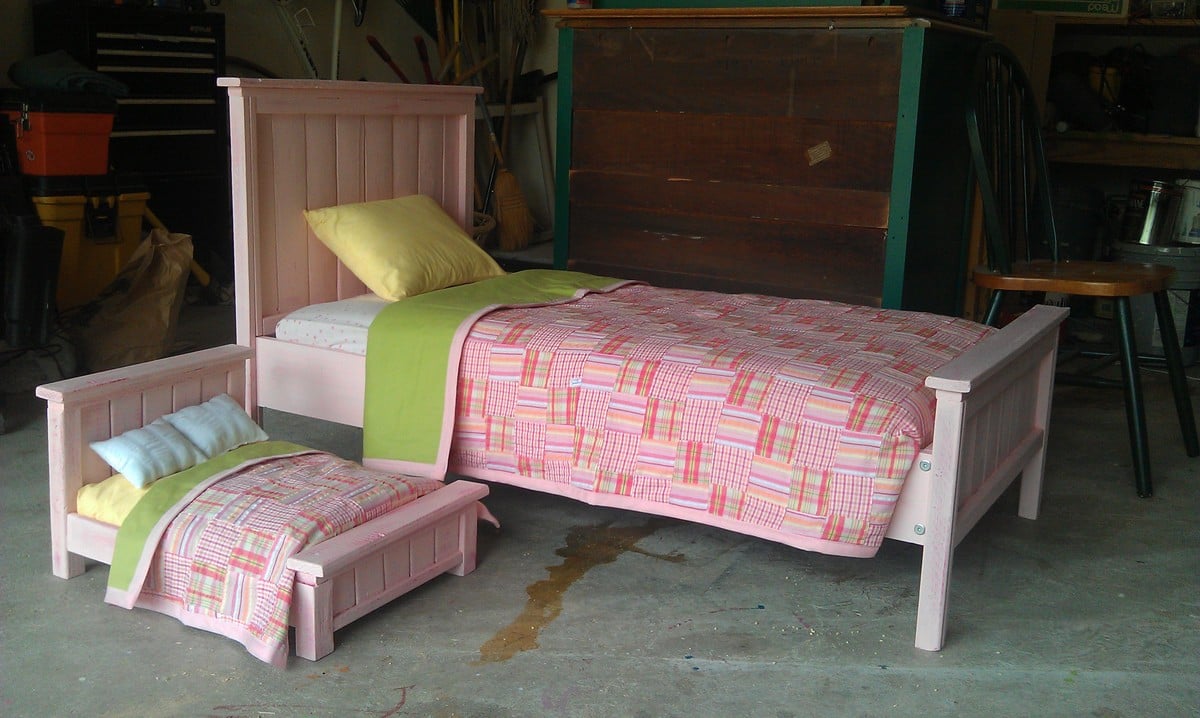

Wed, 08/03/2011 - 06:57
How wonderfully generous of you and they came out great!
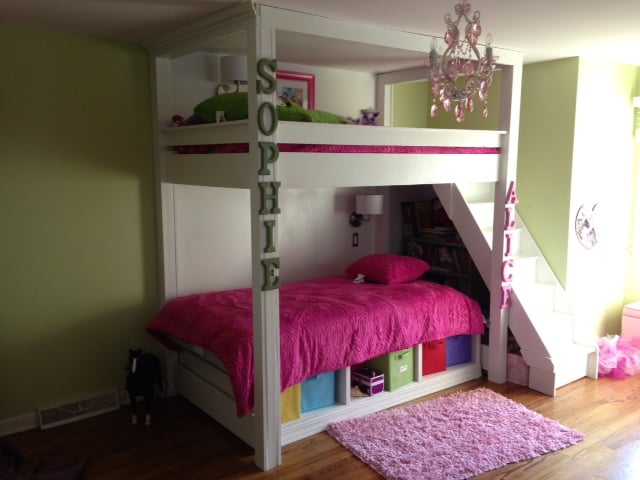
I combined the loft bed and the storage daybed to make this bunk bed. I also modified the plans slightly so that the posts extended to the ceiling and added stairs instead of a ladder.
Wed, 08/28/2013 - 18:41
Lwinchip, this is so beautifully done and practical, too! I love it! Thanks for sharing...I love how the posts that go all the way to the ceiling. I'm going to copy you with my granddaughter's loft that I plan to build soon (is that okay?). :-)
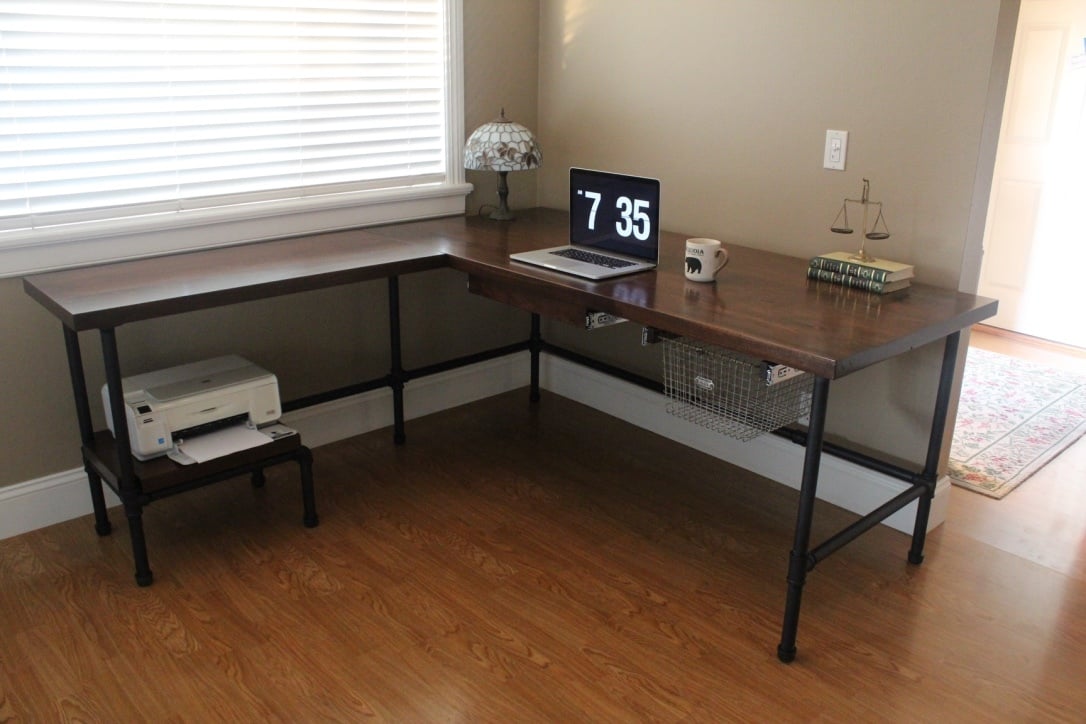
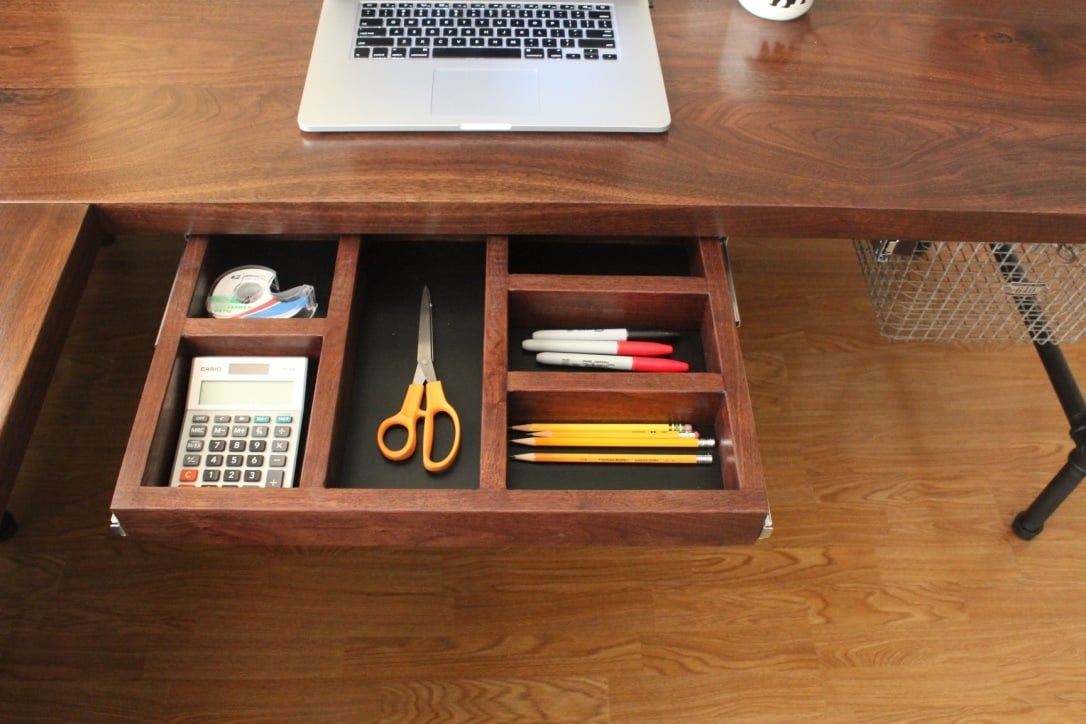
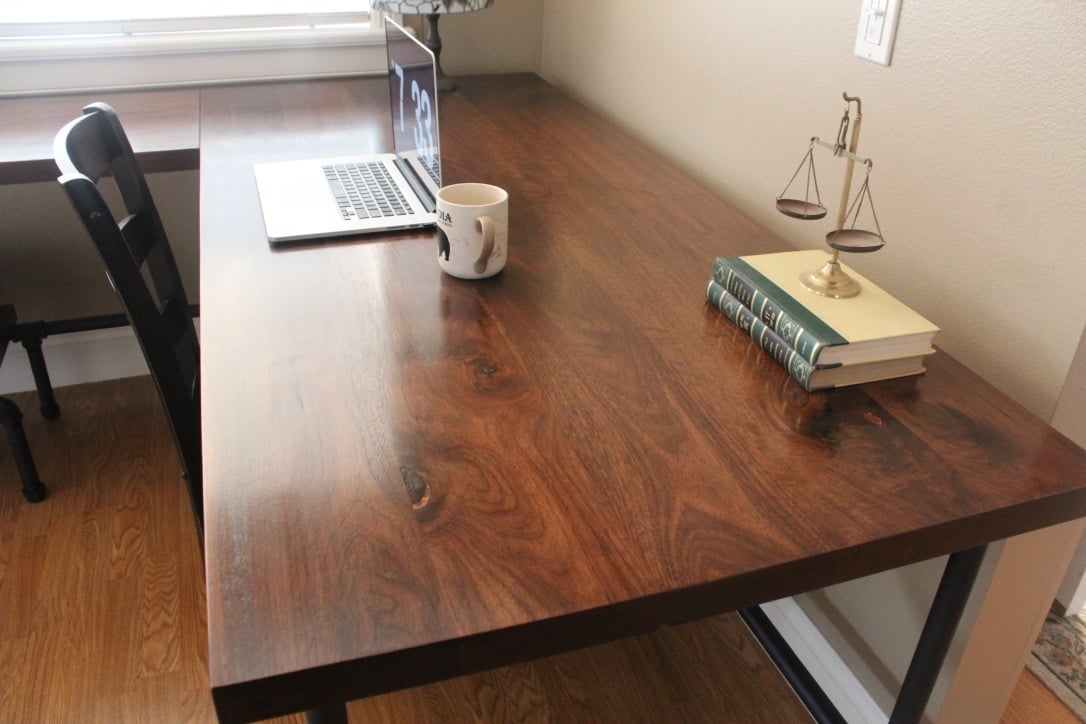
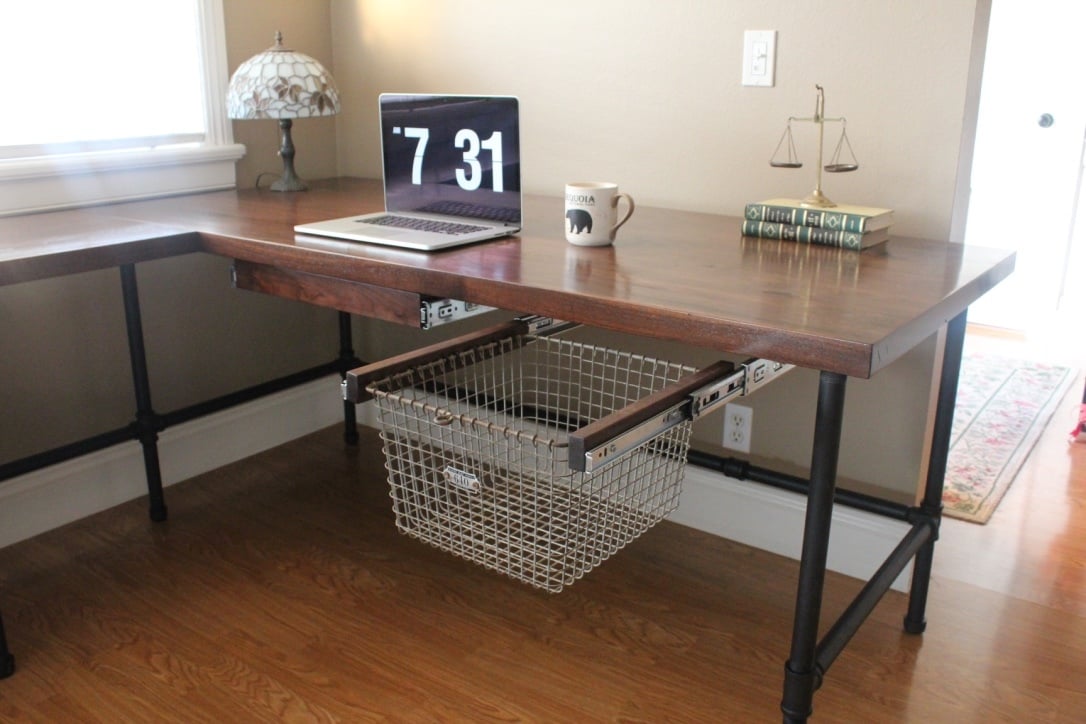
Just finished up this industrial L-shape desk. The desk top is solid walnut. I added a pencil drawer and a vintage locker basket mounted to a drawer slide. :)