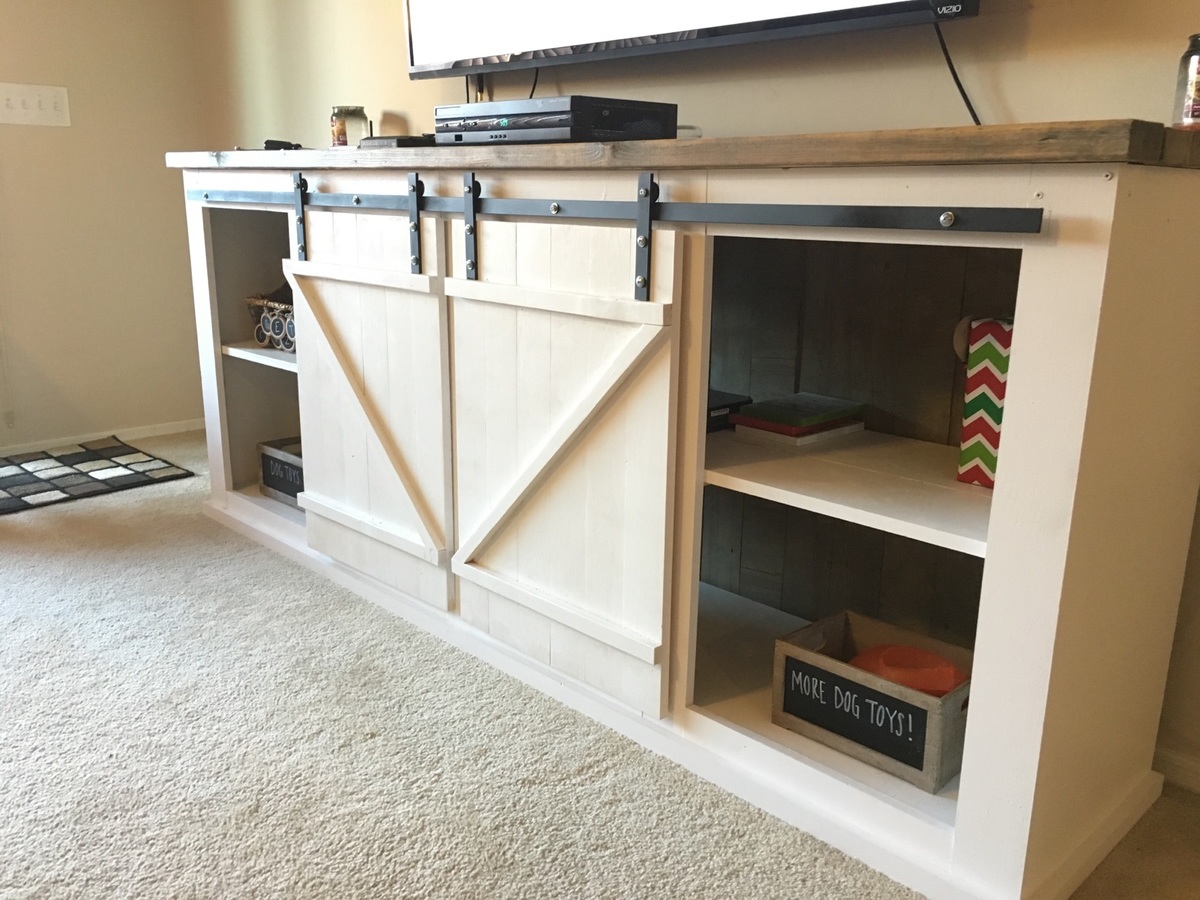
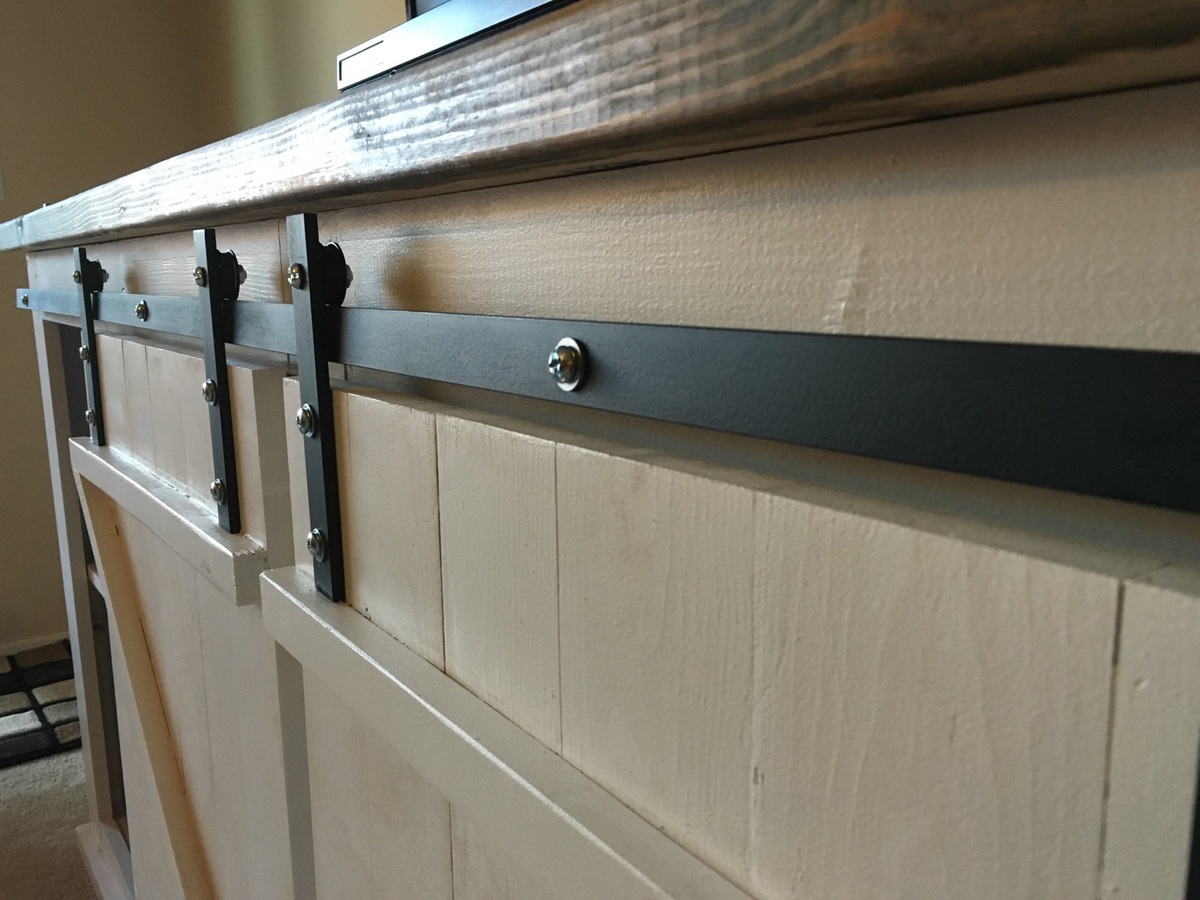
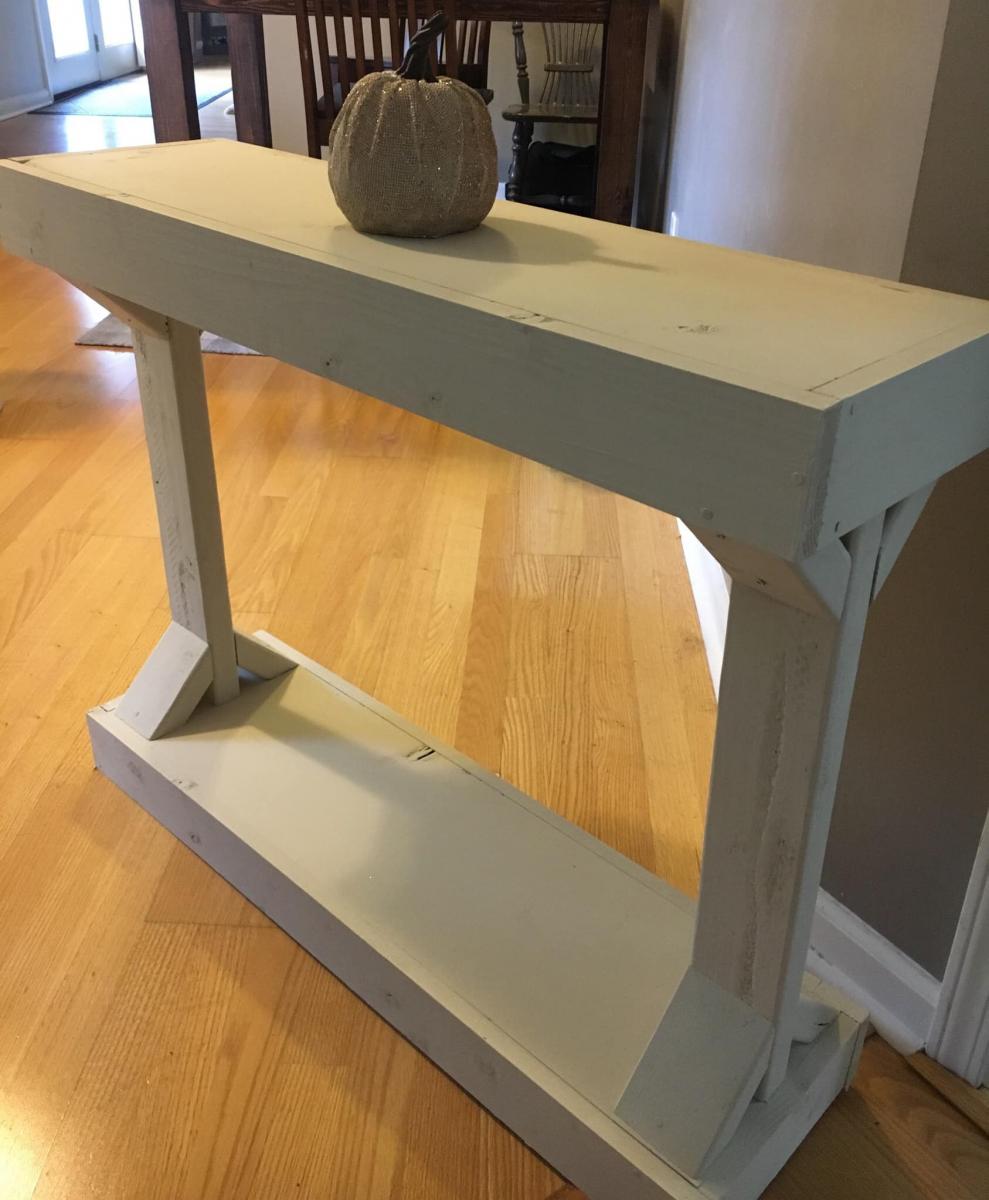
6' Barn Door Console
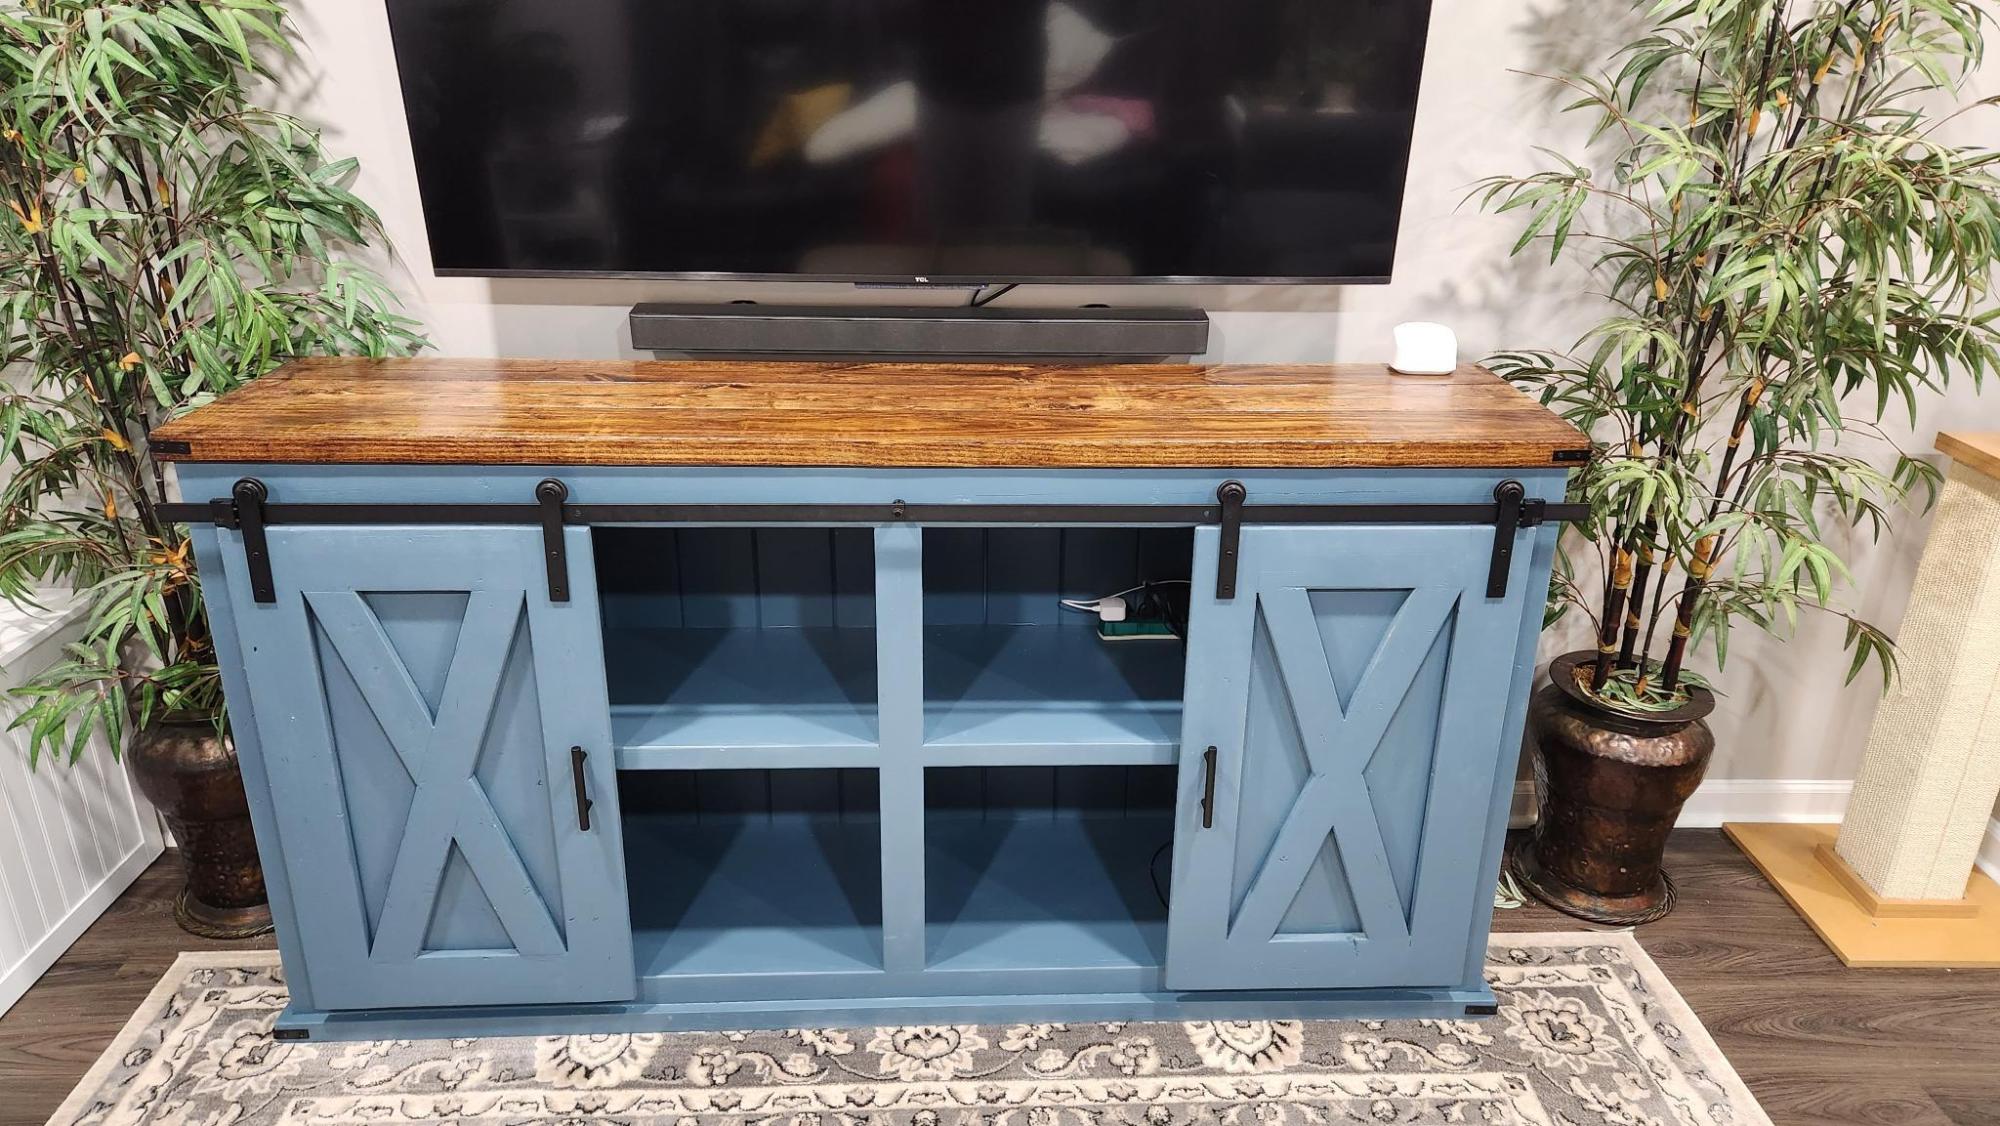
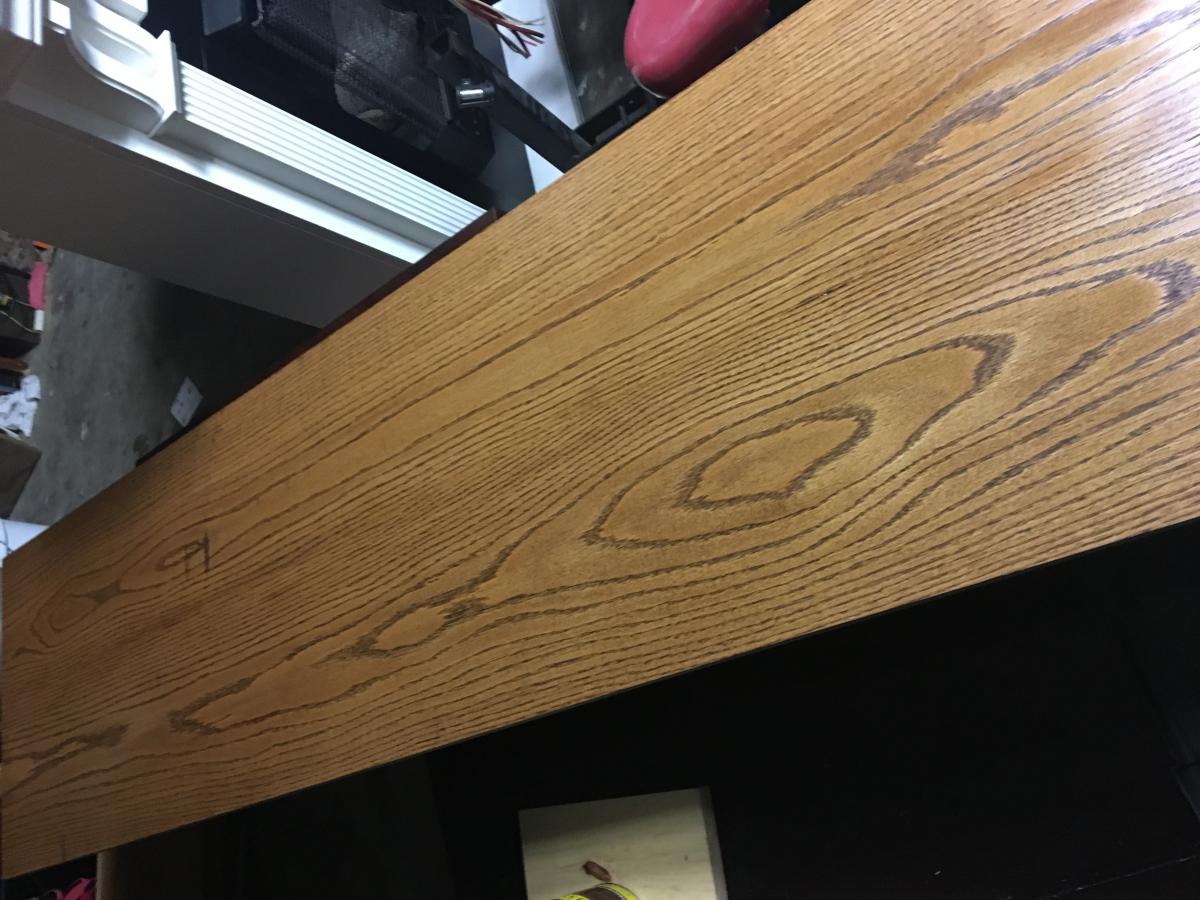
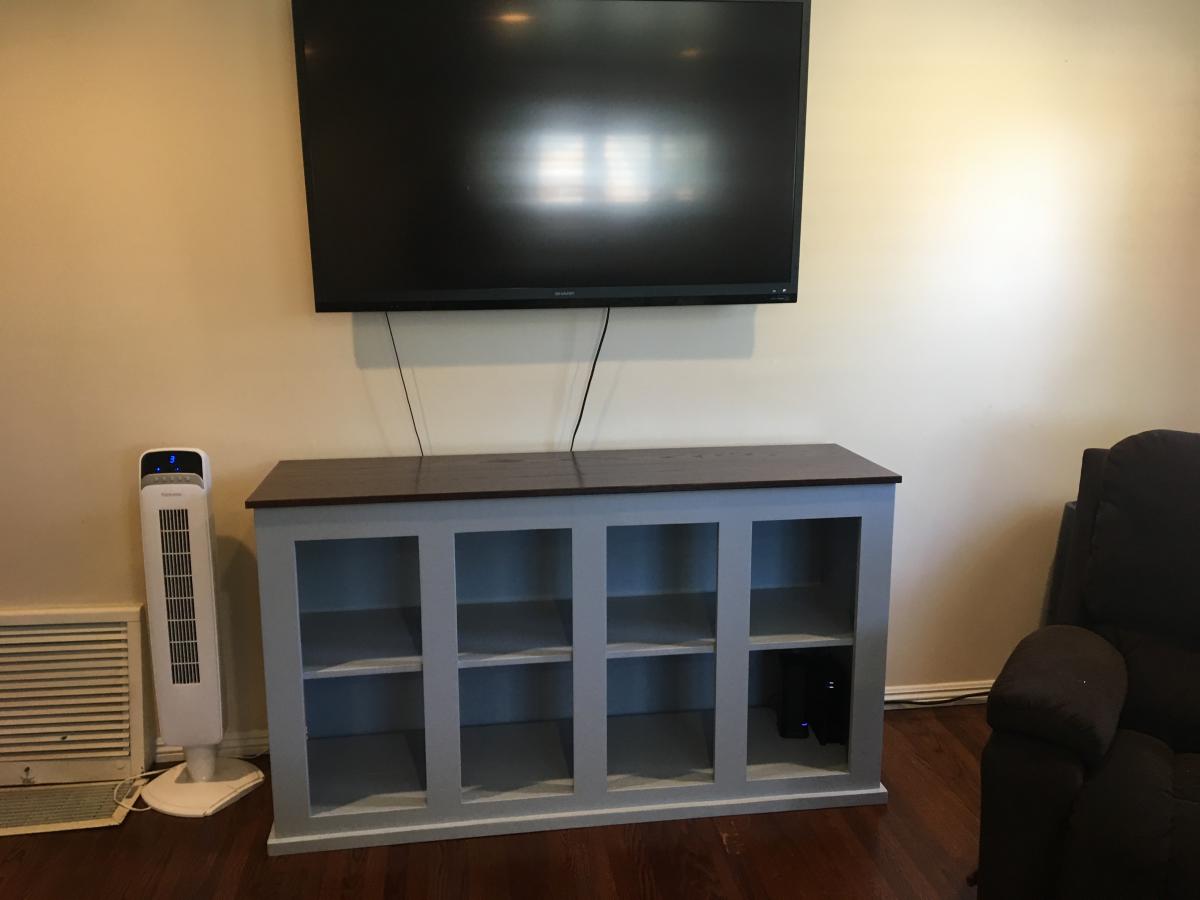
I used the 6' modification of the 8' model. I used 2x6s for the top, and most of the pieces were cheap lumber, like furring strips. The color and stain are a bit darker in person.
Built from Plan(s)
I used the 6' modification of the 8' model. I used 2x6s for the top, and most of the pieces were cheap lumber, like furring strips. The color and stain are a bit darker in person.
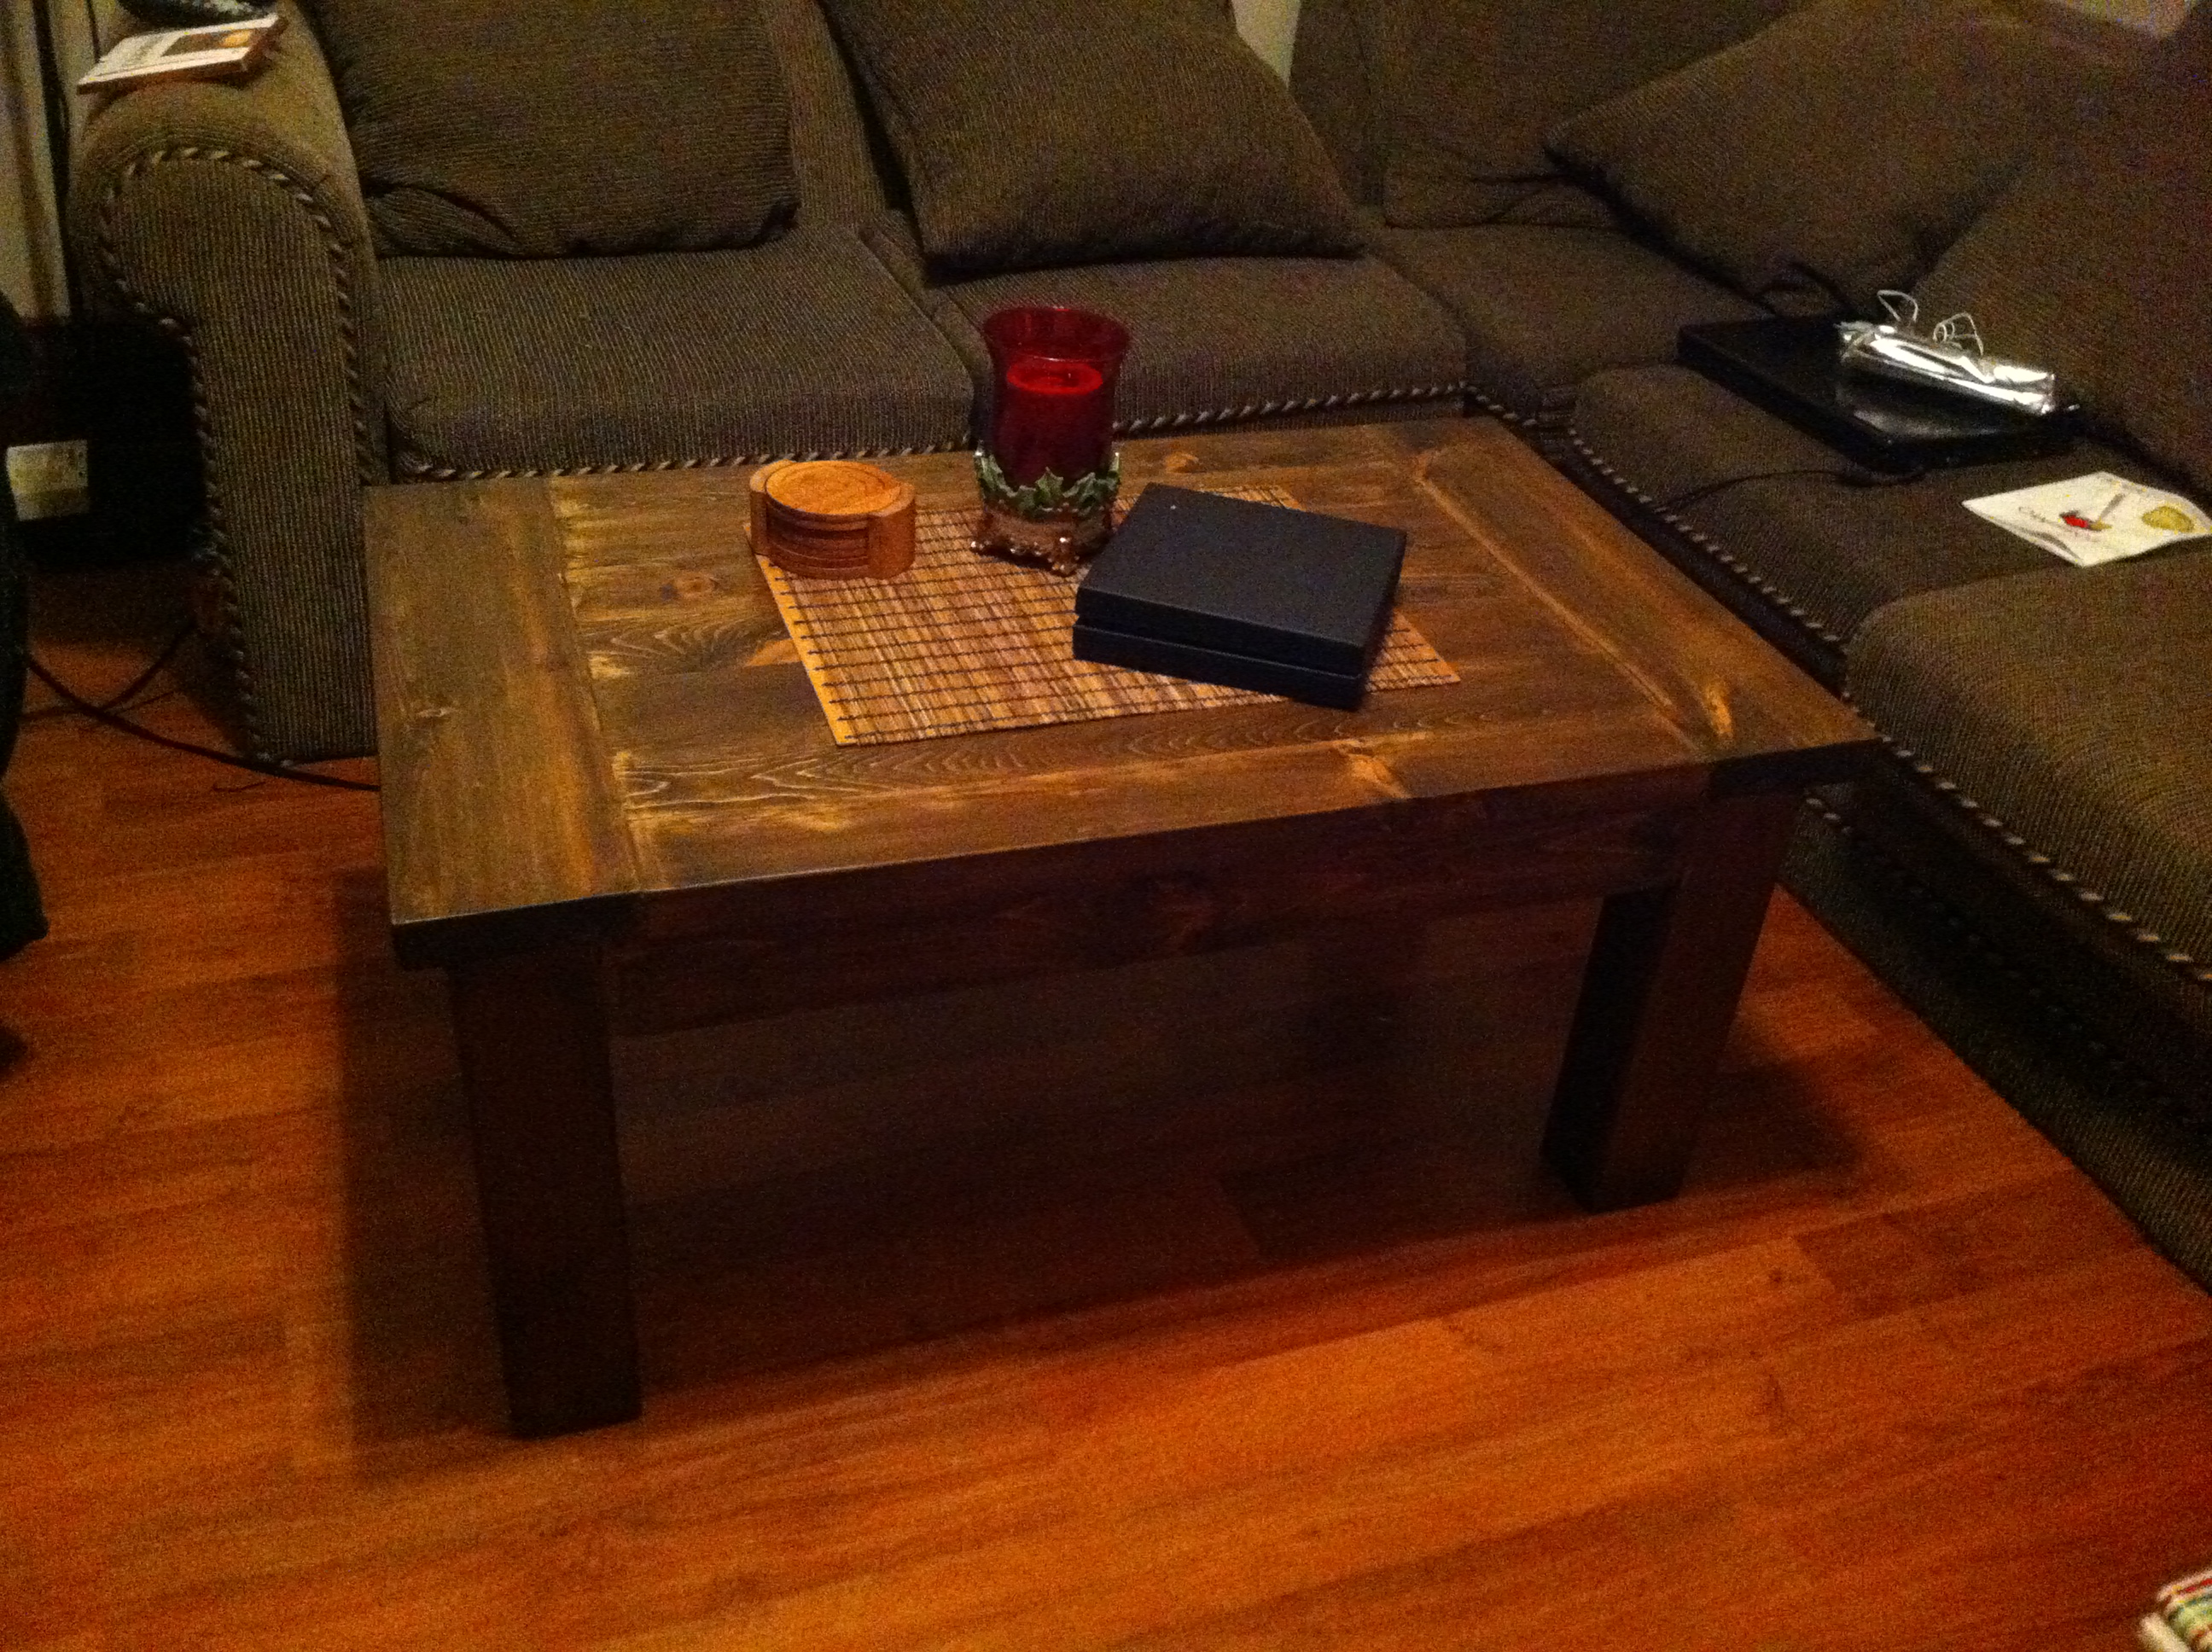
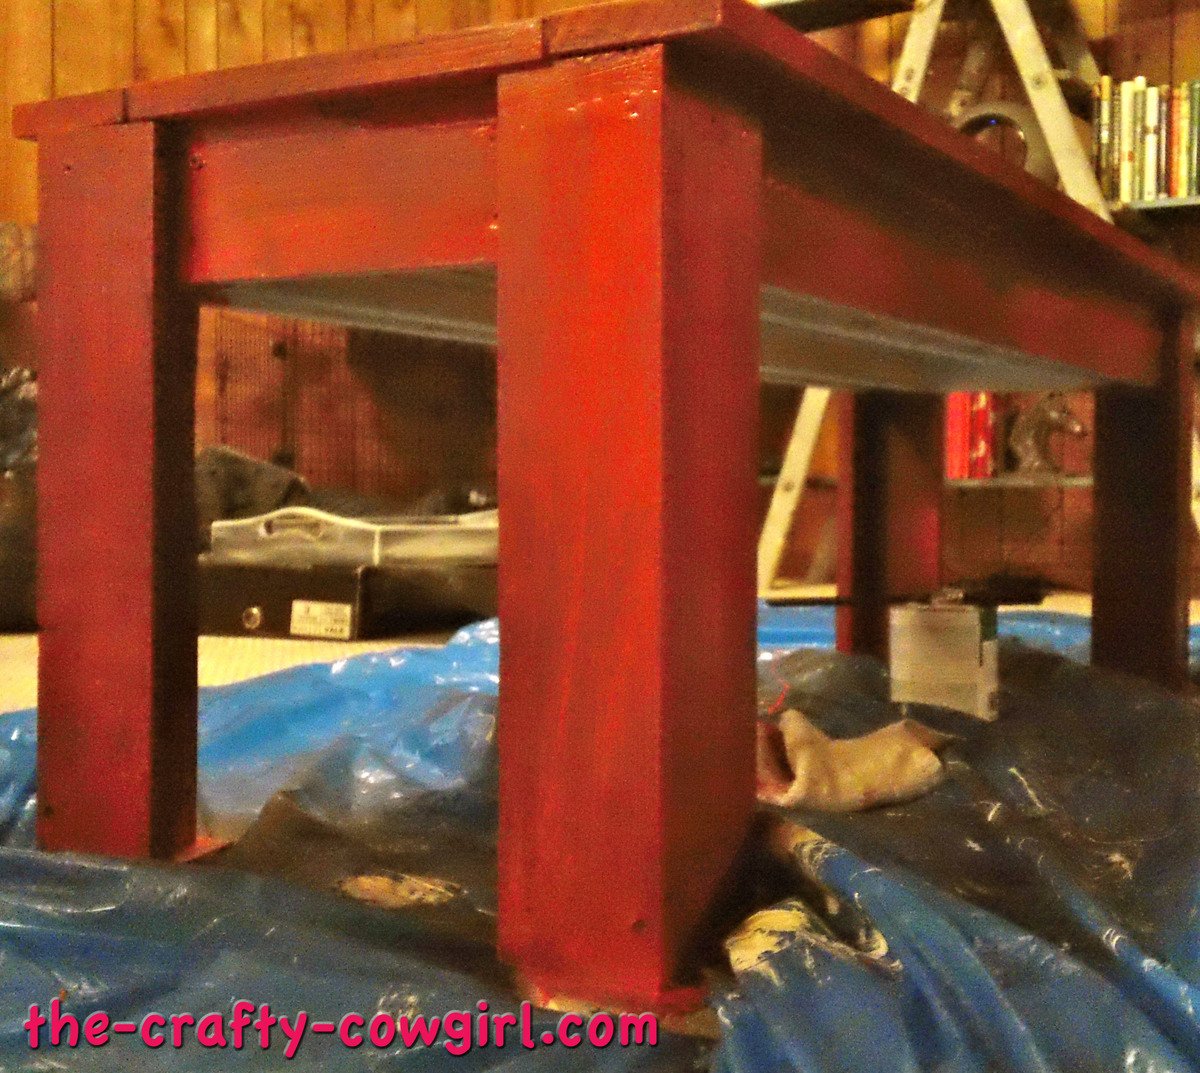
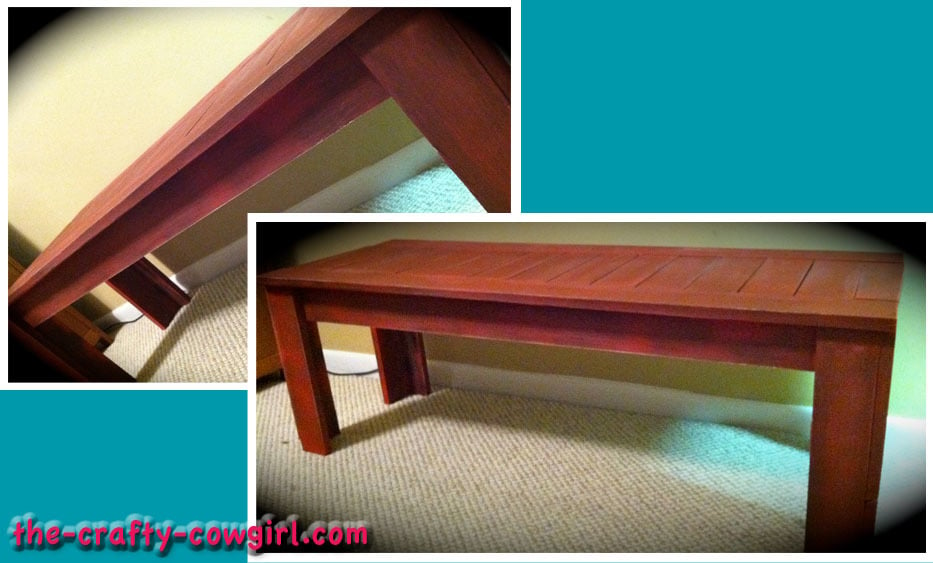
I built this coffee table for my wife for christmas, it came out really nice. I didnt make it as wide to accomodate our living room space. the plans were really easy to follow and i had a lot of fun building this project. One thing i would recommend for this table is to get a plane of some kind to get all the planks flush with each other. For the legs i used cedar 4x4s because pine 4x4s are not available anywhere around me, that didnt matter too too much because i stained the table dark anyways. We are very happy with this table and thank you ana for such great plans to follow. now hopefully ana in her busy life will find time to post a farmhouse tallboy dresser from pottery barn to match our farmhouse bedside tables
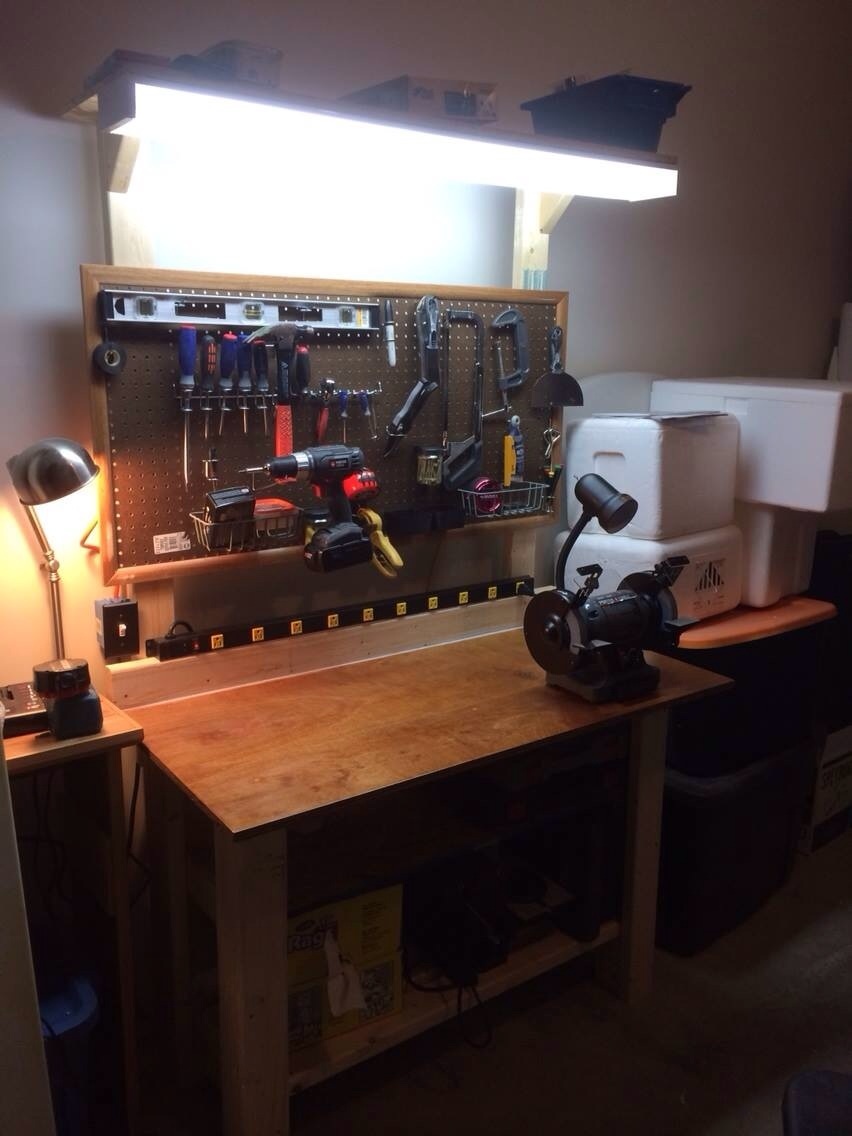
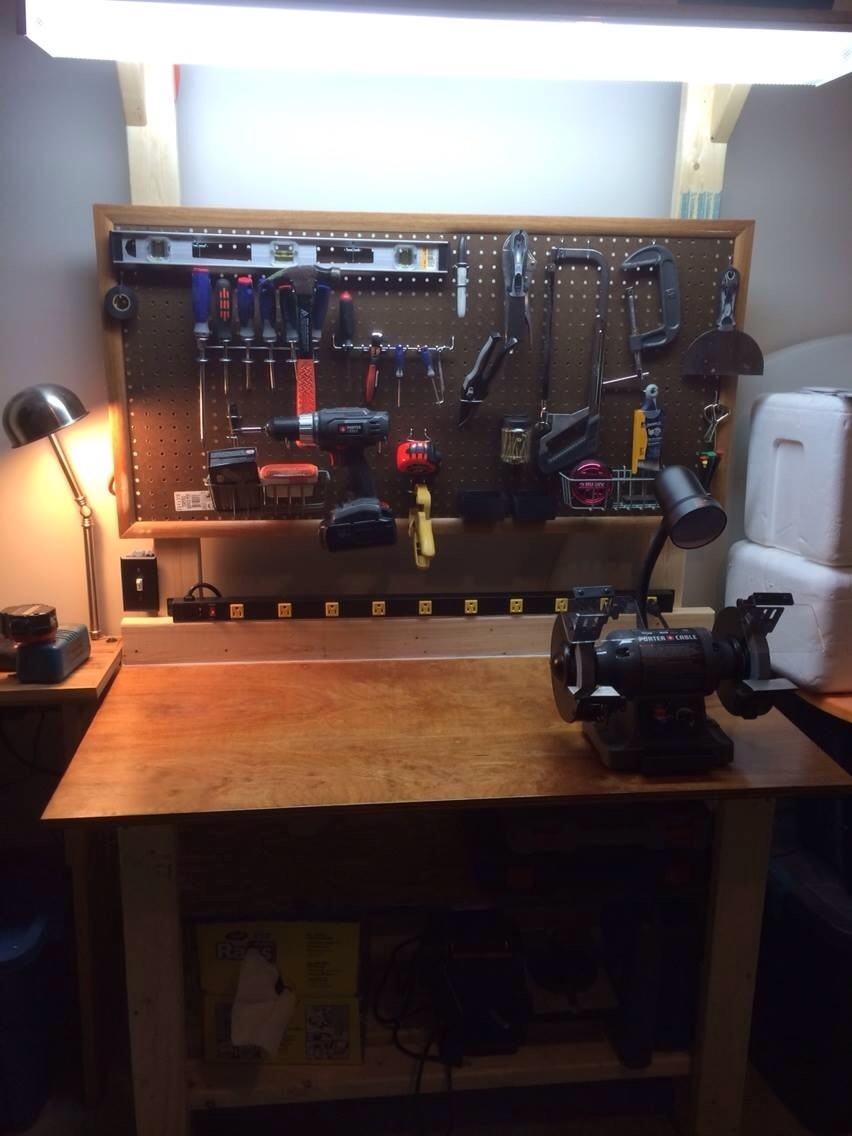
Added a peg board and a couple of extra shelves... Great design.
This was a lot of work and a bit of frustration but now that it's done it was well worth it!!
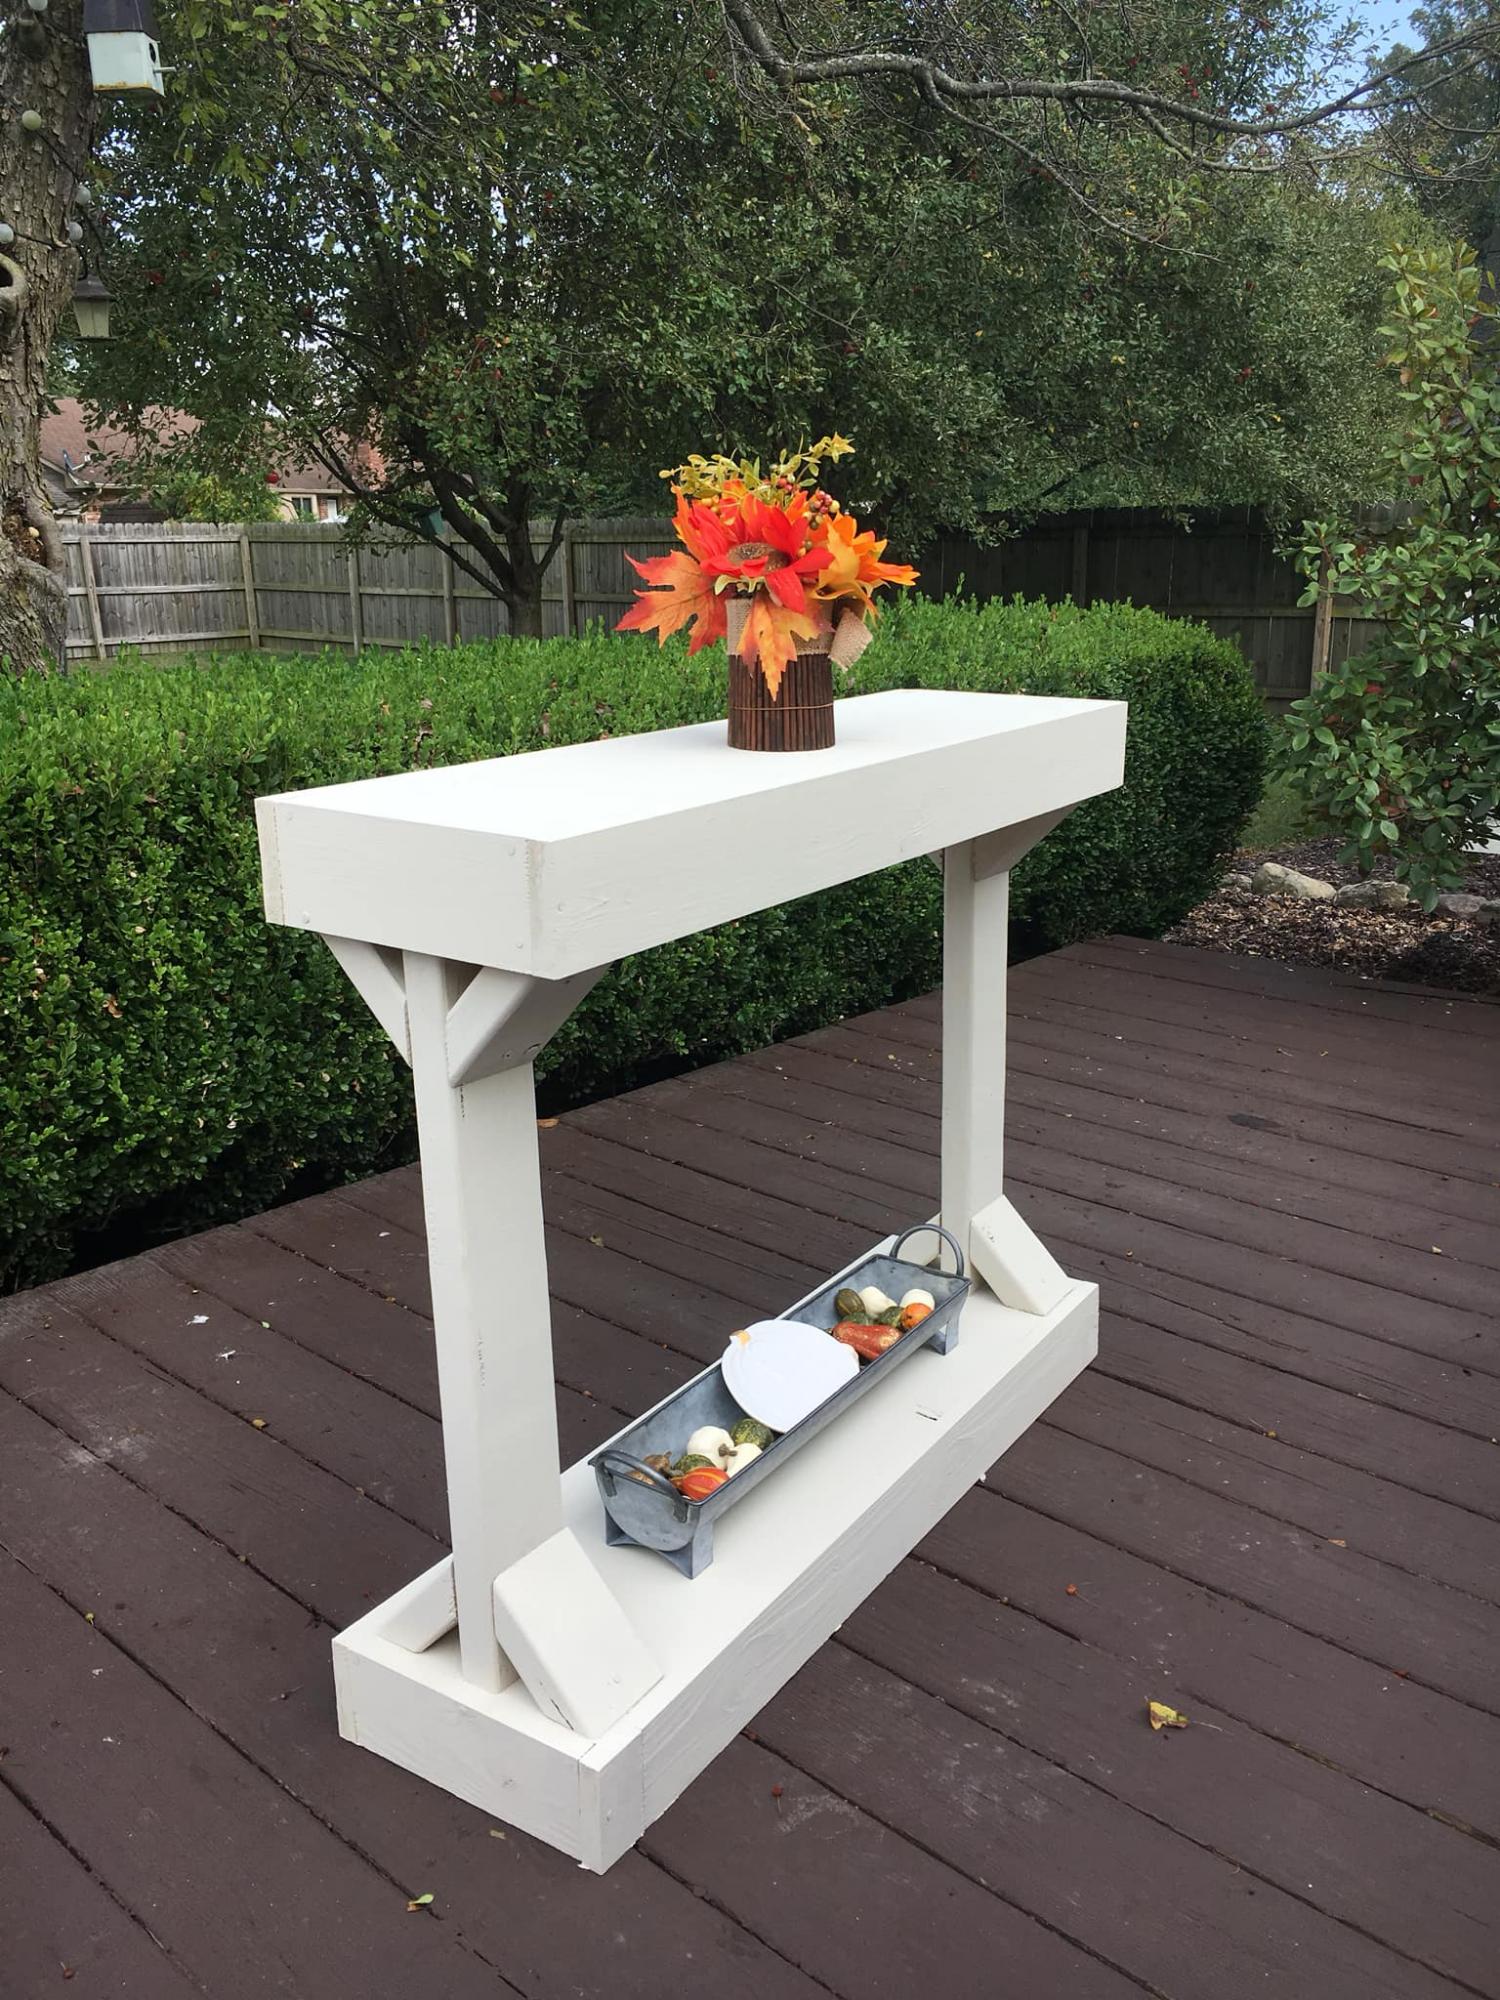
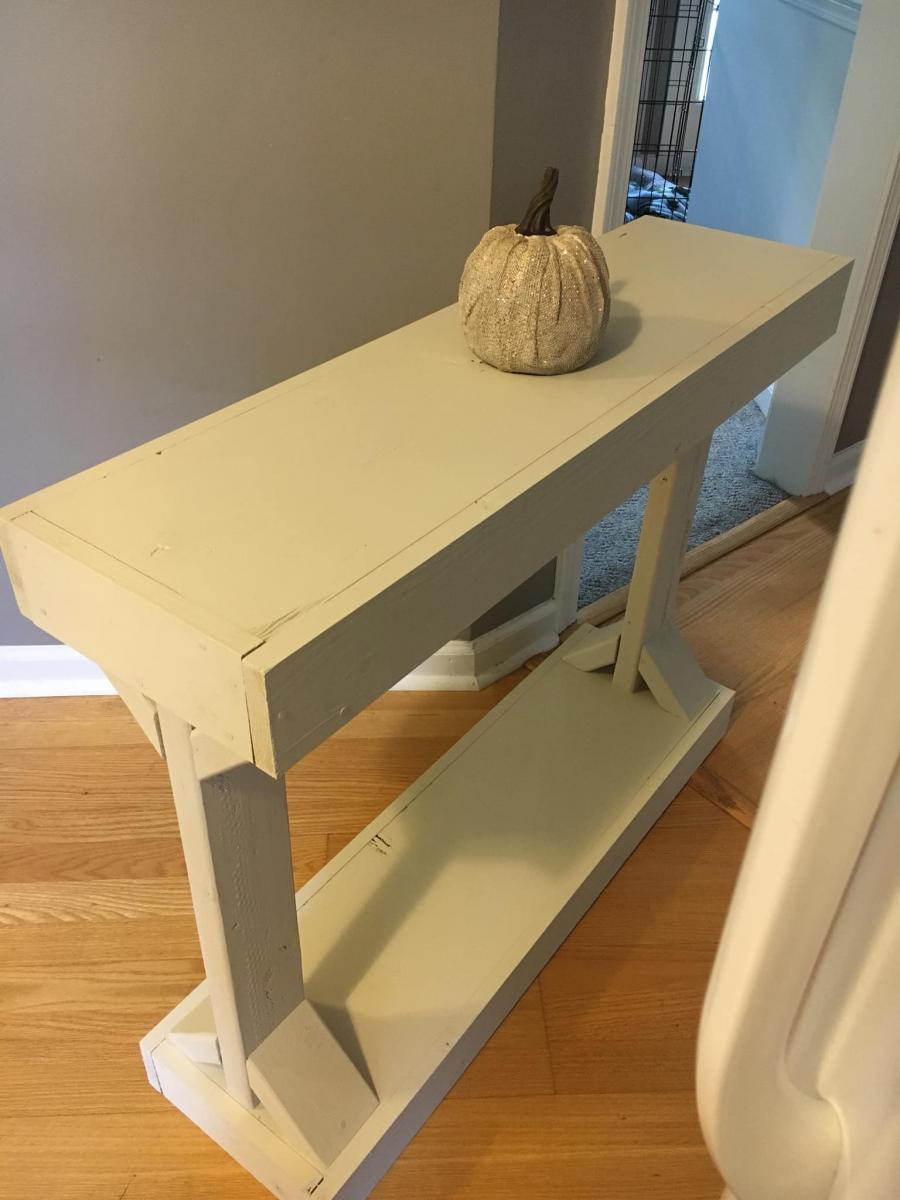
This past weekend I build Ana's Narrow Console table. I went Saturday evening to pick up the boards and cut them. I completed the whole project late Sunday afternoon. I don't have a nailer so in-between the project I switched to self-tapping screws and it became even quicker because using the ol' fashioned hammer and nails was difficult and time consuming. Cutting the angles was a first for me, and it is not bad at all! I was very intimidated first but so glad I took that first step! Also, I just watched her video countless times to ensure I was doing it correctly, and that helped the most ;). It is very lightweight and I did not need any assistance in carrying the table. I truly, truly believe anyone can do this!
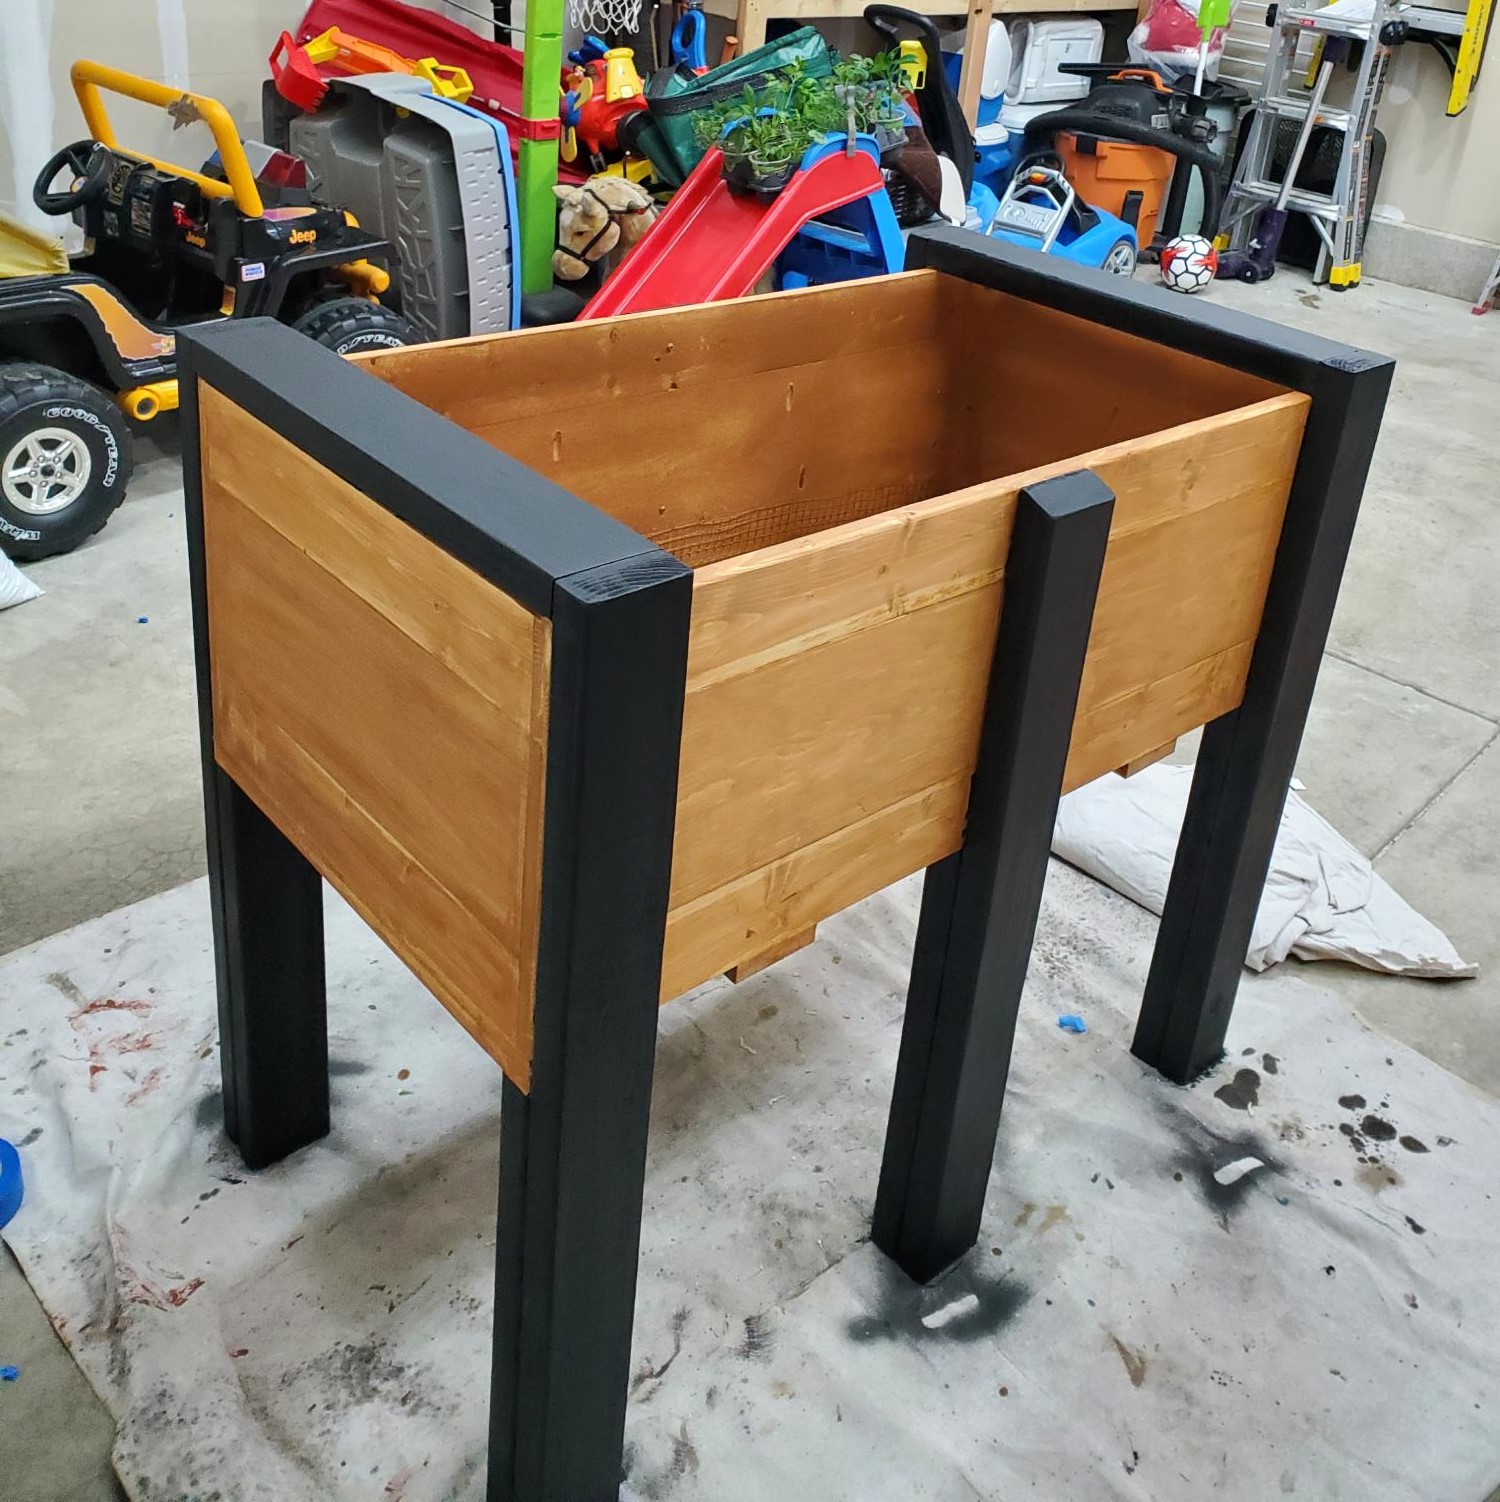
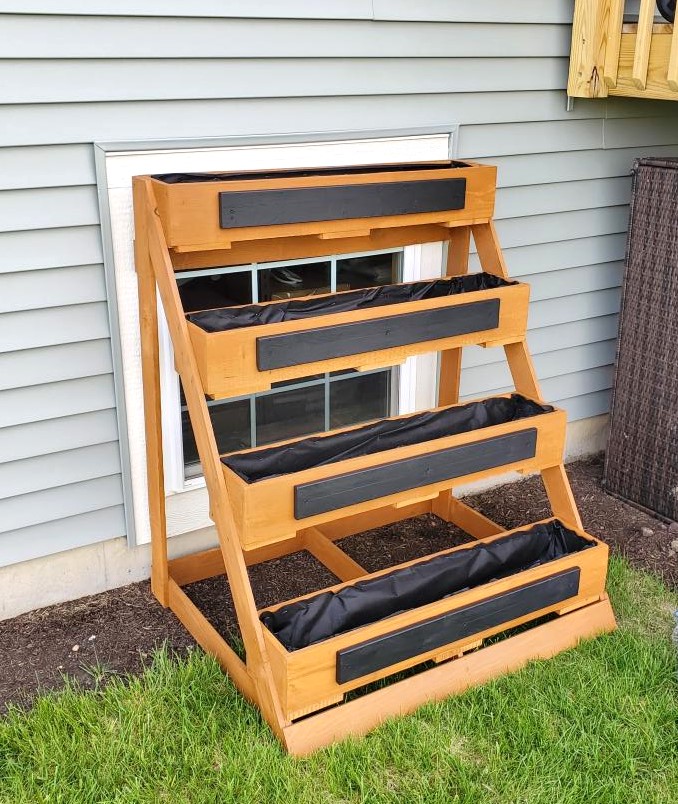
Hi Ana. Been a fan of yours. My name is Ed. Wood working is my hobby. And its always nice to look at your plans, and put my own spin on it. My wife wanted a planter for our deck. So I tweaked your plans and made them a little bigger. I Also built her a herb garden too. With these new planters; it should put a stop to the rabbits eating everything.
Thanks for your inspiration.
Fri, 05/26/2023 - 19:41
Thanks for taking the time to share Ed, these look fantastic!
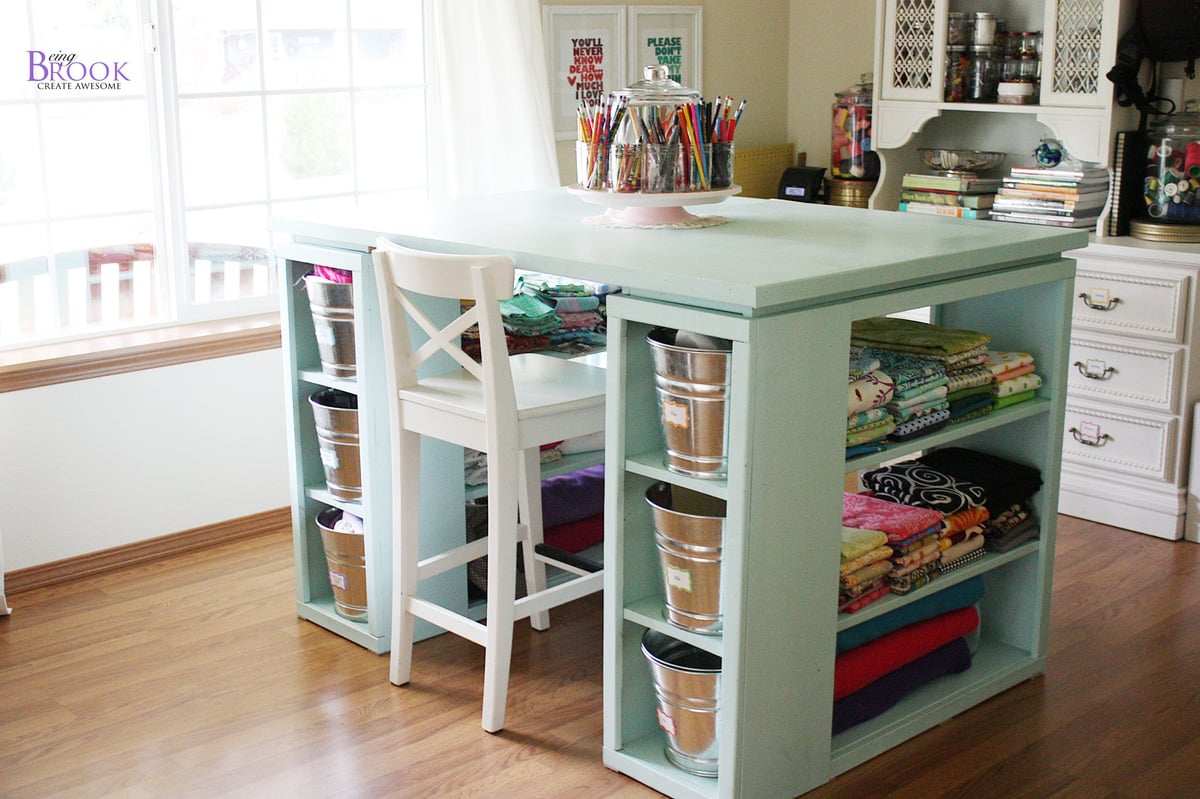
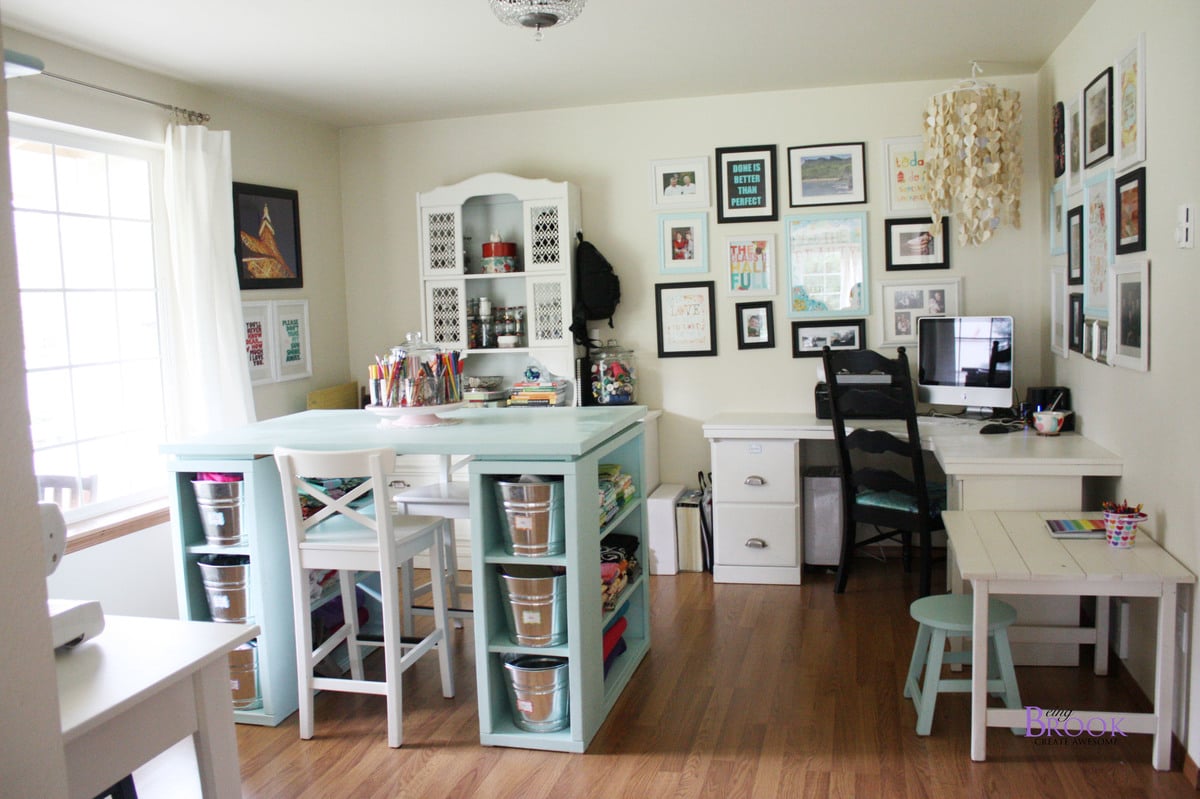
Love the Modern Craft Table! It has lots of storage space and tons of workspace on top. We used pine for the shelves and plywood for the top and edged the top with pine.
There is a spot for two counter stools at the opposite ends of the table which is perfect to give kids their own spot to craft/color.
Sun, 01/15/2012 - 20:10
I love this table but I wonder how do you use it to sew with? or do you sew on this table?

Sun, 01/15/2012 - 21:57
Brook, wow!!! This table is simply amazing! Thank you for sharing such beautiful photos too!
Mon, 01/16/2012 - 10:03
the whole room is beautifull. how many of the other pieces of furniture were built using Anna's plans?
Mon, 01/16/2012 - 10:03
the whole room is beautifull. how many of the other pieces of furniture were built using Anna's plans?

In reply to looks great by Guest (not verified)
Mon, 01/16/2012 - 20:49
Everything but the dresser/hutch and barstools we built using Ana-White plans!
Mon, 01/16/2012 - 12:06
This table is fabulous and I'm really in love with the color! Thank you for sharing. So many new ideas for my room now!
Mon, 01/16/2012 - 12:06
This table is fabulous and I'm really in love with the color! Thank you for sharing. So many new ideas for my room now!

Mon, 01/16/2012 - 17:32
You won't believe this...but today I was shopping for the wood to make the Modular Craft Table, but I did not buy the wood because I was trying to tweek the plans to change the "cubbies" and size. So, I came back to this sight and here is this craft table that would be much better. I want to make it table height rather than counter height so I can sit down and sew at it. I also want to be able to drop the back 12 inches of the table if I do not need it and so it will fit better in my room, wheels on the bottom to pull it out easily so I can extend the 12 inch table when needed. I love what you have done!
Tue, 01/17/2012 - 11:36
You did a fantastic job on this project! Love the way it looks and the color!
Great job!
Sat, 01/21/2012 - 07:00
I love this table, but I can't seem to find the directions to make it. Can you point me in the right direction to find it?
Wed, 01/25/2012 - 17:24
Is there a reason you can't sew on this (from what I gathered from a previous comment)? I want to build something for my wife's craft room and love this, but she will need to sew as well. Help?
Wed, 01/25/2012 - 17:32
Joe,
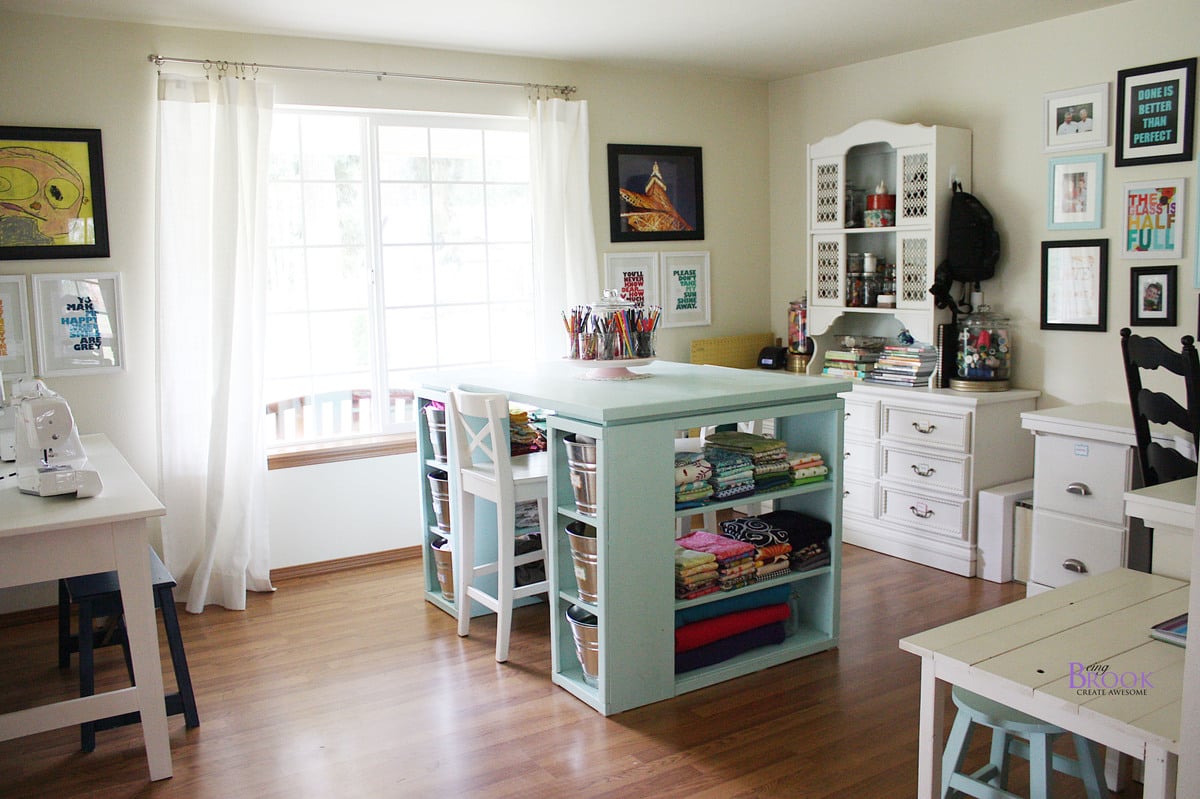
It would be hard to sew at this table because the table is counter height. You wouldn't be able to reach the foot peddle to run your sewing machine. You could alter the plans to fit a spot that could hold the peddle foot. I sew on a different table in my craft room and use this for cutting fabric and general crafts.
Brook
Wed, 01/25/2012 - 19:26
at one time I had my sewing machine in a spot that was counter height. I used a wood box to put the foot peddle on. One of anna's steep stool plans or the bathroom platform for kids plan might be good to build with this. It was also nice when I was sewing small pieces that needed lots of ironing to stand and sew at the counter.
Wed, 02/01/2012 - 14:25
I have a modern sewing machine (within last 5 years) and I routinely sew at counter height with no problem. I prefer it because it really helps my back. I cannot wait to make this!
Fri, 02/24/2012 - 22:36
Joe,
I think it would work to mount the foot pedal on the inside of the shelf area. She would use her lower outer thigh to depress the pedal while seated.
Tue, 05/08/2012 - 07:47
I love this table! I'm with Brook and don't sew on mine. Height issue is easily worked around - main issue is usually back support. Sewing at a huge workstation tends to leave you feeling unsupported and sitting on a stool (I have a nice wide comfy one from Target) leaves your back unsupported so you usually slouch (bad! bad!). I sew at my smaller desk in a good supporting chair and use my table for everything else. I use this table for a true work area including cutting. I have an Accuquilt Studio and that sucker is HUGE and heavy!
Mon, 11/12/2012 - 11:22
I just talked my fiance' into building this for me to use as a desk. I need a desk for my work from home position where I can store everything as well as have a large area to spread things out. I loved this the moment I saw it and talked him into building it for me. Can't wait to post the pictures when it is finished.
Thu, 02/28/2013 - 16:15
My husband made this FABULOUS Craft Table for me last weekend, it turned out PERFECT! Thank you so much for posting this with such detailed directions....
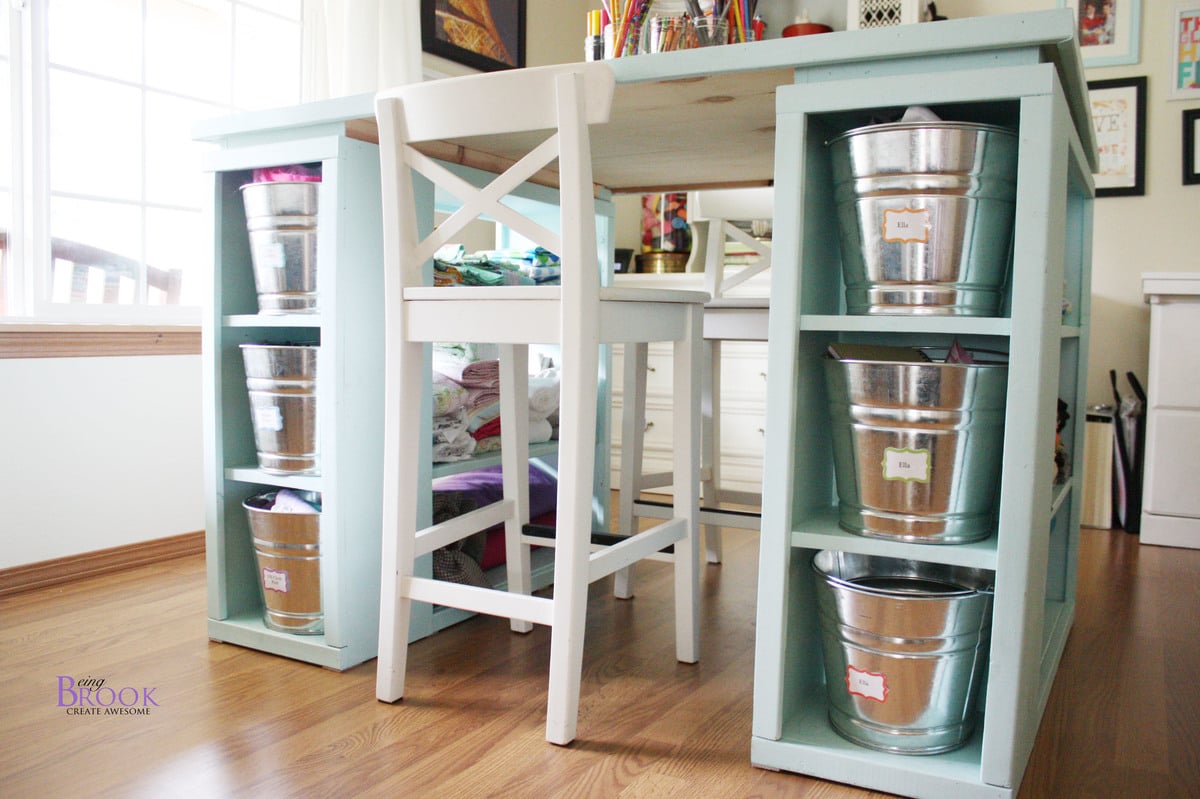
What do you have in your galvanized pails? What do the labels say?
Thank you!
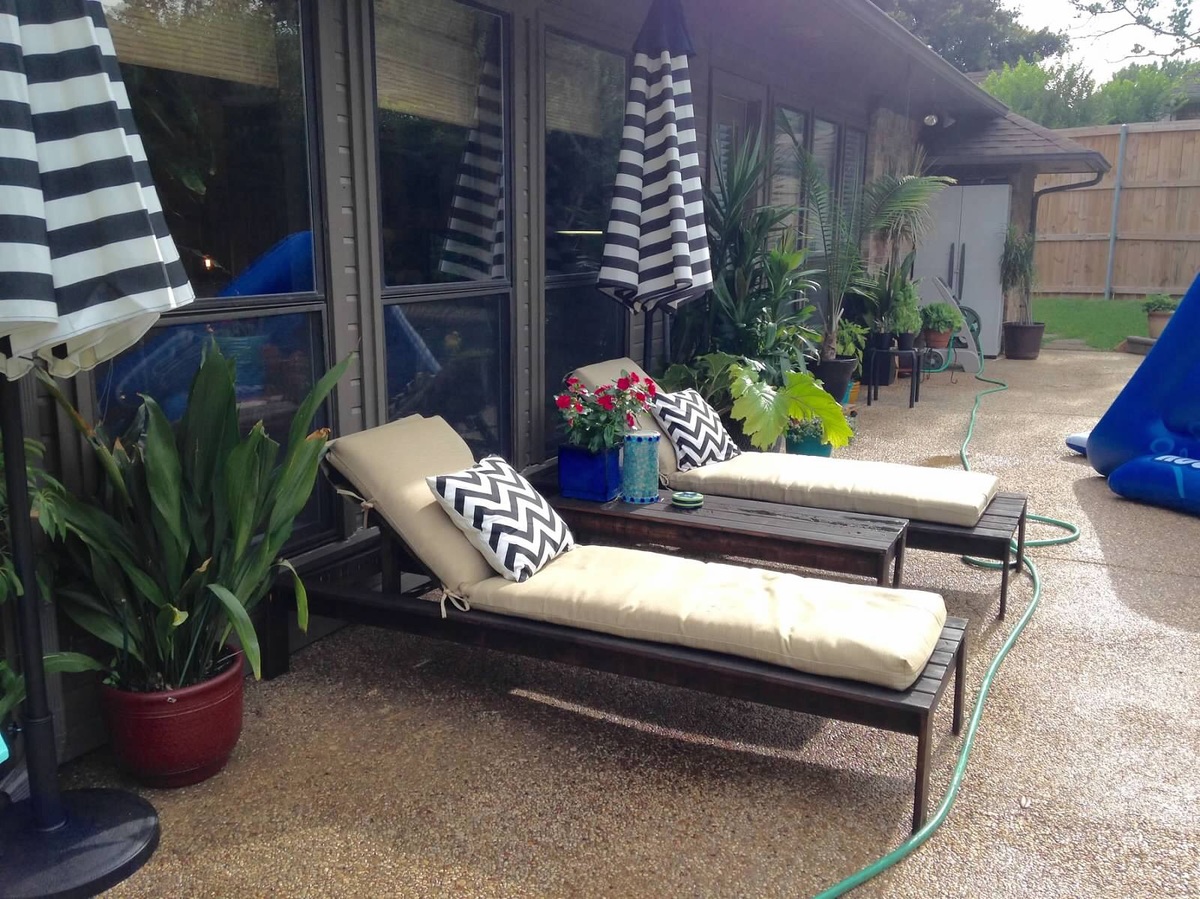
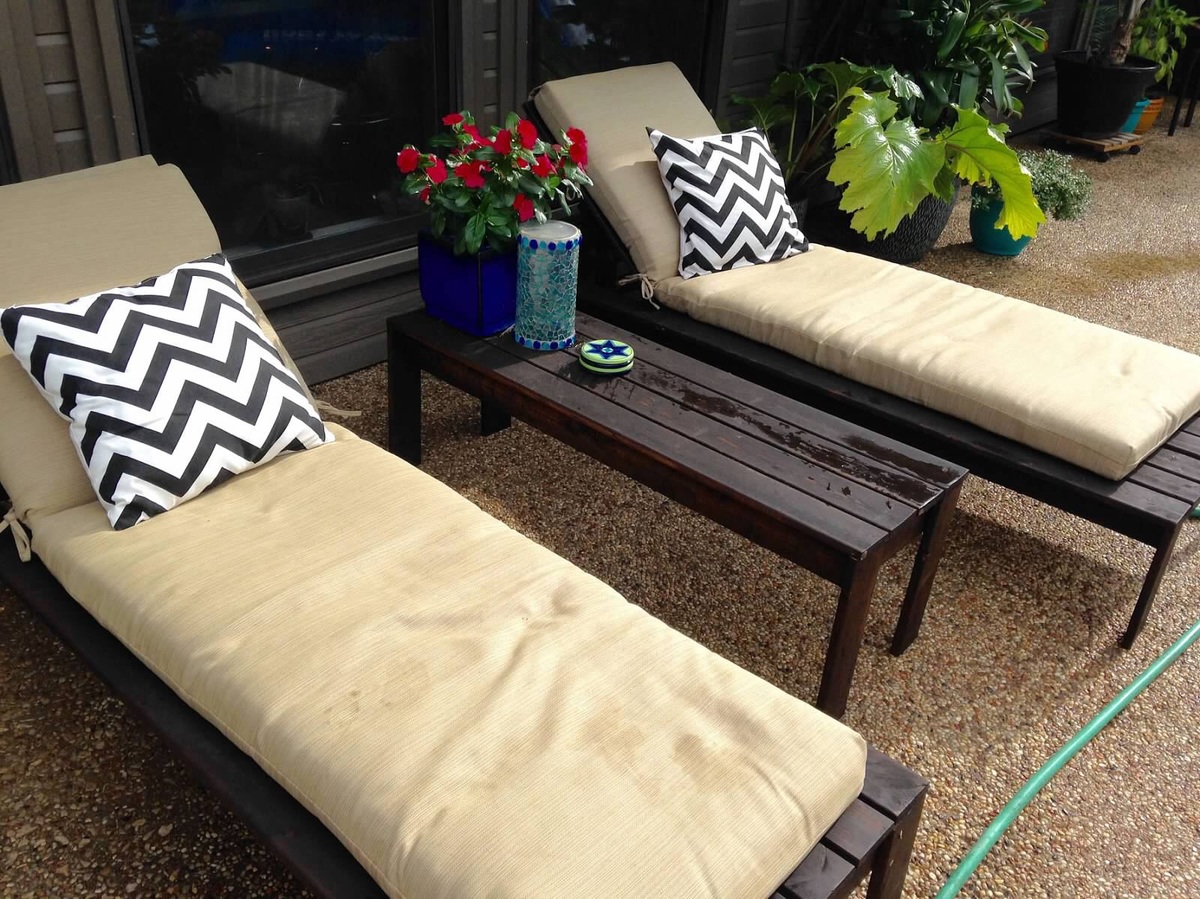
I loved the simple look and have admired similar loungers at Pottery Barn. Even if I had the money I feel it's a waste to pay for what they charge. I knew there were plans somewhere to make something similar for a fraction of the cost. So happy I found this site!
I have many tools at home so I needed to purchase the lumber, hardware (screws, hinges, etc.), stain, and sealer. I would say it was about roughly $100/chair (rounding up) - not including the cushions. Those I found at Lowe's for about $60/each.
I haven't made anything like this before so I made the first one and took my time. I really enjoyed the process and thought the instructions were simple to follow. I have some skills and basic knowledge so I didn't feel like this was too difficult. I love the way they turned out! I did the 2nd chair the following Saturday. It took most of the day including the finishing. I only took a few hours to put one together. If I had help, would have been less, no doubt. I plan to make a double lounger to match these soon.
I will agree with some of the other posts that the legs seem a little "flimsy." I went ahead with the orginal plan and they've held up with no problem for a year in the Texas summer heat with lots of activity and use - including our dogs! So, I guess it's just fine. I may use something sturdier for the double lounger since it would hold more weight.
I highly recommend these loungers to cut costs! Also, the plan is not too difficult for anyone with little experience.
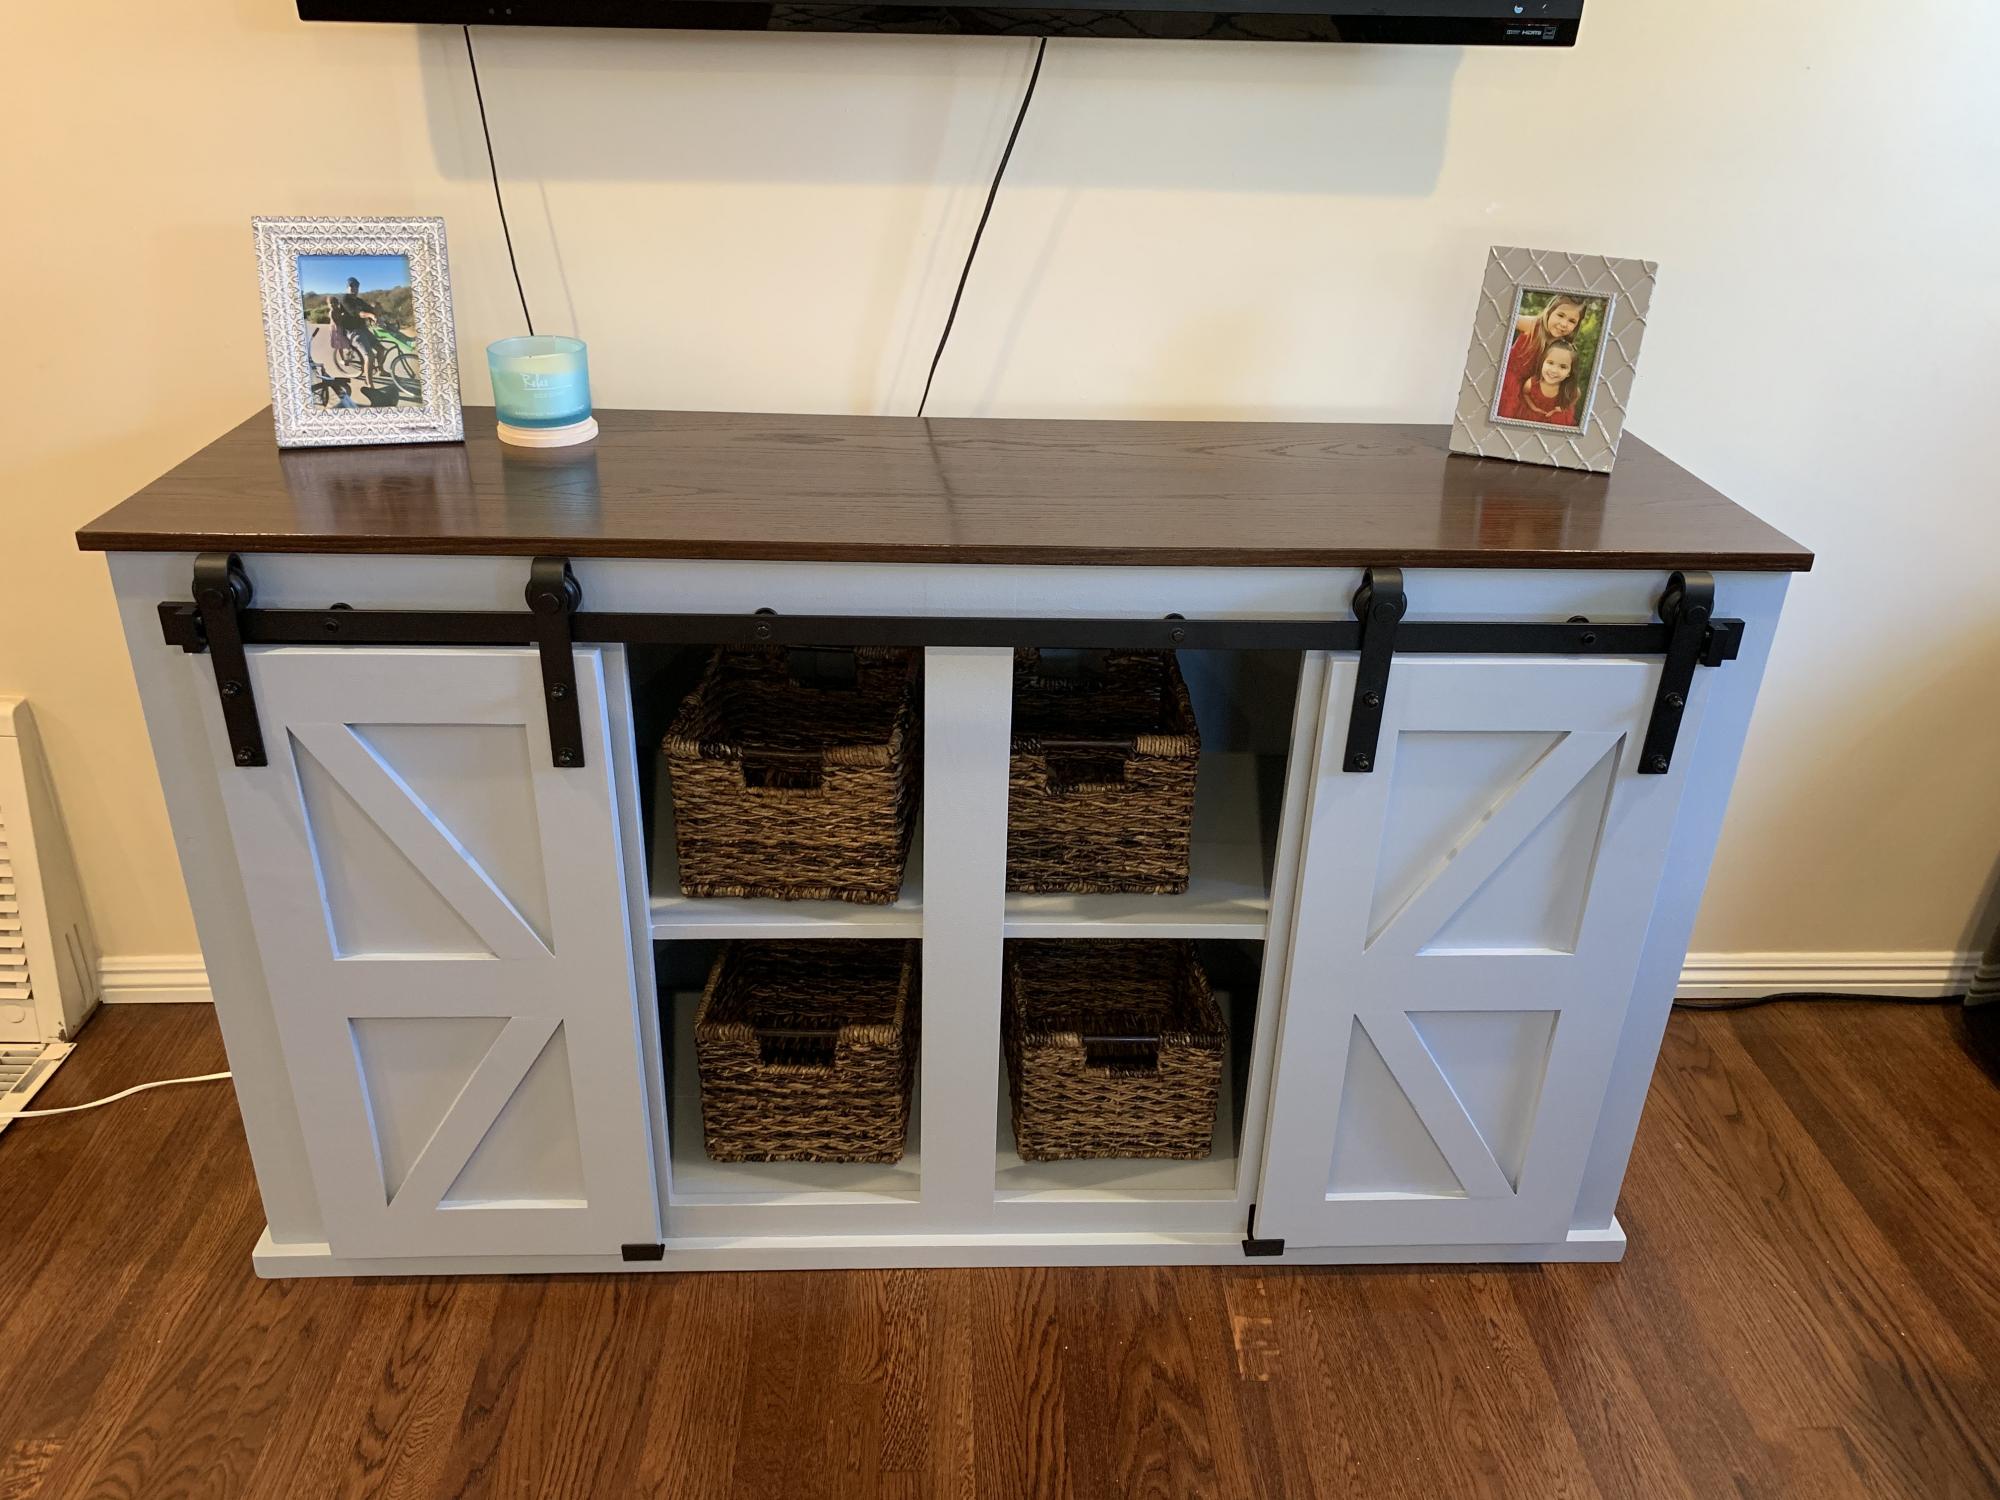
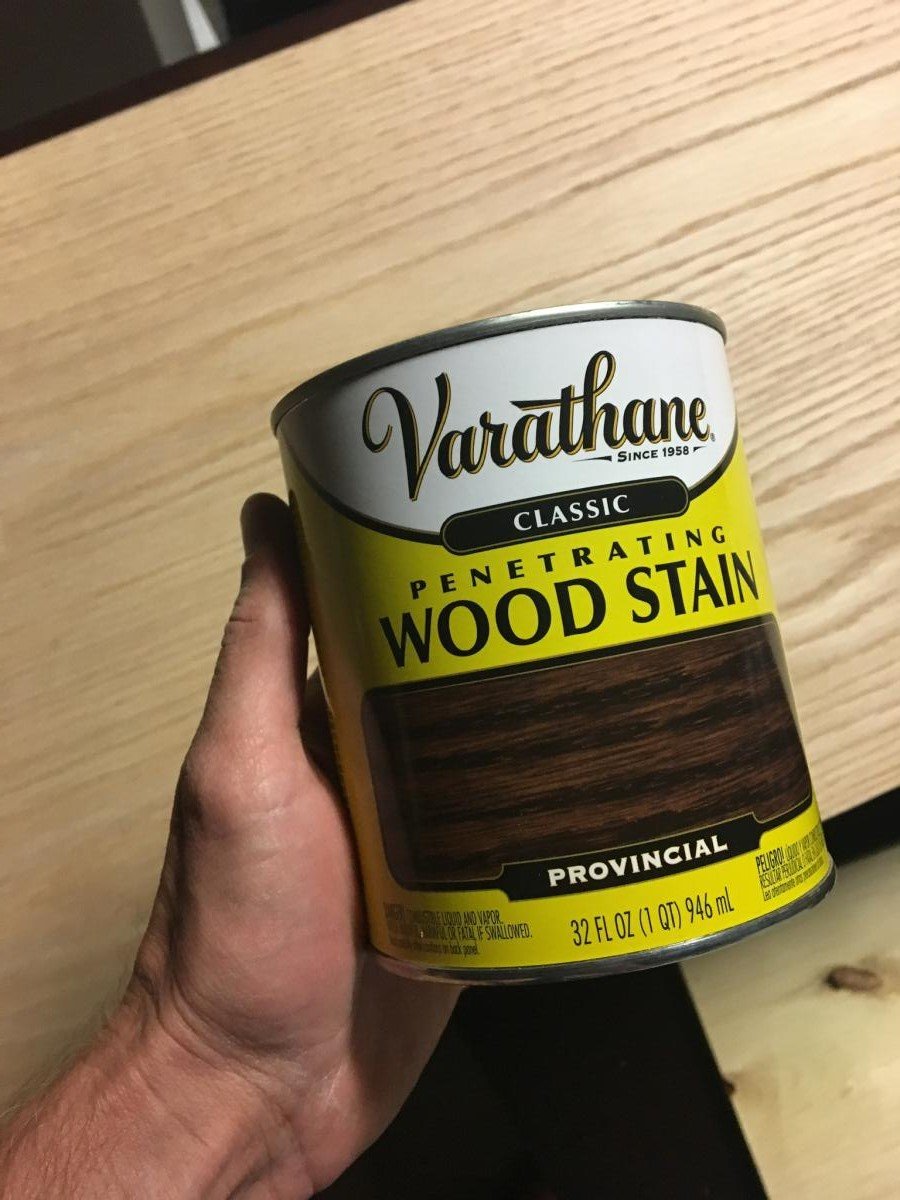
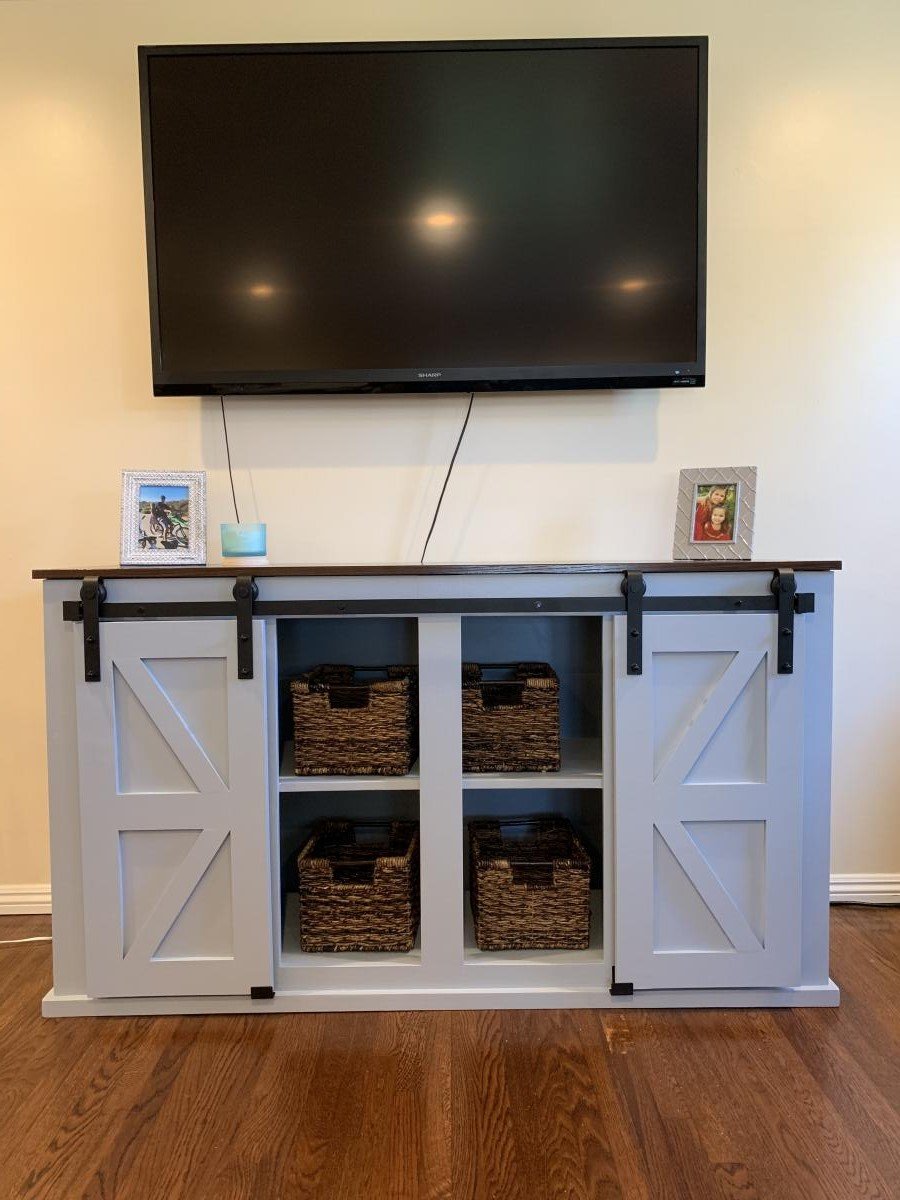
Great project for the family. My wife and 2 daughter helped build and paint the barn door console. I used Red Oak for the top and put 4 coats of the stain to get the darker look. The plans had a get cut list and easy step by step instructions. I modified the plans slightly to fit the room in my house.
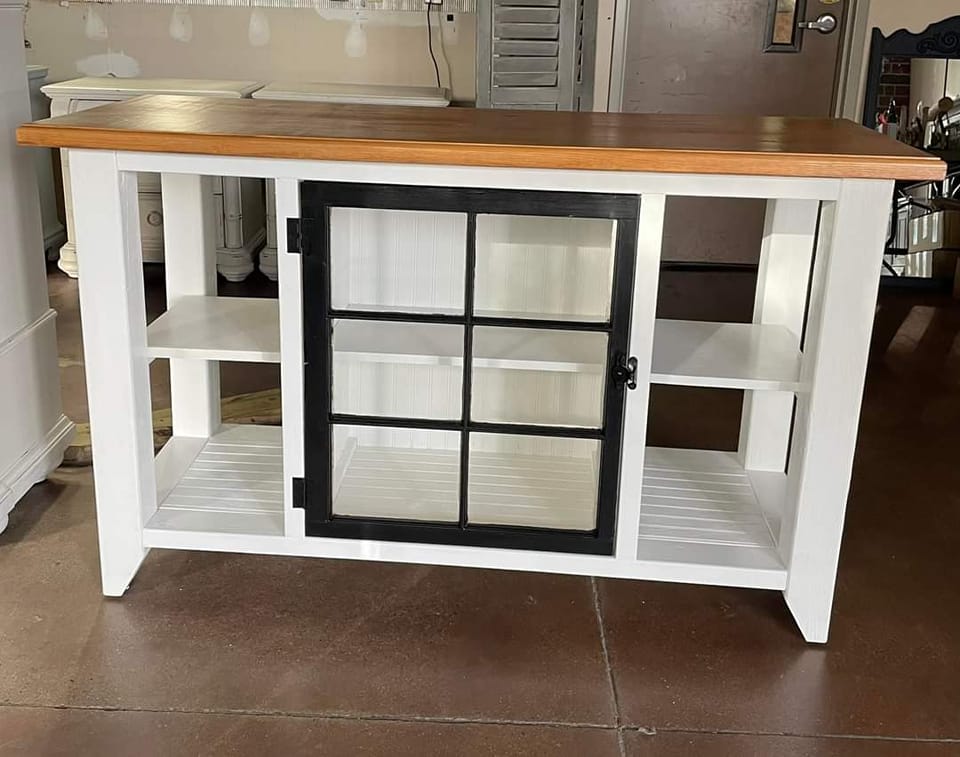
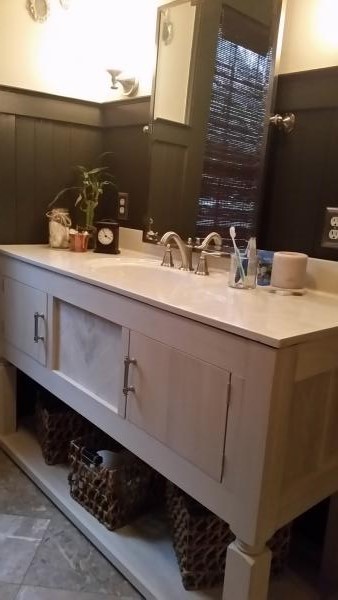
Six foot by 22" buffet with open shelves and reclaimed window cabinet door.
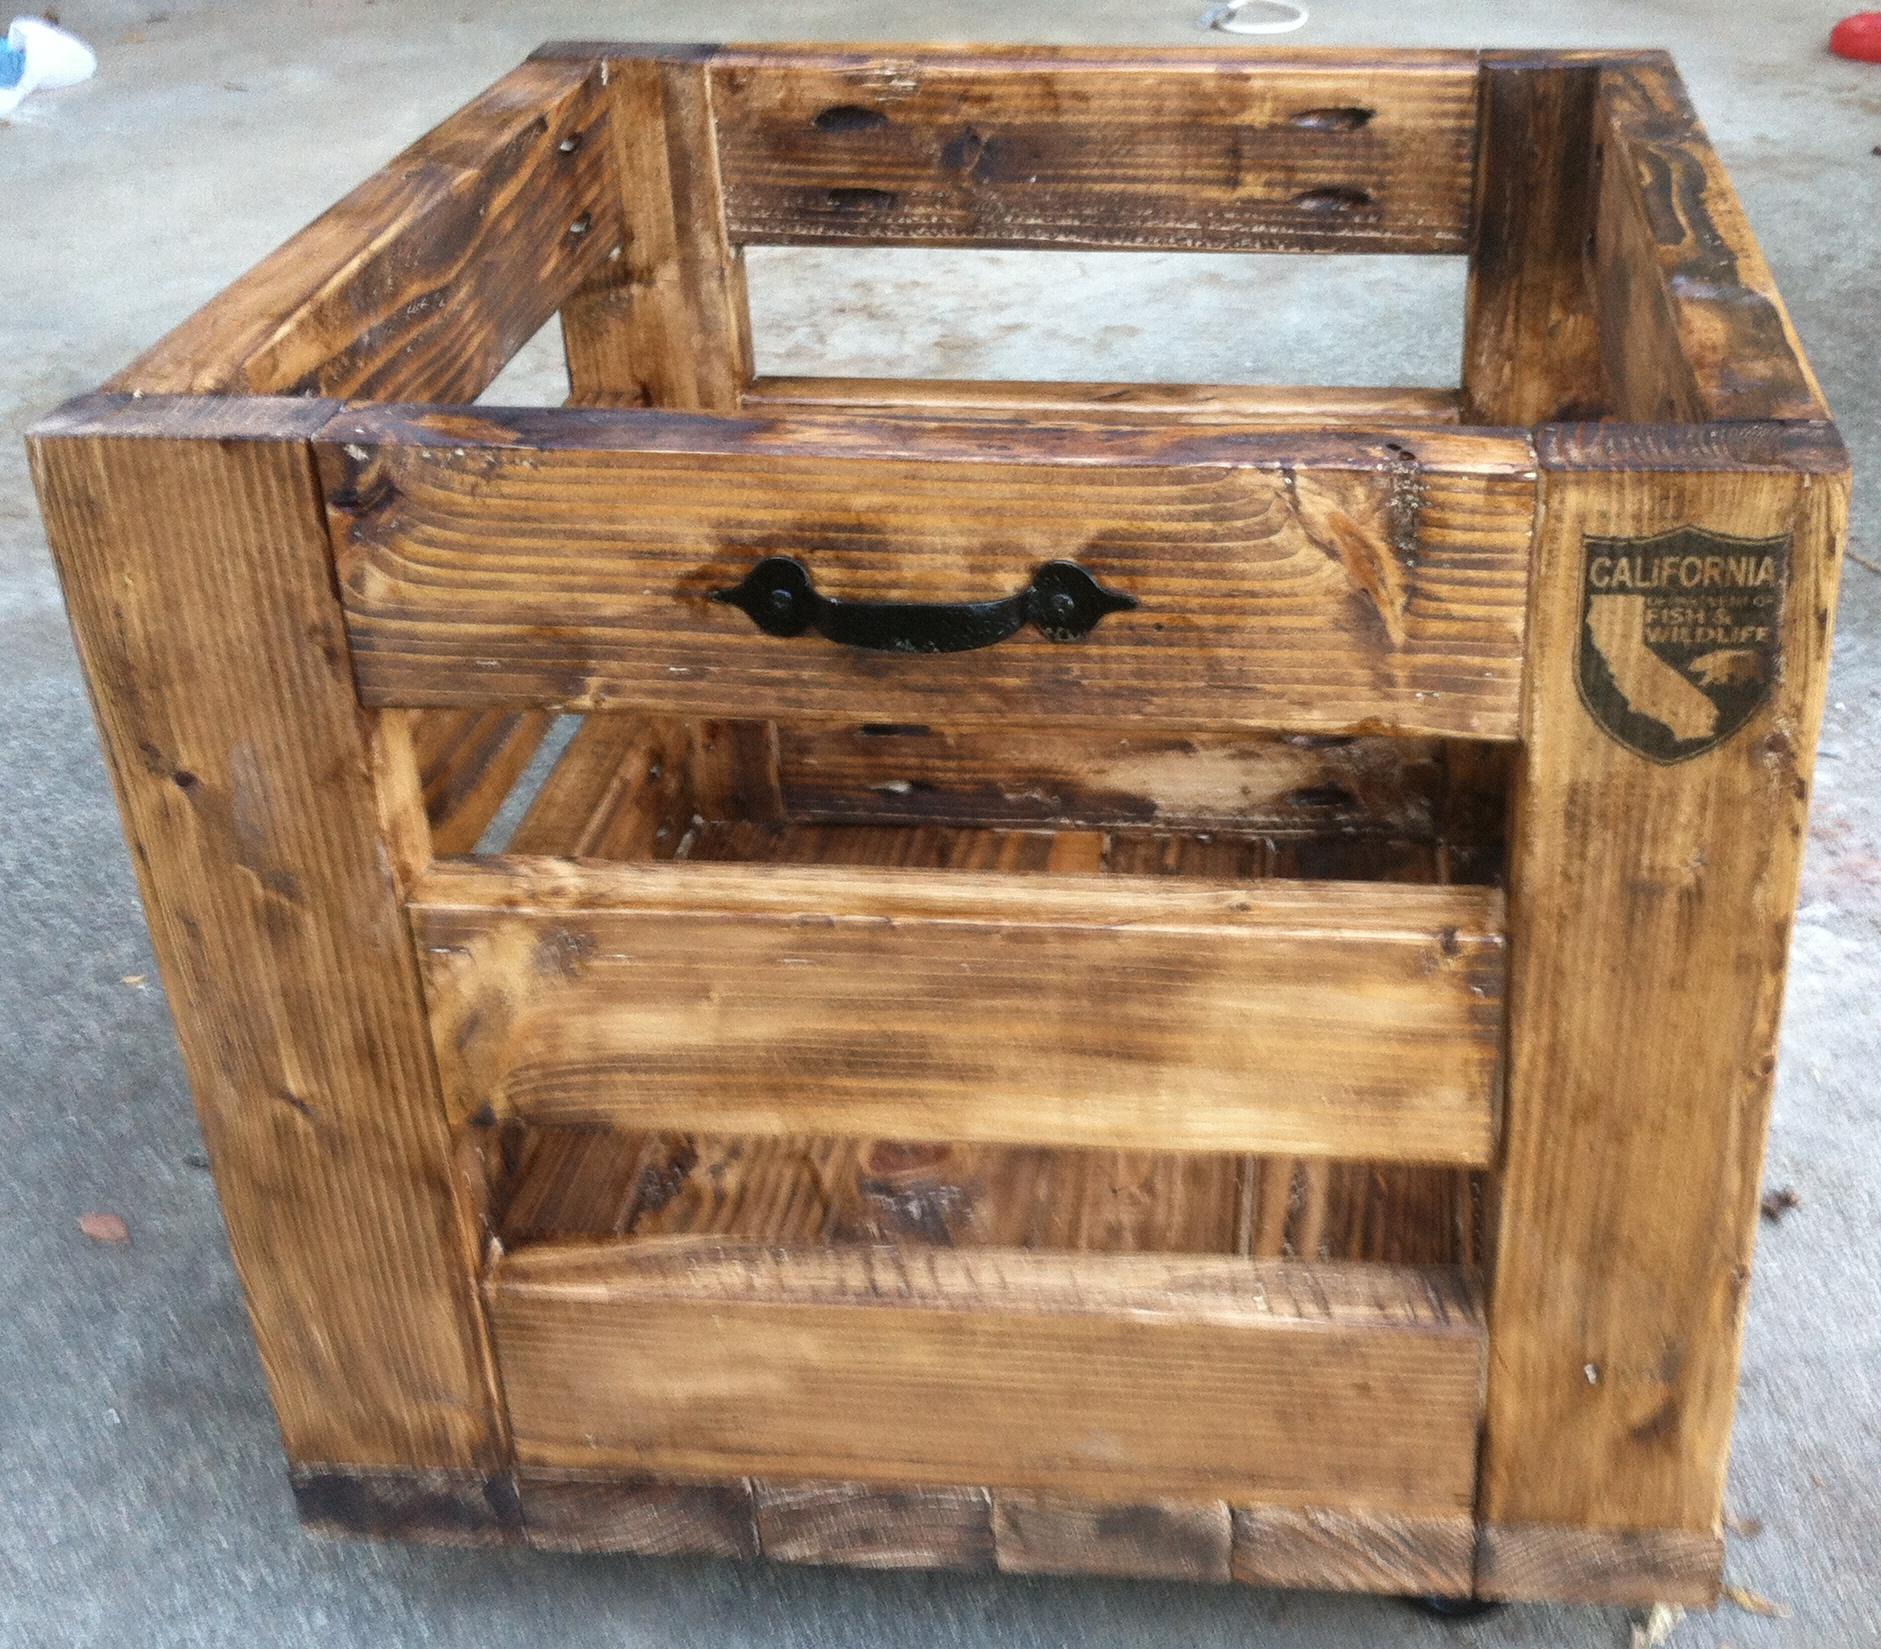
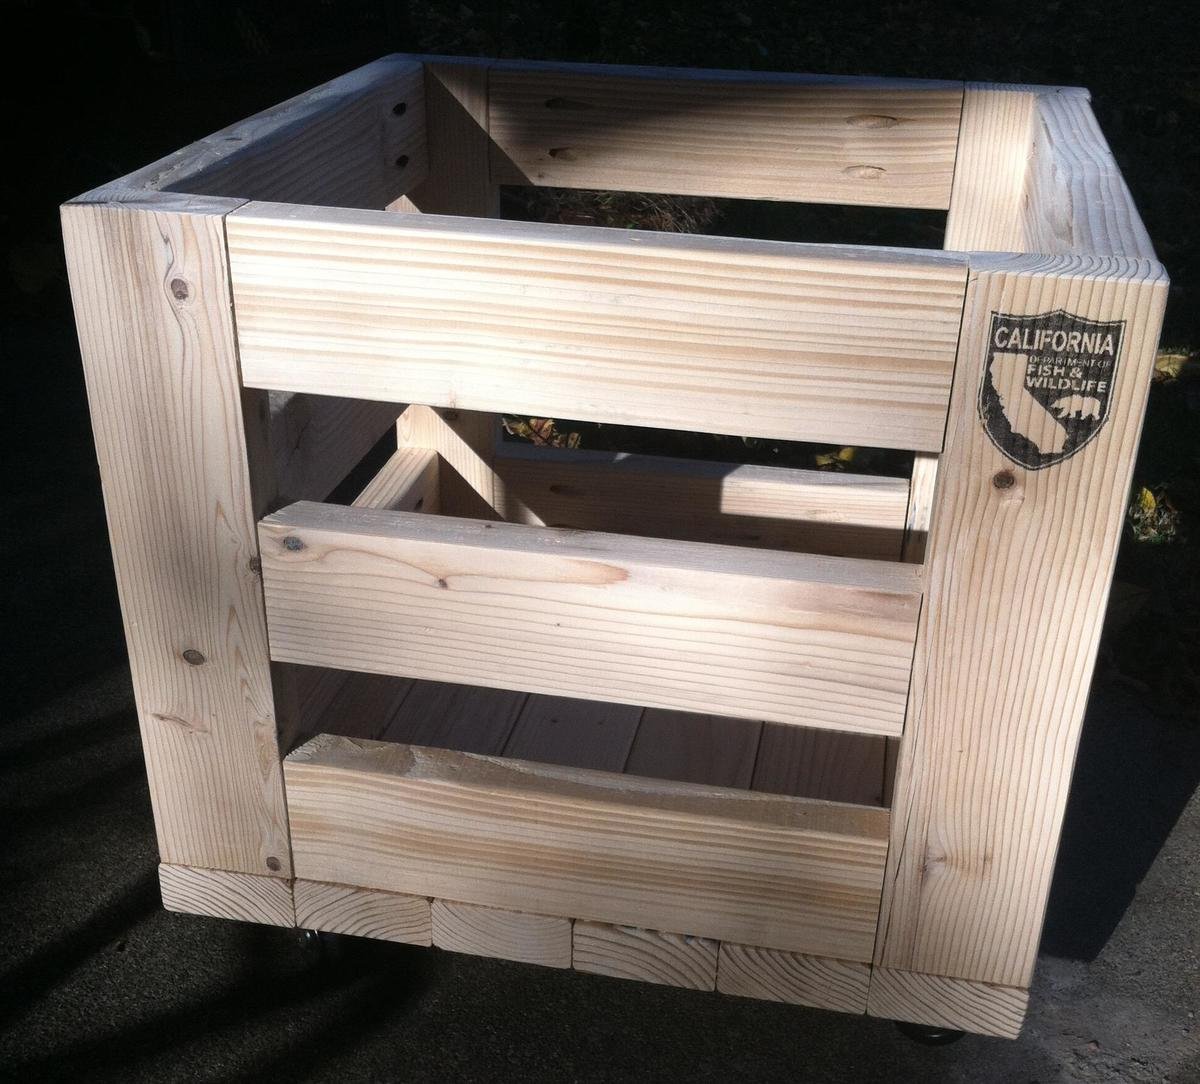
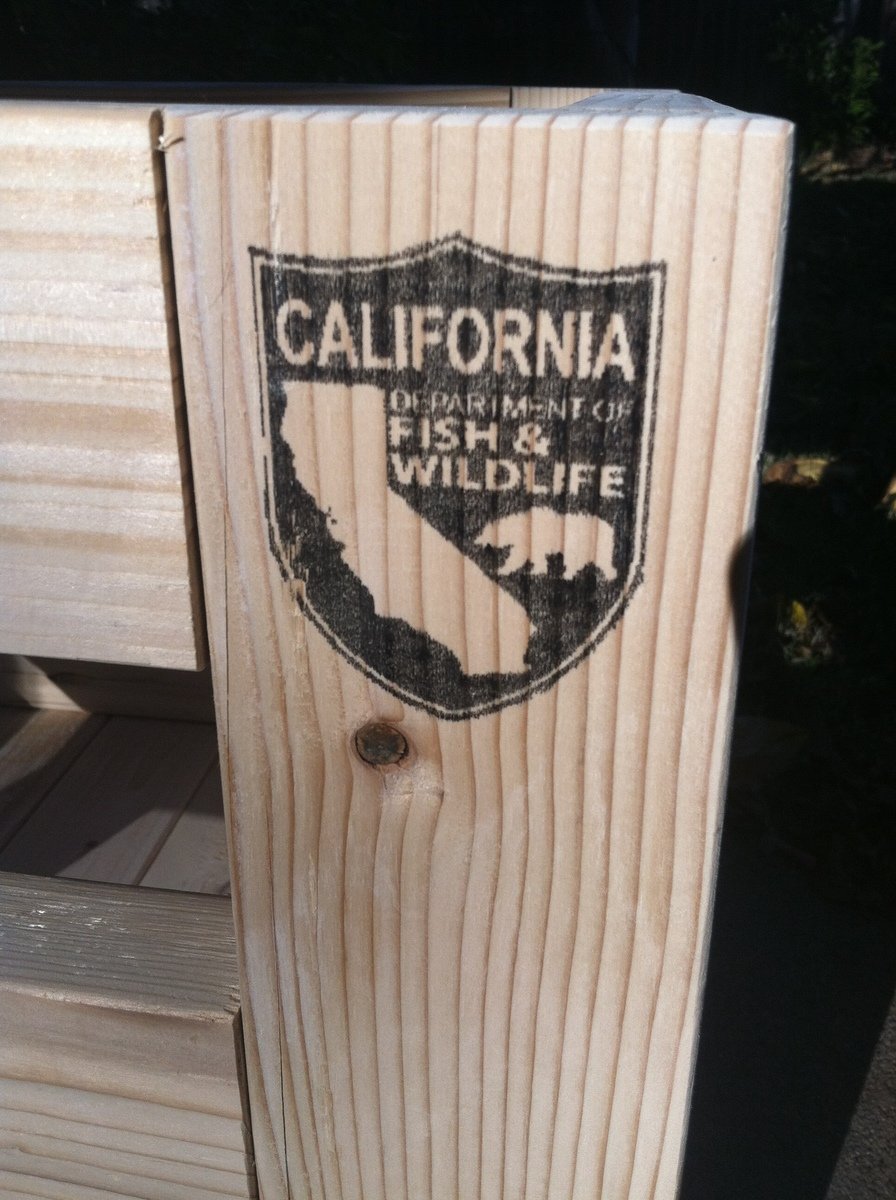
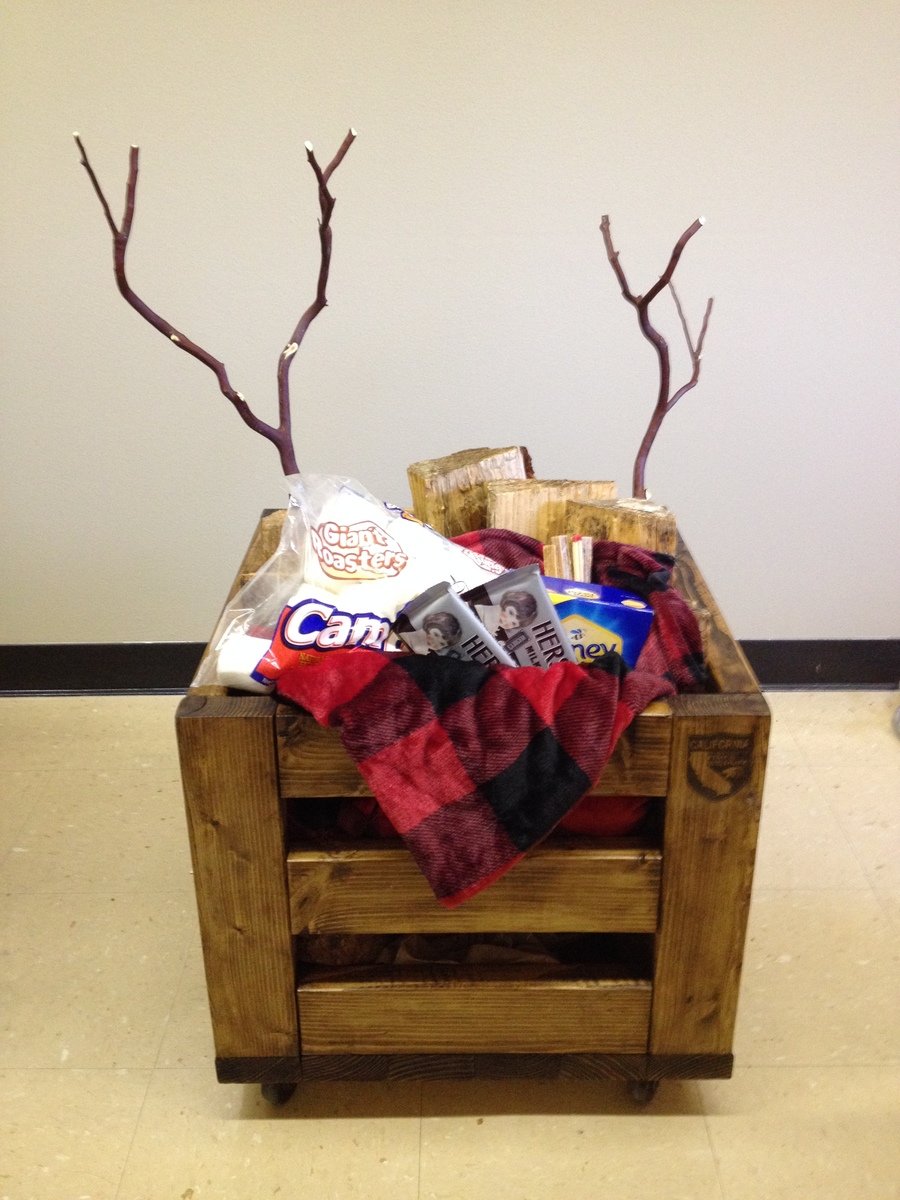
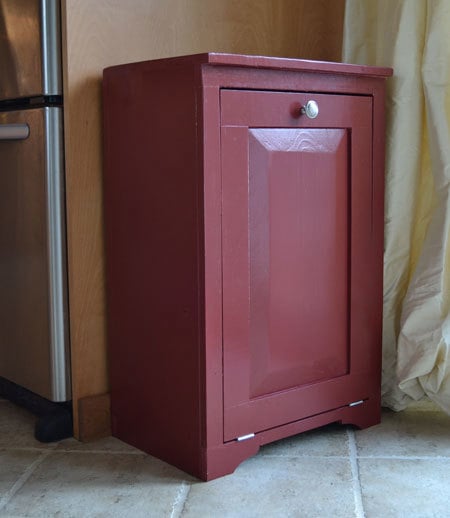
Made this project from the Storage Bin design. We have an annual holiday party at work. Since I work in the timber program for Ca Fish & Wildlife, I decided to make a project out of wood, stuff it with firewood and s'mores makings. I applied our logo using the instructions here: http://www.unexpectedelegance.com/2011/09/01/wax-paper-transfer-tutoria…
Super happy with the results.
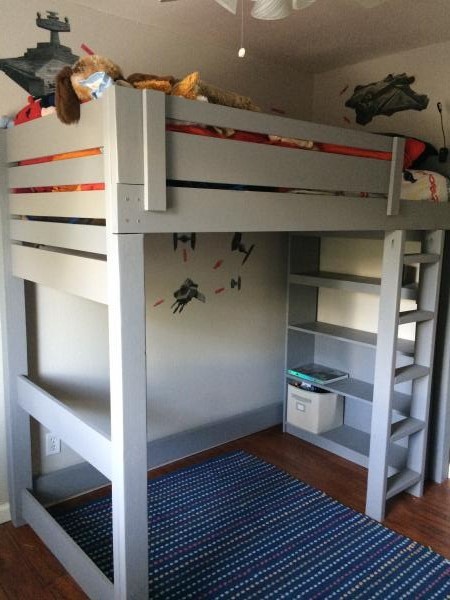
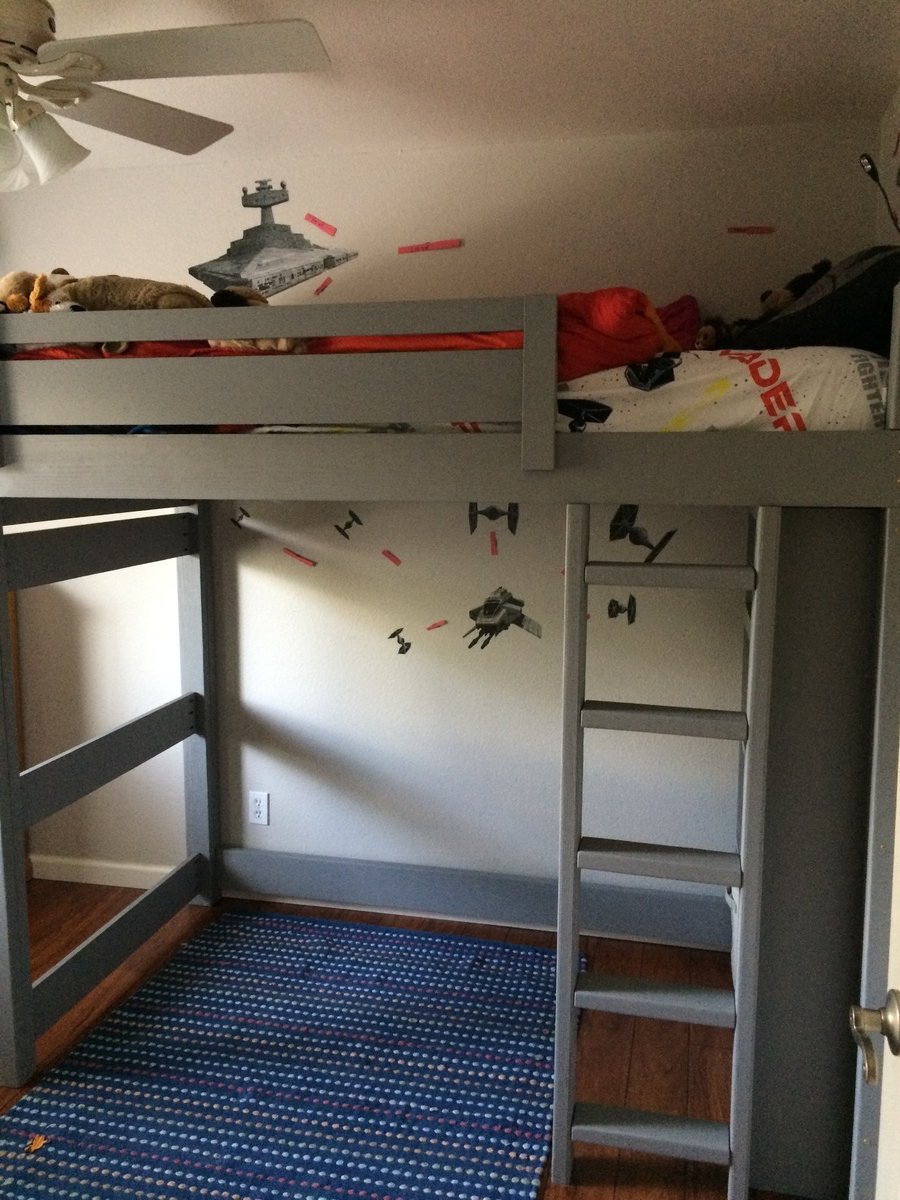
This is a mix the "Side-Street bunkbed" plan and the "How to Build a Loft Bed." I used "Spax" 3 inch wood screws to attach the side rails instead of bolts used in Side Street plan. I used KregJig pocket holes for everything else.
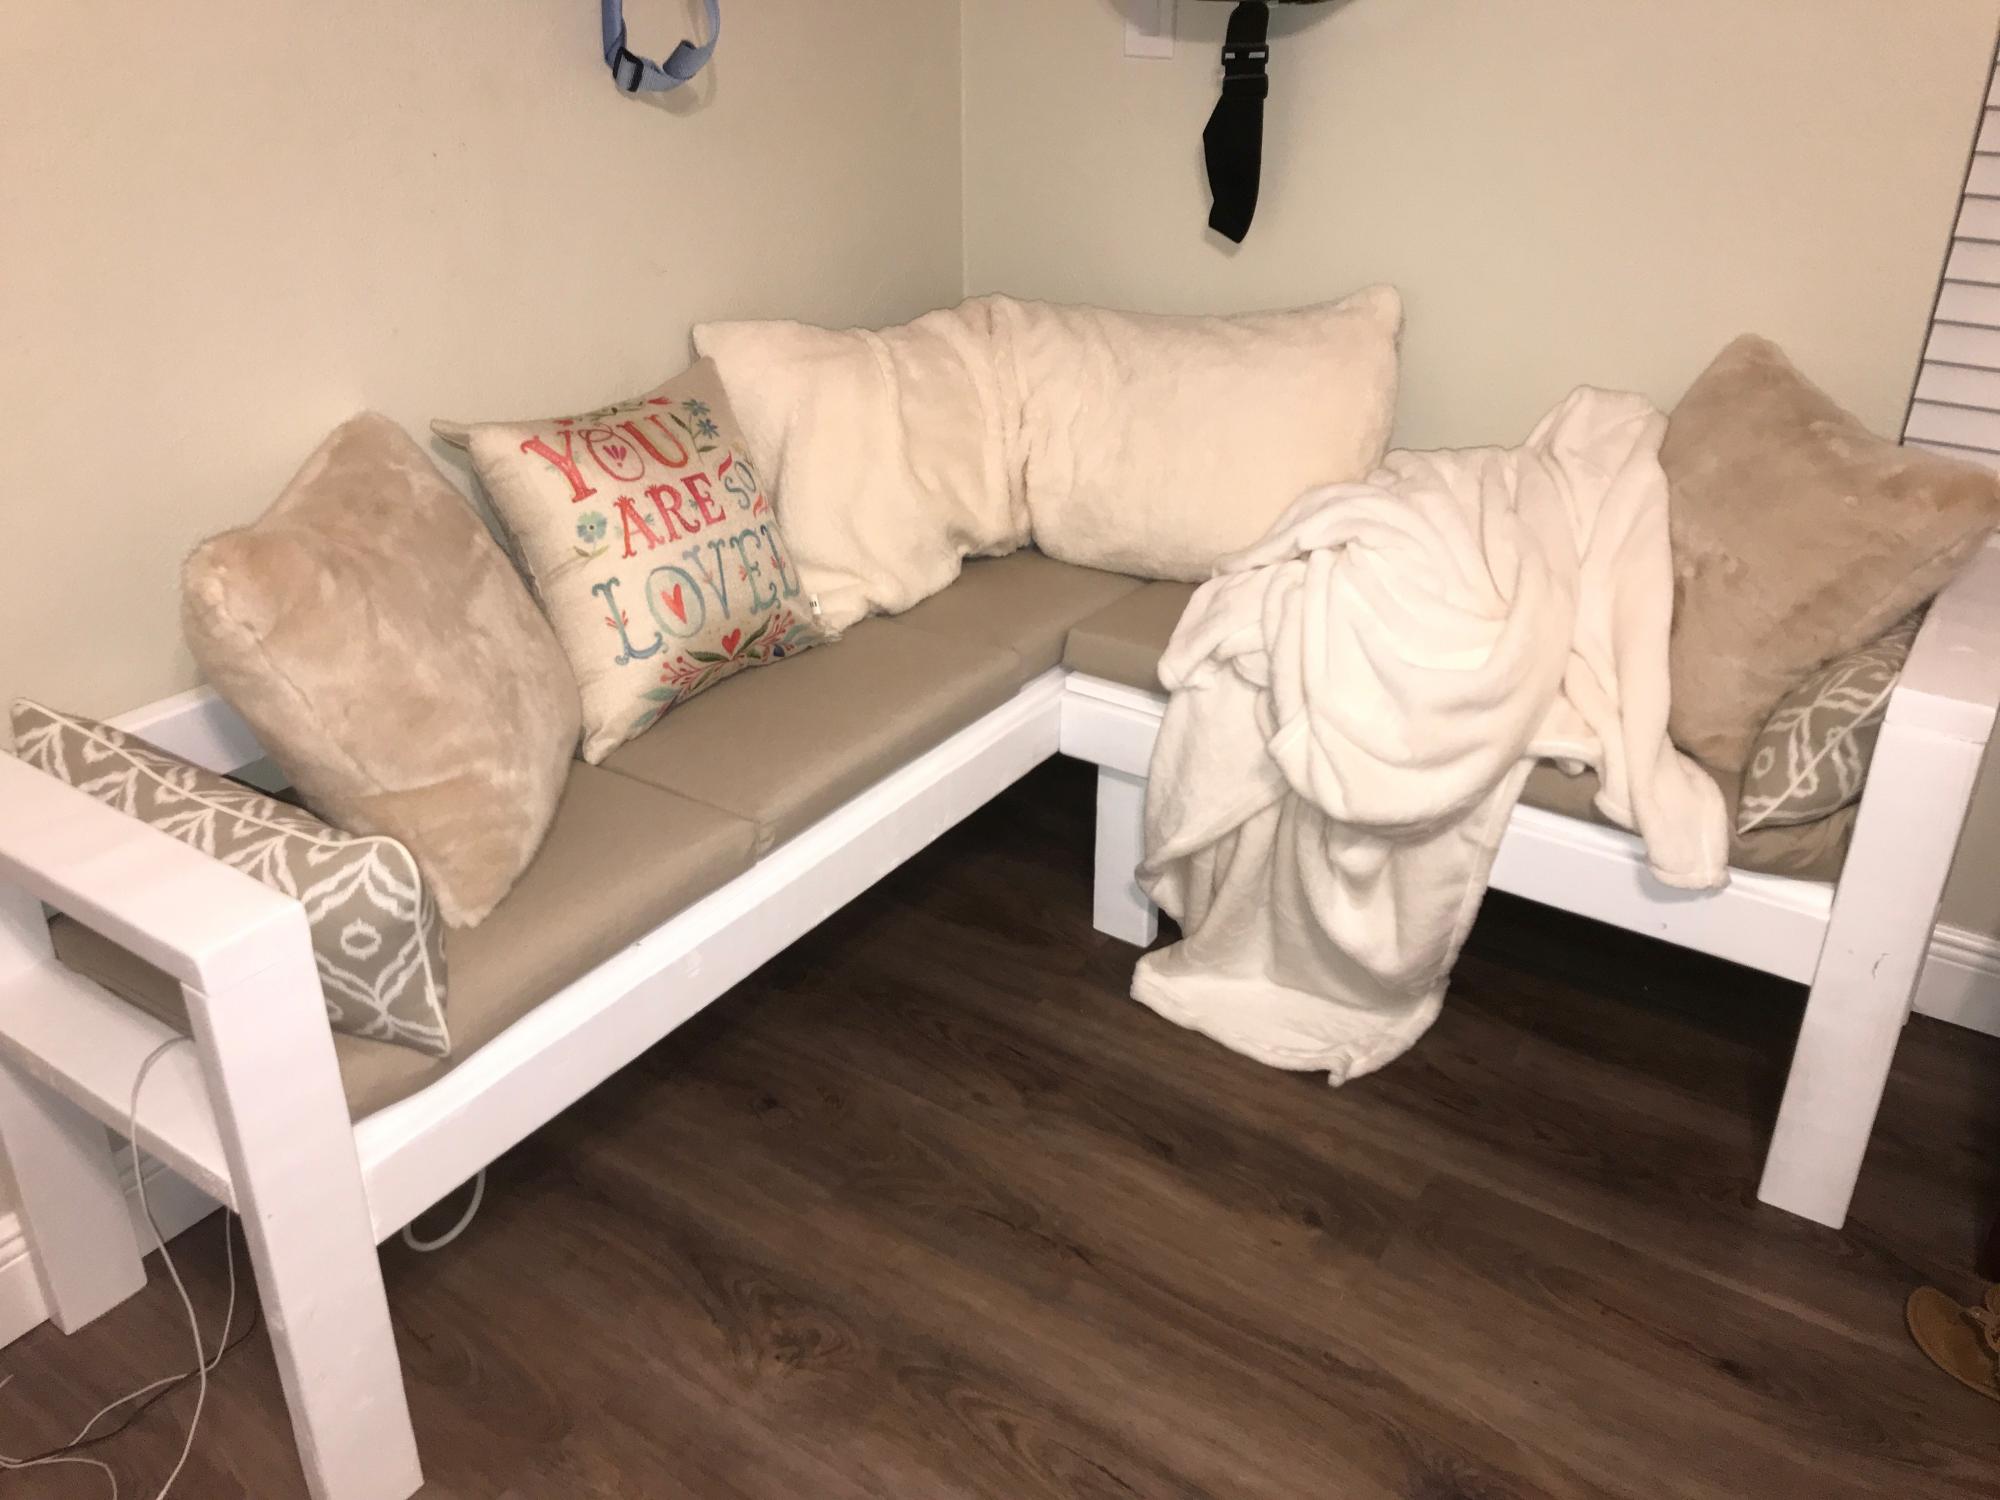
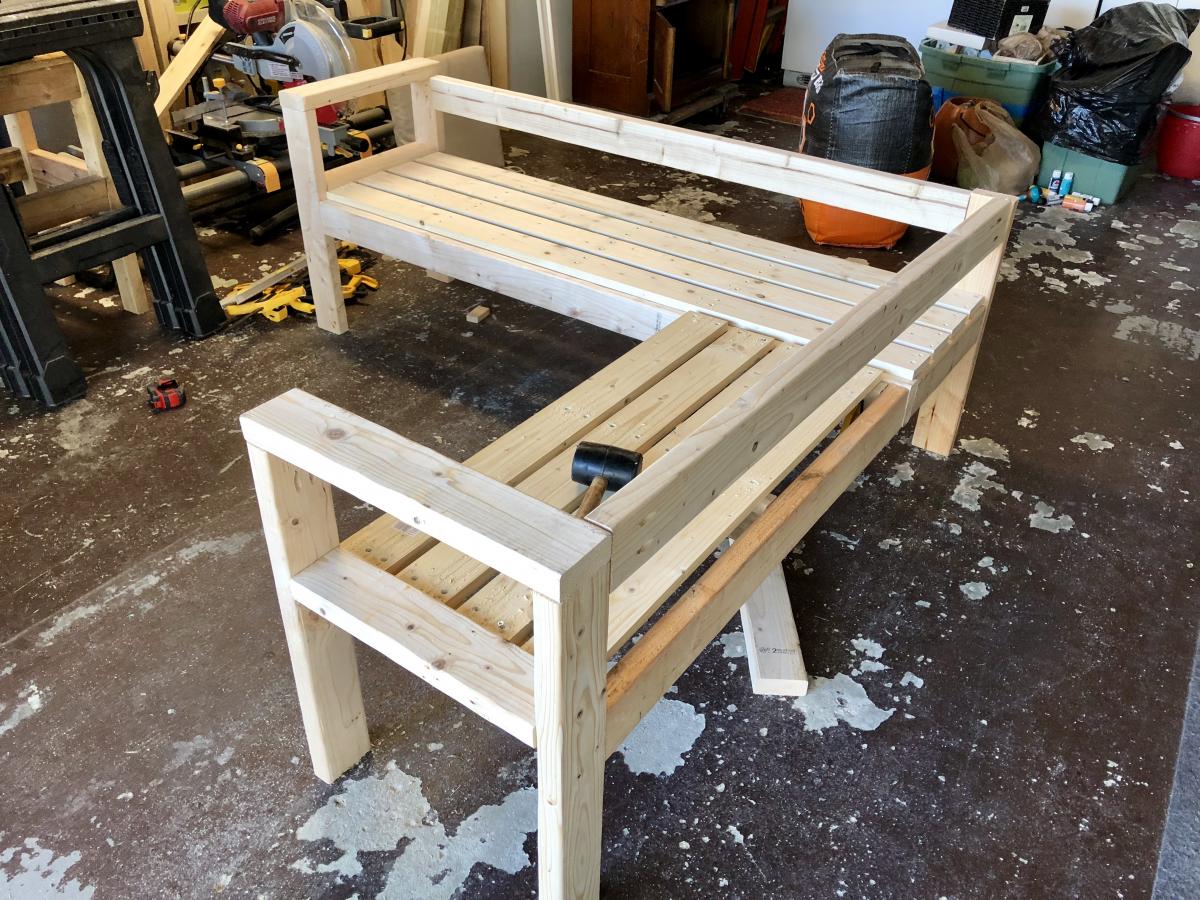
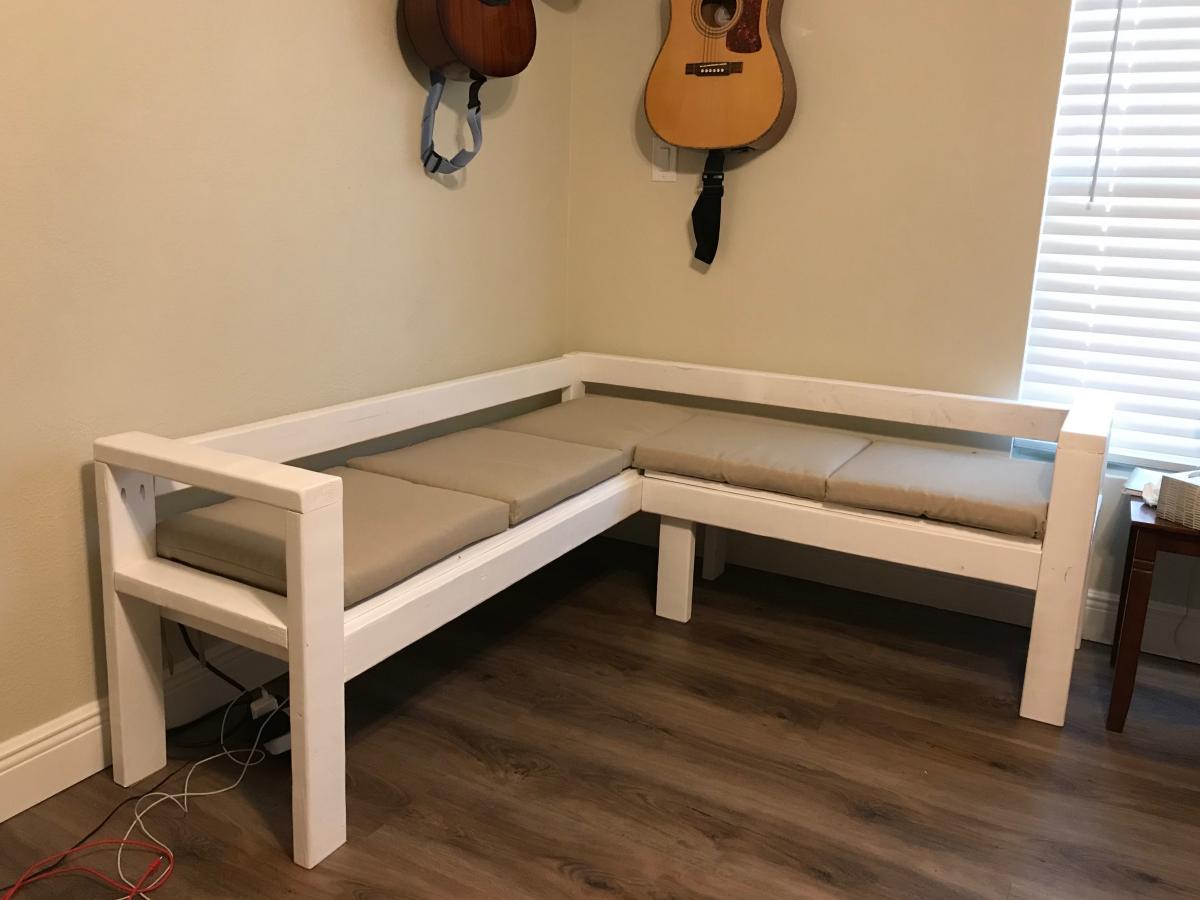
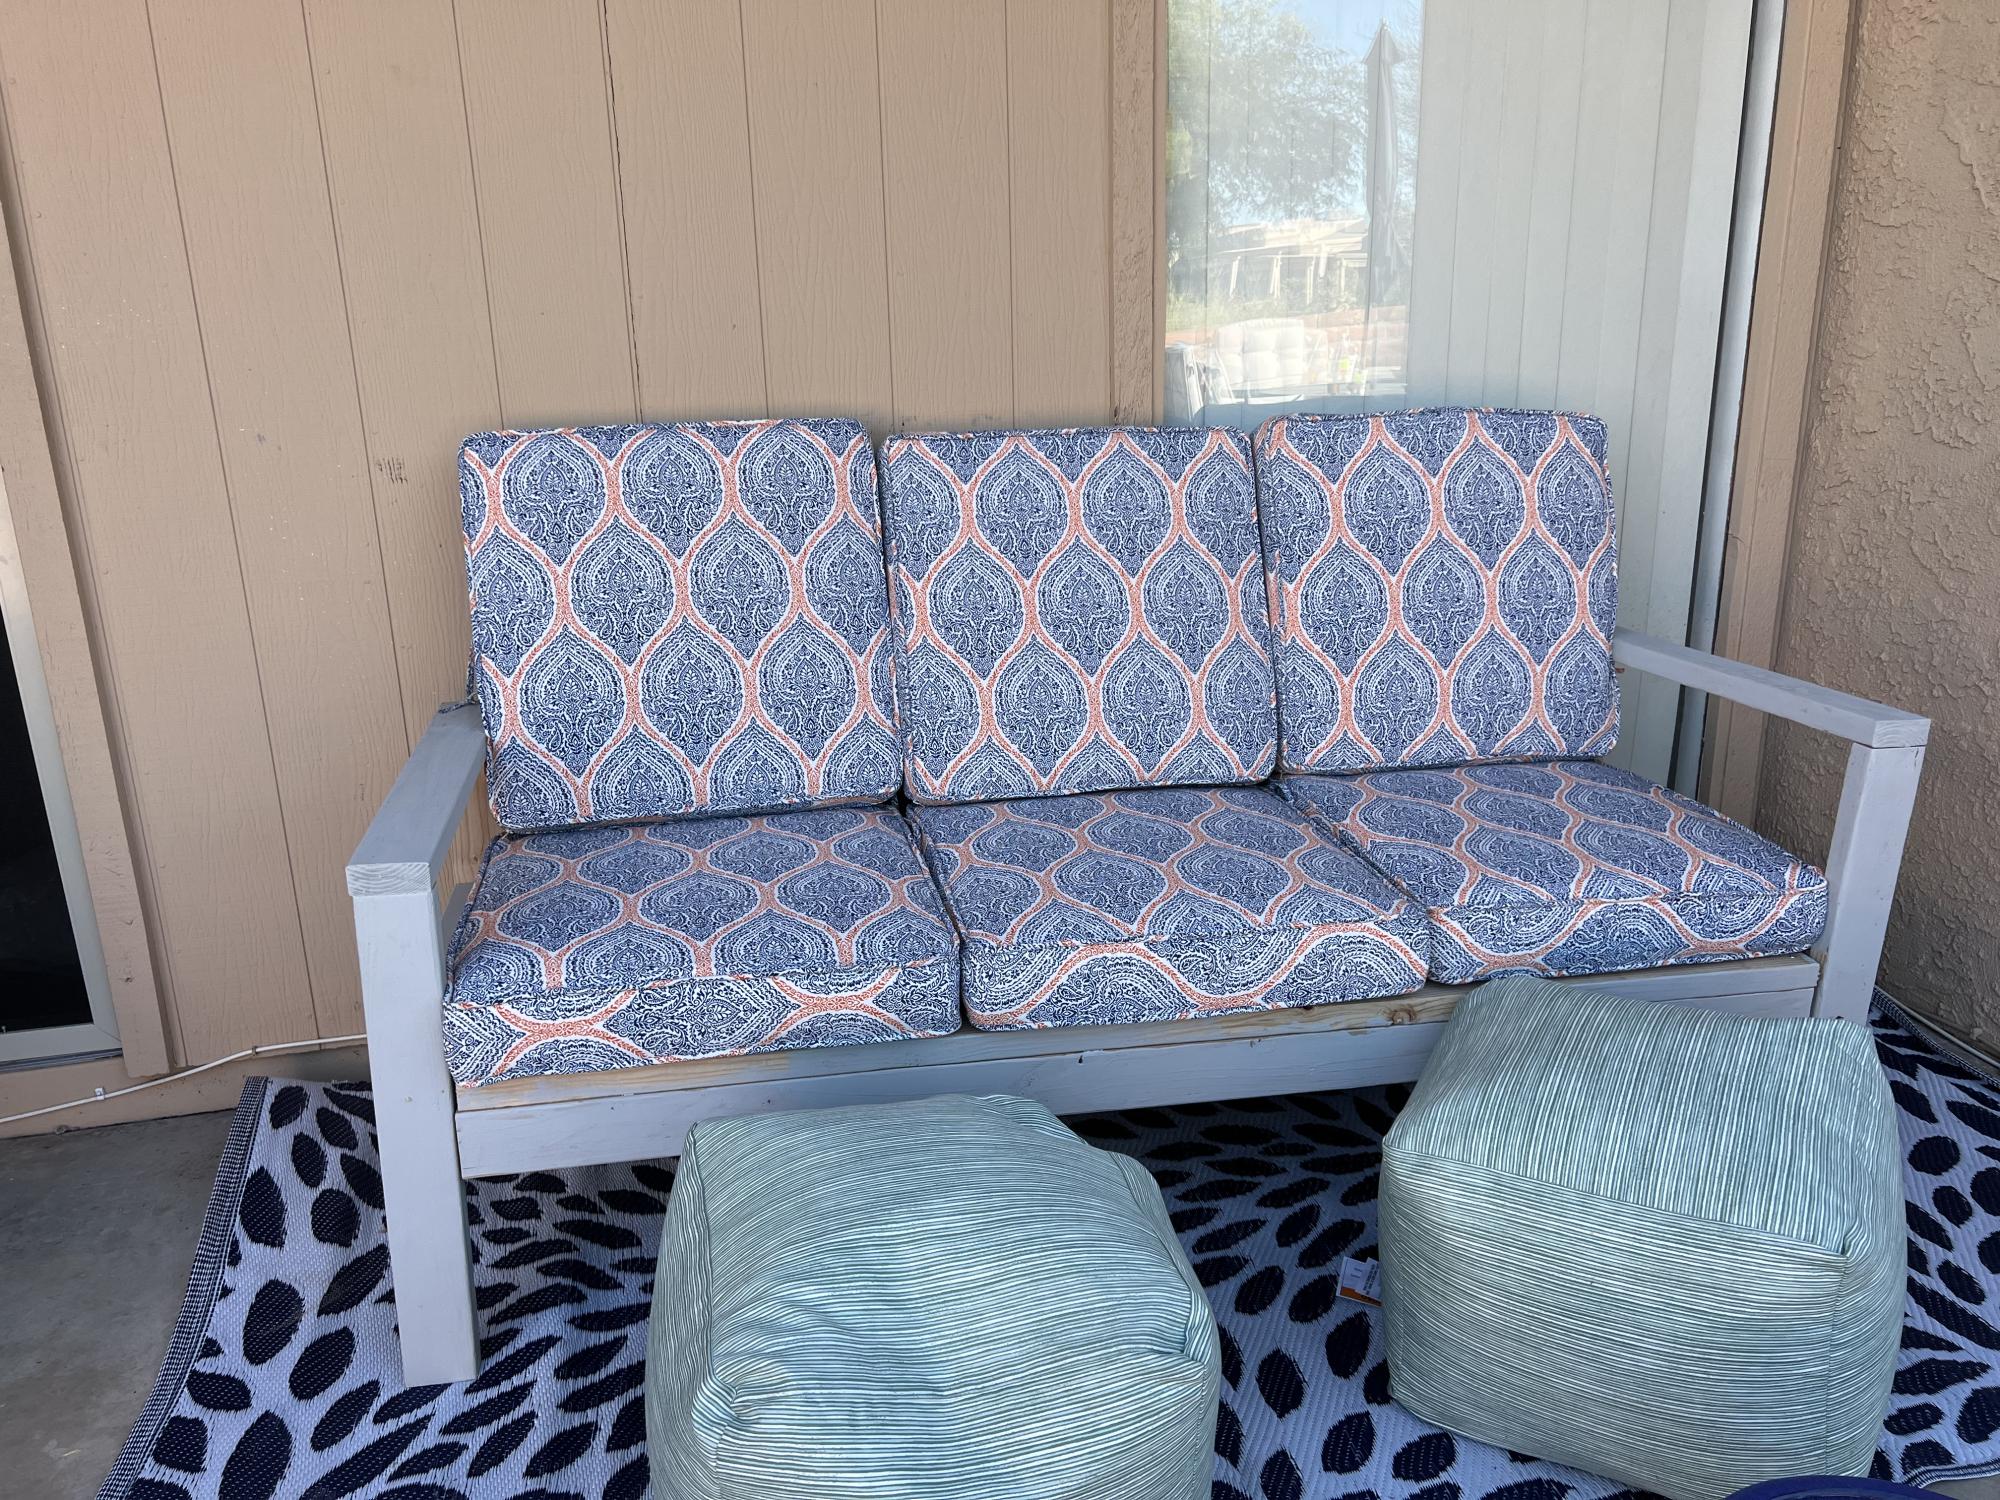
My teenage niece asked me to build her a cool seating area for her new bedroom. So I used Ana White’s Outdoor Sofa with Sectional for the plans. I modified the overall size for the space and the seat depth to accommodate the seat cushions she bought, painted it white, and let her add pillows and blankets to make it soft and cozy. She loves it and I’m the coolest Aunt ever!!
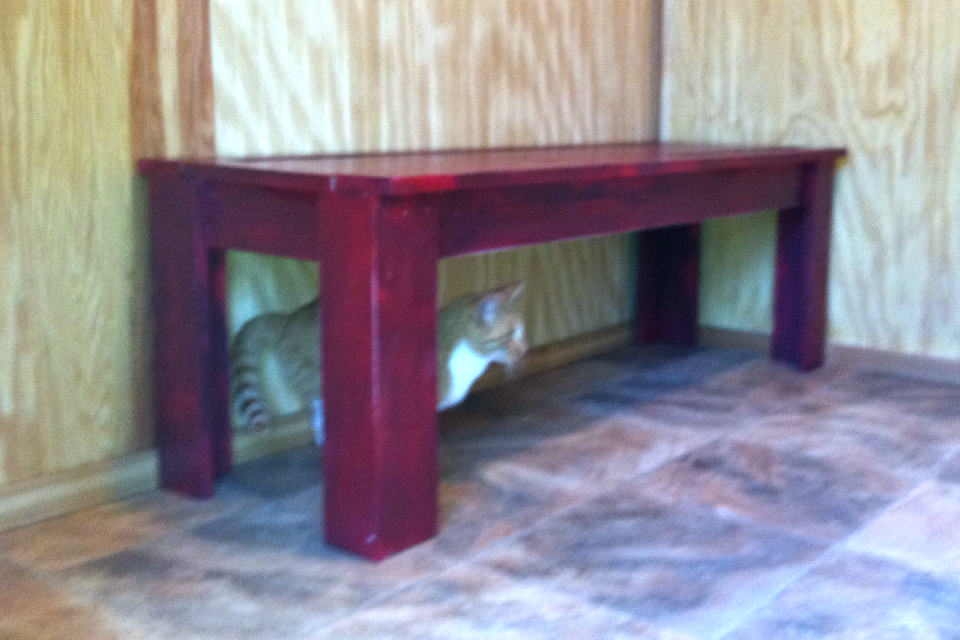
Very easy plan to follow! This was my first project and also my first time to use power tools. I made a few mistakes, but learned from them all and was very pleased with/proud of the bench!
In reply to 1st Time Made by Martha Jones DW
Sat, 01/28/2012 - 18:32
Thanks! There were several little mistakes I made but I'm going to go ahead and just use the excuse that it adds character! Learned a lot that I'll be able to apply to my future projects.
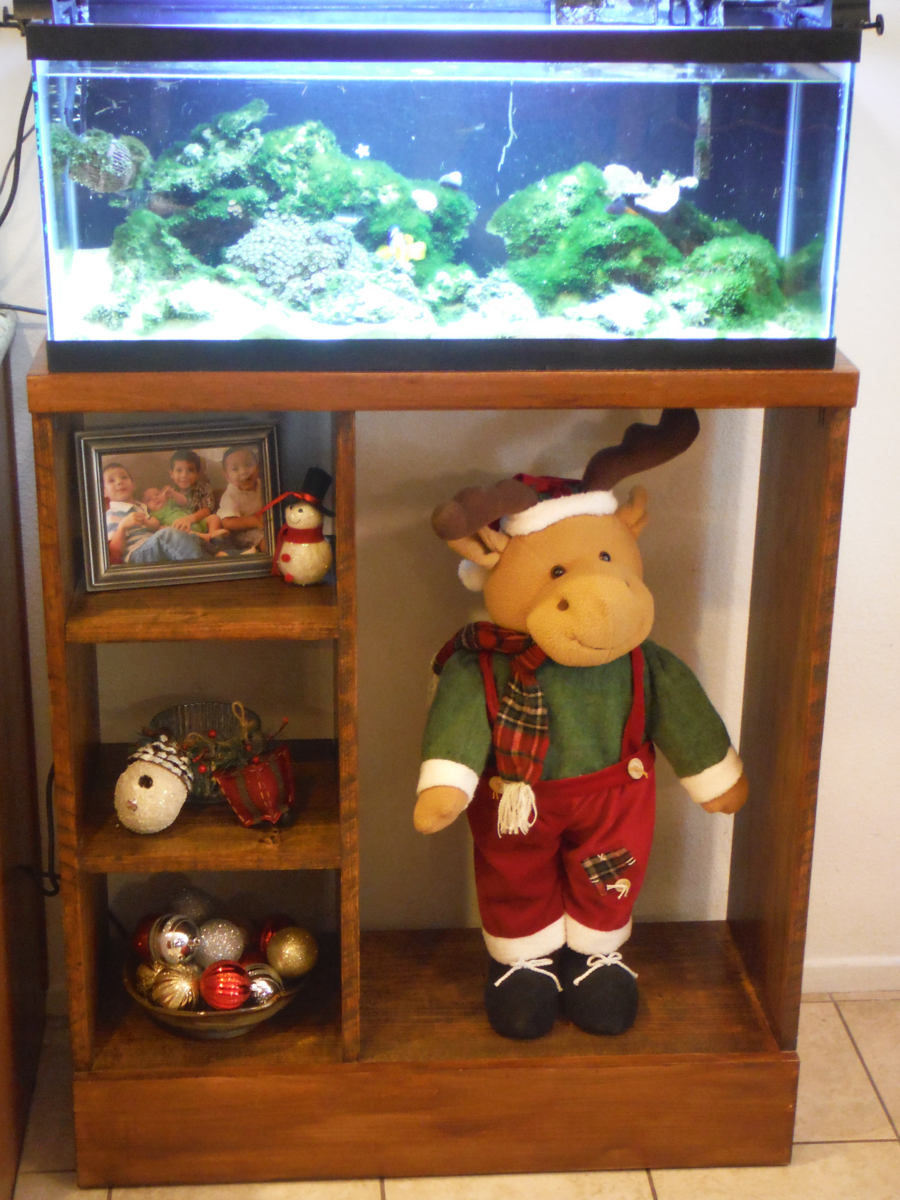
We needed to make sure this was strong enough to hold a 20 gallon fish tank.So, we decided to use poplar wood and stained it with golden mahogany. The height was adjusted to 37 inches.
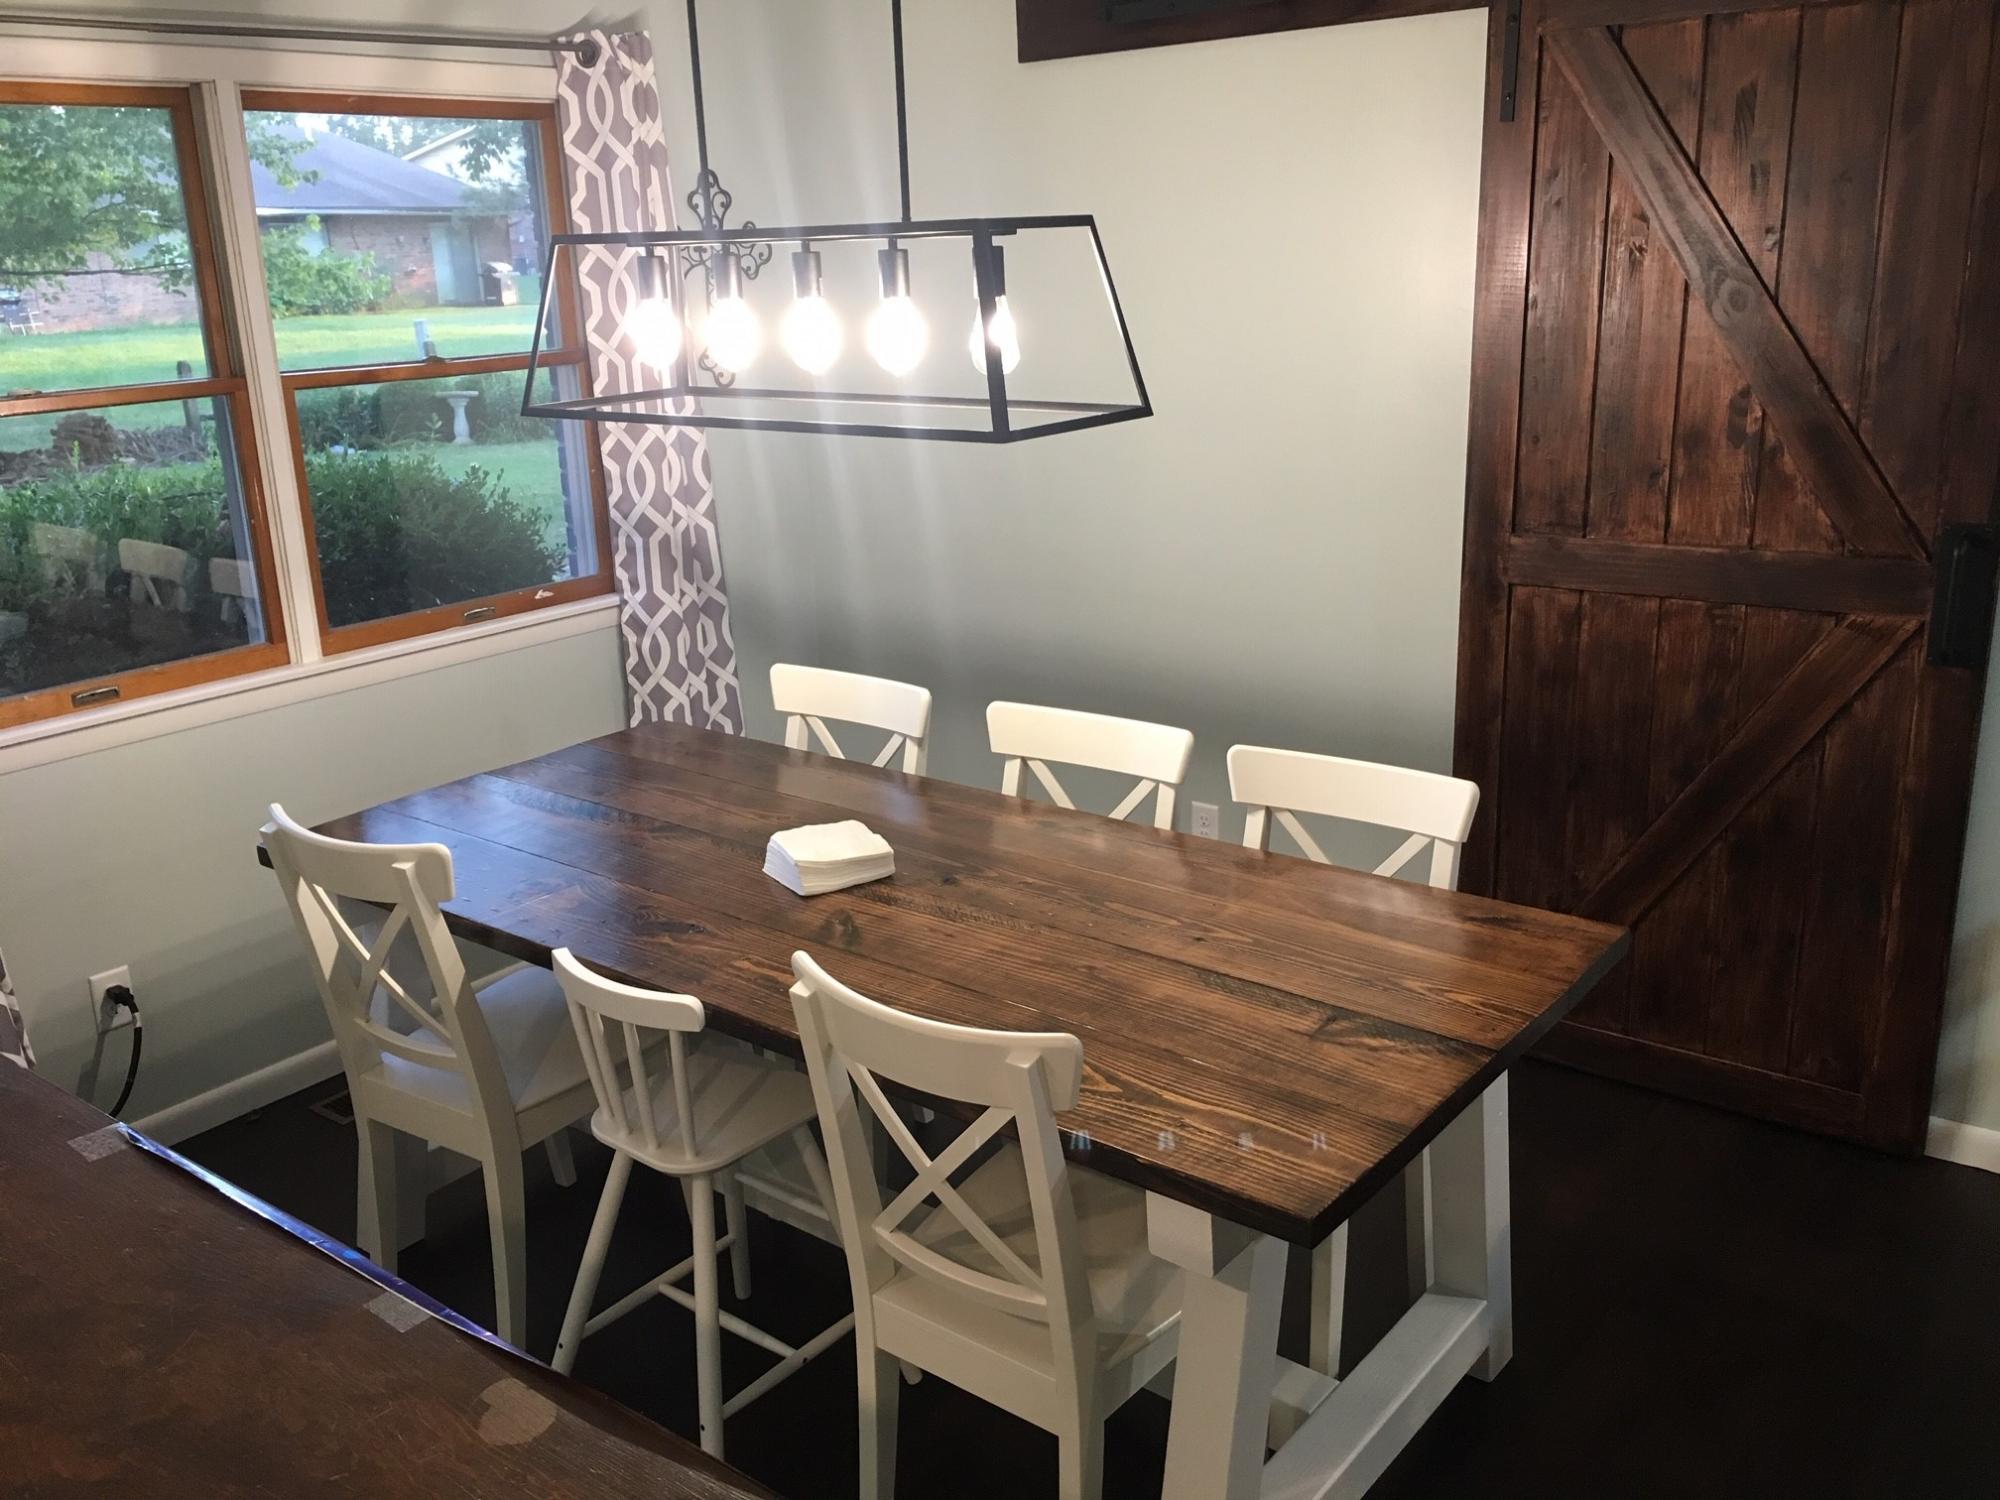
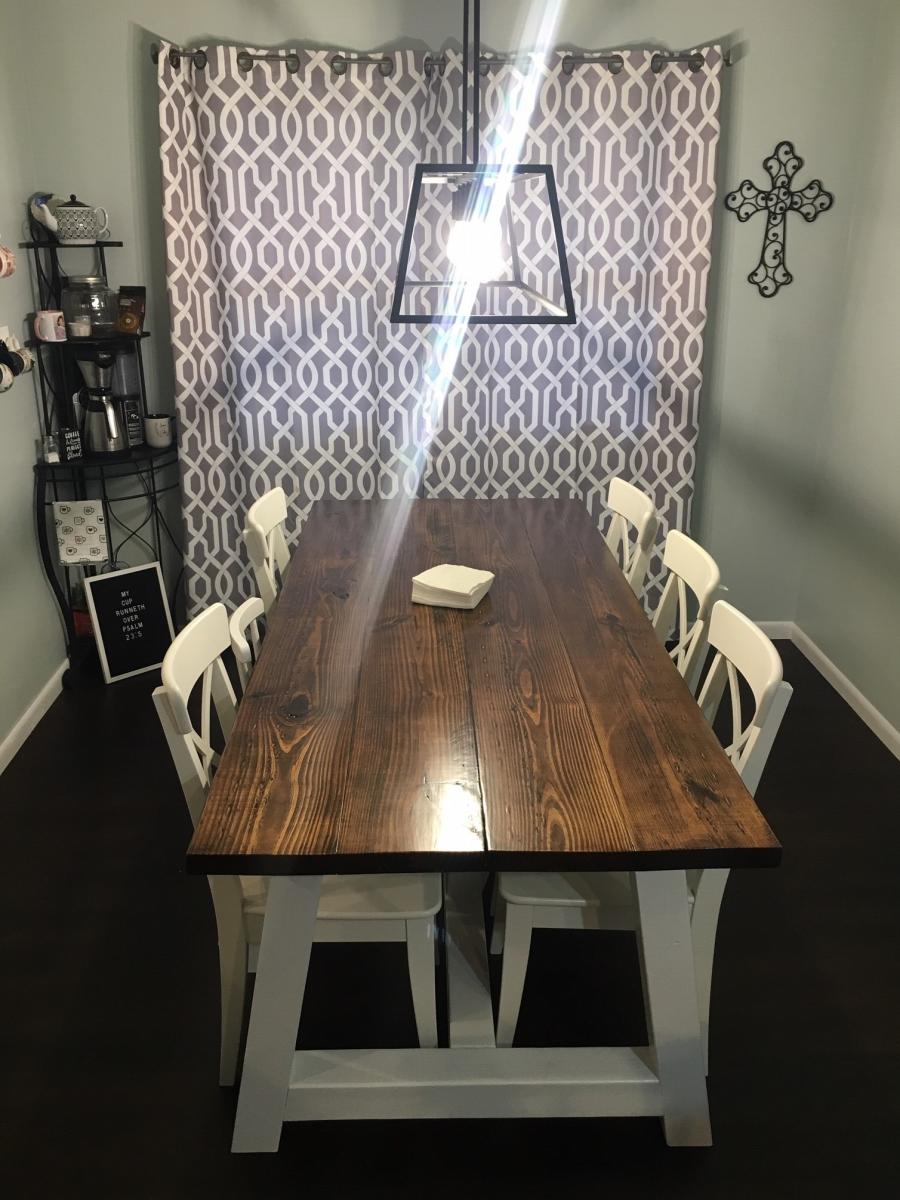
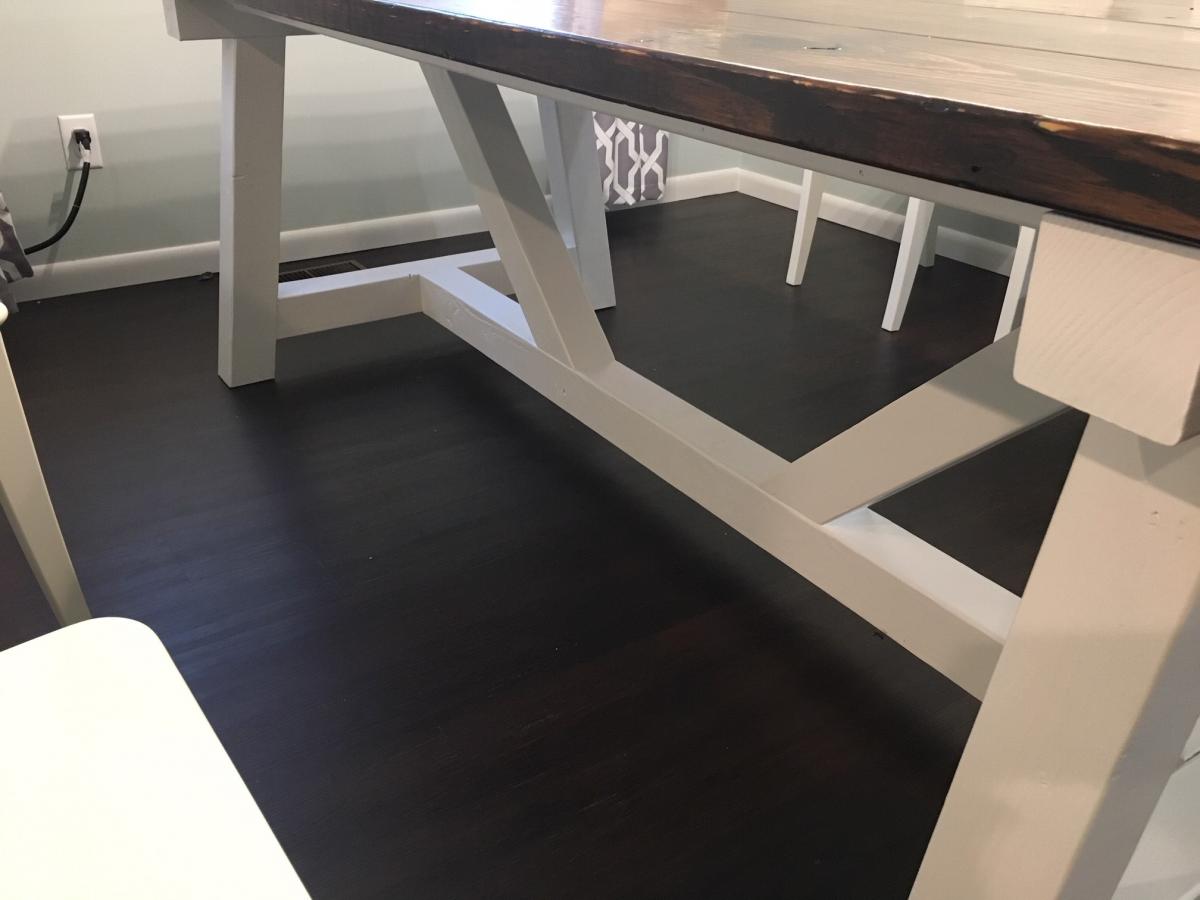
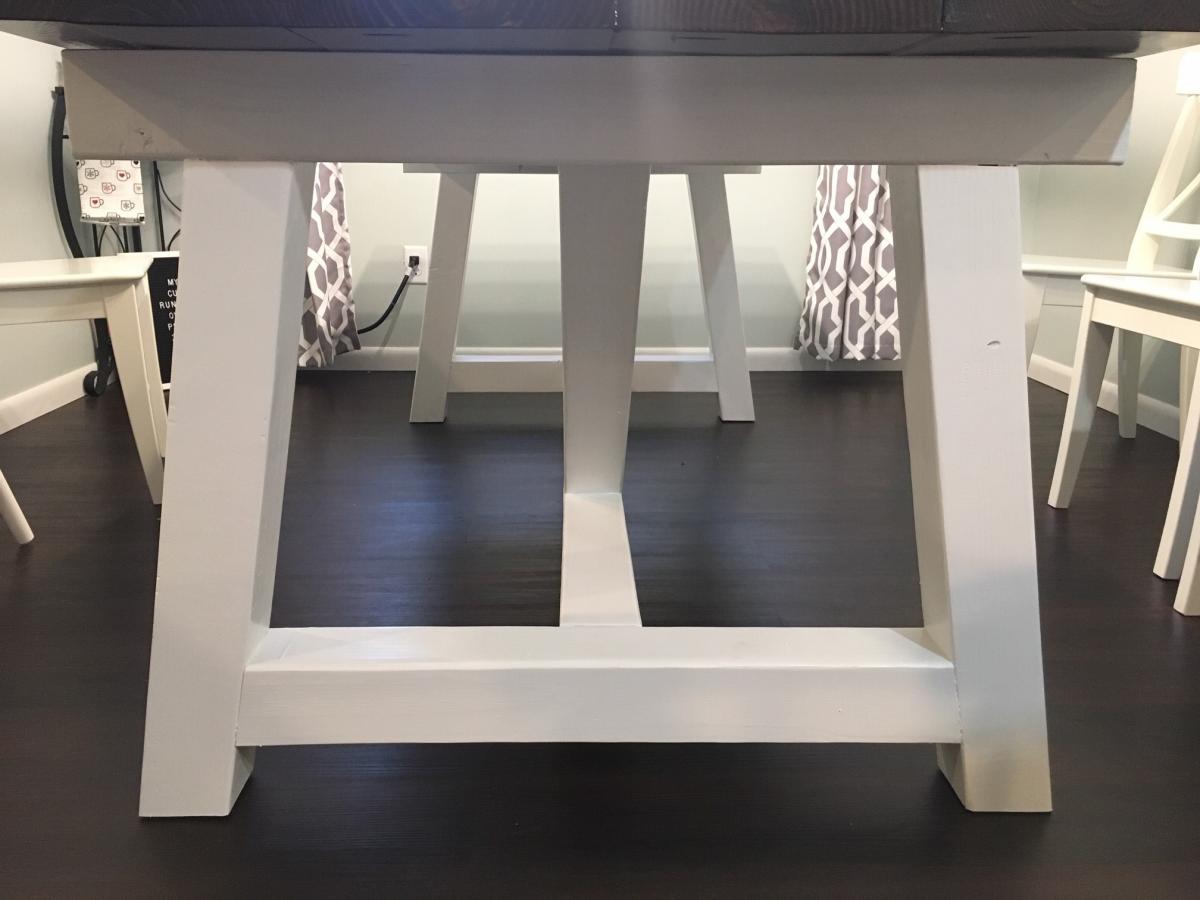
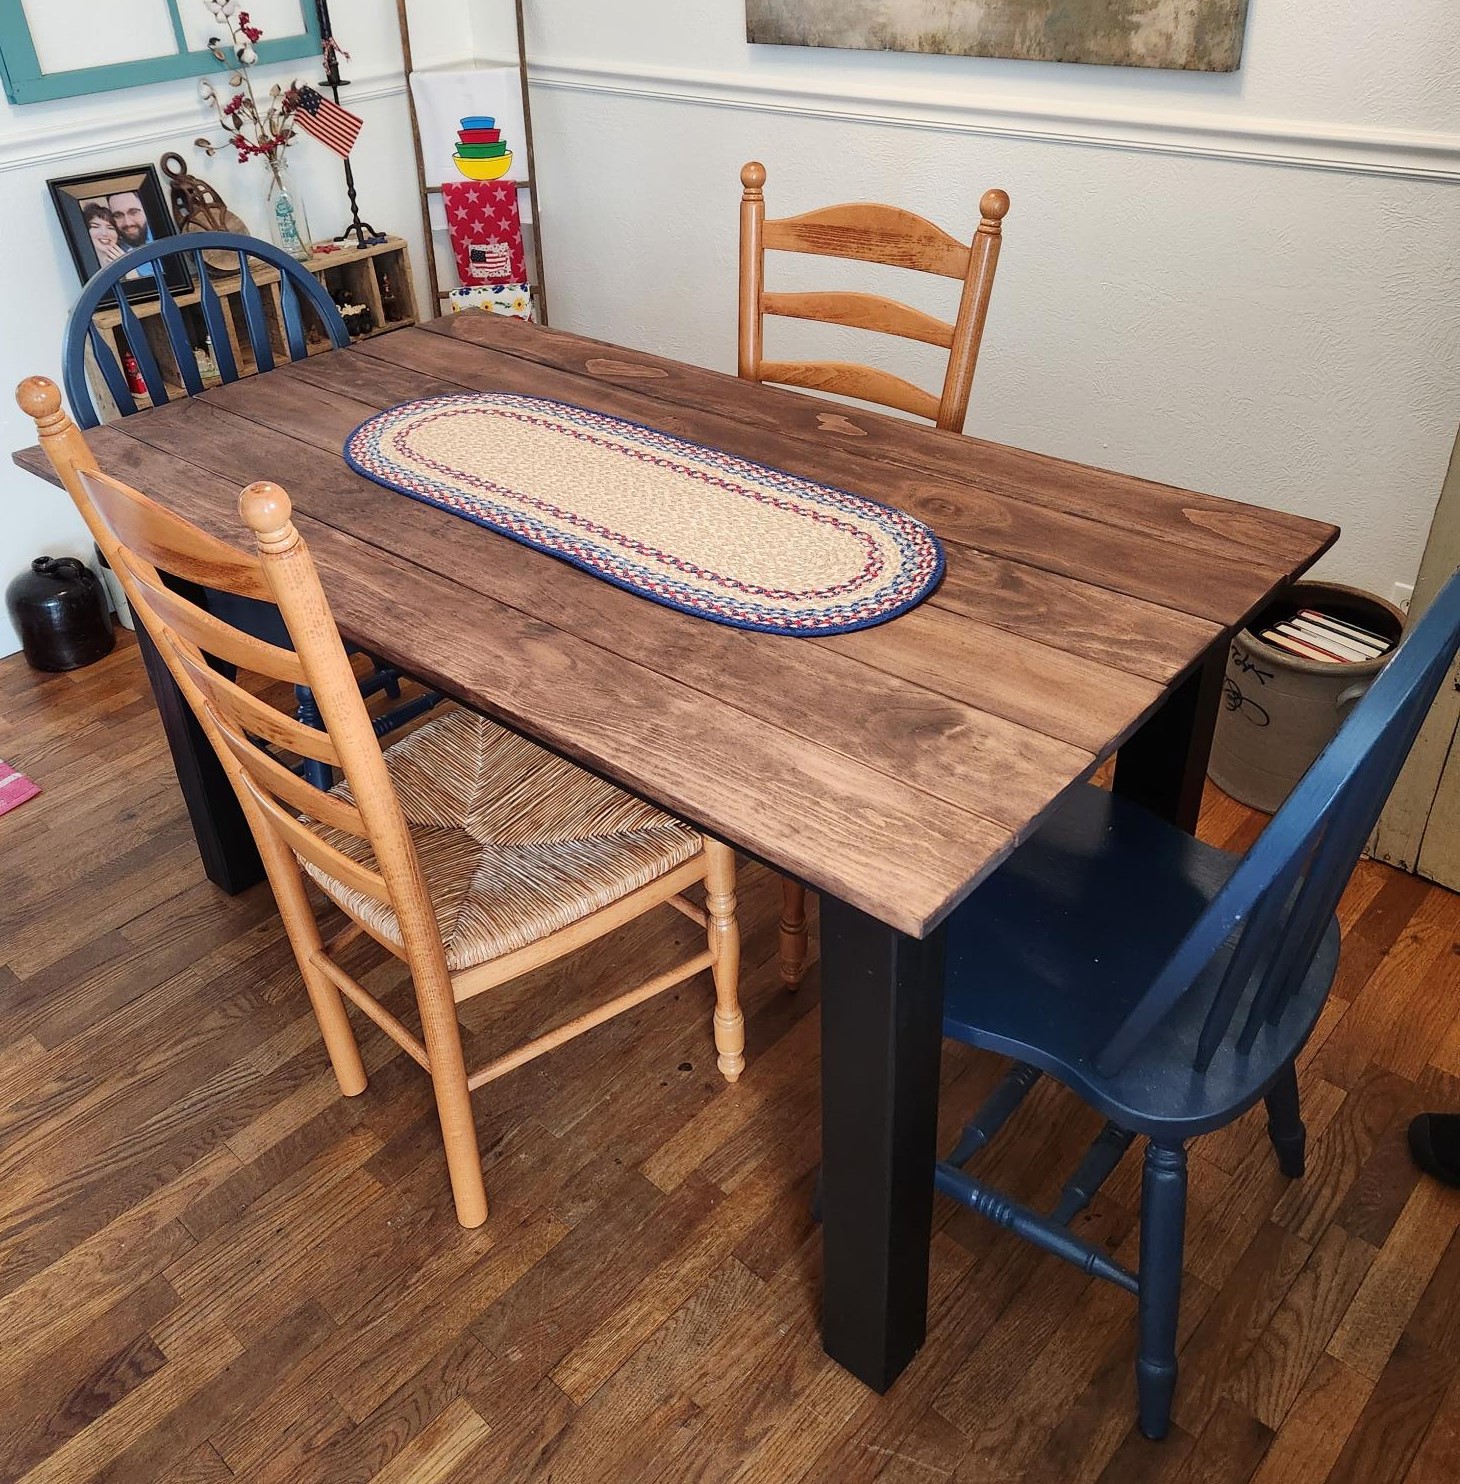
Build the 4x4 Truss Beam Table base with the Fancy X Farmhouse Table top shortened to 7' (84") for my wife's birthday! We love how it looks and can not wait to build the matching benches! Also, this is my first time attempting a building project and Ana-White Plan. The plans are very easy to follow and execute!!
Love my outdoor couch. Easy to build and follow plans. Thanks Ana!
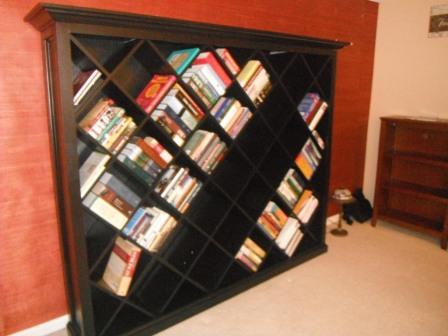
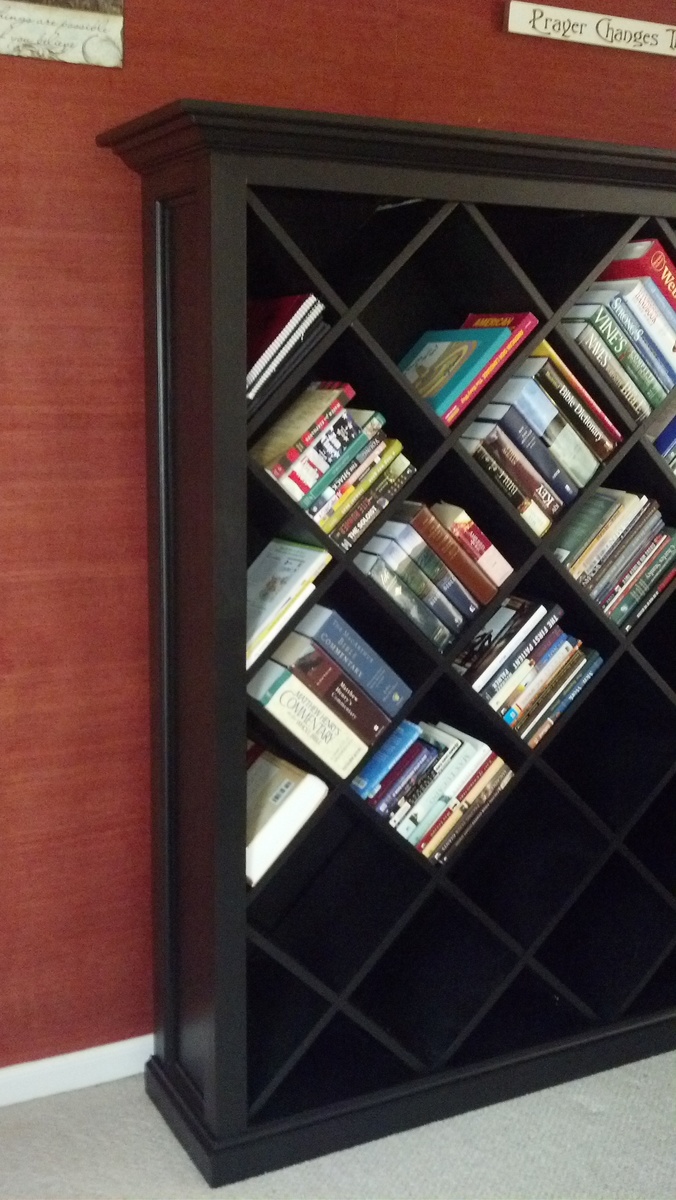
My wife was watching TV and she saw a Bookshelf on a Home Depot commercial with diagonal shelving. She kept telling me how much she wanted a bookshelf like that. So, for my first wood project ever, I decided to try and tackle it for her. It is slightly over 7 feet wide and a little over 6 feet tall. I am currently trying to learn sketchup8 to create plans for this project.
Unfortunately I didn't use a certain plan from Ana's site for this project, but you can find any bookcase plan and place the diagonal shelves in place of the horizontal ones.
Tue, 01/31/2012 - 21:02
So you totally just solved my no fireplace dilemma! I think I'm going to take your design here and leave an open space for some electric logs. Thank you so much for sharing, it is really stunning!
In reply to Very cool by nicwolford
Wed, 02/01/2012 - 06:10
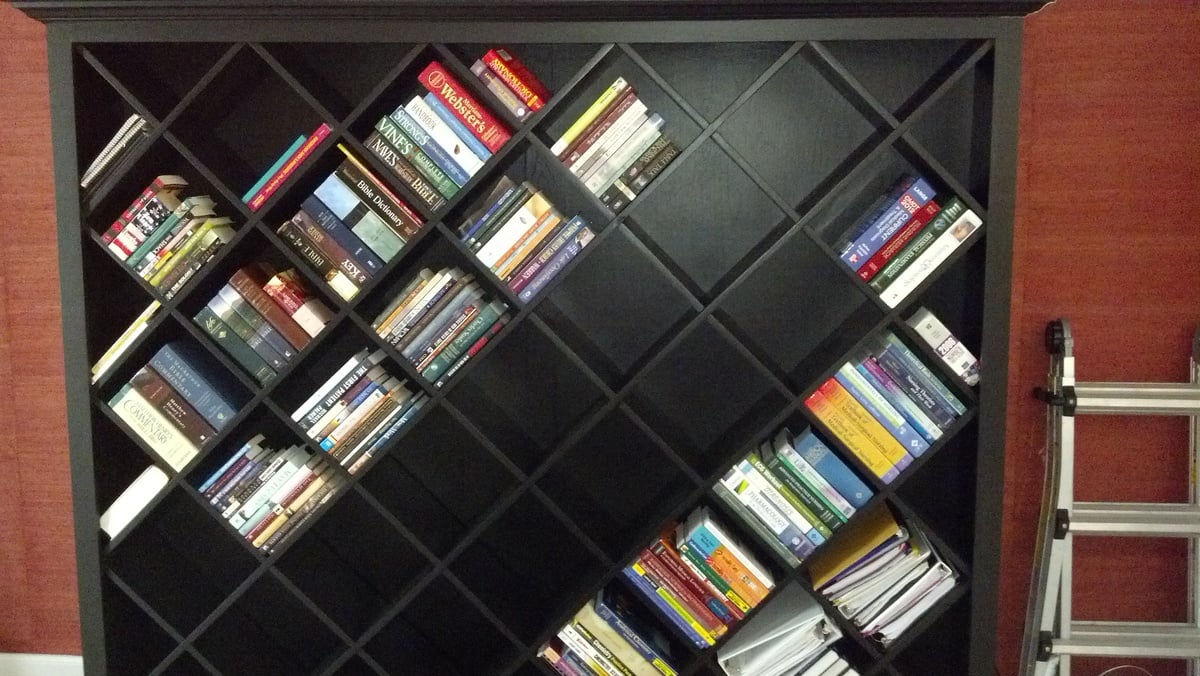
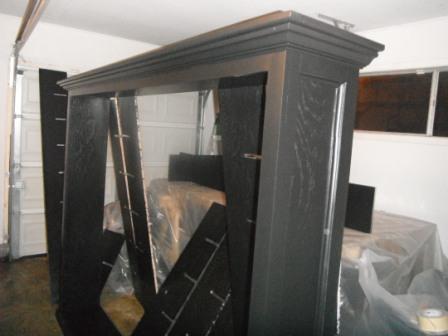
Those were challenging because, as I stated before I am not even a beginner. I was going to try and use my little trim router to cut them but I learned quickly routers cause much saw dust. I don't have a router table and my router is small. I decided to use my miter saw. I measured out where the slots should go and Cut the outside boarders of the slots with my miter saw. I don't have a jig saw either so I chiseled the the remaining piece to form the slot. I then used my small trim router to smooth out the slots. After I got in a groove it went pretty fast. It was a lot of Slots. Like I said before, I am very new and I know there are easier ways to do this lol. Just a hint..If you ever use interlocking slots and plan on painting the project, I wouldn't make the slots exact to the bare wood. The primer and paint add to the thickness of the wood so it is important to take this into consideration before cutting the slots. Again, very new to this.
Wed, 02/01/2012 - 06:28
I don't think that you can say that your "new to this" any more. You cut your teeth on quite an ambitious project. You did a fantastic job! And just wait till you learn sketchup, the FUN you will have! Keep up the great work and keep posting! Can't wait to see your next project!
Wed, 02/01/2012 - 12:32
I've never seen a diagonal bookcase before, but I like this one. You'll never have to worry about straightening books that have fallen on their sides either.

Sat, 02/04/2012 - 15:22
This book case looks truly expensive! My excuse is always a lack of tools, but look what you did with what you had! Everything is square and precisely done.
In reply to So impressed! by Debi G
Sat, 02/04/2012 - 19:26
Thank you for your kind words. I appreciate all the input I have been getting. I look forward to posting more projects and getting more ideas.
Tue, 02/07/2012 - 12:16
I really hope you post your plans! You did a nice job. I'd like to use a very scaled down version of this to make a wine rack in an open cupboard we have over our sink. Might have to pick your brain later. ;)
Tue, 02/07/2012 - 20:25
I saw the same commercial your wife saw, and kept trying to describe the bookshelf to my husband. Now I can show him. Thanks for posting,and I hope you figure out Sketch Up so we can see your plans!
In reply to Great Job!! by mrs2tone
Wed, 02/22/2012 - 20:33
I have started to figure it out a little bit. I thank you for the comments and am close to finishing the plans. Again thank you for your comments
Thu, 05/10/2012 - 17:29
Wow! That is wonderful...I have a similar one that I LOVE and wanted for years. It was in the Pottery Barn Catalog and OUTRAGEOUSLY priced...I don't remember exactly the $$. When "Hold Everything", a subsidiary of PB, went out of business, I got the second to last one they had in stock for $200. AND...When I saw the HD commercial I realized I might be able to make a more custom version someday. Your story inspired me to plan something, and also to perhaps even open up and learn SketchUp which I downloaded months ago...Look forward to more projects!
Mon, 10/15/2012 - 20:33
Well it's crooked. LOL Jk I think it is insanely awesome! I hope my first project is even half as good!
Mon, 07/15/2013 - 10:09
Great beautiful first build! Thank you for this great idea that triggered an idea for myself. Going take this format, and adjust the dimensions to fit as a wine shelf.
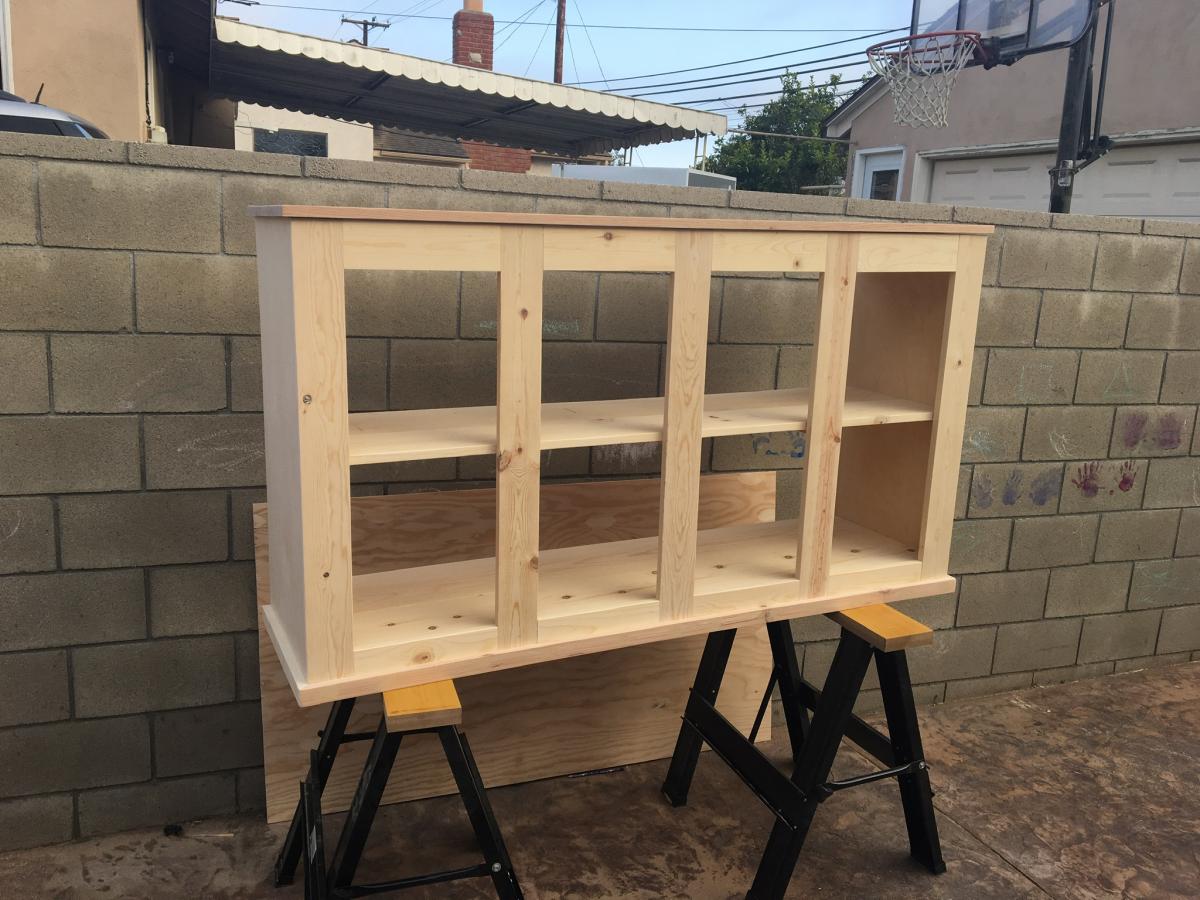
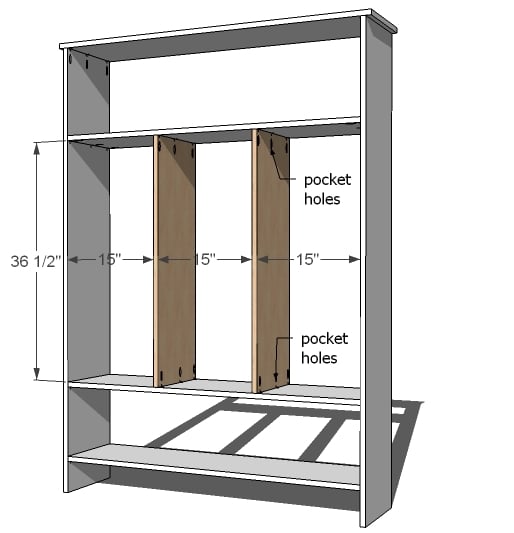
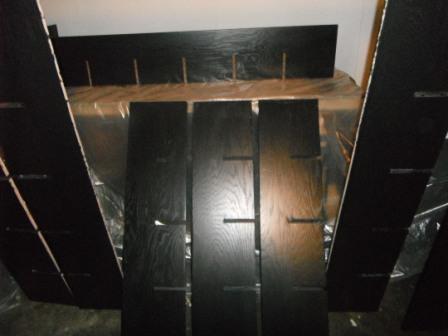
We recently decided to turn our bonus room into a Den/Play room for our energetic 20 month old son. It quickly became apparent that we needed storage... and FAST for all of those little toys that toddlers love so much.
I loved the idea of the 5' x 5' room divider cubby, but needed something that would accommodate the sloped roof. I modified Ana's plans to allow for a tiered storage option that would work with the roof line.
Cutting/prepping and assembling went quickly with the Kreg Jig. I prepped all the materials and assembled the unit in the room as it is quite heavy completely assembled. Cutting and Assembly took about 1 and 1/2 naps for my toddler (so about 3-4 hours). Sanding and Painting the following day took about another naps worth of time (2-3 hours).
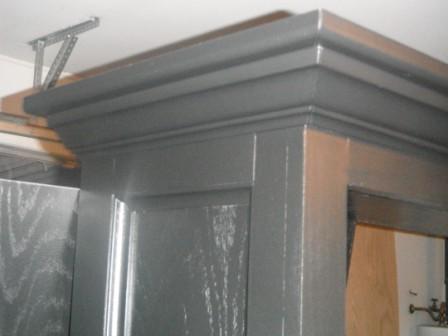
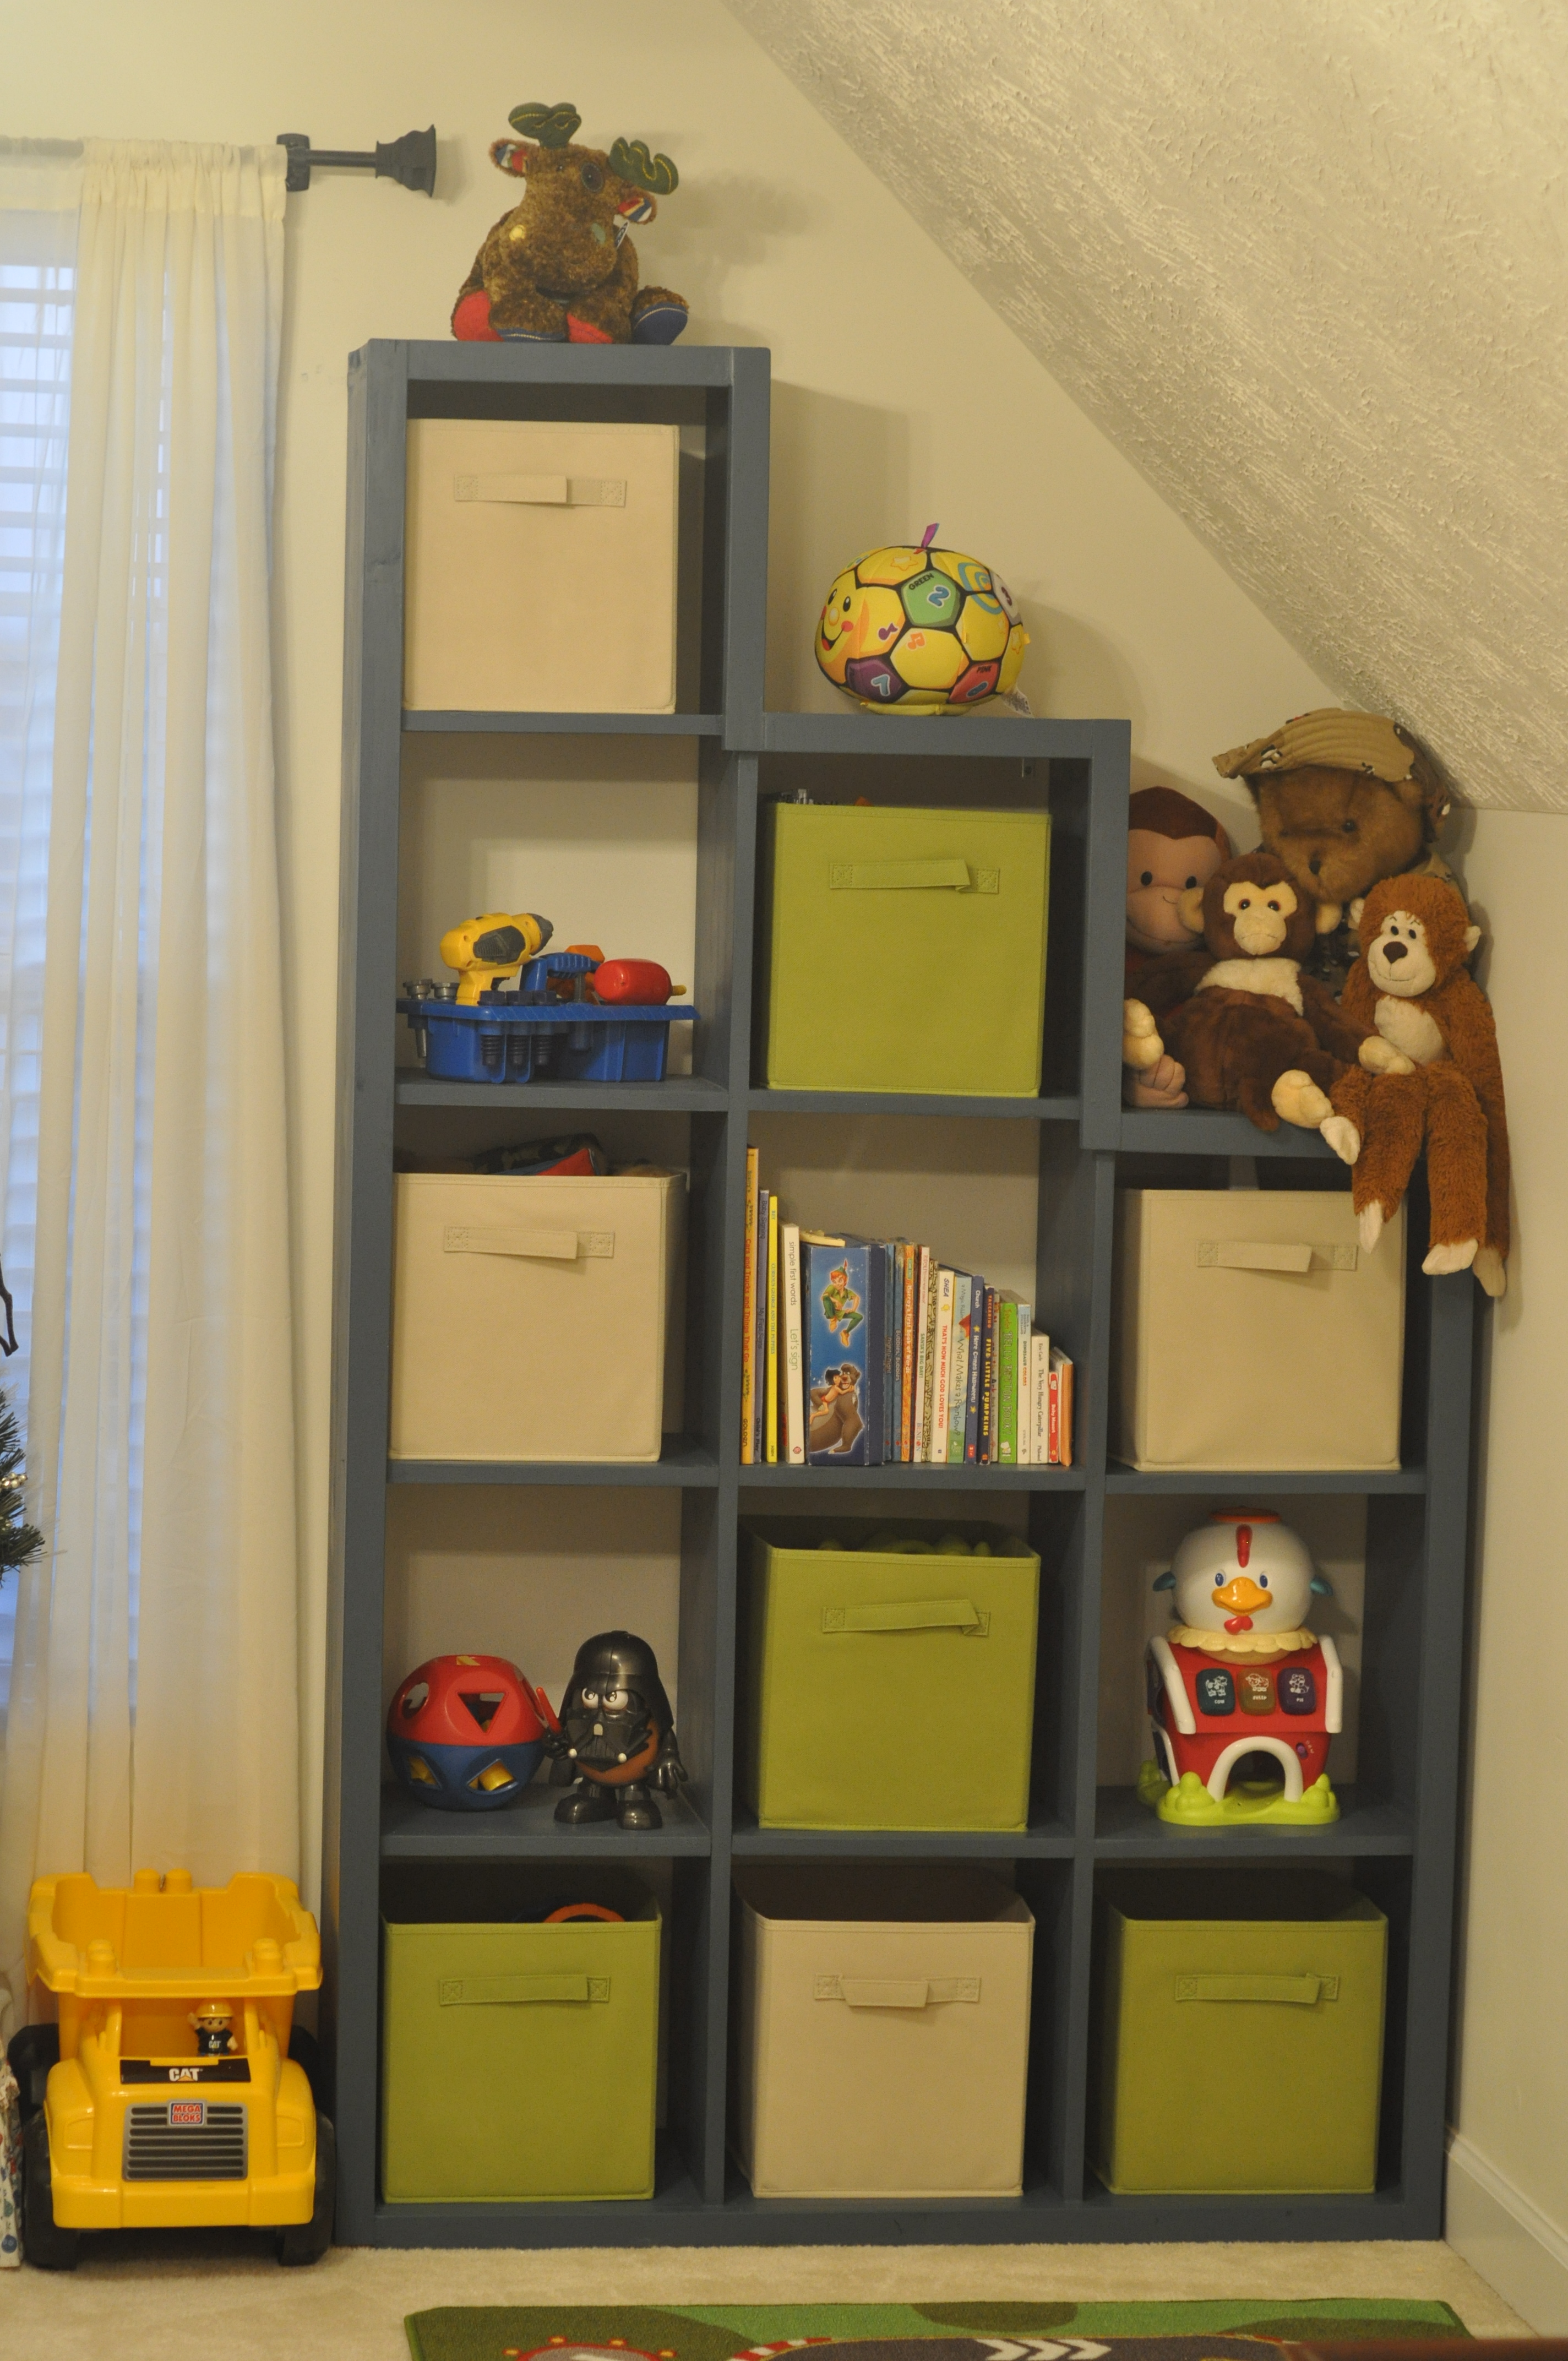
The unit is still 72" tall at its highest point- and I modified the plans slightly to ensure that all cubbies would be a minimum of 13.5 inches tall/wide. After 2 coats of paint, it was ready to be mounted against the wall for safety. I installed 2 L brackets on the top and middle rows and screwed directly into the drywall- can't be to safe when it comes to toddlers and their love of climbing!
Cost Breakdown:
1 x 12 x 8 (6): 65.00
1 x 2 x 8 ( 3): 10.00
Low-Voc all in one Paint/Primer (Valspar) (Quart)- $2.50 (a paint department return area find!)
Total Project Cost (estimate) $80-90 (including screws, wood filler and supplies)
In reply to Great Work by NimbleShopper
Fri, 12/13/2013 - 06:33
Thanks! I'll be making another one to mirror it on the other side of the window for additional storage!
Wed, 01/15/2014 - 10:09
You got the right decision placing the window there. Great house by the way!
After contacting two cabinetry carpenters to do this project for me, I came upon Ana's plan for the Momplex. I made some adjustments for my home abd surprised myself.
My motto "what's the worse that can happen? I have to call someone! "


Comments
Ana White Admin
Mon, 05/22/2023 - 11:00
Stunning color and build!
WOW, it looks amazing, love your finish choices!