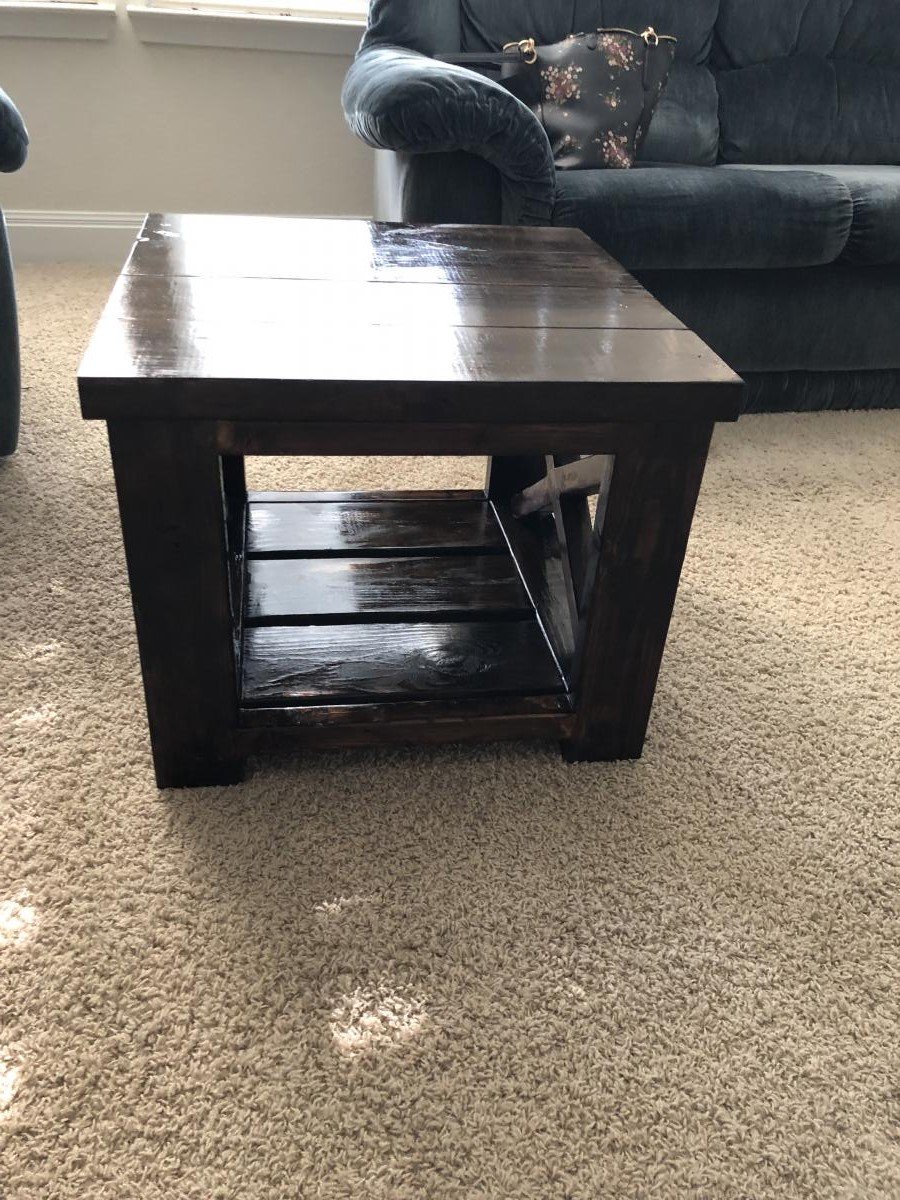
Farm table
Thanks for the plans!
Minwax Gloss polyurethane
Thanks for the plans!
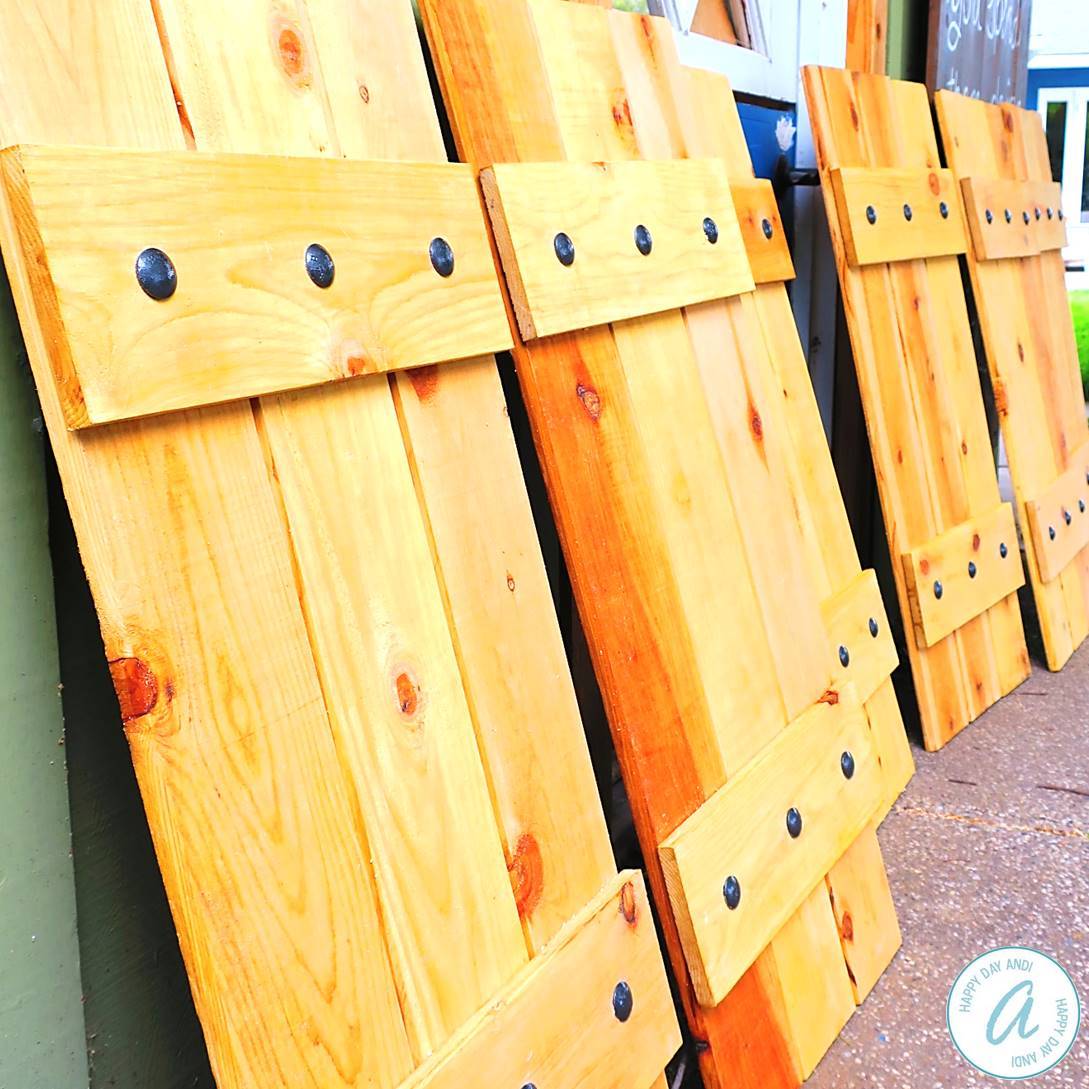
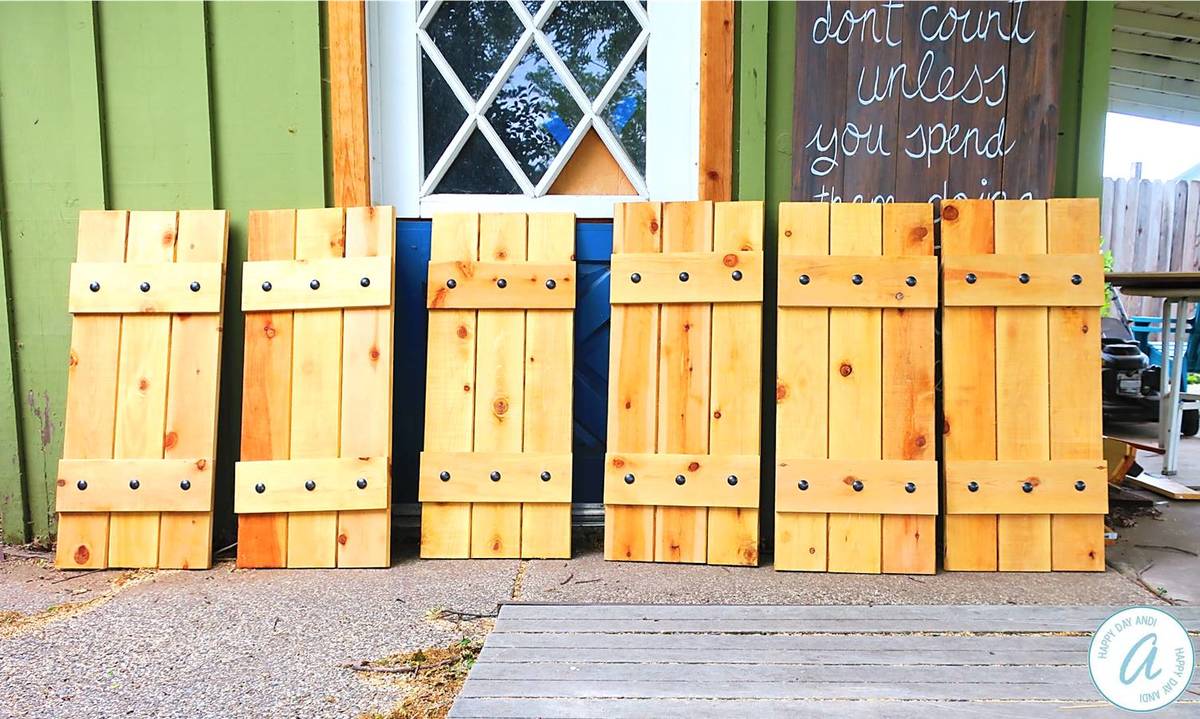
I really wanted to add a layer of depth to the front of our house, and my favorite option was adding new shutters! I used fence boards to keep cost low and to be sure that the wood would stand up to all weather conditions. I protected the wood with an oil-based sealant made for exterior use. I attached the cross braces with chunky screws and painted those black. I love how they turned out!

I was really into building things and DIY over 10 years ago, but due to work/life I hadn't done anything since 2009. I was going pretty crazy working from home during the pandemic, and decided to get back into home improvement to have something to look forward to. After doing some painting and building a few accent walls out of shiplap and reclaimed wood (and loving it), I decided to turn my single car garage into a shop. This is when I found Ana White, and absolutely loved the plans and videos around the wall storage and workbench. I can't believe how sturdy everything is, how straightforward the plans are, and how well this turned out. It made me want to build all the things, and I'll be taking on many projects in the future. (my apologies for the pictures being in the wrong orientation - can't seem to adjust them)


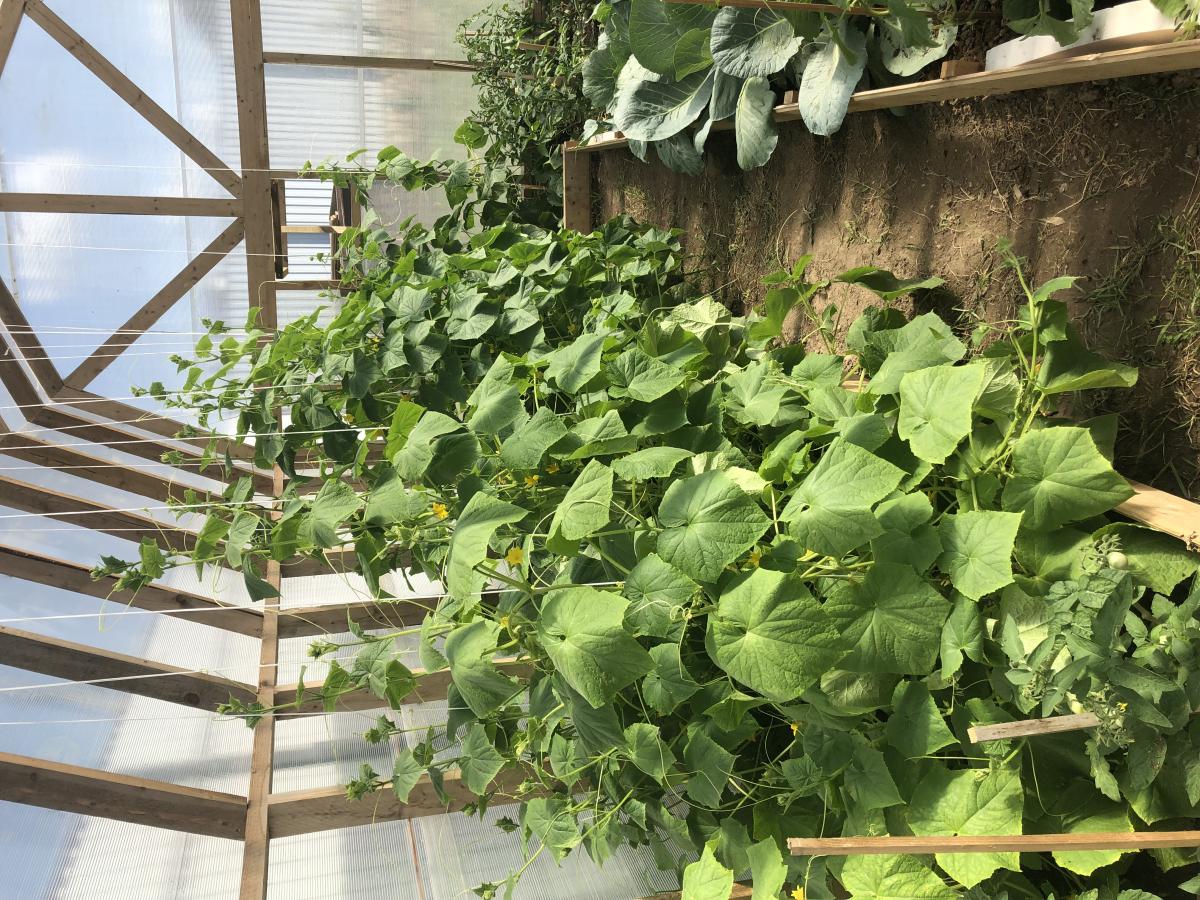
This was my first attempt at building a greenhouse. I wanted my cucumbers to be able t climb high so I made the house higher than the plans showed. It's also a little larger too. Since I am in Europe my dimensions are in meters. The overall size is 3 x 6 meters. I also built it on top of 100mm x 100mm lumber (the equivalent of 4x4's). It took 5 sheets of 6mm thick polycarbonate in 2 x 6 meters.
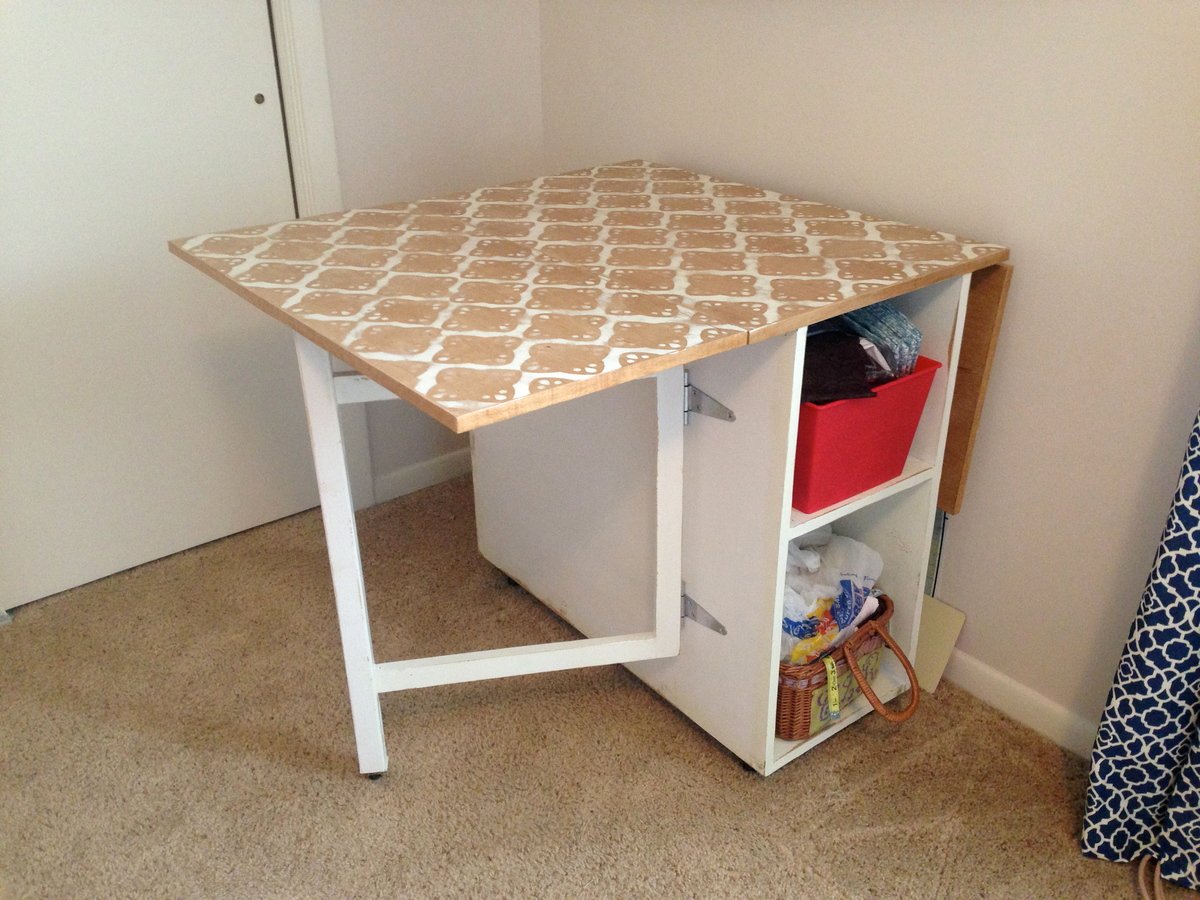
My husband and I built this table as our first project. We followed all of the dimensions from Ana's "Small Sewing Table" project here: http://ana-white.com/2010/10/plans/sewing-table-small-spaces?page=1 The only thing we changed was the size of the table top and the legs. We were worried about putting my heavy sewing machine on top of the leaf called for in the plan, so we created gate legs to support the leaves. Since the legs were going to be folded up in between the base and each leaf, we extended the center portion of the table top to accommodate the change. After it was assembled and stained, I decided that I didn't like the solid color, so I stenciled on a pattern with white latex enamel paint (what I had on hand) and continued to paint the base. After lightly scuffing it up with the sander, I layered 3 coats of poly on top. It has held up well, even after many large quilt projects! I just LOVE my sewing table!


Fri, 08/05/2016 - 13:41
Hi there. Could you please tell me what the brackets are you used with the gateleg? Do you remember where you got them? Thank you!!!
Fri, 05/26/2023 - 16:59
Hello I was wanting to know how to make the Gate-Legs for this project? Like the measurements and such. Thank you.
Sun, 05/12/2024 - 08:40
How heavy of sewing machine can this hold? My machine is 32 lbs. Would it be able to sit and be used on the “leaf” side of the table ?
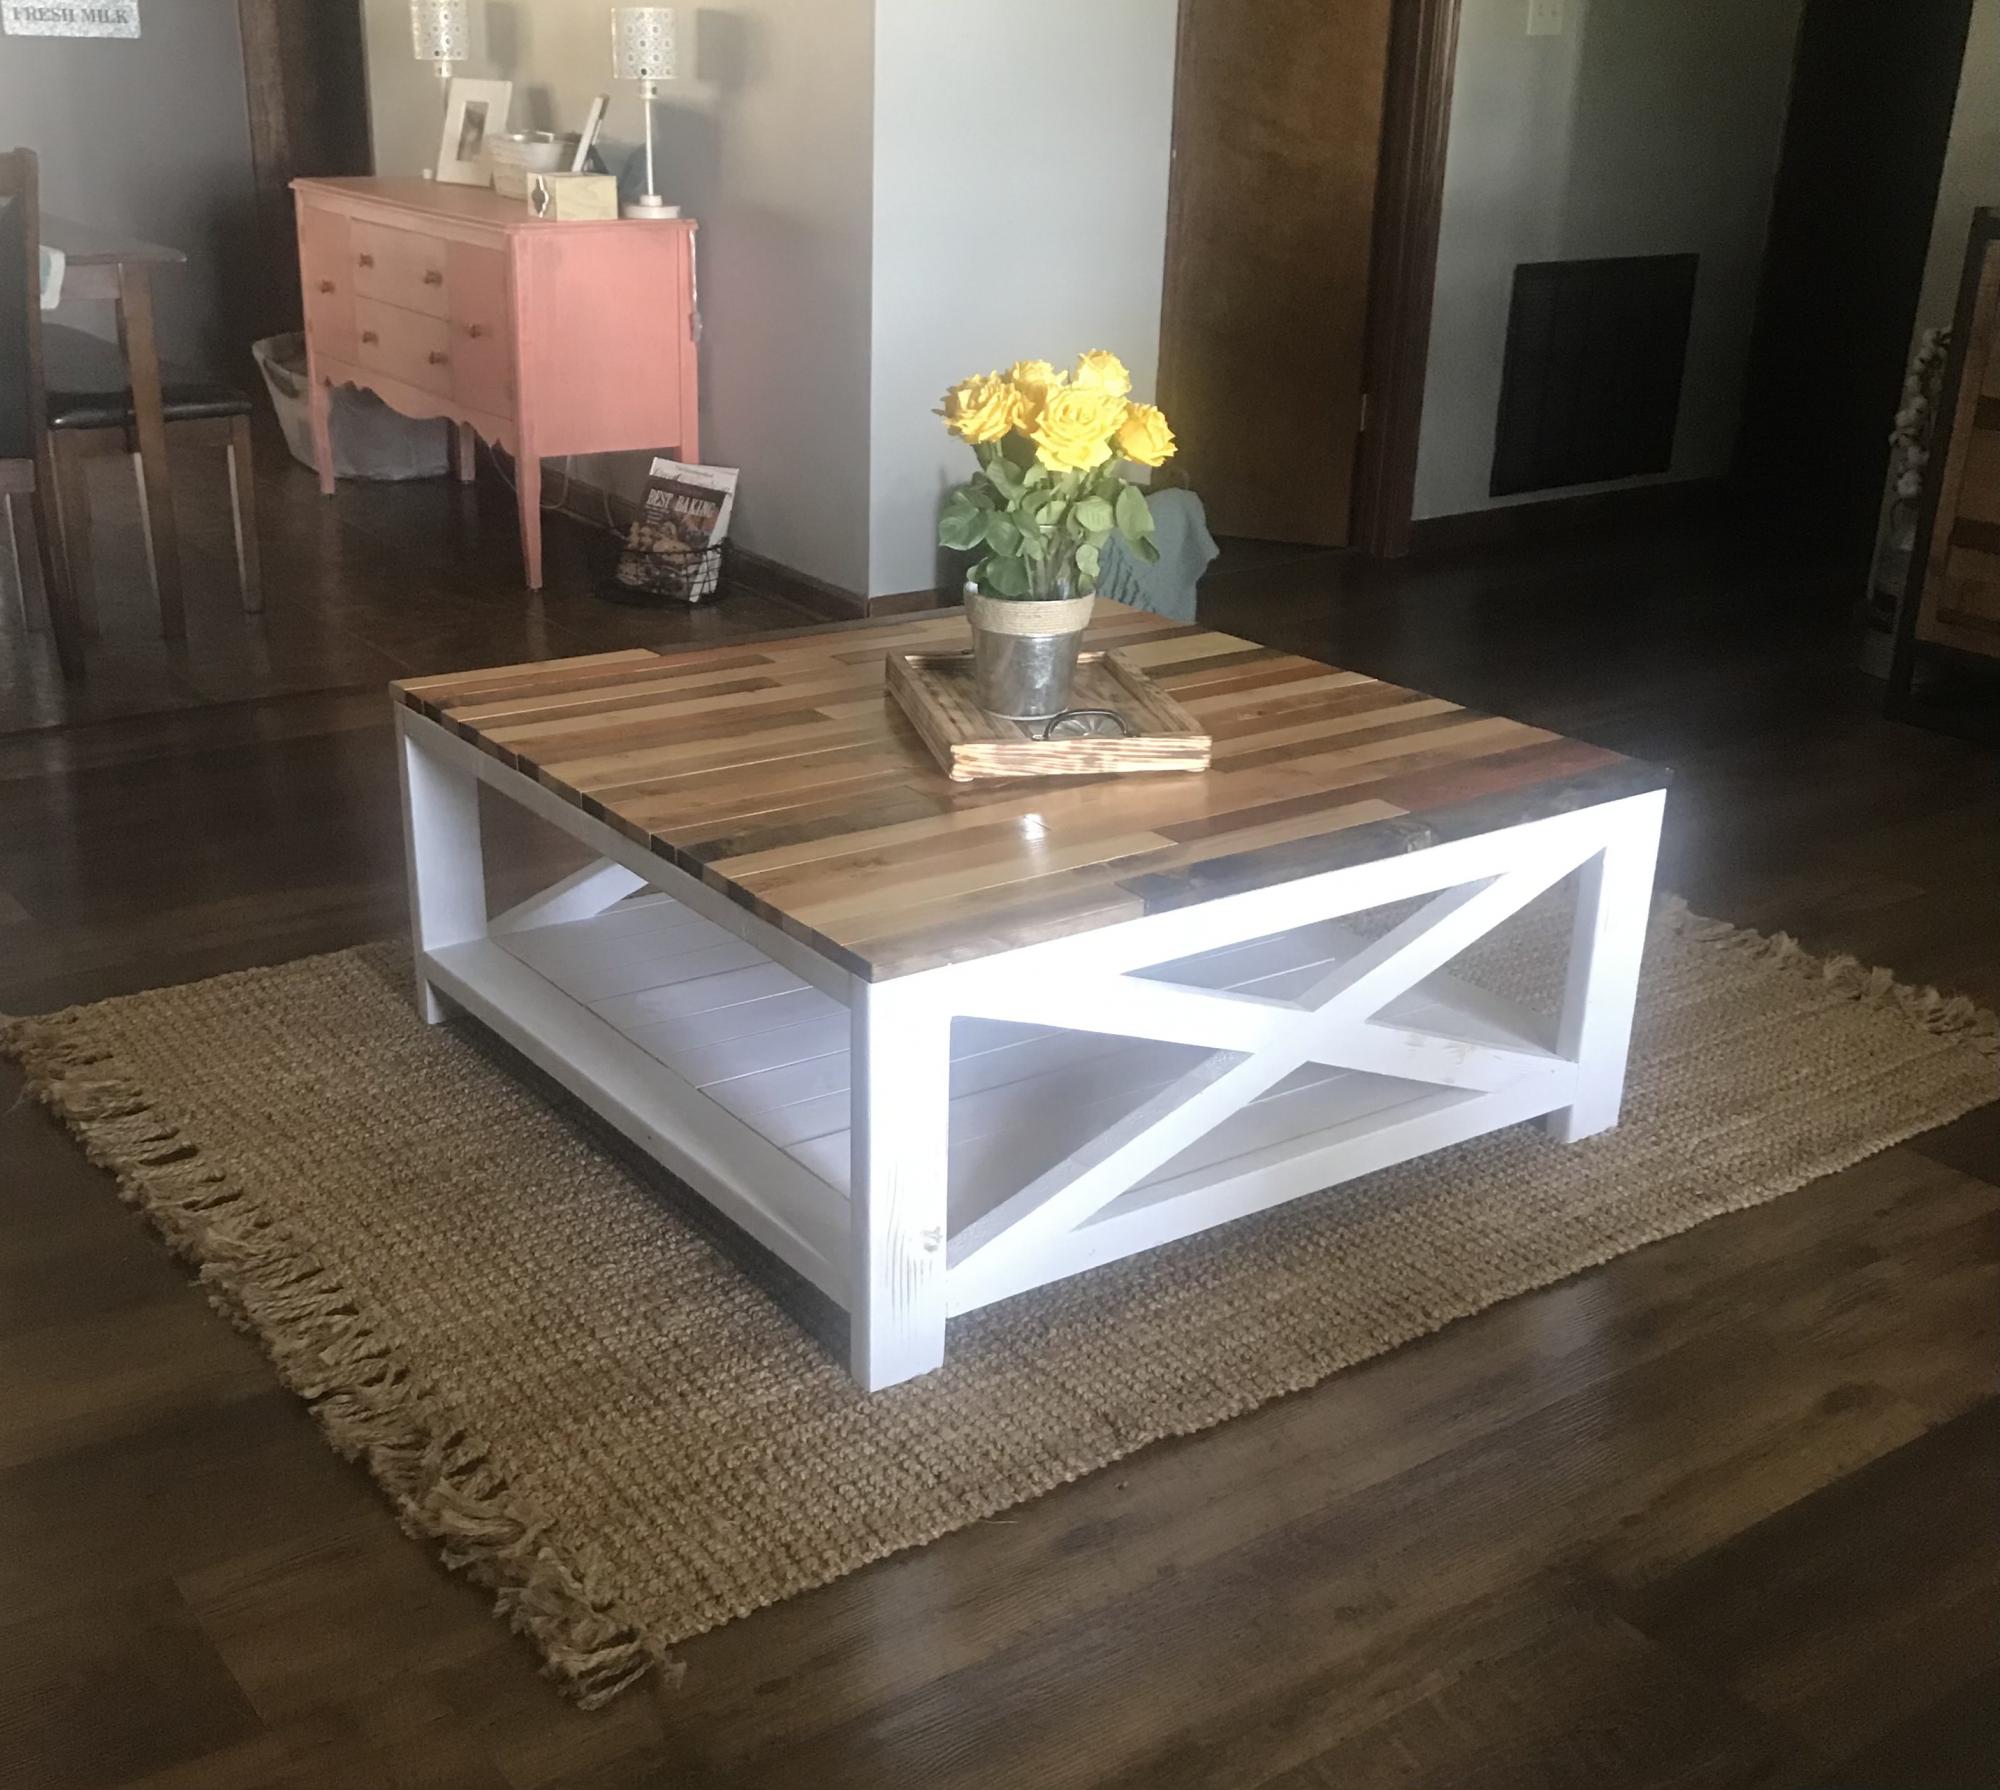
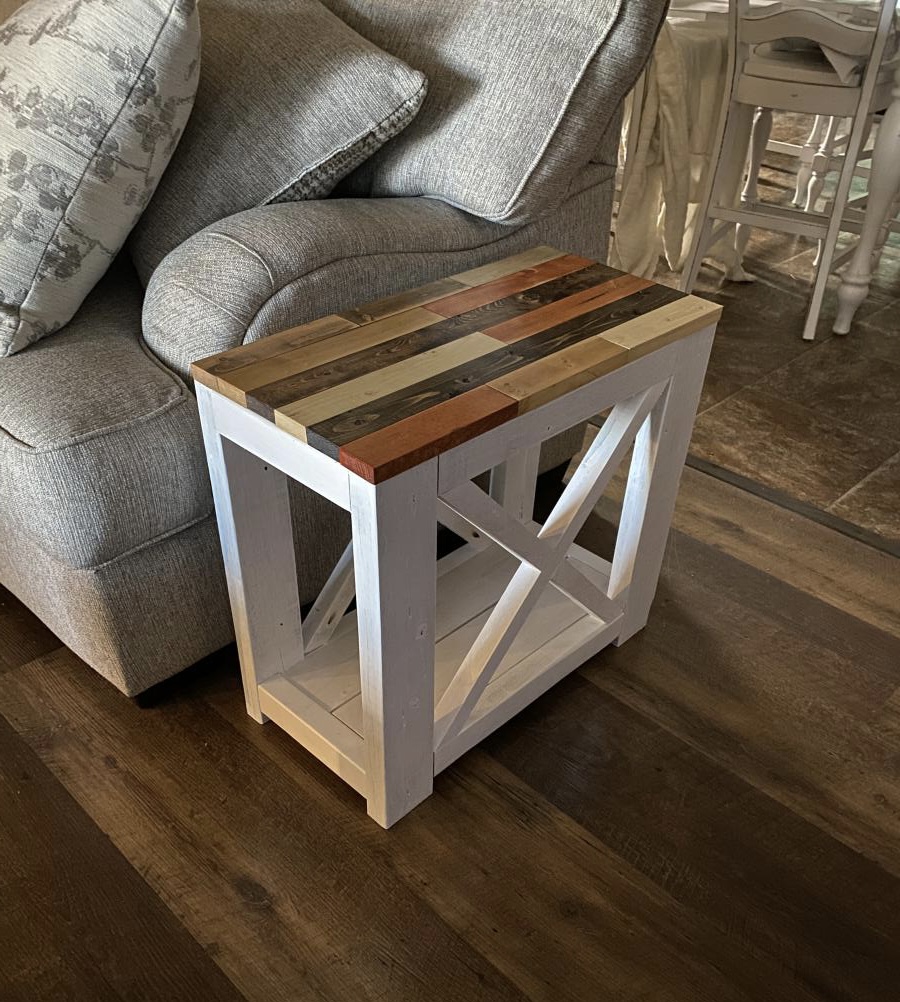
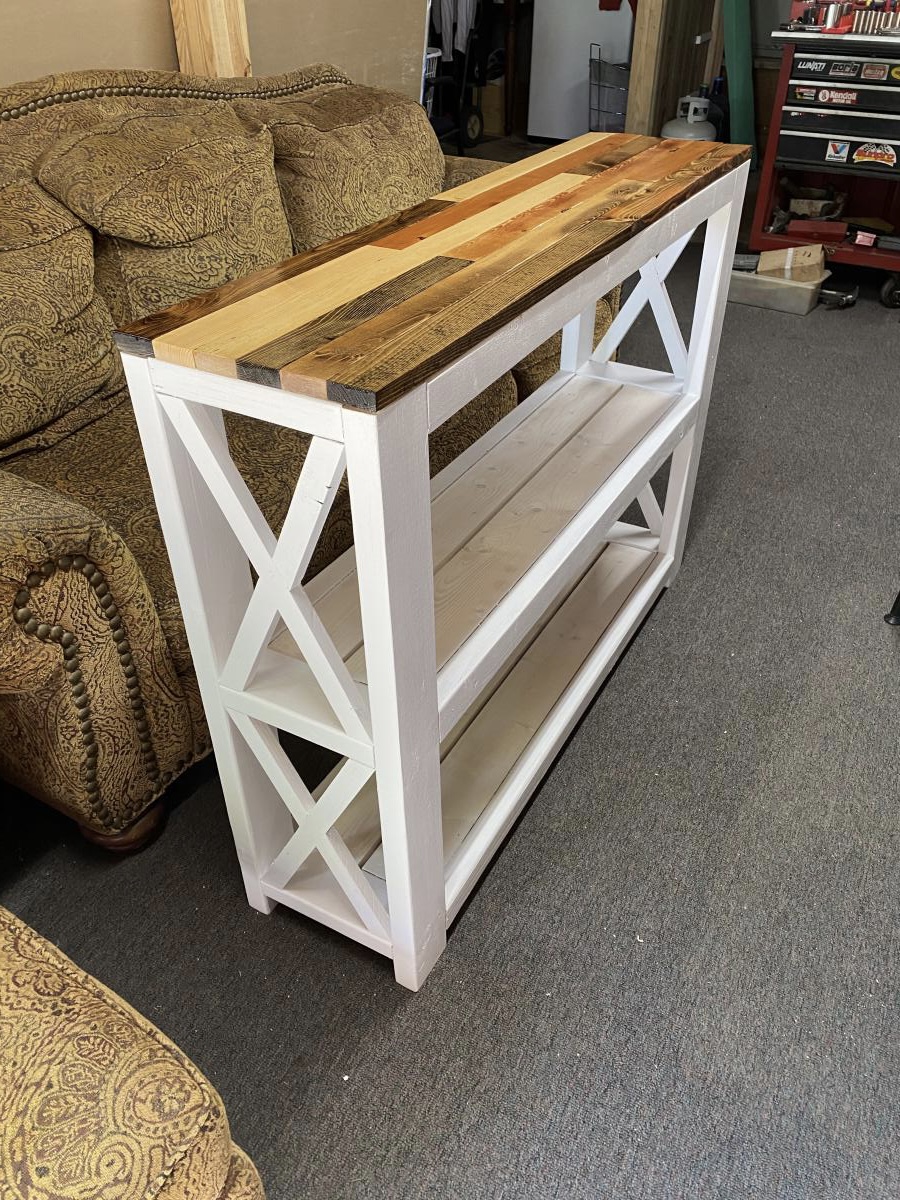
Farmhouse coffee table, sofa table and end tables, plans from farmhouse but added a twist to the tops, 2” strips each stained a different color.
Tue, 10/05/2021 - 10:27
The color choice and variety of top boards really make this pop! Thank you for sharing!
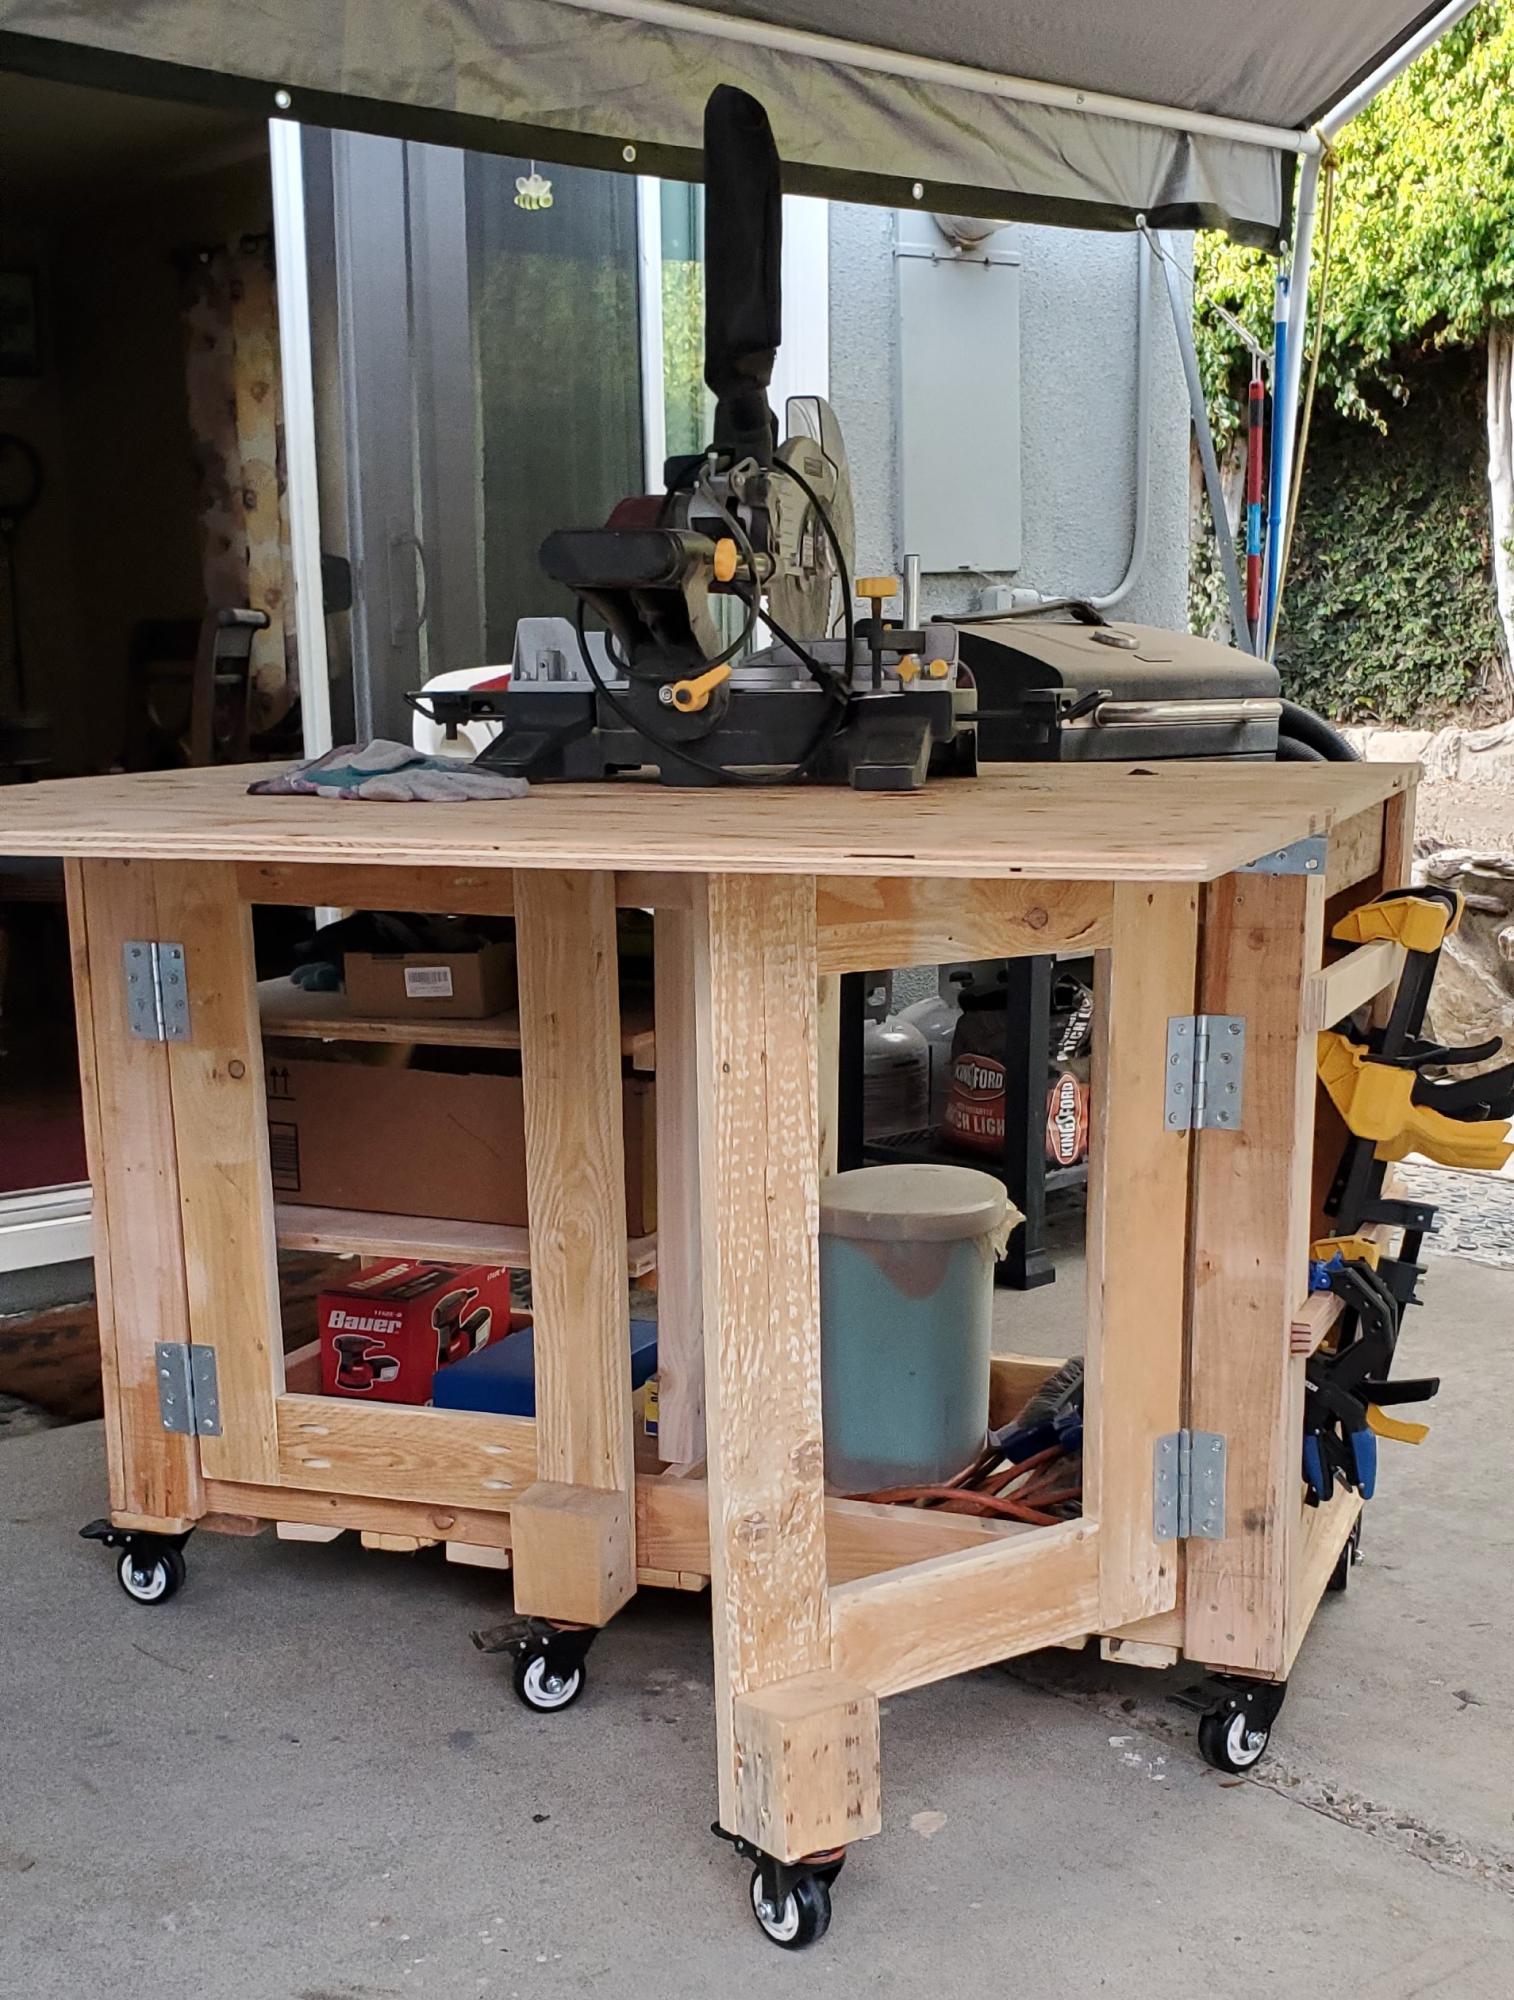
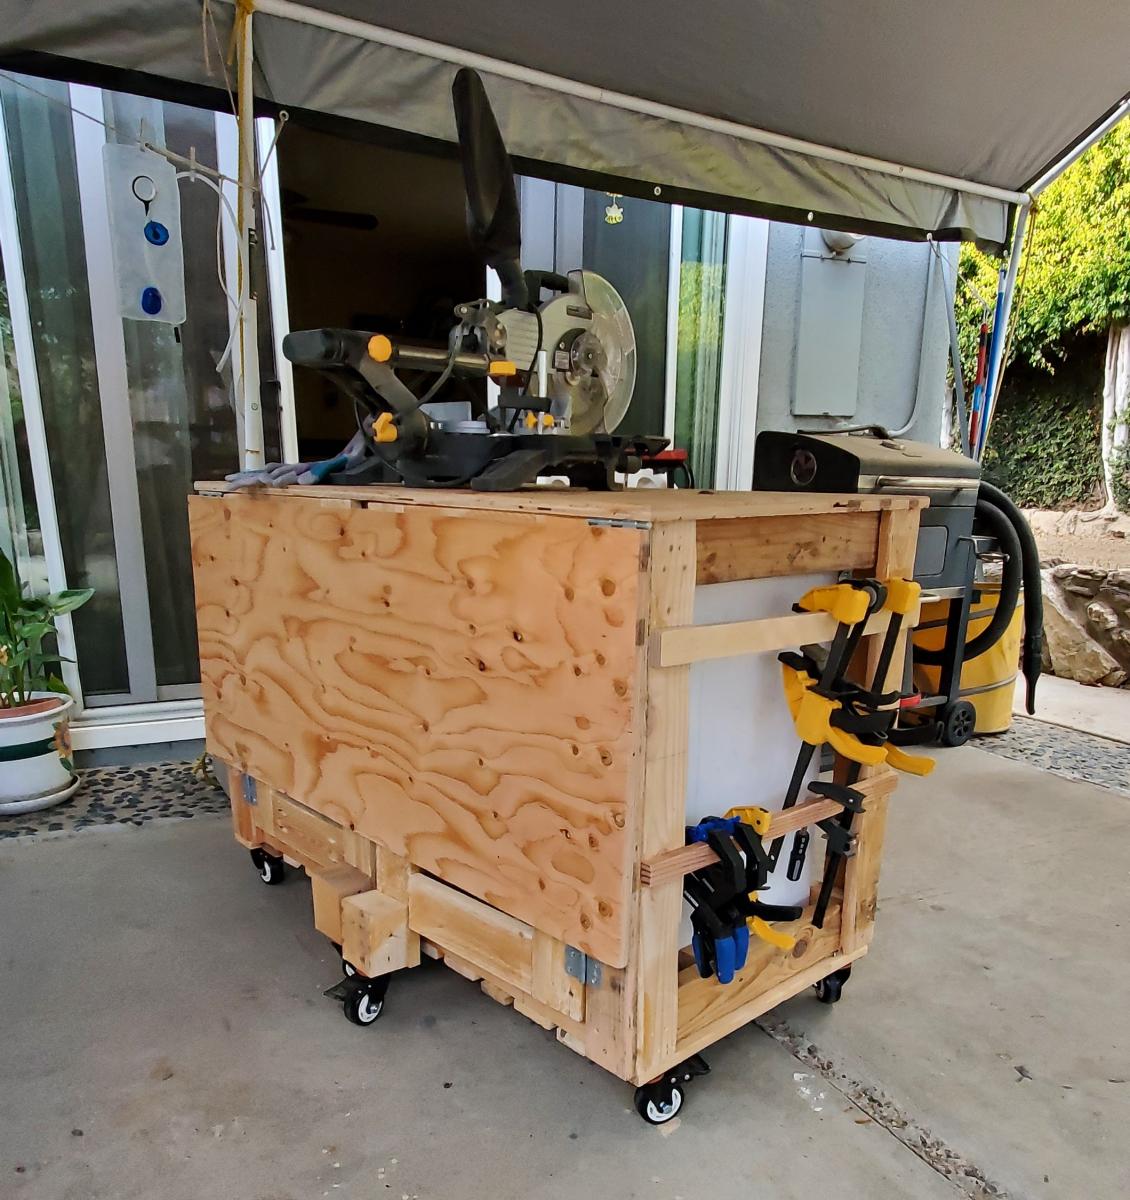
I'm a beginner DIYer and I knew one day I was going to have to make a workbench. I made mine 24x48 so I wanted a little more support to hold up the drop down leaf. I searched your site and found another plan with these gatelegs and knew this is what I wanted. I love the way it came out. What do you think?

I used Ana's plan as a base.
I changed it from 8x8 to 8x12, made the 4x4x8's to 4x4x10' for a higher main platform and swing platform, and added a 12' long monkey bar set to the other side. Also, an 8' climbing wall and a plank walkway to accompany the two slides.
For the clubhouse, I used Hardiplank 4x8 sheets for the siding and an EZ-Framer kit for the structure itself.
The slides I purchased from Lowes, monkey bars from Amazon, and the swing frame braces from Amazon as well. The swing kits I got from ebay.


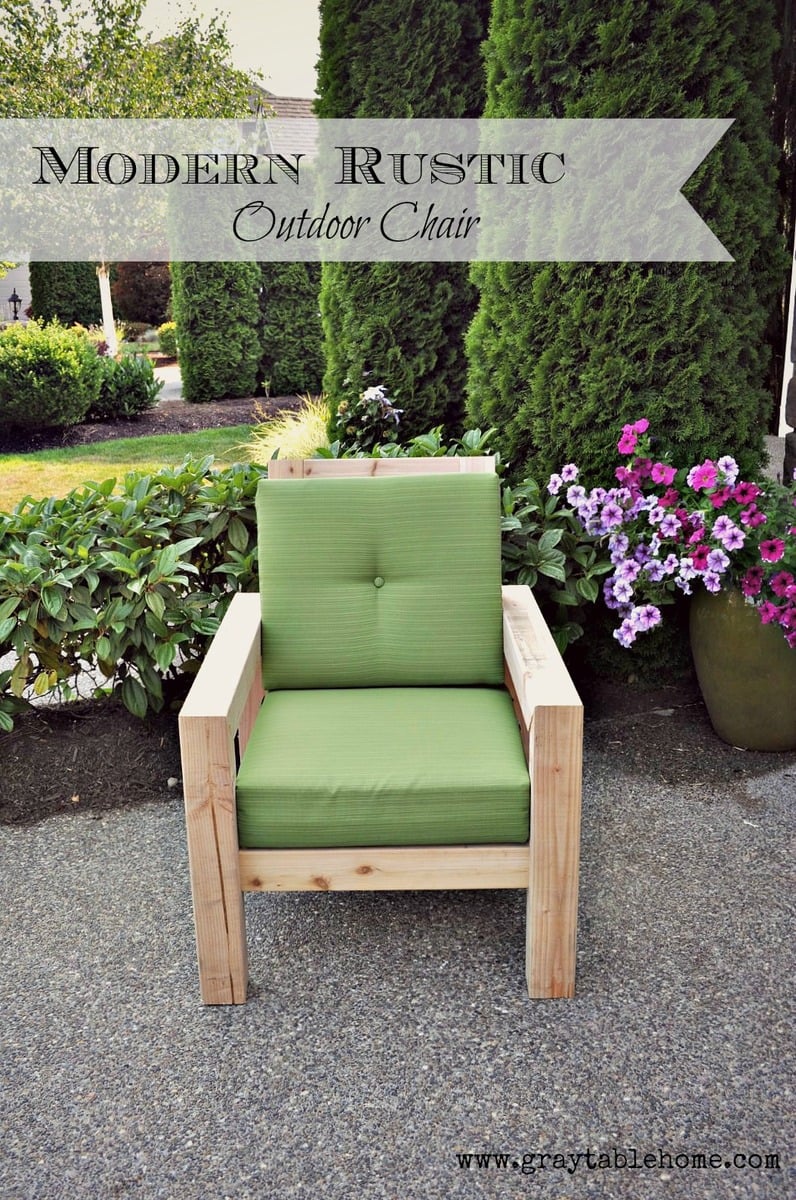
I made this outdoor chair by looking at a variety of plans and designs from Restoration Hardware and other stores. Check out more info on the project on my blog link. Thanks for looking!


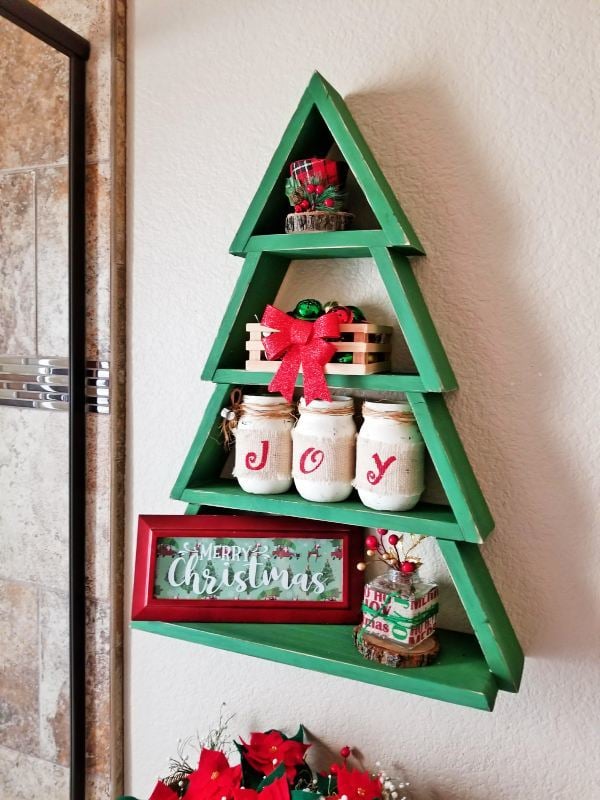
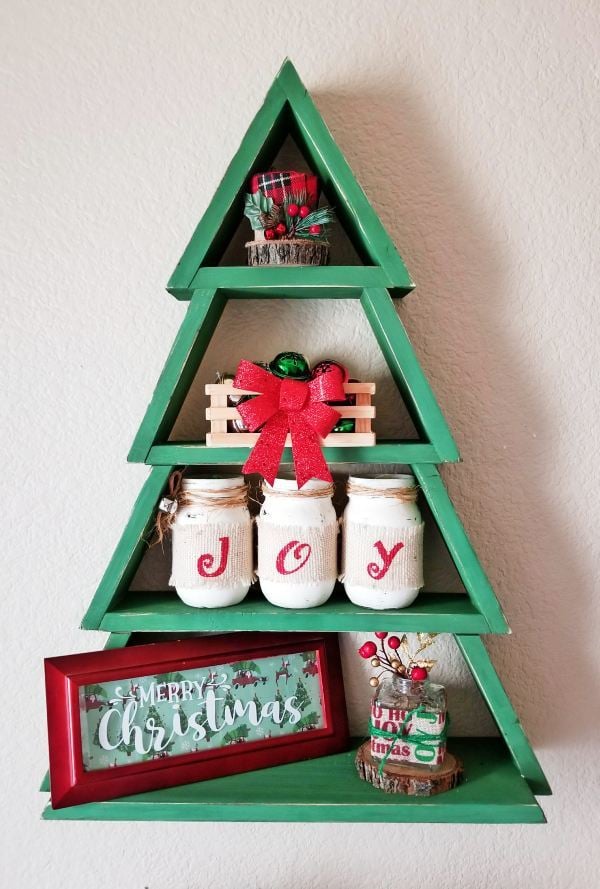
I made this easy and cheap Christmas tree wall shelf to add character to my guest bathroom. I went through all my wood stash and found enough wood to build this project with!
Make sure to pay attention to the long and short point directions in Ana's plans. Since I was hanging this above my toilet, I didn't need the hooks so I just omitted the bottom piece all together.
I ended up using wood glue and a nail gun to put everything together so it went really quickly.
I painted the whole tree with green chalk paint and distressed the edges with sandpaper. Hung it up with L brackets in a stud.
Fun and easy project! Thank you Ana!!
Mon, 11/05/2018 - 11:27
Super cute! I love the wider bottom shelf and the green paint!

First Dresser project using the plans on this site.
My wife is very happy with the result and so am I!
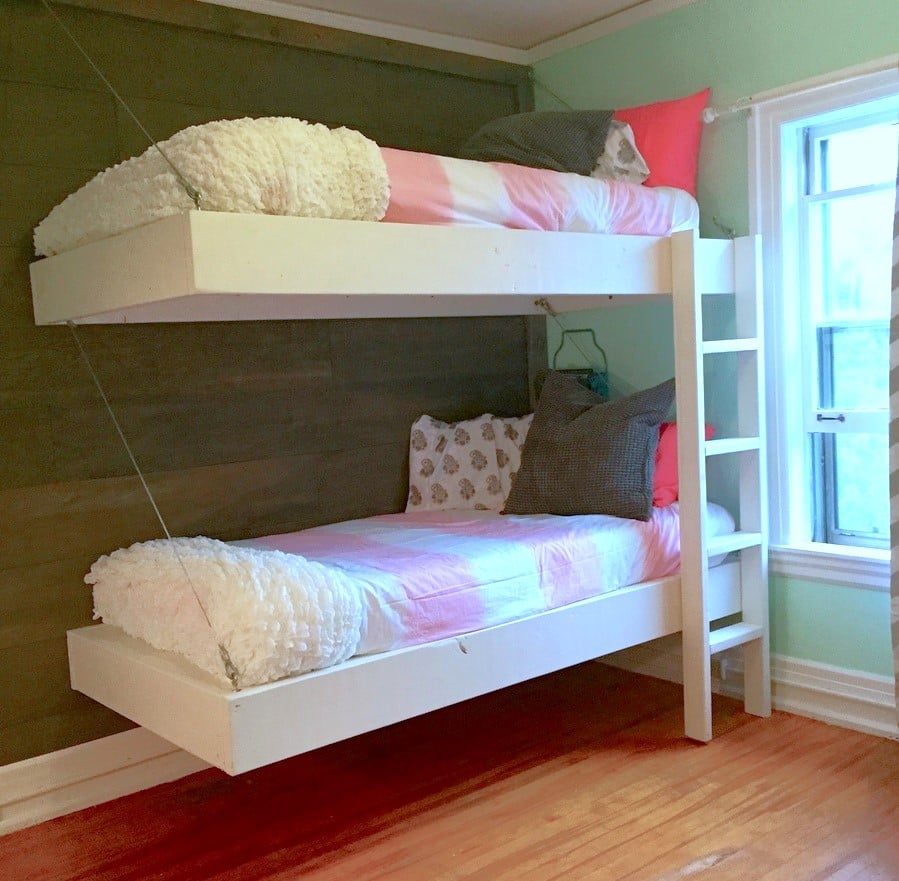
This little girls room needed a little happy birthday! I planked the wall with birch veneer, made simple box frames for the beds and desk, and attached them to walls with heavy duty cable. Then my friend added her designer touch, and made it cozy and girl CHIC!


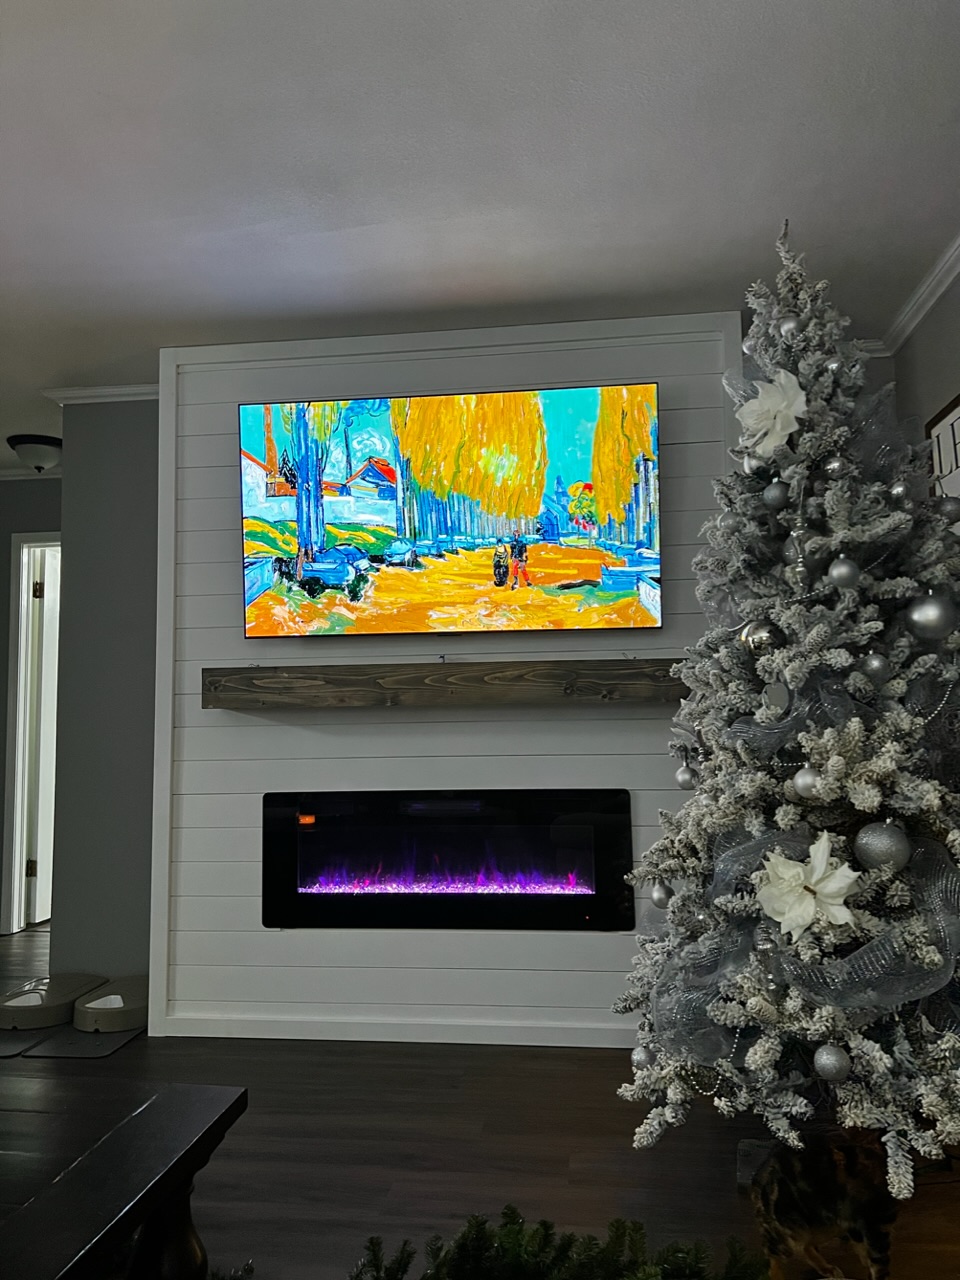
We did the Easiest Shiplap Fireplace in a weekend, thanks to Ana’s plans. I convinced my husband to help me build this by upgrading to a 65” tv and adjusting the dimensions. We also built a shelf behind the tv to hold our receiver and Xbox that is hidden when the tv is in place. Ana’s tutorial was amazingly and gave us the confidence to finally build something that’s been on our list for 2 years!
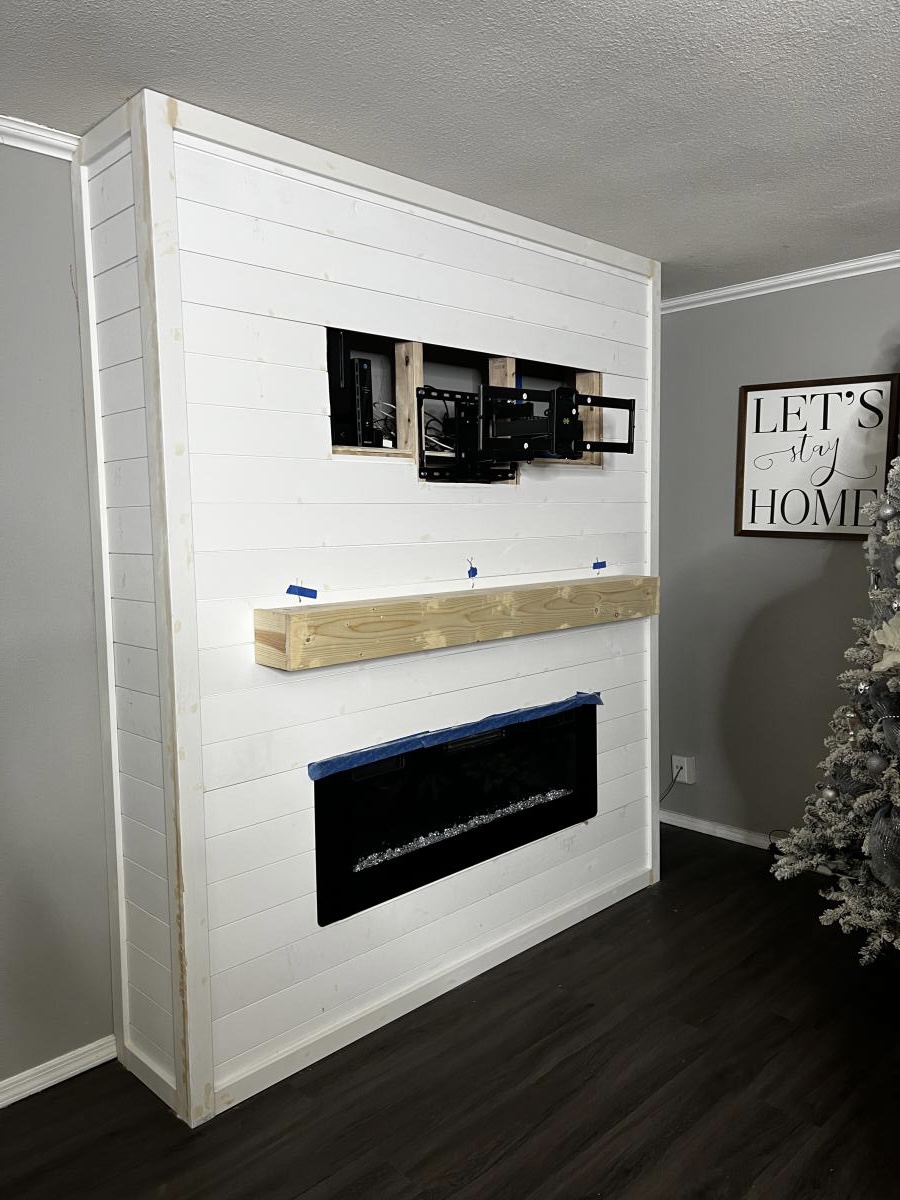

We added additional trim to the top and also a thin trim across the front of the shelves to hide the raw edge. For paint, I used a grey chalk paint and then wiped an antique white chalk paint over it. I had stained the edges before painting and lightly sanded the paint off of the sharp edges so you see minor amounts of exposed stained wood.
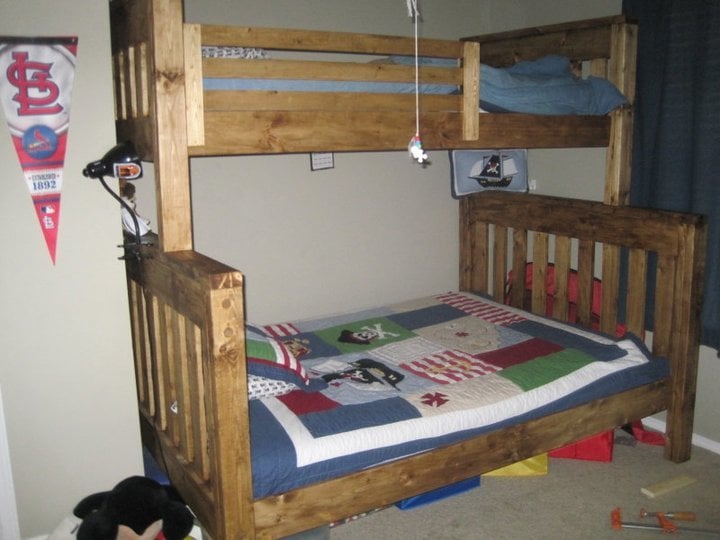
Ok, to start off with I am a guy and I love to build things, but I'm not some techincally savvy dude. I need simple plans and this was an awesome build! I love it, my kids love it, and most importantly my wife loves it. As others have said, It is BIG. but small things I did saved some space. For instance I cut the 3" off of the tops of the headboards to save 6" of linear space. Little things went wrong along the way, but they always do... finished in about 4 days workings sporadically. I've got about 350$ in it, and couldnt be more pleased. I will definately build more things from your plans. IF anyone is thinking of building it DO IT! Definatley need the KREG Jig. I should have bought that thing a long time ago. would have made several projects easier.
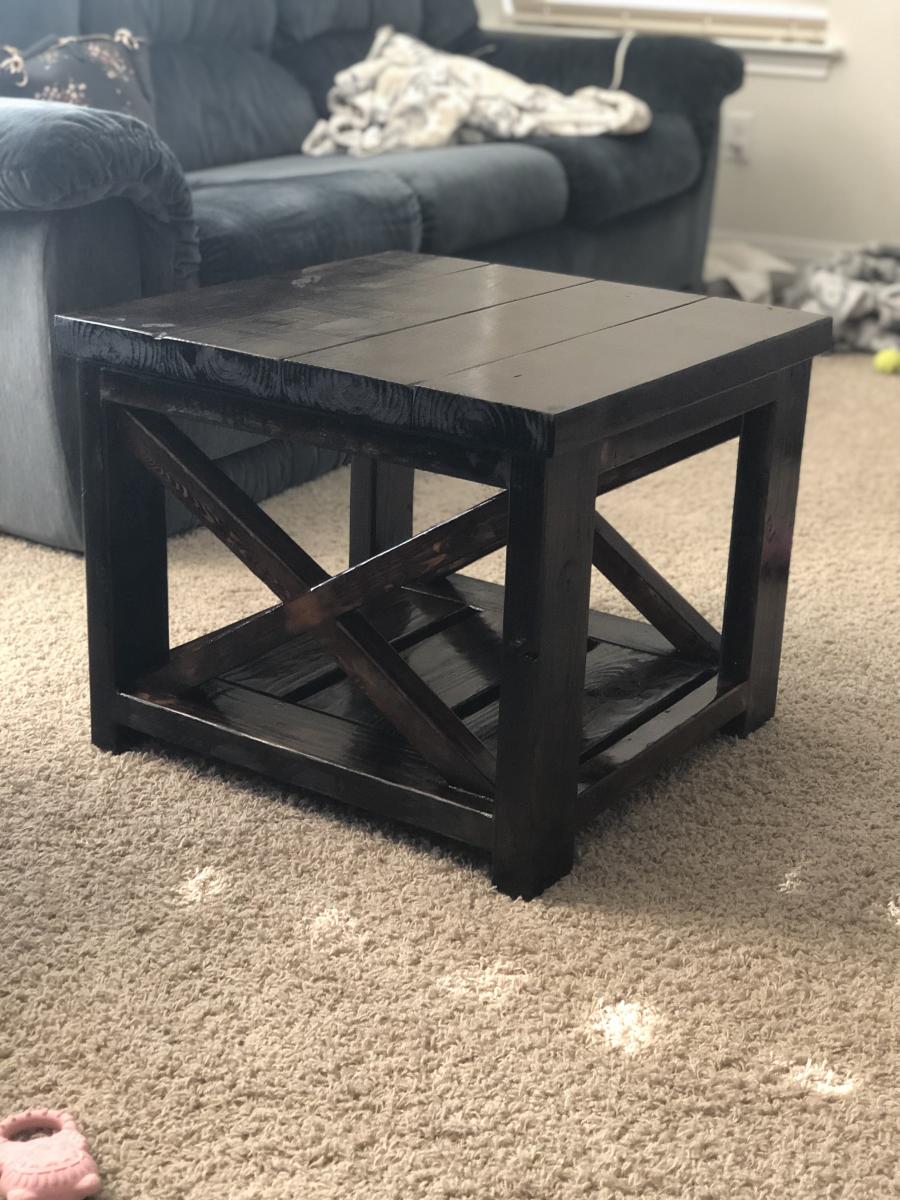
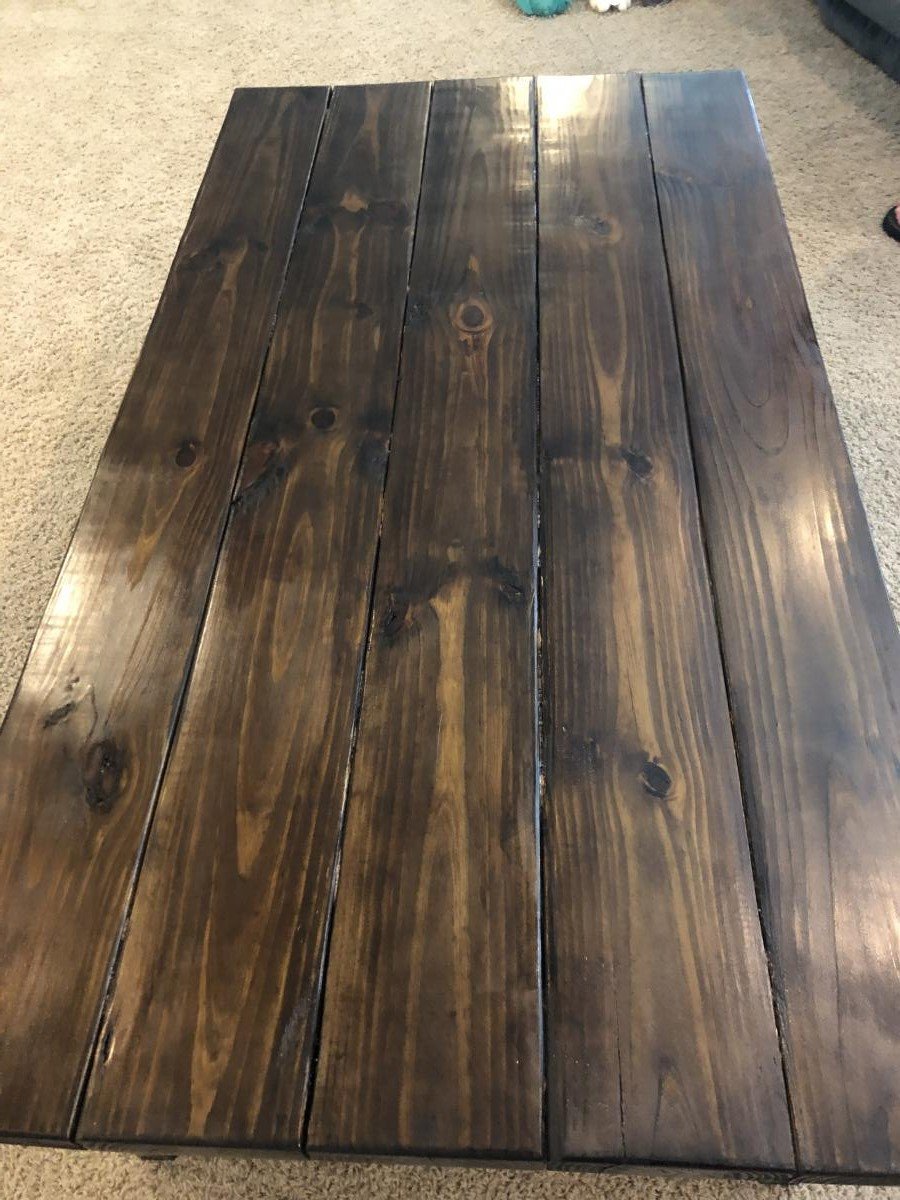
Really enjoyed building these tables. The plans are great and easy to follow! I aged the wood before staining it, then finished them with 3 coats of poly! Best thing is my wife loves her new “Pottery Barn” like tables!
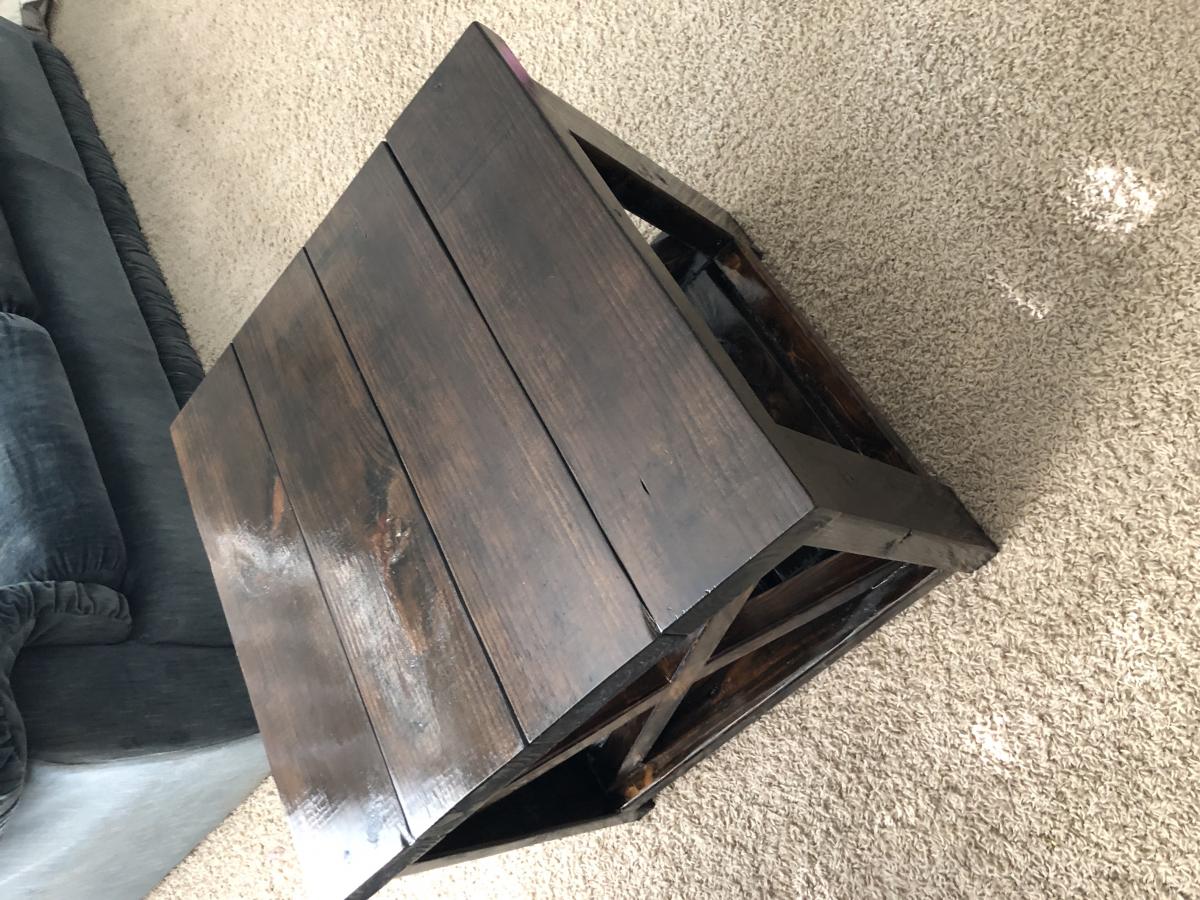

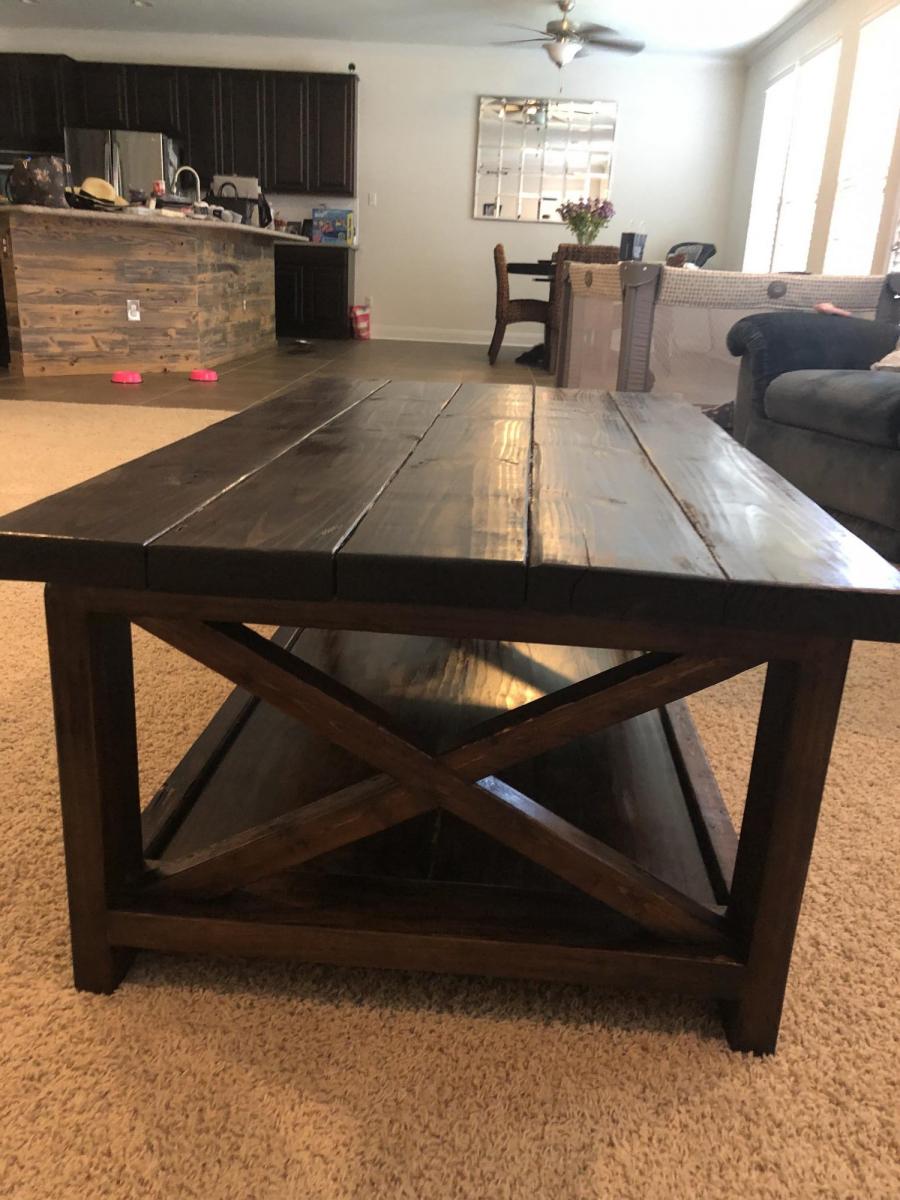
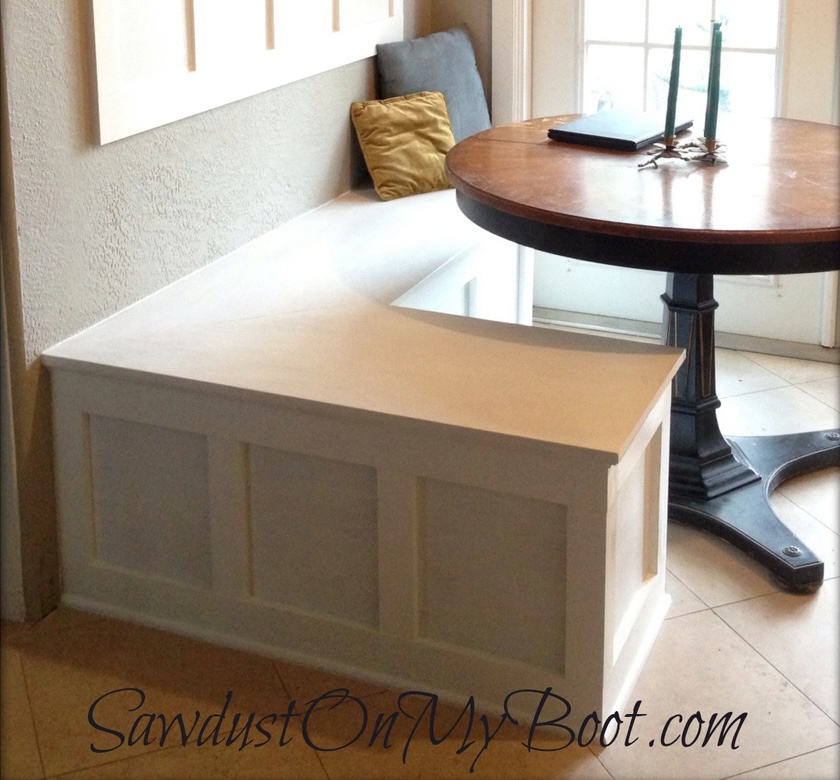
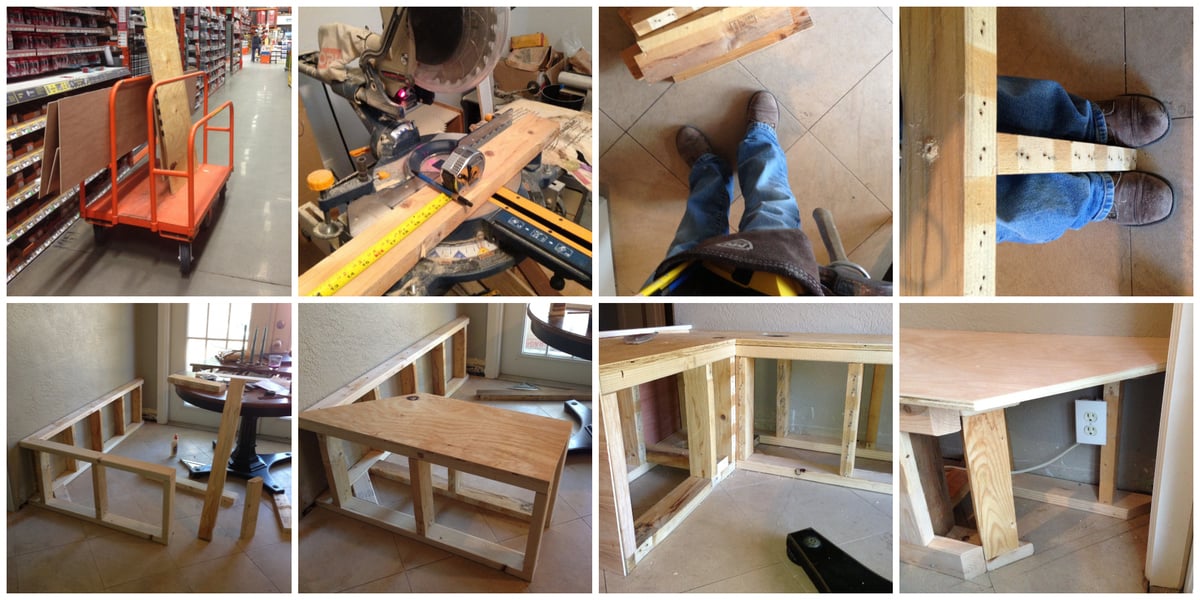
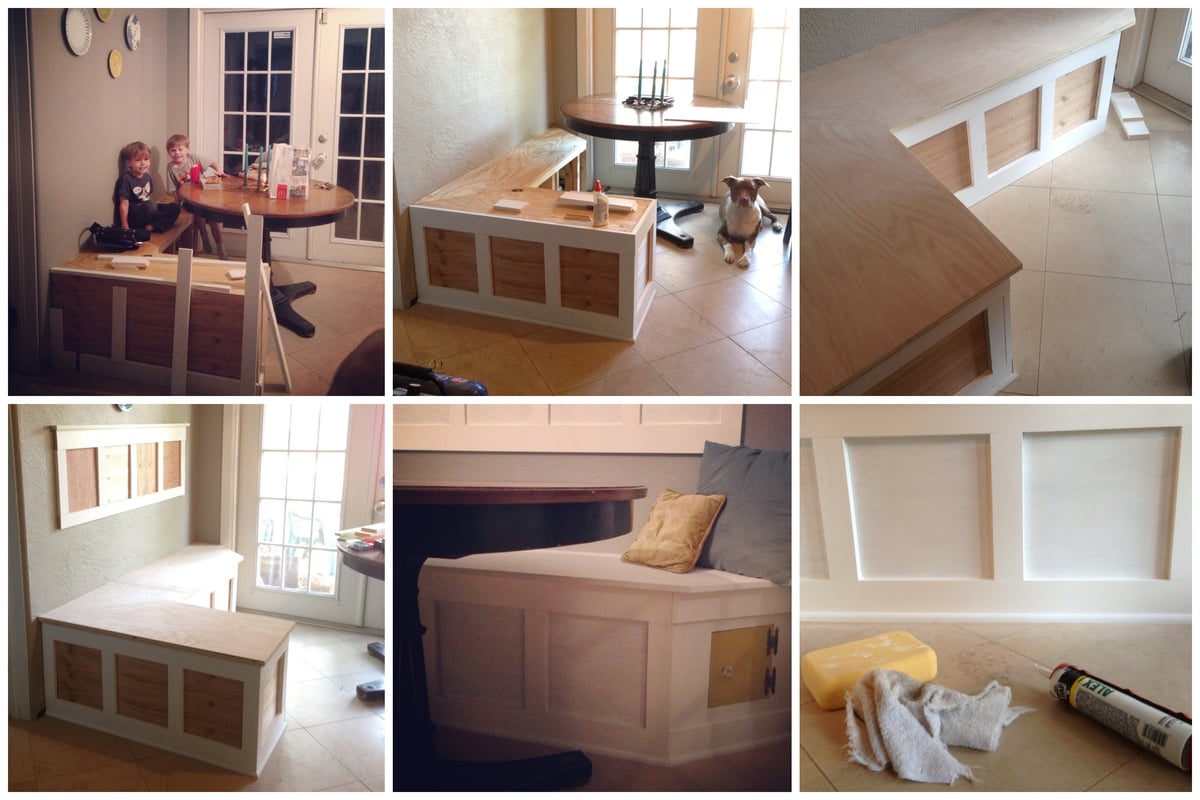
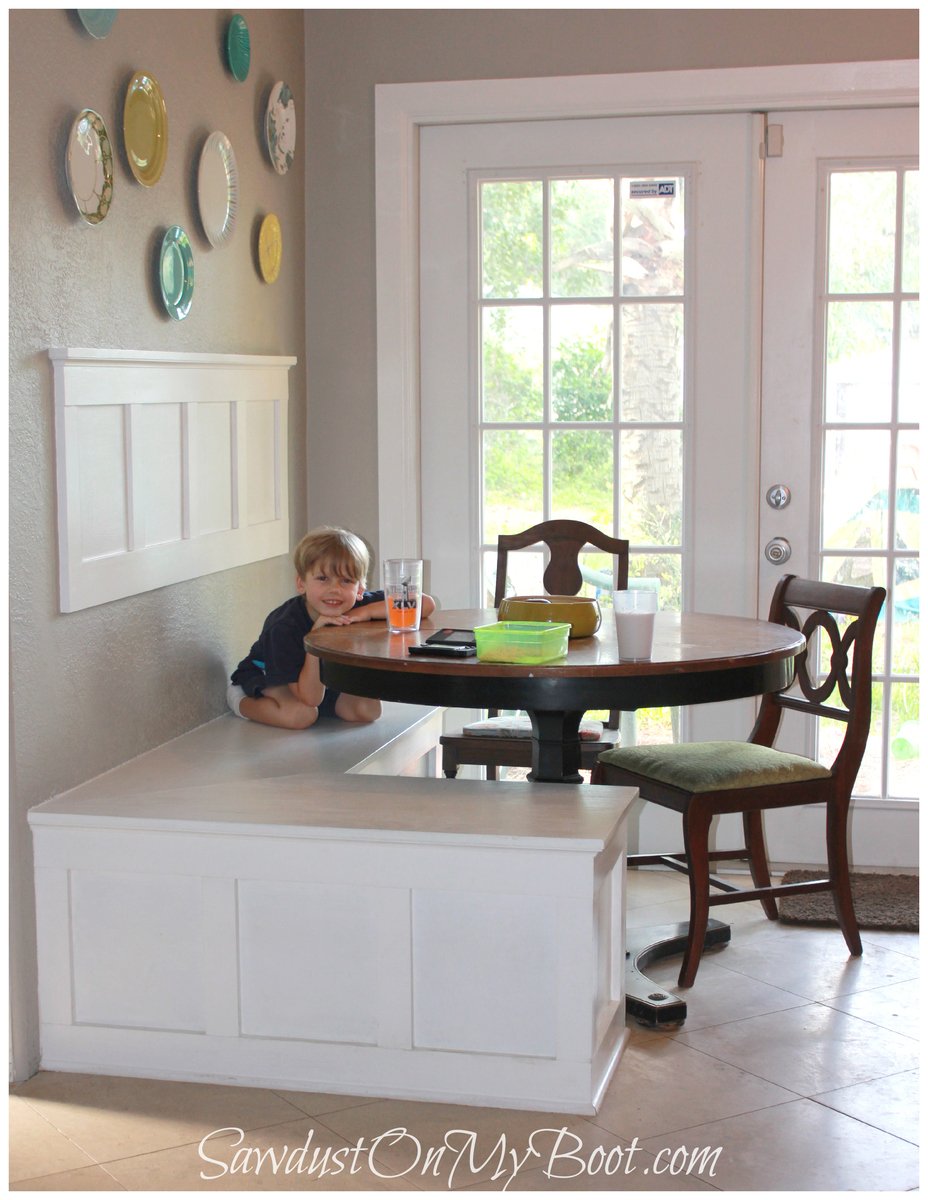
My family needed a seating area for our tiny kitchen and a built-in banquette solved our spatial design problem perfectly! I basically built it like a short and wide freestanding wall with a board & batten design and plywood top for seating. More details on my website post...

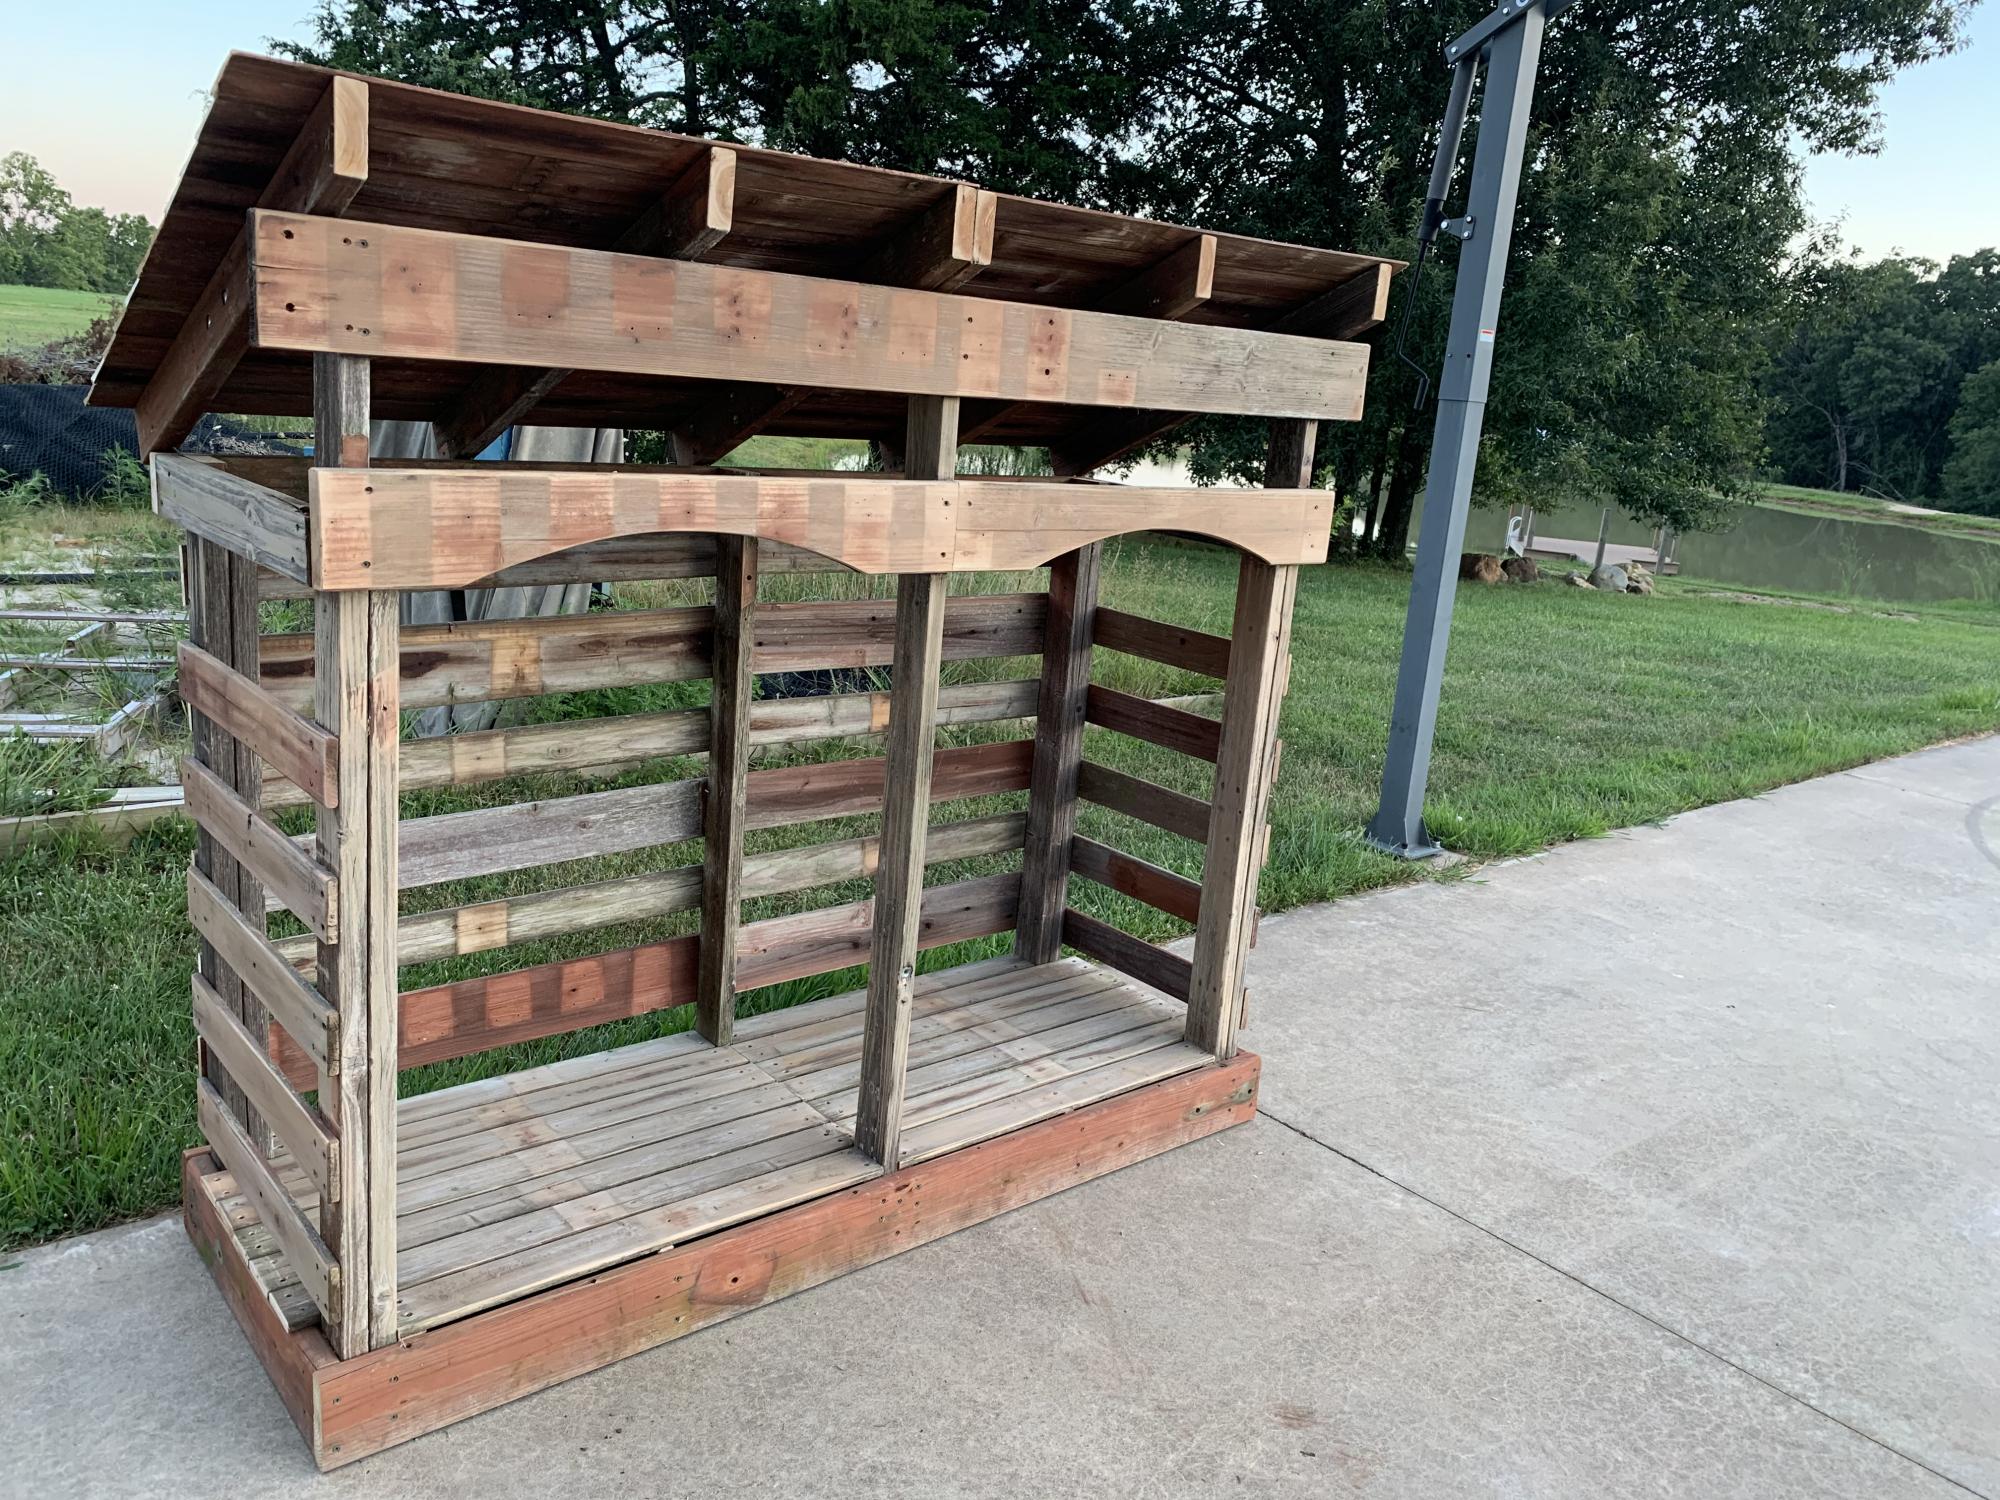
We took our boys’ swing set apart because it was old and rickety. I build this woodshed out of the parts! I still have to stain or paint it but I thought it was super cute!
Mon, 08/05/2019 - 10:43
It is super cute! Smart to reuse the swing set!
thanks for sharing a brag post we appreciate it!
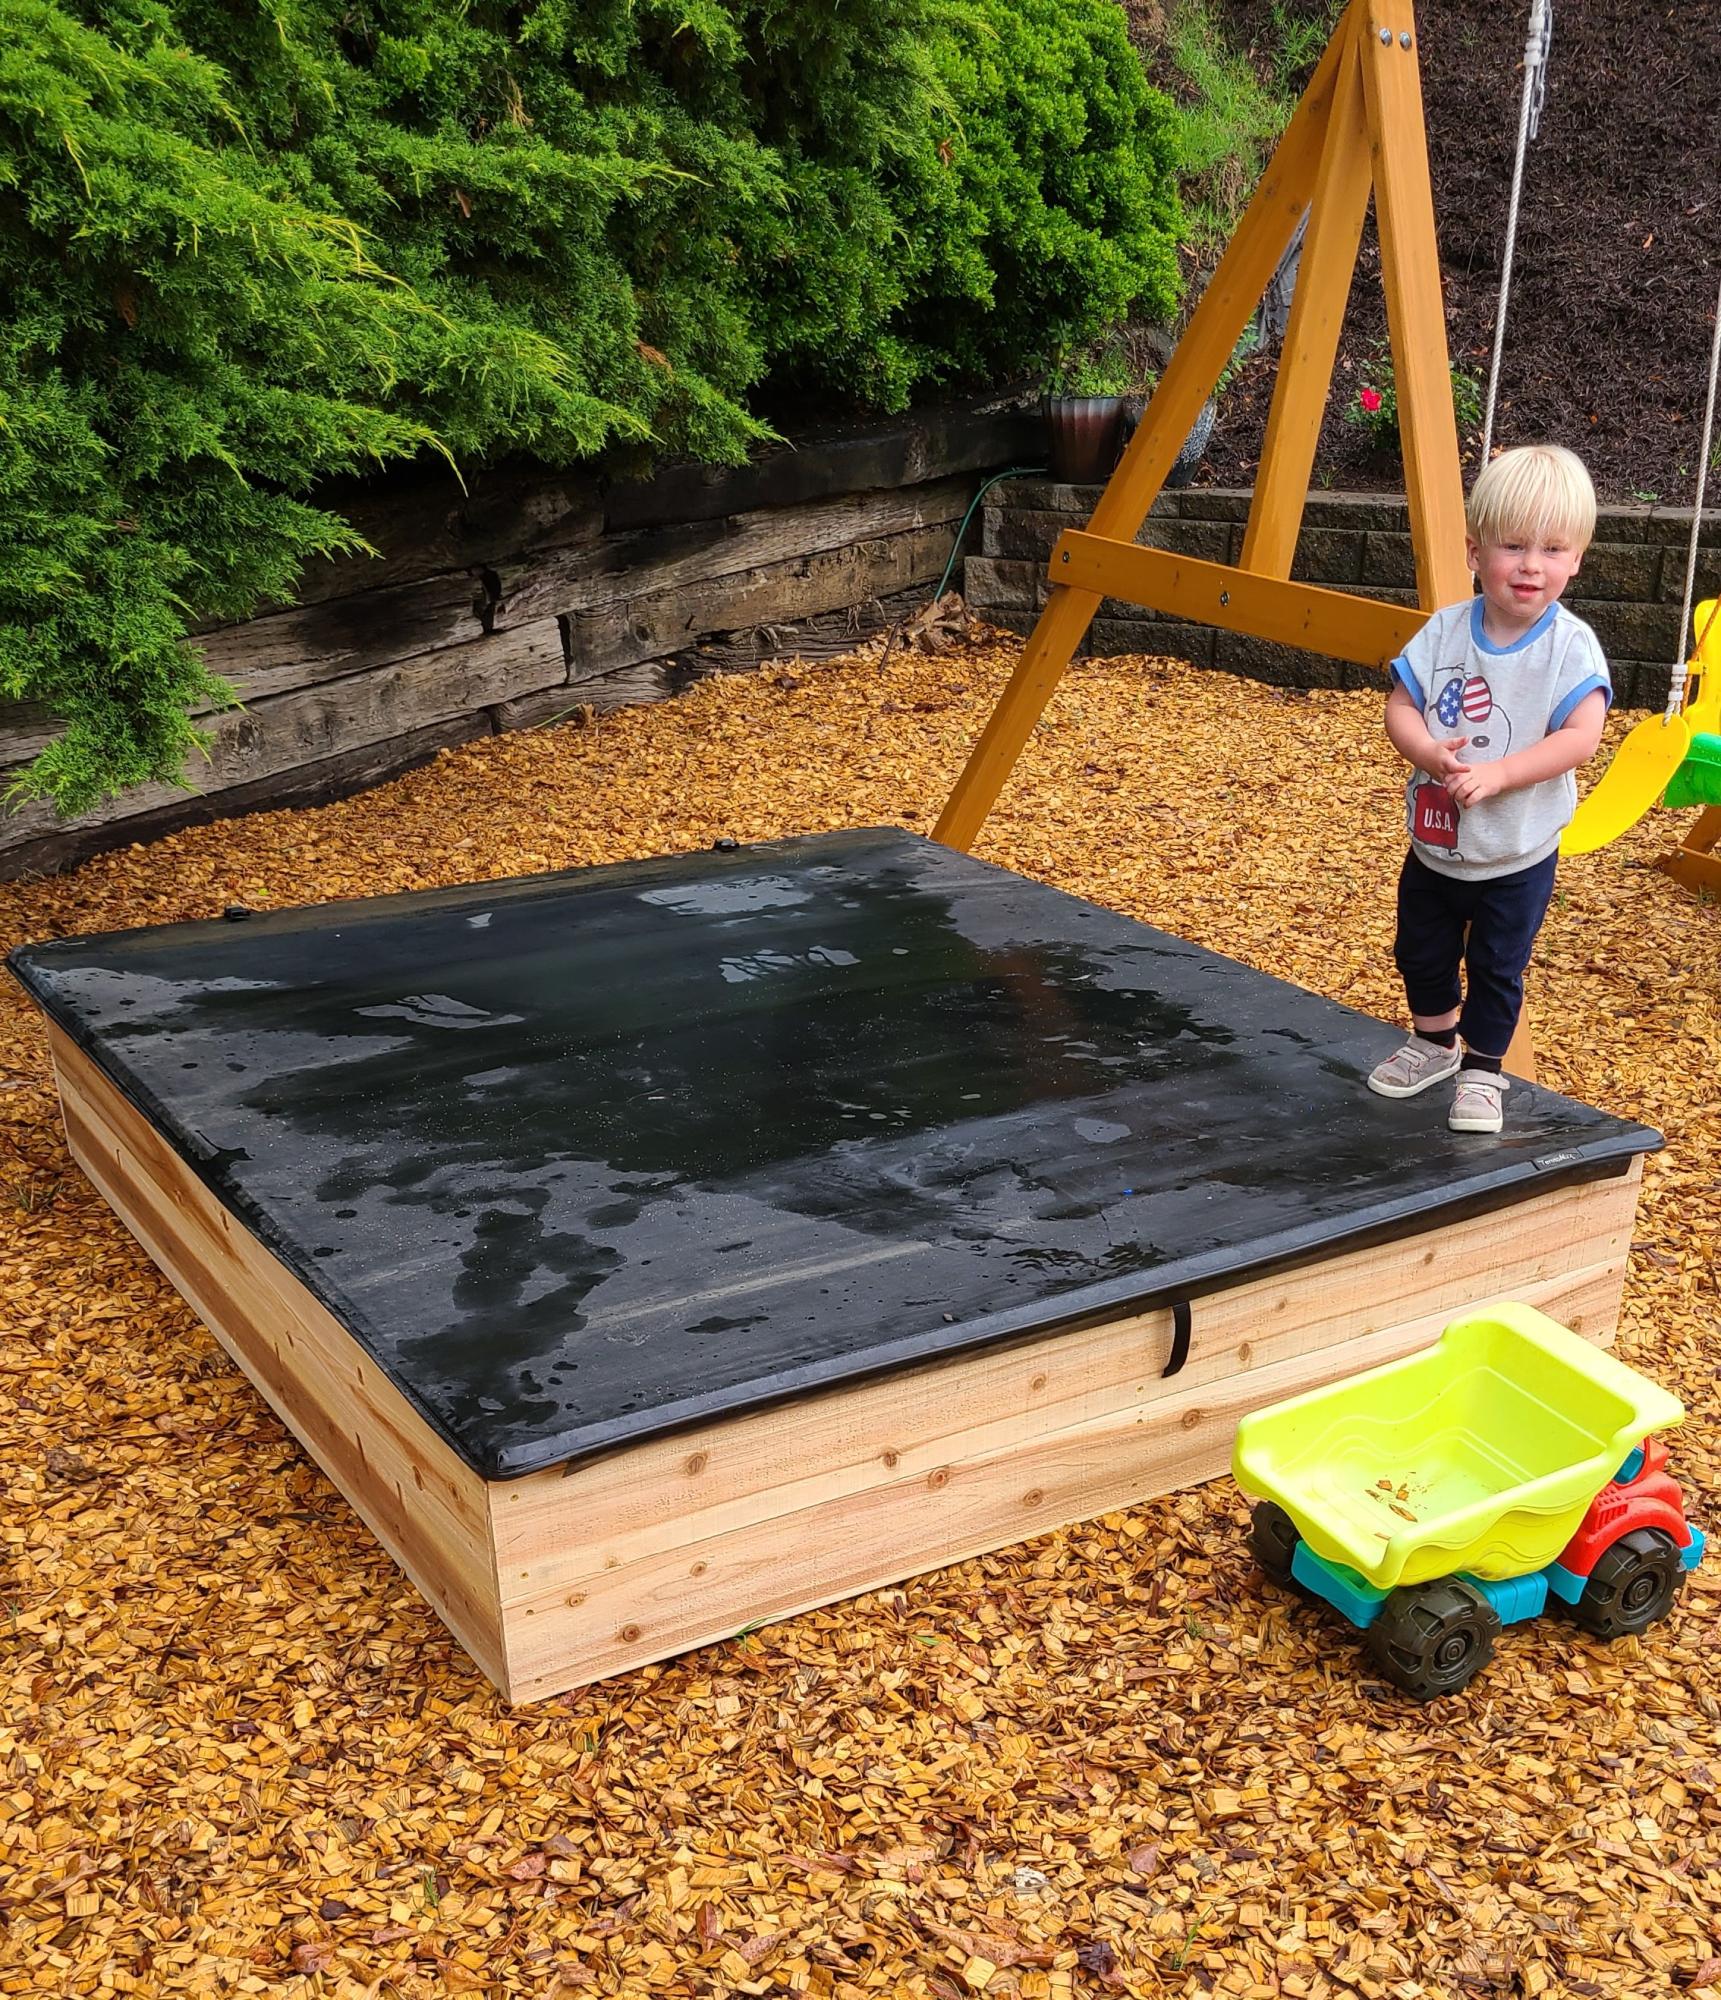
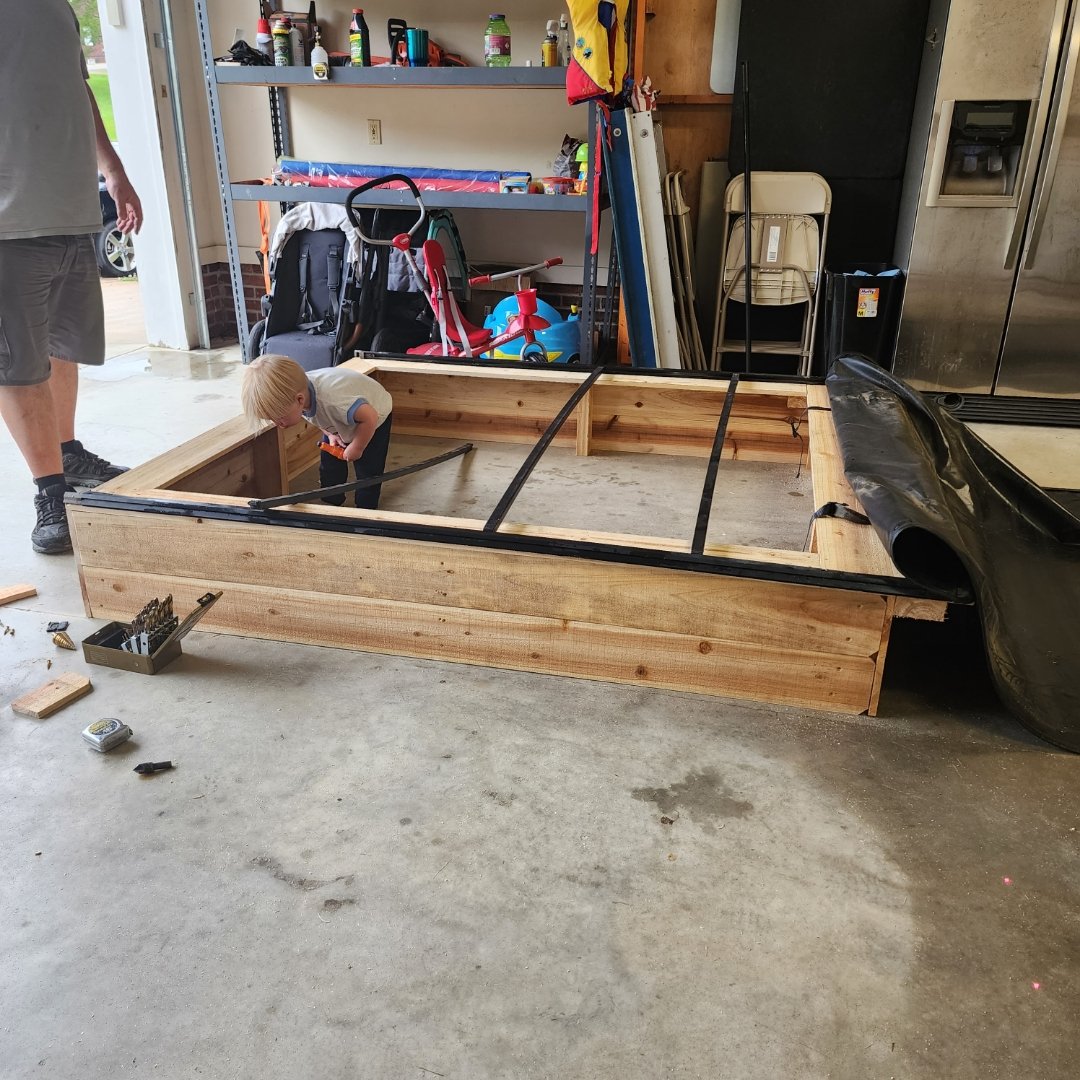
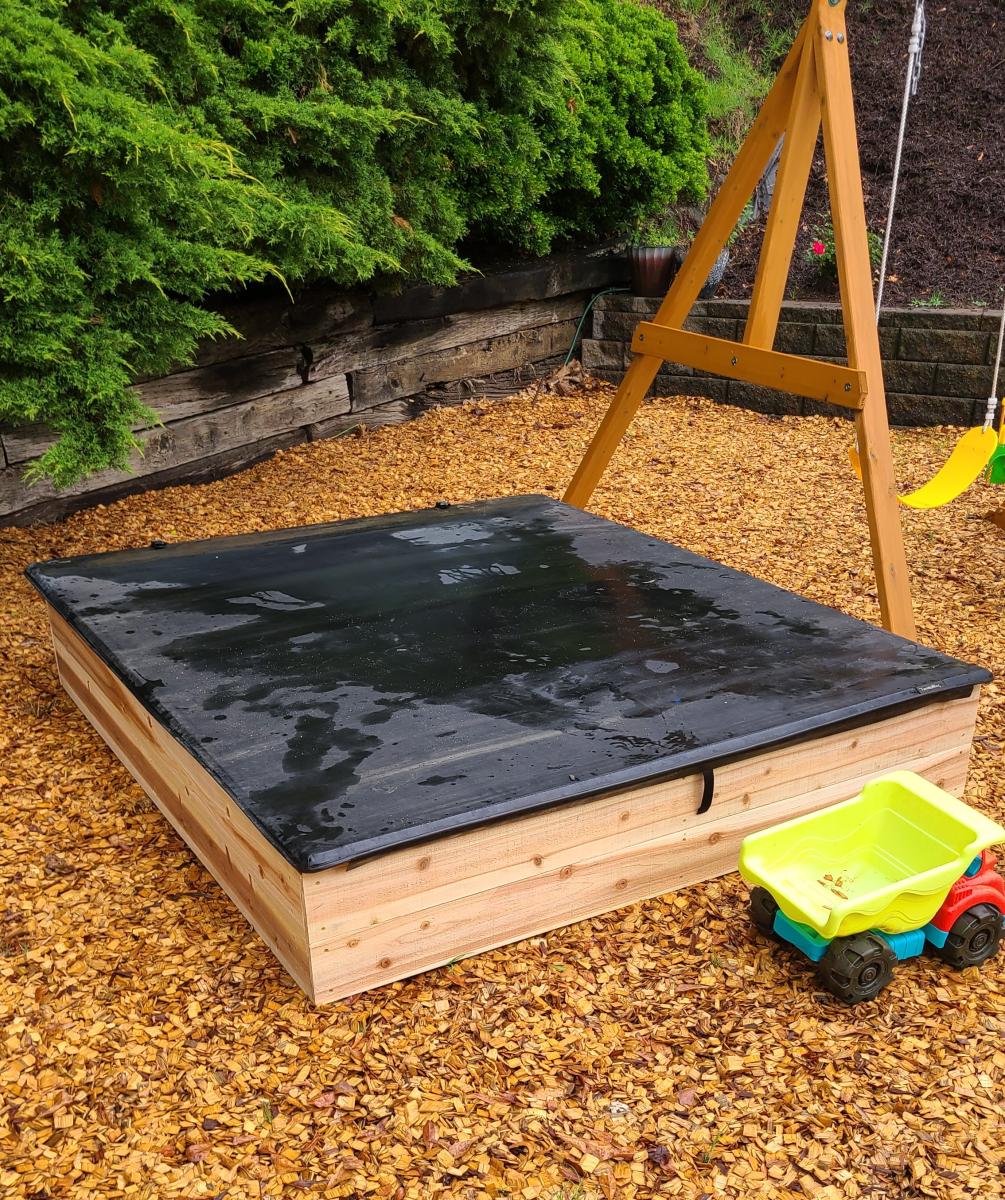
The cover is a tonneau cover for a pickup truck. It's for a 6.5' truck bed so if you notice, I had to ad a 2x4 and one more picket on top to accommodate the extra length.
The cover would add a ridiculous amount of money to the project but it was repurposed. I found it on a truck that was in an accident and going to the scrap yard. I think it it came out great and my grandson loves it.
John

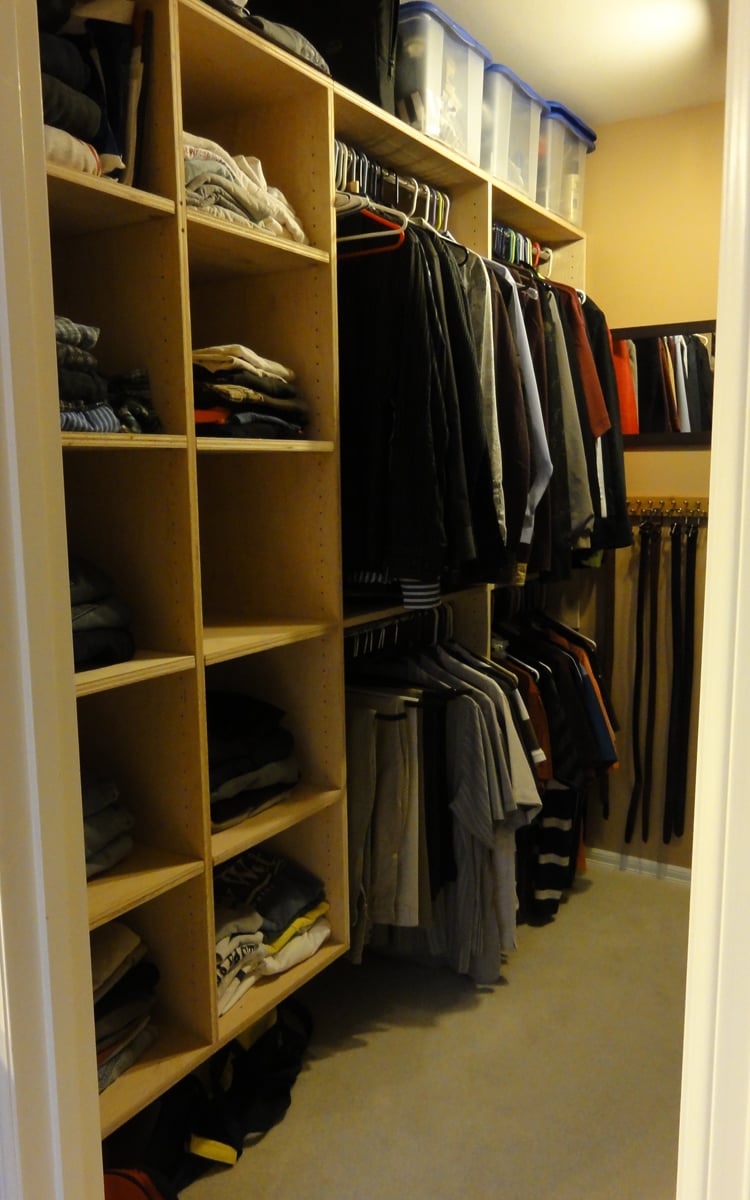
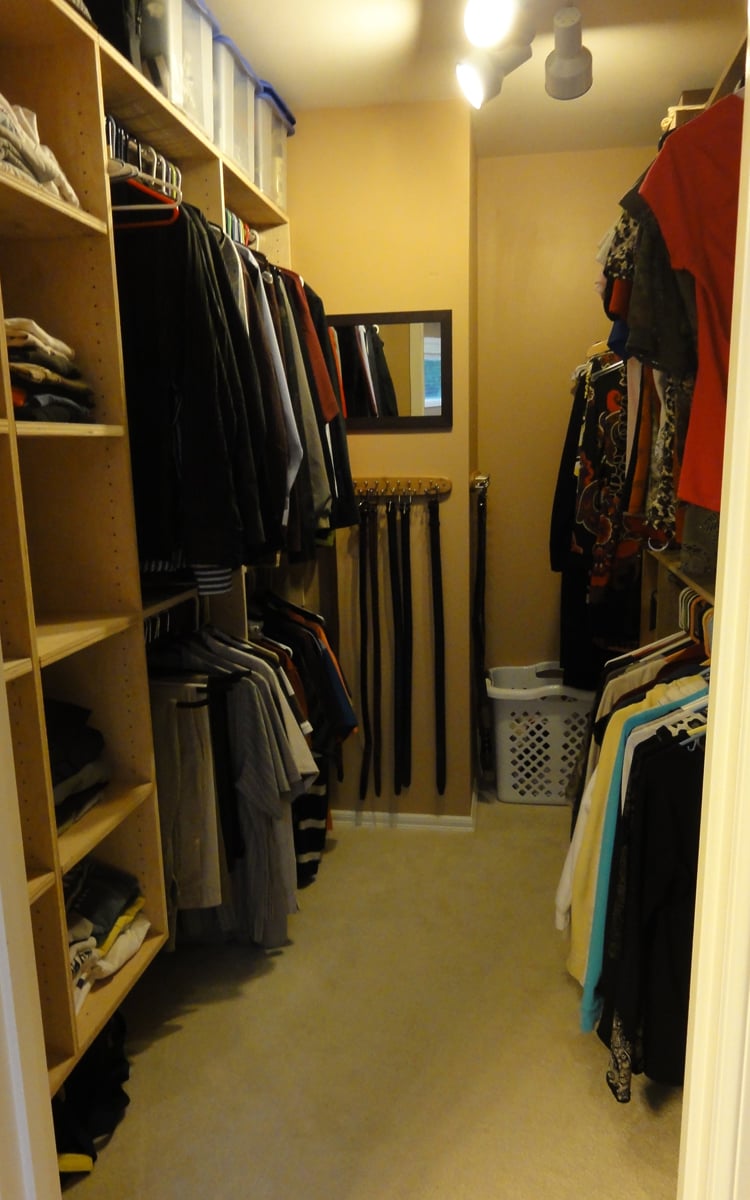
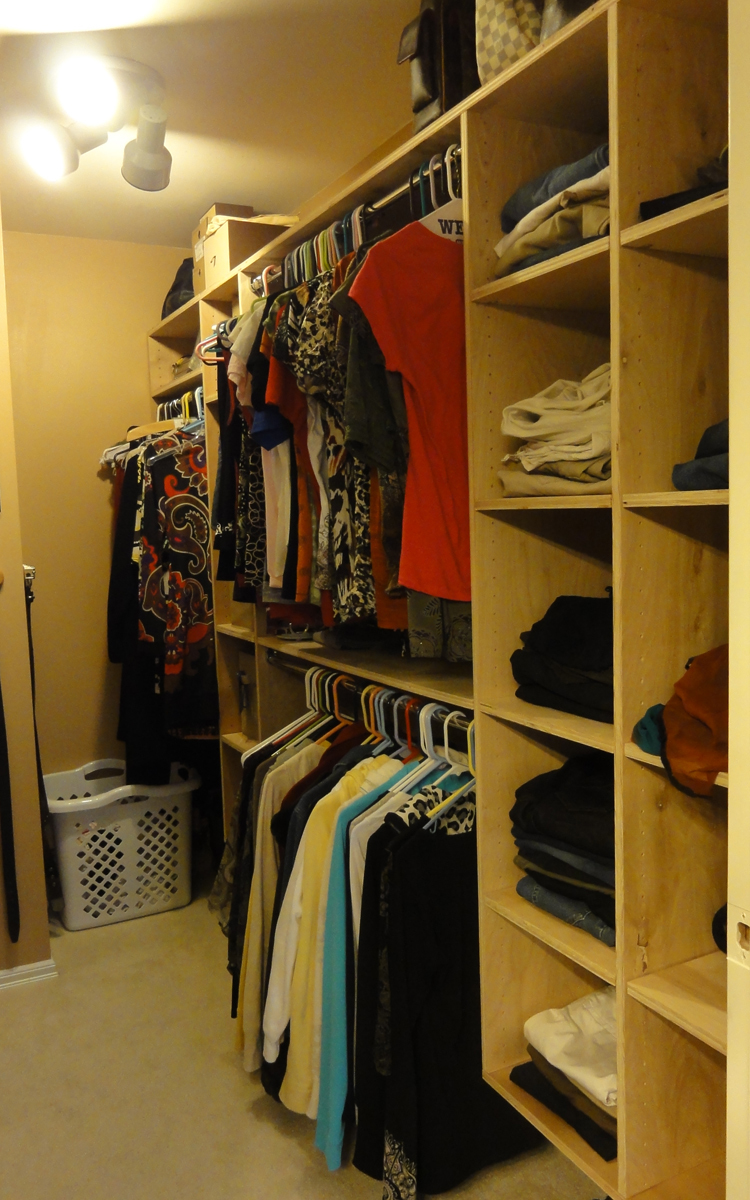
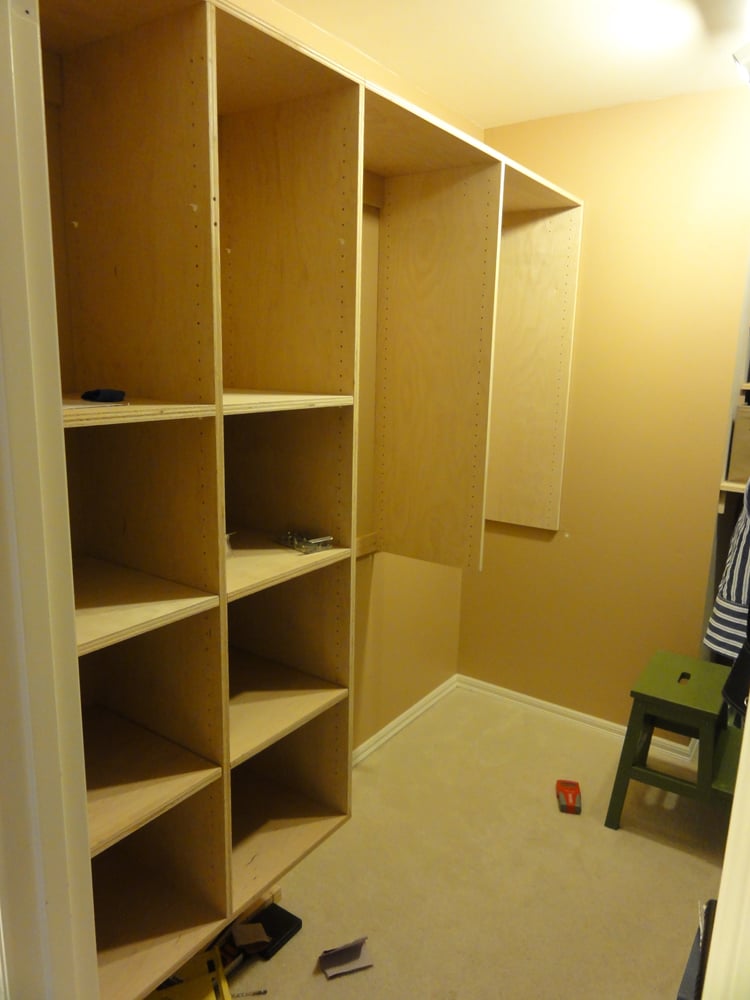
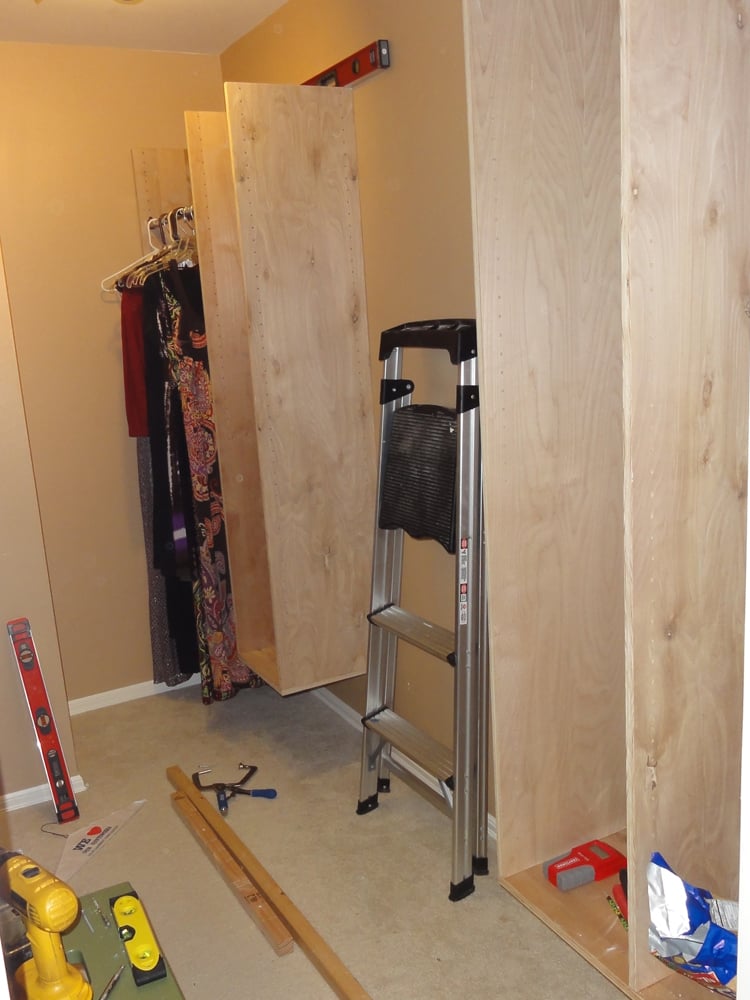
After over a year of other projects, I finally had the chance to completely redesign our master closet! I used EasyClosets.com to come up with the design again. :) I still have a few more tweaks here and there, but I absolutely love it! I surprised my husband for his birthday by doing this project while he was on a business trip. :)
Other than mounting these boxes to the studs, this project was built exclusively with my Kreg Jig. I drilled all of the adjustable shelving holes with a nifty Rockler Jig-It shelving jig - wish it had been the Kreg shelving jig, but I bought mine before Kreg came out with theirs. The Rockler one works great - I just love Kreg's stuff so I'm sure theirs is awesome too. ;)
I begged Kreg to let me buy their new circular saw rip cut product early for this project, but they said no. :-( Bummer because I saw Ana using hers and was so jealous! I had to rip all of my plywood the old fashioned way on the floor with my circular saw and lots of clamps. Yuck!
This time around, I used birch plywood. I used white pre-drilled melamine for both of my daughters closets (brag post here), but I didn't like working with that stuff. Too sharp, slippery and HEAVY. I did our spare bedroom closet with pine 1x12 boards a few months back. I think I liked working with the pine best..
After a few months, I purchased a bunch of Closetmaid Fabric Bins/Drawers and they look so good!
Mon, 03/26/2012 - 15:20
Amazing! What depth are your boxes, and where did you find your rods?
Mon, 03/26/2012 - 18:00
My husband has more room on his side of the closet so his boxes are 16.5" deep. I think that's a bit too deep, but I was trying to use existing wood that had already been cut for shelving on that side. Heavy to hang though. :)
On my side of the closet, the depth is 14.5" deep.
The rods are awesome! Super cheap at The Container Store. You buy them in 2-foot, 3-foot or 4-foot lengths and they cut them on site for you. I posted hyperlinks to the rods and the rod hanging hardware on one of my other brag posts. Love them!
Mon, 03/26/2012 - 18:13
Jennifer, the closet is AMAZING!!!! But then again, you do make the best closets!
Thu, 05/16/2013 - 15:00
The closet is amazing. Yesterday I finally took off the builder installed shelf and dowel. Took a while, still need to patch up the drywall. I am now research to get the closet renovation started. I have tons of questions.
I understand that the shelves itself were attached by kreg jig holes. How do I hang the shelves on the wall?
Tue, 11/19/2013 - 06:47
Yours closets are awesome. Can you please advice as i am a newbee.
White closets: For the white closets we buy the regular plywood from Home depot and then do primer and paint. Can you please advice on the primer and the paint I should use to make it white color.
Wood closets: I like the wood color closets. Do we need to do any polish. What sheets should we buy in home depot to make wood color closets. What are our options for wood color closets
Thank you
Thu, 11/21/2013 - 11:16
Rhea, take a look at Ana's kitchen cabinet plans and look at how she braces them along the back. That's what you screw through into the studs. To make it easier, I screwed in a scrap 2x2 into the studs at JUST below where I wanted the closet shelves to go (sort of like a temporary shelf). Then I carefully set the closet box on my temporary shelf and screwed it into the studs.
Also, if you click on my username, I explain how I hang them in a bit more detail in one of my daughter's closet makeovers. :)
Thu, 11/21/2013 - 11:24
Hi jyothianil,
I have done both actually. I did both of my daughter's closets using pre-peg-hole-drilled white melamine from HD. You can get it in two widths and it saves you a ton of time not having to drill all of those holes. A few things to consider... Melamine is HEAVY and a total pain to work with. The edges are sharp after being cut and it slips everywhere when trying to kreg-jig it together. But it's DONE once it's put together...
On two other closets, I just used ripped sheets of birch plywood or 1x12 sheets of pine. I didn't finish mine, but I probably should have. It doesn't snag the clothes, but it does create dust. If I had at least put one coat of poly on, it would have eliminated a lot of the dust that collects on the clothes.
If you want to paint them white, I would just use some sort of primer and any white paint. It's all personal preference, but I would get semi-gloss or gloss white paint because it won't show fingerprints and clothes will slide on and off the shelves easier.
Thu, 11/21/2013 - 11:26
Here is my other post. I explain a bit more about how I hung them on the wall. If you look at the main photo at the top, you can see one of the "hidden" boards I used to screw it into the studs. I painted it the same color as the wall so it would be less noticeable. http://ana-white.com/2011/03/closet-organized
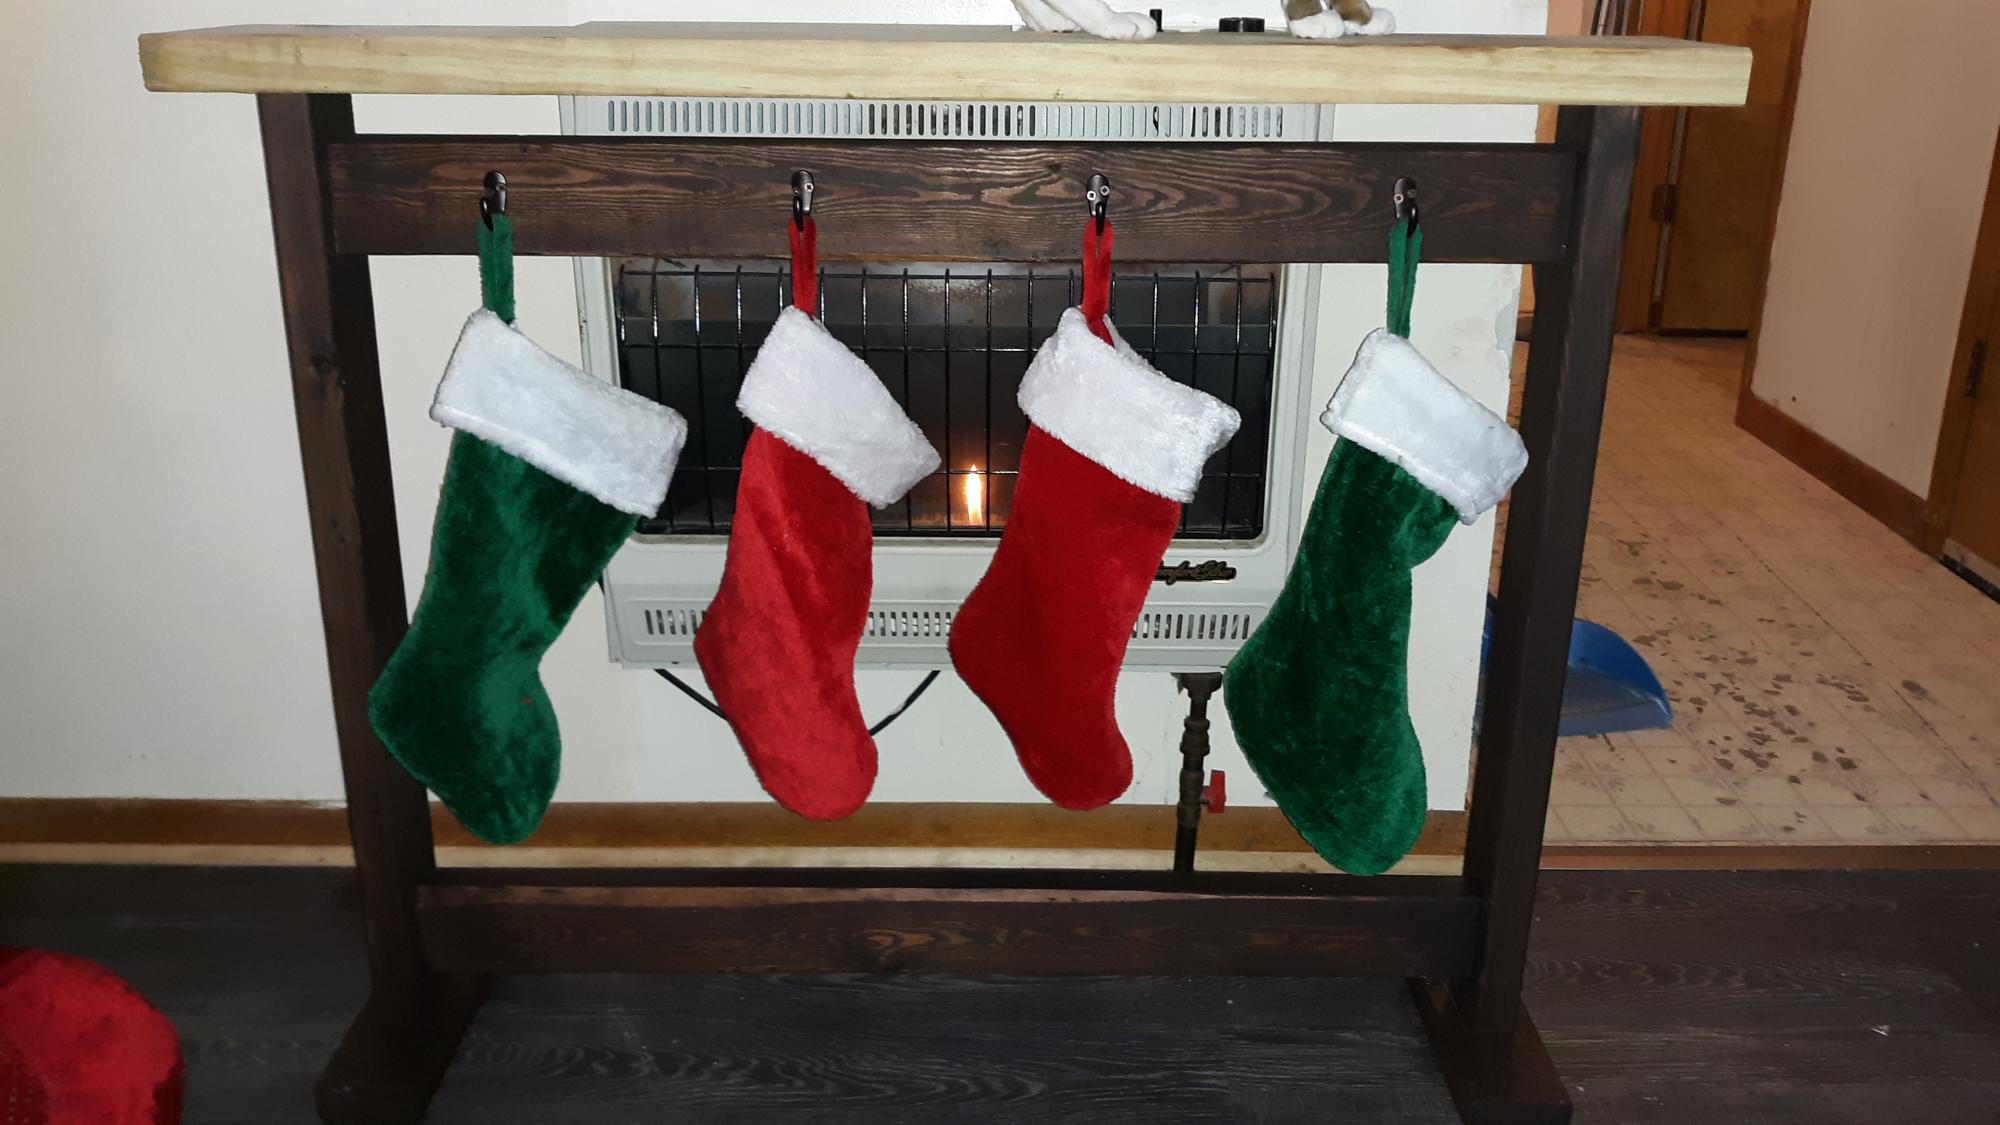
We have a vent-less gas wall heater, but had no mantel for hanging stockings. Thanks to the new plan, we have the perfect solution! We already had the 2X4s left over from the simple panel bed project, so we only purchased hooks and stains for this.
We shortened the width to accommodate 4 stockings instead of 5 (we cut the 2 cross pieces 9 inches shorter). We also decided to add a large 2X6 cap to mimic a mantel, which really seems to tie it all together much better. We love this and have ideas now on how to make slight changes so it will more easily slide "over"/around the wall heater
(yes, we are not keeping it that close while stockings are hung, so as to not risk catching fire)