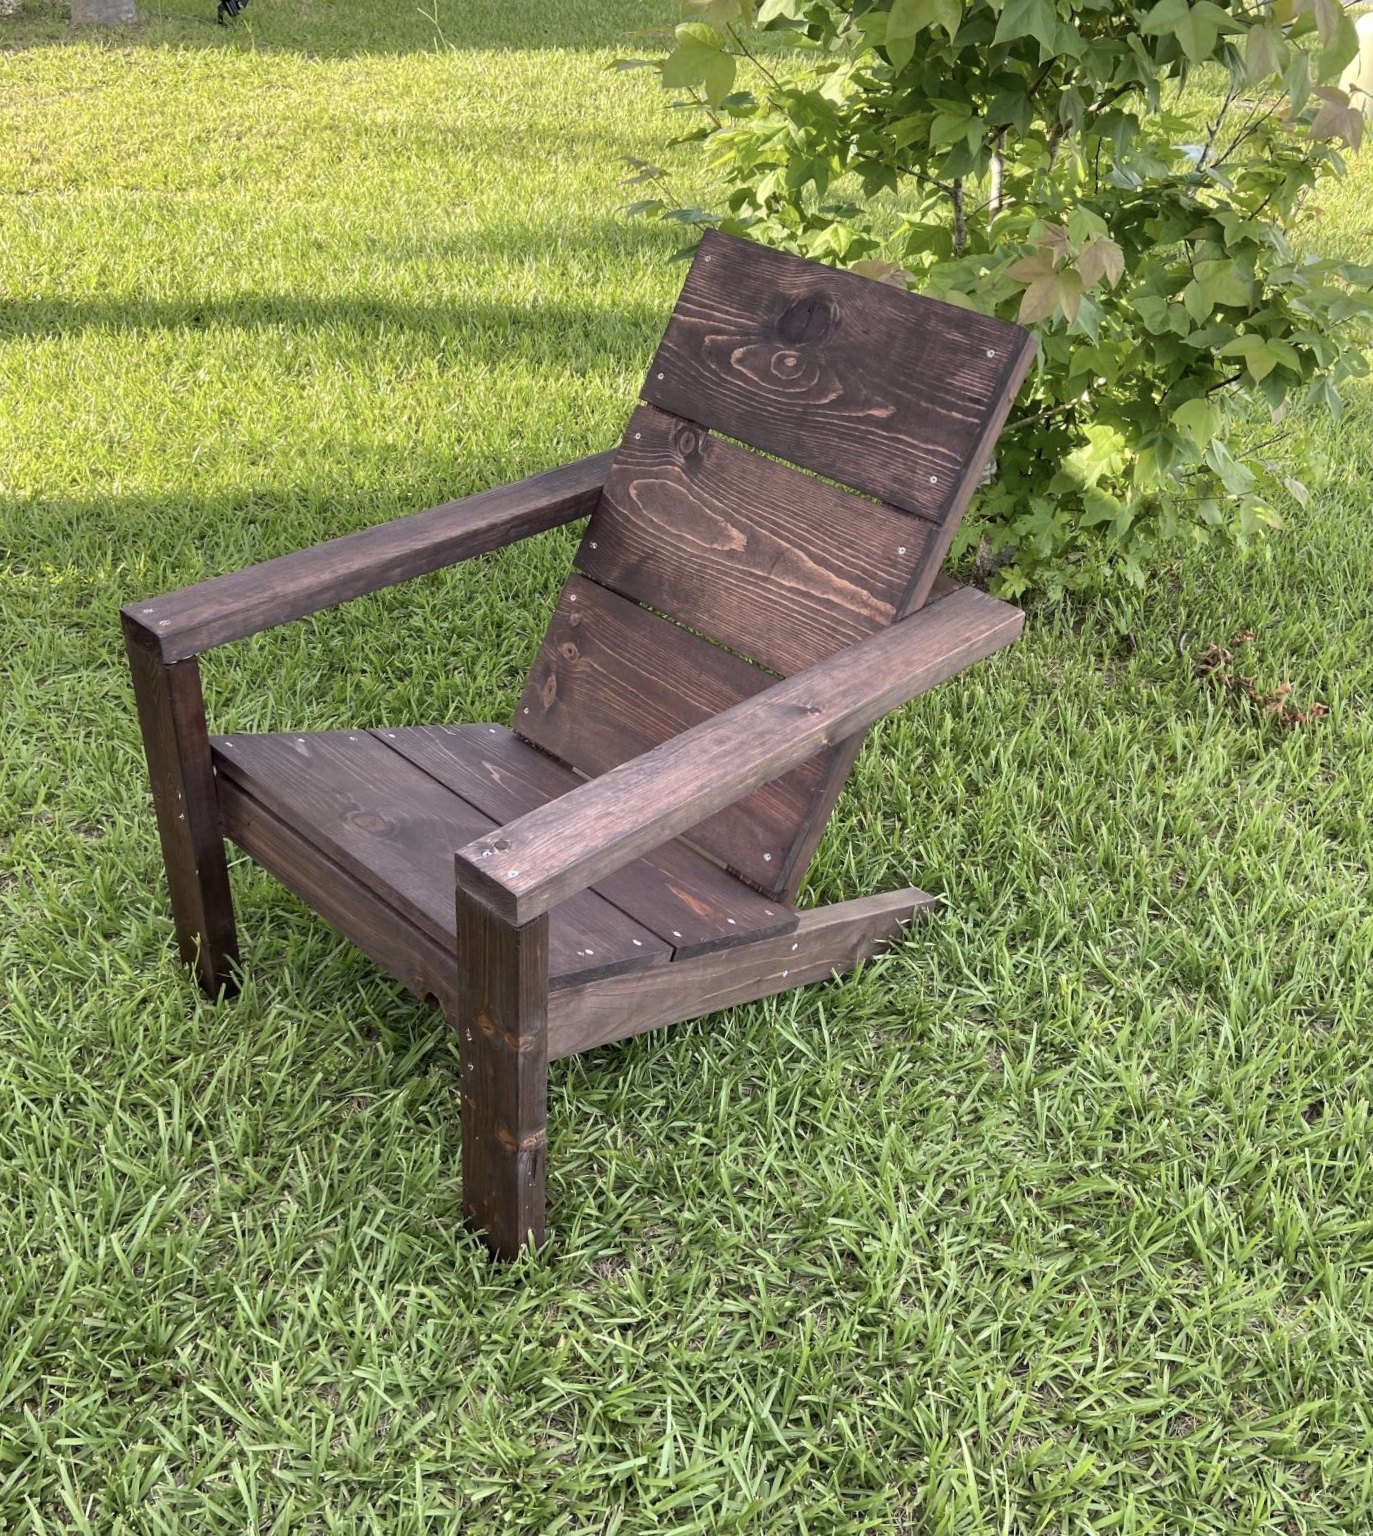
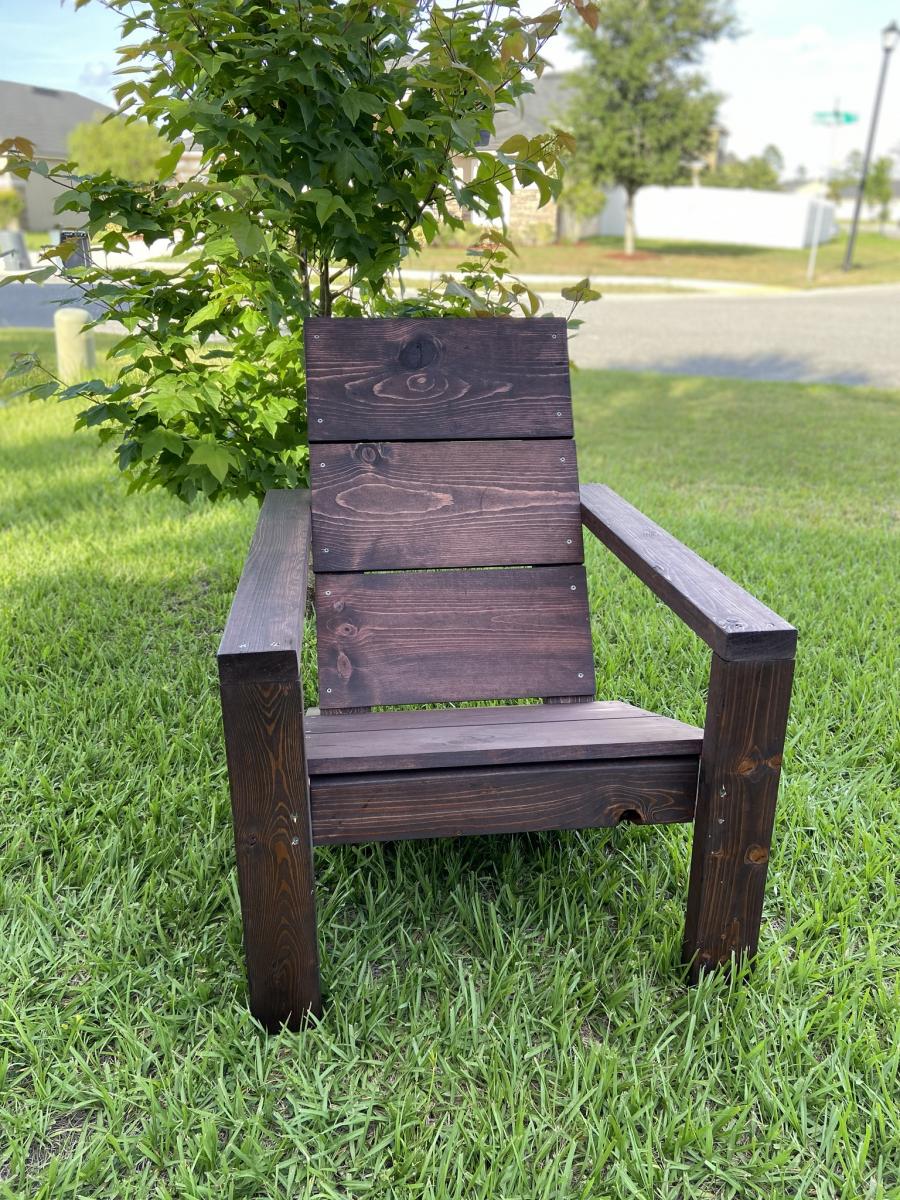
Modern Adirondack Chair
![](/sites/default/files/156EBF09-6882-4E7E-A4B3-8A7F6D86C3EA.jpeg)
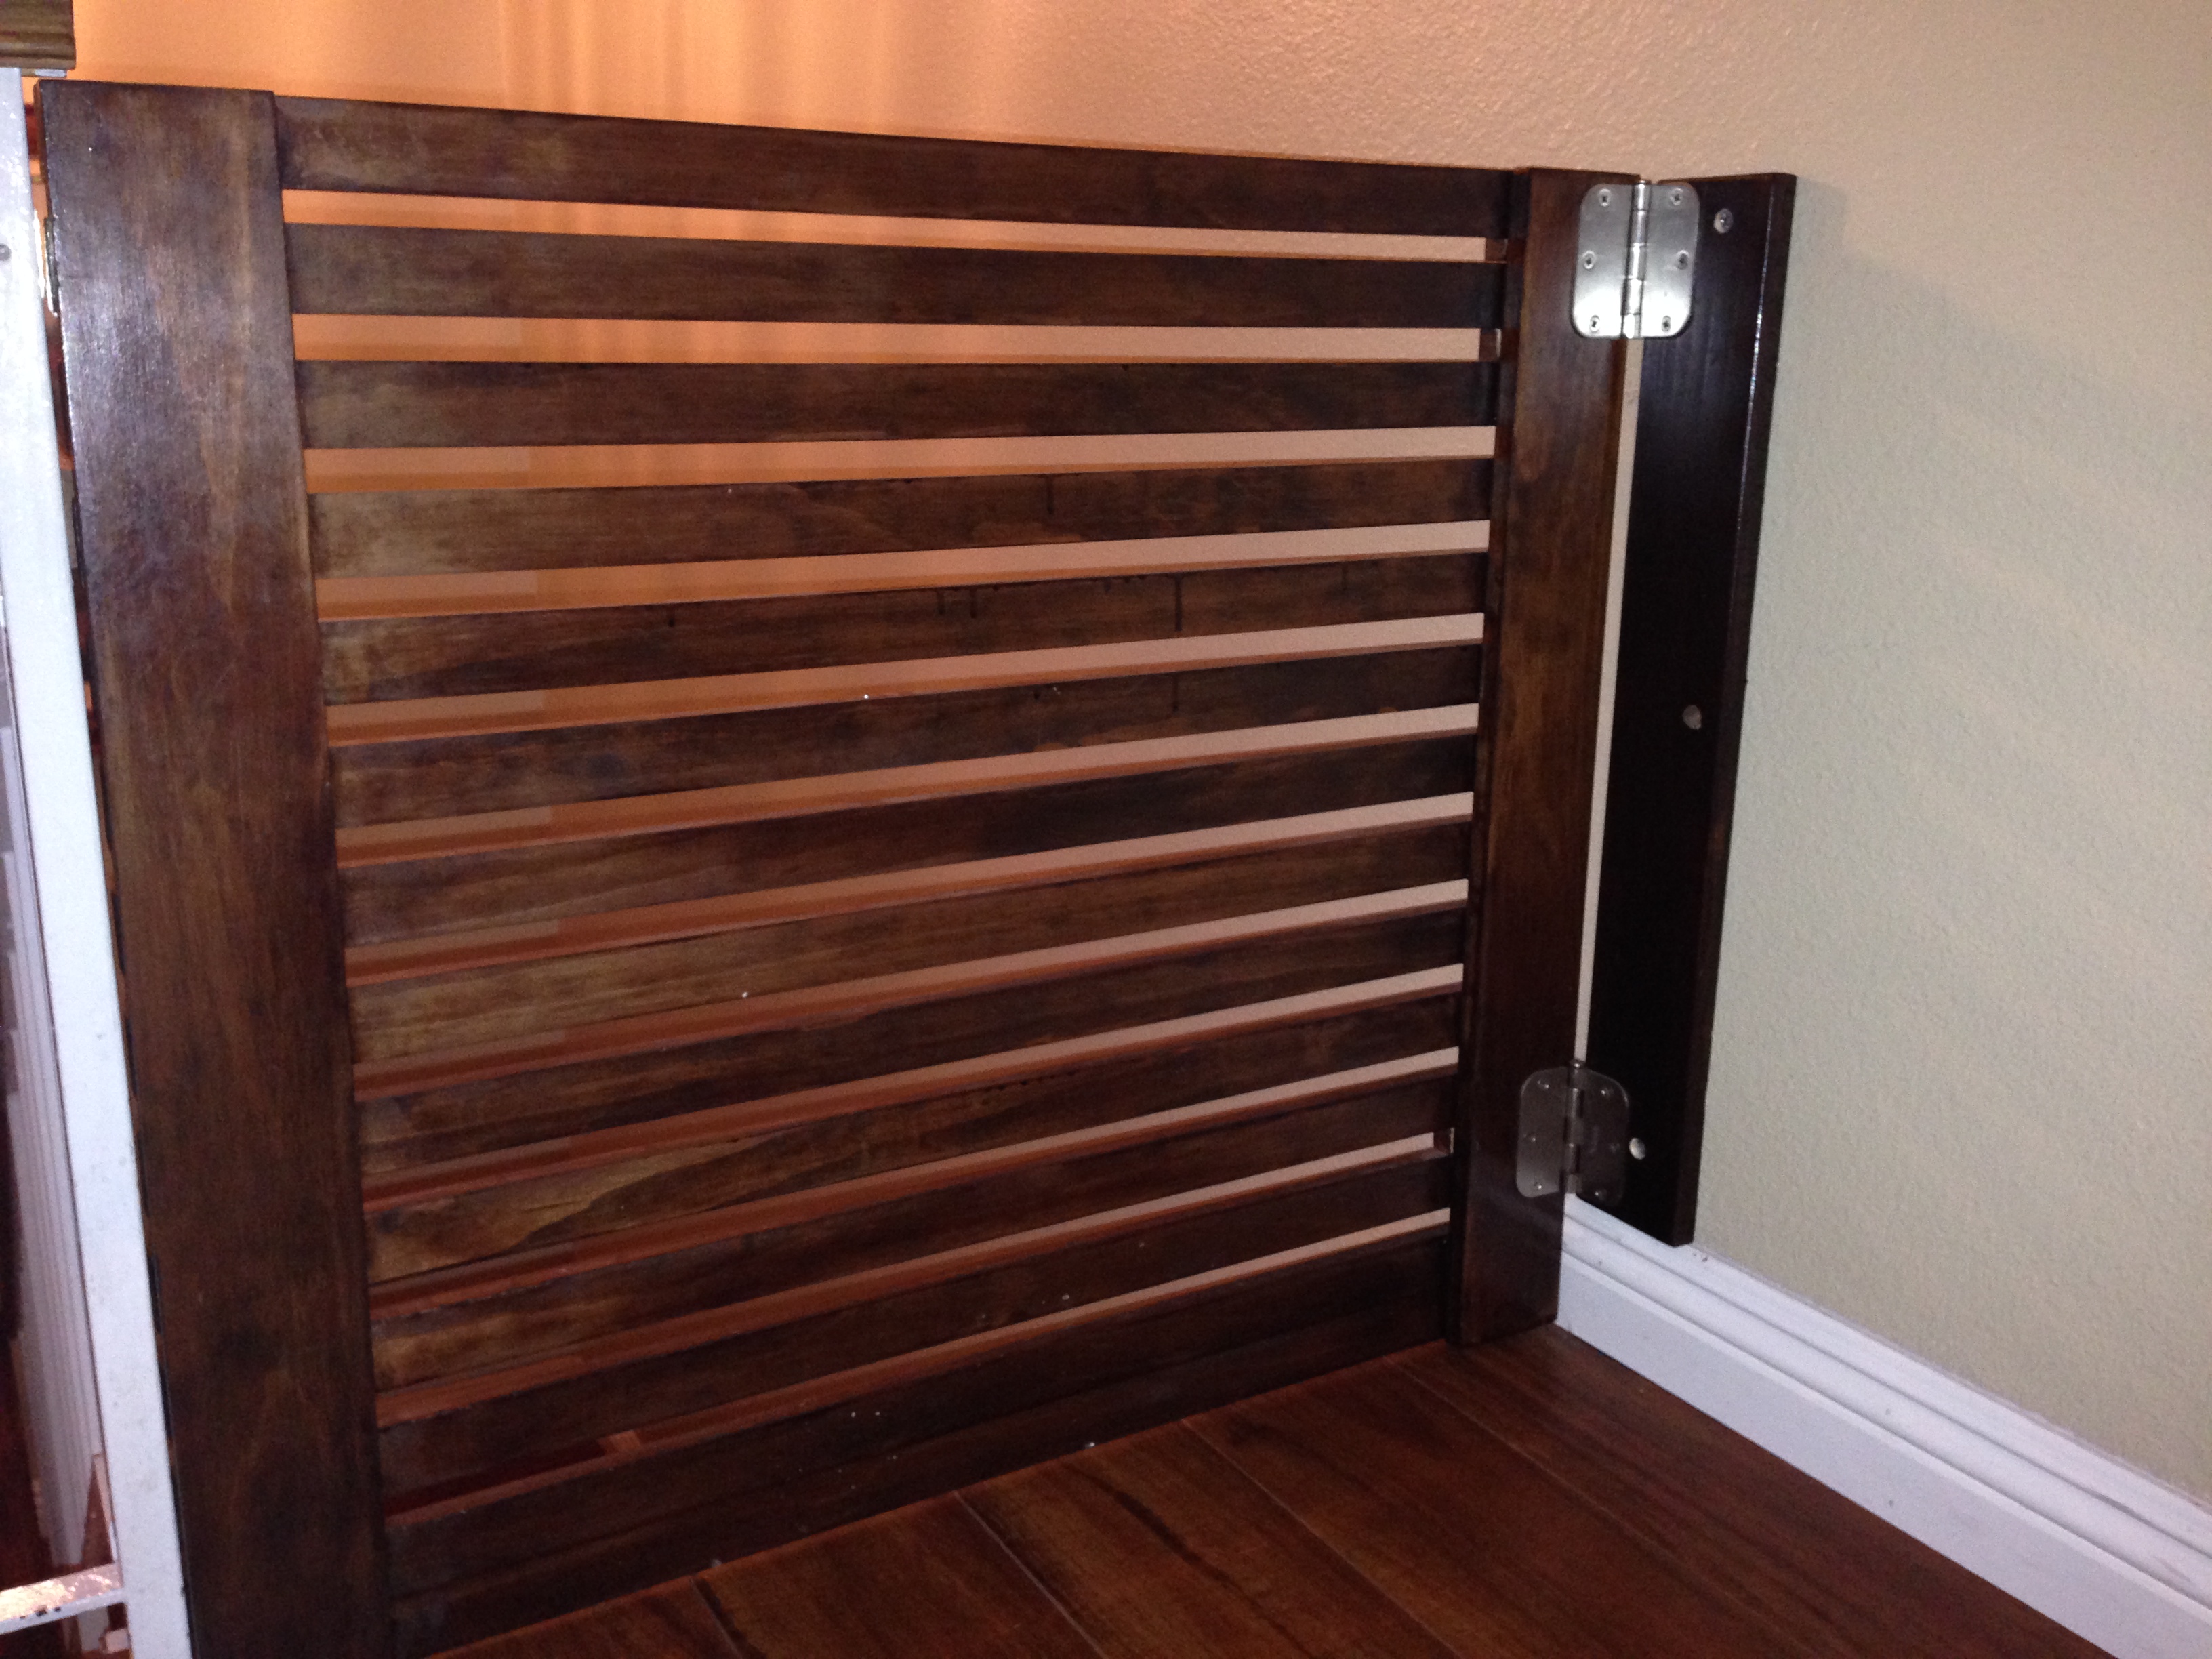
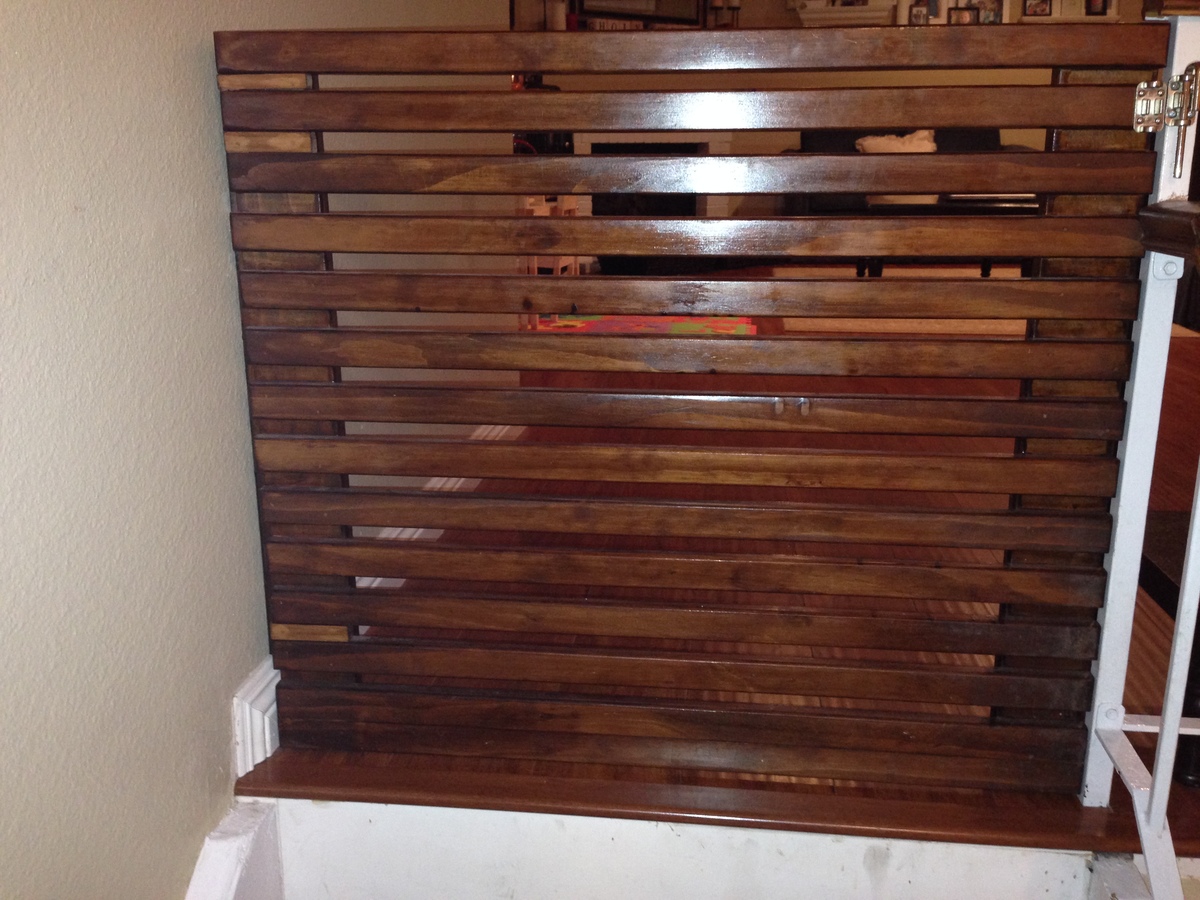
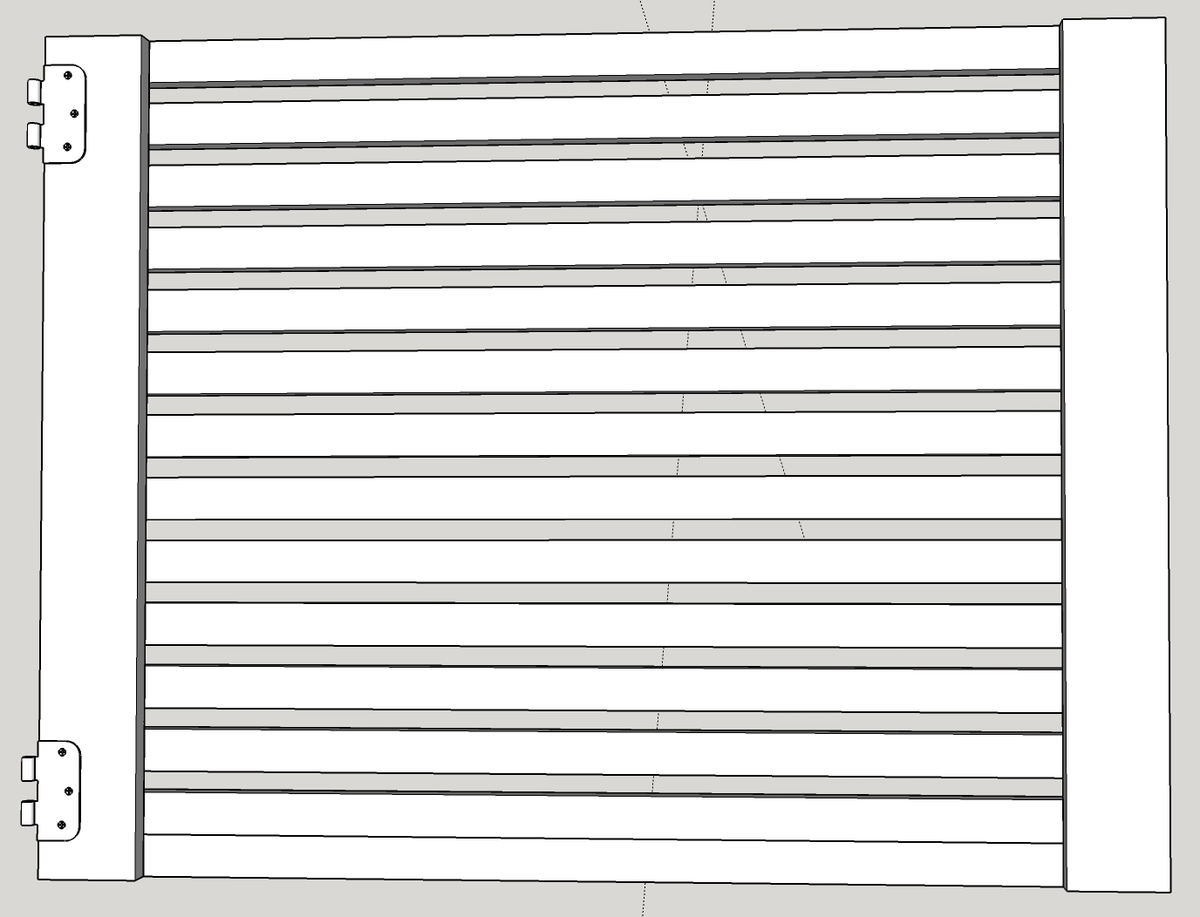
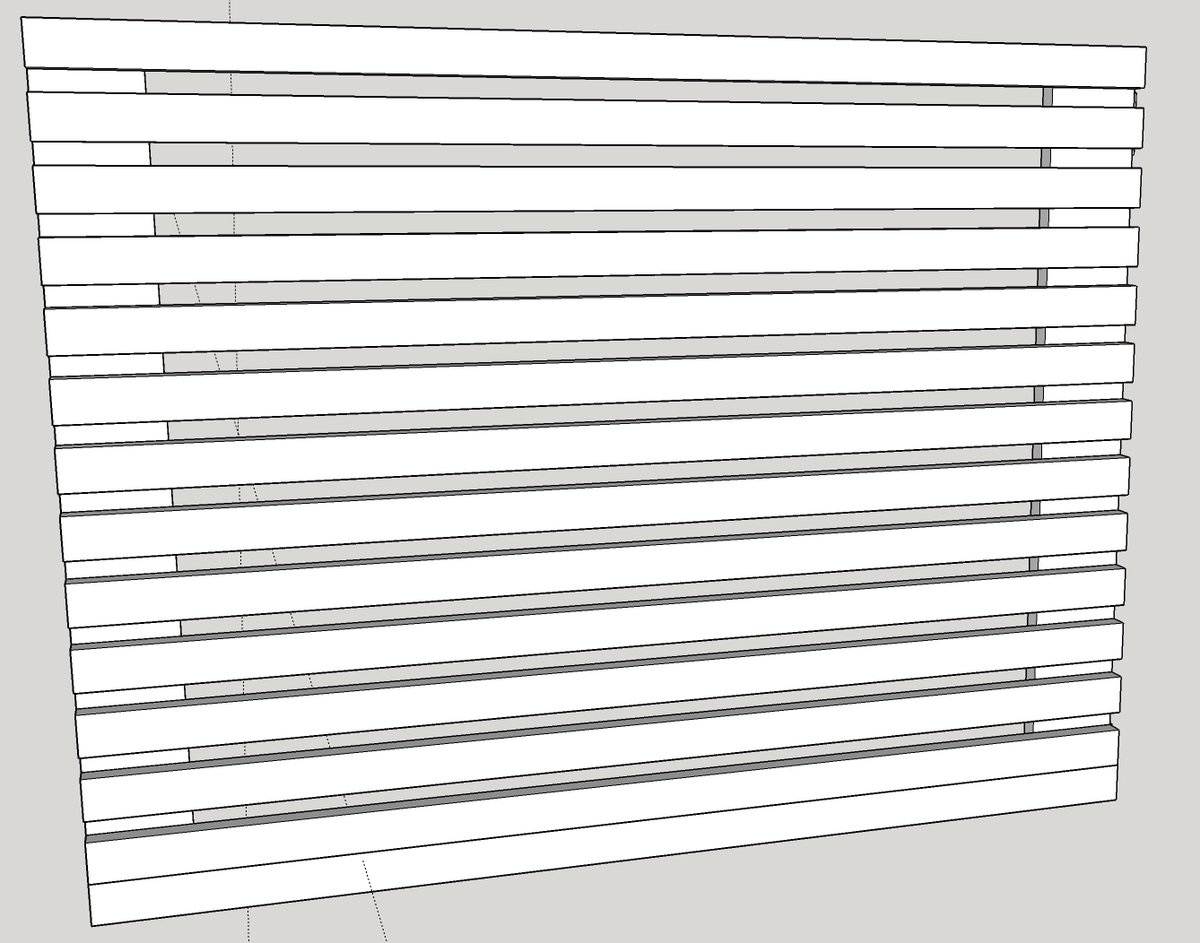
Great plan to work with. I made this for my wife’s Mother Day gift. I did add a brace leg on the back. My wife picked the color.
The benchwright table.... This is my 3rd project. I was very intimidated by the angles and bevels but they turned out to be not nearly as bad as I expected. This table is not made to Anna's dimensions.... i wanted the table to be able to fit 8 chairs so I added 10 inches to the length measurements, I also wanted it to be wider so I added 11 inches to every width measurement (which equaled 2 extra 1x6 boards for the table top) In hind sight i think i would have either made the table a little taller or used a 2x4 for the stretchers instead of a 2x6 because the space for your knees with the 2x6 is a little tight. Before finishing i distressed the table with chains, nails, hammer, and screwdriver gouges. I still have to add some details...... I want the stretcher to have the turnbuckle like to pottery barn version and I have not found the right size pipes or turnbuckle yet so that will come sometime in the future. I also still have to add the bolts to the breadboards. Now to find some great chairs (don't mid my awesome patio folding chairs that are currently in use lol) I think im going to go for the mismatched painted chairs, maybe in a fun color like blue or red?
When we first moved into our new home one of the first things that I built for it was this custom gate that resides at the top of our stairs. We needed this to keep the baby from falling down and keep the dogs out when need be. Overall it was a great way to separate the two areas. It is also inexpensive and easy to build. I used a pneumatic nailer for all of the joinery on this one so it was quick to build as well.
We wanted to make a rustic solid kitchen table and the Fancy X was the perfect fit. Originally we were attracted to the beautiful pictures of Jackies framhouse table but at the last minute deceided to switch to the Fancy X plans to make it a little different. We were also attracted to the design because a local shop has one like it for sale but at $1800 thought it a bit steep. The project came to $300 because we chose hardwood for the table top, with pine it would have been abot $200. We are very happy with the results. Thank you Ana!
My friend needed a bed for her son... she described what she was looking for but couldn’t find in her price range... so I told her it would be cheaper for me to build it... around $280 I built this bed.... it took me a week but I didn’t work on it everyday. All in all, I could probably do it in 3 days. I am a Slow builder though
Sun, 08/20/2023 - 14:44
Wow! You did a BEAUTIFUL job! I know for a fact that your friend, and her son were more than pleased!
used triple pedestal plans and modified. I laminated all the leg pieces to look like one piece, also did top in 3" thick top.
This was my first ever DIY project as I wouldnt consider myself a handy man, but I had alot of fun making this table and bench. I modified the design as I wasn't confident in making the necessary cuts for the X but I added a long support underneath the table top so that the top wouldn't sag (hopefully!). Since completing the table, I've grown more comfortable with my carpentry "skills" and all I want to do on the weekends is build things! I'm sure I'm driving my wife insane!
It took me a lot longer as I had a couple weekends where I could only work on the table and bench for an hour or two but you can definitely do it in a weekend.
Thanks Ana!
Super simple build with fabulous results! I have been using as a coffee table and it looks awesome and is functional for lots of toy storage as well. It would also work so great to house extra blankets and throw pillows. I added a lid support so it does not slam shut on little hands. This would also be a perfect addition to any playroom for some nice looking toy storage!
I wanted something special for my Daughter’s room. I made her bed and bedside table and then I experimented with your book case plan. I was pleasantly surprised with the finished product.
Somewhere in Louisiana
A x console table made to fit in recessed area near dining table. This was made out of scrap and left over blue pine. Top, middle and bottom shelves were joined with biscuits and kreg screws. In order to get more dimension out of legs I made out of 1x that were ripped at 45 and then the 4 pieces were joined with biscuits. Was stained with white mini wax
Sat, 09/01/2012 - 10:04
So instead of using the 1x12 for the shelves, you make them with (looks like) 2x3 or 2x4? I'm trying to figure out how to make mine deeper than the 16 inches it's drawn up for.
Tue, 09/04/2012 - 14:01
I ripped 1x12's down to 1x4 and then used biscuits to edge join. I used a 1x2 for the edges (face plate) to add strength. I ripped them down because I like the look of smaller width boards and also my 1x12 were a little warped. If you have autocad I can send you my plans.
Tue, 09/04/2012 - 15:51
I unfortunately don't have autocad. I did some sketching and drawings and came up with that I'm shortening the length of the table and making it deeper. It'll be 46 inches wide and 24 inches deep. I'm using 2x6 for the bottom shelves and 2x4 for the top. Where I want to put it is limited space. Thanks for the advice!
I took Ana's beautiful Tryde Coffee Table plan and readjusted it to fit my needs for a kitchen table. It measures approximately 32" x 32" x 48" and I followed the plans provided almost to the tee. I didn't include the 2x2 table supports since the table seemed sturdy enough, and drilled straight into the top of the table and just covered the screws with Elmers stainable wood filler. I kind of rushed the project due to lack of time, and only really did one coat of stain of the Dark Walnut. It actually turned out really well, and had some of the texture of the wood show through the stain.
I followed the plans to build the counch. My wife liked it so much she requested the love seat and chairs. The chair plans were not up on the site yet. That said, the plans were so easy to follow, I was able to adjust the loveseat plans to make the chairs with ease. Thank you very much!
This was my first project.....my husband does woodworking projects all of the time but this one I picked out and he helped me. I really love how it turned out. We love the darker stain and can’t wait to do our second one!! We only had to purchase the wood for seat and back. We already had screws and 2x4’s.
Thank you so much for your design plans for the Brookstone desk! Made it a tad smaller to fit my daughter's needs but overall kept with the same design as yours. White paint used on the bottom with an antique white stain and poly used on top.
Chad H
Pretty simple to build. I would suggest when notching the main body and the front piece, to notch the main body only about 1/2 an inch and the front about 3 1/2 inches. The body is very thin, so having it notched all the way down can, and did, cause it to break. Just a suggestion though.
Also the plan does not include the braces for the body to attach to the rocking legs. I just measured the base of the scooter wheels and added about 1/2 inch. I cut that width off the end of the remaining wood.
I used leftover plywood (1/4 inch) instead, but would only recommend it, if you plan to paint the cradle (due to splintering when you make your cuts). I also used my nail gun instead of screws, which worked fine since the wood is a lot thinner and lighter. The cradle is very sturdy and my 4-year-old loves it. Thanks for the awesome plans!!
I made this for my daughter. Thank you Ana, it came out perfect.
This is our fireplace / tv bump out. Used your plans modified a little. Decided on a navy blue shiplap. The shelves are made from oak barn wood we got from a torn down dairy barn.
Bdunn2354
I made a more narrow version of this bookshelf. I needed a place for the thicker books to go, so I left the top shelf open. This bookshelf has made it so simple for the boys to clean up after reading. Even my four year old knows to put his books back!!! YESSSSS!