Community Brag Posts

Printers Double Console Cabinet
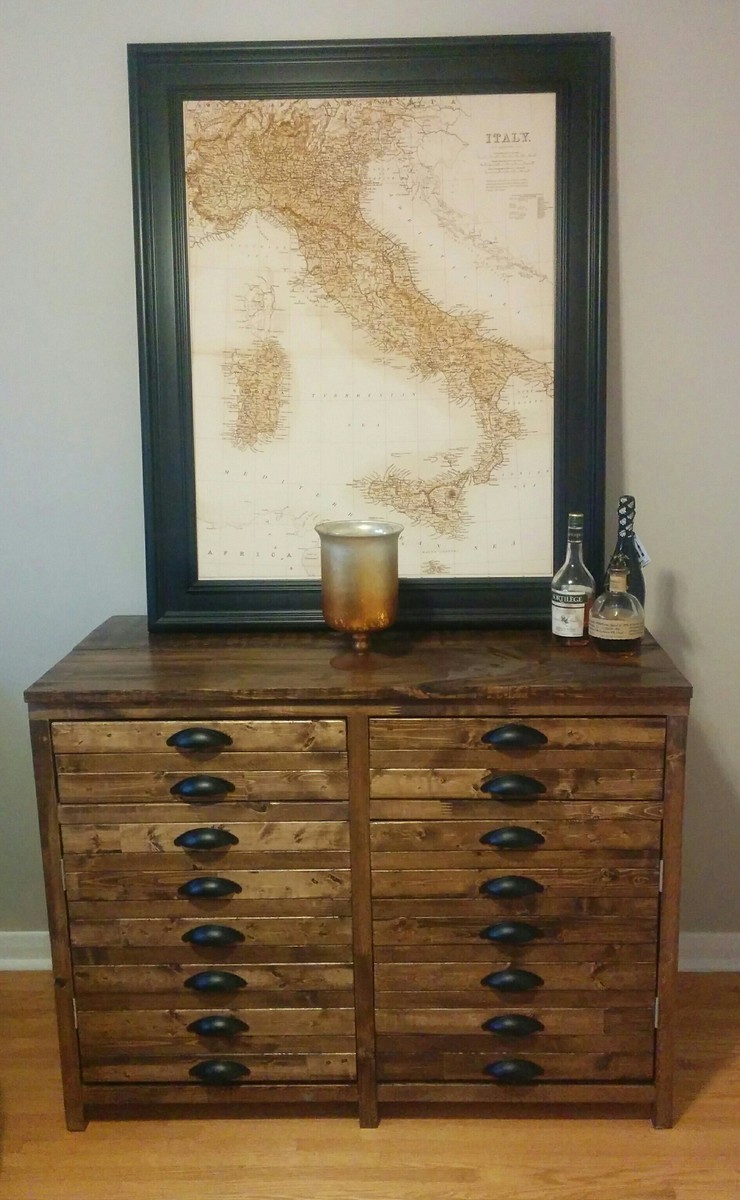
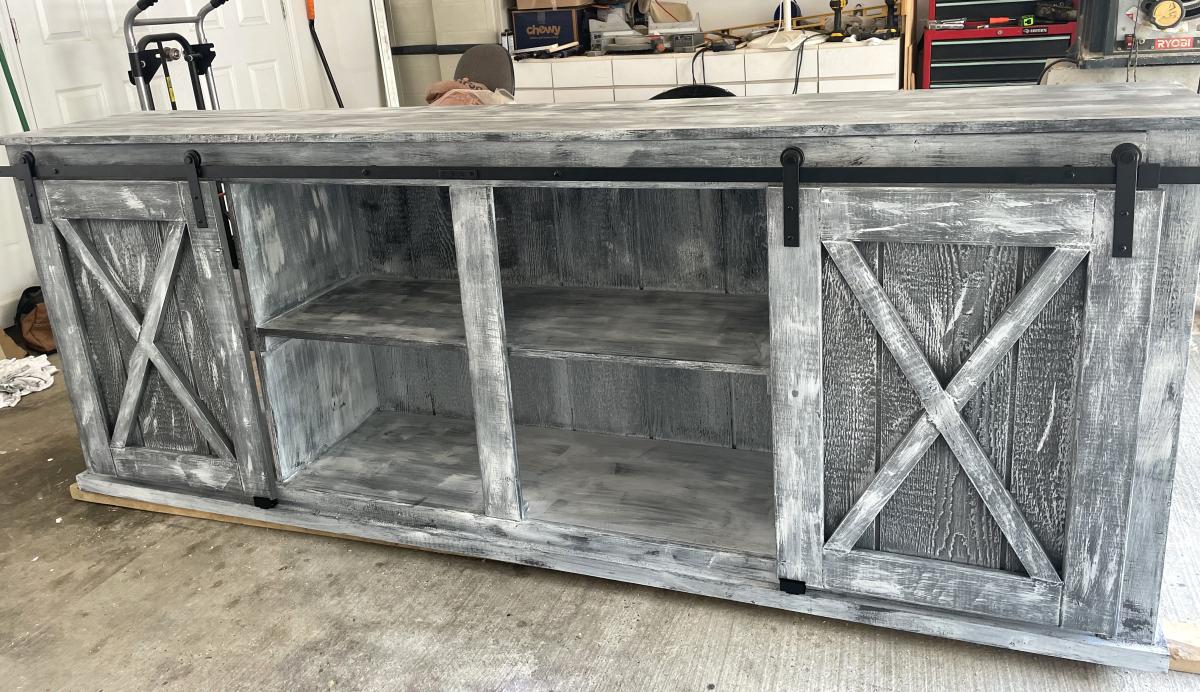
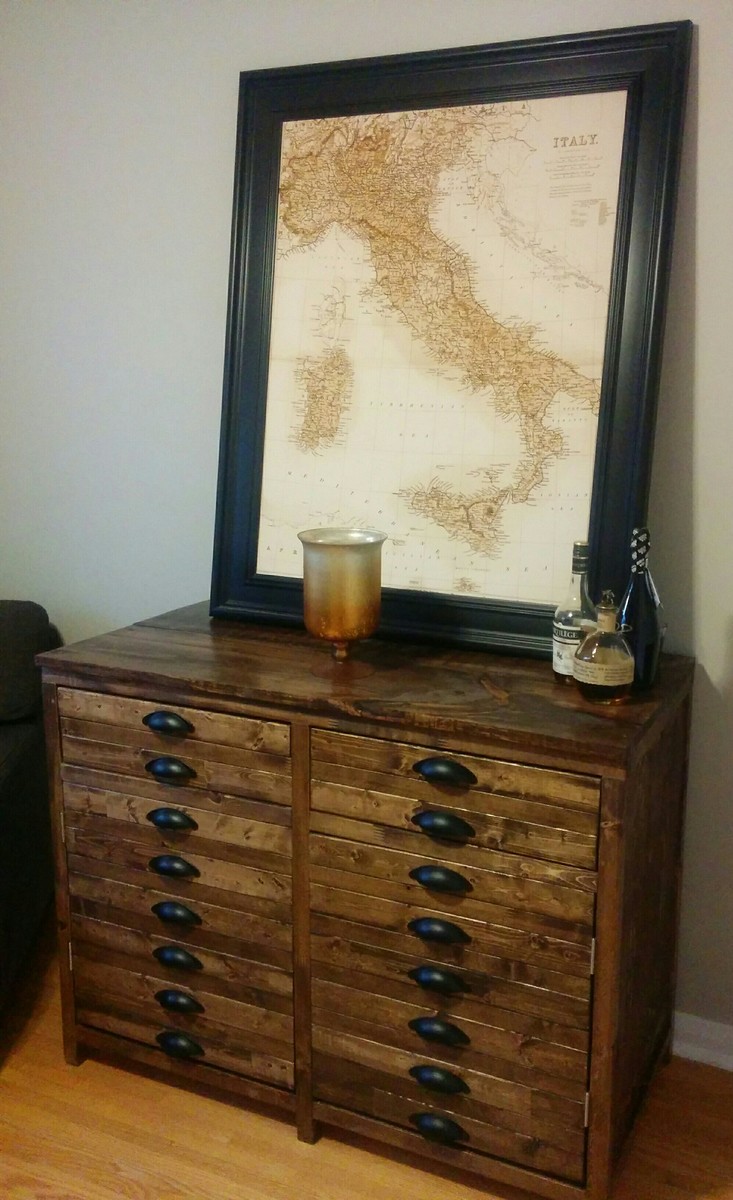
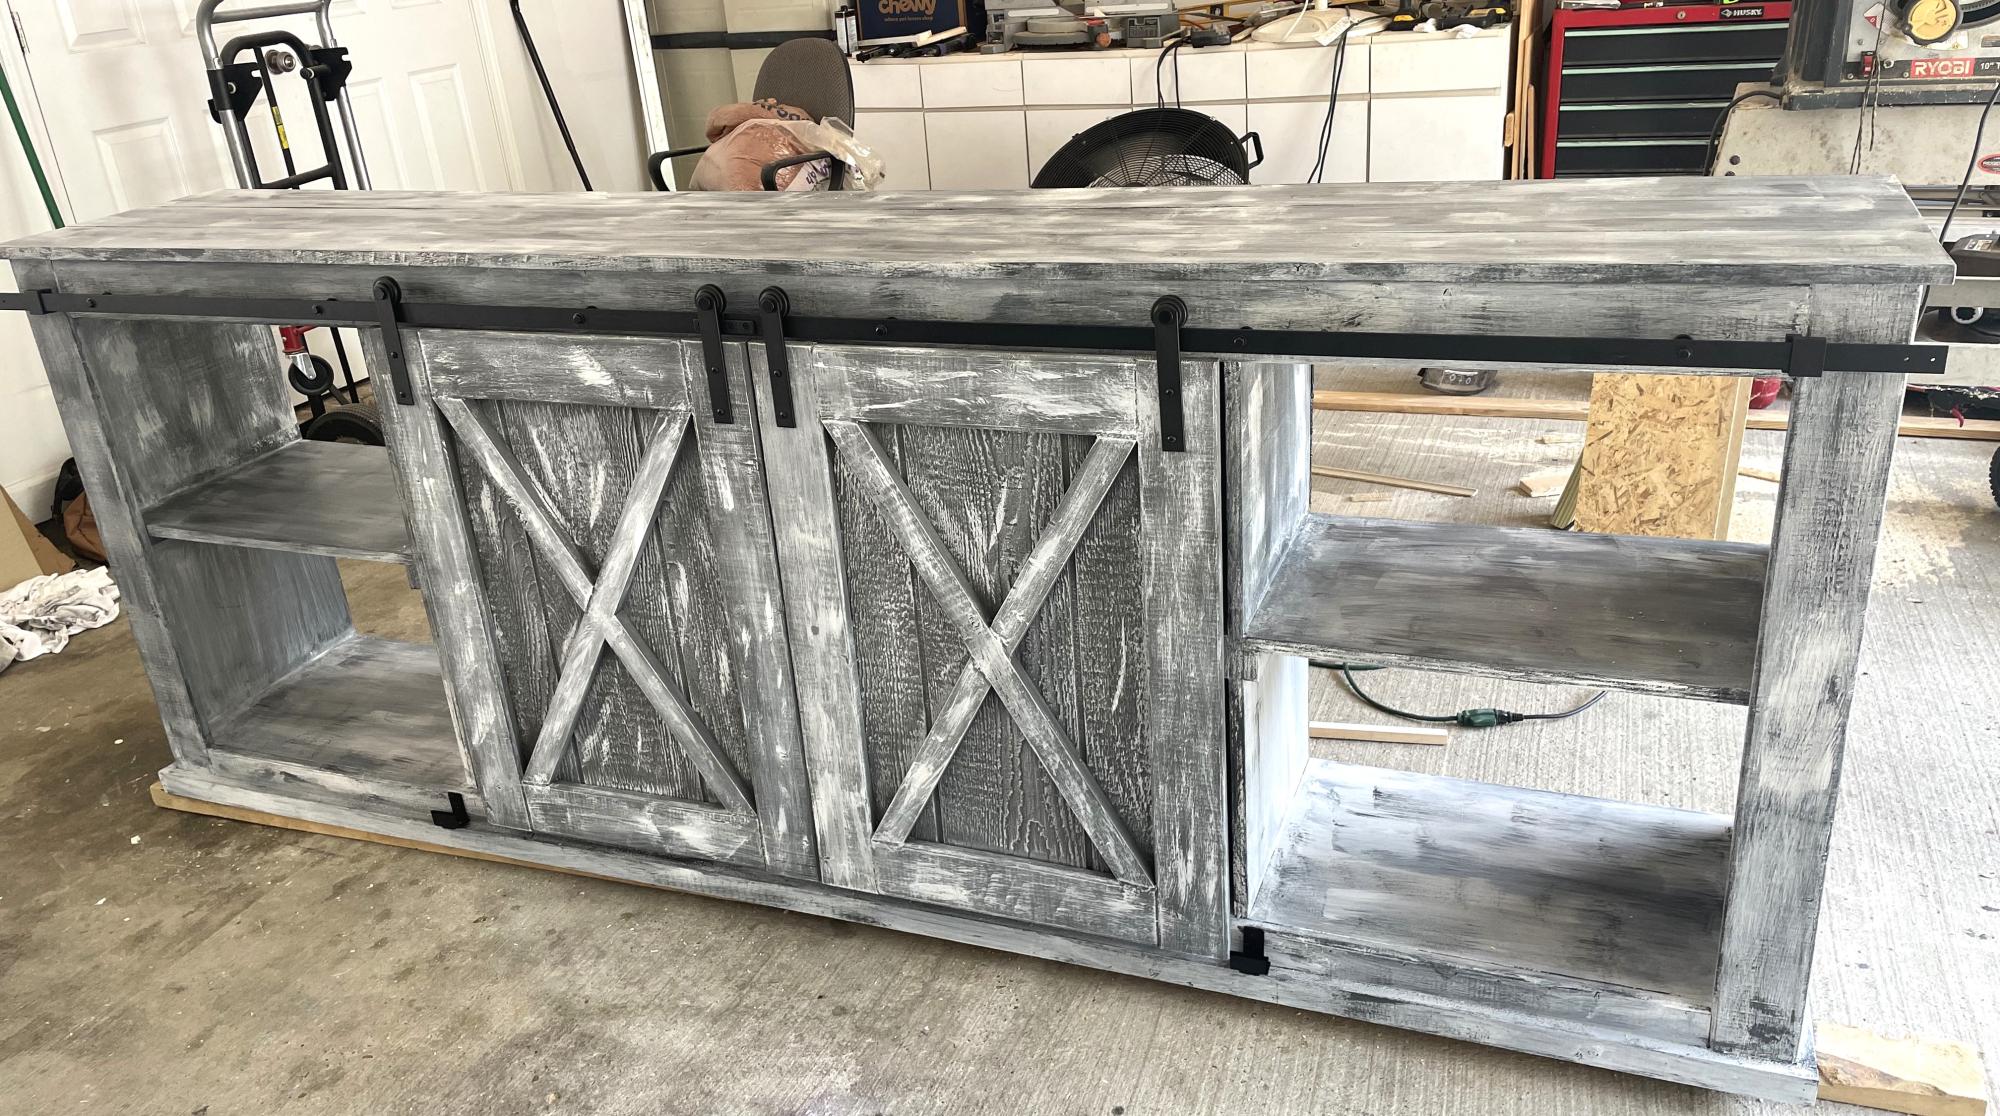
This was a Great Project! my First bigger project!. I modified it from the original plans to reduce the size into a double door rather than a 3 door, for space reasons. I also made it a little wider to store my gigantic printer. It is currently serving as a cabinet for my home office. This project was pretty strait forward and lots of fun. I was a little weiry about all the hardware that was necessary, however i found a great deal on amazon.ca i got a 25 pack of pulls for $48! so that was a relief. This project took me about 2 weeks to complete working on and off. i was also building in cold garage at start of January so Stain took a while to set/cure/dry. Over all great project and easy to follow and modify the plans!
Estimated Cost
$200-Hard ware was pricey but i found a great deal on Amazon.
Estimated Time Investment
Week Long Project (20 Hours or More)
Finish Used
Minwax Special 224
Recommended Skill Level
Intermediate

Comments

tgrott

Sat, 04/02/2016 - 16:07

Looks awesome! I just showed my husband that same plan day before yesterday telling him I want us to build this! :)
Laundry Station

Submitted by M0saic0318 on Tue, 10/29/2019 - 20:09

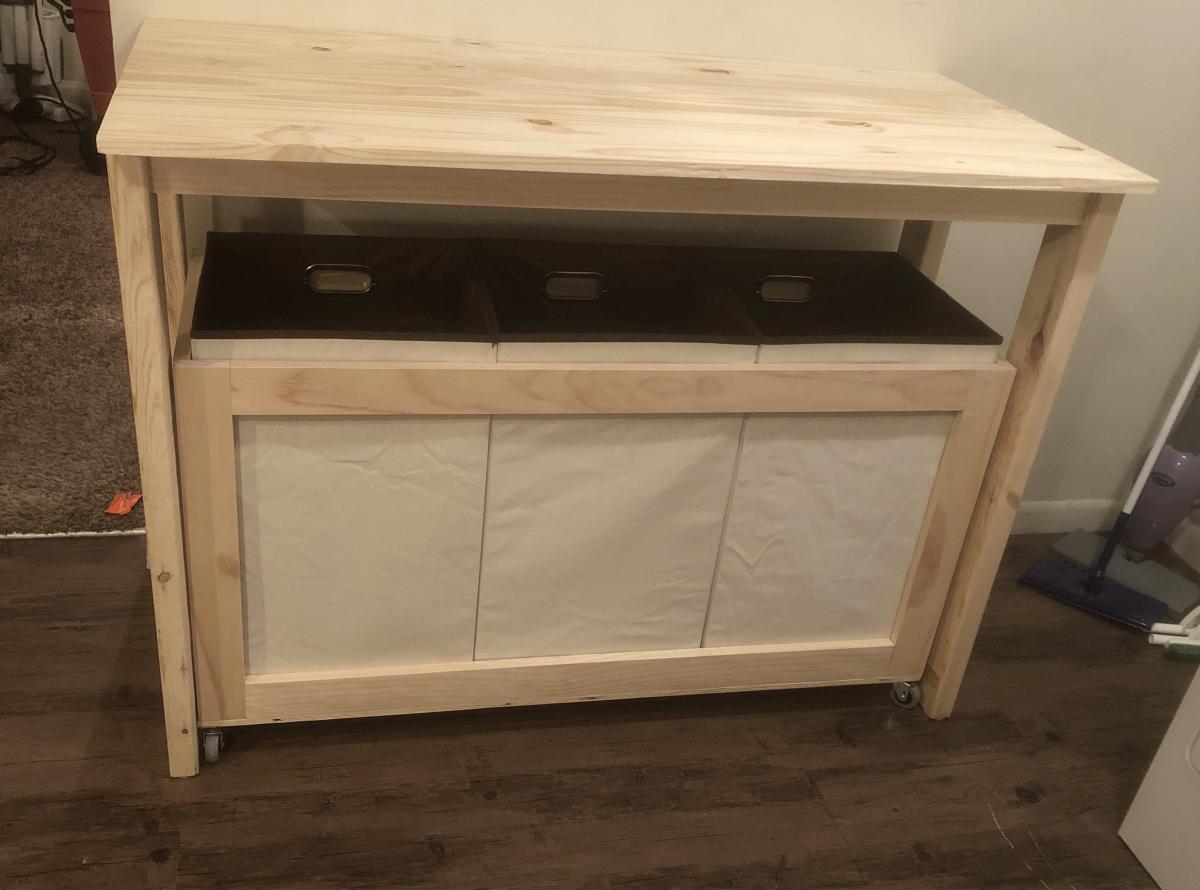
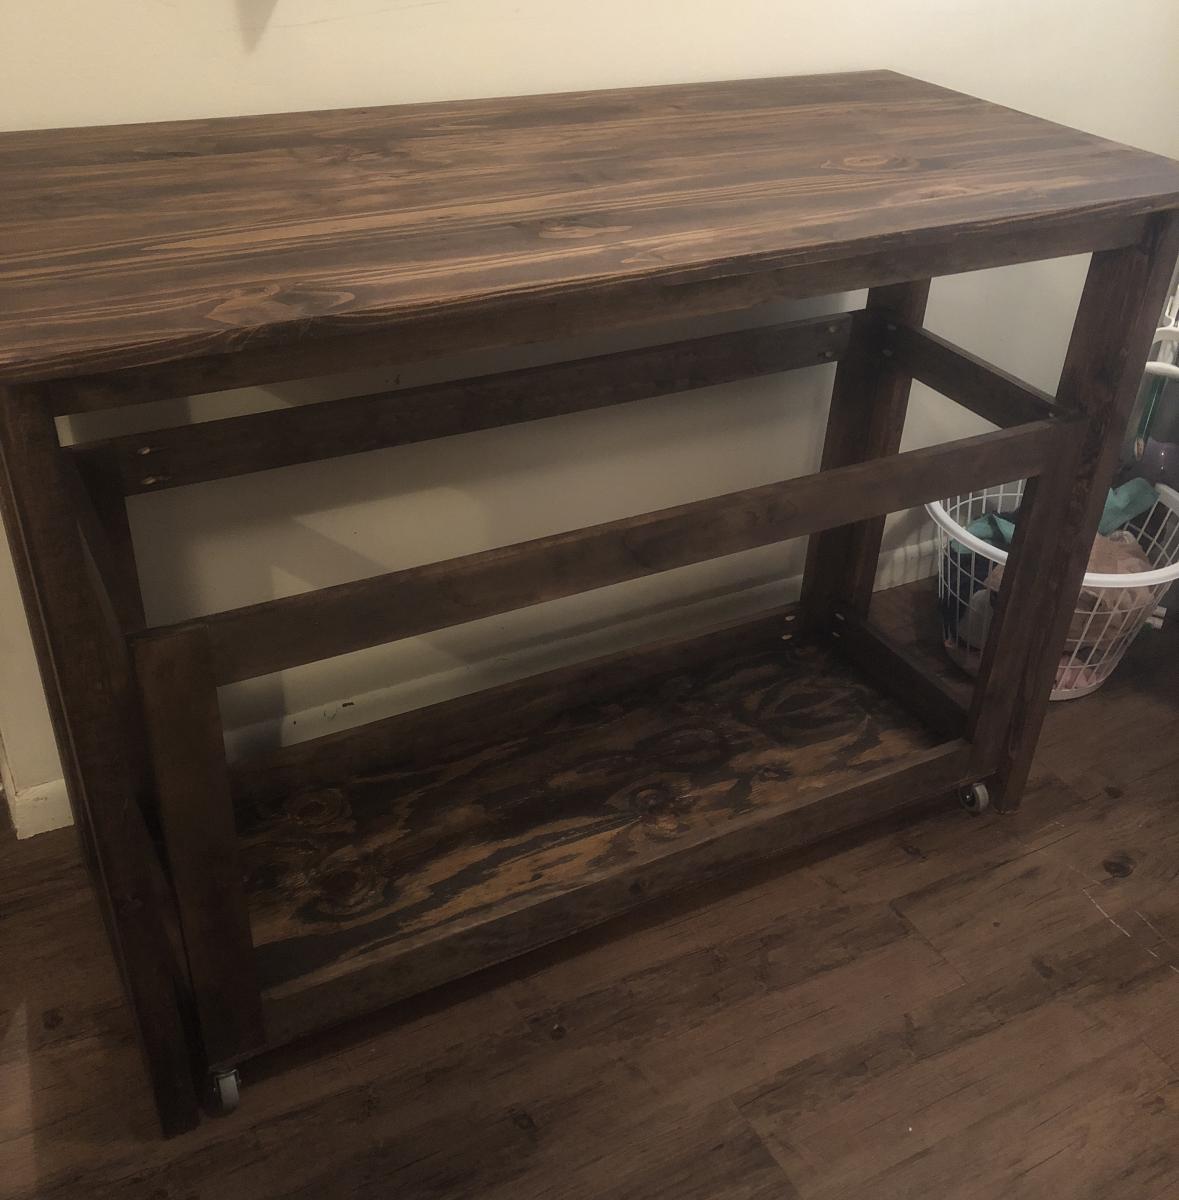
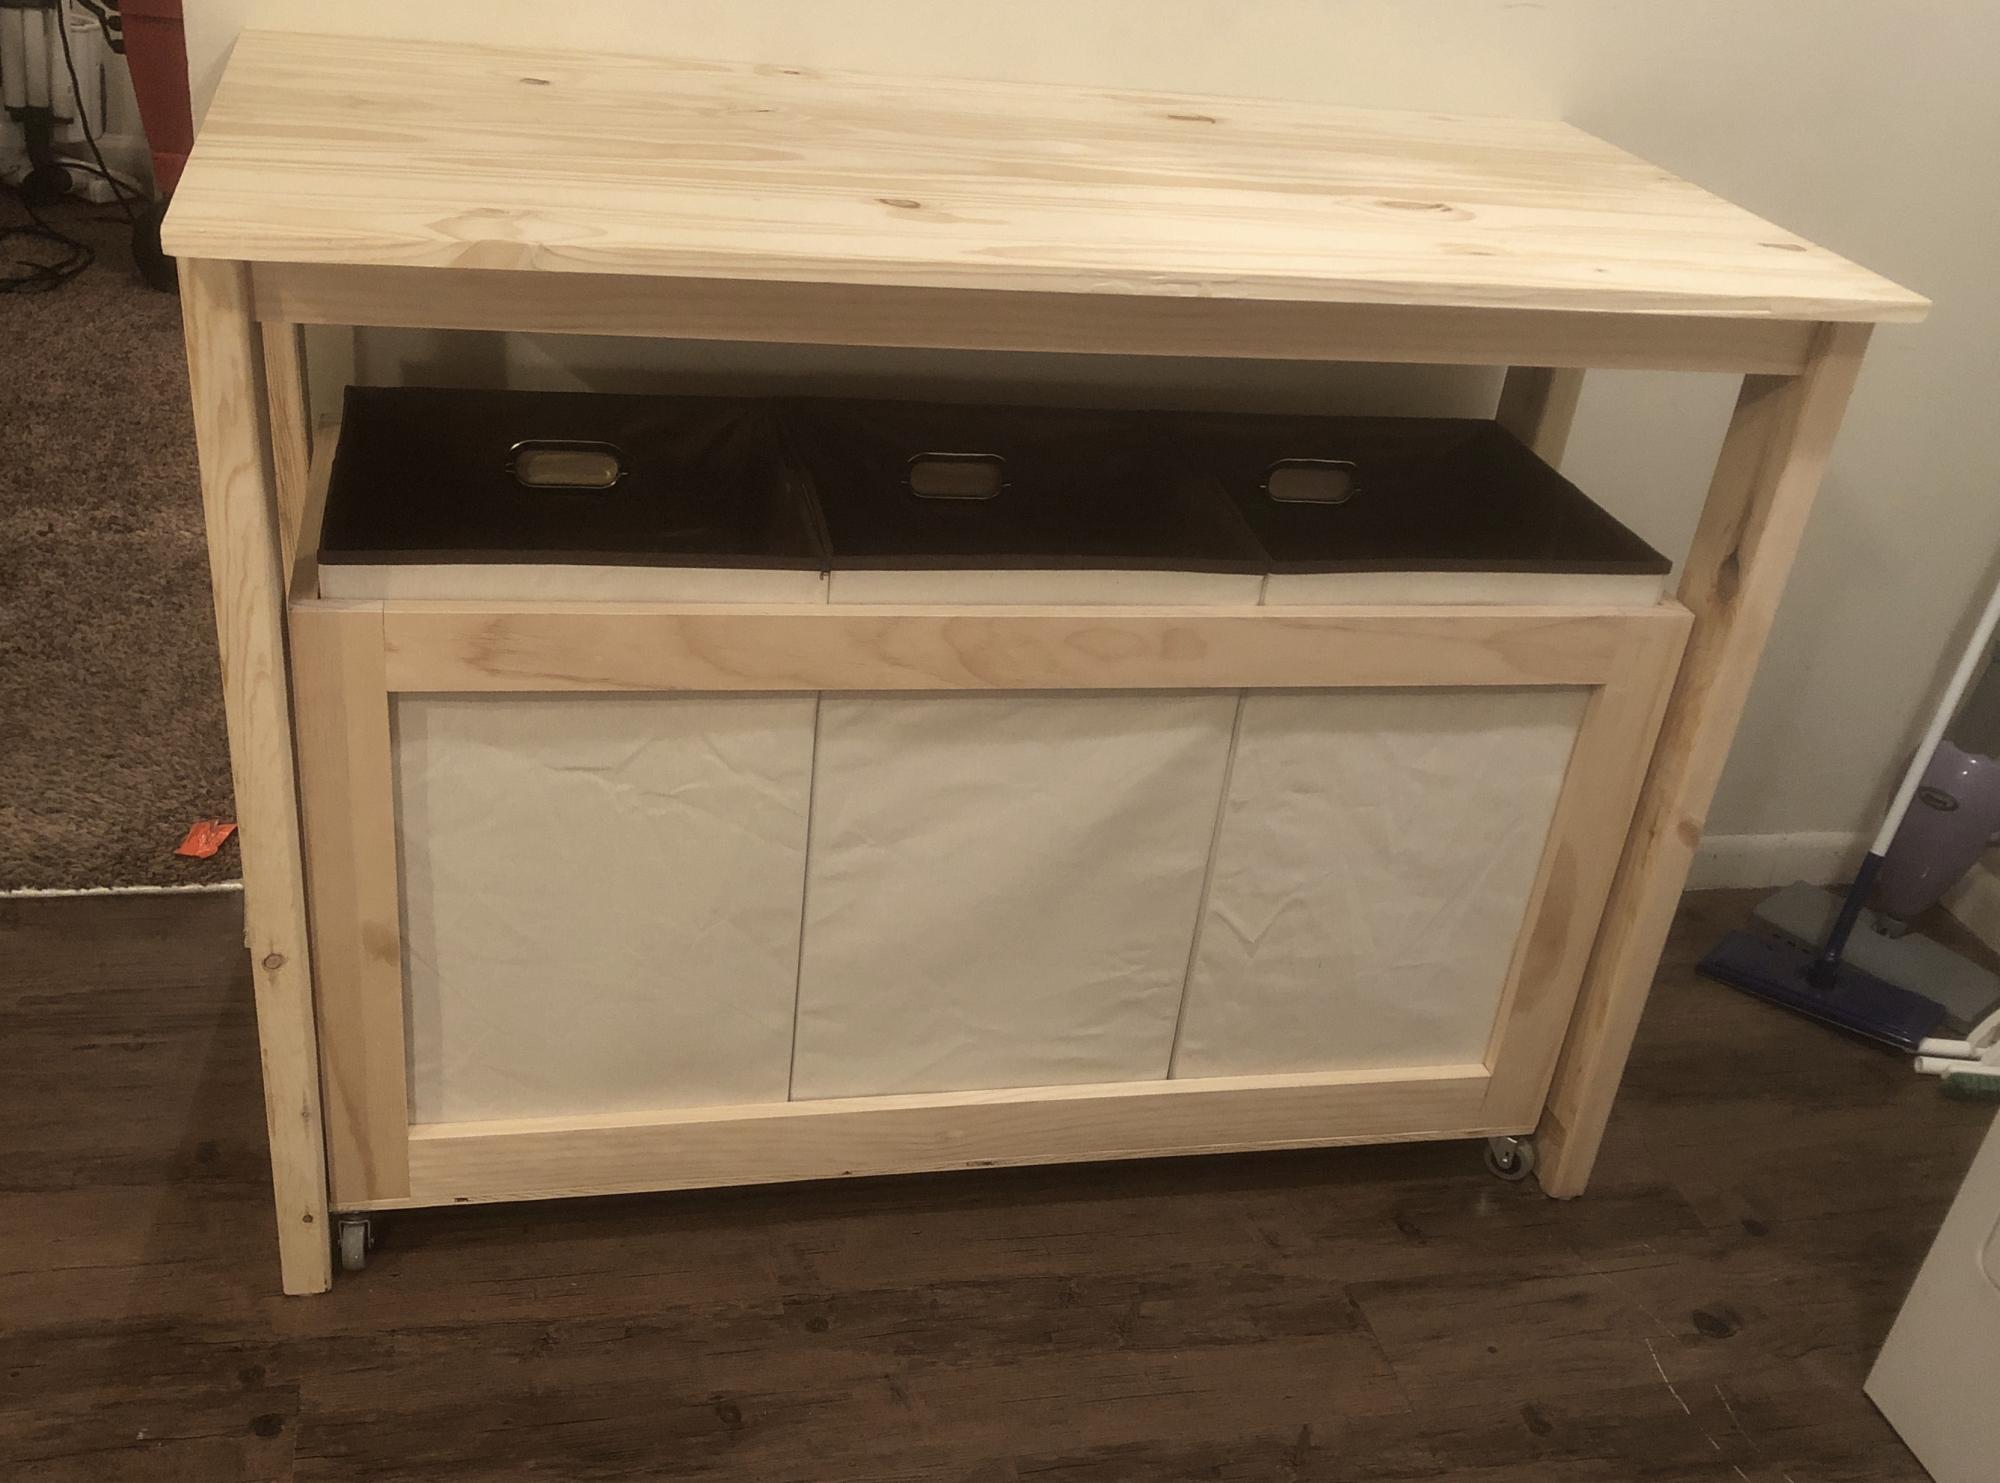
I built this project for my daughter’s birthday. Her laundry area was a mess in her kitchen and she had no place to fold the clothes. This laundry station keeps her laundry area tidy, and it looks great!
Built from Plan(s)
Estimated Cost
$50
Estimated Time Investment
Afternoon Project (3-6 Hours)
Finish Used
Minwax Espresso stain
Recommended Skill Level
Intermediate

4x4 Truss and Beam Table

Submitted by Anonymous (not verified) on Sat, 07/15/2023 - 09:53

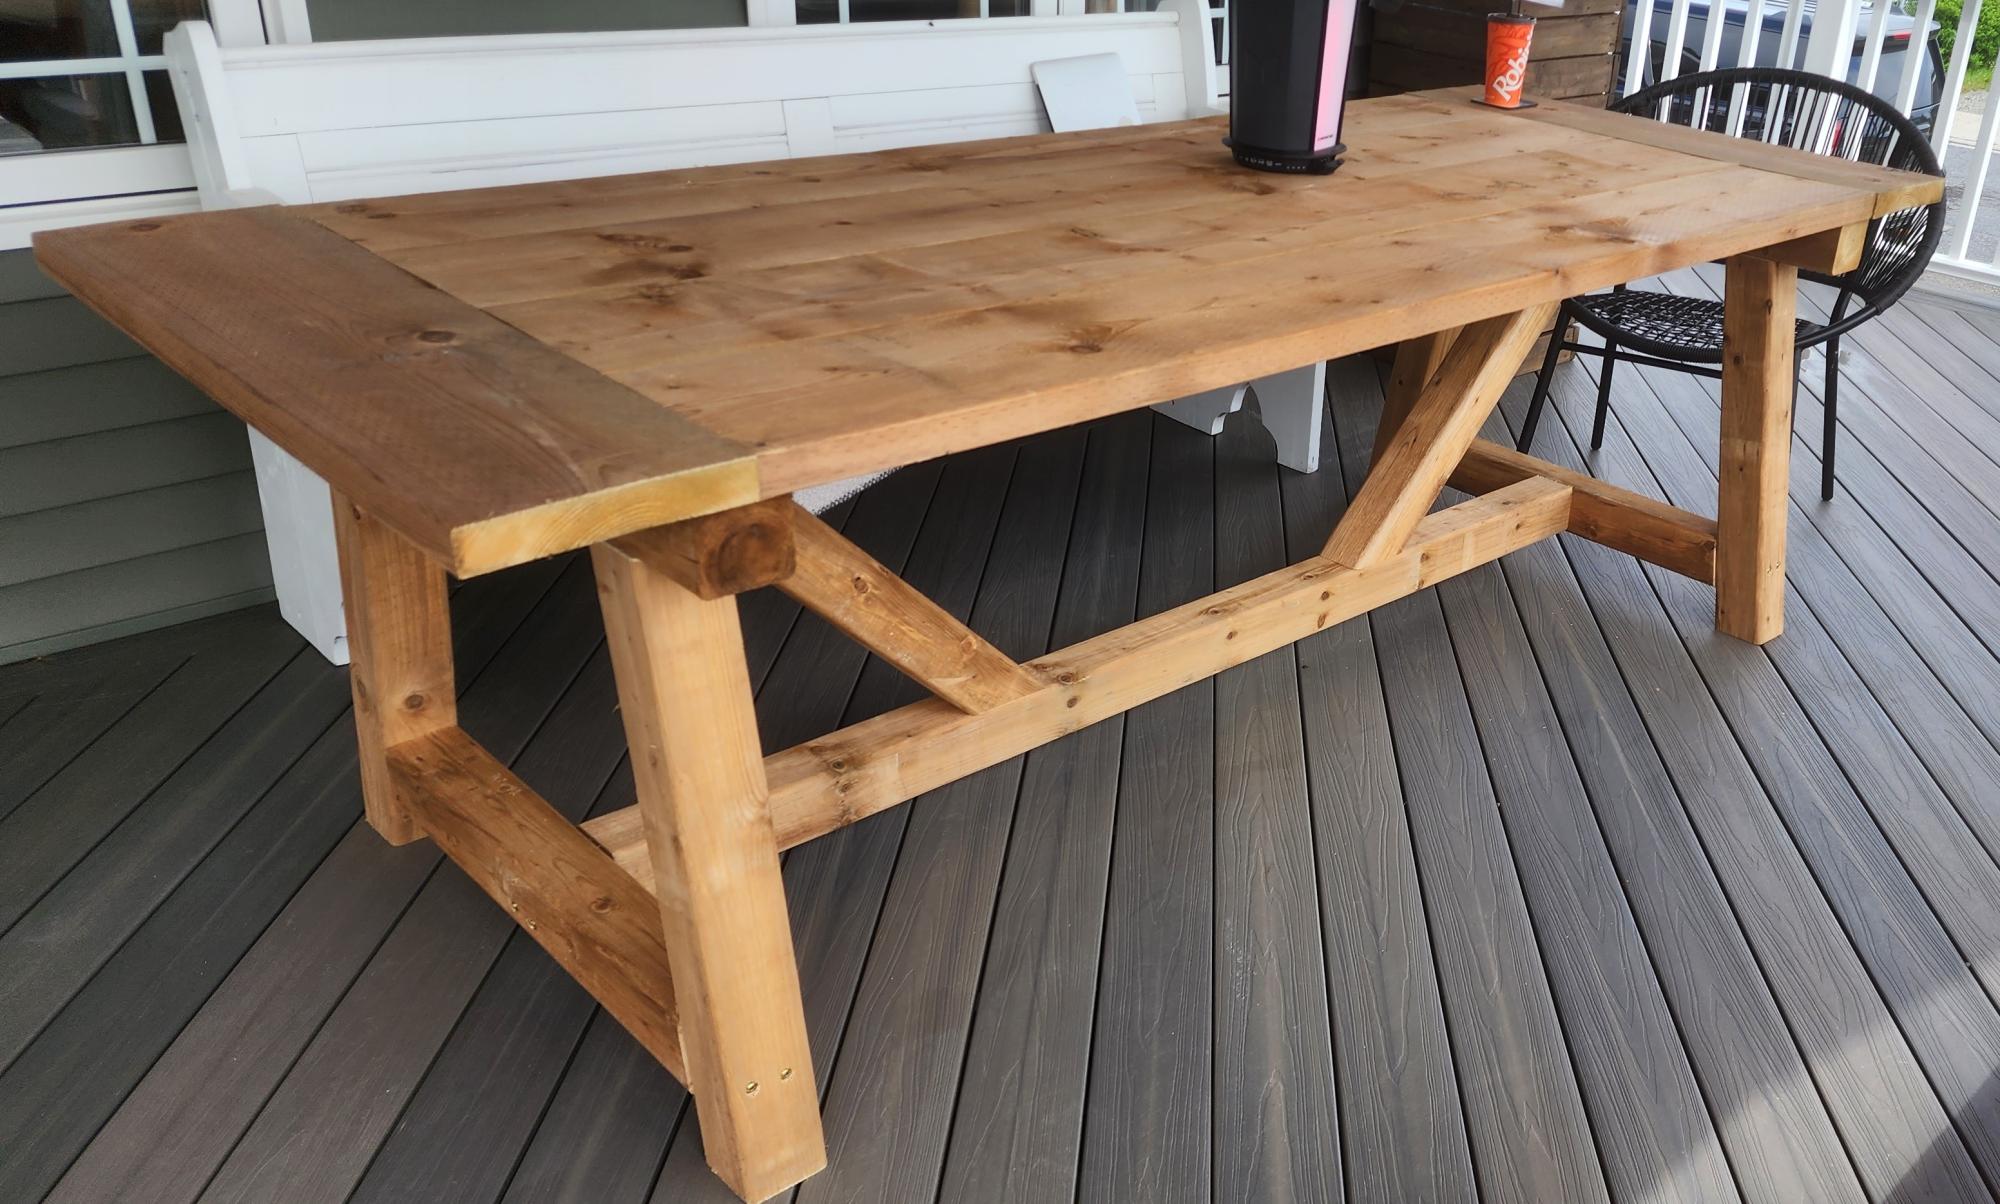
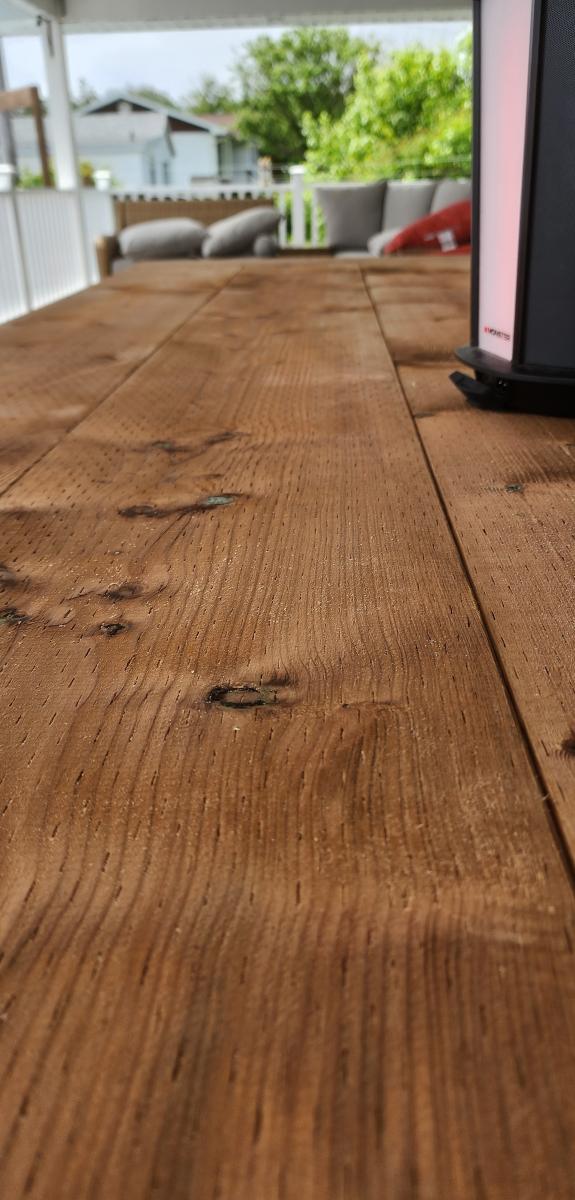
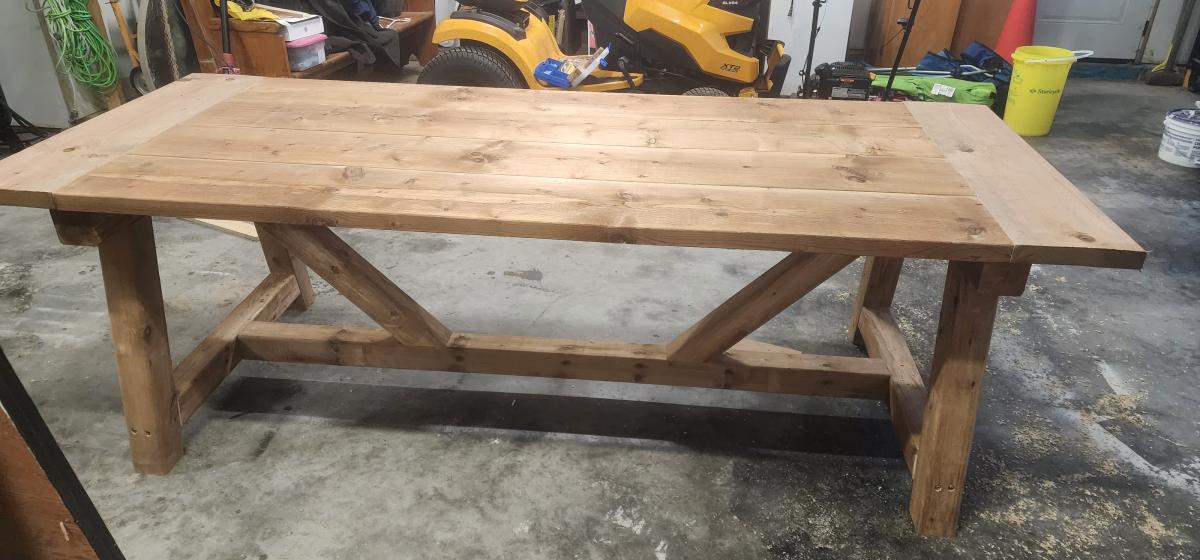
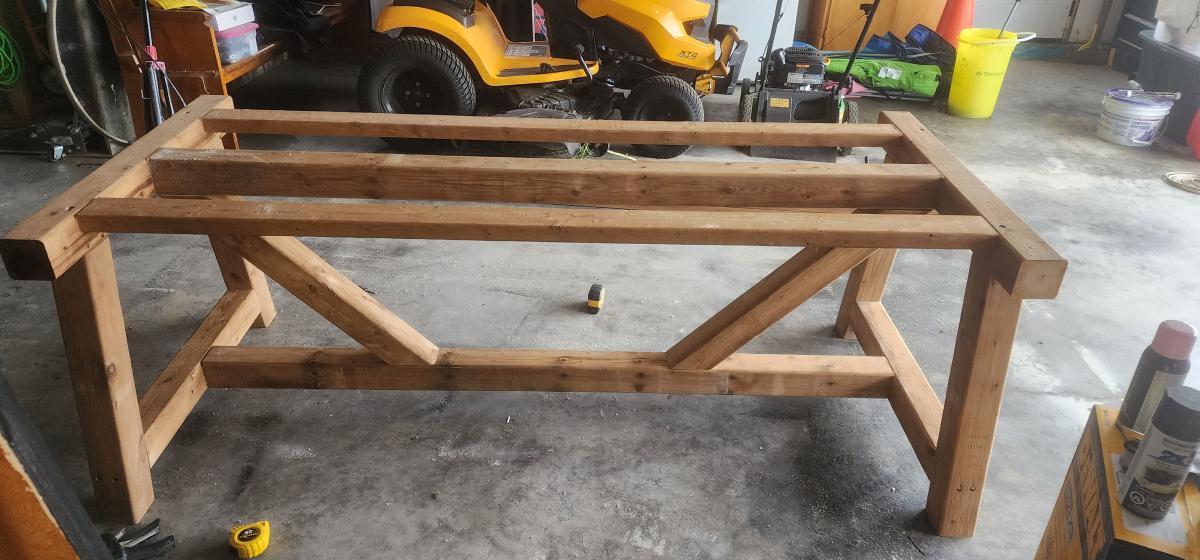
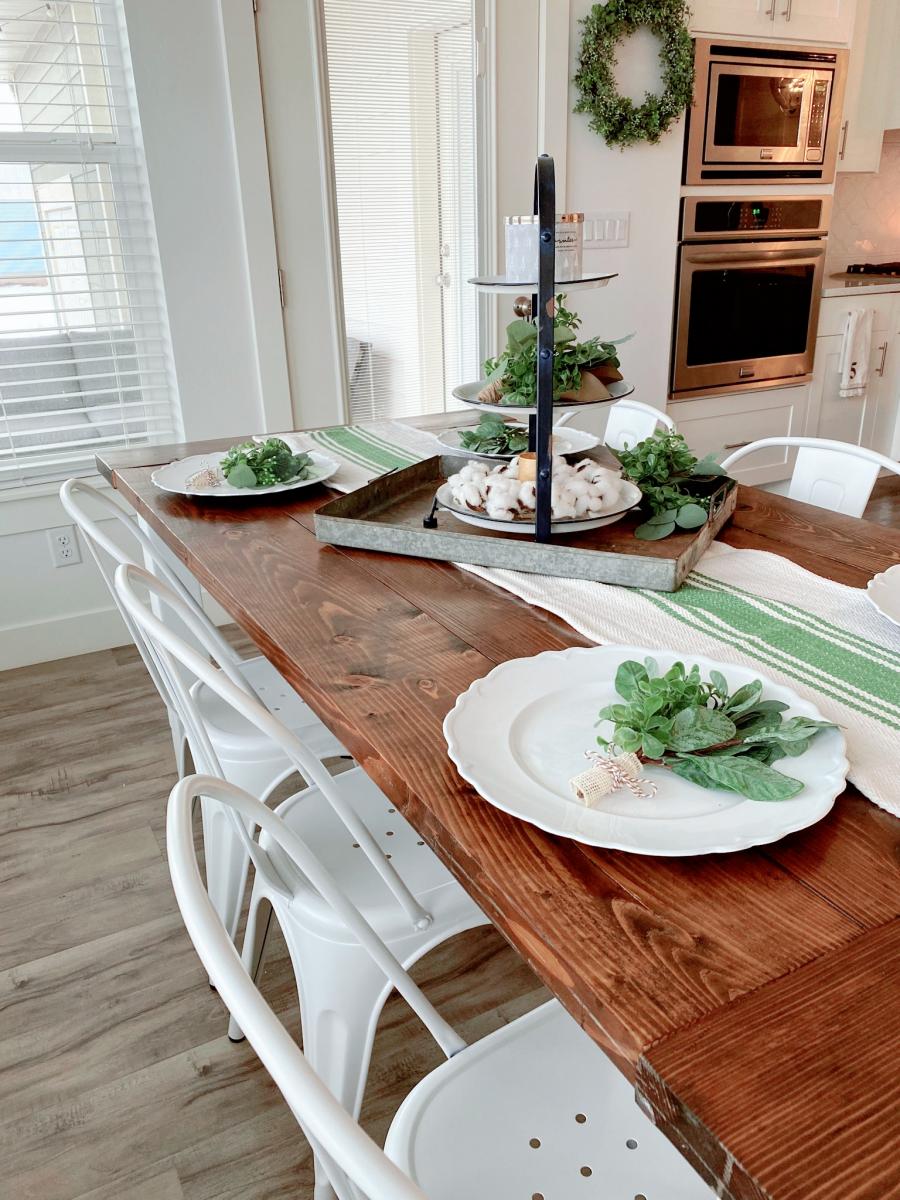
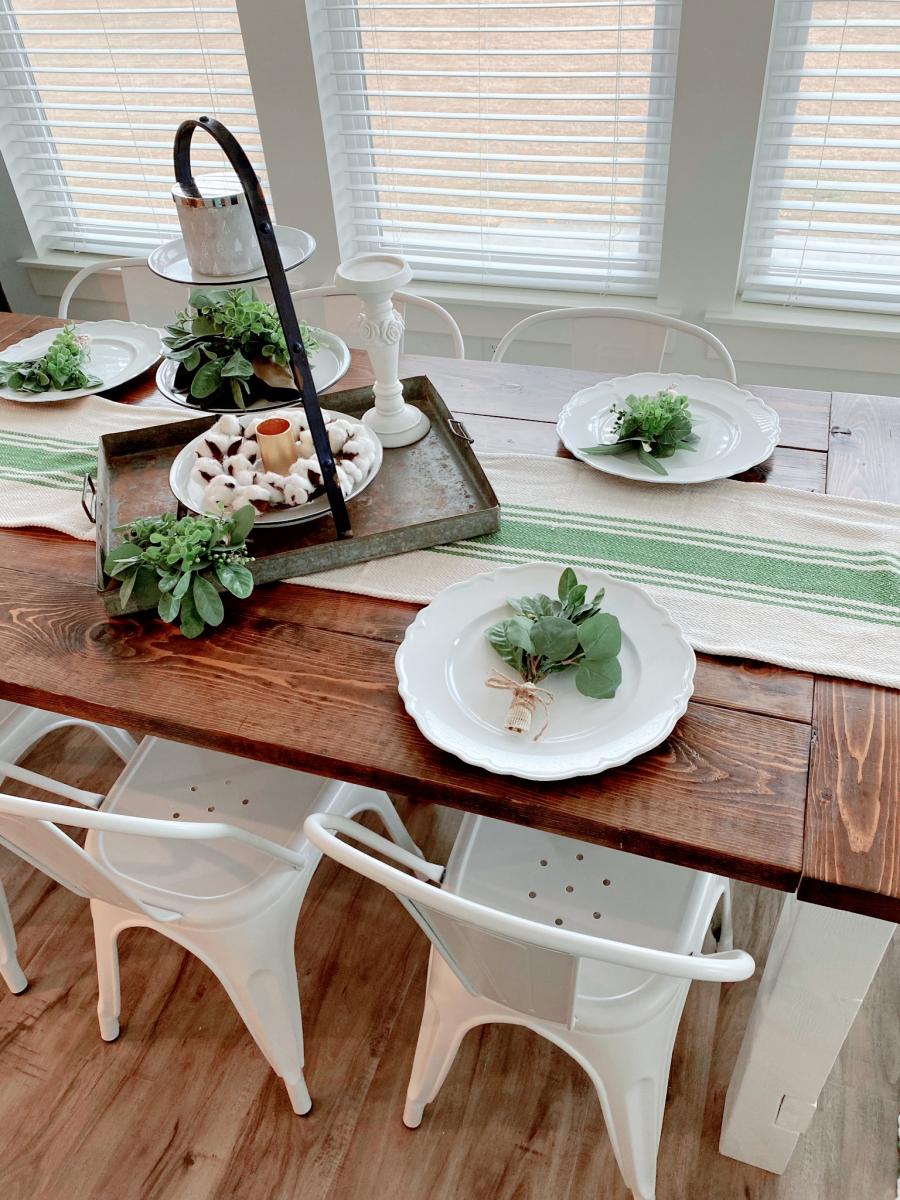
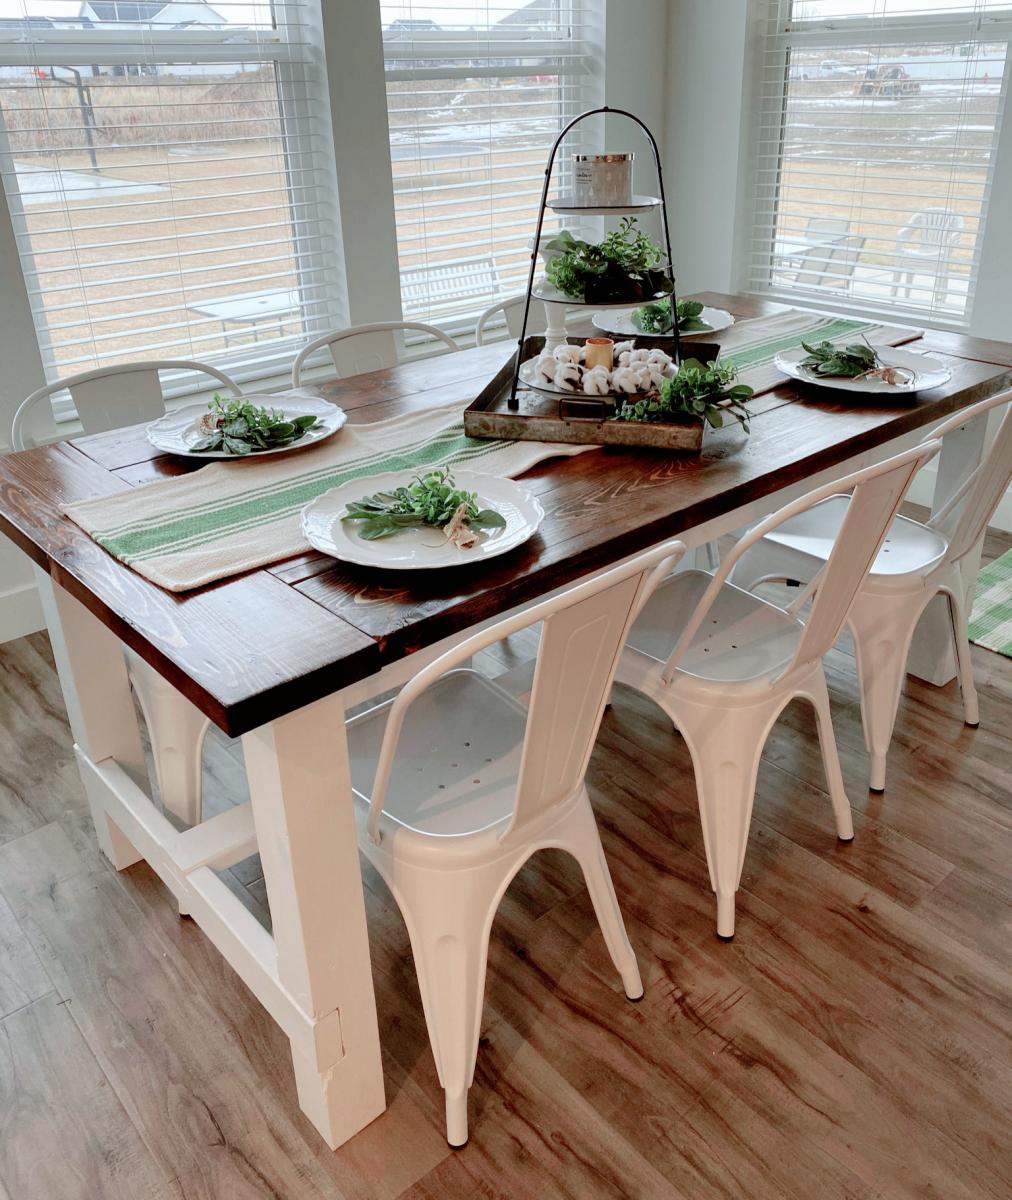
4x4 farmhouse beam table using pressure treated lumber, made a little longer to accomodate 6' church pews, so pleased with the build, best part, it took me 3 hrs to complete!

Corrina Kelly

Built from Plan(s)

Flip Top Coffee Table

While both massively pregnant, my friend enlisted me to help her baby-proof the house by replacing her metal/glass coffee table with the flip-top wooden version. She was 7 months and I was 8, and we got quite a few sideways looks at Lowe's! Needless to say we had a lot of help loading up the truck ;) It only took an afternoon to build, sand and stain. Now her little boy is appreciating the much more baby-friendly table!

Estimated Cost
$65
Estimated Time Investment
Afternoon Project (3-6 Hours)
Finish Used
Minwax Gel stain and 3 coats of poly
Recommended Skill Level
Beginner

Comments

Jake

Fri, 04/27/2012 - 15:41

If you built and stained this project in one afternoon you must live in Northern Norway during the winter when the sun never sets. You did a great job. I am building the same but I figure it will take me at least two days. Painting and sanding do add a lot of time, but also my stupid mistakes added time. It is really great. Once I can figure out how to add a Brag I will show you my bench.

brookifer86

Fri, 04/27/2012 - 15:58

But it was Texas in the summer so the sun doesn't set until 9 ;) Plus there were two of us, so staining took half the time! We used a gel stain that you just wipe on.

Vizsla Brewery

Sun, 10/28/2012 - 19:54

I'd like to build one of these but was wanting hidden hinges-looks like from the photo you managed that! What kind did you buy and where? (please say Lowe's lol)

Thanks again and it looks great!

AlBrackett

Wed, 05/04/2016 - 19:16

I really love the Tryde coffee table's solid style and legs, but would like to incorporate a flip top with storage like this one.  I don't want the lower level. Would that be possible?

Pirate Chest Project

Submitted by Rich in NC on Thu, 01/02/2014 - 14:41

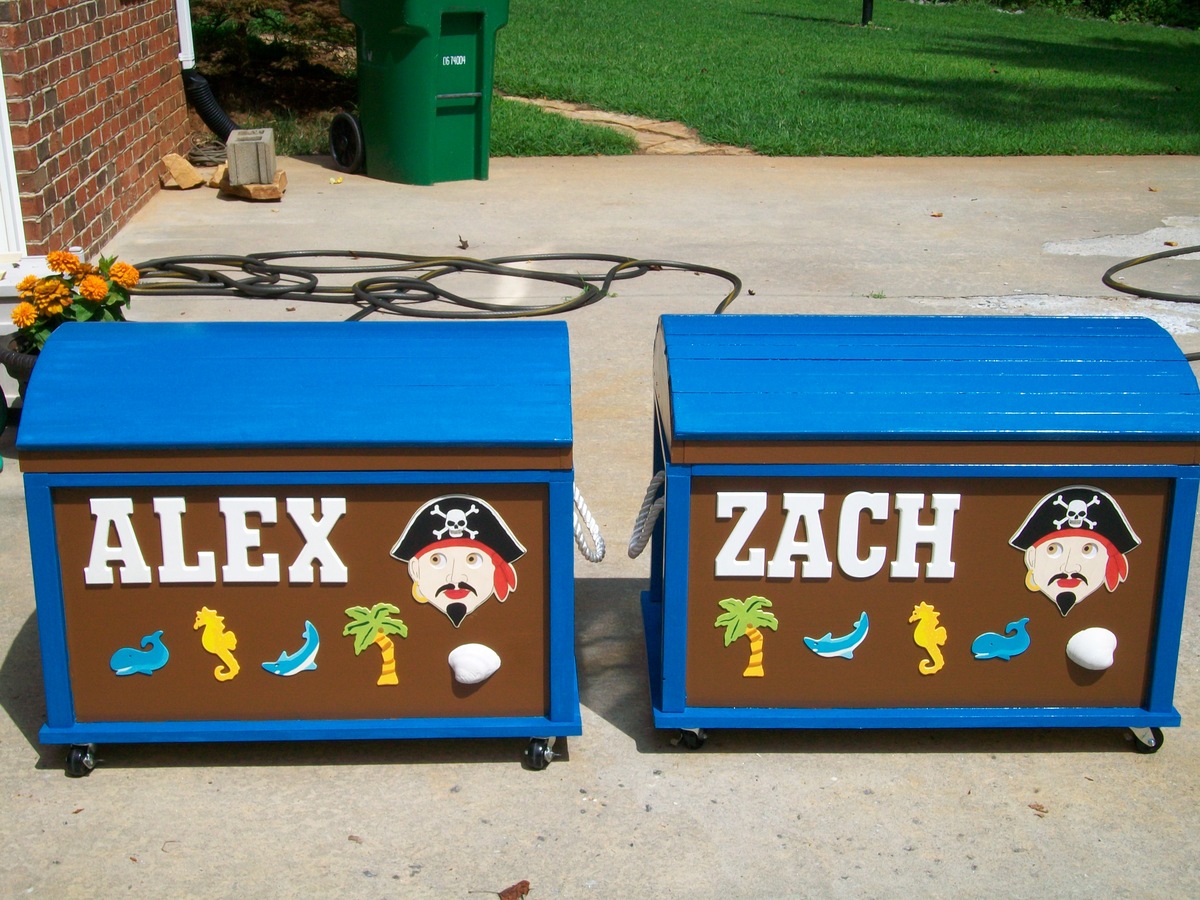
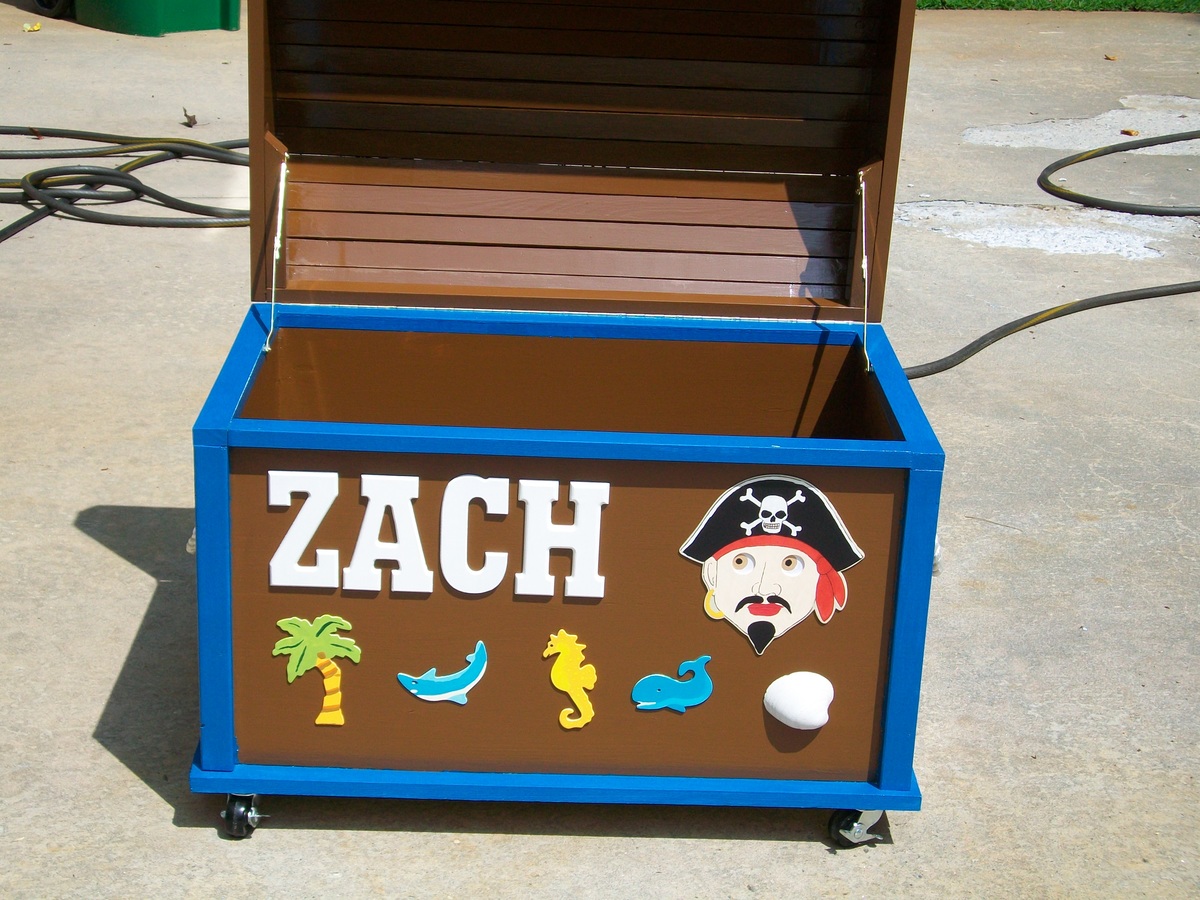
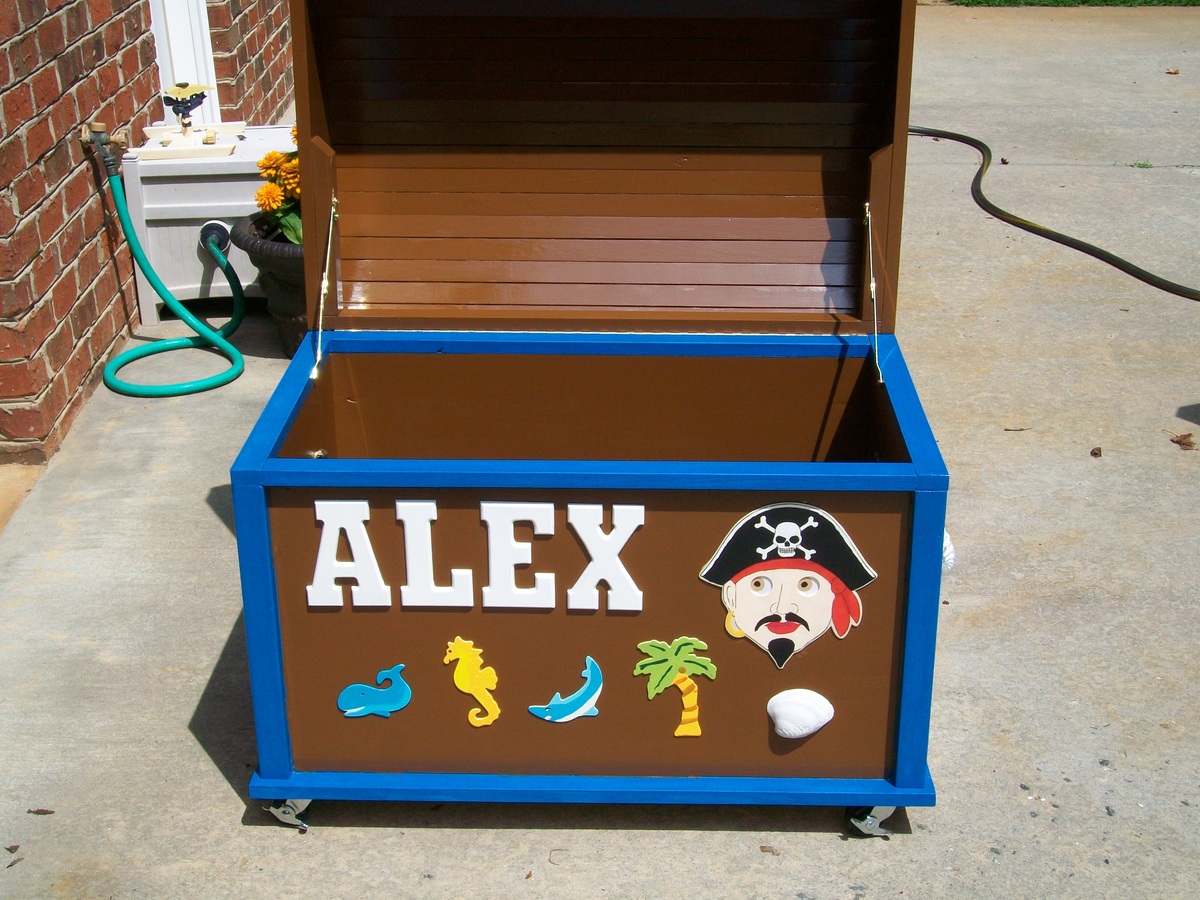
After my Daughter had twin boys in December 2012, I decided I would expand on my woodworking experience by making them this Pirate Chest toy box. Since there were two of them, my 'work' was doubled.

I DID learn some new things with this project. I had never used Pocket Hole joinery before and I was a little timid about doing it. I found that it's really pretty easy.

I also learned that when cutting on the table saw, I could NOT cut on the line drawn on the wood. As a result, some of the cuts were a bit short (but wood filler helped there).

My biggest problem was cutting the radius on the box tops since I don't have a band saw. It was difficult cutting the curve with a Jig Saw, so the Rasp, Plane and sandpaper came in handy.

The other problem I had was getting the slats on the top to meet up tightly. I found I had to cut a slight bevel on each edge so that the top of the slat would meet the next one.

I presented the boxes to the Boys at their First Birthday party just after Christmas and received a number of compliments. There was one woman that may want me to make one for her son. Needless to say I was a bit proud of myself.

Estimated Cost
Roughly $100 each.
Estimated Time Investment
Week Long Project (20 Hours or More)
Finish Used
2-coats of paint, 3-coats of gloss Polycrylic Urethane - this will not change the color of the paint.
Glued novelty wood ocean characters on front and sides.
White poly-rope handles on sides - decorative only.
Casters for easy movement when full.
Recommended Skill Level
Intermediate

Comments

Rustic Table

Submitted by anne_c on Mon, 03/21/2016 - 07:24

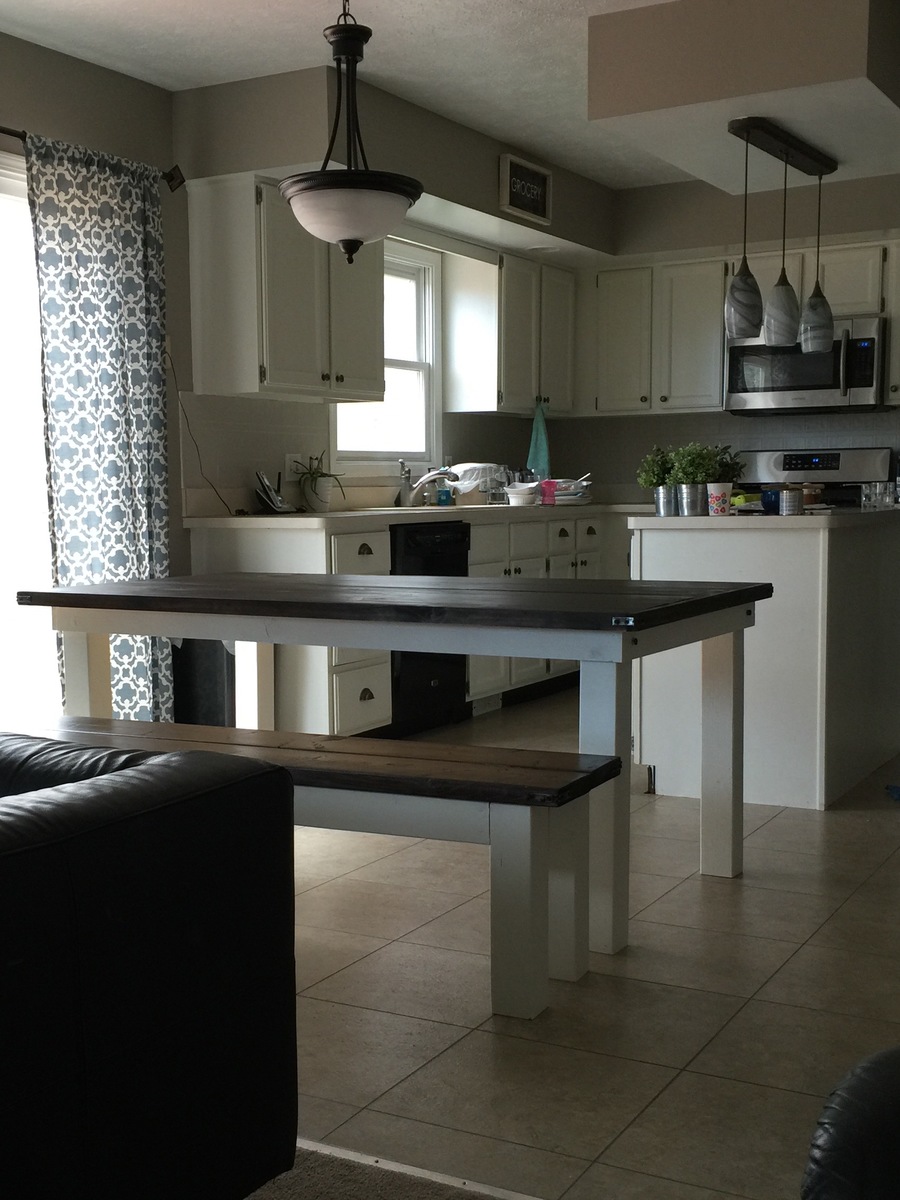
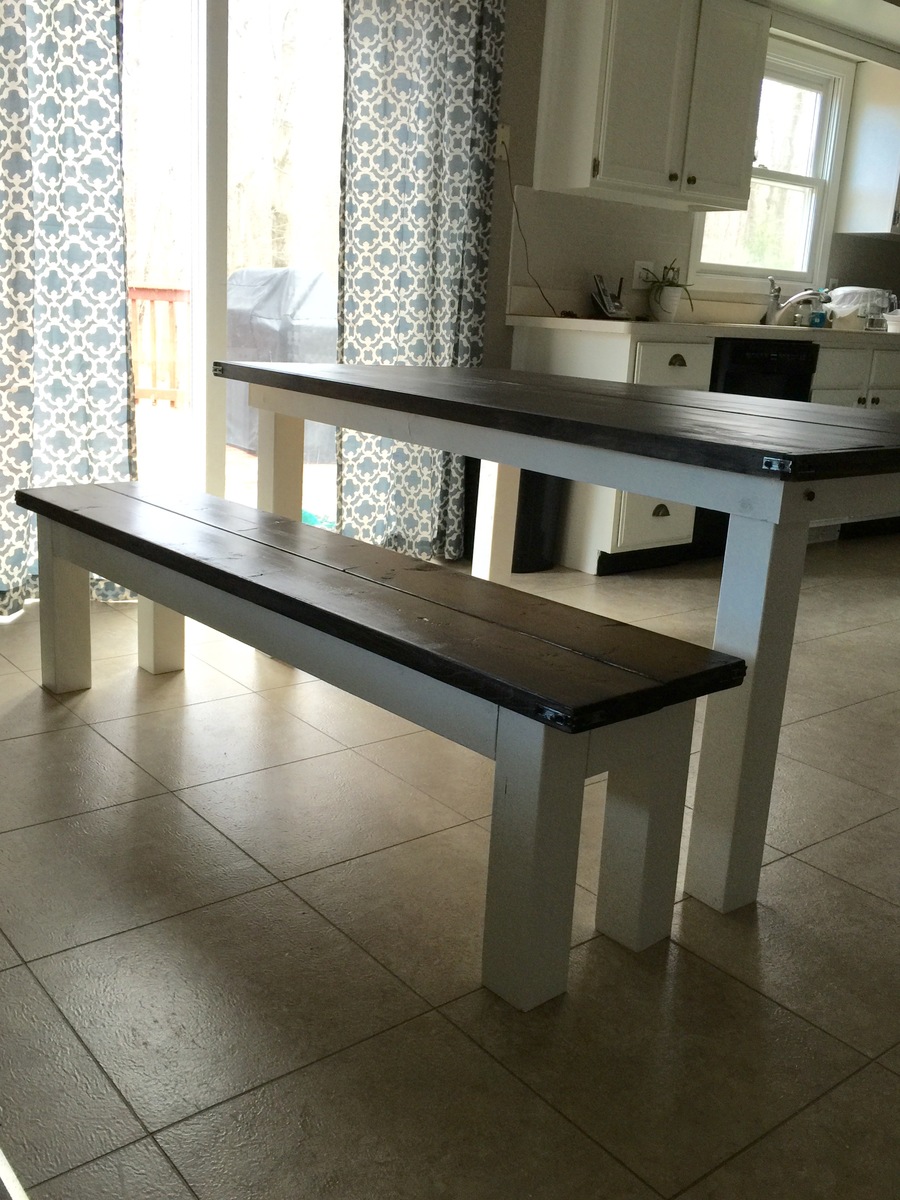
I have been eyeing up plans to build a table for awhile, but wasn't sure exactly what I wanted. I like this plan because it's a beginner plan and is pretty simple to follow. I have built a few smaller projects, but this was the first big piece. I love the way it turned out.

Things I changed:  I made it a little shorter (table top is 68 inches) to accomodate the size of our kitchen.  I used 4x4 legs - I like the chunkiness of thicker sturdier legs.  Used 2x8 for the bench. Again, I like the thickness over a 1x.  I did use 1x10s for the table top, but I added trim (1x2) to make it look chunky. I would have just used the 2x10, but b/c they have rounded edges, and I didn't want gaps for crumbs to have to clean out. I wouldn't have minded this for a dining room table, but we're using in kitchen with 3 small children. The 1x10s are squared off so they fit together better. And adding the 1x2 trim gives it the chunky look I added the corner brackets and lag bolts, mainly for decorative style I used kona stain and white paint. 

Used 4 coats of satin poly. I built both piece in a weekend, but I would say it's more of a week project on a realistic timeframe.

Built from Plan(s)
Estimated Cost
The lumber for the table and bench ran about $120-130. I used top choice pine. I spent an additional $40ish on stain, wood glue, filler, paint, etc.
Estimated Time Investment
Week Long Project (20 Hours or More)
Finish Used
kona stain (Rustoleum) with 4 coats of poly
white paint
Recommended Skill Level
Beginner

Boys room with Hanging Beds

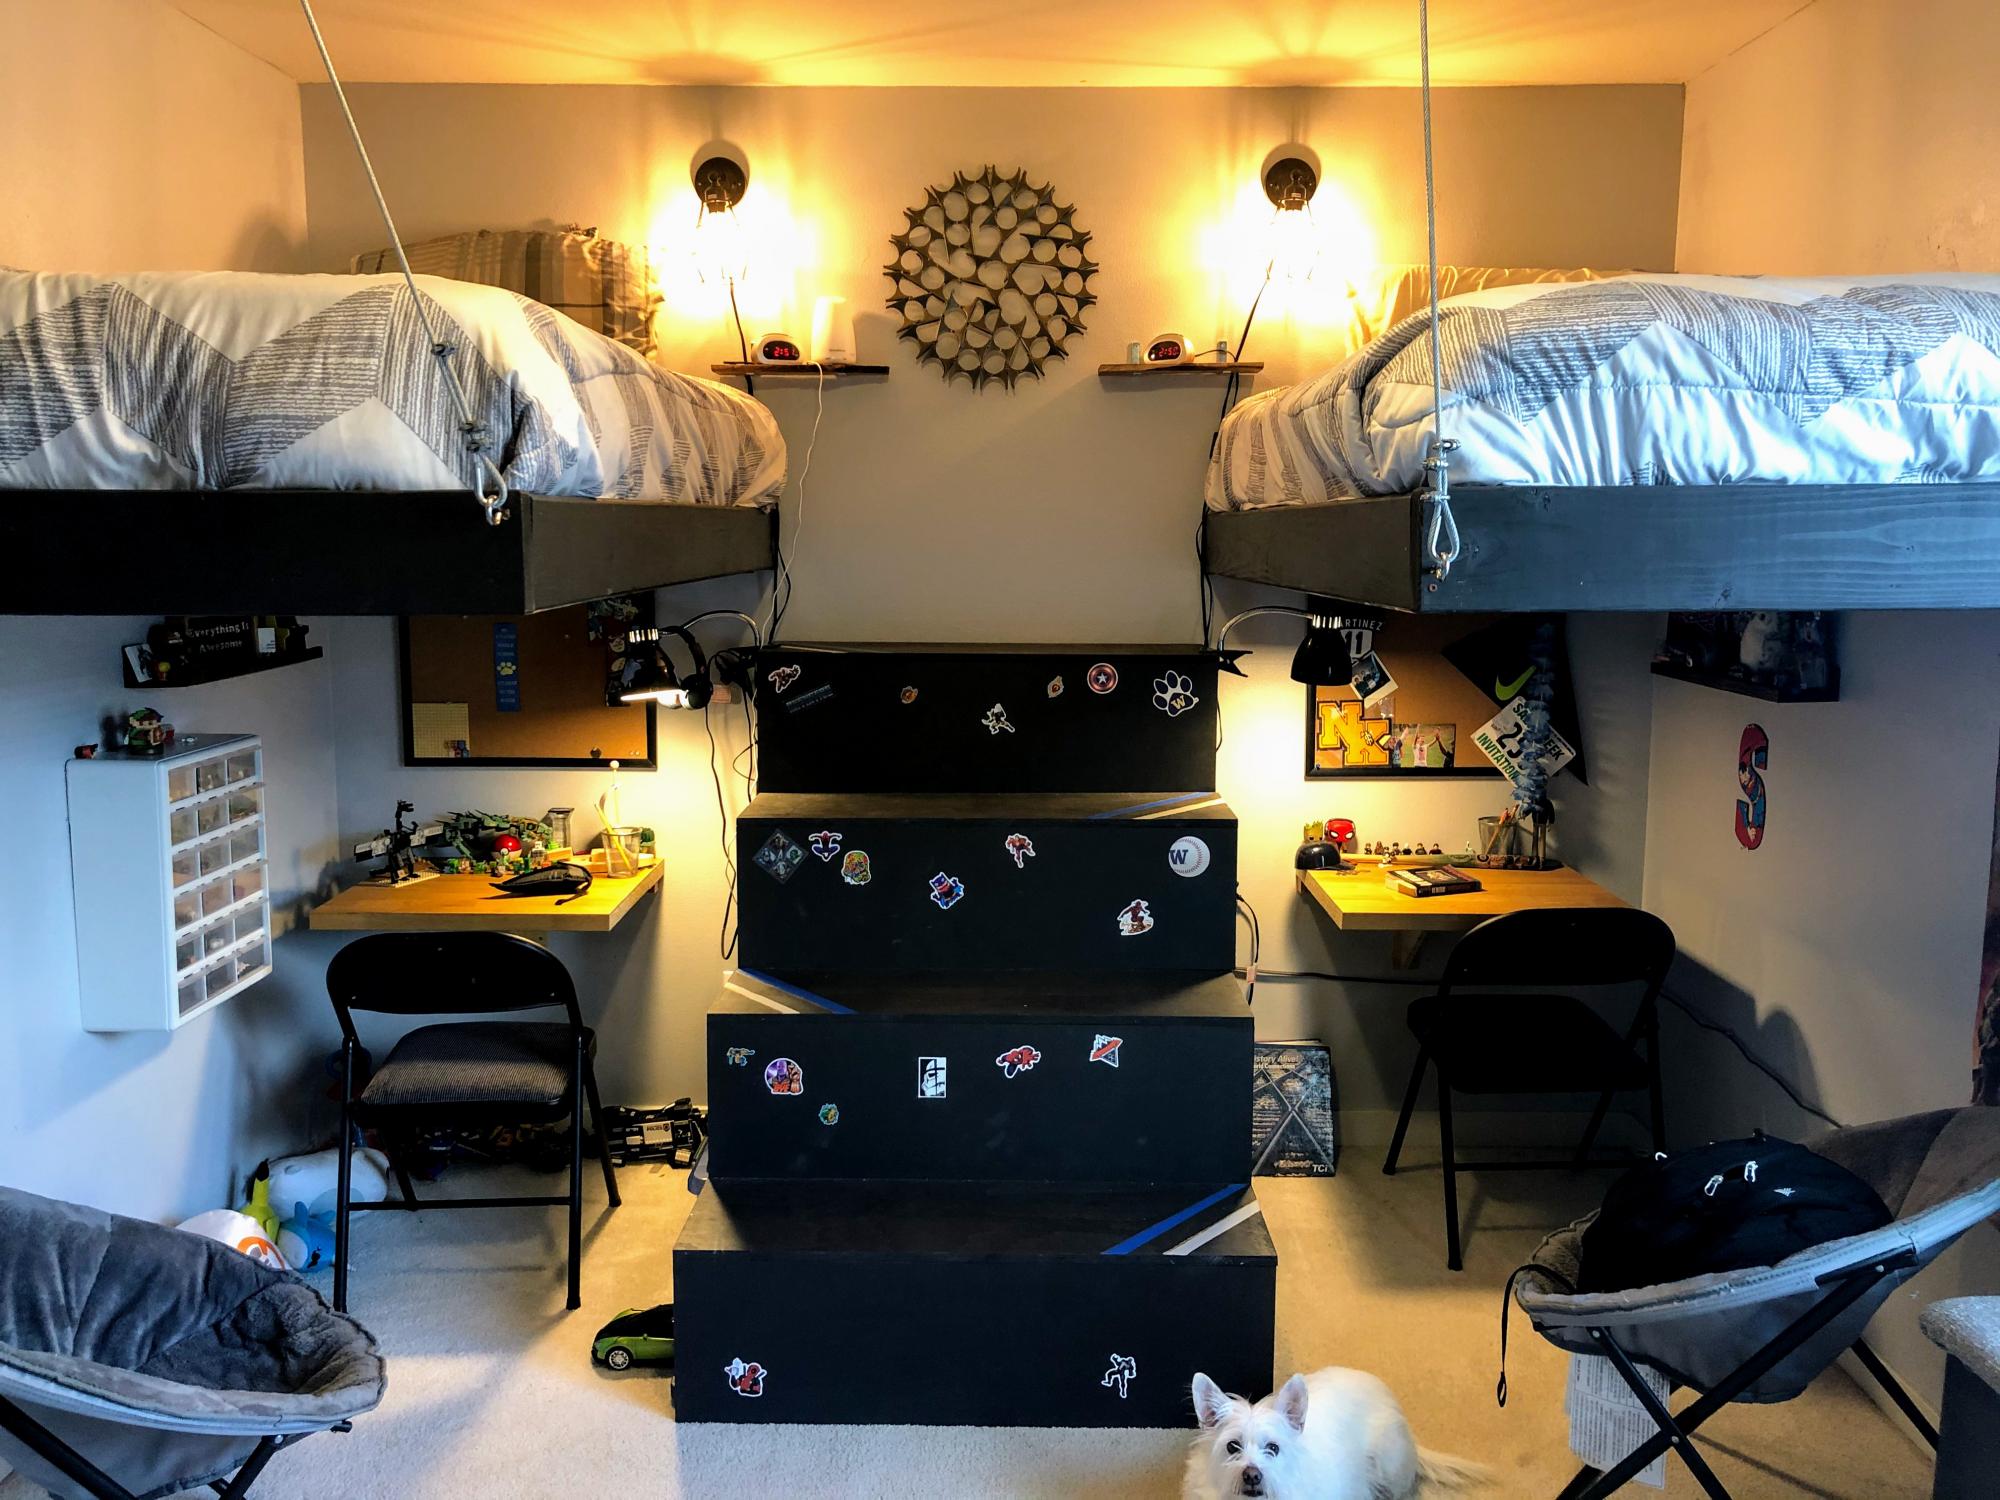
This is a room that we redid so that our two boys that shared the room could have a room that felt more age appropriate and allowed for better function. They have always had to share a room but have never had the space to have desks or much seating. So we hung both their beds from the wall and the ceiling allowing them to have some space under the beds for storage and a small desk. Having the beds up high keeps the area under the bed much cleaner. We also built a window seat for storage and used pallet wood to create a feature wall. The stairs between the beds also have storage accessible from both sides for books and toys. We did the same basic thing in the other boys room but had to do two sets of stairs because of the layout of the room. The stairs were built from a modified version of the Sweet Pea Garden Bunk Bed Stairs. http://ana-white.com/woodworking-projects/sweet-pea-bunk-bed. The beds we just basically took the legs off the beds we had and added braces in the corners.

Estimated Cost
300
Estimated Time Investment
Week Long Project (20 Hours or More)
Finish Used
Just plain paint on the finish. We might have gone with a lighter color on the stairs next time as it is hard to see them in the dark. The boys wanted a manly paint scheme so we stuck with the darker colors they wanted.
Recommended Skill Level
Intermediate

Drawer Divider

Submitted by zakany on Mon, 03/12/2012 - 10:08

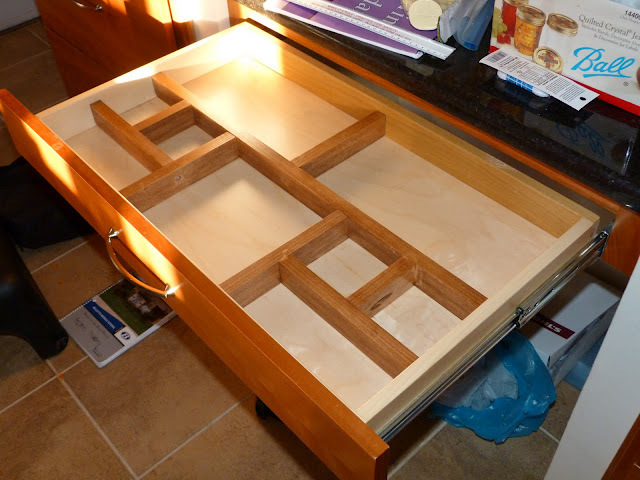
The plastic desk drawer divider we had in this drawer got broken, so I made one from poplar 1x2. I made the pencil boxes large enough to hold an unsharpened pencil. The center box is big enough to put a screwdriver on the drawer pull screws, if they become loose. The divider is friction fit, with its bottom edges sanded smooth to make installation easier. Used screws to pull it together, since brad nails tended to drive pieces apart.

Estimated Cost
$10
Estimated Time Investment
Afternoon Project (3-6 Hours)
Finish Used
Two coats of Minwax Cherry Stain, covered with three coats of Rub-On Poly. Steel wool between coats. Finishing takes longer than building.
Recommended Skill Level
Starter Project

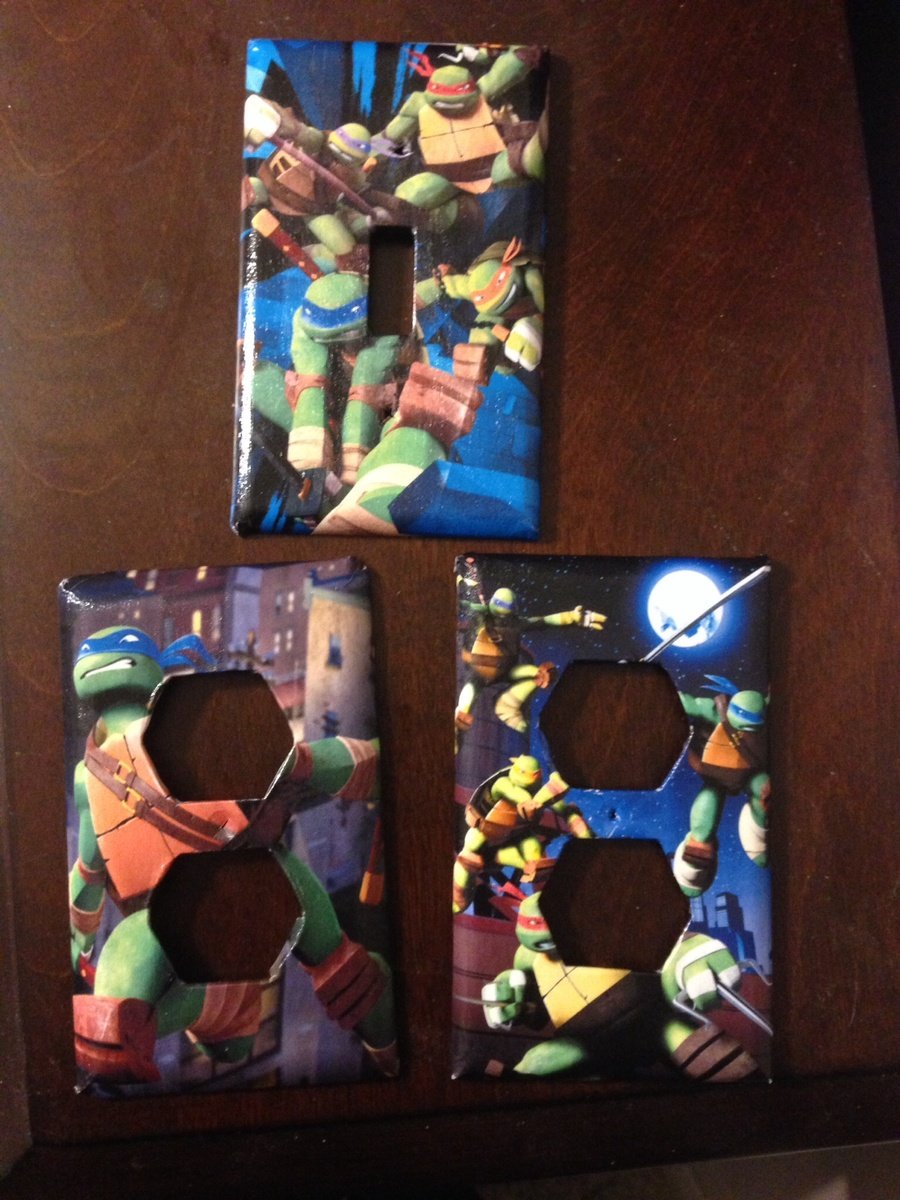
Teenage Mutant Ninja Turtle Bedroom

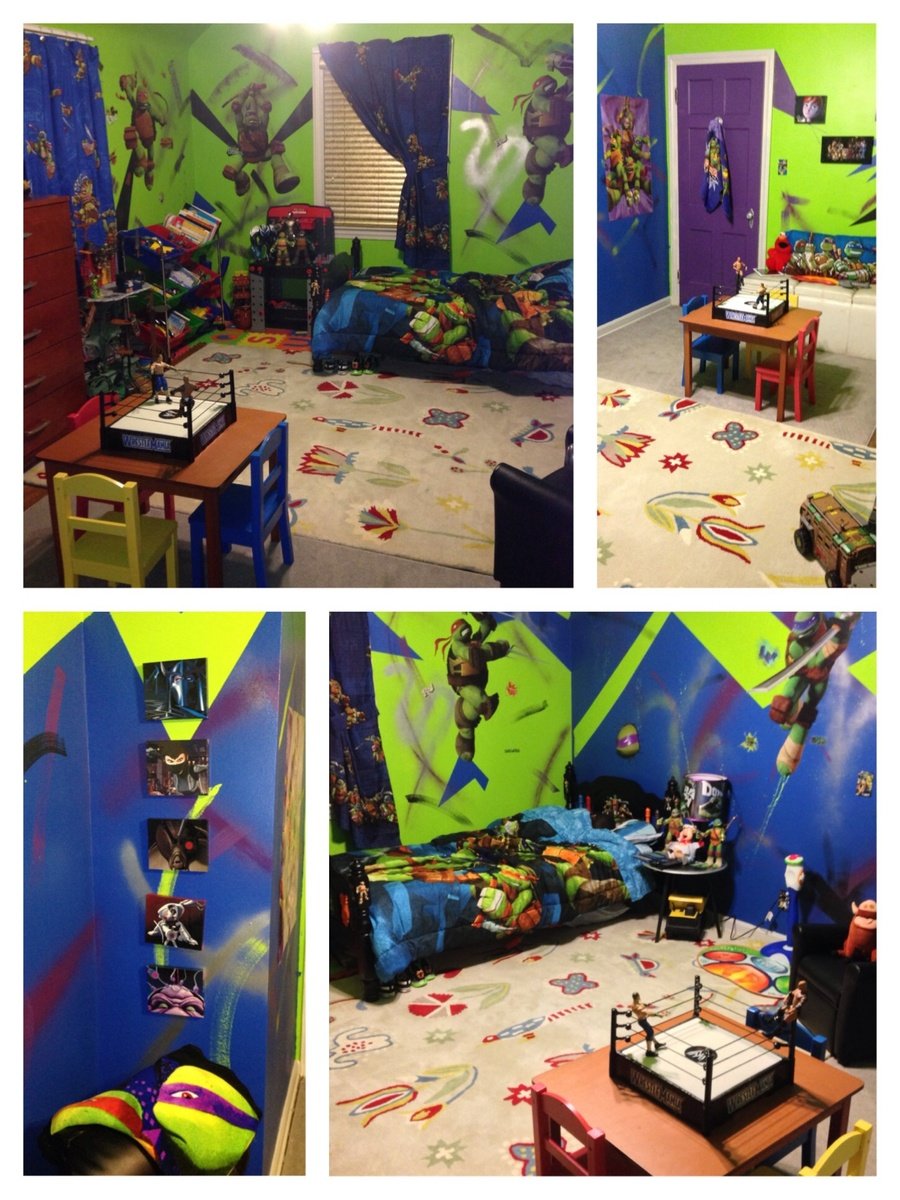
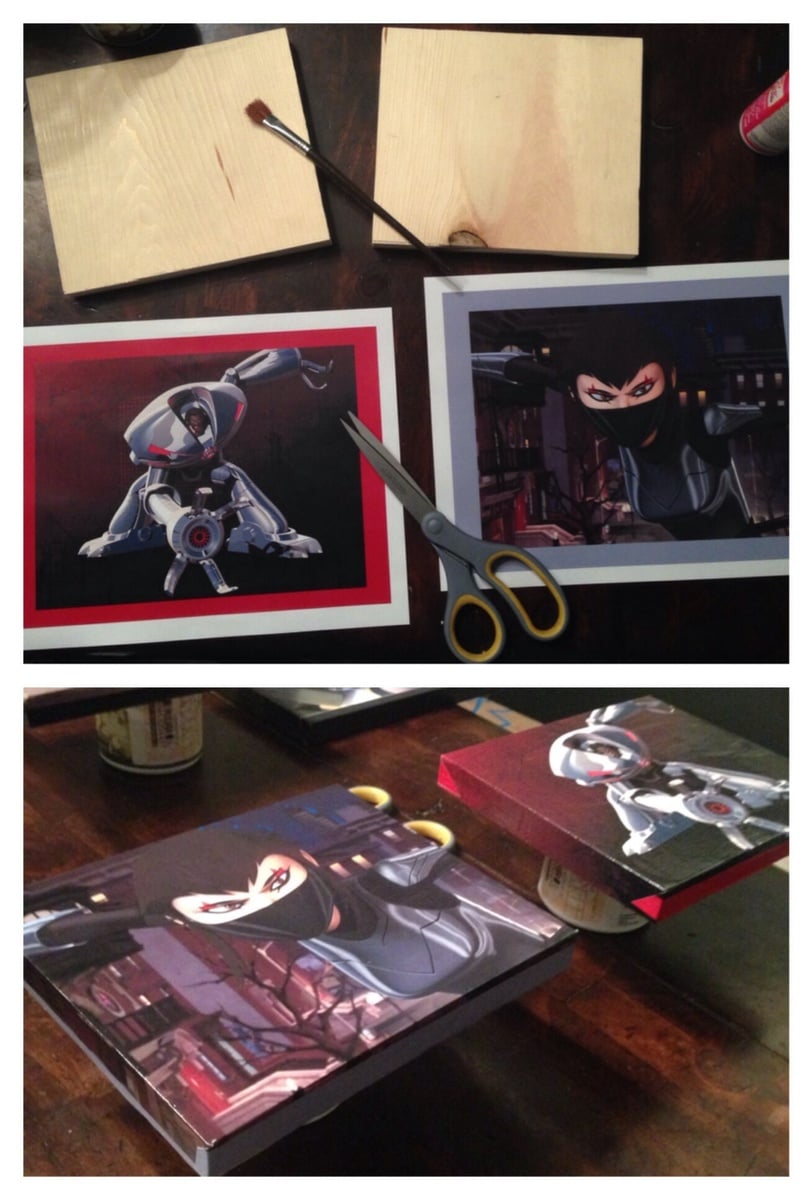
I turned my son's room into the TMNT Secret Sewer Lair. I created artwork using a 1x8 piece of lumber and printed images on laser paper I found online. Cost $6.99
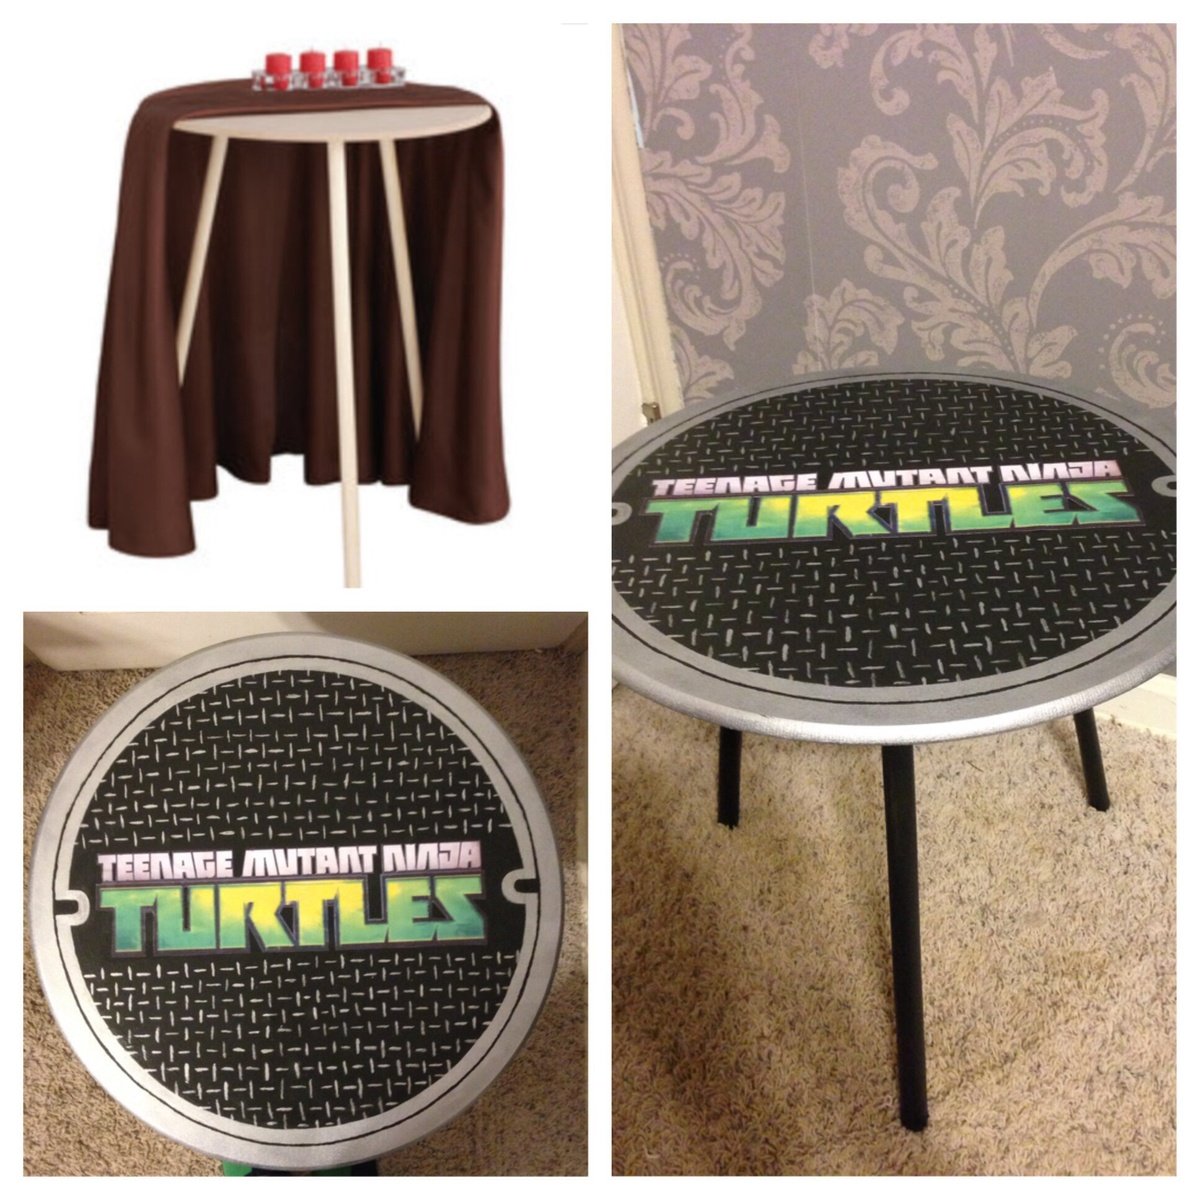
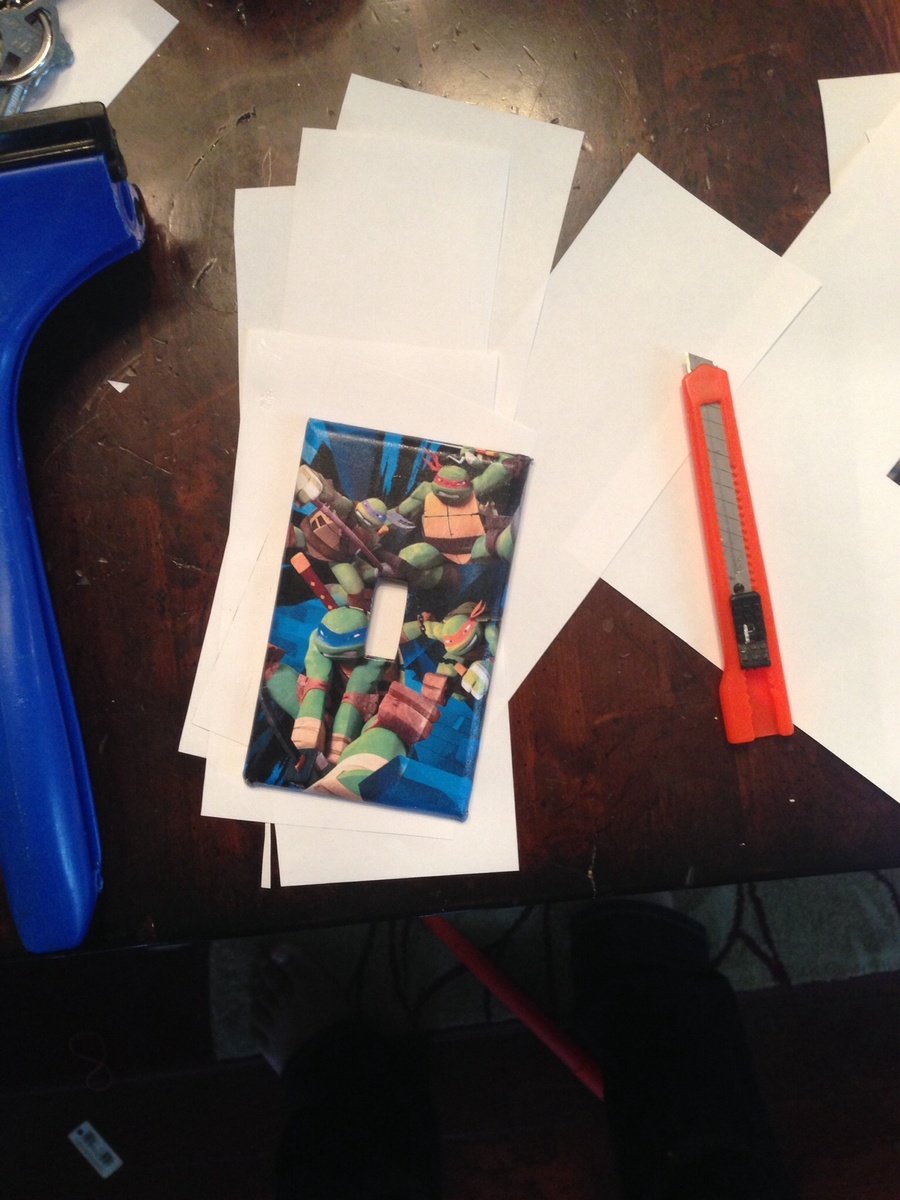
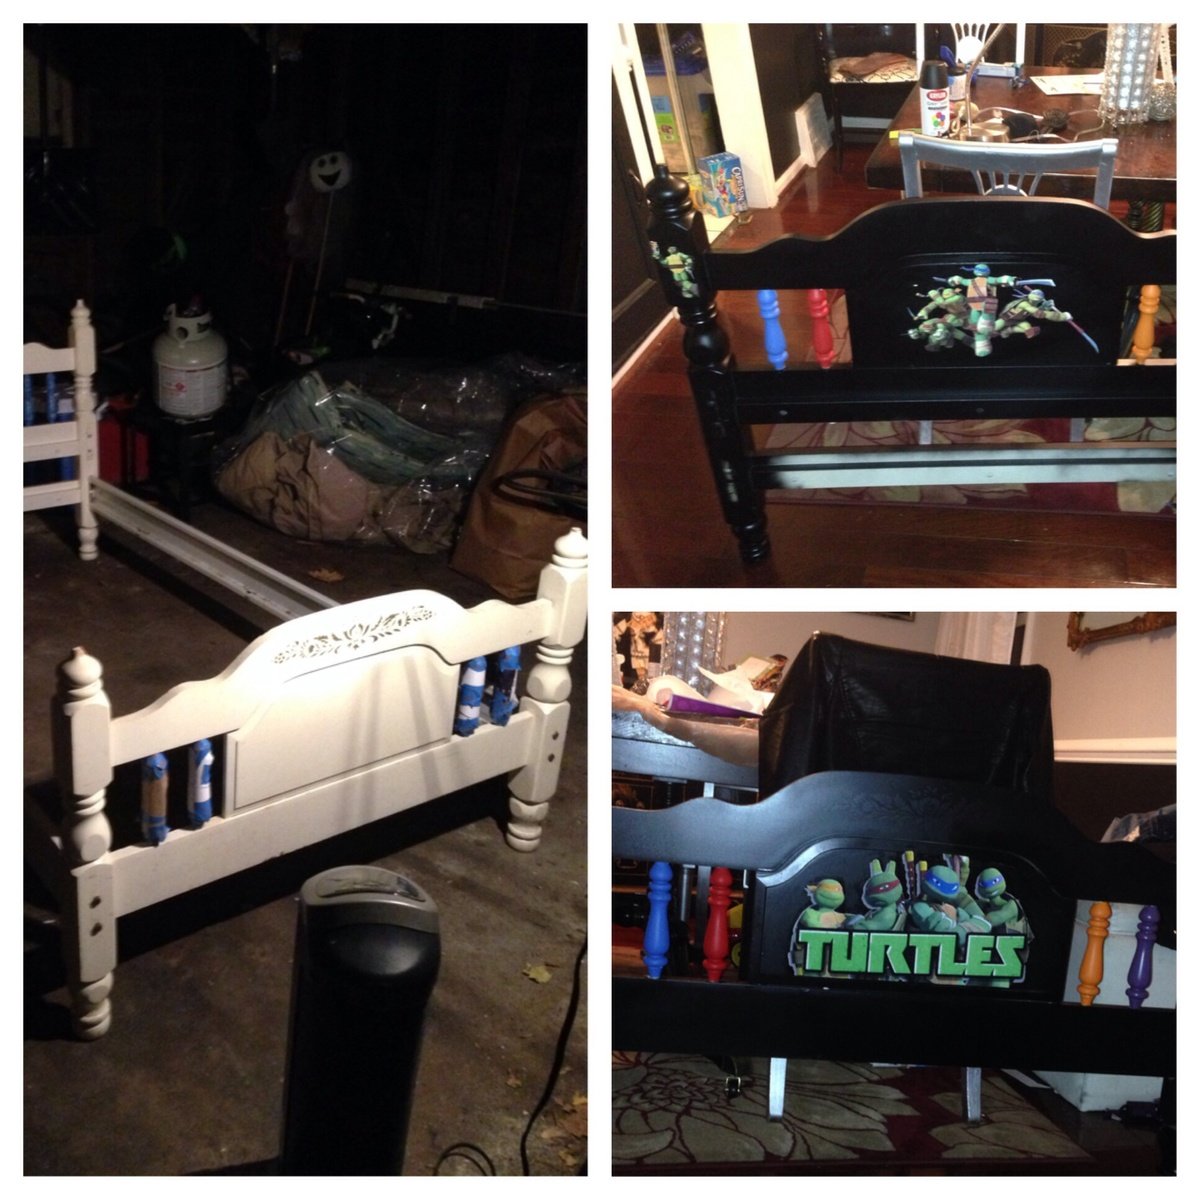
I created the outlets by printing on laser paper and decoupaging them onto the coverings. The cost for decoupage glue at Wal-Mart was $3.00 for 4oz, called Mod Podge. Which was more than enough since I used the same technique on my 20yr old bunk bed and nightstand and had some to spare. However you must use a x-acto knife to cut away white space so that print looks apart of the furniture. The individual Turtle characters I purchased from eBay because it was free shipping they were $17.99 each. The round table I turned into nightstand was $9.00 at Wal-mart and I hand painted it along with decoupaging the logo on to it. Any questions feel free to email! I hope this helps with ideas. I was lost do to lack of ideas online.

Estimated Time Investment
Weekend Project (10-20 Hours)
Recommended Skill Level
Beginner

This Was FUN!!

Submitted by Anonymous (not verified) on Thu, 03/24/2016 - 11:40

This was my first build and the table looks great! The instructions given were right on. Thanks so much...

Estimated Time Investment
Day Project (6-9 Hours)
Recommended Skill Level
Beginner

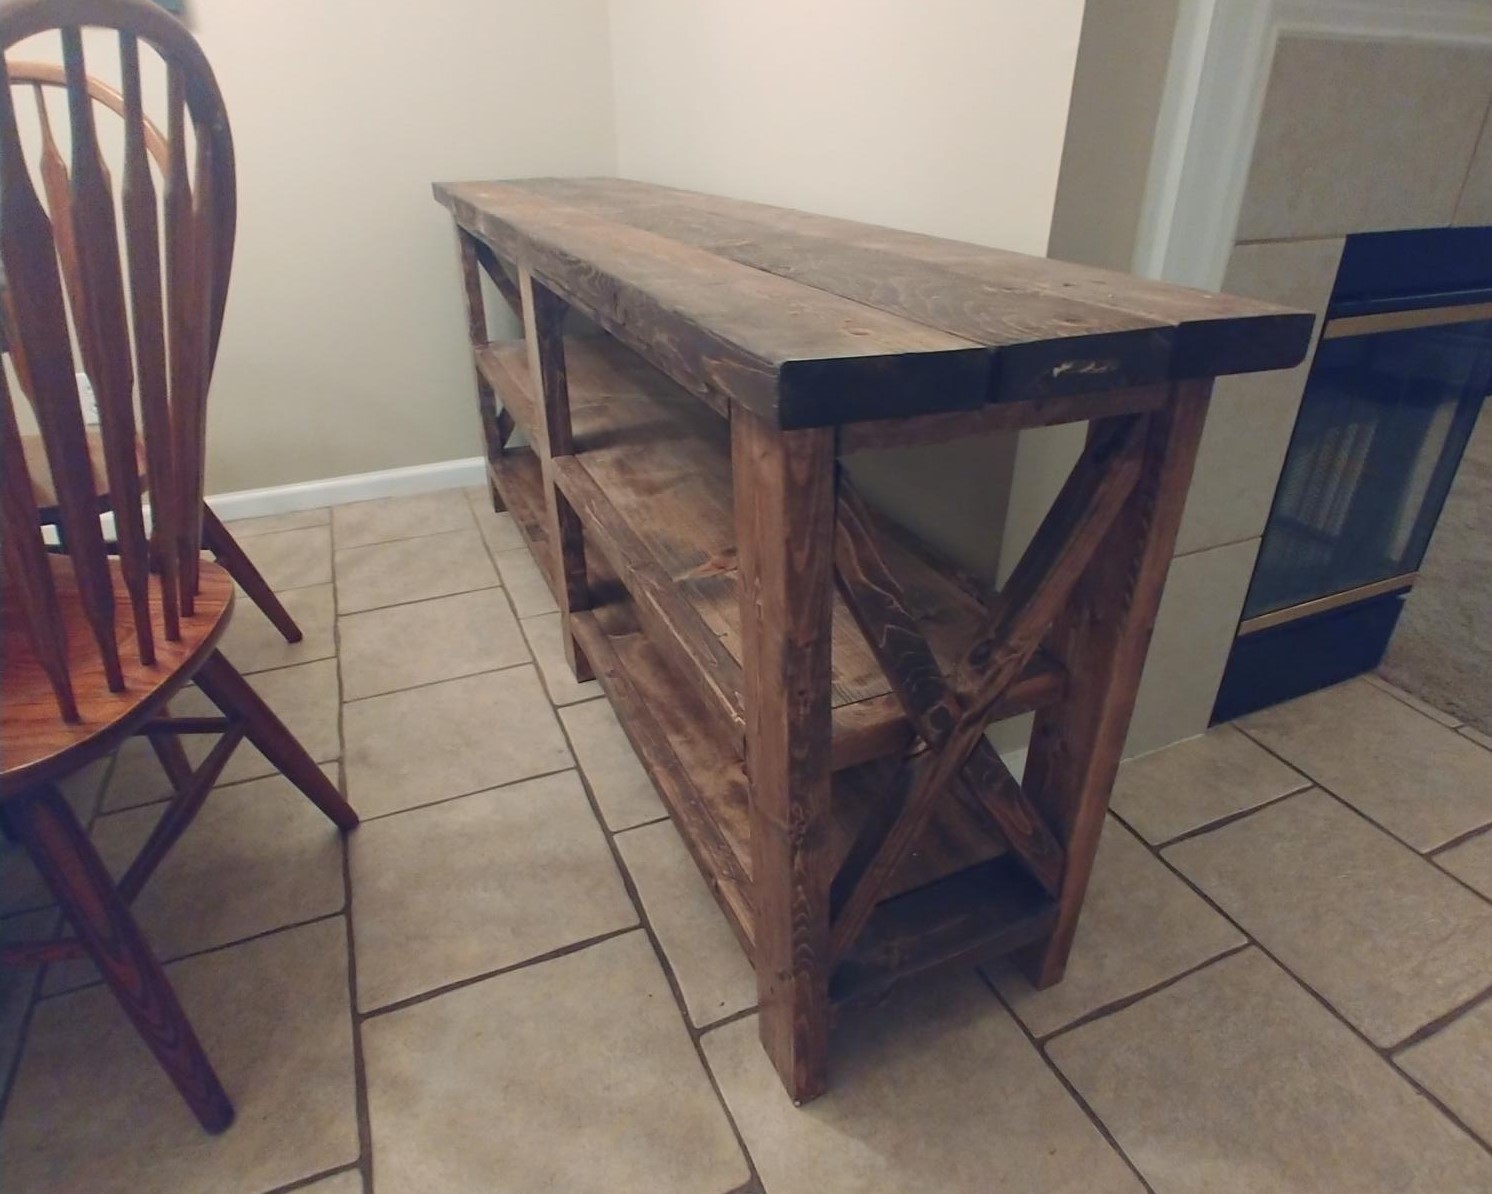
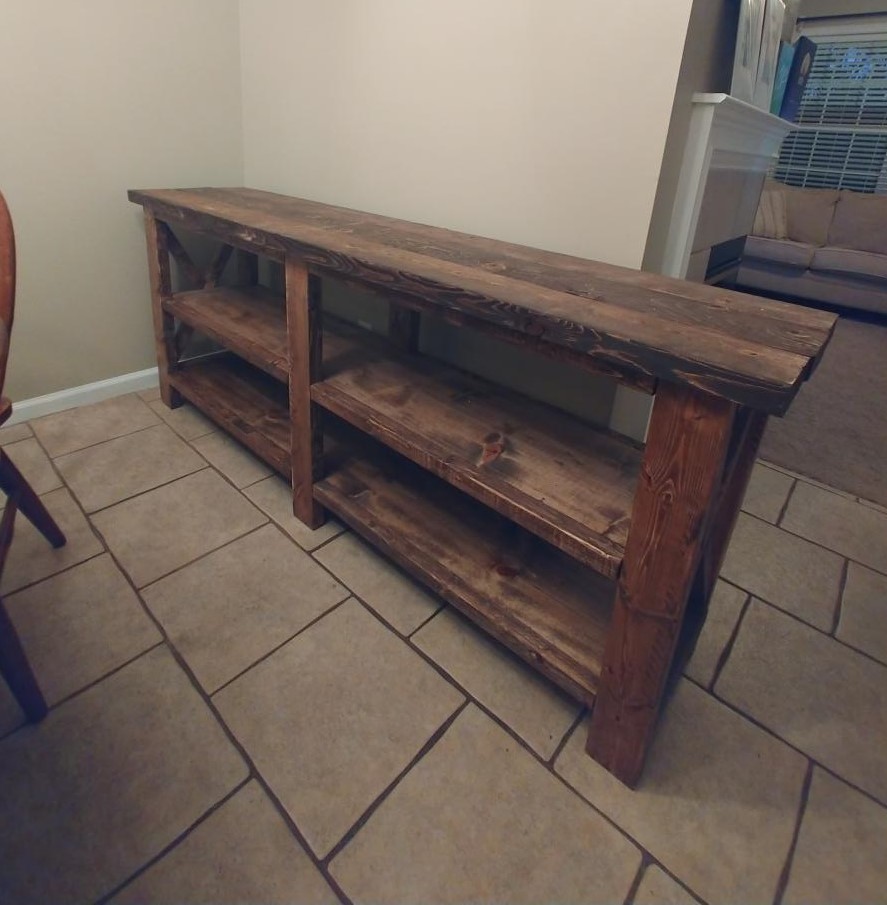
Rustic X Console

It turned out so pretty!! 

Built from Plan(s)
Estimated Time Investment
Weekend Project (10-20 Hours)
Finish Used
Special walnut stain and Satin polyurethane coating
Recommended Skill Level
Intermediate

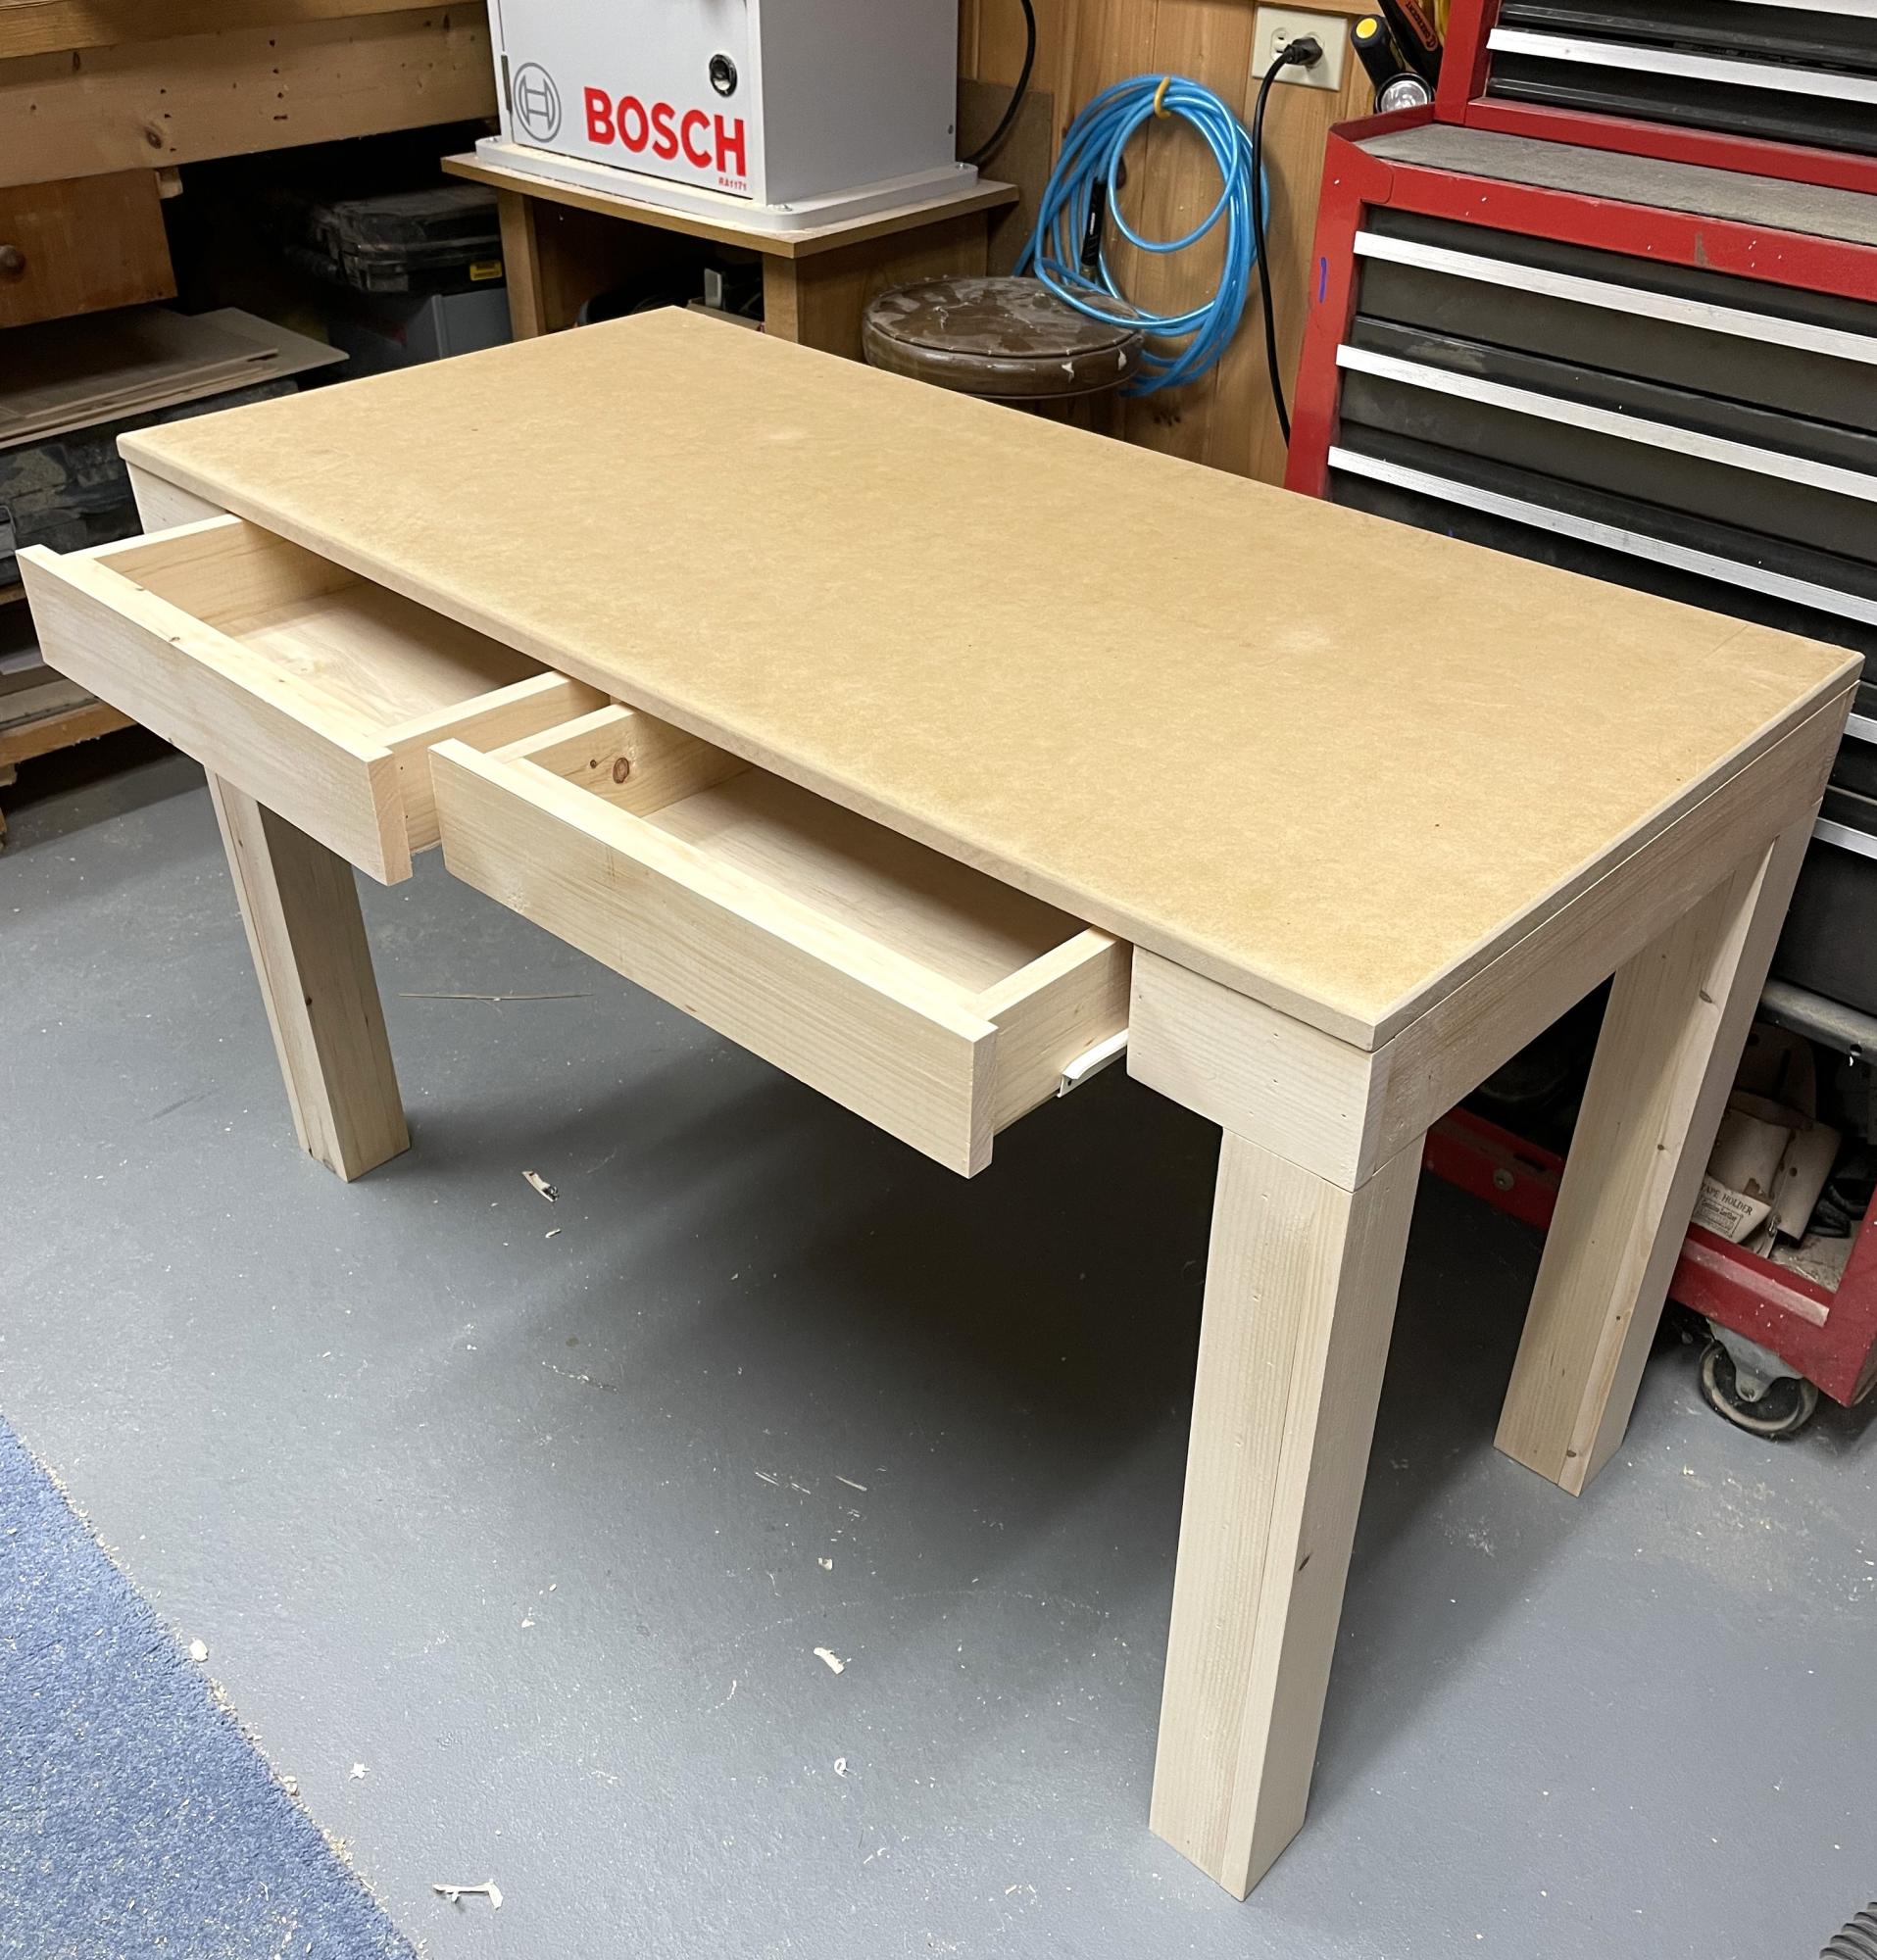
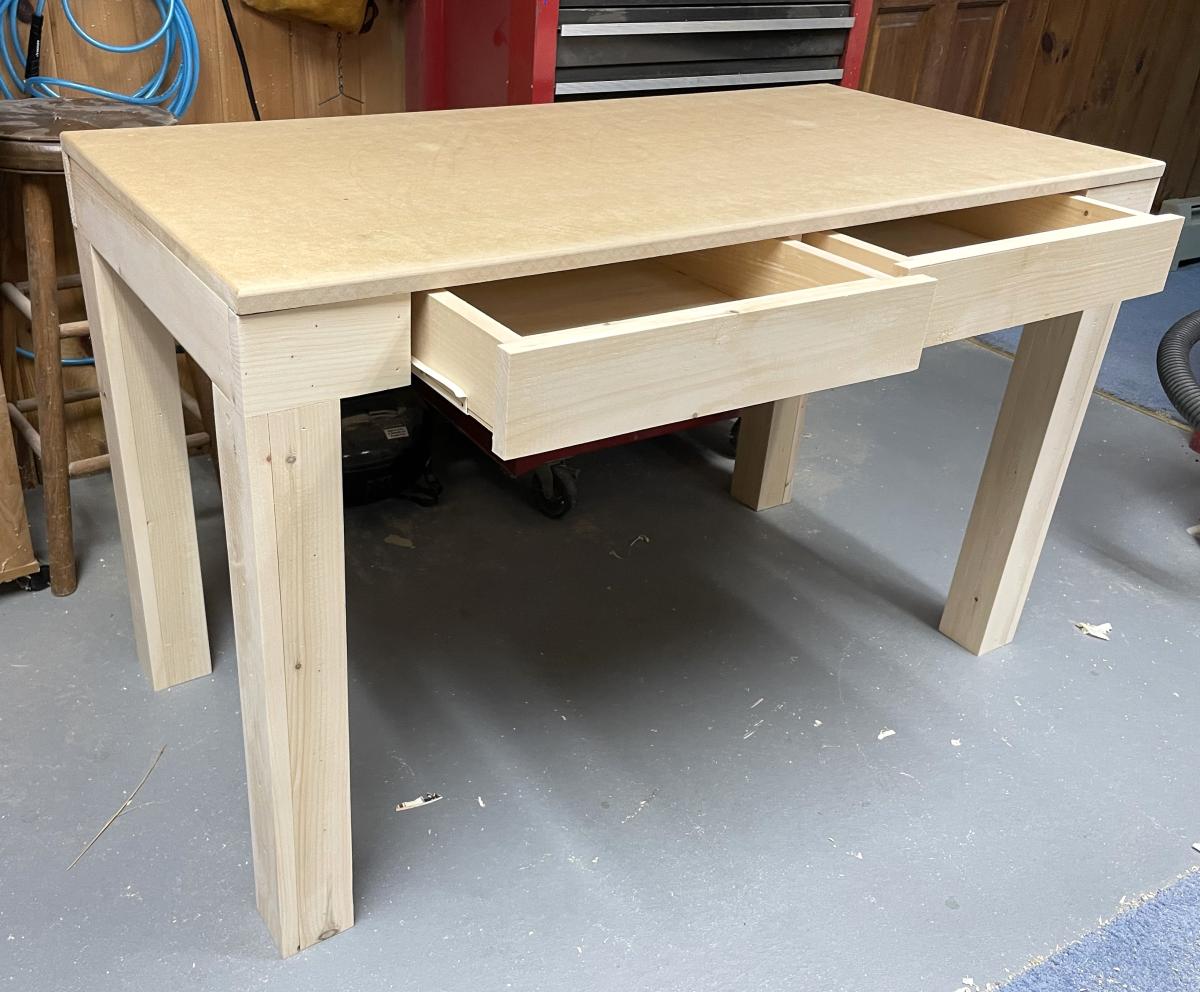
Desk with Drawer

Submitted by Anonymous (not verified) on Mon, 07/24/2023 - 12:45

Hi Ana
My granddaughter is starting first grade in the Fall. She needs a desk so I checked out your site and found this simple yet functional project. It worked up in no time. Now Gianna just needs to pick a paint color.

I also found a slight boo boo in the plans. See the marked up cut list.
Thanks for all you do.

David Grilli


Built from Plan(s)

Price Place Market Stand

Submitted by AlohaMama on Thu, 03/15/2012 - 13:57

Built a "lemonade stand" for the kiddos, but wanted it to be more versatile so we named it Price Place Market (think Seattle's Pike Place...haha) All letters are cut out from a 1/4" plywood on a scroll saw. We used bead board instead of plain old plywood for the insert and finished it with a antique crackle. Marshmallow white over green tea. Can't wait for this weekend! Watch out people, the kids are irresistible as well as the lemonade stand! Get your wallets out!

Estimated Time Investment
Day Project (6-9 Hours)
Finish Used
Antique Crackle glaze in between latex green tea and marshmallow white.
Recommended Skill Level
Intermediate

Comments

spiceylg

Fri, 03/16/2012 - 04:42

Wow, what a great job you did and that lettering, holy moly, that must have been a lot of work and they look perfect! I don't have such patience.

Crayon Holder

I made two of these, one to keep and one for a birthday gift. No more crayons rolling off the table and breaking on the floor. As someone new to wood working, I split two boards on the very last holes before I finally got it right by using brad-point drill bit. This produced the cleanest holes as well. I scaled down the number of holes too, just a personal choice. They both turned out so cute!

Estimated Cost
$7 including the crayons
Estimated Time Investment
An Hour or Two (0-2 Hours)
Finish Used
Sanded with a dremel, then applied minwax satin polyurethane spray
Recommended Skill Level
Starter Project

Rustic Concrete Island

Submitted by mdurling on Mon, 03/28/2016 - 08:42

I used the Farmhouse Table plans as inspiration for my concrete kitchen island. I doubled up on the stretchers to add additional support for the 3x5 (275lb) cast concrete top and reversed the legs to expose the notches which were cut using a table saw. I used two coats of Minwax Golden Oak stain and two coats of Minwax polyurethane for the finish. The galvanized lag screws on the end supports are decorative, not structural. I used galvanized plumbing pipe to support the shelves and accessorized with bottle/wine openers. The top required 3 80lb bags of Quikrete 5000 and was sealed and waxed using Cheng concrete products. Because the concrete top was cast off-site, I had to build an A-frame to transport it safely to the installation site.

Estimated Cost
$350
Estimated Time Investment
Week Long Project (20 Hours or More)
Finish Used
Minwax Golden Oak (2 coats)
Minwax Polyurethane (2 coats)
Cheng Concrete Sealer (5 coats)
Cheng Concrete Wax
Recommended Skill Level
Intermediate

Comments

Malka

Tue, 05/17/2016 - 03:55

This might be one of the coolest builds I've seen yet! Love the combination of wood, metal and concrete!

Farmhouse Table w/ pocket holes

Submitted by JustJ on Sun, 11/17/2019 - 07:07

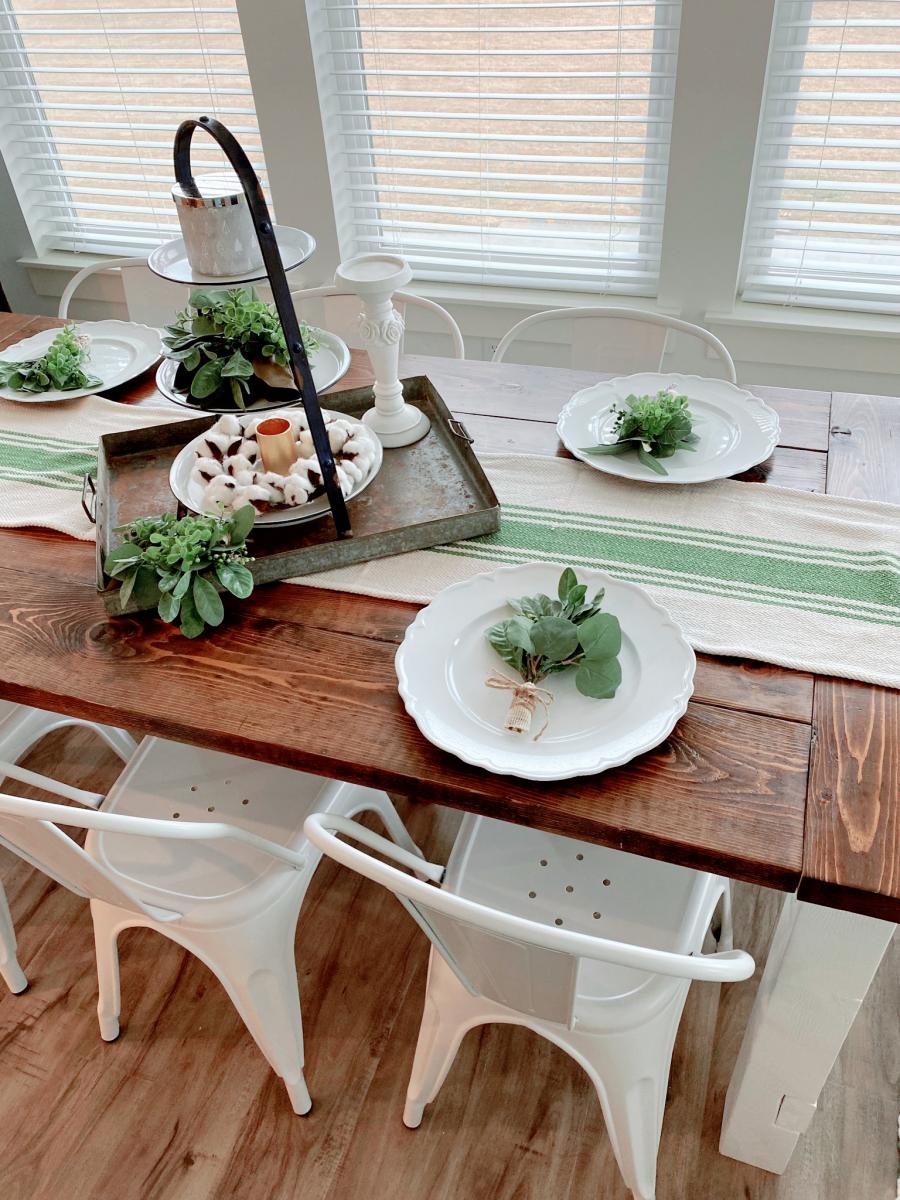
Pocket holes made it a breeze,  and so strong. Very heavy.  Recommend assembling top to base after you have placed it where you want it.  Modified slightly for length,  and only used 2x8, instead of 2x10 in center, for correct width.   

Estimated Cost
$100
Estimated Time Investment
Weekend Project (10-20 Hours)
Finish Used
Dark Walnut
Recommended Skill Level
Intermediate

Simple Outdoor Conversation Set

Submitted by cspires64 on Sun, 03/18/2012 - 13:13

Spring is around the corner and I had no outdoor furniture. My boyfriend had just talked me into a new weber grill, which did not leave much budget for new outdoor furniture. That's when I came across this web site and thought 'I can do that'. So I talked me boyfriend into helping build this Simple Outdoor Conversation Set. We used plans for the Simple Outdoor Lounge Chair and Simple Outdoor Ottoman and then followed the alterations by post for 'My Modern Outdoor Patio Collection' to make the loveseat.

The whole project came together over 5 days.
Day 1: Cut all boards (5 hrs)
Day 2: Sand all boards (5 hrs)
Day 3: Stain all boards (6 hrs)
Day 4 & 5: Assemble furniture (9 - 10 hrs)

The total project took about 25 hrs and cost about $350. Here's the breakdown wood and supplies $204 from Lowe's for pretreated wood. $145 on cushions (NOT ON SALE); $60 for the seat cushions from Home Depot and $80 for the back cushions from Wal-Mart. We were originally planning on only having the seat cushions, but the seats were long when you set in them with your back against the bear wood (I was setting so far back, my feet couldn't reach the floor) so we opted for thick back cushions to make it more comfortable. The project finished up just in time for our first BBQ party! (March 2012)

Estimated Cost
$204
Estimated Time Investment
Week Long Project (20 Hours or More)
Finish Used
Redwood toner and sealant
Recommended Skill Level
Starter Project

Comments

Beautiful in Gray

Submitted by kegrove on Wed, 01/08/2014 - 19:02

This was my first project from this site and it came out beautifully!!!
I was lucky and got all my cuts at Home Depot for FREE so I only had to buy minimum hardware. Total cost came in under $200 and I highly recommend the Miniwax Gray.

Built from Plan(s)
Estimated Cost
under $200
Estimated Time Investment
Week Long Project (20 Hours or More)
Finish Used
Minwax Classic Gray
Recommended Skill Level
Starter Project
Back