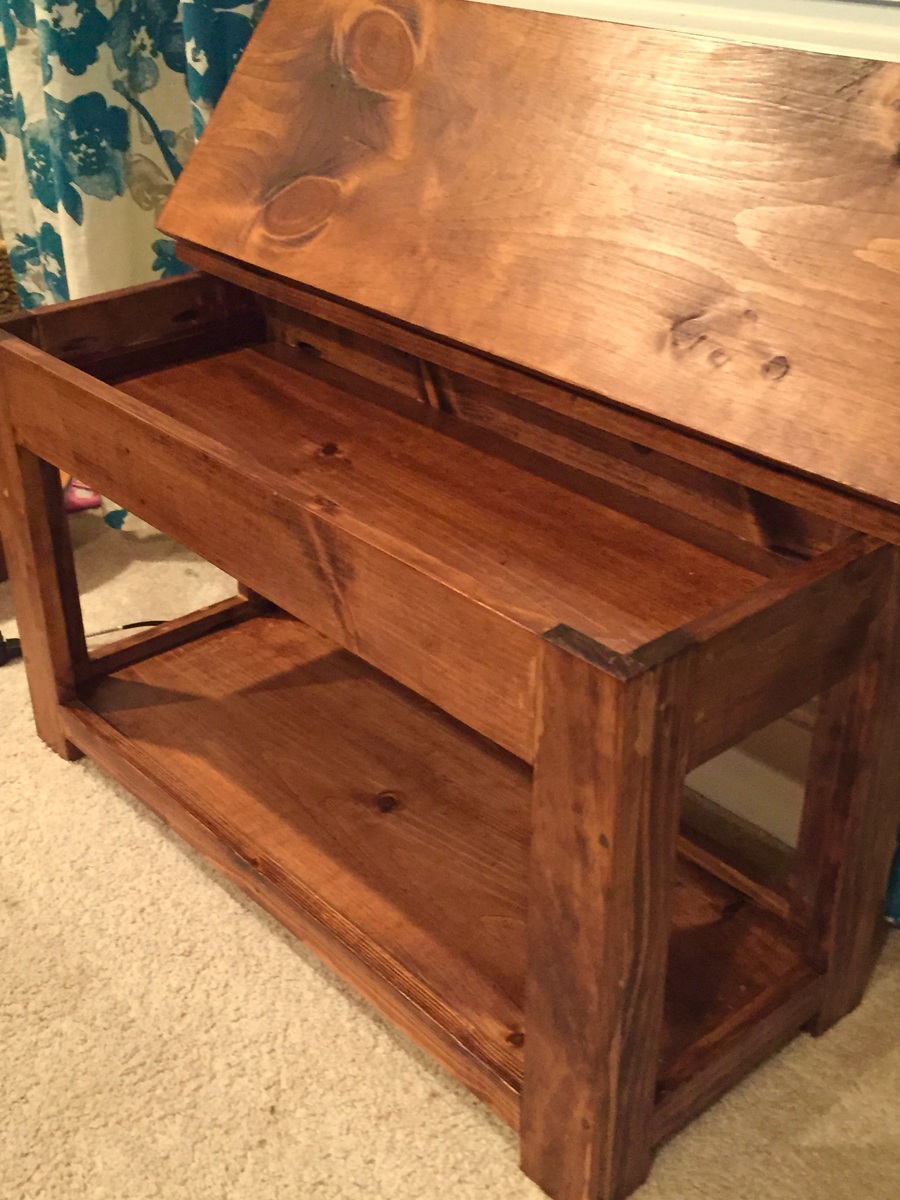
Though I'd spent a few months crocheting a baby blanket, my mother also wanted something special and lasting as a gift for a future new family member. She tried to think of something unique, but kept coming up empty. I went online to help her, and looked for newborn items. Unfortunately, I just kept running into toys, toys, and more toys. Ones that would be "grown out of" quickly, too. It was late at night, and very quiet, the time when your brain is calm and sometimes things just dawn on you.
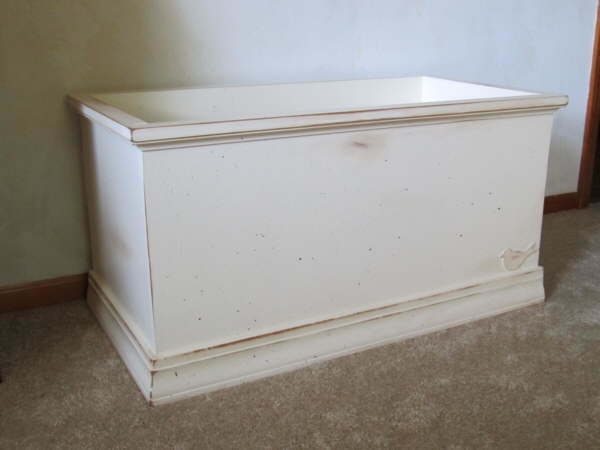
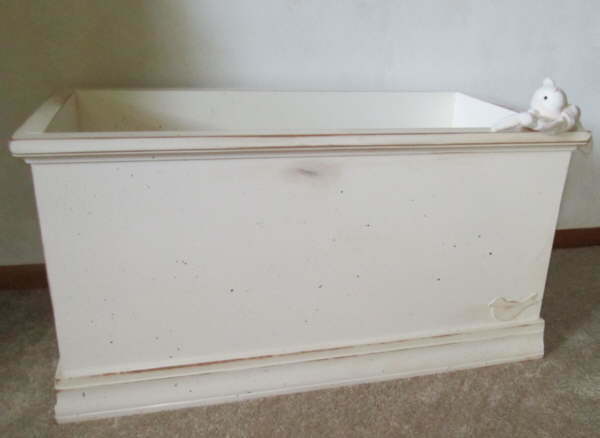
Why not a toy BOX? (And one already "worn in," so that it could take a lot of play throughout the years.) I knew right where to look for a plan--Ana White's website! It ended up being a gift for him from both of us, and while he's a little too young to notice it now, we hope it grows with him and brings him years of joy.
Thank you, Ana, for sharing your talent and helping us (and so many others) create something truly special. That old blanket can wait until Christmas!
Estimated Cost
$100 or so (with some toys)
Estimated Time Investment
Week Long Project (20 Hours or More)
Finish Used
1) Paint on primer, and use a roller to smooth (with all paint coats); 2) Paint on Painter's Touch or American Accents by Rustoleum in "Heirloom White"; 3) Sand; 4) Paint; 5) Spatter on black craft paint; 6) Sand edges down to bare wood, and some surface areas; 7) Put water in brown craft paint, and use as a stain in sanded-off areas, wiping off excess with paper towels. Use some to make stains on other areas; 8) Hammer in random spots with a meat cleaver; 9) Varnish with one coat of semi-gloss. ~ The bird on the bottom right is a wood applique, purchased from a craft store and added before finishing.
Recommended Skill Level
Intermediate





Comments
gpsmith
Sun, 12/06/2015 - 06:03
Plans
Hi,
This looks lovely, just what I'd like to do. Do you mind sharing where you found the plans or if you're a creative whiz, send some photos of the underside so I can see how you constructed it?
Thanks,
Mike Millington
Mon, 12/07/2015 - 07:38
No Plans
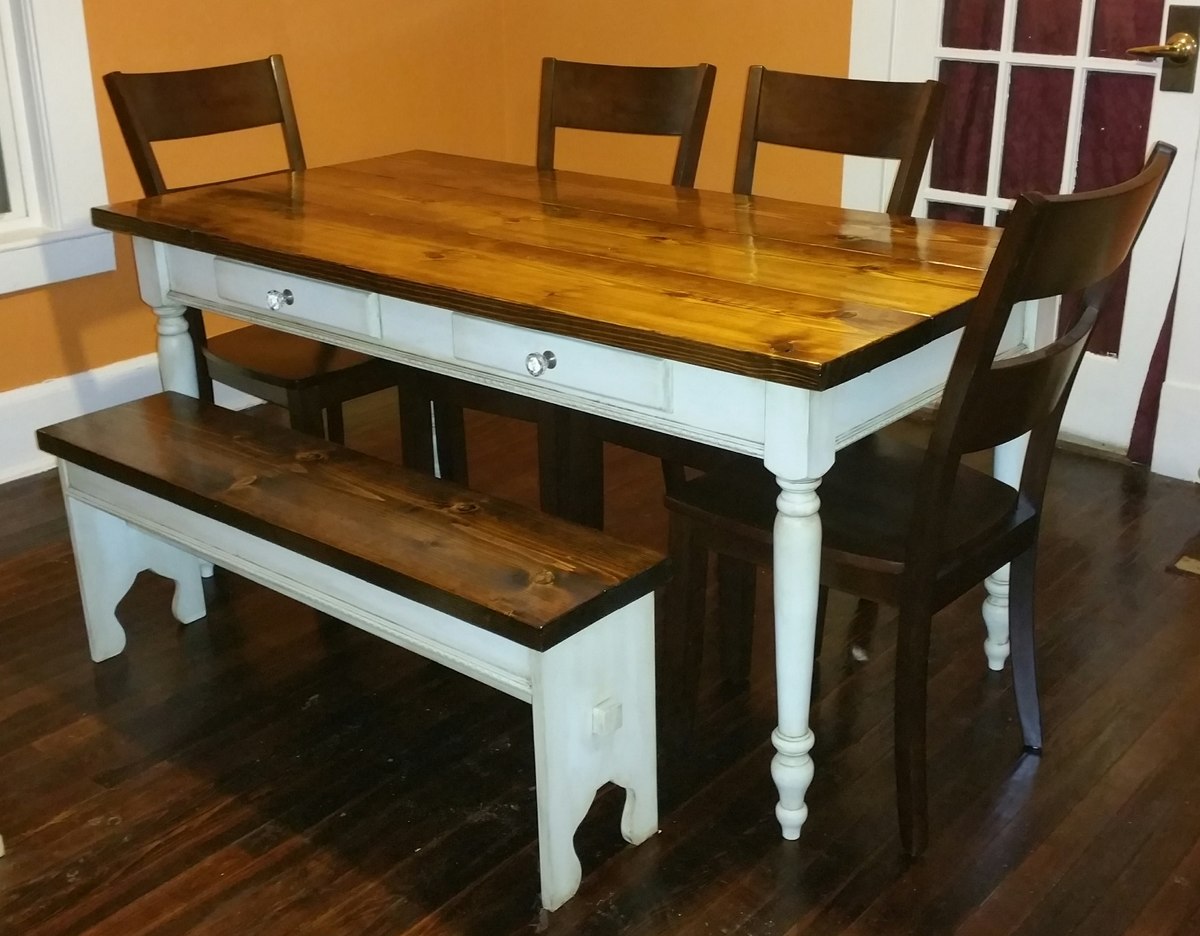
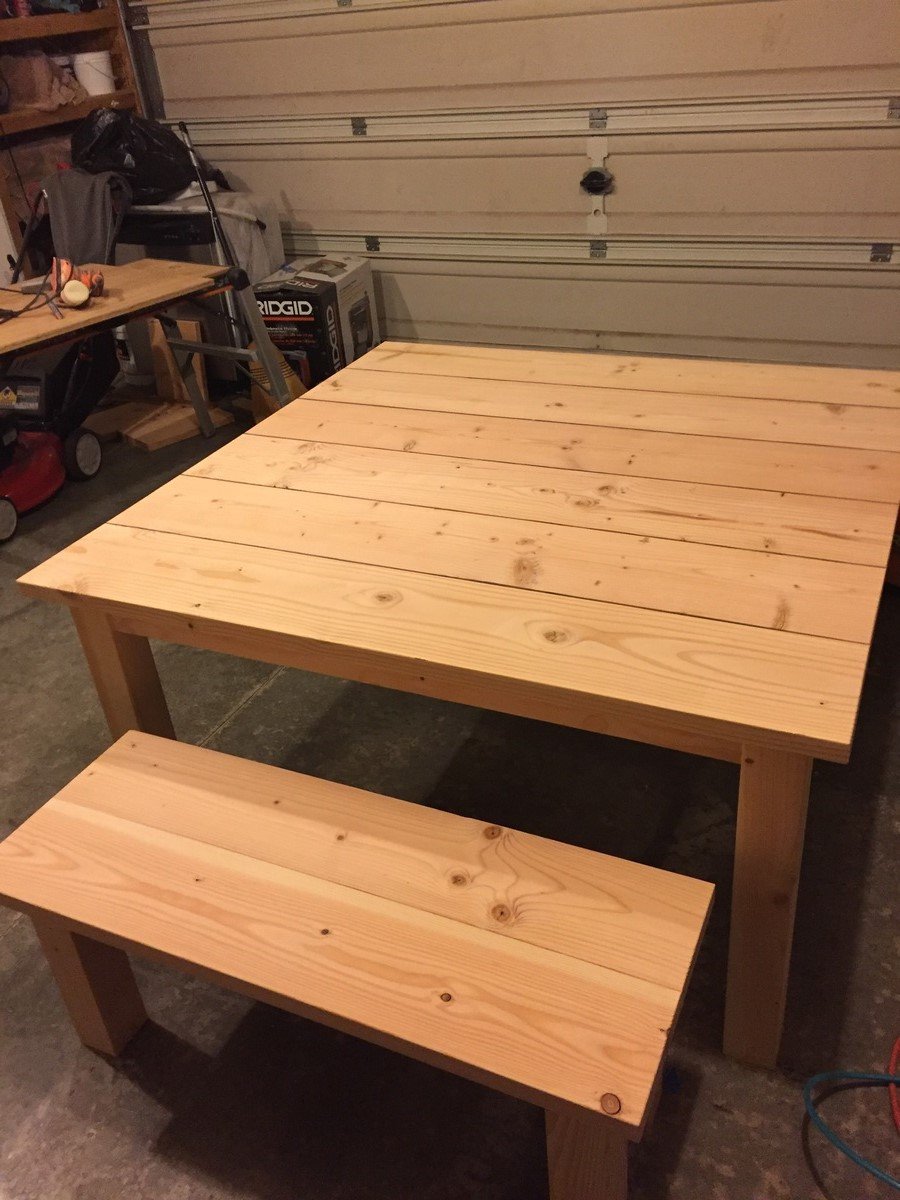
I didn’t use any plans for this. My wife sketched out the design she wanted and I decided to go it alone. This is the first time I’ve built something from scratch without help and it was surprising easy to put together.
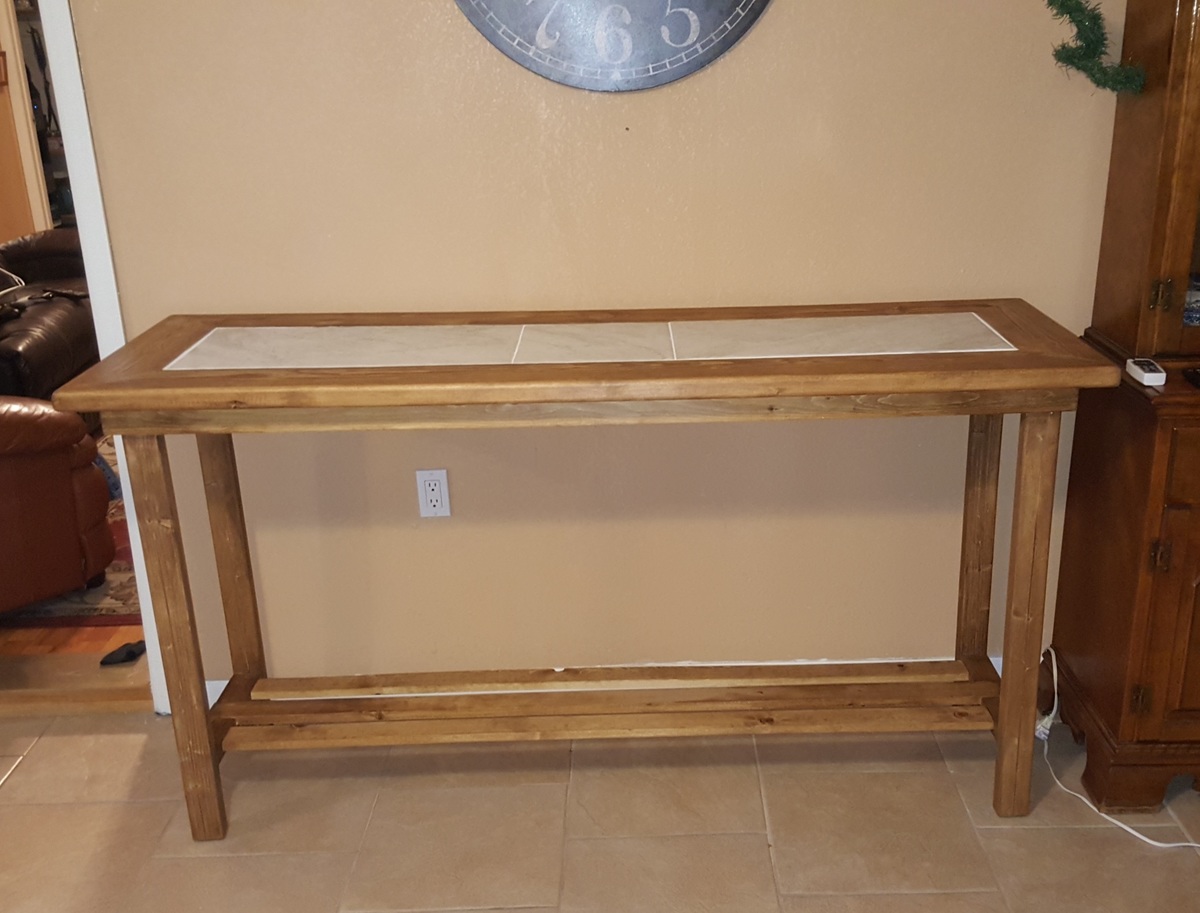
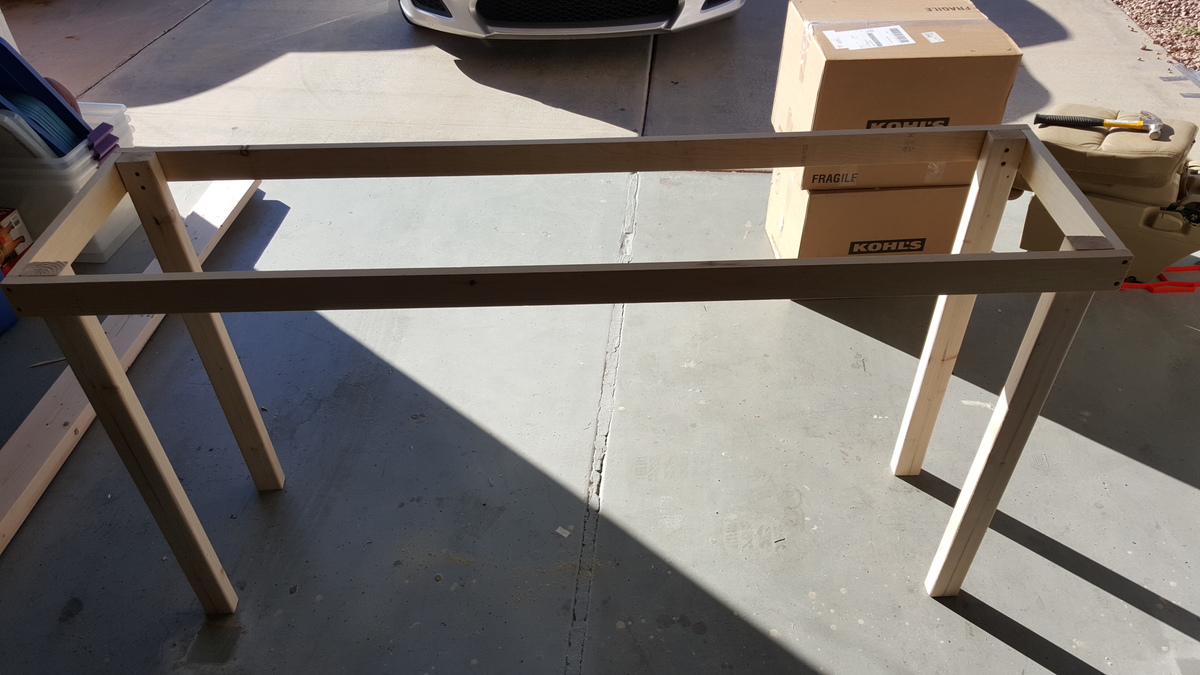
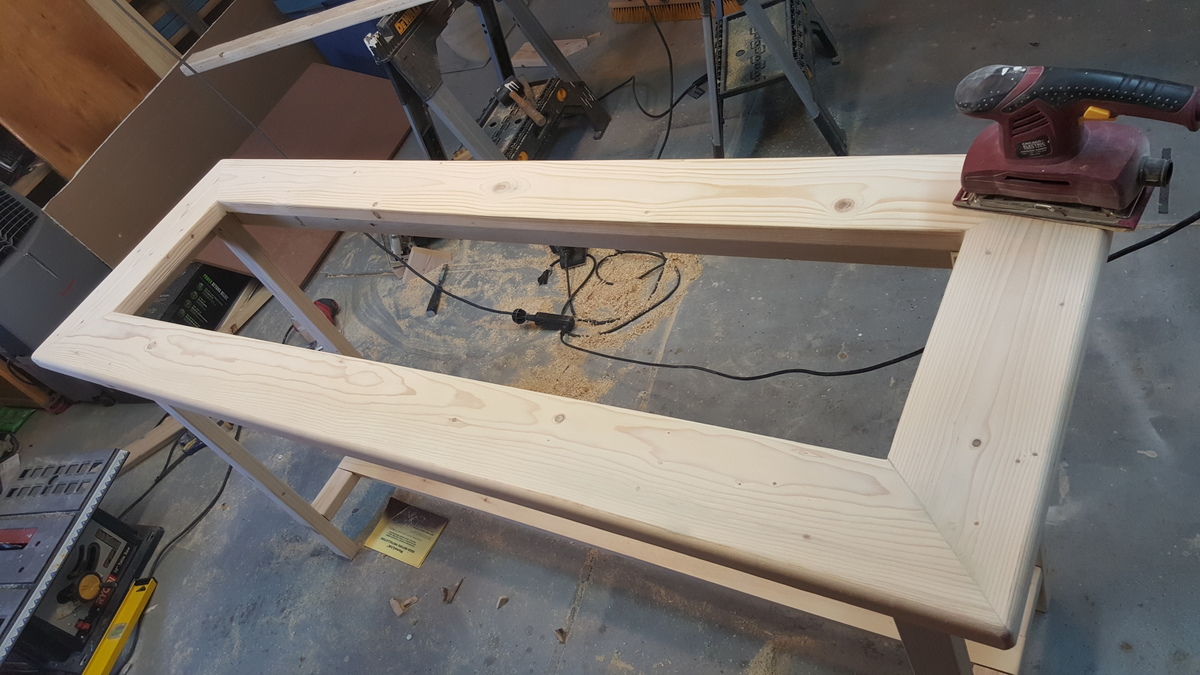
This is completely put together with the Kreg jig. The table top is made up of 3, 2 x12s attached together with pocket hole screws. I cut the 4 aprons and attached those to the legs also with pocket hole screws. To give extra support I attached 2, 2x4 cross braces between the longer aprons. The table top was then screwed in place with pocket hole screws through the aprons and 2” screws through the 2 braces.
For the fake drawer fronts, I cut them to size and routed the outer edges to round them off. I then attached the knobs and screwed the drawers in place through the back of the aprons. Finally, I attached trim to the bottom of the aprons. The knobs and trim were bought from Lowes.
The bench was made in a similar way. The top is made from a piece of 2x12, 2x4s for the aprons, the end sections are 2x10s and I used a jigsaw to cut out the arches. All attached together with pocket holes. I then added a 2x2 support beam through both ends and attached matching trim to the aprons.
Hope this helps.
Seamagnolia
Tue, 12/08/2015 - 07:08
beautiful job!
I love it.