One Piece Play Kitchen

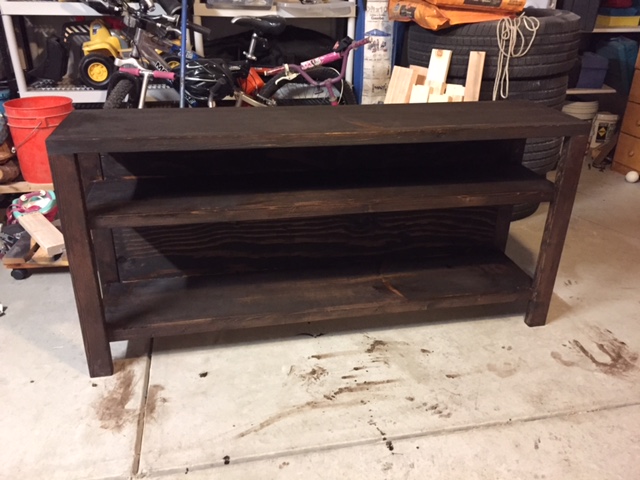
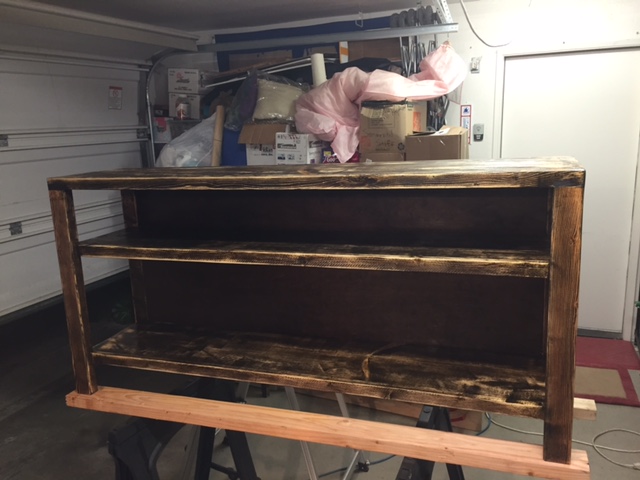
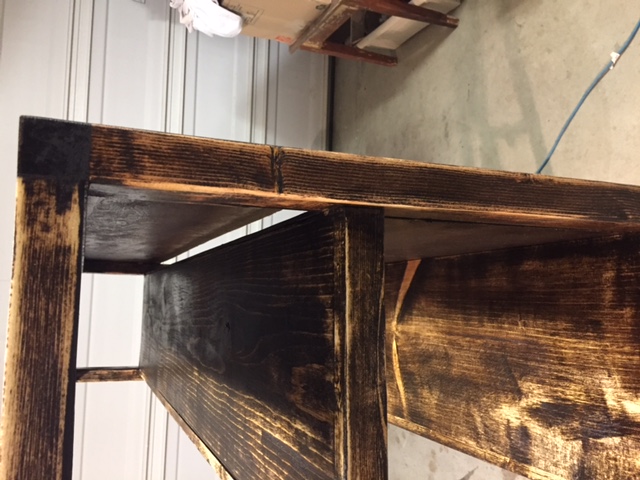
This is a project that I really enjoyed making. I did it in a hurry though because I really wanted to build a playhouse under a loft bed and felt like i should build the stuff that will go inside the playhouse before I but up the playhouse walls. So, here is my sort of finished play kitchen. I still have a few details I wanna add but I'm over it for right now... ready to build the playhouse! The best part was that I made this kitchen for free out of leftover scraps from other projects.

Estimated Cost
free
Estimated Time Investment
Week Long Project (20 Hours or More)
Finish Used
Combo of a bunch of old paint I had in the garage and the tiles are made of scrap book paper and mod podge.
Recommended Skill Level
Intermediate


Comments
spiceylg
Thu, 10/18/2012 - 15:12
!
So cute!!!
abbpim
Thu, 10/18/2012 - 15:41
So cute
Thanks! :D
redhead_61
Fri, 10/19/2012 - 11:31
Yea!
It tuned out so cute. I still love this design. Free is the BEST!
abbpim
Sat, 10/20/2012 - 19:42
Thanks!
Thanks so much Redhead61! And thank you to you and Ana for these plans! My kids are making out pretty good in the toy department this year cause of my new favorite hobby!