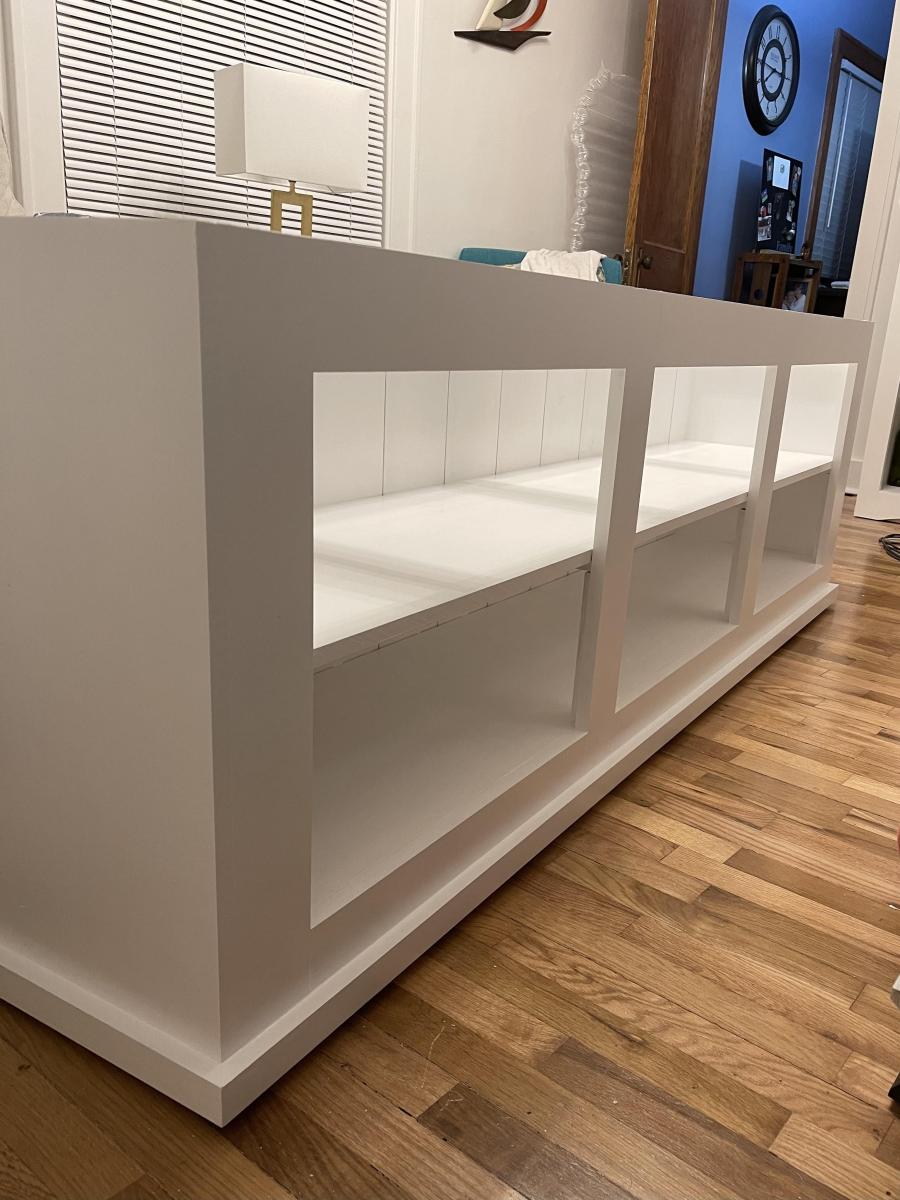
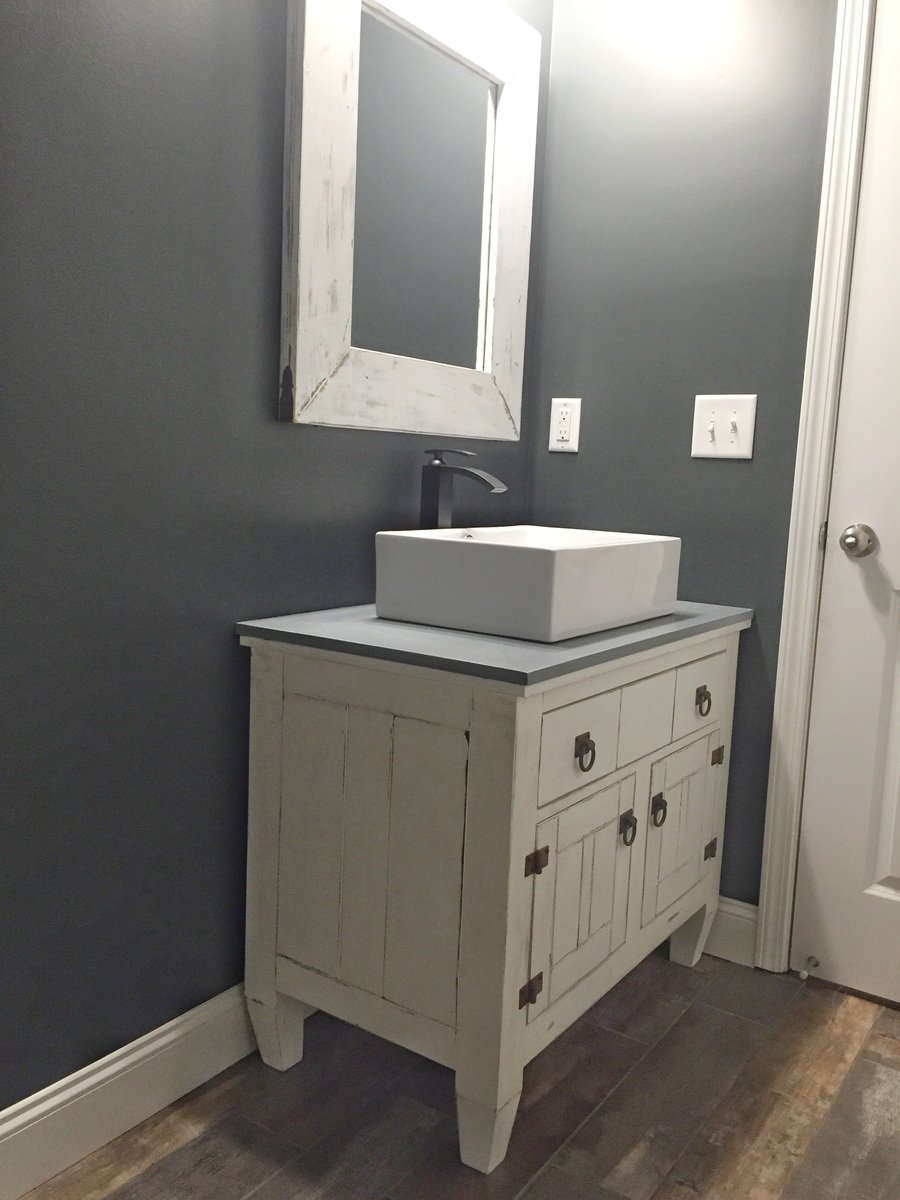
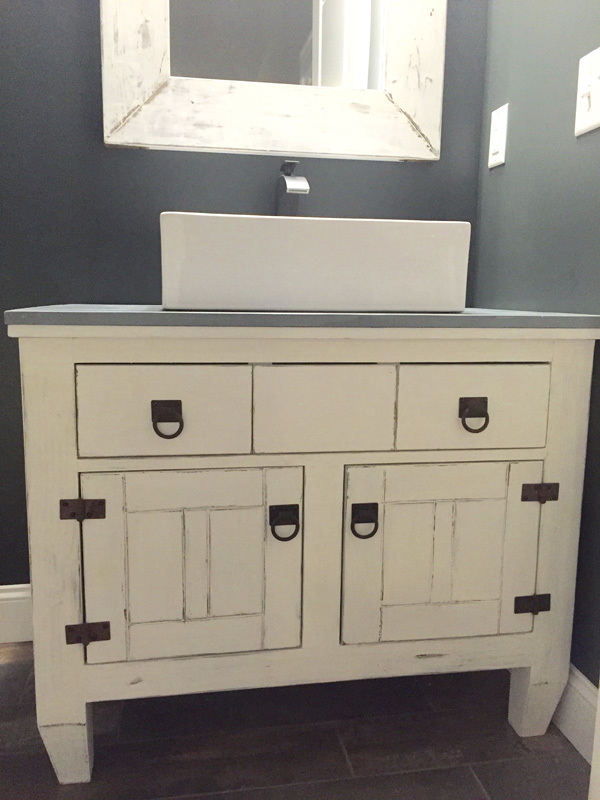
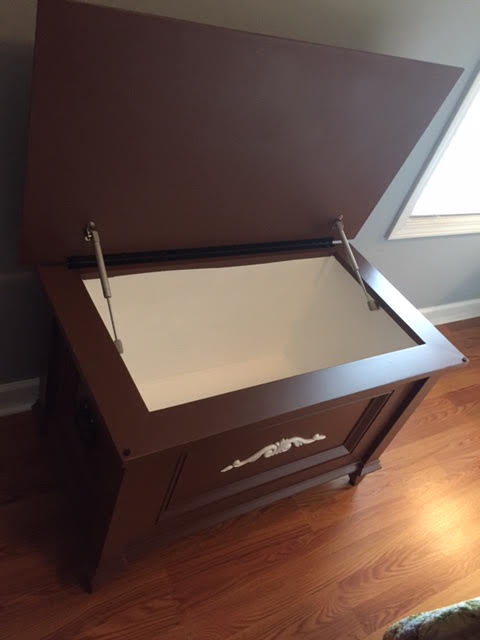
Sliding mirror jewelry cabinet
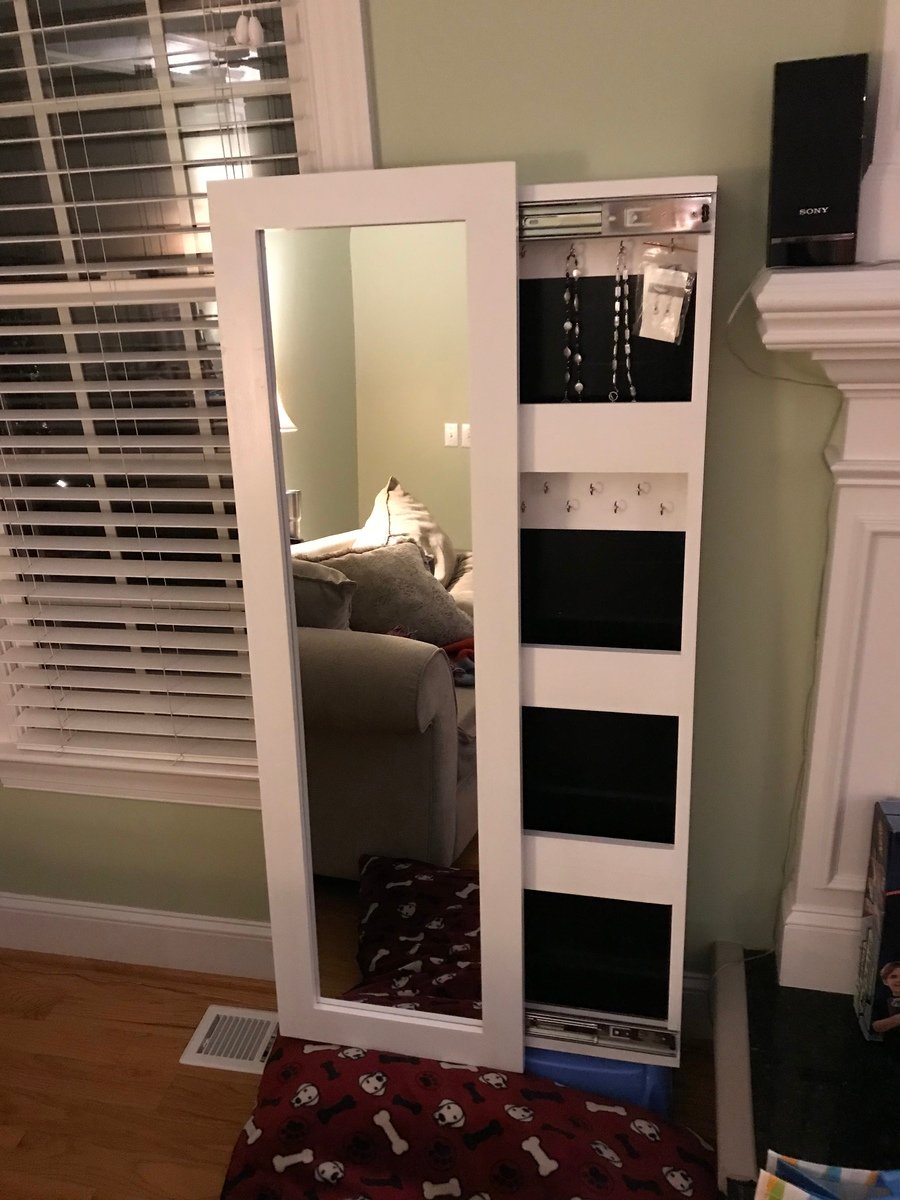
I made this sliding mirror jewelry cabinet for my wife for Christmas.
Built from Plan(s)
Estimated Time Investment
Week Long Project (20 Hours or More)
Finish Used
Jewelry cabinet
Recommended Skill Level
Intermediate