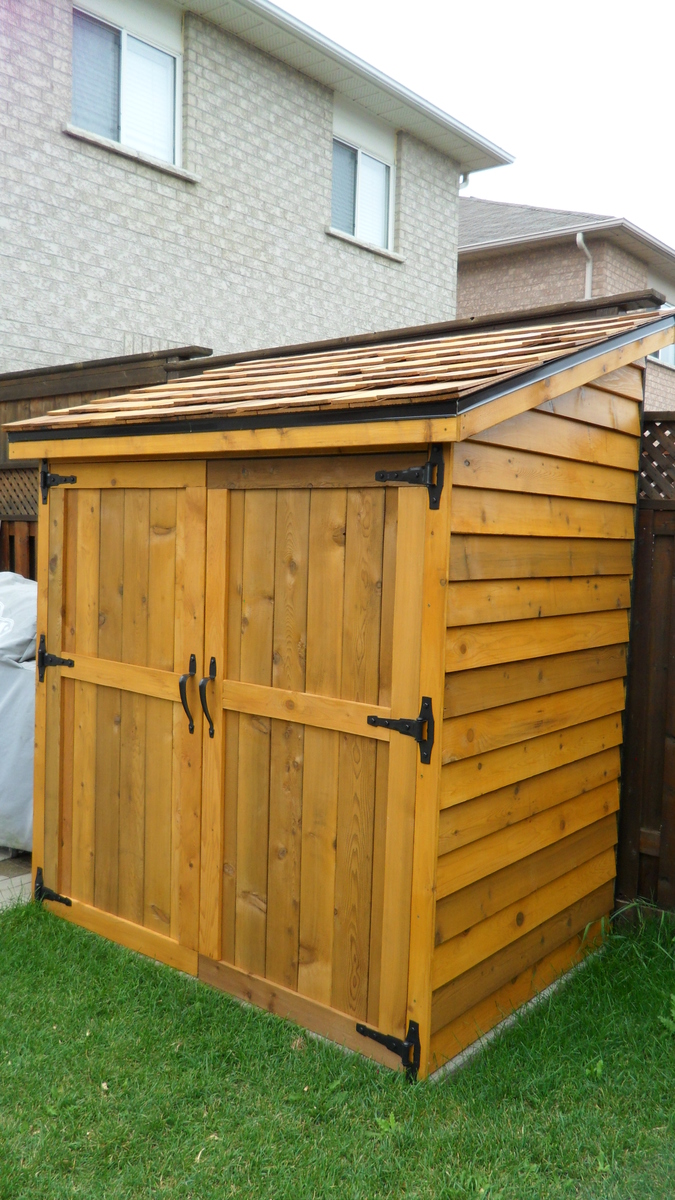
Fire Wood Shed
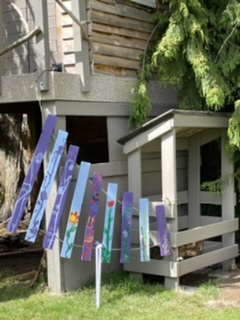
This is smaller version of Ana’s Firewood shed. We just need to load it with wood! It’s about 4 feet long, 2ft wide, and 5.5ft high. I so appreciate all the great plans available to the public! Thanks.
Built from Plan(s)
This is smaller version of Ana’s Firewood shed. We just need to load it with wood! It’s about 4 feet long, 2ft wide, and 5.5ft high. I so appreciate all the great plans available to the public! Thanks.
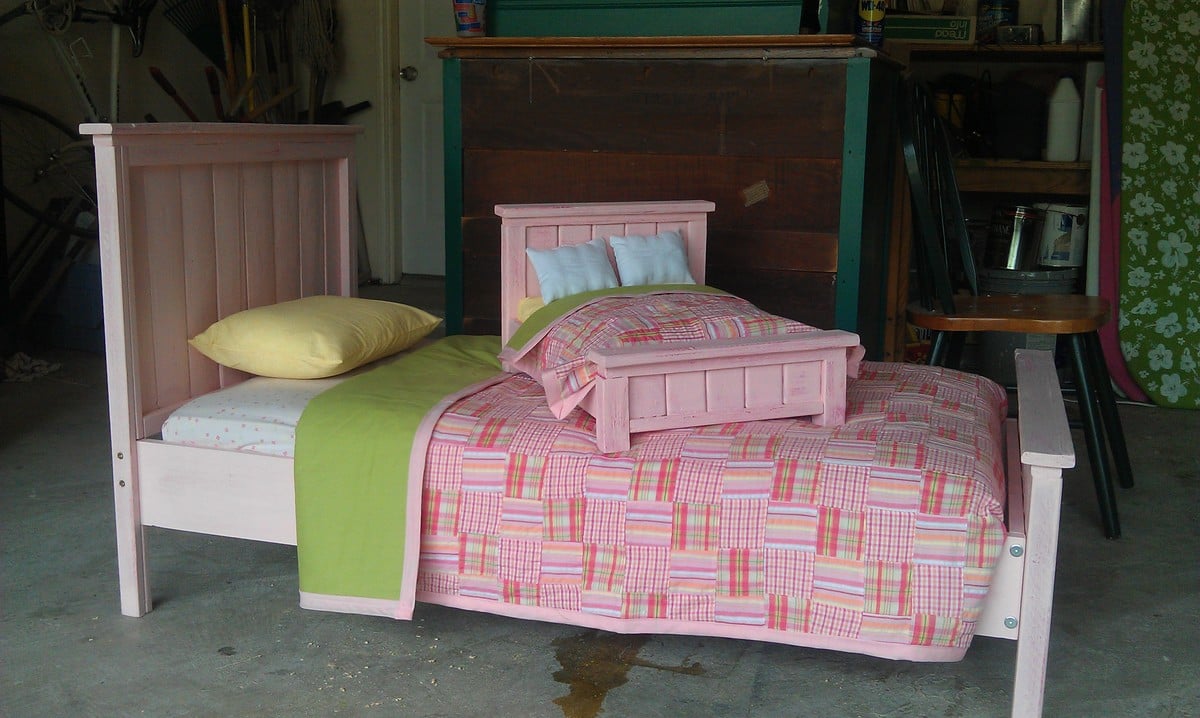
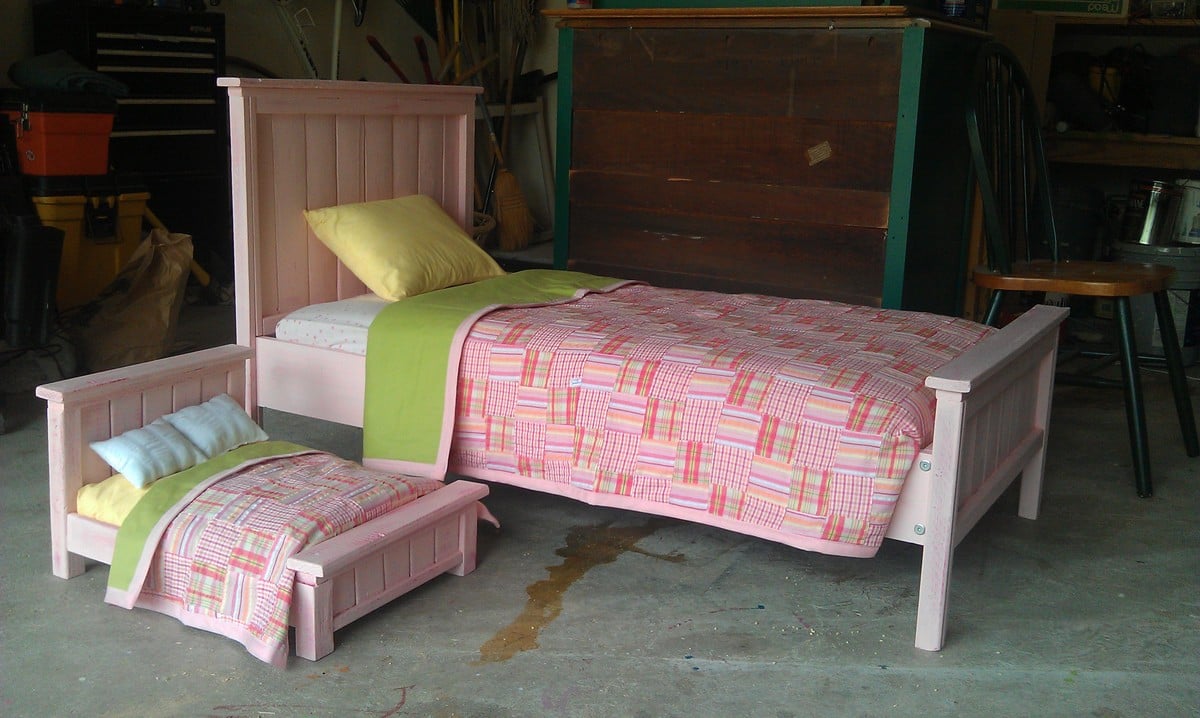
Having done a few doll beds I decided to tackle a toddler bed. I ended up donating this pair to an auction benefiting Montrose Street Reach and Little Footprints Children's Ministry. If you are interested check out http://www.littlefootprintscm.com

Wed, 08/03/2011 - 06:57
How wonderfully generous of you and they came out great!
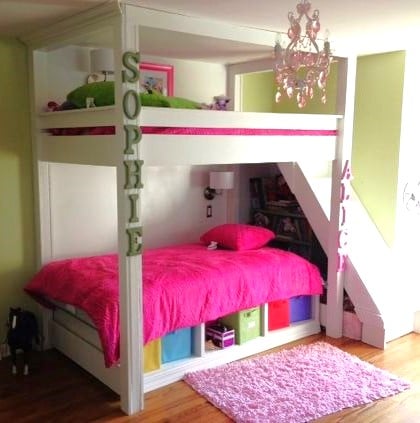
I combined the loft bed and the storage daybed to make this bunk bed. I also modified the plans slightly so that the posts extended to the ceiling and added stairs instead of a ladder.
Wed, 08/28/2013 - 18:41
Lwinchip, this is so beautifully done and practical, too! I love it! Thanks for sharing...I love how the posts that go all the way to the ceiling. I'm going to copy you with my granddaughter's loft that I plan to build soon (is that okay?). :-)
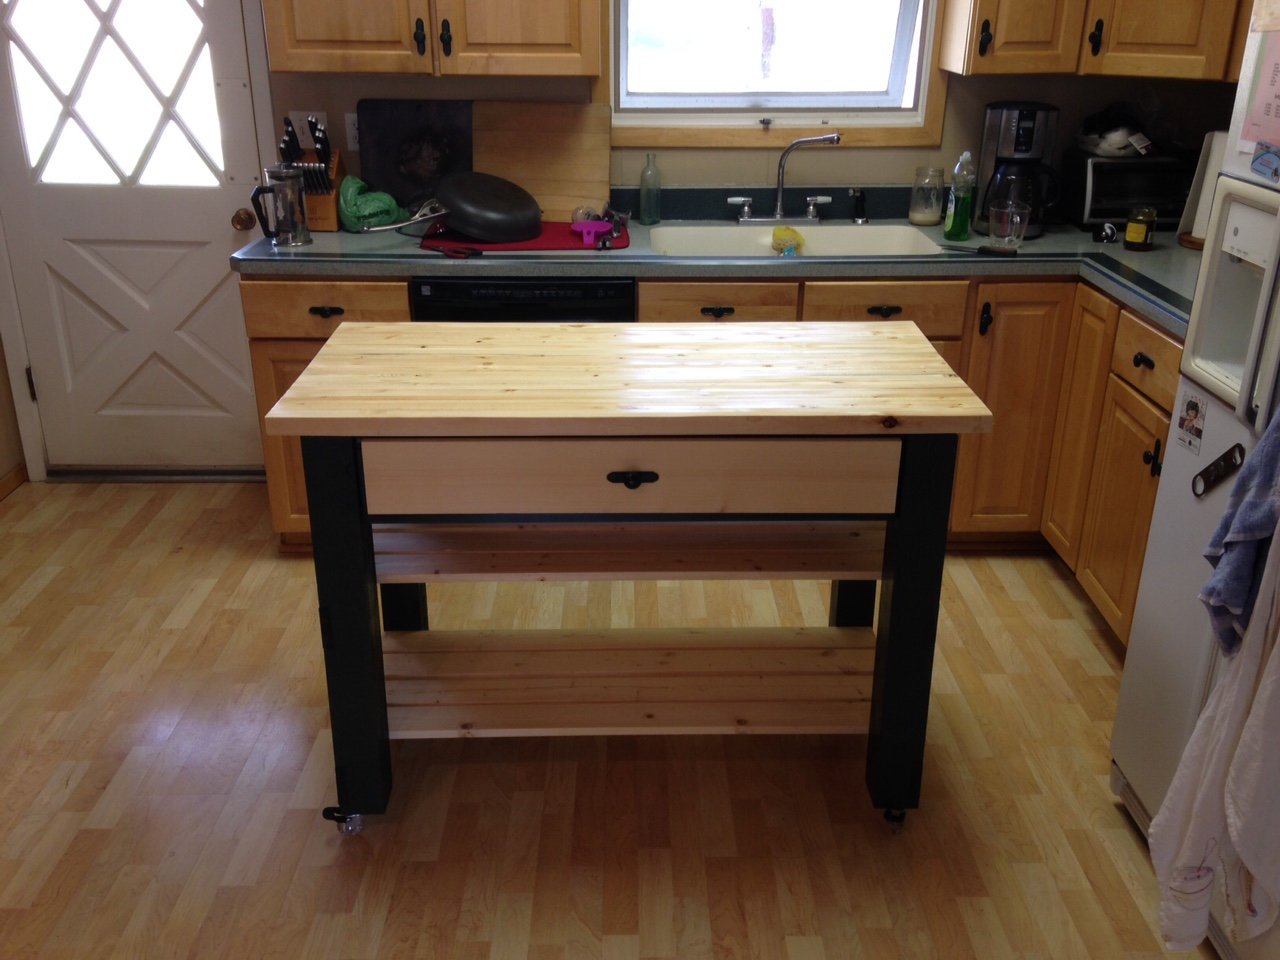
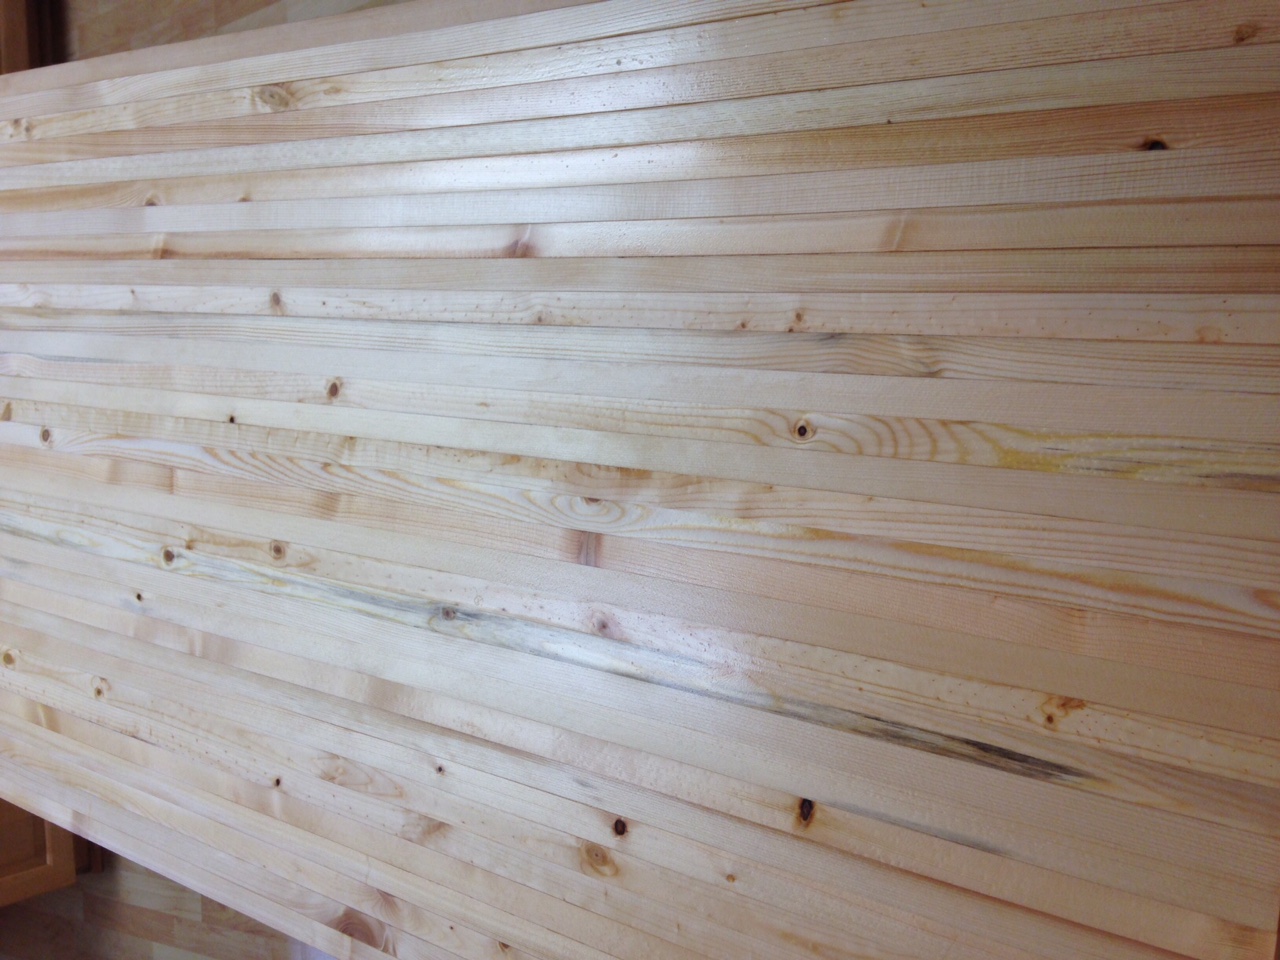
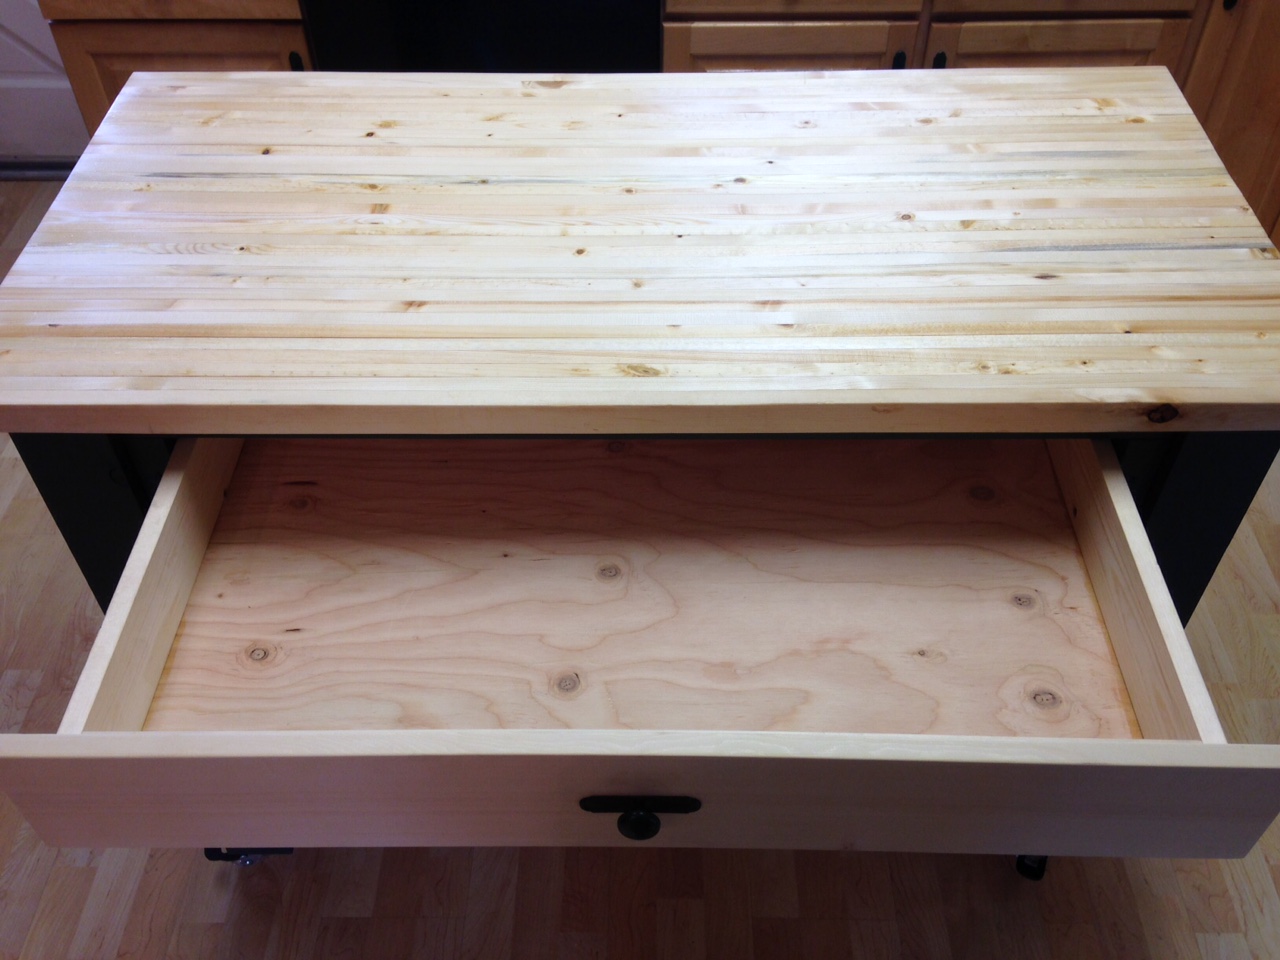
Added rolling casters to the plan. Also decided to go with one big drawer instead of two small ones. The top is made from pine 1x2's that I glued togeter and then sanded dow. Do yourself a favor and go through the plans and sketch out your own plan and wood requirements ahead of time. There are a few mistakes in the plan when it comes to your buy list.
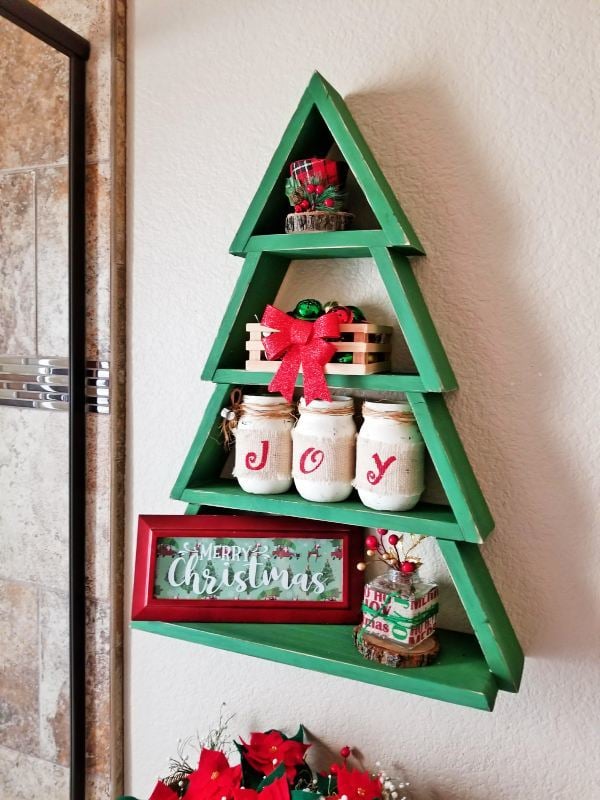
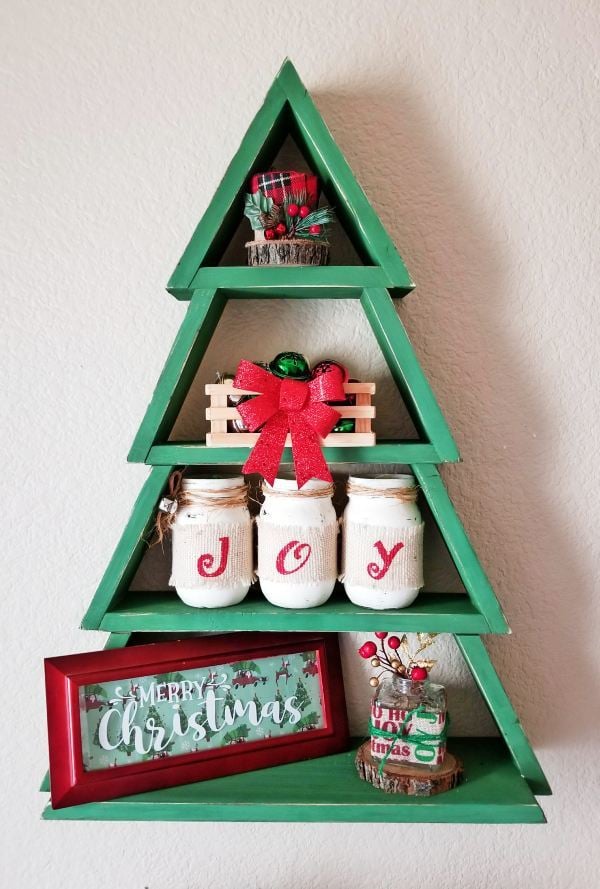
I made this easy and cheap Christmas tree wall shelf to add character to my guest bathroom. I went through all my wood stash and found enough wood to build this project with!
Make sure to pay attention to the long and short point directions in Ana's plans. Since I was hanging this above my toilet, I didn't need the hooks so I just omitted the bottom piece all together.
I ended up using wood glue and a nail gun to put everything together so it went really quickly.
I painted the whole tree with green chalk paint and distressed the edges with sandpaper. Hung it up with L brackets in a stud.
Fun and easy project! Thank you Ana!!

Mon, 11/05/2018 - 11:27
Super cute! I love the wider bottom shelf and the green paint!
Thank you the inspiration!
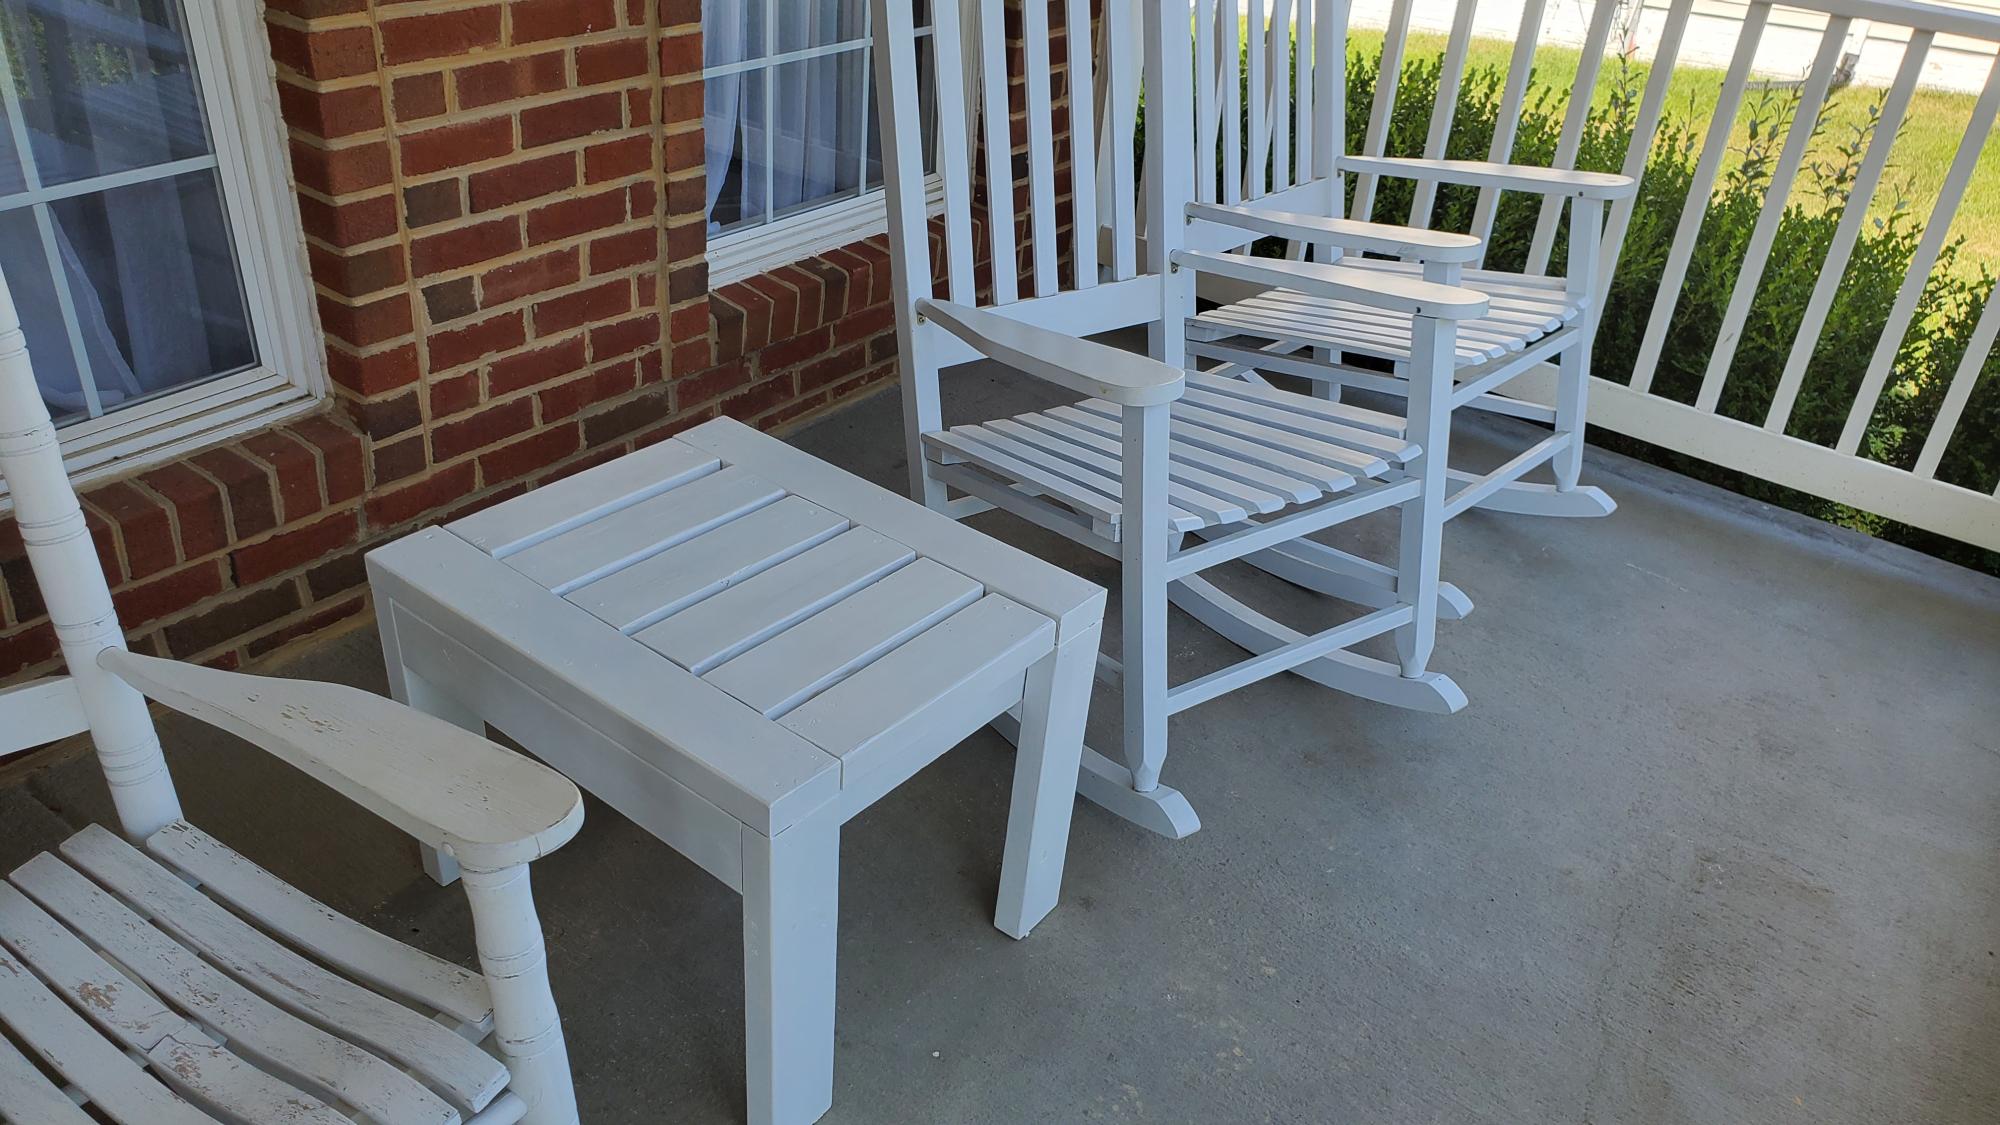
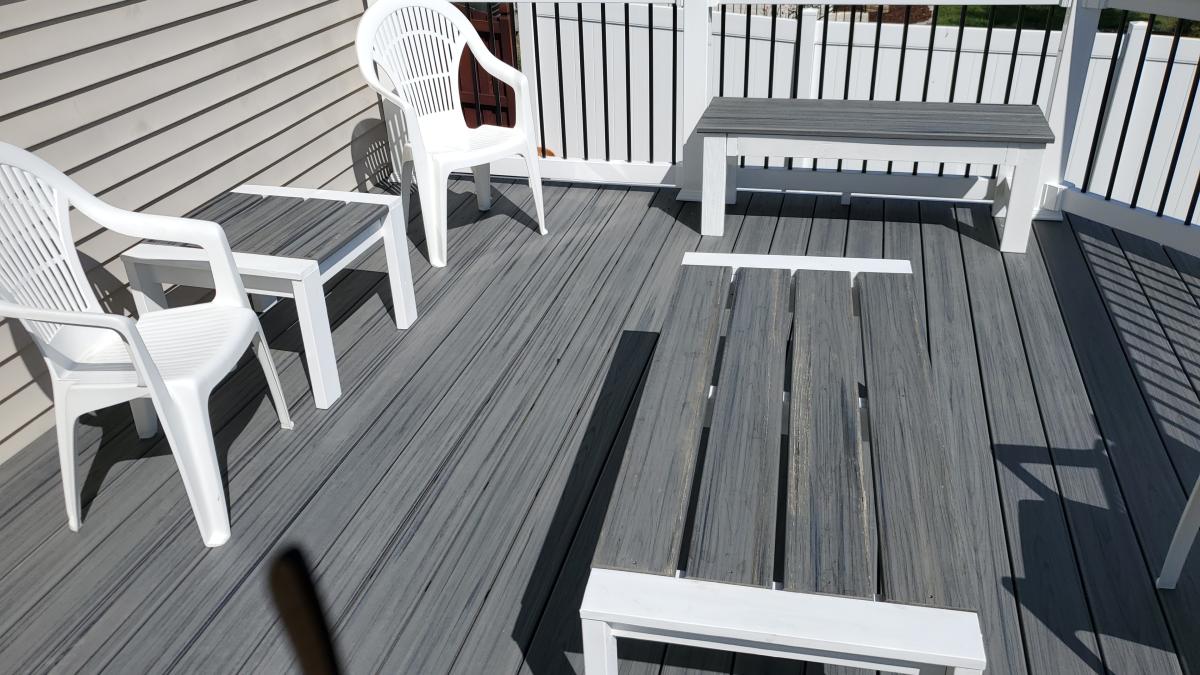
I'm a retiree and beginner woodworker, through your videos I used leftover lumber and Trex decking from new deck to make two side tables, coffee table, and a bench.
Thank you so very much!
I saw this and fell in love! I've made three so far!
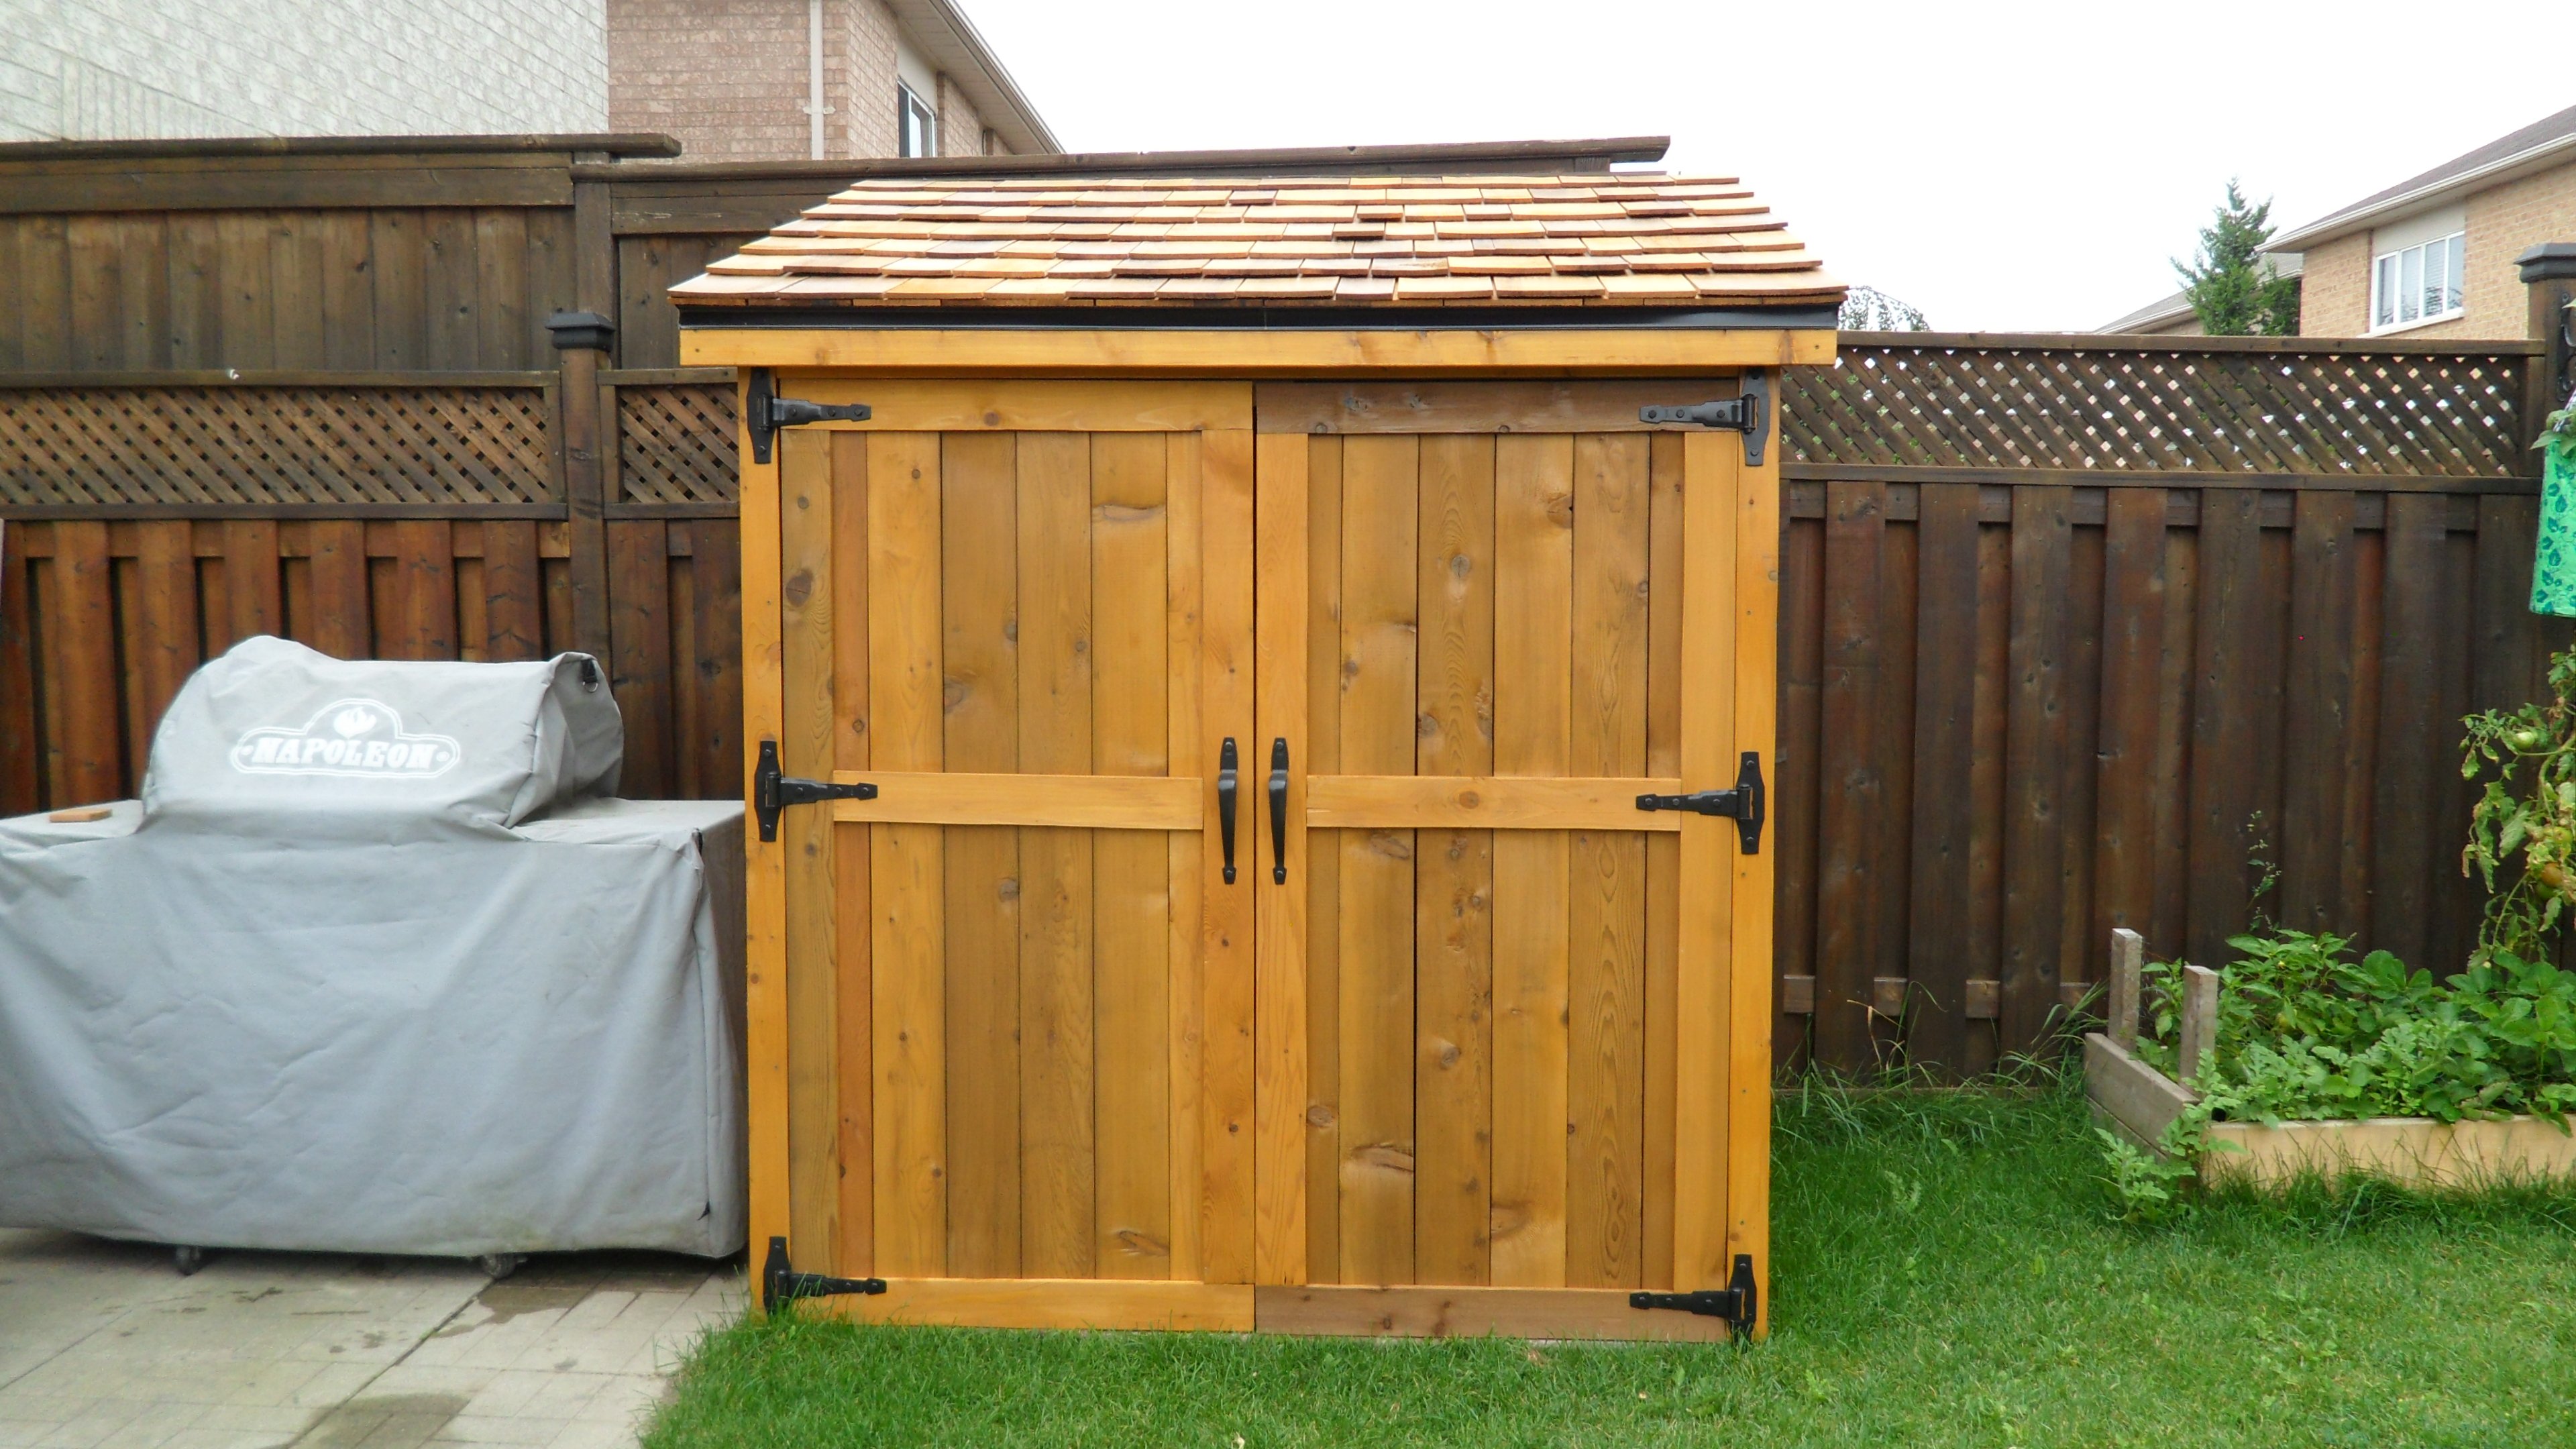
Thanks for the shed plans, I've been looking all over for something like this. I used 3/8" ply wood for the back wall to save money but spent what was saved and more on the shingles and stain/seal. I made the shed exactly 6' wide and 4' deep to fit the 6 2'x2's patio slabs.
The entire project took about 2 weeks to complete and cost about $700. We pay more in Canada but at least I finally got the shed I wanted.


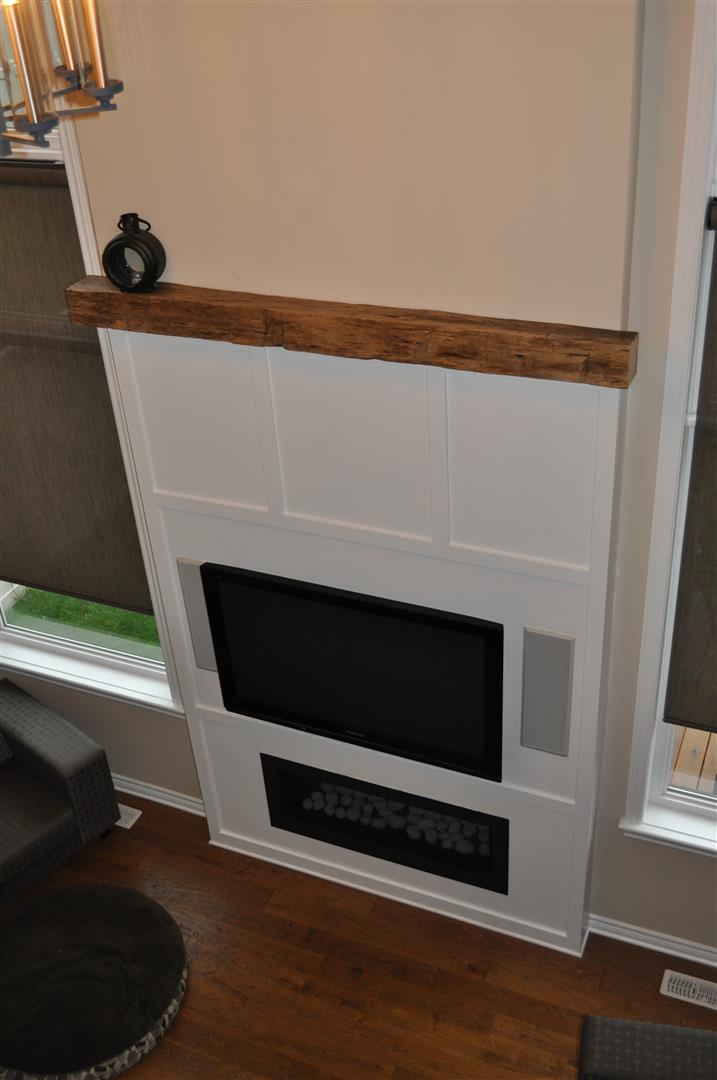
We always wanted a real barn beam in the house, we bought an old ash beam that we used to create a modern mantel. After some research, I decided to save some money and mount it on a 2 x 4. I've provided some instructions on my blog.
http://www.woodworkingfourdummies.com/blog/barn-beam-mantel-diy
Cheers,
Ian

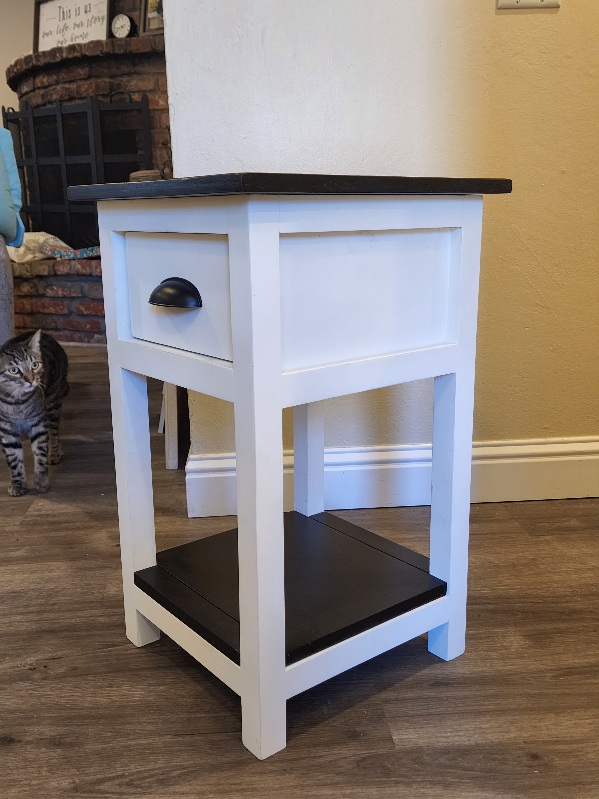
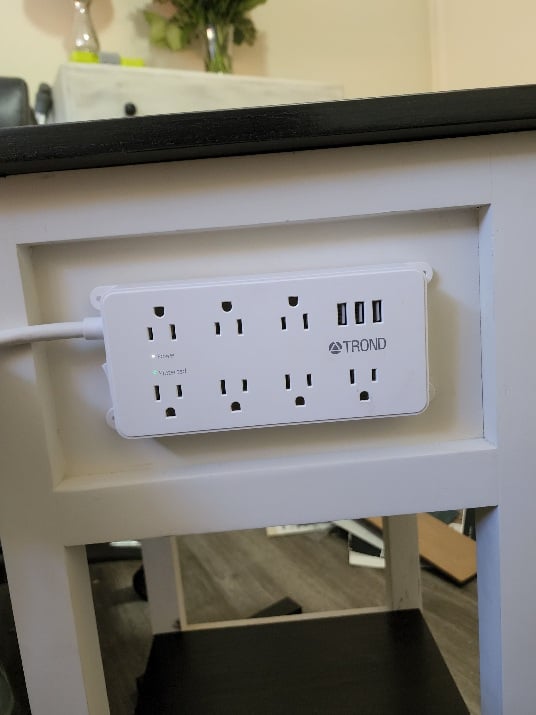
This was built as a nightstand/charging cabinet. I made it a little deeper for more stability. I also replace the 4-5 drilled holes with a corded electrical/usb outlet that allows you to both plug electri cords and usb cords for electronics (about $10 online). I added a center 1 X 2 and magnet closers on the doors. I used unfinished wainscot for the center of the doors.

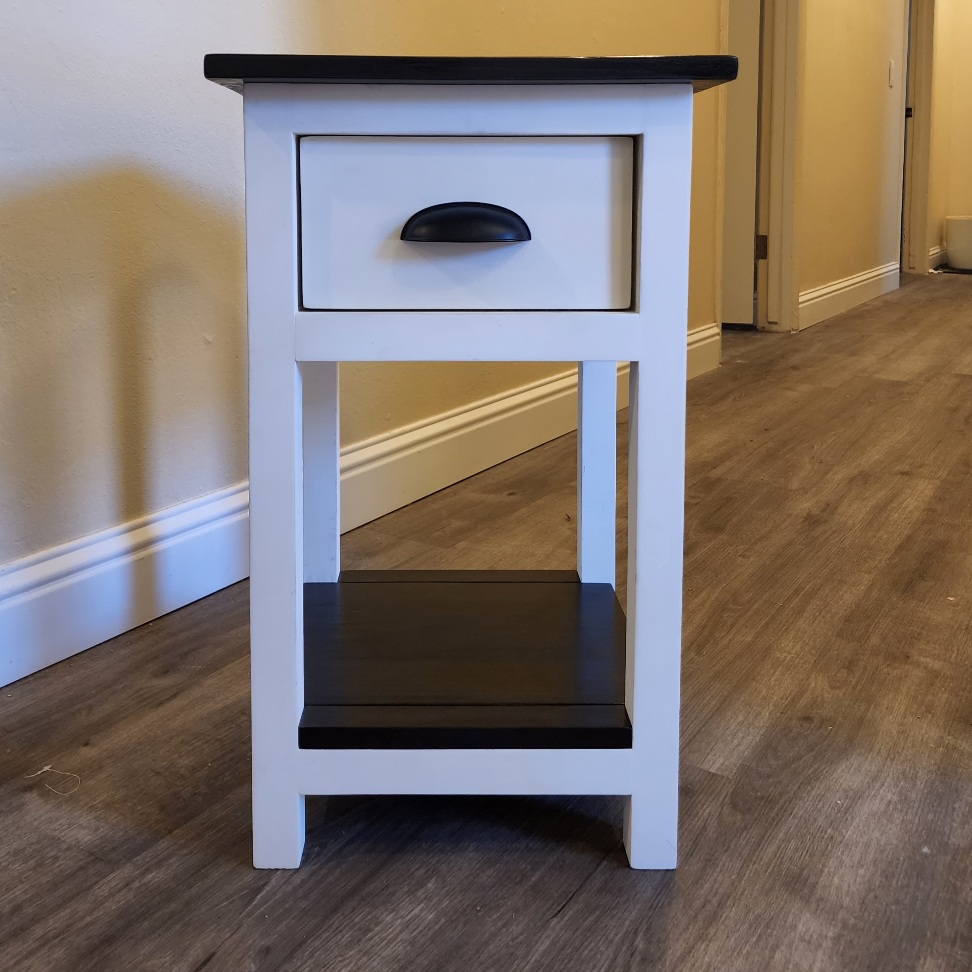
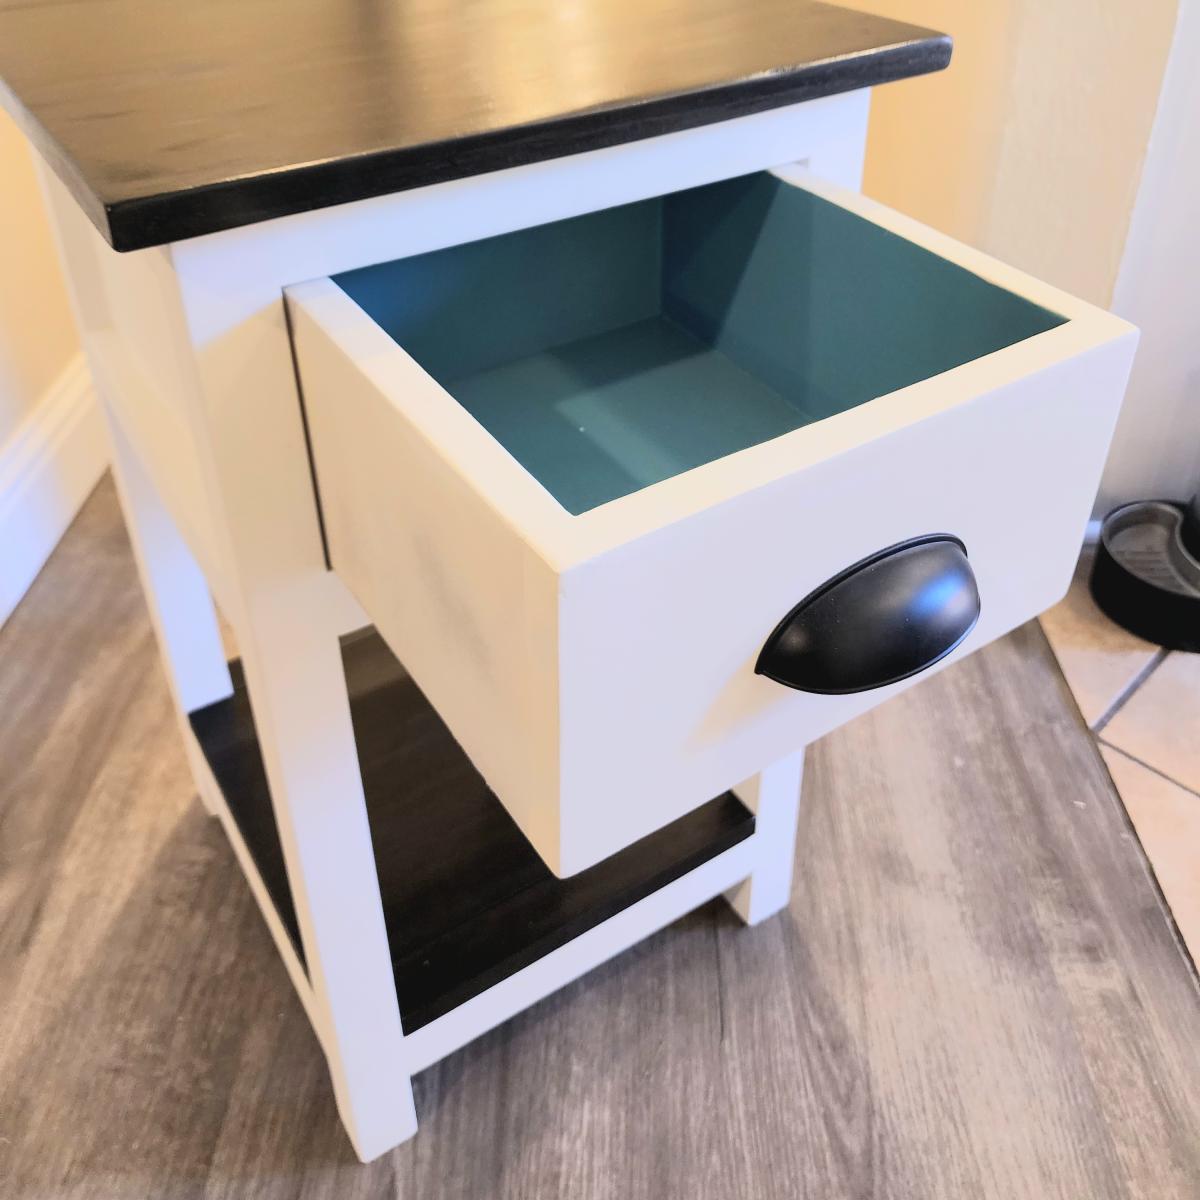
Just bought myself a miter saw and this was my first ever woodworking project... had a lot of fun putting it together. I opted to build the back the same as the sides rather than just putting the piece of plywood as suggested in the plans (and shortened the length of the drawer accordingly), so I could add a surge protector/usb port with extension cord in between the trim boards since the outlet placement in my bed is horrible and requires pulling out the bed from the wall anytime we need to plug something in. Took a bit longer than anticipated, with never having built anything before, but now that I know what I'm doing I expect the 2nd one to go much quicker!
Fri, 08/12/2022 - 11:45
Love the addition, way to go, can't wait to see your next project!

The bed on the left is the one that I made. I used as much reclaimed wood as possible for this project. I had a bookcase that wasn't stable that had a lot of 1 x 4s so I took it apart and used them. In the second picture, I made the elephant wall art with some 1 x 2s and stapled the fabric to it. It hangs on the opposite wall. It was a fun project. (did not make the bench) I have a lot of interruptions when I build, so I am not sure about the length of time.

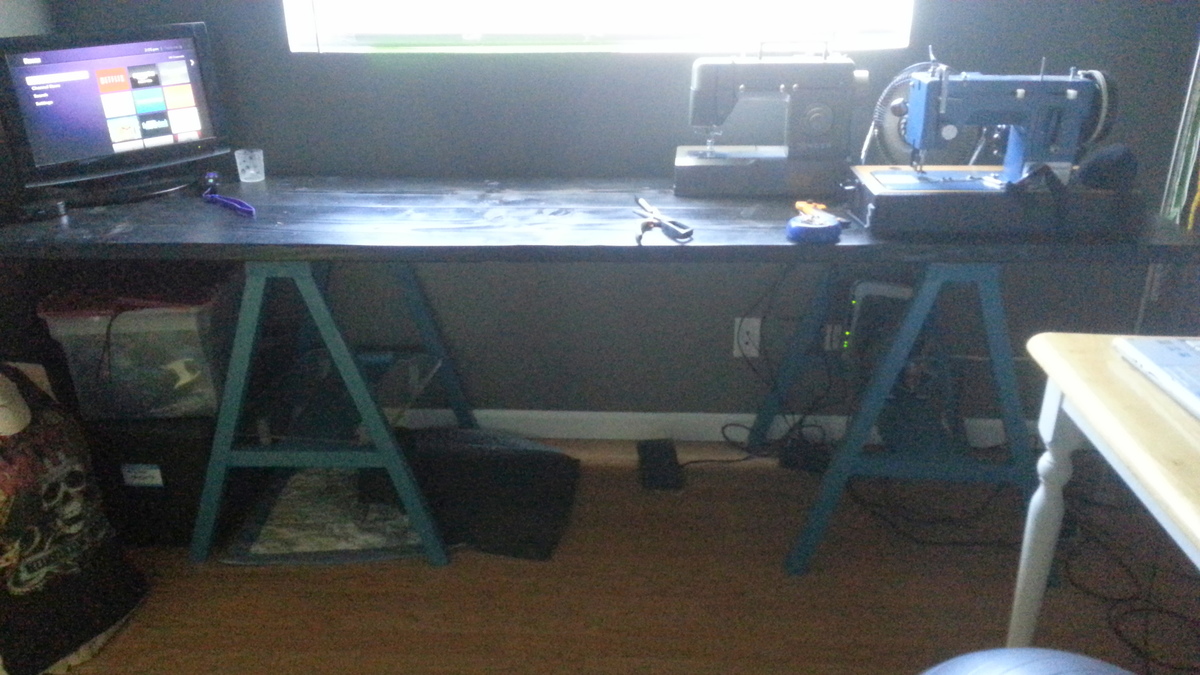
My first Ana white project!
It was easy and I really tried to take my time to make it look nice. Great new BIG table for my sewing room! LOVE IT!!
Stained the top 2x12's black and the legs are oops paint that are a teal color.

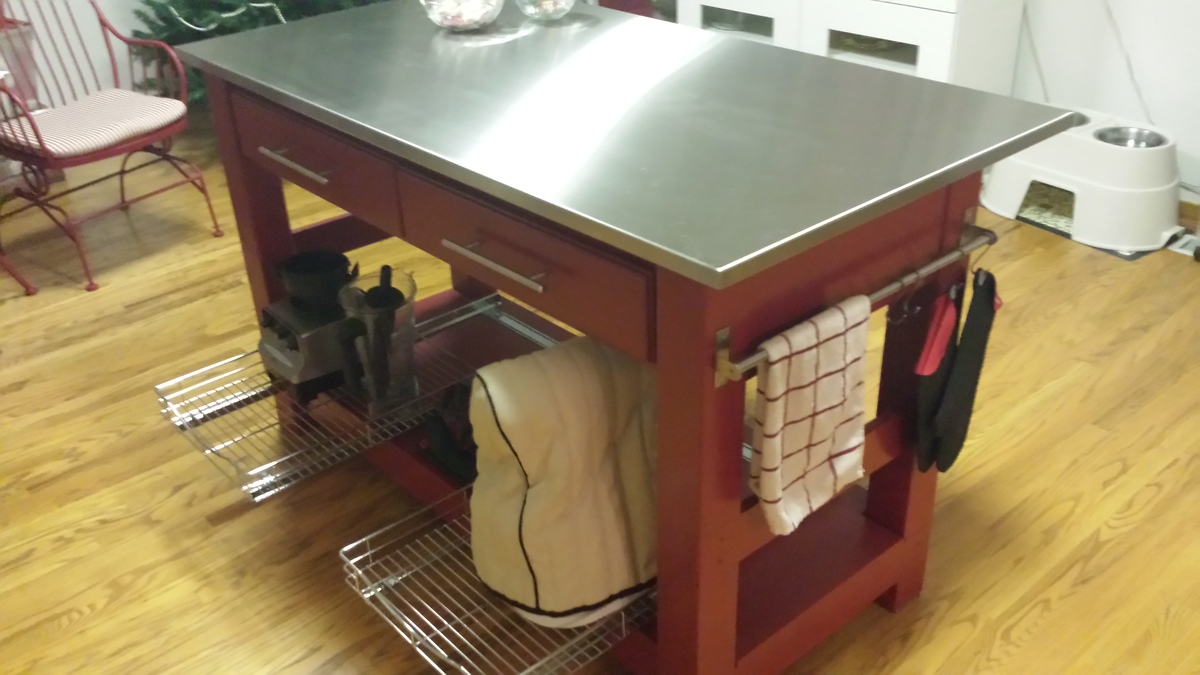
I really do enjoy my island. It has great storage and the added prep space has been wonderful. With the added counter space It has aloud me to make breads and pizzas and with the stainless steel top it is a breeze to clean. I really have enjoyed Ana's website with all the great plans and tips.
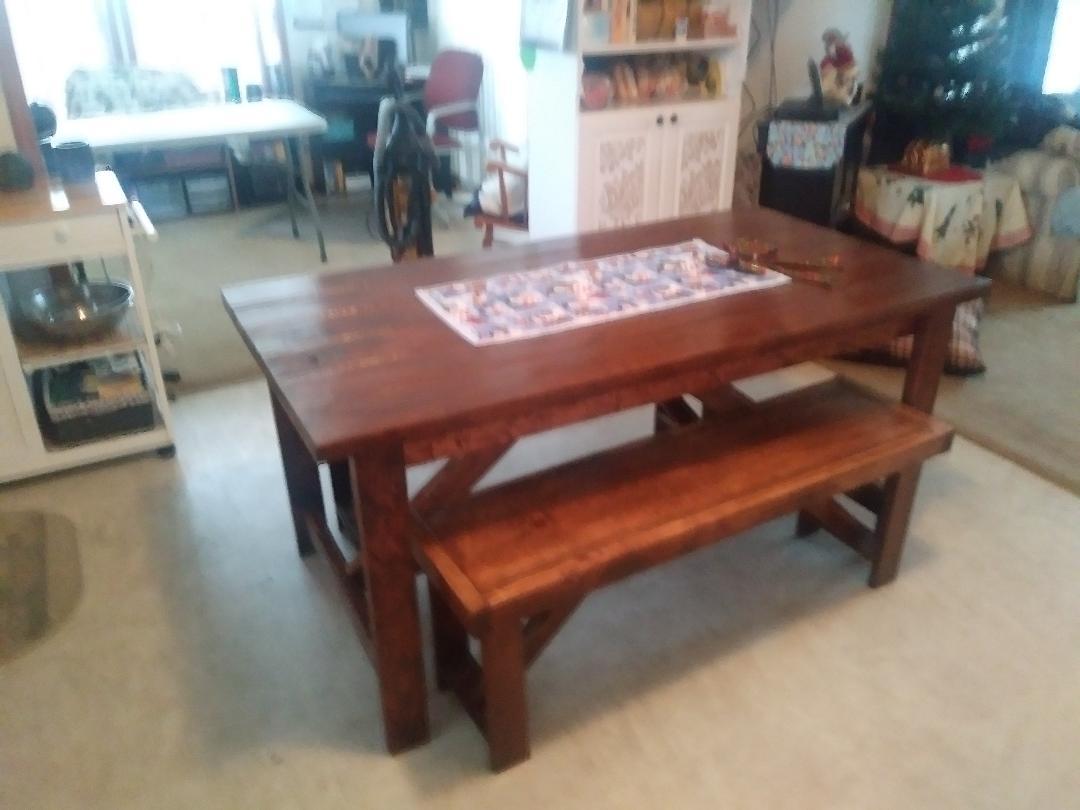
I enjoyed making this project! My wife loves the table and benches.
I can't believe I made this table myself!! Thanks so much Ana for your plans. It's super sturdy and oh so pretty! Yay!!
Mon, 08/22/2022 - 11:03
What a great feeling and it is just gorgeous, thank you for sharing!

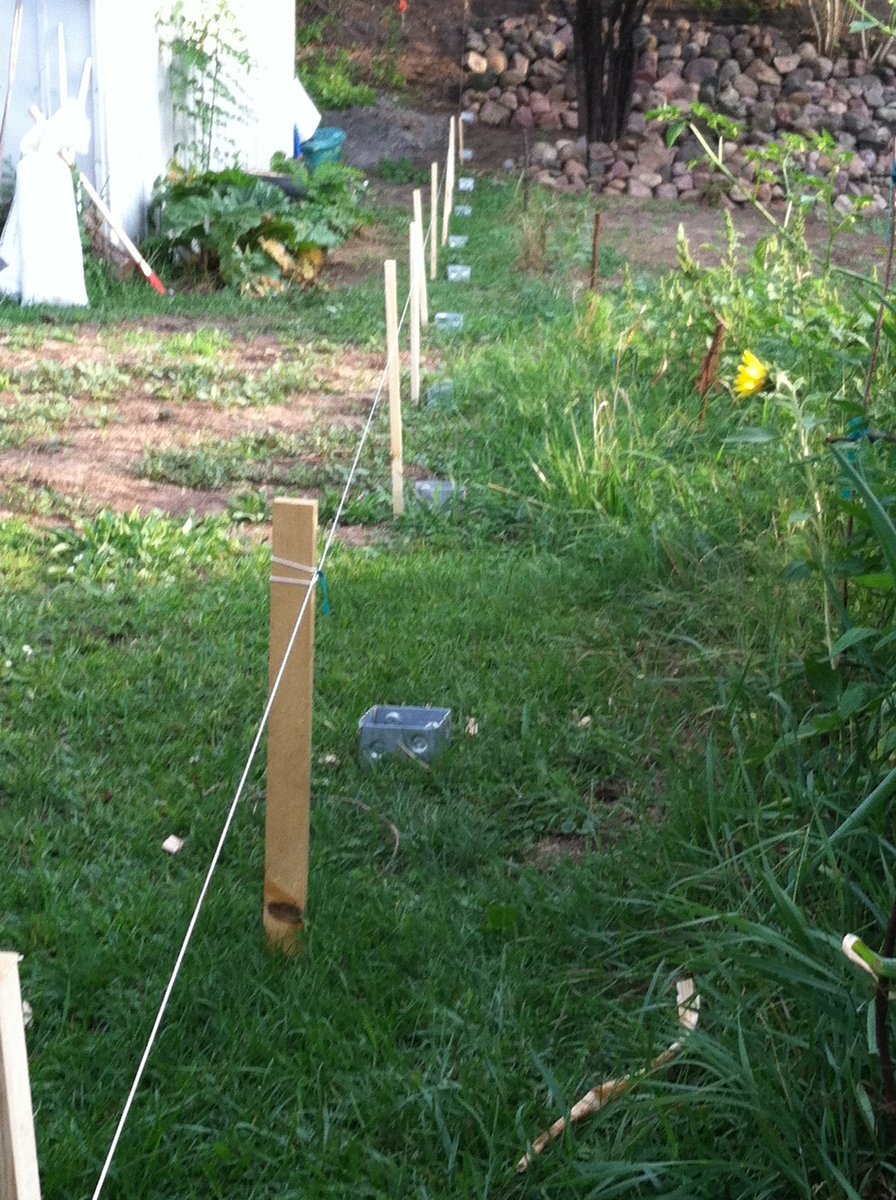
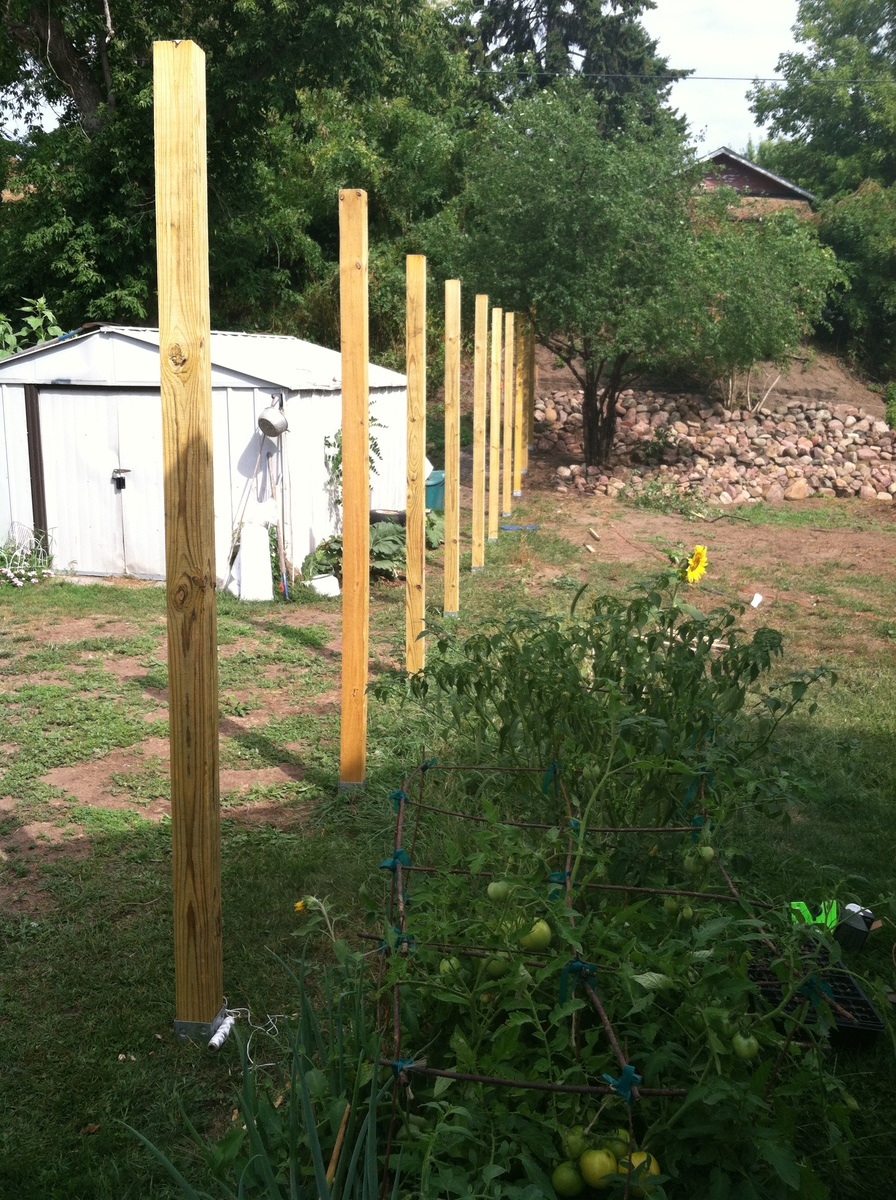
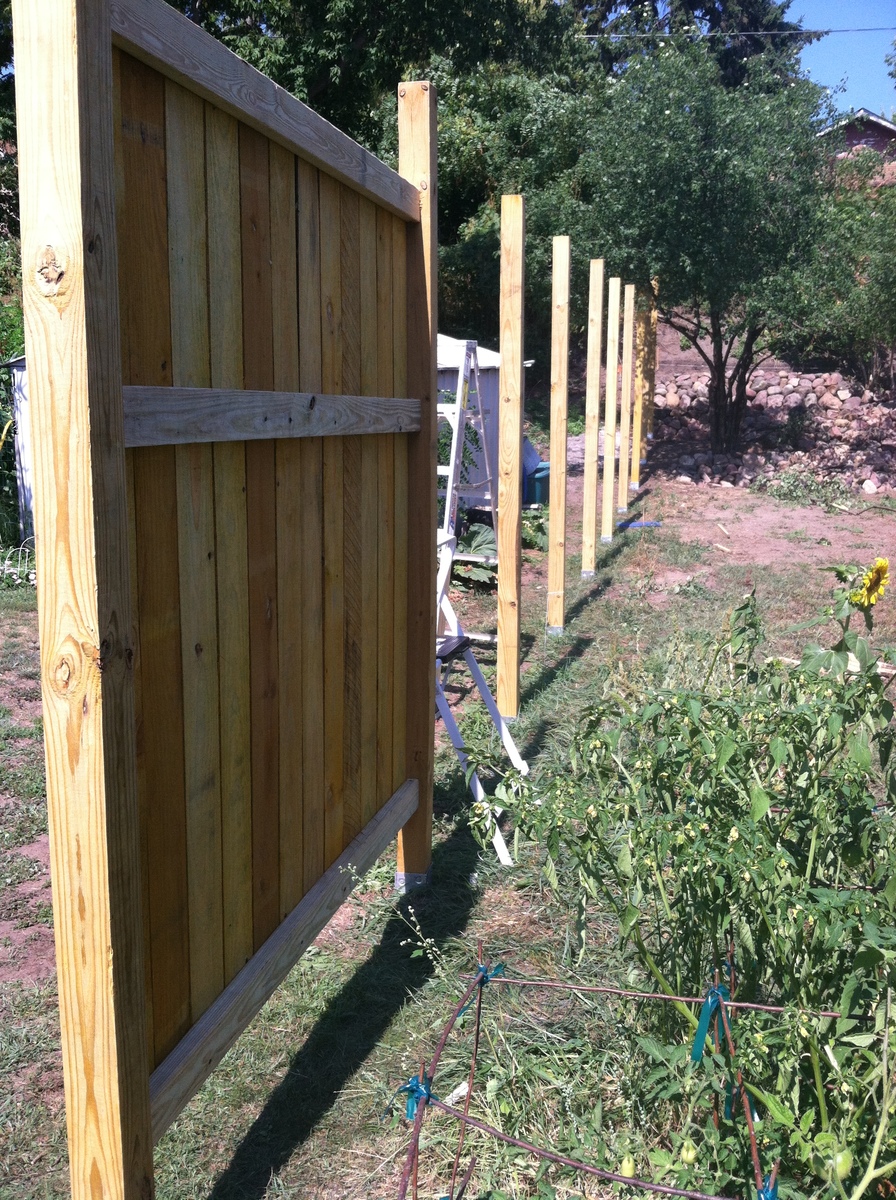
Thank you for the plans for this fence! So many sites tell you what you need to do to plan for a fence, but don't give you any dimensions, materials, etc.
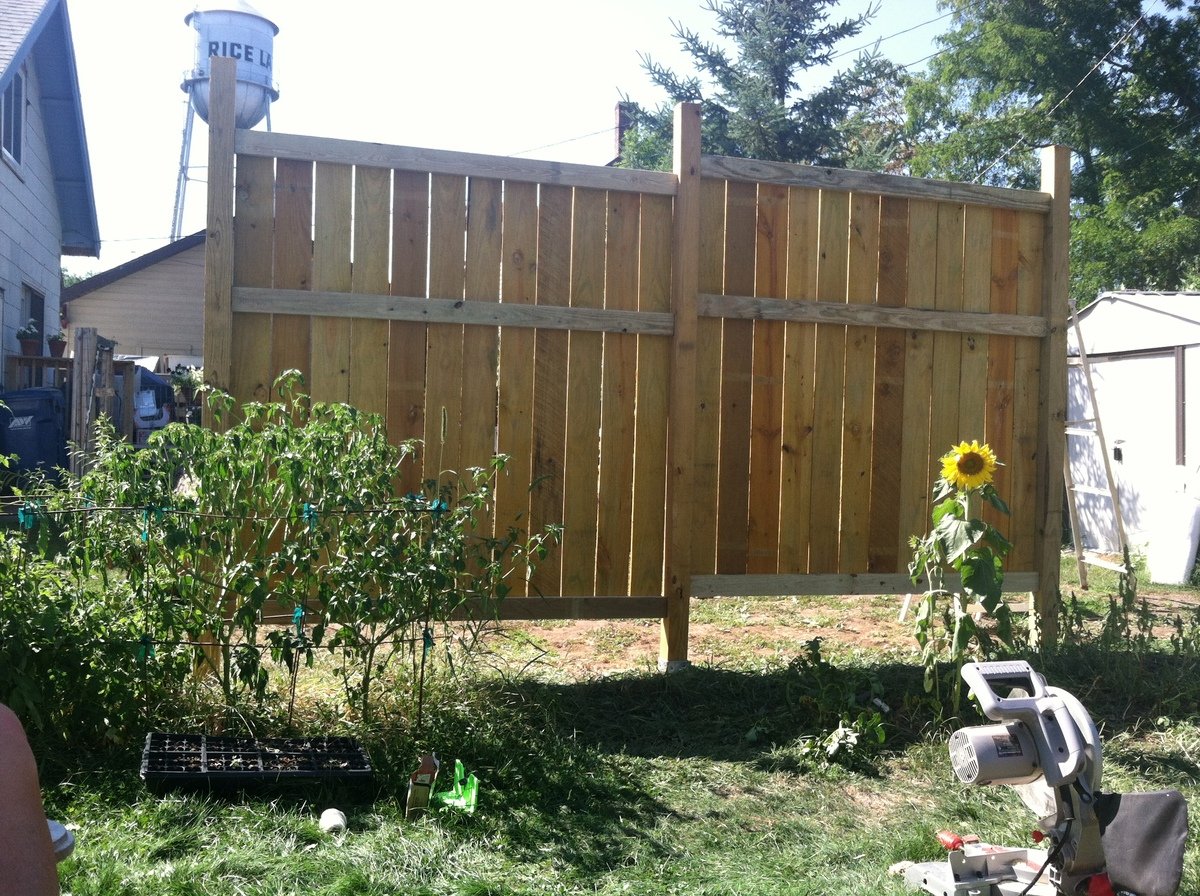
I didn't do it exactly like your instructions, but close enough to give you all the credit!! I am a 45 year old woman, with only a little do-it-yourself experience. I went to the hardware store, and asked "what are these PH screws?" and felt a little stupid. But my friend Tanya and I built this fence this weekend, with a post level, stakes and string, a chop saw, two 18v drills,a sledgehammer, a string level and a sharpie! We are so proud of ourselves.
I still need to trim off the tops of the posts, and do a few little tweaks. Also, we did not dig post holes. We used oz-posts, and pounded them in with a sledgehammer, attached the wooden posts into the oz-posts with heavy-duty construction adhesive and 8 screws, and straightened them with a huge wood clamp. And next weekend, I'll be putting in raised flower beds along the bottom to cover the lower space. :-))
Wed, 09/04/2013 - 07:36
If you check out the oz-post website (just google "oz-post"), there are video tutorials. We pounded them in with sledgehammers which kicked our butts. The oz-posts are about $16 each from Home Depot, which adds to the cost of your fence. But renting a jackhammer was $130 per day plus $30 per running hour, PLUS gas. Renting a post hole digger and buying cement is also expensive. So, buy yourself a sledgehammer, and use chunks of pressure treated wood to put in the tops and wack away!! We first used just regular wood, which splintered terribly, and then spent a lot of time trying to pry them out. If you do get the wood stuck in the posts, drill in a couple screws through the top, and pull them out with someting attached to the screws. Use chunks of pressured treated 4x4s and try to hit it square in the middle!! Good luck!
Thu, 10/30/2014 - 12:46
I know this has nothing to do with woodworking or fence buidling...but that water tower in one of the picture reminds me of one I saw during a drive through Wisconsin.
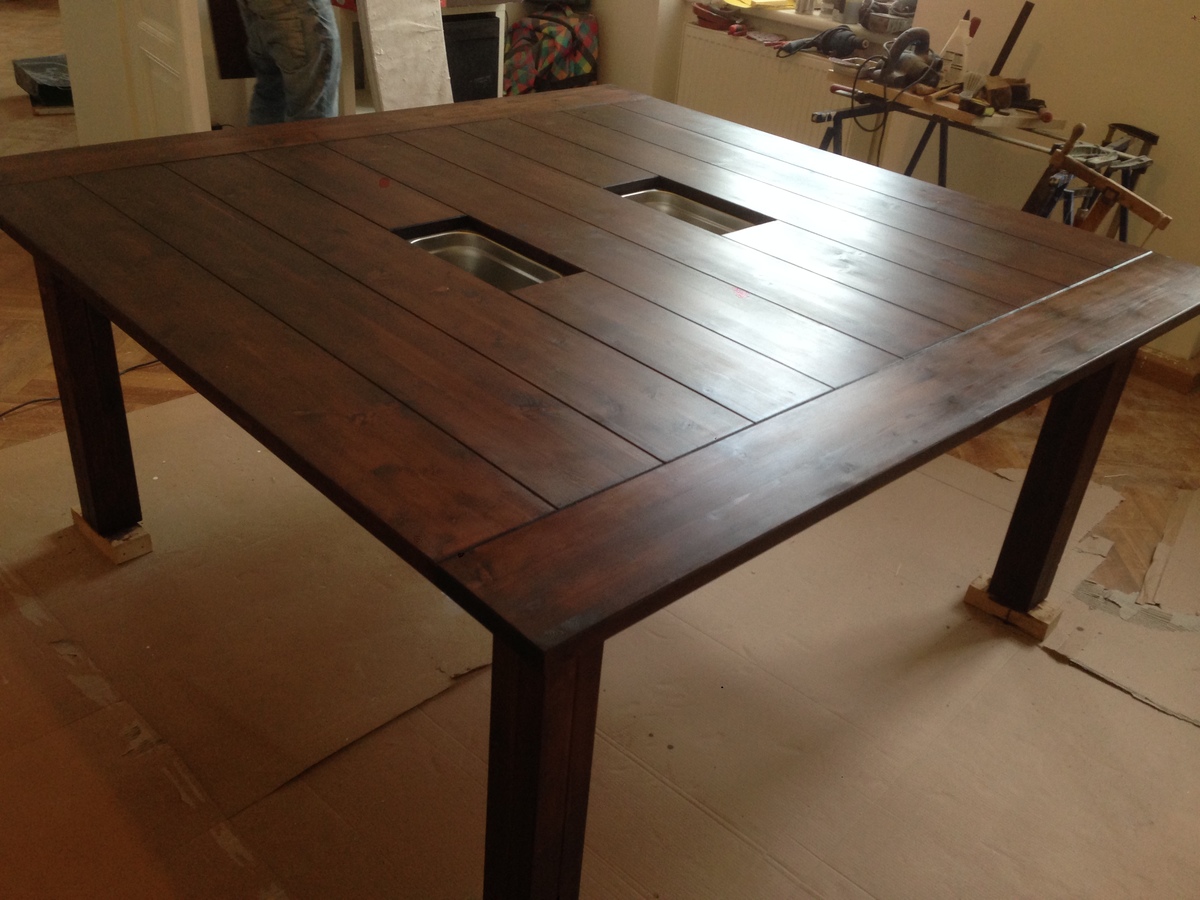
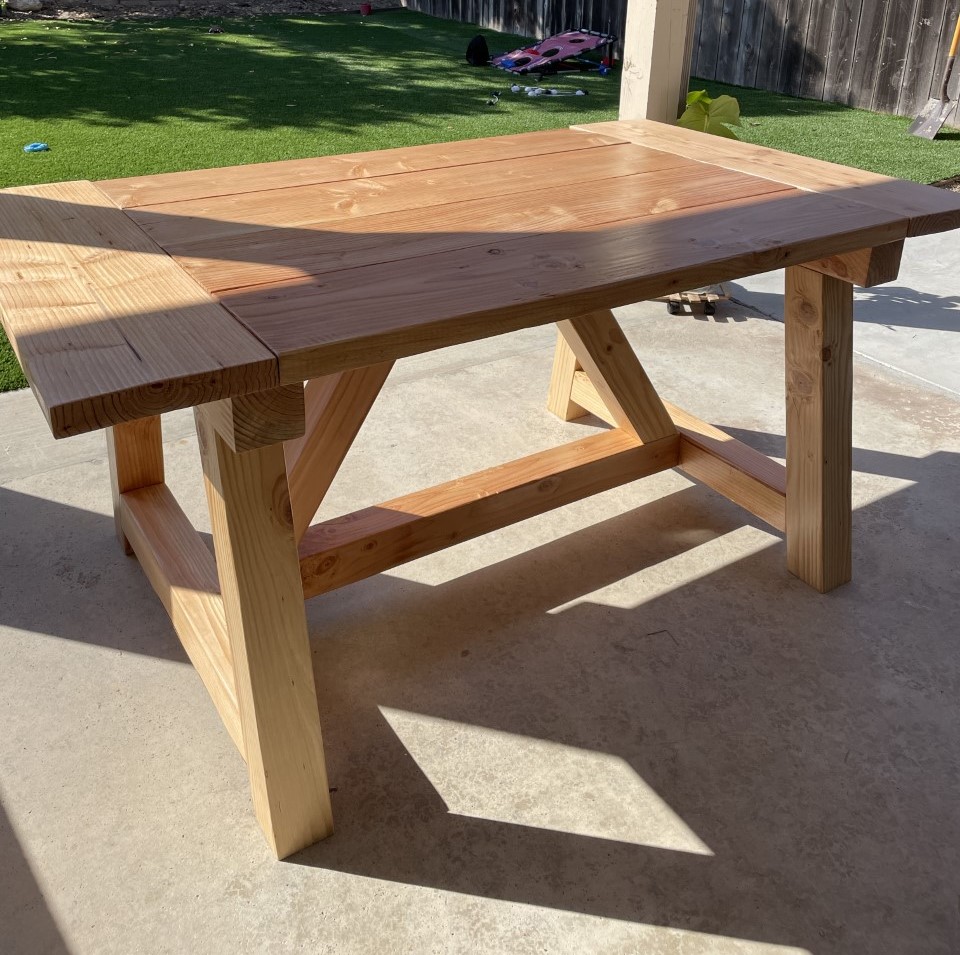
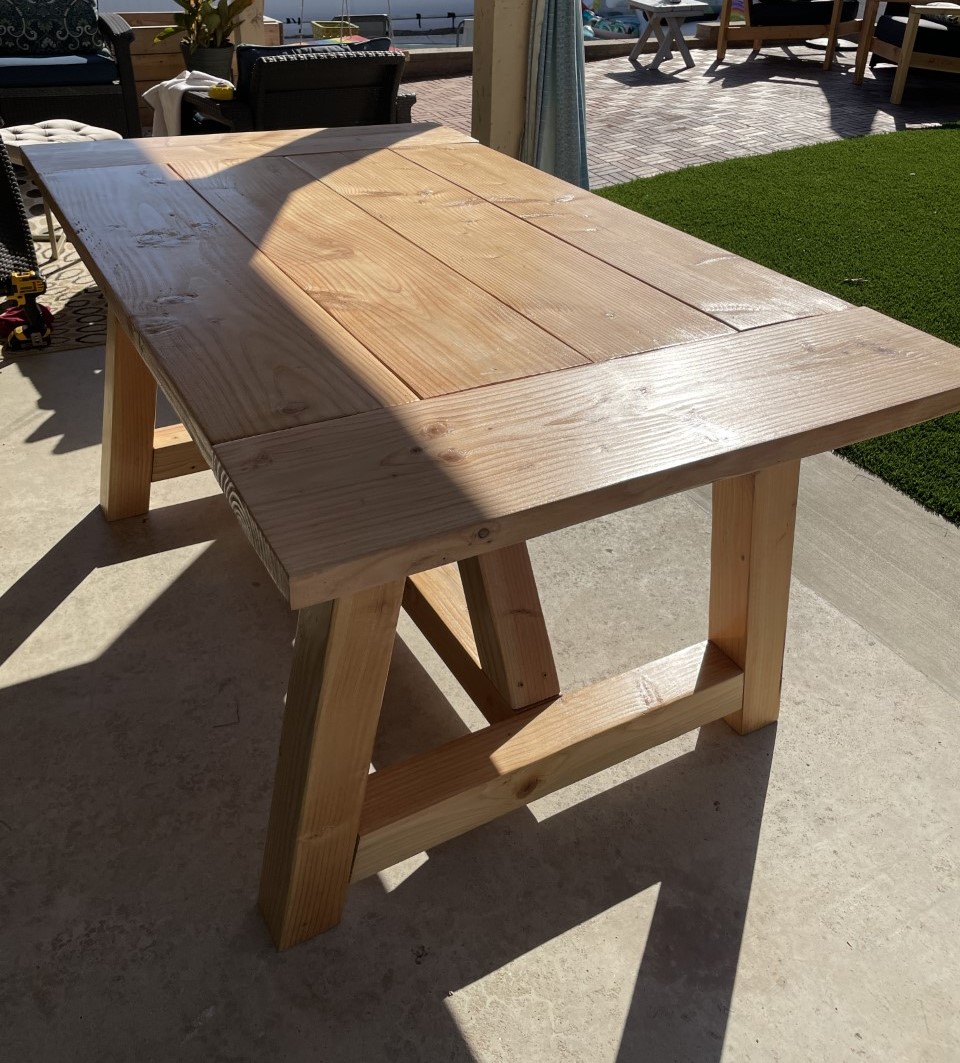
We have a very big dining room in which we tought none of the store-bought tables would look good in. We needed a square table!
We got inpired by this beautiful post on Ana White (http://ana-white.com/2011/05/farmhouse-tablesquared) and soon after that starting to go look for what sizes of wood we can get. We live in an apartment, with no access to super big machinery so we needed to work with what wood stores offered us. We adapted the plan to our desire. Total cost was lower that 300 Euros, including screws, glue and stain. We are THRILLED!! :)
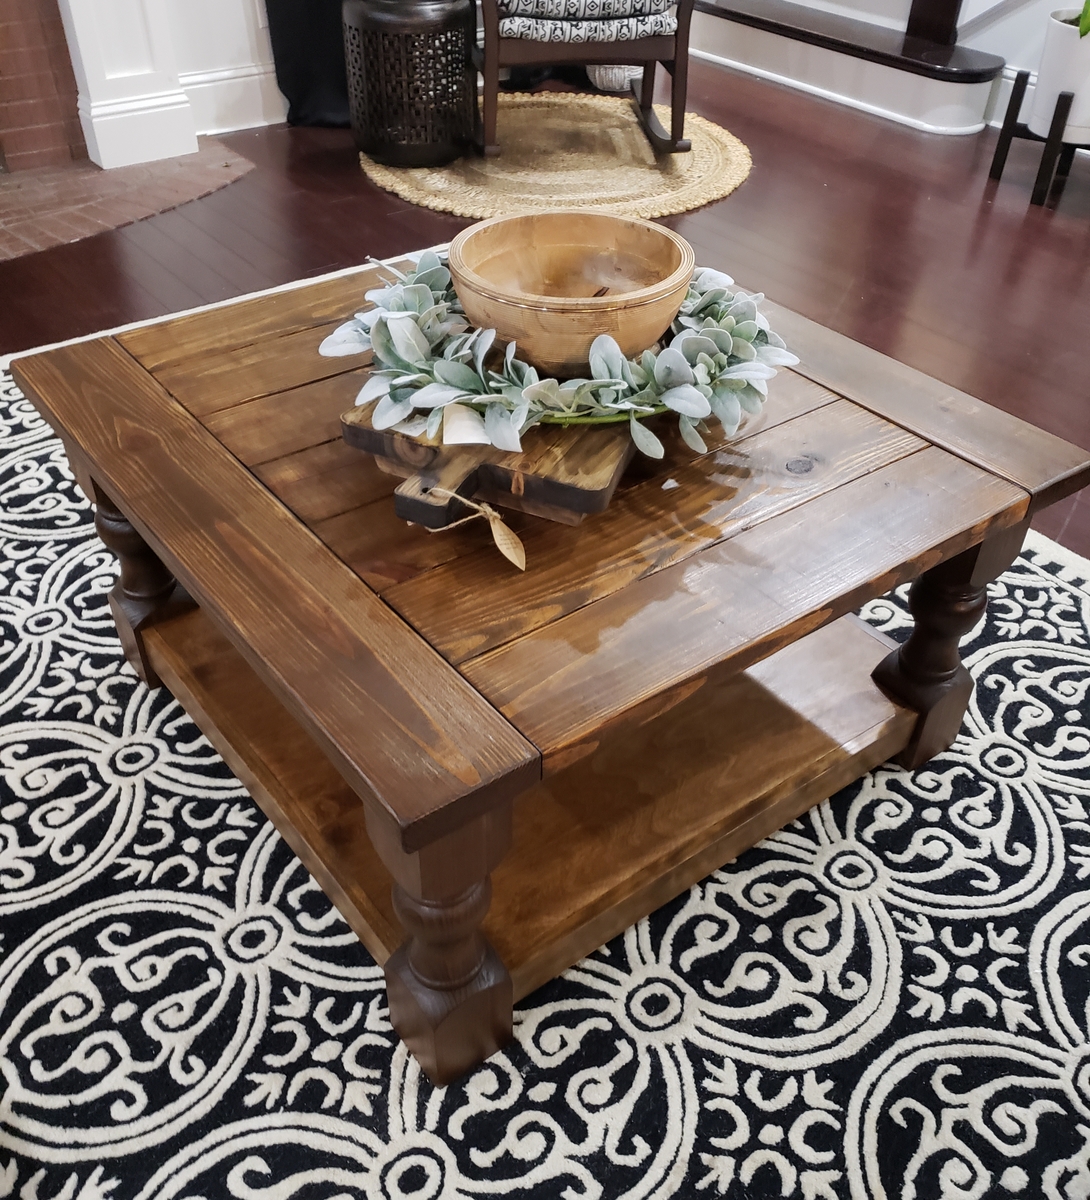
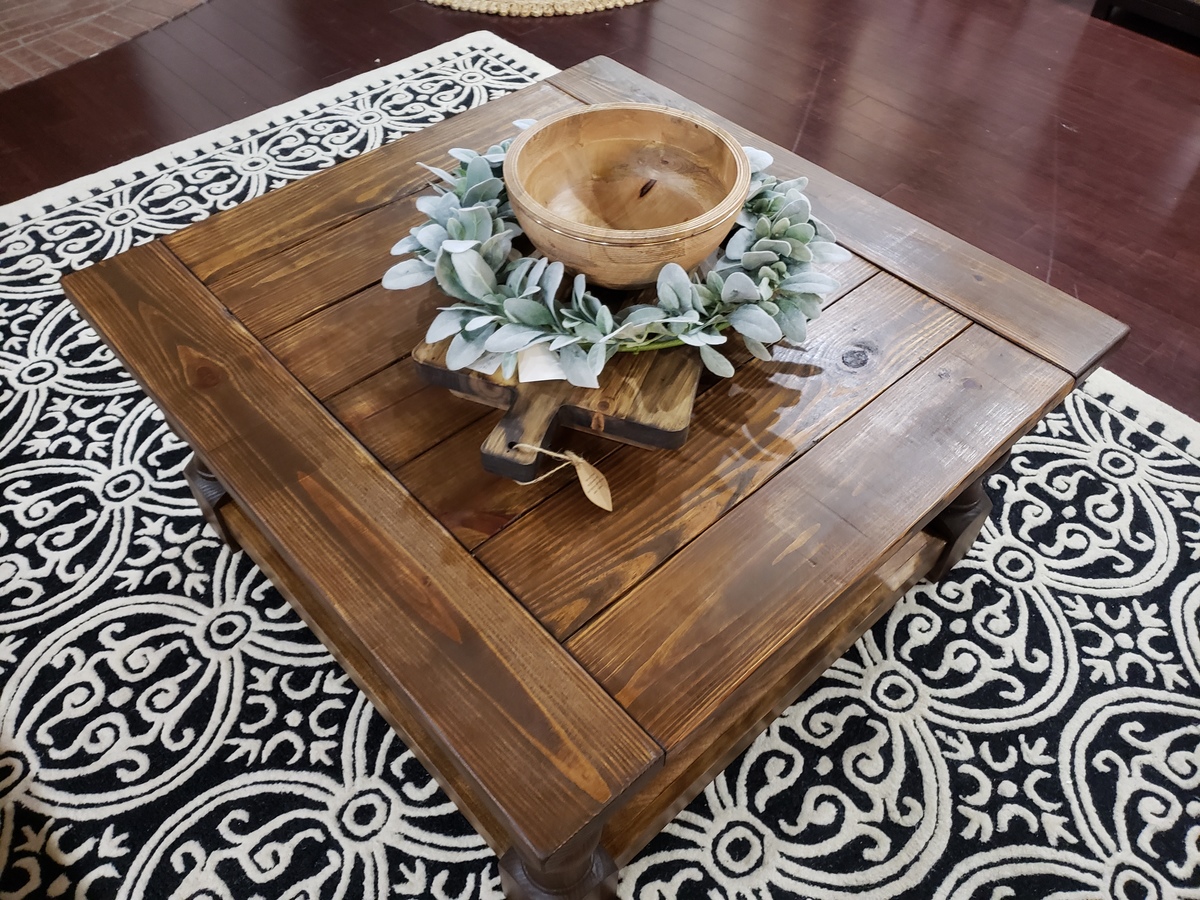
Turned leg coffee table from pine. I also built matching end tables (shown in another post). :)
Wed, 12/26/2018 - 13:47
This is gorgeous!!! LOVE! Thanks so much for bragging.
Sat, 12/29/2018 - 05:56
Thank you! I had stained it with varathane dark walnut and I wasn't happy with the color. I sanded lightly and went back over with the golden oak that I had from another project. I love how it warmed up.
Thu, 12/27/2018 - 09:04
Did you turn the legs yourself, or order them from somewhere? They look great, as does the entire piece.
Sat, 12/29/2018 - 05:54
Thank you so much! I ordered the legs from Osborne Wood products. They are the Shanty legs.
In reply to Thank you so much! I ordered by kwildman
Sat, 12/29/2018 - 06:10
I'm actually familiar with Osborne, I basically drove past them going from ATL to CLT this week... They do have some nice legs at a good price.
Wed, 01/02/2019 - 10:13
Yes if you click on the plan, there is a link to the exact legs from Osborne.
Mon, 01/07/2019 - 09:15
Thank you! That is so sweet. I am very happy with it. :)
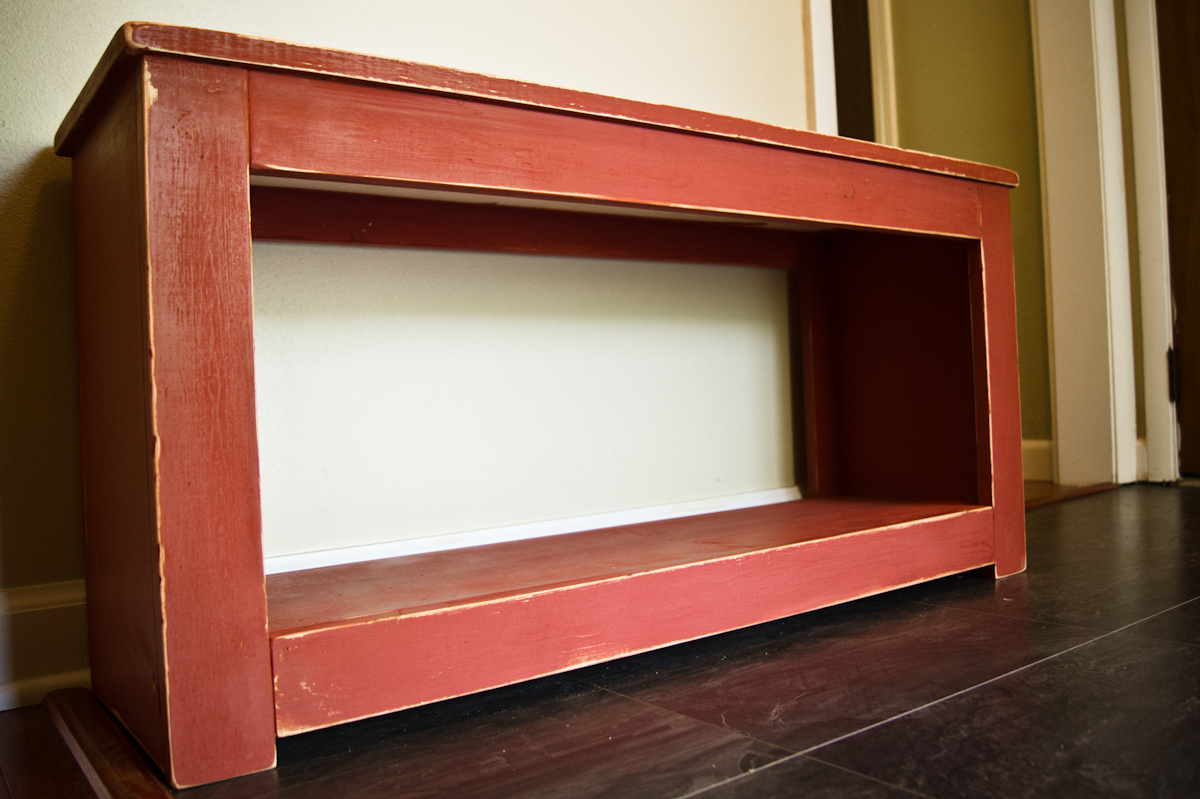
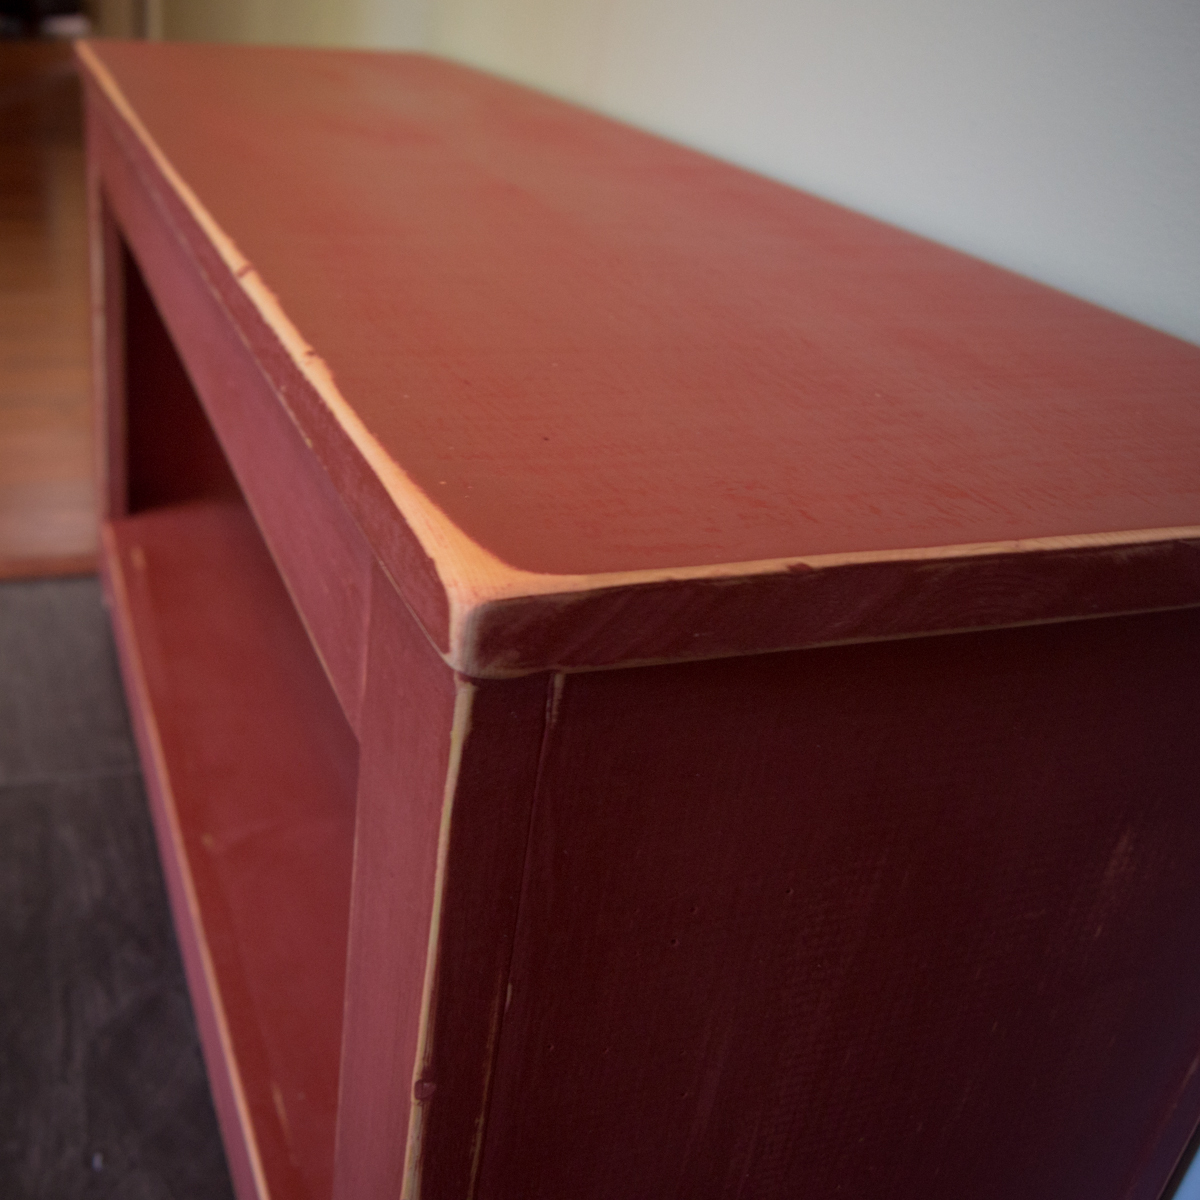
Built this bench over a couple of nights. It was really easy. The most difficult part was deciding on the color and finish. Overall it came out great and looks good by our front door. The finish is Old Fashion Milk Paint in Salem Red. I painted two coats and then sanded the sides and corners. I'm contemplating adding an antiquing glaze to give it an older look.
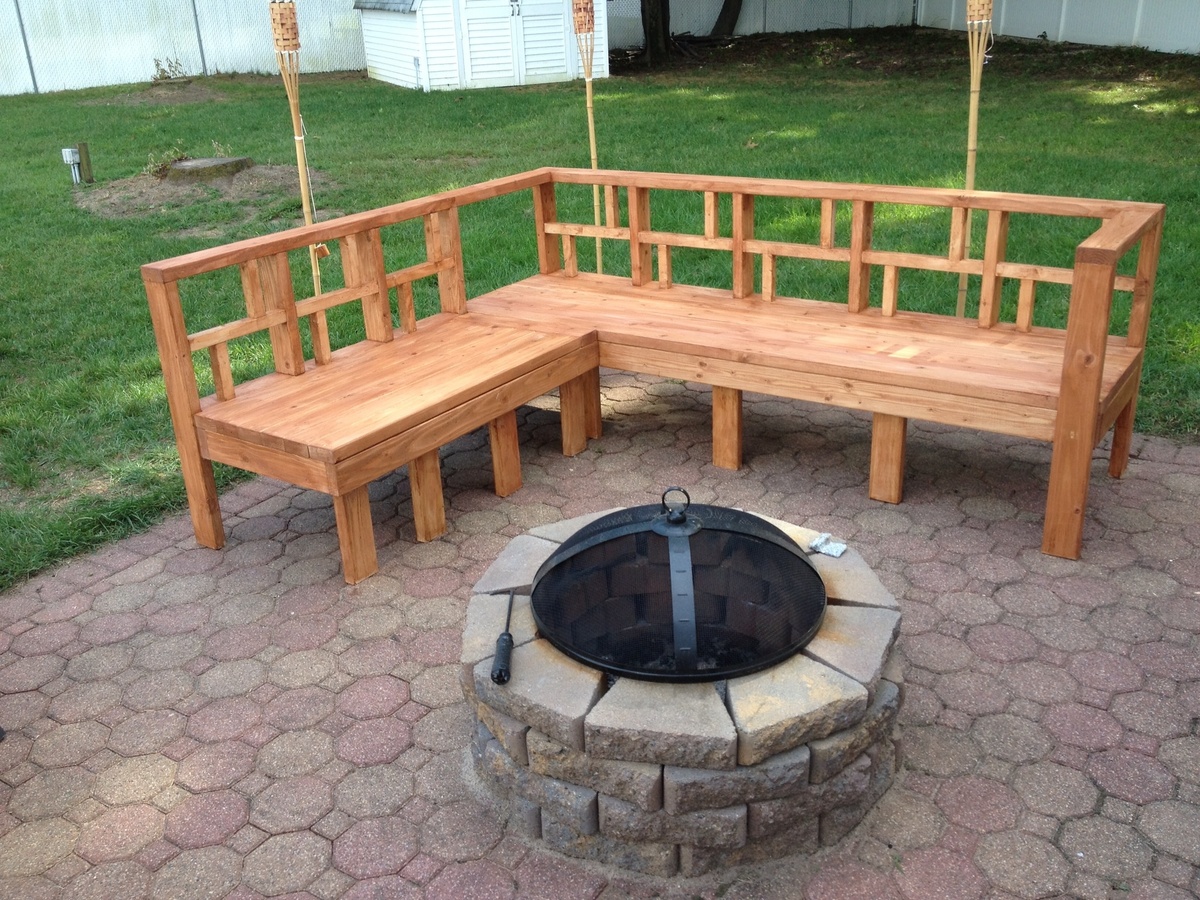
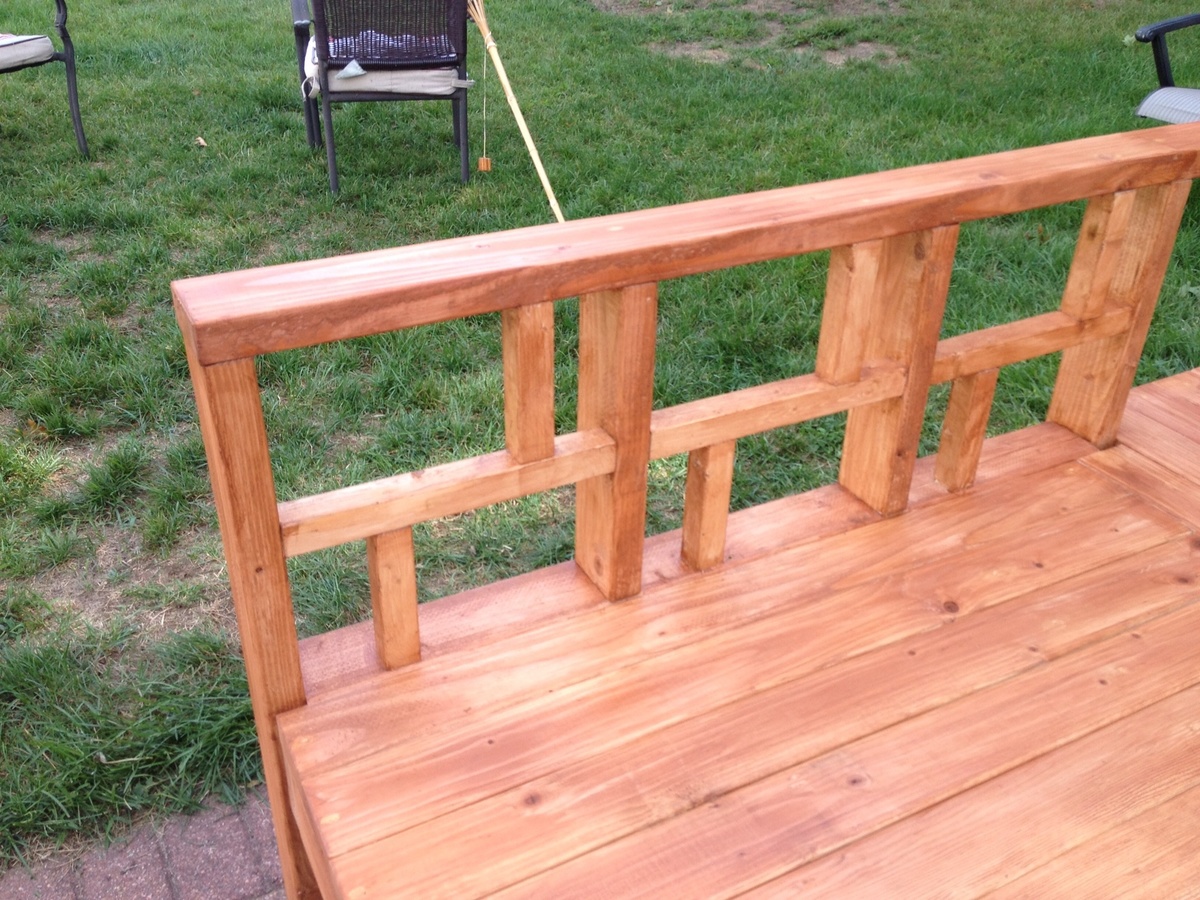
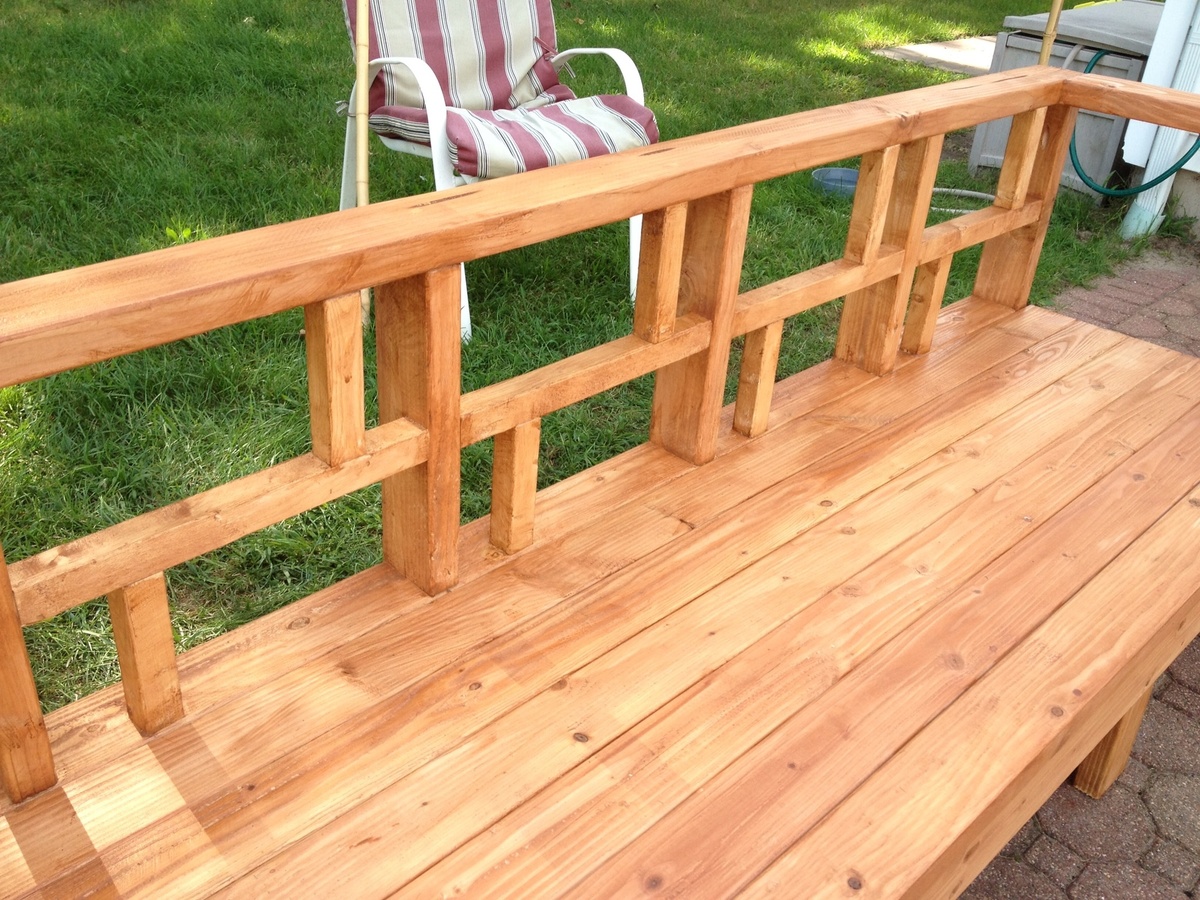
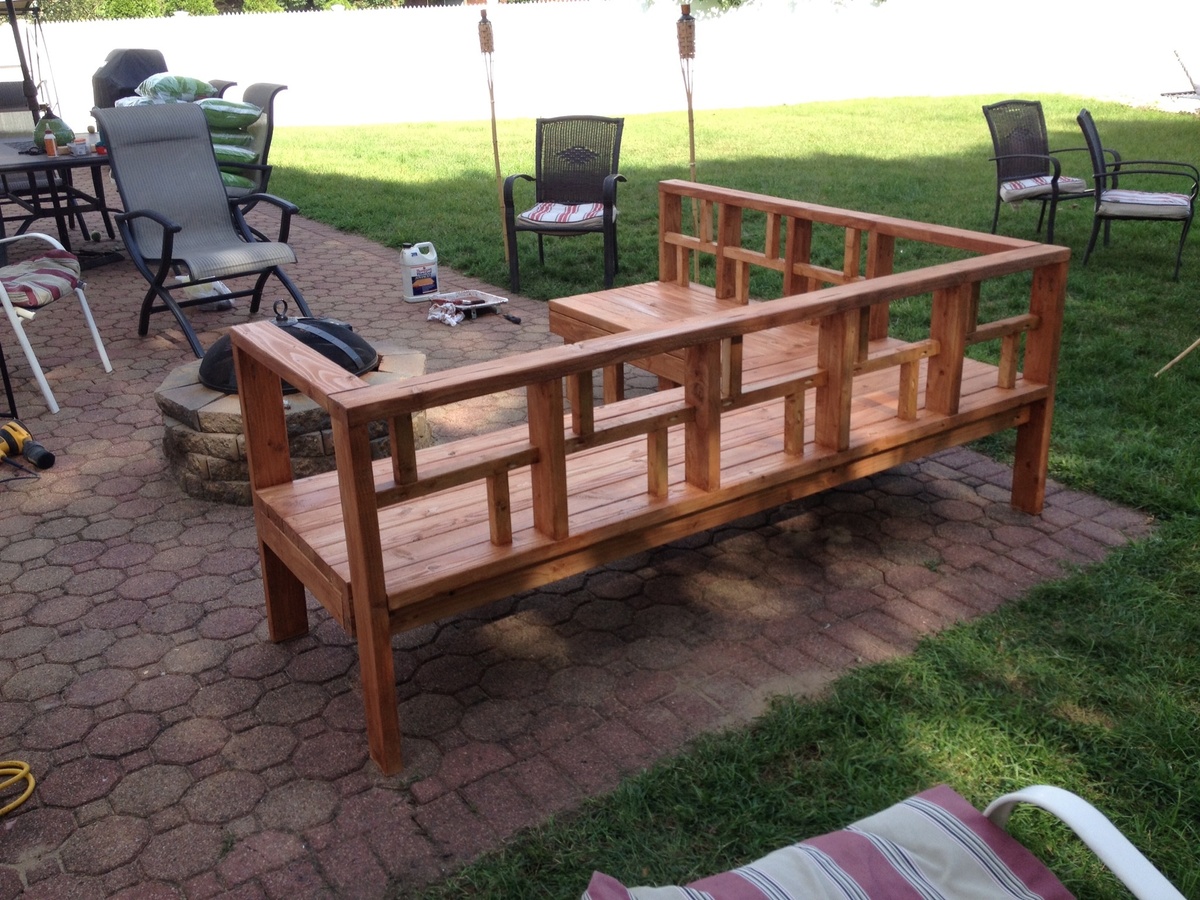
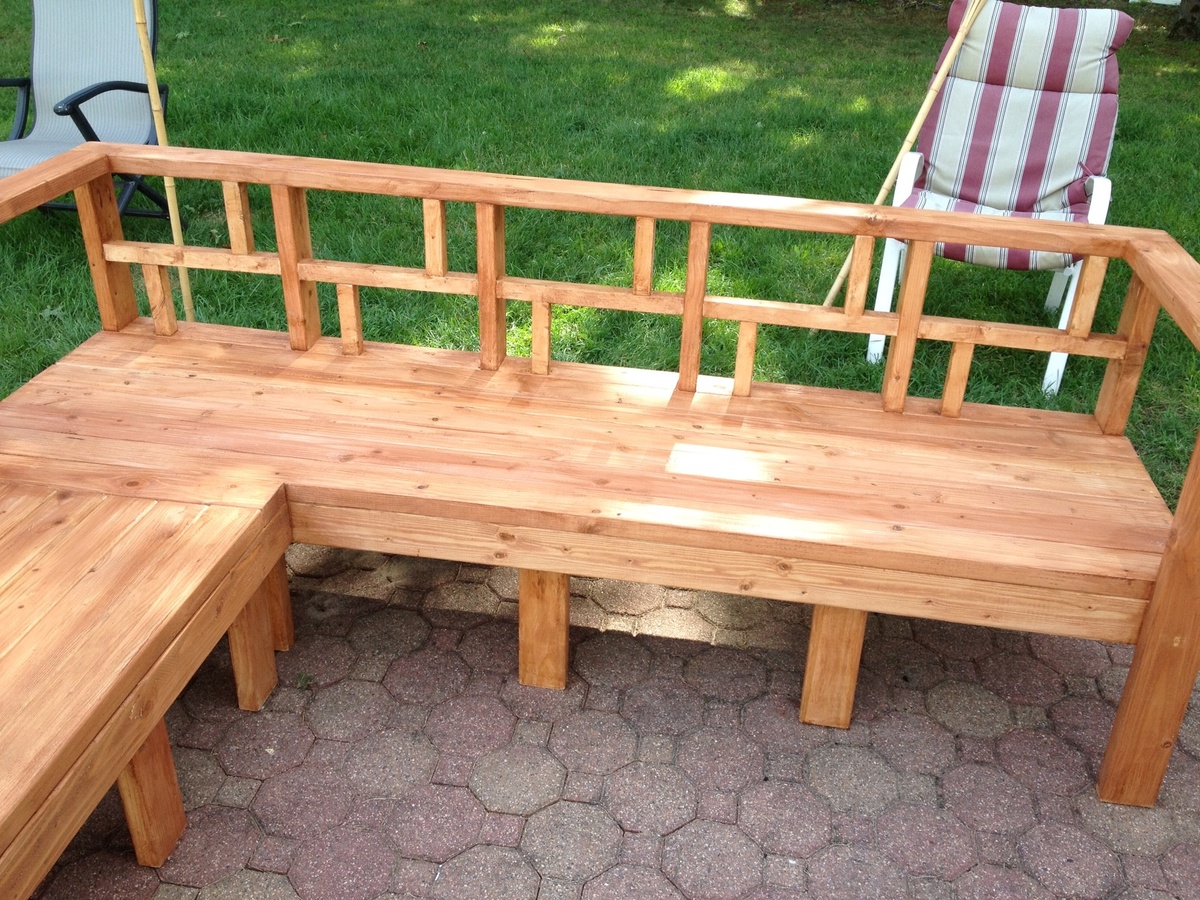
I utilized a mix of the platform sectional and the simple modern sectional to create this piece. I added the design on the back rather than the simple 1x4. I also made the entire piece out of 2x4s and 2x2s.


Comments
Ana White Admin
Mon, 07/18/2022 - 14:23
Great little shed!
This looks super nice, thanks for sharing!