Community Brag Posts

PALLET PROJECTS COMPLETE :)

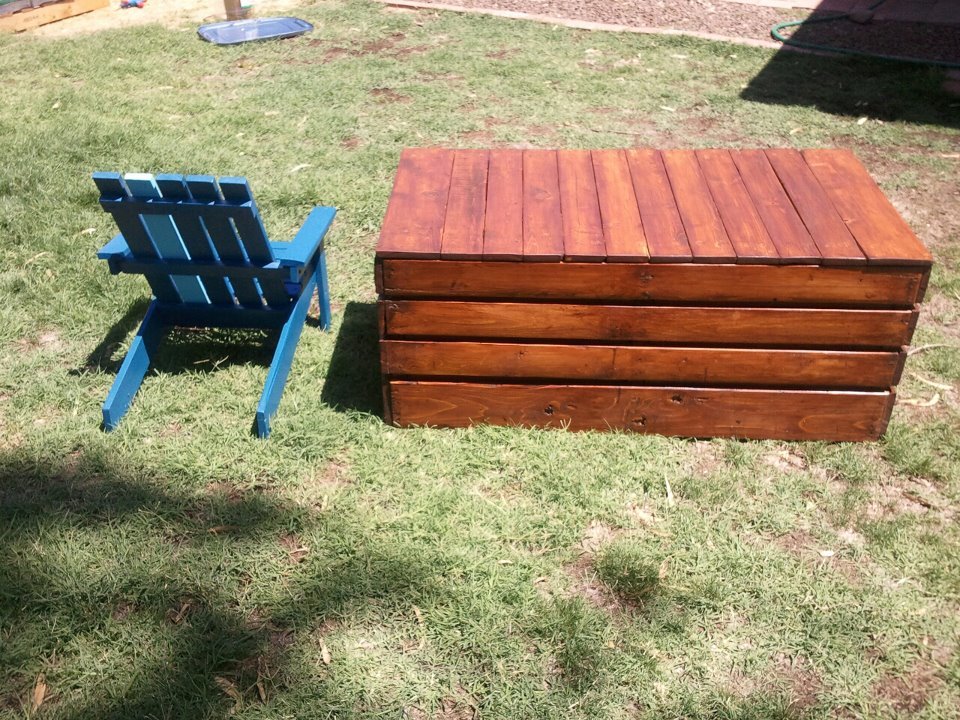
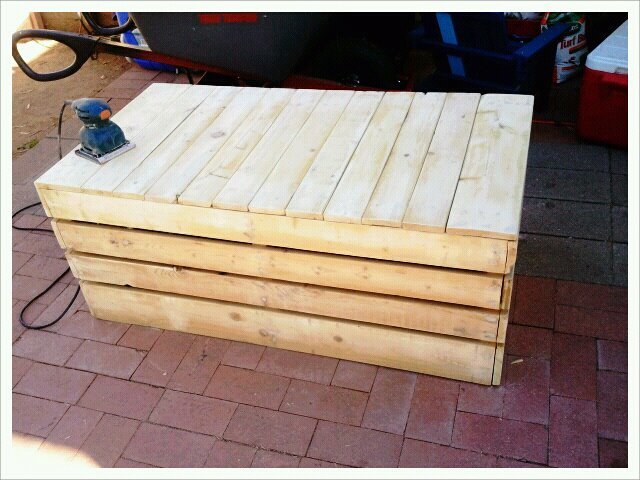
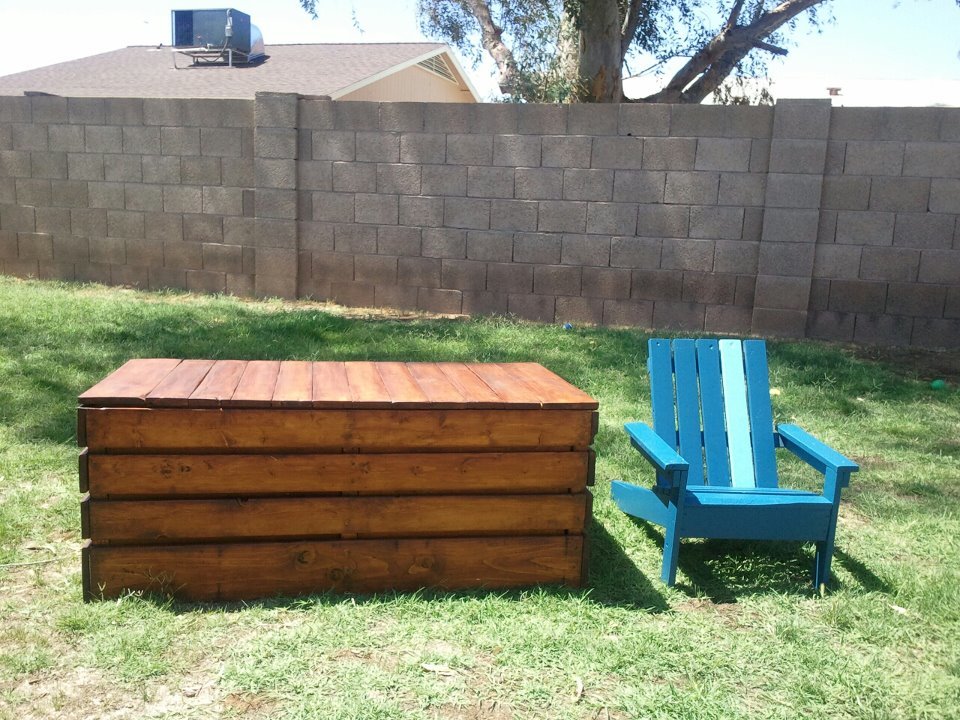
MY PALLET PROJECTS FINALLY COMPLETE!! TOOK SOME TIME TO GET DONE SINCE I HAD TO TAKE APART N DO TONES OF SANDING.. COMPLETELY WORTH IT THOUGH.. THE ADIRONDACK CHAIR I USED PLANS FROM THIS VERY HELPFUL SIGHT. THE STORAGE TABLE BENCH I HONESTLY JUST STARTED BUILDING WITH NO PLANS. FIGURED ITS A BOX WITH A LID, I CAN HANDLE THAT.. LOL WELL I DID AND CANT WAIT FOR THE START OF THE NEXT PROJECT. AND YES IT WILL BE FROM PALLETS AS WELL.

Built from Plan(s)
Estimated Cost
20$ FOR BOTH
Estimated Time Investment
Weekend Project (10-20 Hours)
Finish Used
STAIN AND PAINT
Recommended Skill Level
Beginner

Mommas First

Submitted by msburnz on Sat, 03/15/2014 - 18:01

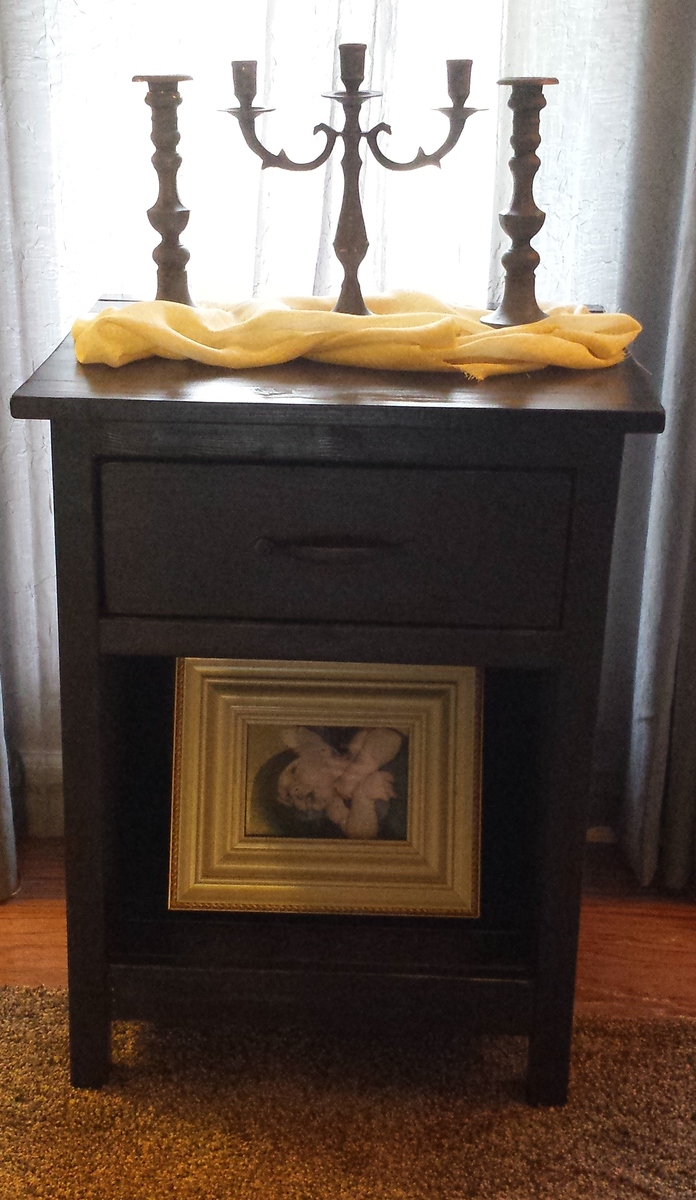
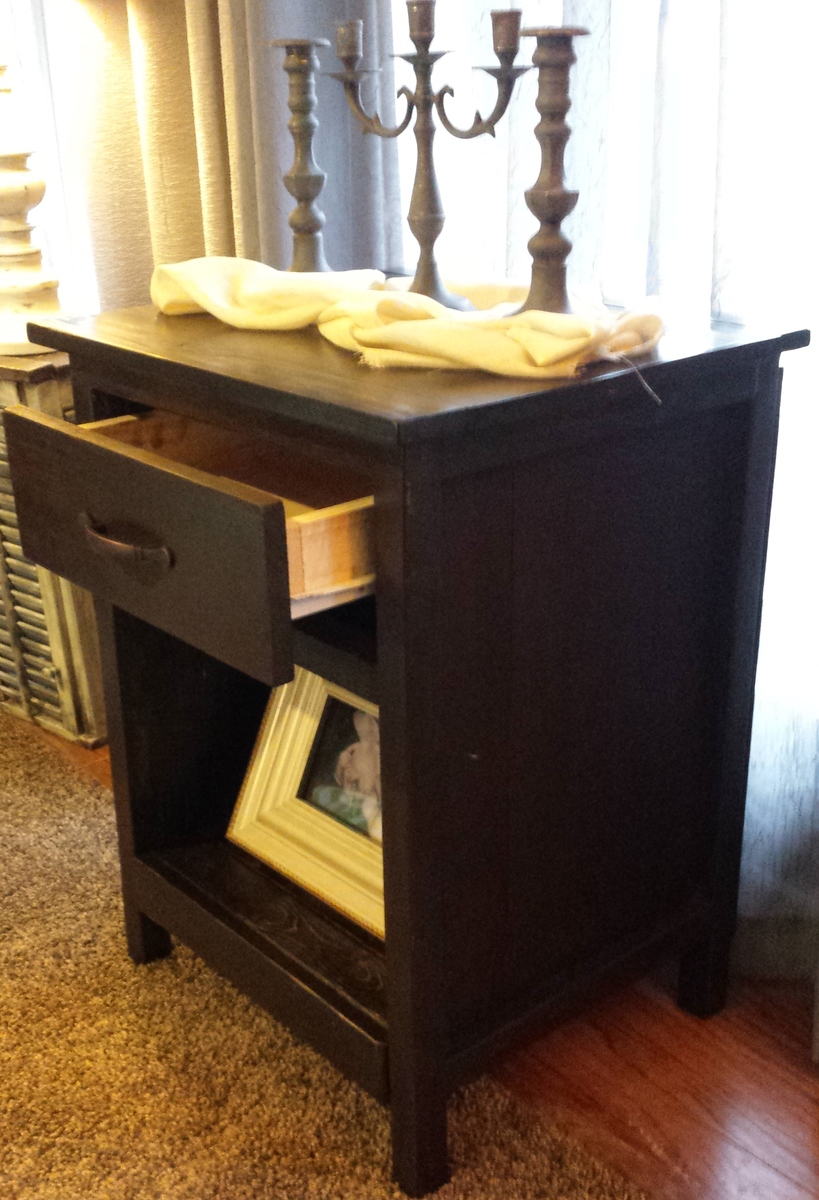
I got scared in the middle of the project and feared that my drawers would not work. I opted for a drawer and a shelf instead of three drawers. I wish now I would have followed through with the plans because the drawer works GREAT! I had a lot of learning opportunities with this project...but all in all, for my first big build...I LOVE IT!!

Estimated Cost
$100
Estimated Time Investment
Weekend Project (10-20 Hours)
Finish Used
Minwax Polyshades. I used two stain colors: I stained the first layer with a black stain (minwax) and the top layer I used the polyshades.
Recommended Skill Level
Beginner

Modified X-base Table

Submitted by Anonymous (not verified) on Wed, 06/15/2016 - 13:20

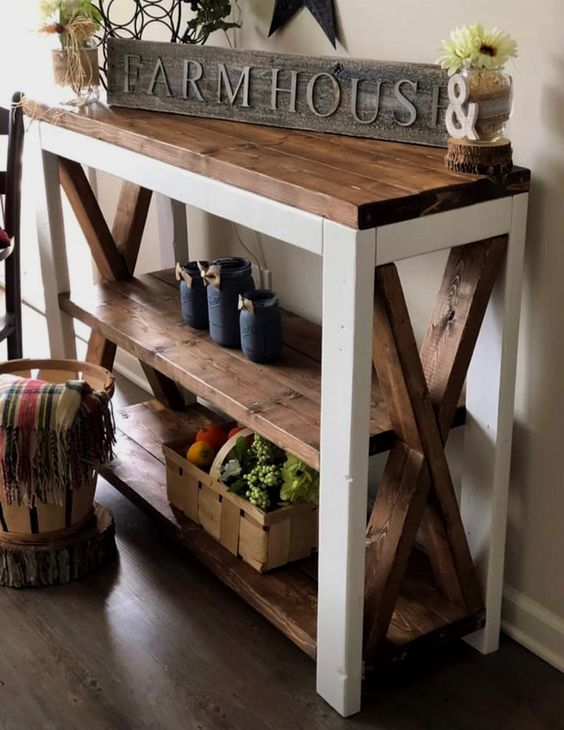
I had been looking for a console table that would compliment my dining table for months.  Nothing I found was really working out, but these plans are perfect.  The only problem was that I couldn't get the stacked look to work well with the tabletop I had because of the way the apron is made.

Still I love the way it turned out and am glad I found these plans.  I also made it taller than a normal console table so it can be multi-purpose for us.

Built from Plan(s)
Estimated Cost
I fully believe that the $55 is probably accurate if I had to purchase all the wood for this project. Since I reused wood and had all the materials already, it cost me a whopping $20 for the tabletop I found at a liquidation sale.
Estimated Time Investment
Weekend Project (10-20 Hours)
Finish Used
Minwax English Chestnut 233 & Oil-modified Polyurethane
Recommended Skill Level
Beginner

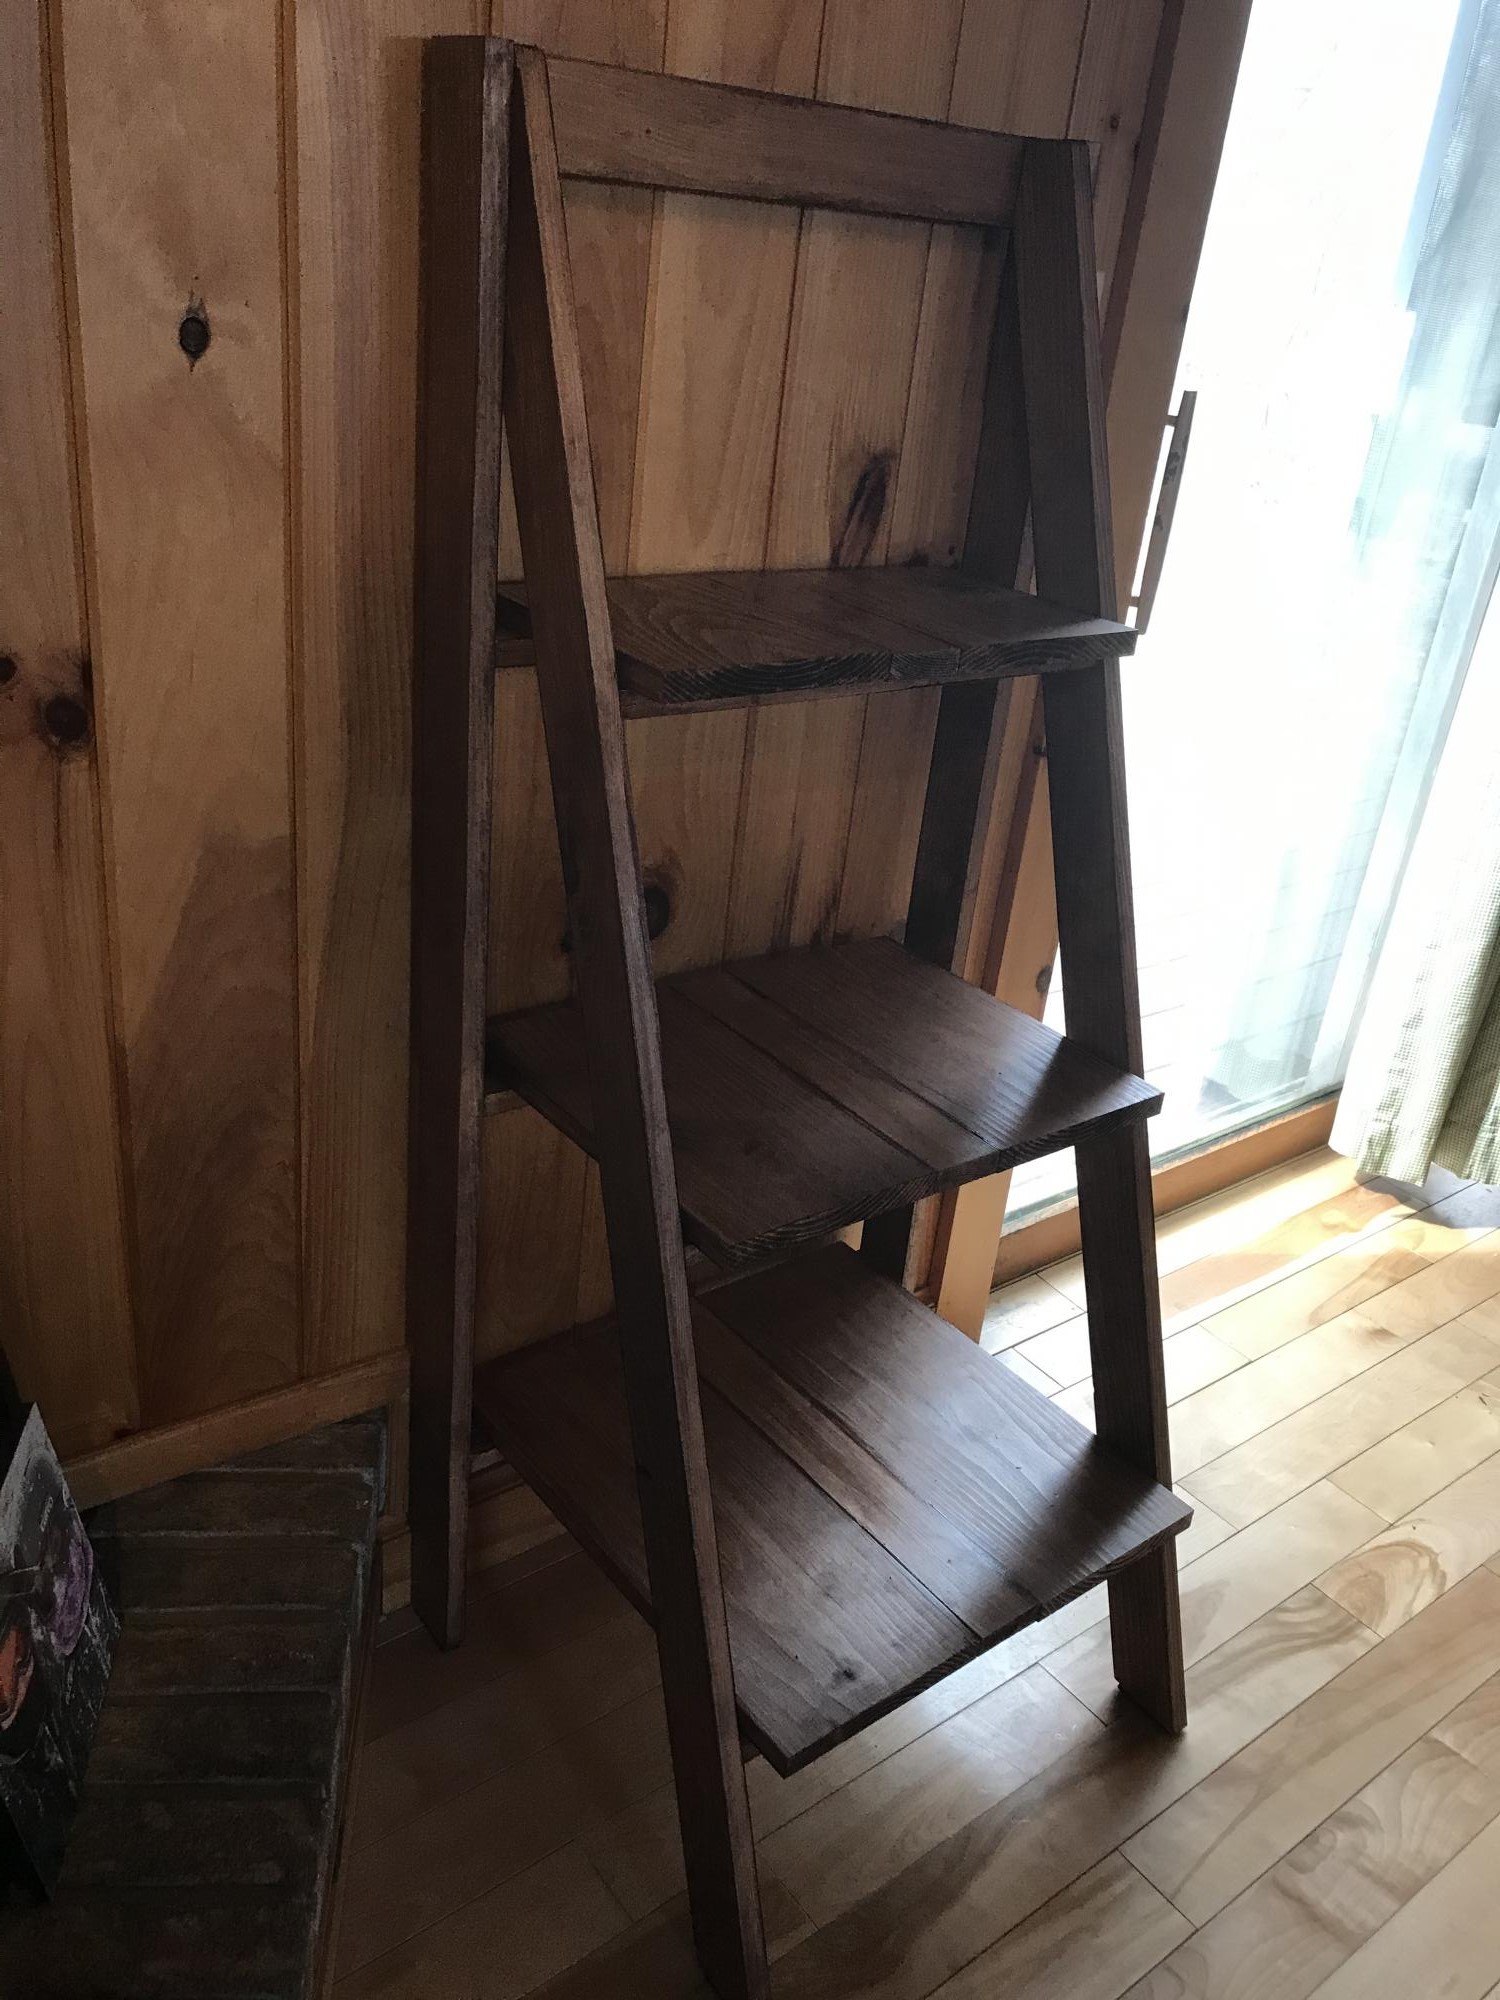
Modified ladder shelf

Submitted by RTS99 on Fri, 04/17/2020 - 15:33

Didn’t want to go 5’ tall for the space we planned to put it, soI dropped it to 48” and reduced to three shelves. To accommodate a wider shelf and give it some additional character, I added a 1x3 between the 1x8s that make the shelves (total width of the shelves is 17.5”).

Built from Plan(s)
Estimated Cost
$45
Estimated Time Investment
Afternoon Project (3-6 Hours)
Finish Used
Rustoleum dark walnut stain and poly
Recommended Skill Level
Beginner

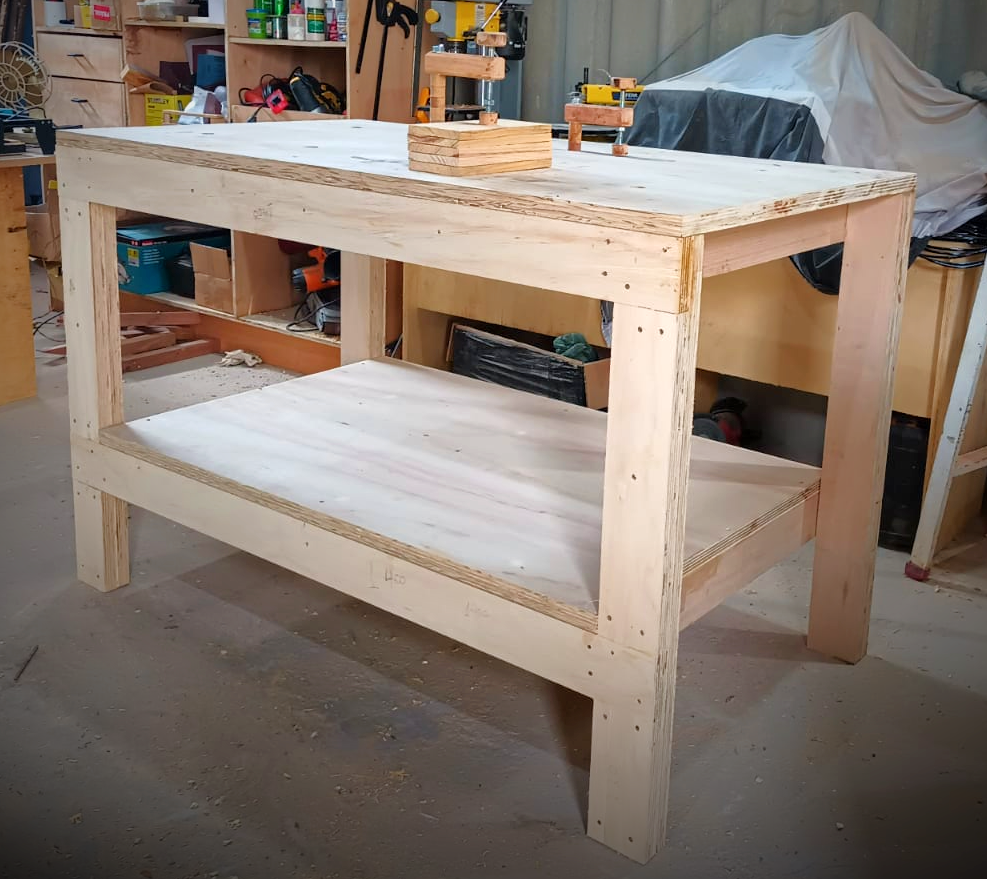
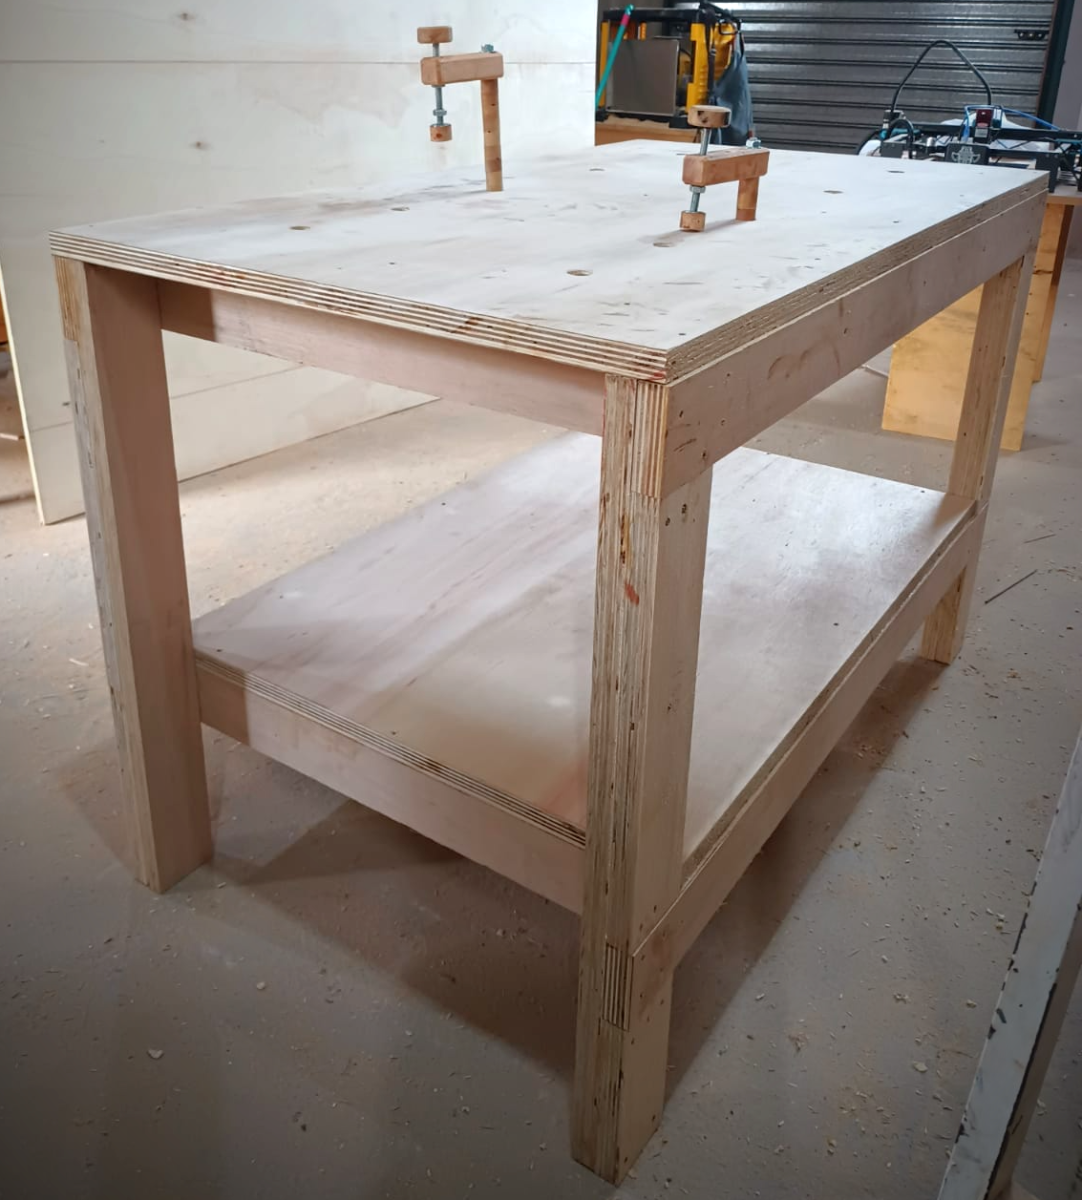
DIY Custom Workench

Submitted by Anonymous (not verified) on Tue, 11/21/2023 - 16:31

I had been looking for a carpentry bench project for some time that was easy to make and had the ideal dimensions for my space.

Here's what I did.
I added holes in the table to work with wooden clamps I made.
The end result was better than I expected. It's been very useful.
My sincere thanks to Miss White for this project.

Gidenilson A Santiago

Kitchen Island or Peninsula

Submitted by ktjoy86 on Thu, 05/31/2012 - 09:09

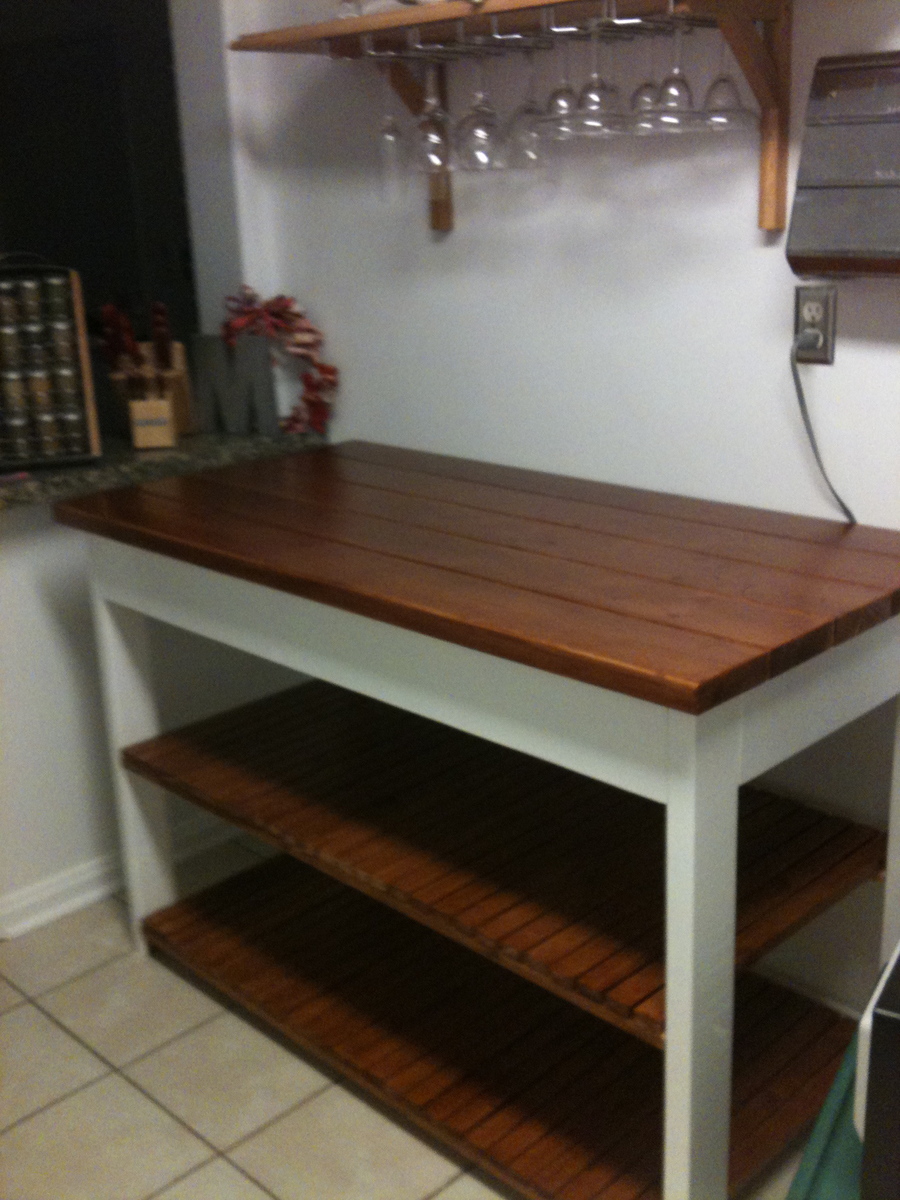
We needed more counter and storage space in our rental house kitchen. We used this kitchen island plan to build a "kitchen peninsula." When it came time to stain the shelves it would have been a lot easier to stain the pieces before we put it together. The tiny space between the slats was difficult to get a paint brush in.

Built from Plan(s)
Estimated Cost
$100
Estimated Time Investment
Week Long Project (20 Hours or More)
Finish Used
White semi-gloss on the legs and trim. 4 coats of stain on the countertop and shelves.
Recommended Skill Level
Beginner

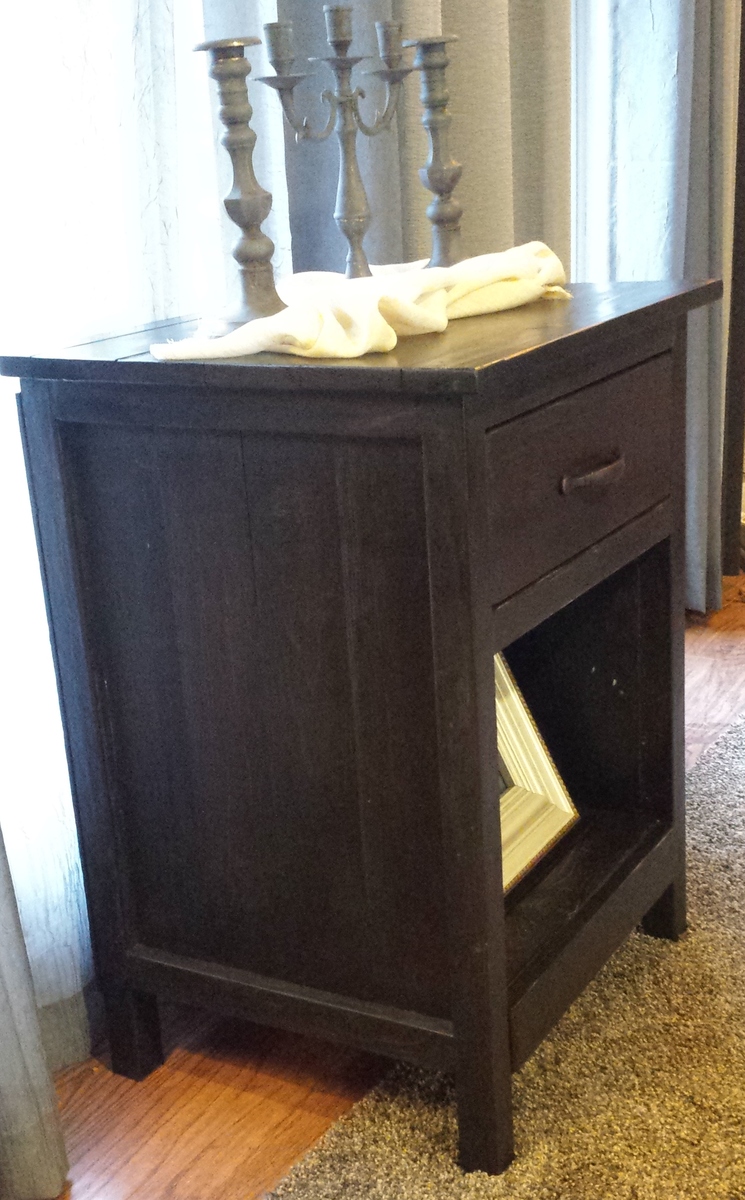
Farmhouse Bedside Table

Submitted by jager456 on Mon, 03/17/2014 - 16:40

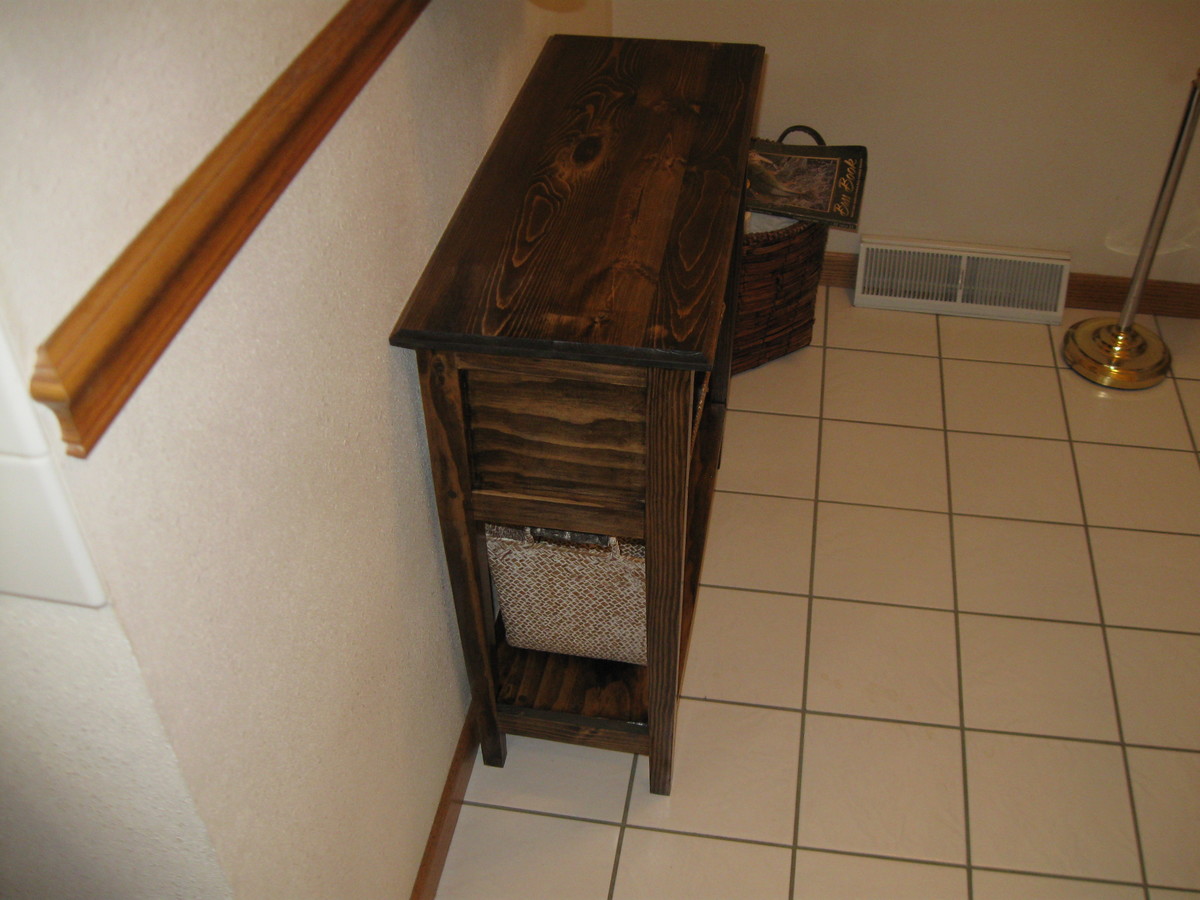
I built a narrow version to fit in our bathroom. We also decided not to add the drawer to this one. We really like this open style for this purpose.
I had all of the wood leftover from other projects so my cost was only for the stain I used.
This is the second time I have used the tapered legs on a project, and I am getting better at making them.

Built from Plan(s)
Estimated Time Investment
Weekend Project (10-20 Hours)
Finish Used
MinWax Dark Walnut Stain, @ 2coats. Then Watco Spray on Lacquer Satin, @ several coats.
Recommended Skill Level
Intermediate

Raised Bed Garden Enclosure

Submitted by Anonymous (not verified) on Tue, 06/21/2016 - 08:07

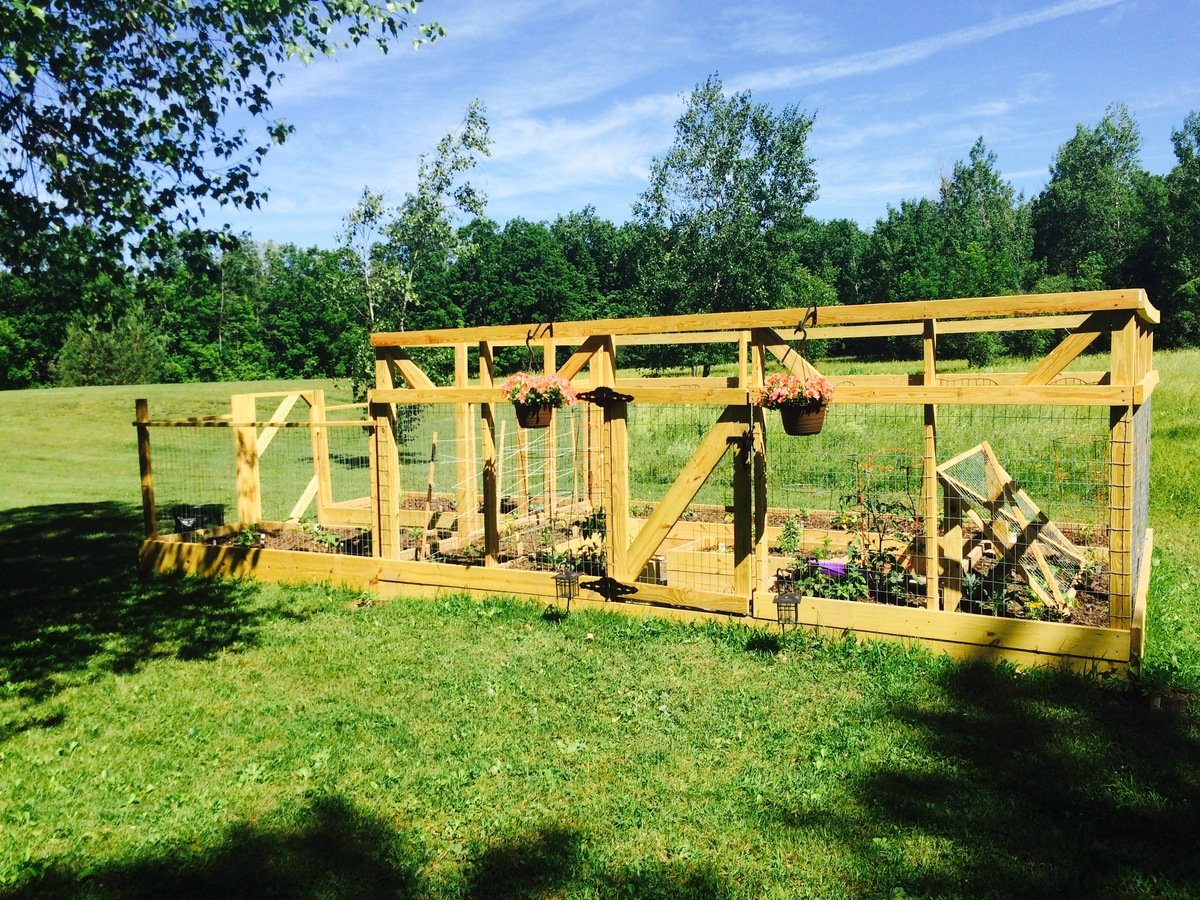
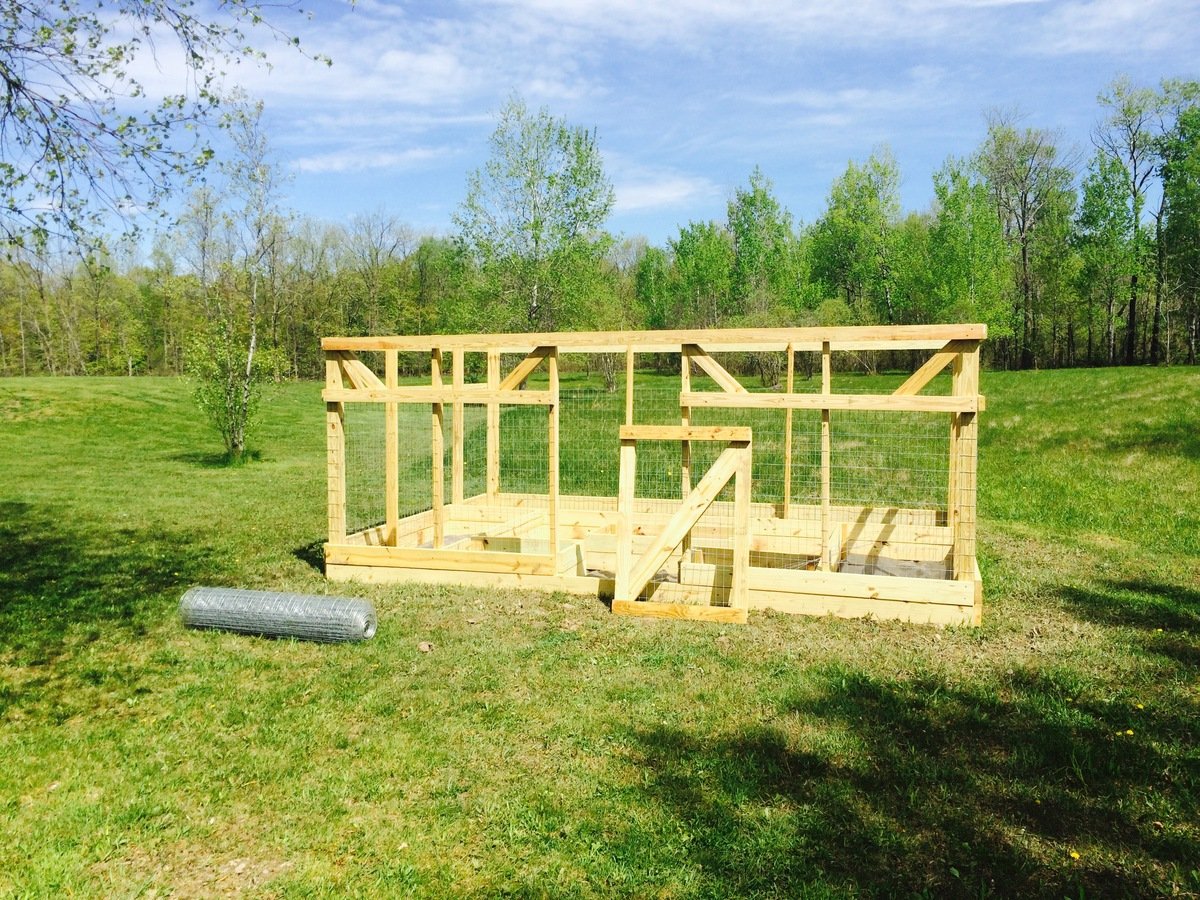
With lots of deer, rabbits, coyotes, and the occasional bear, garden enclosures are a must in our area (although I am not sure they will really help if a bear decides they're interested in our food). As our old garden enclosure was falling down due to the high winds and a quite a few winters in upstate New York, my mom found a horseshoe shaped garden with rasied beds that she loved. So, after searching around for a good plan, I found Ana White's collaboration with Home Depot for this enclosure.

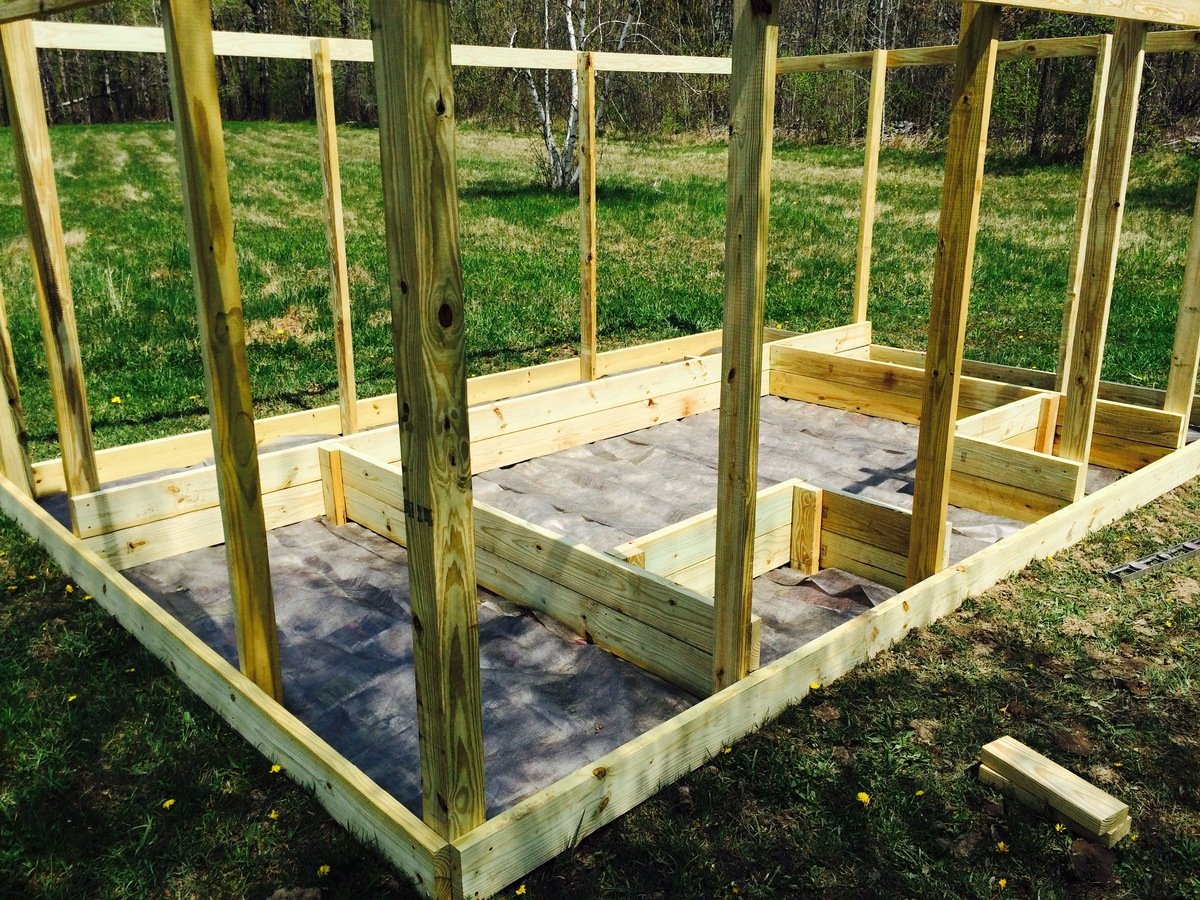
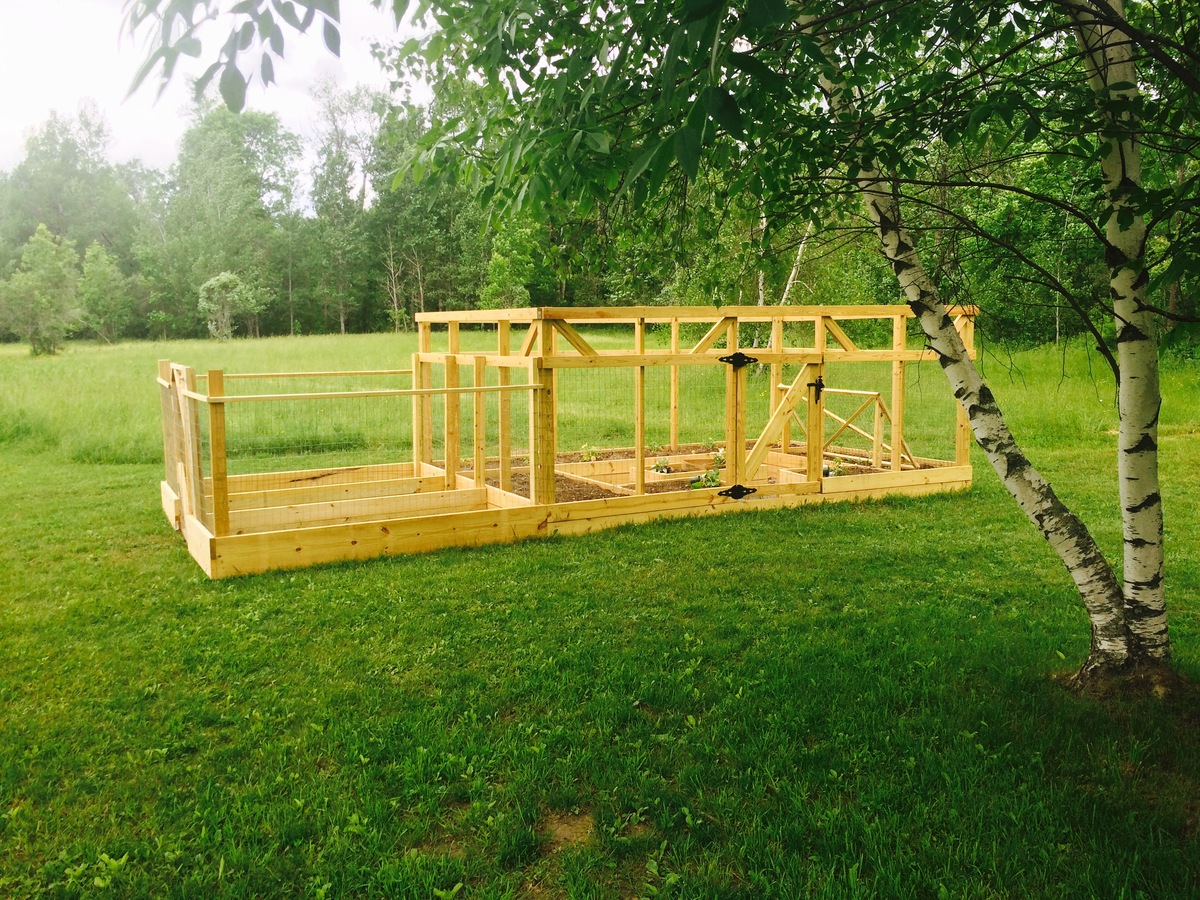
While the original plan was far too small for our needs, I was able to expand the length of the enclosure creating enough room to add two small beds on either side of the door and a center bed, which is perfect for herbs. The build was not difficult as I was able to do most of it by myself (with the exception of contructing the frame and attaching the door) and I am sure this would go much quicker with an extra set of hands. As I did not have a large chunk of time to devote to this project, it did take me quite some time stretched over a few weeks. Nonetheless, I am very happy with how it turned out.

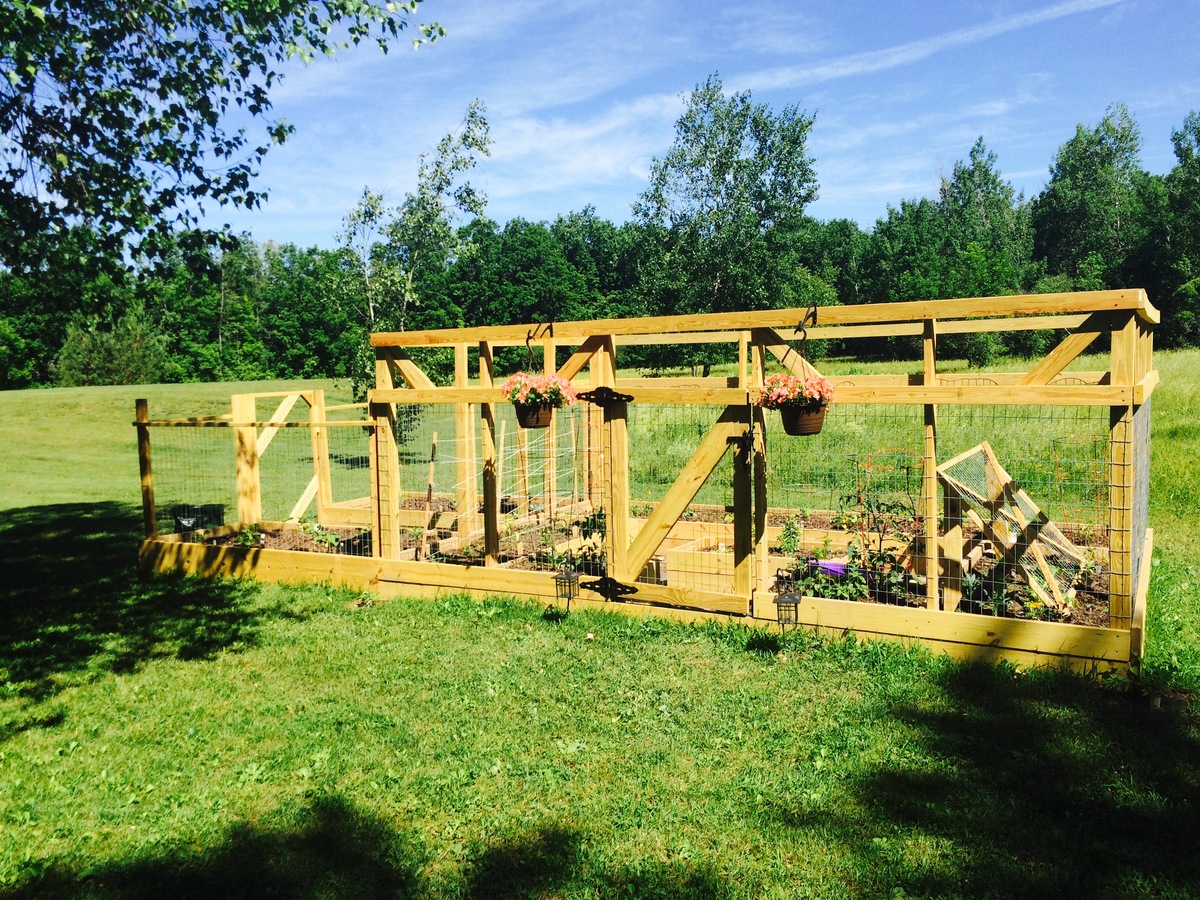
After construction, my family got a little garden happy and decided we wanted to plant even more vegetables than we had originally planned. So, we created a much simpler but nonetheless less pest-proof enclosure for two more beds to the left of our original project (shown in the photos).

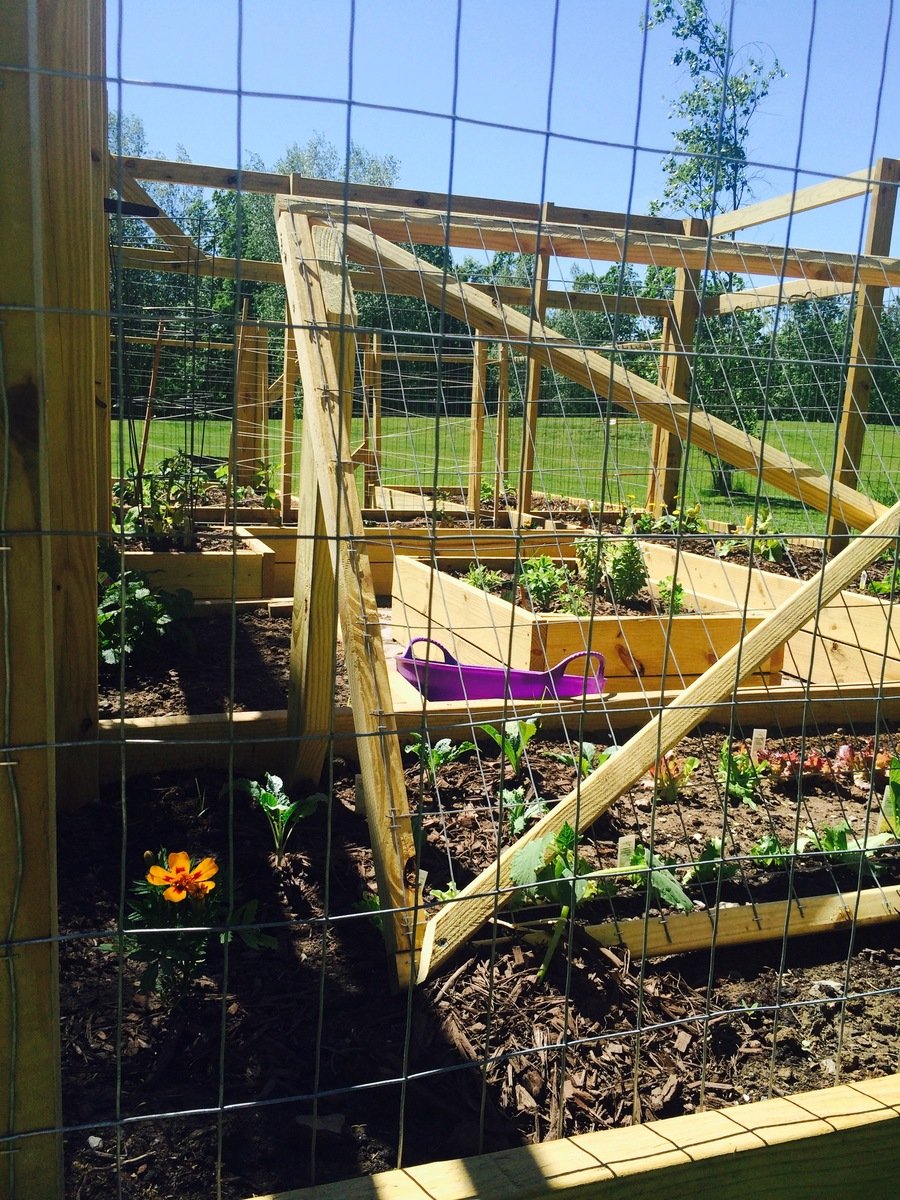
Although this was an expensive project (exact price is unkown), it is quite sturdy and we expect it to last a long time and provide lots of vegetables. We added some hanging baskets for decoration and decided next year we will add some morning glories around the outside corners for some extra shade during the afternoons. Some minor alterations also included a latch that allows us to open and close the door from both sides, we actually picked up a gate latch kit for this part of the project, and using welded wire fencing instead of chicken wire. While the welded wire added to the cost, it will hold up better to the wind and snow and is still protective enough to keep out our main predators.

Thanks so much for the plans Ana! In the begining, our neighbors joked we were building a guest house :). I have included some photos from throughout the build as well.
Built from Plan(s)
Estimated Cost
~$500?, we had to make some adjustments in size and swap out some materials due to the high winds we get, so this could probably be done for cheaper. The cost is also a guess as I am not completely sure what the total came to after many trips to the store. Nonetheless, our garden is twice the size of the enclosure kits Home Depot and other stores sell for what I predict to be more than twice the cost.
Estimated Time Investment
Week Long Project (20 Hours or More)
Finish Used
Unfinished
Recommended Skill Level
Beginner

My new patio

Submitted by scrapngurl on Sun, 04/19/2020 - 14:06

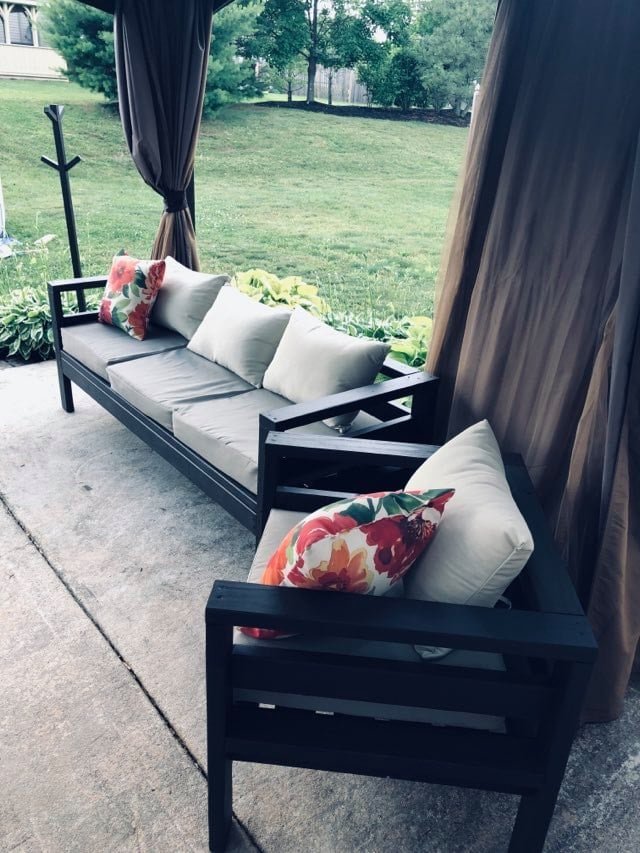
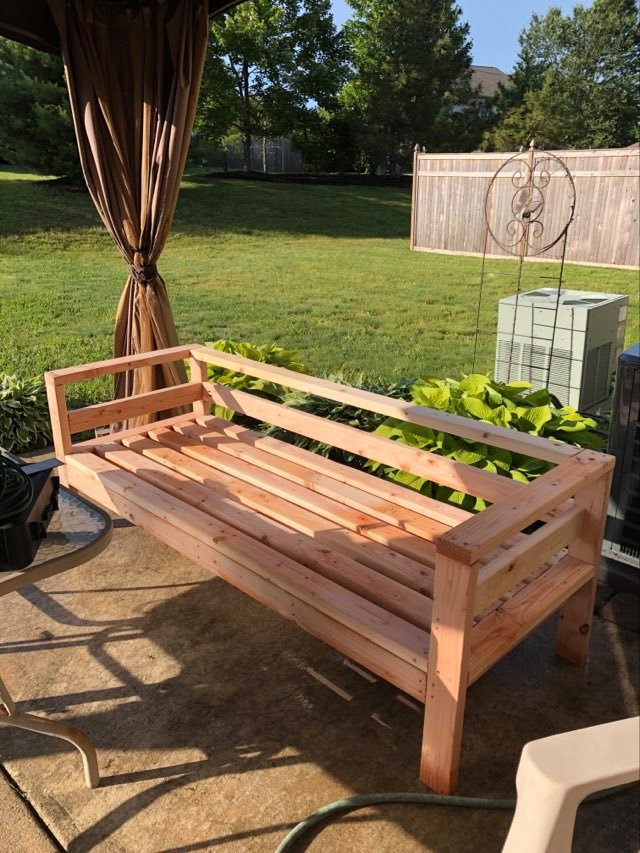
My small patio desperately needed an update. We had a dining table with chairs that we rarely used because it was uncomfortable. I decided to get rid of it and replace it with a sofa, chair and firepit table. We love it so much more! I built the 2x4 outdoor sofa and just modified the plan to one-third of the length for the chair. I also simplified the coat tree plan to make a drying rack for our pool towels. It was easy and affordable!

Built from Plan(s)

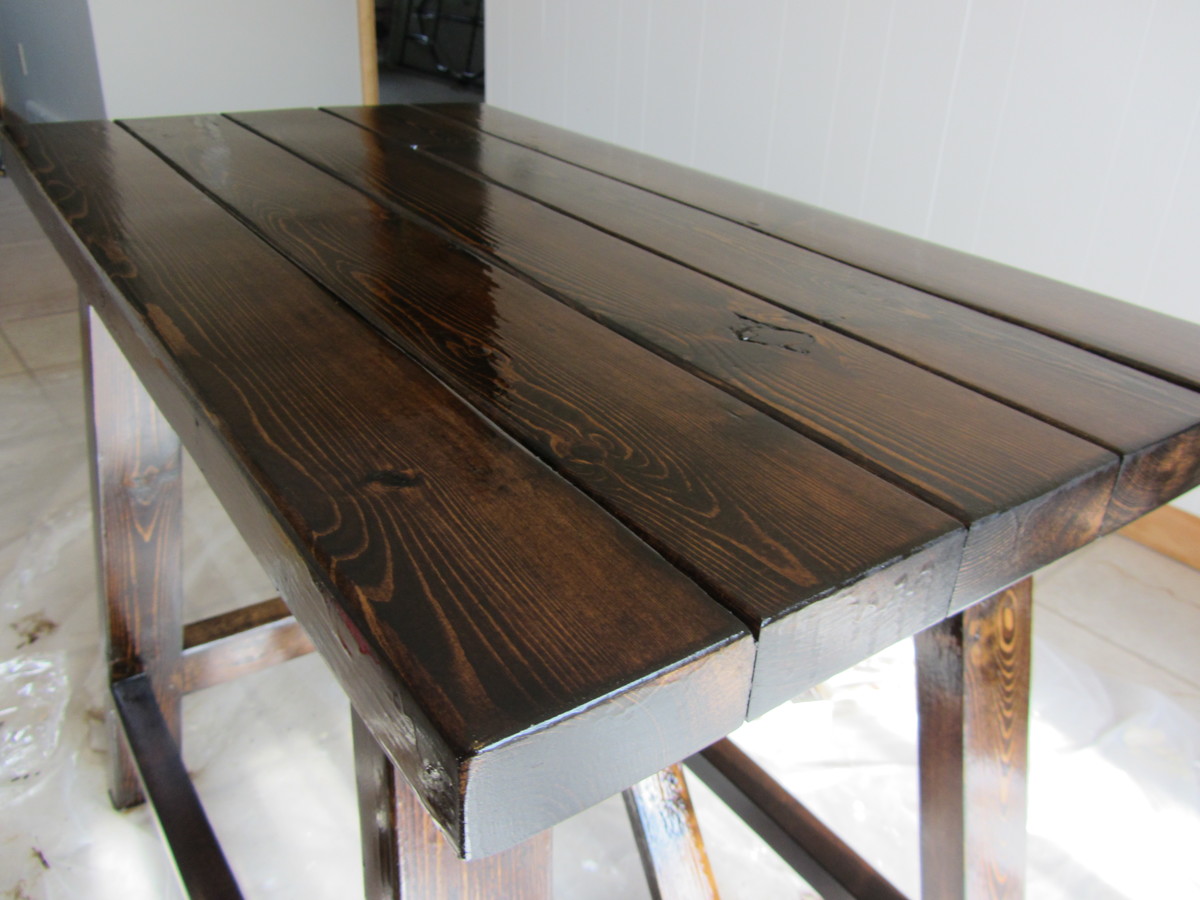
Truss End Table

Submitted by Jen Marzen on Mon, 06/04/2012 - 09:19

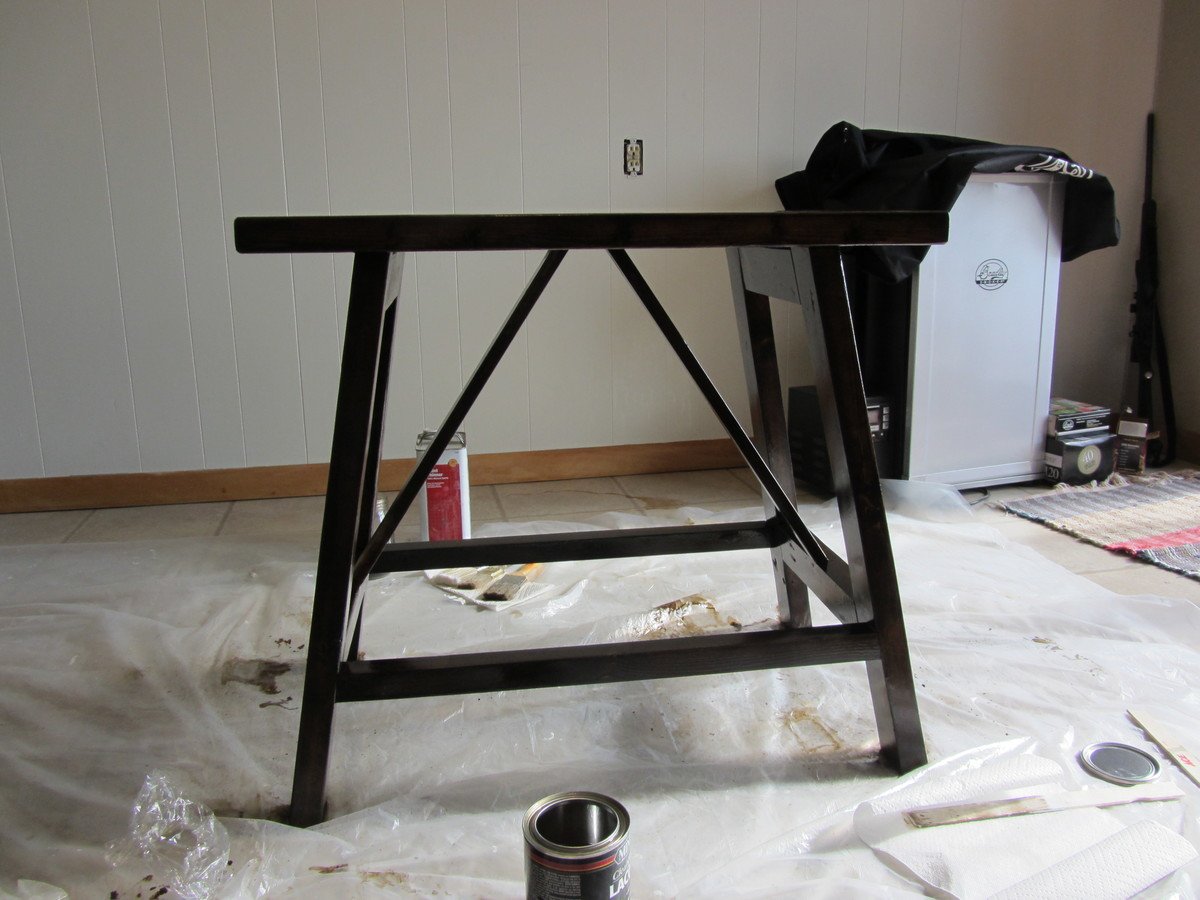
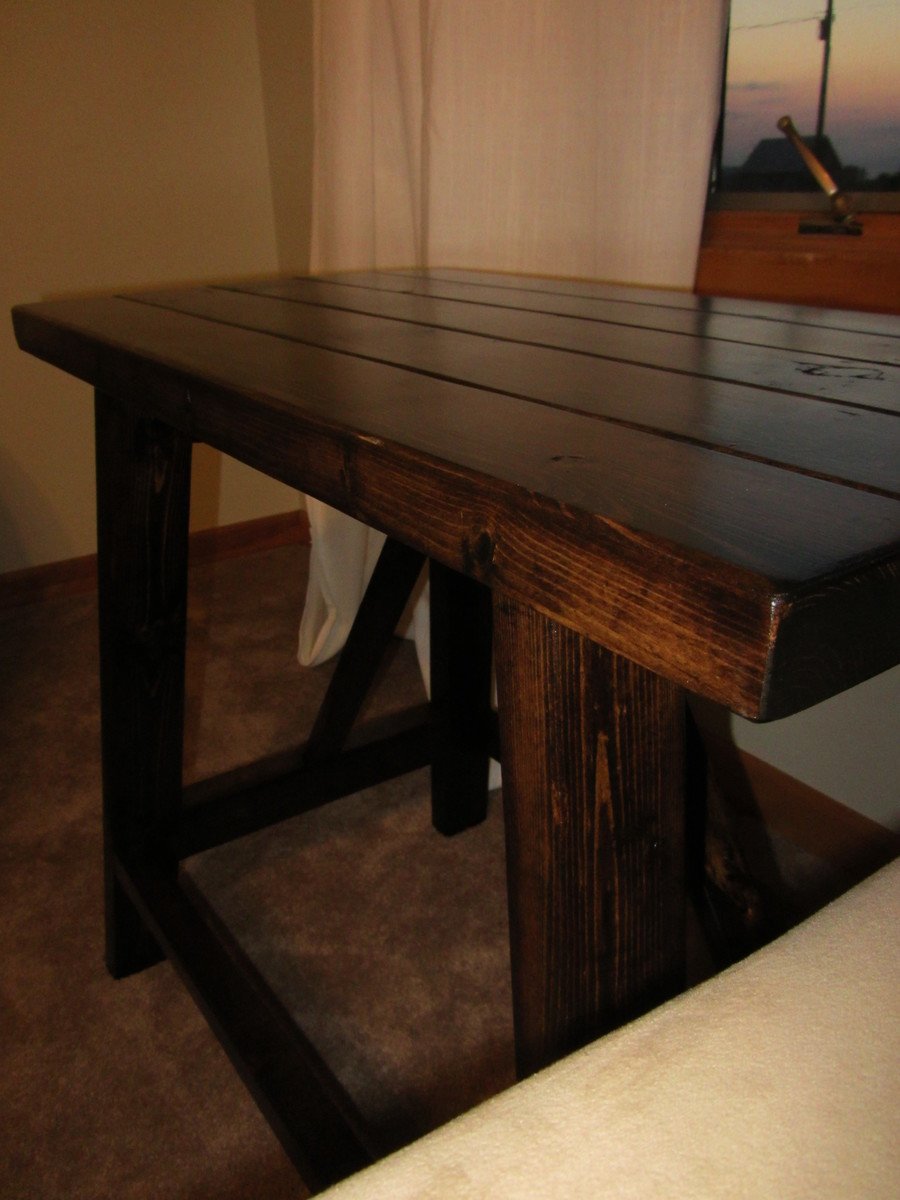
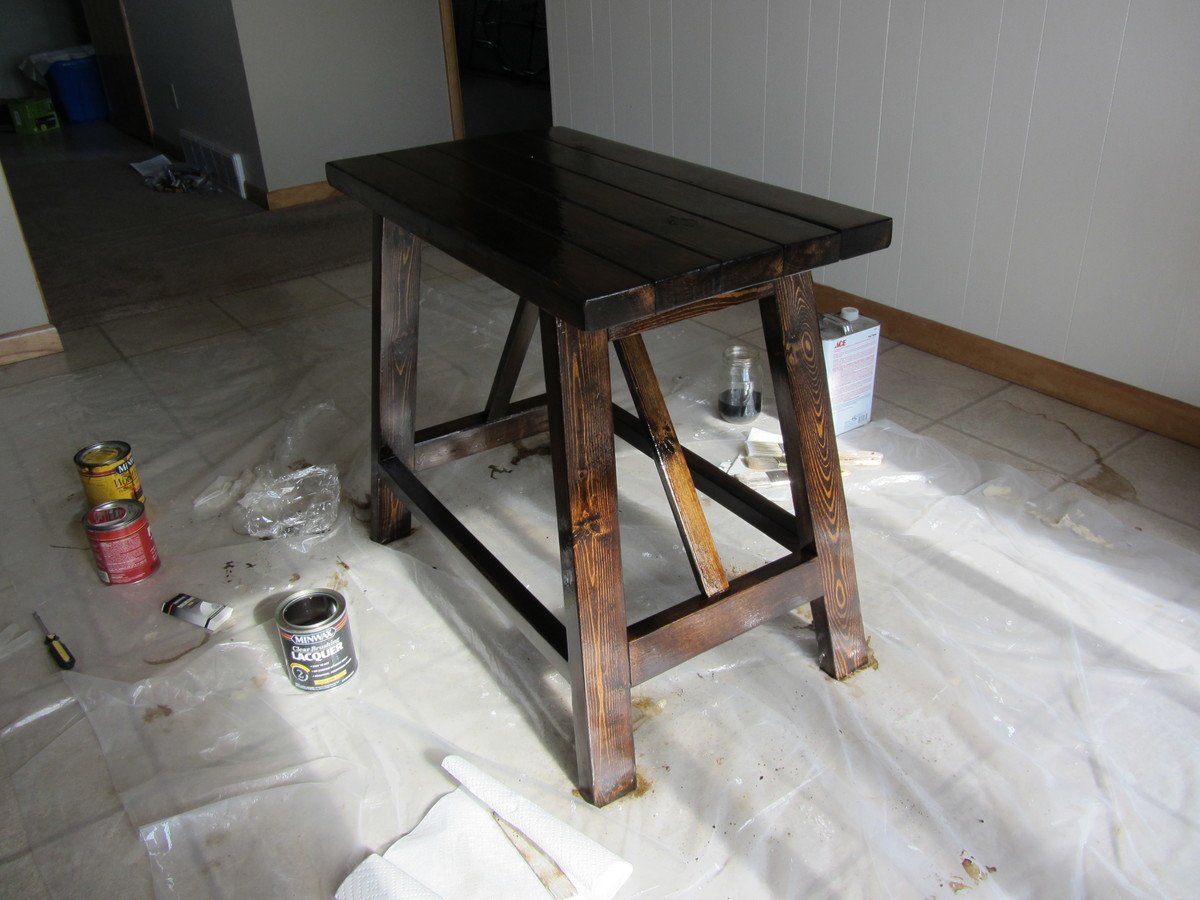
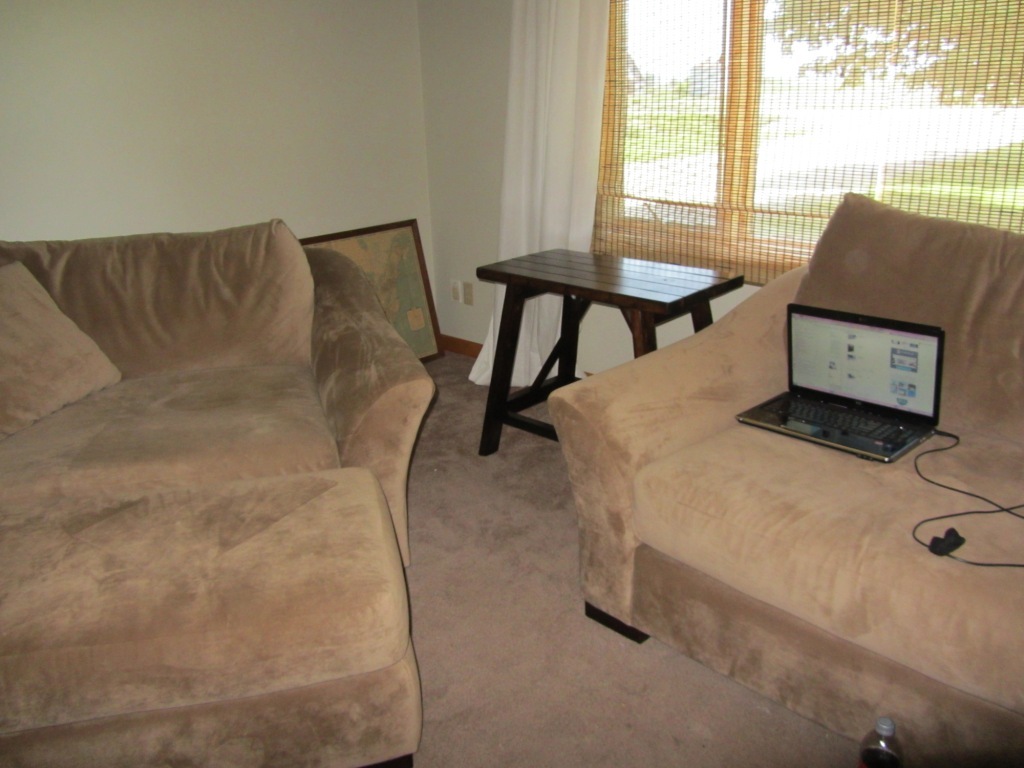
I have been searching for plans for a great end table that would look good in my living rroom when I canme across this plan! So i got cutting and building and this was the result . I am very happy with it and although its not perfect I learned a lot while building it and cant wait to start my next project! I thought with the angles and bevels in this project it would be a great precurssor to makign the benchwright dining table which is on my to-do list . Im glad I made this table first because now i will prevent some mistakes when making the dining table. The table wet together pretty quickly but the finishing took quite a while as I had to wait 2 hours inbetween each coat of lacquer.

Built from Plan(s)
Estimated Cost
20
Estimated Time Investment
Day Project (6-9 Hours)
Finish Used
2 coats of Minwax Dark Walnut stain and 3 coats of Minwax clear finishing lacquer
Recommended Skill Level
Beginner

Changing Station

Submitted by pcarroll on Tue, 04/01/2014 - 05:22

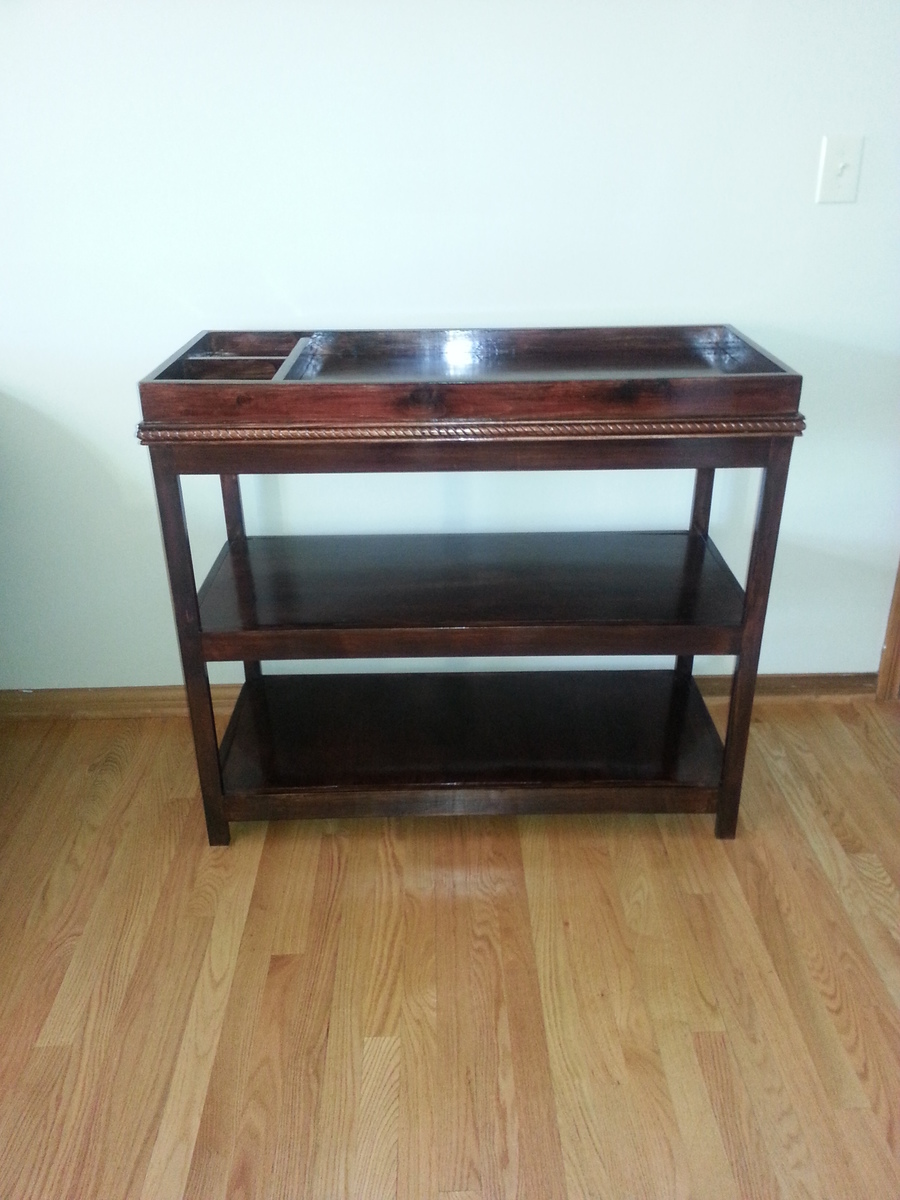
Increased the 15.5" sides to 16.25" to fit the 32x16 pad I bought for a shower gift and it worked perfectly. Finish (all minwax) started with ebony stain, wiped of immediately, followed by layers of stain/poly mix in satin (each one thinner than the last) of Bombay Mahogany, Tutor, and then Espreso. Great plan, Ana.

Estimated Time Investment
Weekend Project (10-20 Hours)
Recommended Skill Level
Beginner

Comments

Loft Bed

Submitted by Anonymous (not verified) on Thu, 06/23/2016 - 11:03

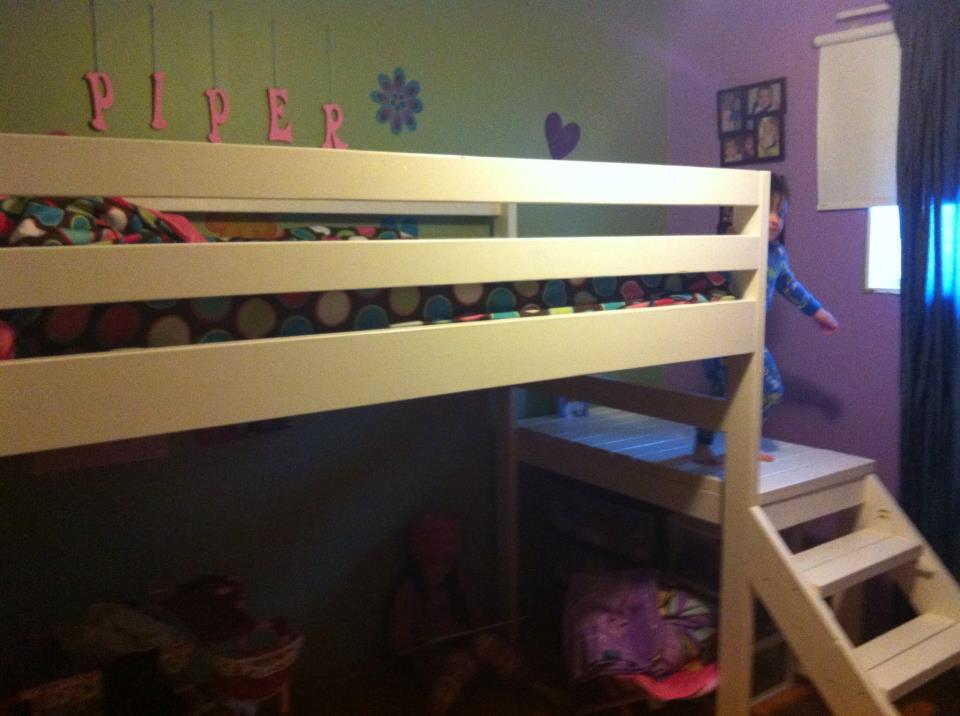
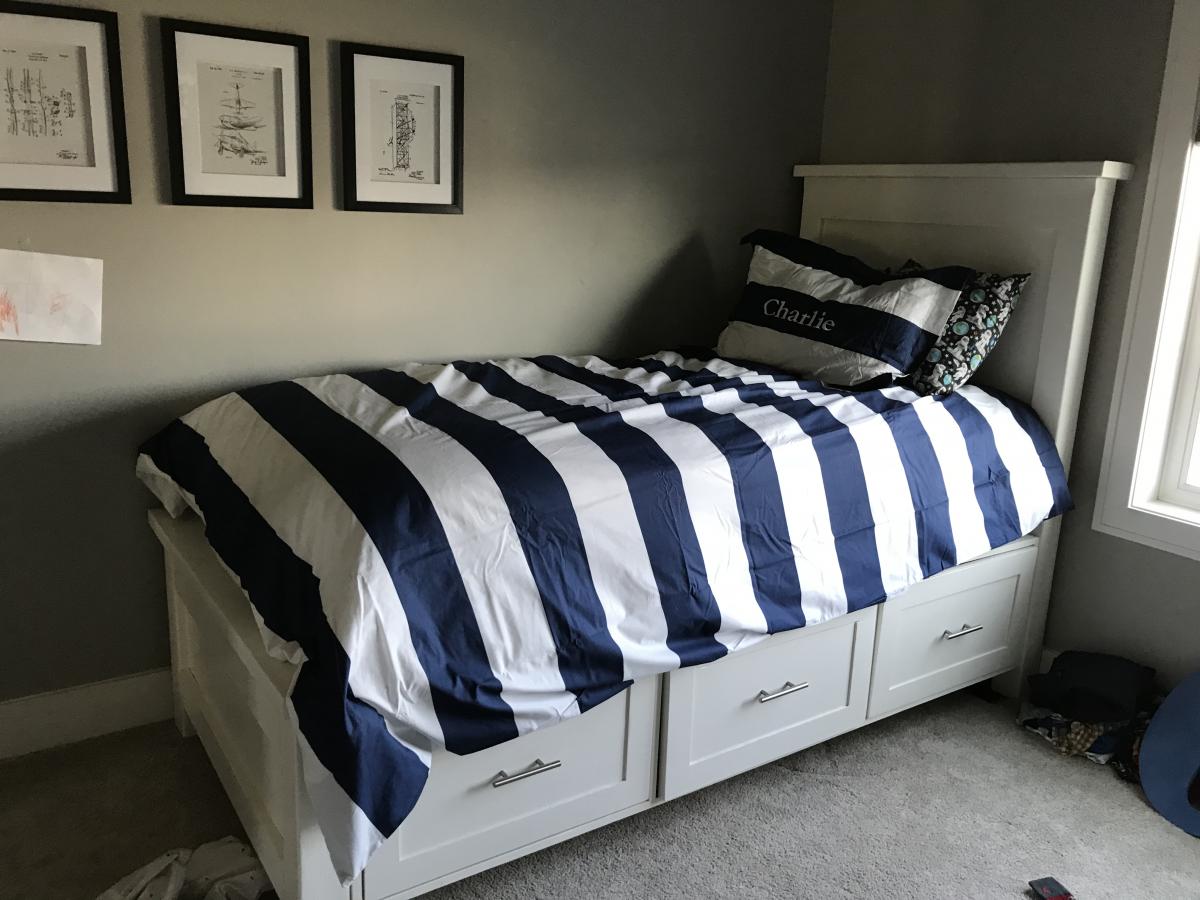
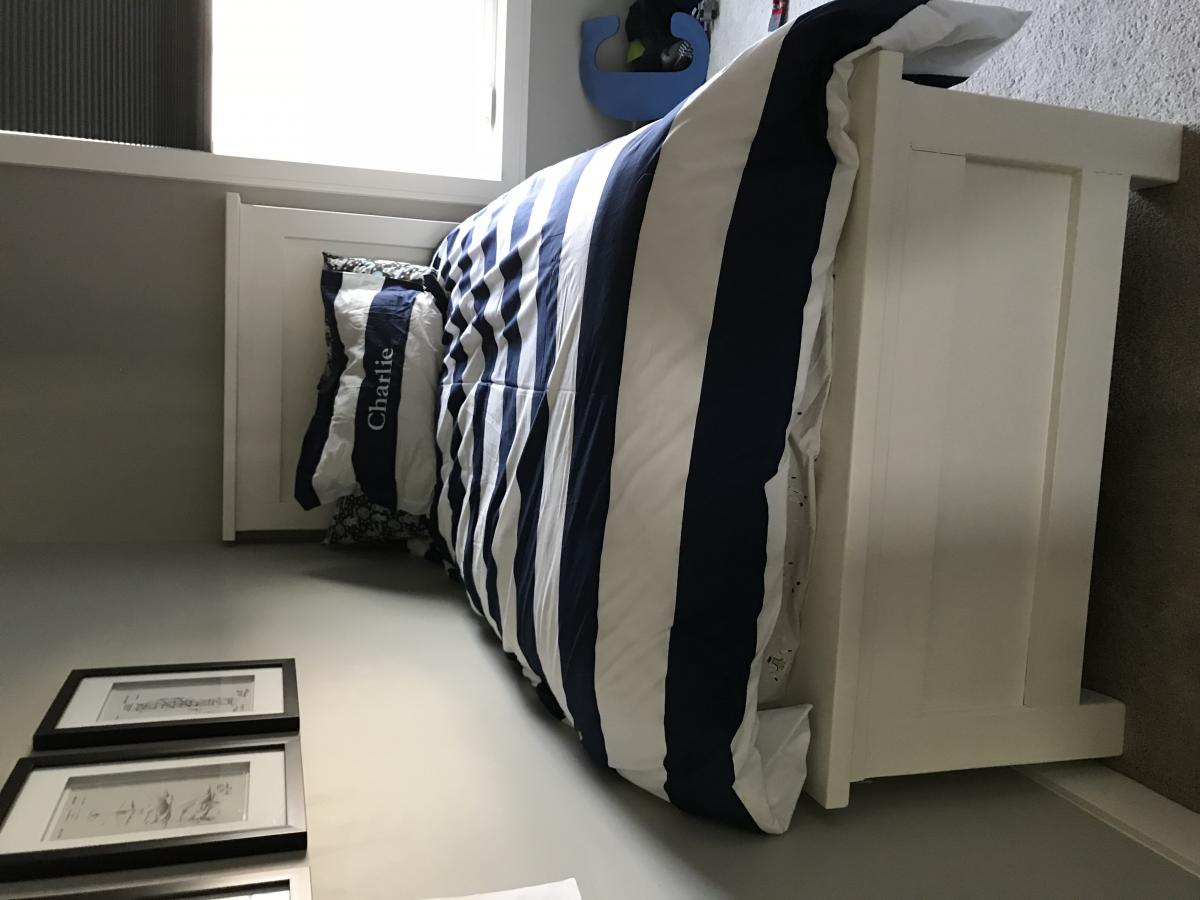
This took me 4 days to sand (by hand), prime and paint so daddy and papa to put together the bed she's always wanted.

Estimated Cost
approx. $150, for wood, screws, paint, and Kreg Jig.
Estimated Time Investment
Weekend Project (10-20 Hours)
Recommended Skill Level
Beginner

Doggie Daybed

Submitted by MurdaRae on Wed, 06/06/2012 - 10:16

I've thought for a while about building a bed for our dogs, but wasn't sure where to start. We had an extra crib mattress so I set out to find a toddler bed that would work. I decided the Lydia Toddler Bed plan would work best. It doesn't look anything like it, but it was a great starting point.

First, I got rid of the canopy and the decorative side pannels. I also raised the bed 12 inches. (The hope is to add a rug on the floor underneath as sort of a "bottom bunk") The lumber store didn't have 2x2s so I used 2x3s for the legs. I also only used two 1x6s at the head and foot of the bed. They are seperated by 1" because when I got home, I realized they were actually 1x5 (RUDE).

All in all, it turned out exactly as I had hoped and the dogs love it! GOODBYE stinky dogbeds!

**Photo 1: Just finished building--the slats weren't screwed down yet.
**Photo 2: Deacon is testing out his new digs! See the stinky dogbed underneath?YUK!
**Photo 3: Dog Bed Completed! Mac & Deacon love it!

Built from Plan(s)
Estimated Cost
$38
Estimated Time Investment
Day Project (6-9 Hours)
Recommended Skill Level
Beginner

Comments

Faux Mantle

Submitted by Lady Goats on Wed, 04/02/2014 - 12:26

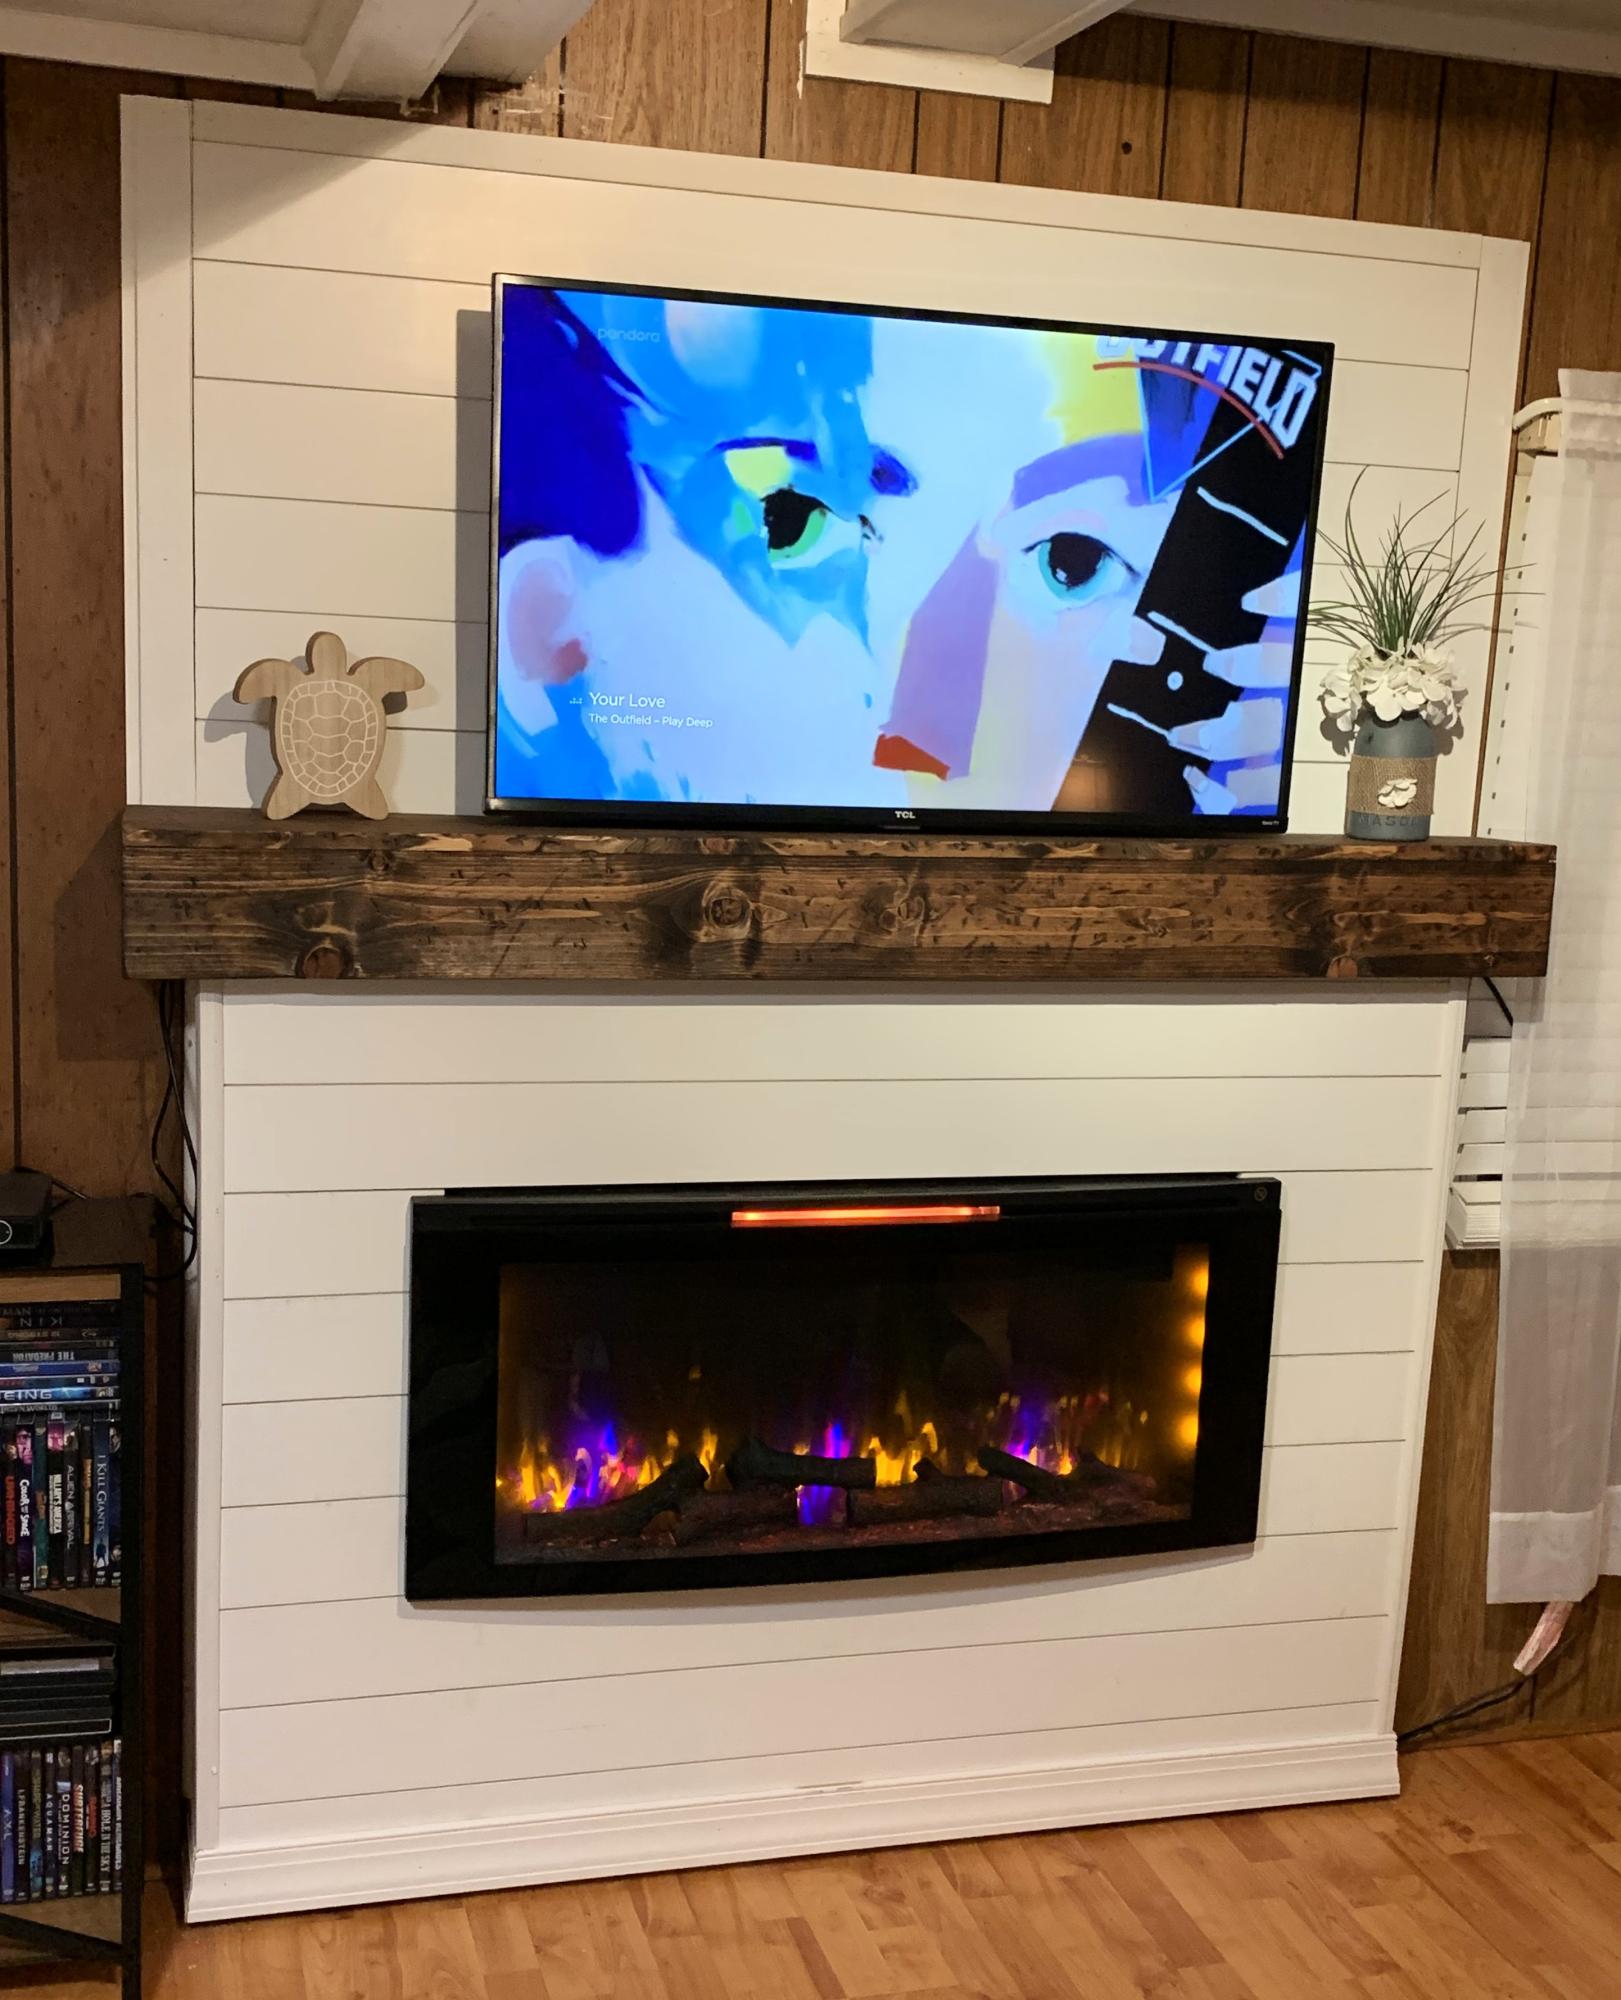
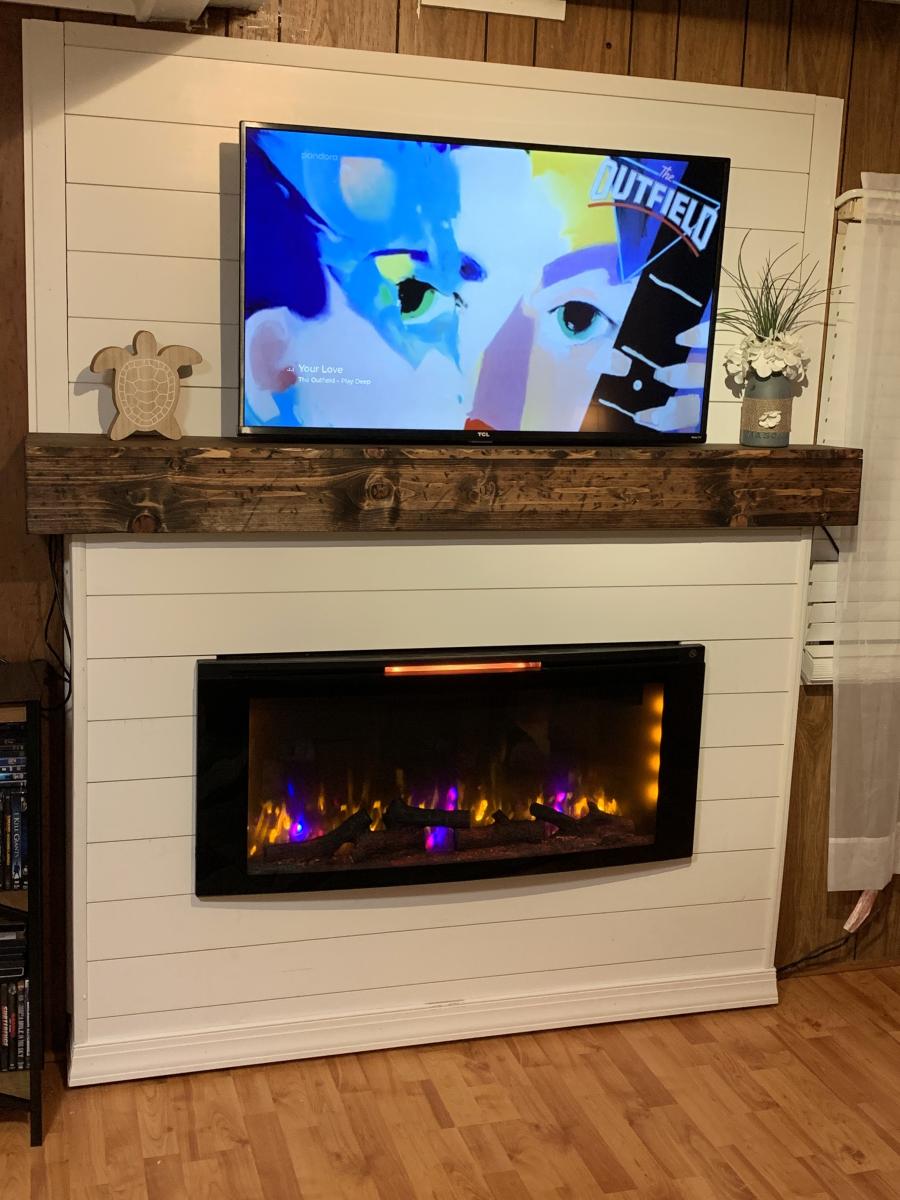
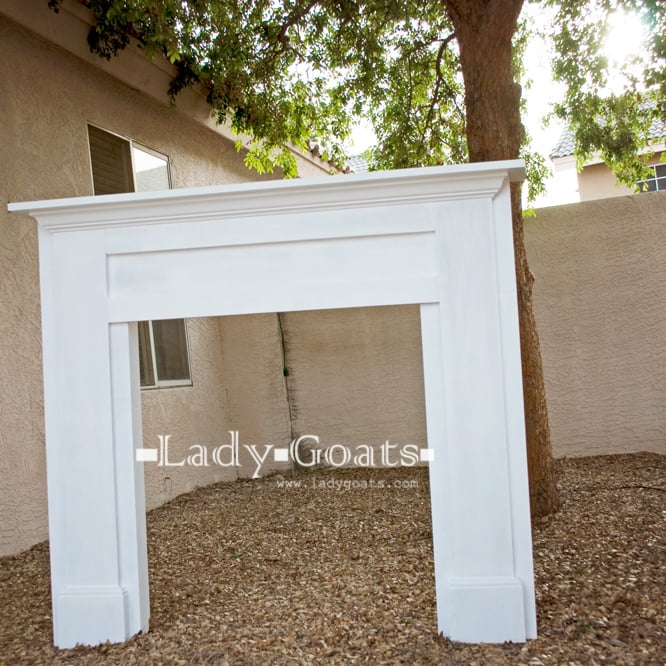
Built a fireplace using Mimi's Faux Mantle plans - I think it turned out great!

Built from Purebond plywood because I can't find straight boards in bigger sizes in my area (EVER!) and used fir 1x's for everything else.

Finished with three coats of Behr paint/primer in ultra white. I will not buy Behr again. Personal preference.

Estimated Cost
$90
Estimated Time Investment
Afternoon Project (3-6 Hours)
Finish Used
Behr Paint/Primer in one - ultra white
Recommended Skill Level
Intermediate

Hexagonal Side/Cofee Table

Submitted by Anonymous (not verified) on Mon, 06/27/2016 - 08:07

I tried this as my first ever project after going through different plans and technique. I did great (I think :-) ) until end and think i screwed up with staining. There is dried glue left on the surafce which i thought i sanded but appeared as soon as i stained.

Feed back / comments on the design and please suggest a way to fix the staining issue.


Estimated Cost
70 $
Estimated Time Investment
Weekend Project (10-20 Hours)
Finish Used
Stain
Recommended Skill Level
Beginner

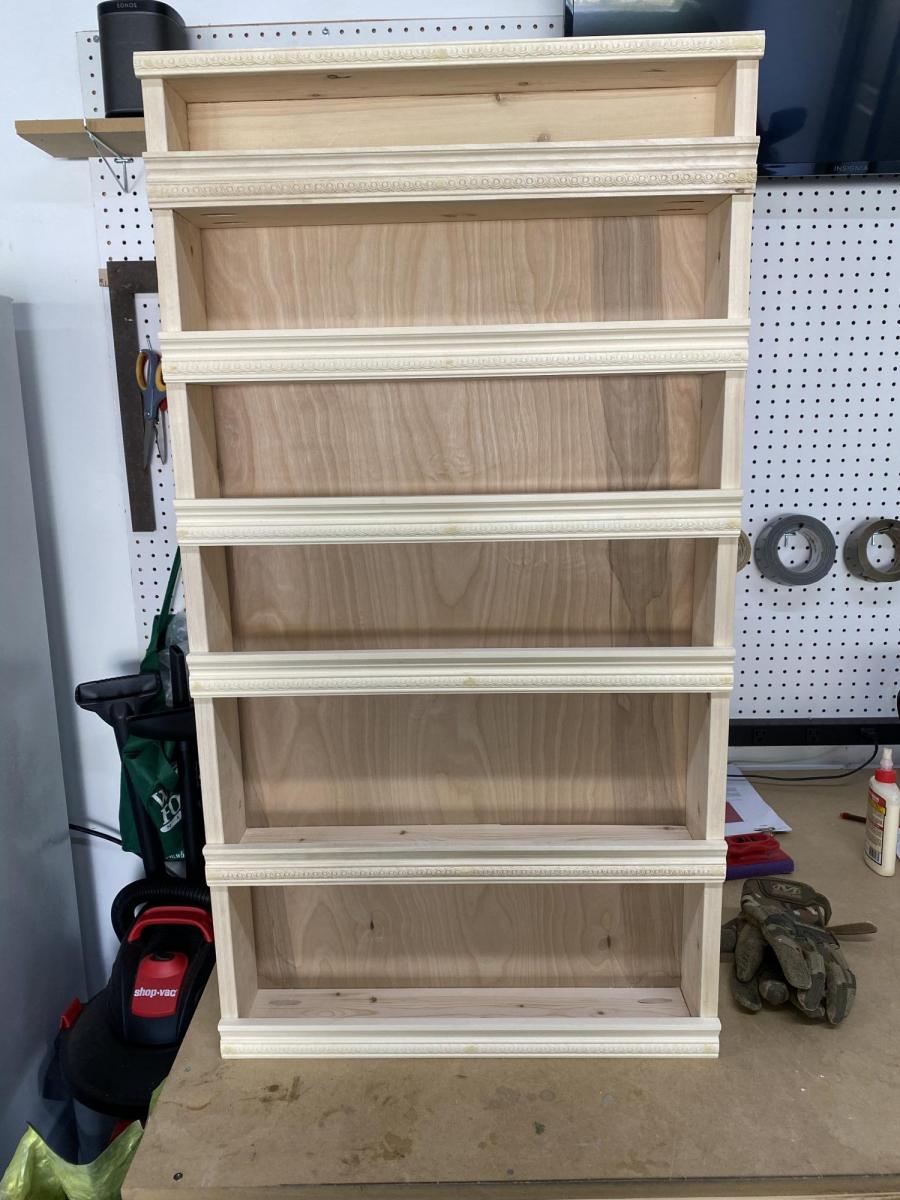
Spice Rack

Submitted by Anonymous (not verified) on Sat, 04/25/2020 - 20:10

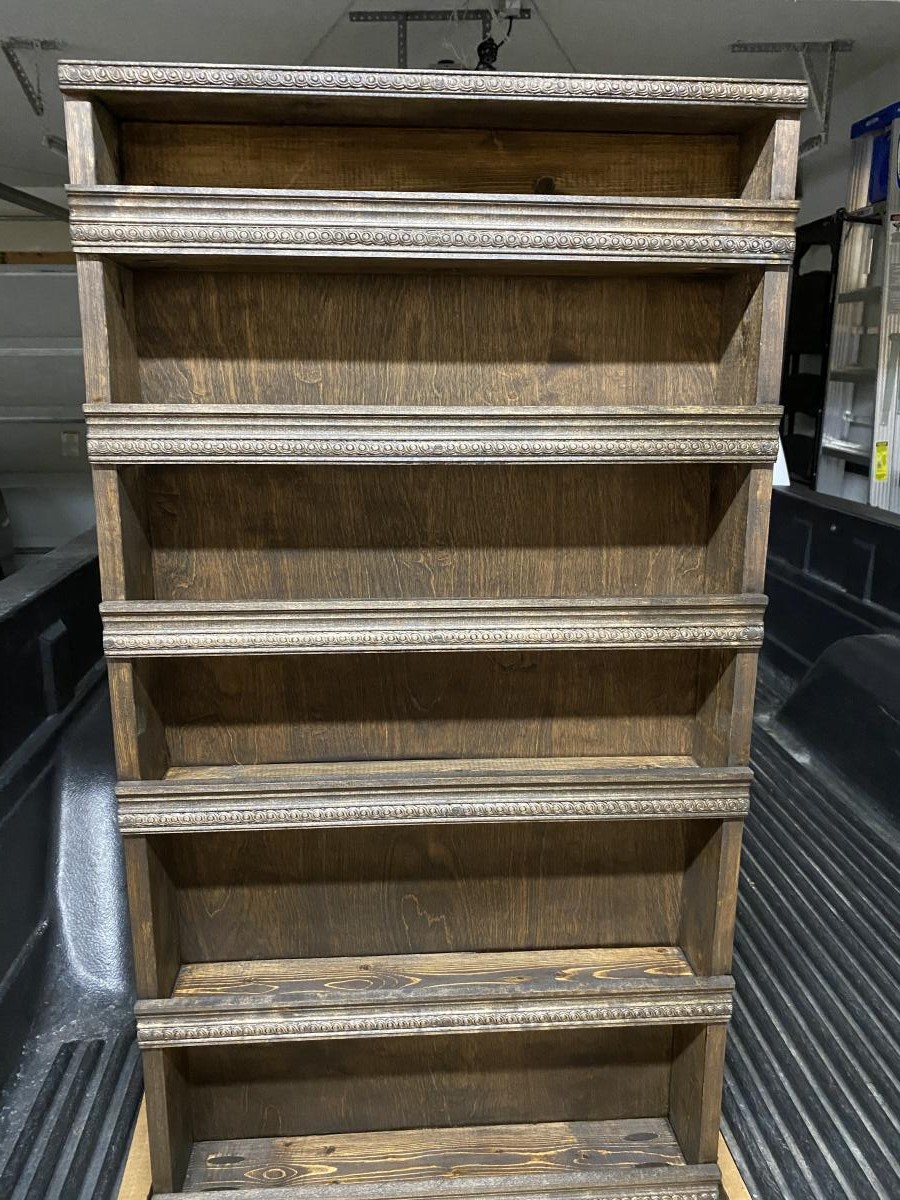
Change out the dowels with some molding and stained. Wife loves it!

Built from Plan(s)
Finish Used
Minwax stain
Recommended Skill Level
Beginner

Doll Crib Gift

Submitted by Anonymous (not verified) on Tue, 12/05/2023 - 07:38

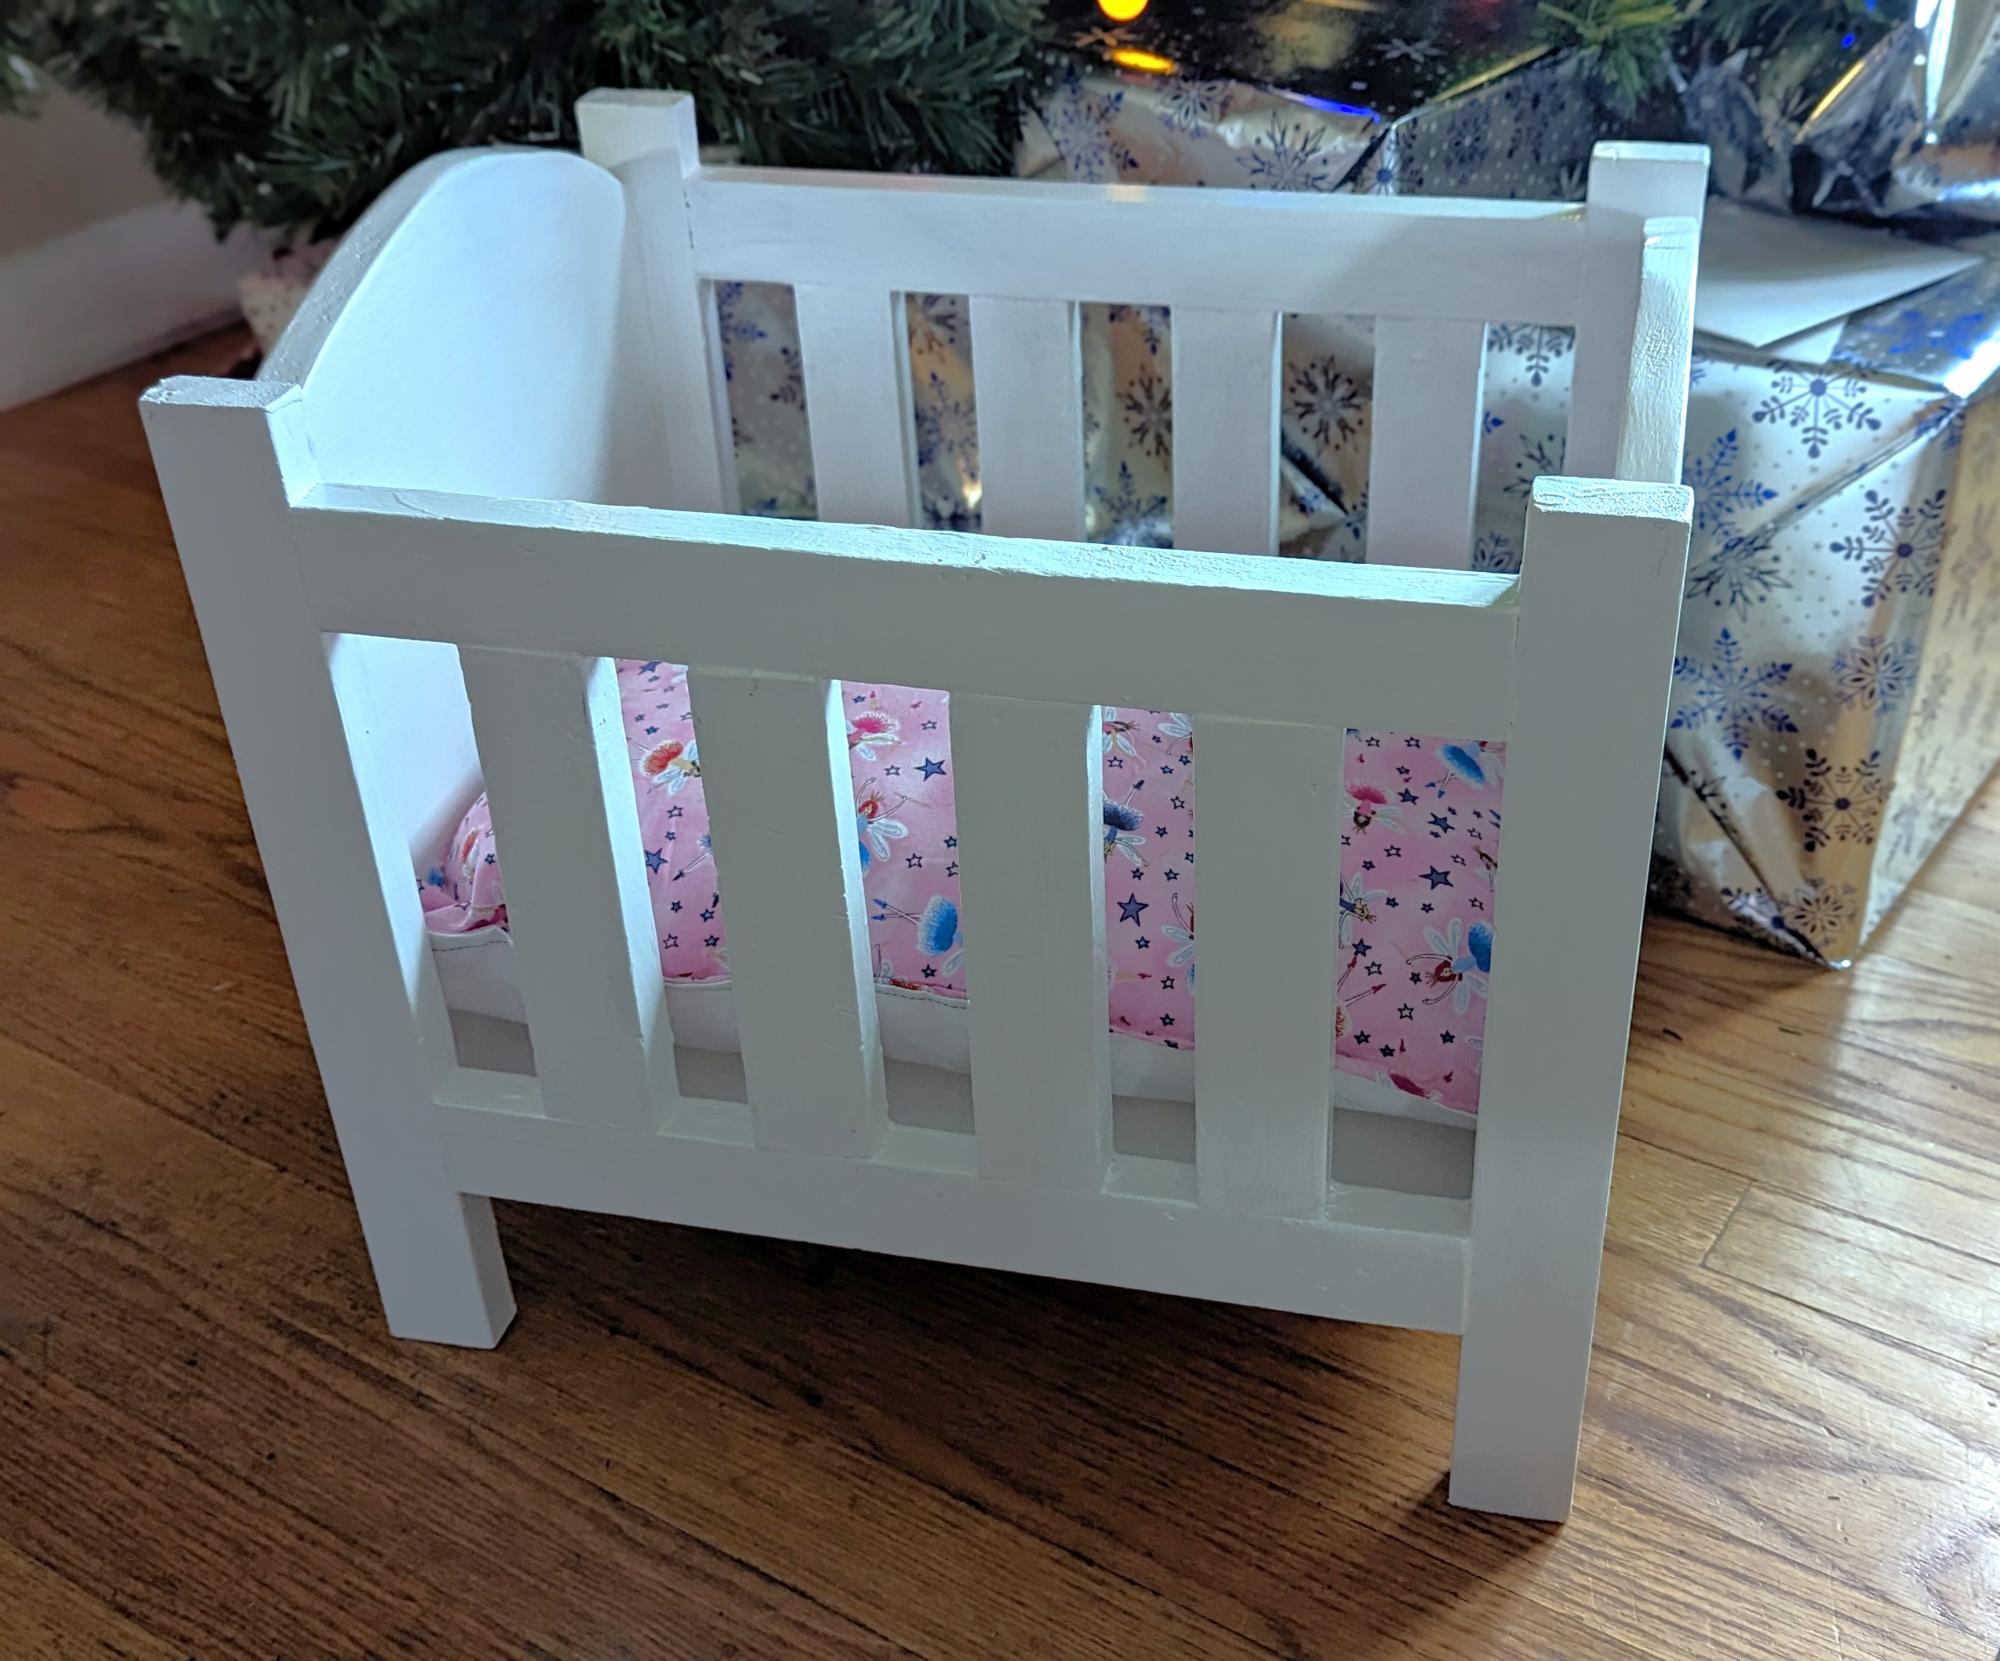
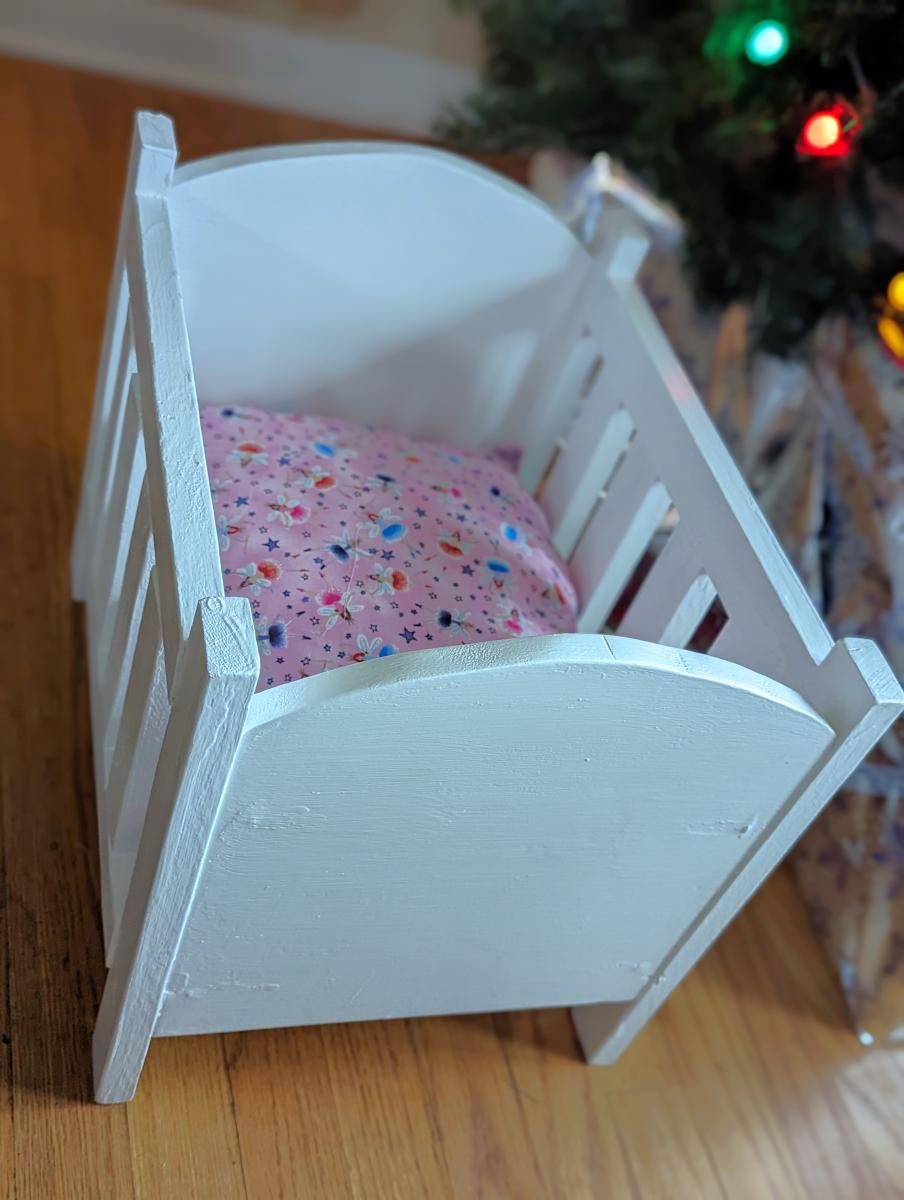
I built this doll crib for a girl we are helping make Christmas special for this year. It's all materials I had on hand (thanks scrap pile!). I love how it turned out. Loosely based on the fancy doll crib plans.

Built from Plan(s)

Navy Trainer

Submitted by Jake on Sun, 06/10/2012 - 13:01

A lady I work with at Driscoll Children's Hospital is giving birth this week to a boy. Instead of the traditional gifts I thought he should have an airplane and the Plane Old Shelf caught my fancy.

I made a couple of minor additions to the design with the addition of the traditional red and green navigation or running lights on the wing tips and a bright yellow axle. The wheels, cowling, and buttons are from Hobby Lobby. I took a small piece of bass wood, soaked and bent it and then let it dry overnight to form the propeller.

In South Texas the color scheme means something. The wing tips,tail, and cowling of the single engine trainers the want-a-be Navy pilots fly carry this color. They are everywhere.

Built from Plan(s)
Estimated Cost
$20
Estimated Time Investment
Weekend Project (10-20 Hours)
Finish Used
One coat of primer and then two coats of Rust-O-Leum white.black or orange spray glossy enamel.
Recommended Skill Level
Beginner
Back