Teenage Mutant Ninja Turtle Bedroom
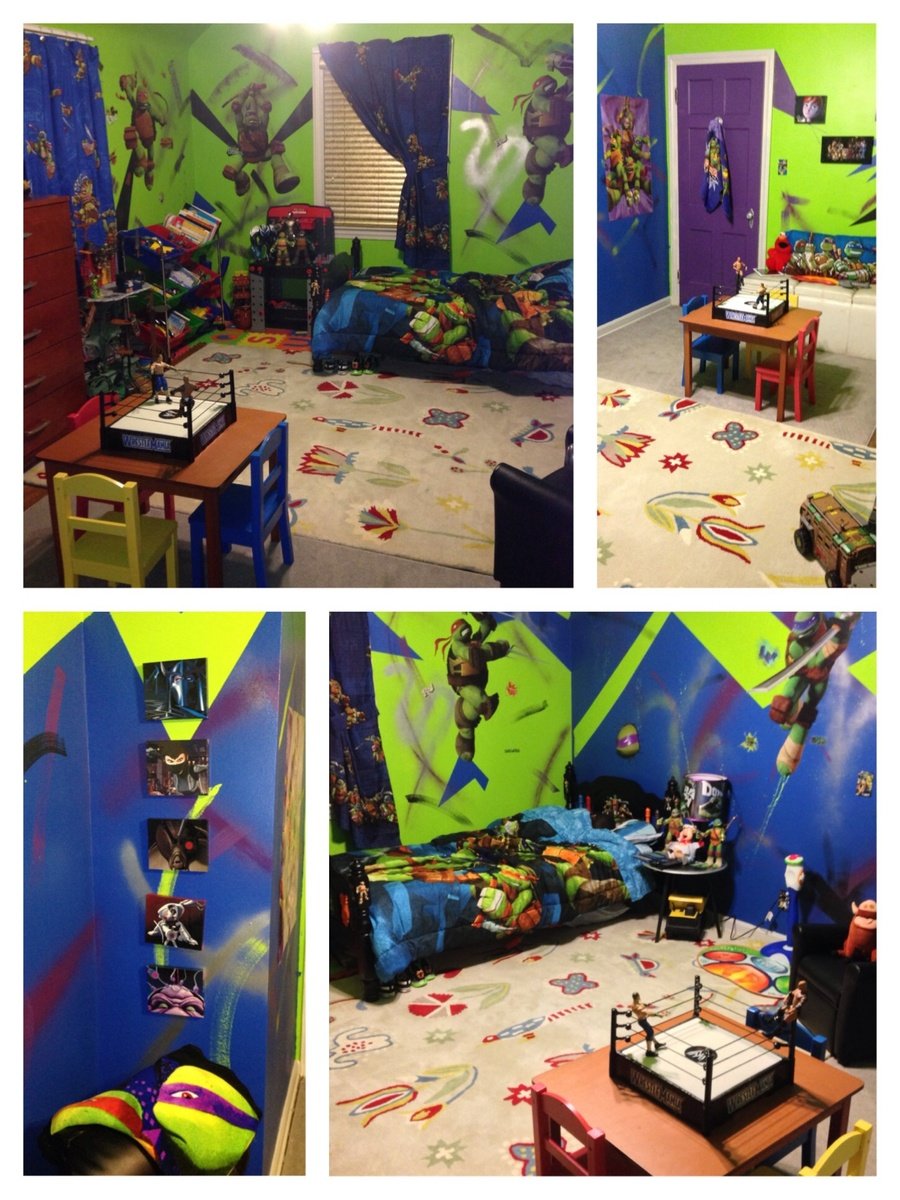
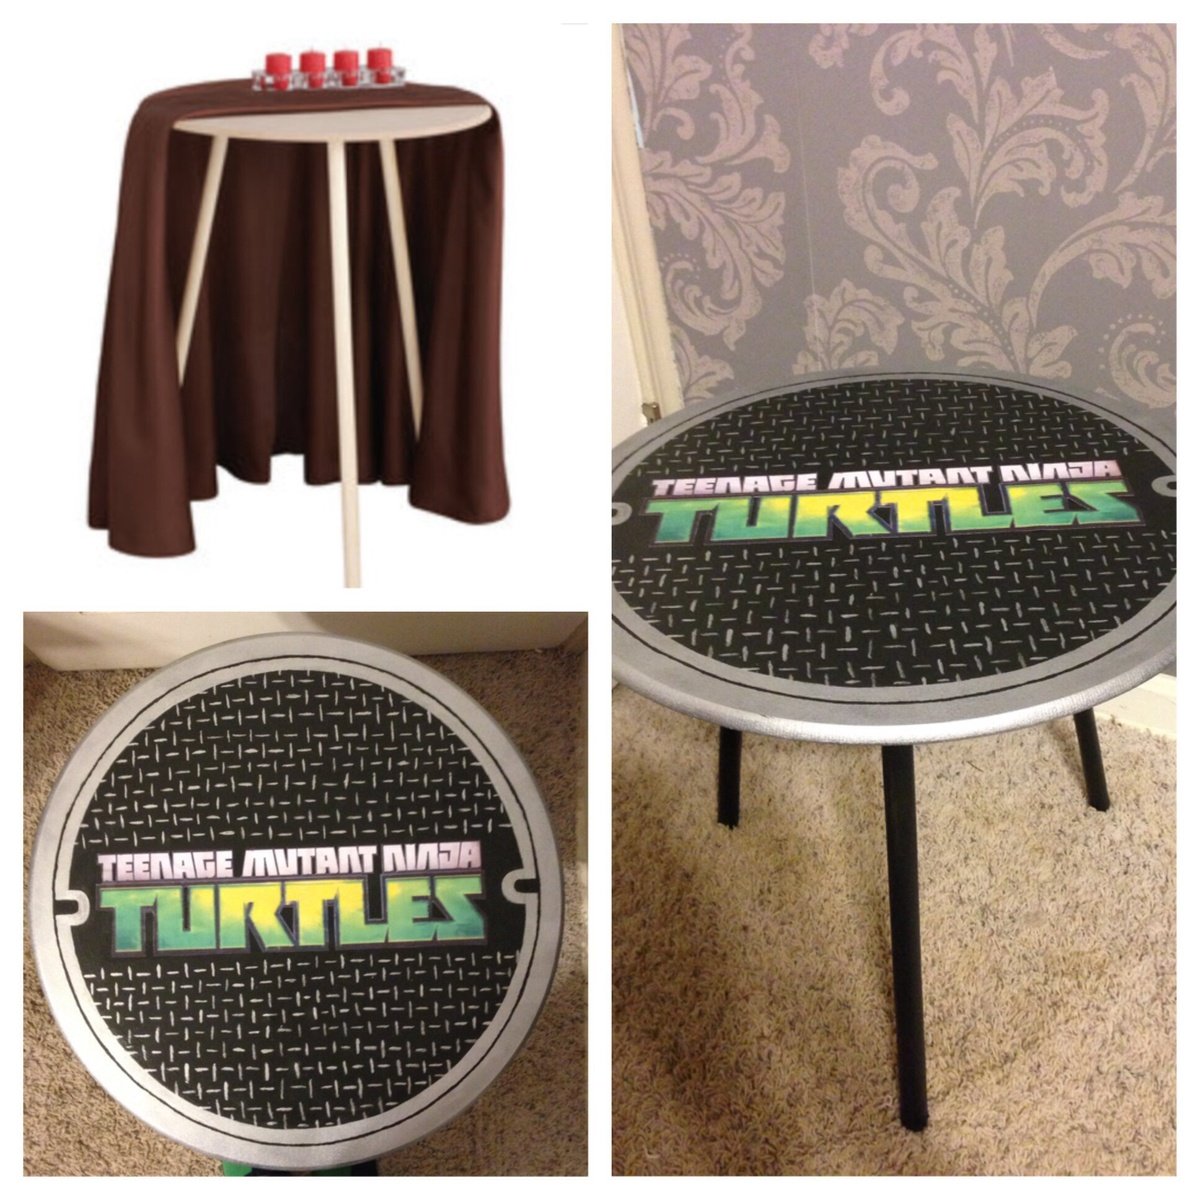
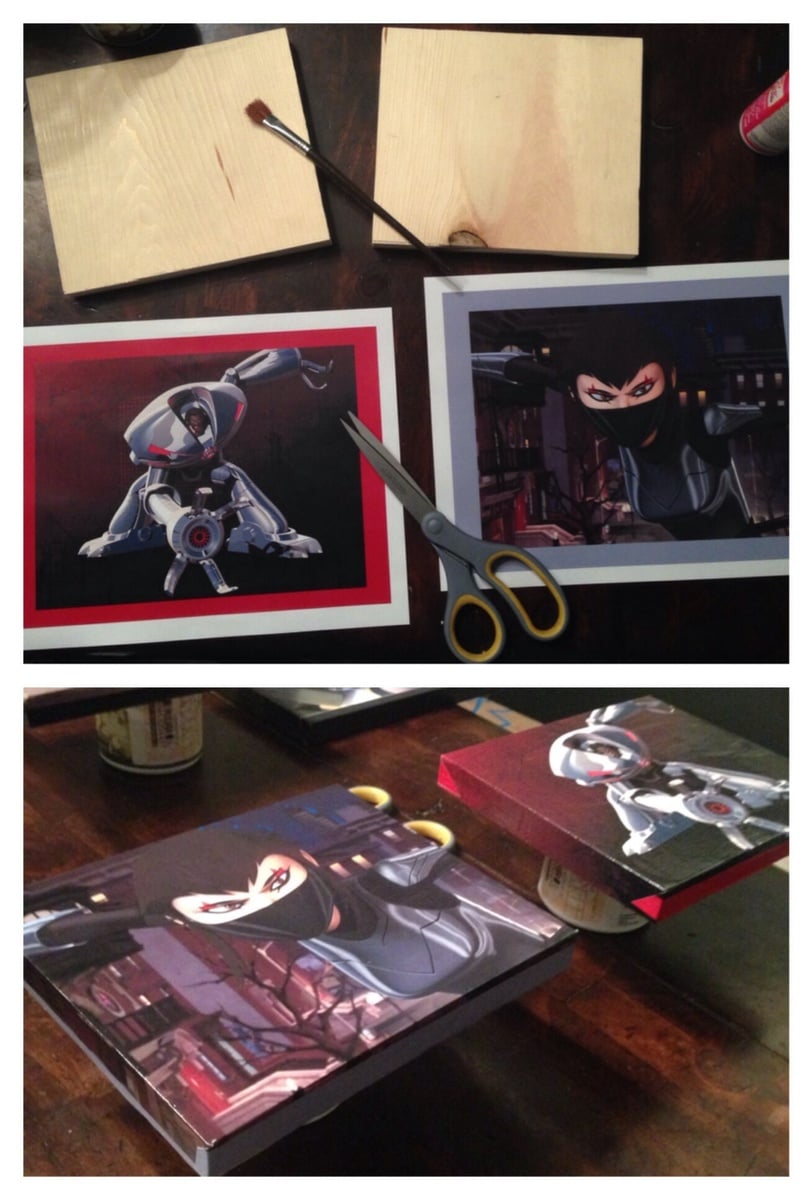
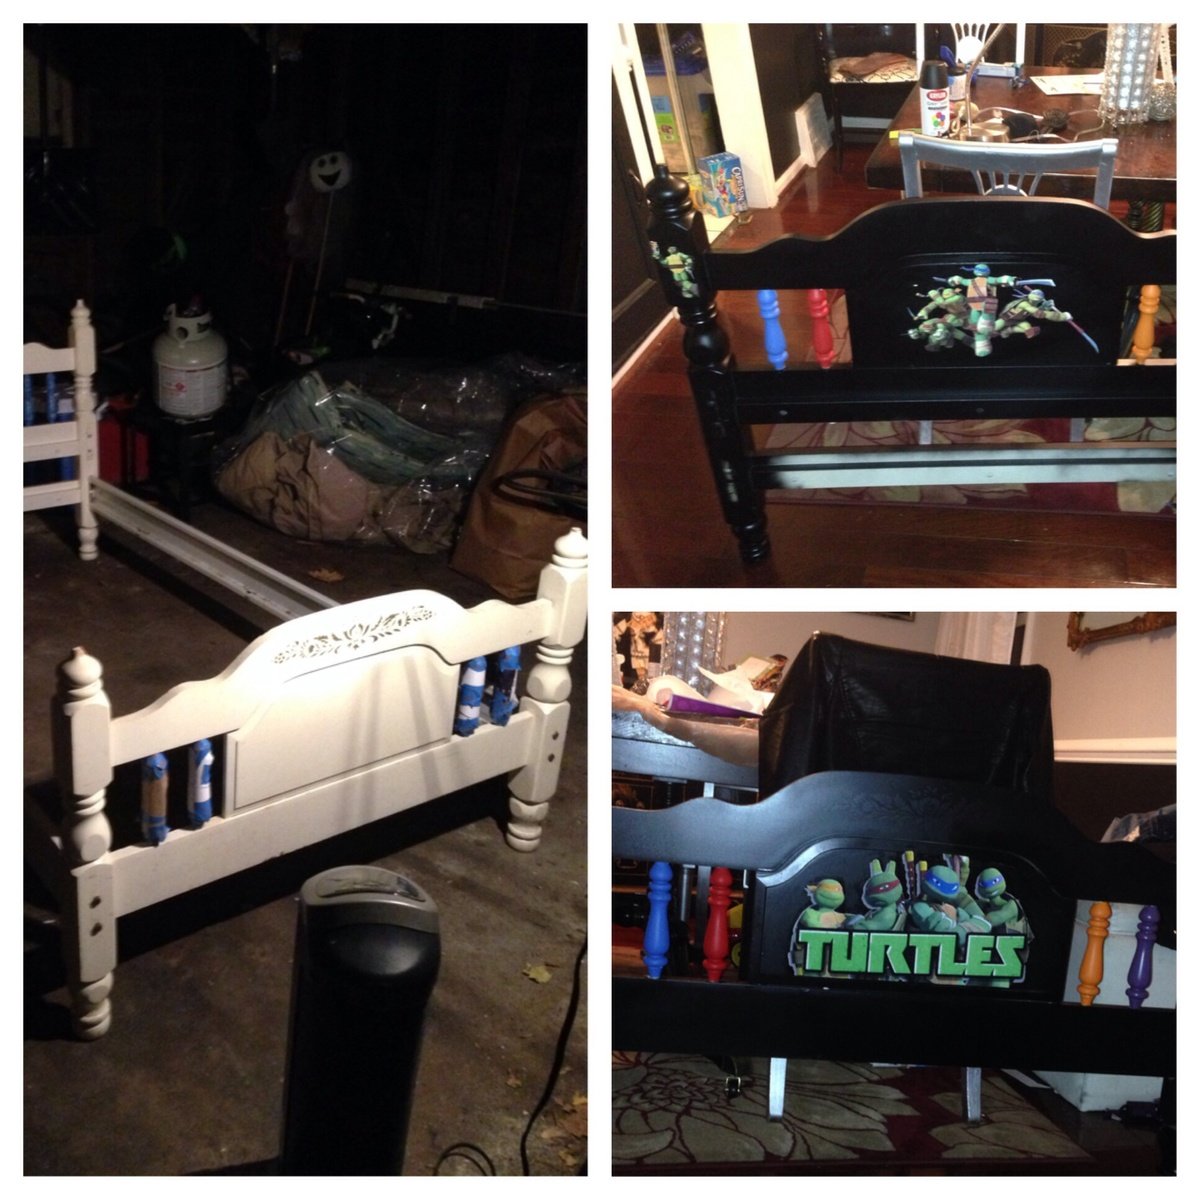
I turned my son's room into the TMNT Secret Sewer Lair. I created artwork using a 1x8 piece of lumber and printed images on laser paper I found online. Cost $6.99
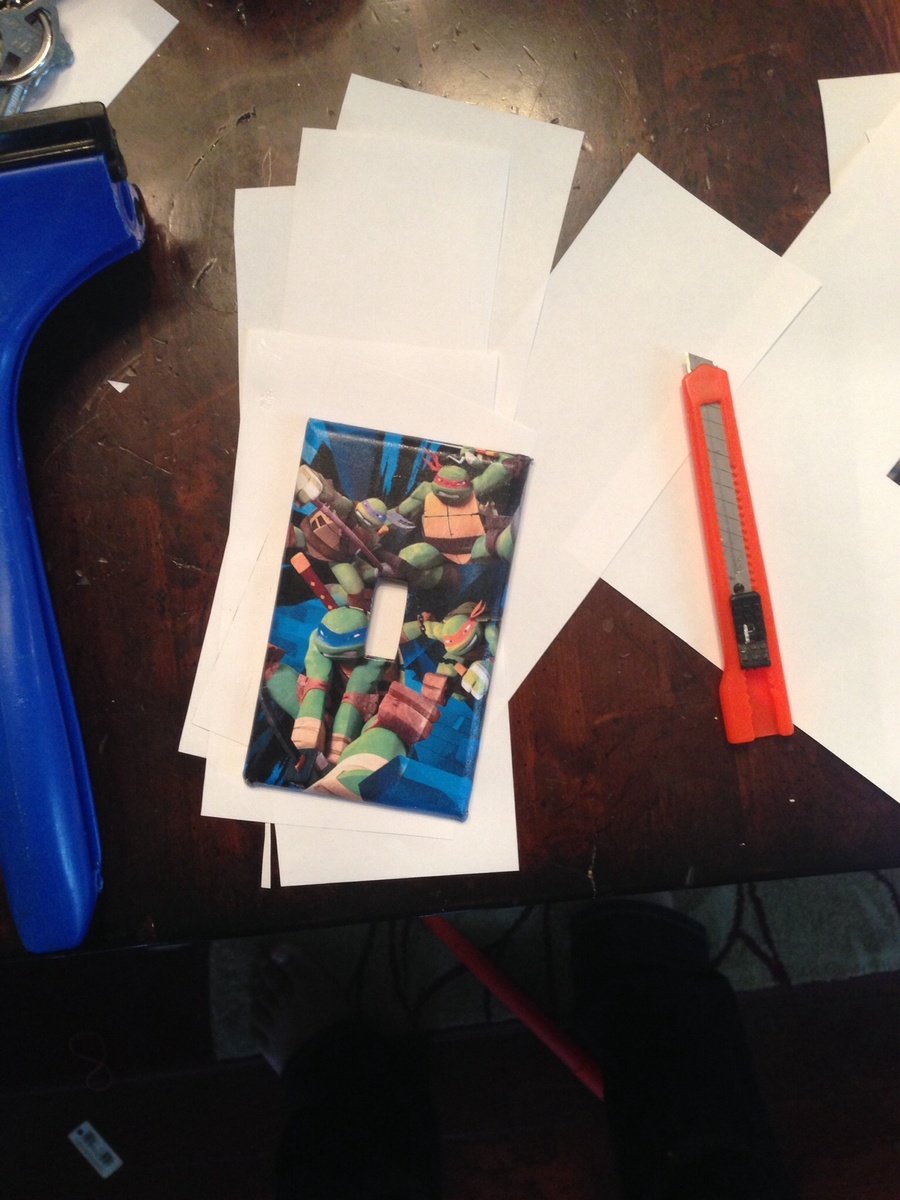
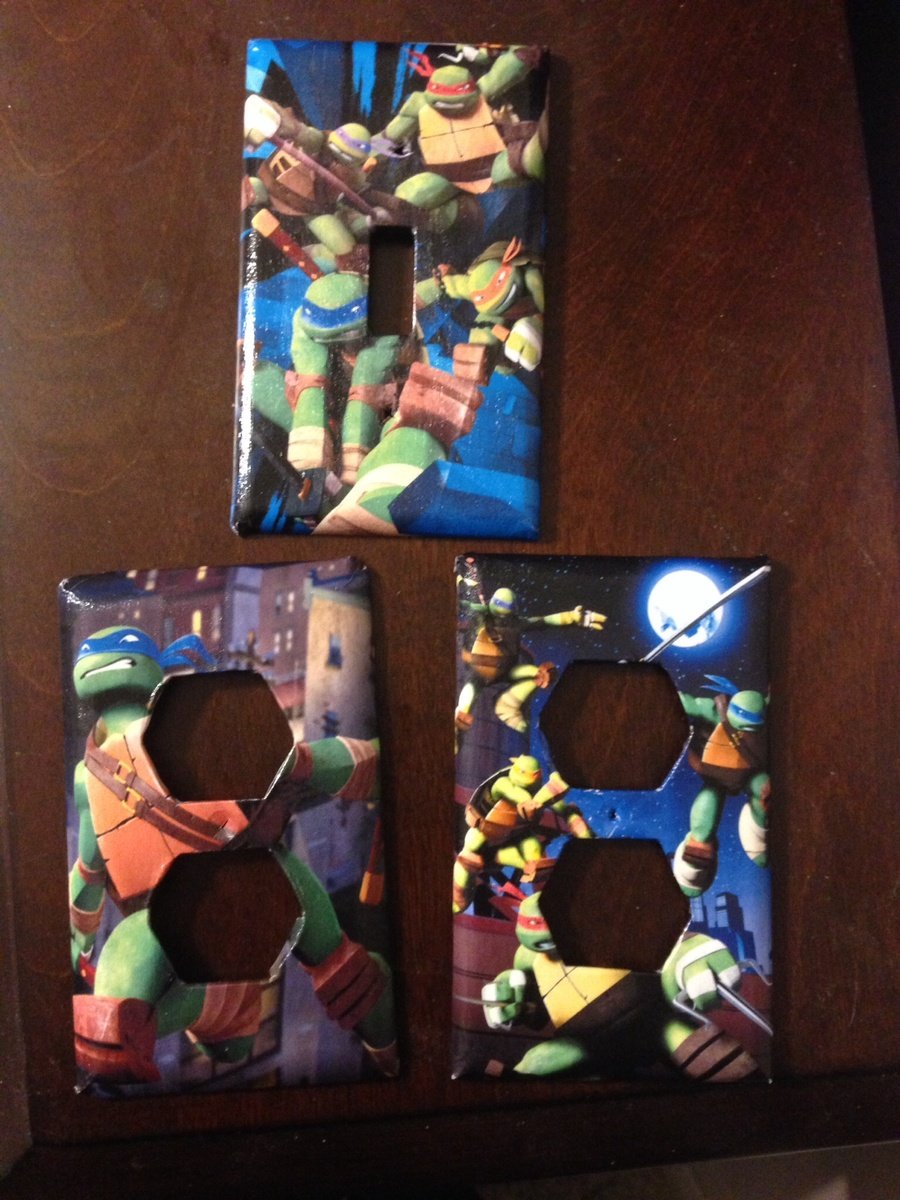
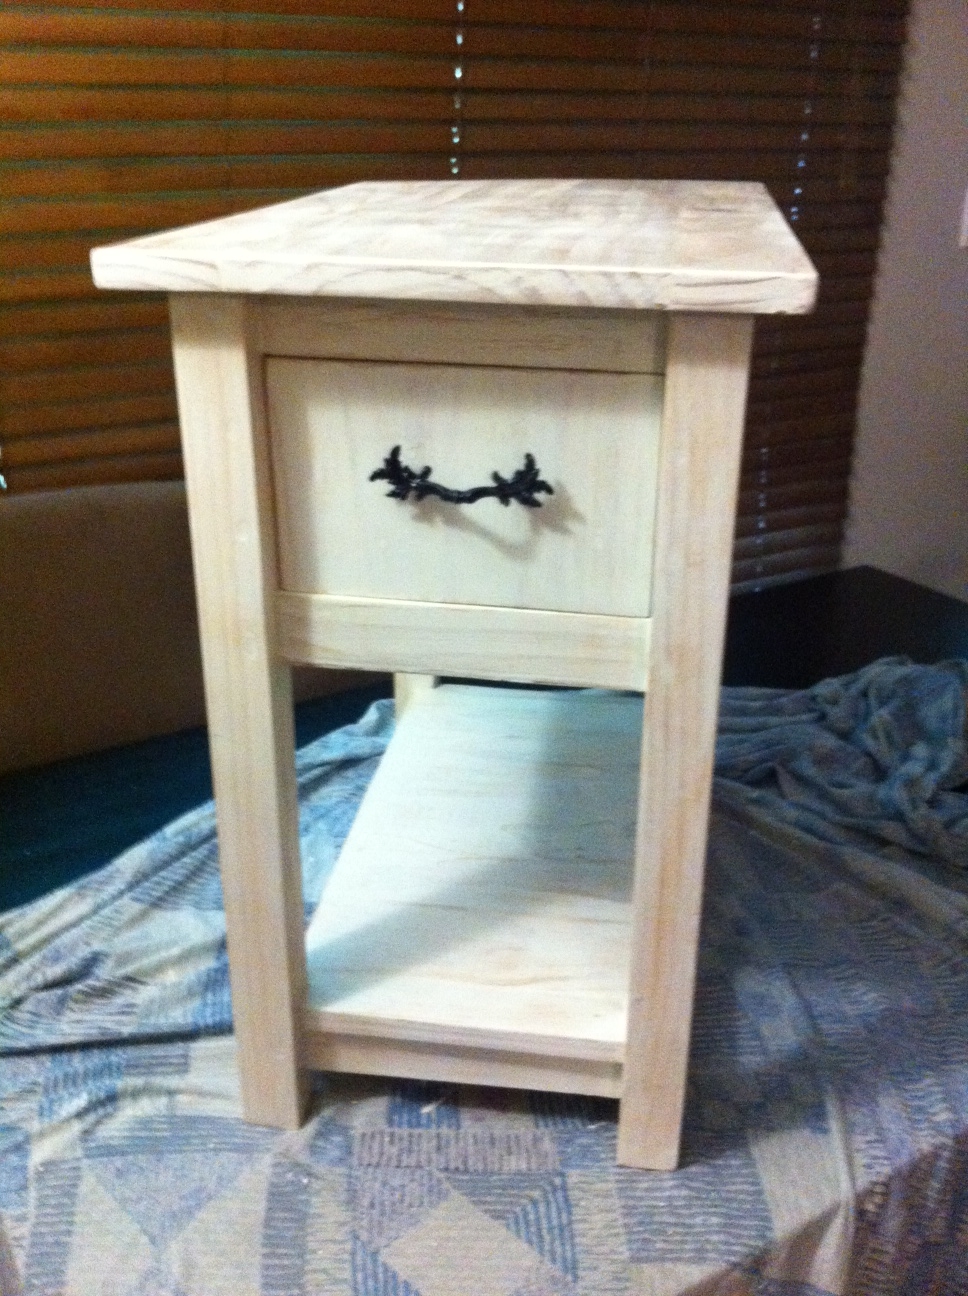
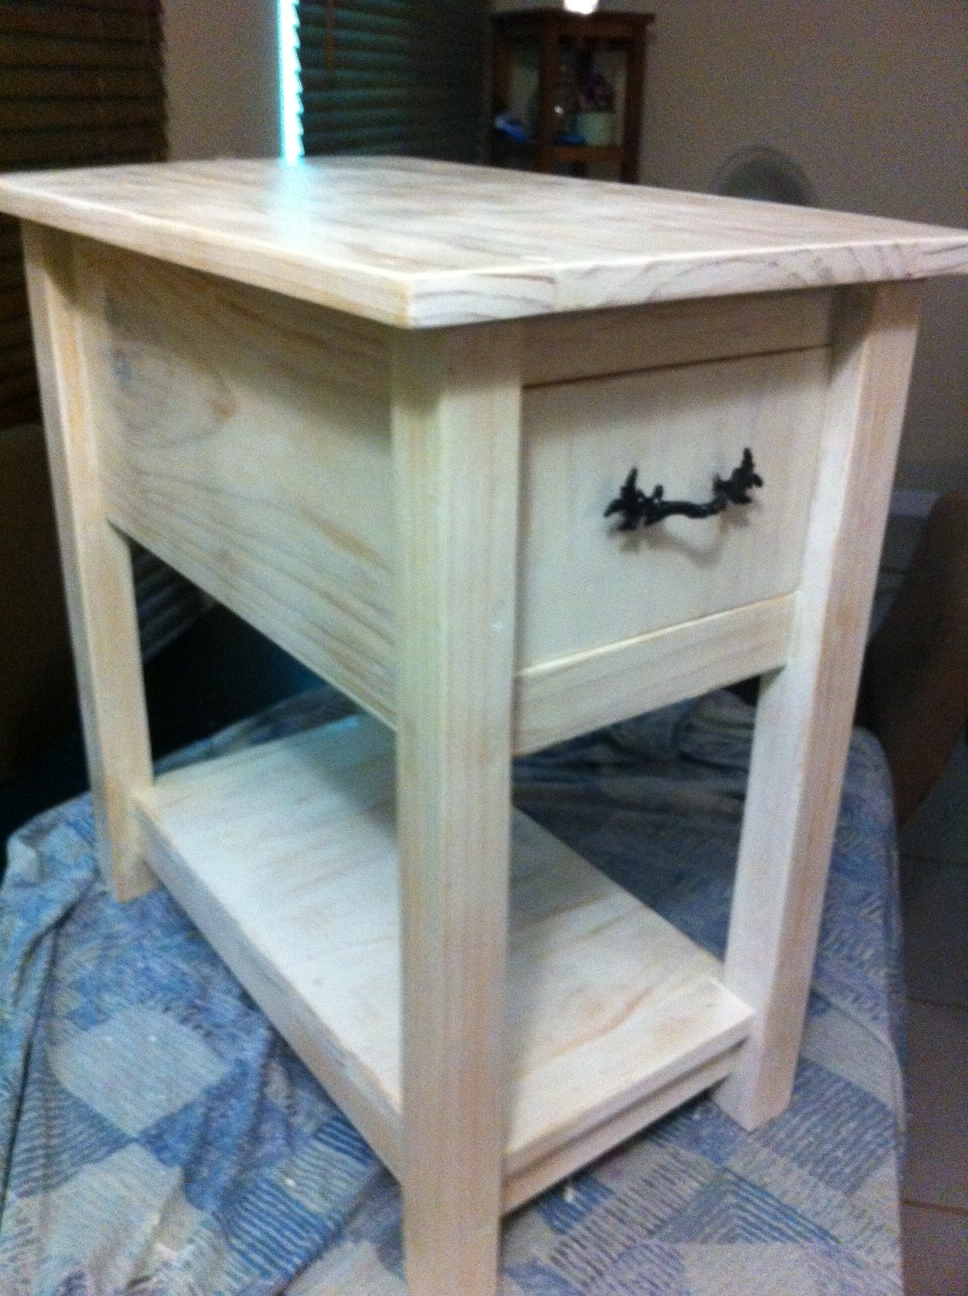
I created the outlets by printing on laser paper and decoupaging them onto the coverings. The cost for decoupage glue at Wal-Mart was $3.00 for 4oz, called Mod Podge. Which was more than enough since I used the same technique on my 20yr old bunk bed and nightstand and had some to spare. However you must use a x-acto knife to cut away white space so that print looks apart of the furniture. The individual Turtle characters I purchased from eBay because it was free shipping they were $17.99 each. The round table I turned into nightstand was $9.00 at Wal-mart and I hand painted it along with decoupaging the logo on to it. Any questions feel free to email! I hope this helps with ideas. I was lost do to lack of ideas online.