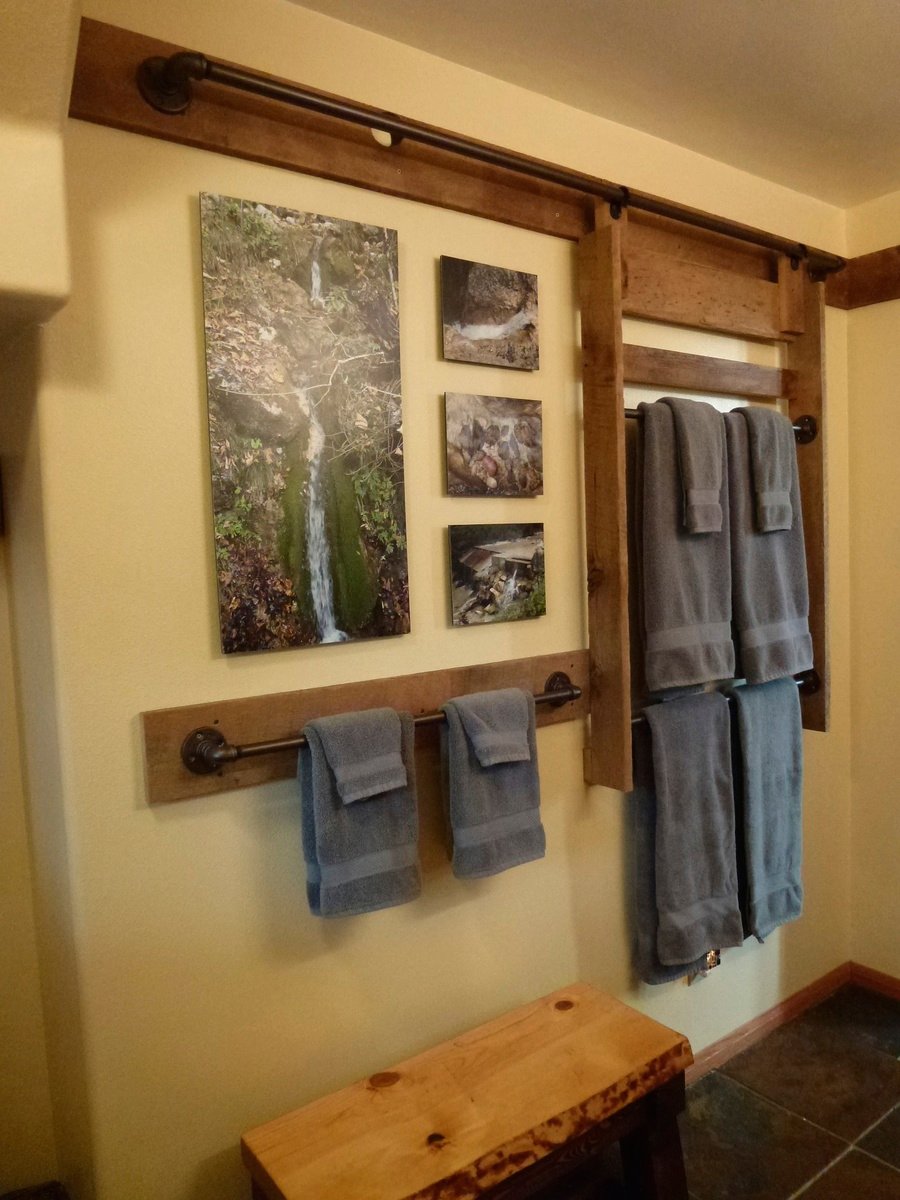
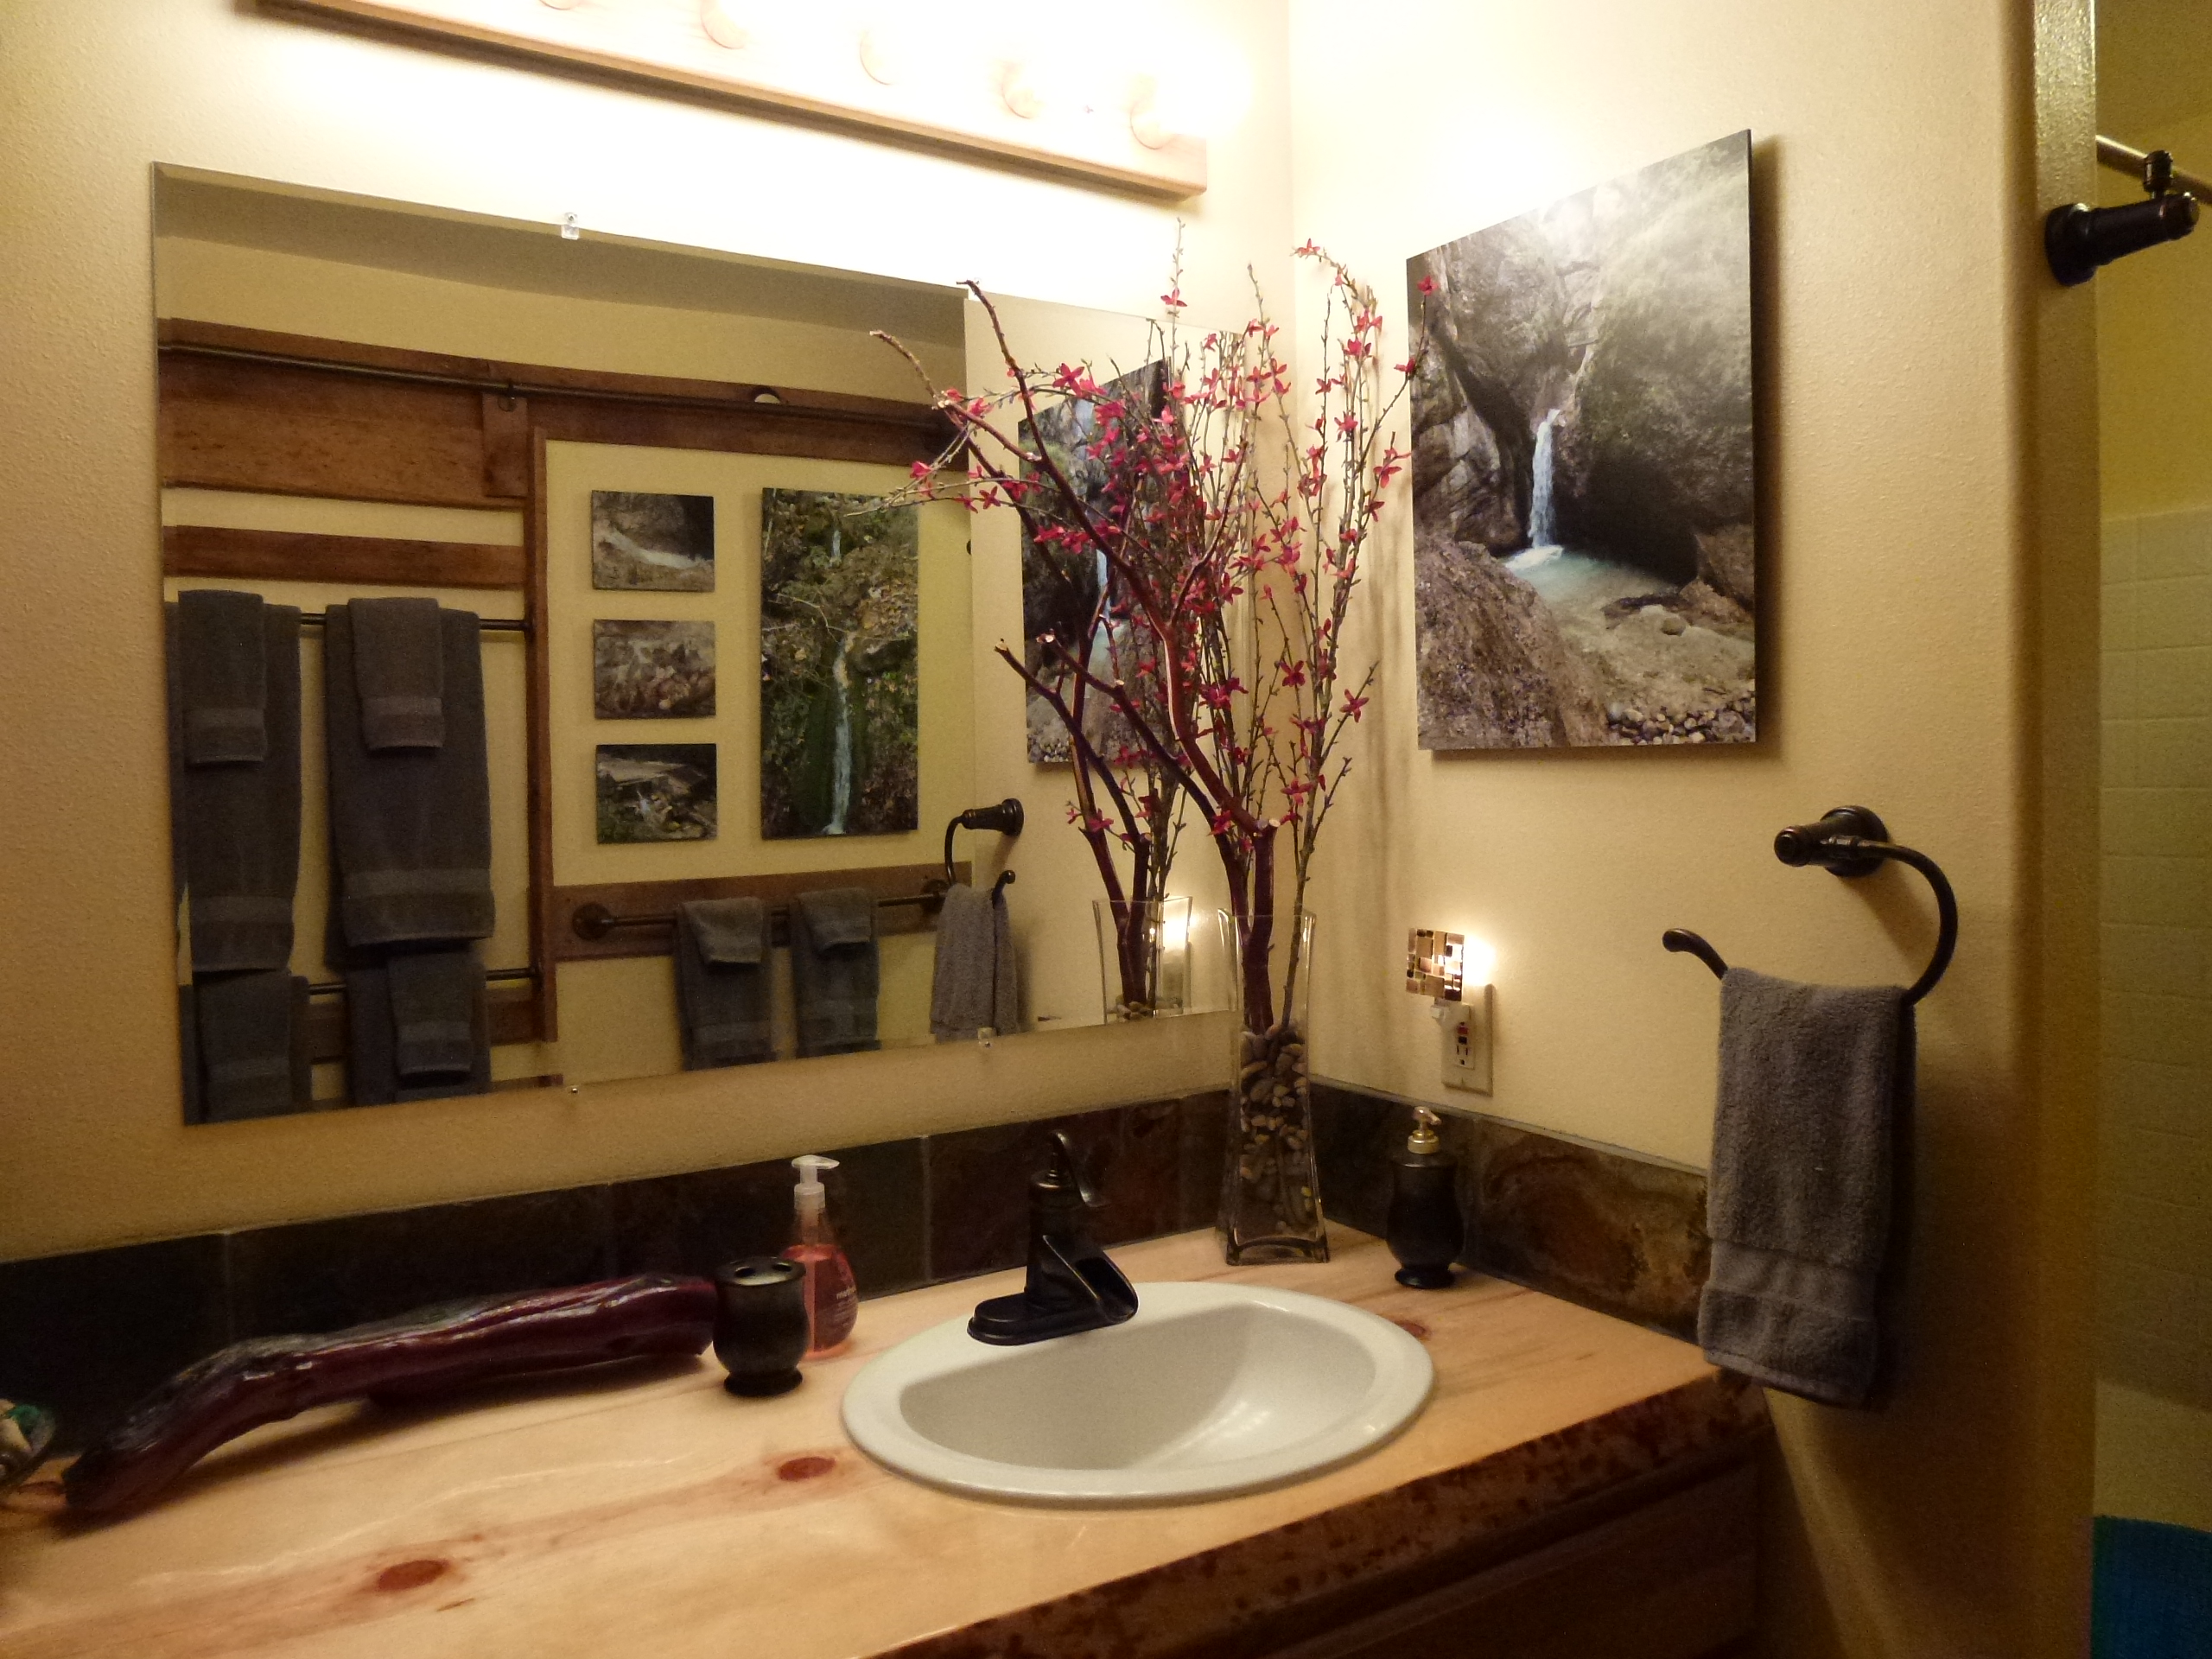
This was really a simple and fun project! My wife saw this on Ana White and knew immediately that this was a “must do now” endeavor. The industrial look of the pipes really fit the decorating motif of our guest bath.
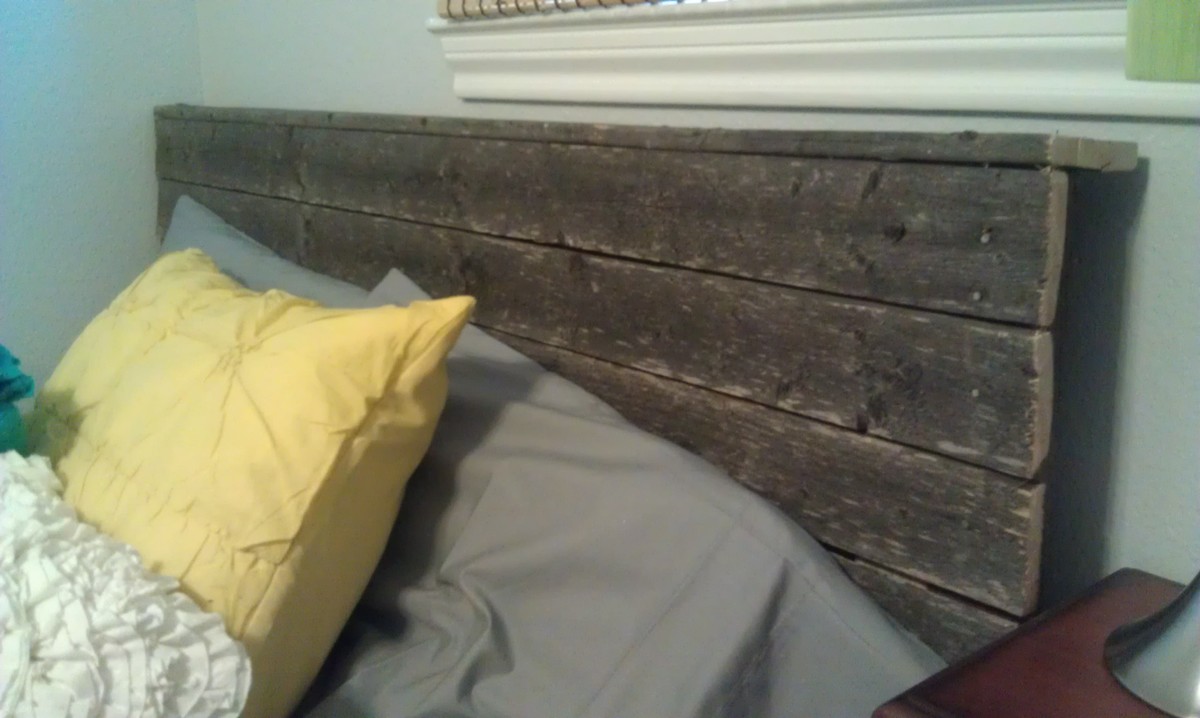
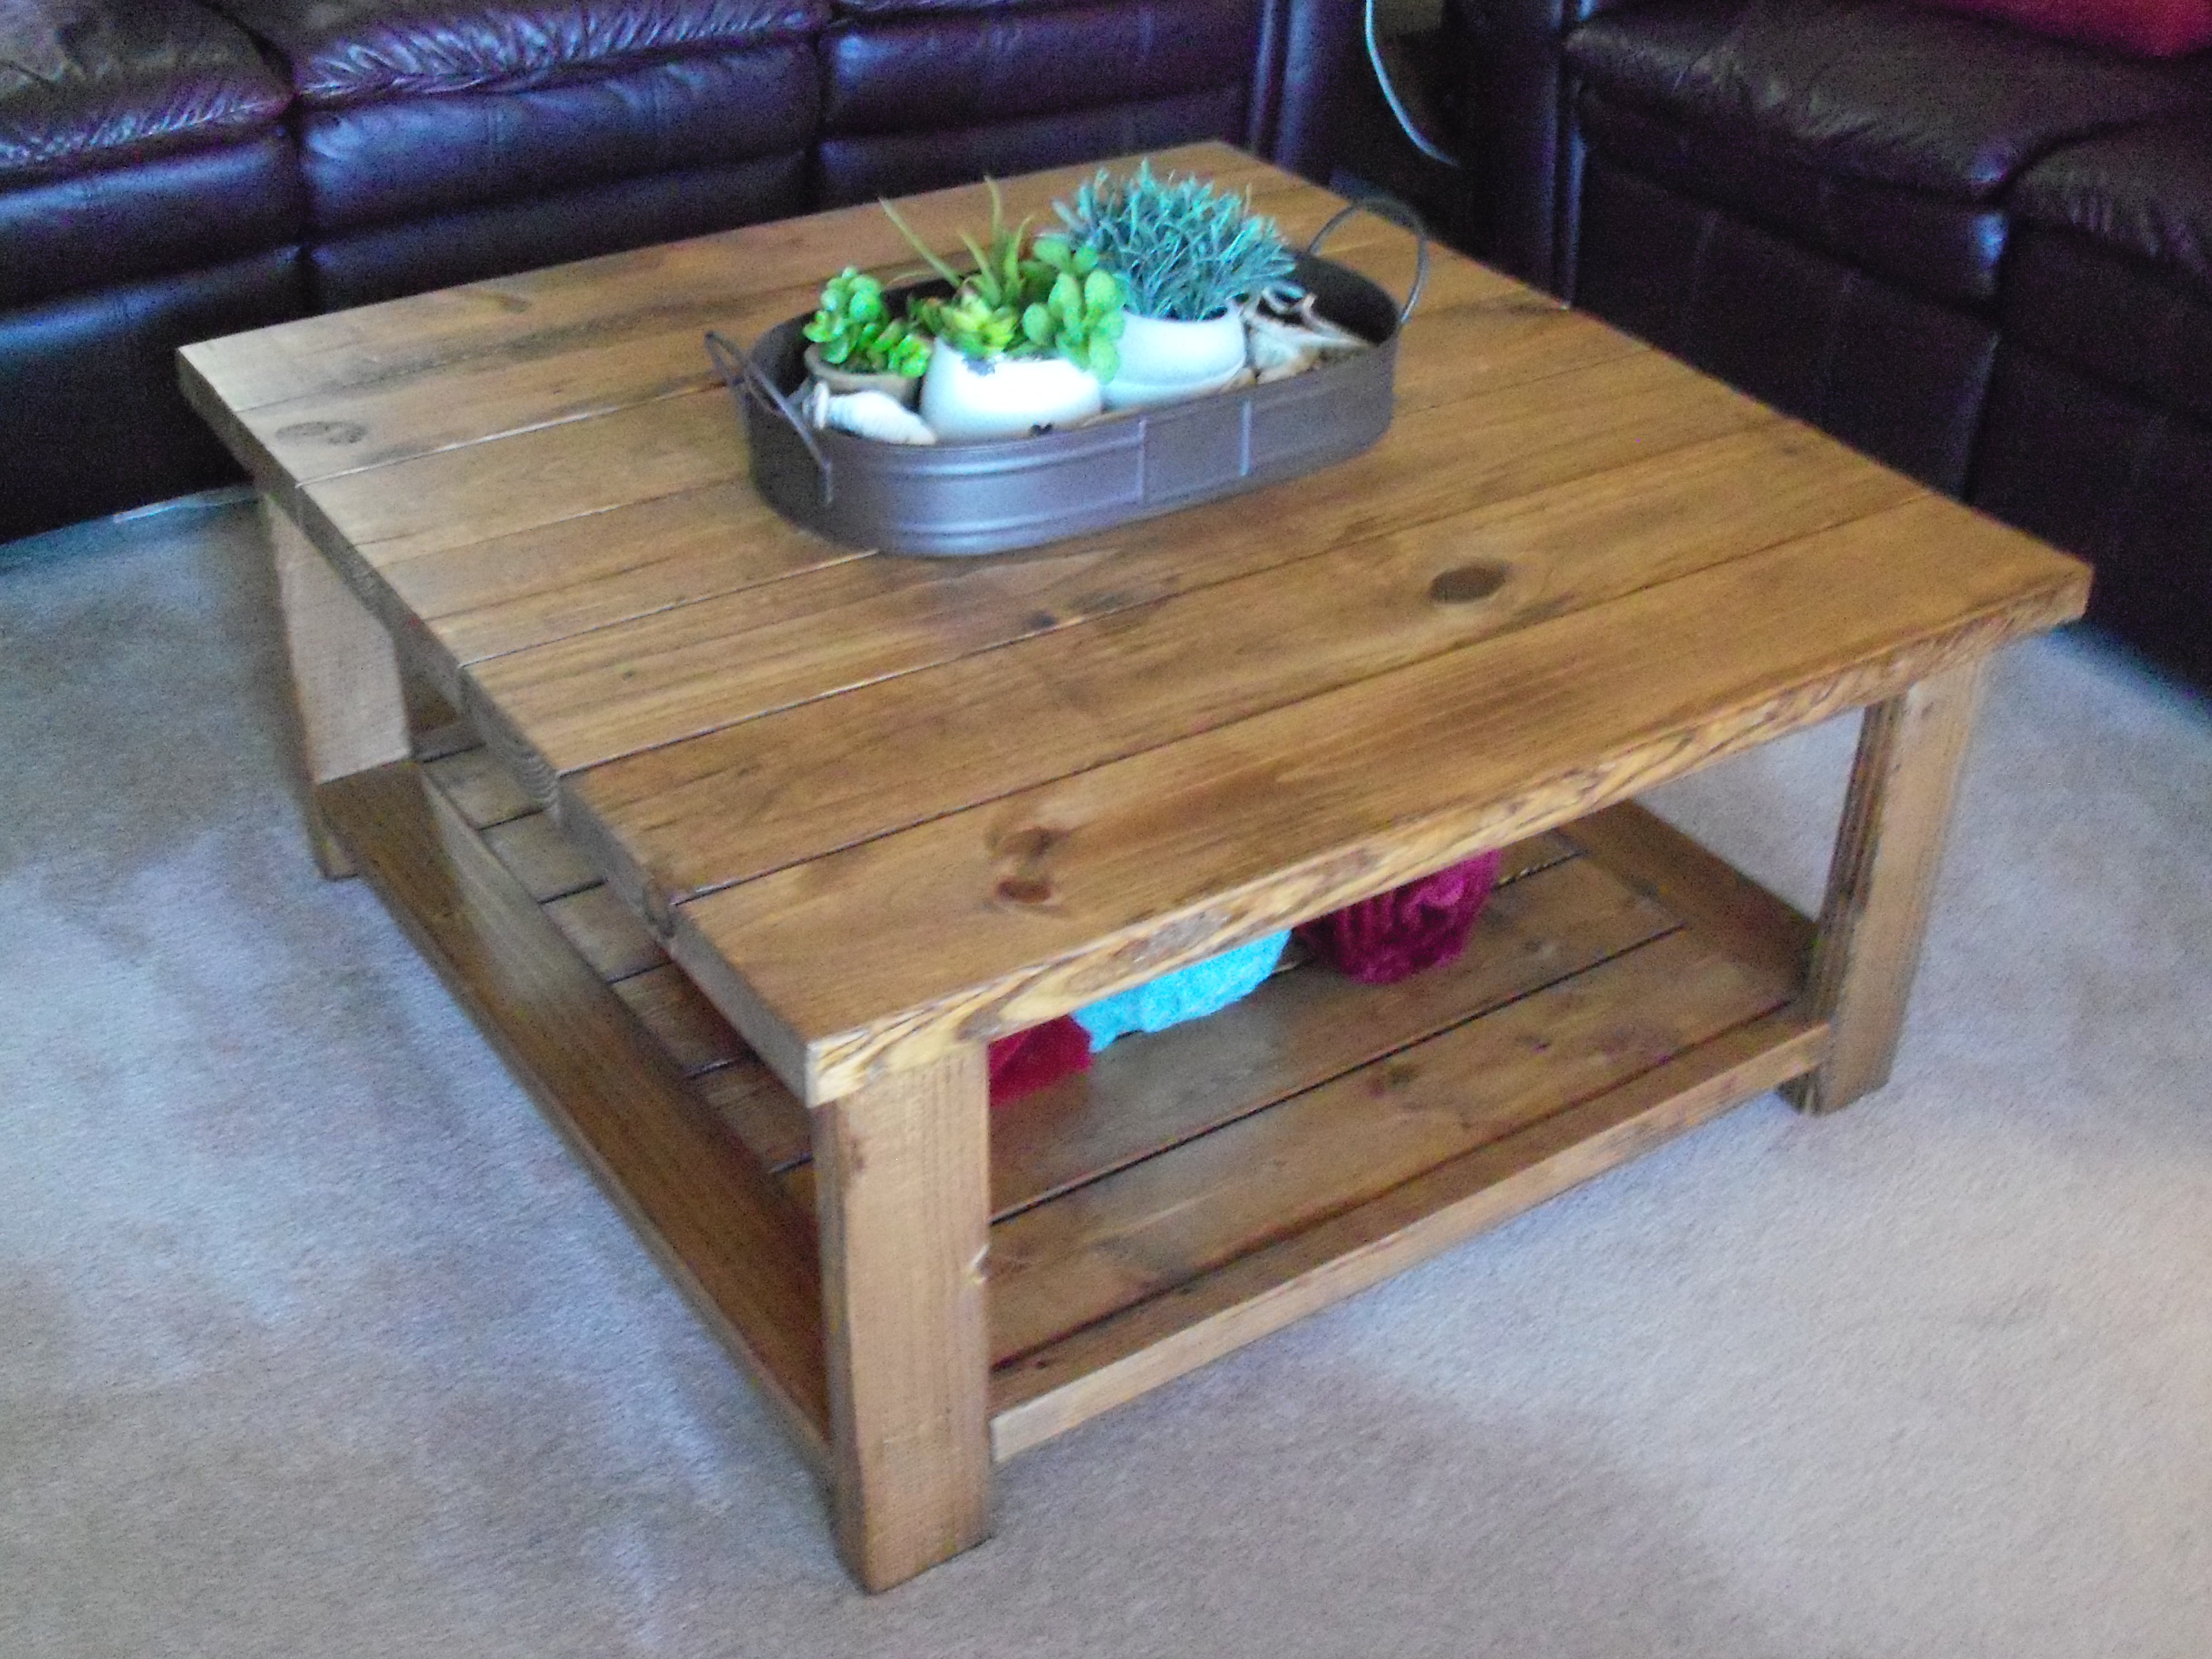
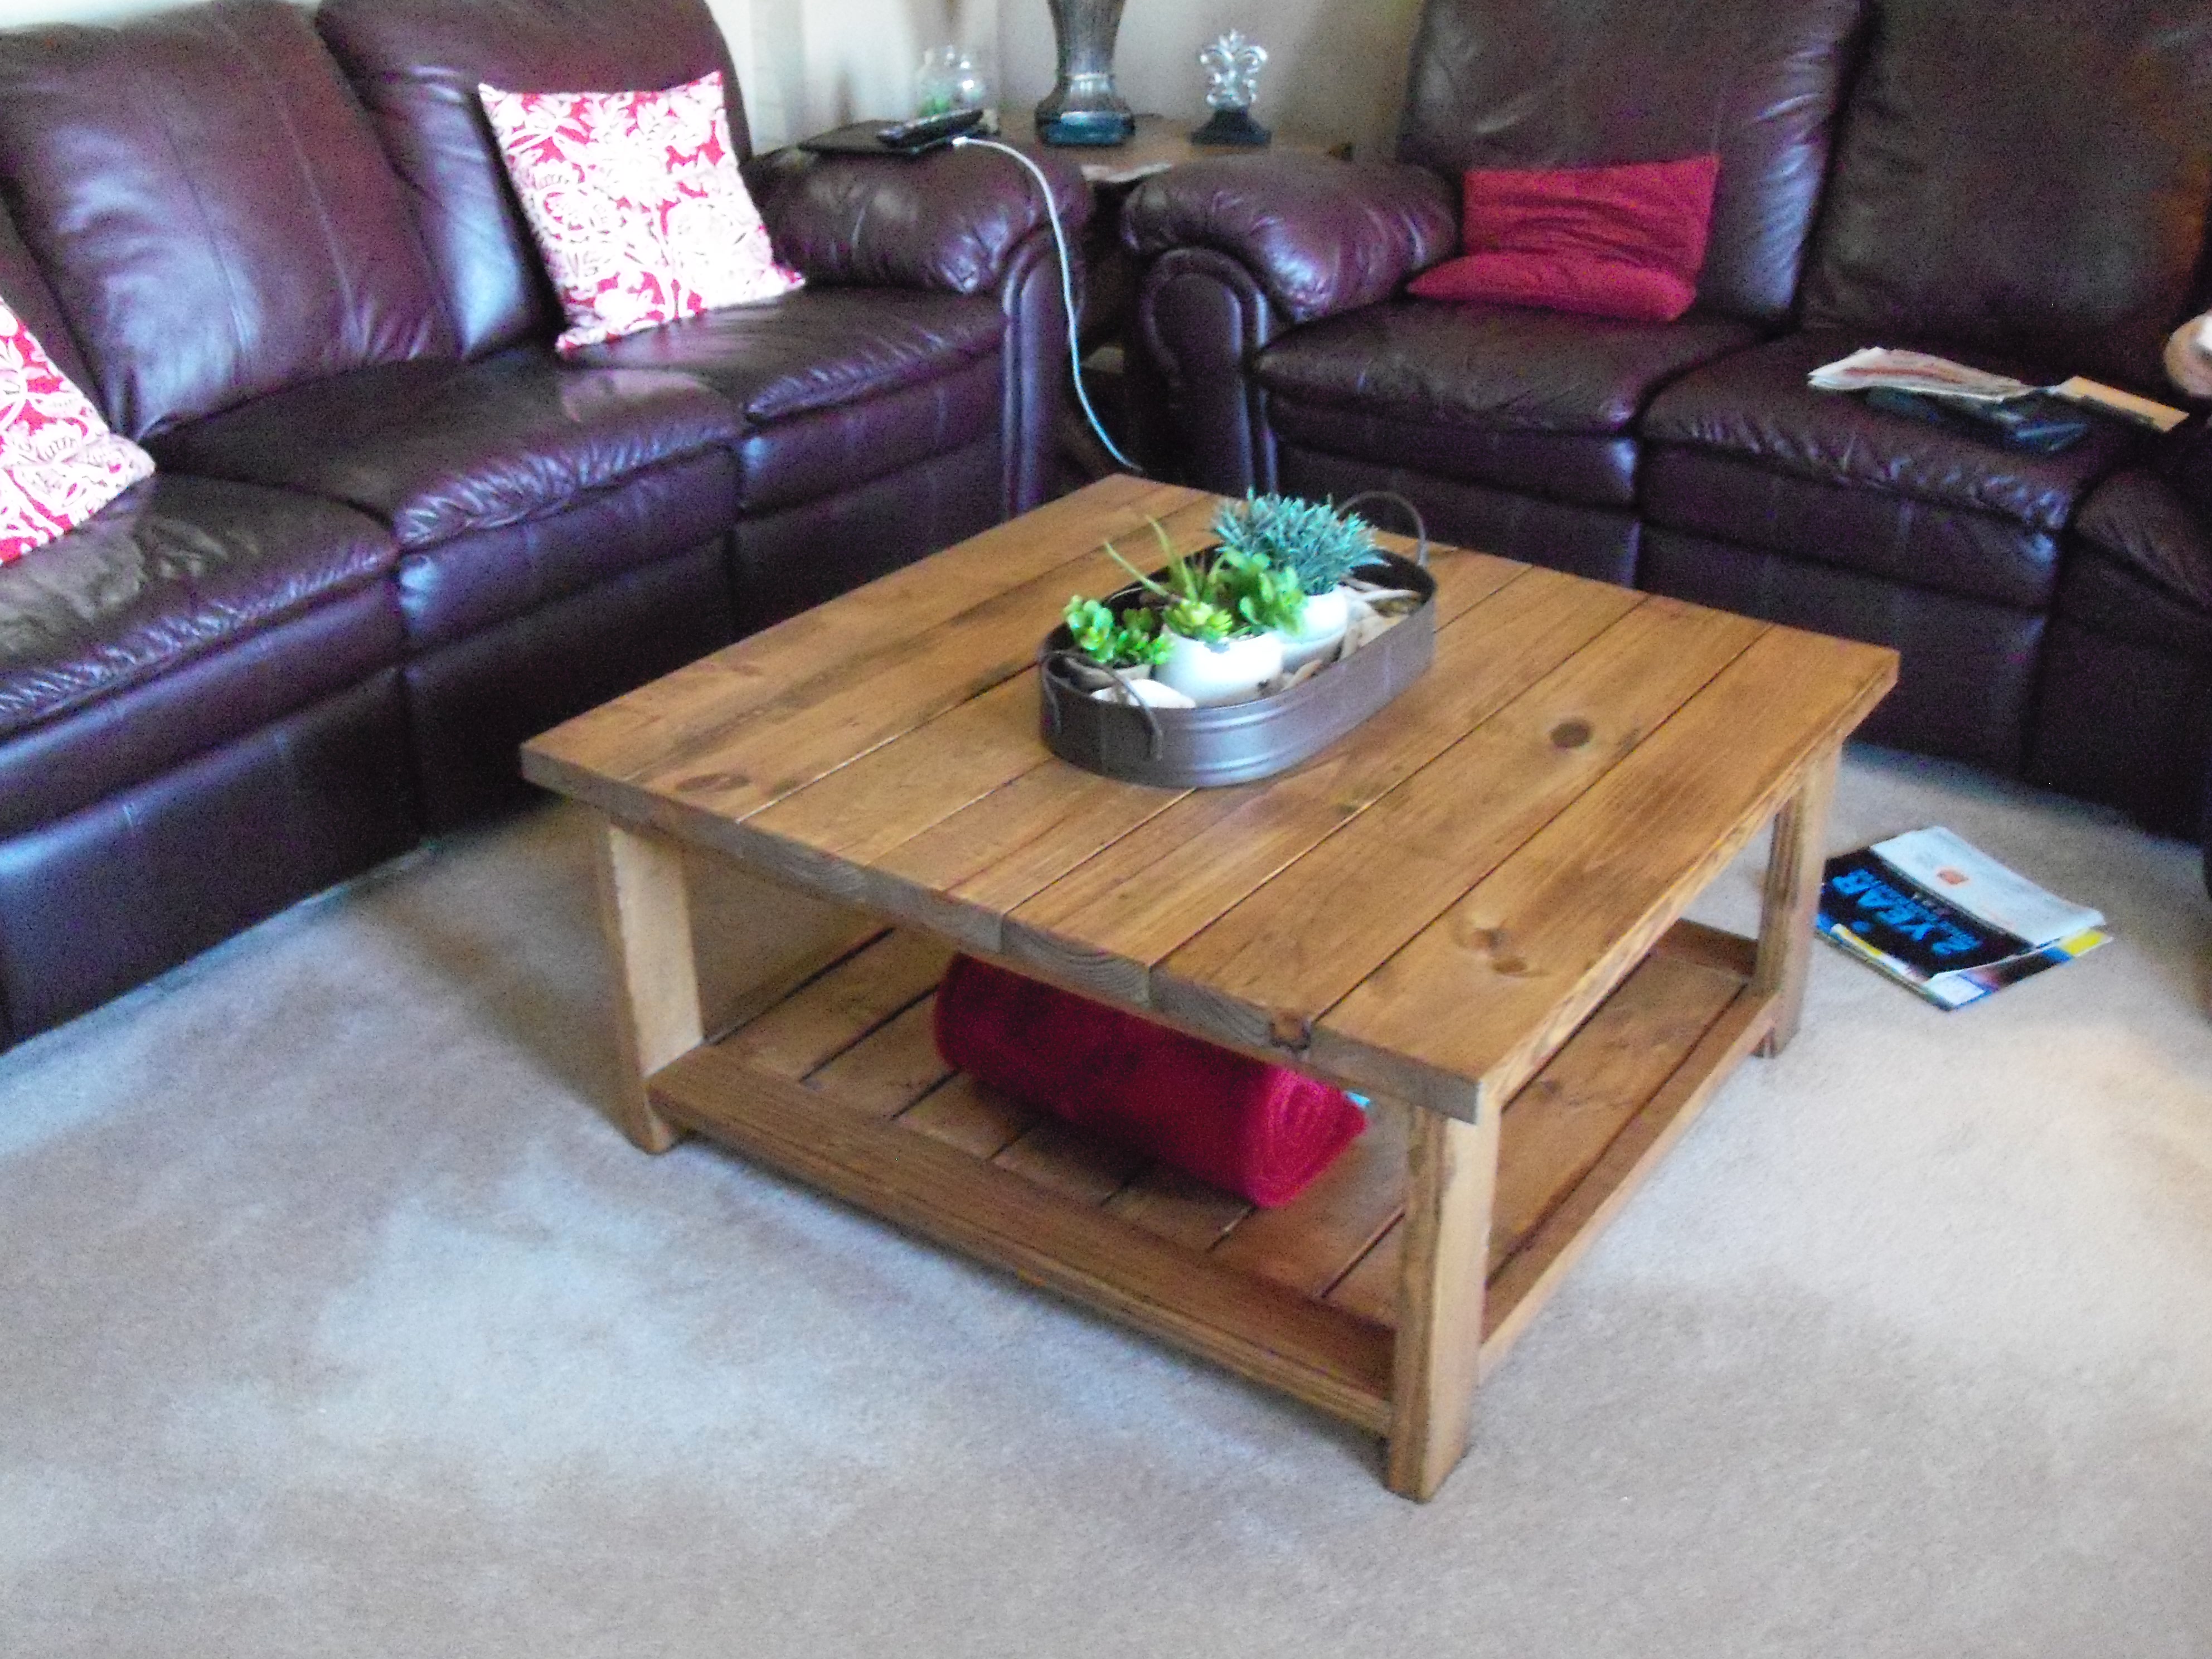
We used reclaimed barn wood purchased at a local hardwood store. The wood was, presumably, some type of cedar and was very user friendly; no cracking from screws and cut / glued very well. We did have to run the stock through the joiner first, however, as the edges were weathered, warped & gouged. We didn’t sand or finish the wood in any manner and it looks exactly as it did when it was part of a standing barn.
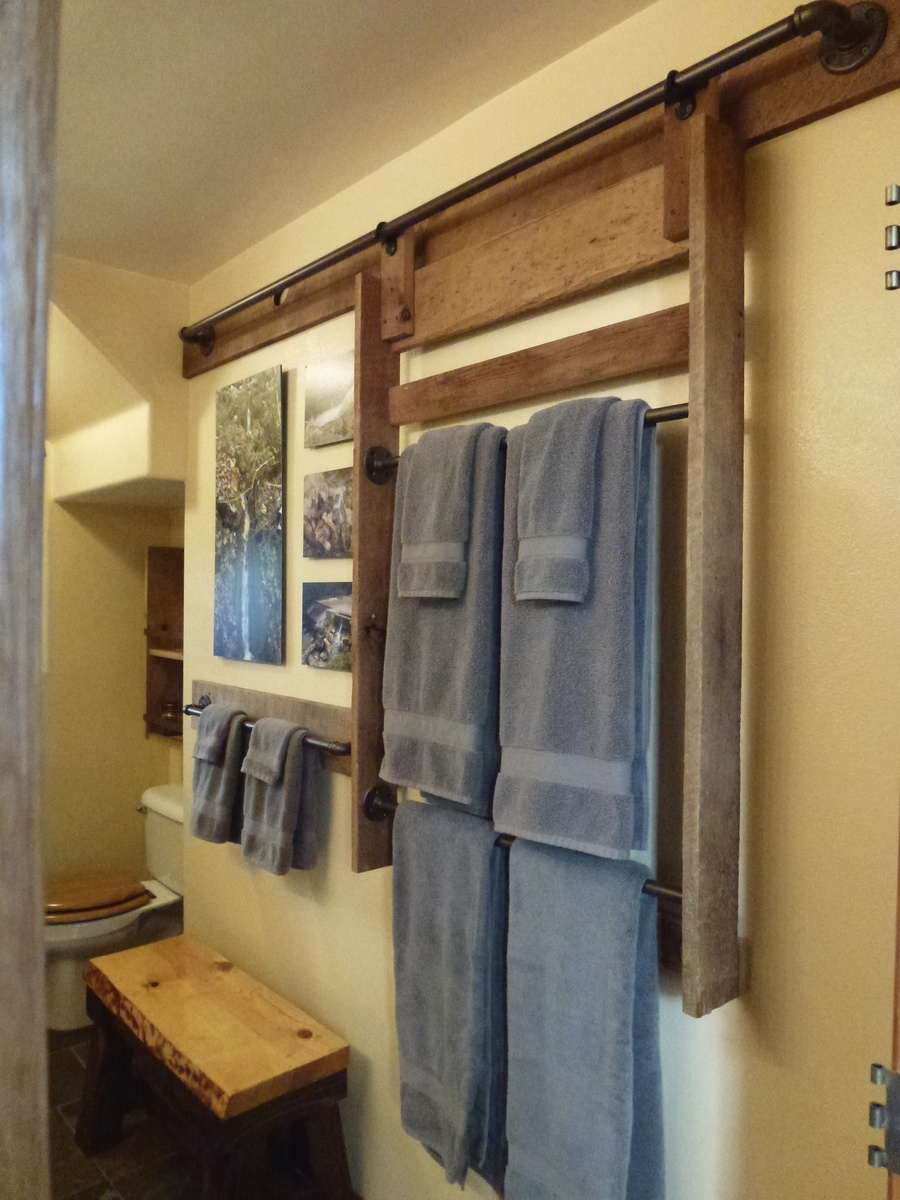
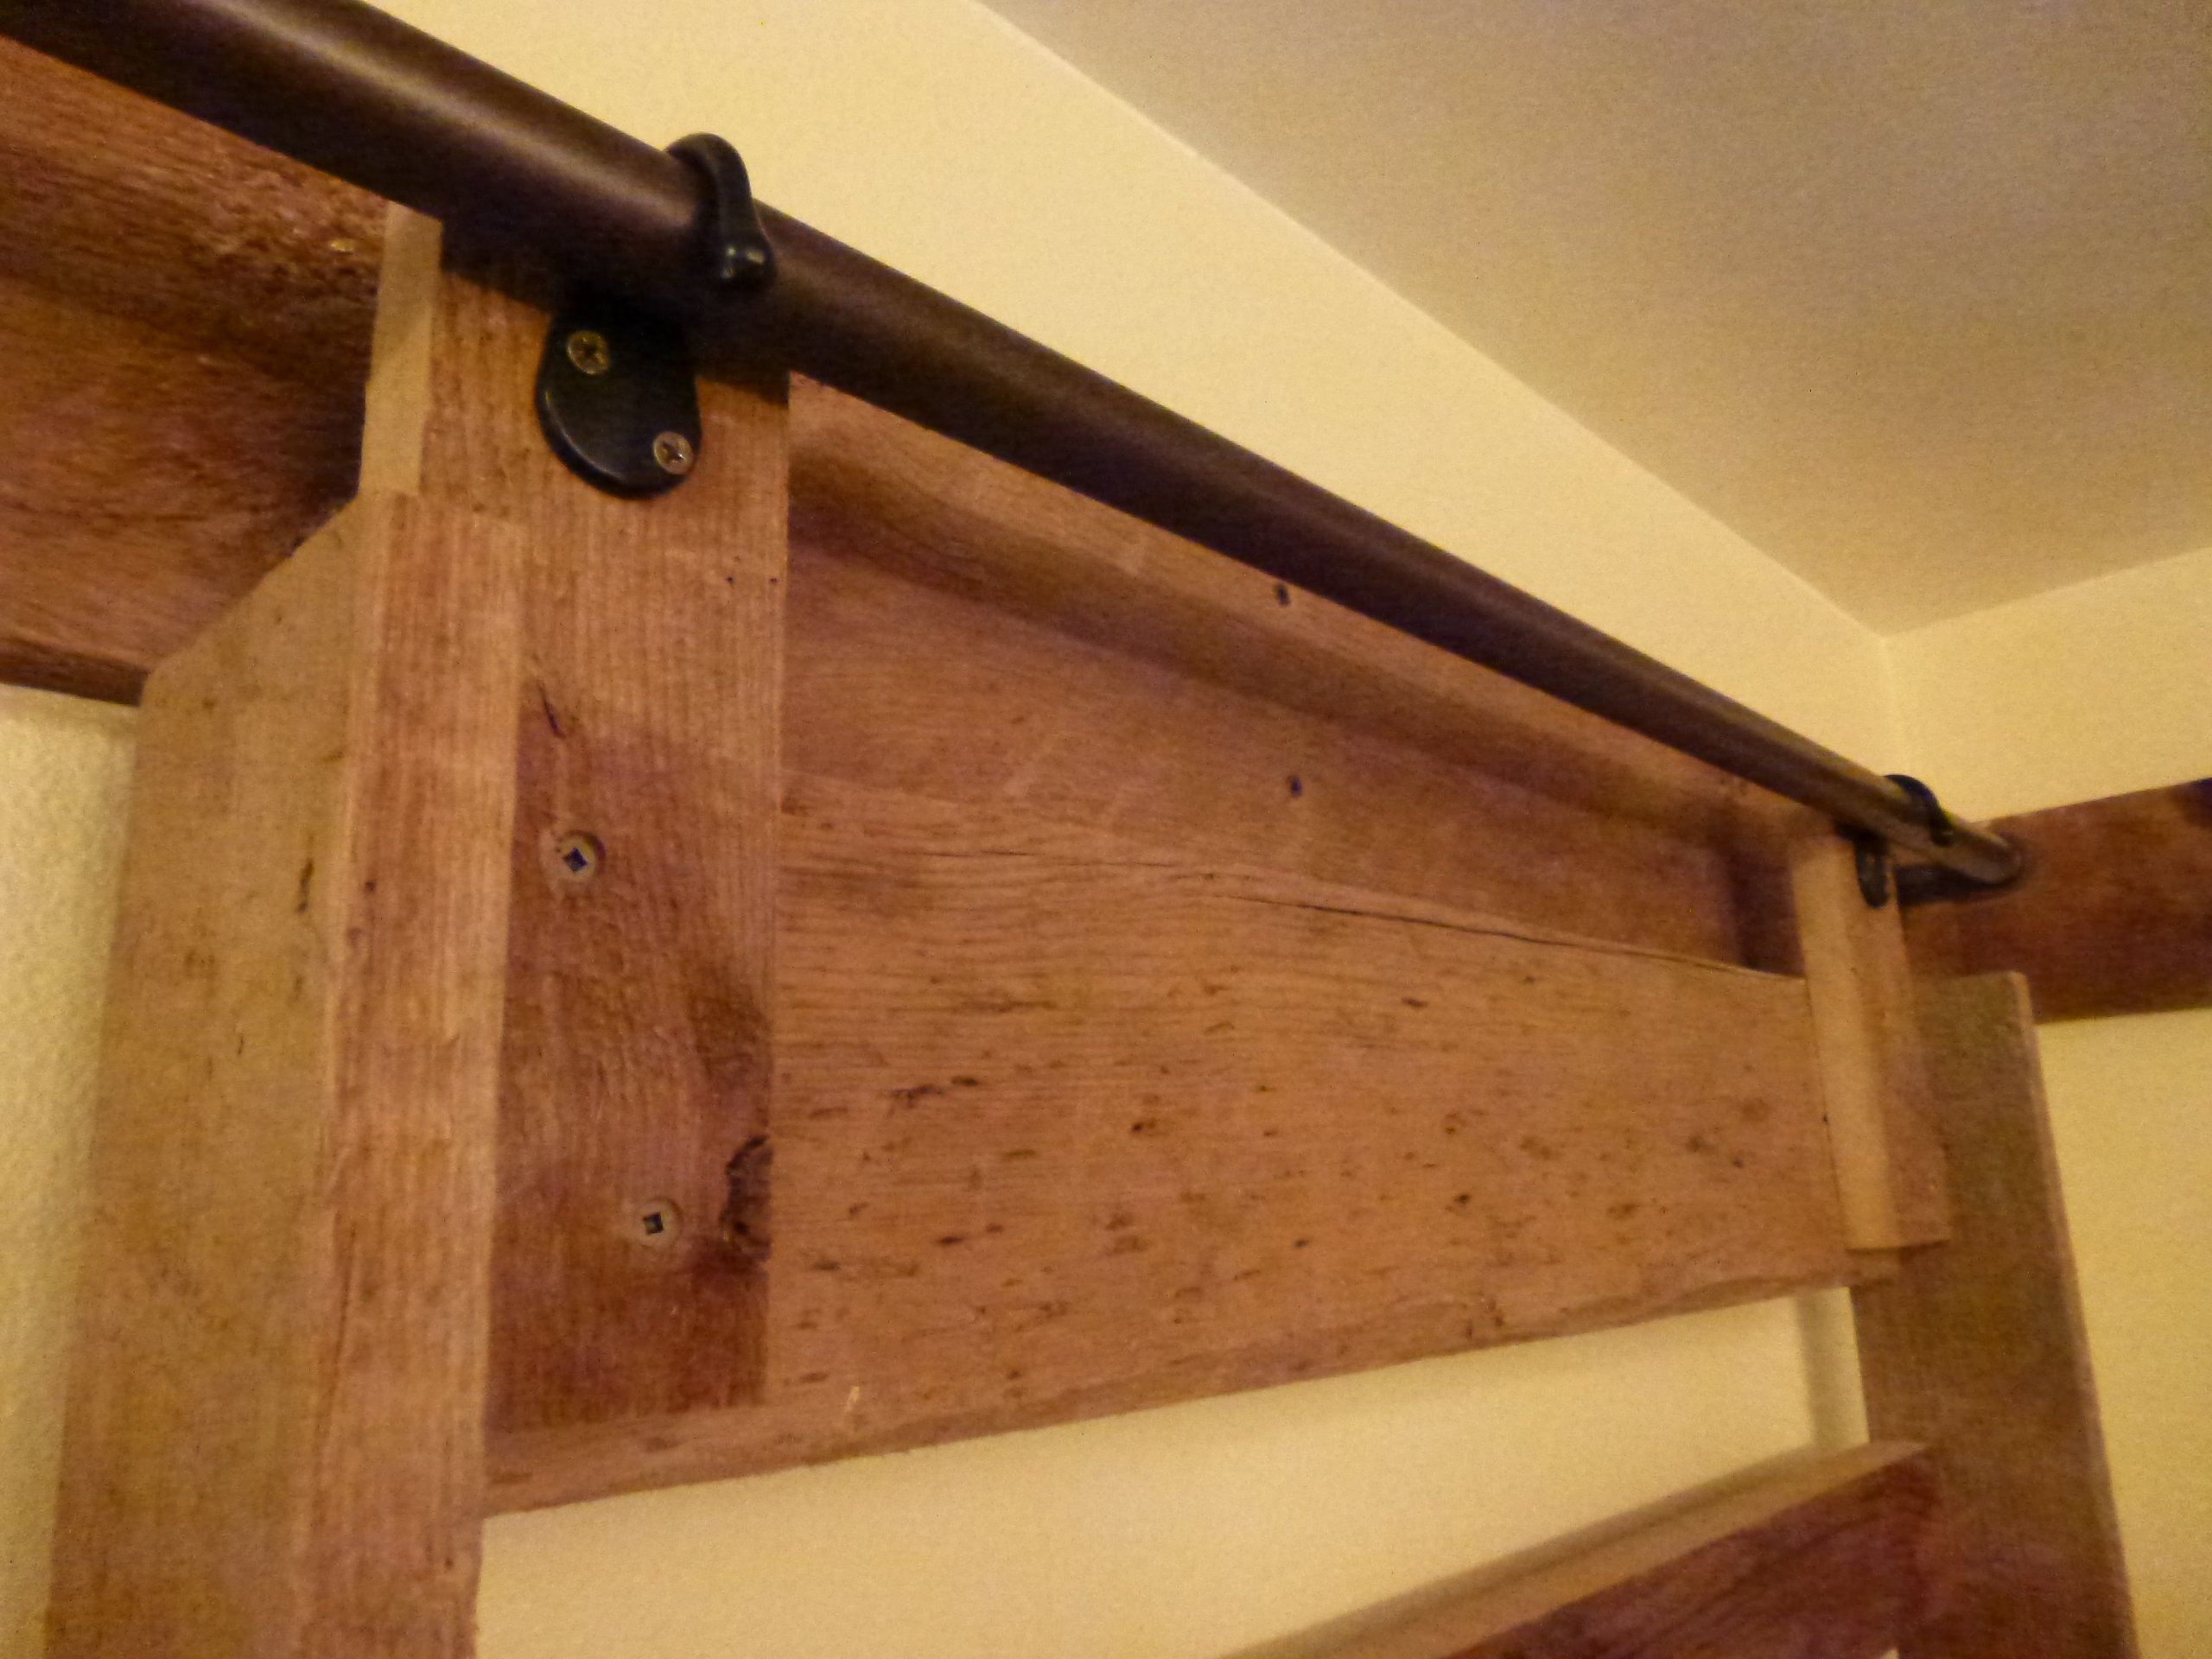
We used 3 – ¾” 30 inch pipes for the towel racks and 1- ¾” six foot pipe for the top rail. The pipes were assembled & painted with Rust-Oleum Universal Metallic Paint & Primer in One – Flat Burnished Amber. Instead of eye hooks to hold the ladder to the top rail, we decided on pre-painted bronze robe hooks.
After stock was squared, pieces were cut for the border and ladder. The ladder is 32” wide (x) 48” long with 4” boards. We chose that length so as to accommodate 2 towel racks with enough space for 4 sets of towels. The assembly was made very simple by first attaching the 30 inch ¾ ” pipes as they really brought the construct into square.
The only significant challenge to this project was selecting & cutting stock so all of the exposed edges were weathered facades.
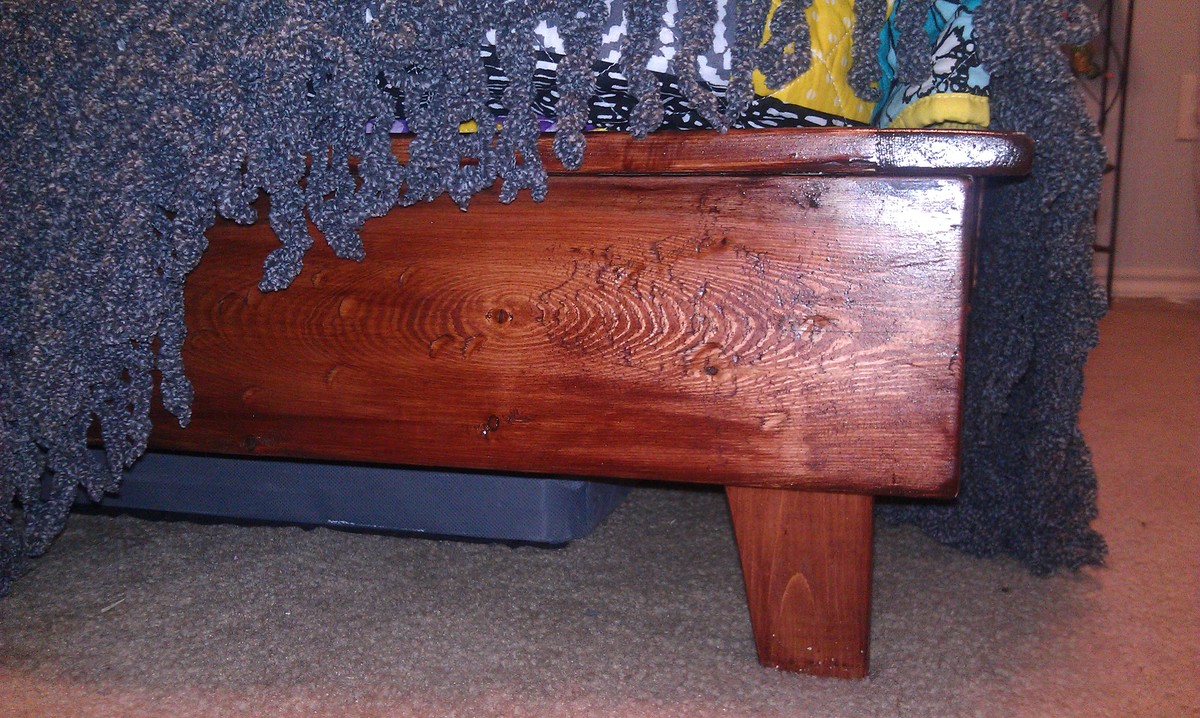
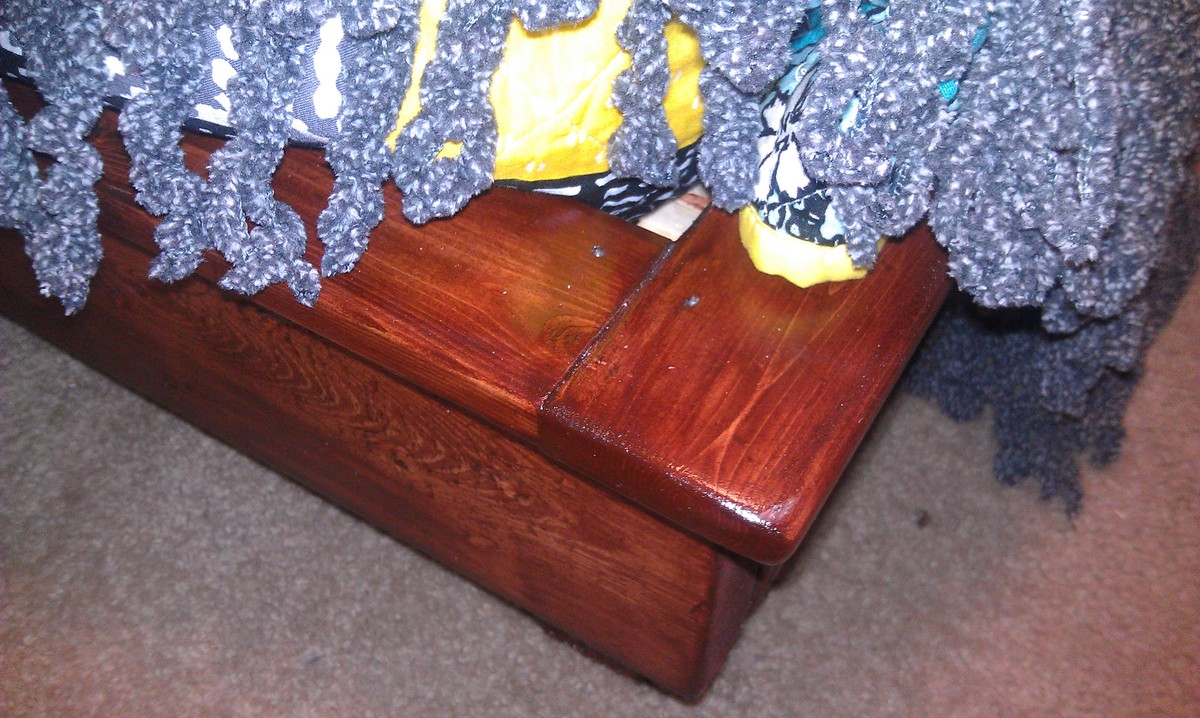
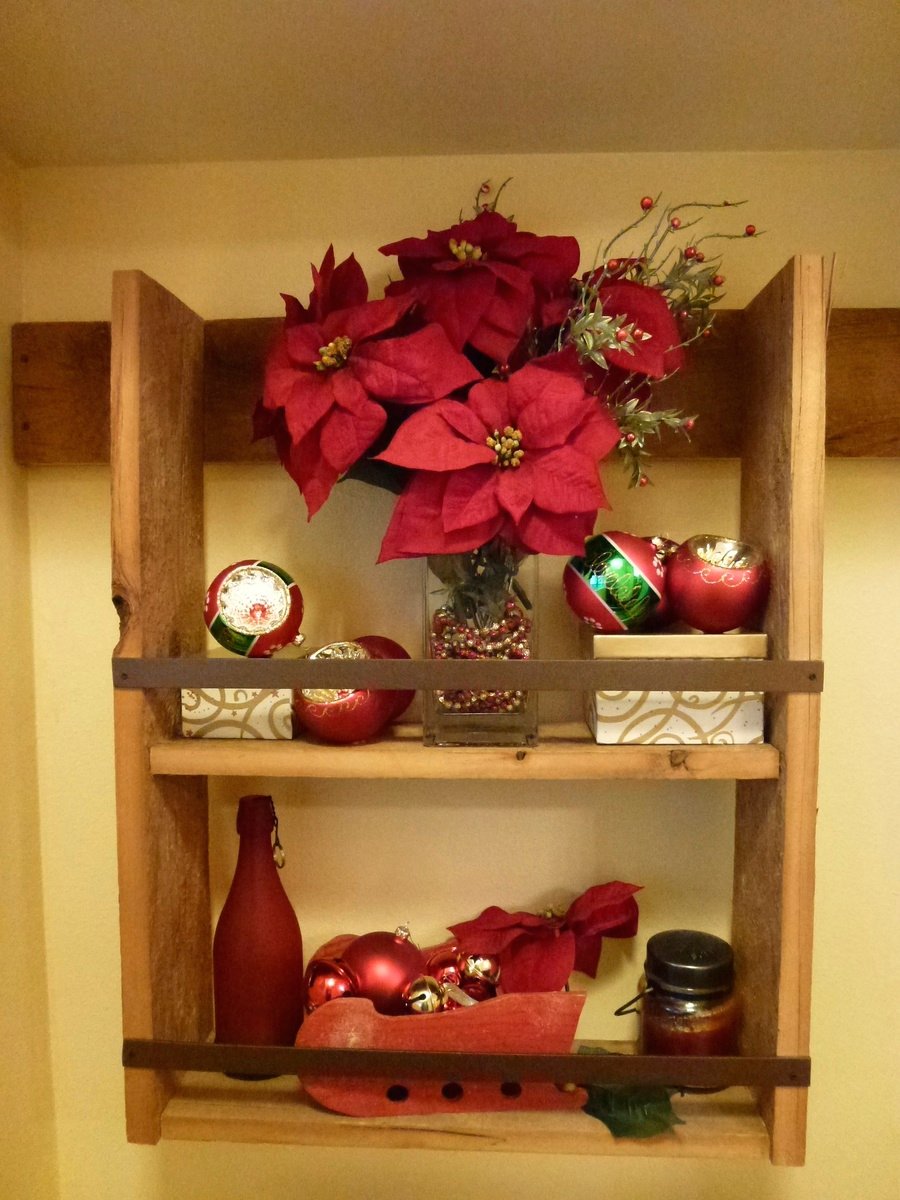
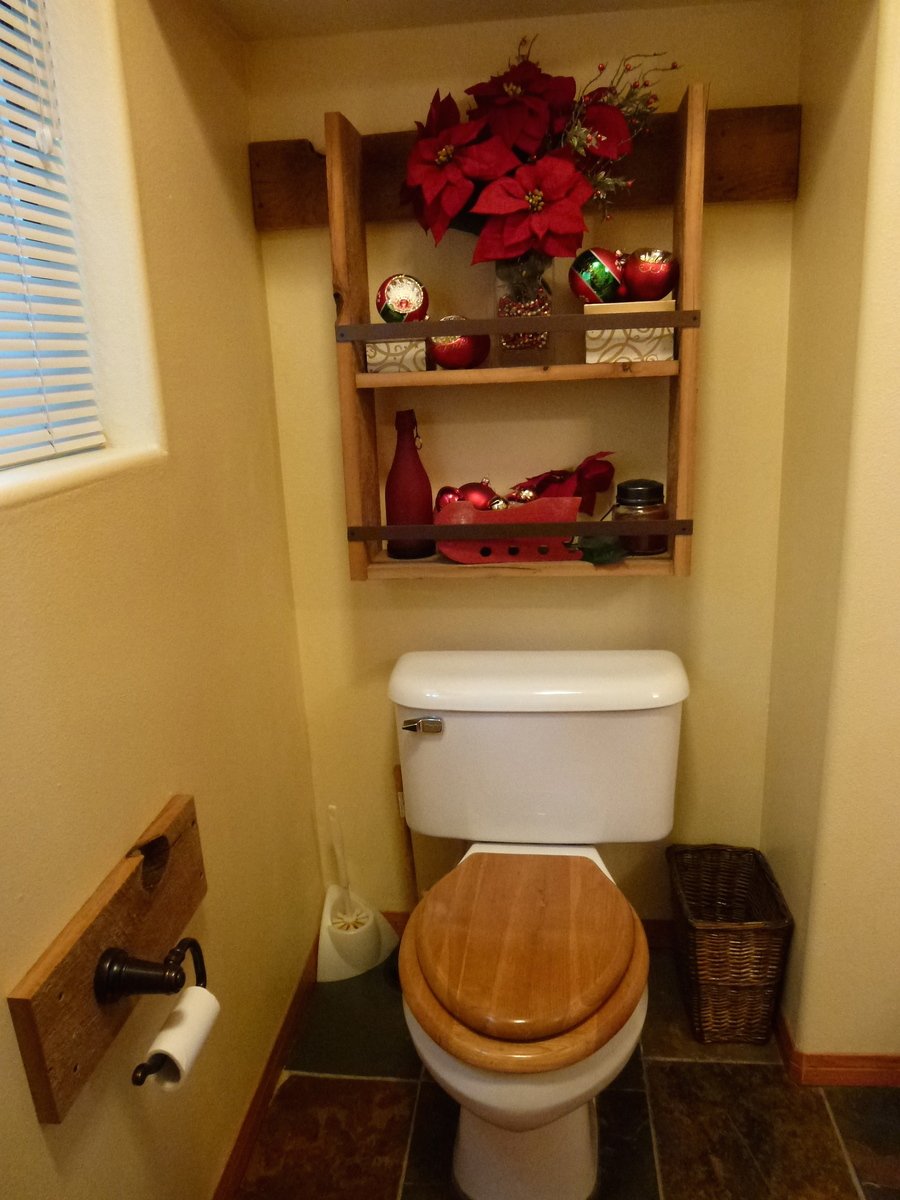
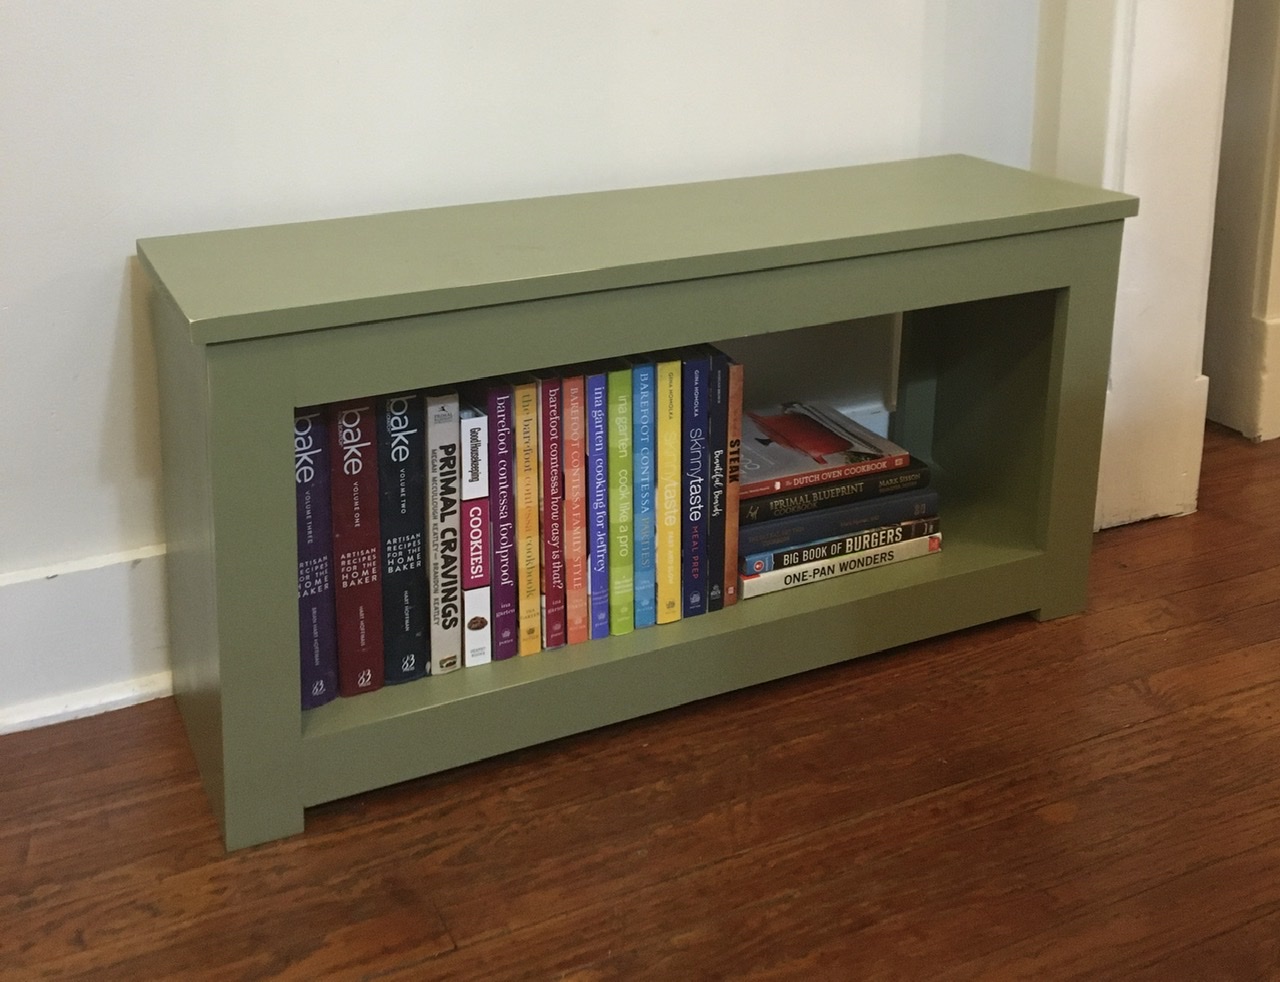
The project was finished off w/ a small shelf 23 “ wide (x) 30” long w/ shelf depth of 7” hung behind the toilet and a toilet paper holder base.
The bard wood was expensive (approximately) $200 for the project) and we spent about 20 hours building it. It was well worth the effort. And, to our amazement, all components finished level to the ceiling and square to each other … better “lucky” than “good”.
This was a simple and rewarding Fall project and is recognized by our guests as both a unique and utilitarian augment to our guest bath.