Community Brag Posts

Vintage Bar Stools

Submitted by danicarby on Fri, 09/26/2014 - 10:45

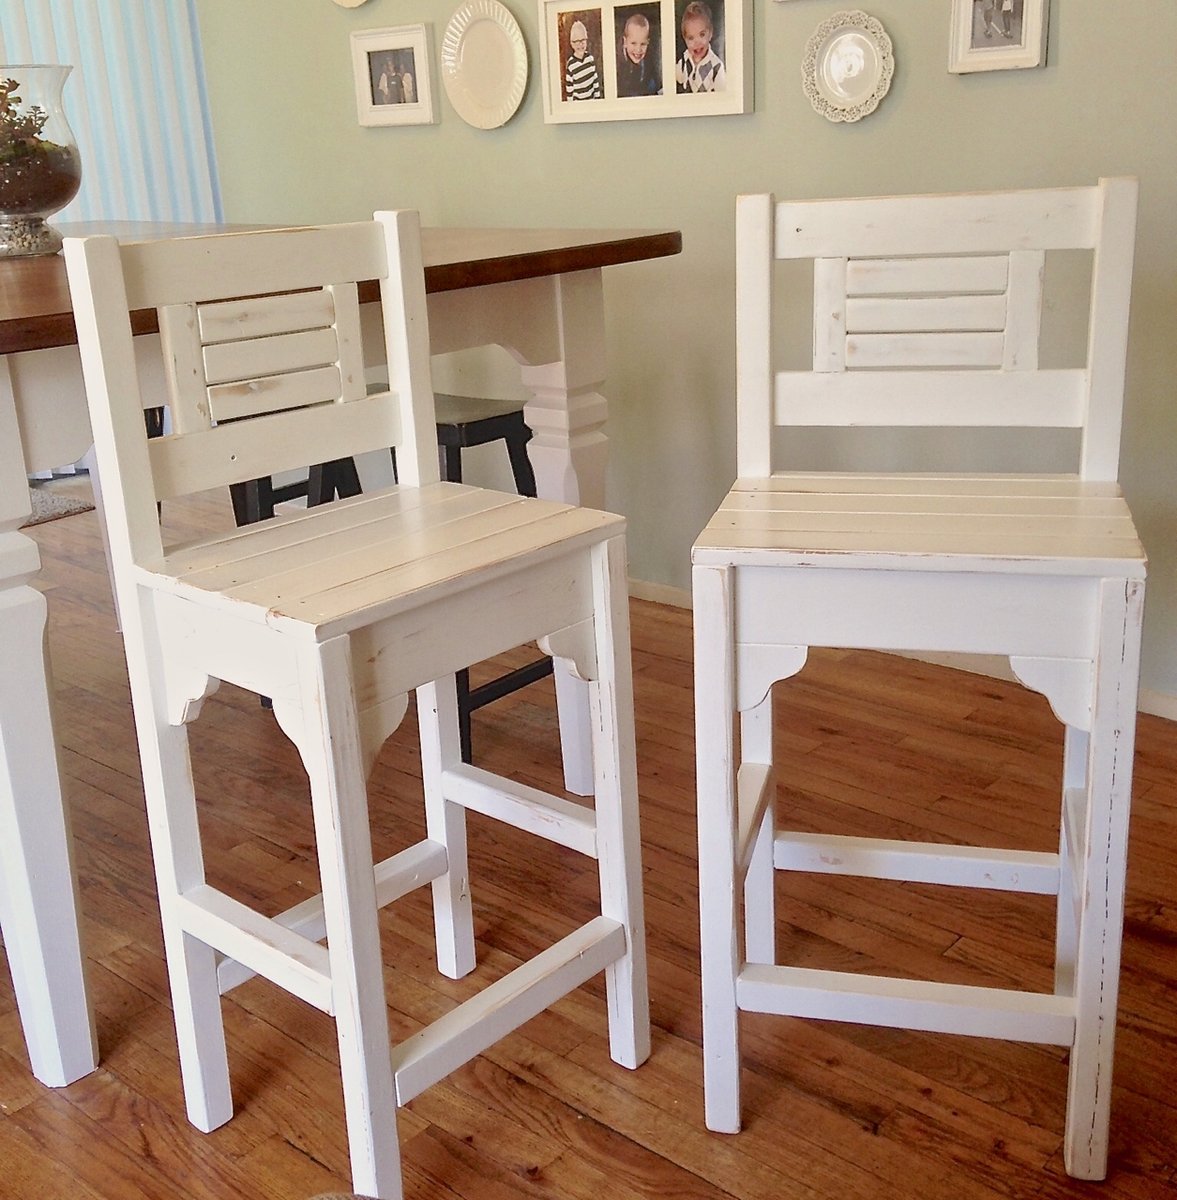
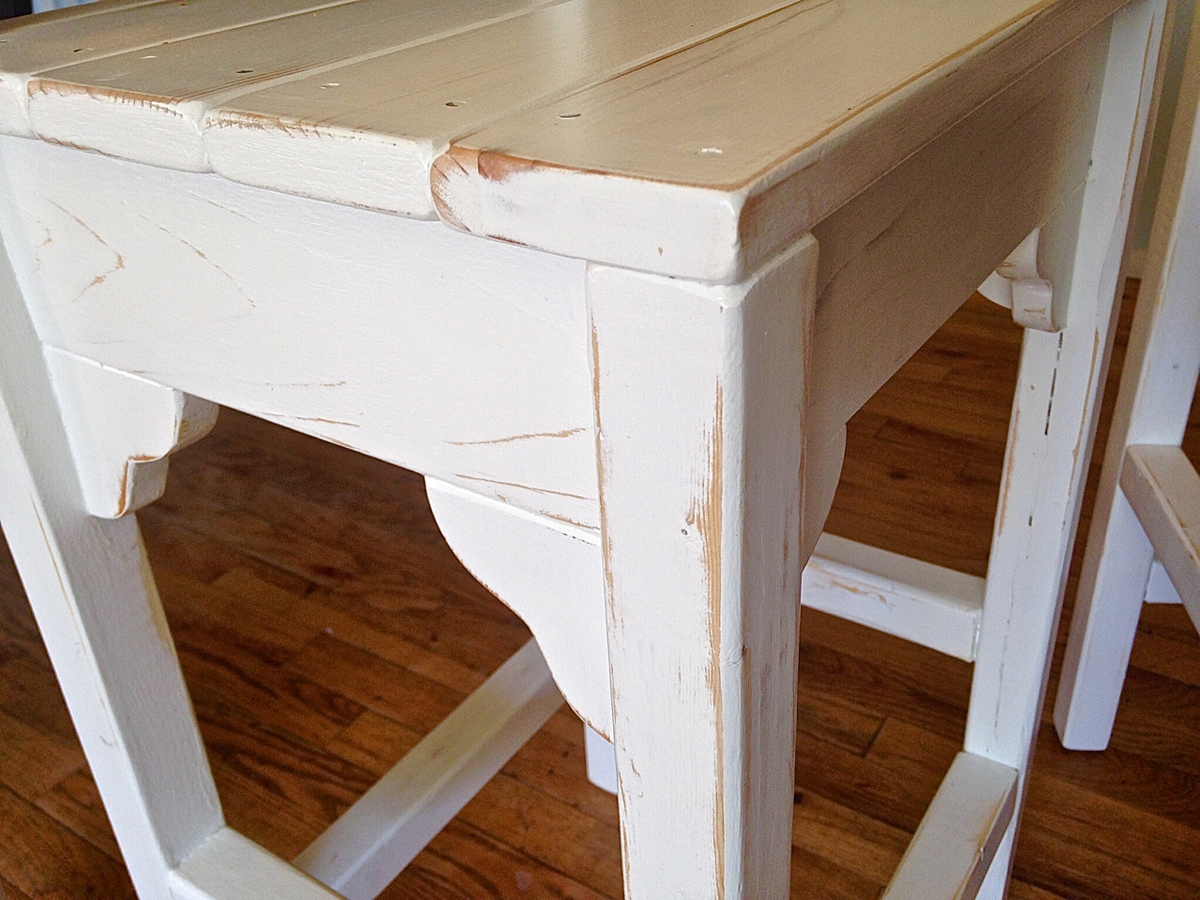
I did a little search to find a barstool and when I saw these plans on Ana White I fell in love.  They were an easy build and didn't cost a lot.  I made my stools shorter and altered the overall footprint.  I like to plug all visible pocket holes which is easy to do and looks great.

Built from Plan(s)
Estimated Cost
$20 for 2 stools (using cheap furring strips)
Estimated Time Investment
Weekend Project (10-20 Hours)
Finish Used
Sherwin Williams Latex Paint (white), sand with 220 grit to smooth and distress and 2 coats of Minwax Polycryclic Water-Based Clear Satin Top Coat
Recommended Skill Level
Beginner

farm table

Submitted by Anonymous (not verified) on Tue, 01/10/2017 - 20:42

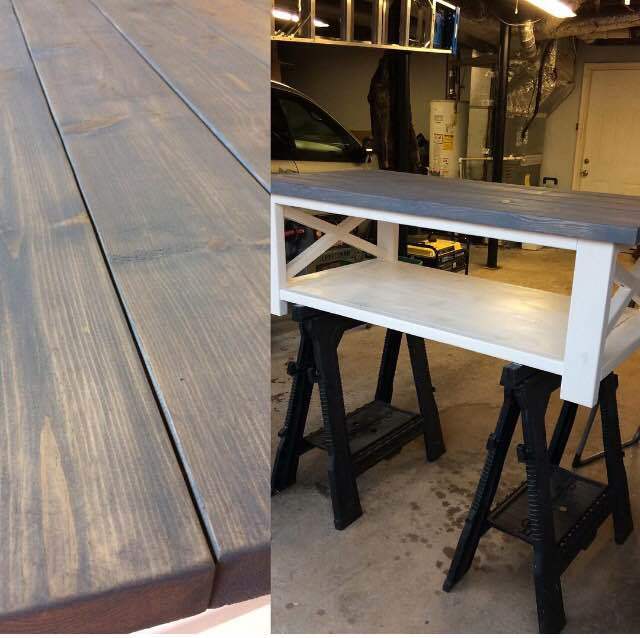
This is our version of the farm house table. Flat white base with a grey finish on top to give it a coastal farmhouse theme. 

Estimated Time Investment
Week Long Project (20 Hours or More)
Recommended Skill Level
Beginner

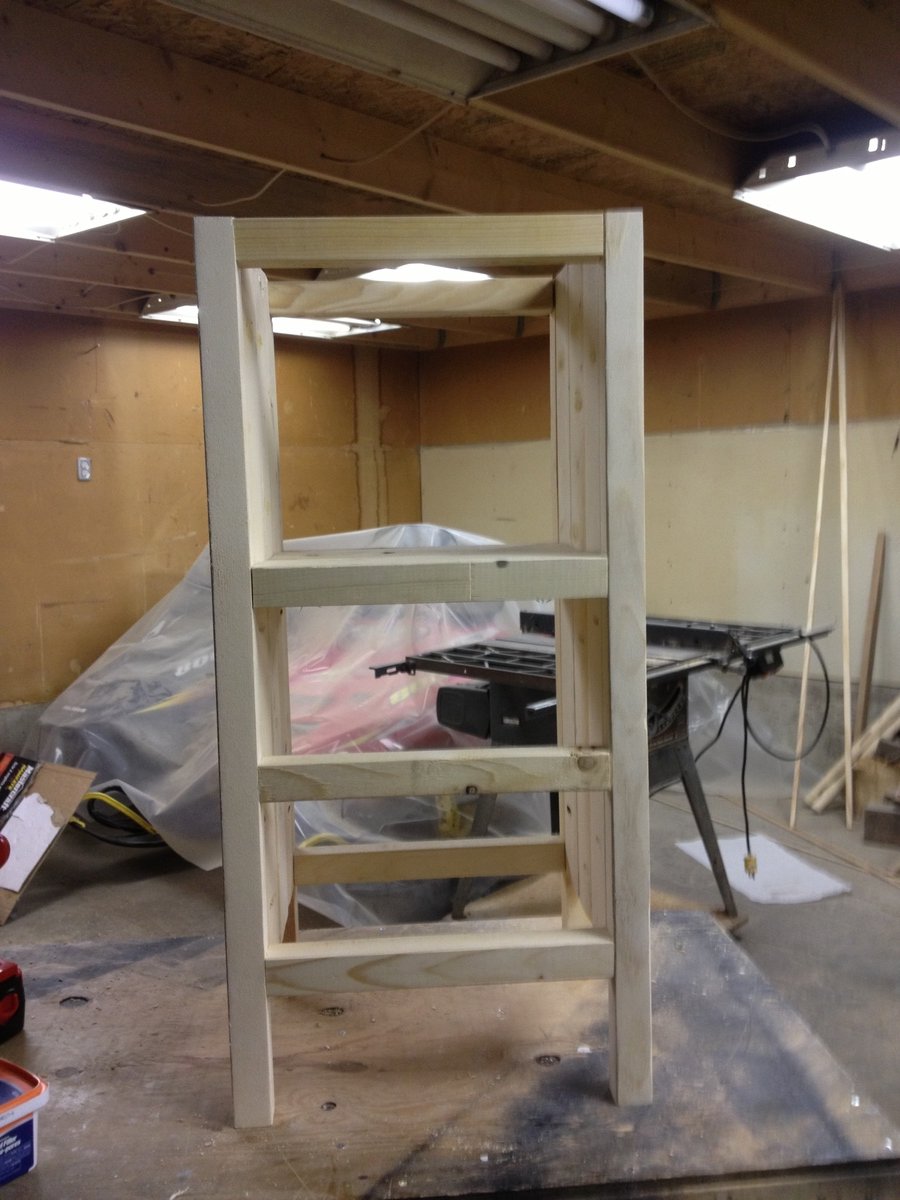
Kitchen helper

Submitted by flinchball on Wed, 09/23/2020 - 14:13

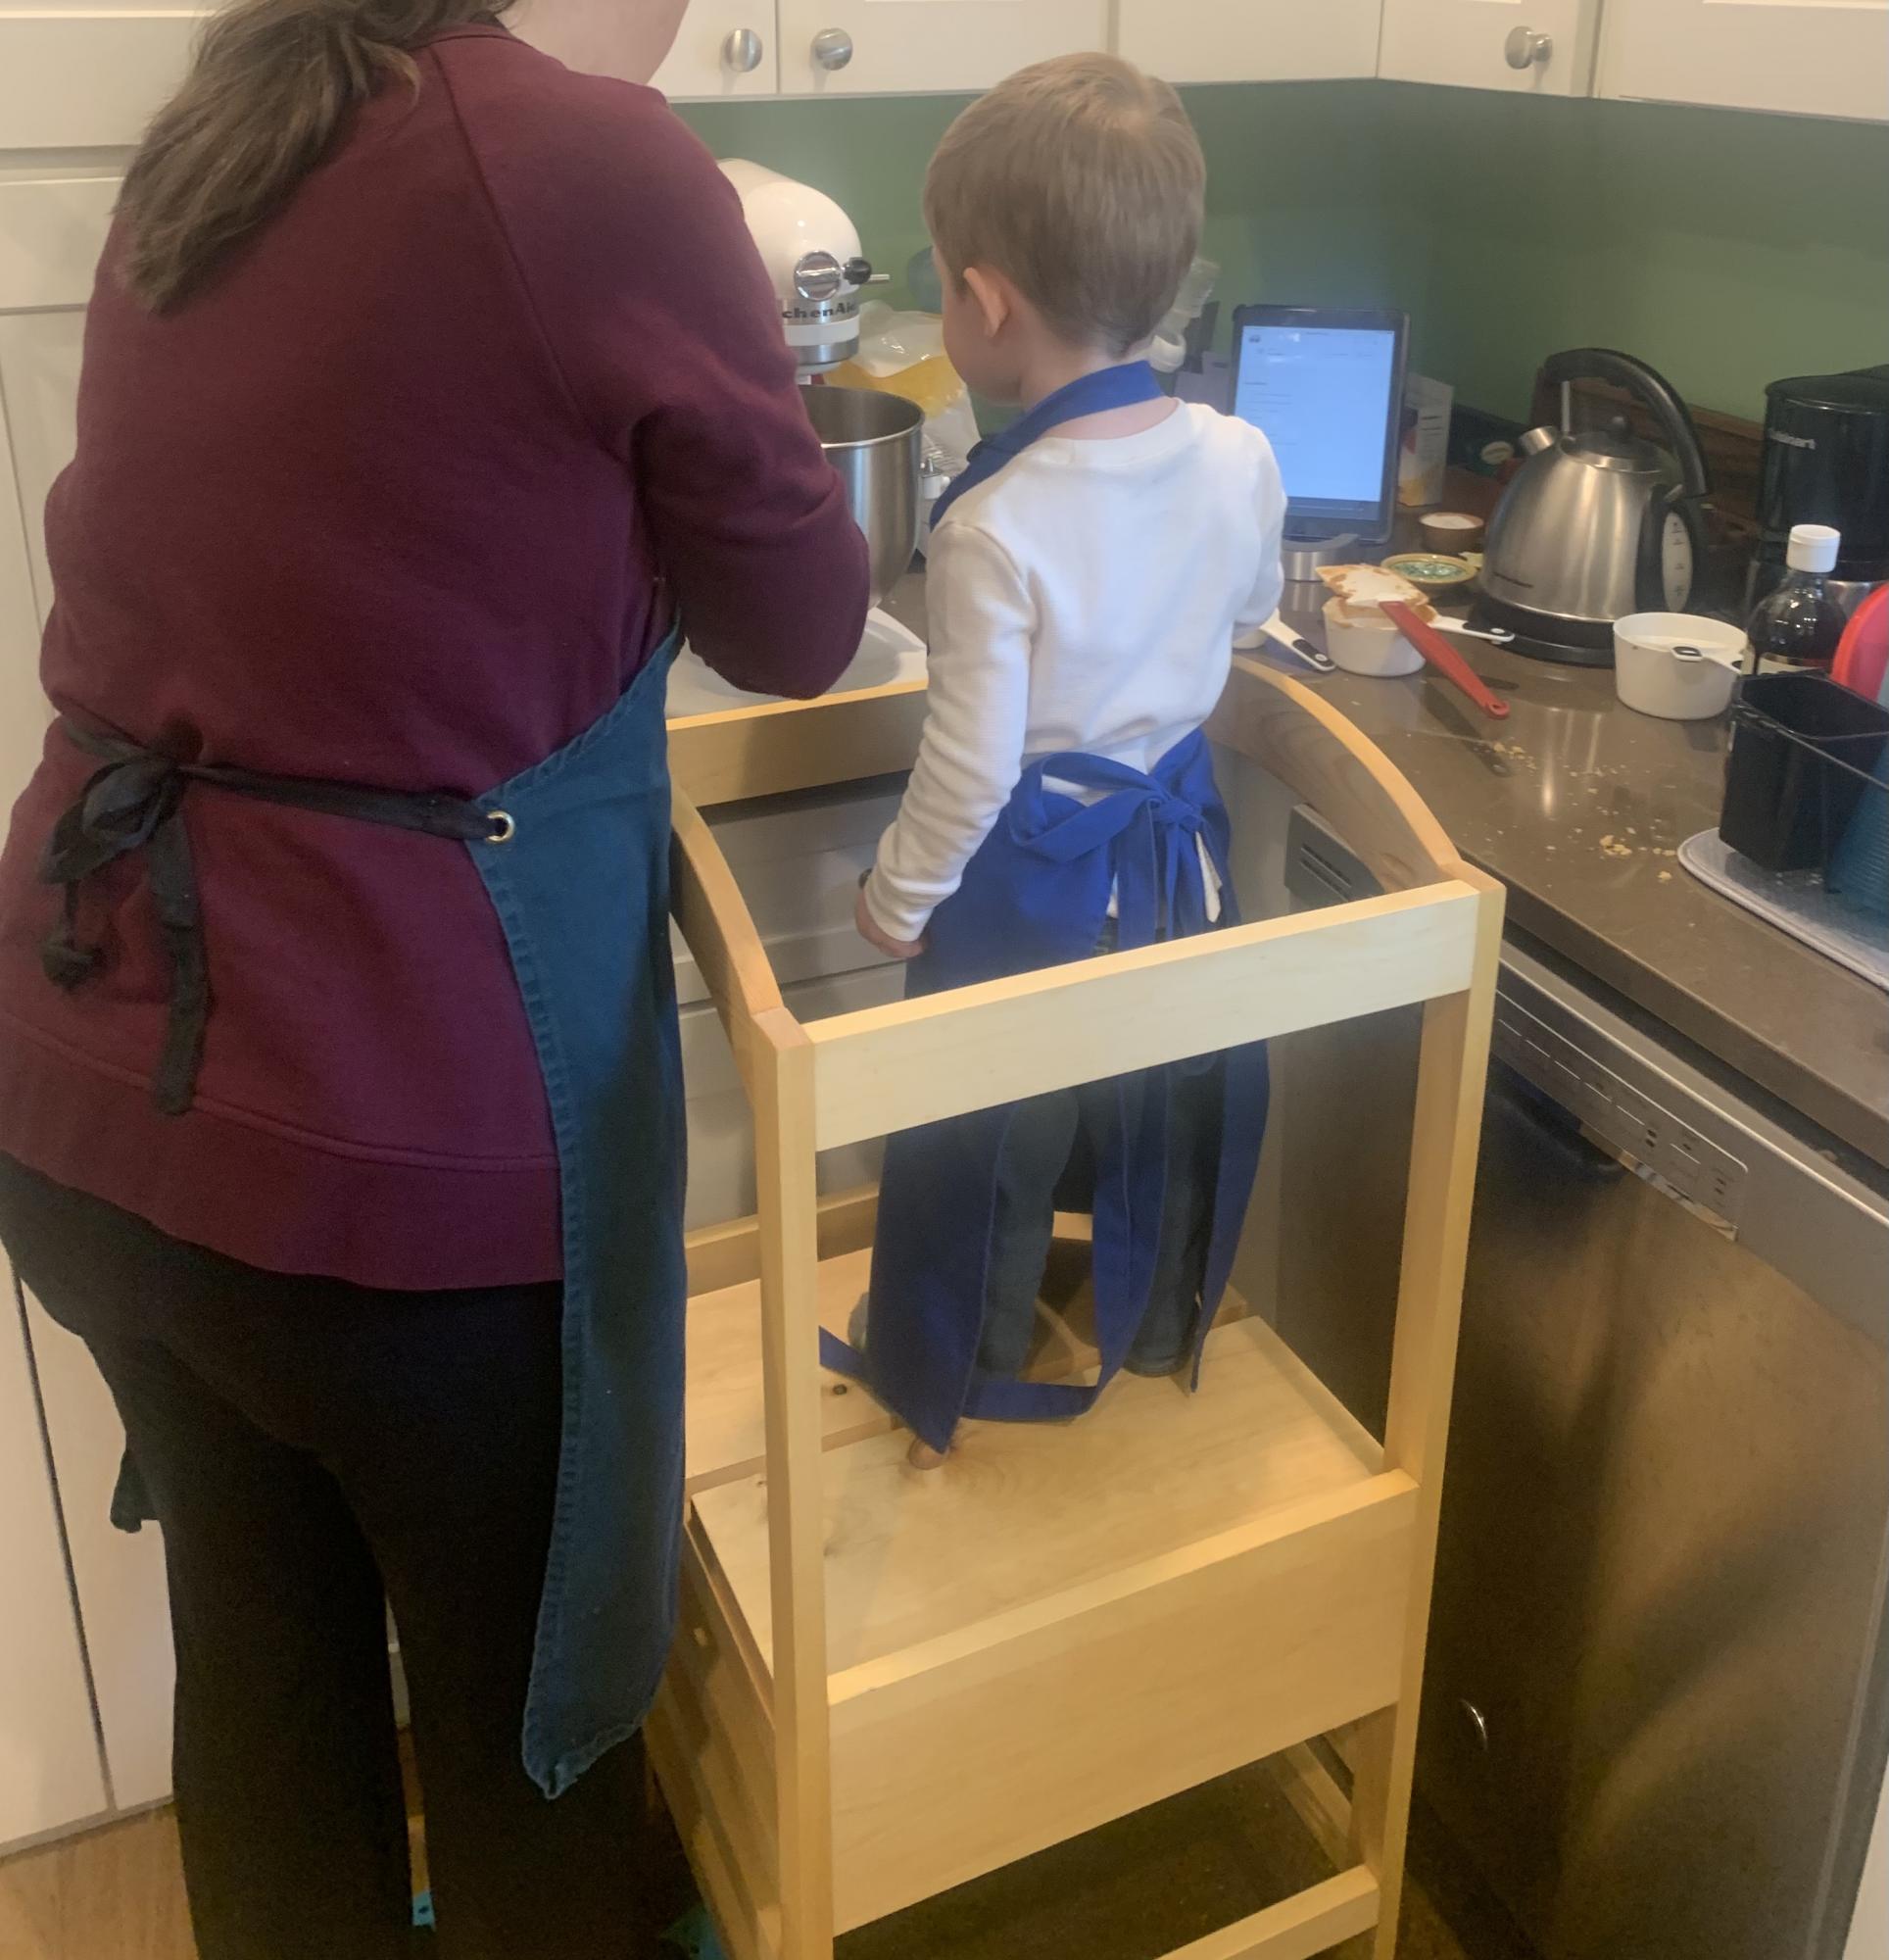
What a great help for mom in the kitchen. Very stable even without the extra feet. Only thing I wish I had done differently is make it two inches shorter so it would slide under the edge of the counter. My kids love helping to bake now.

Estimated Cost
$20
Estimated Time Investment
Afternoon Project (3-6 Hours)
Finish Used
Boiled linseed oil. So easy. Just wipe it on and let it soak in.
Recommended Skill Level
Beginner

Comments

Sturdy DIY Farmhouse Bed

Submitted by Anonymous (not verified) on Mon, 10/21/2024 - 11:40

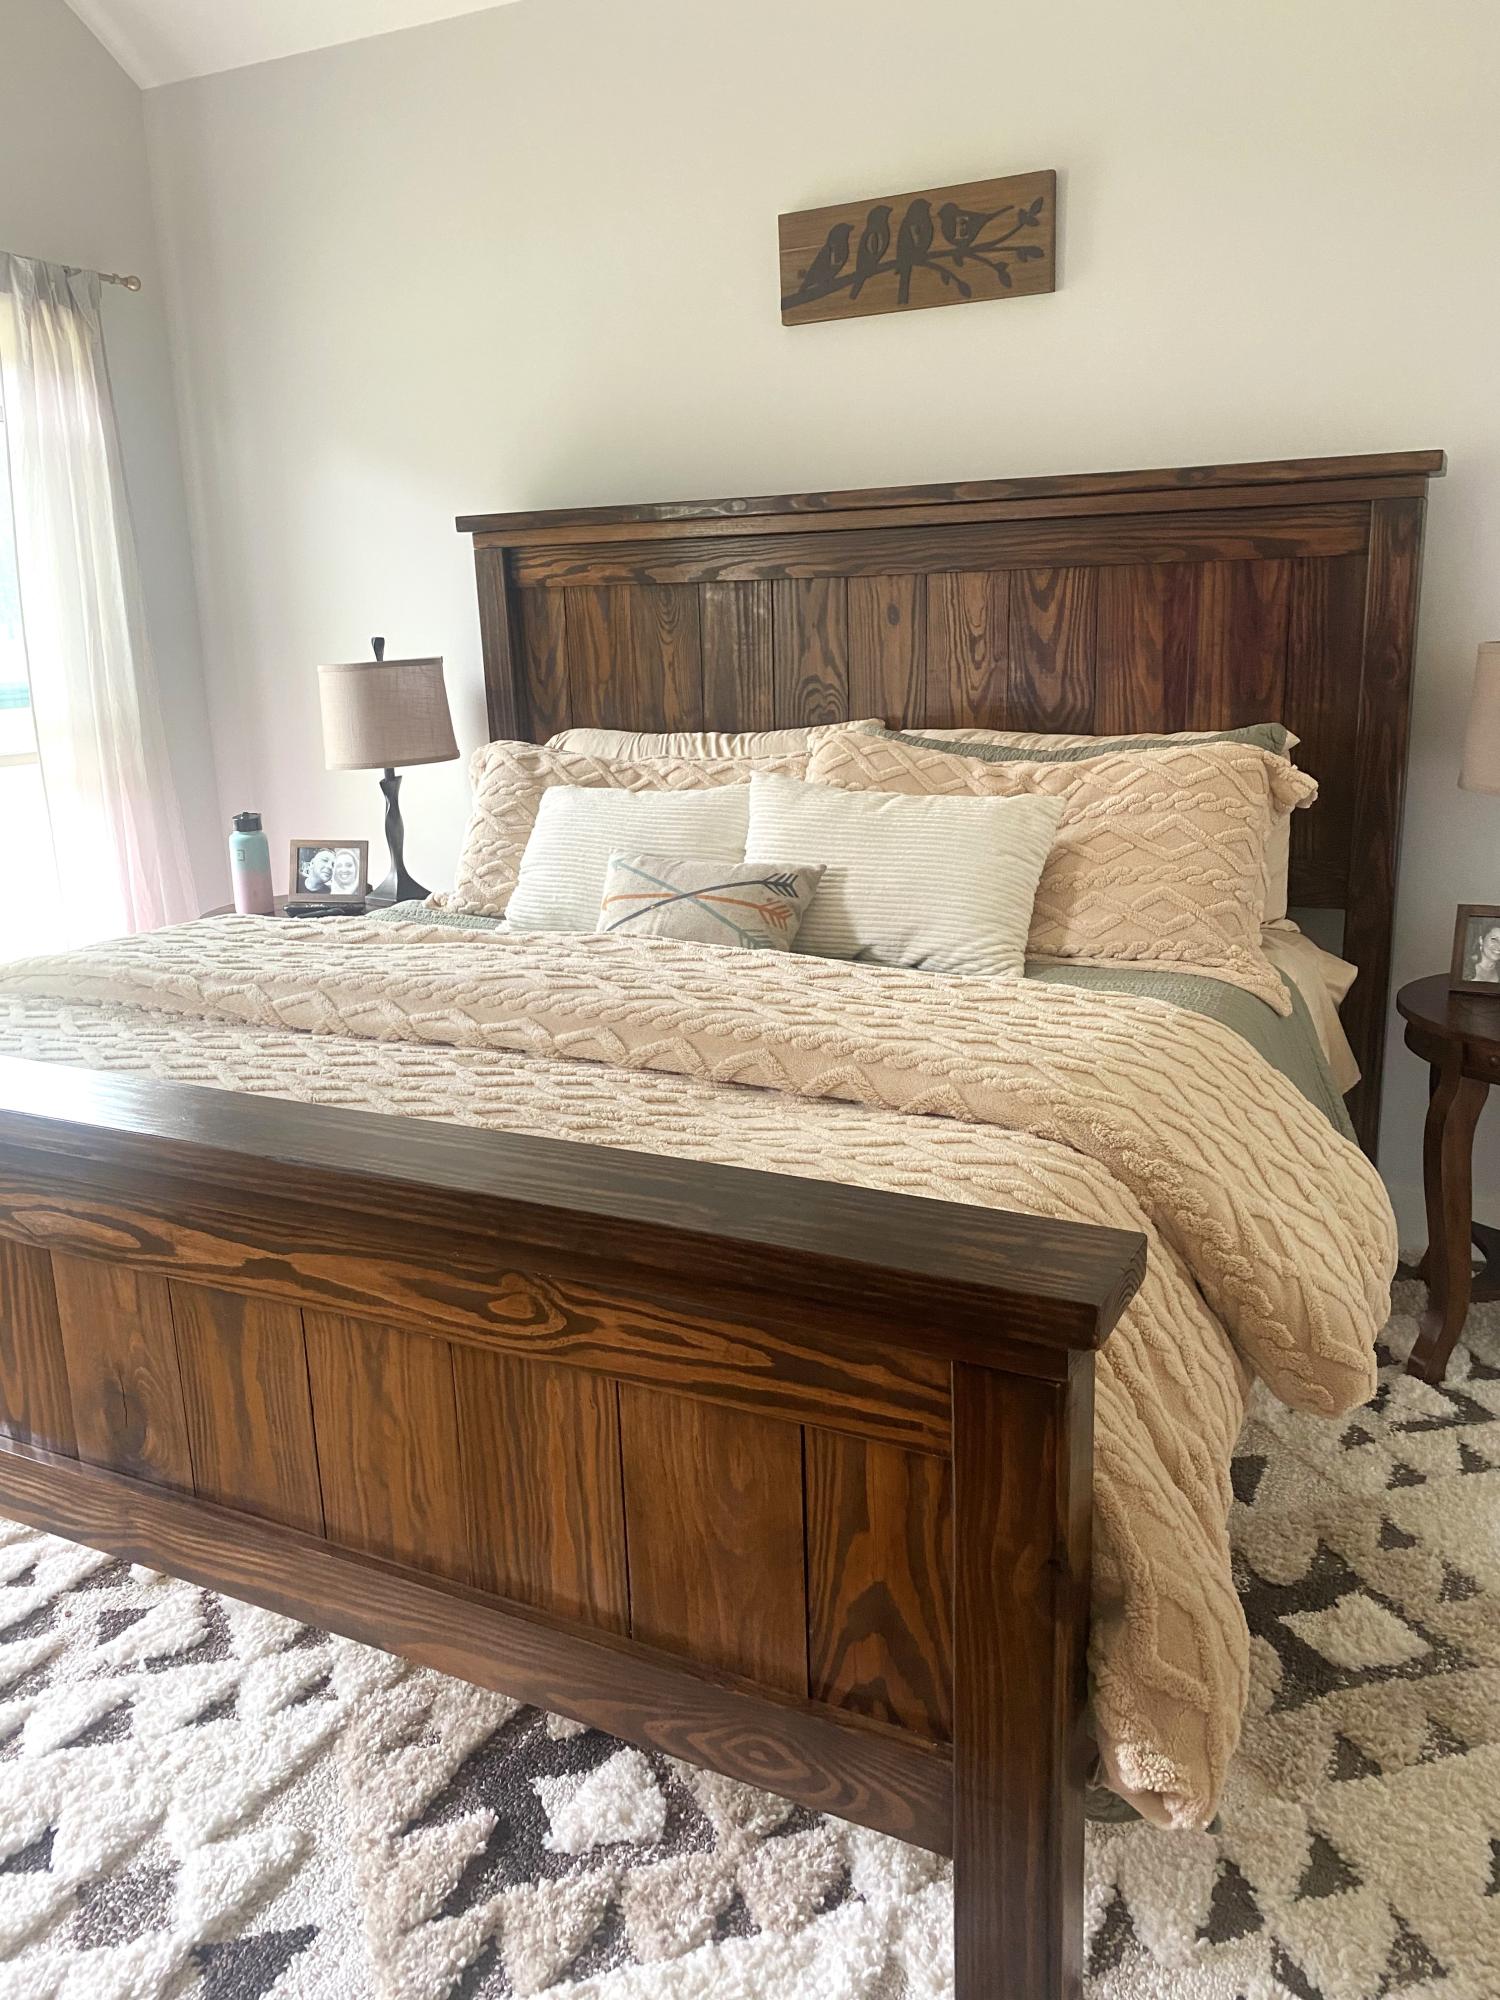
My husband slightly modified the height of the footboard of the farmhouse bed plans. We truly love this bed. It’s extremely sturdy and we have friends and family lined up to have him build them one!

Built from Plan(s)
Seasonal And Holiday

Pallet shelves

Submitted by lbadger on Thu, 12/20/2012 - 19:03

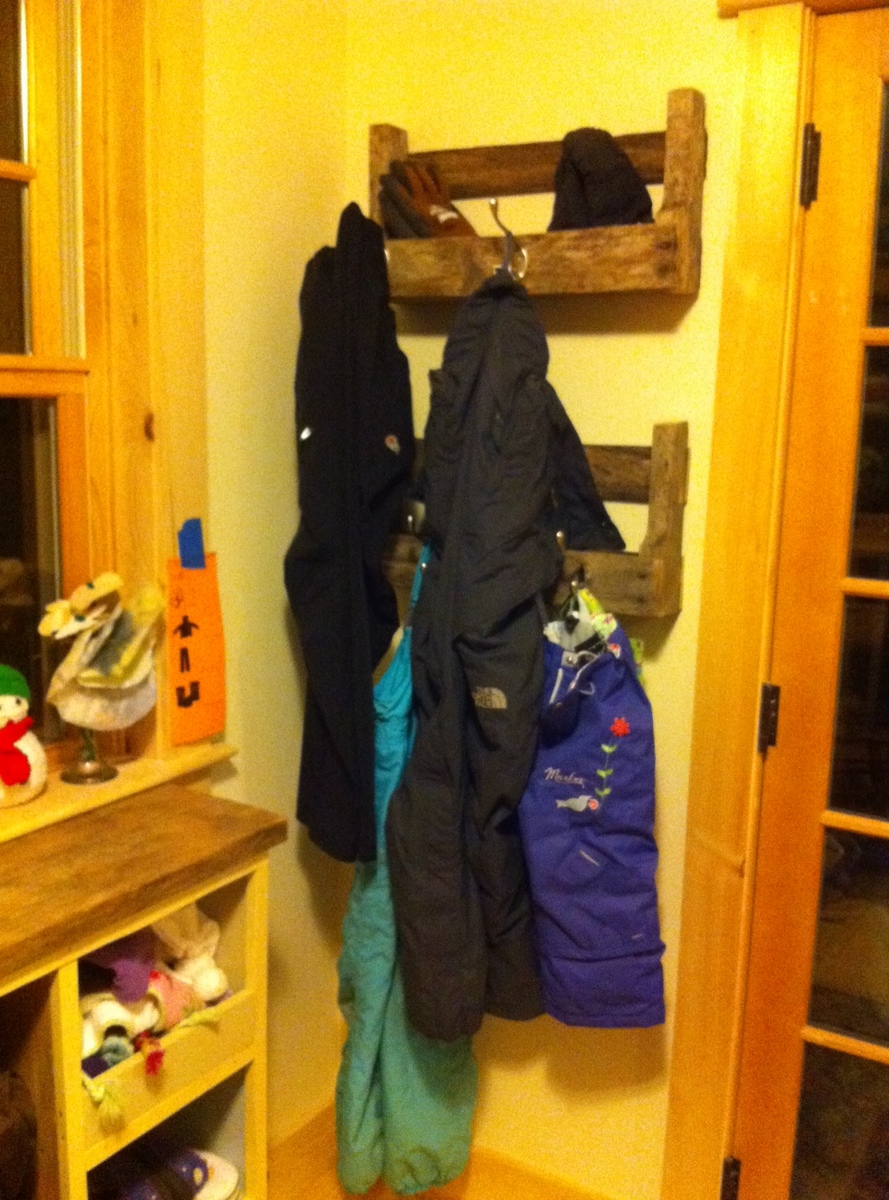
The first time I saw Ana's pallet shelves I knew I had to build them! It took a while but I found the perfect application. A place to hang the kids bibs and our snow pants that are a bit too long for the coat rack, and the bonus shelf for wet hats/mittens or chicken gloves that you don't exactly want in with your clean stuff ;>

Estimated Cost
$0
Estimated Time Investment
An Hour or Two (0-2 Hours)
Finish Used
None, sanded down a bit
Recommended Skill Level
Starter Project

Painter's Ladder

Submitted by Smokeydog on Tue, 09/30/2014 - 07:54

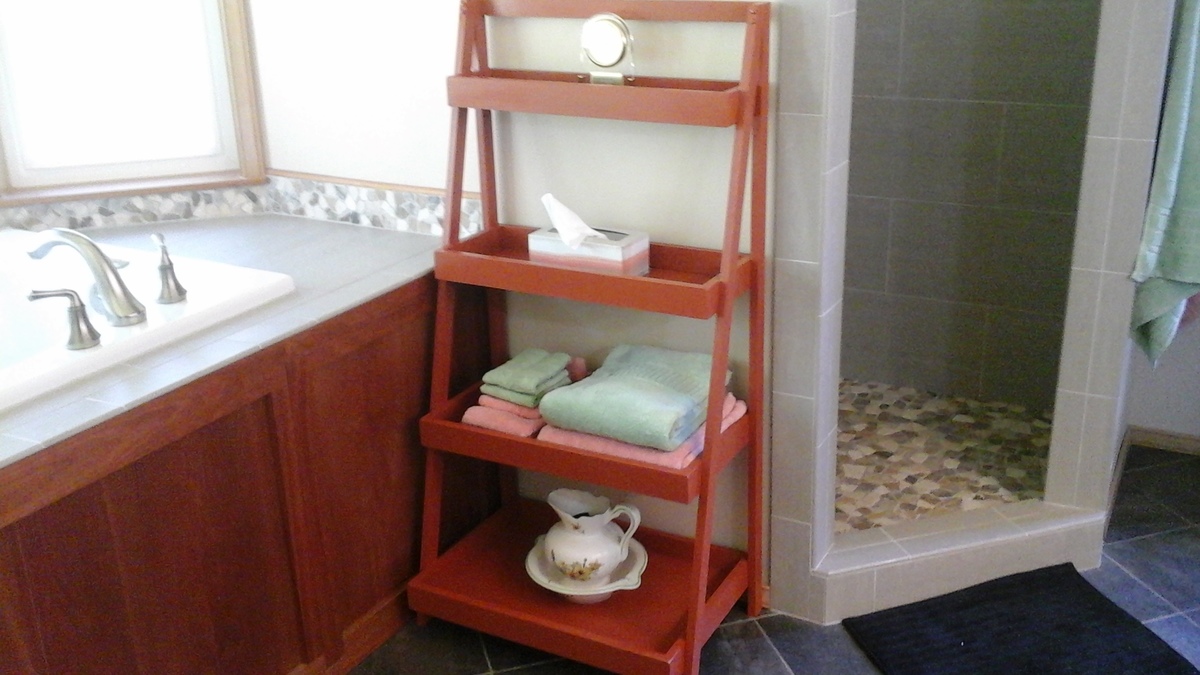
My wife saw a painter's ladder shelf at IKEA and wanted one for our master bathroom.   I showed her the shelf on Ana's site and she liked that one much more.  So ... a few hours later we had our  new shelf and my wife couldn't  be more pleased.

Estimated Cost
40.00
Estimated Time Investment
Day Project (6-9 Hours)
Finish Used
Satin spray paint with primer
Recommended Skill Level
Beginner

workbench miter saw and storage space

Submitted by wharry on Sat, 01/14/2017 - 17:17

This took me forever to do even with the plans and I still had to rig it cause I just couldn't get it square.  Im working on that but I'm very new at wood working and took this project on but I absolutely love it. This really cleared up my shed and space combined with extra tables to work on.  I got to use it for the first time today and it was awesome.  I think everyone should have one of these !!!


Recommended Skill Level
Beginner

Rustic X Coffee Table (Modified)

Submitted by Honeyb65 on Sat, 09/26/2020 - 10:33

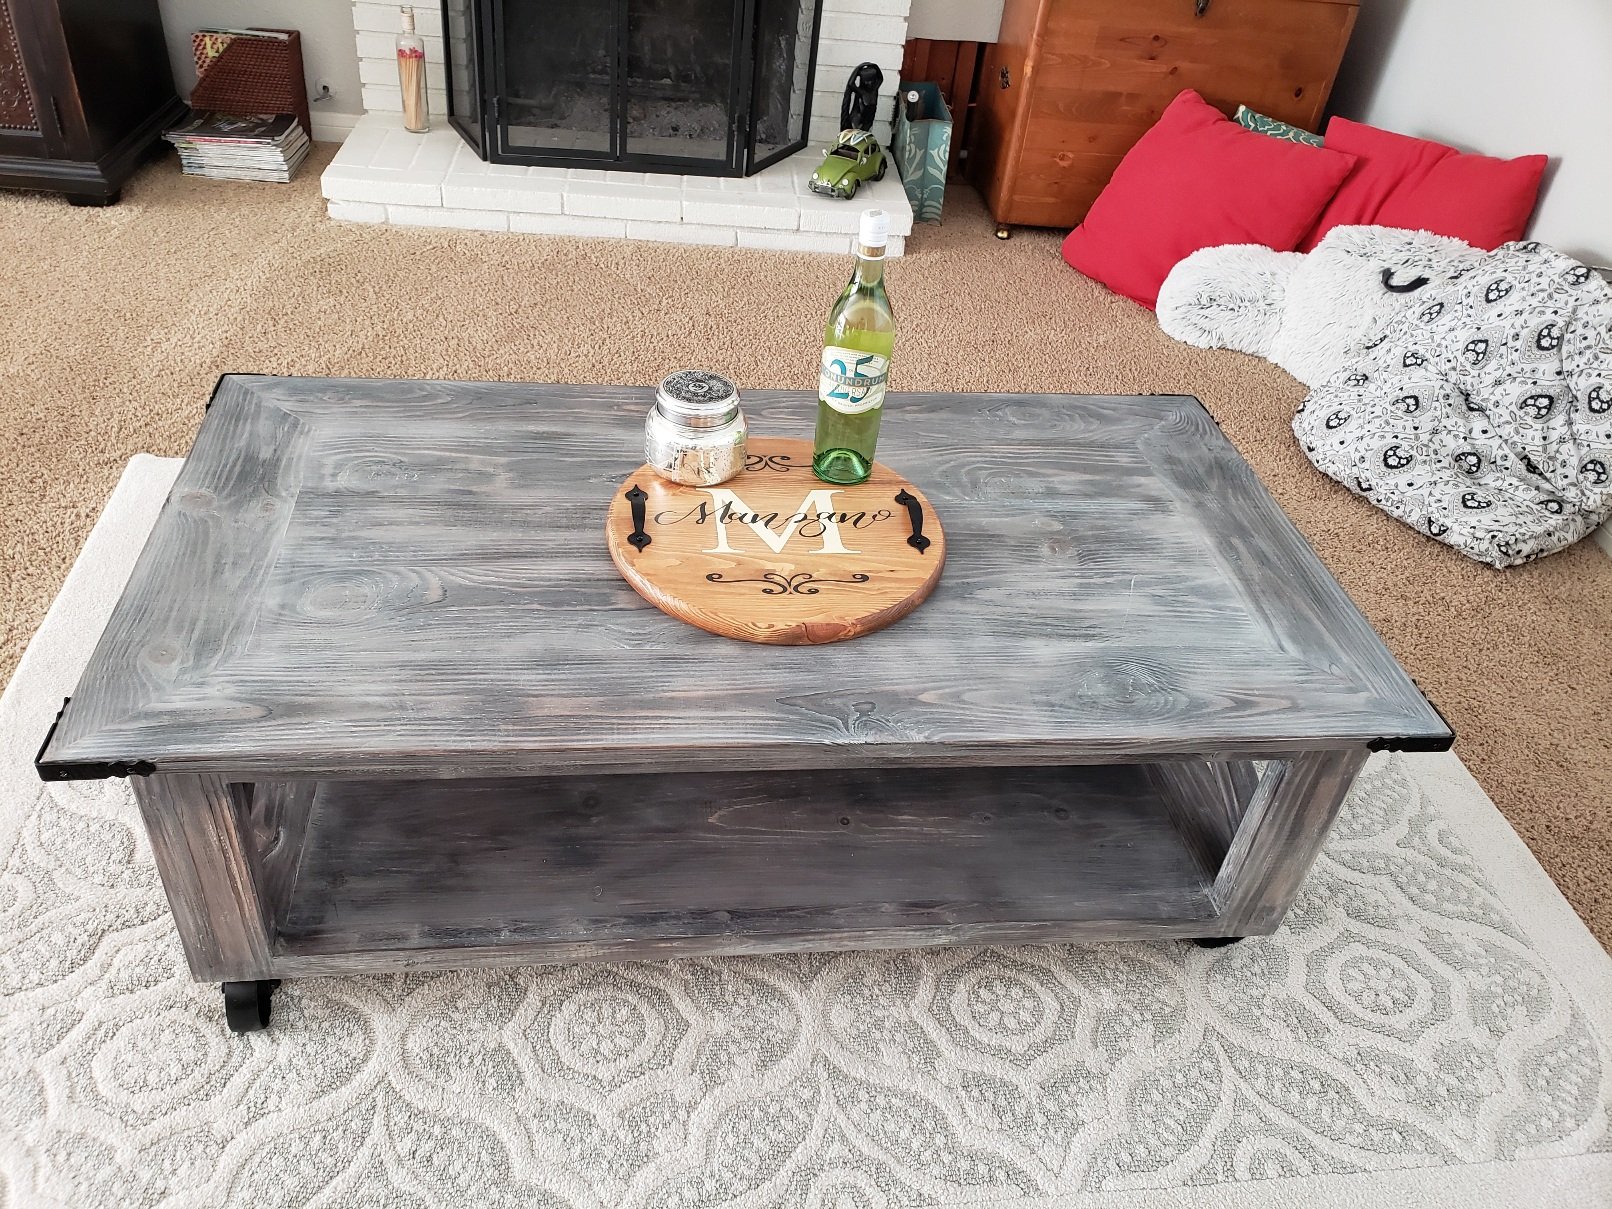
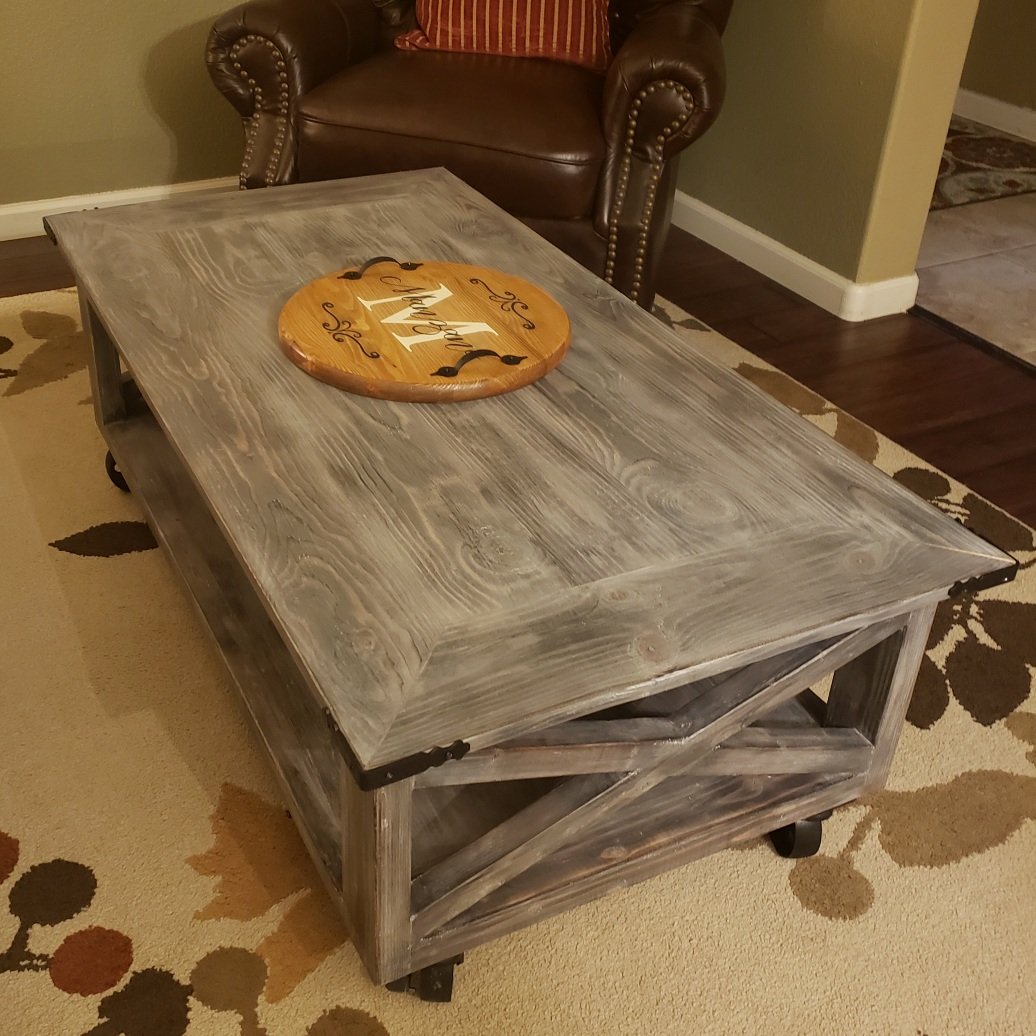
I built this using the Rustic X Coffee Table Plans, but modified by using 1x stock for the top instead of 2x. I also built mitered breadboards for the top. Finally, I added casters for mobility and an industrial look.

Built from Plan(s)
Finish Used
Burnt wood (shou sugi ban), white wash with Annie Sloan Chalk Paint, sanded to distress for a faux barnwood look finished with General Finishes water based polycrylic in matte.
Recommended Skill Level
Beginner

Comments

Leaning Plant Shelf

Submitted by Anonymous (not verified) on Mon, 10/28/2024 - 10:28

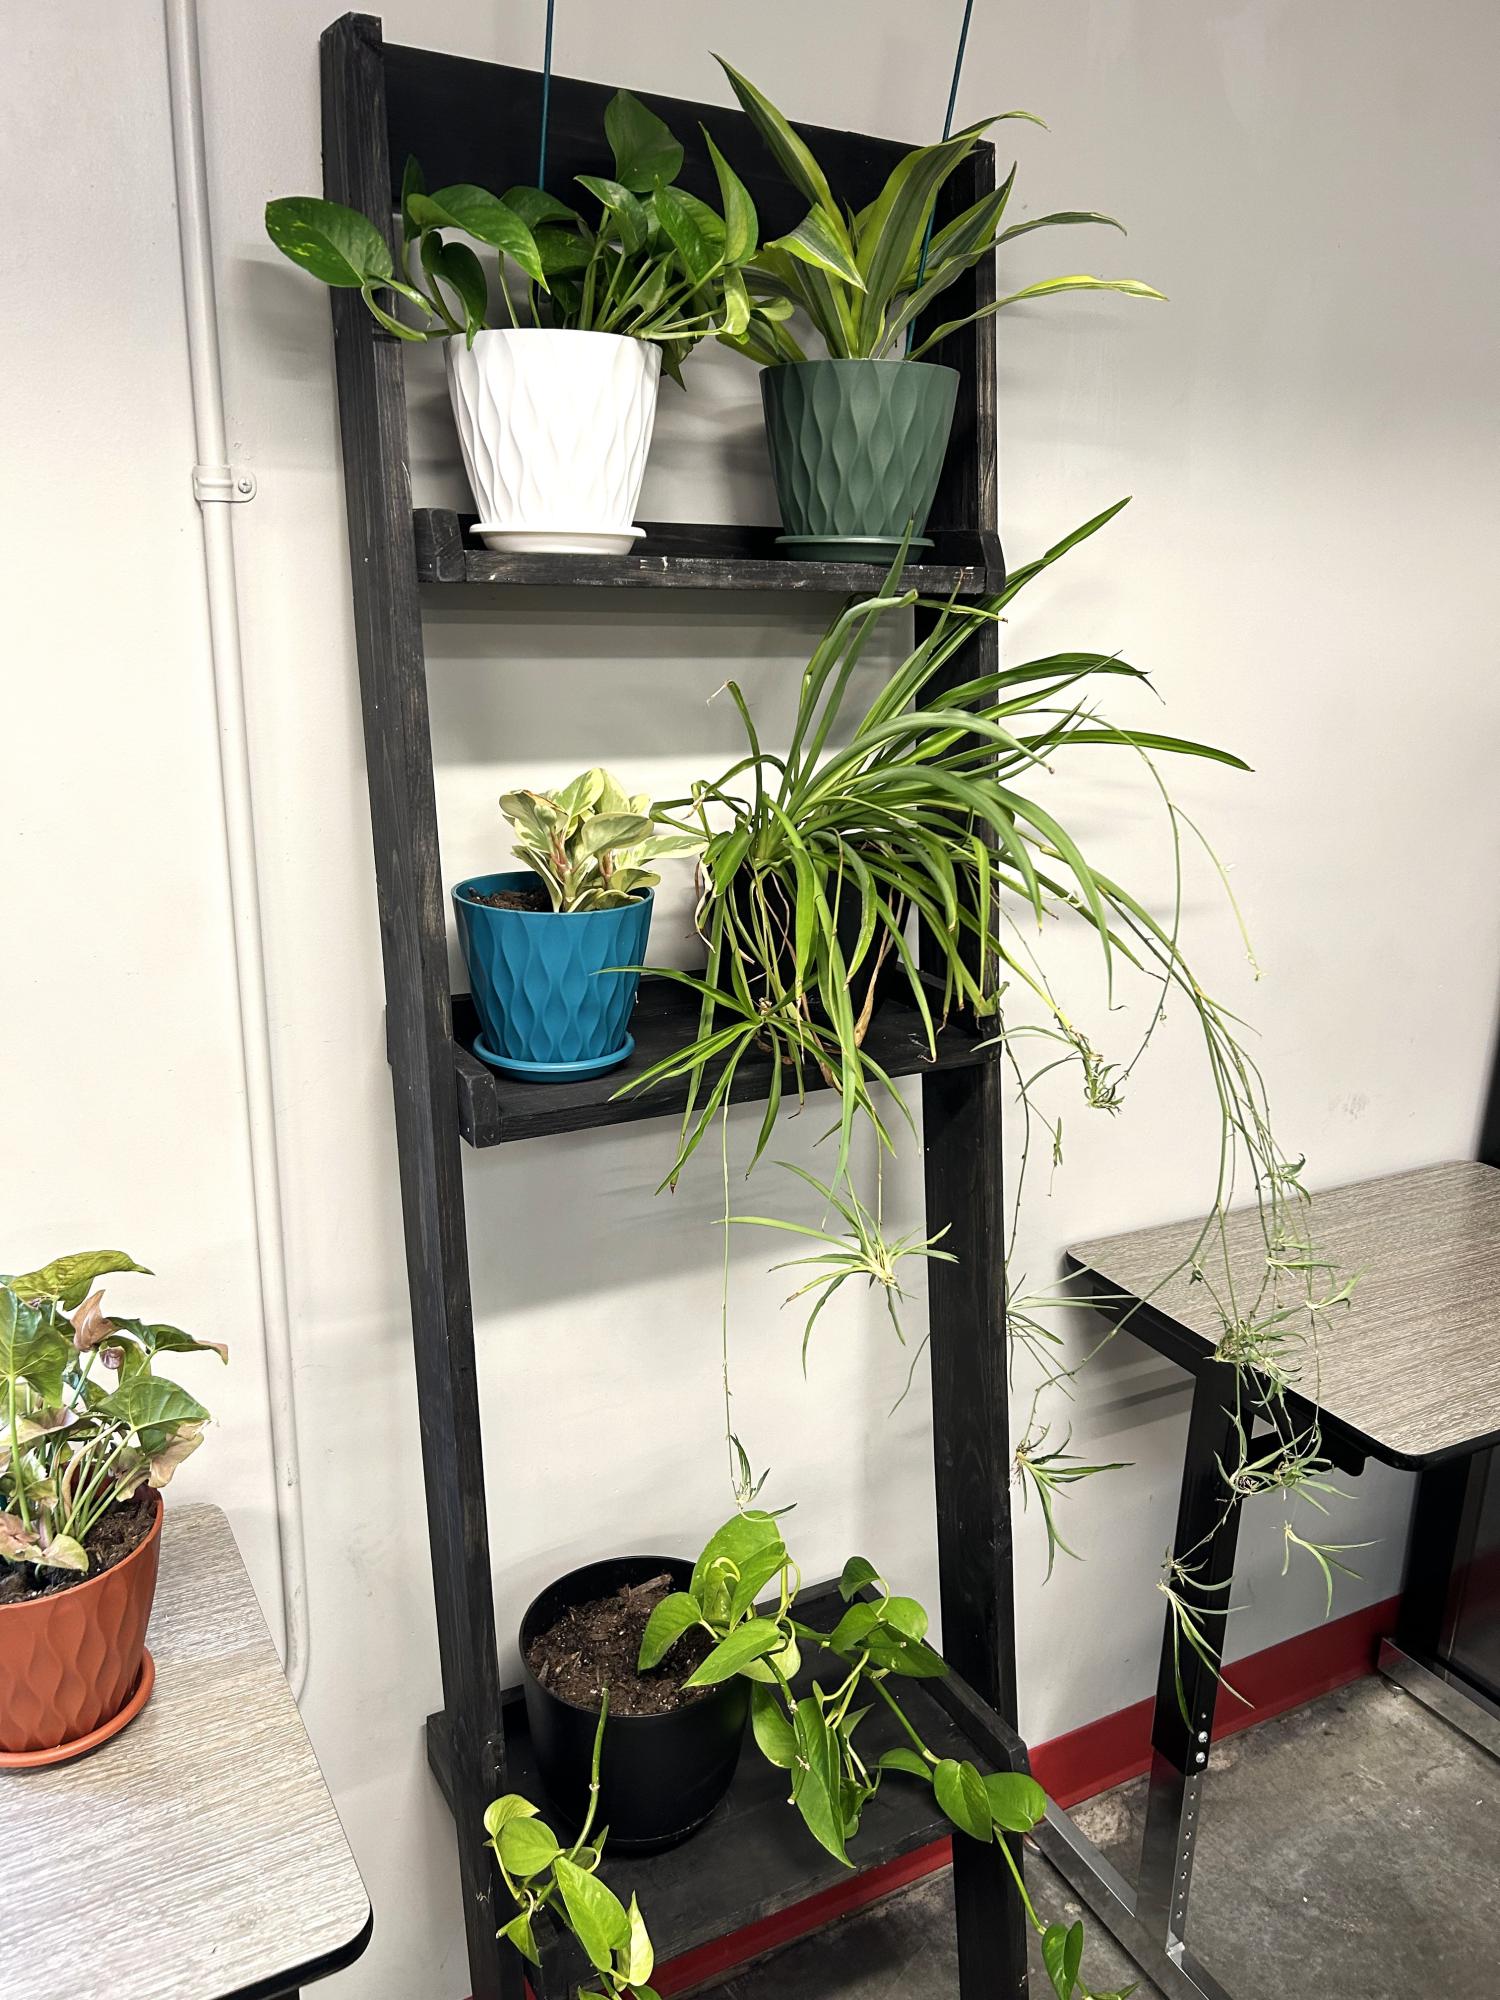
I needed a place to put extra plants in my classroom, and this was easy and fit the bill perfectly. I left out one shelf to allow space for plant growth. - Jennifer

Built from Plan(s)

Side Street Bunk Beds - Modified Ladder

Submitted by vpihoney on Mon, 12/24/2012 - 05:35

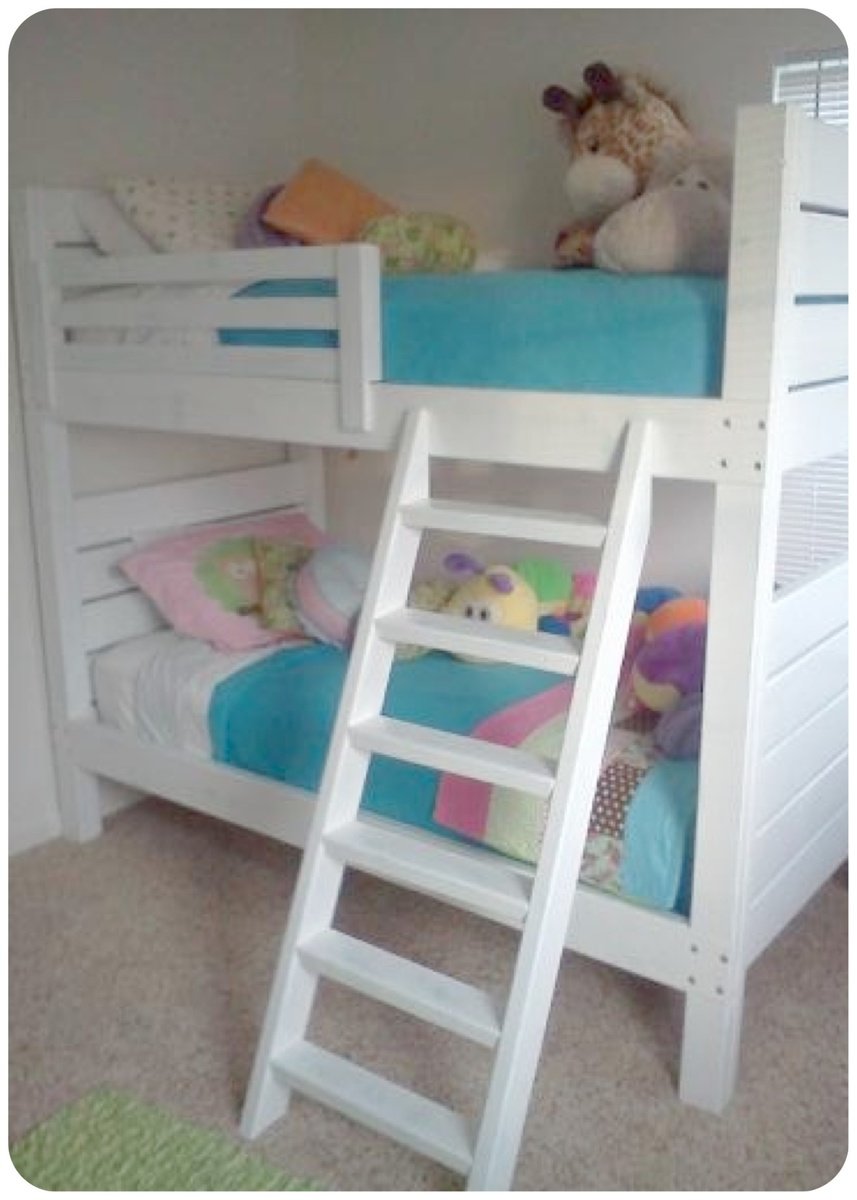
I followed the plans for the Side Street Bunk Beds and added the ladder and guard rail from the Simple Bunk Bed plans. I modified the angle on the ladder so that it wasn't as steep of an angle as called for in the plans. I'm not sure the length for the ladder stated in the plans was correct anyhow as mine came up too short, leading me to modify my angles and not completely scrap my boards. I don't recall the angles I used at the moment. This was a "side" project that I completed this Fall in between the normal duties of mom and being in 3rd trimester of pregnancy! Not a hard build, but a heavy one! I used 1/4" lag bolts for the rails so we could easily disassemble it.

Sanding proved to be a big task. I thought I had skimped a little on this task, but once we applied our paints, it all smoothed out just fine. We distressed it, so it has a slightly rugged look, yet a shiny, satin finish. I didn't focus too much attention in painting the slats and inside rails (one coat of white plus one clear top coat). We sanded down the rails that are exposed to the bottom bunk, and slacked on the ones closest to the floor.

The beds are gorgeous! The picture doesn't do it justice. Well worth the effort and savings as opposed to buying a $1500 bed. Plus, my girls got to see mommy create something practical! When they are old enough, they can help!
Estimated Cost
$300
Estimated Time Investment
Week Long Project (20 Hours or More)
Finish Used
Distressed with General Finishes water-based milk paint: Baby Blue as base color with Snow White on top. Finished it off with 3 clear top coats.
Recommended Skill Level
Intermediate

Comments

Awesome shoe dresser

Submitted by Tbacks on Tue, 01/17/2017 - 06:47

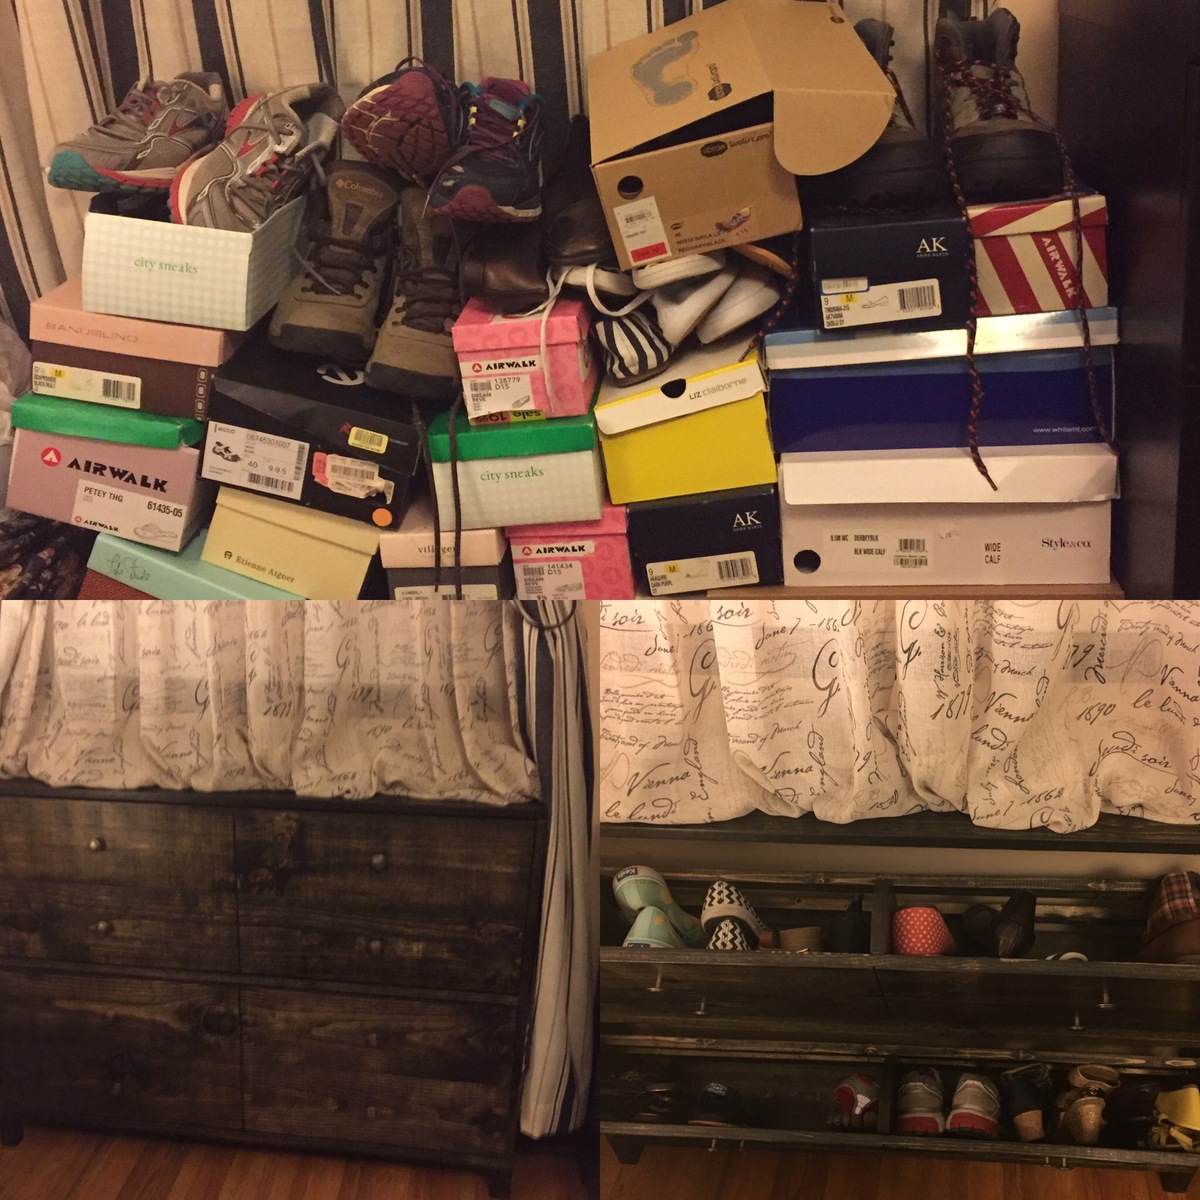
I gave up my closet for a bathroom remodel last year...totally worth it. Since then my shoes have been stored in a pile next to my bed.  So happy I found this wonderful pattern.  I love my new shoe dresser!!  Thank you Ana!!

Built from Plan(s)
Estimated Cost
Approximately $65
Estimated Time Investment
Weekend Project (10-20 Hours)
Finish Used
Ebony minwax wood finish. Finishing wax to finish it off.
Recommended Skill Level
Intermediate

Modern Farmhouse Doll Bed

Submitted by papamike on Sat, 10/03/2020 - 16:29

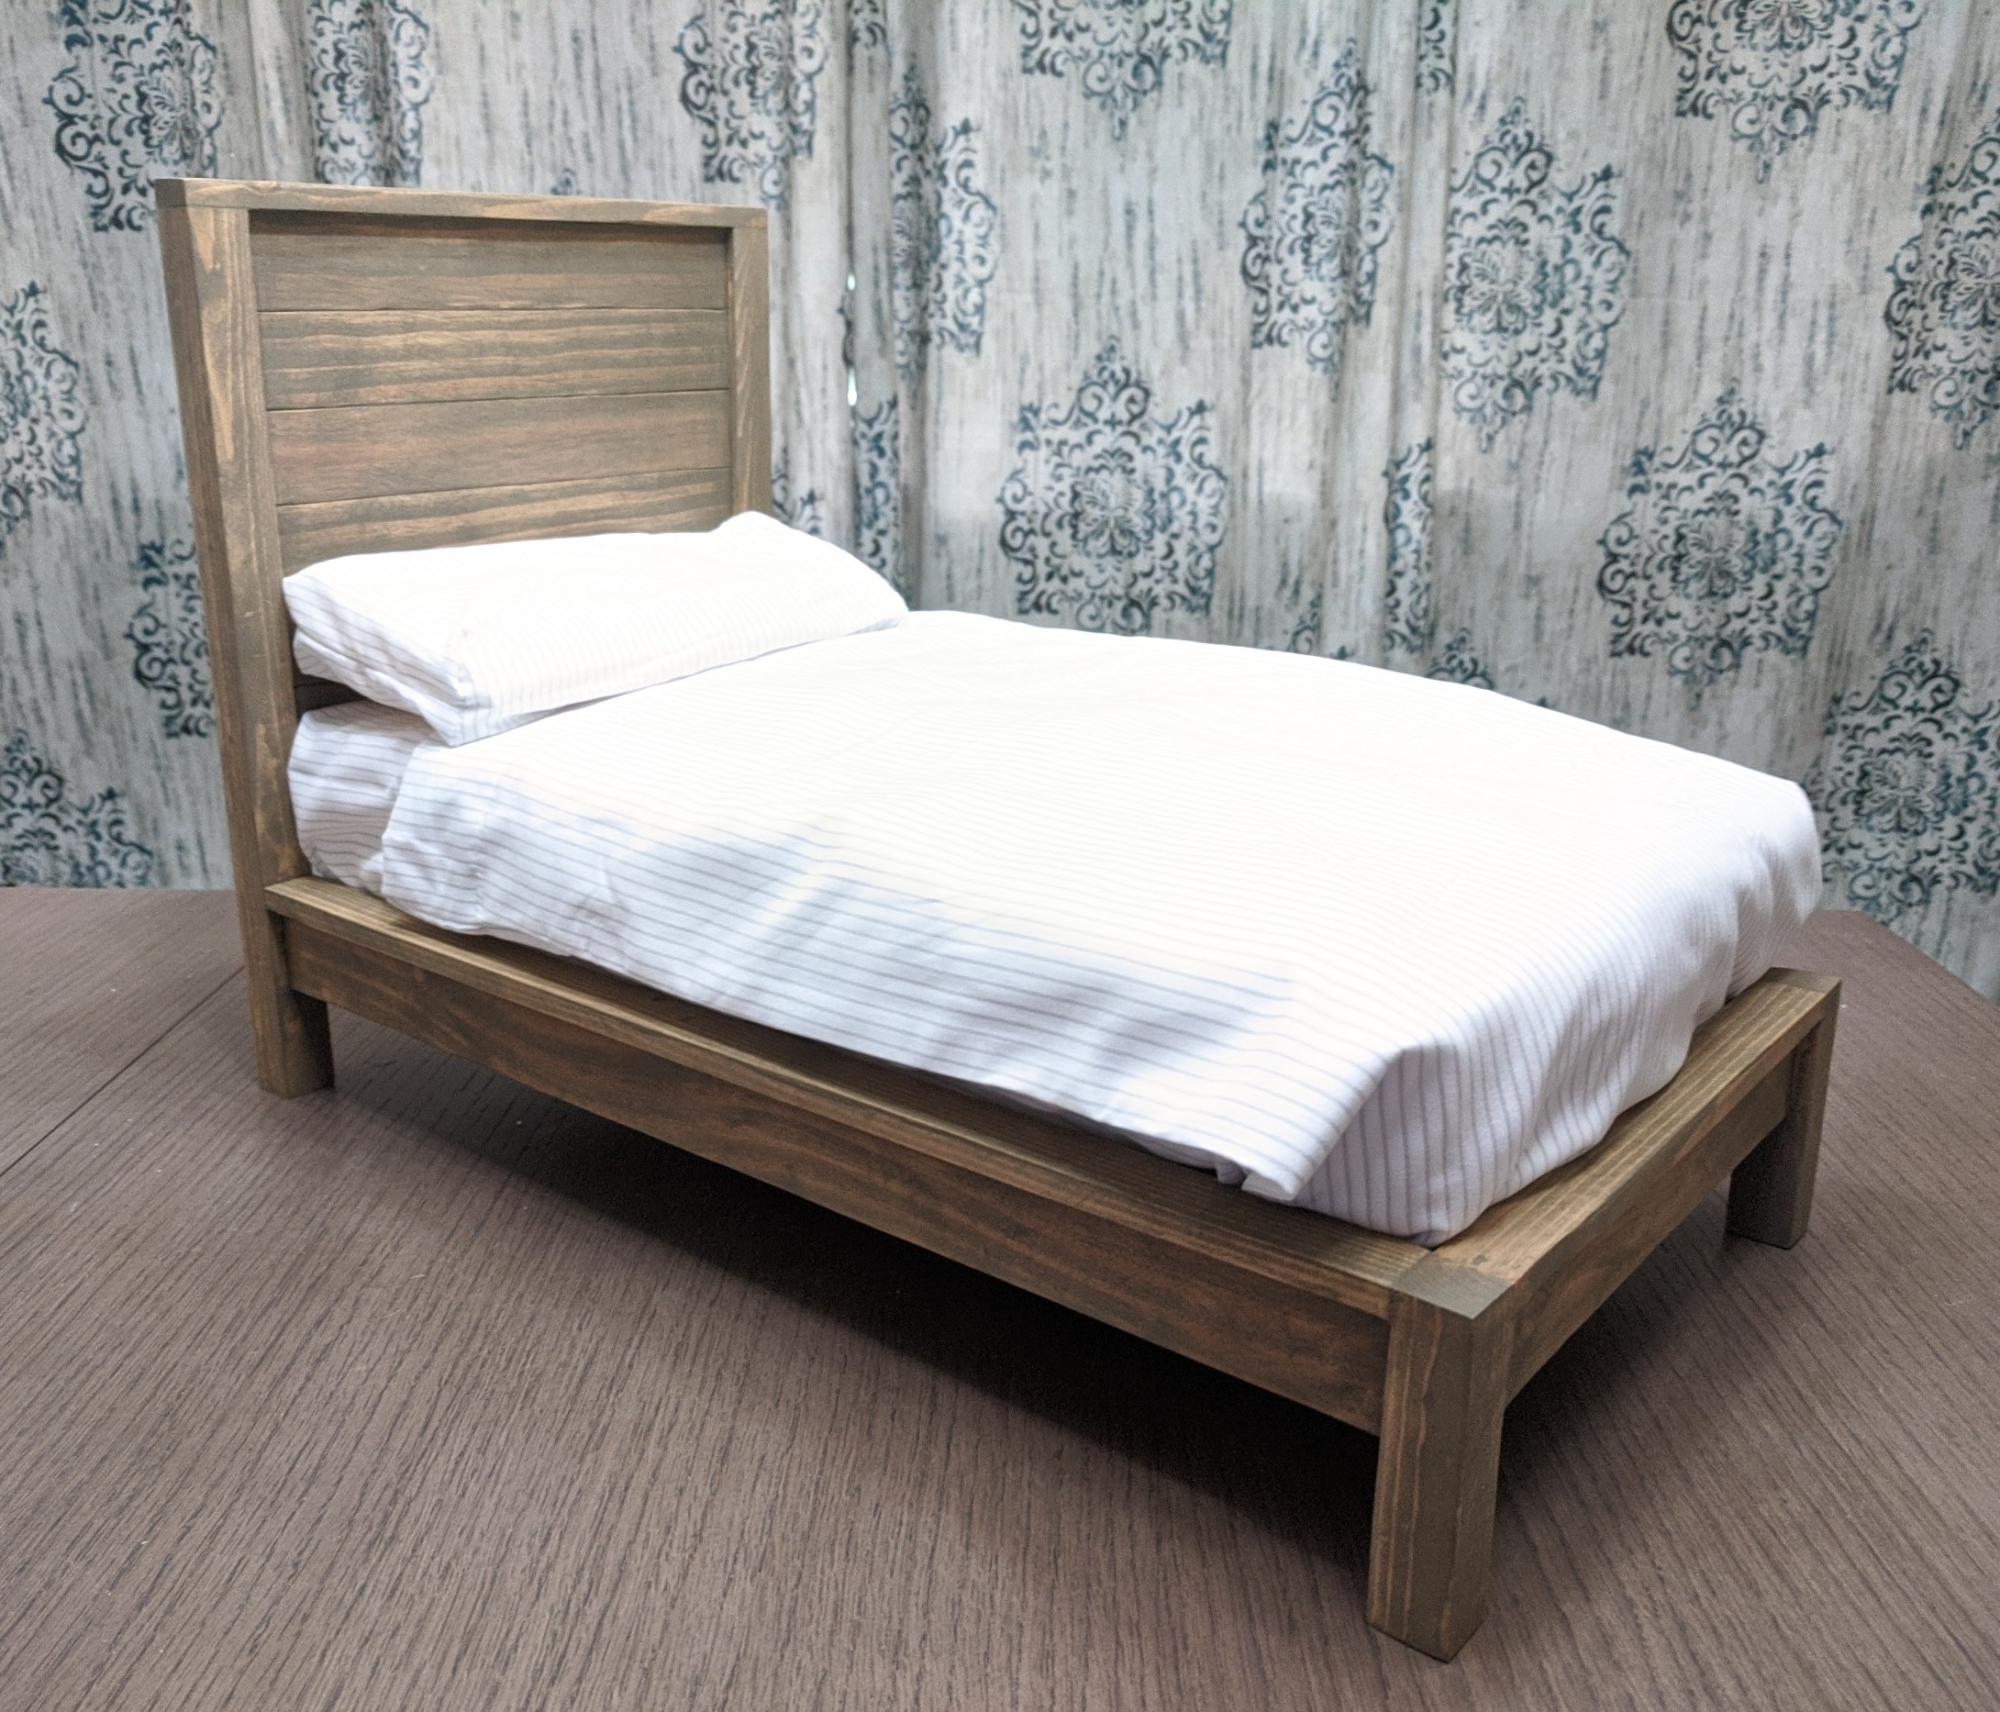
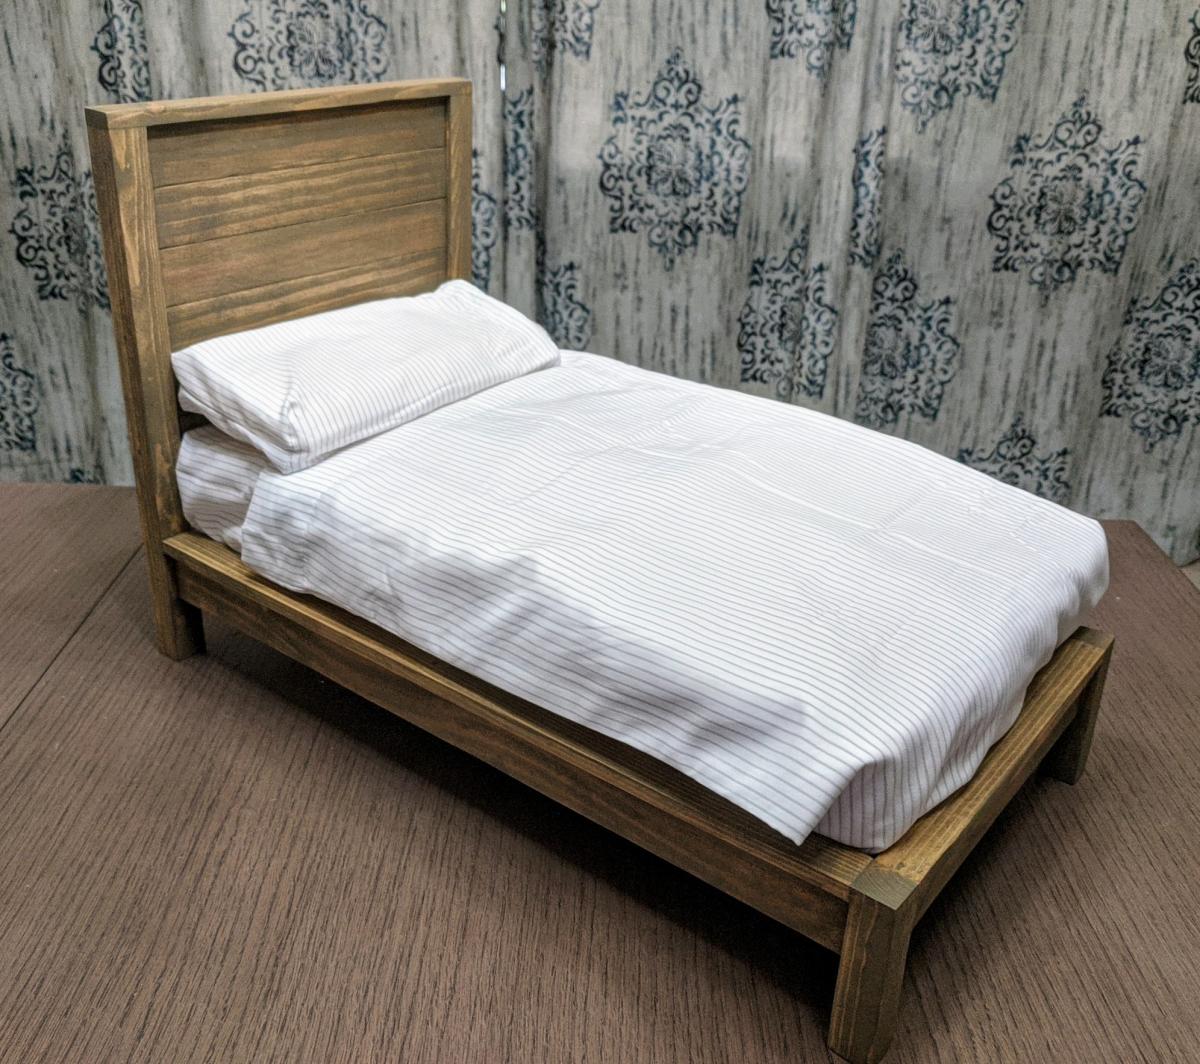
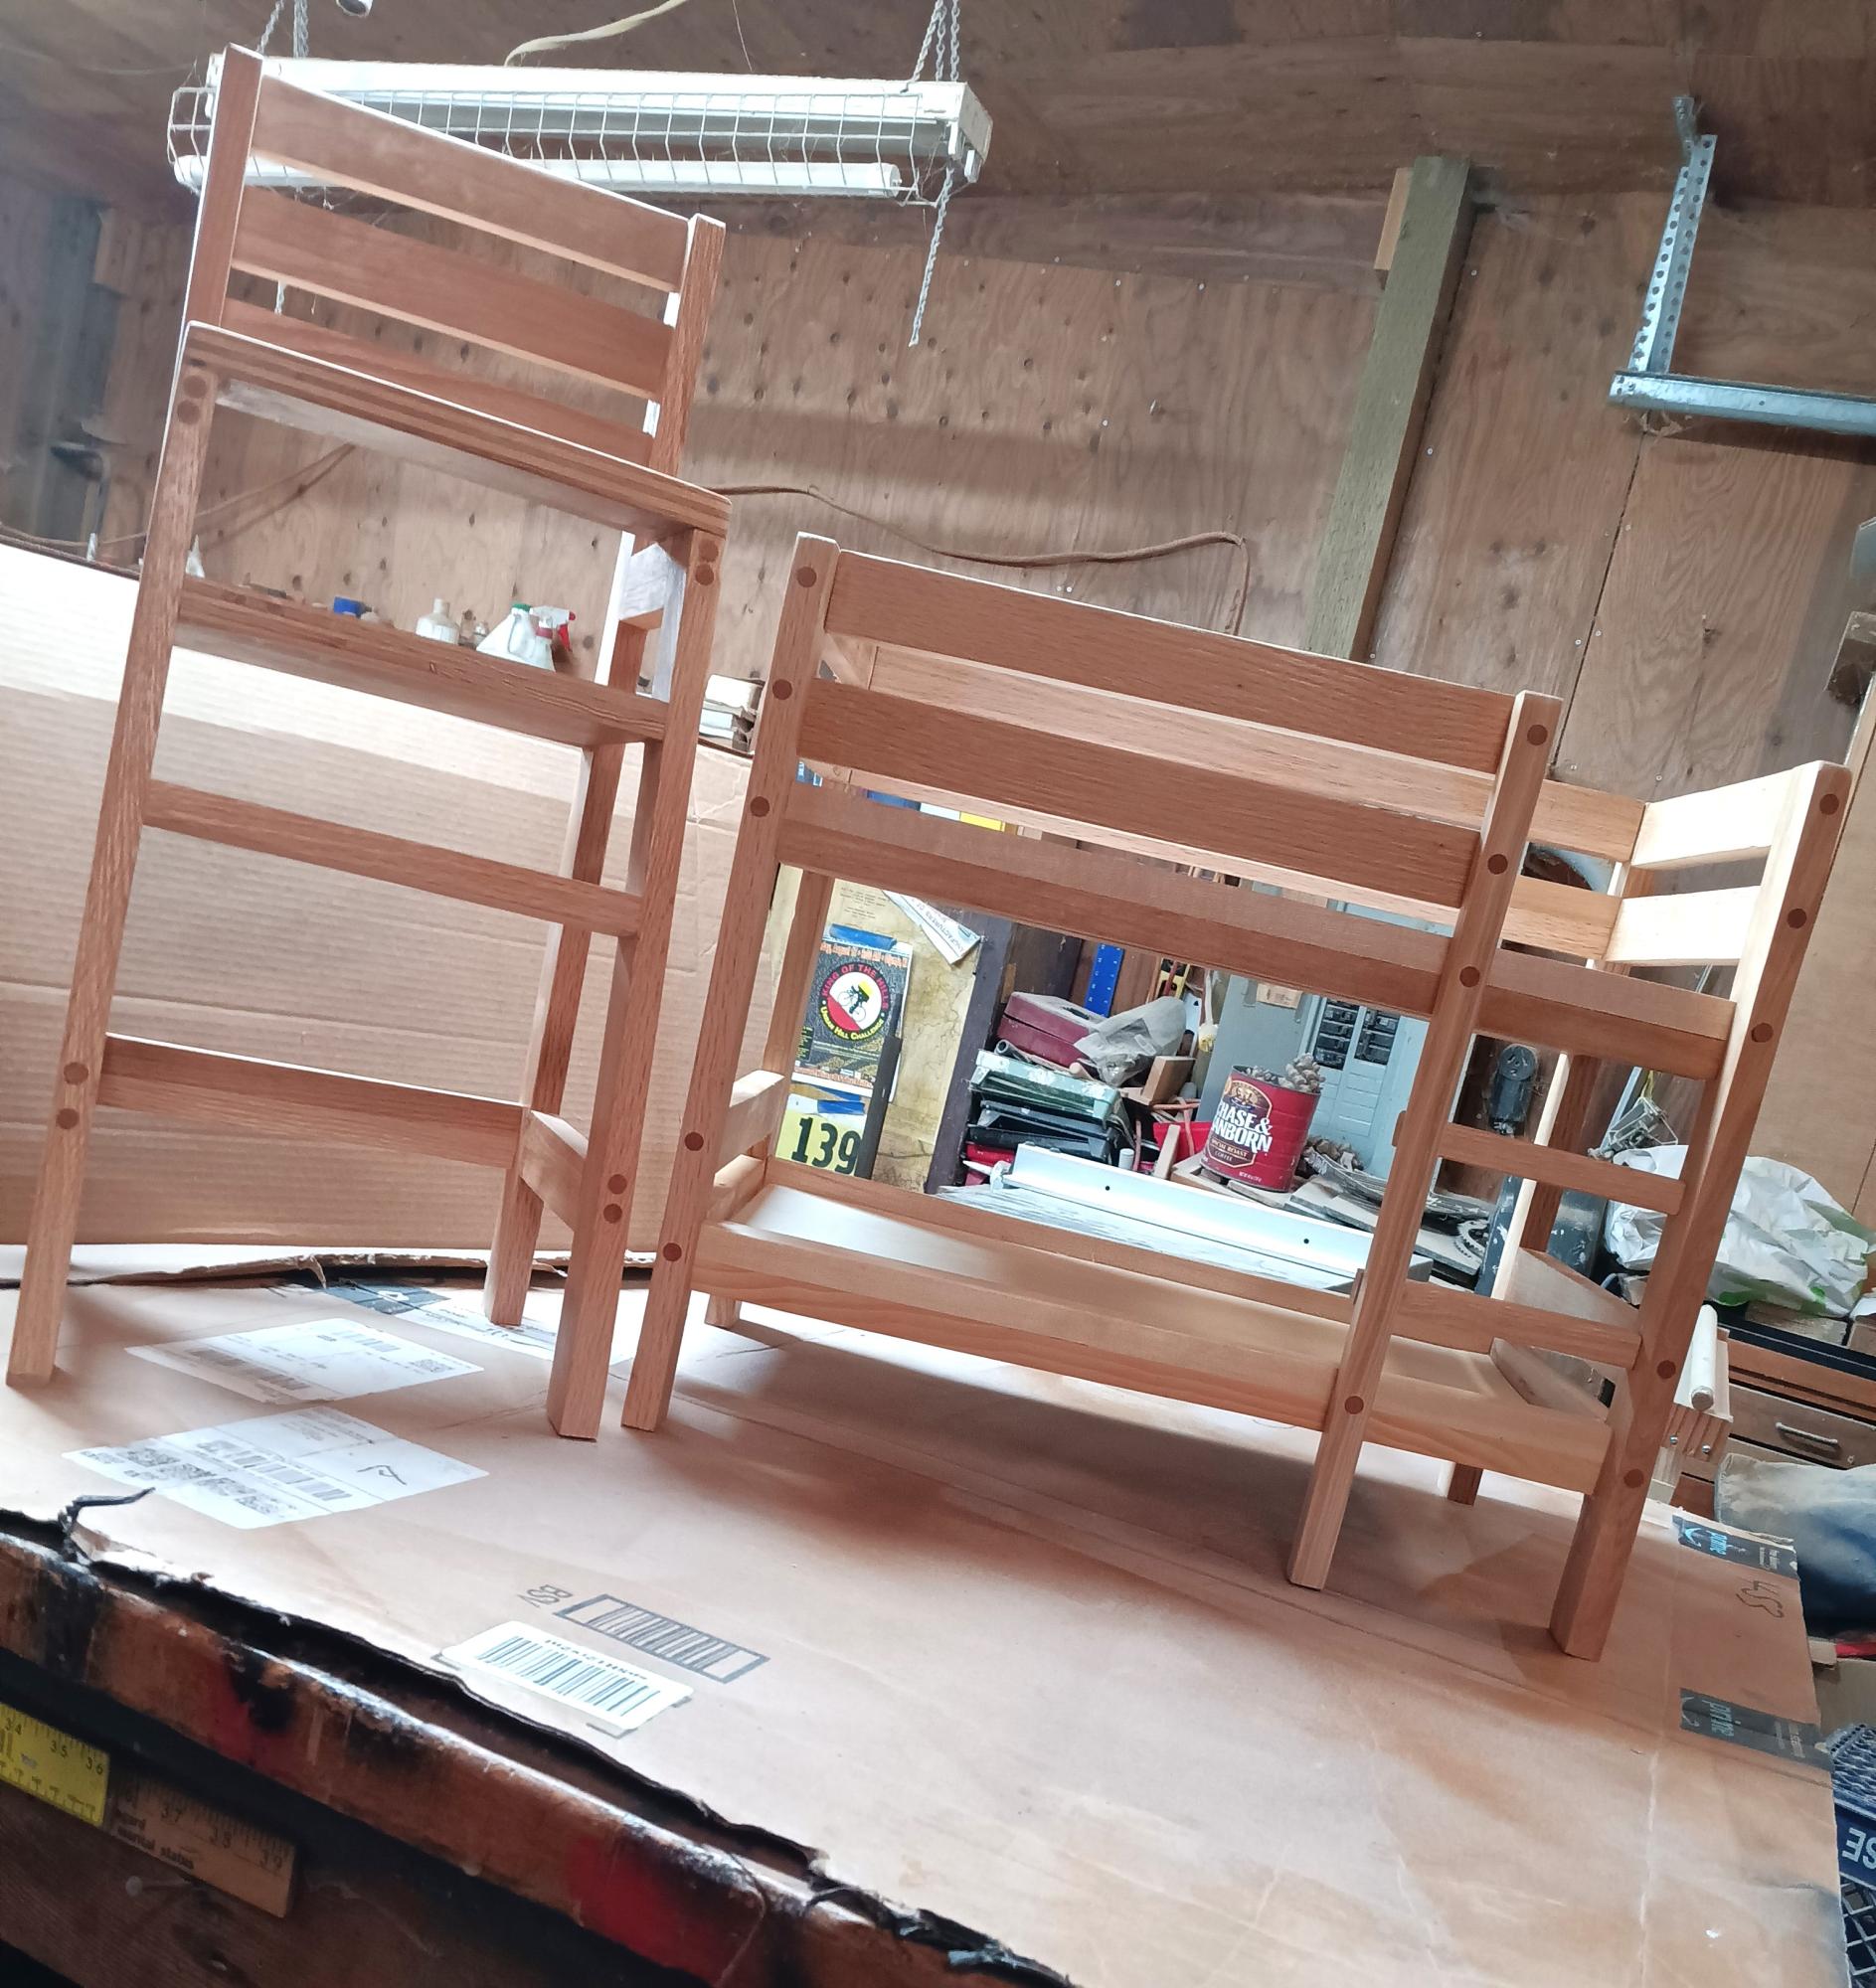
I made a 1/4 scale model of The Modern Farmhouse Bed as a doll bed for one of my granddaughters. I just divided all the measurements by four to get the dimensions and cut my "lumber" from a single 2 x 4. I cut shallow slots in the headboard posts for the planks to fit into, then glued them and secured with clamps and tiny nails. I made the slots where the side rails met the headboard and footboard posts a little deeper, 1/4", glued, clamped, and tacked with the tiny nails. All the nails were countersunk and the holes filled. Stained with "Aged wheat" stain. Foam rubber mattress and pillow covered by fabric.

Built from Plan(s)
Estimated Cost
$3.00
Estimated Time Investment
Afternoon Project (3-6 Hours)
Finish Used
Verathane Aged Wheat
Recommended Skill Level
Beginner

Comments

Cottage Playhouse Bunk Bed

Submitted by Anonymous (not verified) on Sun, 11/03/2024 - 12:27

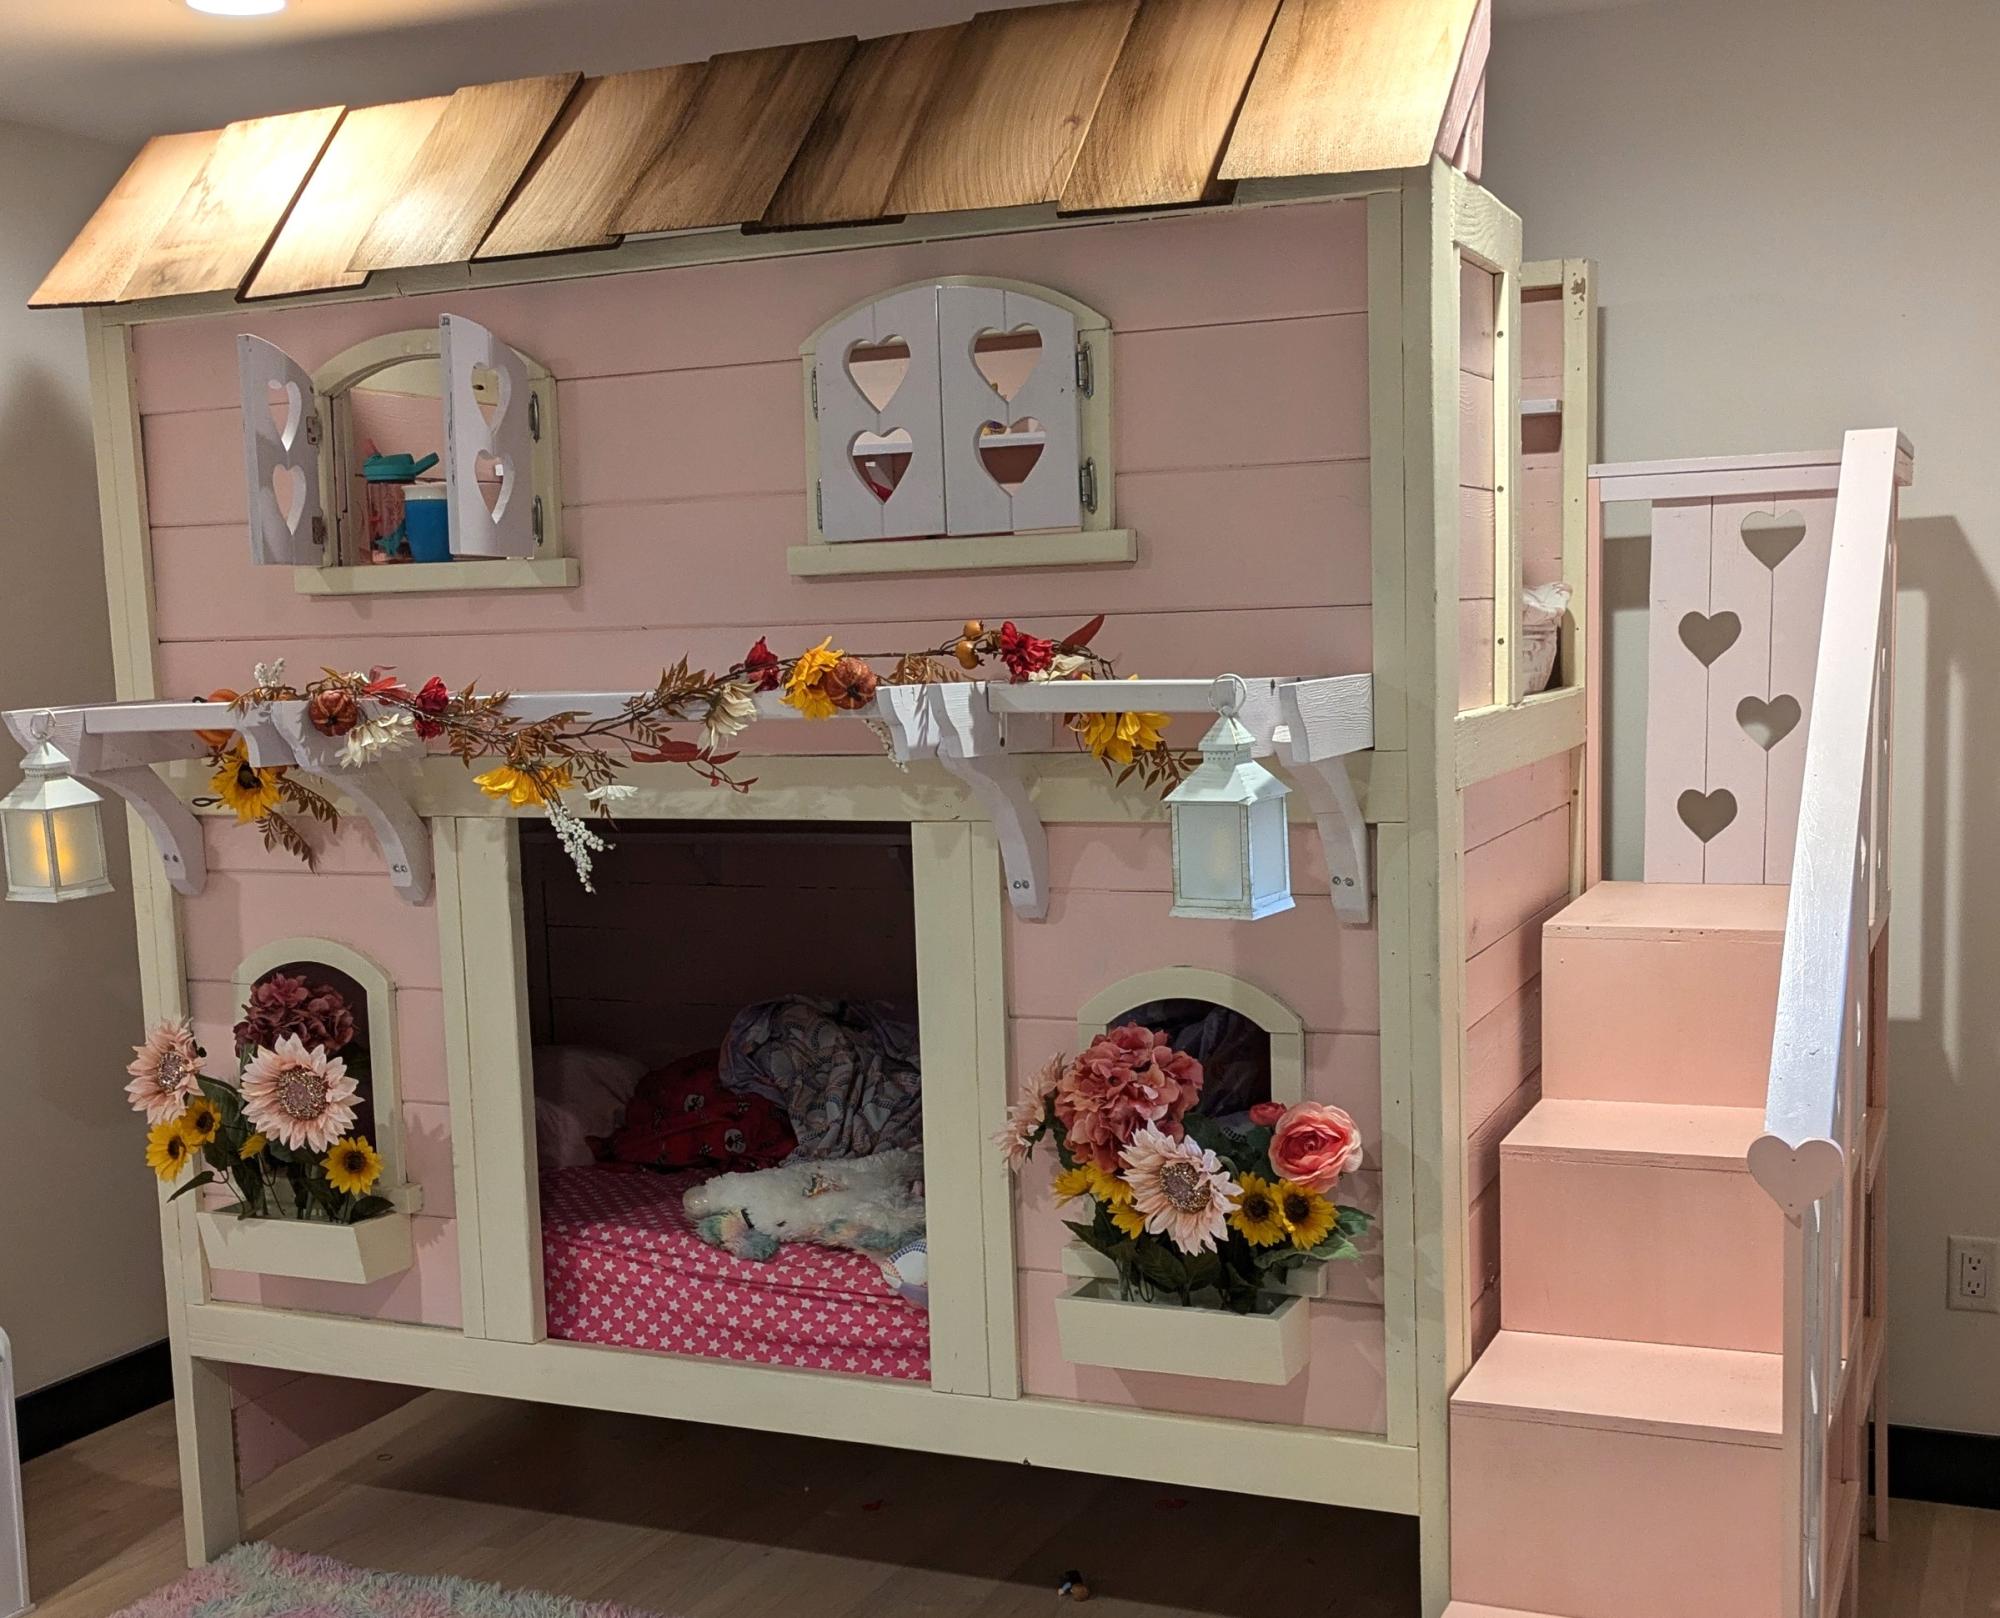
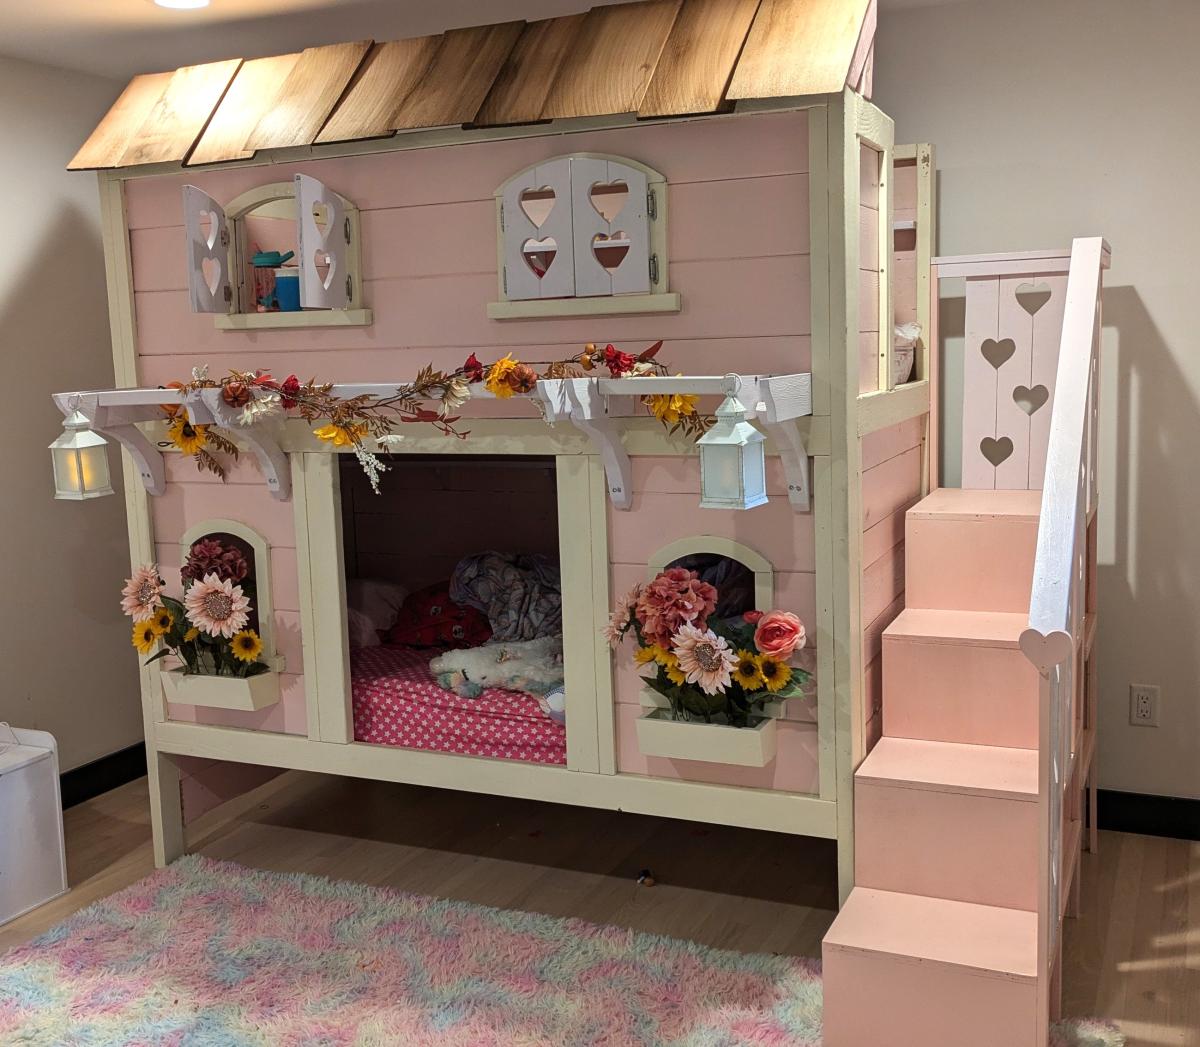
Made this bed for my daughter from the sweet pea bunk bed plans. Will probably add a trundle bed later but so far she absolutely loves it and I'm so happy with how it turned out. The plans were absolutely wonderful. So clear and helpful illustrations. This was my first big solo project and I learned a lot.

Built from Plan(s)
Seasonal And Holiday

Bedside Tables

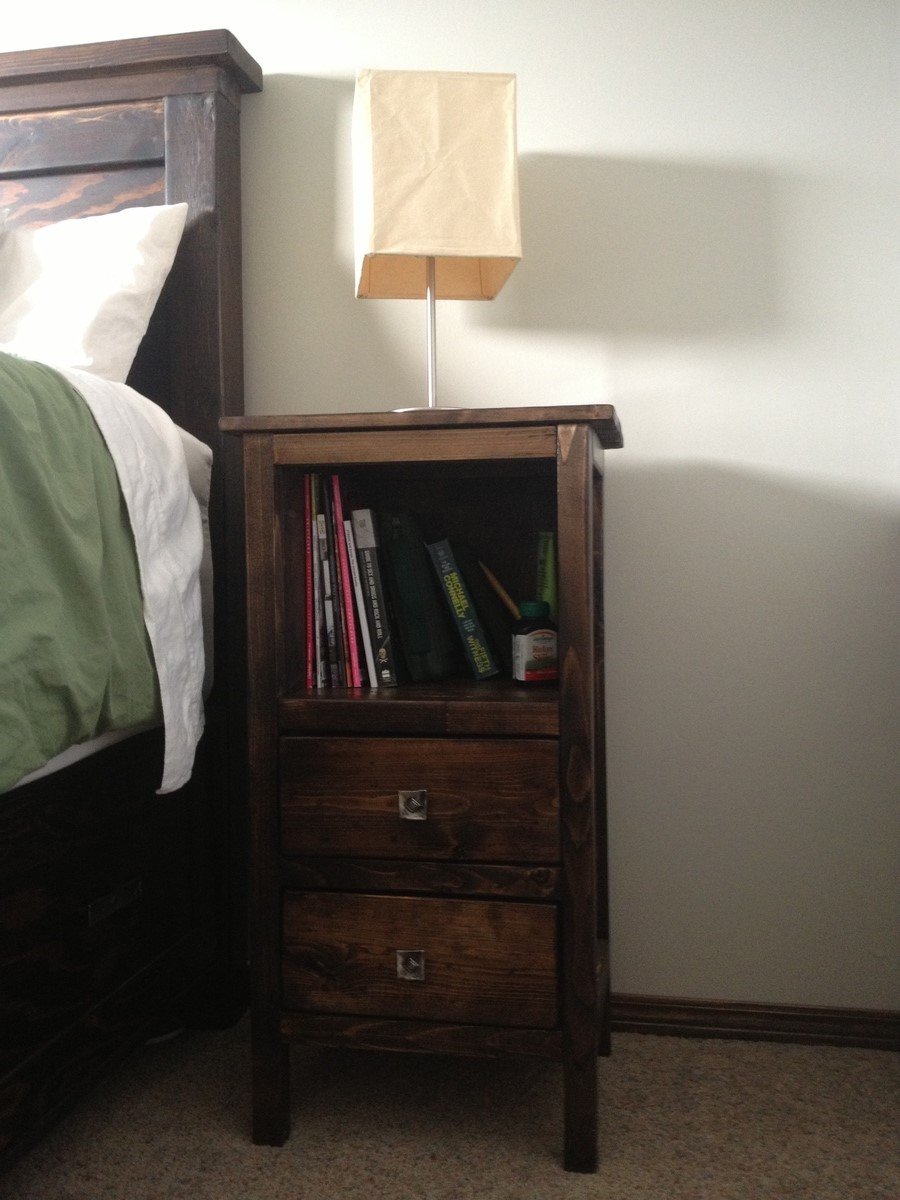
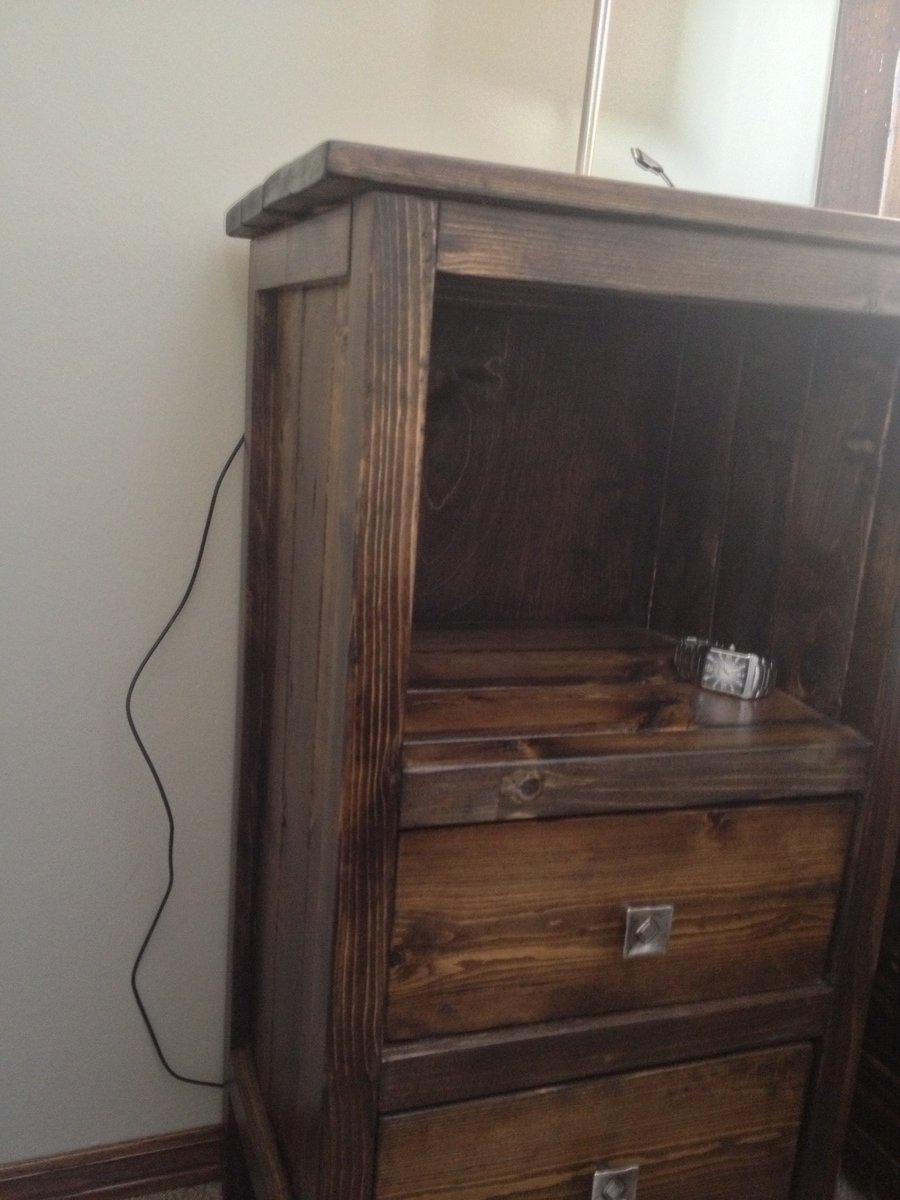
I used the "Reclaimed Wood Look" bedside table plans but altered them to make it taller to go with our bed and to make them less wide and long. The finished product has top dimensions of 14 1/2" by 14 1/2" to fit in our small room. I also removed the top drawer to make a bookshelf. The first table took about 4 hours to build and sand and the second one went a lot quicker. I stained each with one coat of Minwax Dark Walnut and sealed with 3 light coats of polyacrylic. The pulls are from Lee Valley.

Estimated Cost
$40 per table including screws, glue, stain, lumber and hardware.
Estimated Time Investment
Afternoon Project (3-6 Hours)
Recommended Skill Level
Intermediate

Erica's AG Doll Bed

Submitted by getcz on Tue, 10/07/2014 - 08:34

This is the second of three AG doll beds I made for my nieces.

Estimated Cost
wood - $0 scrap on hand paint - $0 leftover on hand fabric - leftover from a panel
Estimated Time Investment
Afternoon Project (3-6 Hours)
Finish Used
Toy
Recommended Skill Level
Beginner

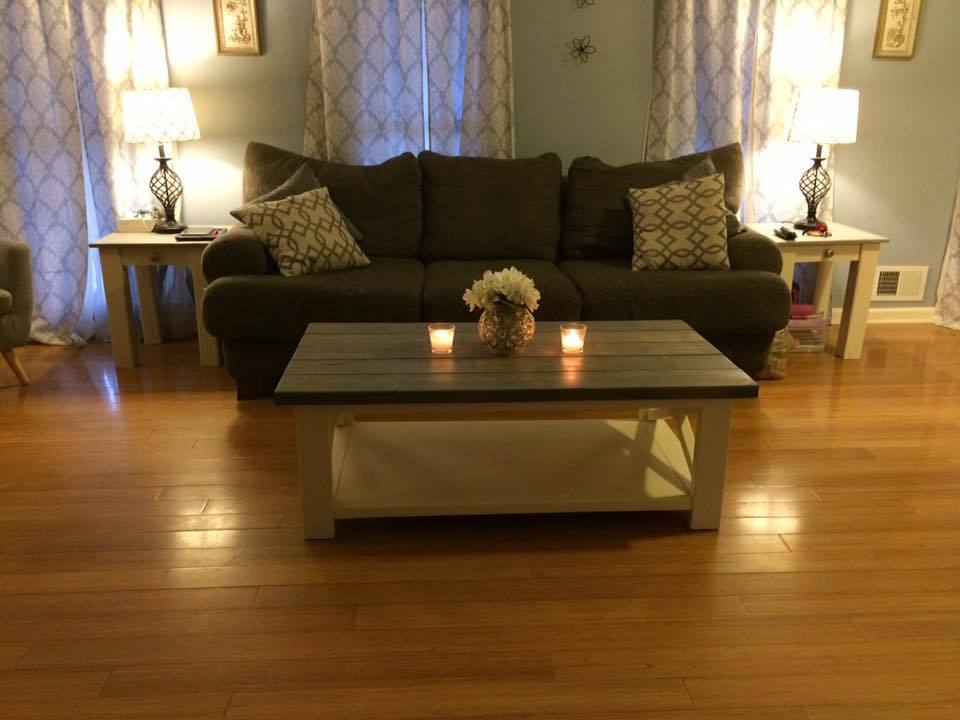
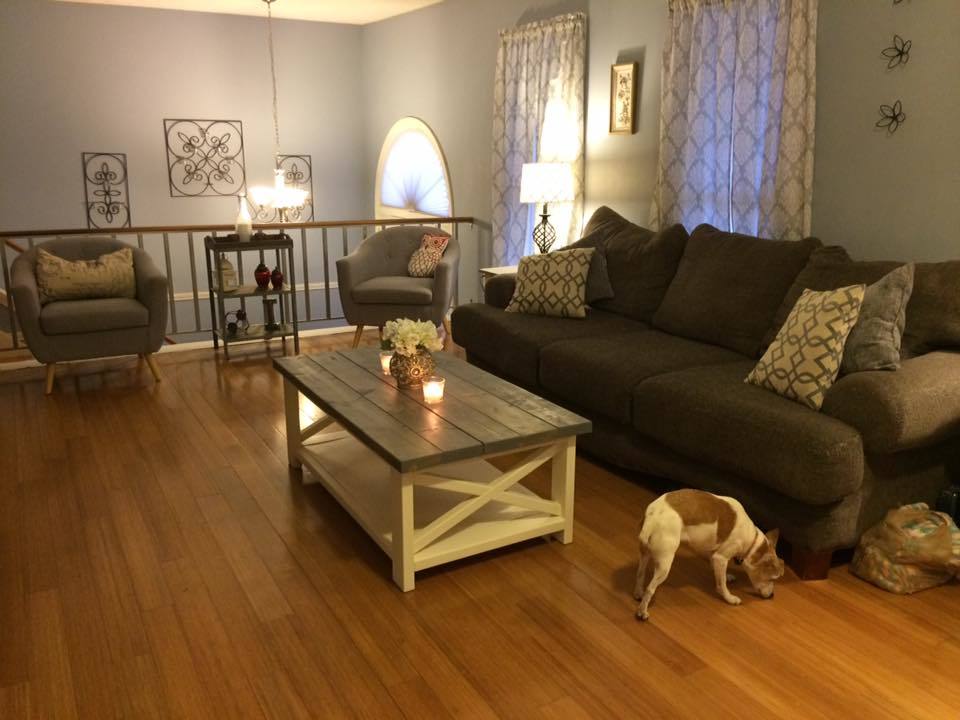
Rustic "X" Coffee Table

Submitted by Anonymous (not verified) on Thu, 01/19/2017 - 16:35

I am so in love with how this turned out! We will be making the matching Rustic "X" Console Table next!!!

Built from Plan(s)
Estimated Cost
$100
Estimated Time Investment
Weekend Project (10-20 Hours)
Finish Used
We use two applications of Minwax Classic Grey Stain and two coats of HGTV satin Creamy white paint, all supplies purchased at Lowe's.
Recommended Skill Level
Beginner

Comments

My first build!!

Submitted by sheckber on Tue, 10/06/2020 - 20:46

We needed a media cabinet for our very large akward wall. Not wanting to spend a fortune for particle board, I decided to try to build it myself. Lil me did my first build!! Did use thinner tabletop and made single barn door in the back for easy access to cords. Possibly might paint the doors a bit to add more dimension. Not shown but had our 22 yr old cat walk across the tabletop with white paint so we could remember him forever.

Built from Plan(s)
Estimated Cost
150-200
Estimated Time Investment
Weekend Project (10-20 Hours)
Finish Used
Light gray base layered with teal and dark gray chalk paint. Sanded with 120 grit down to different layers. Antique washed edges/corners for a more distressed look. Used true brown wood stain for top and shelves. Then finished with clear satin protective top coat.
Recommended Skill Level
Beginner

Comments

My first try!

Submitted by Chris Huds on Sat, 12/29/2012 - 08:13

Here is my fist whack at this bed for my son. I am starting the one for my daughter as well, but am modifying the design to have storage stairs.

Estimated Cost
$225
Estimated Time Investment
Week Long Project (20 Hours or More)
Finish Used
Golden Pecan stain
Recommended Skill Level
Beginner

Mantel Moulding Headboard with Variations

Submitted by wyosharon on Sat, 10/11/2014 - 19:56

As suggested at the beginning of the instructions, be sure to read through the entire set of instructions before shopping and making this headboard. The parts lists calls for 3 - 7ft pieces of moulding. However, we needed more than three to do the finishing touches. Also, none of the mouldings suggested were at our Home Depot, so we improvised. Cutting some of the mouldings to go around the corners was too challenging for us, so we ended the moulding strips at the end of the bed. To give the ends a finished look, we used some of the 1/4" plywood, cut them, and sanded them. Be sure to sand all the surfaces. The instructions tell you how long to cut some pieces, but they don't say whether the board is supposed to be a 2X4 or 1X6, so be sure to go through the directions thoroughly before starting and cutting. We did use spray paint, and it took more than three cans to provide sufficient coverage, since the wood soaked up much of the first layer of paint.

Built from Plan(s)
Estimated Cost
$150-$200 depending on the types of moulding and paint/stain used
Estimated Time Investment
Weekend Project (10-20 Hours)
Finish Used
We sanded all the surfaces prior to painting. The first coating of spray paint soaked into the wood quite a bit, so we added another three coats of spray paint. The dry time adds some extra time to the complete project. We needed nearly four cans of spray paint.
Recommended Skill Level
Intermediate