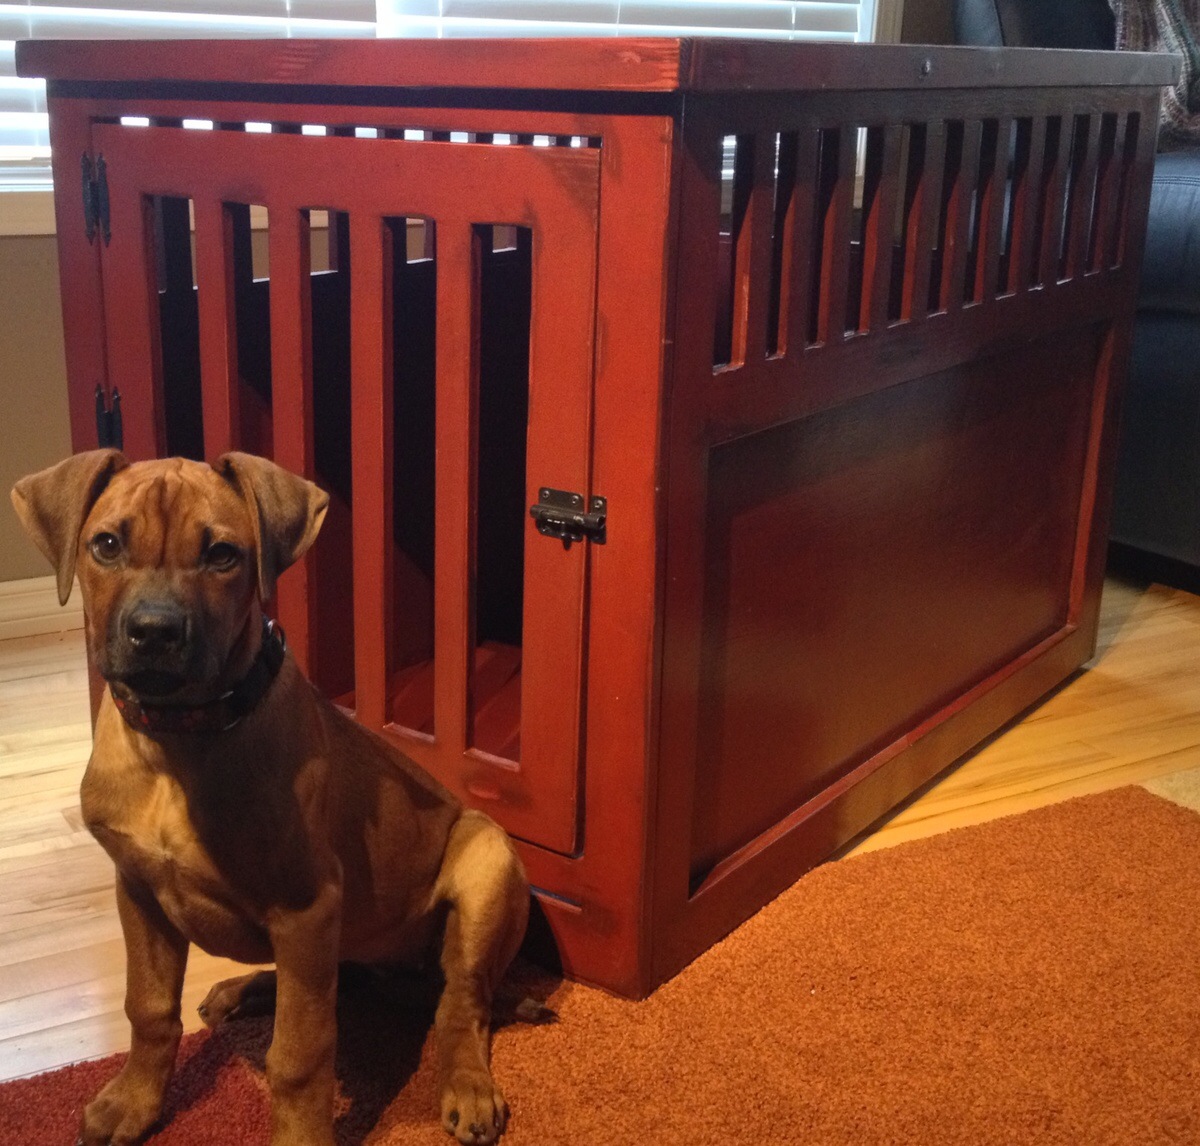
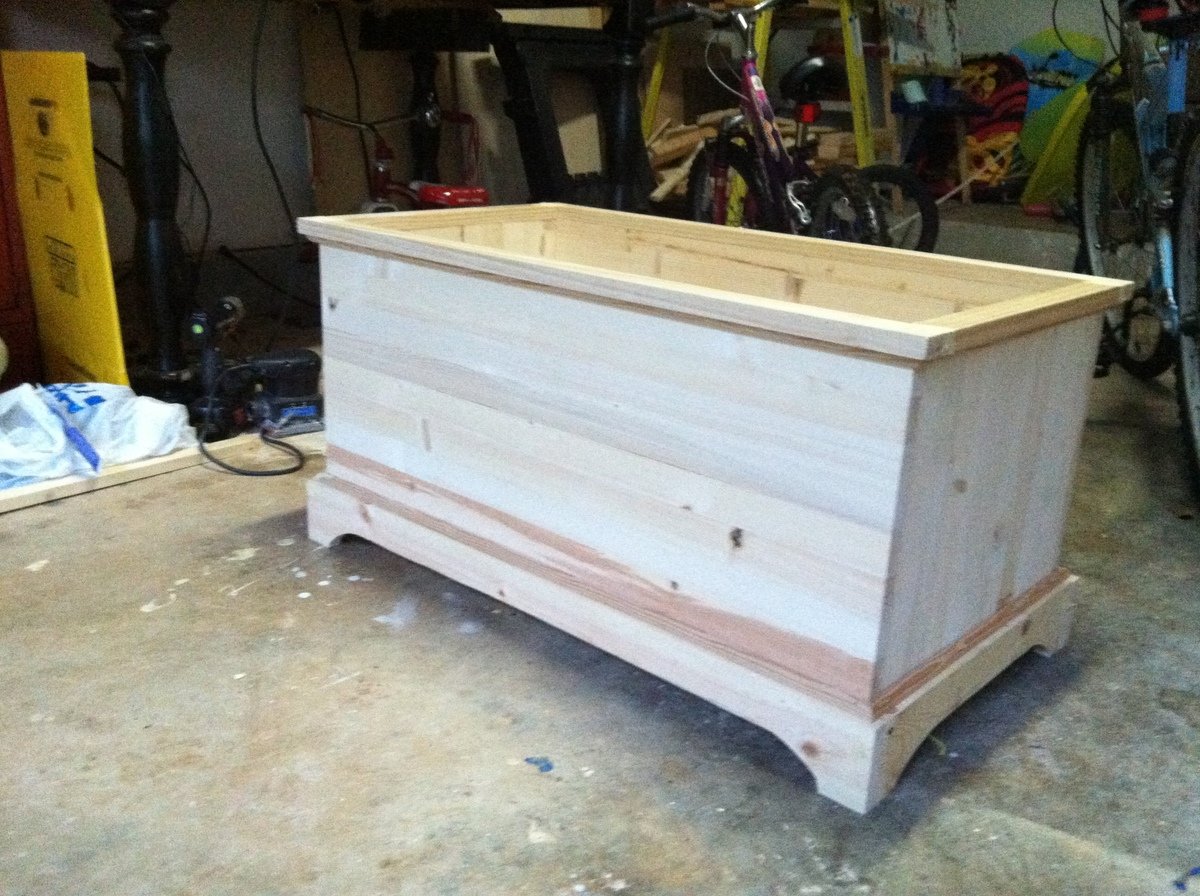
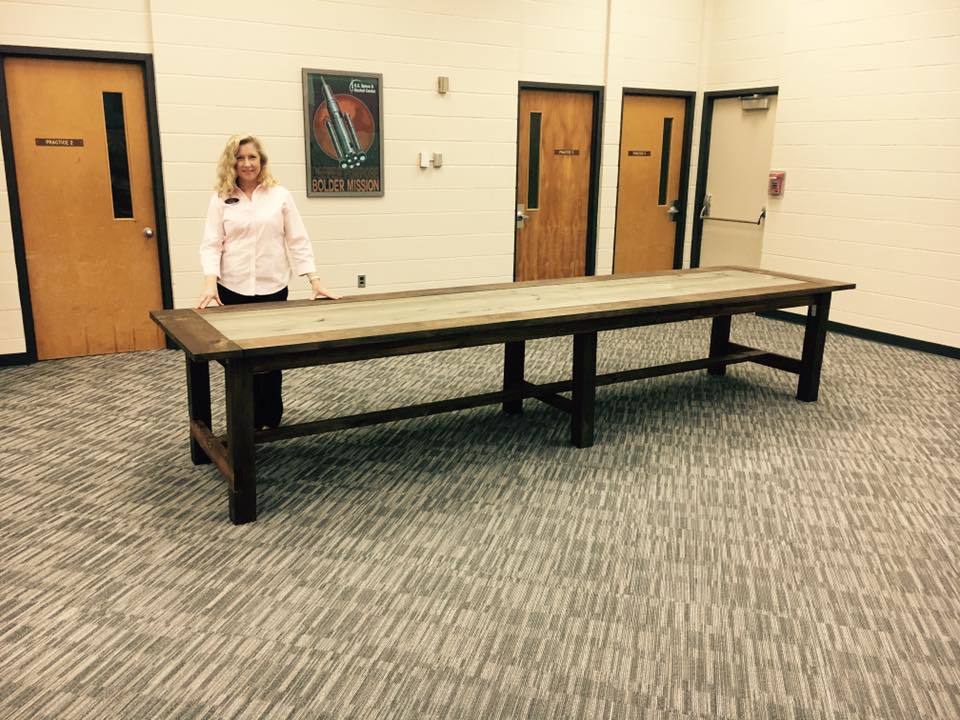
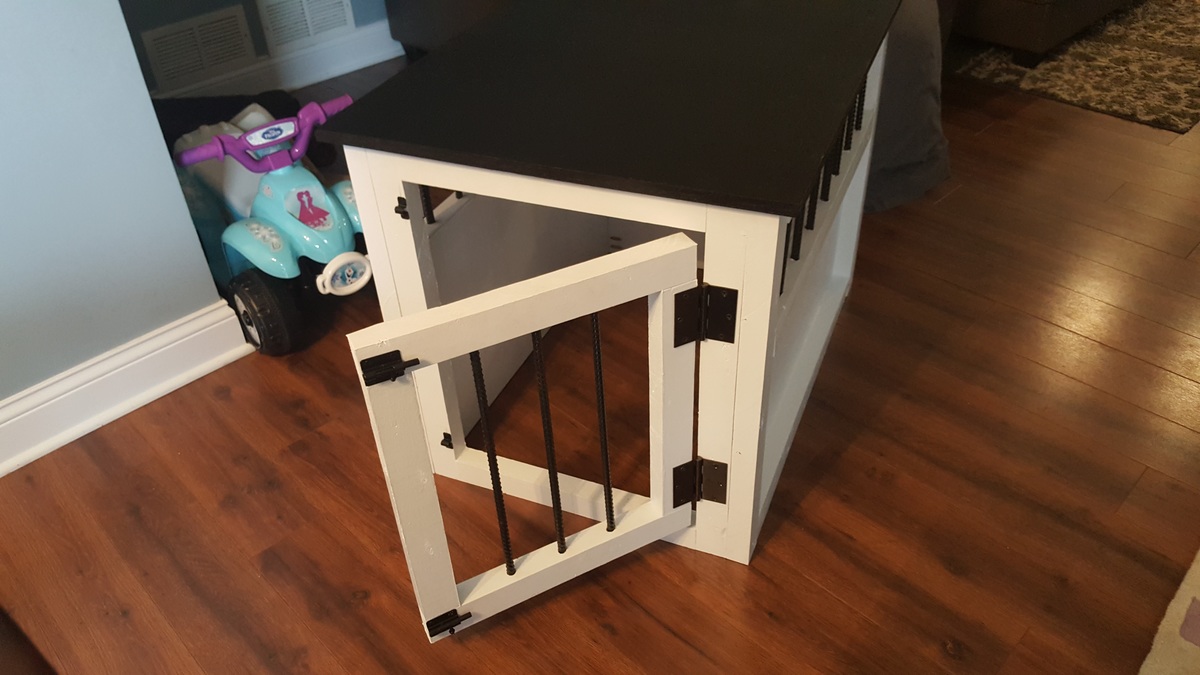
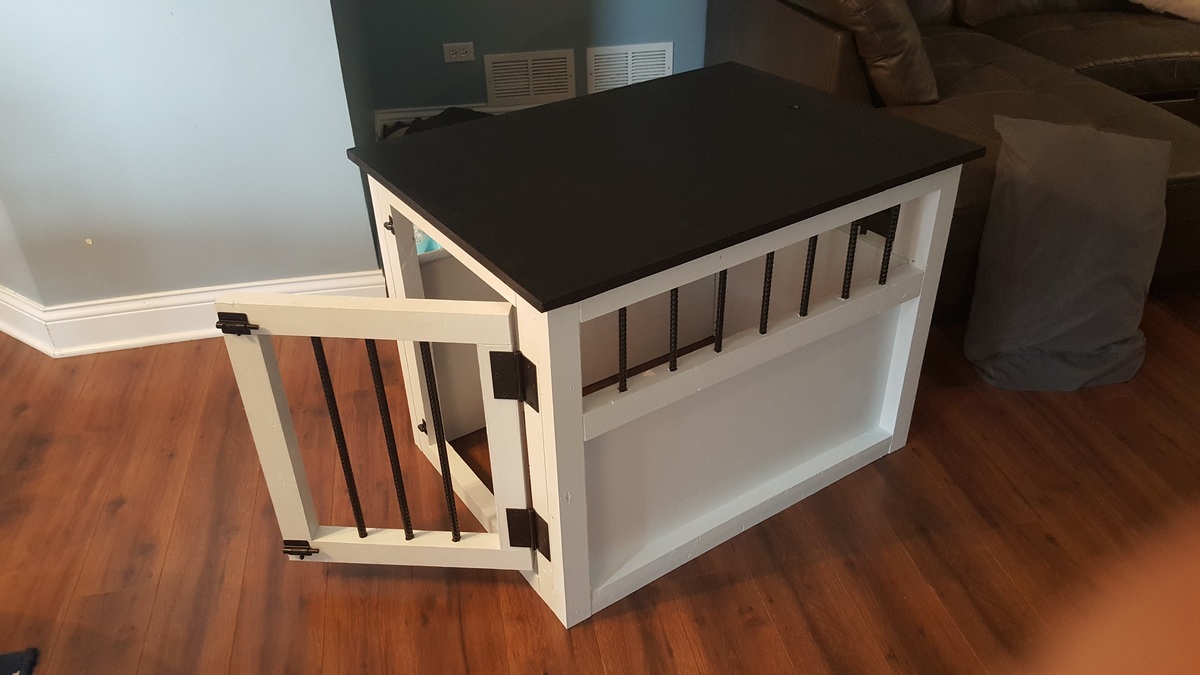
Dog Kennel
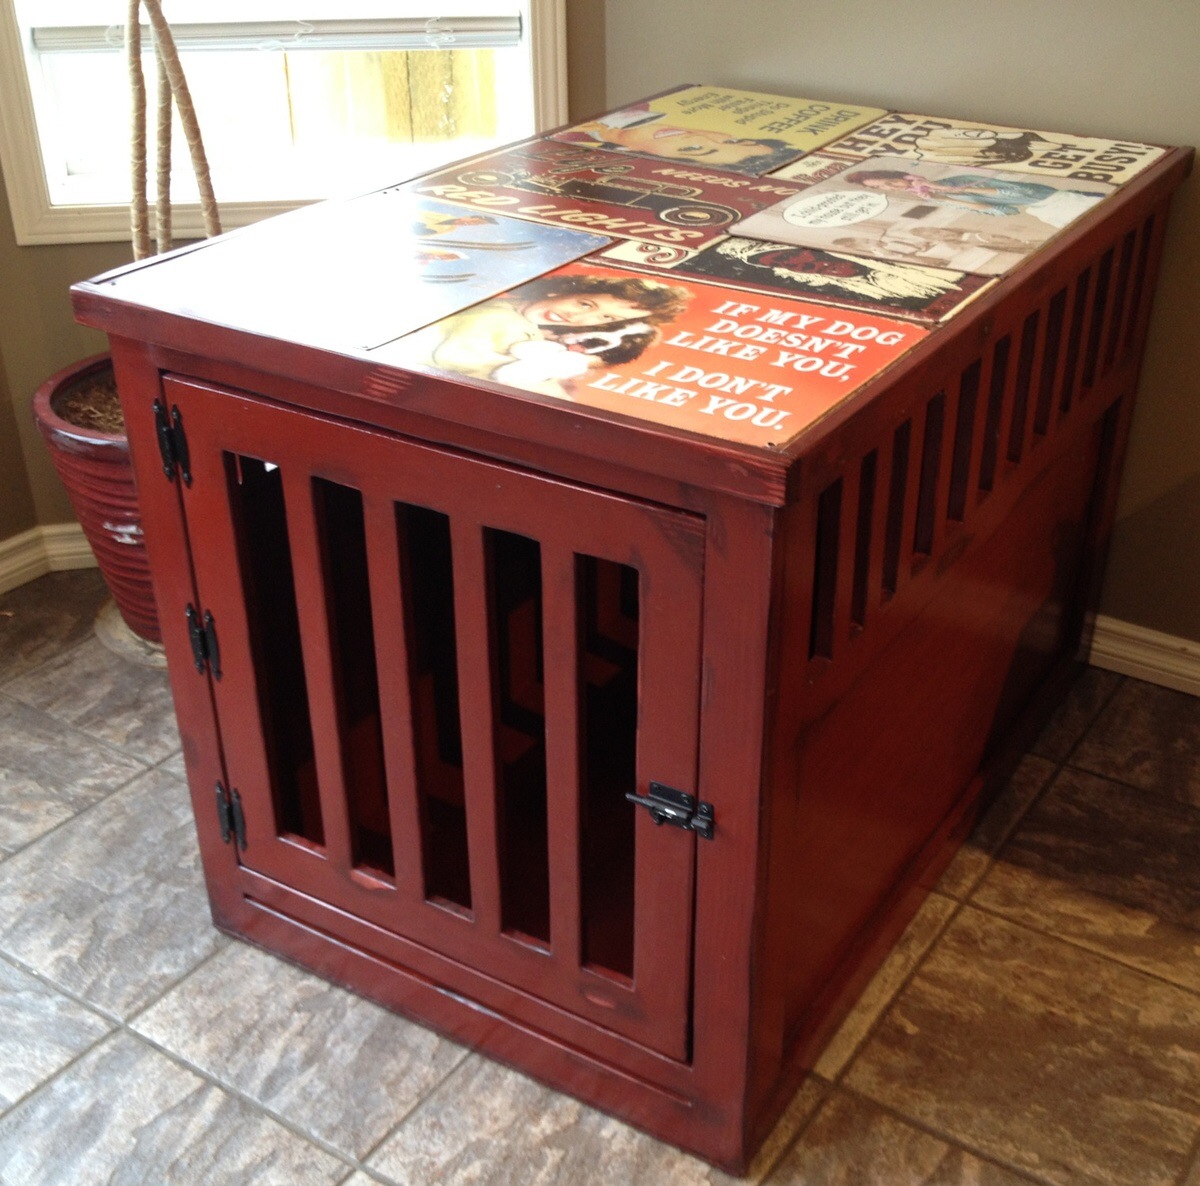
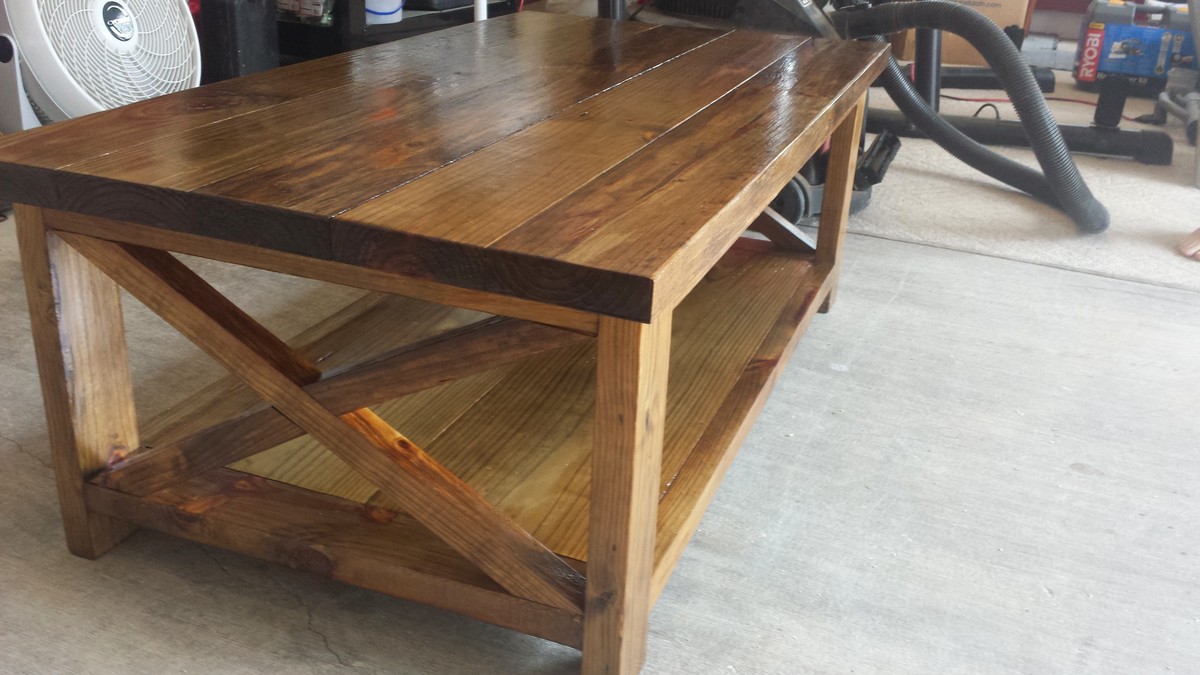
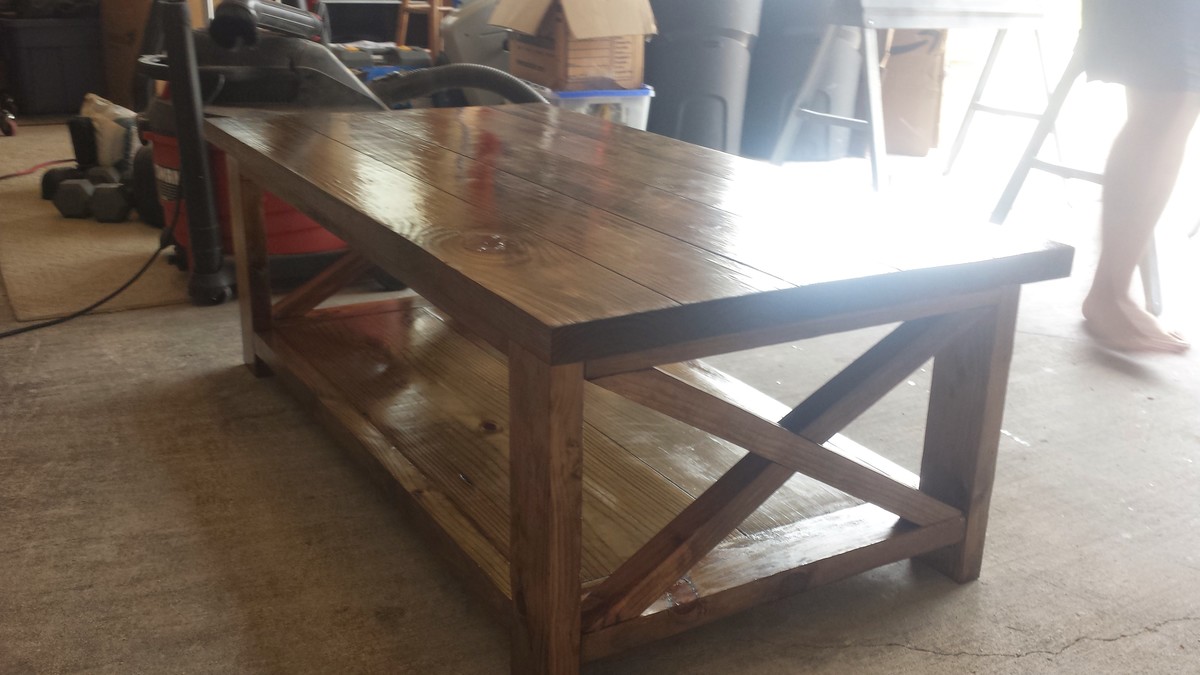
What an awsome introduction to using a Kregg Drill. The plans were so easy to follow, making this a really fun build. I did increase the dimensions of the kennel to accomadate Ezzy's full grown size, but the plans were otherwize followed. The tin signs arranged for the top of the kennel makes it a great conversation piece.
Estimated Cost
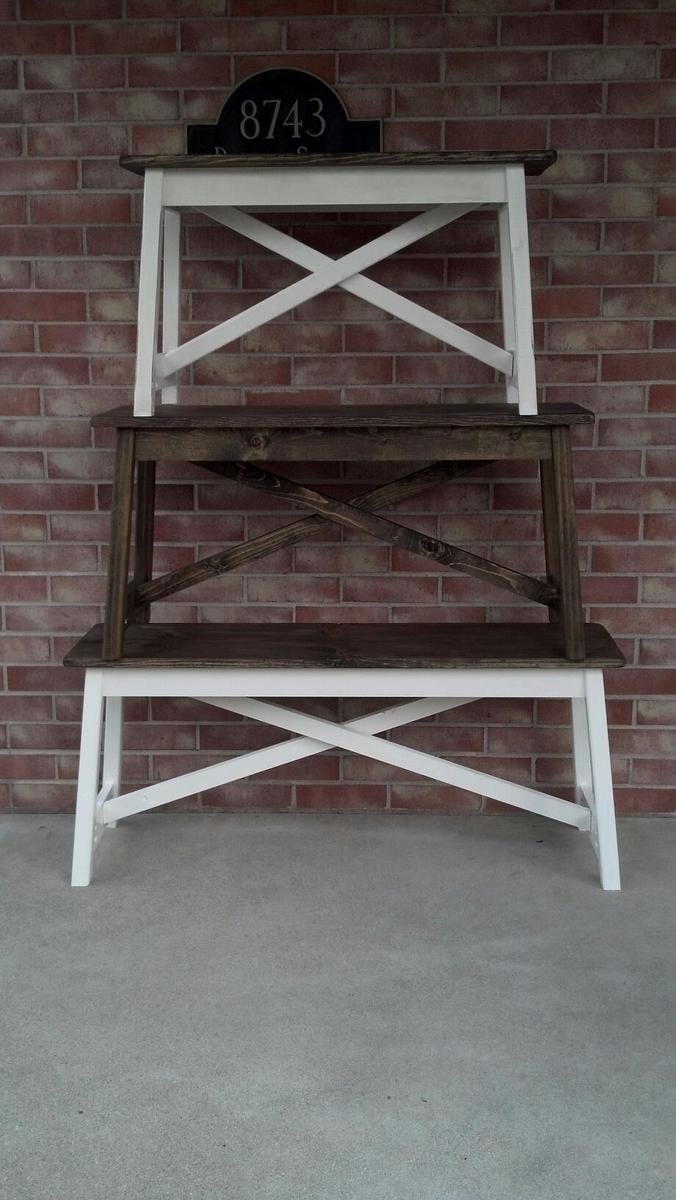
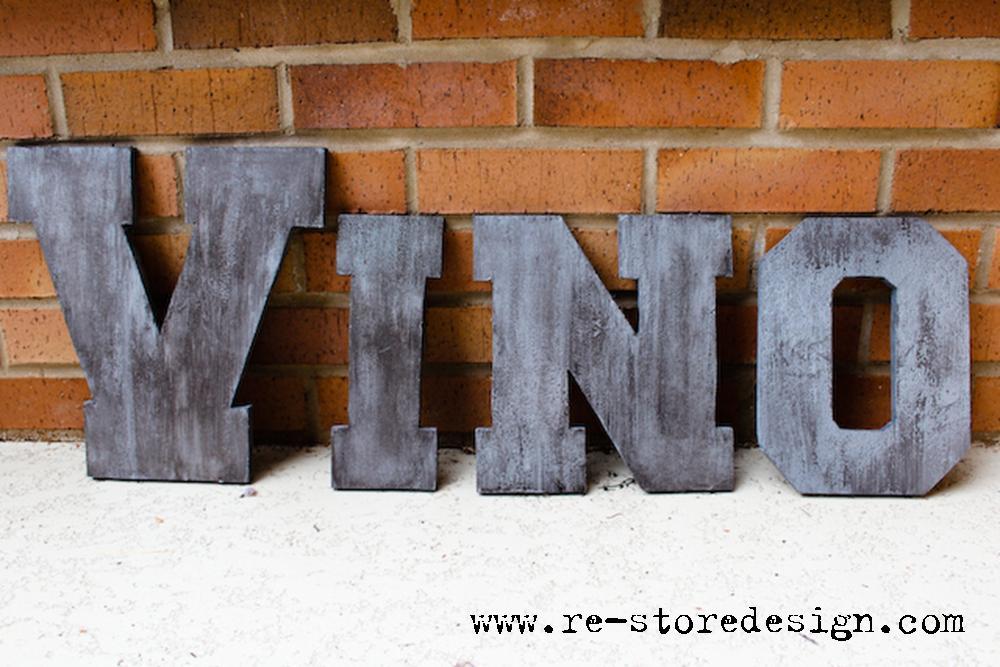
Lumber and hardware cost $100.00. We used Chilli Pepper Red in Benjamin Moore Satin, $80.00 for a gallon and we had plenty left over for touch ups if the puppy chewed, and a walnut stain to add a distressed look. For durability, a polyurethane coating was added. The vintage tin signs were a ridiculously costly addition at $20.00/sign, but we wanted something a bit different. The kennel will be moved into the home office so the signs on top will be a nice "pop".
Estimated Time Investment
Weekend Project (10-20 Hours)
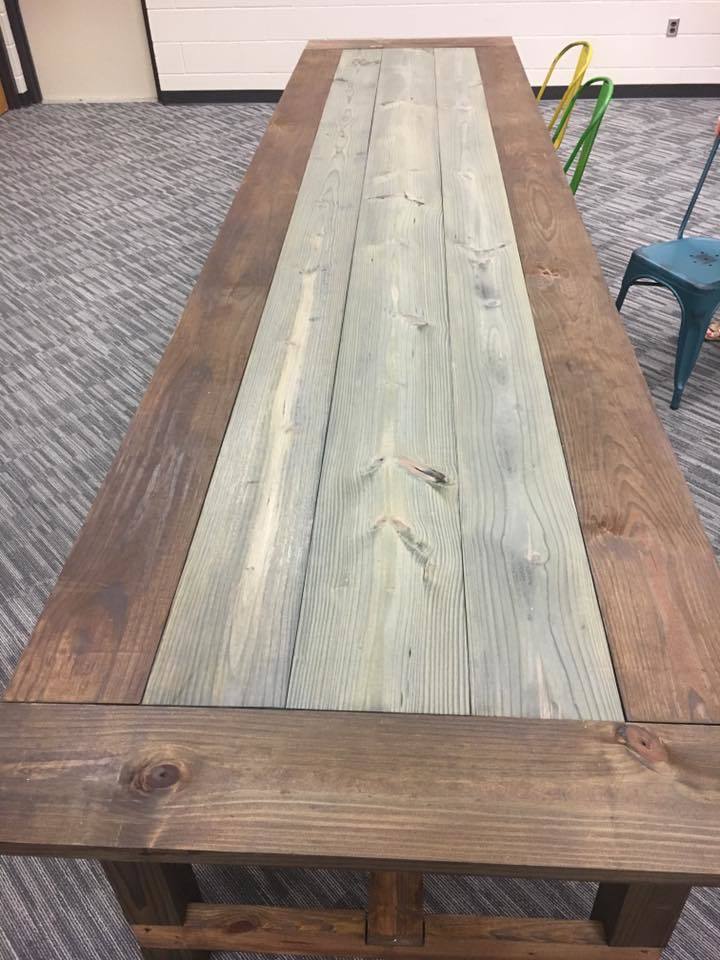
Finish Used
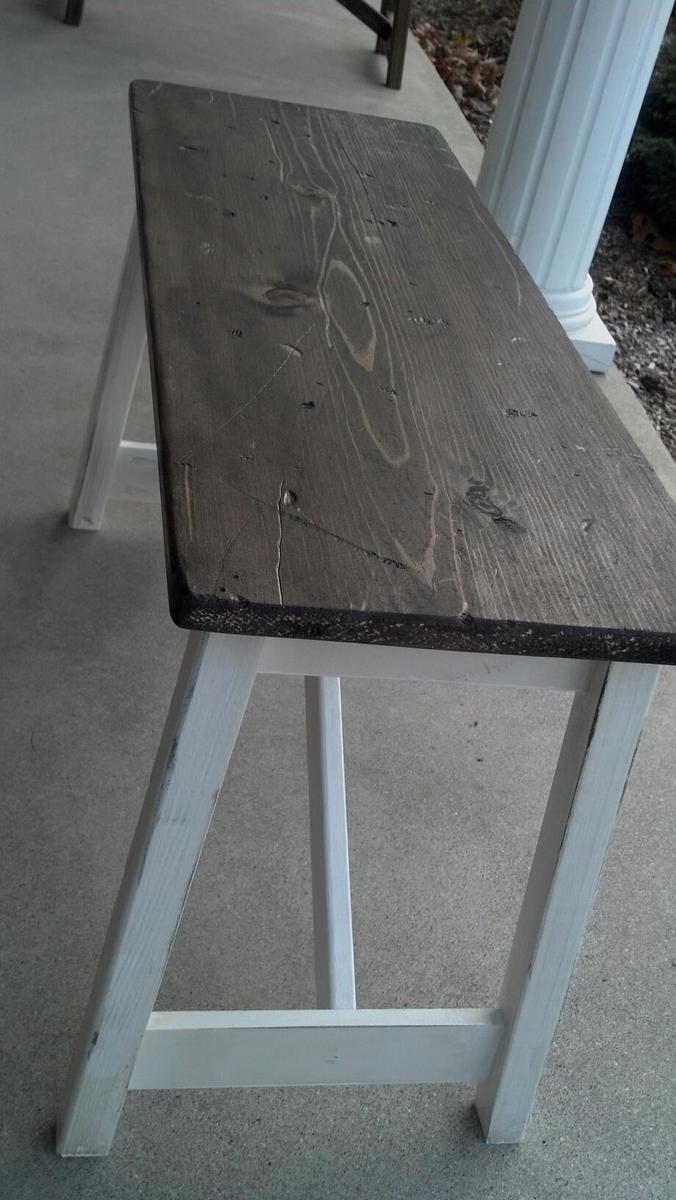
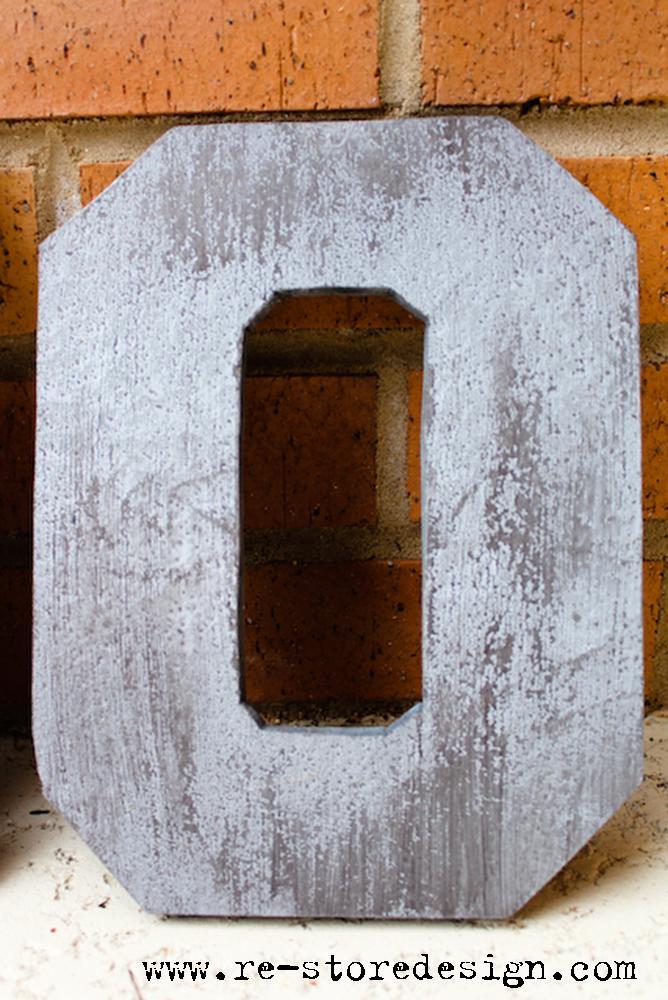
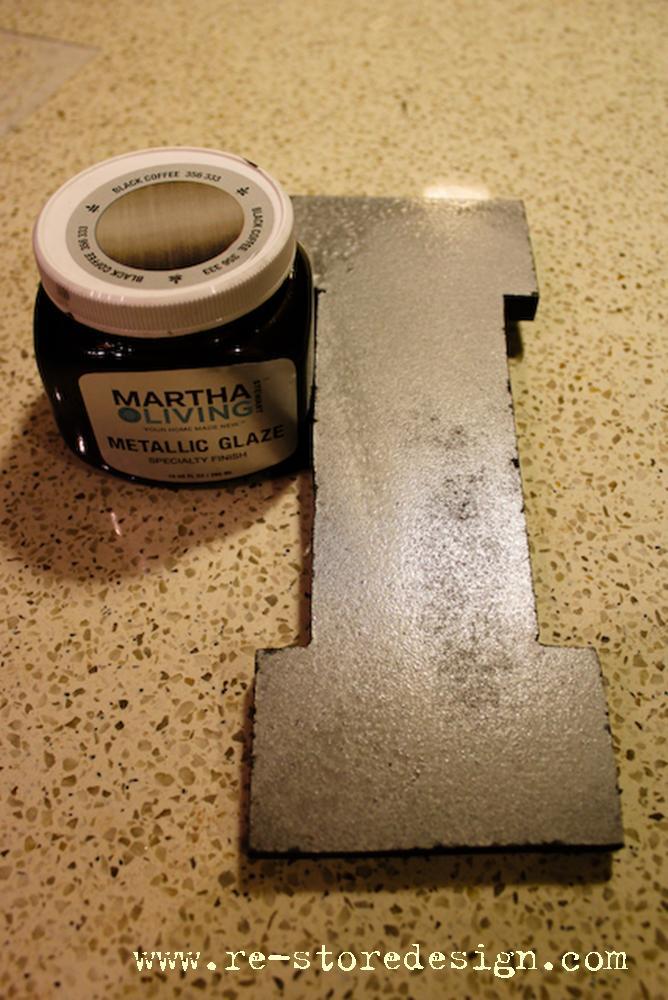
Chili Pepper Red, by Benjamin Moore in a satin finish. Distressed the wood and applied a walnut stain followed by a coat of polyurethane. Tin signs cut to fit the top and glued/screwed down.
Recommended Skill Level
Starter Project


Comments
Ana White
Tue, 11/04/2014 - 18:15
This is super cool! It looks
This is super cool! It looks great and I love the color that you chose!