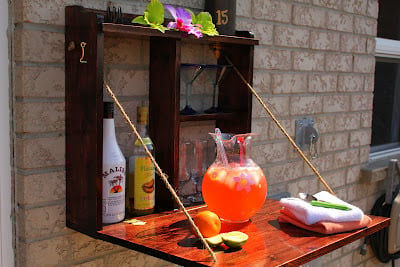
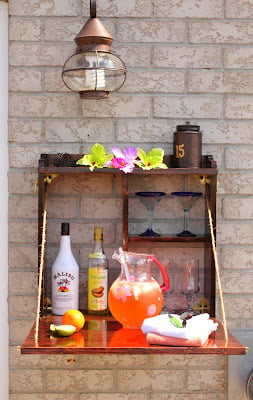
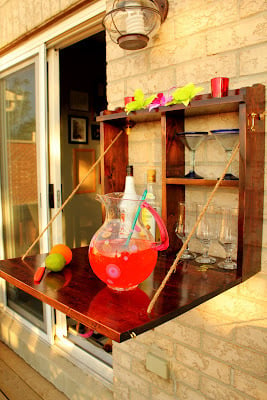
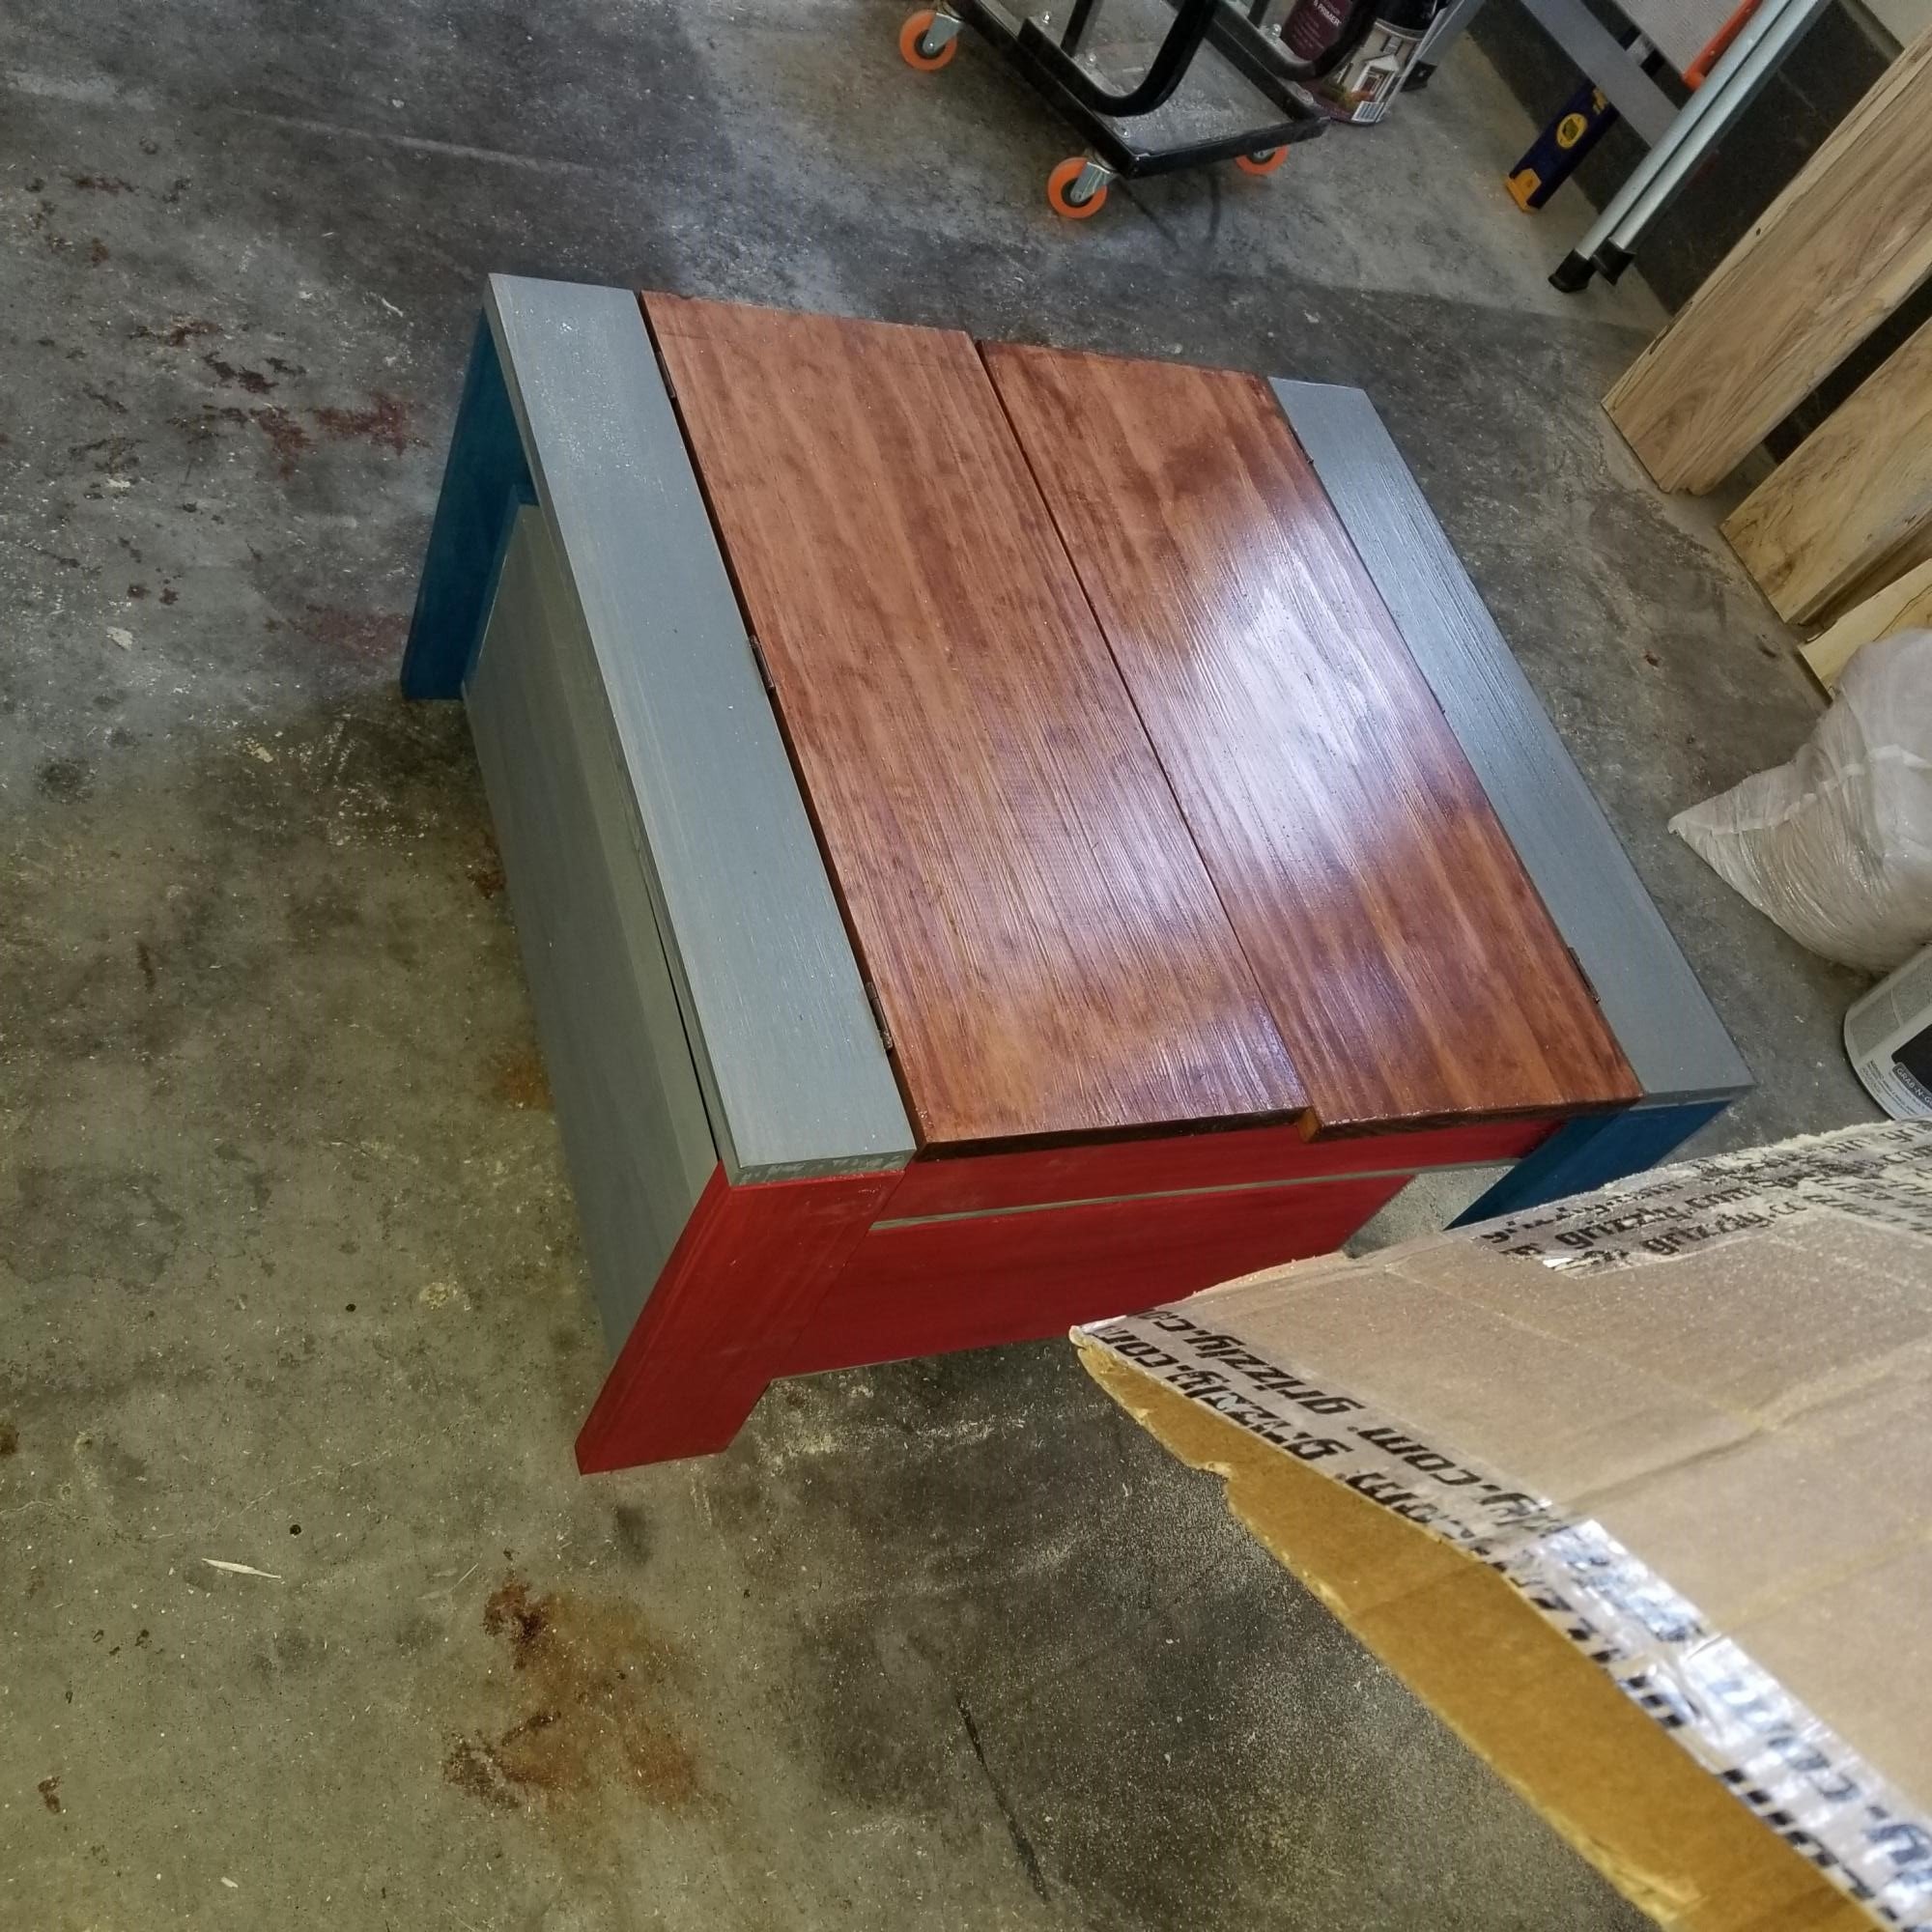
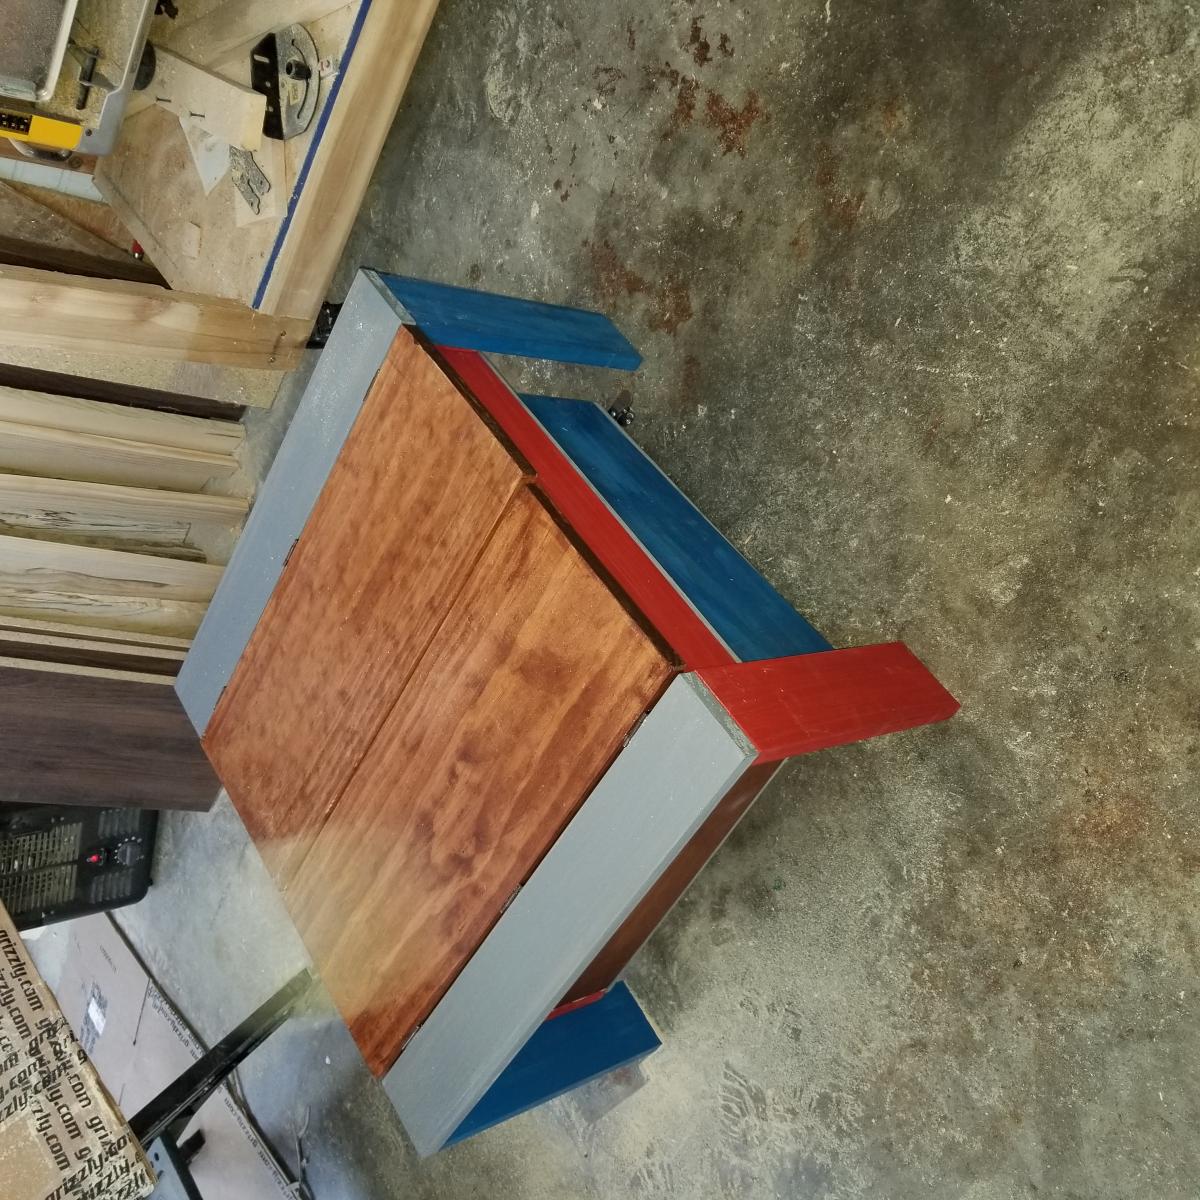
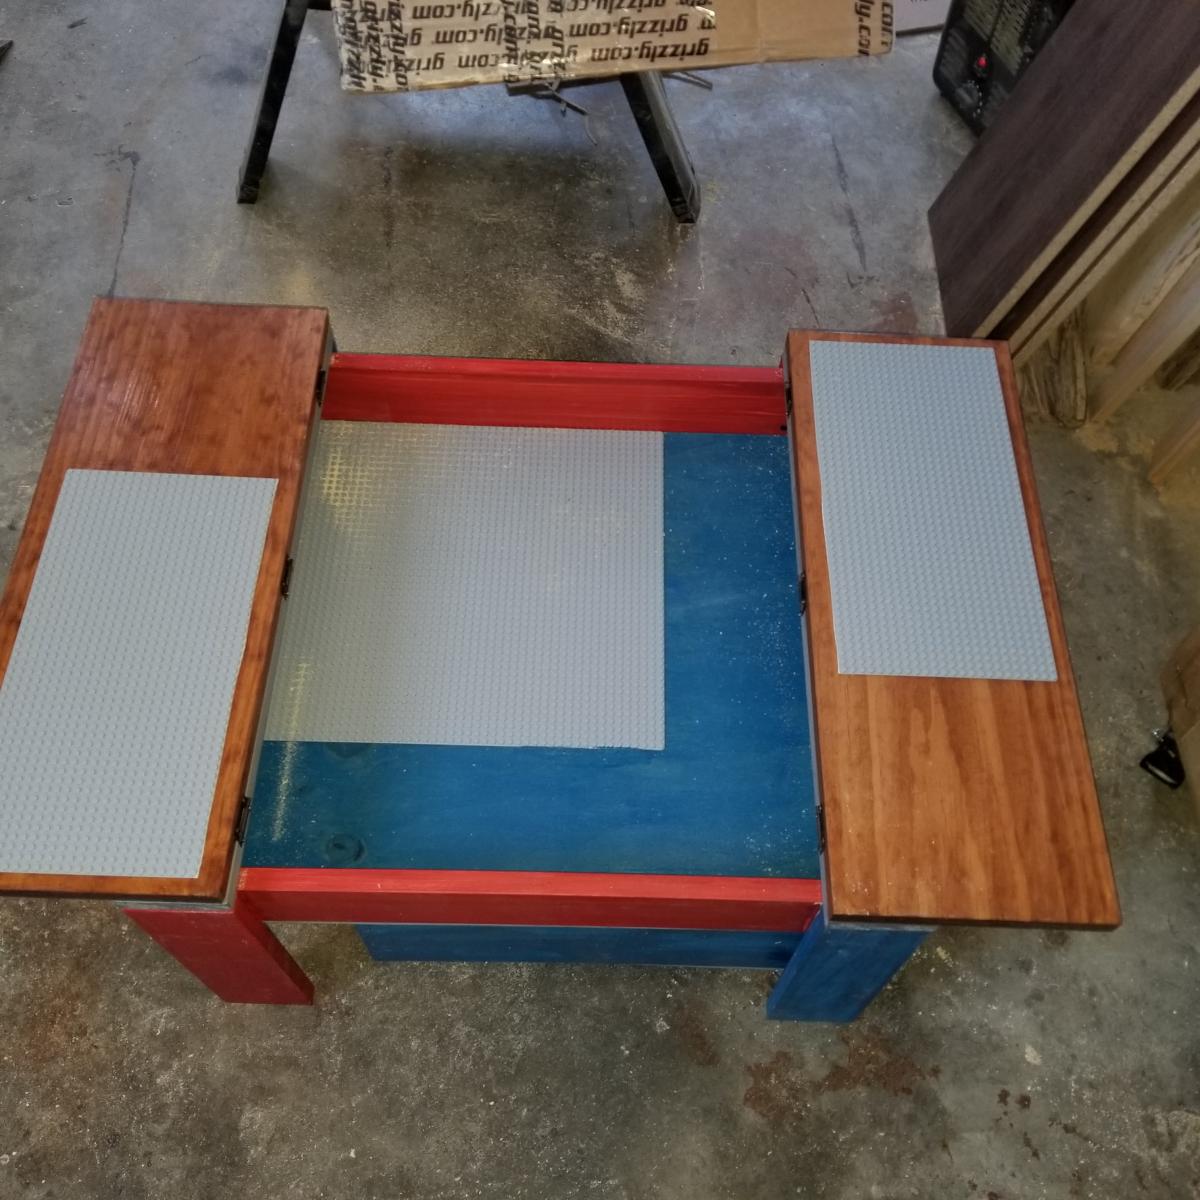
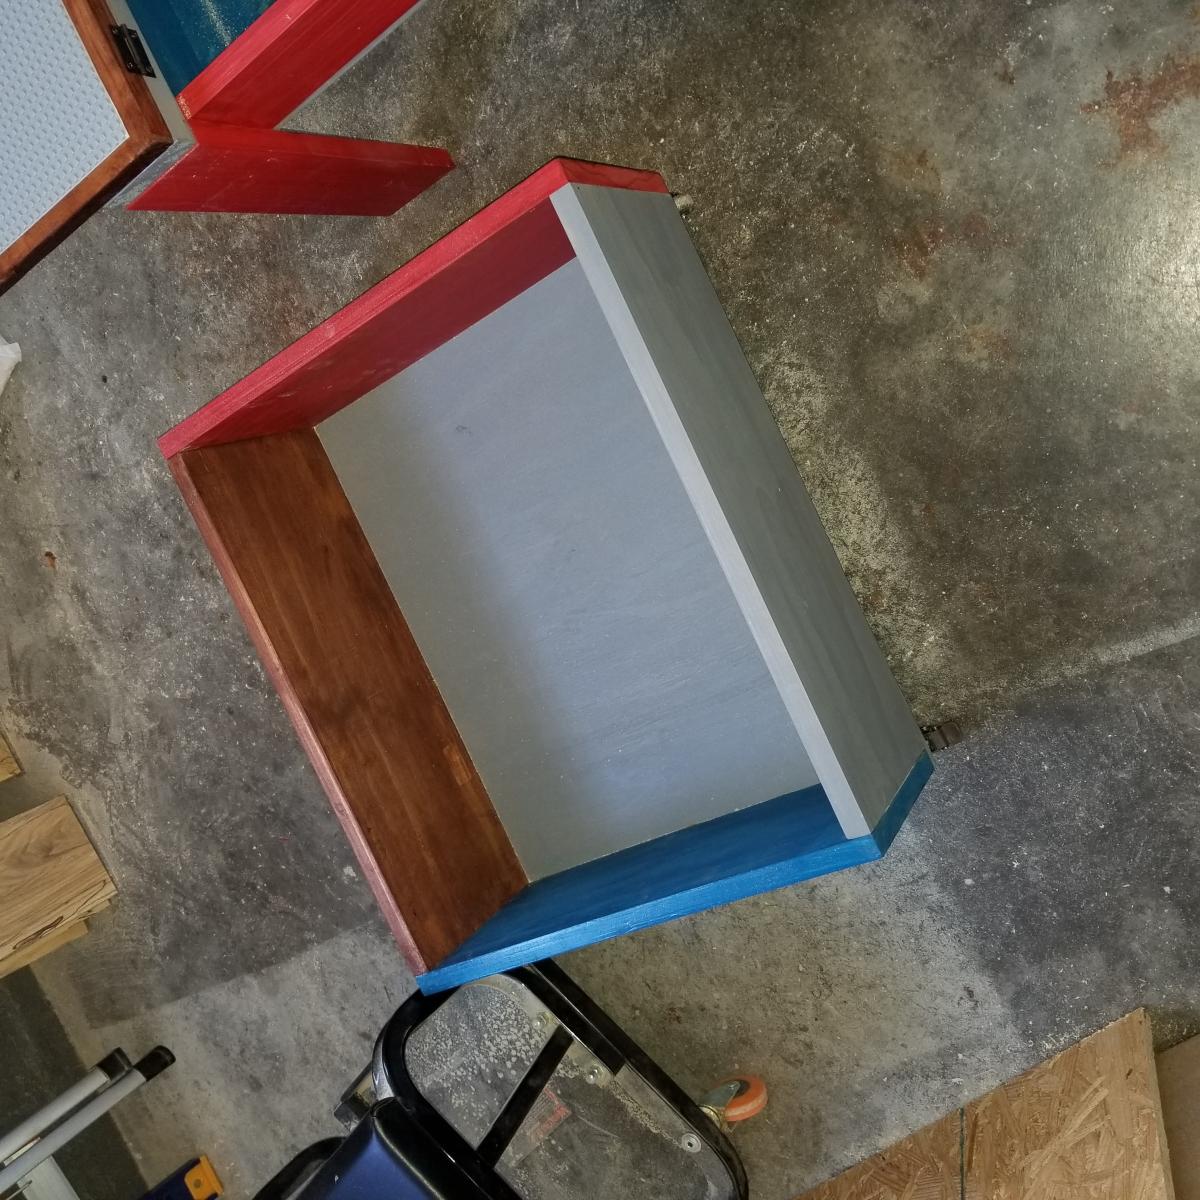
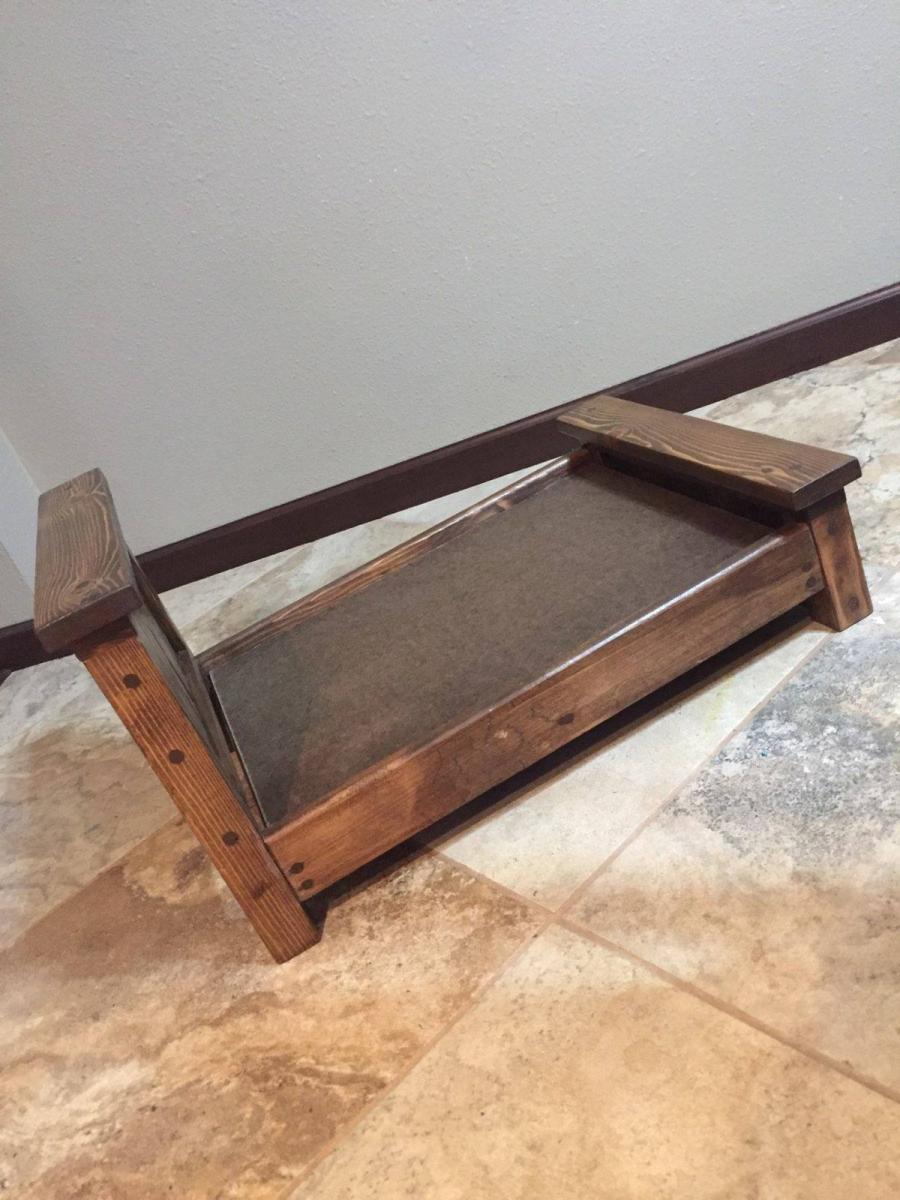
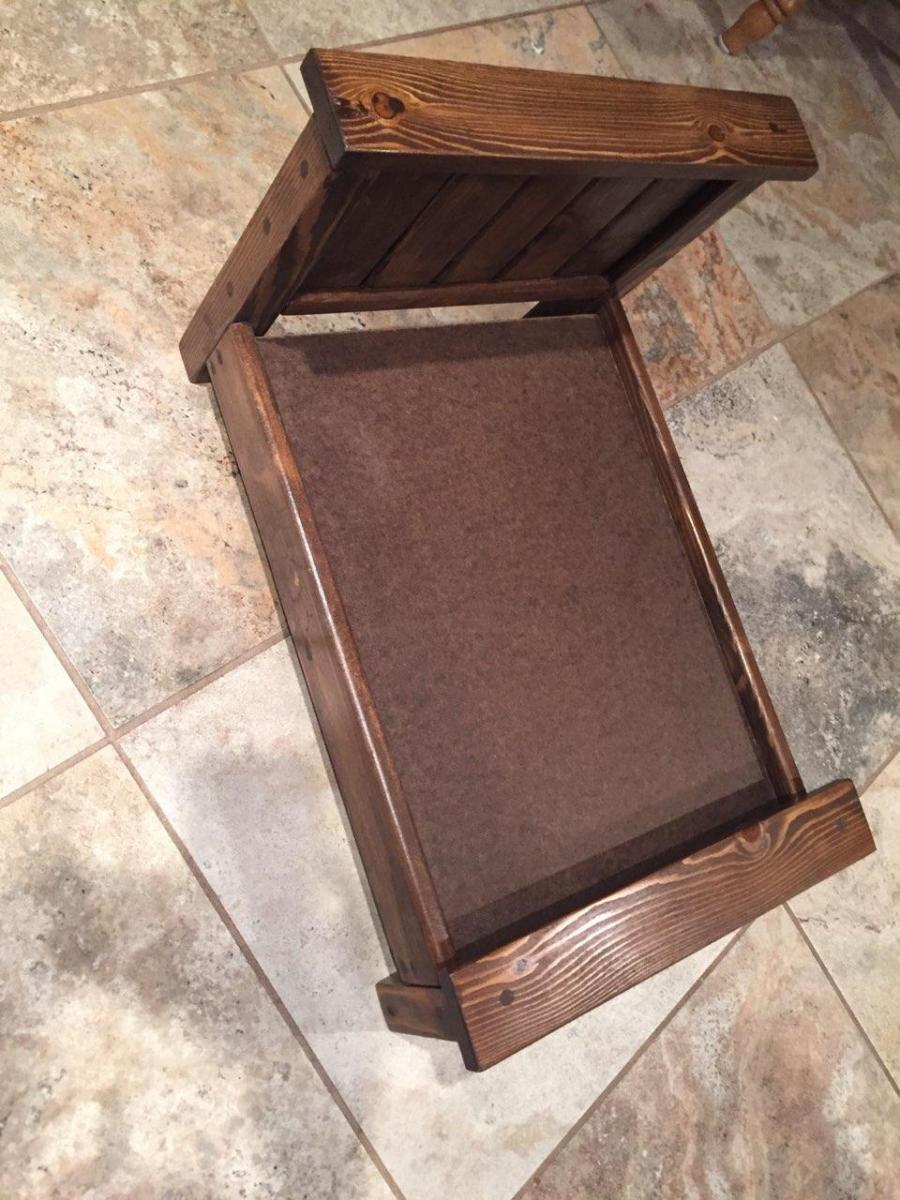
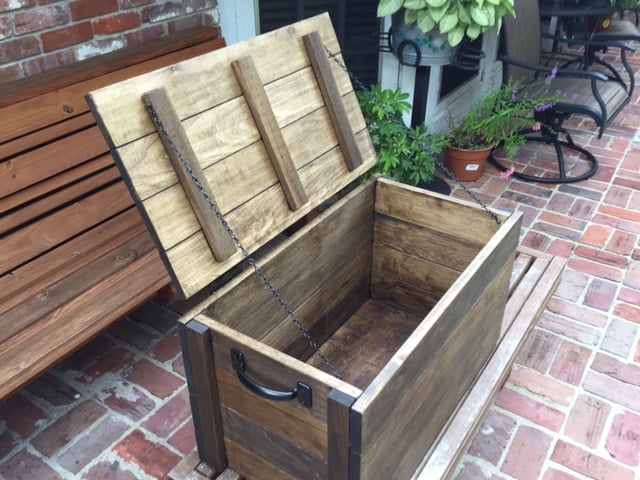
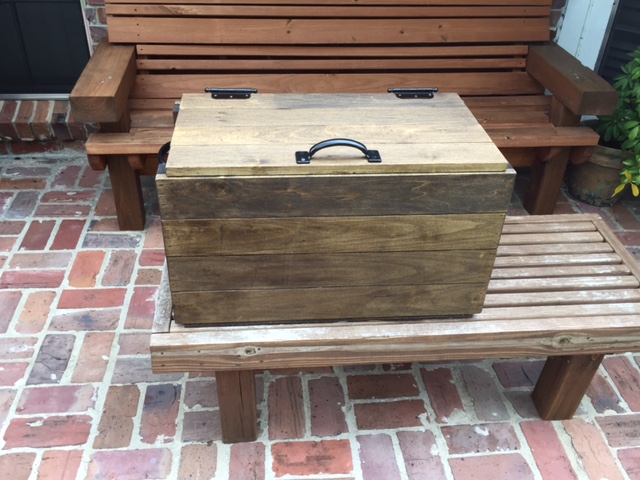
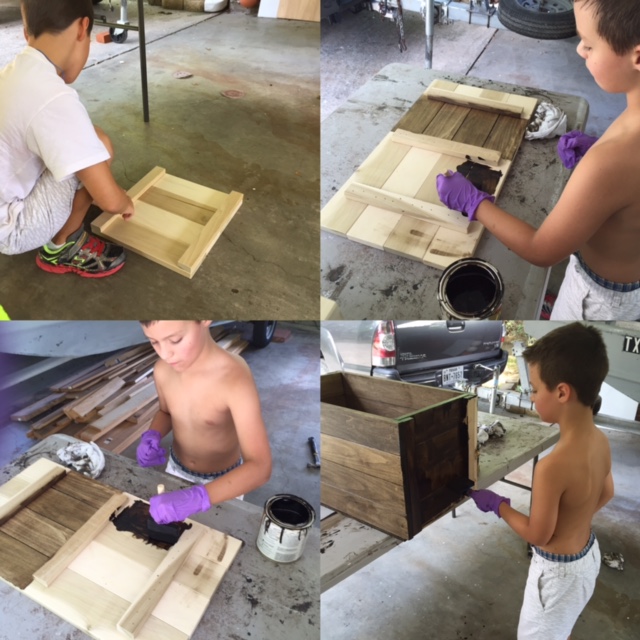
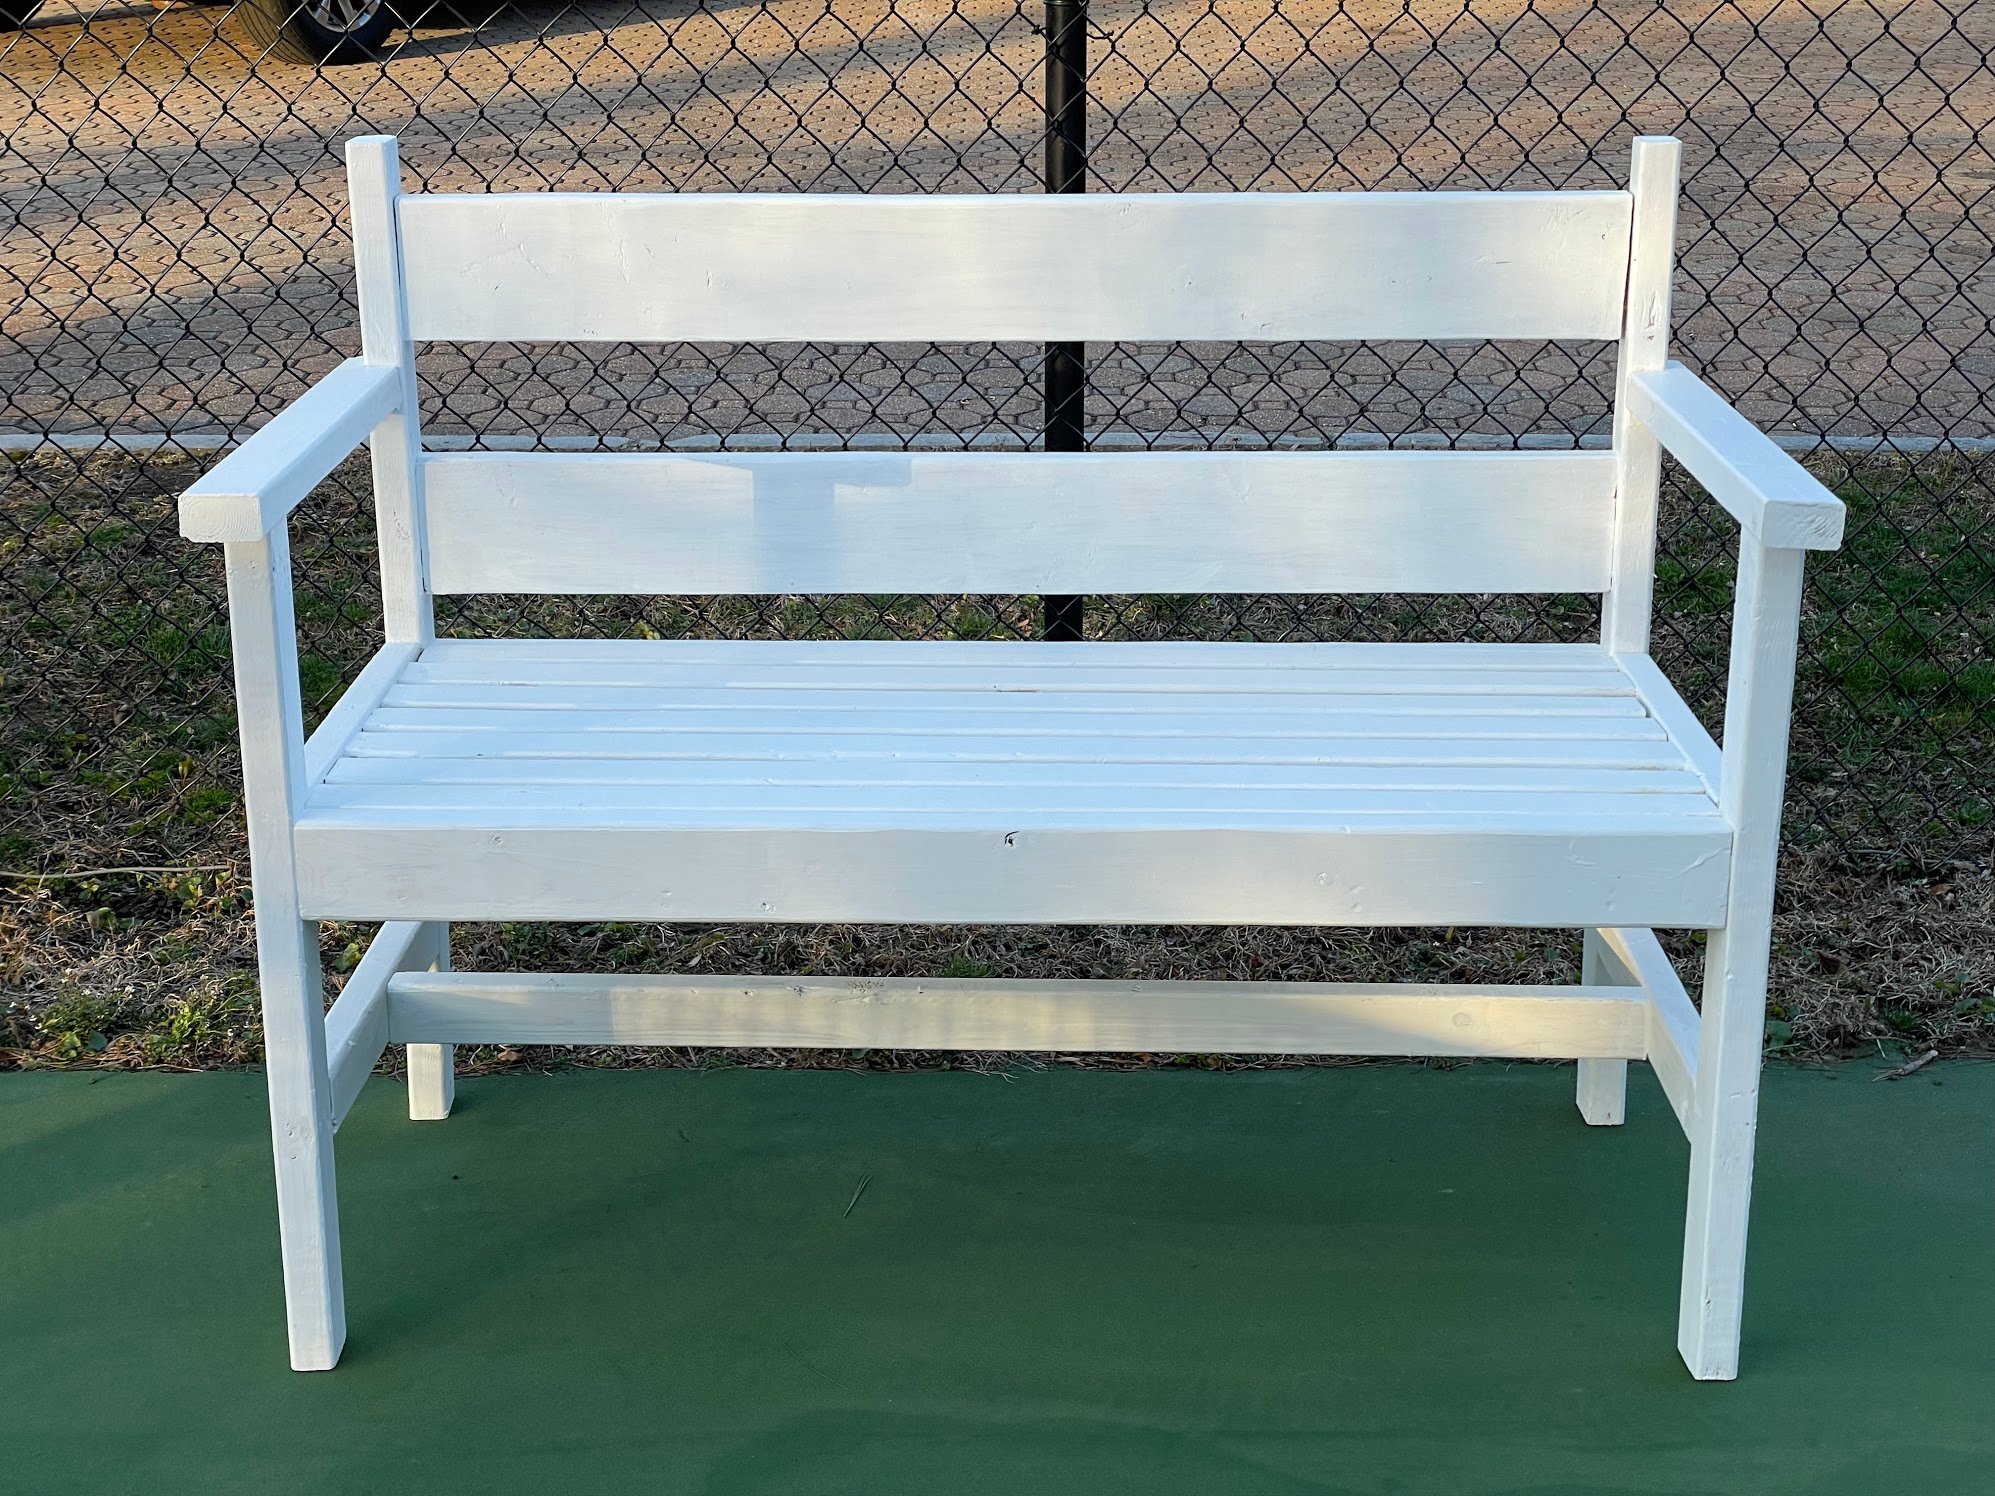
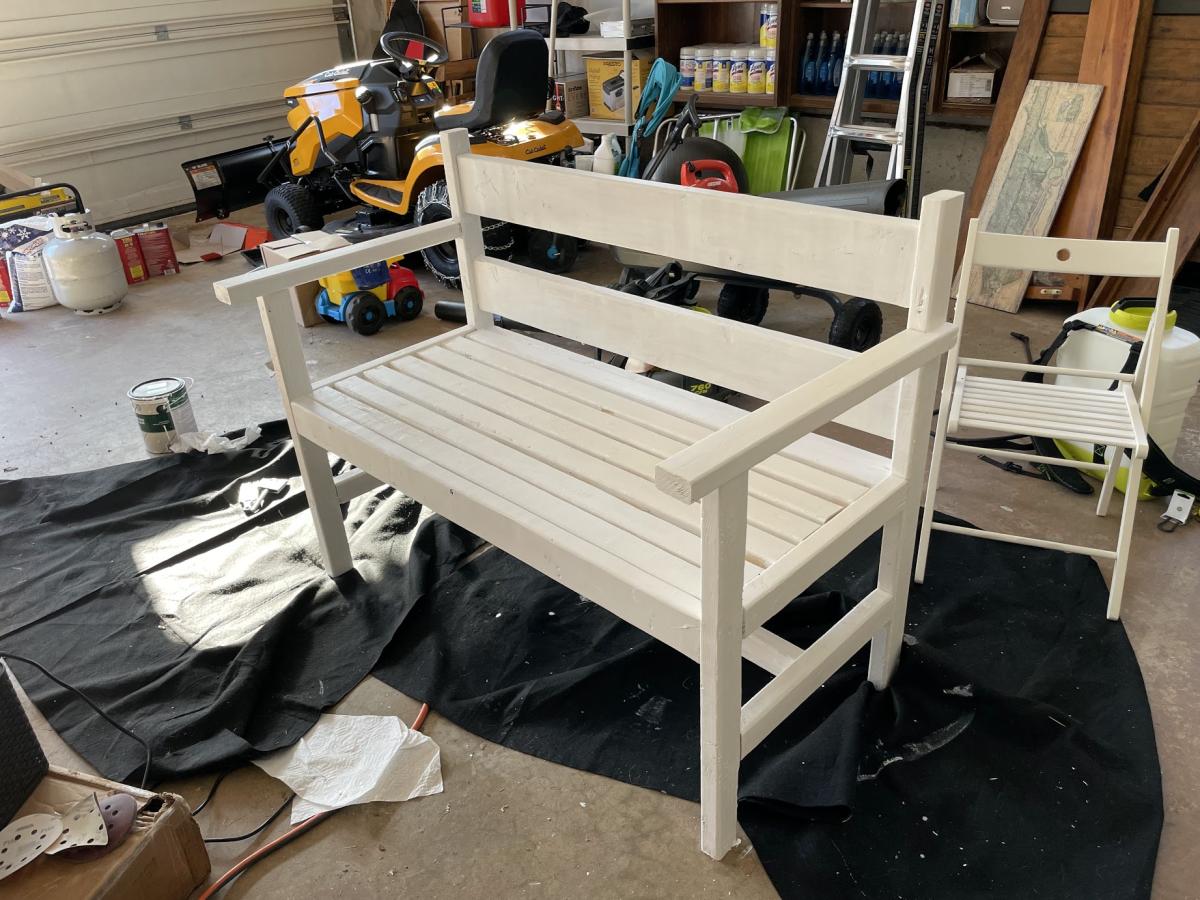
Woven Bench
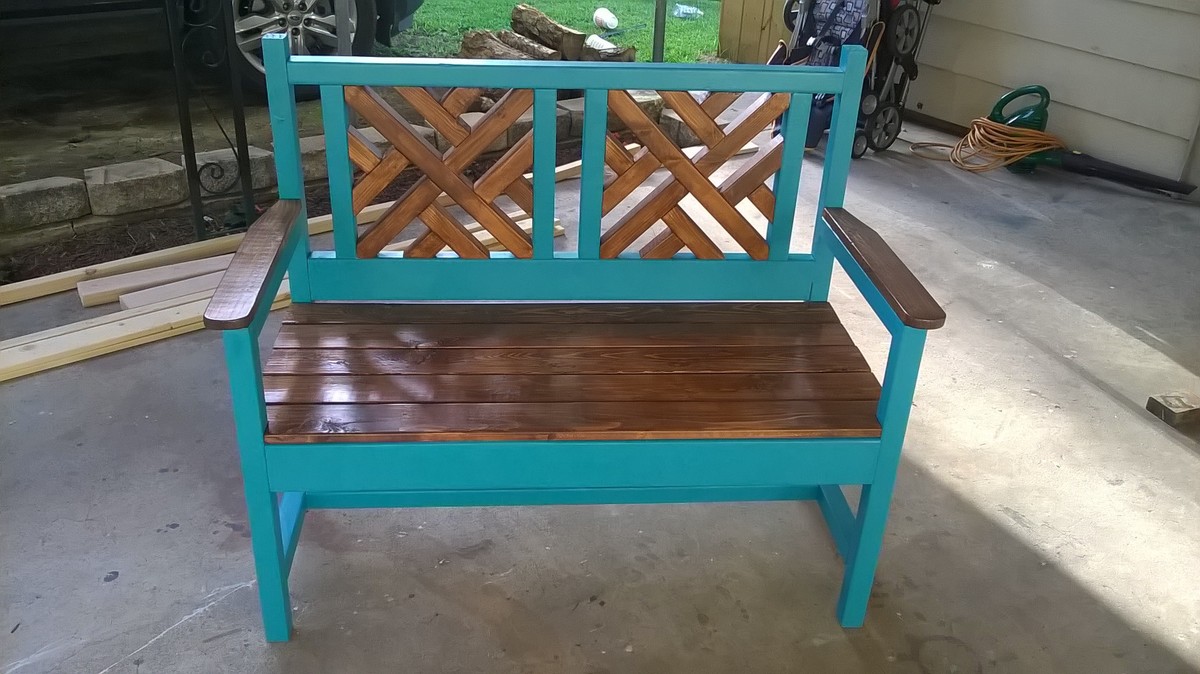
Turned into a more time consuming project than I first envisioned. I think it turned out great as everyone seems to like it. Going with the two-toned design made the finishing much more difficult but produced good results.
Built from Plan(s)
Estimated Cost
$35
Estimated Time Investment
Day Project (6-9 Hours)
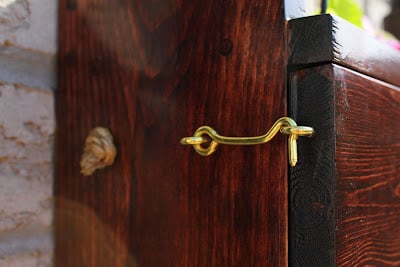
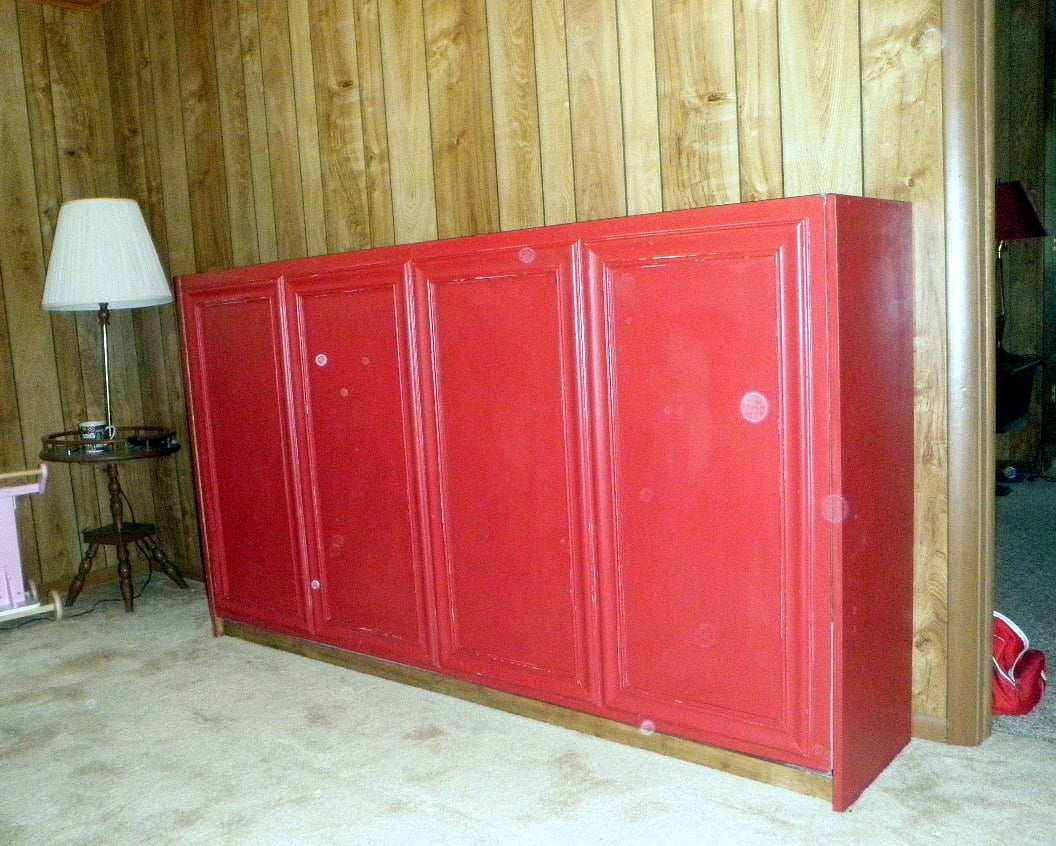
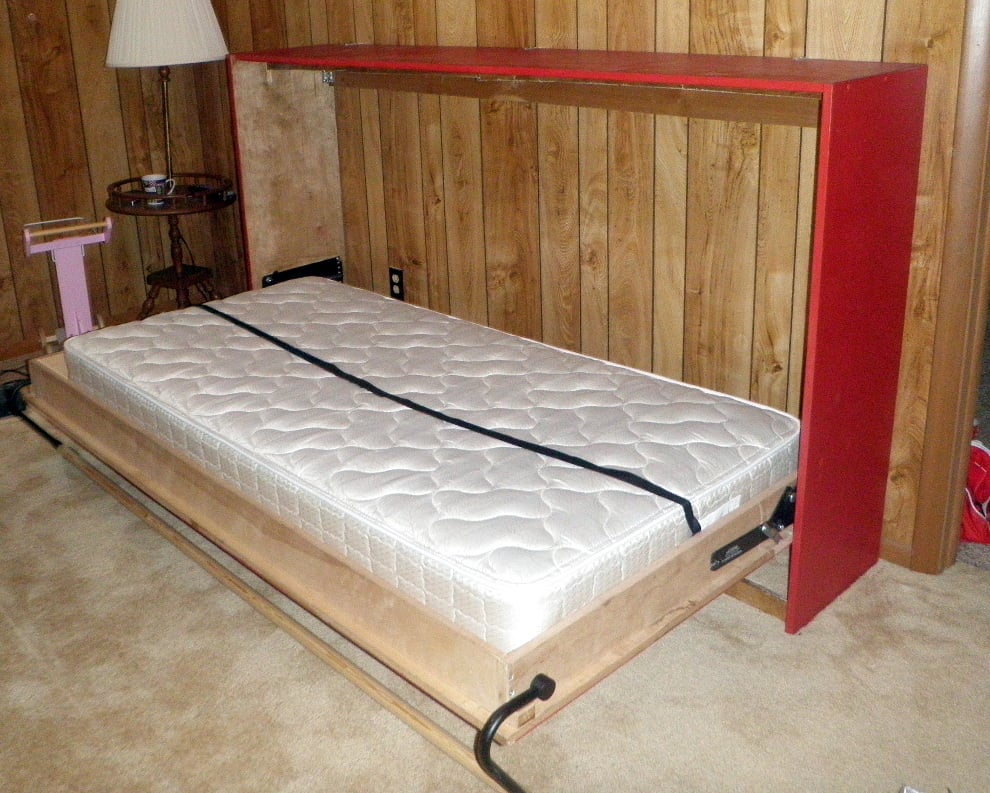
Finish Used
Mixture of stains,
primer and indoor/outdoor semi-gloss paint
primer and indoor/outdoor semi-gloss paint
Recommended Skill Level
Intermediate


Comments
handmadewithash
Sat, 07/11/2015 - 18:09
I really like your color
I really like your color choice :)