Entry Way
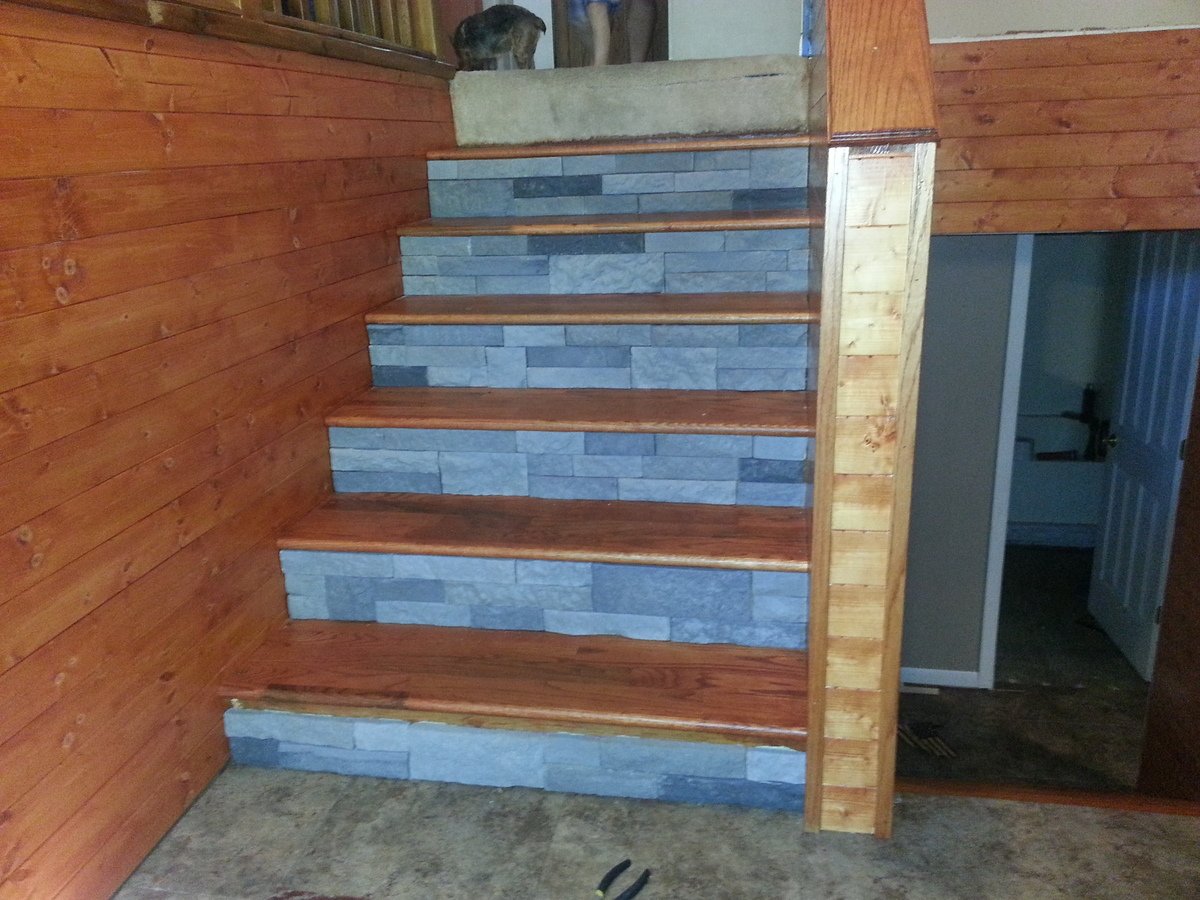
I helped a buddy redo his entry way into his house by putting up pine boards, brick for stairs, and oak steps.
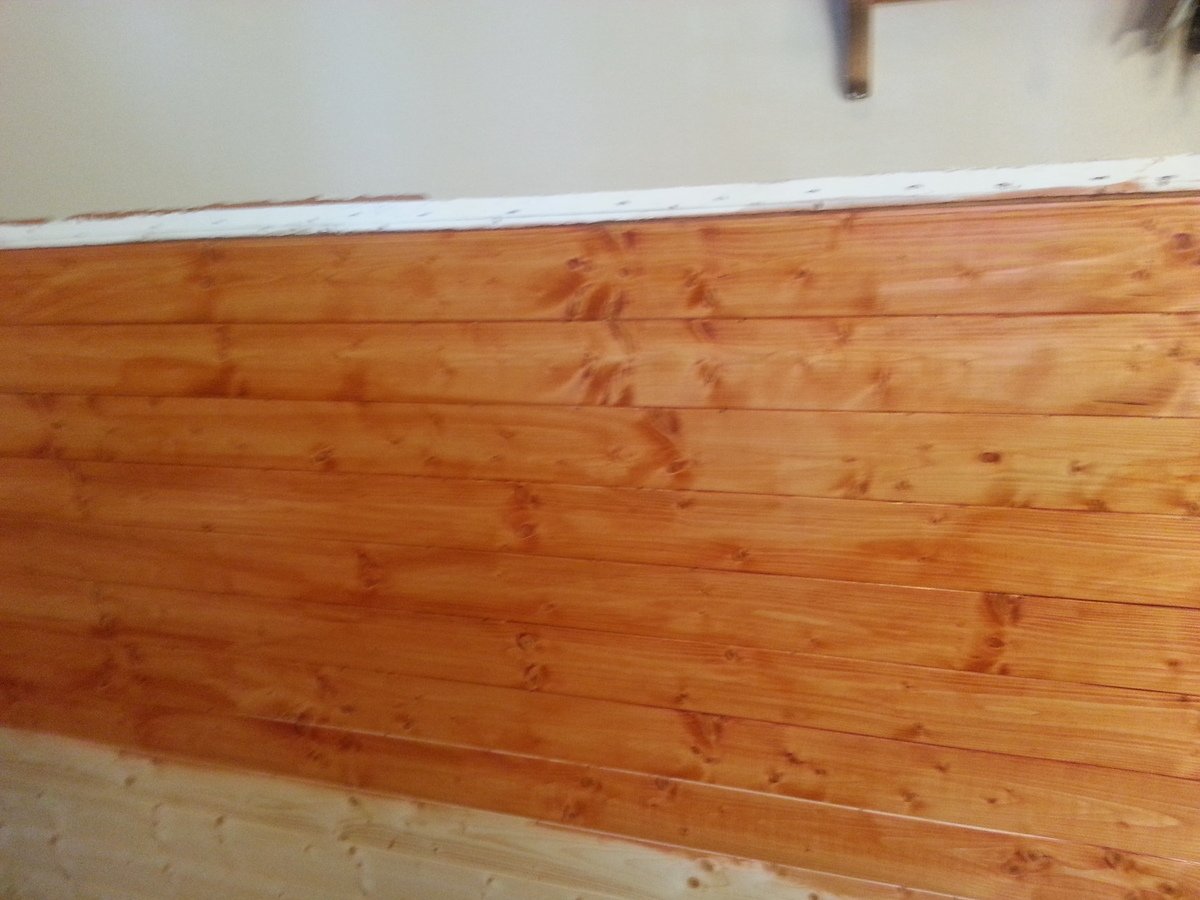
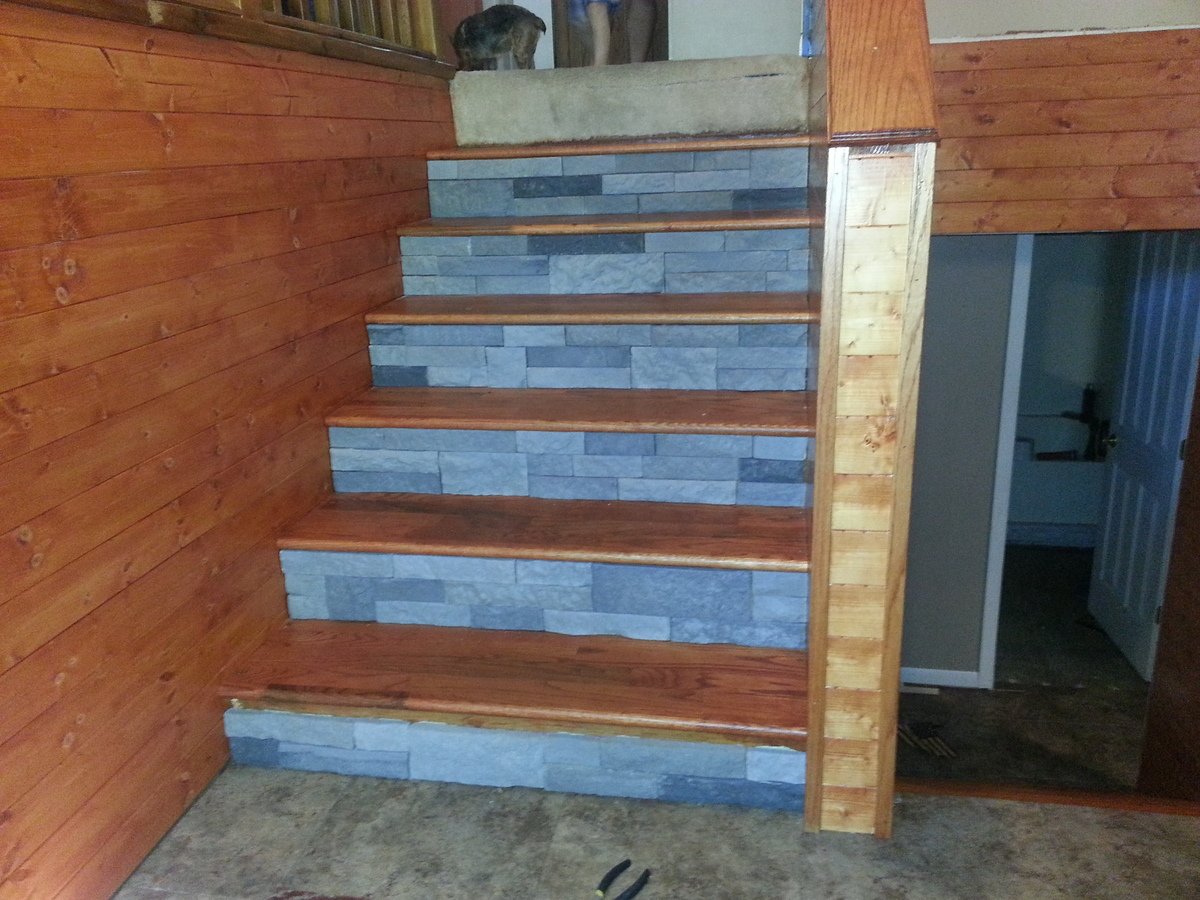
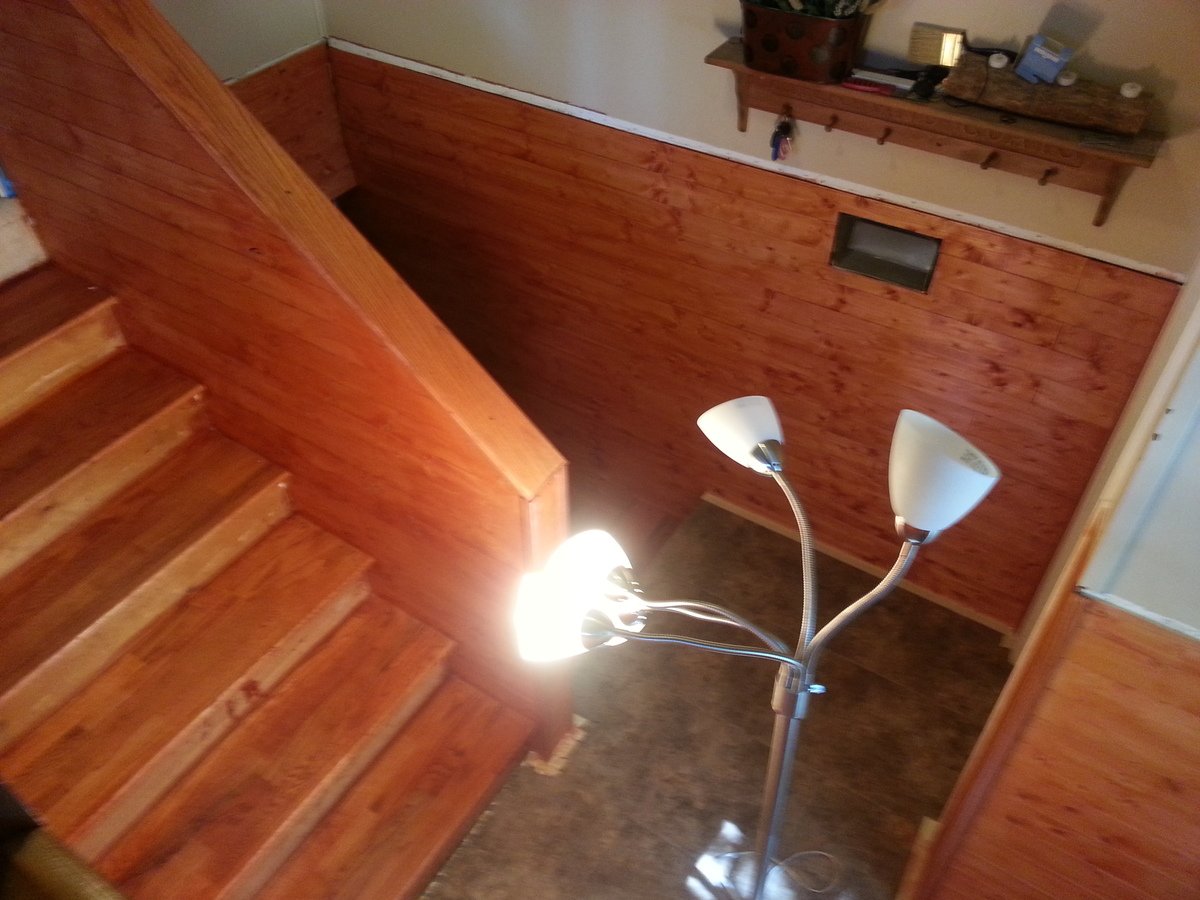

I helped a buddy redo his entry way into his house by putting up pine boards, brick for stairs, and oak steps.


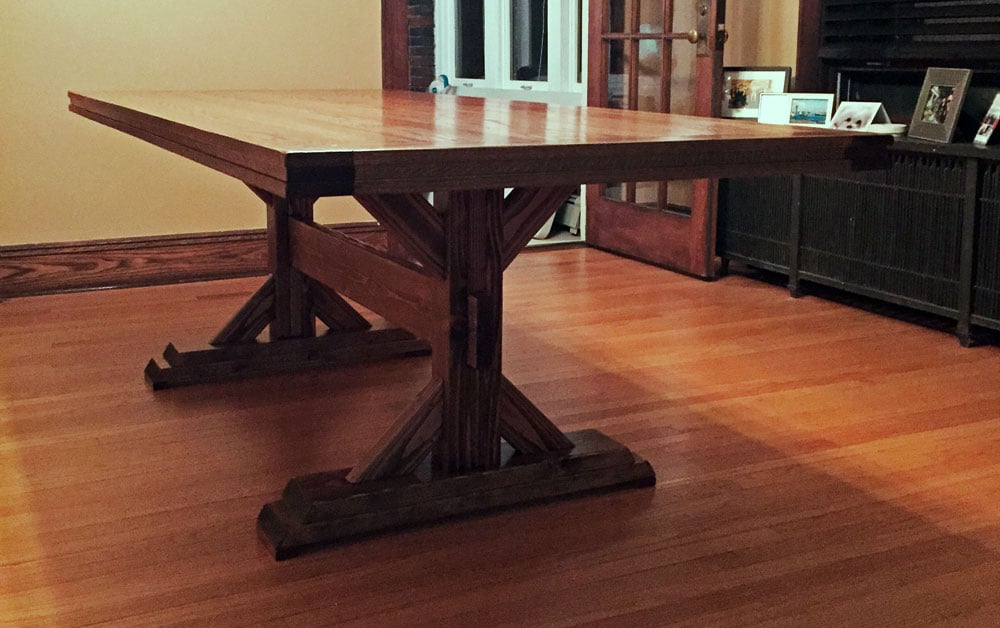
Keep on building on! This is the second peice I've built for our dining room - built a bar first. I opted to only make 2 pedestals instead of 3 that was on the plans. Dimensions are a tad smaller to fit our room nicely, measuring 90in x 40in. My wife and I absolutely love this table! I used Red Oak for the top and Doug fir for the base. Hardest part was lugging around that dense oak and looking for chairs! The stretcher was also a bit of a task as well. Had to go out a buy a rubber mallet to bang it in enough so that the slack on both ends were even. We particularly like this piece because it will be used often and many memories will be created around this table! Thanks again for the inspiration!
Picture of my own version of the Ana White Design linked here
http://www.ana-white.com/2017/01/DIY_furniture/farmhouse-style-toy-box-…
Added Gas Shocks from Amazon 100N/18lbs.
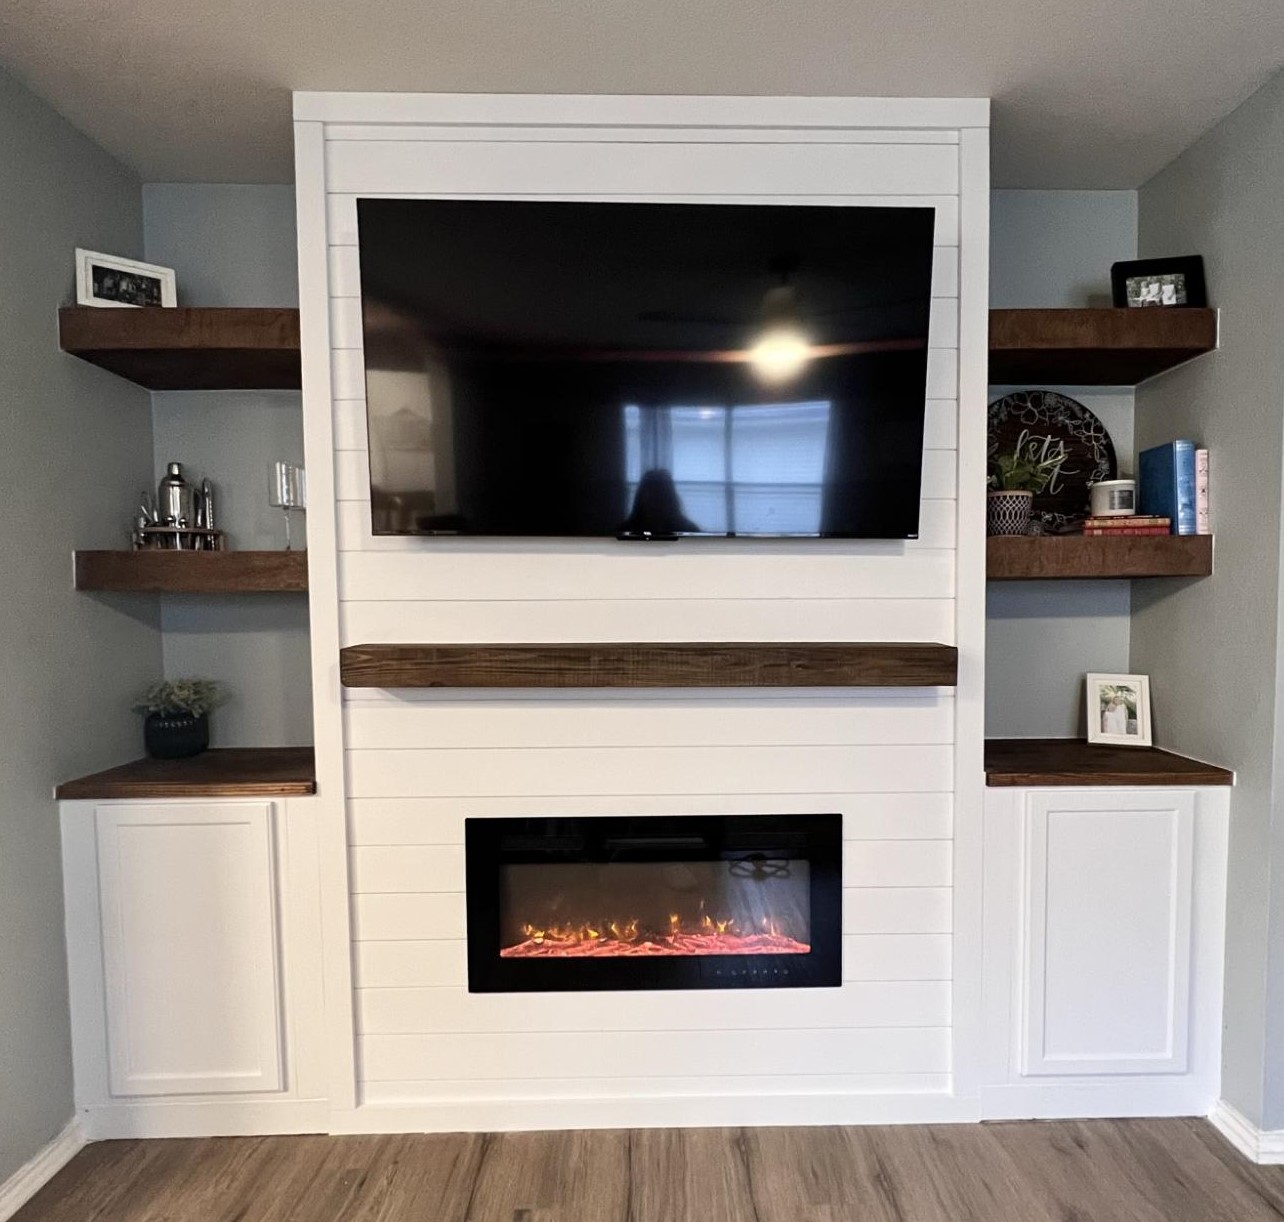
Built this fire place using Ana’s plans and bought the same insert she had. Loved the way it turned out! I added the cabinets and shelving to each side.
Mon, 02/13/2023 - 13:39
Love the open shelves and side cabinets, beautiful work! Thank you for sharing.
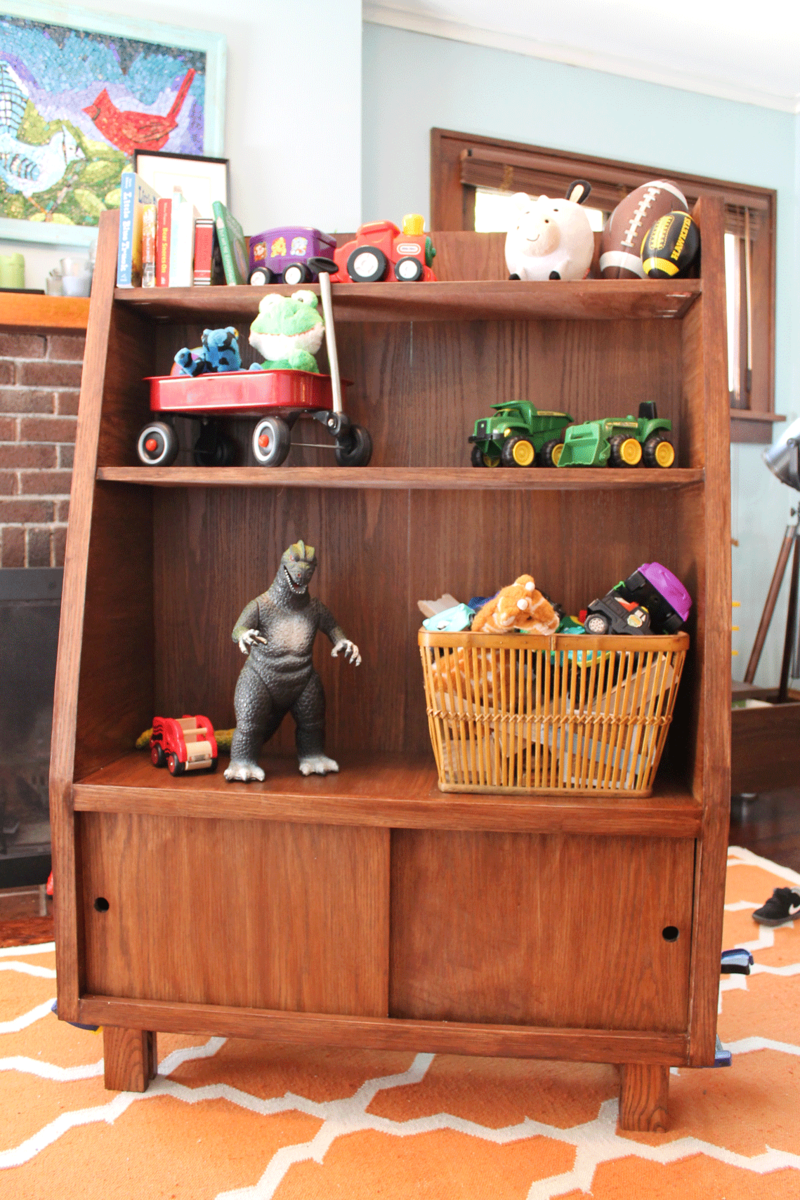
I've made several of Ana's plans with success, so when my toddler's toys started overflowing his toy box I came here for a good shelving solution. Unfortunately, I have a tiny house and I didn't find anything that was perfect, so I downloaded sketchup and made my own plan. This, based on a land of nod piece and the Banker's Bookcase techniques, is the result.
Mon, 10/24/2011 - 18:22
I love it! It reminds me of the bookcases we used to have in the nursery school classrooms at my church as a kid, except much prettier. You did a really great job, and I love the doors to help hide some of the toys!
My wife is a preschool teacher and needed this badly. Easy project for a beginner like me. I got the mdf cut to size at my local hardwarestore. The build took me about 3 hours, the paintjob a lot longer. I made holes in the sides instead of the rectangular handles, because I thought that would be easier. And the holes work perfecty. I'm pleased with the finished project. Great quality for a small prize. Next up: the play kitchen!
In reply to New pictures by Telbar
Thu, 01/07/2016 - 11:26
what size hole did you use for the handles?
In reply to what size hole did you use by handmadewithash
Thu, 01/07/2016 - 12:23
6cm.
Or as Google tells me: 2 3/8" ![]()
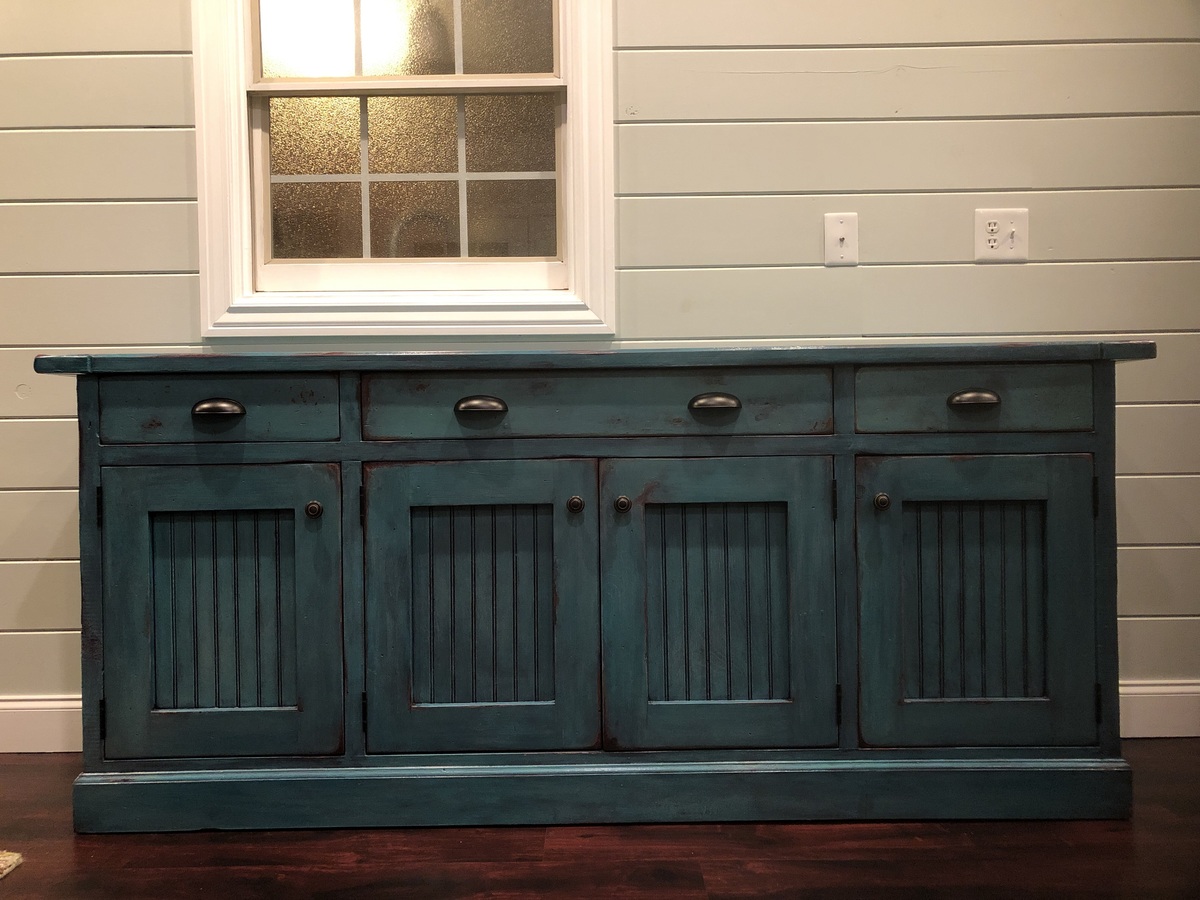
Built from planked wood sideboard plan
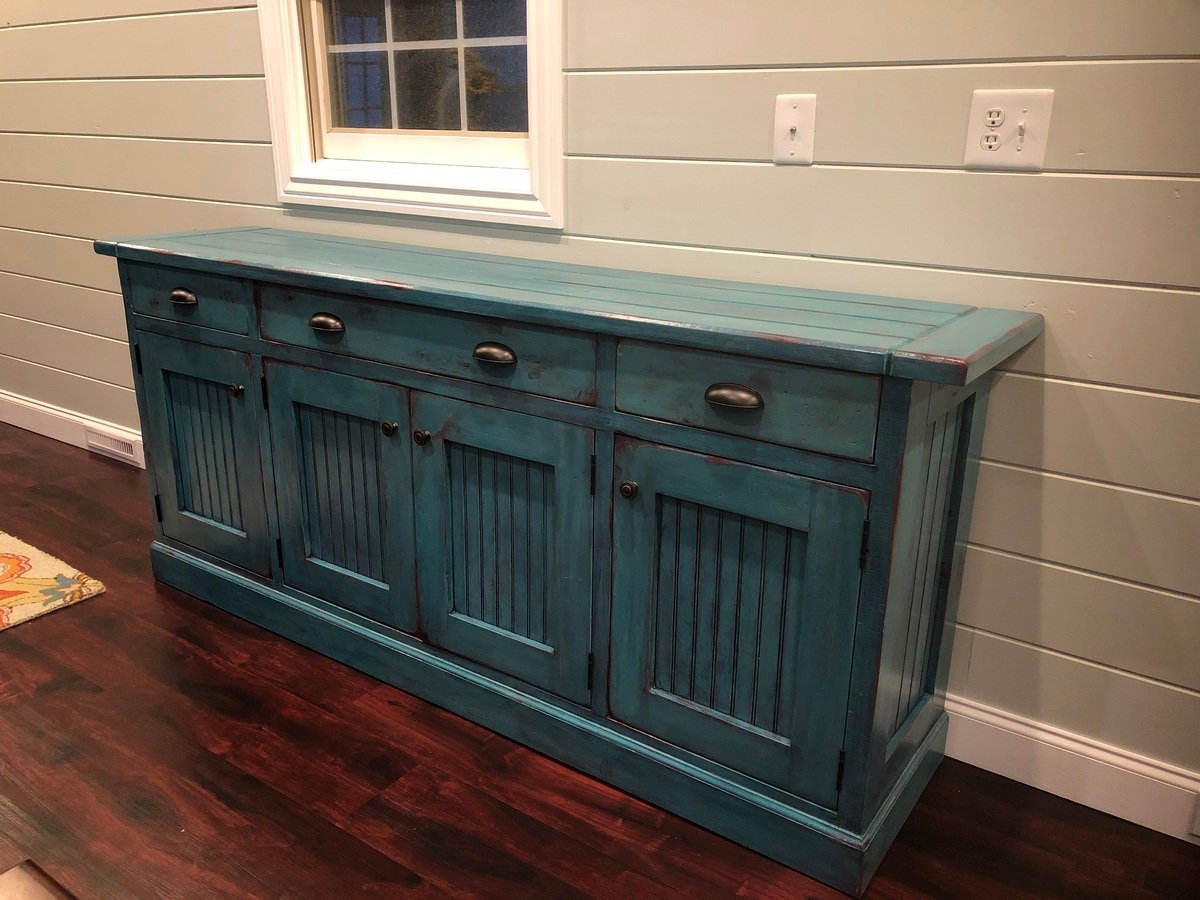
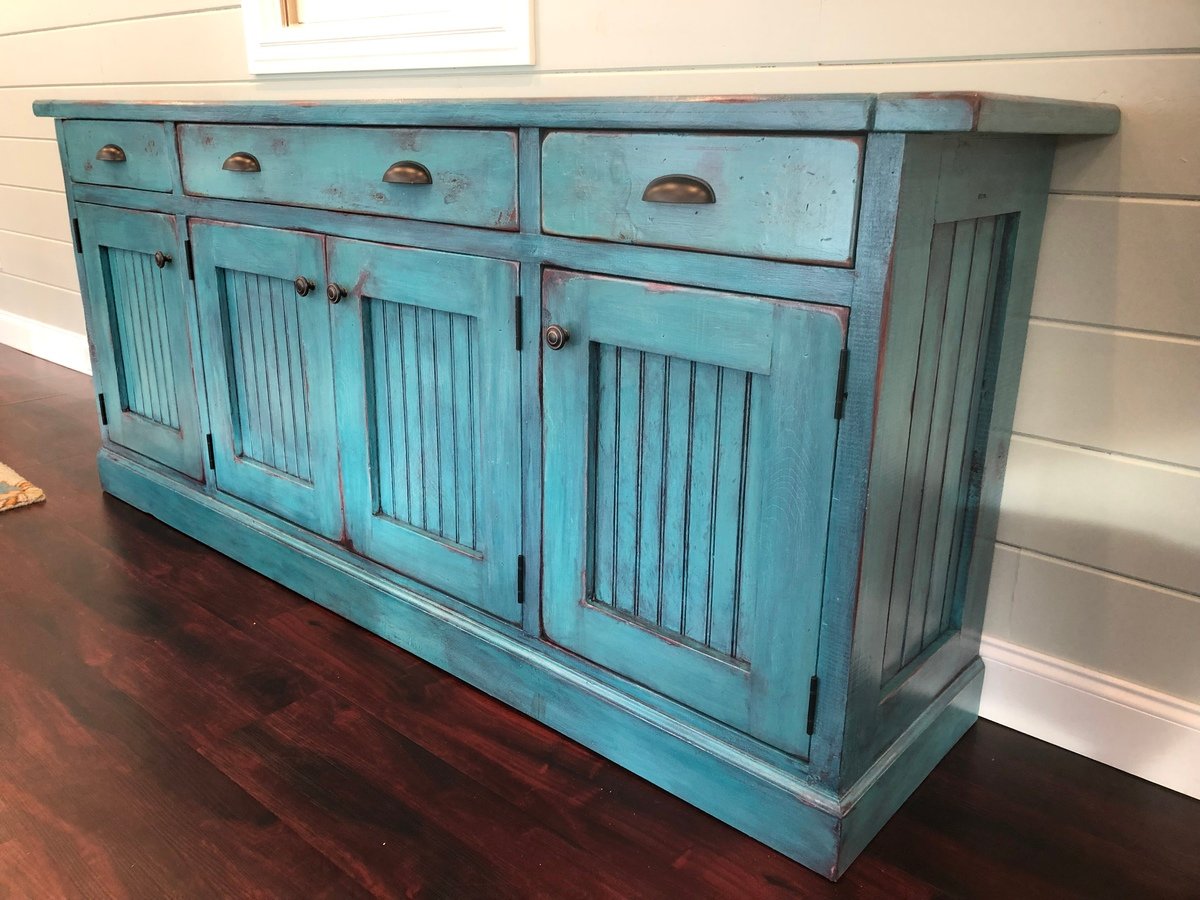
Beautiful console, added crown molding - By Cassandra Wentt
We built this table in a weekend. I love the finishes, especially the tapering on the legs!
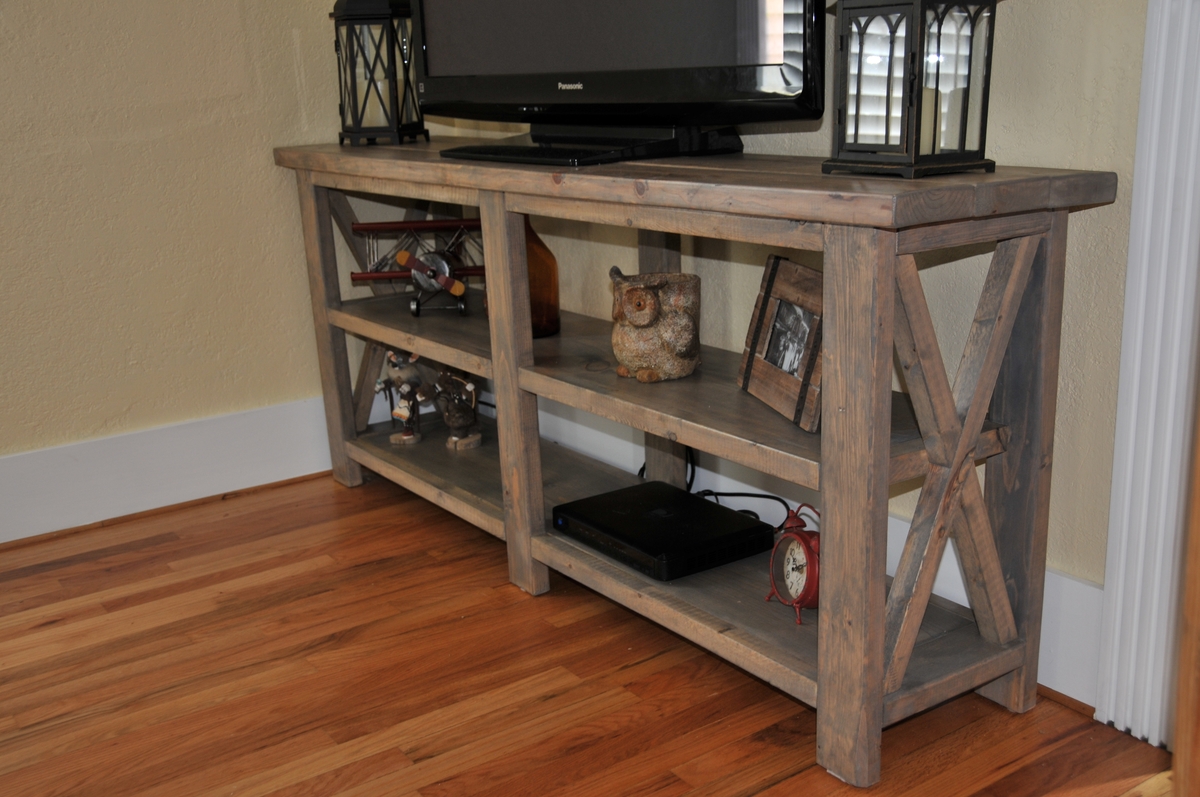
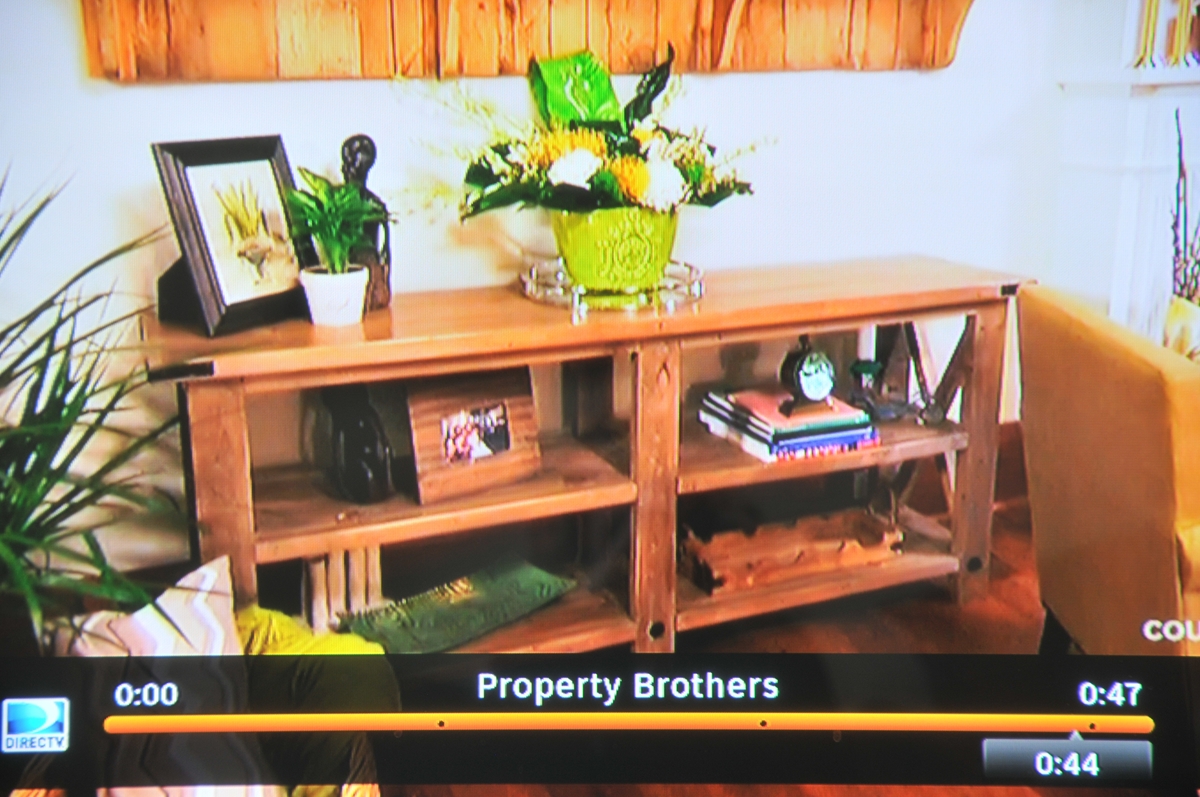
My second build, built the X coffee table too. But had to share that the Property Brothers used a table just like this plan in their show!
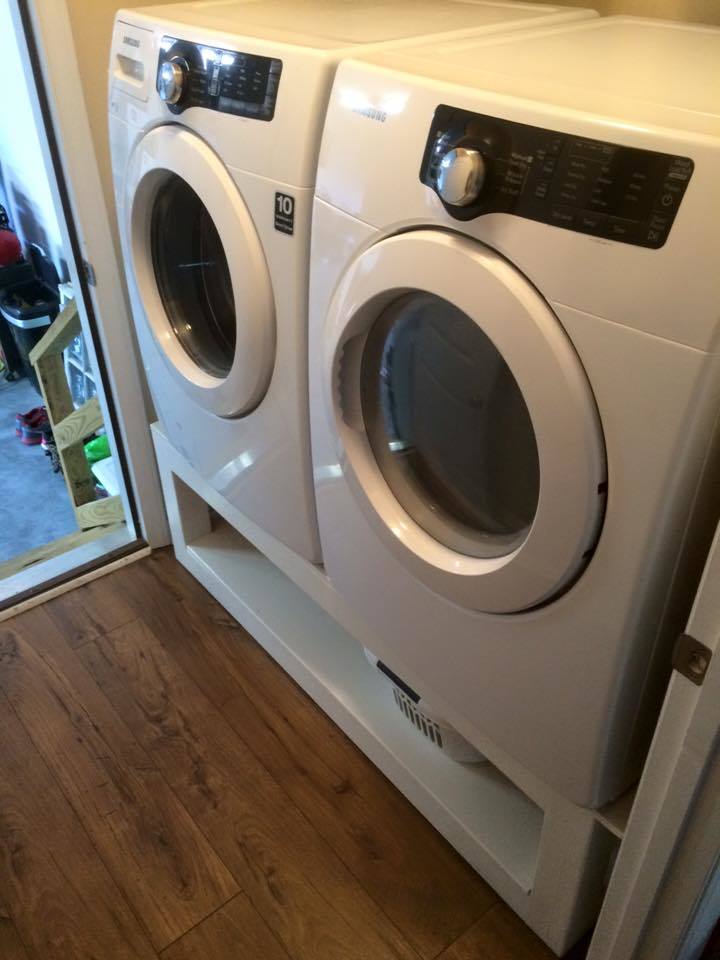
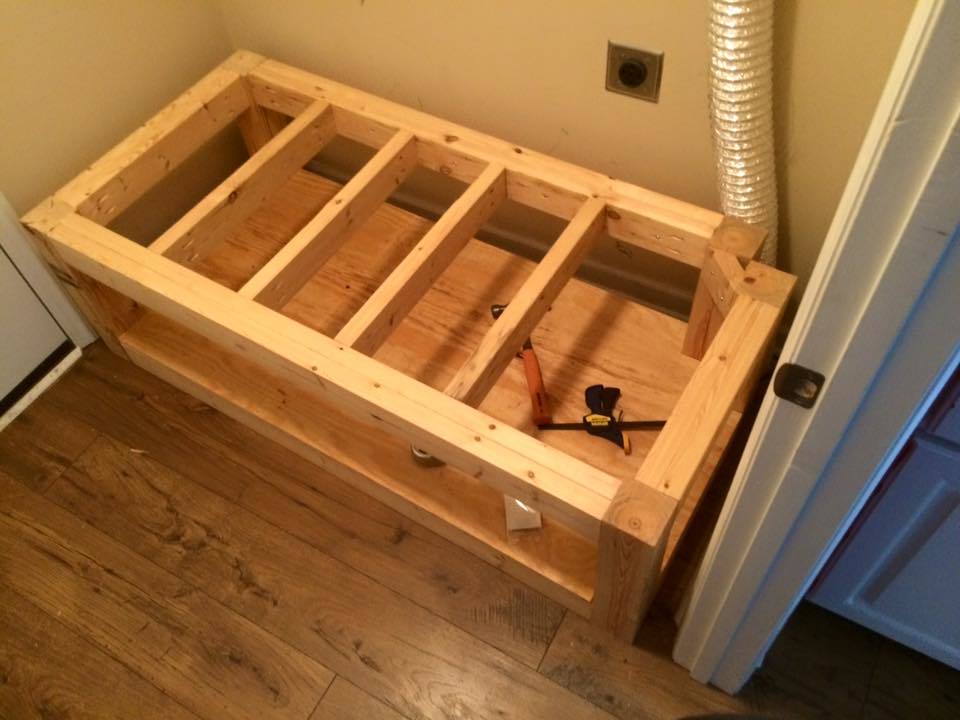
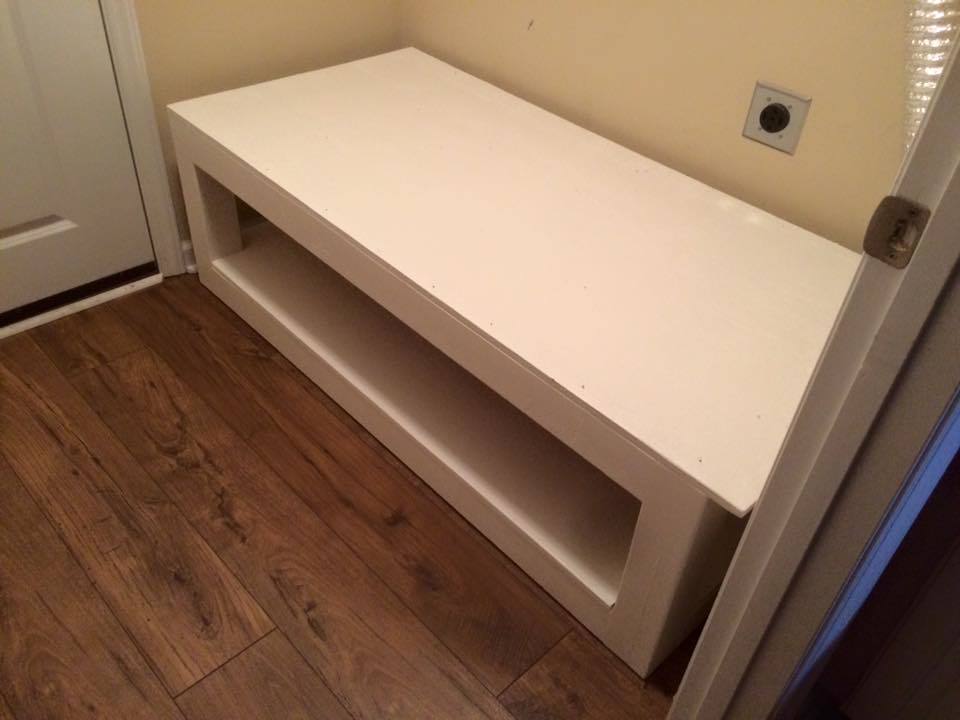
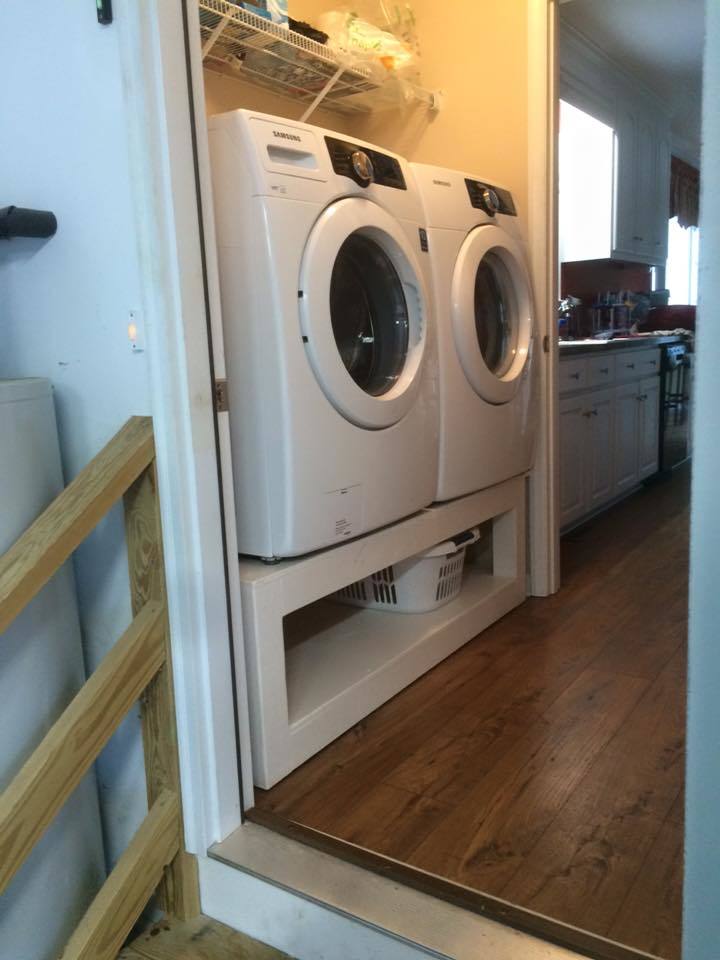
my wife tagged me on facebook right before Xmas with the plans and picture of this, so i dusted off my tools and built her one as a present. its not only great for her but it makes the laundry easier for me as well. I had to mofidy the base of mine because my dryer vent comes up through the floor in the corner.
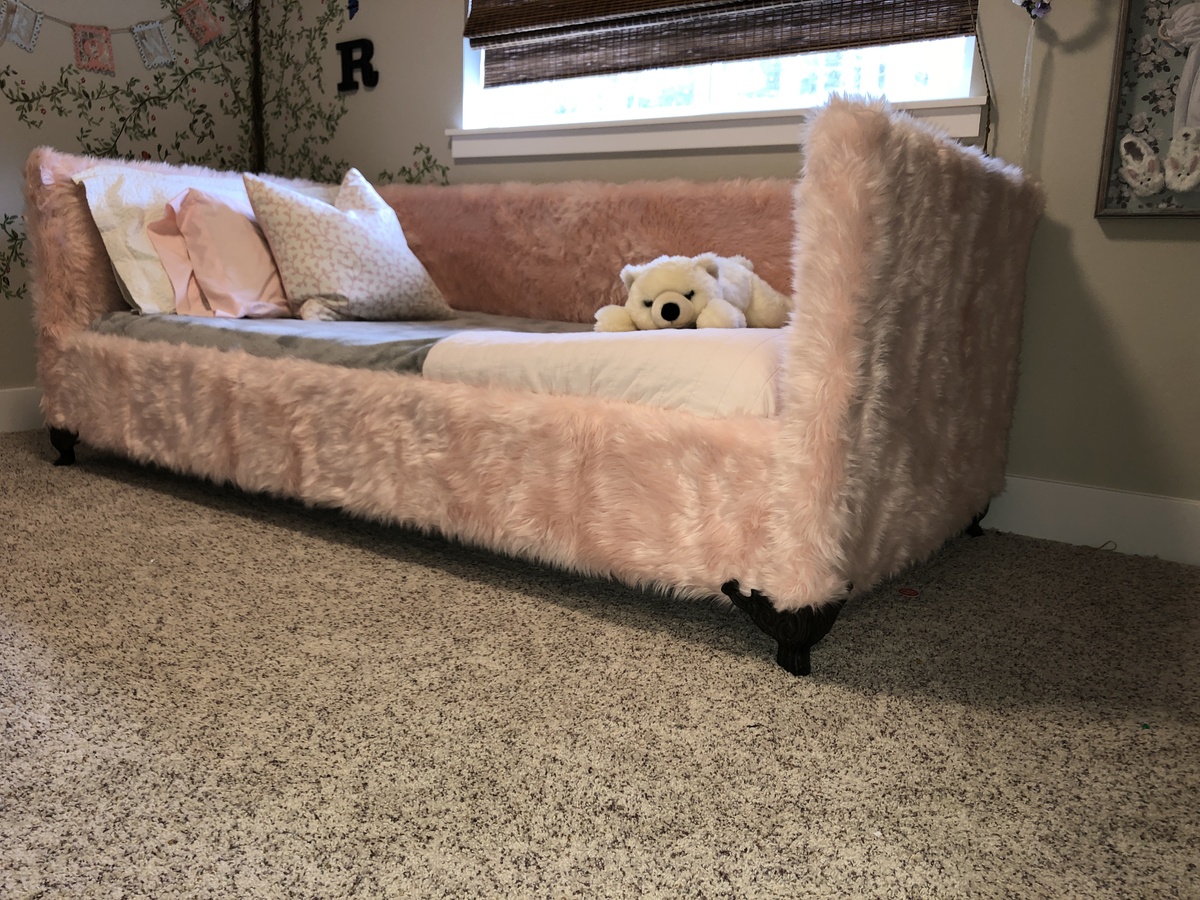
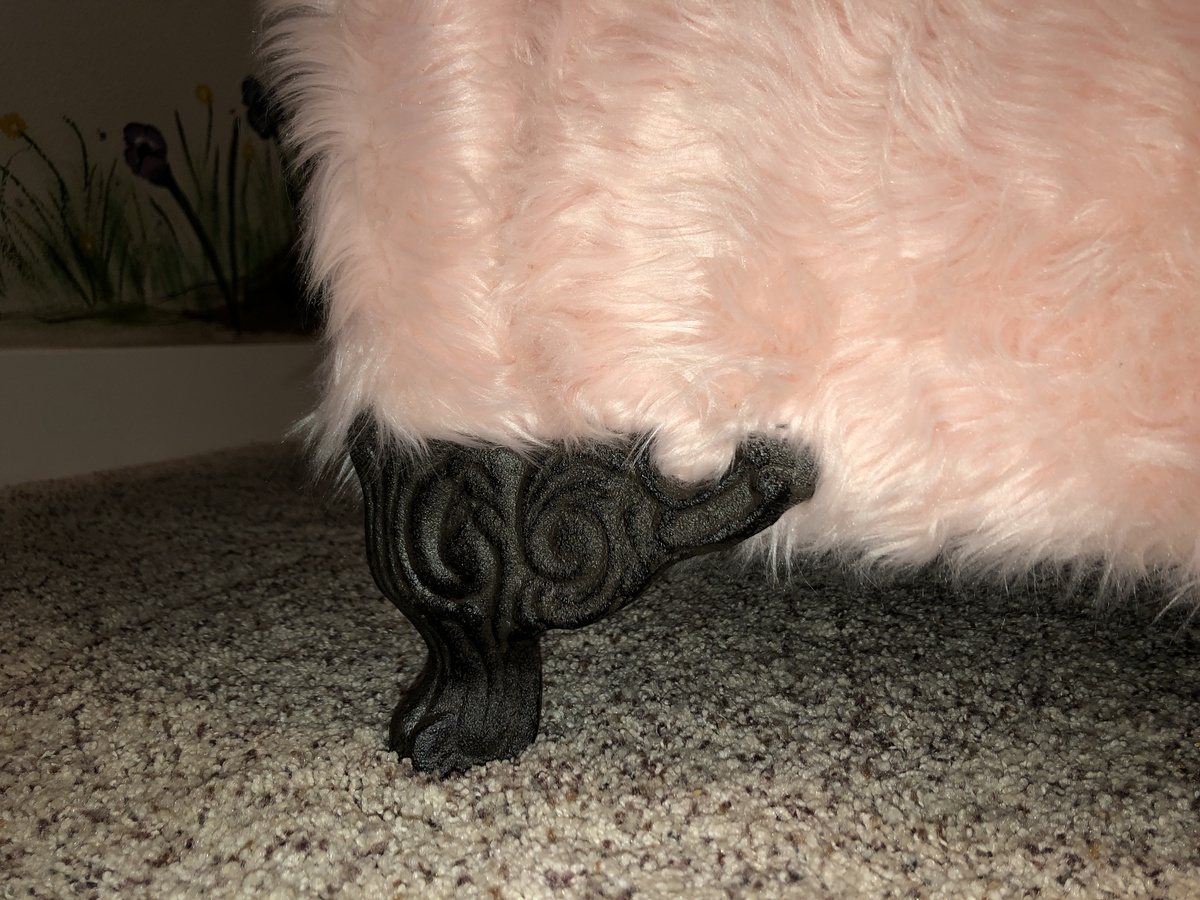
I am thrilled with how my daughter’s bed turned out. I used the basic pink fur bed idea, and tweaked the plans to meet our needs. I found iron chair feet at Hobby Lobby, and prefer them to the hairpin legs. Thanks so much for the idea, Ana!
Mon, 04/08/2019 - 12:35
You made my day by posting this!!!! Thank you so much, what a beautiful piece! Ana
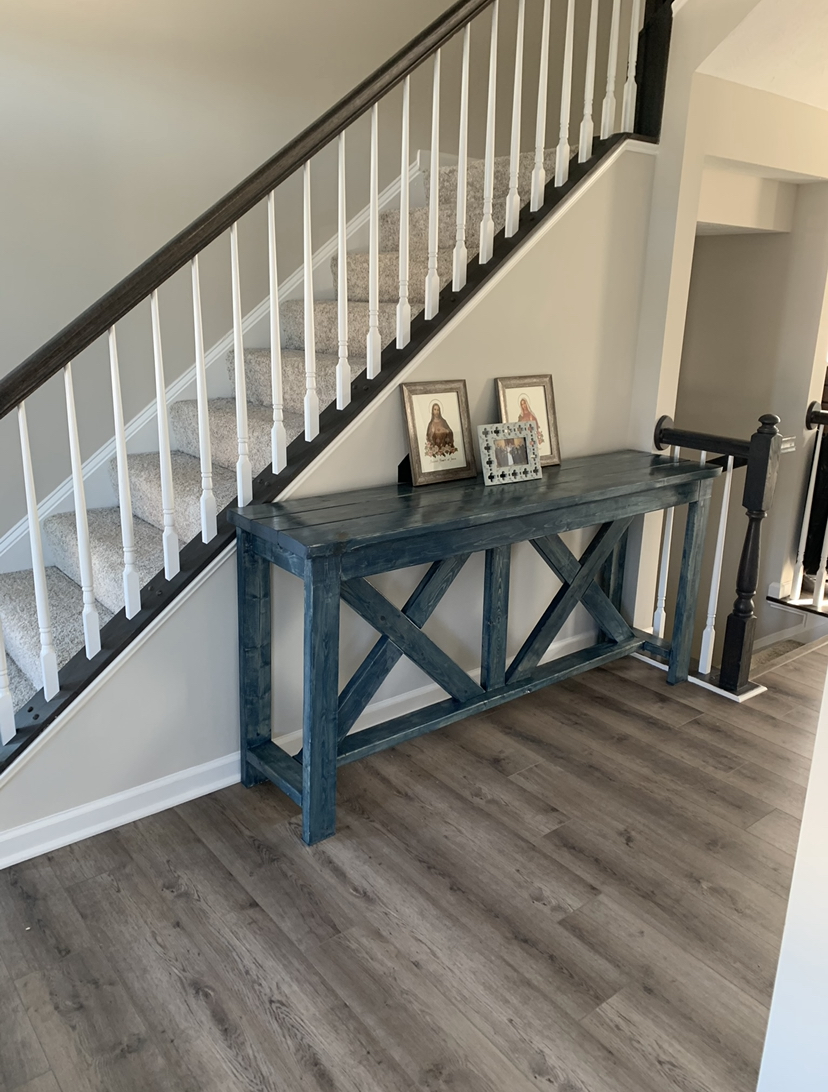
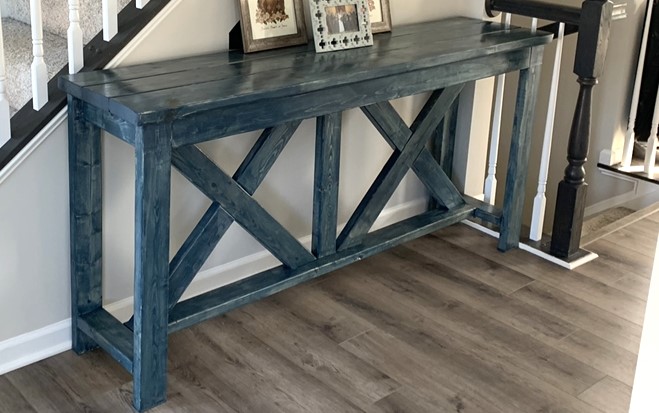
I built this farmhouse style entryway table while we waited for our house to be completed. It was the first of many projects I dreamed of completing. After it was done, I used a “navy” stain that wasn’t quite what I had planned but ended up bringing color to the area.
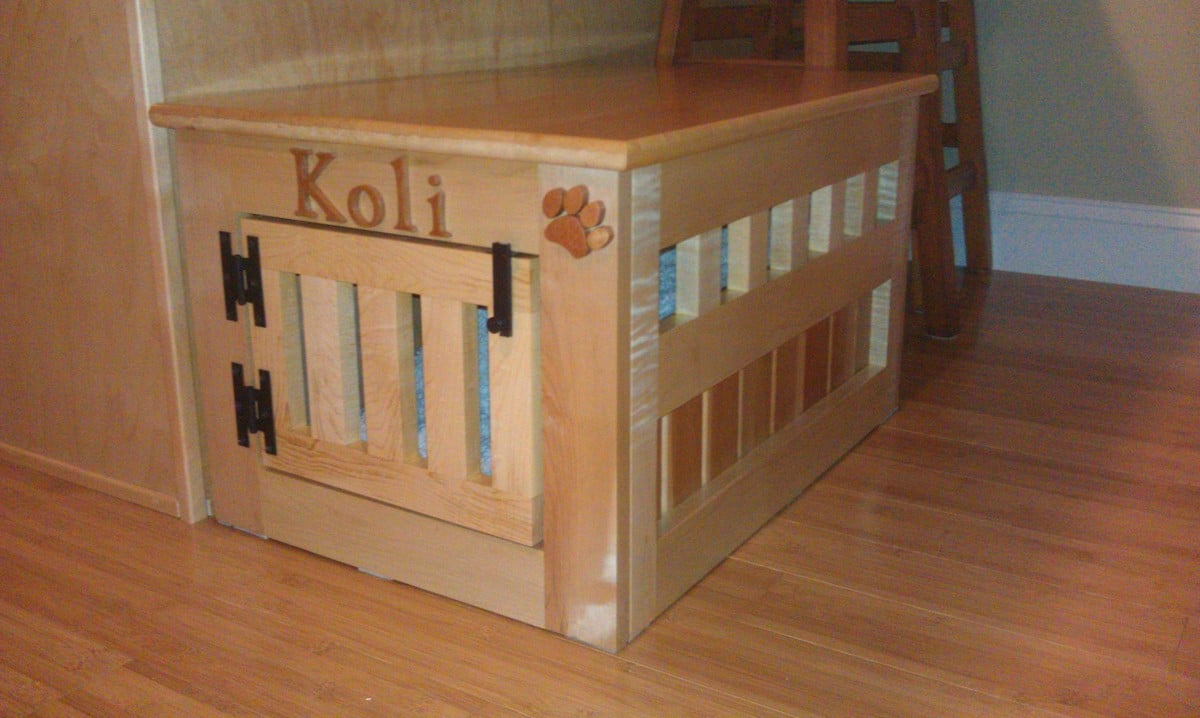
Smaller version of Ana's Dog Kennel. Took me about 3 weeks (working on weekends and few hours after work). Made from maple and cherry.
Sun, 11/06/2011 - 16:07
This really looks fabulous! Great job!
As a 'dog family', we always have rescues and visitors on board. This looks so much better than anything I've seen in stores and for less money, too.
I'm definitely adding this to my to-do list.
P.S. Your pup is adorable, too! ;-)
Tue, 12/06/2011 - 16:44
I have 2 yorkies and would LOVE to make this for them, this is sooooo going on my todo list.
Koli is tooo cute as well!!!

My wife wanted an antiqued turquiose headboard for our beach house. Your plans and dimensions worked perfectly. I added the center support to bring the warped boards into compliance. Thank you Ana ...
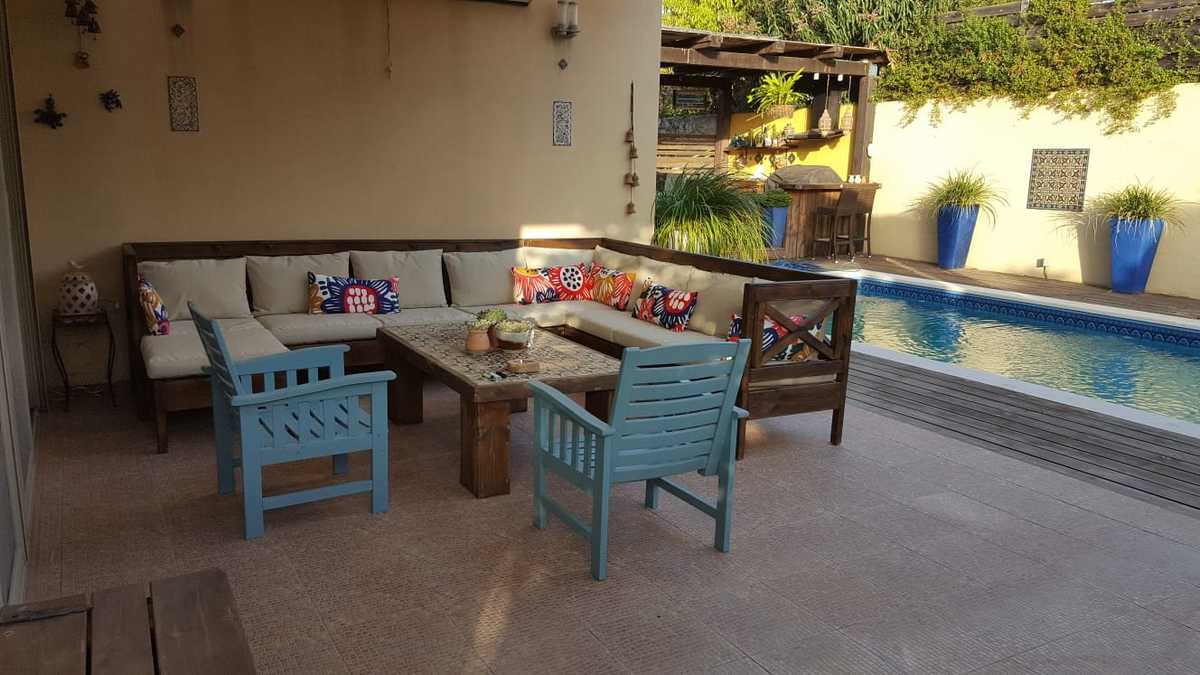
i made a mudification in plans. it takes me two days to finish it.
Sat, 05/04/2019 - 13:33
Wow! That is quick work!
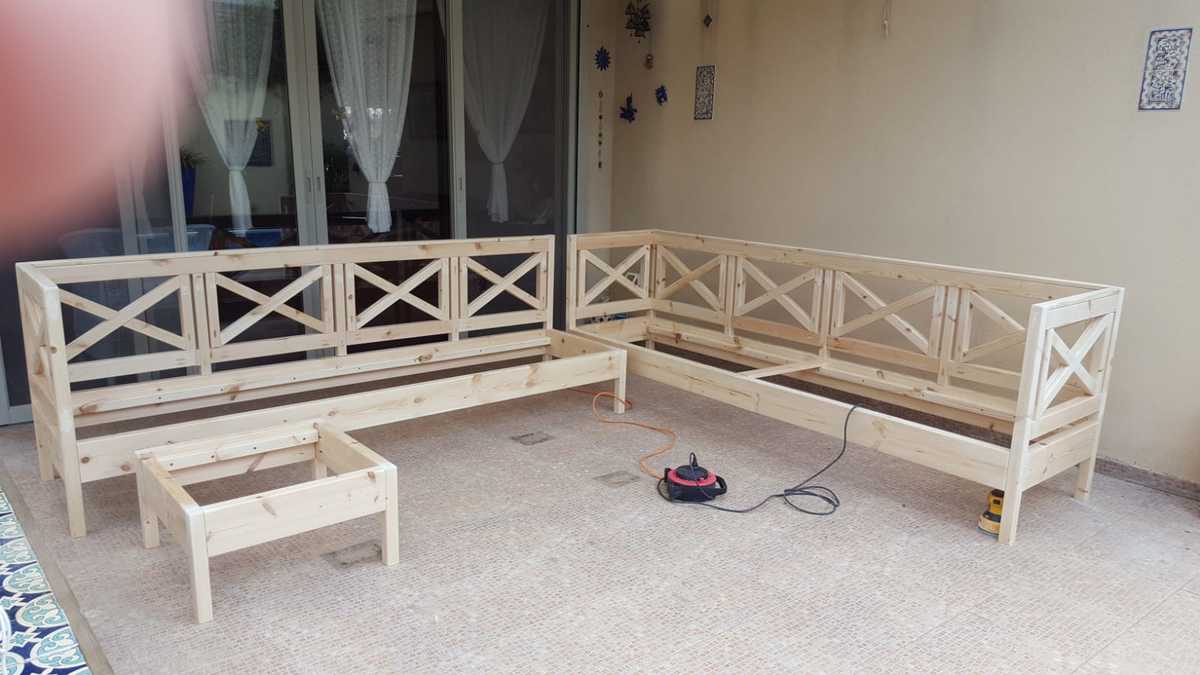
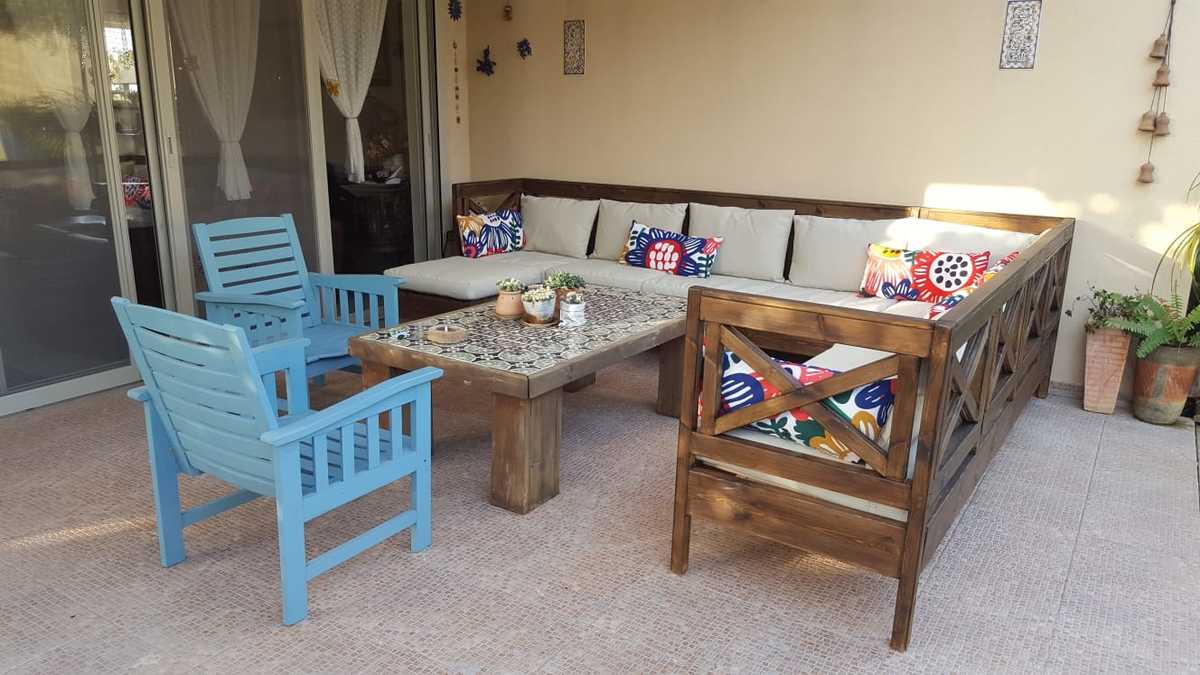
Lovely space! The X detailing adds so much.
Thank you so much for sharing a brag post!
Ana
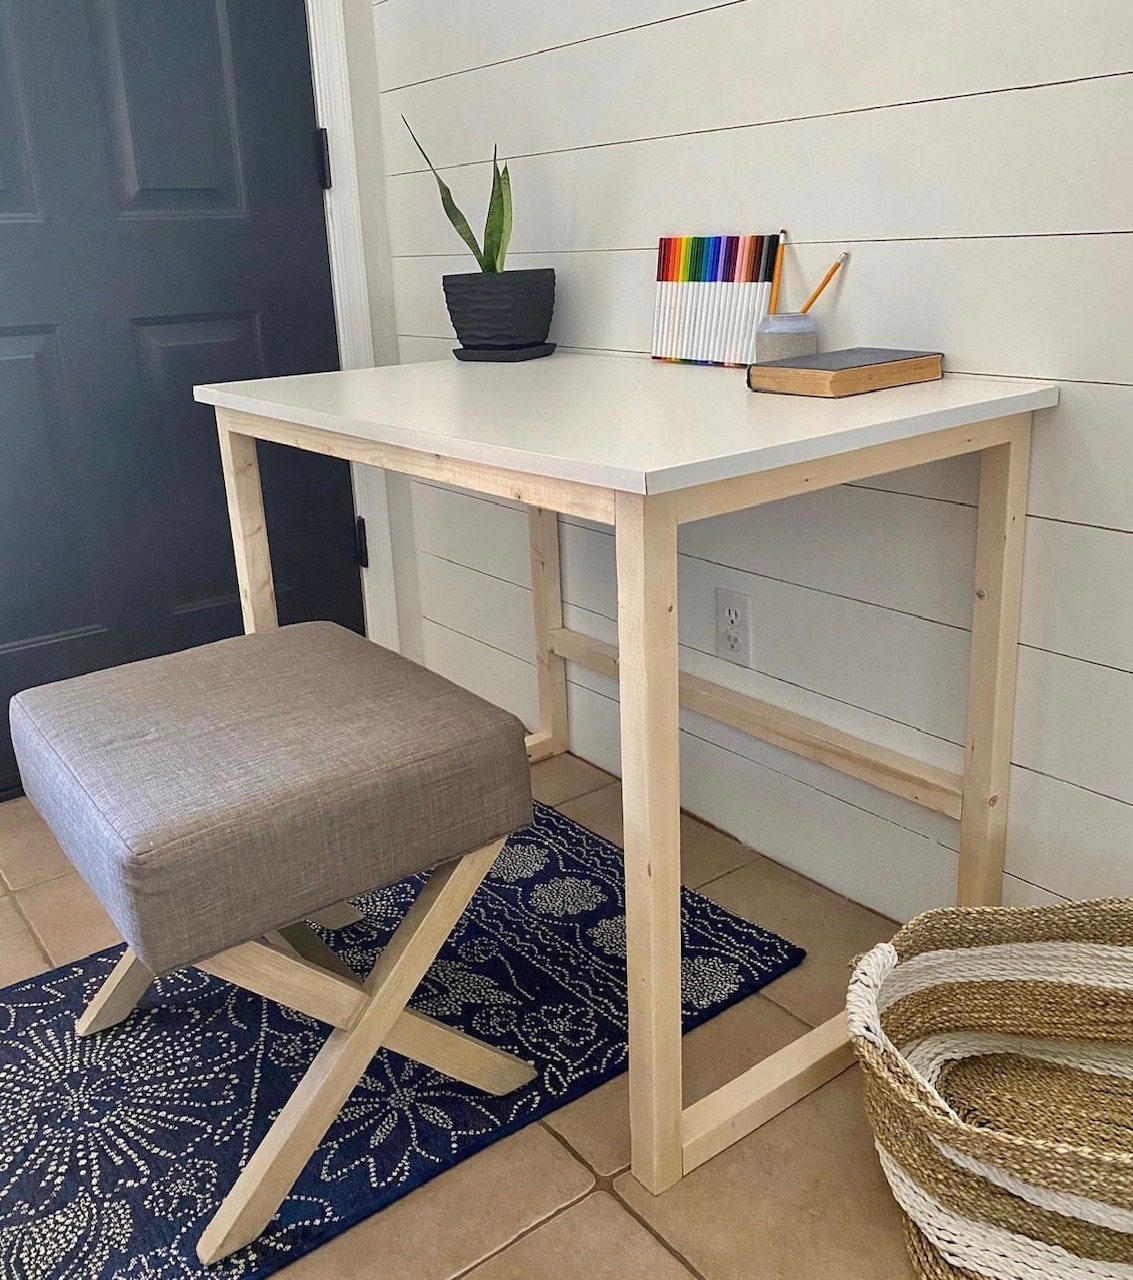
"I built these from @anawhitediy plans online. Love how they came out. Super cute style too. I've been selling them online to support my DIY habit." Monica
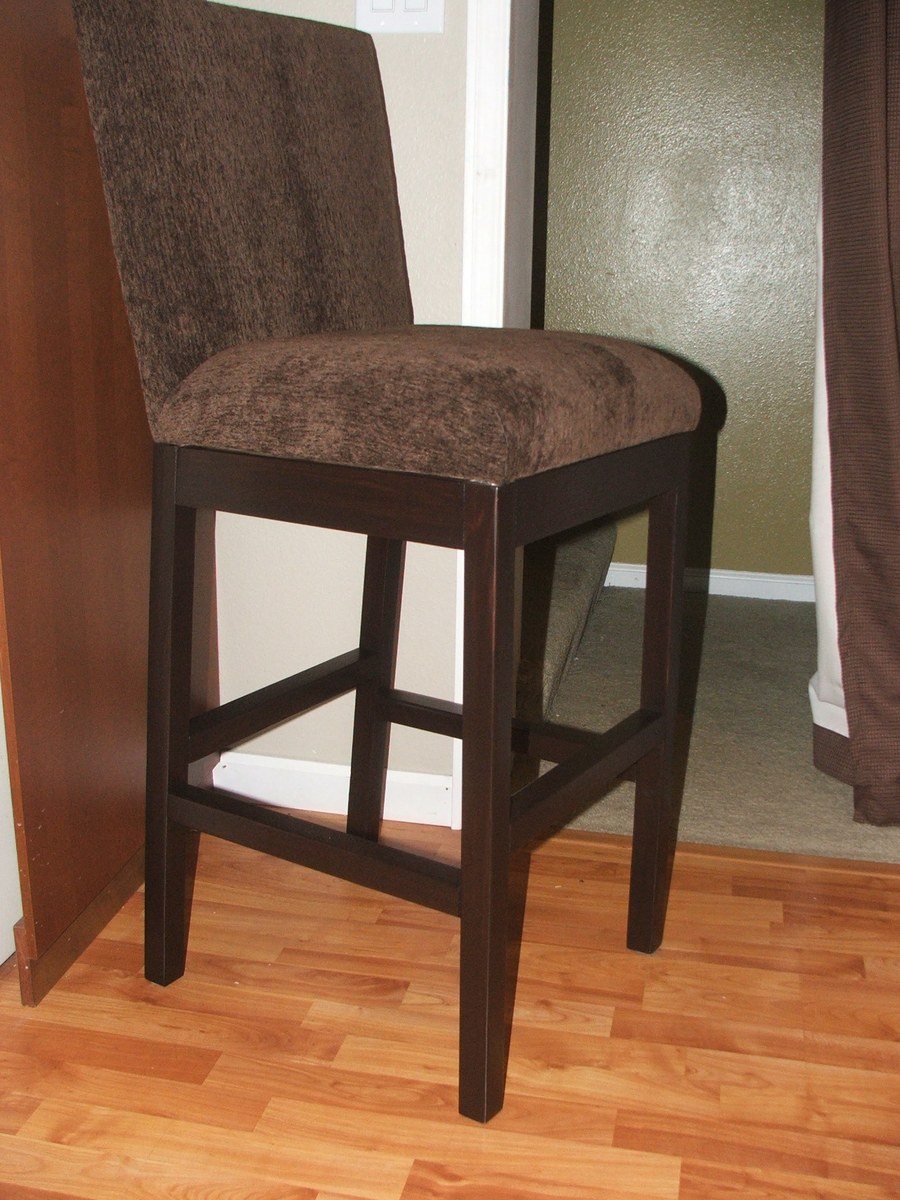
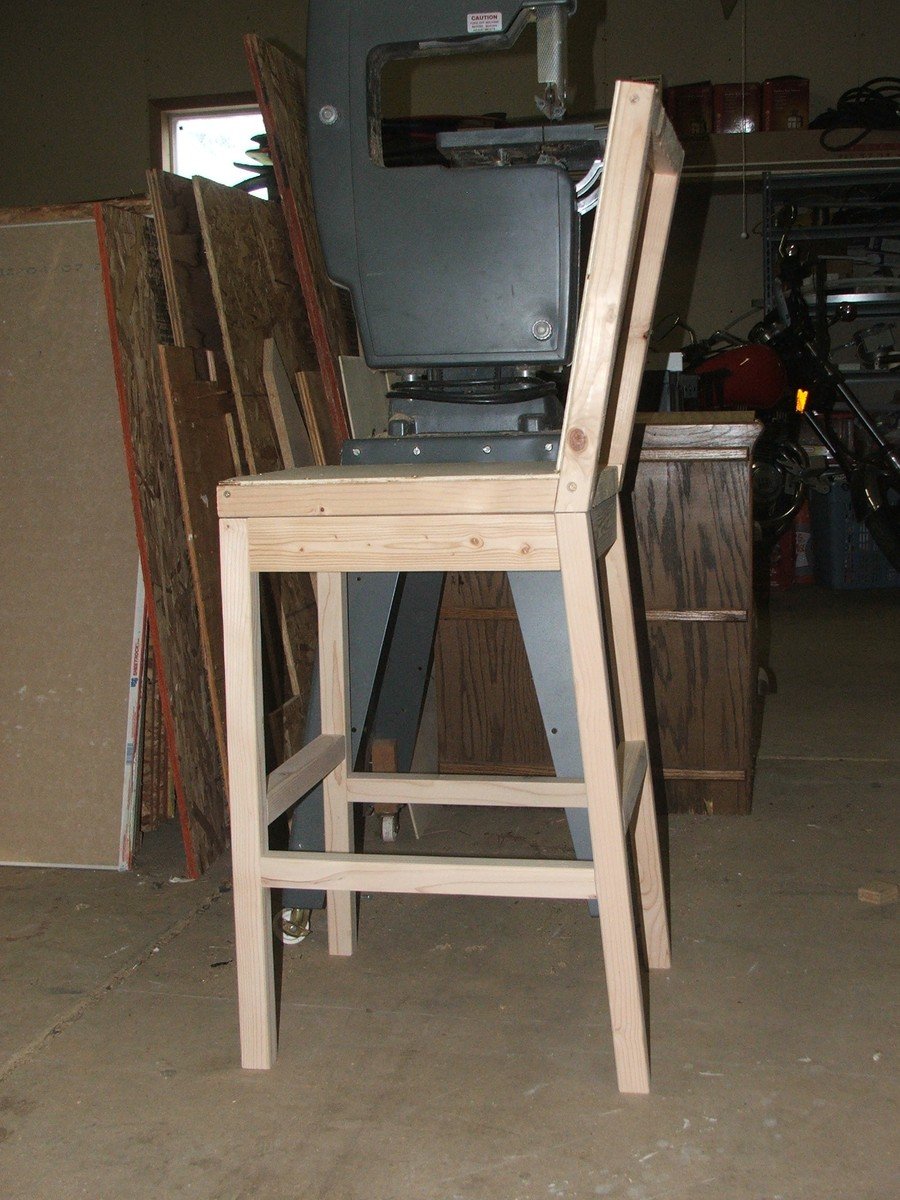
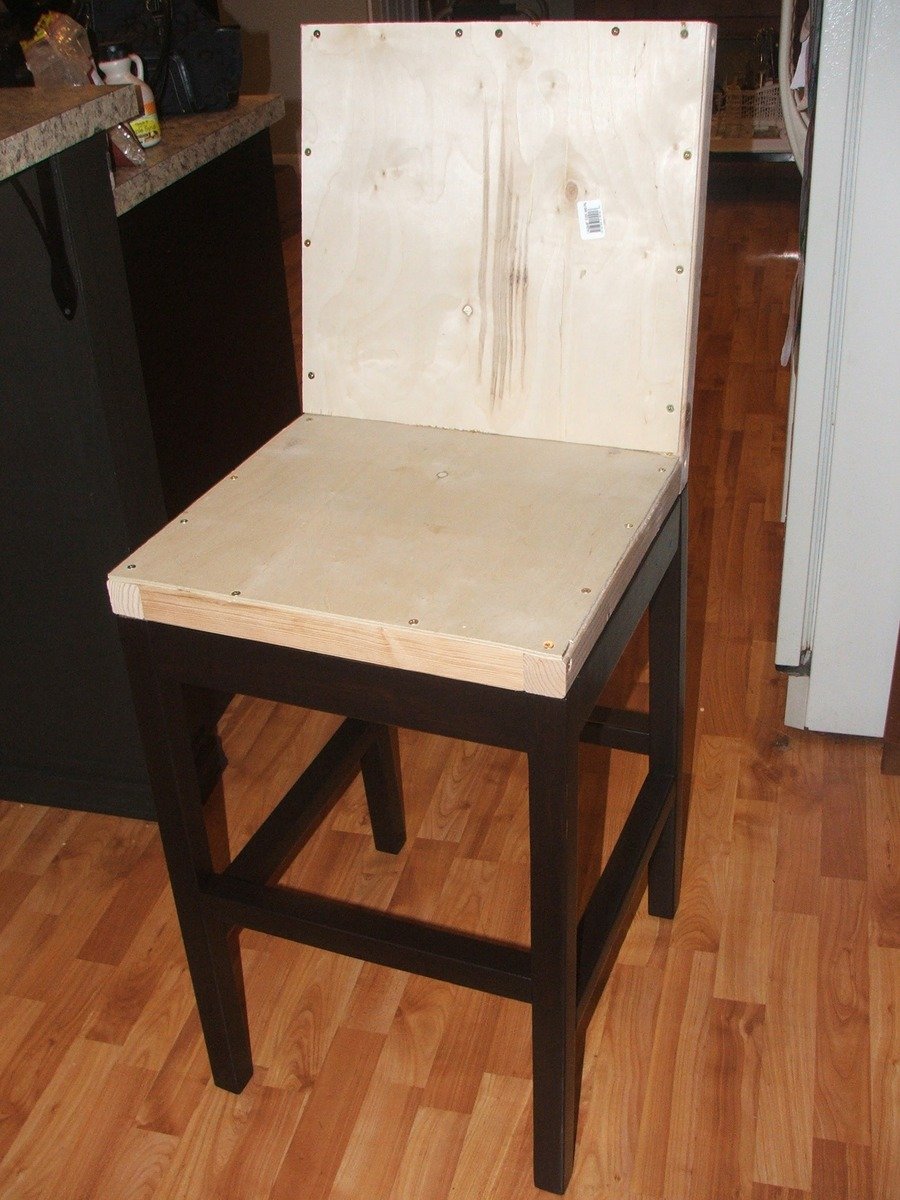
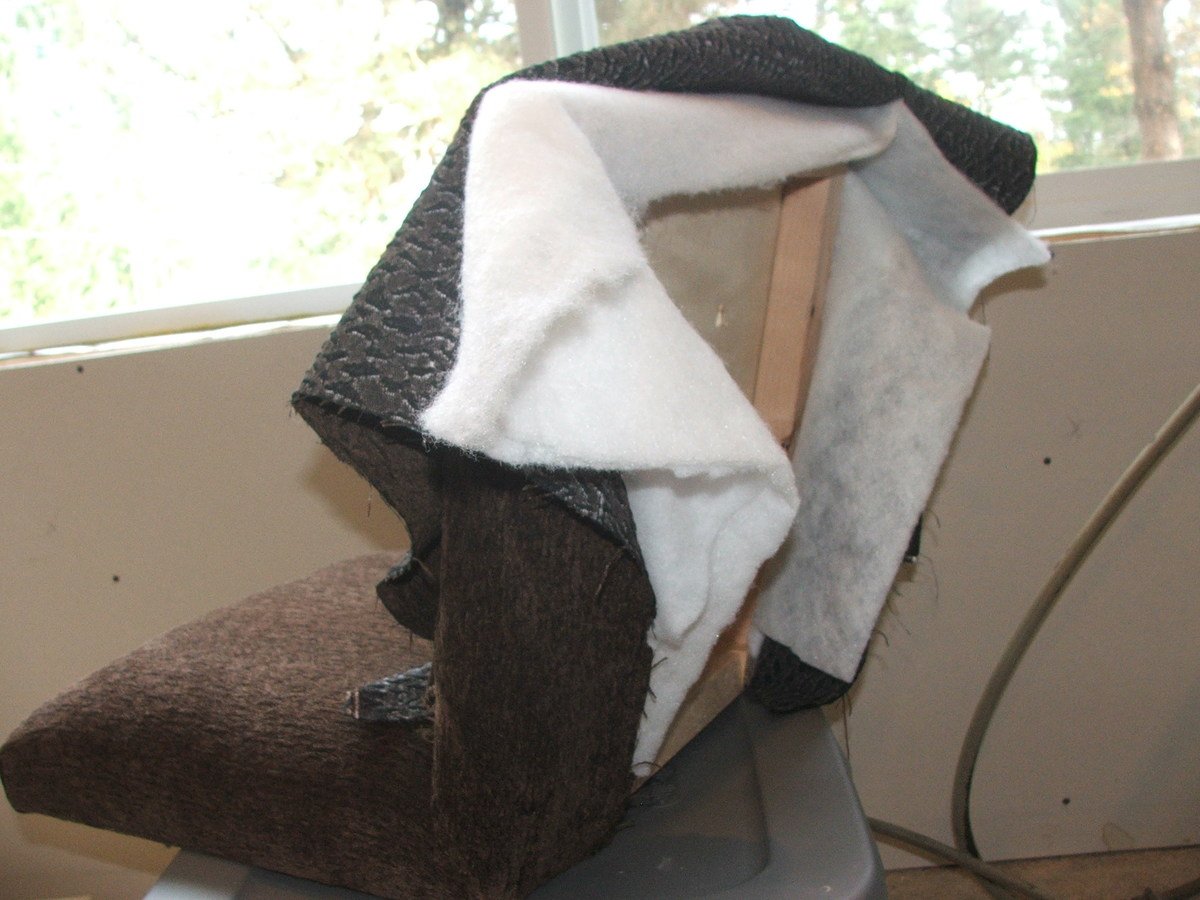
I have been searching for great barstools for years. So I was so excited when I saw Ana's Parson's Chair plans. I adjusted Ana's plan to create the height and dimensions of a barstool. I used more 2x2s for legs and rungs. The angle was changed to 5 degrees for legs and 10 degrees for seat back (Rather than remember geometry formulas, I found an online triangle angle calculator to get accurate leg lengths). I also have a hate-hate (not love hate) relationship with my sewing machine, so I chose to upholster with a staple gun and found tips for this at youtube. To take the guesswork out of the finishing I also found tips and techniques for that on youtube--namely that General Finishes gel stain is the way to go. The dry time on the finish is why I considered this a weeklong project, but this could easily be finished within a day. Thanks again Ana--thanks to you we have great barstools at such a fraction of the cost.
Fri, 03/02/2012 - 19:22
Would you mind sharing the measurements for your version? We are in need of 24" barstools/chairs for a counter height table that was given to us, and cannot seem to find DIY instructions for what we are needing, anywhere! We'd REALLY appreciate it!
Sun, 08/05/2012 - 11:49
This is beautiful. The fabric and finish look great! Really wonderful work!!

This project should have only taken me a few hours, but with a little one to take care of, I managed to make it take forever!
Super simple plan to follow - absolutely love how it turned out!


I made a simple rolling crate, and put it on its sides. Attached casters on the bottom. I used my scrap 2x4's for the top. Boom! A beautiful rolling side table with storage.


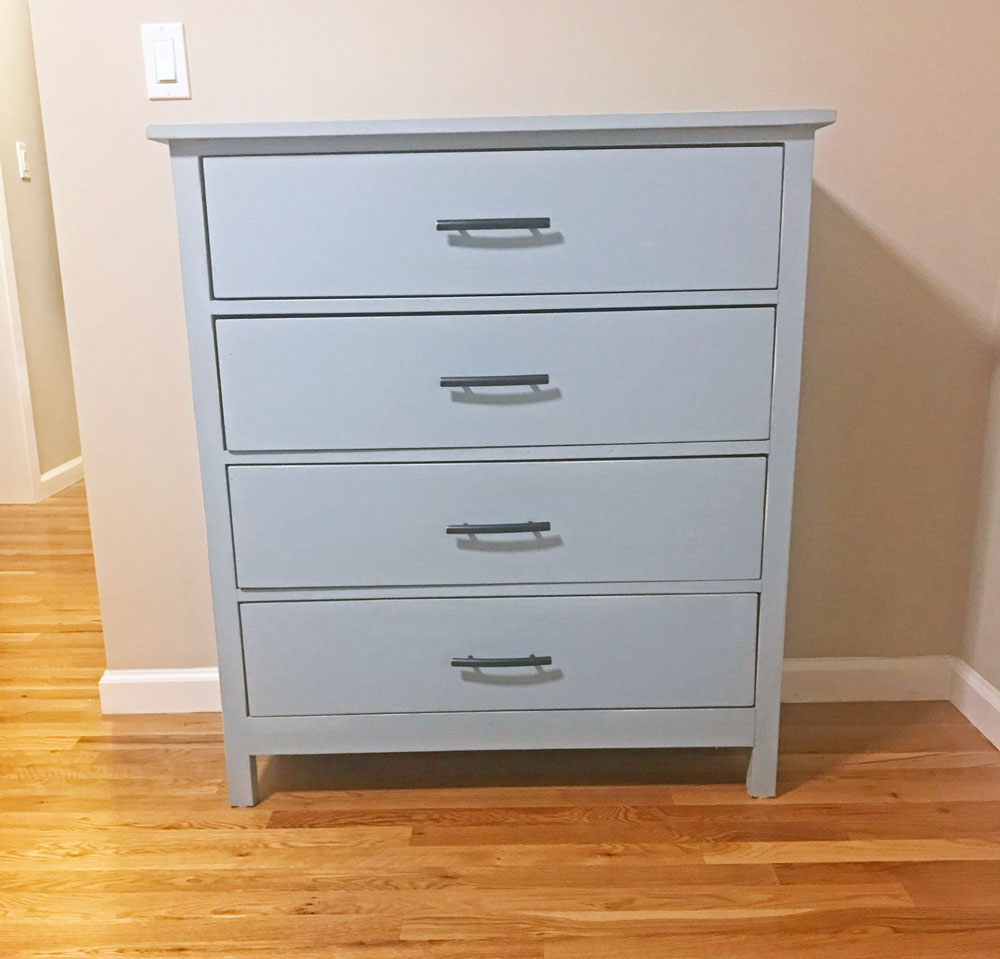
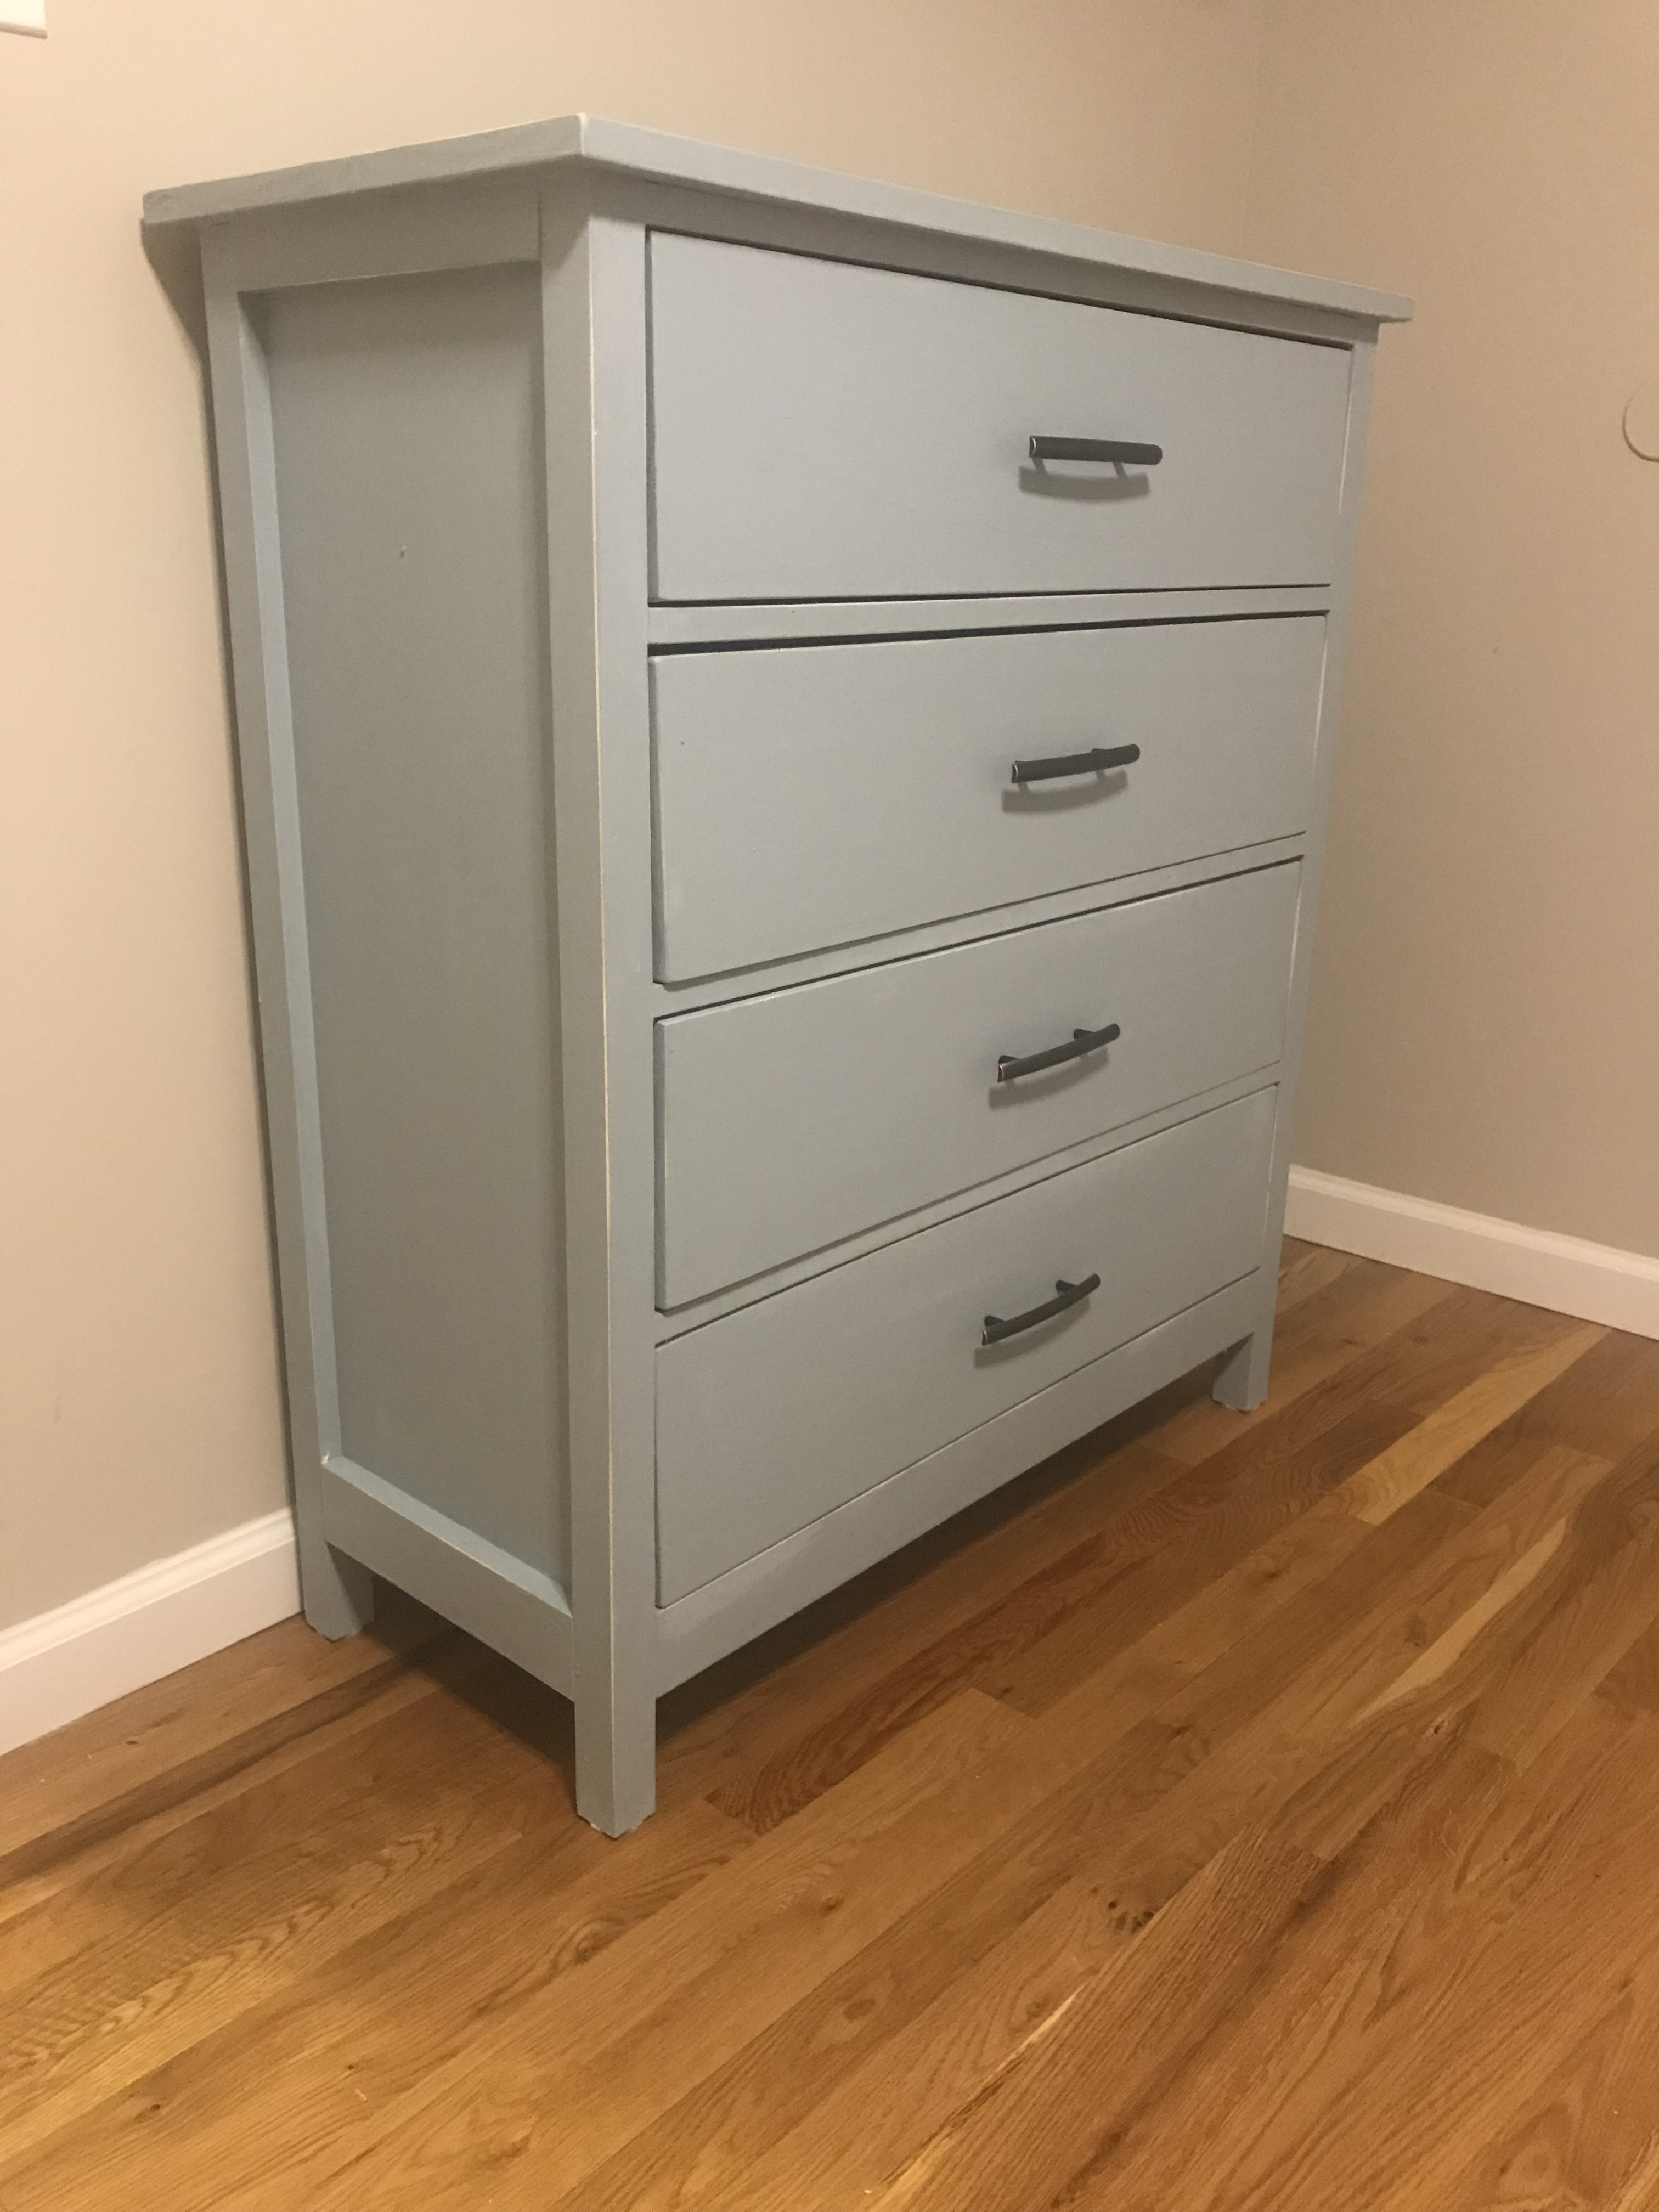
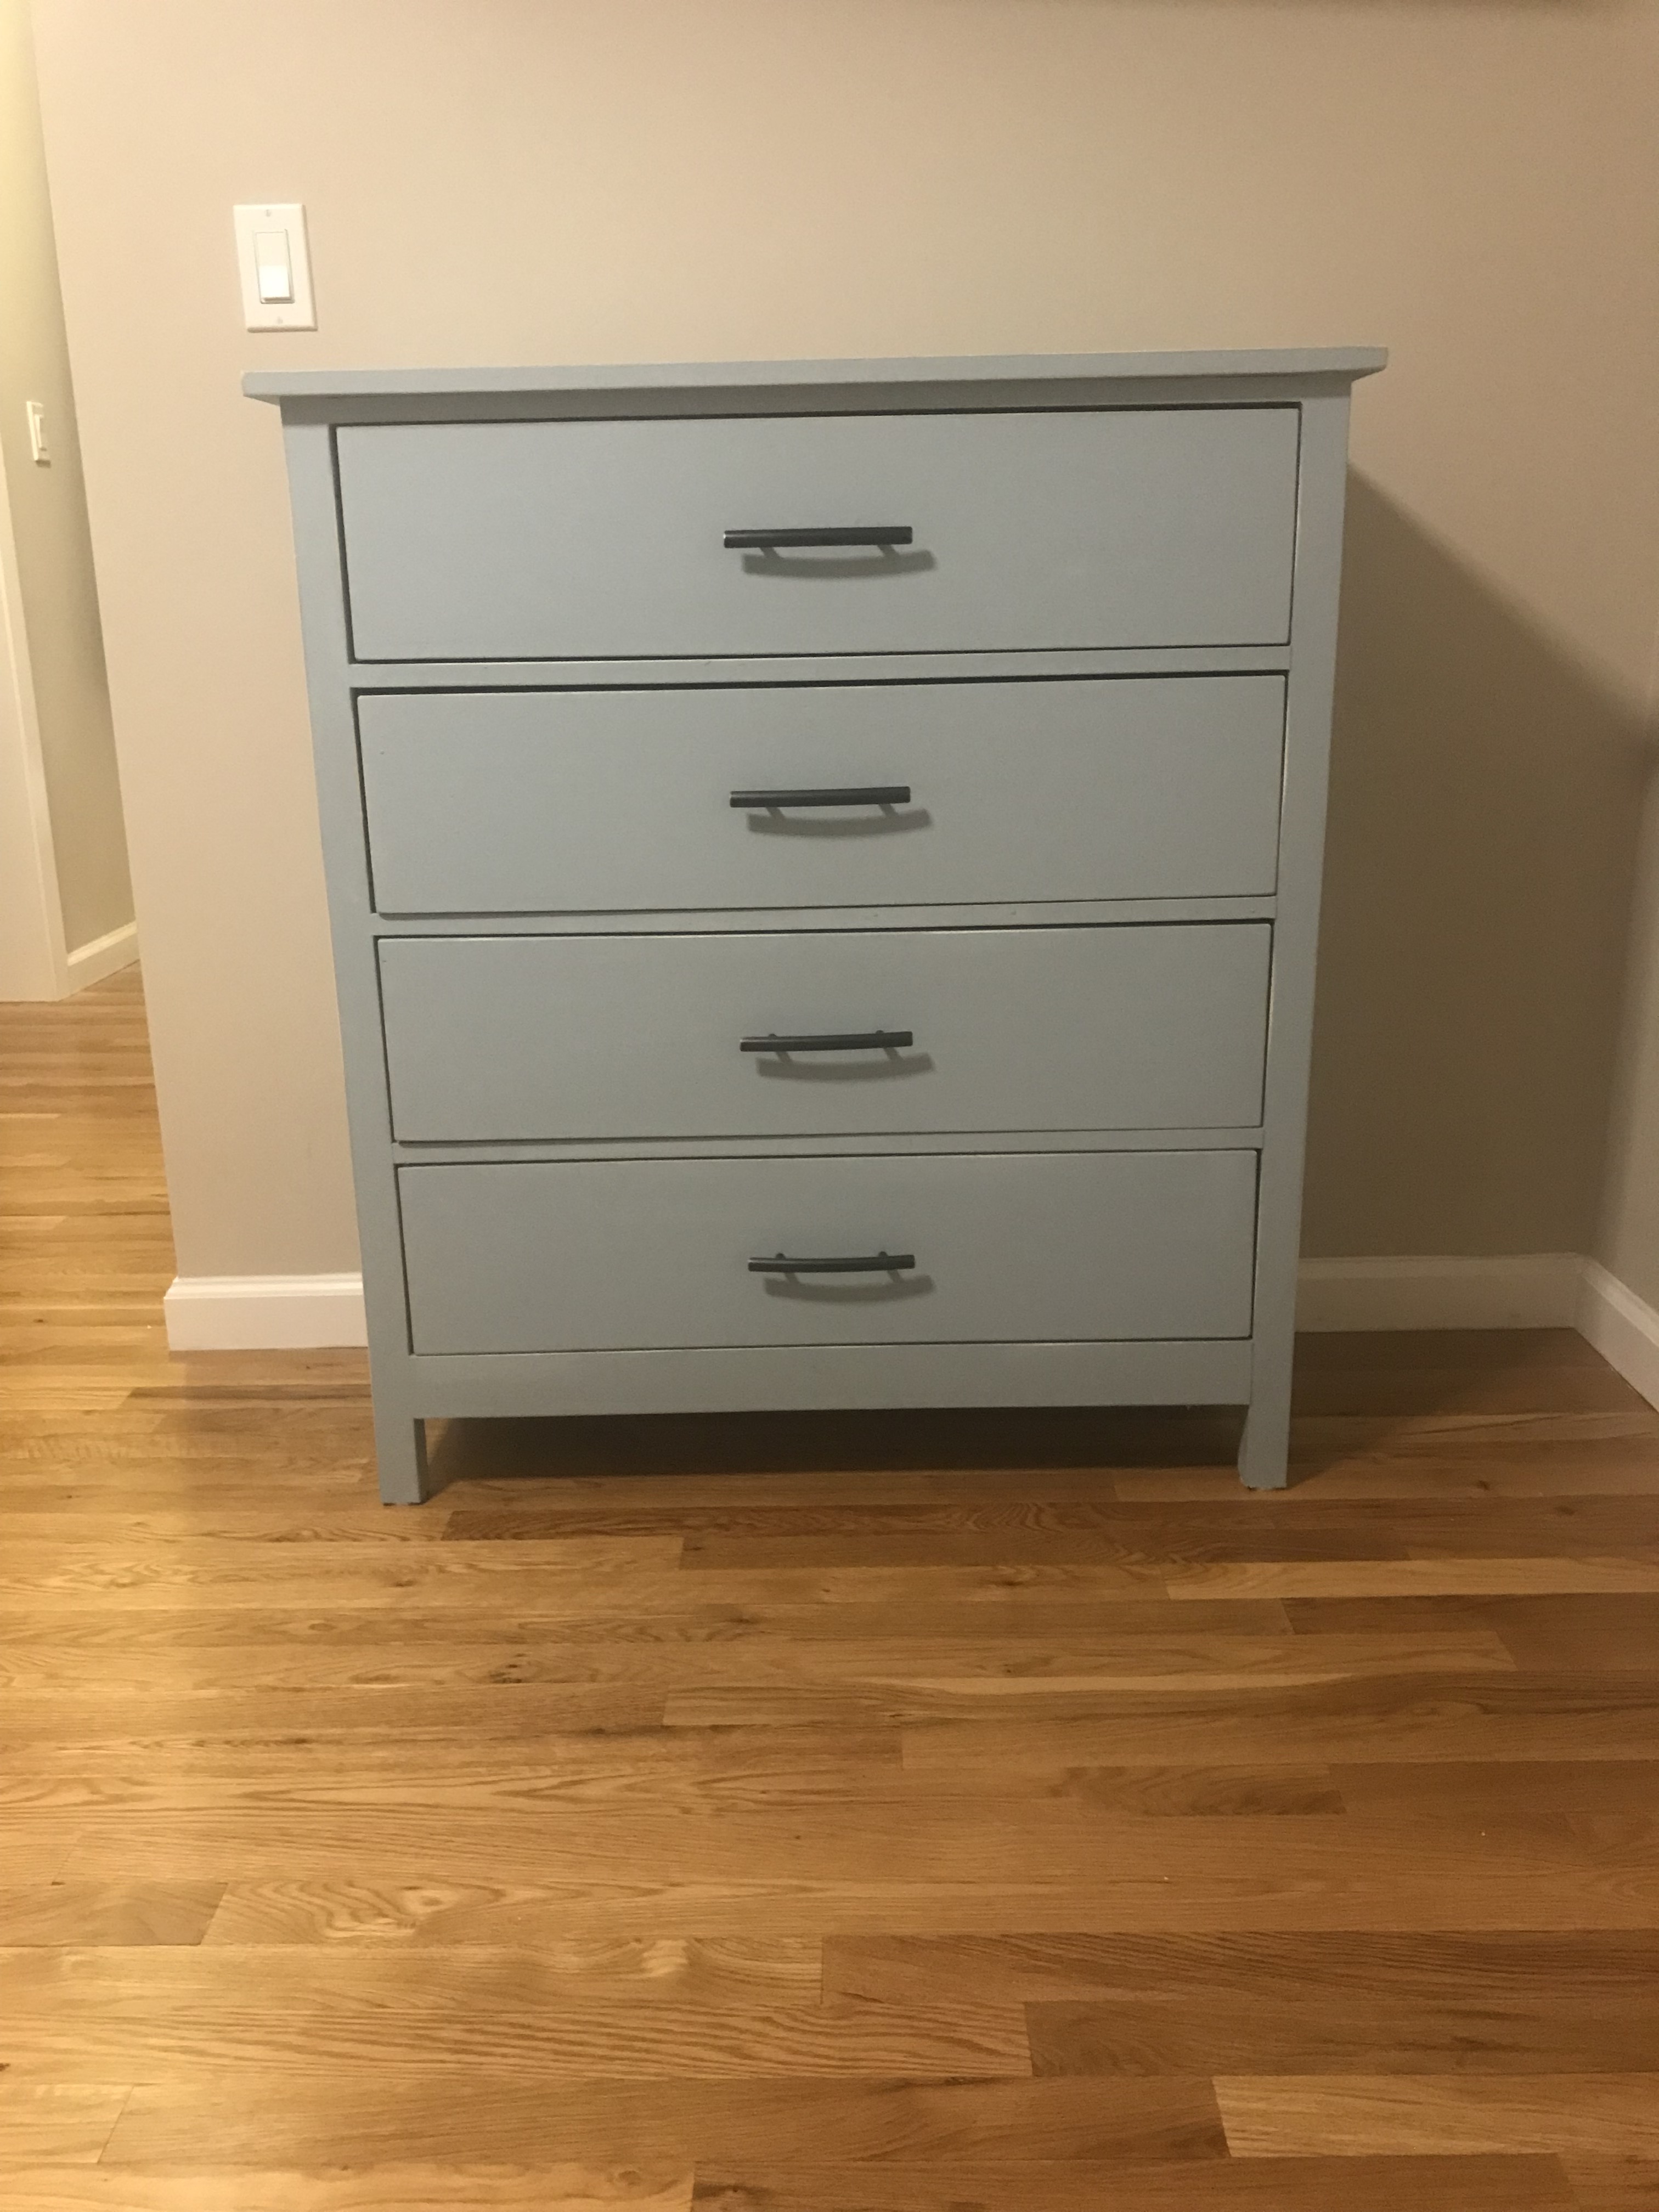
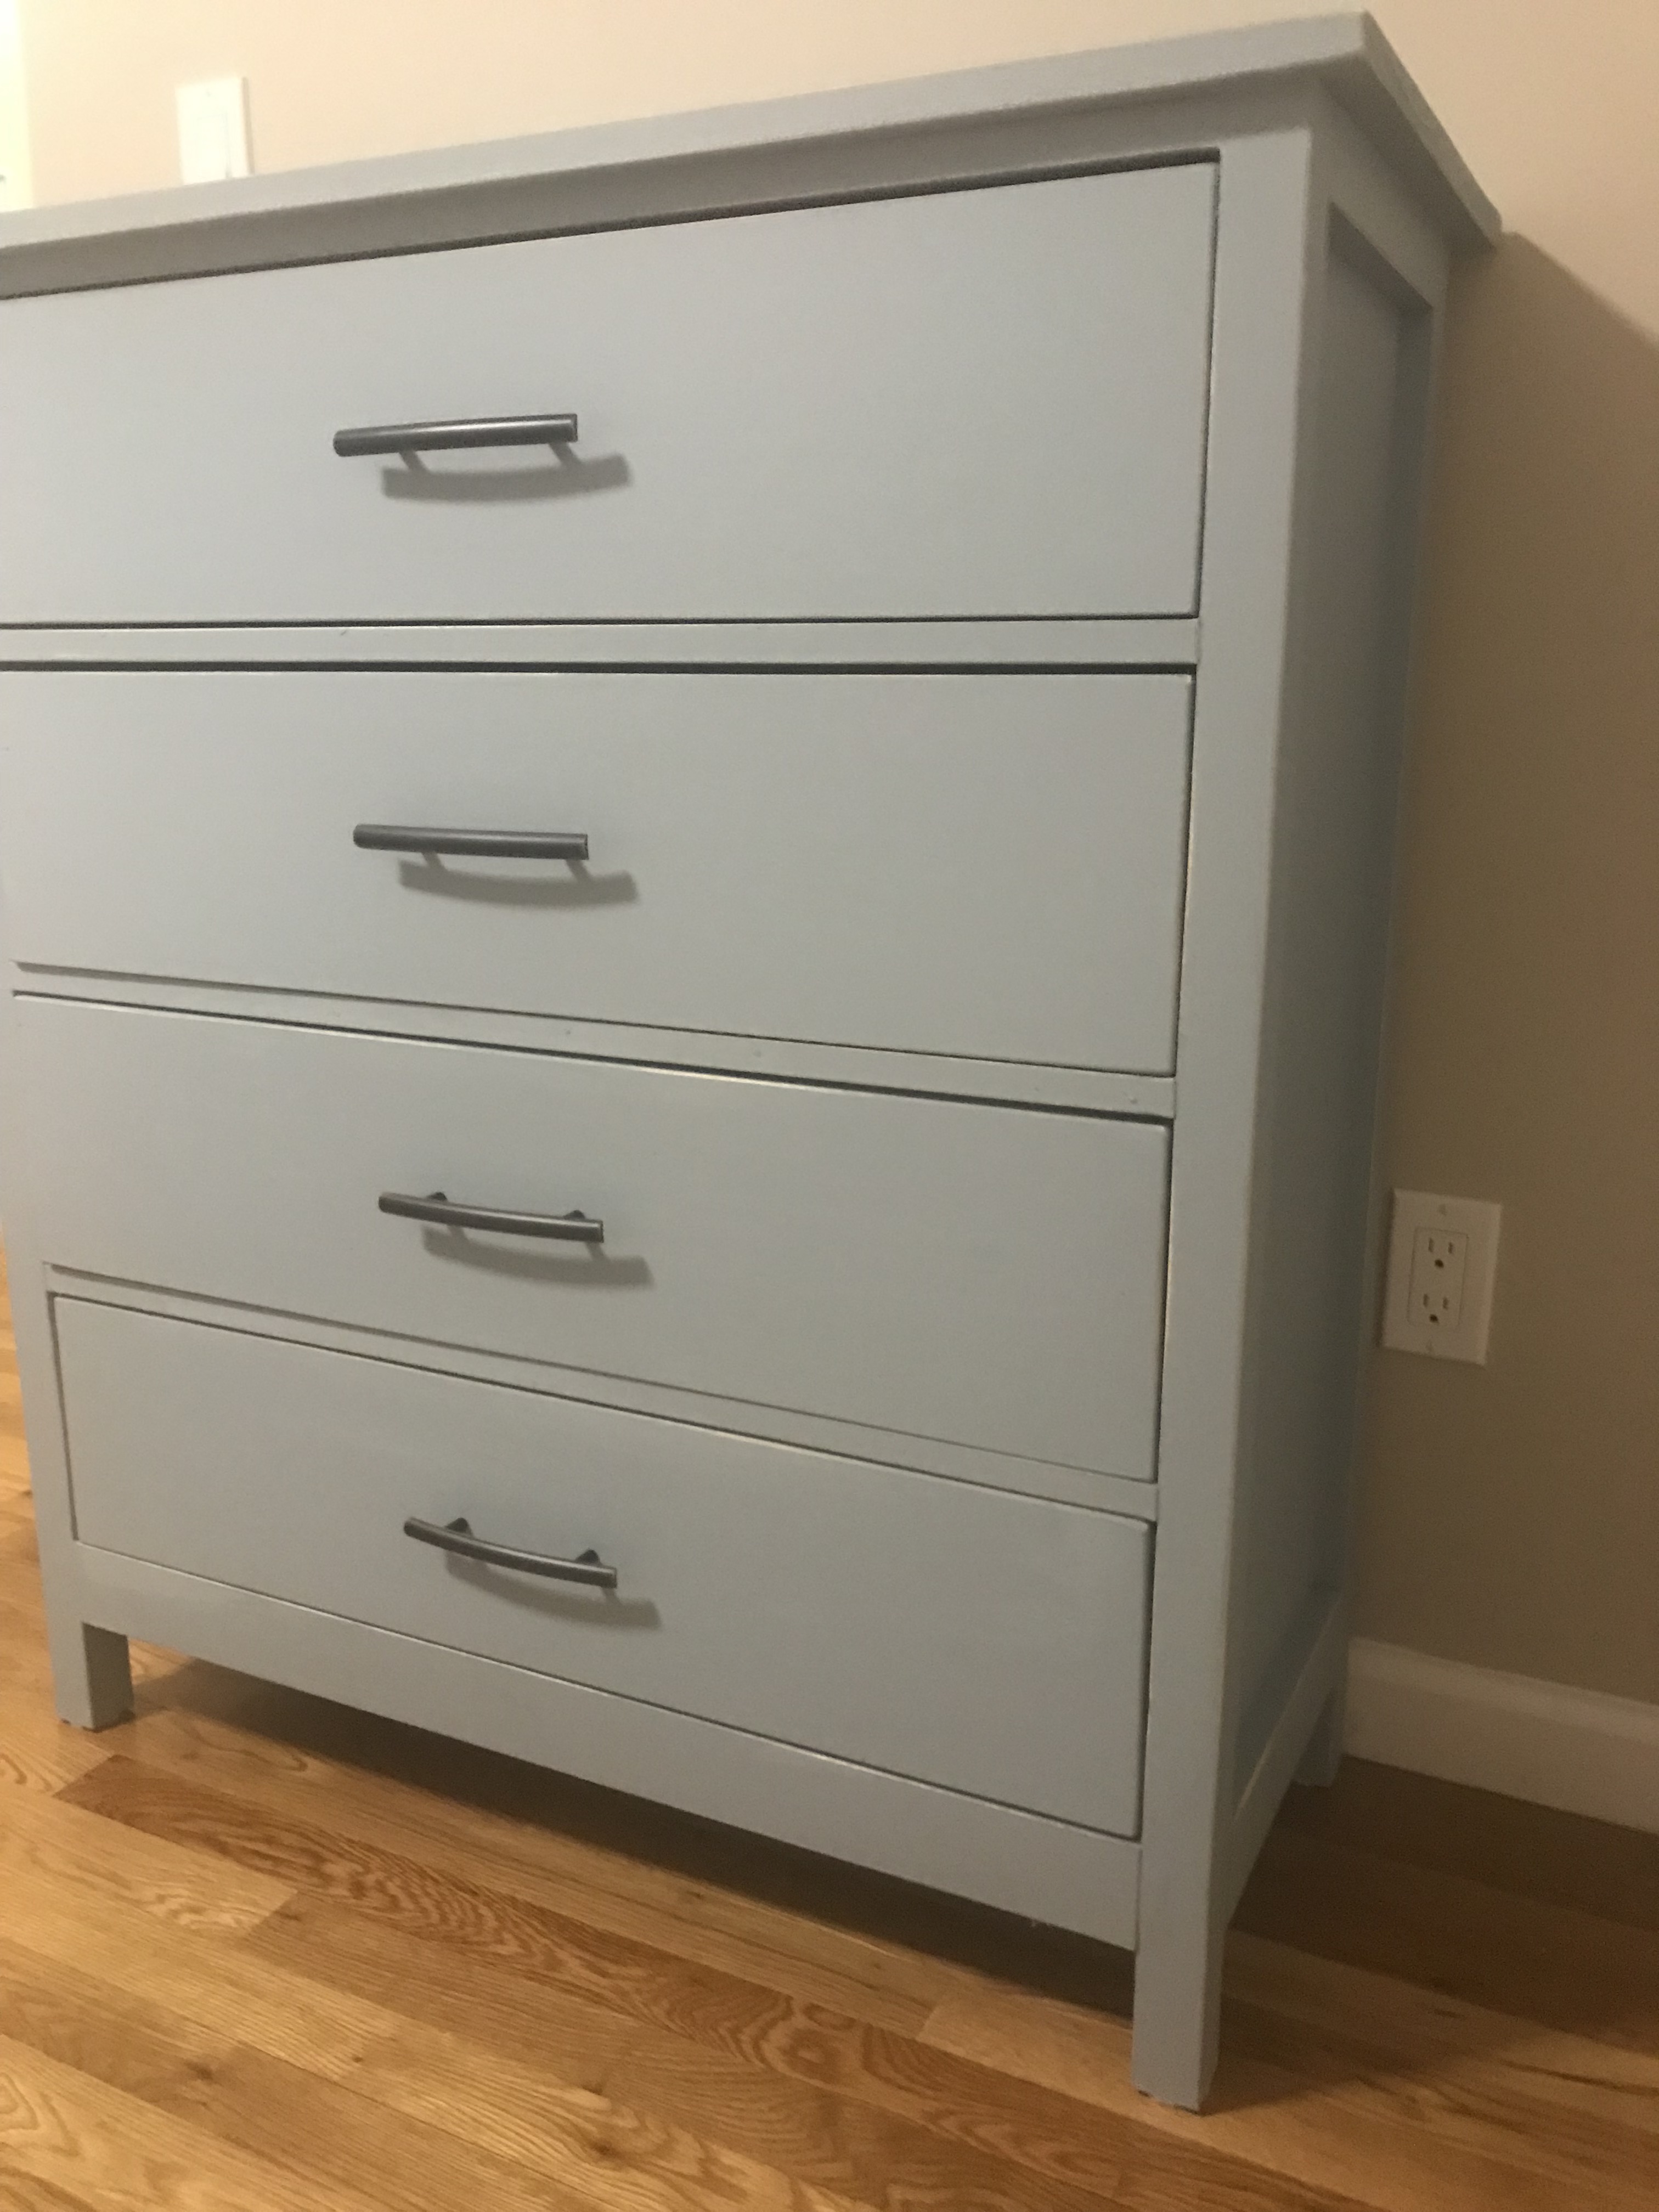
Dresser created for my parents.
