X Frame Farm Table
A few mods with beefier lumber.

A few mods with beefier lumber.
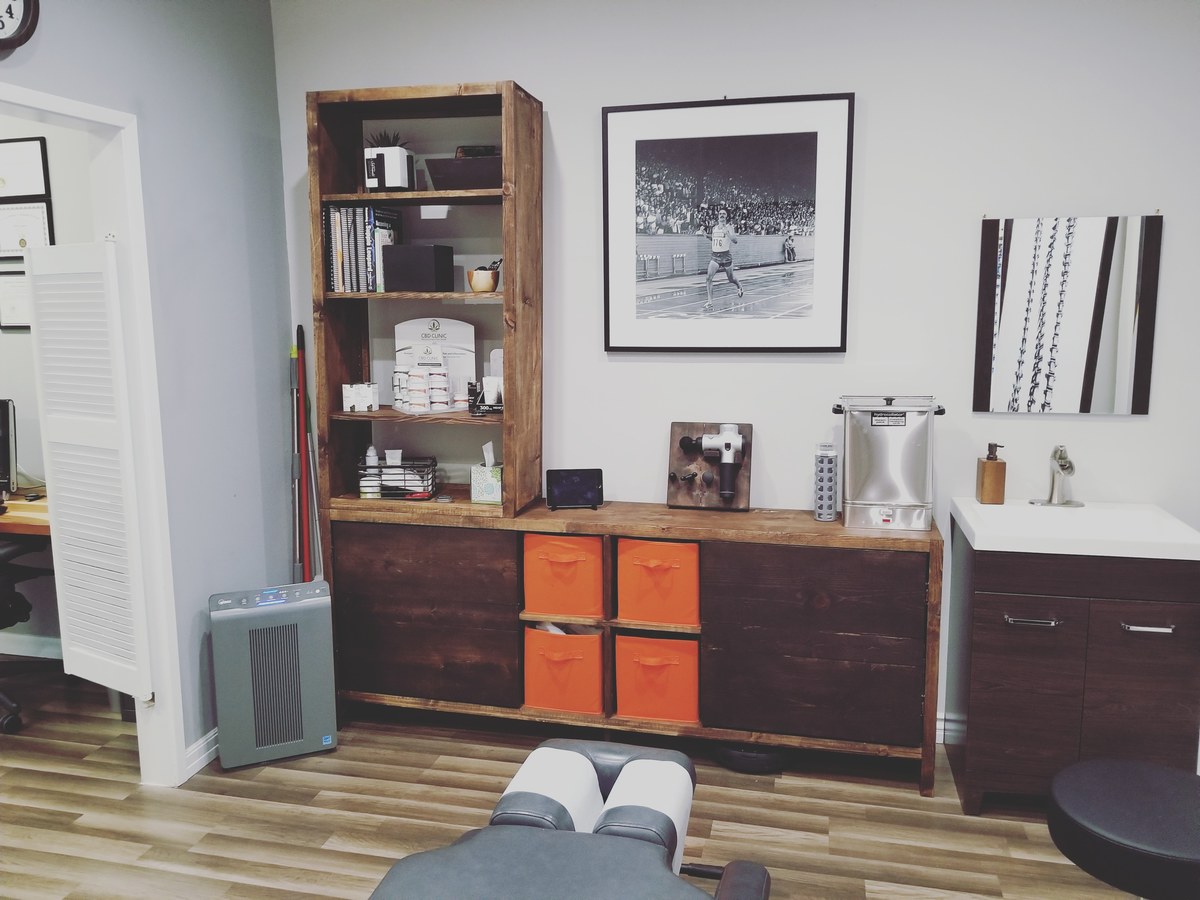
I used the 6 Cubby plans and just started tweaking. First was the plan to just do 12 cubbies, then decided to just put in adjustable shelves for aethetic purposes and not having it look too "Boxy" After that decided it would look better with doors too.
as for the shelf on top, I used the cubby bookshelf plans and just made it wider to match the width of the doors and then decided to also make it adjustable shelving as well. (used the kreg shelf pin system.)
Overall turned out pretty good. I am making a even bigger one for my other room.
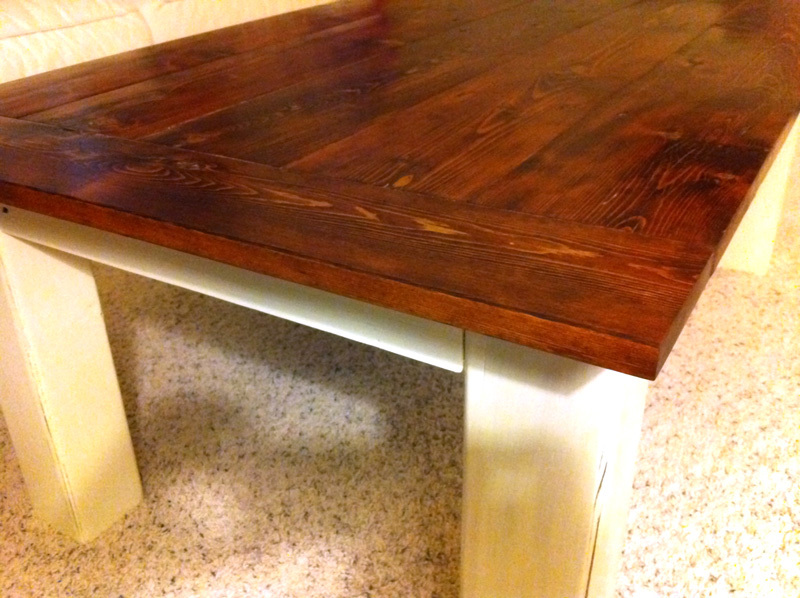
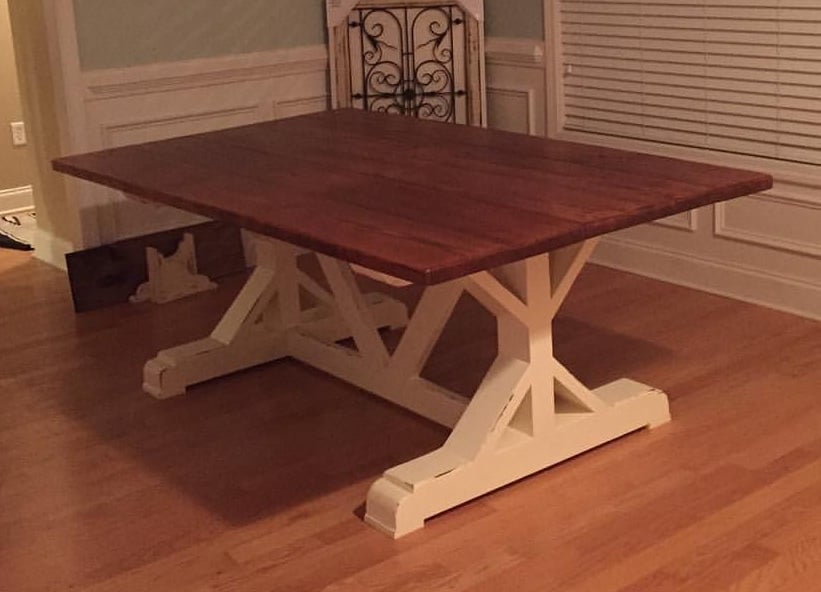
I built this a a birthday gift for my sister. My dad brought me a stack of old fence boards and I used them for everything but the legs (4x4s) and cross pieces (2x2s). I hand planed the boards the assembled everything using Kreg jig, pocket screws and glue. The top I stained with a mix of minwax mahogany and walnut then waxed. The base was painted an off white and distressed. My sister loved it!
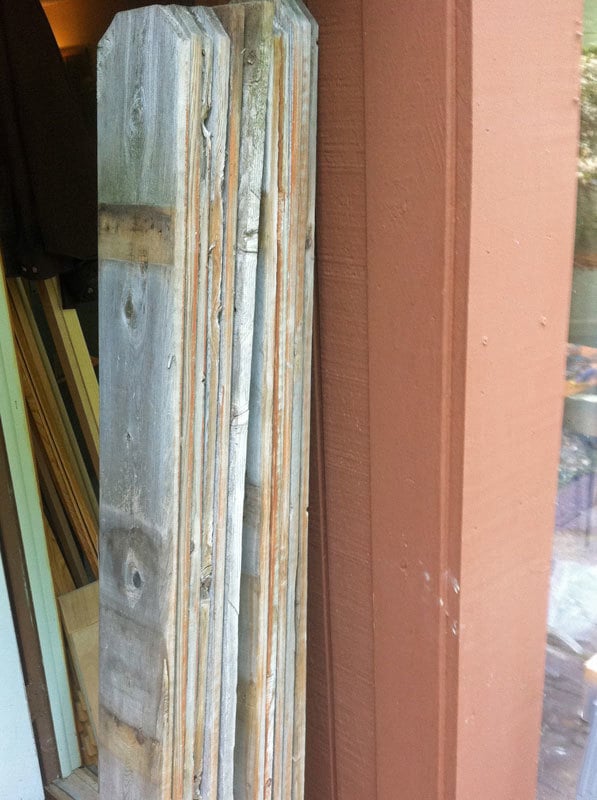
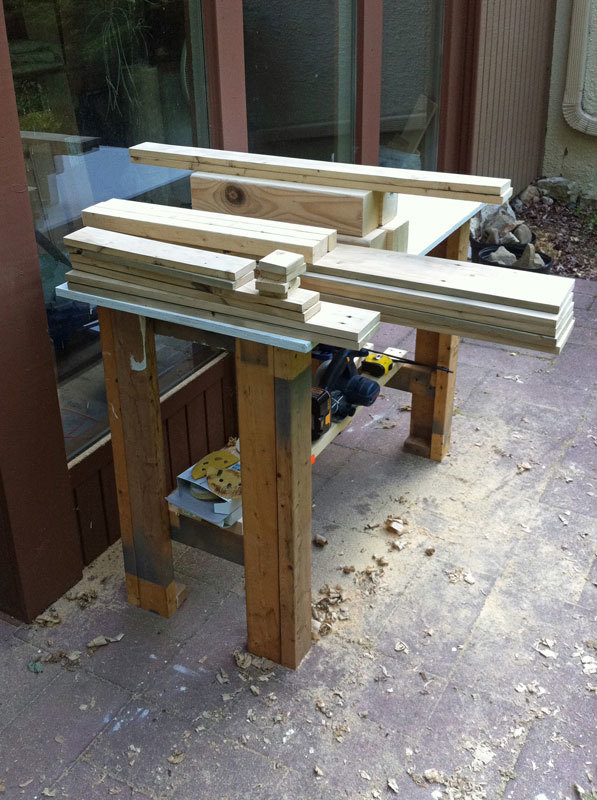
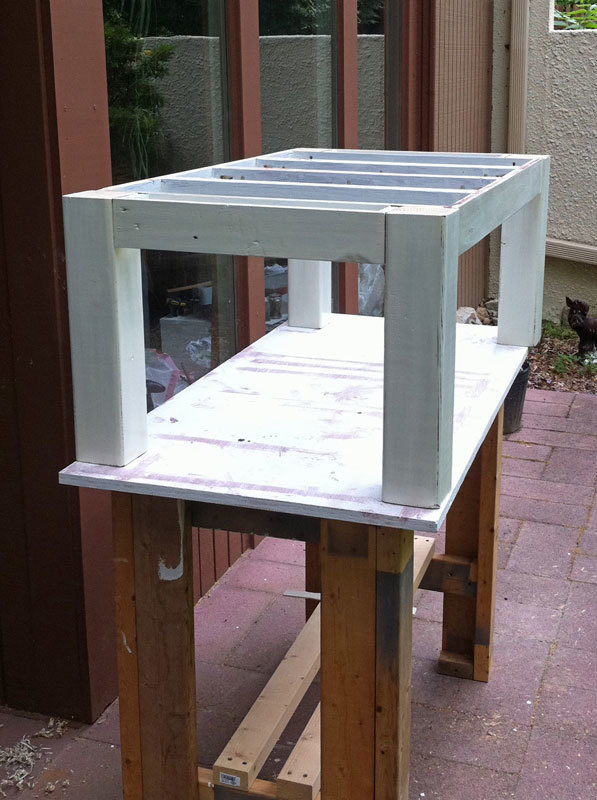
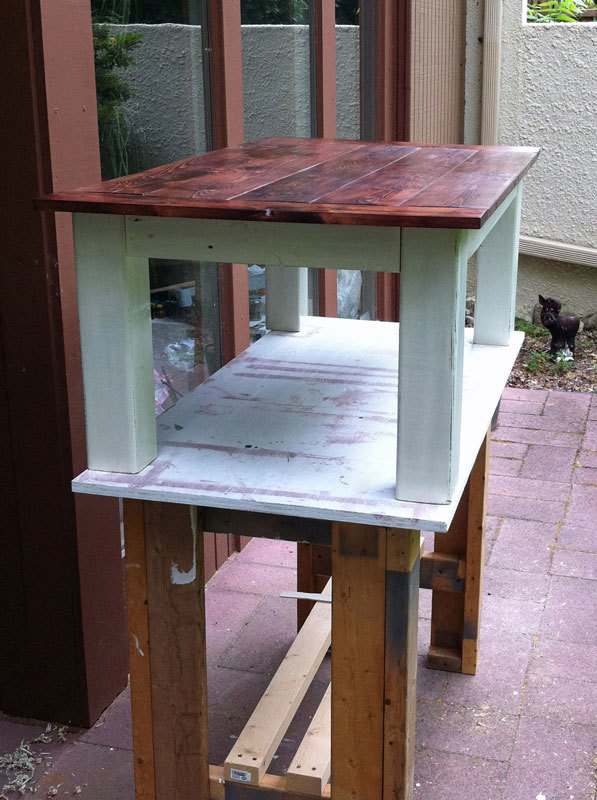
I made this table for my sister's Lake House. It isn't from a specific plan but I used many techniques and tips from Ana White's site to build it. The inspiration came from a table my sister and her husband saw at a Vineyard in Napa Valley. I bought the 4 legs 5" X 5" from Osborne Wood Products Inc. but all the other wood is just builders grade pine. My sister wanted a trestle table, I was a bit worried about stability but this table is rock solid! The table top measures 48" x 90" exactly the size to fit their new dining room! It hangs 12" out from the base all around. I stained it with Minwax Golden Oak oil based stain and finished it with Minwax Polycrylic.


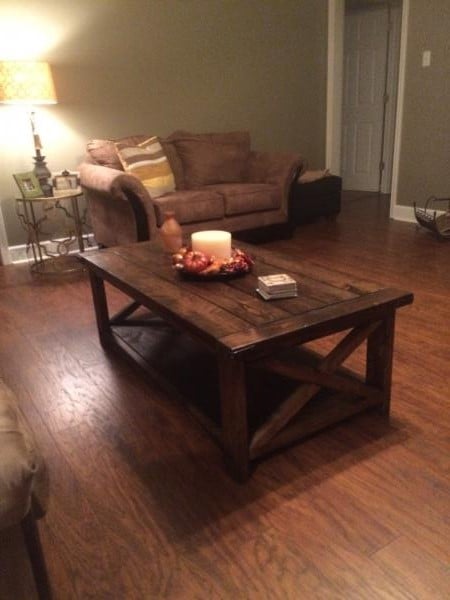
Table is 4 1/2 long. Used
the farmhouse end. And used 2x12 for bottom instead of 1x12
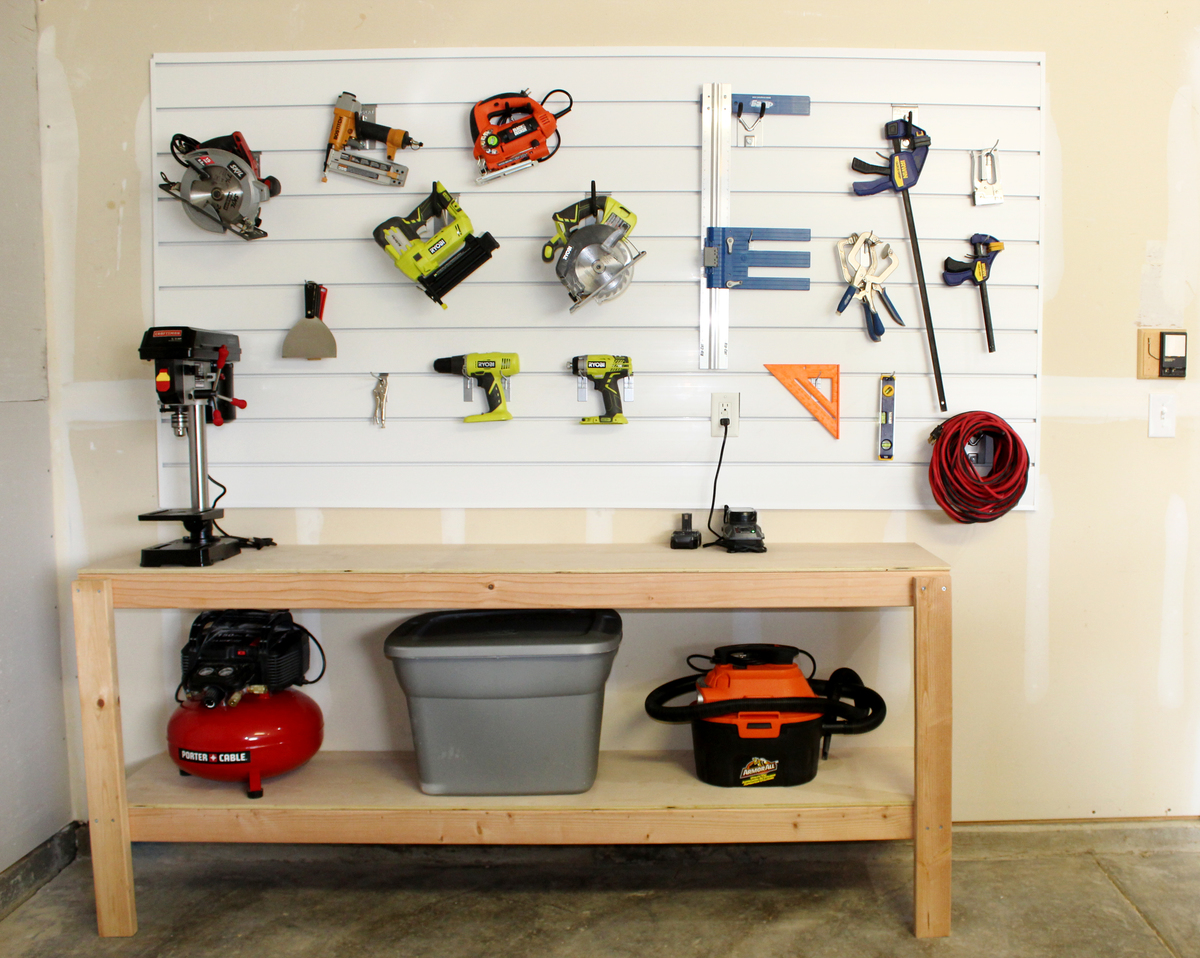
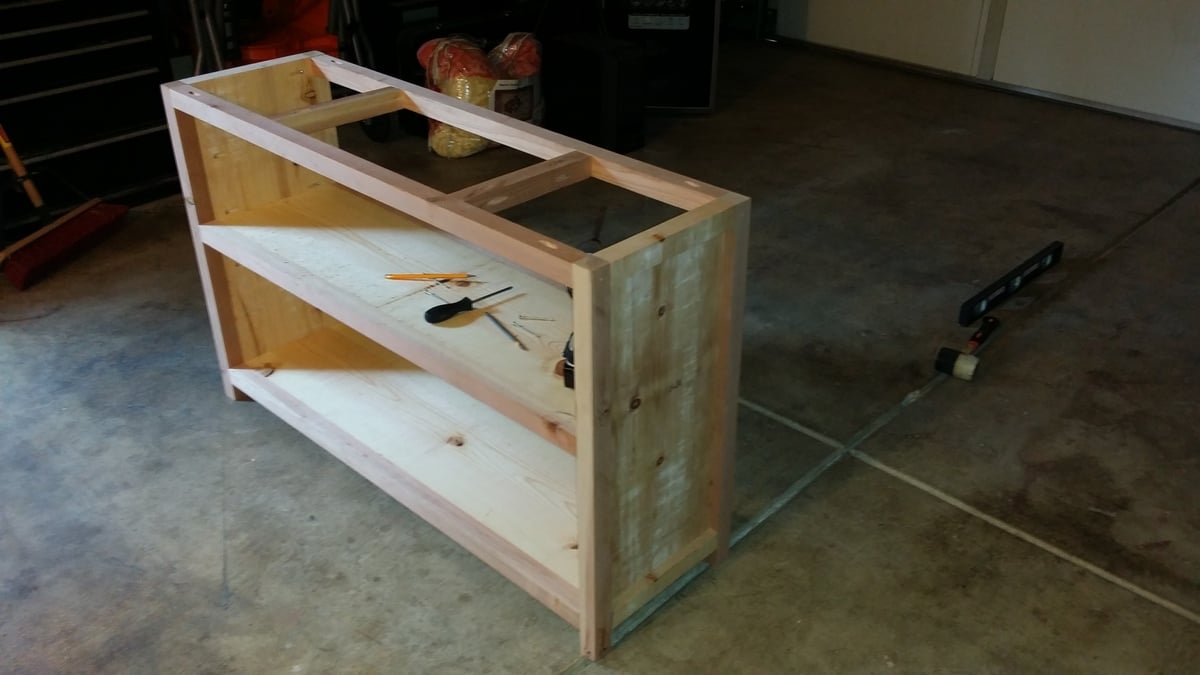
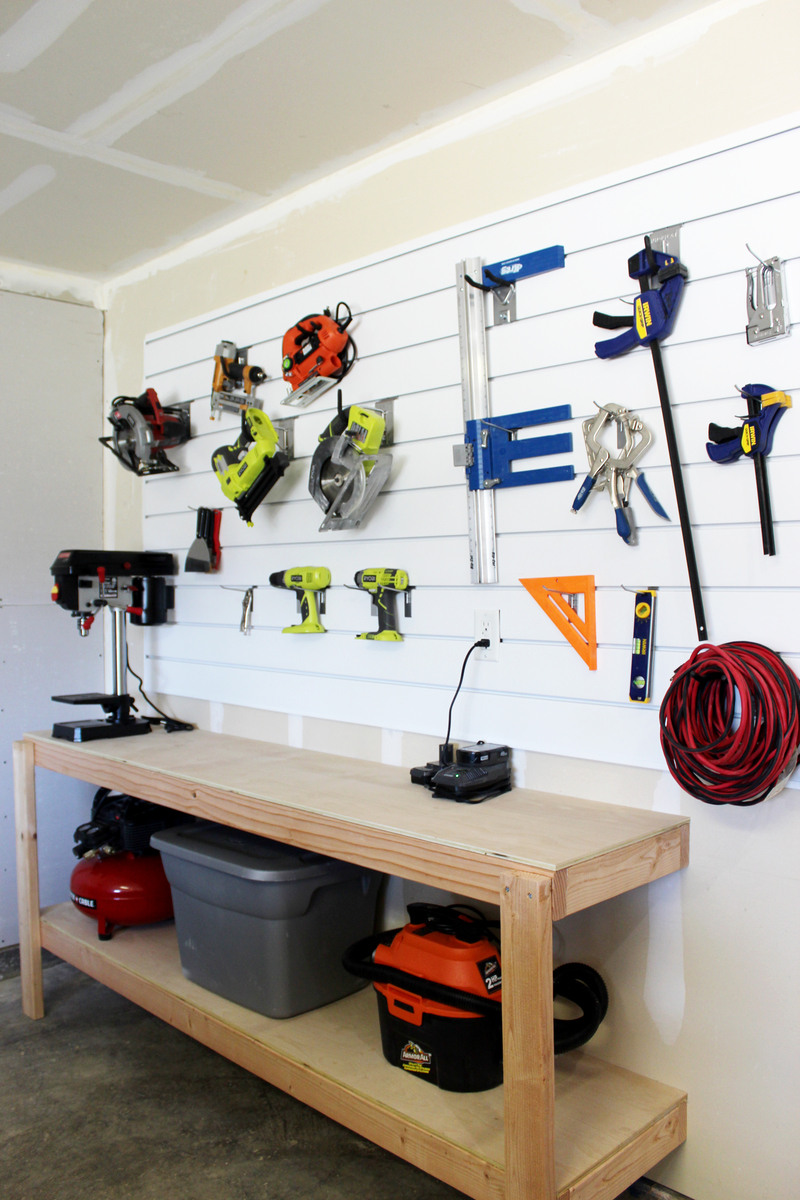
I created shelving and a workbench space for my garage. The plans were simple to use and the shelving ended up being sturdy and level!
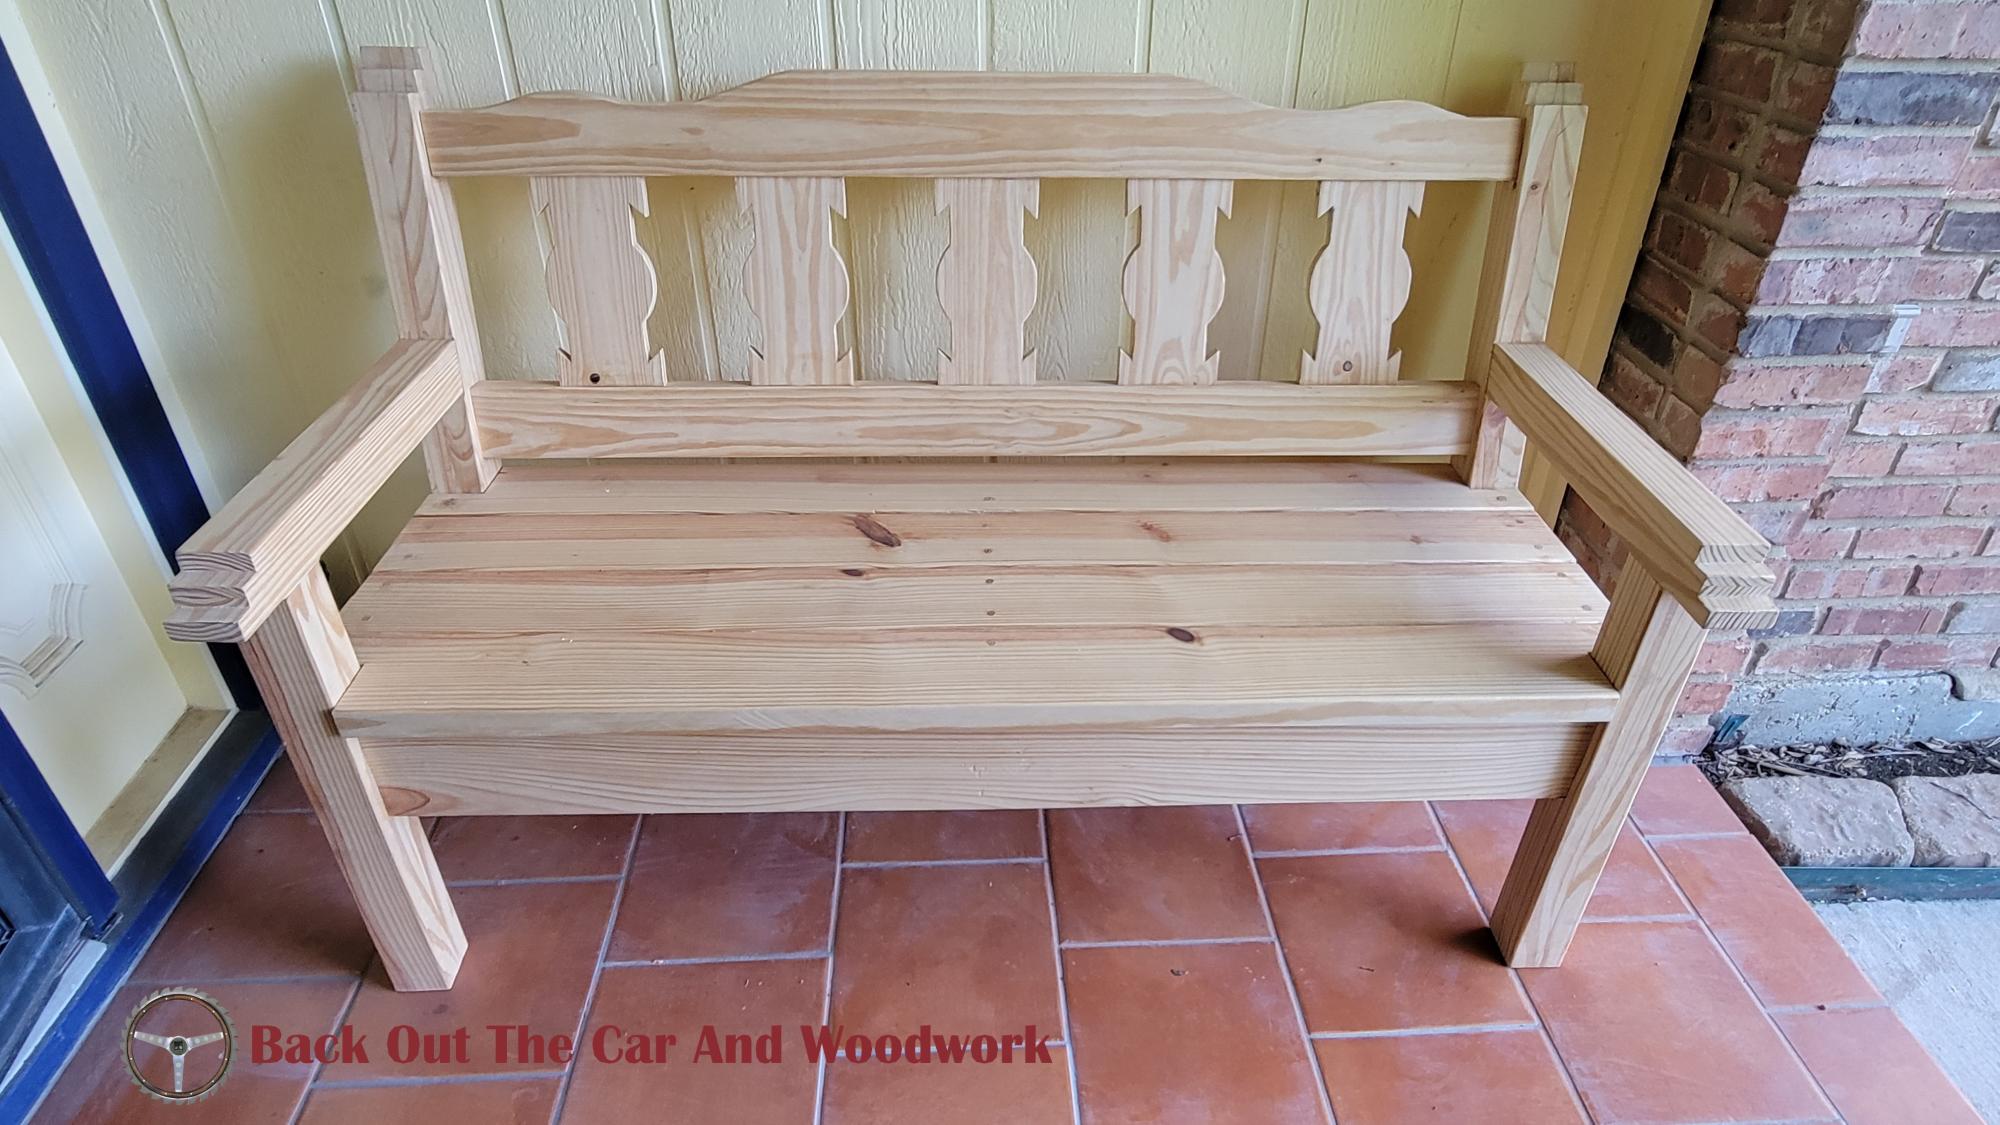
We visit Santa Fe and surrounding areas every summer.
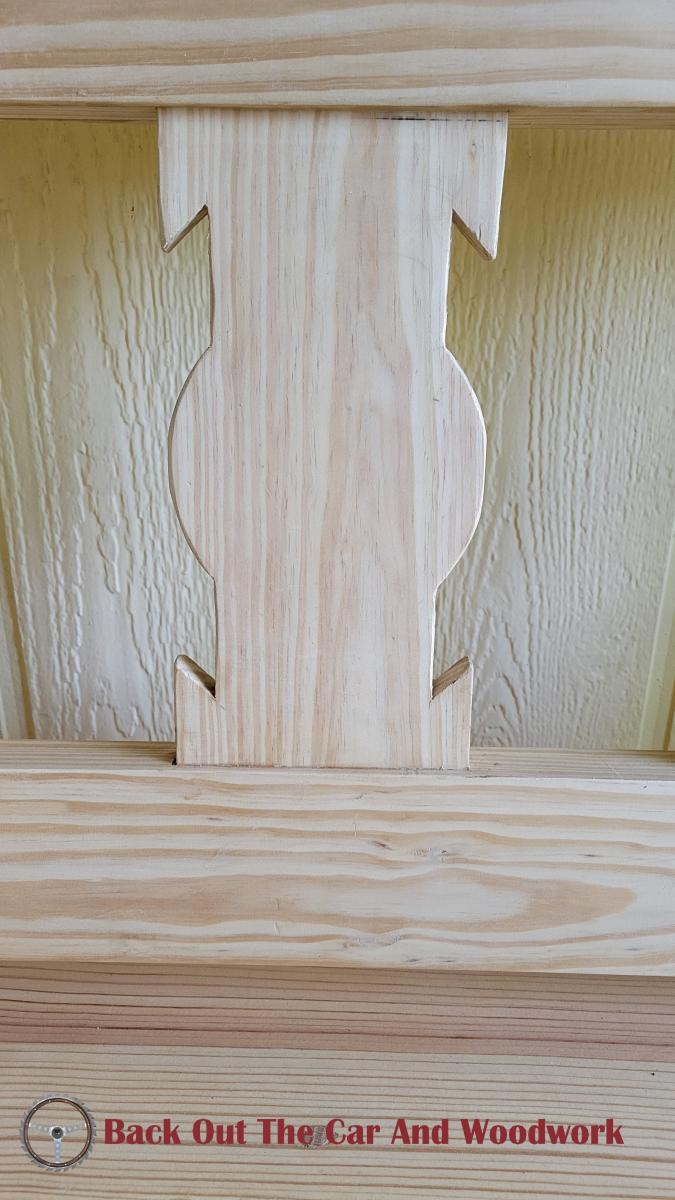
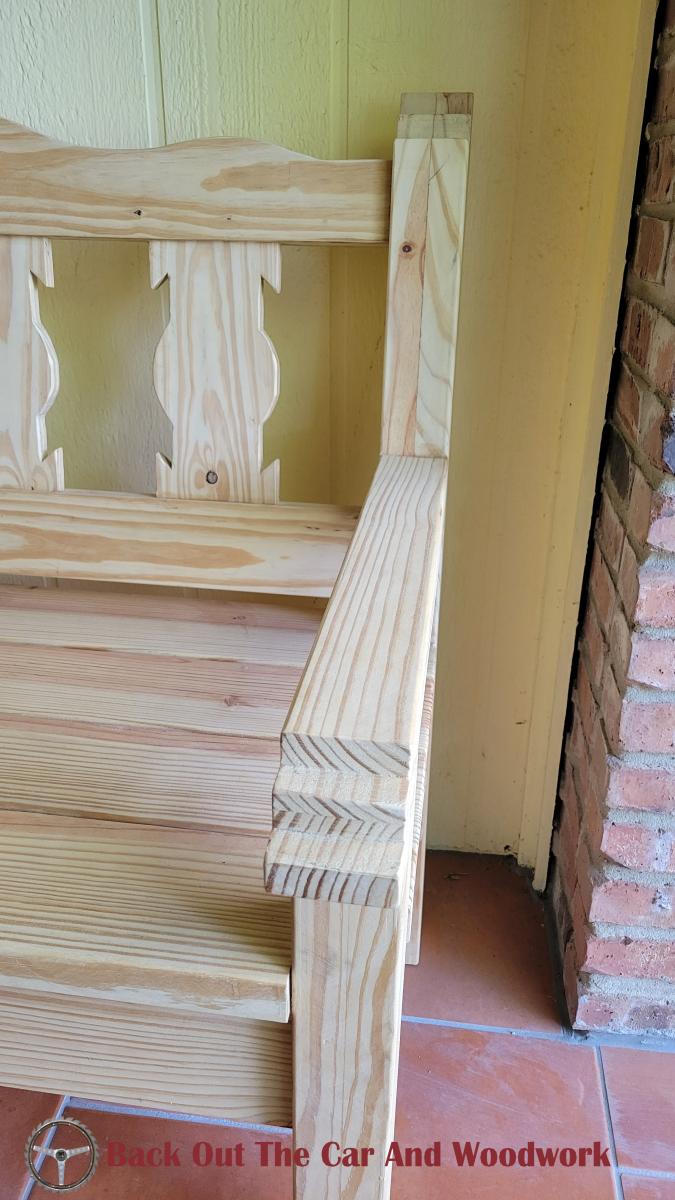
I love all the hacienda furniture but wasn't willing to pay designer prices for the good stuff or deal with transporting it home. I took pictures all over the place, narrowed down the design features, and made my own.
Check out my 4 part video series of the construction on my youtube channel (link below).
You can even see me play some guitar at the end of part 4.
Fri, 06/17/2022 - 07:38
That is so awesome, good for you! Thank you for sharing:)
We made six 4-foot photo ledges for about $20 in wood and $2 in screws. We put two in the master bedroom, two in the nursery, and two in the family room! That's alot of decorating for $22 (plus the cost of frames... which were all either thrifted or we already had)
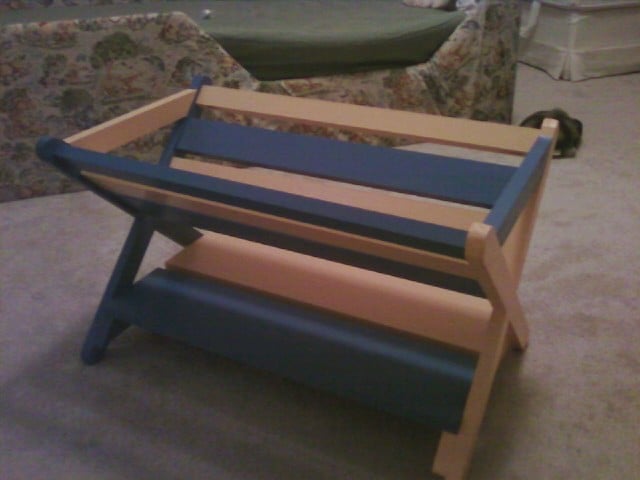
I built this little book caddy for my son's room. I used pocket holes to attach the horizontal slats as well as for making the 'X' pieces. I glued the bottom boards and used long (2.5") screws to attach the top horizontal pieces. I was really happy with the way it came together, once I figured out that I could use pocket holes on the horizontal main beams. I realized you just have to start at the top and work your way down, because starting at the bottom would mean blocking your access to the bottom of the other boards.
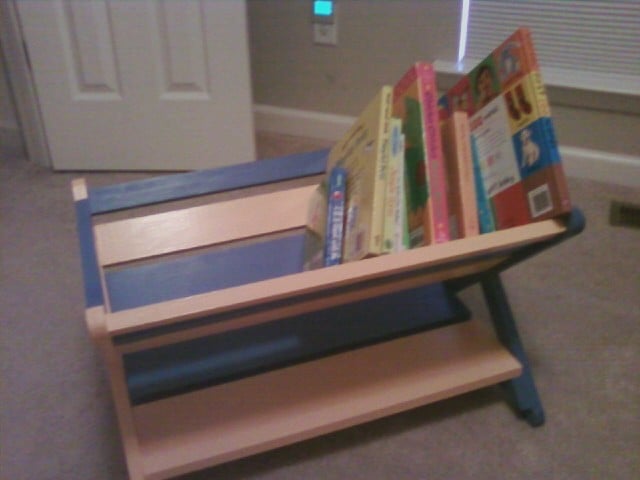
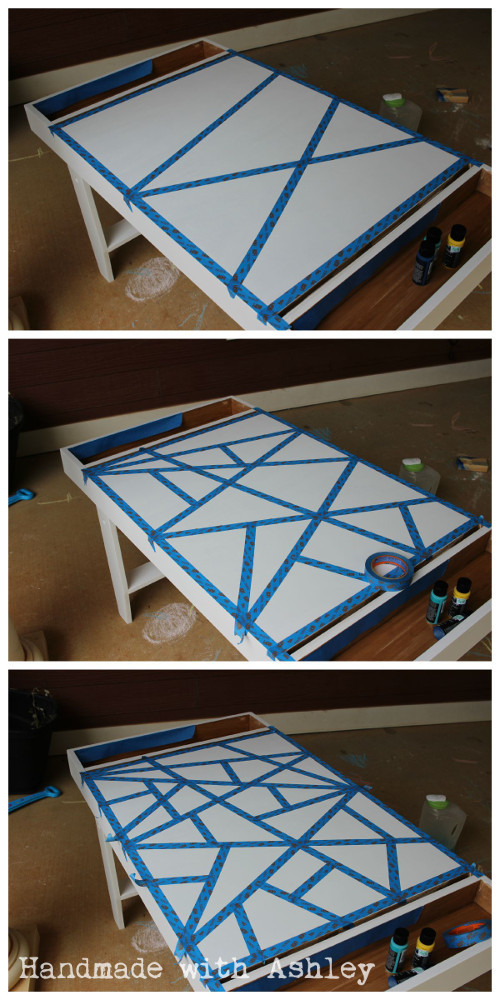
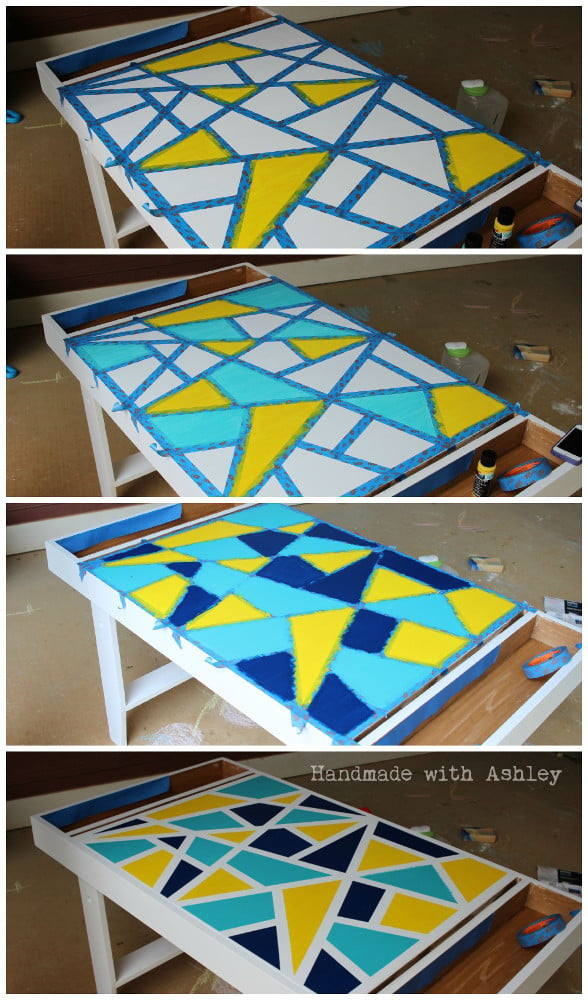
I'm so excited Ana created plans for this table! When I first came across it on Pottery Barn Kids it was love at first sight. :D I built it over the weekend for my little toddler. Unfortunately, he's too short for it, but he'll grow into soon enough. :) (I secretly wished it was an art table appropriate for my height!)
It cost me about $75 to build. I splurged and bought select pine boards for the project. The art table was also my submission for September's Fab Furniture Flippin' Contest. September's sponsor is General Finishes and the theme was geometry!
Now, I just need to build matching seats! I love the little stools Ana built; maybe I'll do something sorta like that. :)
Thank you Ana for inspiring me to build!
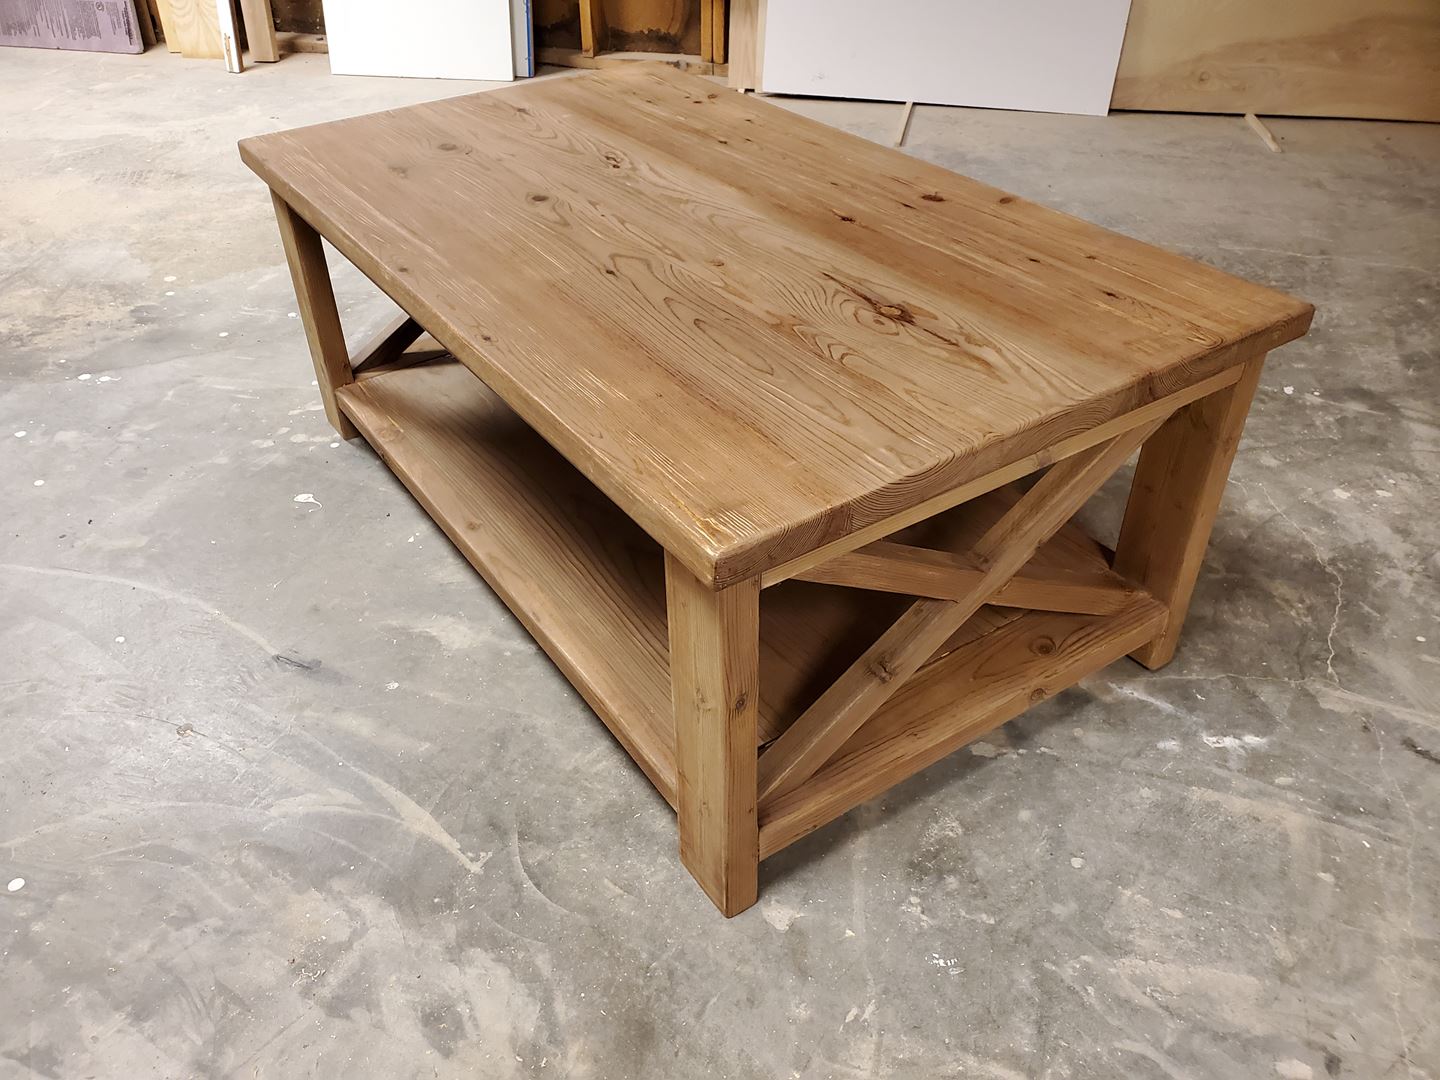
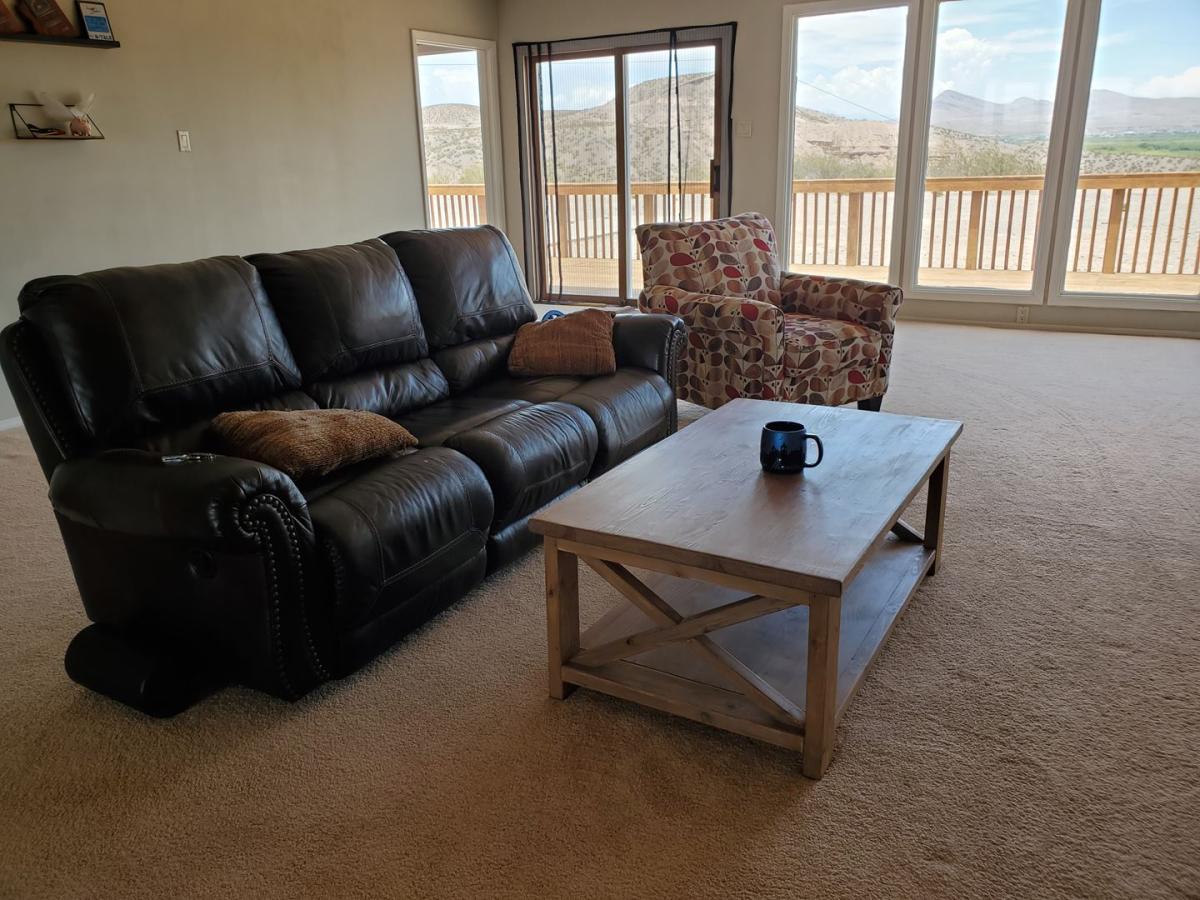
My first coffee table and I'm happy with the results. I certainly learned alot about woodworking which was part of the goal. More details on my blog: http://jdfinley.com/a-table-with-coffee/ Thanks for the neat designs Ana!
Sun, 06/26/2022 - 19:25
Way to go, this looks fantastic, can't wait to see your next project!
We loved the Art Rail idea but also the idea of doing an art cable. We already had alot of the cable supplies at home, so that idea won. The Ana's Art Rail and Pottery Barn's Art Cable was our inspiration idea for doing the cable.
Thu, 01/05/2012 - 08:47
What did you use to hang the pieces from? I can't tell from the picture.
Great idea!
Thu, 01/05/2012 - 12:11
The pictures were hung with curtain clips. The wire was attached to an eye screw that was inserted in the block. I have a full tutorial on my blog for more clarification: http://www.bearrabbitbear.com/2011/07/make-your-own-play-room-art-cable…
Thanks for checking it out!
Just a simple, but solid and stable patio table to replace the IKEA version that was warping and disintegrating. So much happier with this version. Also used bolts and wing nuts for attaching the legs for easy disassembly and storage for the winter. Should get many years out of this table.
Tue, 07/10/2018 - 16:57
I'd be interested in learning more about where and how you used these so that the table breaks down for storage. Did you do the same with the chairs as well? How well did it work for storage? We don't need to break them down to store them but are a military family and it makes moving easier if we can break things down to take up less space.
#formeremortals #anawhite
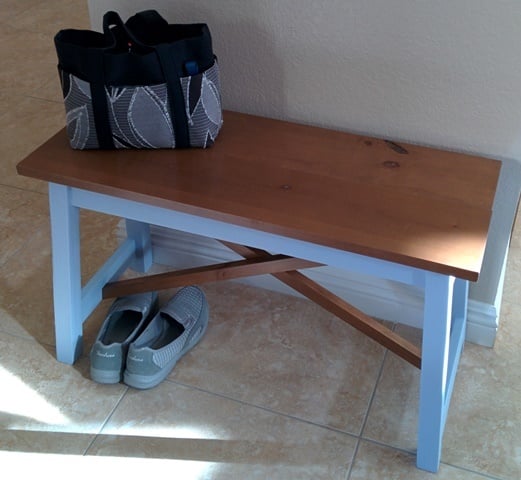
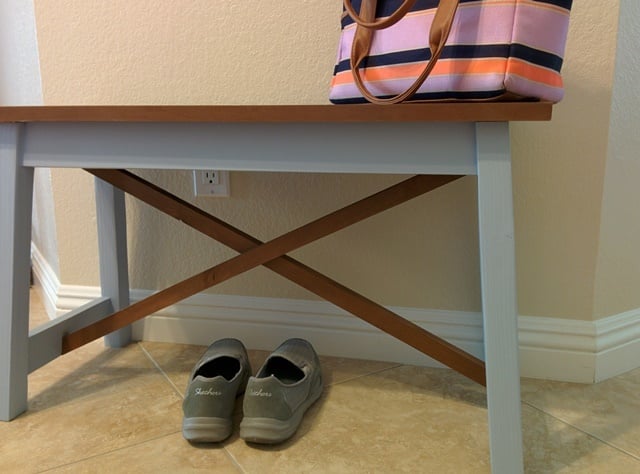
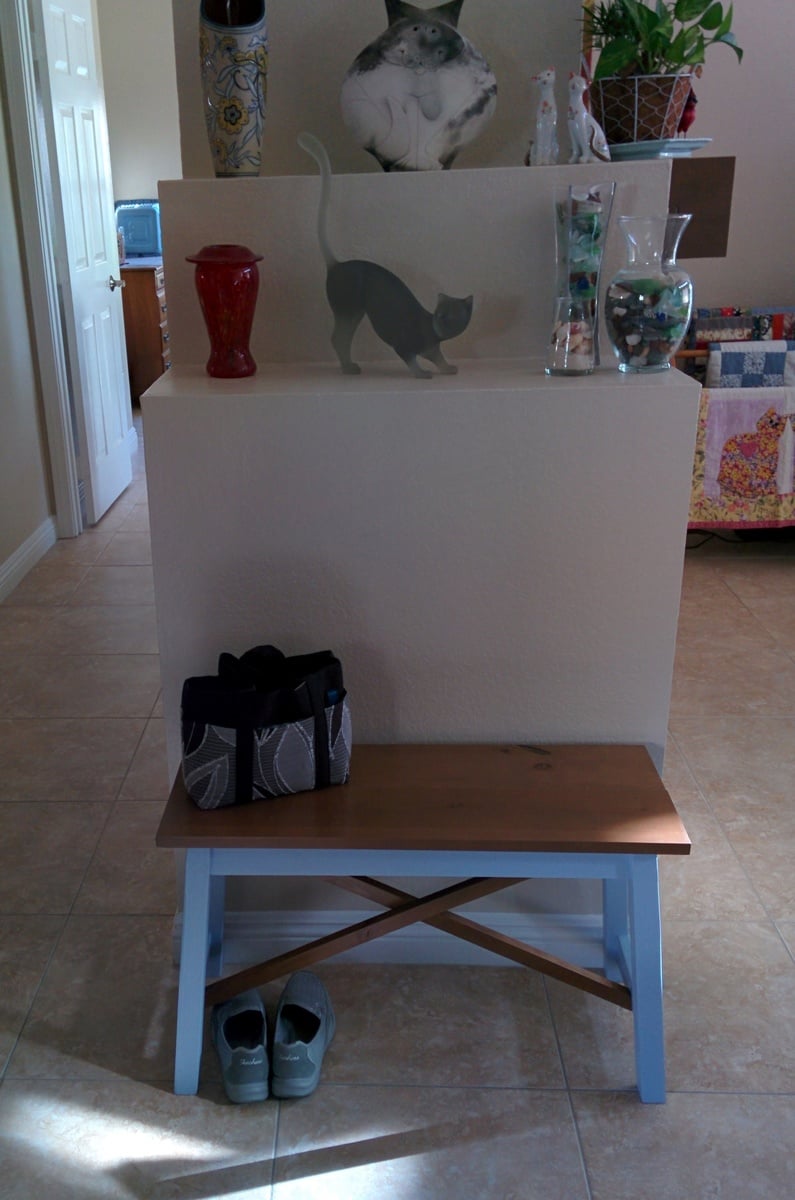
A bench I built for my sister as a birthday present. I used whitewood for the painted parts and some left over knotty alder for the top and cross supports. The alder was from a kitchen rehab and I have been holding on to that wood for ages. :) The hardest part was the cross supports - figuring out the angle was a bear! Thanks for the plans Ana!
Thanks Ana for the great, easy plans!
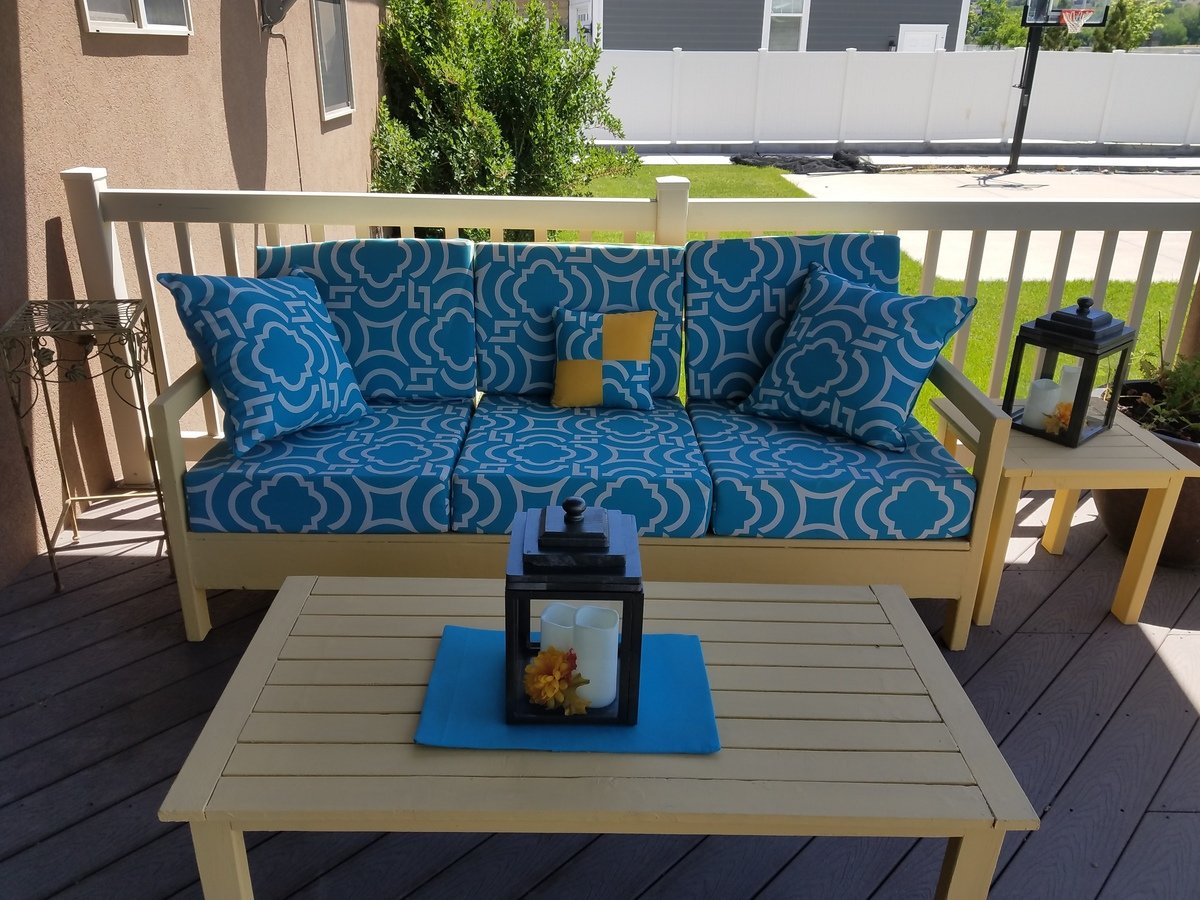
Note: I used an exterior deck paint to paint this furniture. Although it has a rough texture, it doesn't bother us because of the cushions. Very easy to spray off, and has been through two seasons with no chipping or discoloration. Yay for less refinishing time and effort!
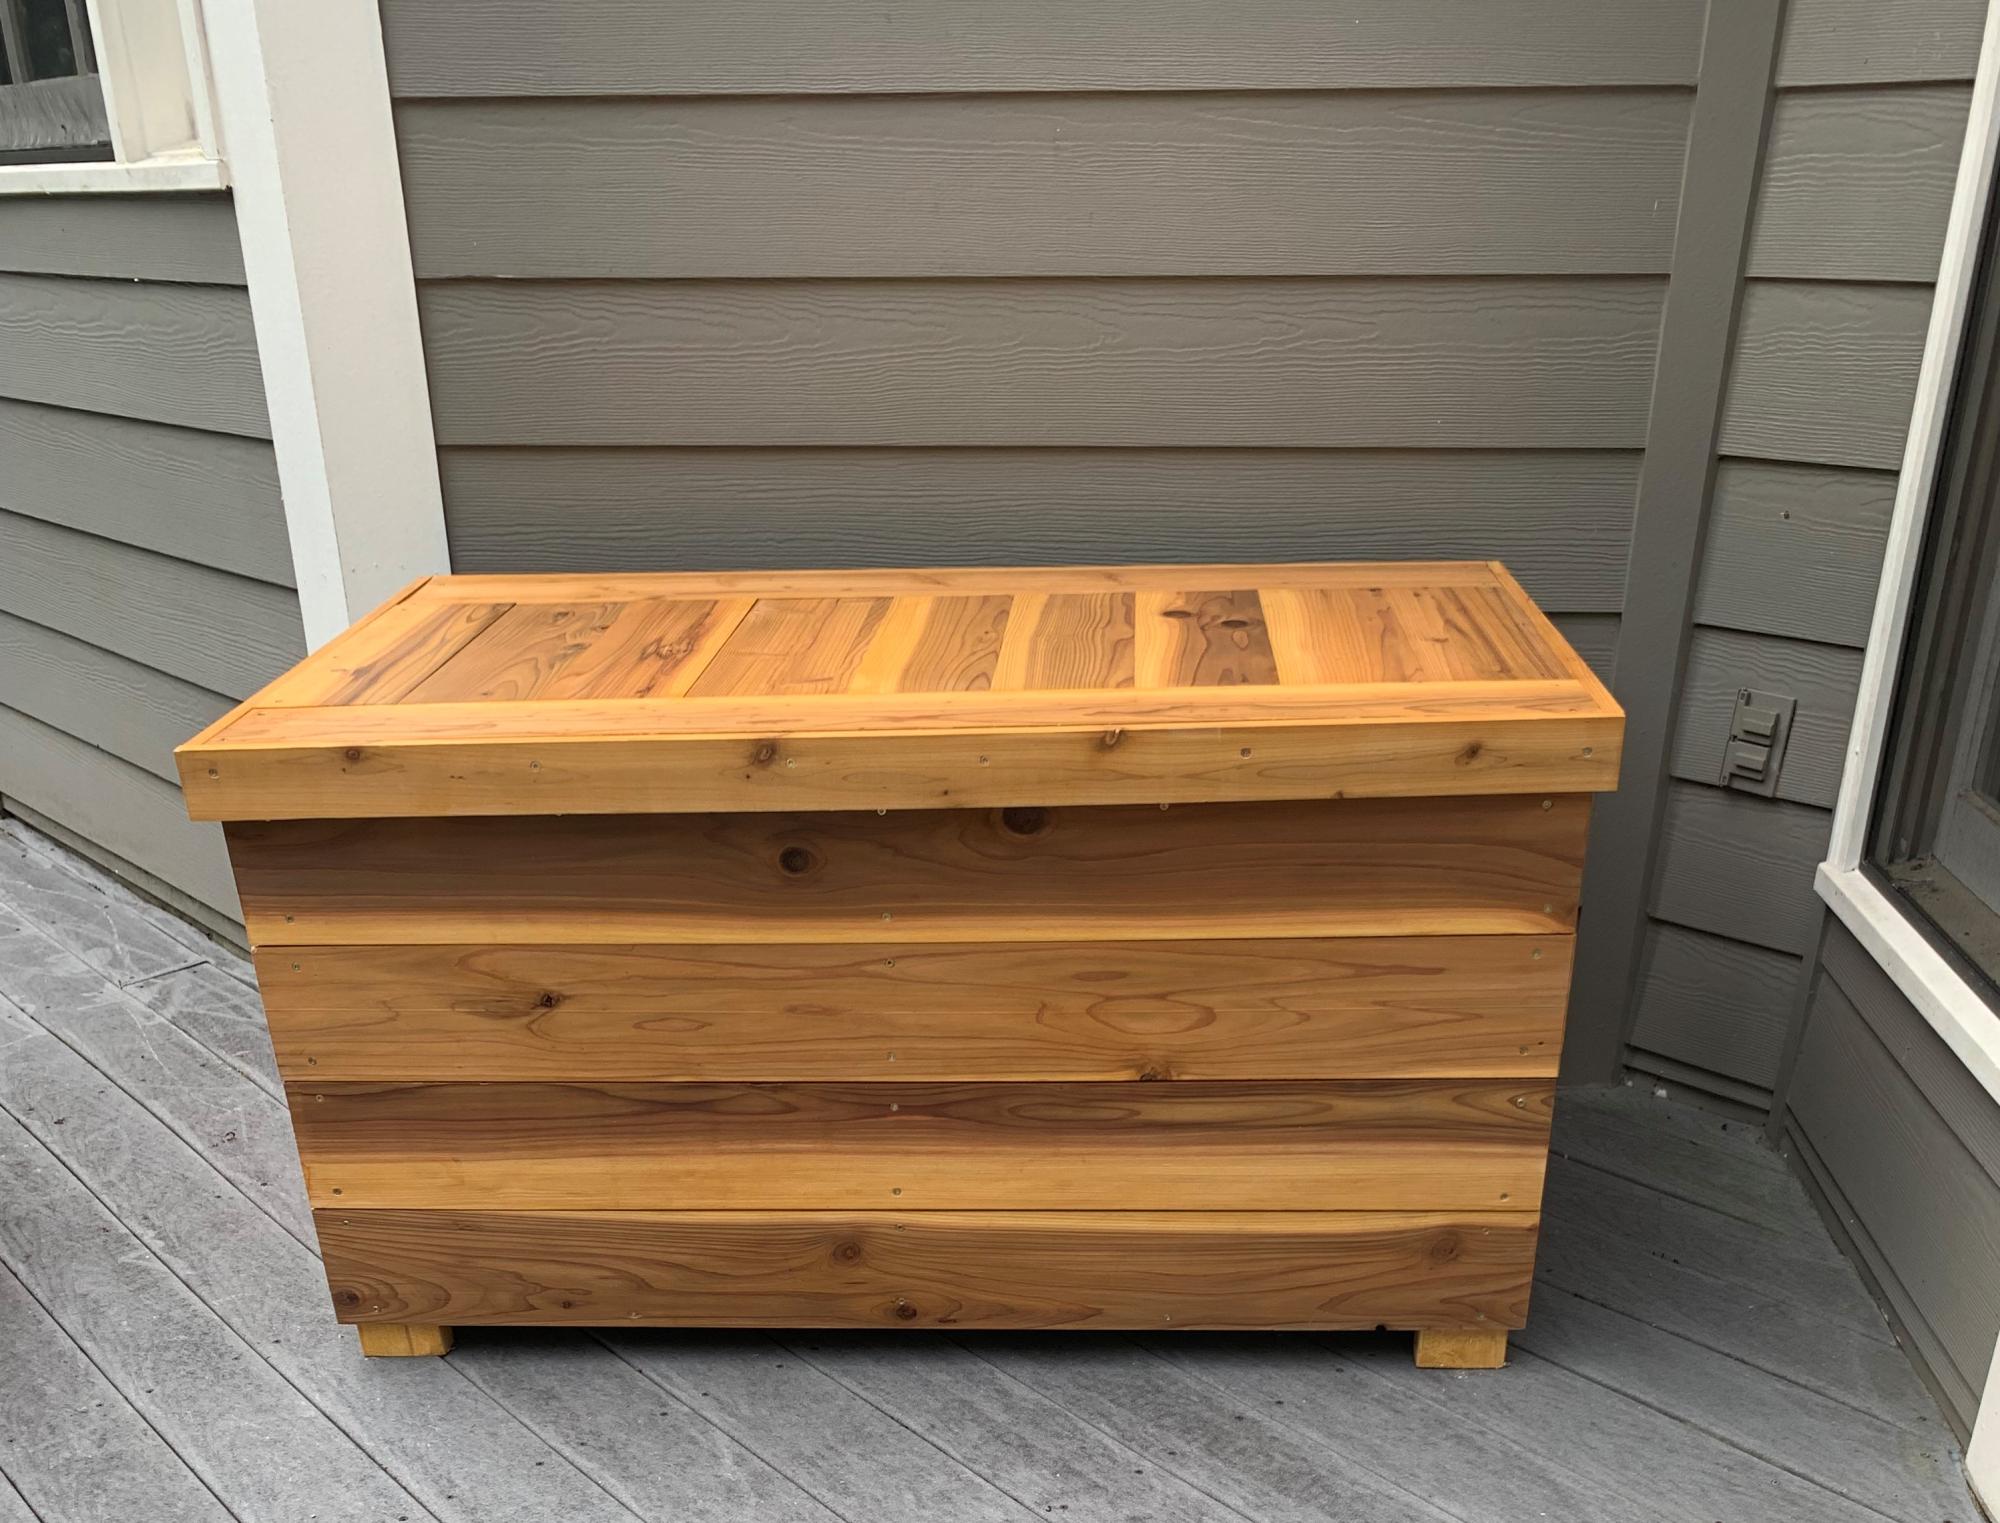
I had to modify these plans to use what I had on hand. I used left over cedar fence pickets (planed down and sealed) and adjusted the size to fit all my outdoor cushions. Overall dimensions are 49" wide x 28" deep x 26" high. I also used 2x4's instead of 2x2's because that is what I had in my shop. I added 1x3's around the top to fit snugly instead of using hinges (again trying to use what I had on hand). We get A LOT of rain in the summer so hopefully the cushions will stay dry. I also added some screen left over from the screened in porch to the bottom before adding the "floor" to keep bugs out. I just stapled it to the frame before adding the floor boards. I did add a piece of treated 1/4" plywood under the top in hopes of keeping the rain out.
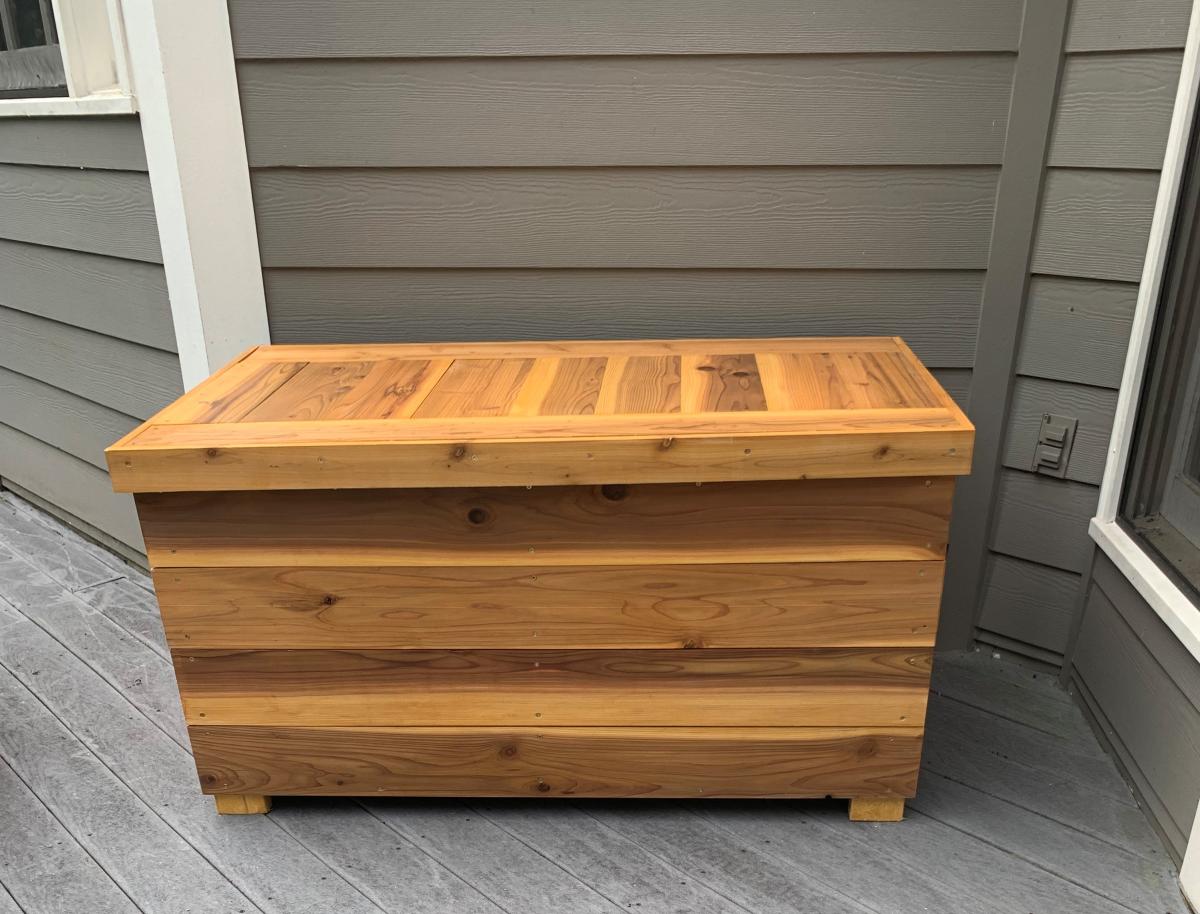
I'm working on a few projects I have half finished, but when I saw this one the other day on Ana's site I could not wait to do it and post my first brag. It's not perfect, my spacing is a little off because I didn't double check my 4" spacer board (it was only 3 3/4!), but I still like it and will put it up in my son's room. I tried to use the 1 x 2 and 1 x 3 furring strips like Ana used but the spacing didn't look right so I made it totally out of 1 x 3 strips. I used a nail gun and miter saw - was much faster then doing by hand.

My boyfriend and I built the farmhouse table and bench in one weekend. We are SO happy with the way it came out, thanks to Ana White for her plans!!


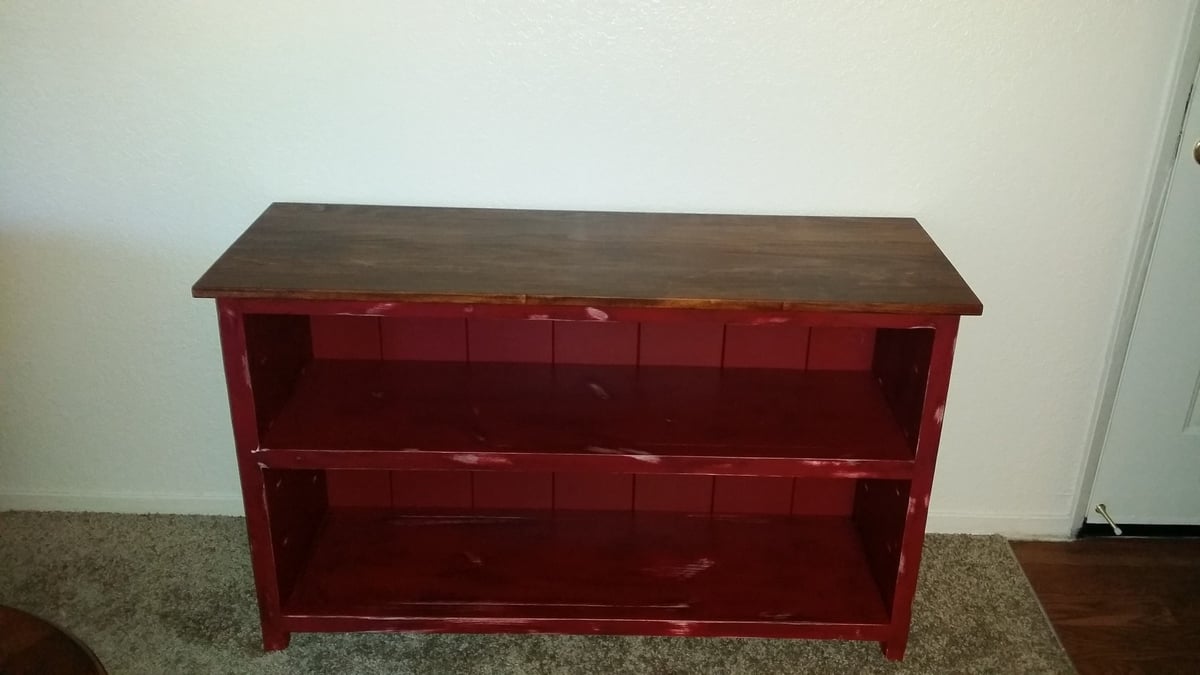
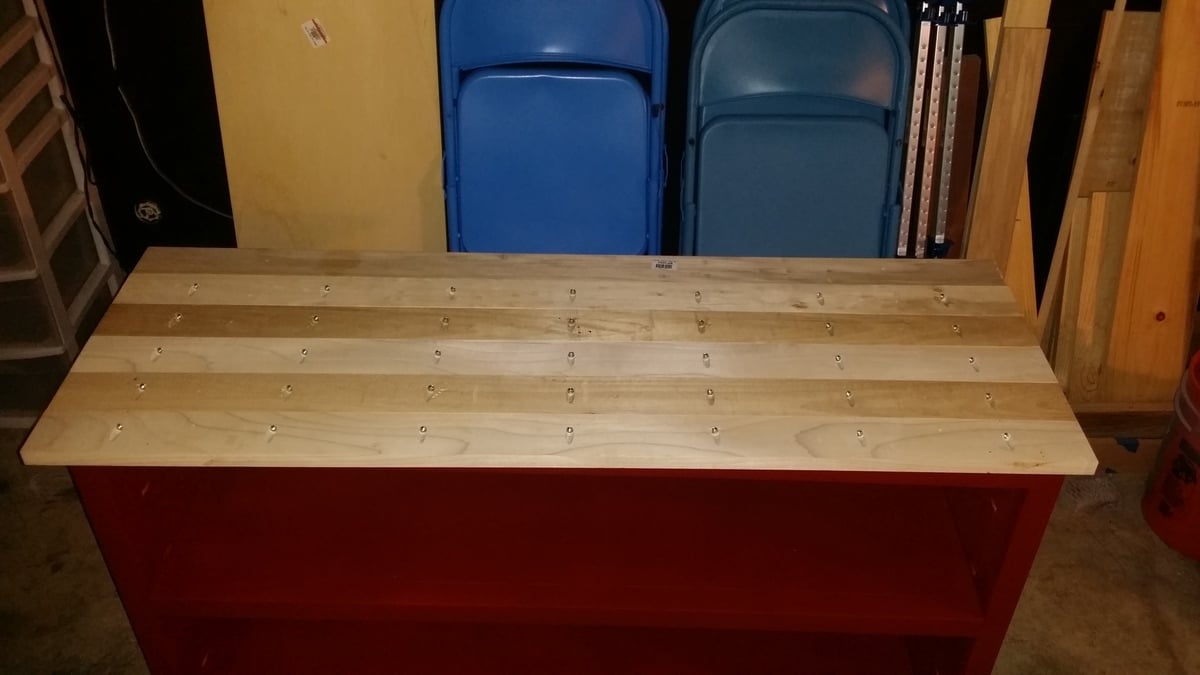
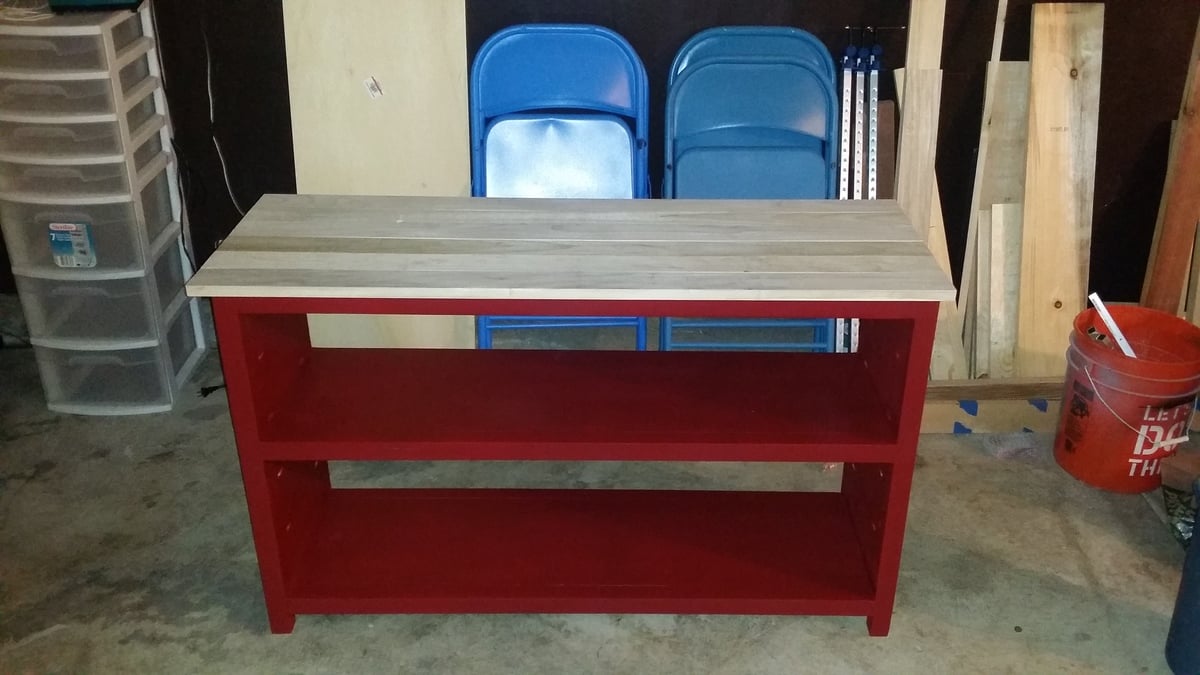
Wanted to build a nice sofa table to go underneed the large canvas behind my couch. I wanted something more simple and robust to suit my taste, but also wanted to be able to give it a nice rustic look to to suit what my wife wanted. The kentwood bookshelf fit the bill perfectly.
