Meuble d'appoint pour le patio
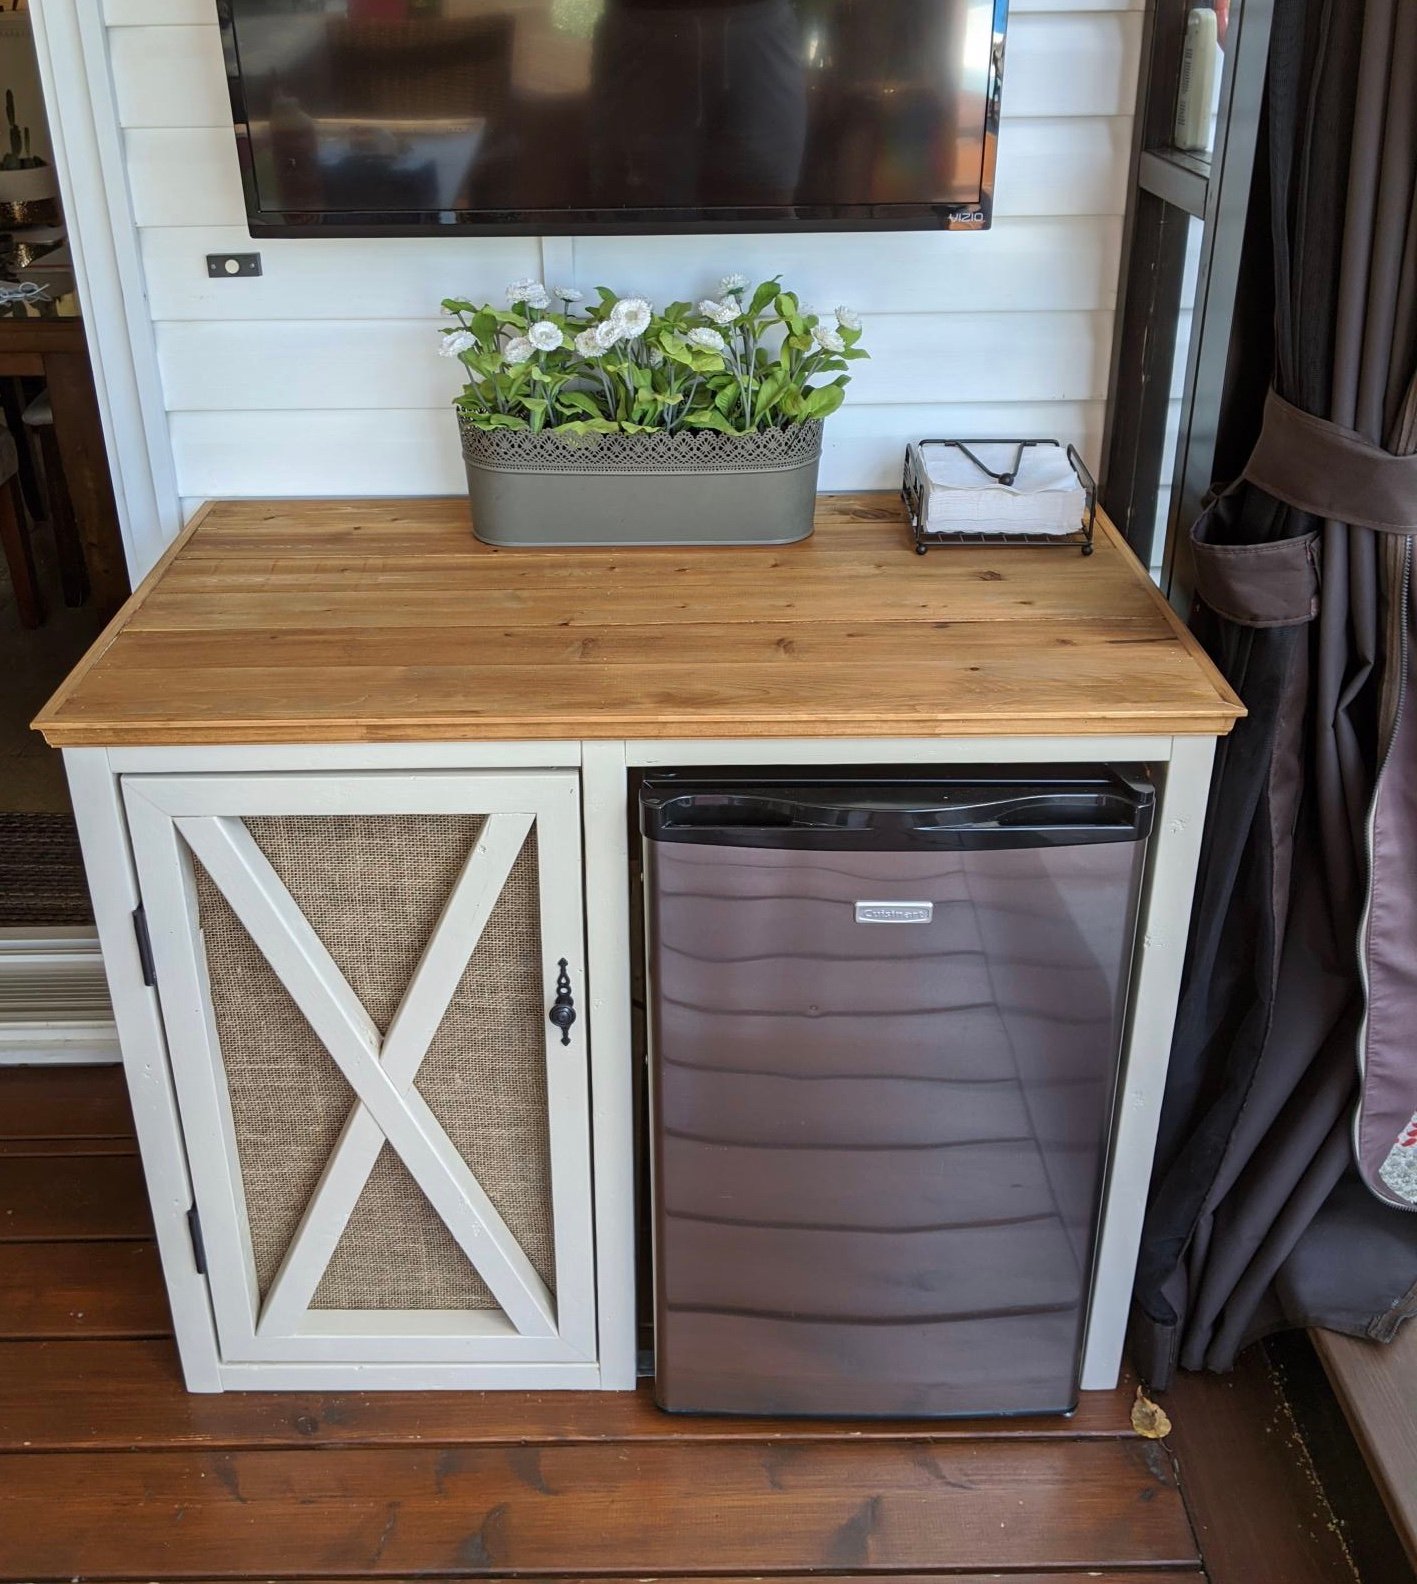
À partir du rustic x desk, j'ai modifié pour l'adapter à mon besoin.
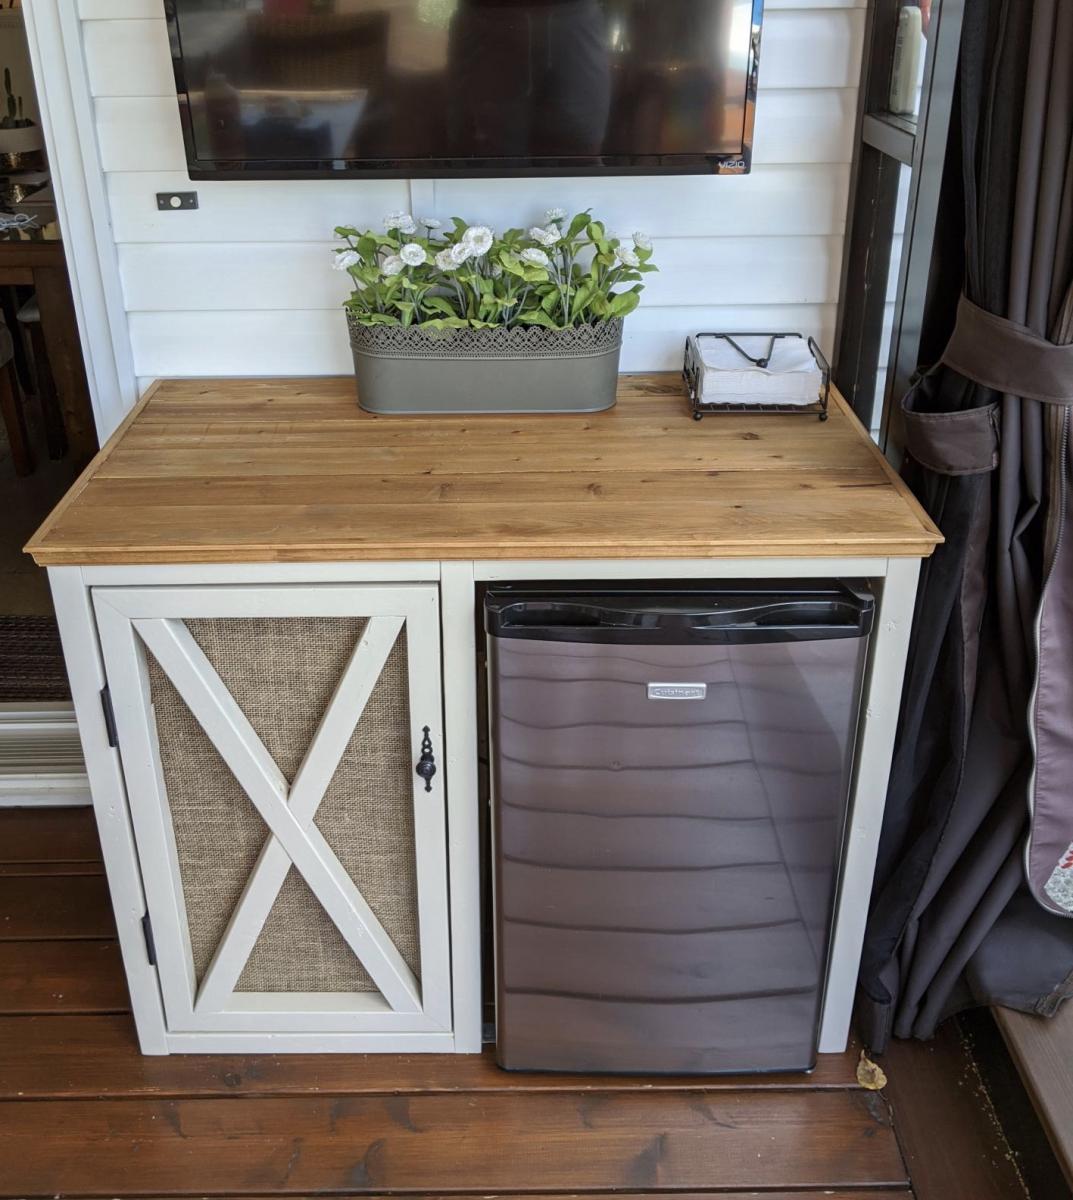
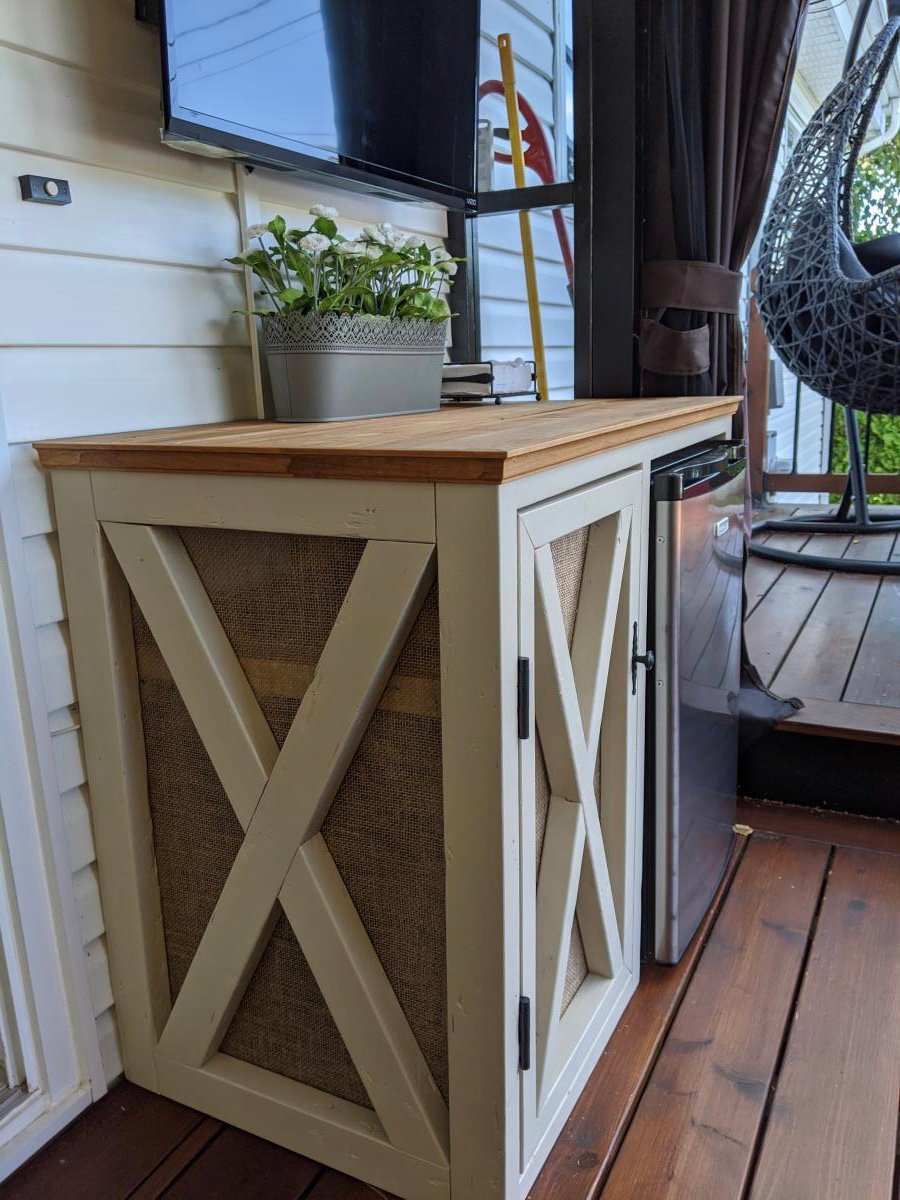

À partir du rustic x desk, j'ai modifié pour l'adapter à mon besoin.


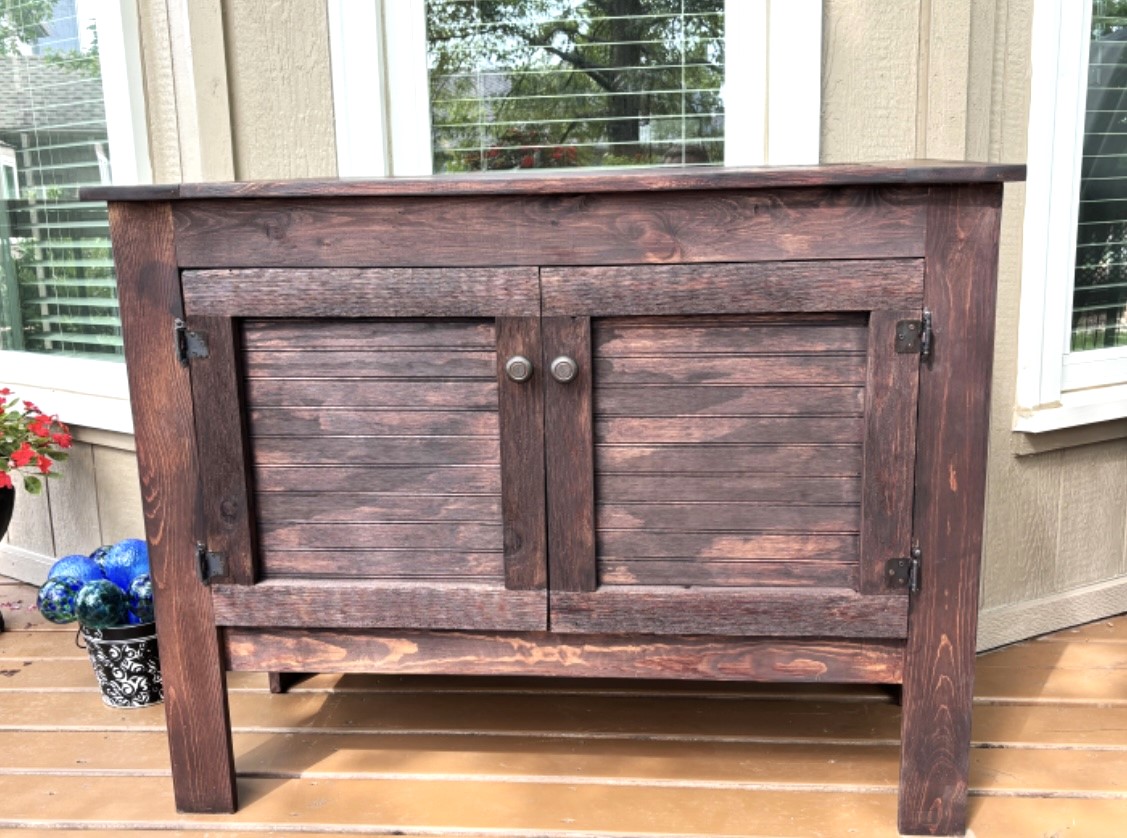
Deck storage cabinet modified from one of Ana’s table plans.
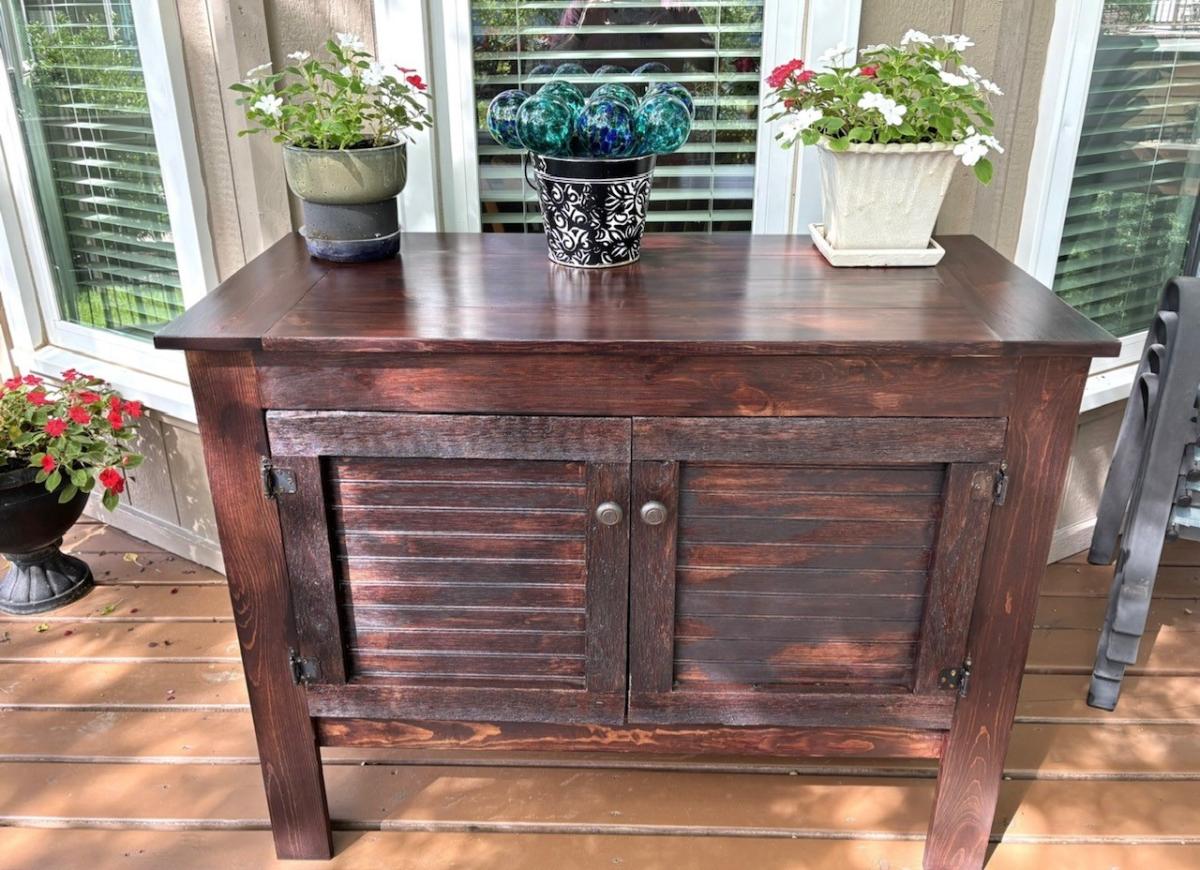
This project took several months of off and on work but I am very happy with the results. Followed the plans on this website and they were great. The only change I made was to add x cross braces for added support. They were necessary because this thing is wobbly as it is. Got the wood from the local lowes and the hardware from Ace Hardware. Used the Kreg Jig pocket hole system to hide the fasteners which makes a big difference.
I made some other furniture from plans on this website so I used the same rustic stain on this piece. The stain was great, really easy to make and stains really well. I covered the stain with the recommended wax which gives it a really nice shine and is very smooth.
Huge thanks to this website!
This was my first major furniture project. My daughter wanted a changing table and this looked like it would be a good choice.I made a few modifications; it's a little taller as my daughter and her husband are on the tall side, I also added a small rail to keep the changing pad from sliding off. Overall it was a great learning experience. I have built several outdoor pens and small houses for our chickens, but this was my first attempt at a piece of furniture. I think it turned out well, and my daughter and her husband are happy with it (and that is what matters).Of course I see the mistakes but I learned from them and now know what to do (or not to do) next time. Plans are great, easy to follow ....thank you ANA!! Can't wait to try another plan.
Built by Sarah Ashley Allen on Instagram
Thu, 04/12/2018 - 04:13
Could you tell me what color stain is on the top?
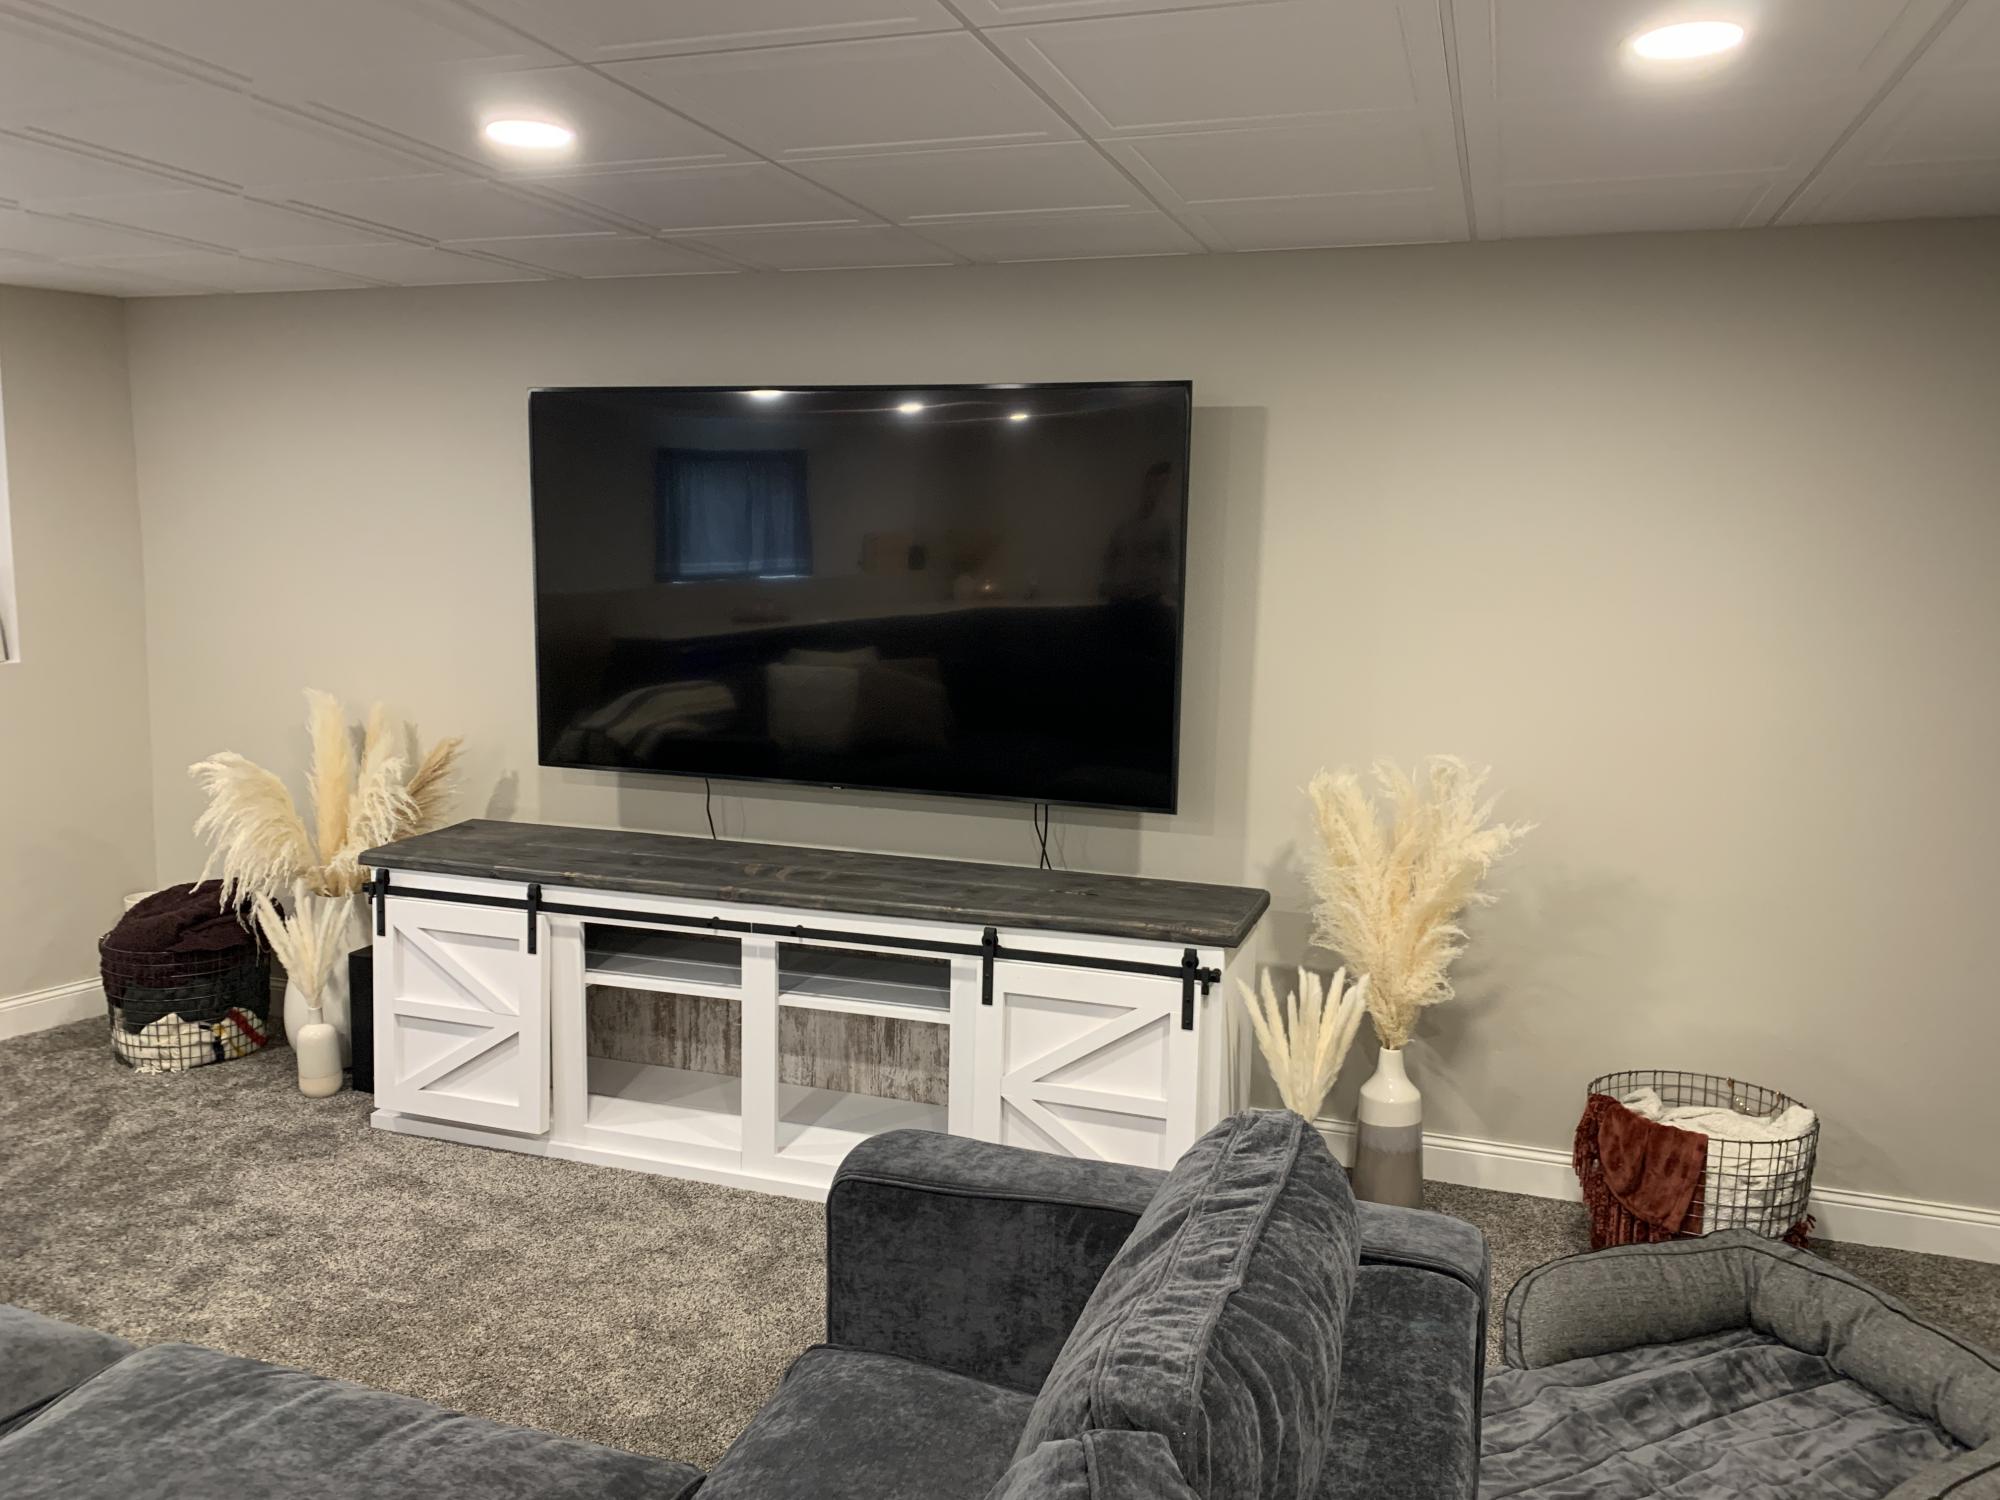
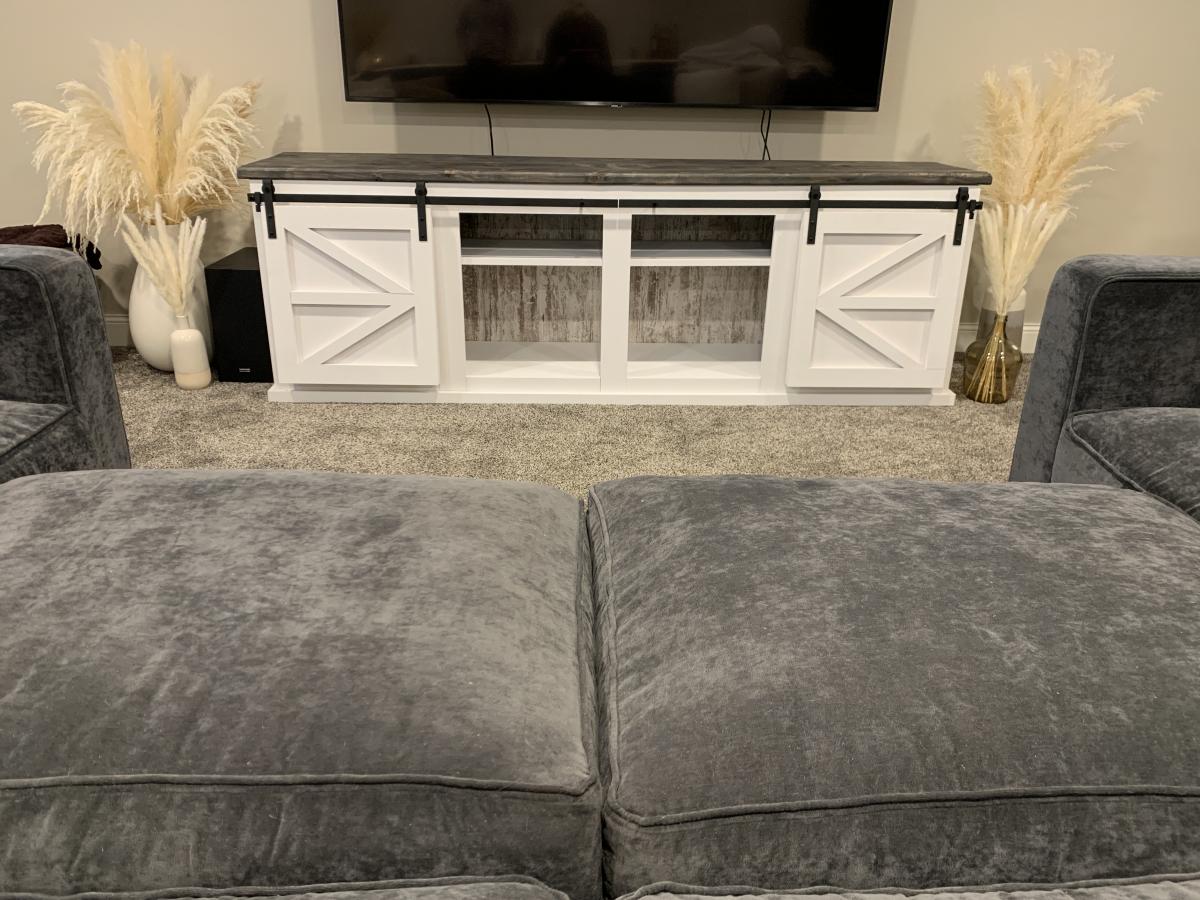
I am so happy with the way this turned out! (By no means is it perfect) My husband and I have been looking for a tv stand for our basement for months! Everything we liked seemed overpriced and still not exactly what we wanted. That was when we remembered the Adirondack chairs we had made from Ana’s plans and started looking to see what else she had. We found this tv stand and read through the step by steps and it all seemed manageable. Ana has the easiest plans to follow along with and so many tips and tricks also! We are by no means experts - we are very much still beginners, that’s how good her directions are!
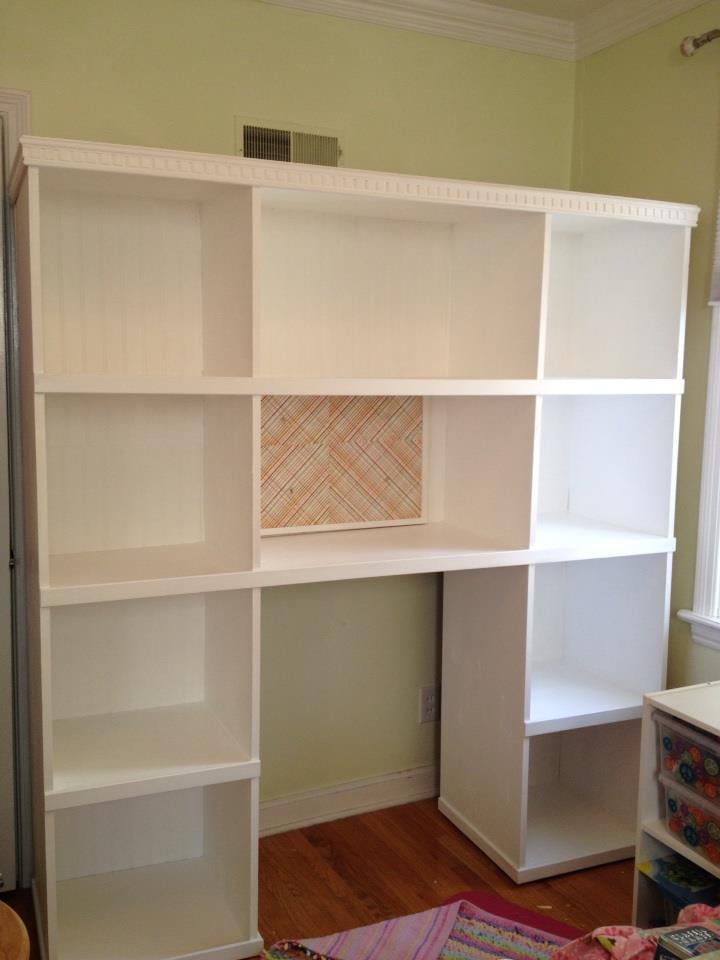
My home seems to shrink in direct proportion to my daughter's growth. It seems we never have quite enough space for the new cache of toys, books, games, etc. So, I decided to look for a bookcase/storage center/desk that she could grow with and that might keep up with her. When I shopped for such a large item, the price tag was even larger. I decided to build one myself. I posted step-by-step directions with pictures on my blog: www.momthebuilder.net. Check it out and tell me what you think!
Angie
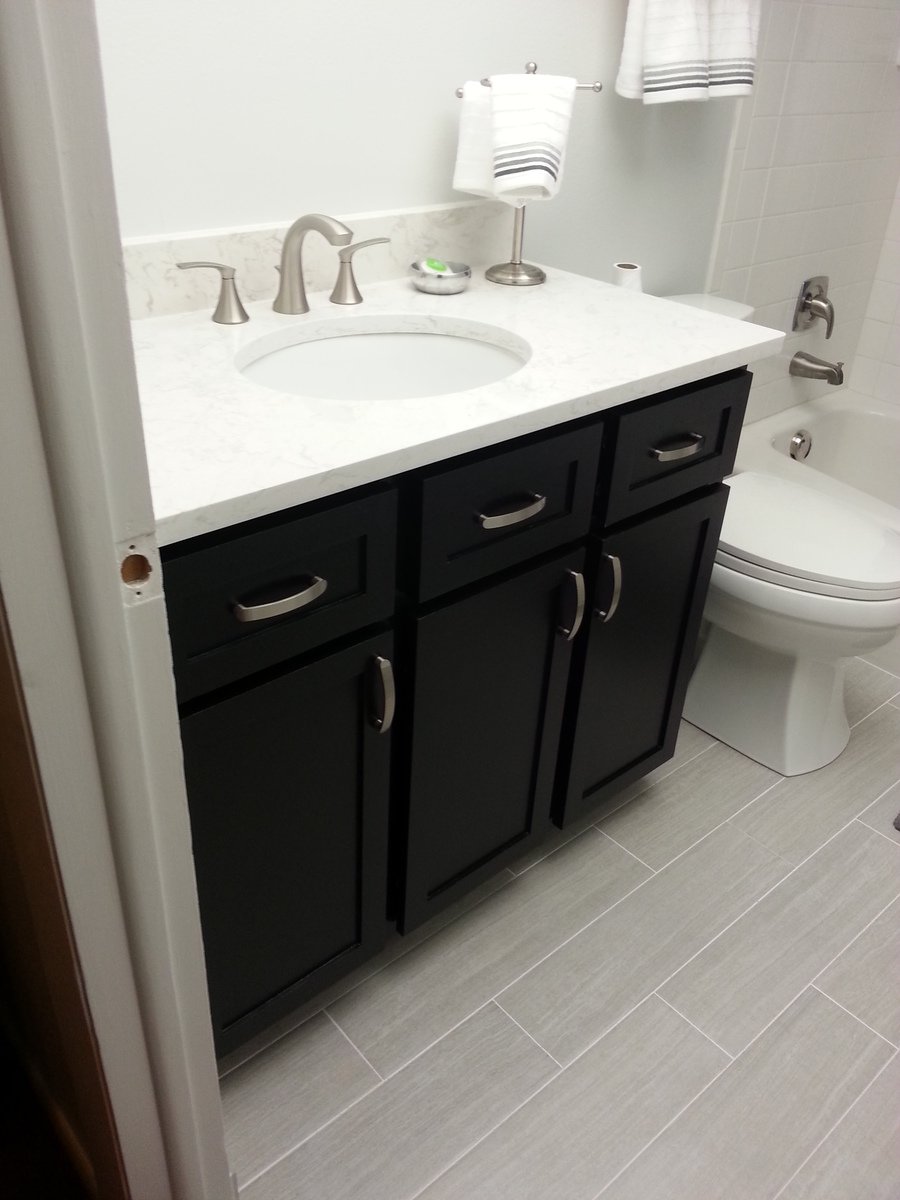
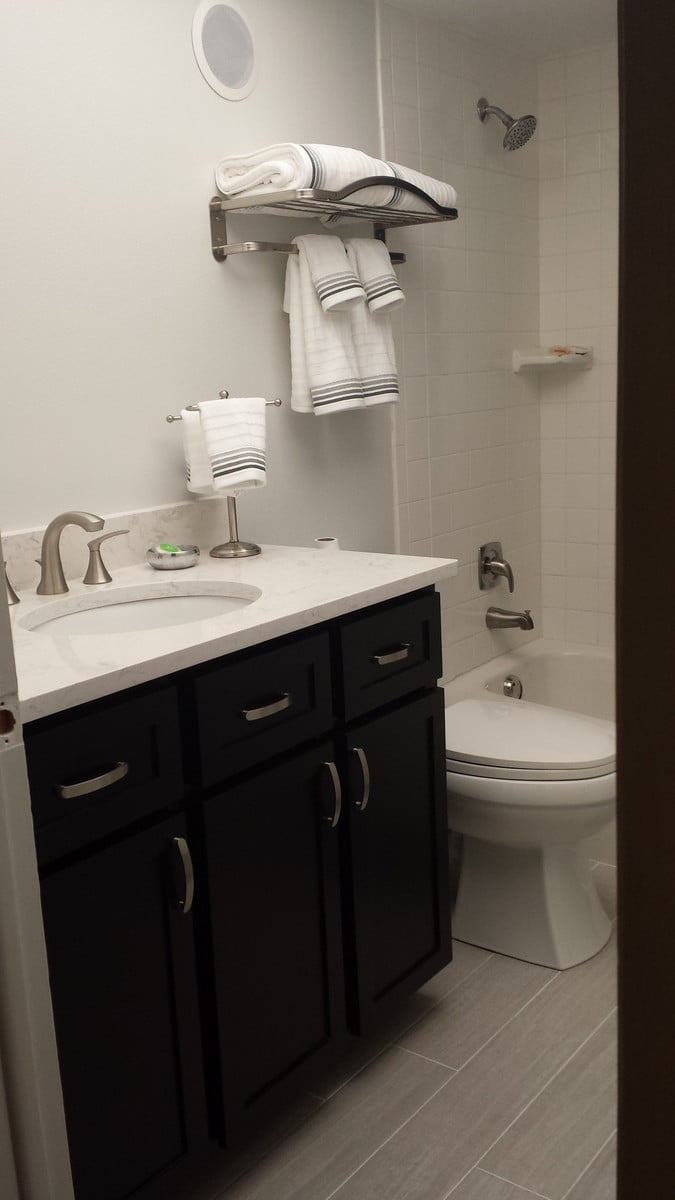
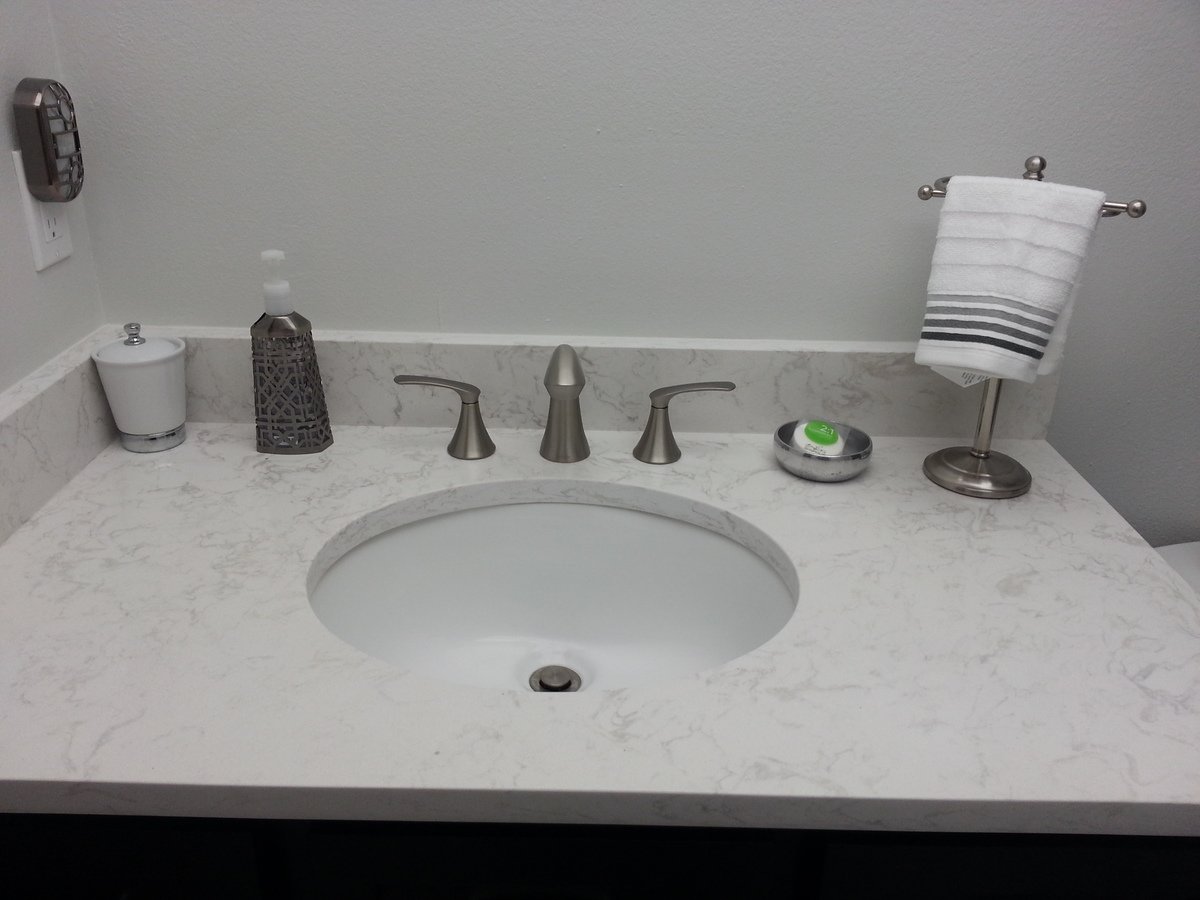
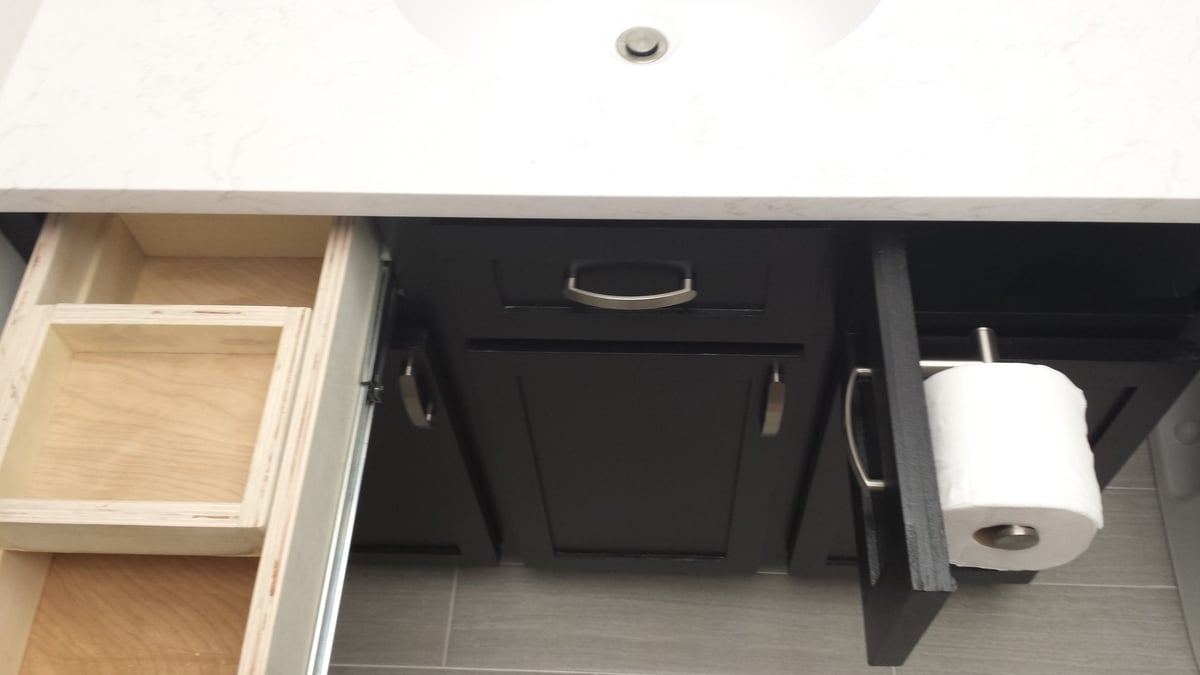
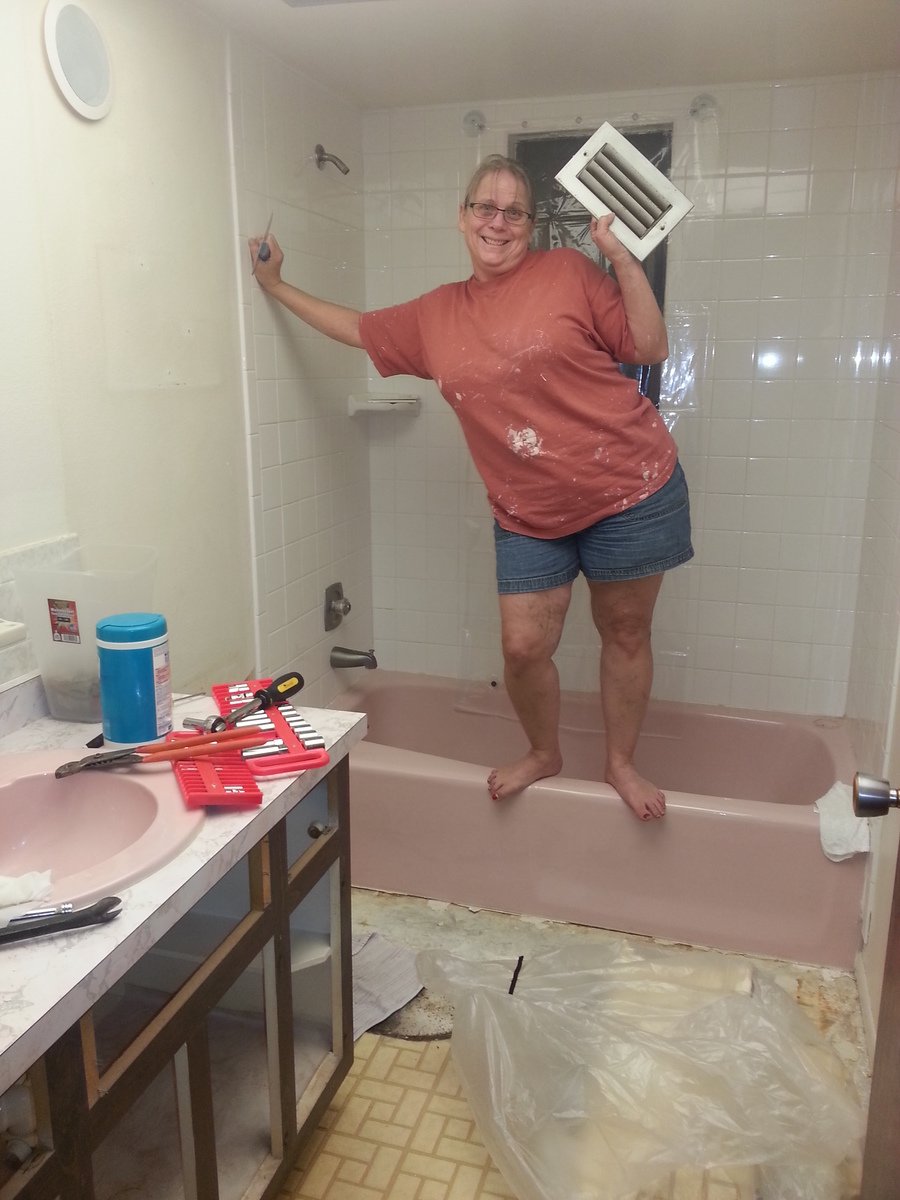
So we had a pretty hideous bathroom (as seen in the last picture). The toilet was pink too, matching the tub and sink. This complete little bathroom remodel was an experiment to see if I wanted to tackle the master bath and eventually the kitchen. We had a drywall guy come in to fill the holes where the original towel bar, toilet paper holder and medicine cabint were. I actually used the plans from the Kitchen Cabinet Sink Base 36 Full Overlay Face Frame because I wanted a toe kick and a Face Frame. I added my own twists like a hidden toilet paper holder on the right, 45 degree tilt out in the middle, and a sliding shelf in the left drawer. I adjusted the dimensions for the space we had and used a soft close track and hinges. We went with a granite top due to the money we saved on building the vanity. We went with brushed fixtures and accessories like a hotel style towel holder. I want to give credit to my girlfriend and her Mom who did most of the demo work (not really sure why and that's her Mom in the last picture). My girlfriend's step father and I laid the tile (I have never laid tile before) and my girlfriend did all the decorating / finalizing to make it look complete and totally awesome.
Fri, 02/27/2015 - 09:38
Nice job customizing the plan. I'm attempting something similar -- modifying the kitchen sink cabinet to fit our vanity top, and adding drawers.
Sat, 07/25/2015 - 13:21
I love your finished vanity with all the little extras. Wish your plan was available! I'm not confident enough to do that much customizing yet. Great work!
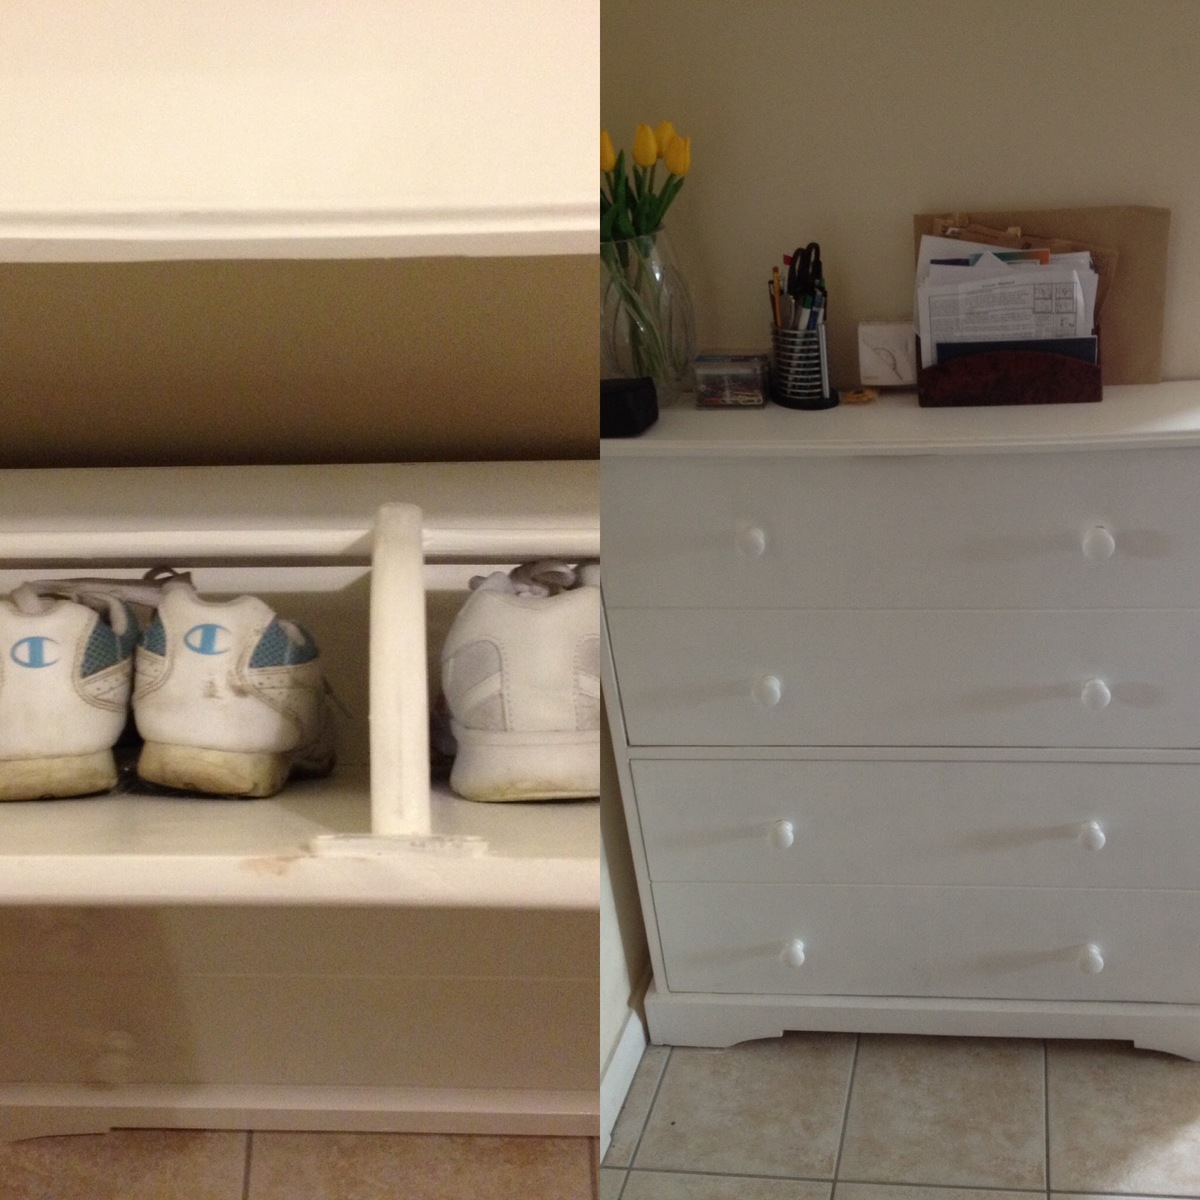
This was perfect for my hall as it doubled up as a hall stand too. Love it.

I used the lift top table for inspiration, we needed more storage in our livingroom for throws and blankets. This was the perfect solution as fall approaches. Thank you for your original design!
It was a great project for my dad and I.
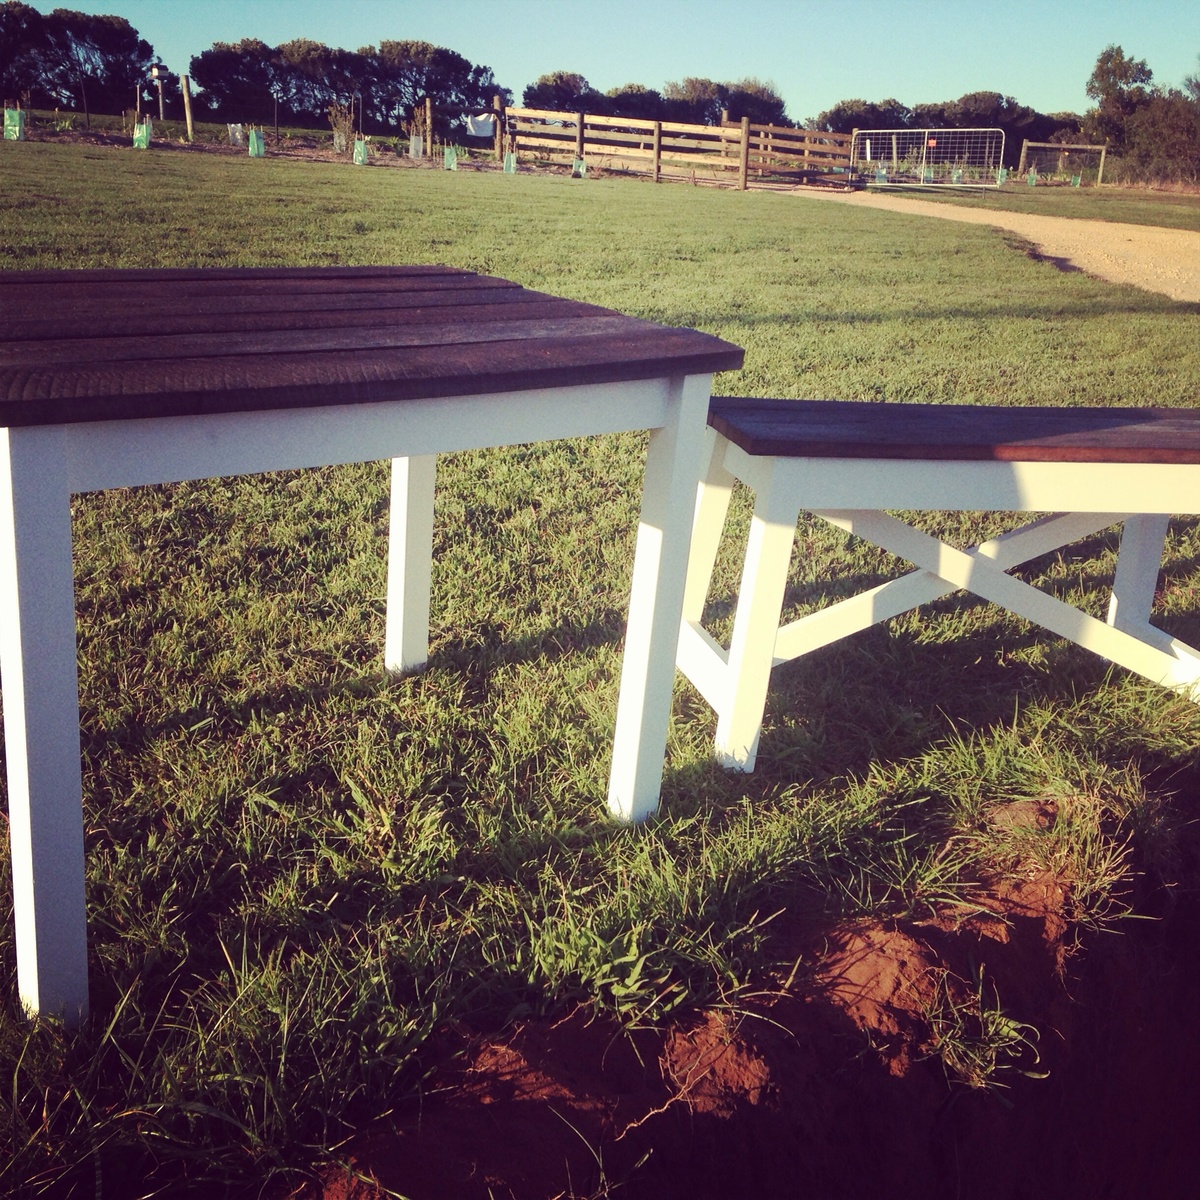
This was my first attempt at furniture. My husband helped a little but I did most of the work. Worked out beautiful, an excellent birthday pressie for my daughter. Started cutting wood one afternoon, and finished painting and assembling the following afternoon (had a birthday cake to bake otherwise it would have been finished earlier). I used recycled timber for tops, the rest of the wood cost $50, so guessing Australian timber is way more expensive than USA. Bought Kreg jig specially for this project. Pocket joins give an excellent strong join. Had trouble getting crosses on bench correct, required many rescaling a to get right. Also had a wonky table because I screwed to the recycled timber top (some of that wood is warped) so fixed with a choc under two legs. Very pleased with result, look forward to my next project!
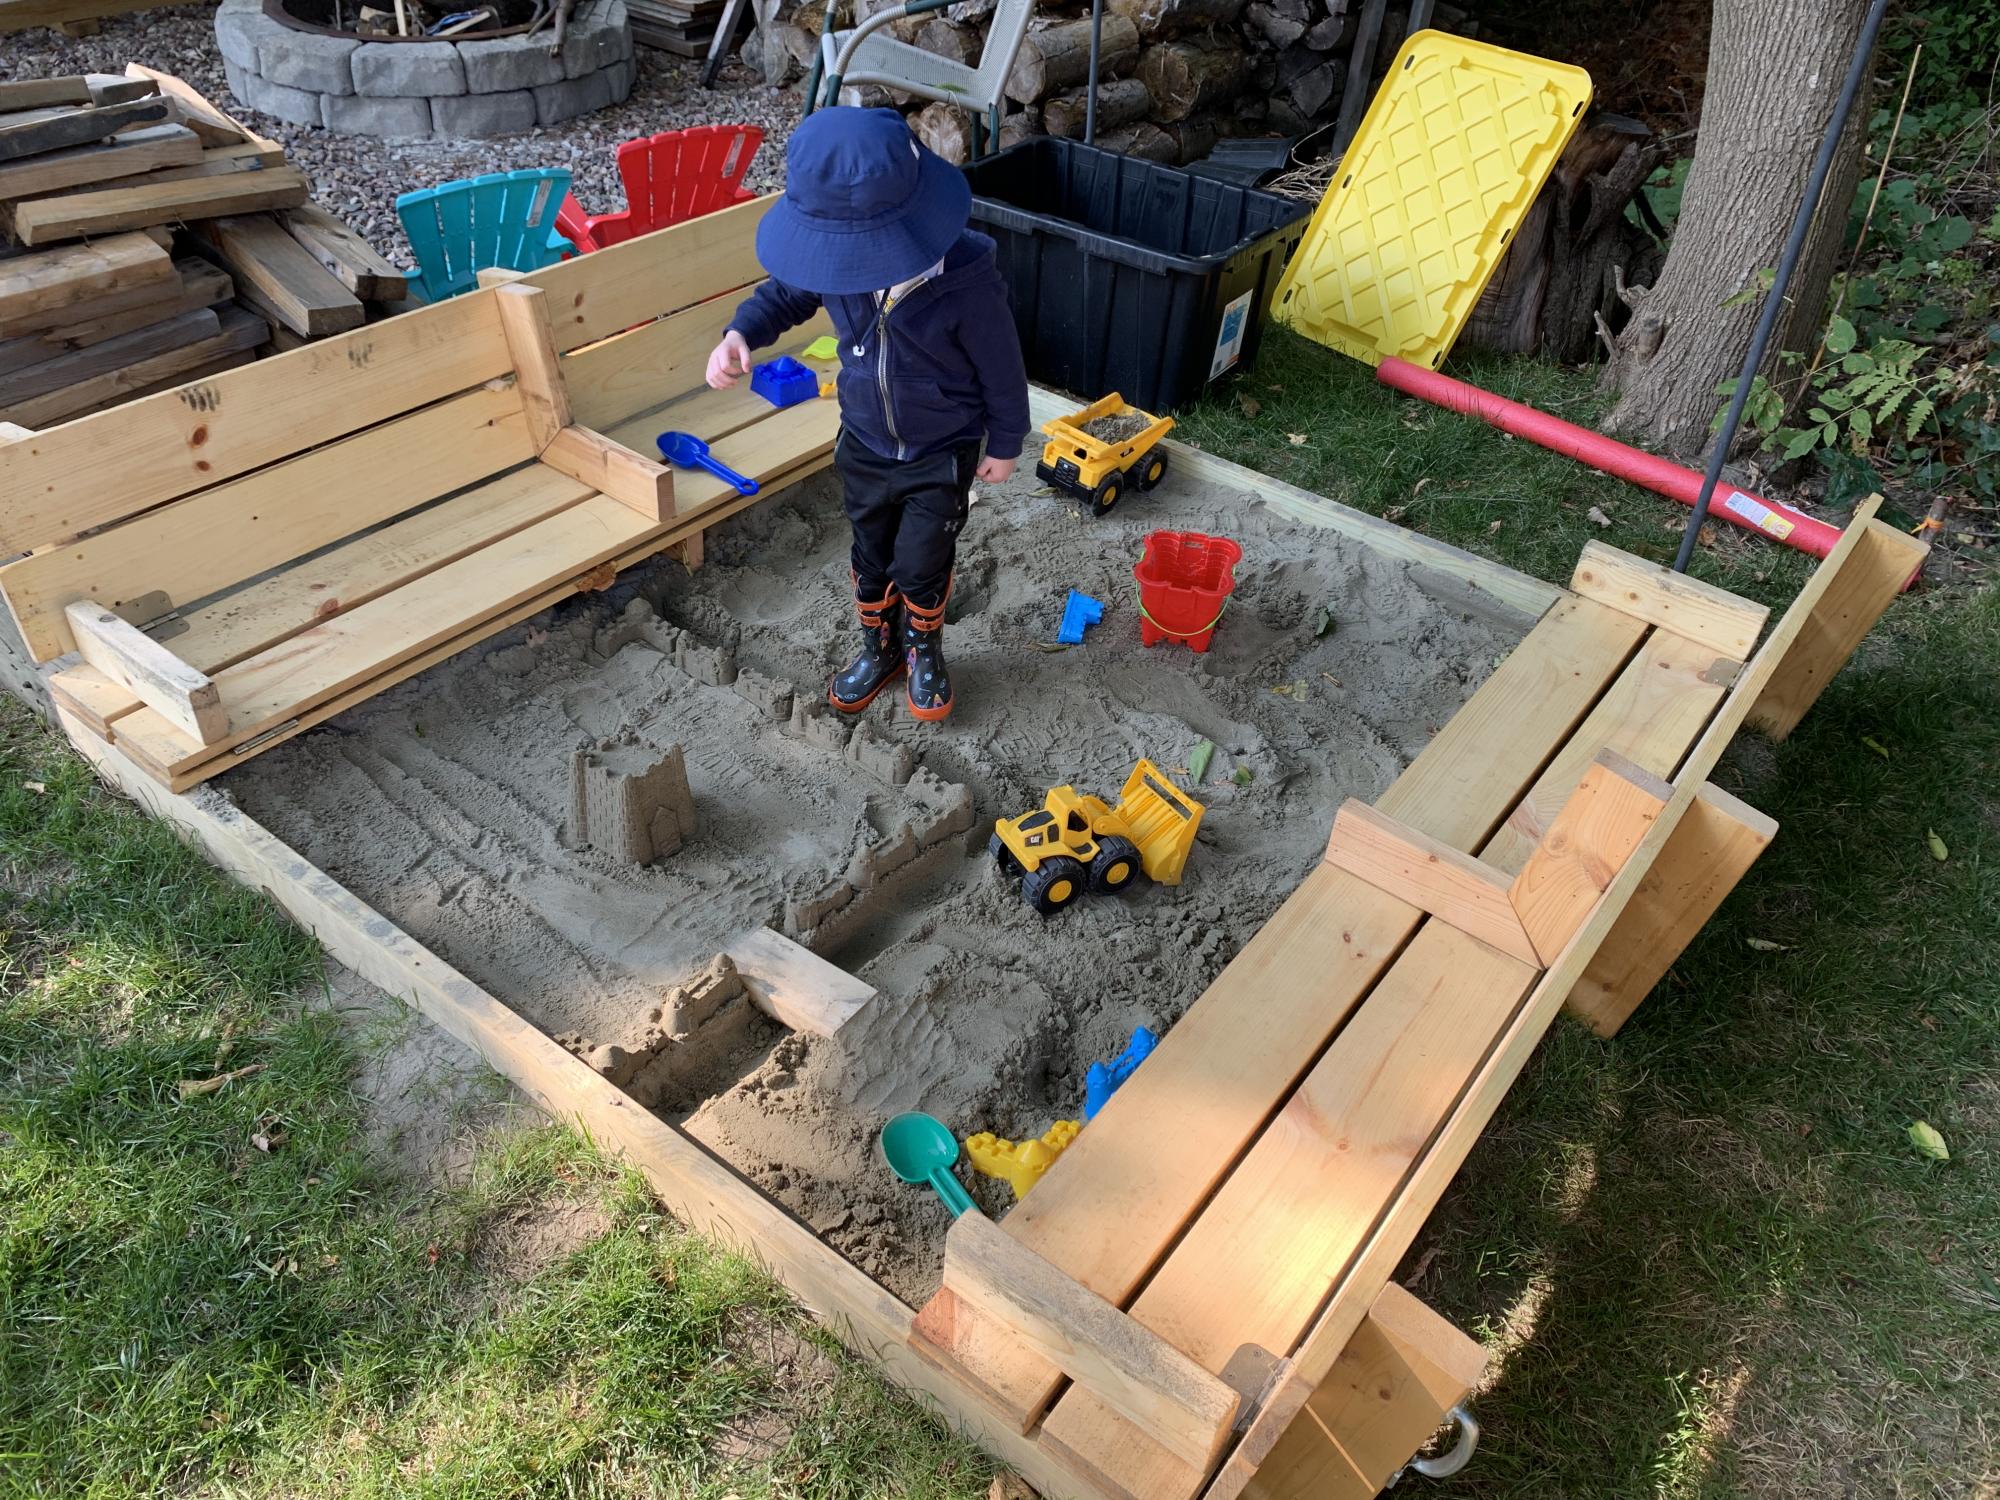
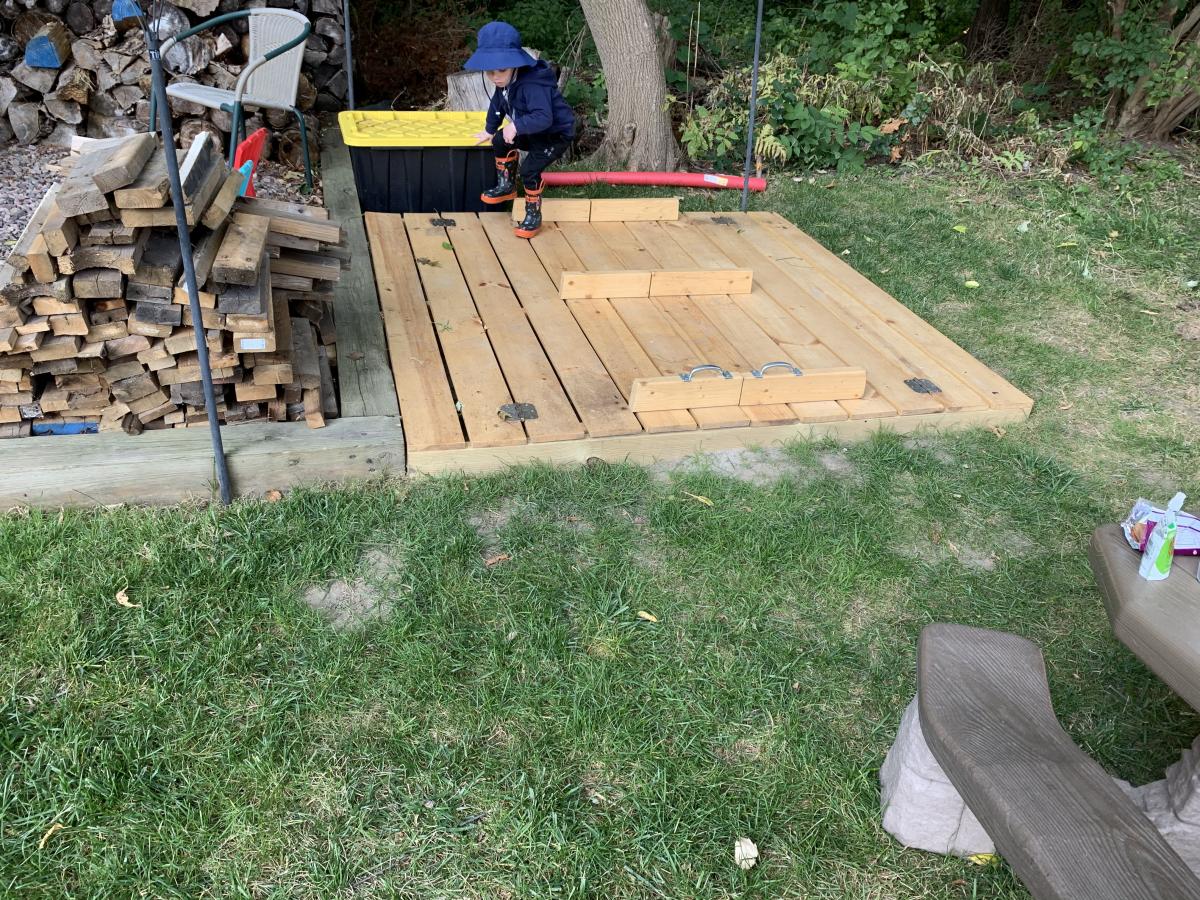
Made the sandbox 6x6. Recessed it so it sits flush with the timber’s around our fire pit area. I added extra armrests in the middle that double as supports when the lid is closed in case anyone wants to walk on it. Filled the sandbox full enough that the armrests sit on the sand when closed. It’s very sturdy now for walking on and the kids have tons of room to play. Thanks for a great plan to work from.
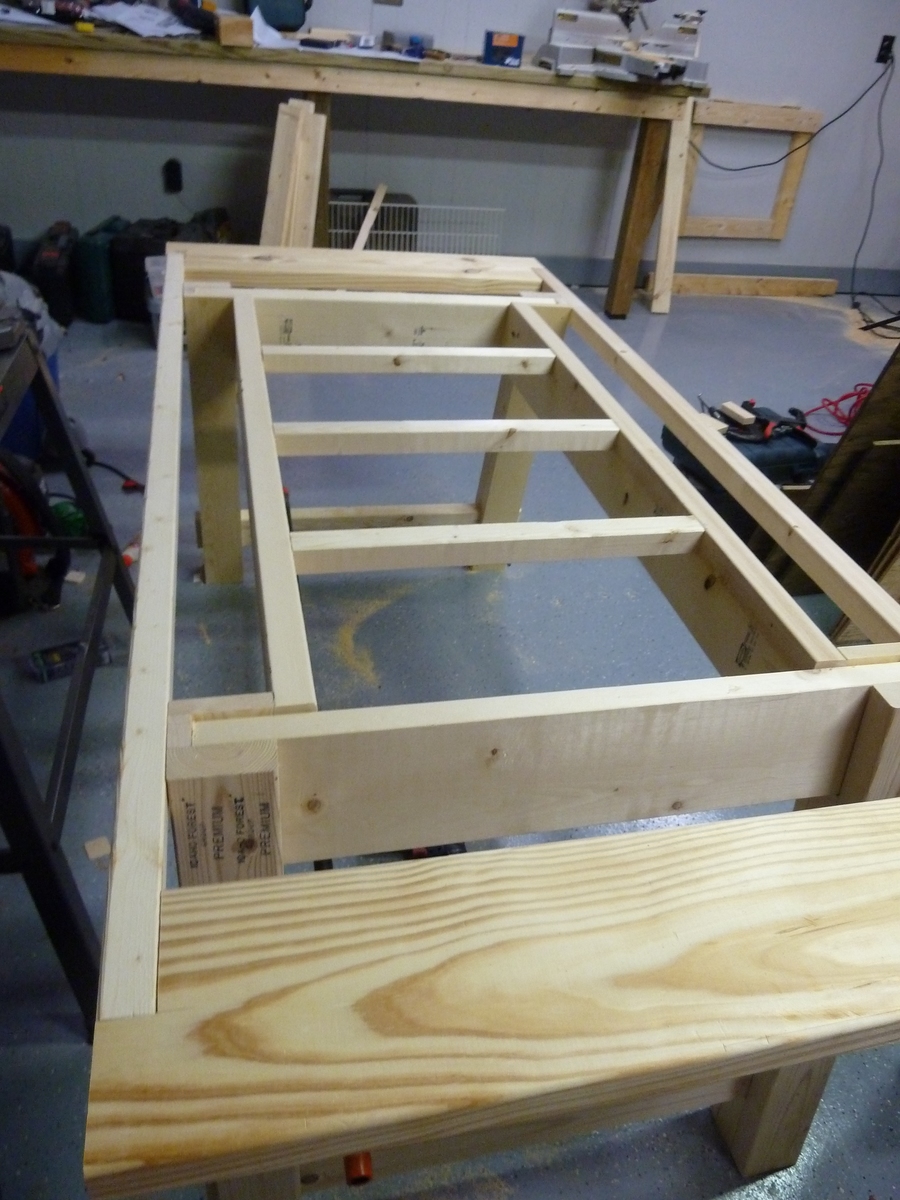
This was our first project from Ana-white. Make sure you notice that the dimensions on the cut list & drawings are different! We went by the cut list. We made a slight change to the frame on the end supports: instead of a 2x2, we used a 2x8. We felt more secure about people/kids pushing down on the edge of the table since we were able to both notch and put two screws into that end piece.
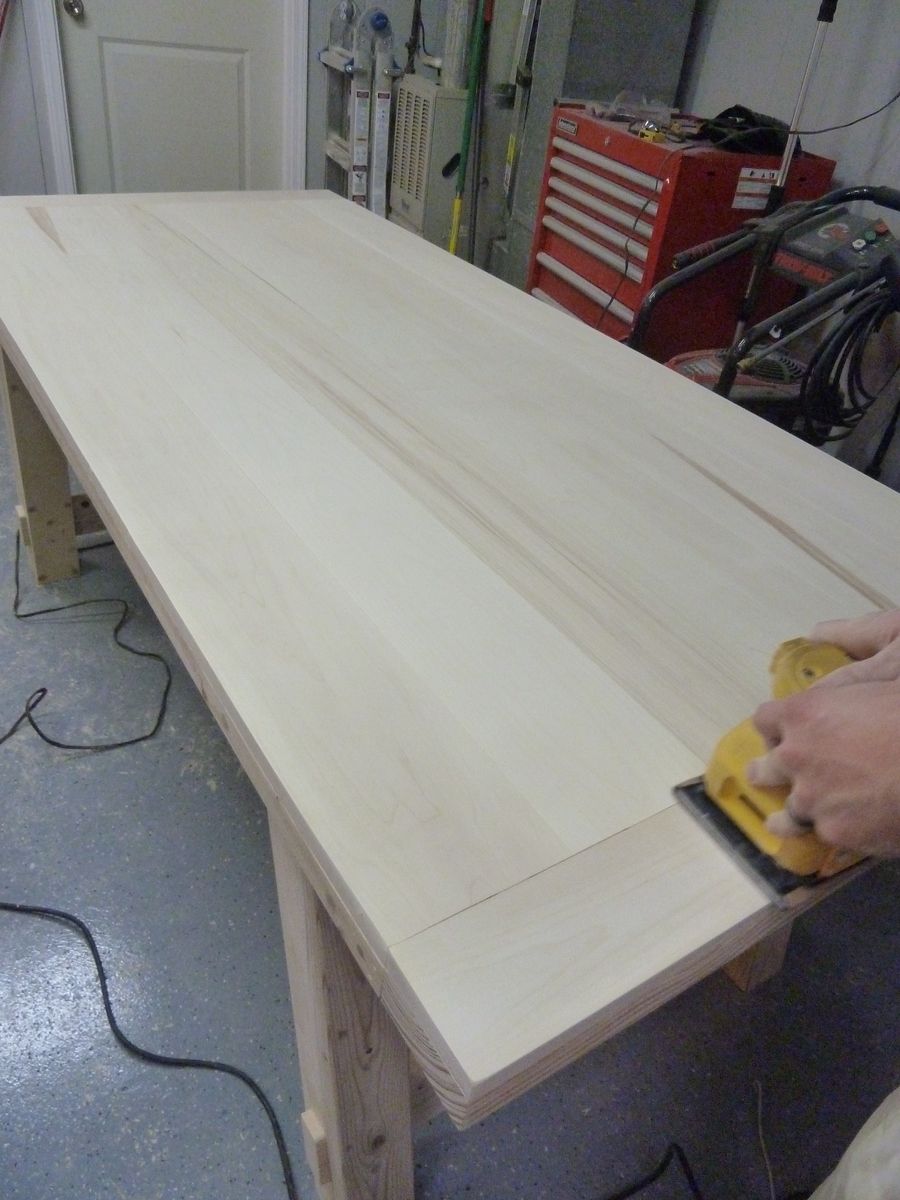
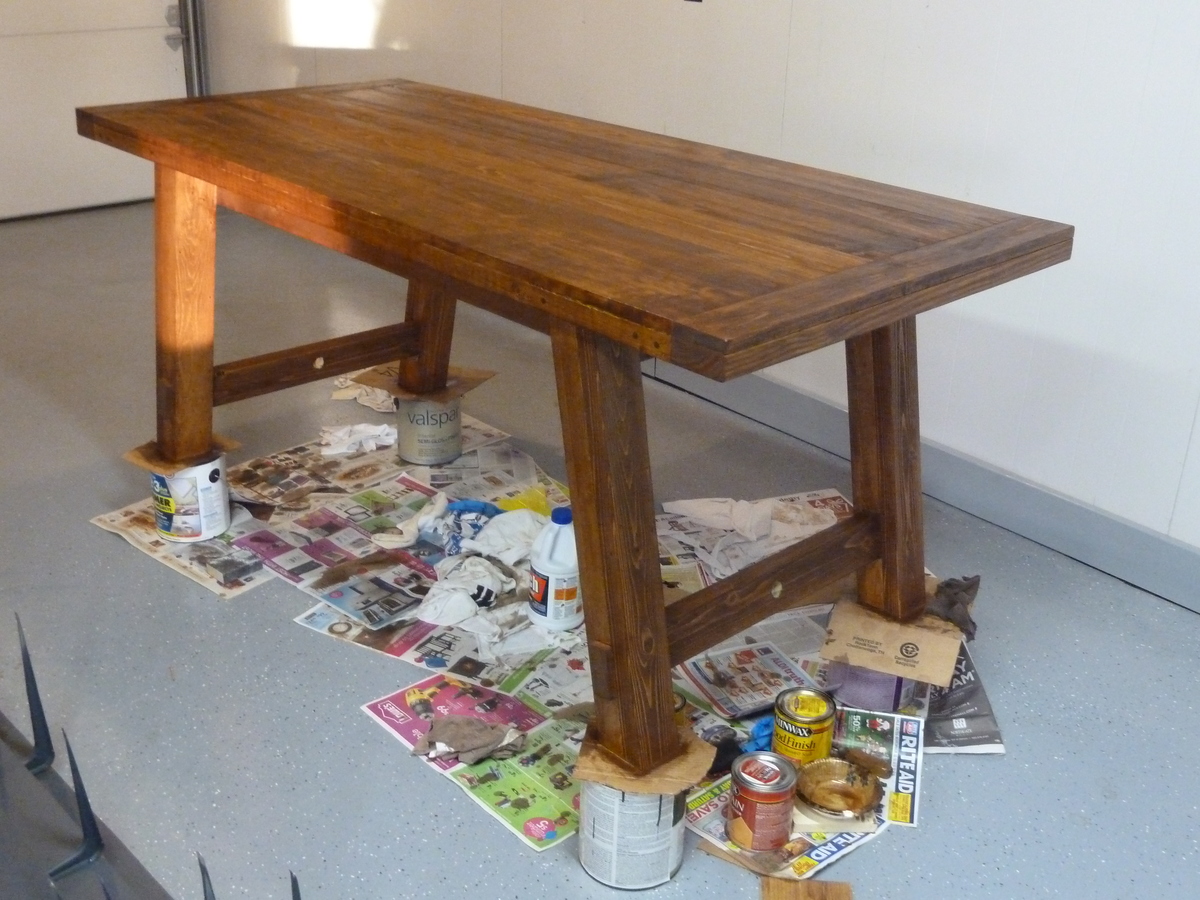
We used Aspen for the top, which I would not suggest. It ended up soaking up the stain very unevenly and blotching, even after using pre-stain.
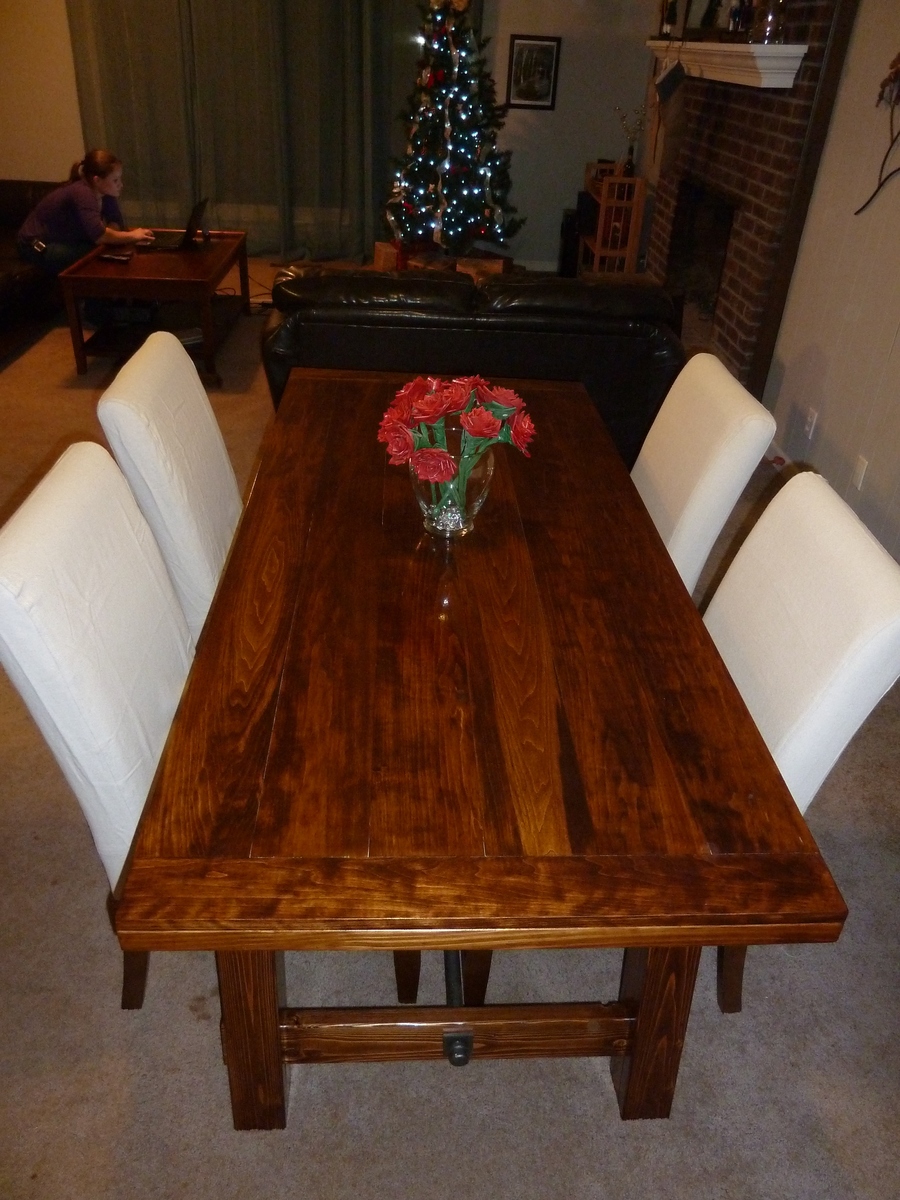
For hardware, we used a 5 foot black iron pipe from Lowe's. Once we had the table assembled and the holes drilled, we remeasured and had Lowe's trim it by a few inches and re-thread (for free). We also used four square washers from McMaster-Carr (part no. 91128a140) which were $11after shipping.
We made our own wood putty out of sawdust, craft glue, and a little bit of the stain that we used for the table. It worked like a charm.
The two of us spent maybe 5 hours for assembly and another 6 for finishing.
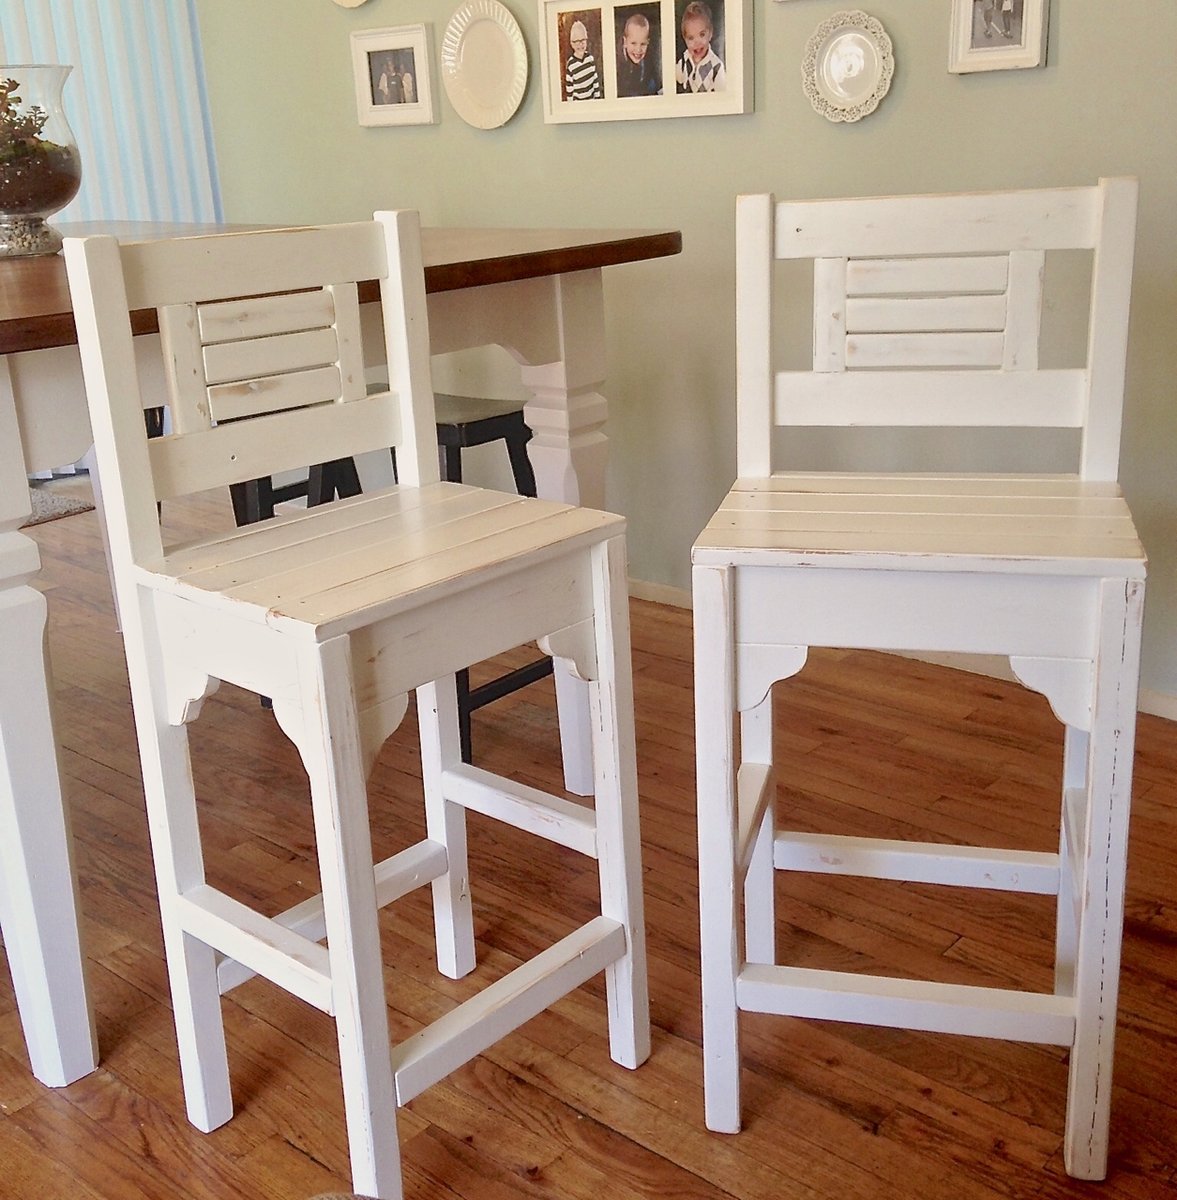
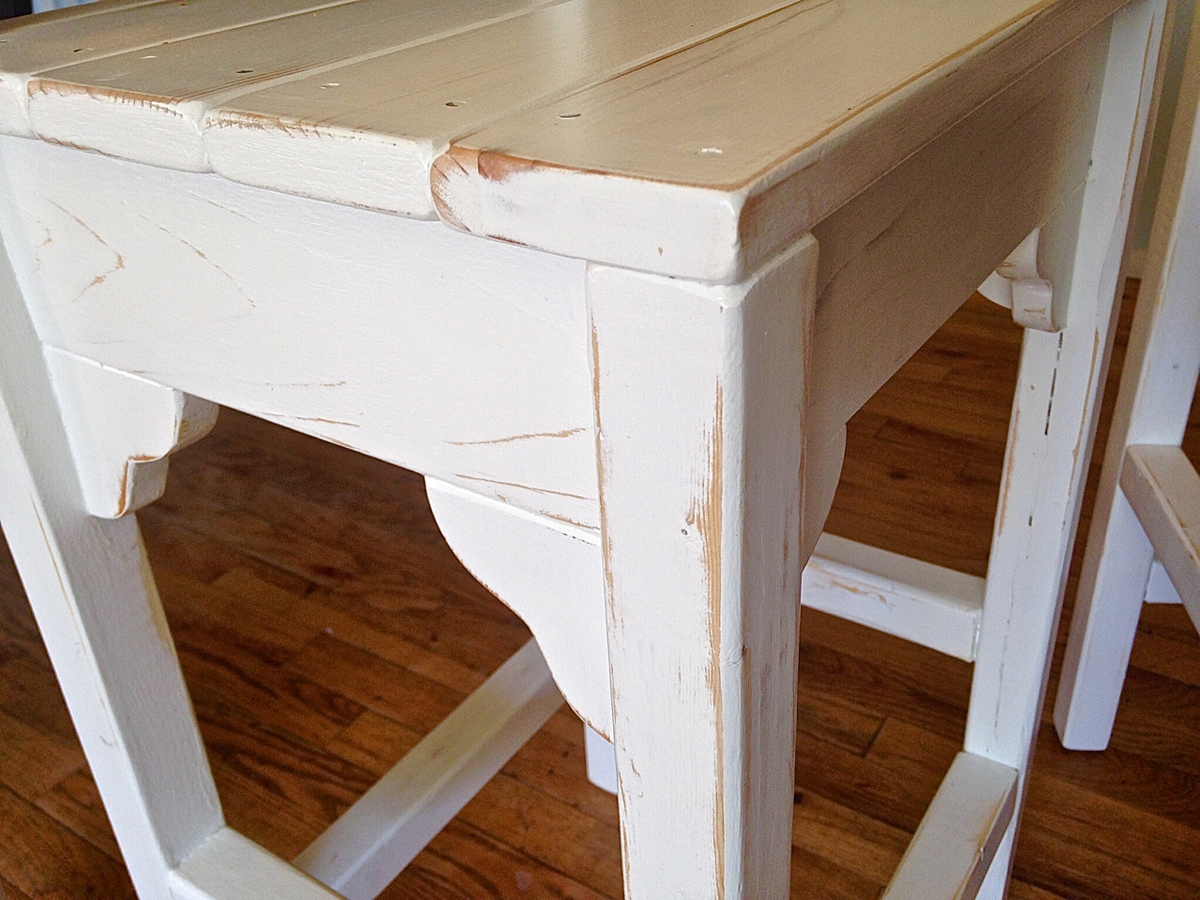
I did a little search to find a barstool and when I saw these plans on Ana White I fell in love. They were an easy build and didn't cost a lot. I made my stools shorter and altered the overall footprint. I like to plug all visible pocket holes which is easy to do and looks great.


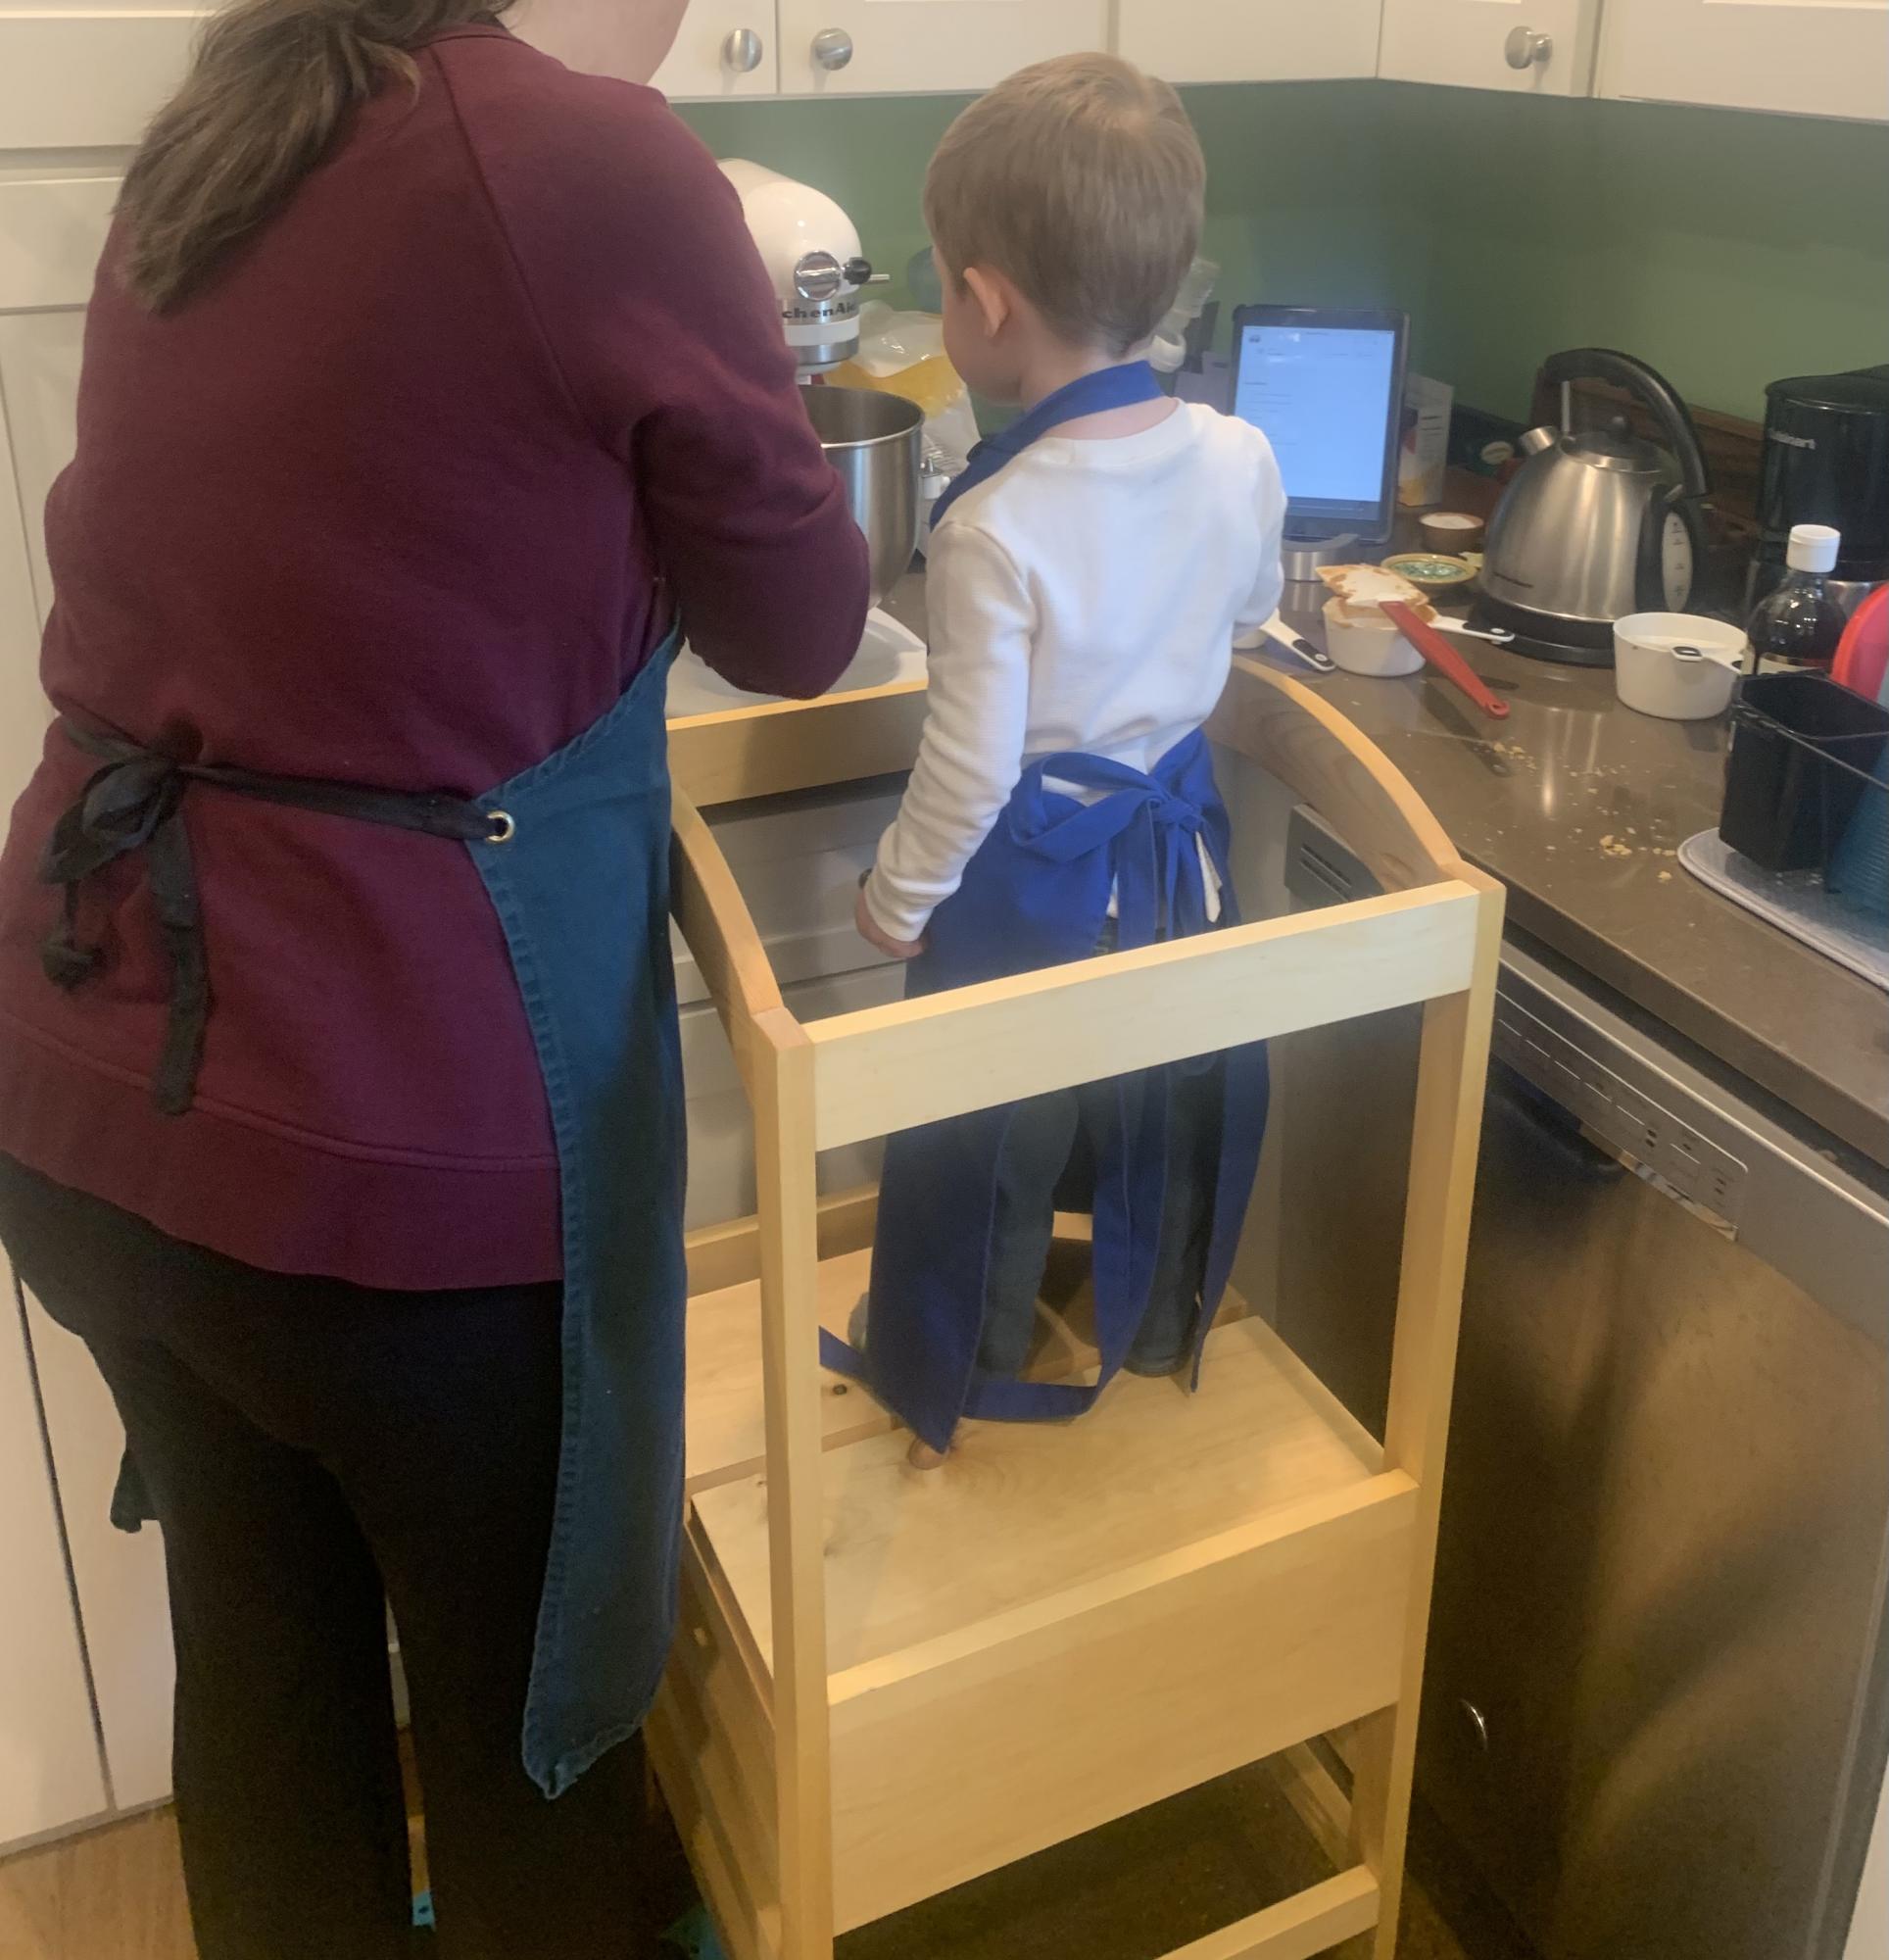
What a great help for mom in the kitchen. Very stable even without the extra feet. Only thing I wish I had done differently is make it two inches shorter so it would slide under the edge of the counter. My kids love helping to bake now.
Thu, 09/24/2020 - 11:07
Thank you for sharing, I bet they love it just as much as you do!
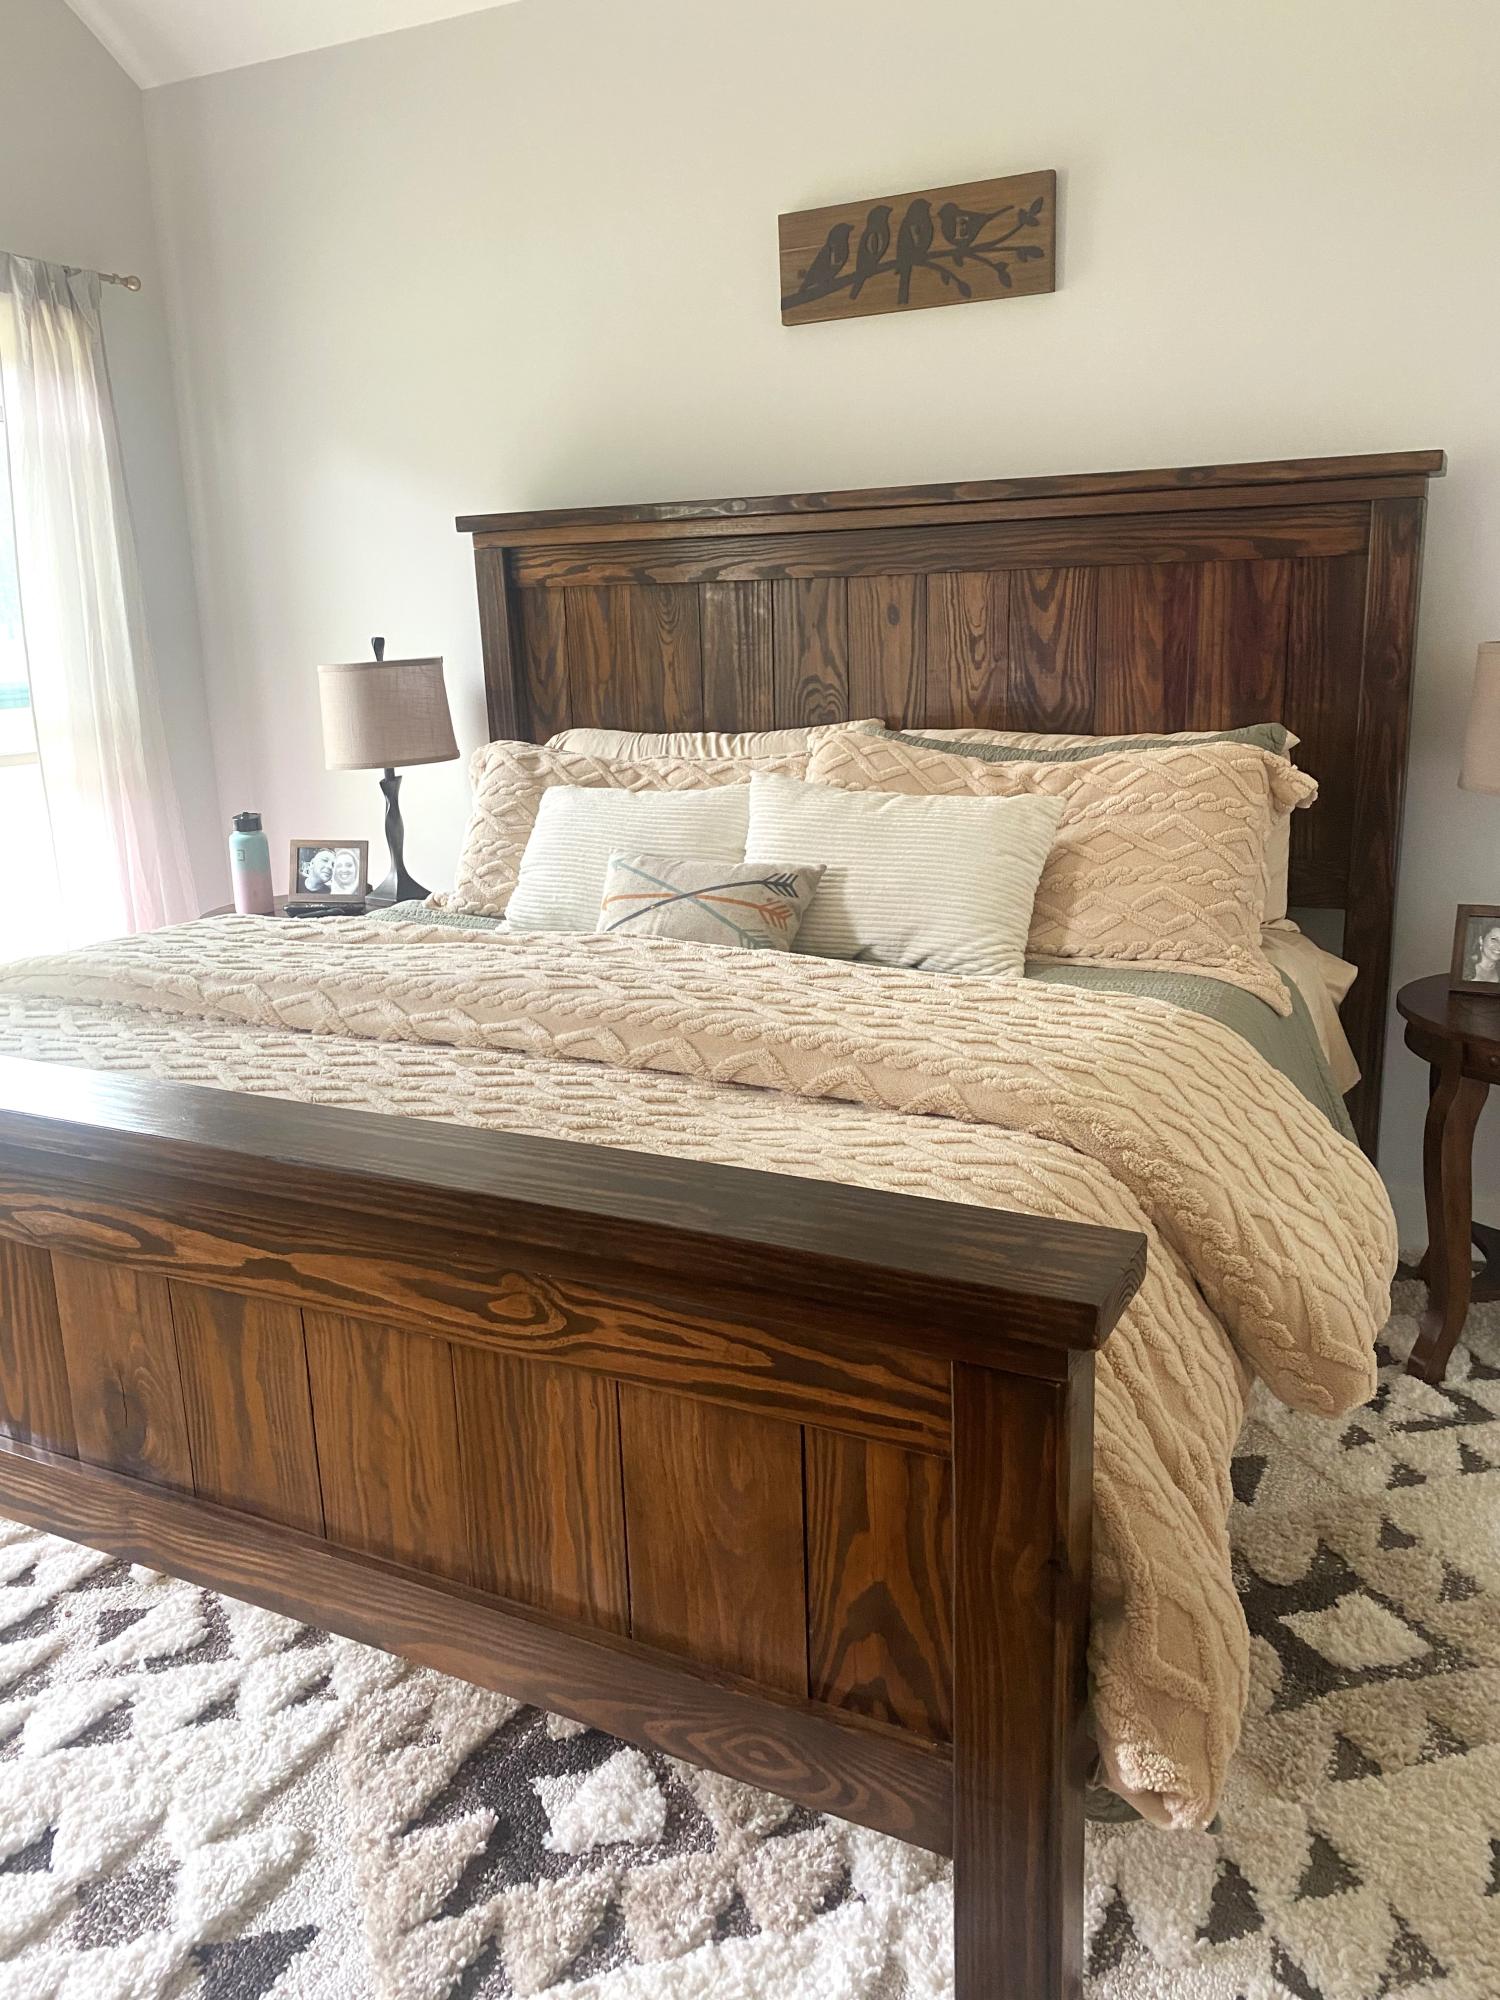
My husband slightly modified the height of the footboard of the farmhouse bed plans. We truly love this bed. It’s extremely sturdy and we have friends and family lined up to have him build them one!
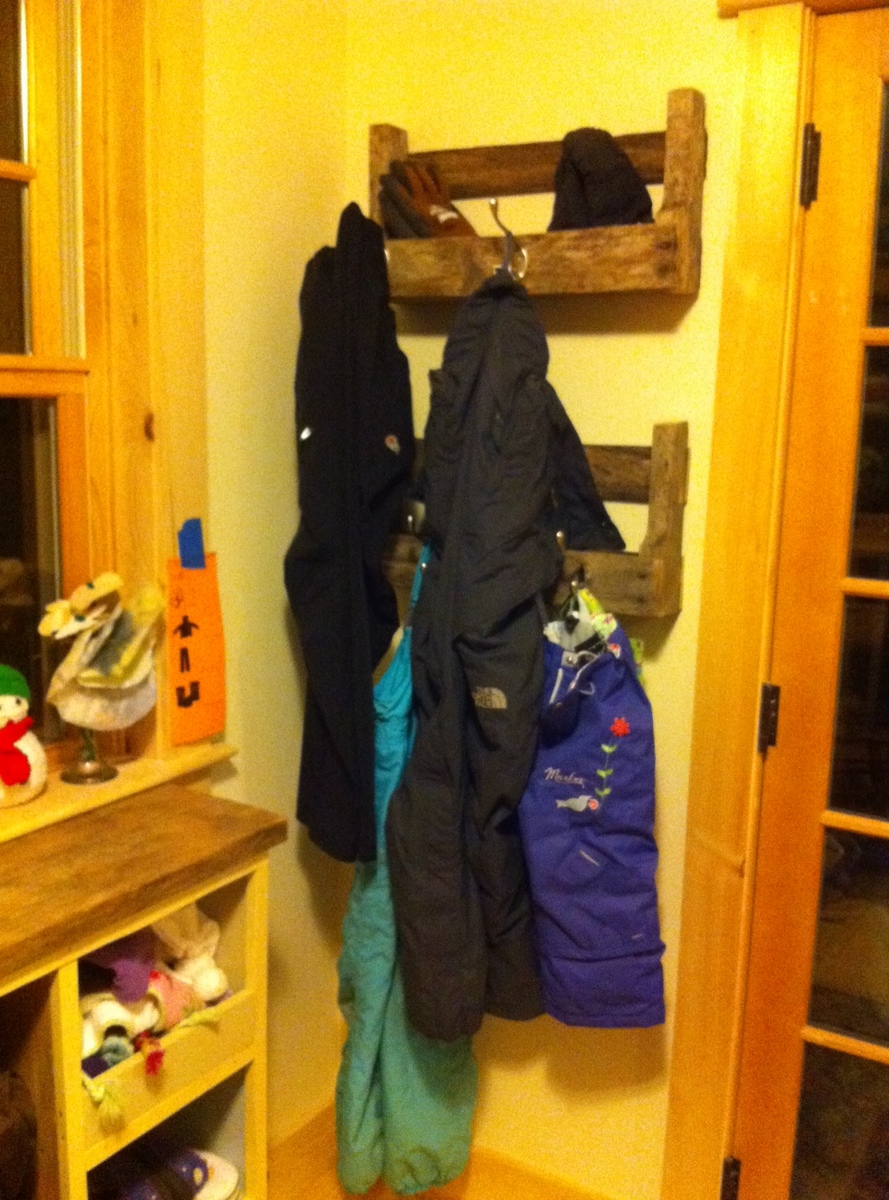
The first time I saw Ana's pallet shelves I knew I had to build them! It took a while but I found the perfect application. A place to hang the kids bibs and our snow pants that are a bit too long for the coat rack, and the bonus shelf for wet hats/mittens or chicken gloves that you don't exactly want in with your clean stuff ;>
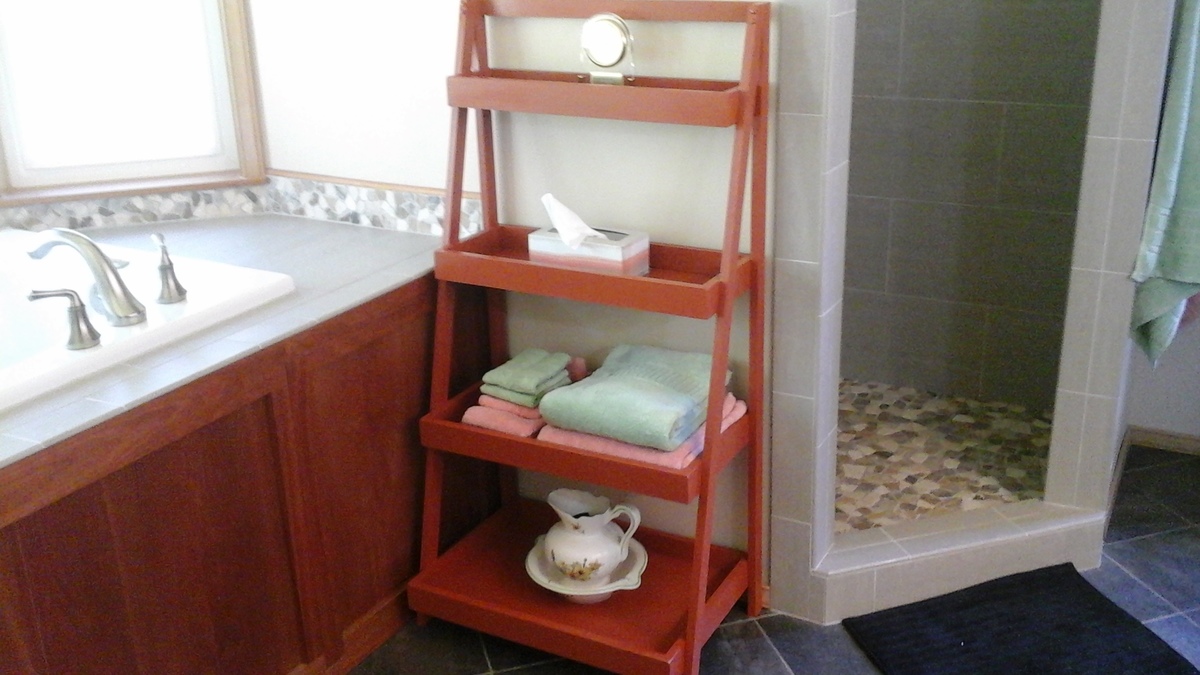
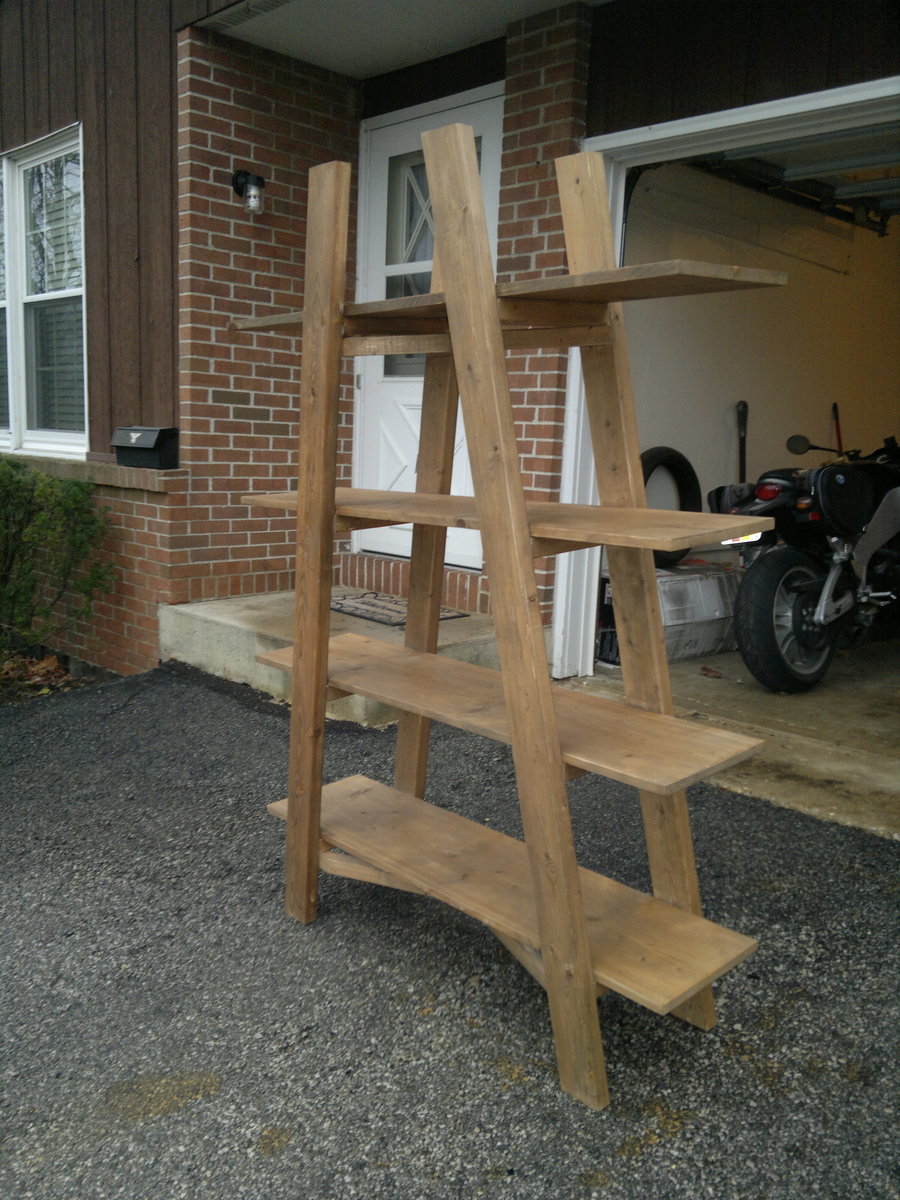
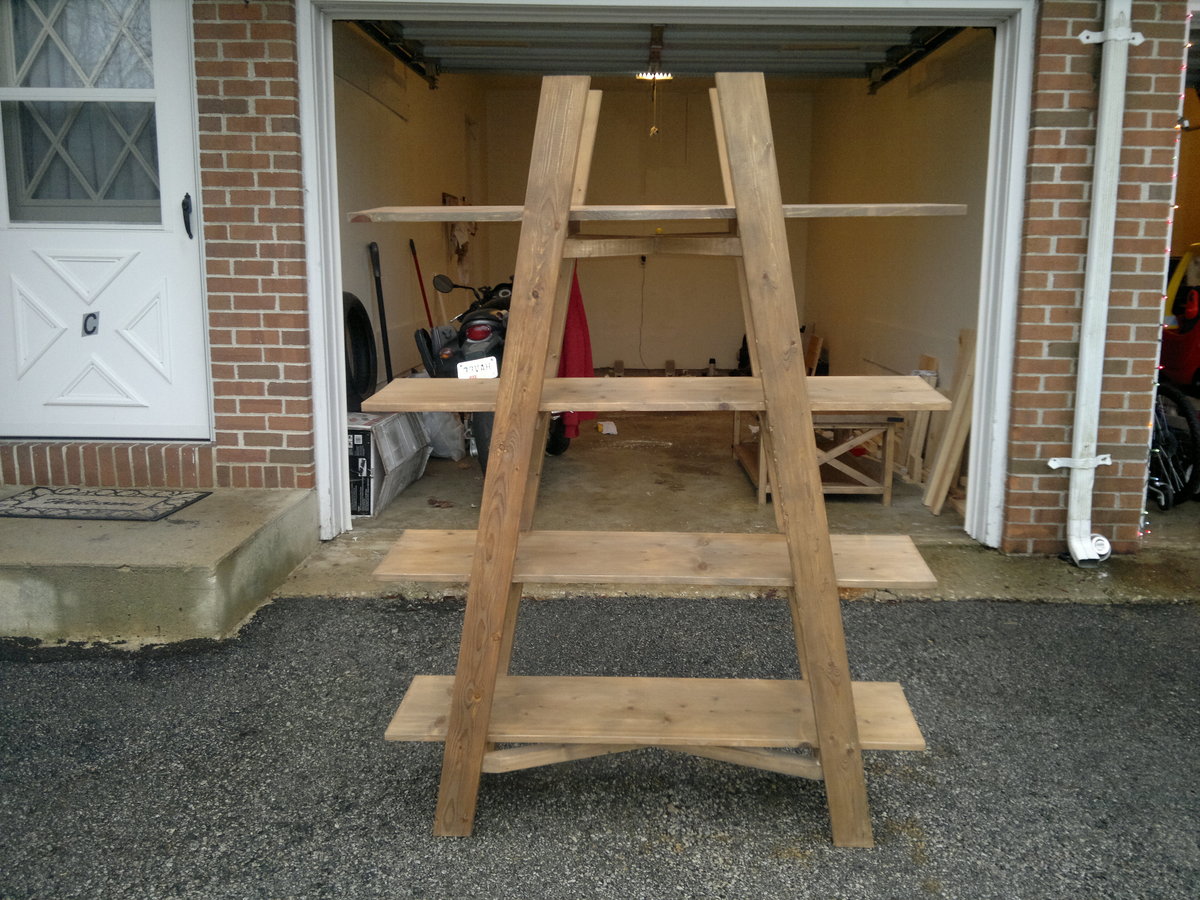
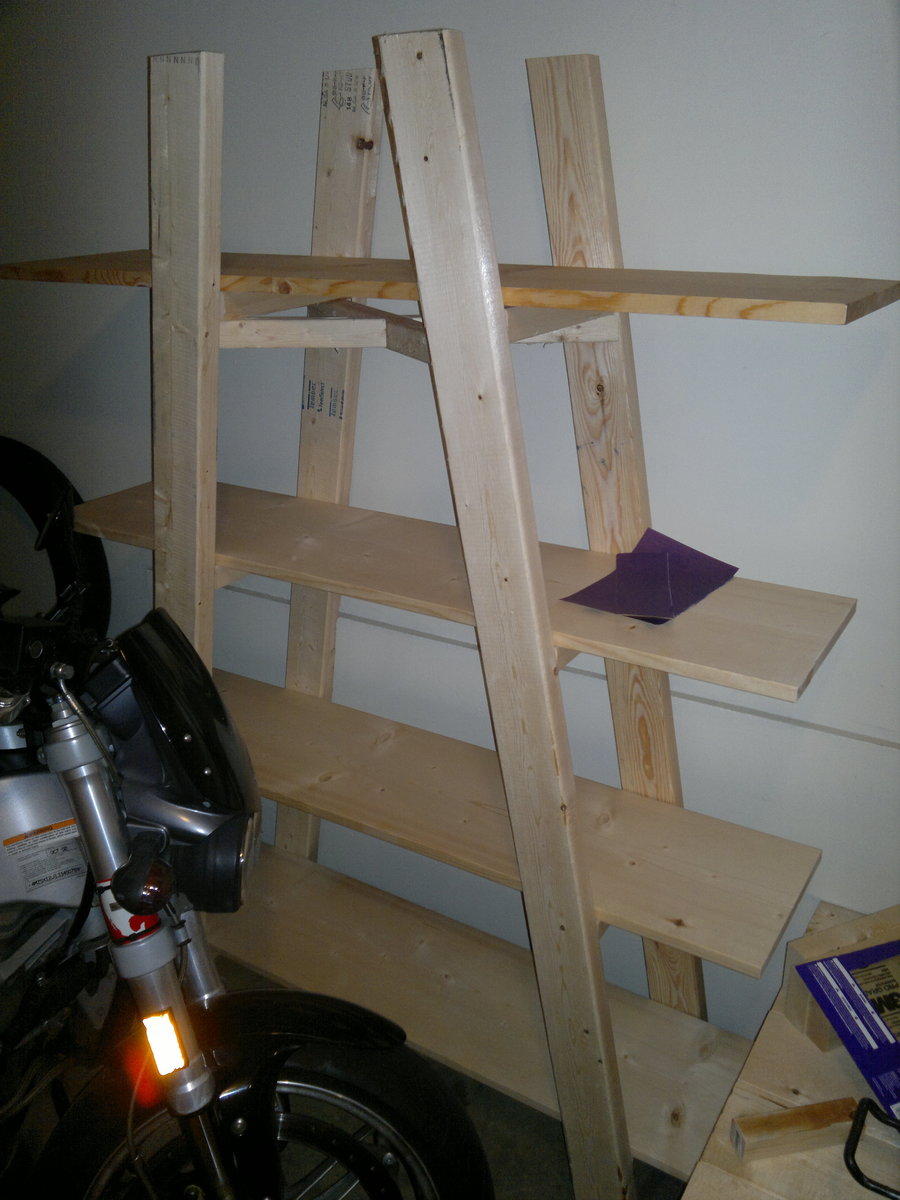
My wife saw a painter's ladder shelf at IKEA and wanted one for our master bathroom. I showed her the shelf on Ana's site and she liked that one much more. So ... a few hours later we had our new shelf and my wife couldn't be more pleased.