Restoration Hardware Industrial Wagon
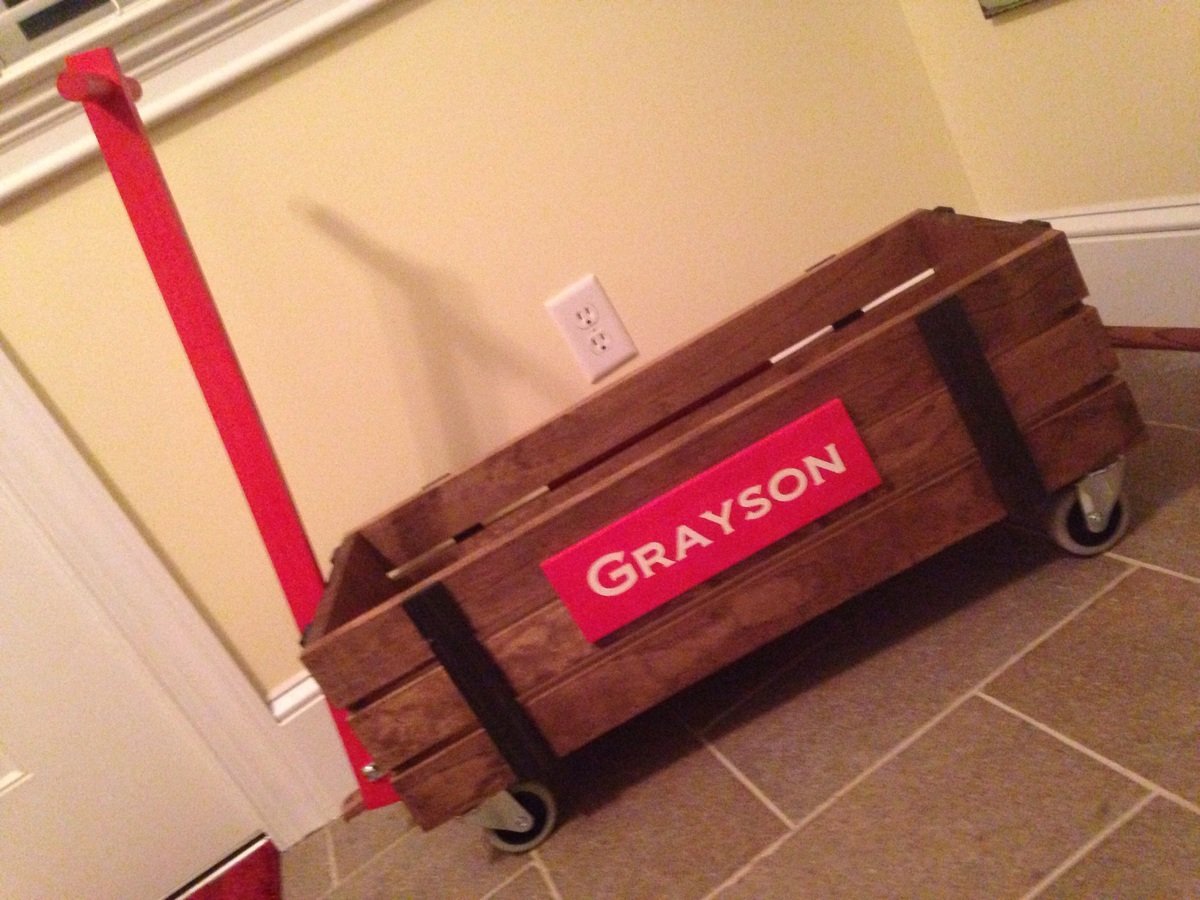
What new Mom wouldn't want this for a baby shower gift!!! Easy build

What new Mom wouldn't want this for a baby shower gift!!! Easy build

My wife was upset that we didn’t have a mantle in the living room of our new home a d I said, “no problem!”
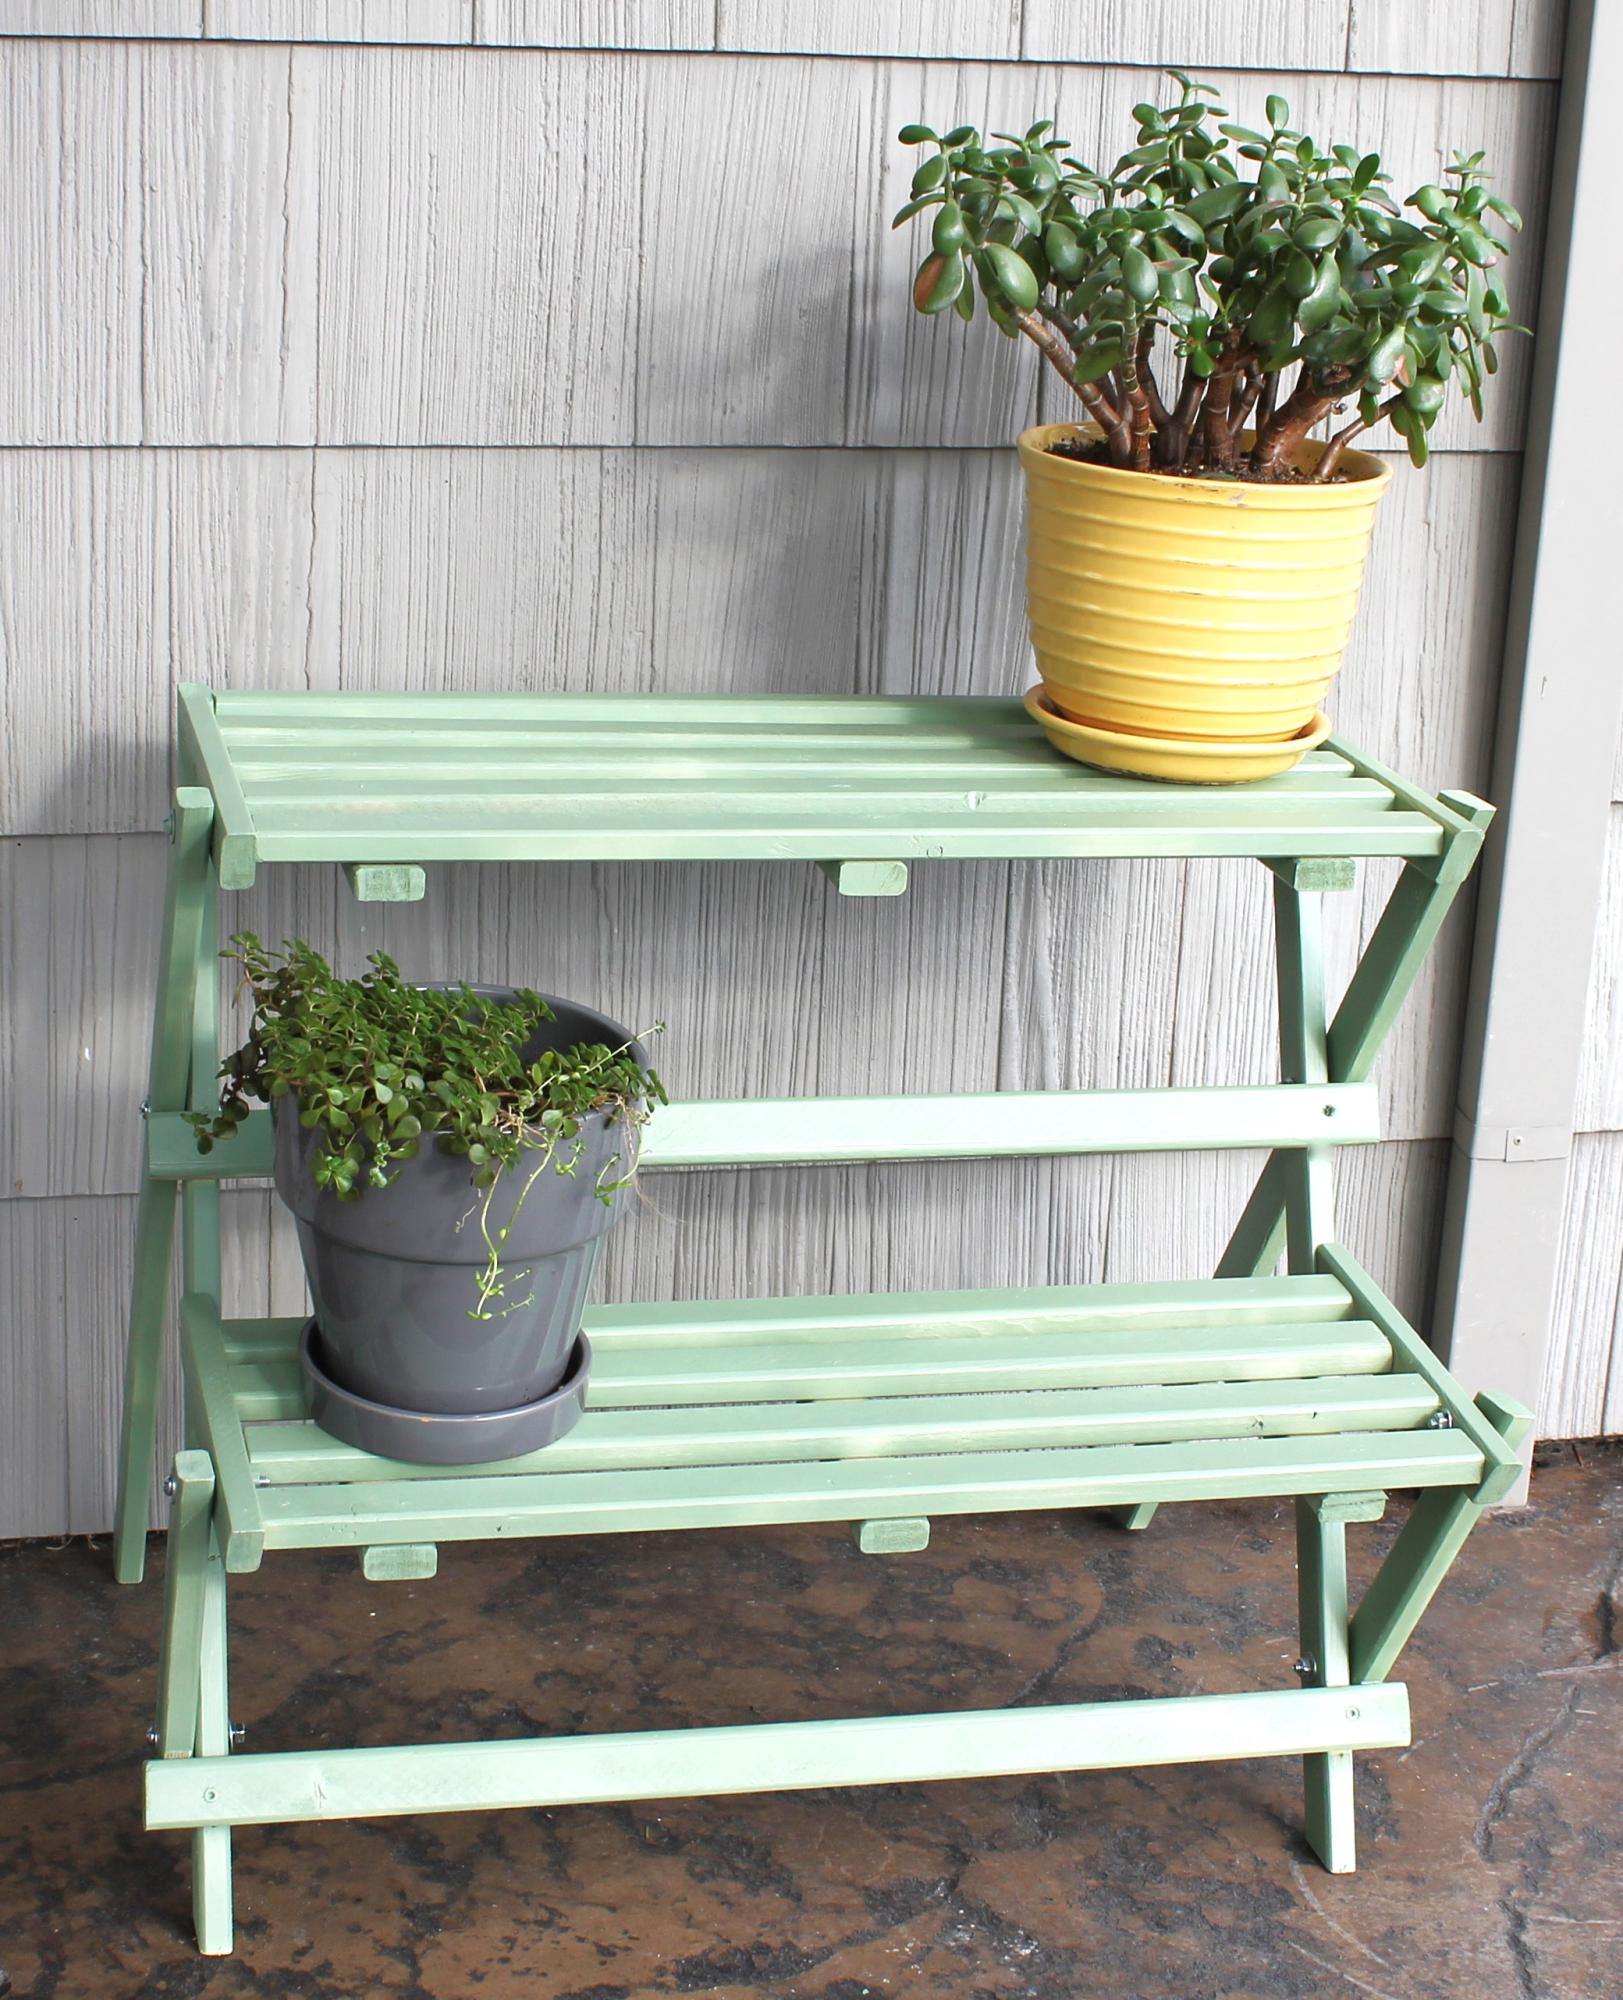
Easy to build and inexpensive about $20.00. I decided to build the stand and then disassemble all bolted items before painting. It made getting an even coat on all the individual boards a lot easier. In the directions please note that you need 24 washers for the connections. I found that re-tightening all the bolts prevented the shelves from moving even when a heavy pot is placed on top. Love that it can be folded up and tucked in the garage. Thanks Ana for the great plan.
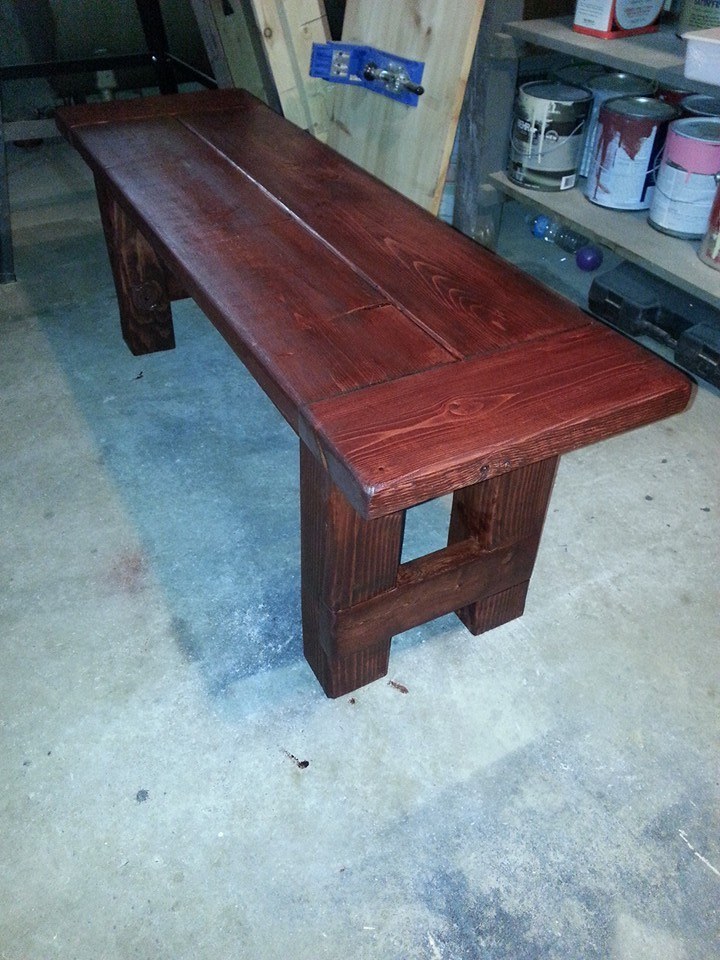
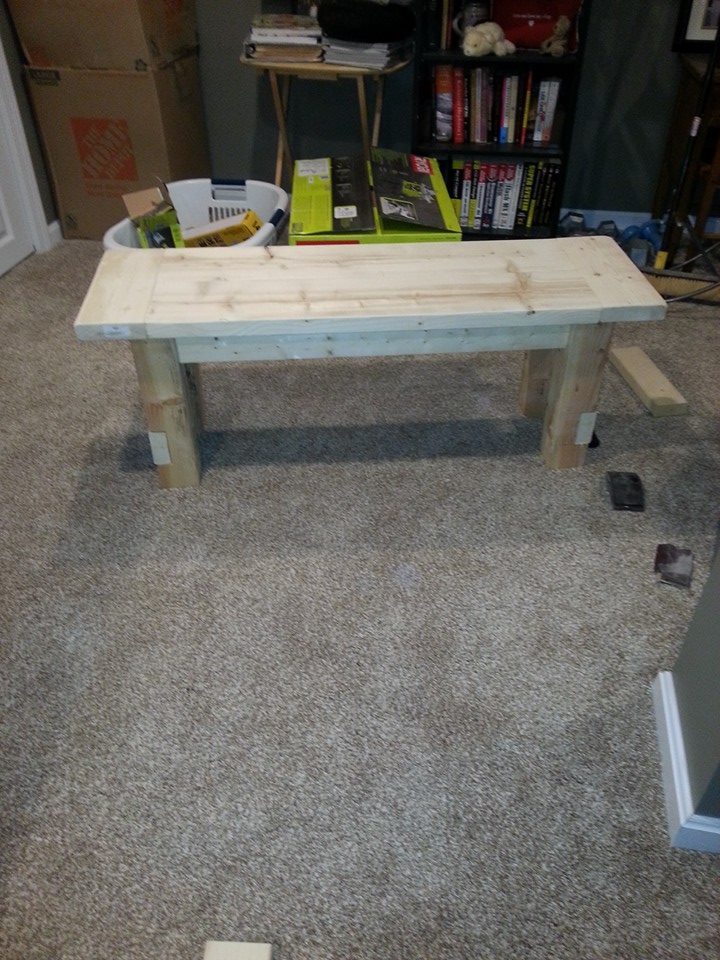
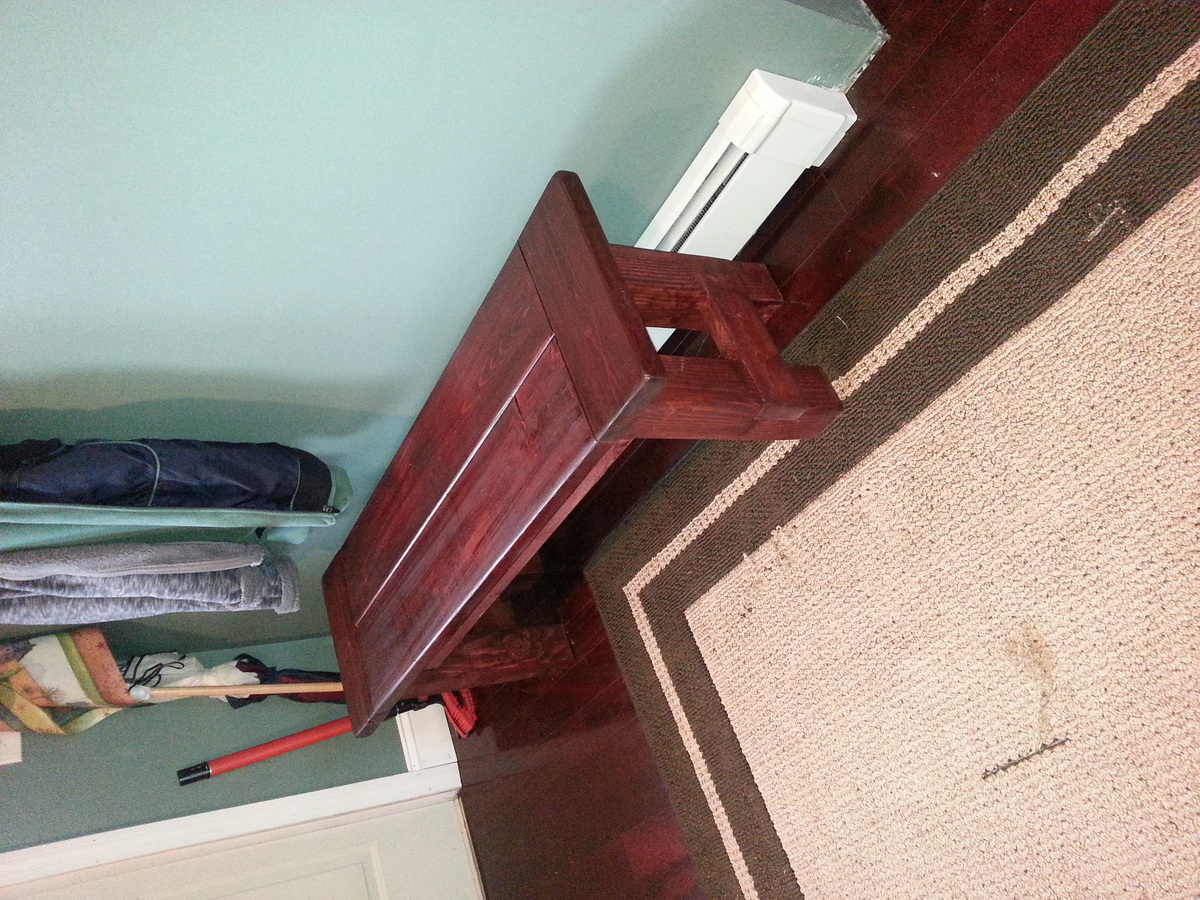
We bought a new house this past summer and got a new table but without chairs. My wife wanted a bench for one side and I decided to surprise her and make one. This was my first woodworking project and thanks to Ana it came out great. I made some modifications to the plan:
4x4 for the legs
2x8 for the top
2x6 for the breadboards
I also made it about half as long to fit under the table.
My time frame was longer than it needed to be because I made some rookie mistakes I had to redo some things. The notches in the legs was probably the only really hard part and with some practice not bad at all.
My wife loves it and now wants me to build more! I guess I have a new hobby!
I finished it off with a single coat of Varathane Red Oak and a satin poly.
On to the next project....
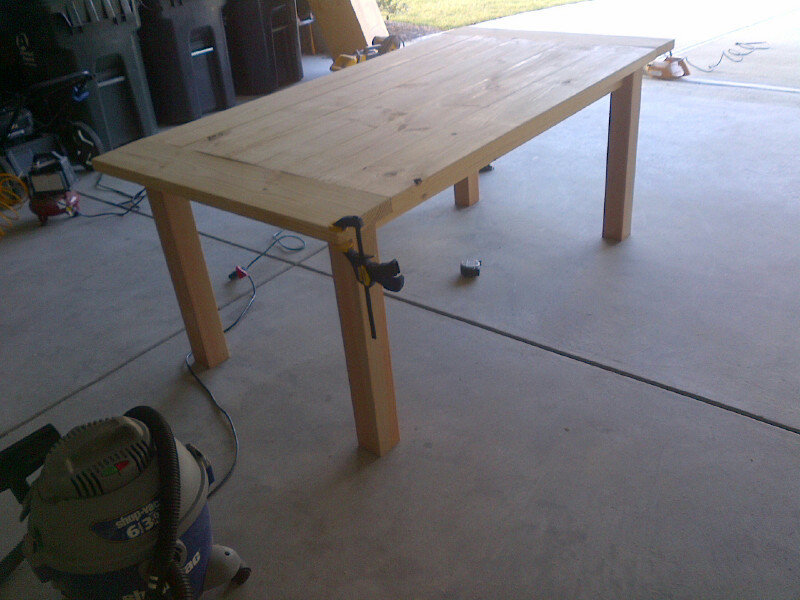
I am a Block Printer and Screenprinter, as well as indulging in other projects. I needed a fairly large table that would allow me to print fabric yardage fairly easily, as well as be able to layout the fabric to cut. I decided to build this table that I had seen on a couple of different sites. There was not much instruction on either site, but it was fairly easy, and I was able to figure it out pretty easily.
I wrote a more detailed blog post on my blog with details as well as what I learned while building this table.
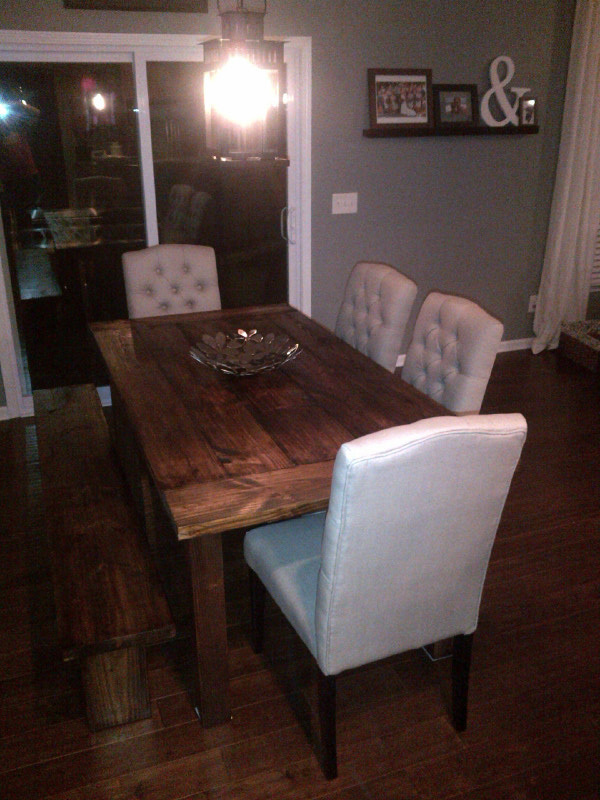
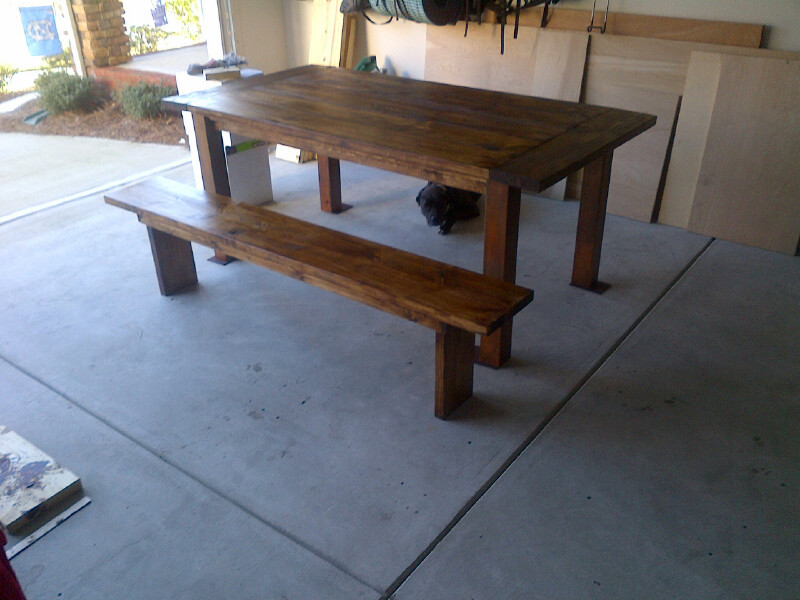
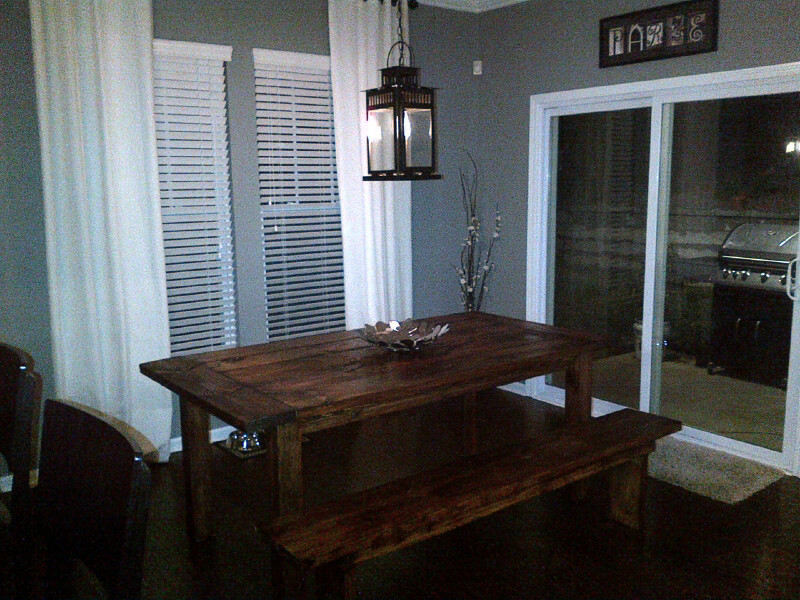
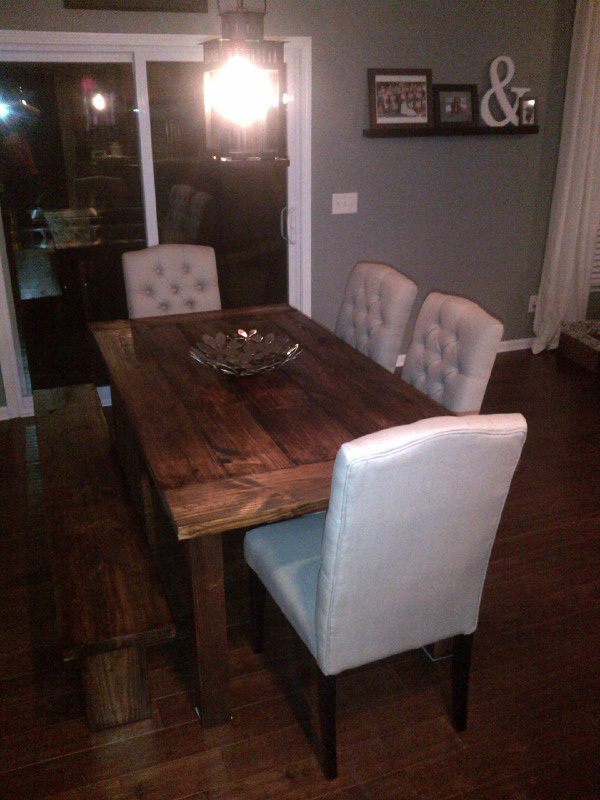
My wife has been looking for a new kitchen table for the house. Me being thrifty and not wanting to drop a grand plus on a kitchen table at PB, I decieded I would make one.
I modified a few of the plans I found on this site to make it work for us and our space.
After about a weekends worth of work and $140 in stain and wood, I got a table that's 100 times better than what PB has for sale.
I even got a little crafty and figured out an Ikea hack for the light.
I used builder grade top choice 2x8s, 2x10s, and 2x12s for the table and bench, a blow torch to distress the wood a bit, and three coates of misson oak stain.
If anyone wants my plans, I have them done up in CAD as well.
C
Mon, 01/28/2013 - 20:14
Looks really nice! I like the look of the heavy, dark wood with the white upholstered chairs.

We started this project on a Sunday and finished Tuesday. We did make the legs taller to fit under our tv, so we also needed to adjust the front and back 2x4 support to be a little taller.
other than that, we followed the plans. I stained the top with Rustoleyum Dark Walnut and the bottom is spray painted, painted and distressed using the Shanty 2 Chic ideas.
LOVE this table! It was exactly what I wanted! Now, to find 2 small lamps to sit on either side. :)


I used tongue and groove pine for this. I just ripped the top board down so the ridge wasn't there.

Mon, 12/21/2020 - 11:28
The hardest part was putting the lid struts on.
Other than that it was all straight cuts, glue and brad nails.
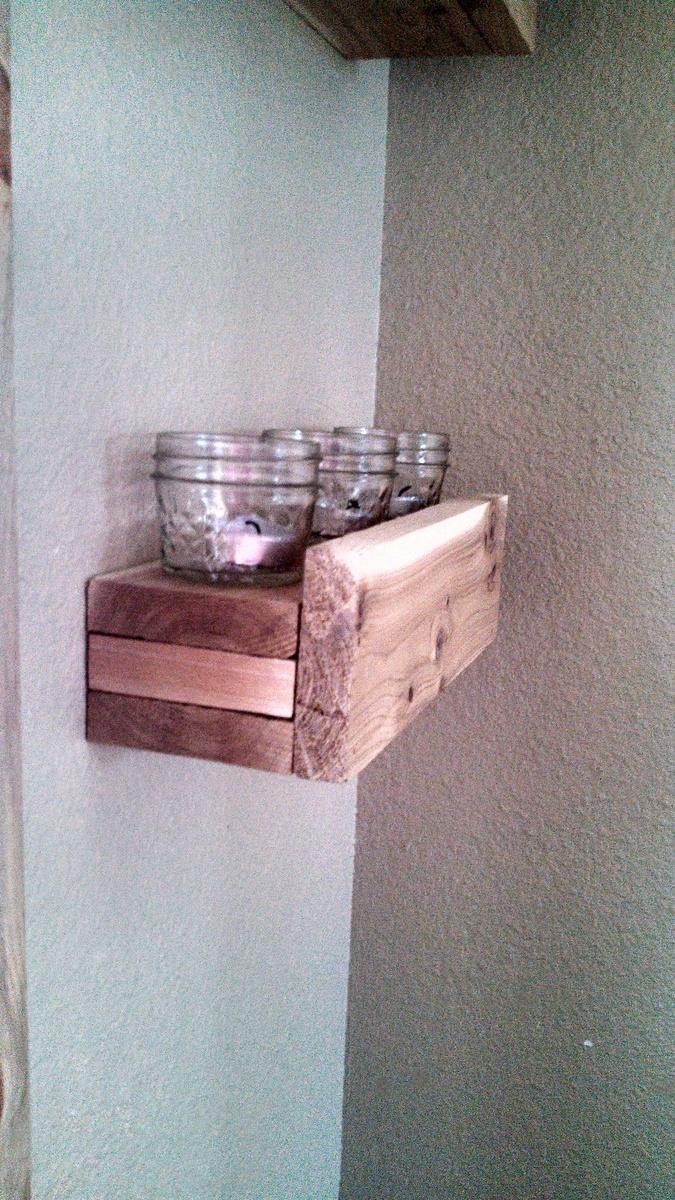
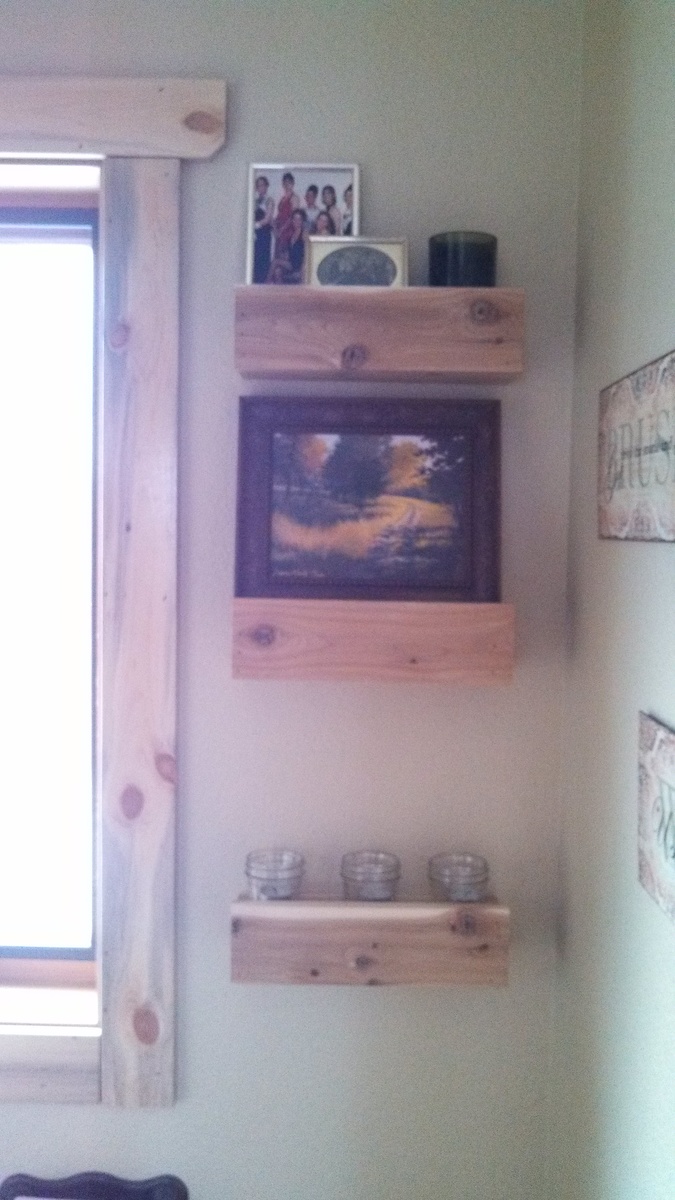
I used cedar left over from a bar my husband made in our kitchen. I didn't have to purchase any materials as I used his left over pieces.
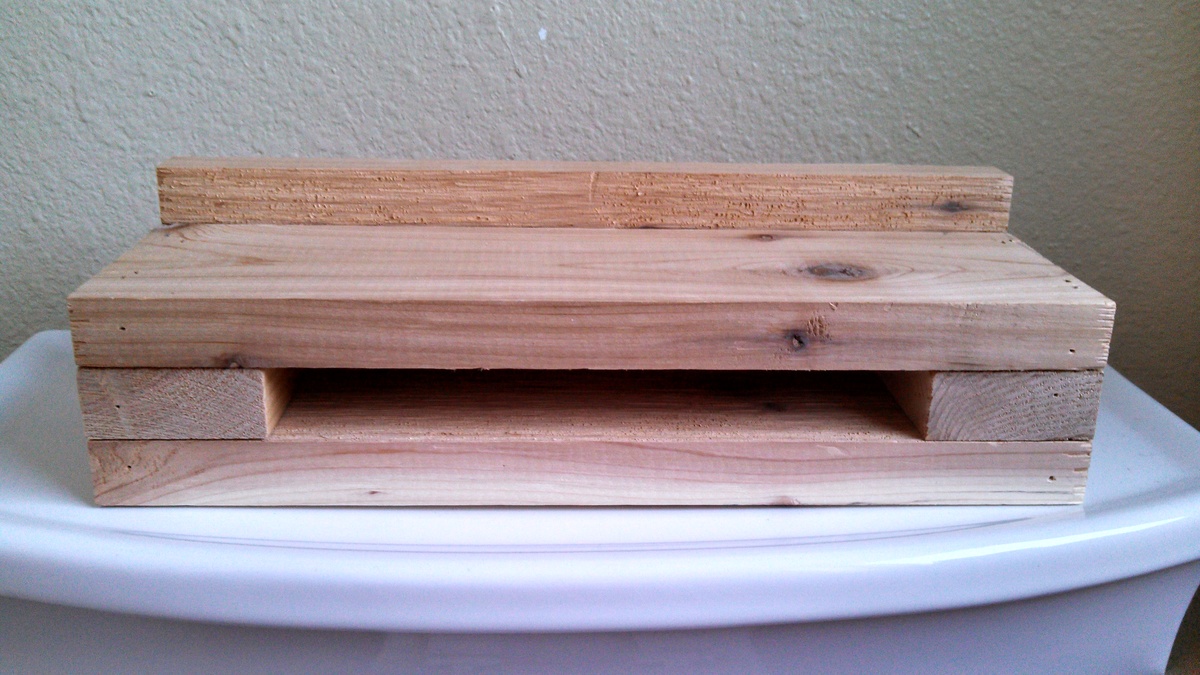
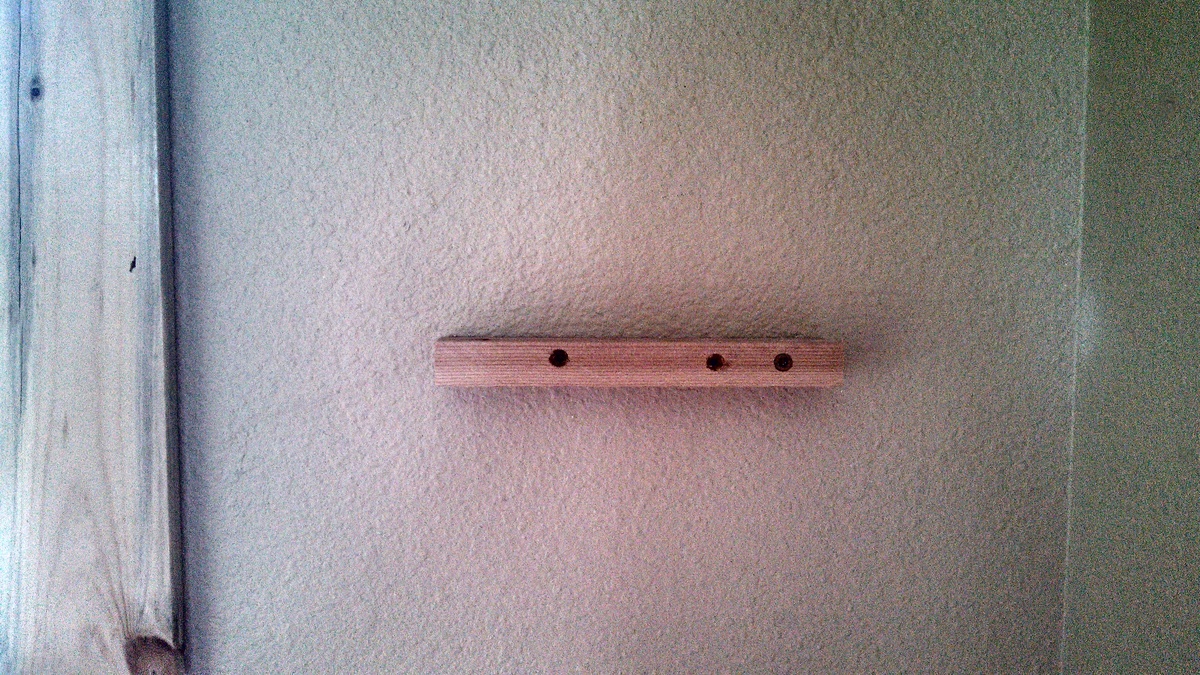
I didn't like my ledges with the back board, and I wasn't too keen on making the key holes. Instead of 24 inches I made my shleves 1 ft. long. I also laid the spacers so that the distance between the top and bottom of the ledge was less than the plan called for. This allowed me to attach a wooden strip (7.5 x 1.5 cut from the cedar 1x4 that I ripped on the table saw) to the wall that the barn beam shelf slips onto and anchors the ledges instead of using the key hole hanger.
The plans are so easy to follow! They are a great jumping off point for customizing the coop for your own needs! We added a run door, ladder support, insulated floor and wall, removable window, and a loft door. The girls LOVE it!
Thank you for all the diagrams on this website, this project could not have been completed without these. The entire project took a month worth of weekends. I used 2 sheets of 3/4" Birch plywood, 2x12x10 Southern Yellow Pine (rip to 4" strips), and 1x8x10 Ponderosa Pine for the roof and slats. Our 3 year old loves the bed and could not wait to use it. All month he has been asking about his new room, normally he does not like change but he loved this bed.

Built the benchright table with a few modifications. Finding straight or even somewhat straight 2x2's is near impossible so I used top choice 2x4s. I used a chain and a turnbuckle instead of the black iron pipe. I painted the hardware with copper spray paint. The stain is ebony miniwax water based stain. Let me know what you think, I'm open to suggestions.


Fri, 02/01/2013 - 19:44
The ends drop slightly, it's agrivating me to no end. I'll fix it.
Fri, 02/01/2013 - 23:37
Looks great. I love the copper, wouldn't match my wifes decor/color scheme but it looks awesome. Amazing job
American Girl Farmhouse Doll Bed.
Modification:
Customized a space for our trash bin, to lift it up to the main floor level. Now we can toss trash without leaving the kitchen. Fantastic!
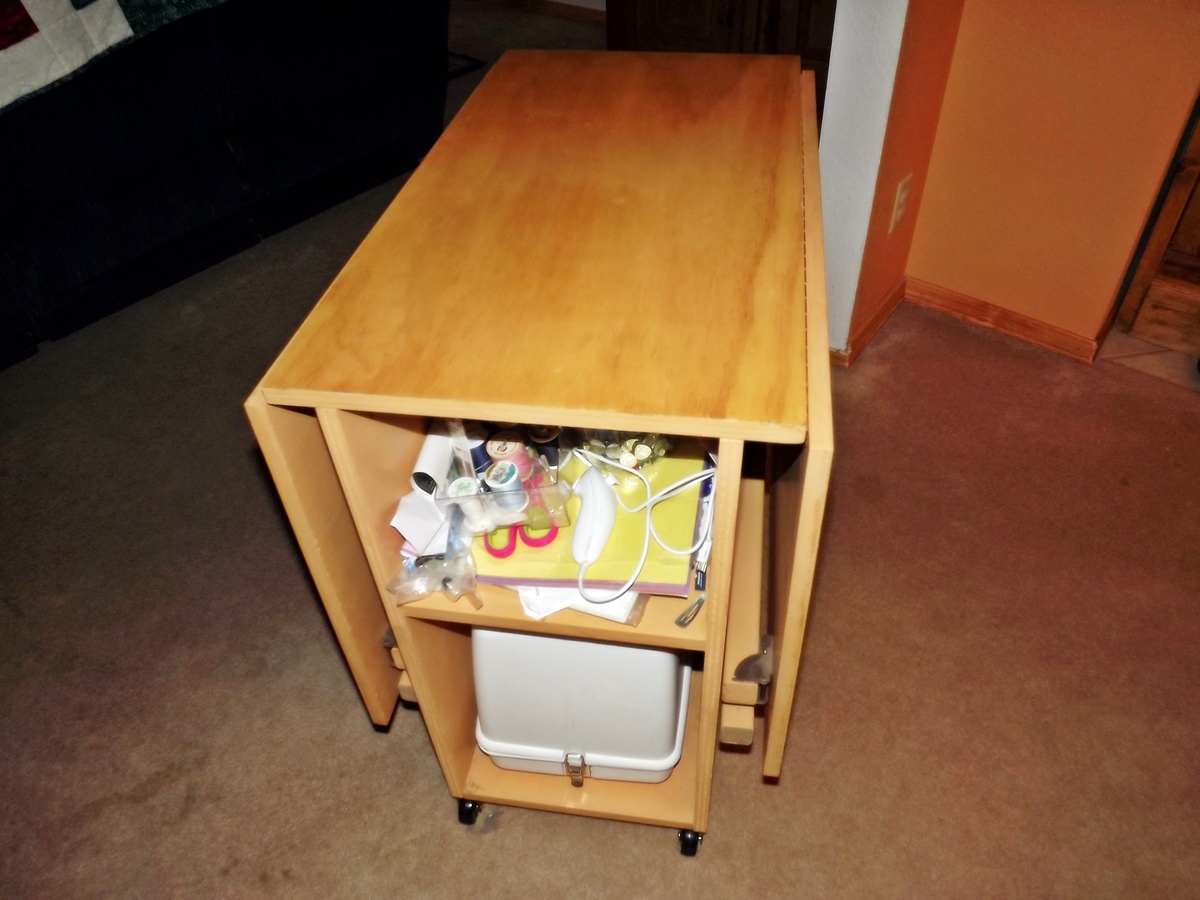
My daughter-in-law needed a compact sewing table, and this plan fit the bill perfectly! I did use 2 x 2 legs instead of 1 x 2s. This makes the table considerably more stable if you plan to use this table with your machine. If you do use the 2 x 2s for legs, you will need to widen your table top dimensions from 15 1/2" to 17" to accommodate the larger diameter of the legs. I also used a piano hinge for each drop leaf. They weren't much more expensive than the hinges listed in the plans, but again, they provide more stability (imho).
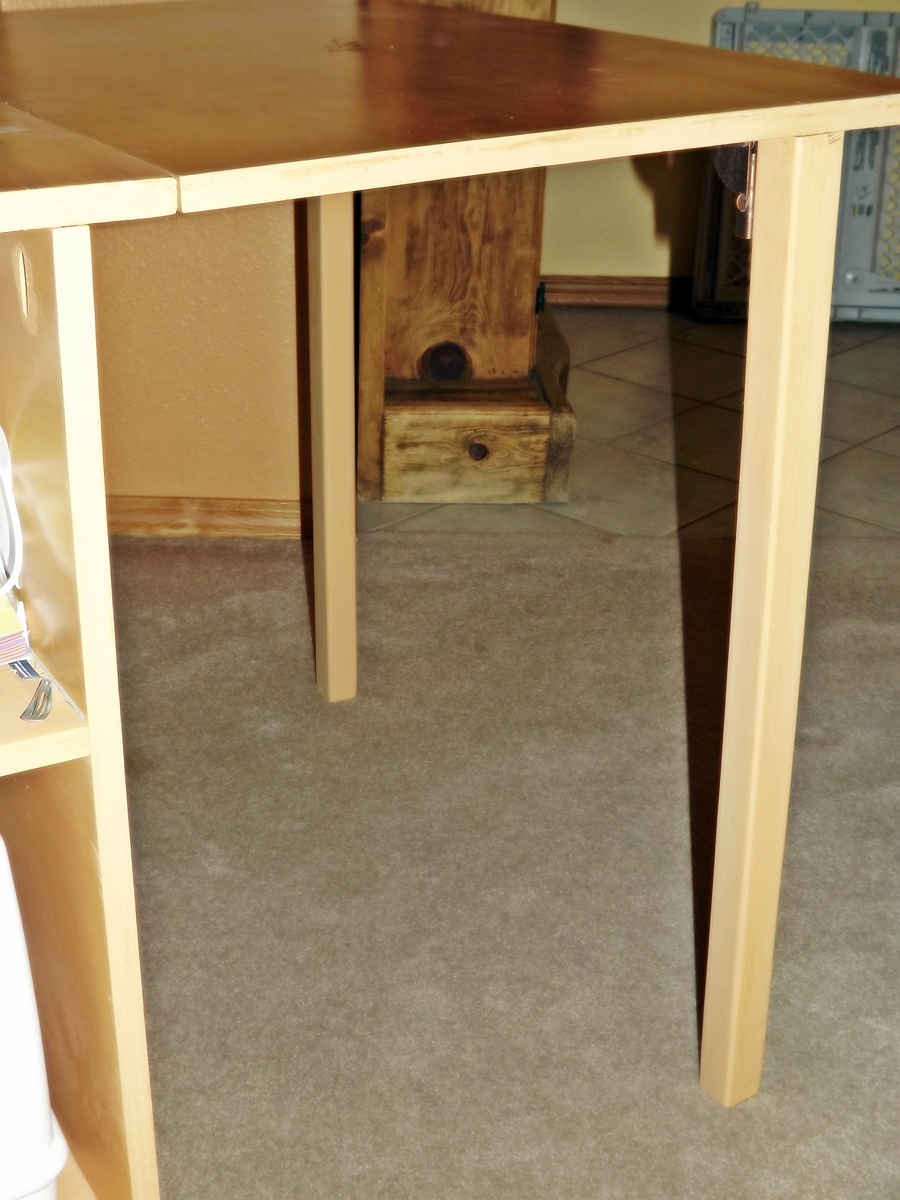
I wanted to show the locking mechanism for the legs in detail. I love these as they hold the legs in place when the drop leaf is down, and they pop into place when the leaf is in use. Called "folding leg fitting" it is part S-149L at $3.65 each at the following link:
http://www.hardwaretree.com/proddetail.php?prod=S-149L
When my daughter-in-law received her gift on Christmas Eve, she wouldn't even let me keep it for another day or two so I could touch-uppaint some spots...she loves it.
Thank you, Ana, for the wonderful plans!!
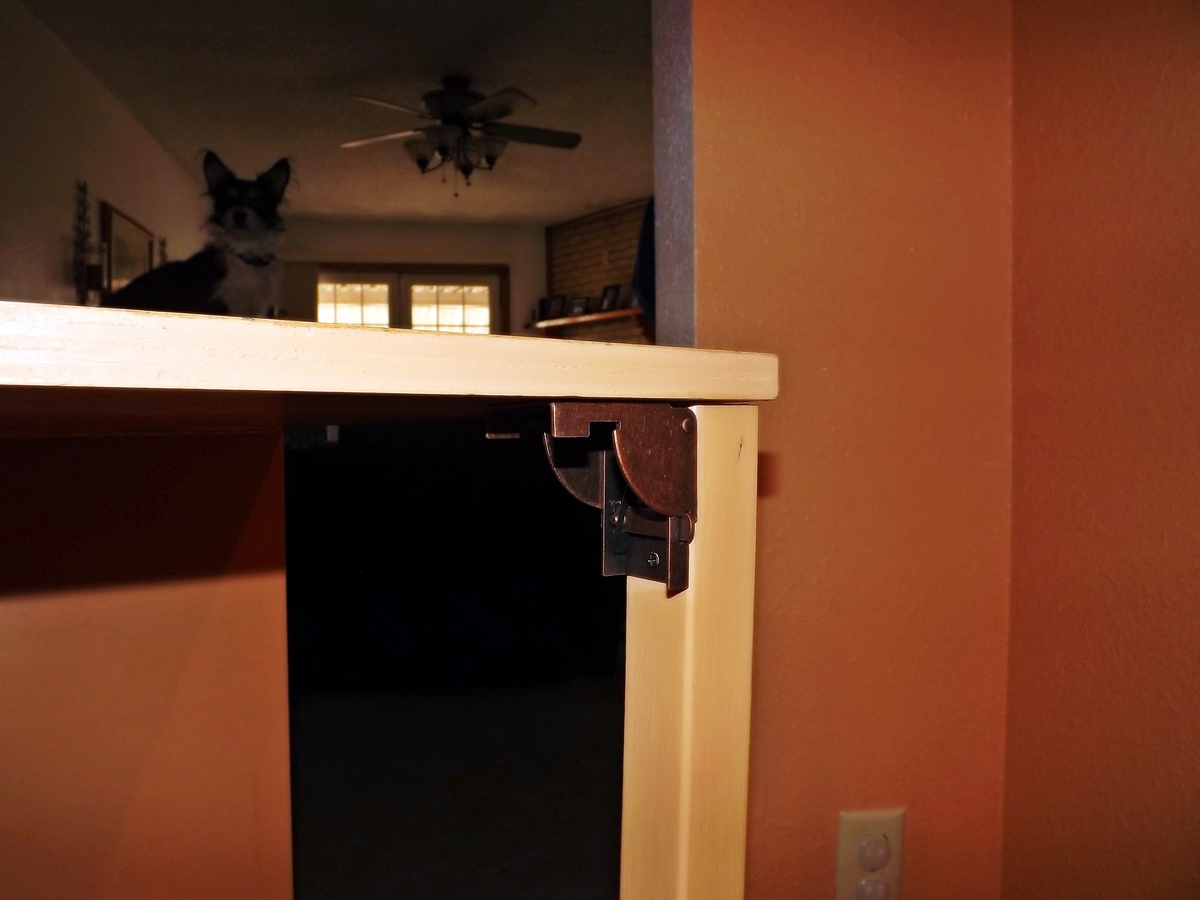
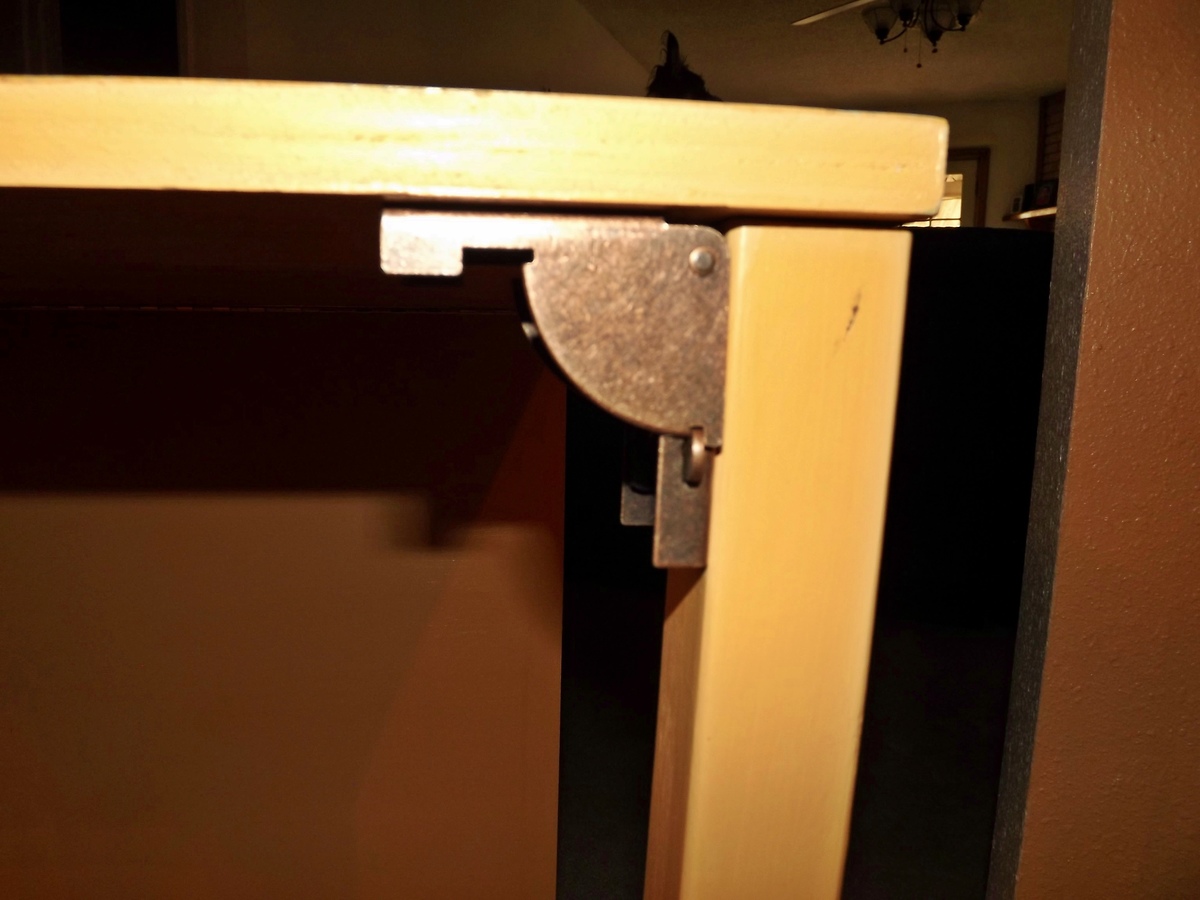
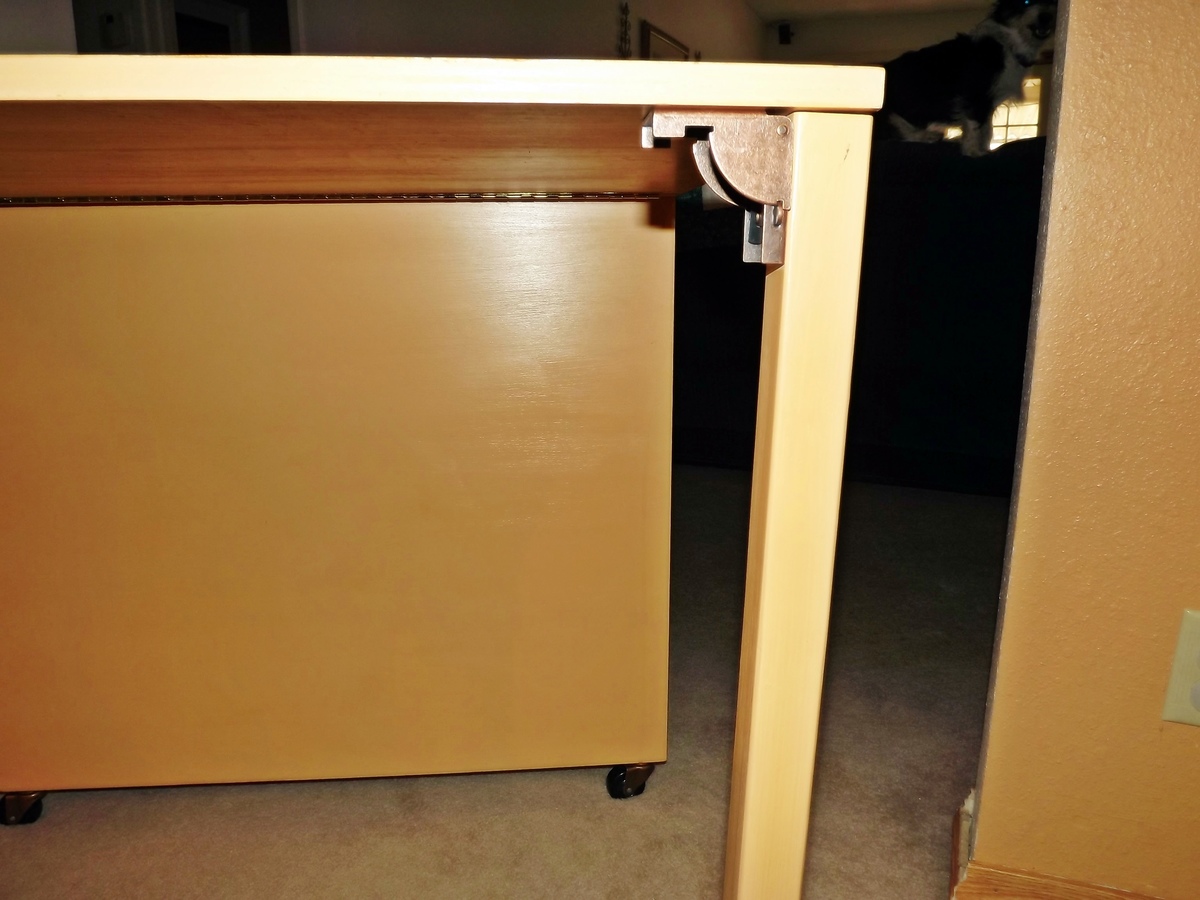
Sun, 02/03/2013 - 17:45
Great job! I can understand your DIL's unwillingness to part with it even for a short amount of time!
Mon, 02/04/2013 - 07:49
The table for my sewing machine costs almost as much as the machine did! This is a wonderful build. You have a very luck daughter-in-law.
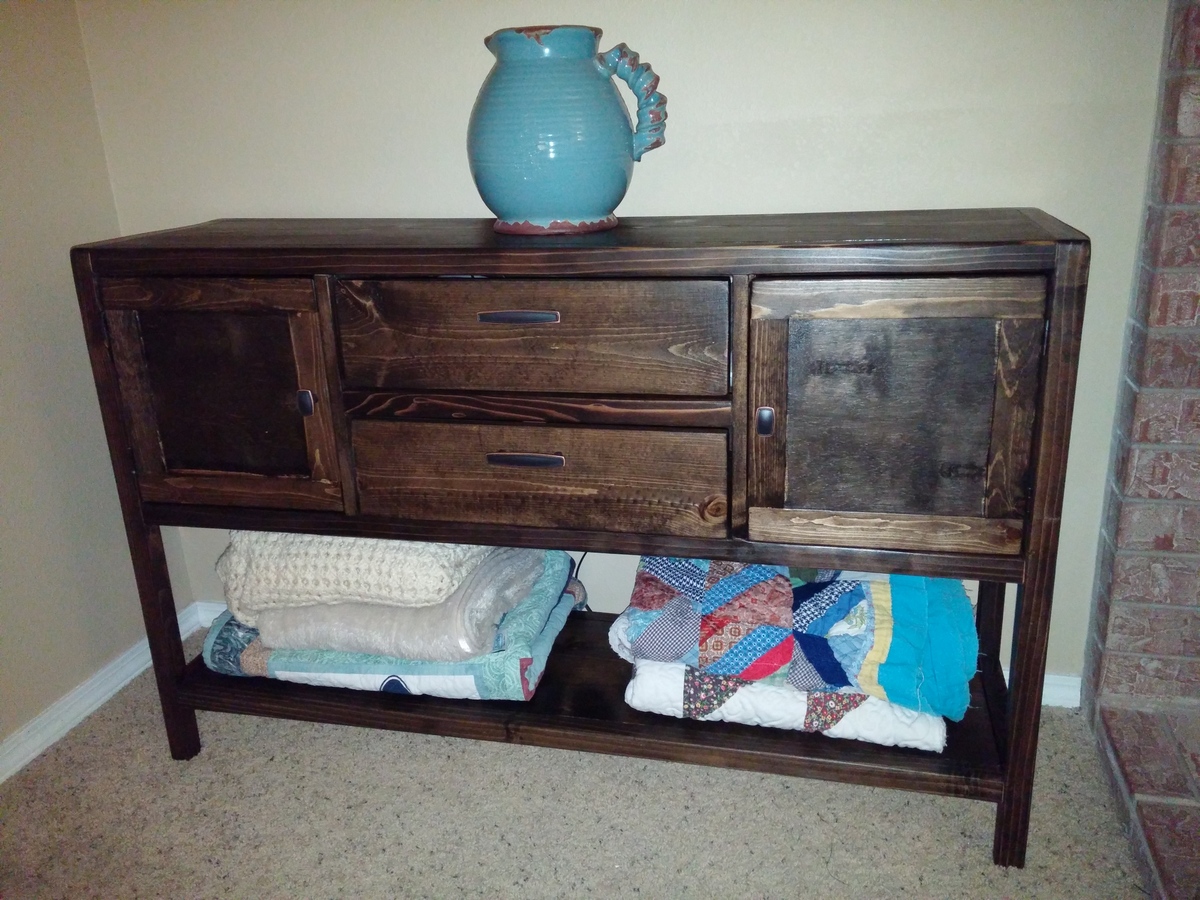
This was my first project (ever). There were a few times that I wanted to throw the whole thing on the floor and start over but I persisted and it actually turned out very nice. Way better than I had anticipated. Thank you for the plans!
My little girl needed a step stool after building a modern height bathroom vanity. She was so excited to help with the painting. This was a very fast build. I spent more time painting than building. I used scrap 3/4" purebond plywood and had the paint on hand. I also used a spray lacquer to seal the paint. I used glue and my brad nailer, but will also add screws for extra support now that it is painted. I used a CD to trace the curves and the edge of a 2x4 to trace the handle. Thank you for another great plan!
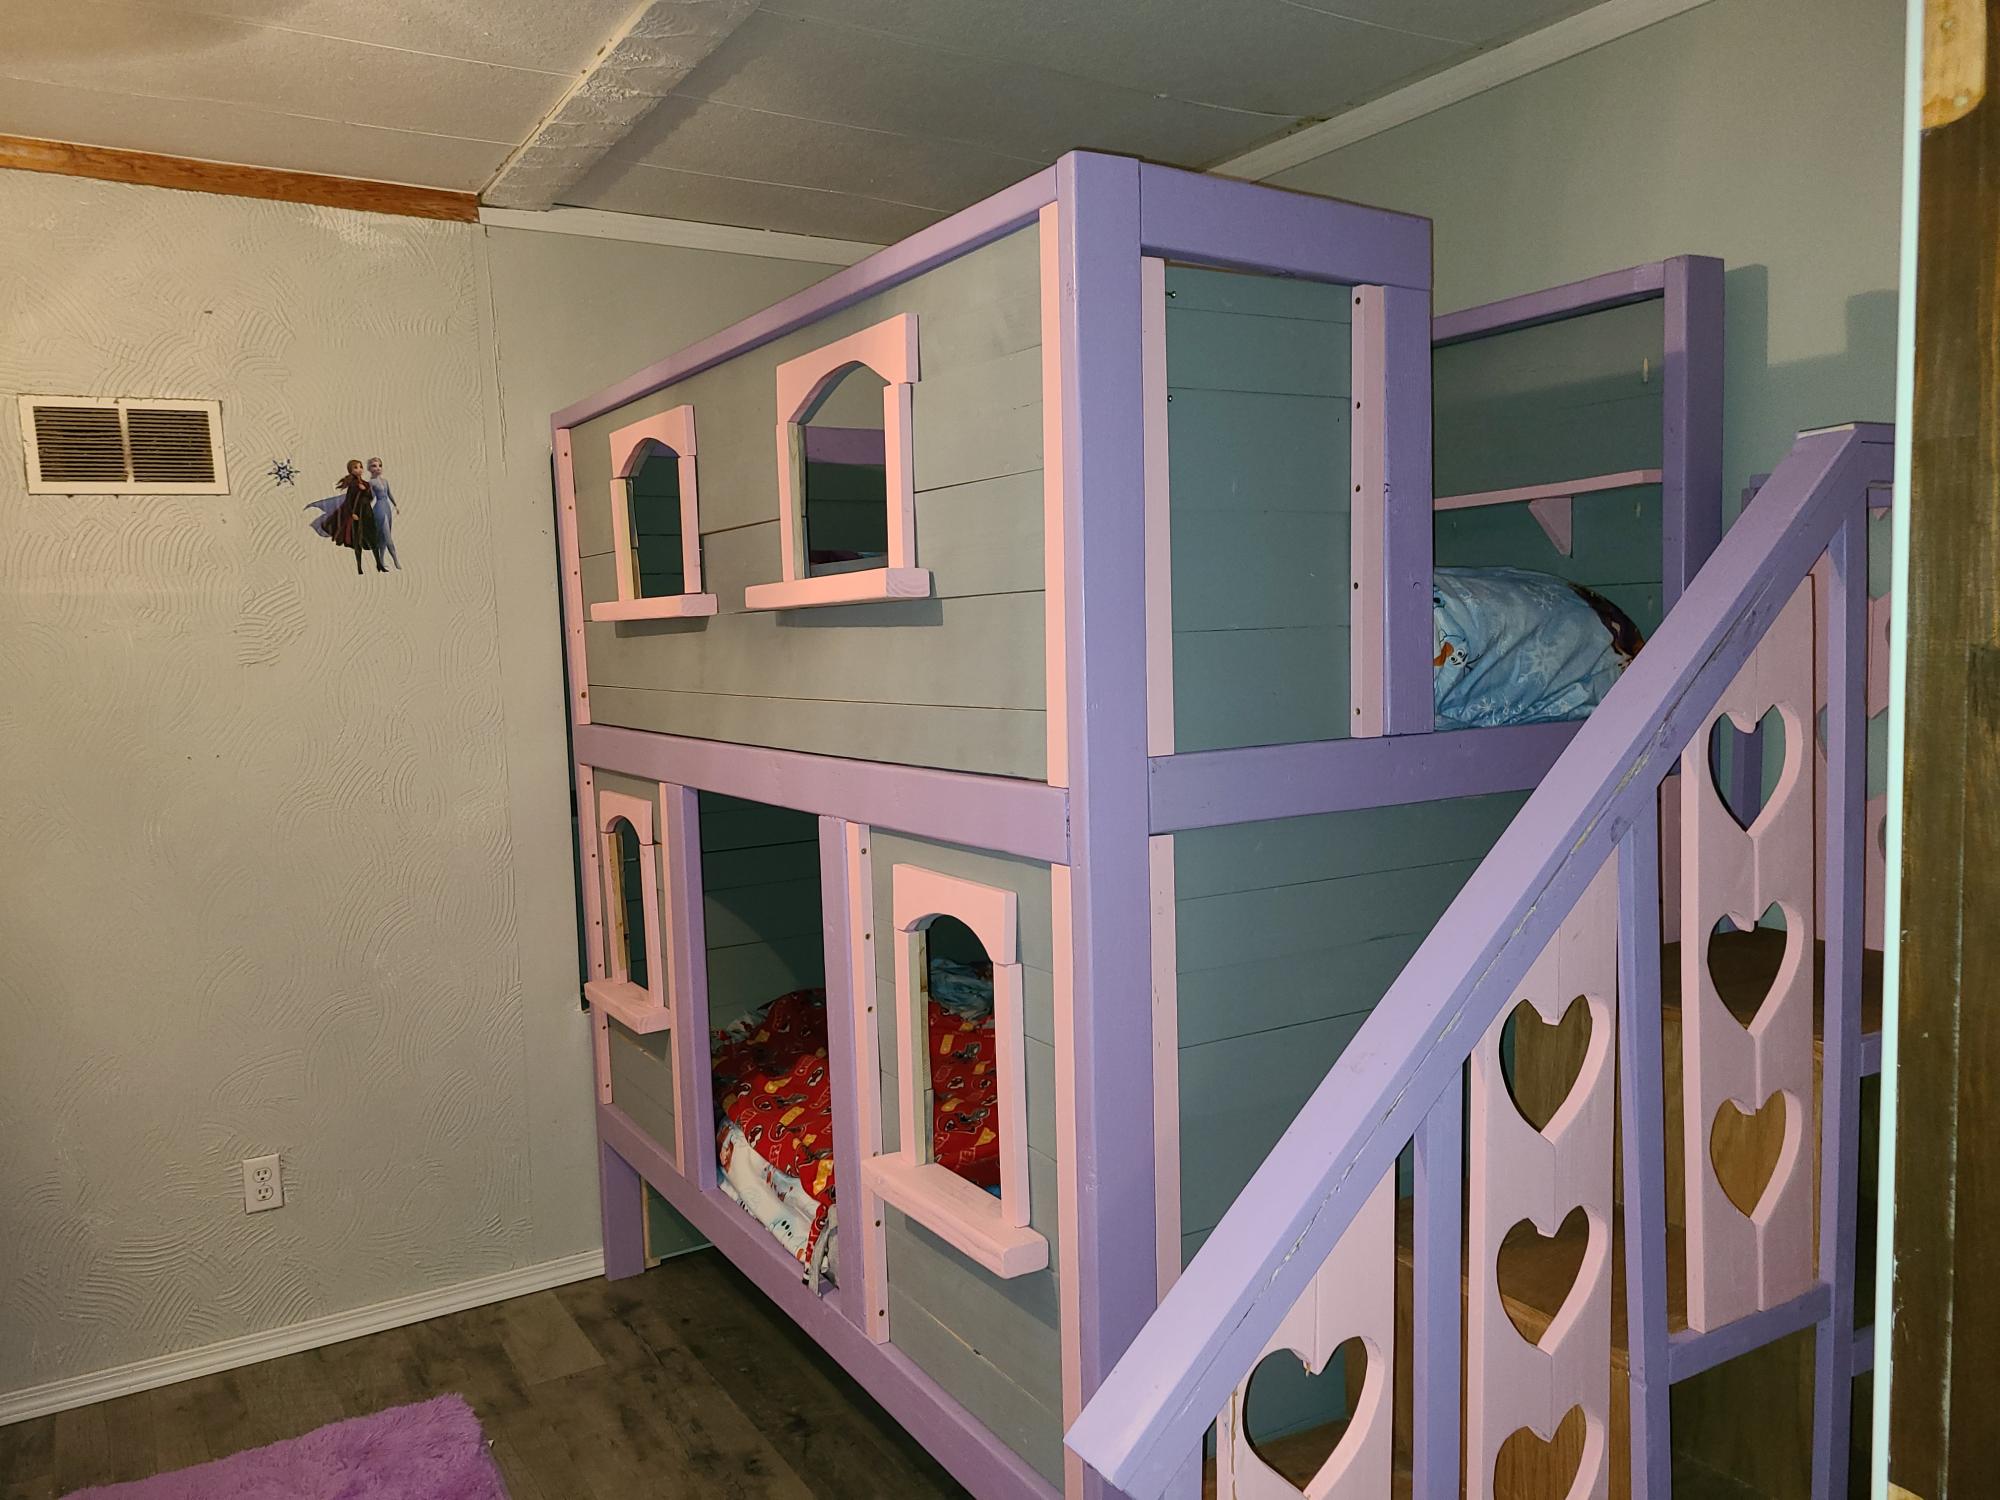
found plans for the "sweet pea garden bunk beds" on this site. Here is our take on them they came out so awesome.
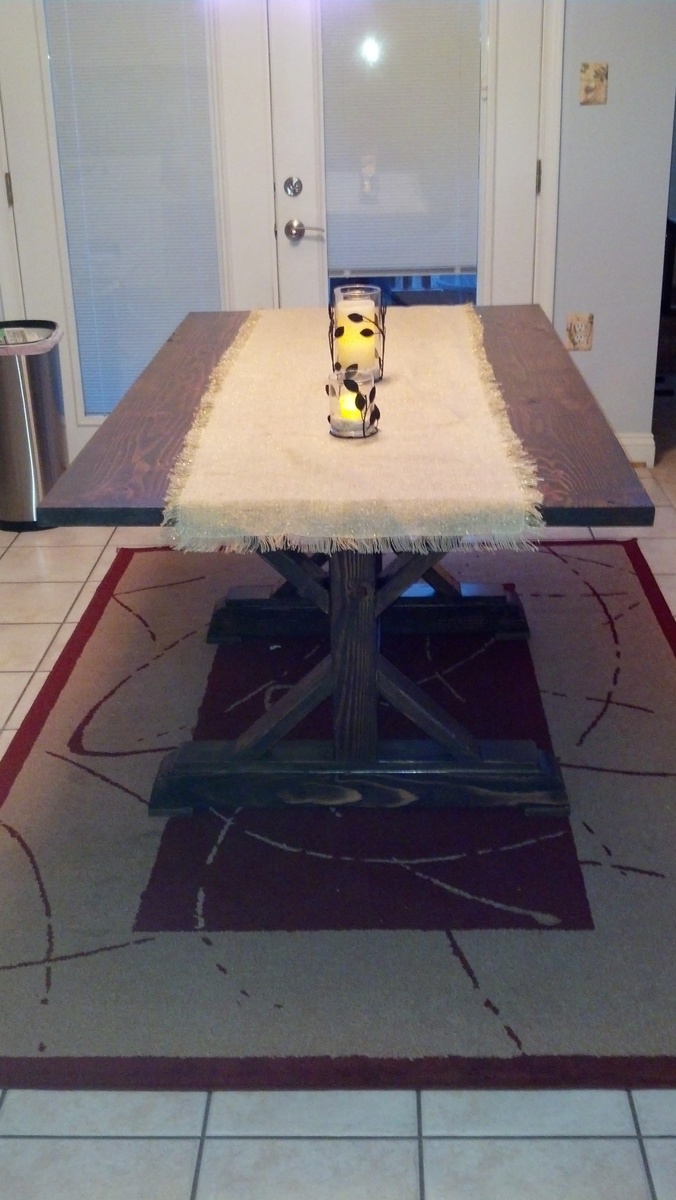
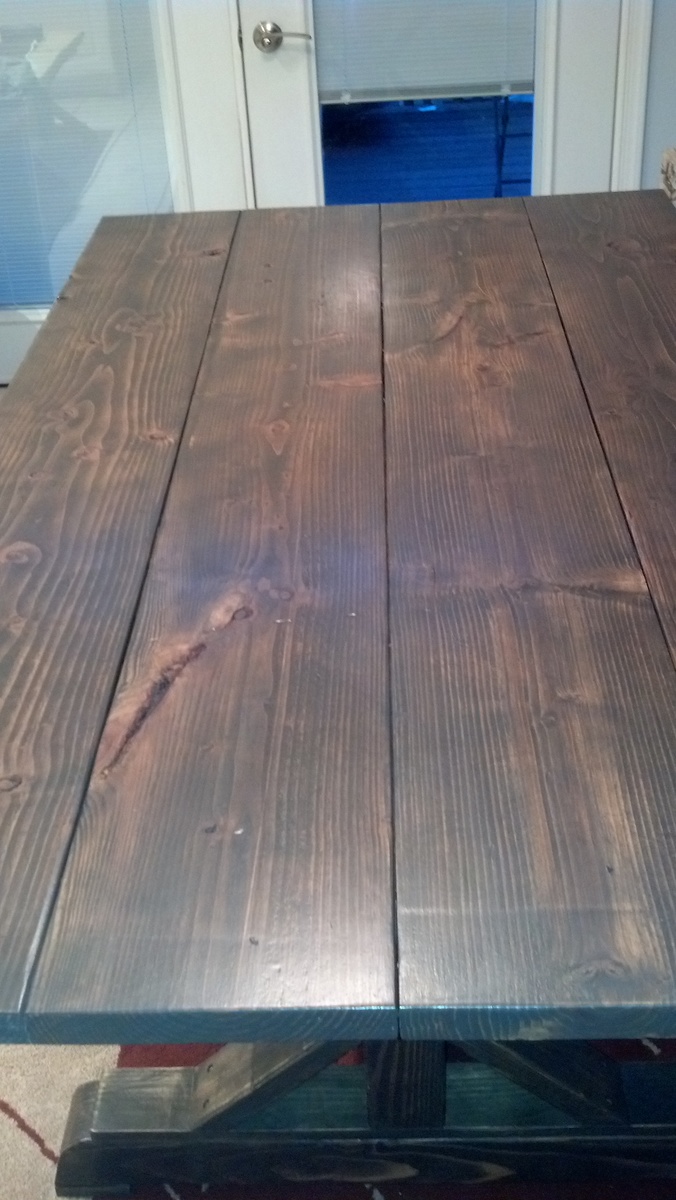
We used the plans for the Fancy X Farmhouse Table and made some modifications to fit our space. Our first mod was to make it only 65 in long ... which meant the angled pieces in the middle aren't there any longer as it would have been too busy. The second mod we made was anywhere it stated to put 2 2x4s together we replaced it with Douglas Fir 4x4 (found at our Orange store).
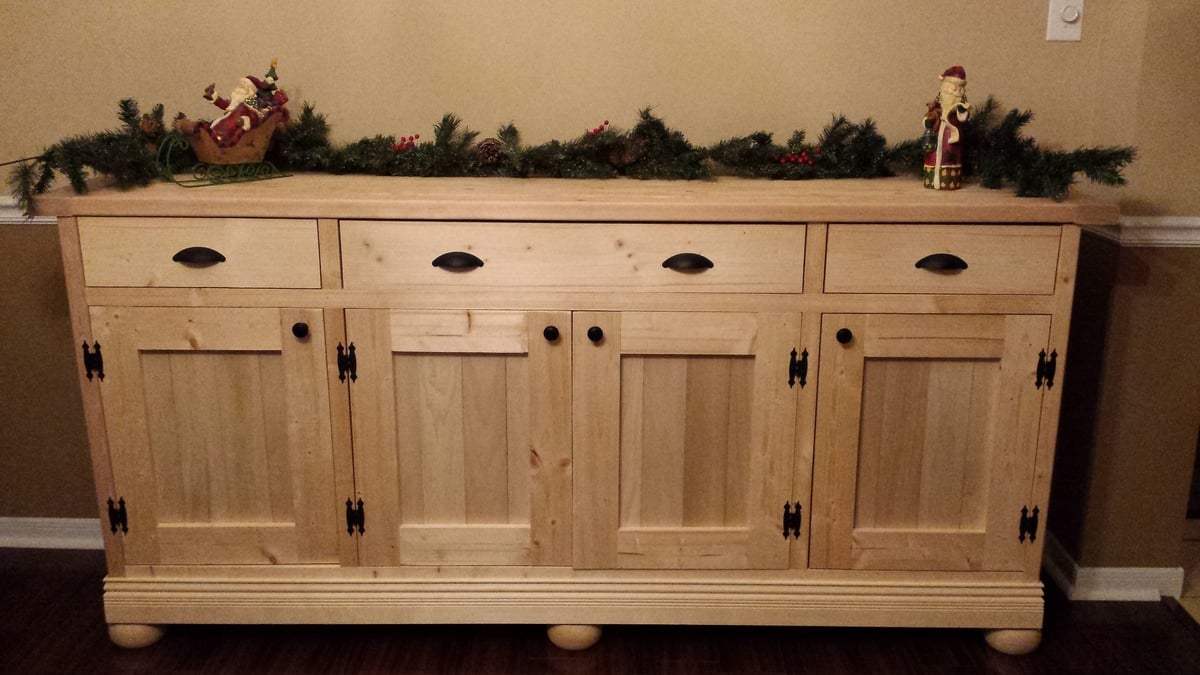
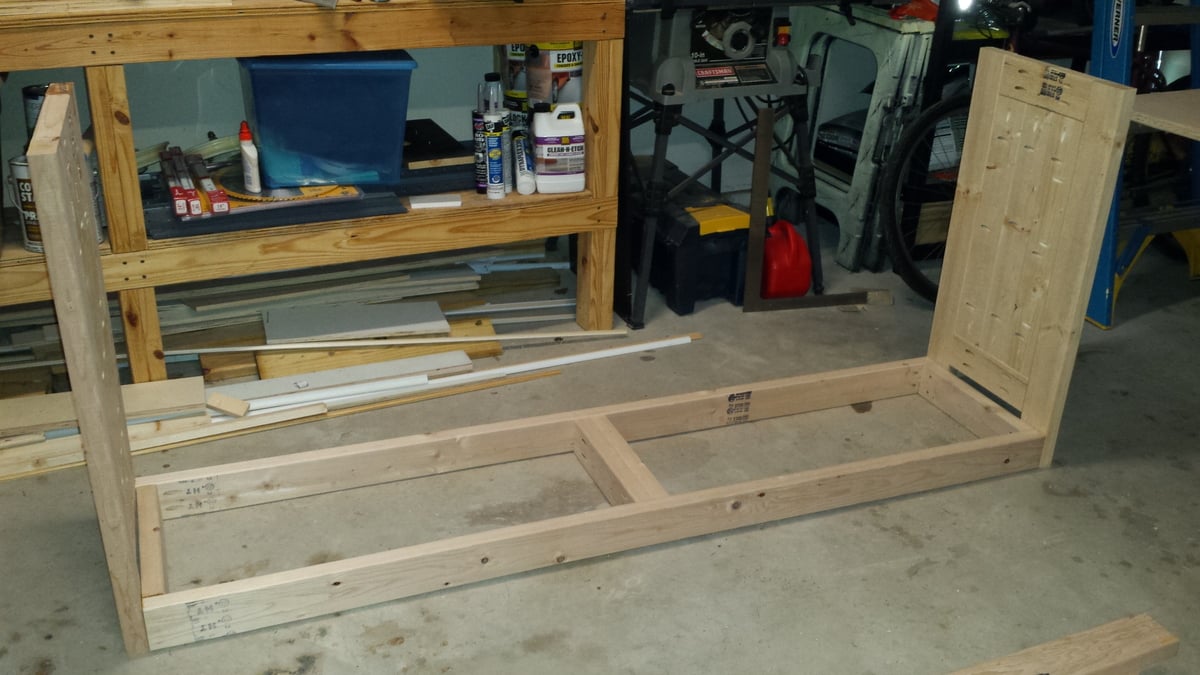
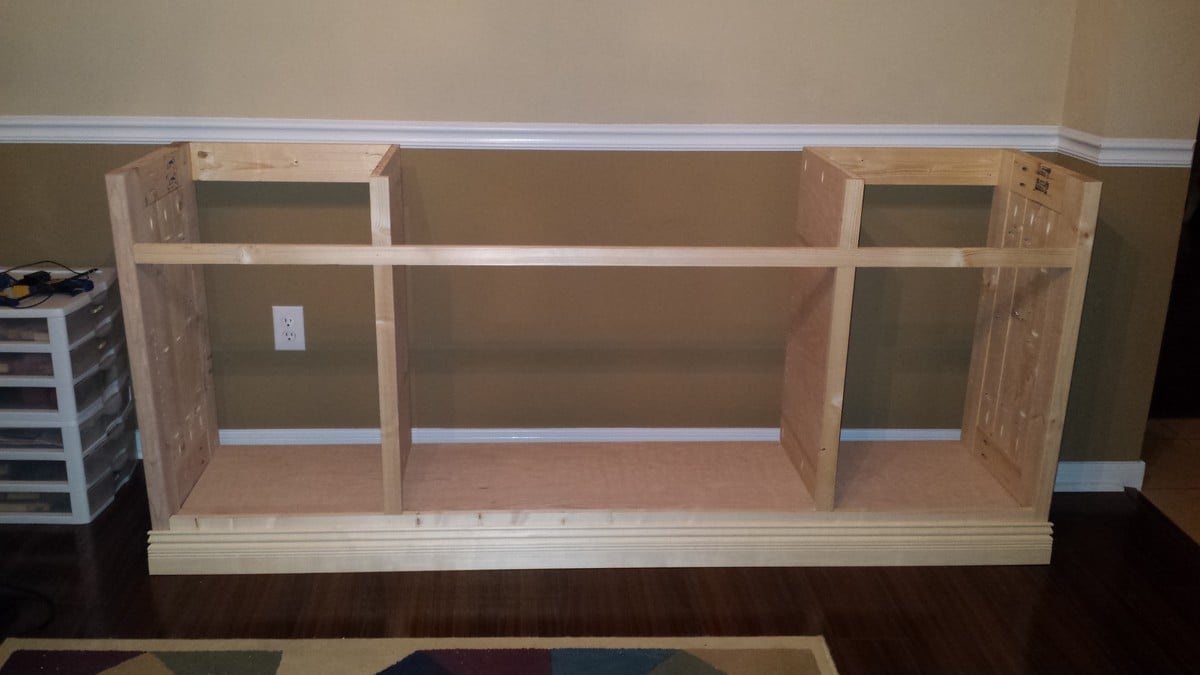
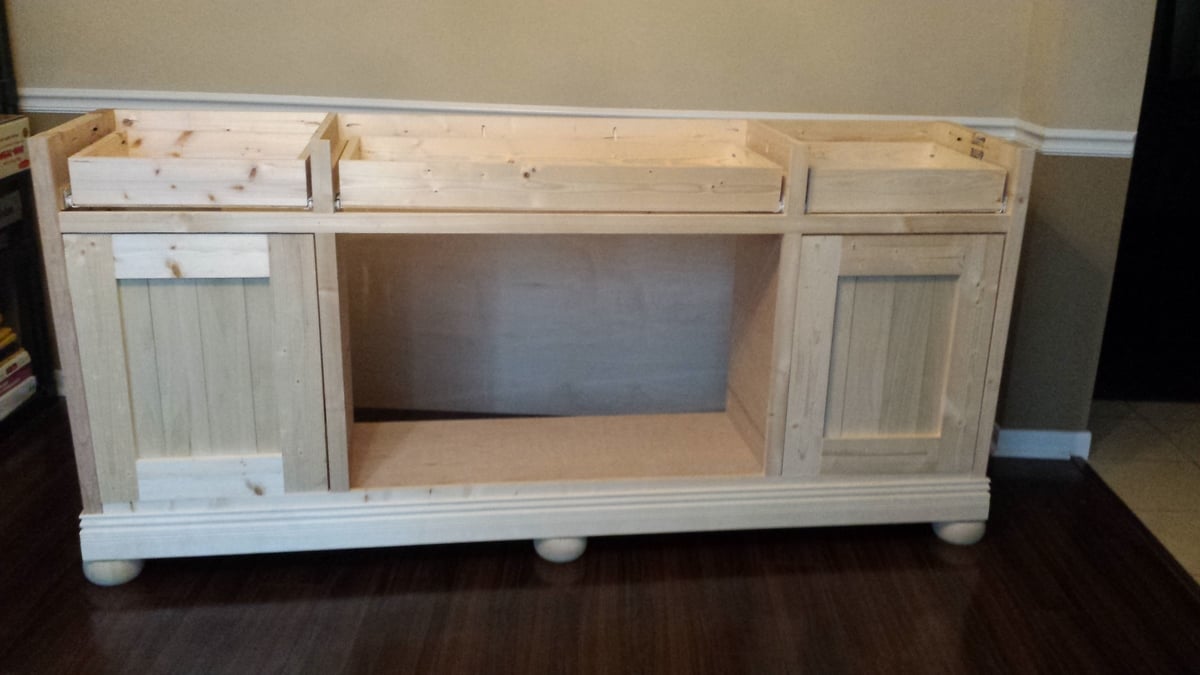
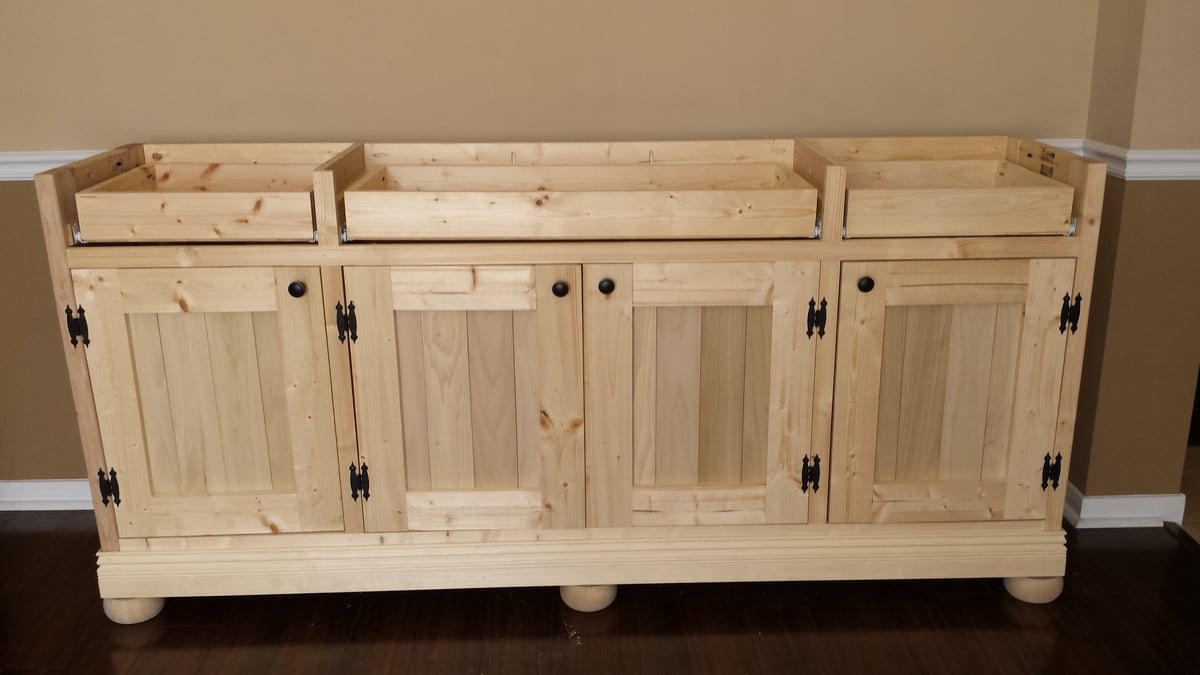
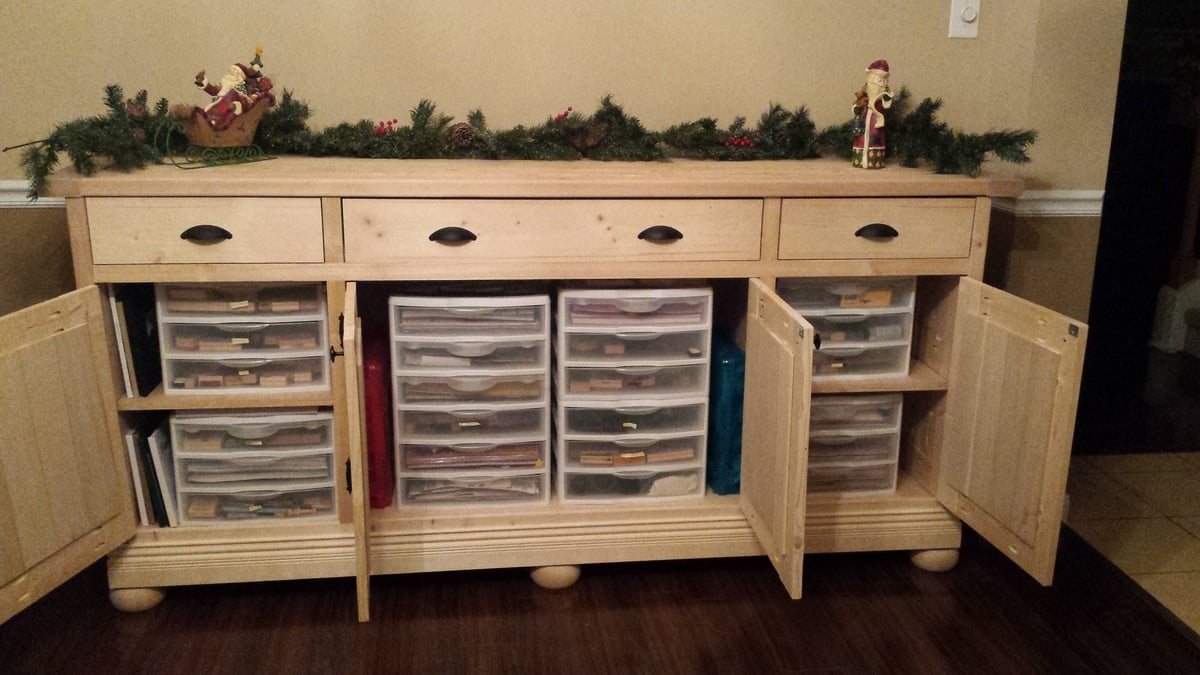
I was looking for something to hold my scrapbooking supplies. I want to use my formal dining room as my craft room but have the illusion it's still a dining room. This plan was perfect. This was my first time building anything from Ana's site. I added feet to the bottom to change up the look just a little. I also used a more detailed base molding. I also added some support to the bottom to have somewhere to attach the feet and distribute the weight of all my scrapbooking supplies. The best advice was to leave the top off until the end. I also waited to attach the back till the very end also. I thought I'd have the most trouble with the drawers but the doors ended up being the hardest part for me. Overall I'm very happy with the buffet! I haven't decided how I'd like to satin it yet. I'll eventually get that done! On to the next project. :)
Comments
Ana White
Fri, 11/21/2014 - 09:27
Oh that's cute!
Oh that's cute!