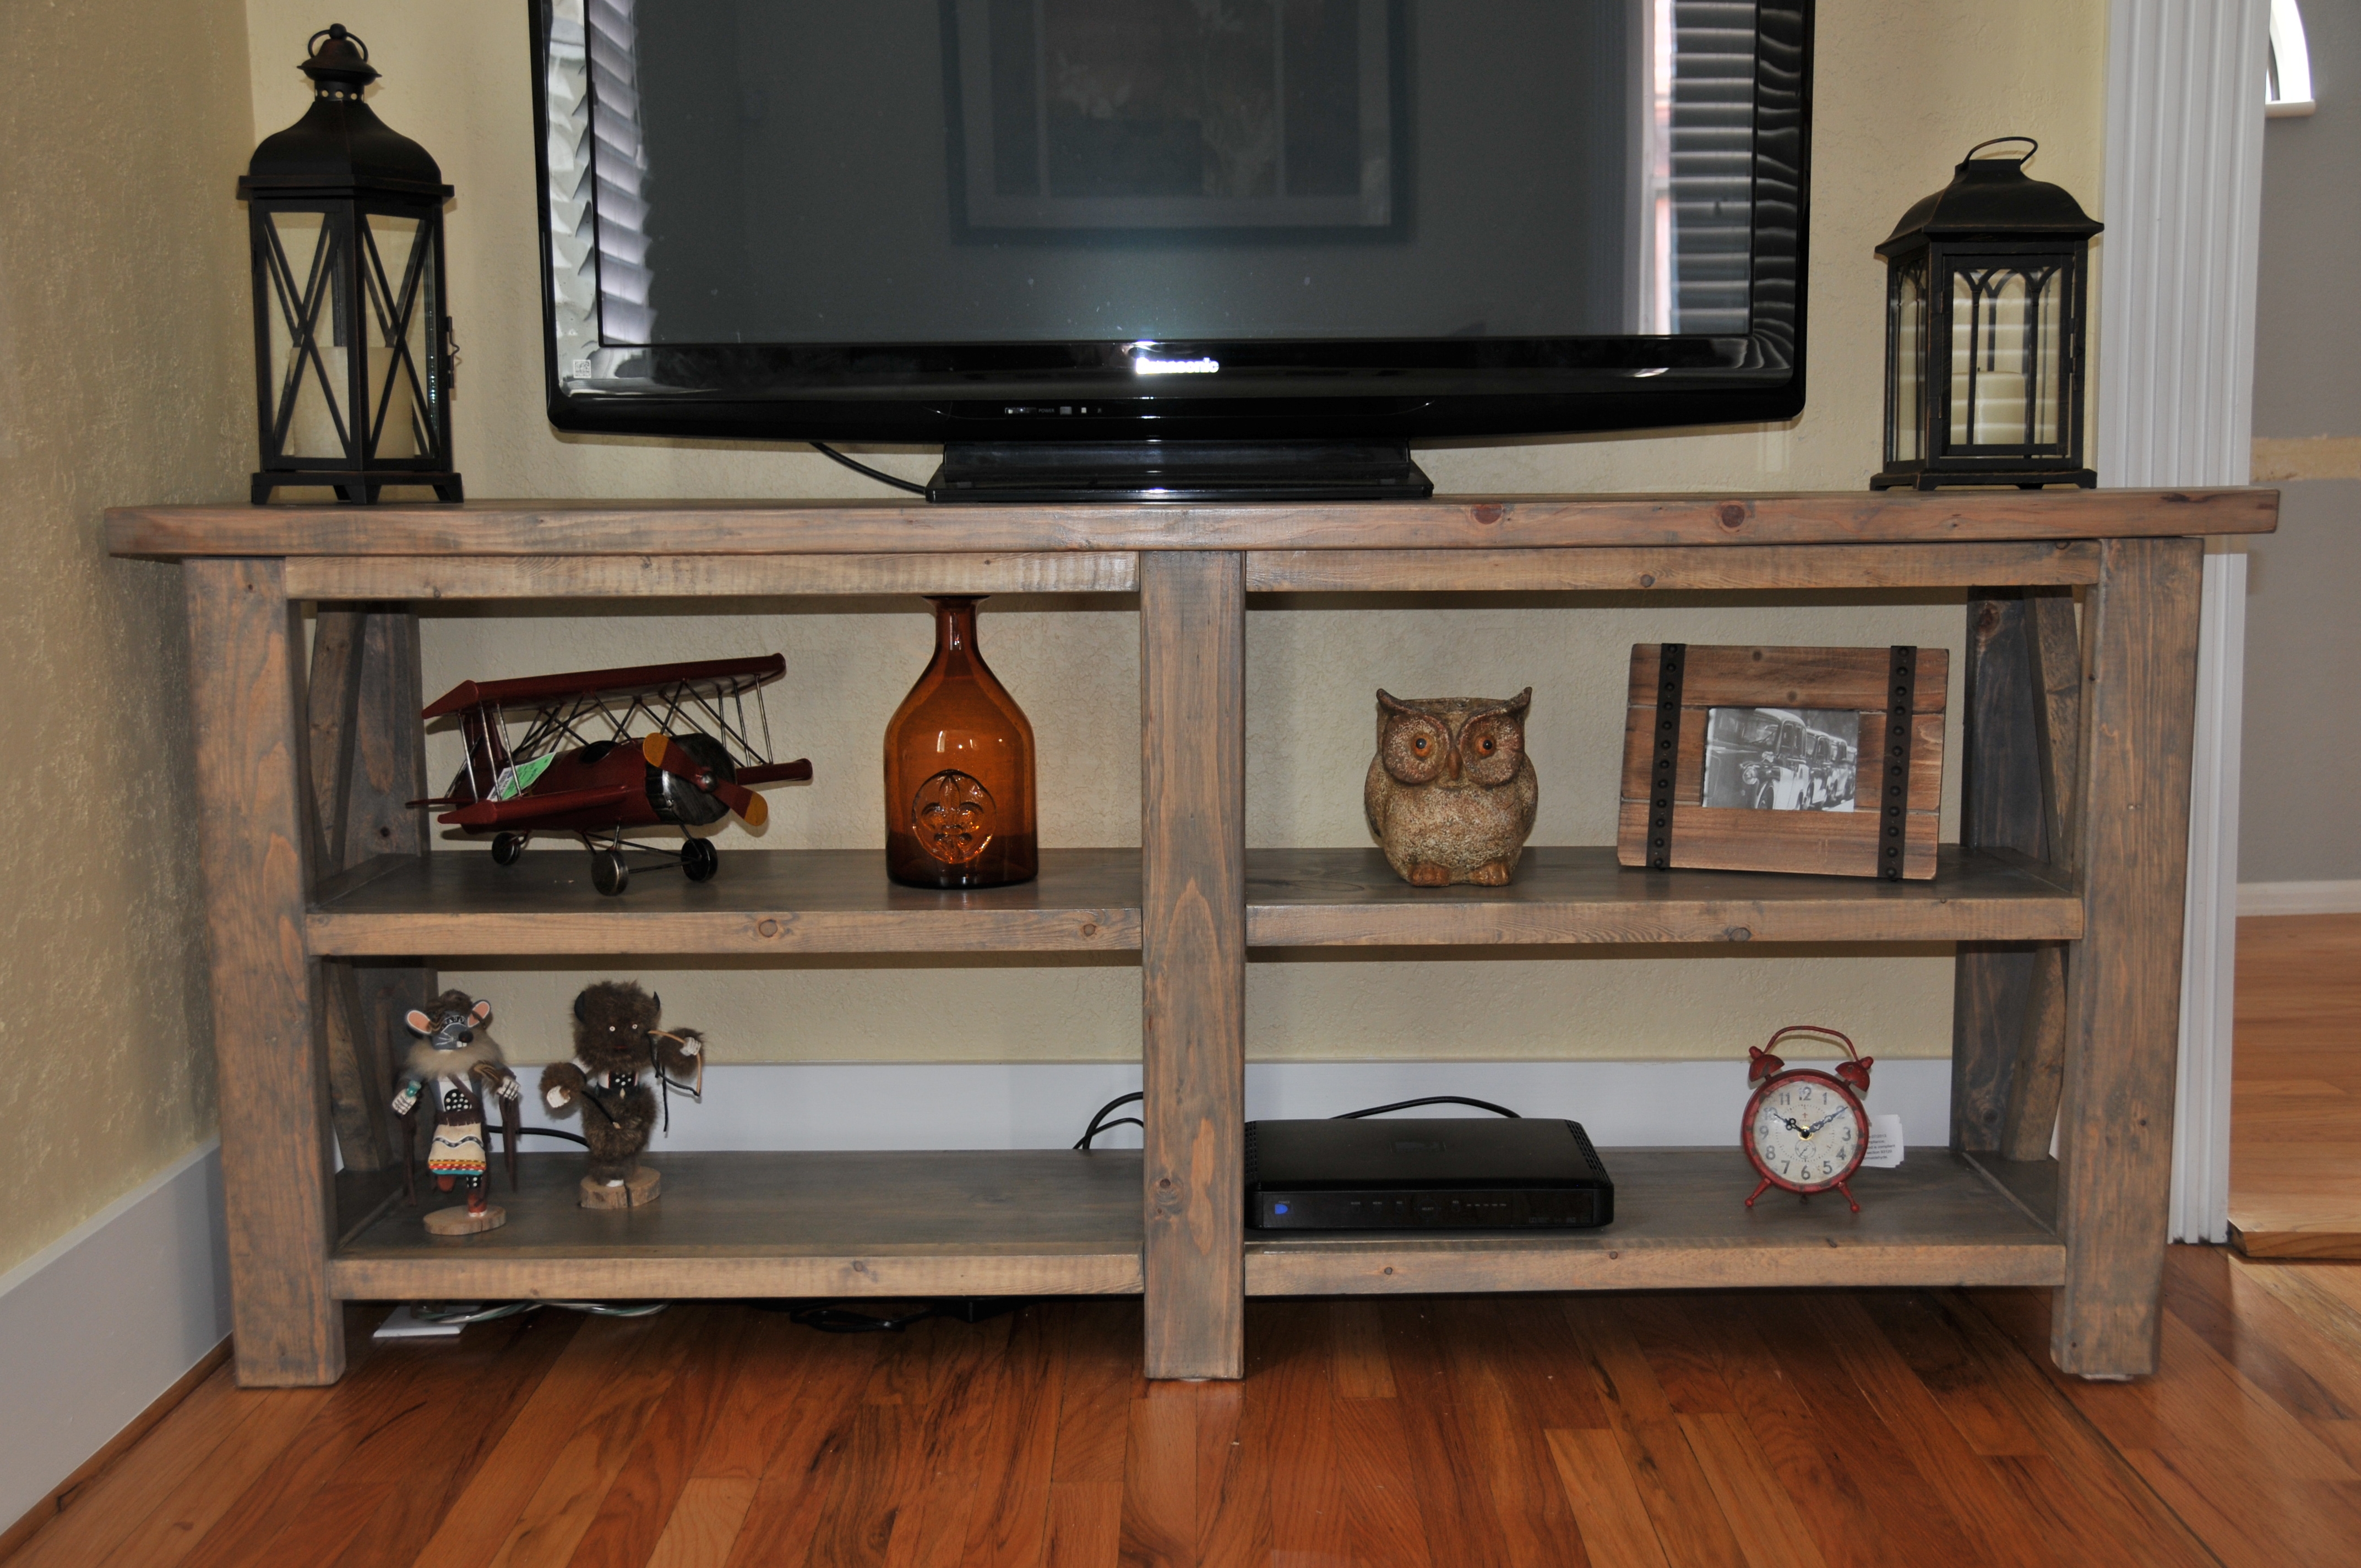
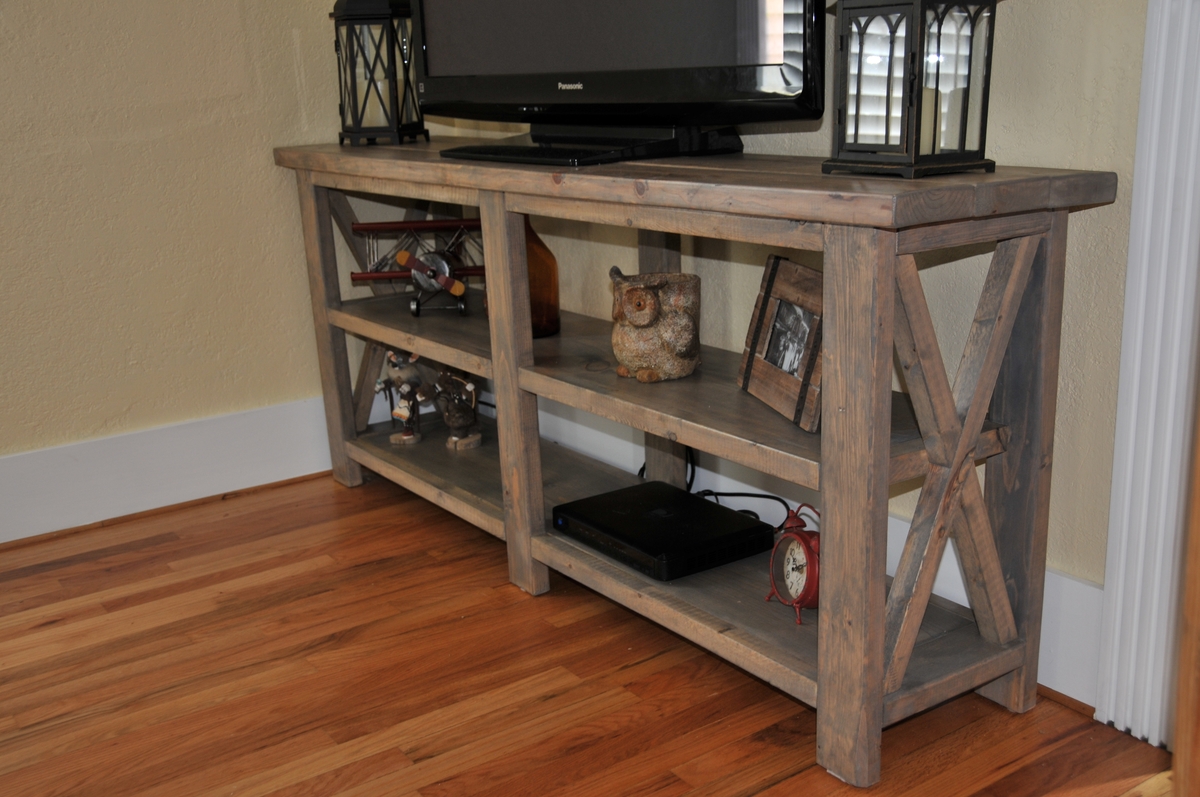
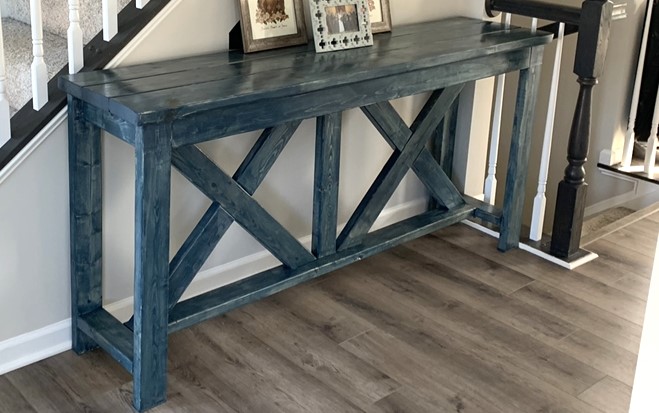
Grandy Console with a Little Crown
Beautiful console, added crown molding - By Cassandra Wentt
Built from Plan(s)
Beautiful console, added crown molding - By Cassandra Wentt
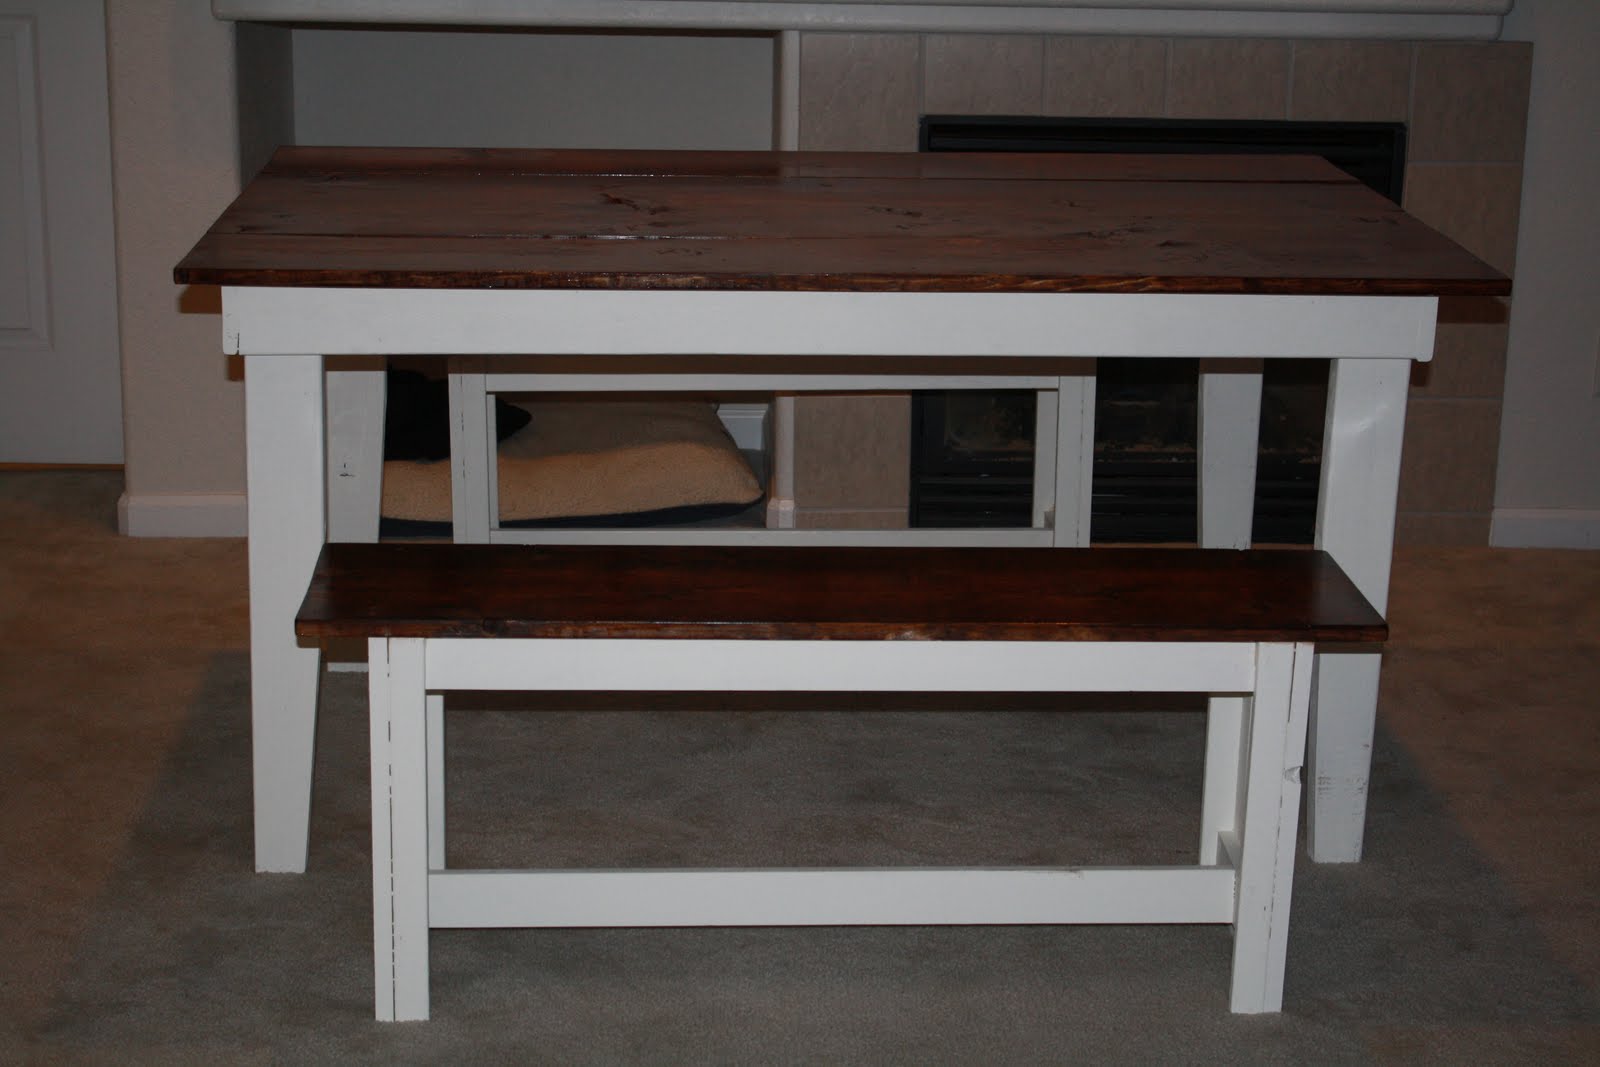
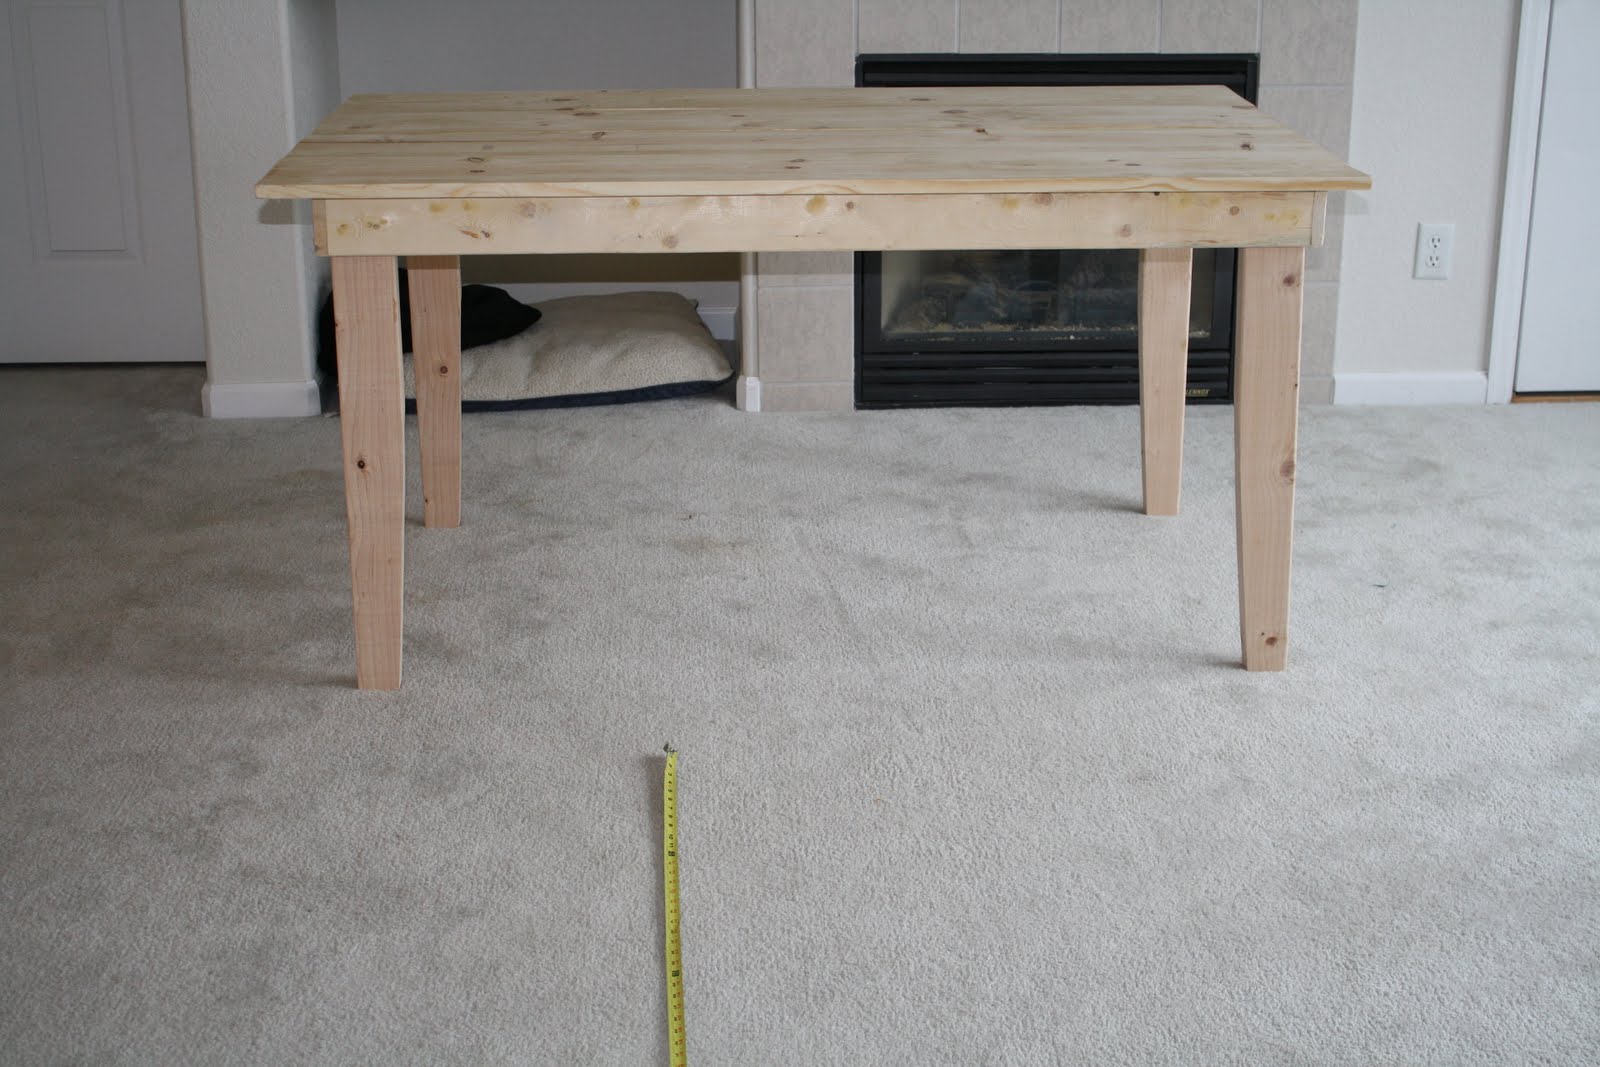
We built this table in a weekend. I love the finishes, especially the tapering on the legs!
My second build, built the X coffee table too. But had to share that the Property Brothers used a table just like this plan in their show!

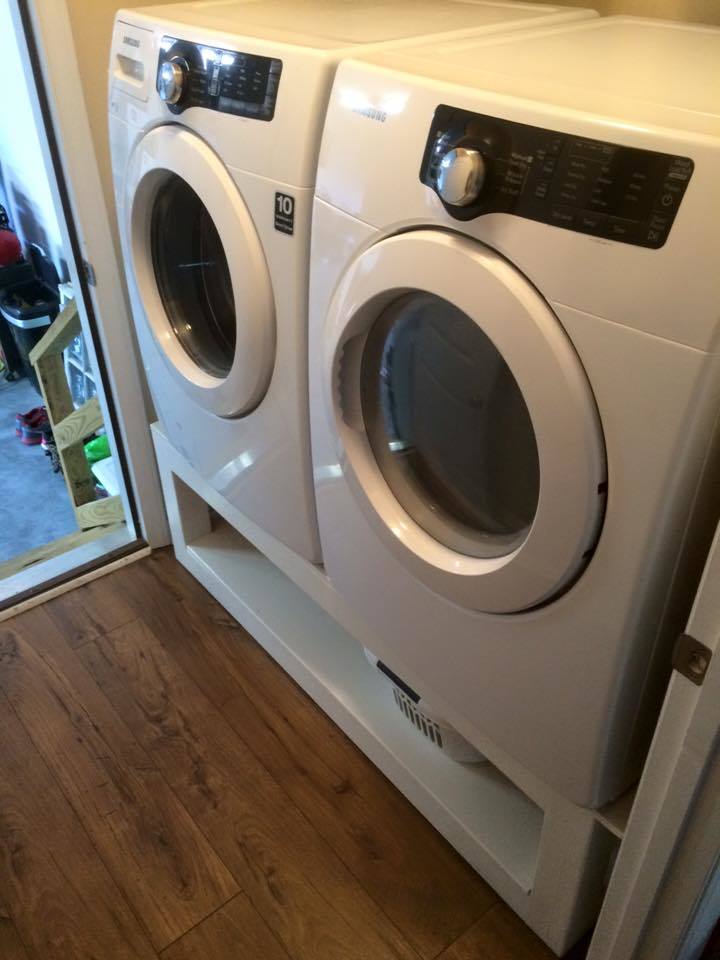
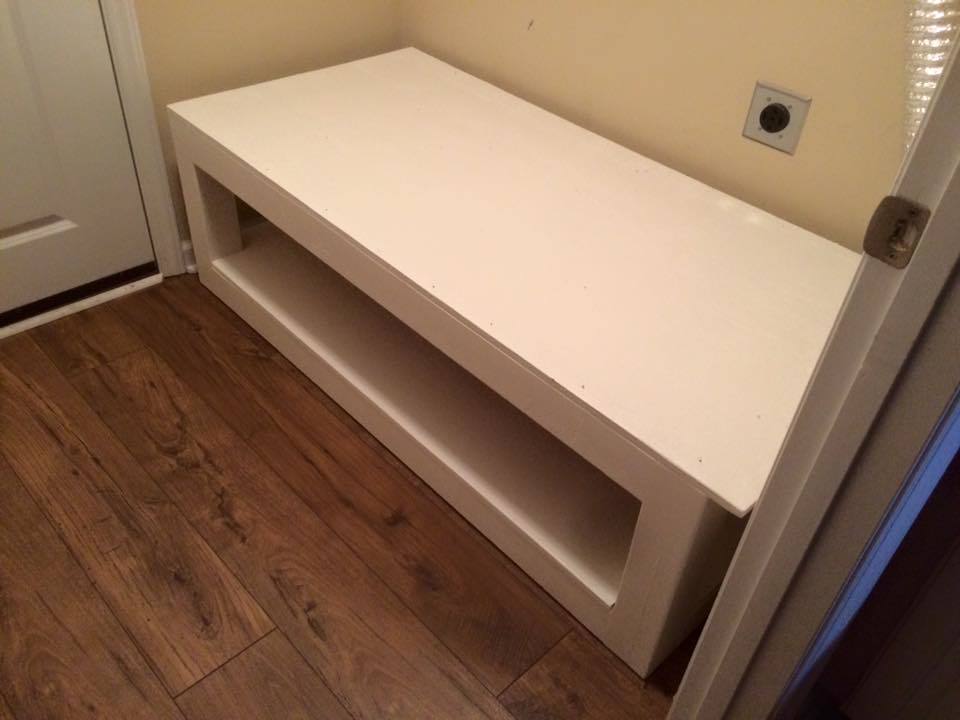
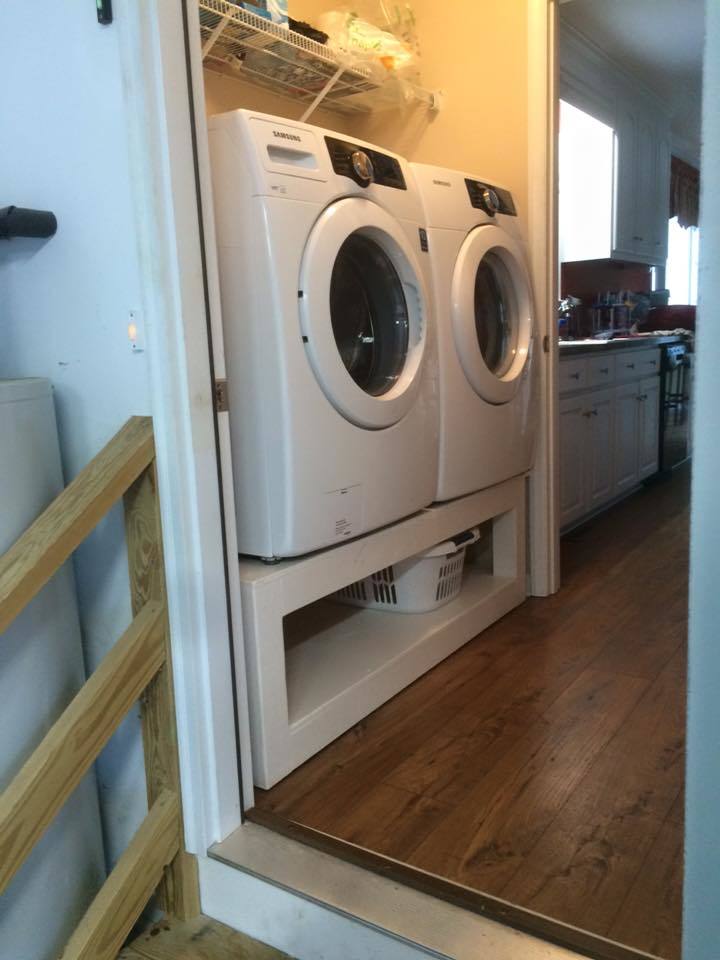
my wife tagged me on facebook right before Xmas with the plans and picture of this, so i dusted off my tools and built her one as a present. its not only great for her but it makes the laundry easier for me as well. I had to mofidy the base of mine because my dryer vent comes up through the floor in the corner.

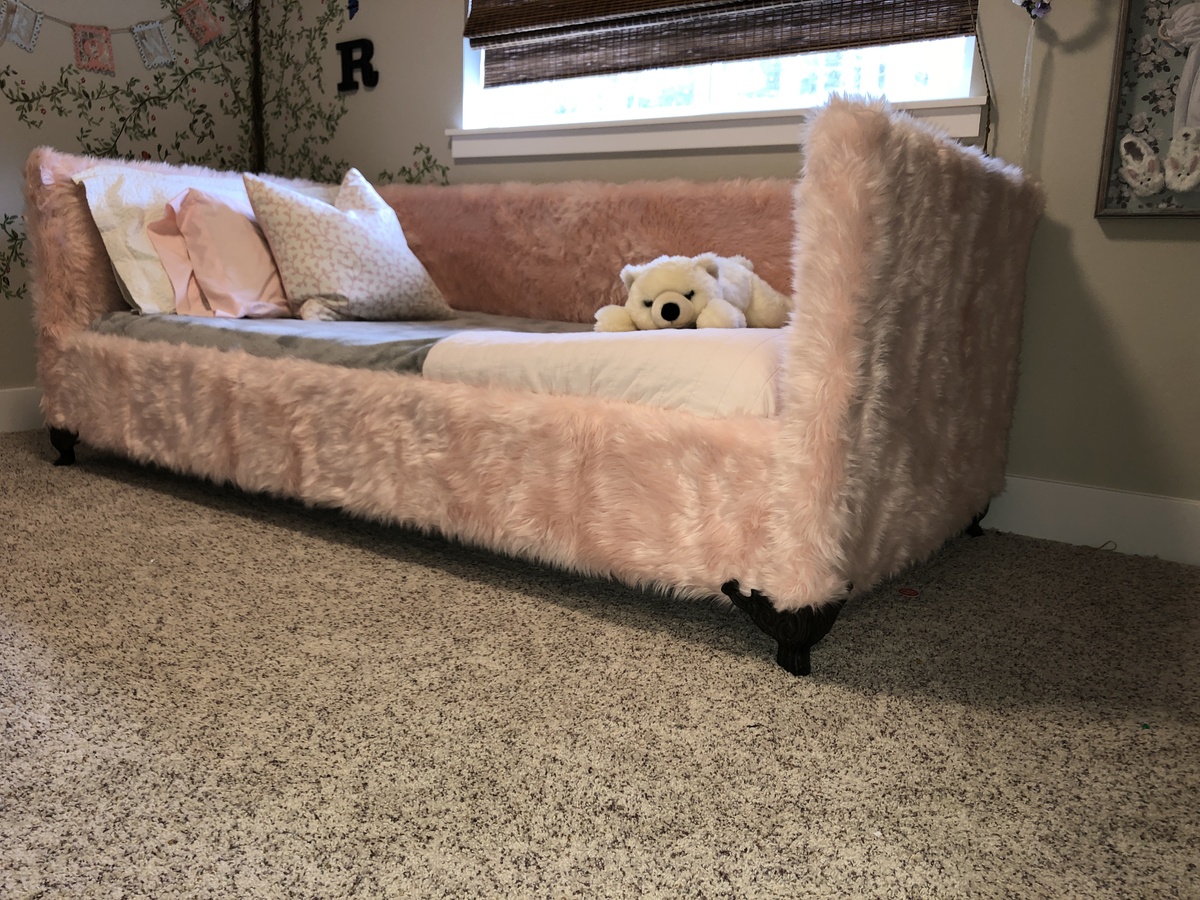
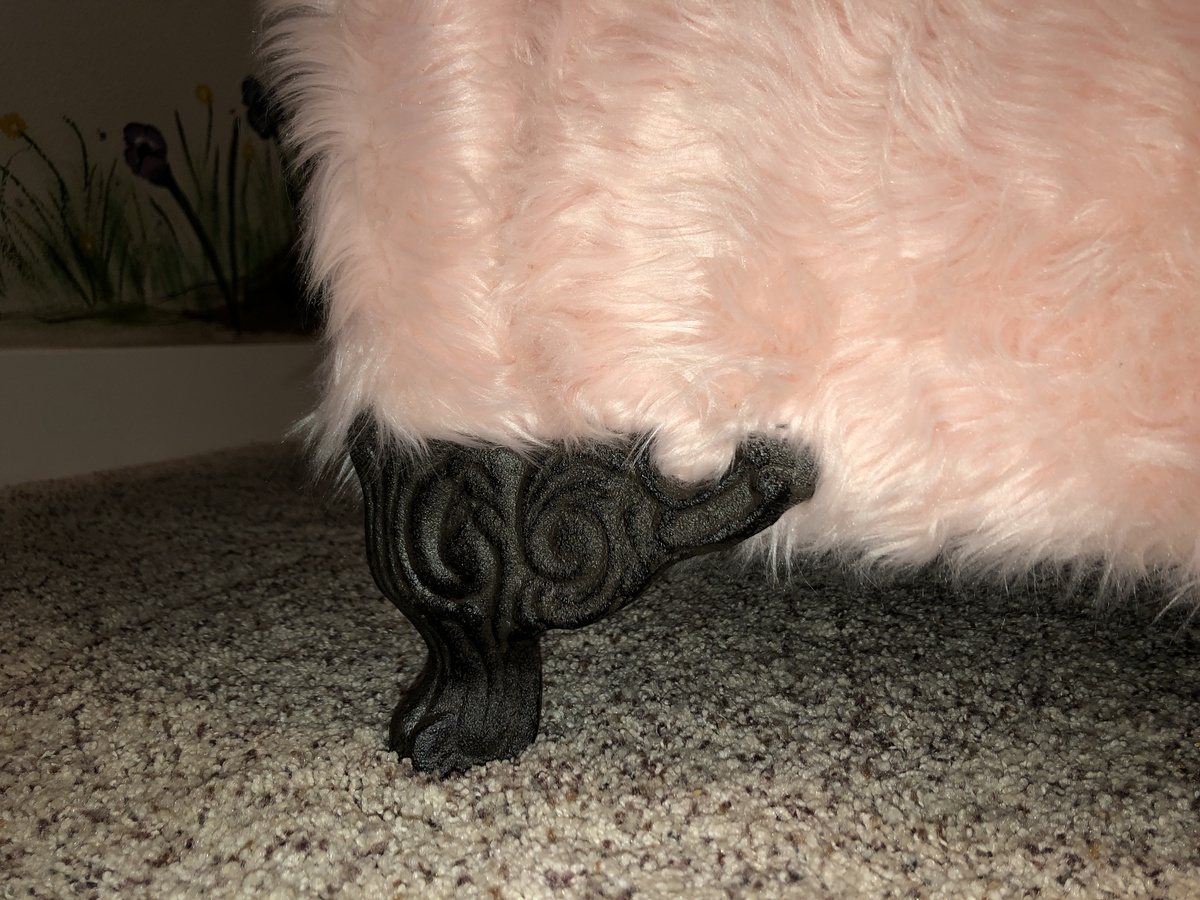
I am thrilled with how my daughter’s bed turned out. I used the basic pink fur bed idea, and tweaked the plans to meet our needs. I found iron chair feet at Hobby Lobby, and prefer them to the hairpin legs. Thanks so much for the idea, Ana!

Mon, 04/08/2019 - 12:35
You made my day by posting this!!!! Thank you so much, what a beautiful piece! Ana
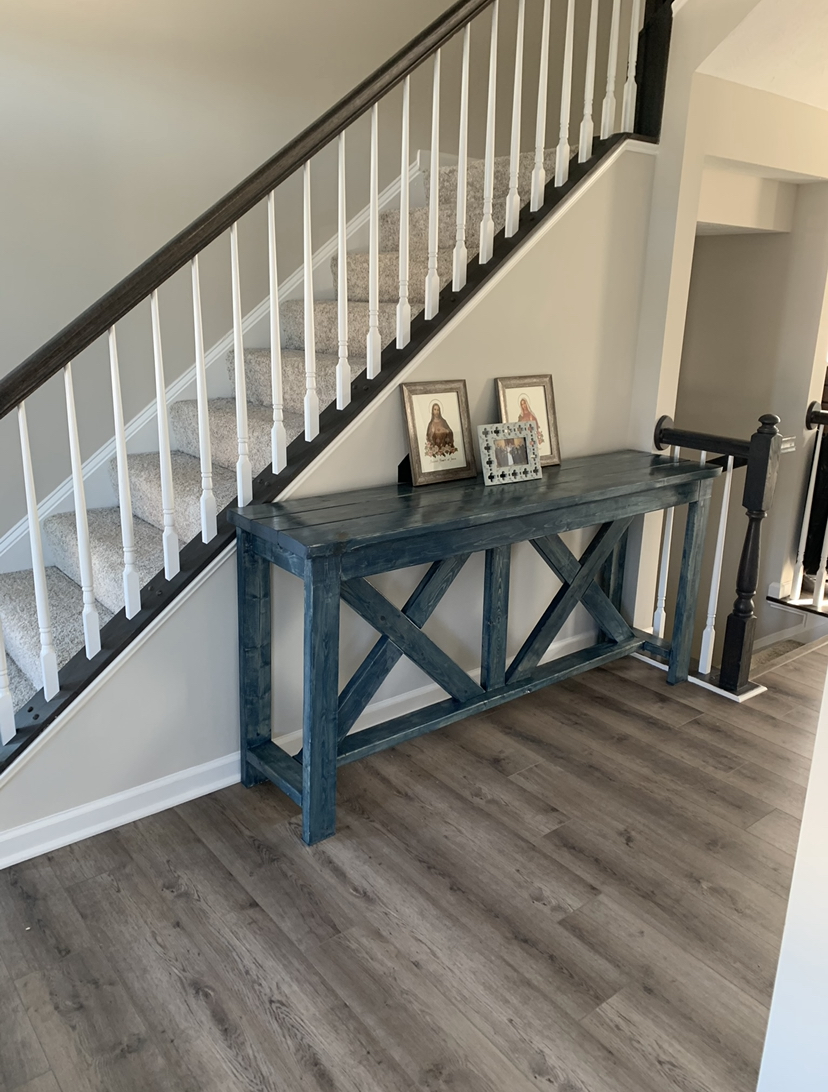
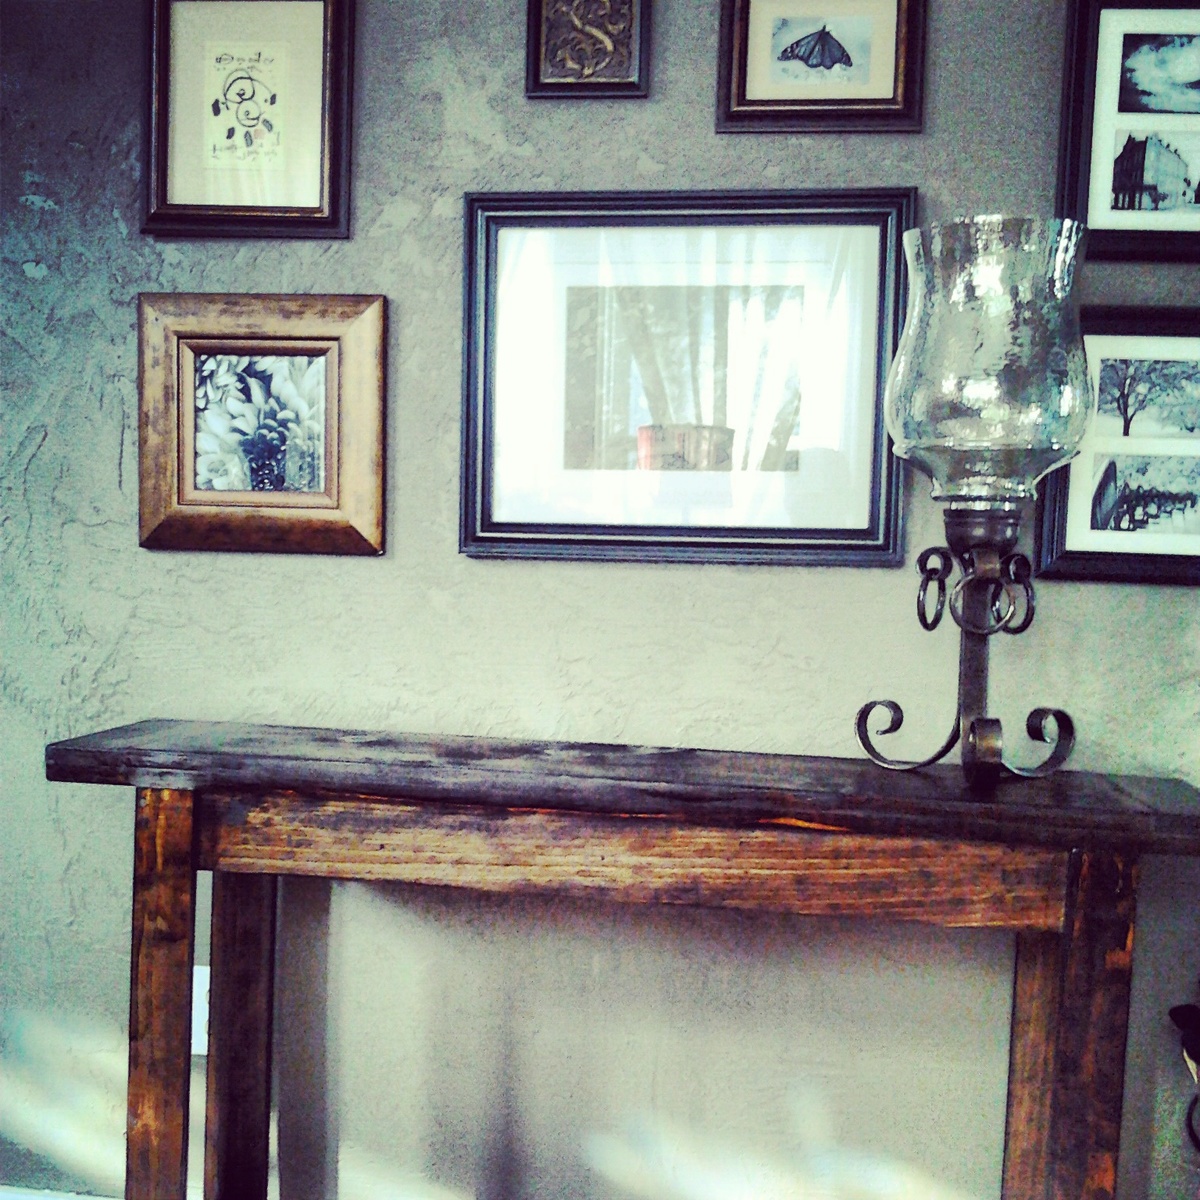
I built this farmhouse style entryway table while we waited for our house to be completed. It was the first of many projects I dreamed of completing. After it was done, I used a “navy” stain that wasn’t quite what I had planned but ended up bringing color to the area.
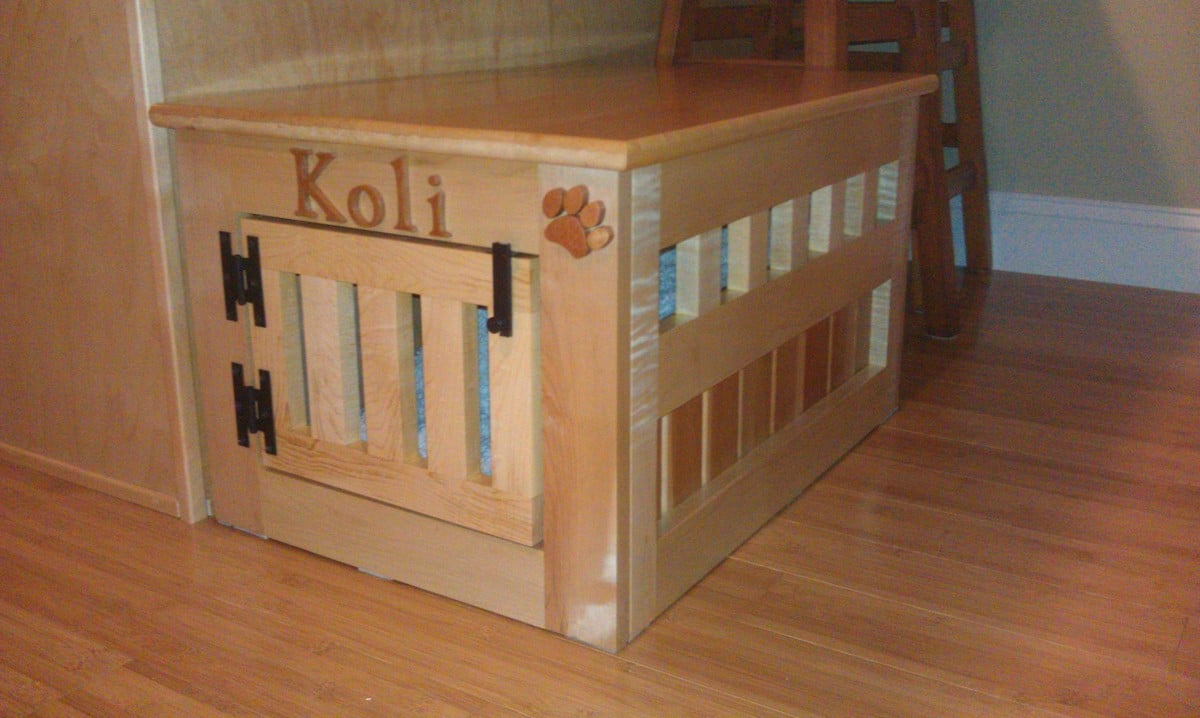
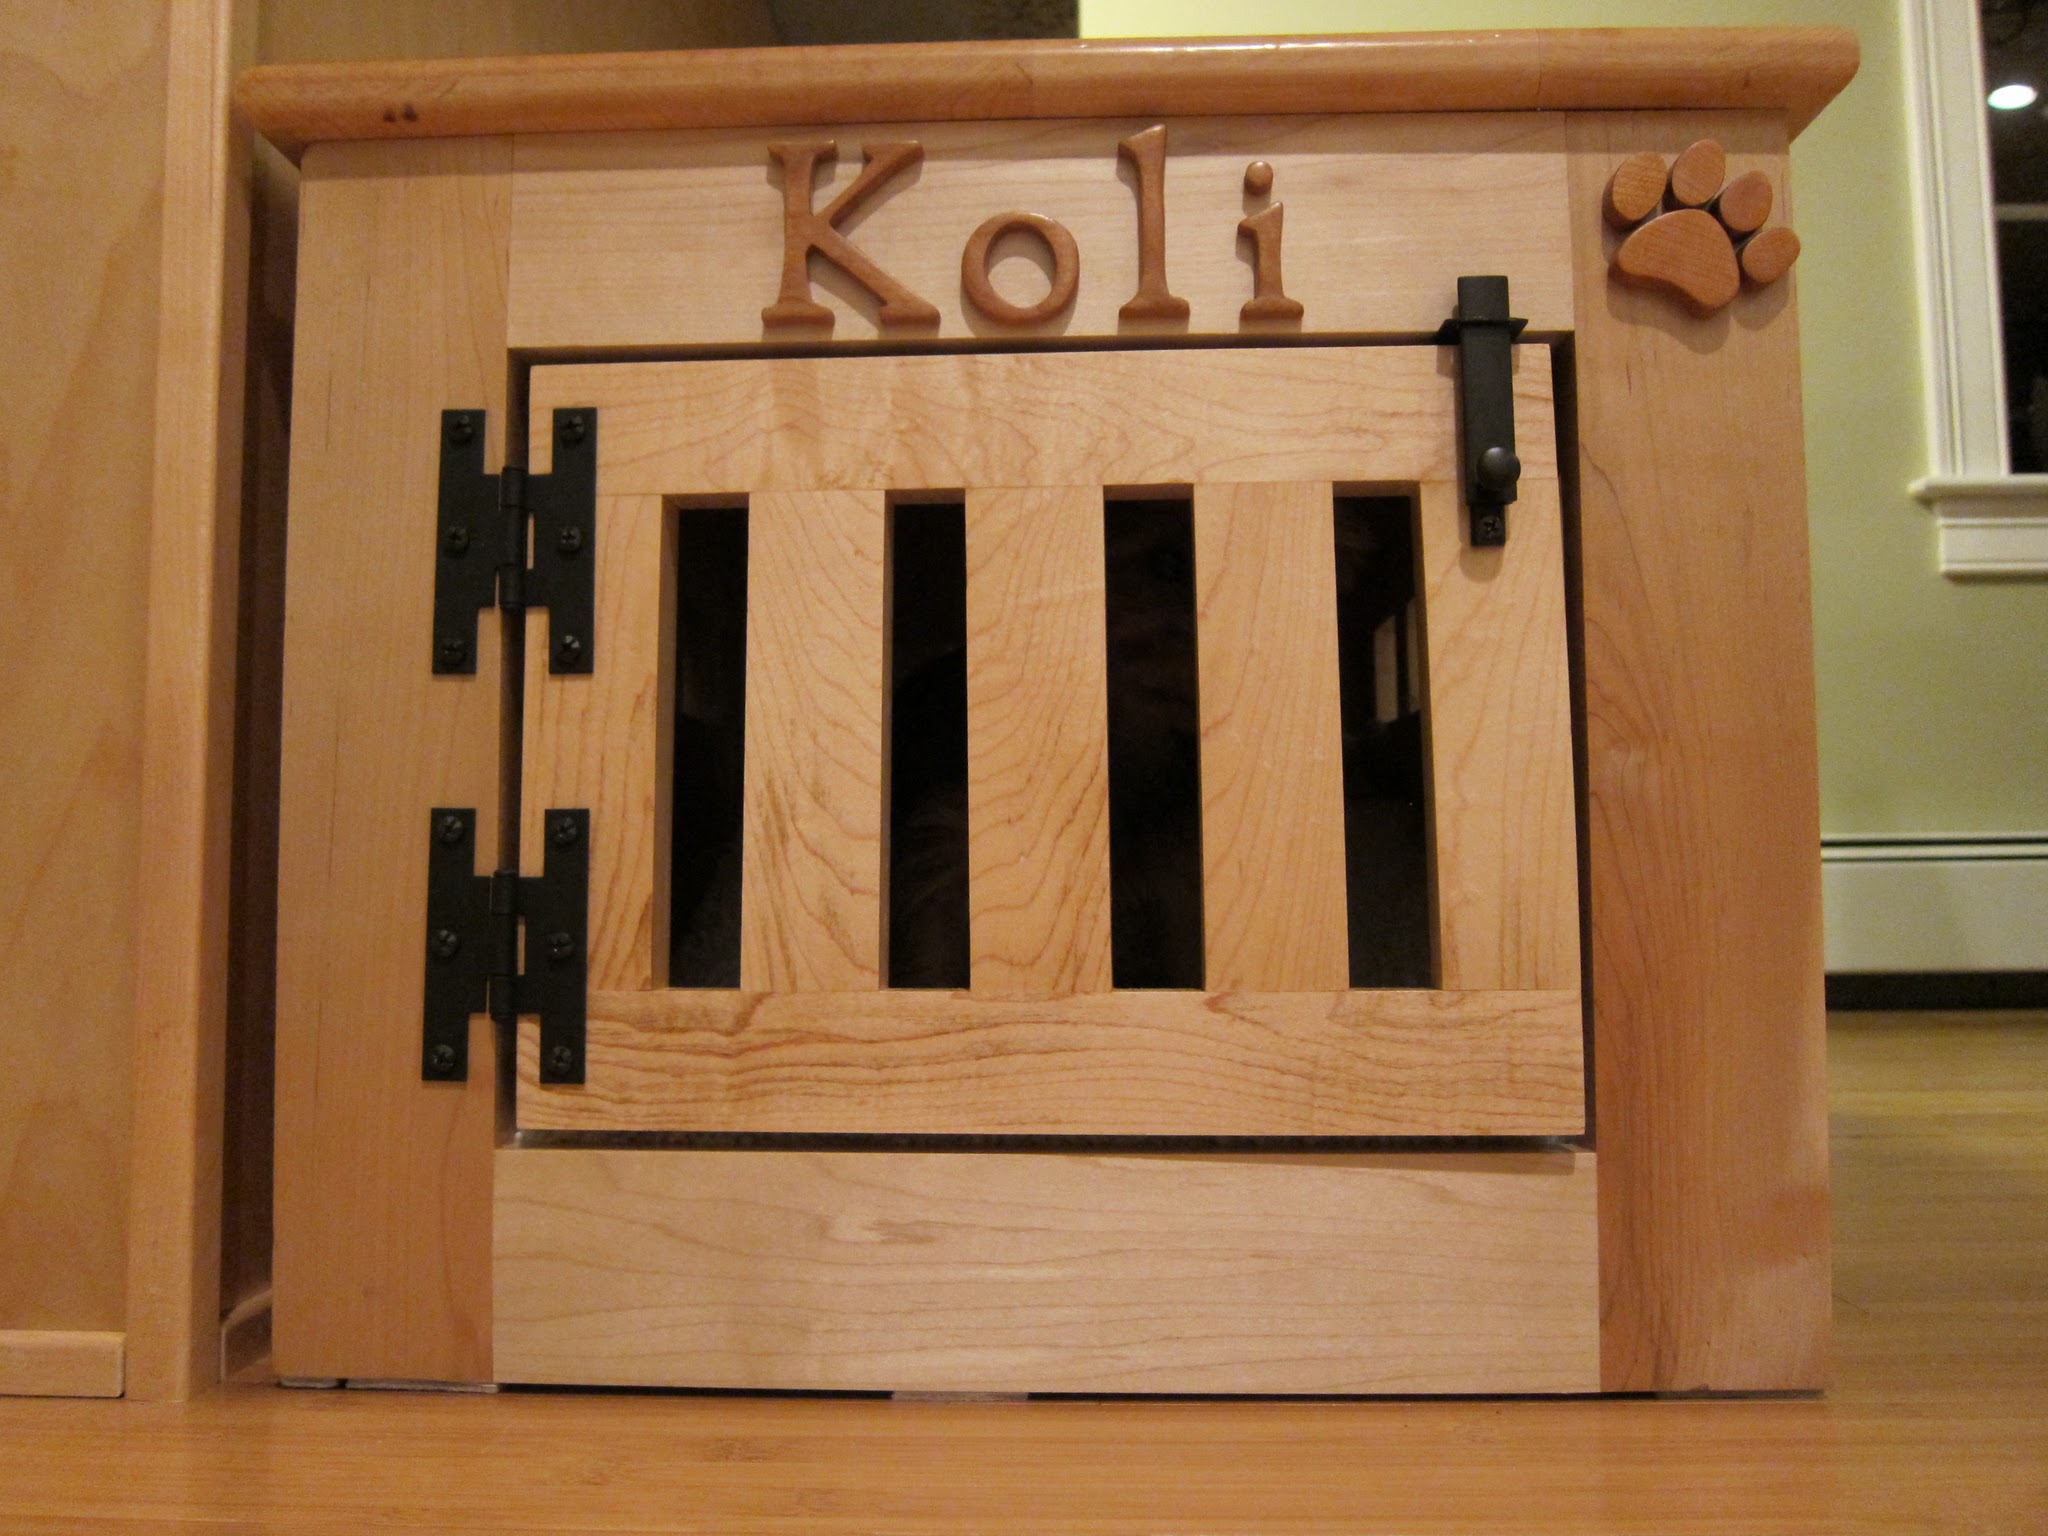
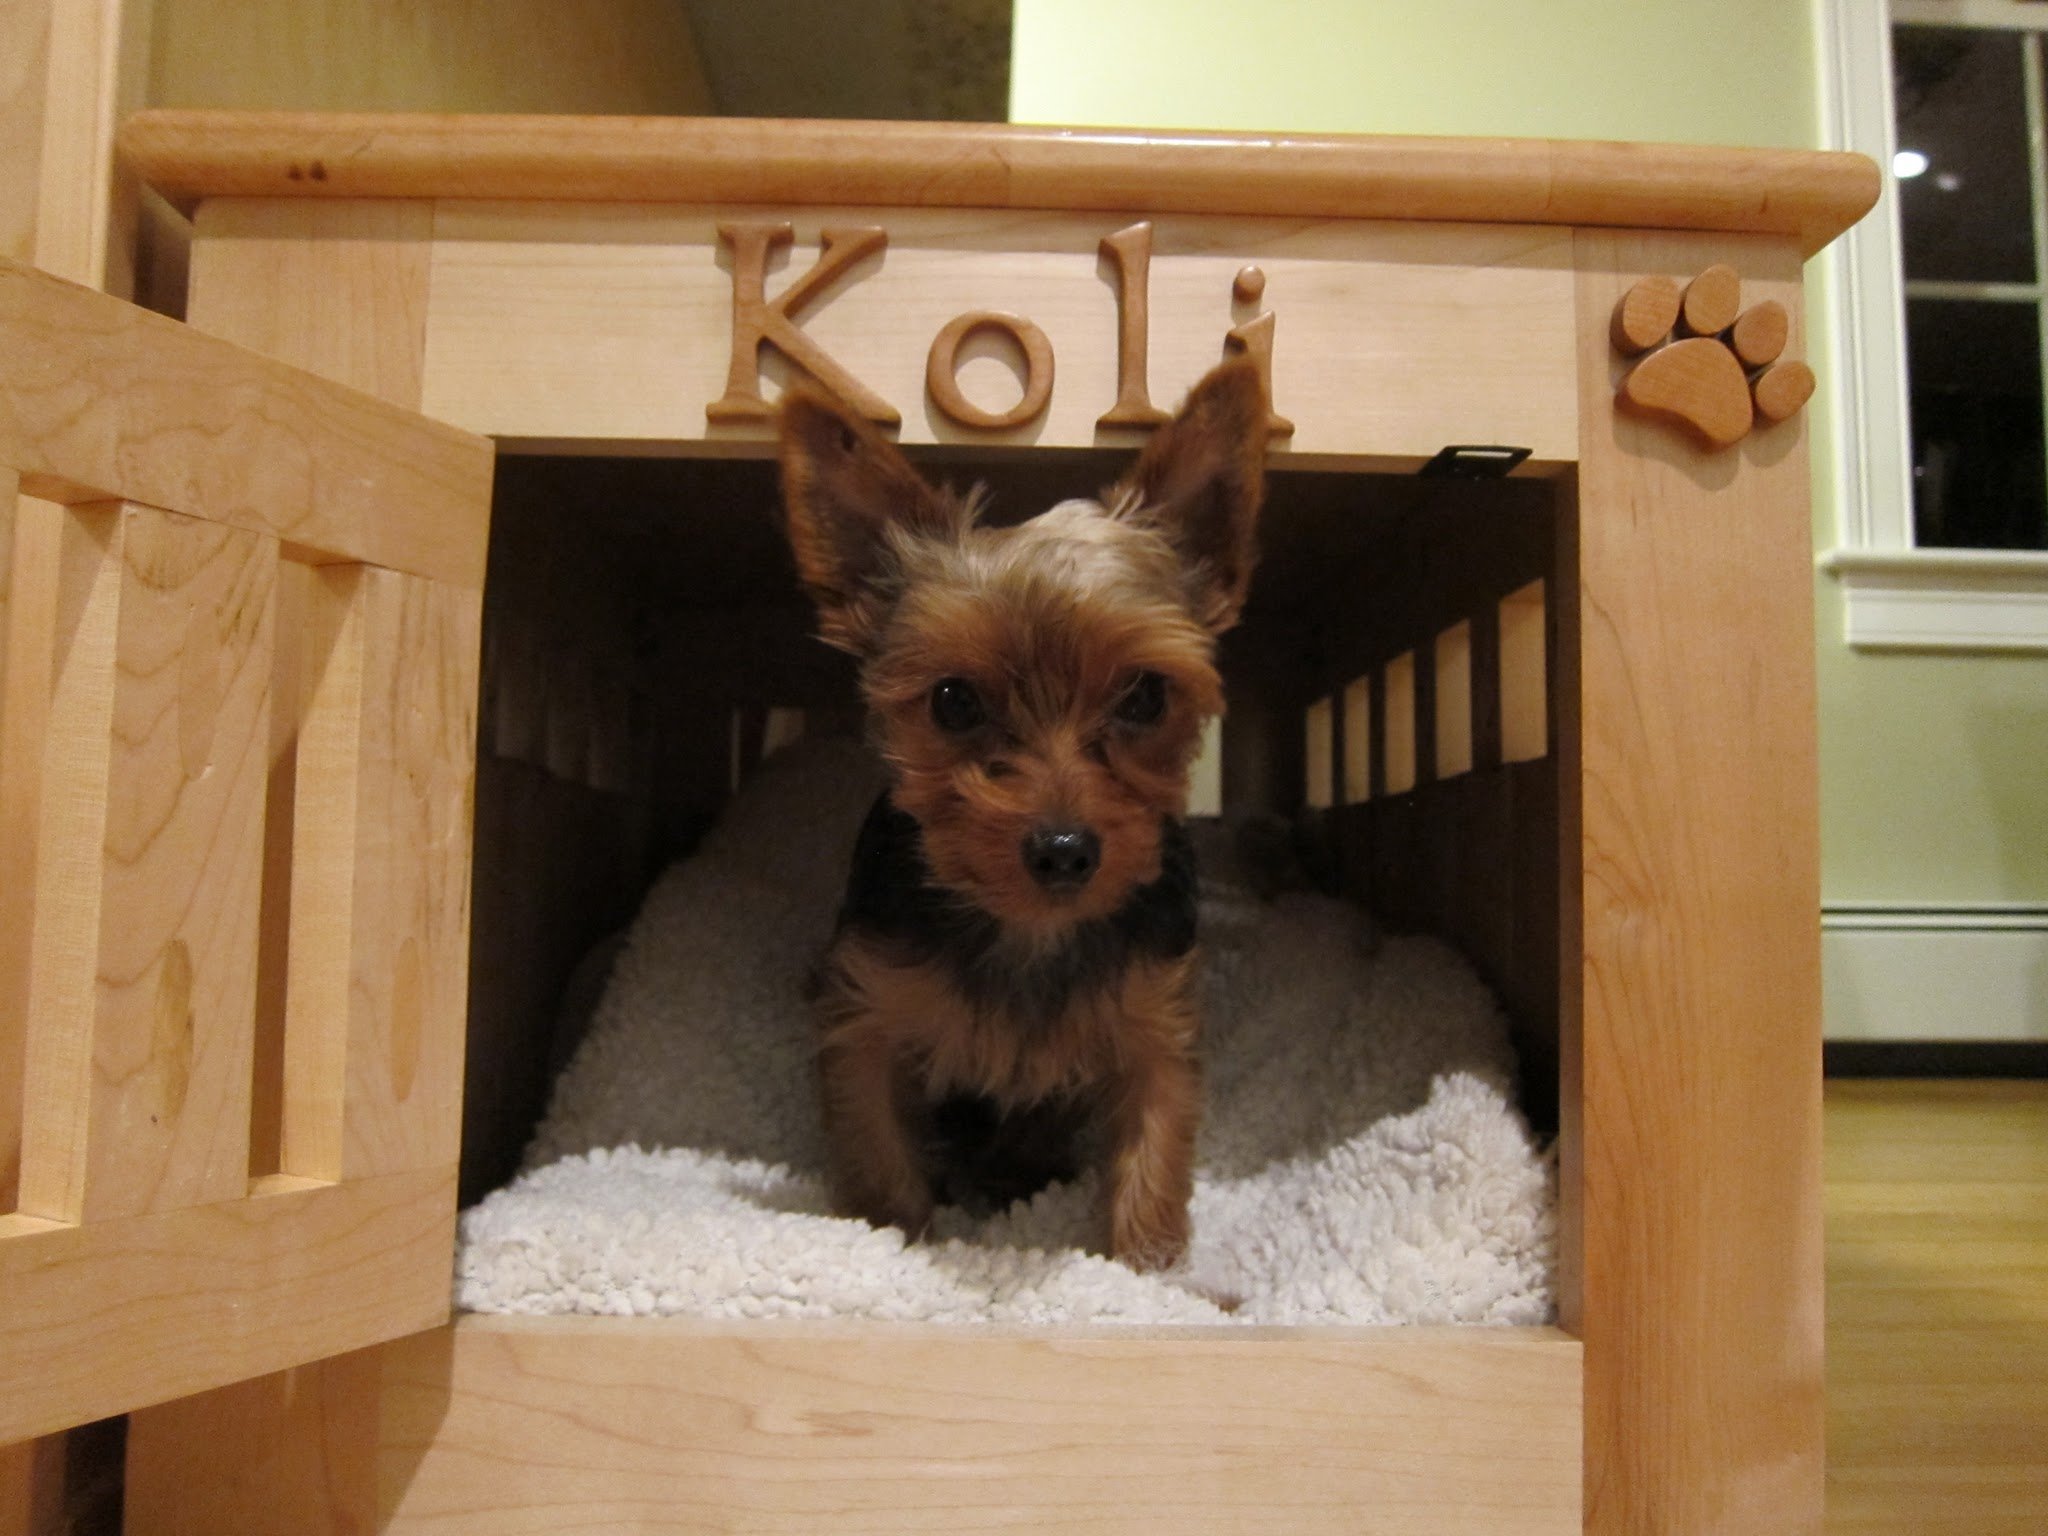
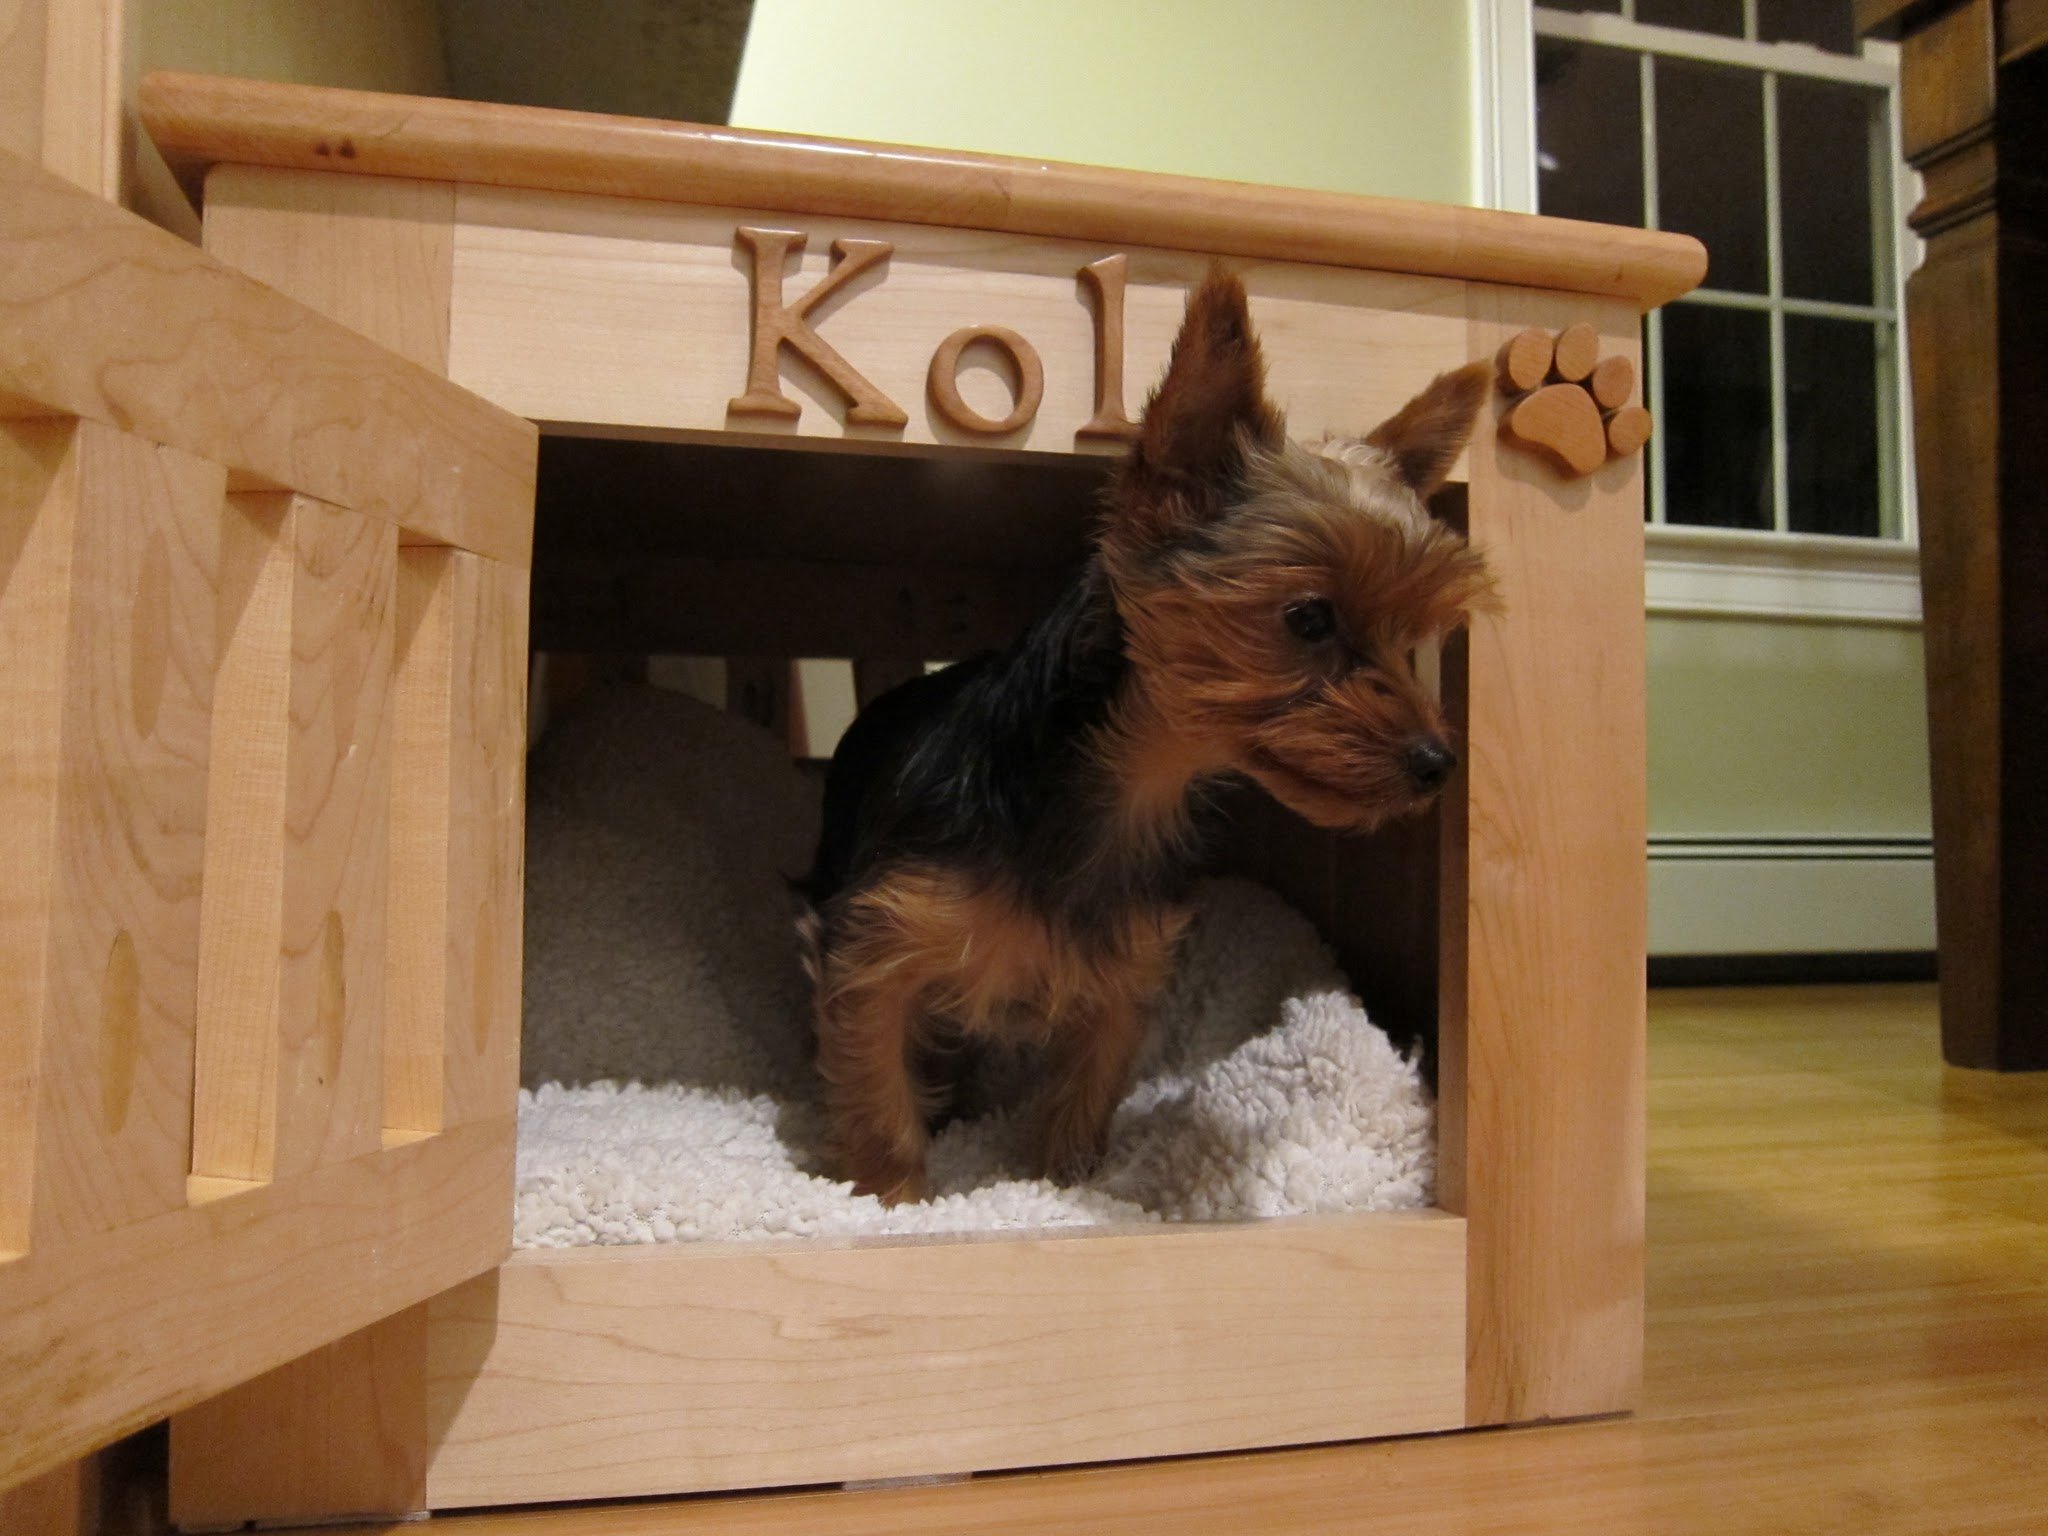
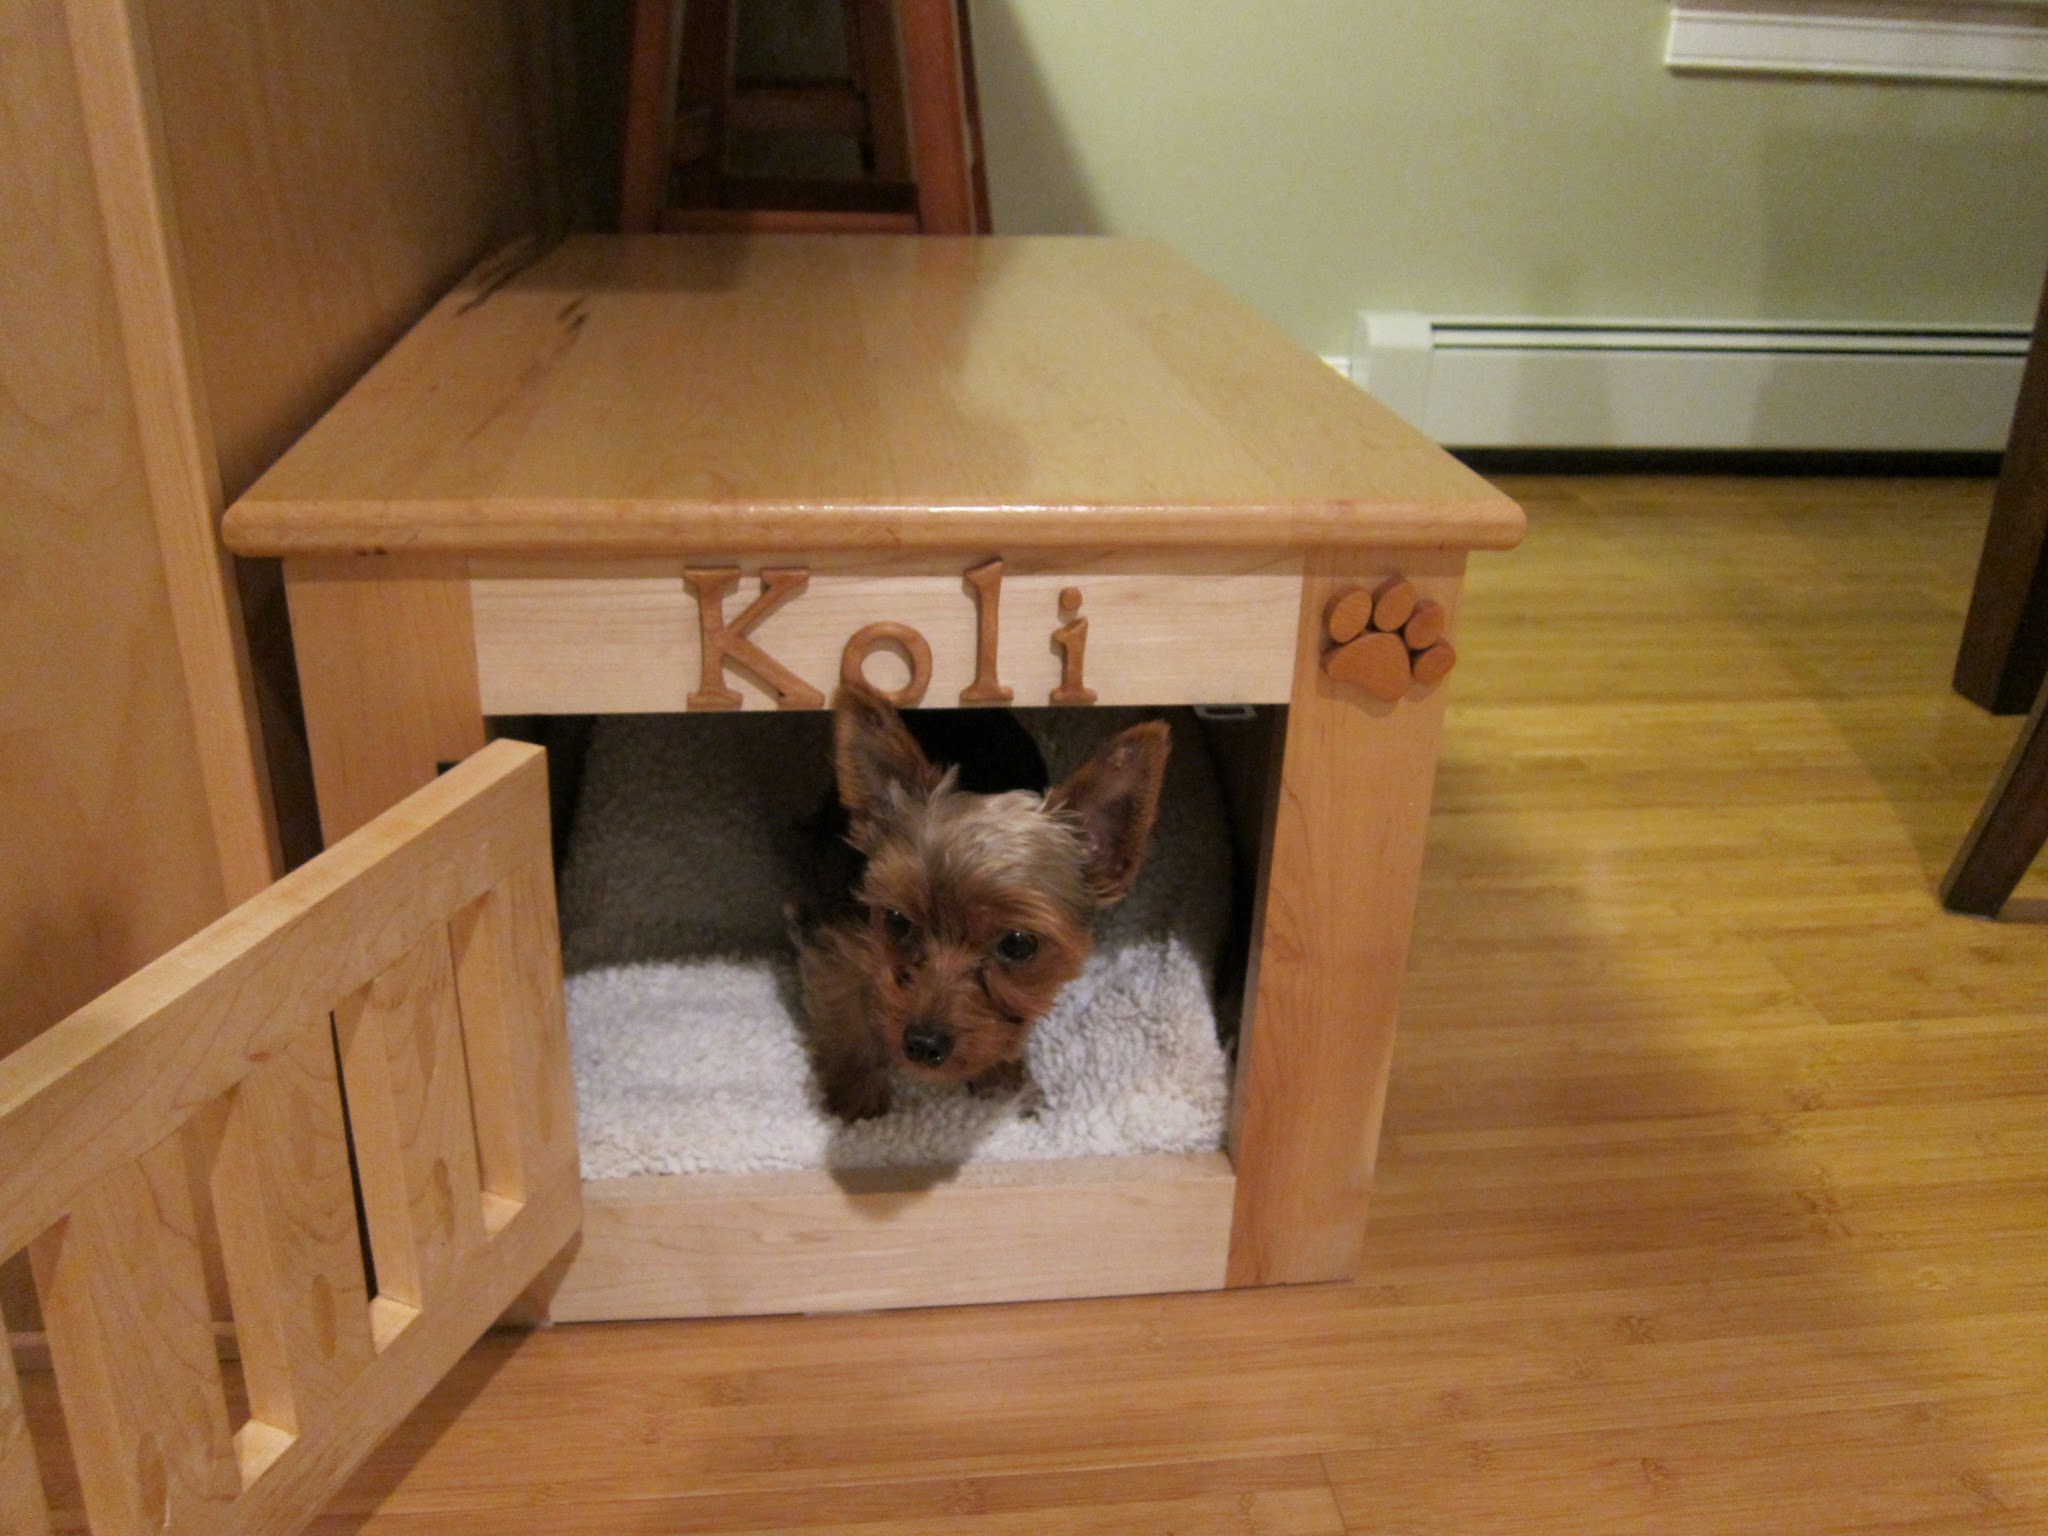
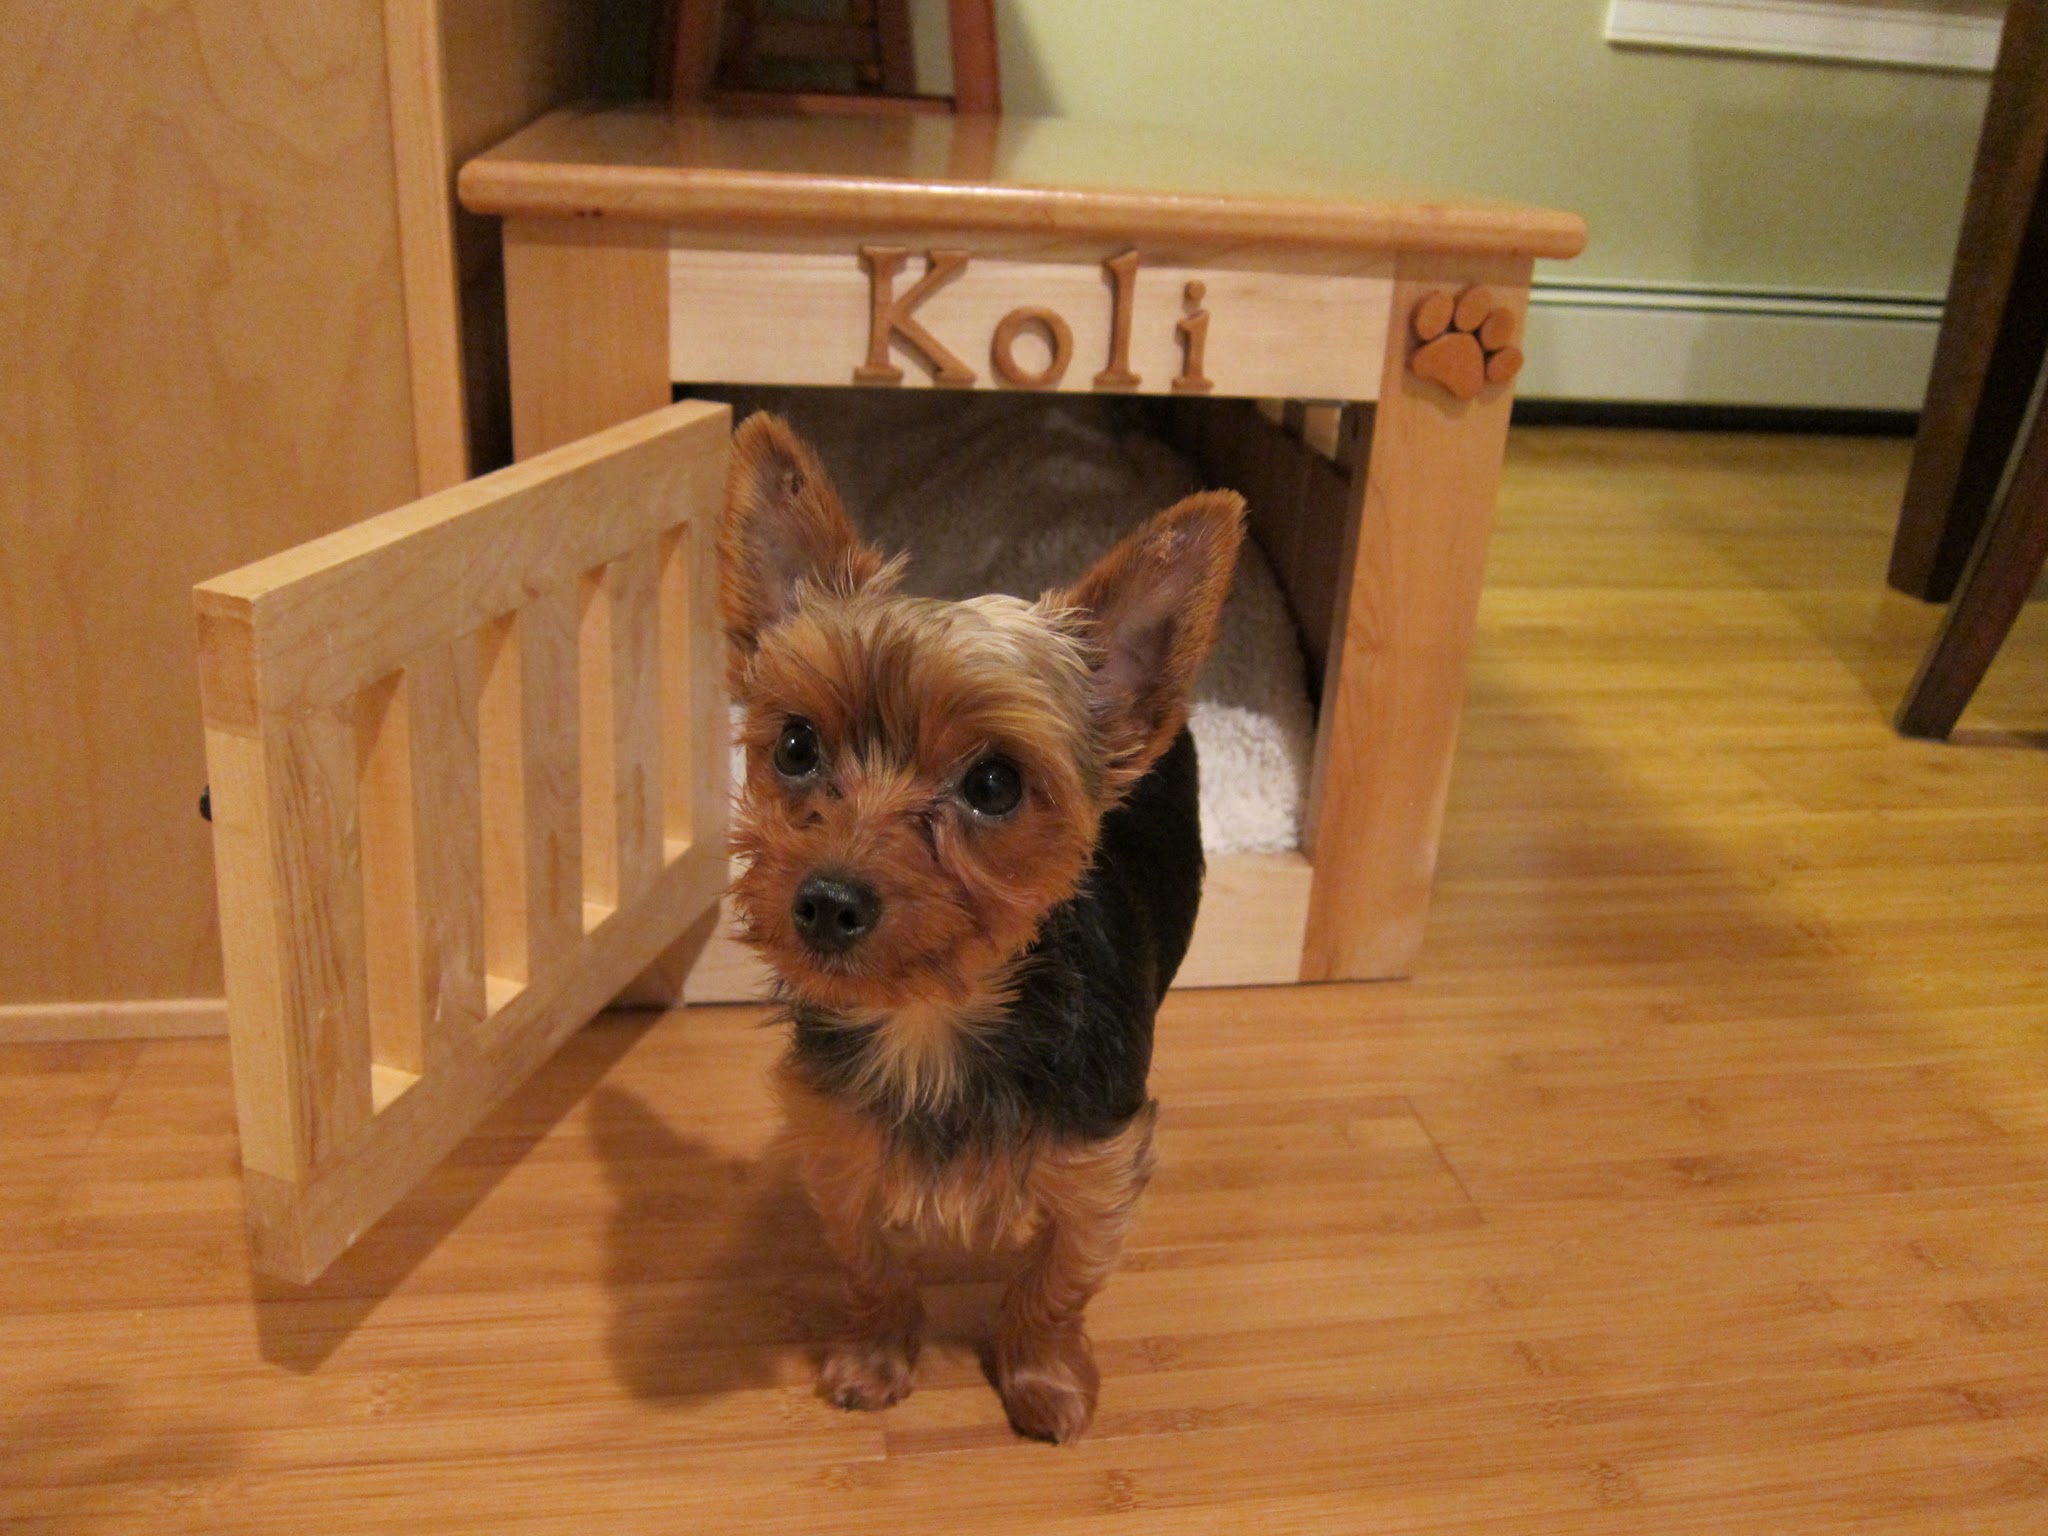
Smaller version of Ana's Dog Kennel. Took me about 3 weeks (working on weekends and few hours after work). Made from maple and cherry.
Sun, 11/06/2011 - 16:07
This really looks fabulous! Great job!
As a 'dog family', we always have rescues and visitors on board. This looks so much better than anything I've seen in stores and for less money, too.
I'm definitely adding this to my to-do list.
P.S. Your pup is adorable, too! ;-)
Tue, 12/06/2011 - 16:44
I have 2 yorkies and would LOVE to make this for them, this is sooooo going on my todo list.
Koli is tooo cute as well!!!

My wife wanted an antiqued turquiose headboard for our beach house. Your plans and dimensions worked perfectly. I added the center support to bring the warped boards into compliance. Thank you Ana ...
i made a mudification in plans. it takes me two days to finish it.
Sat, 05/04/2019 - 13:33
Wow! That is quick work!
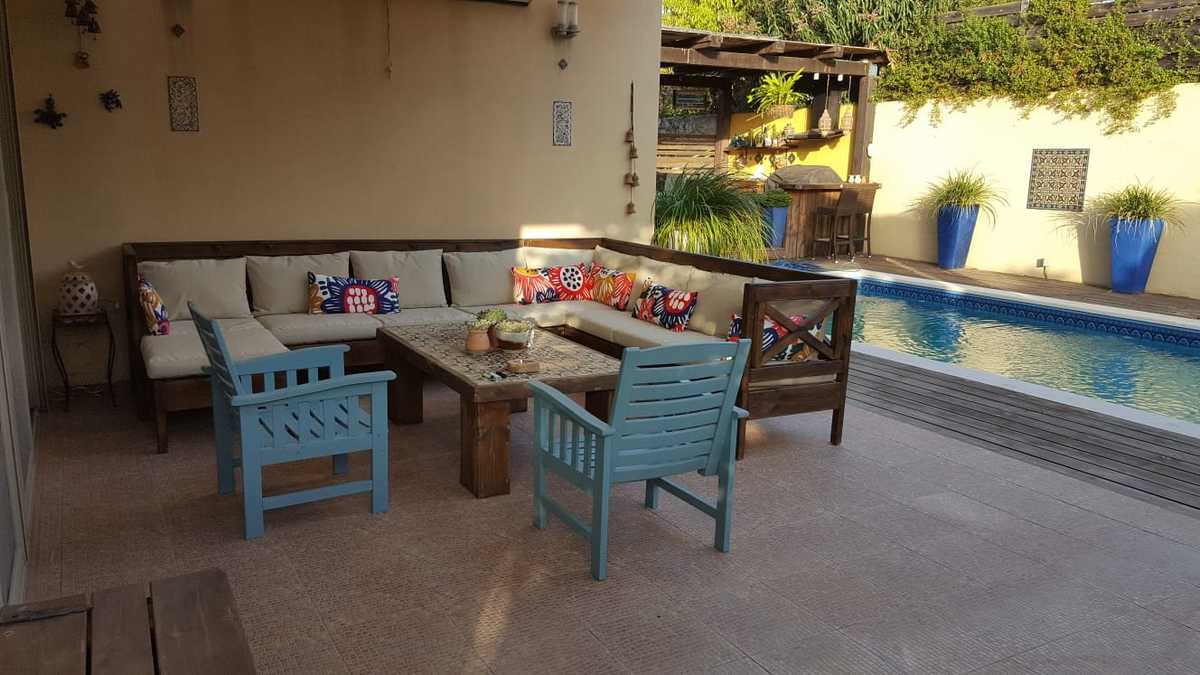
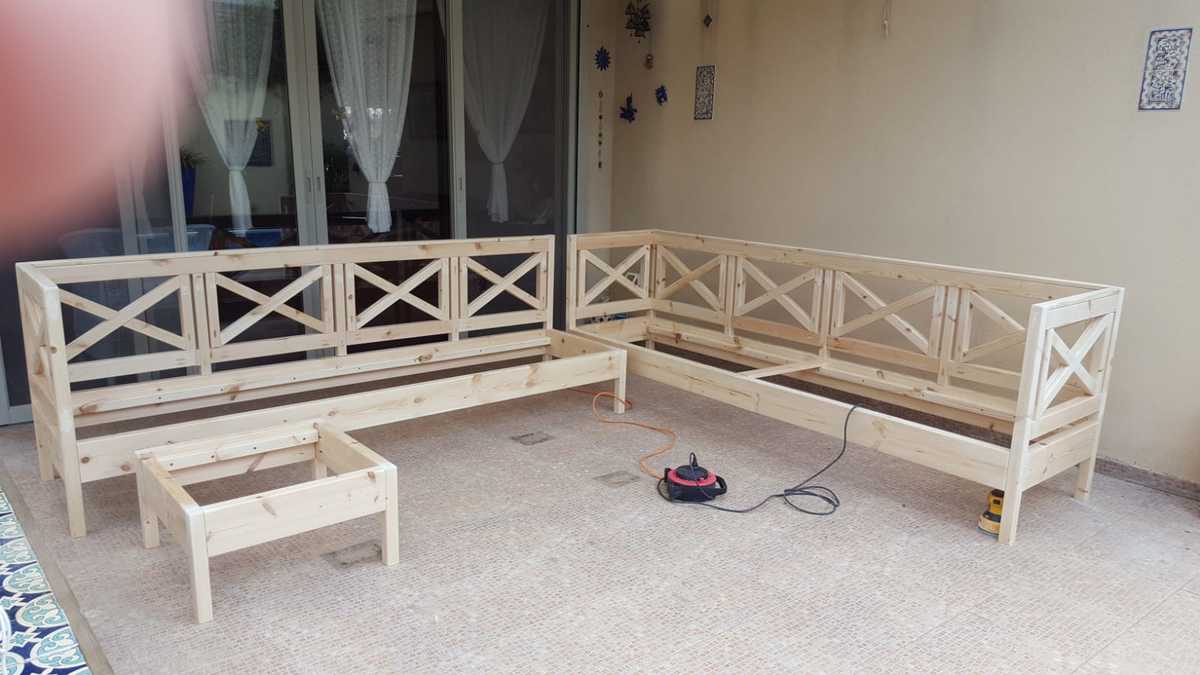
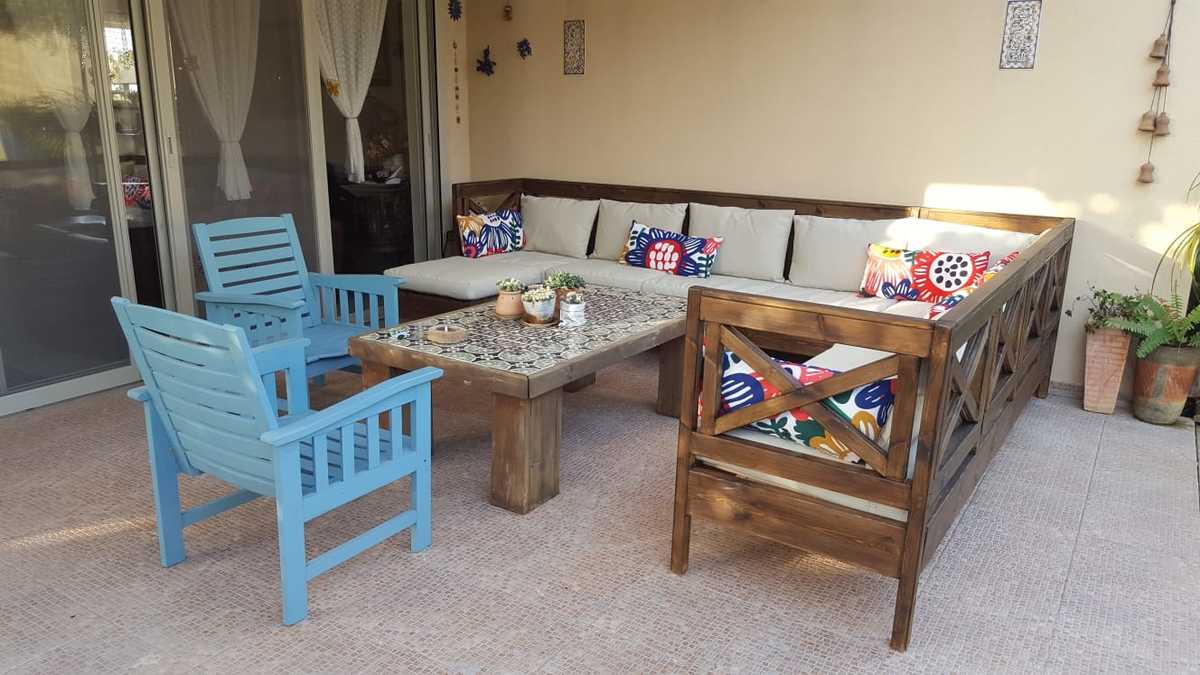
Lovely space! The X detailing adds so much.
Thank you so much for sharing a brag post!
Ana
"I built these from @anawhitediy plans online. Love how they came out. Super cute style too. I've been selling them online to support my DIY habit." Monica
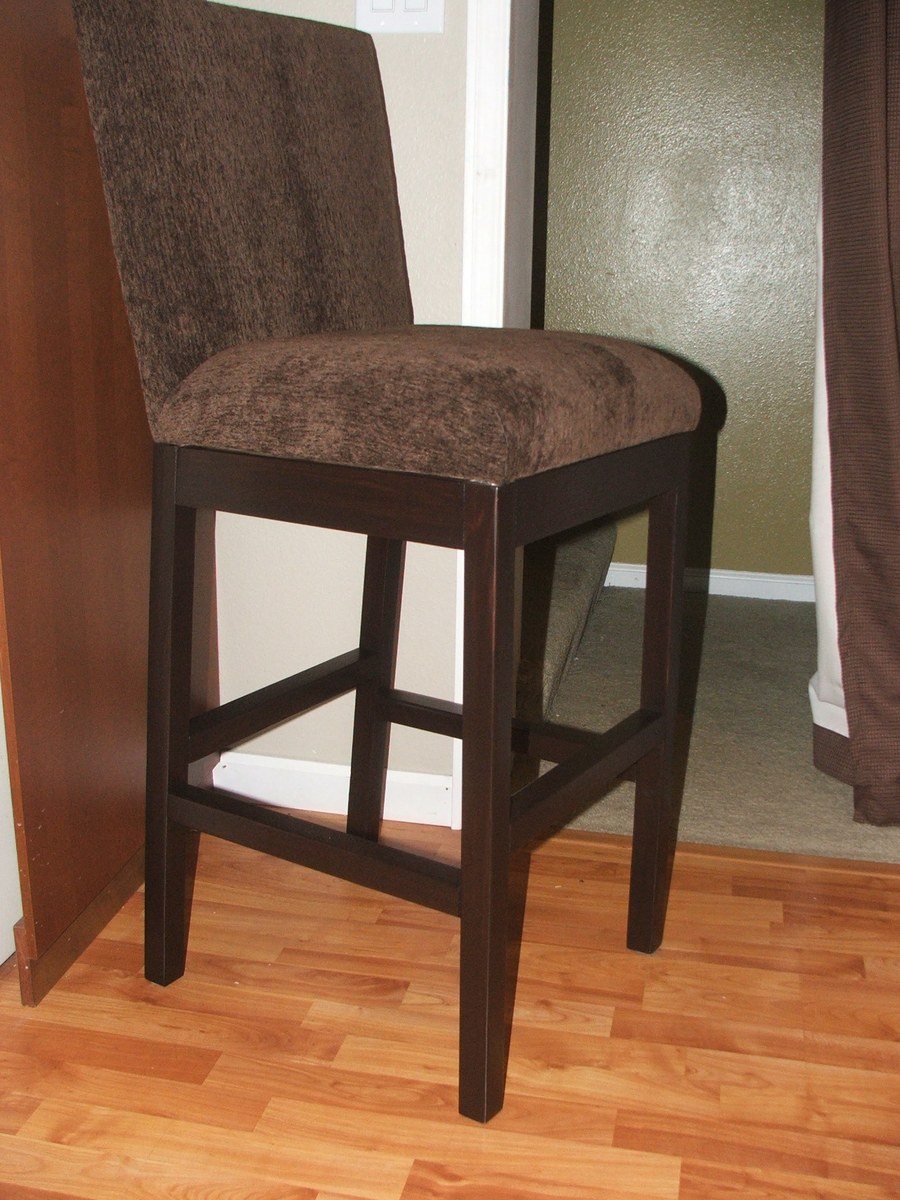
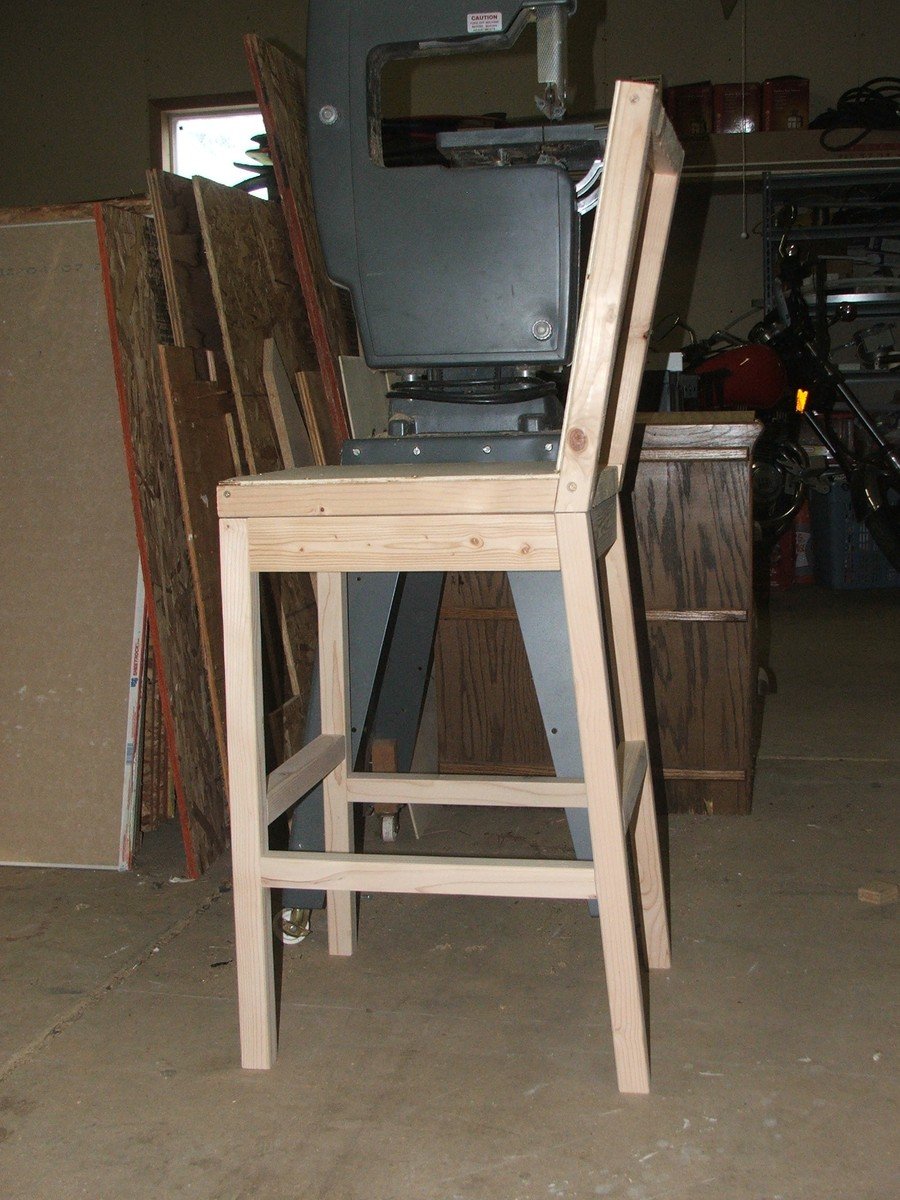
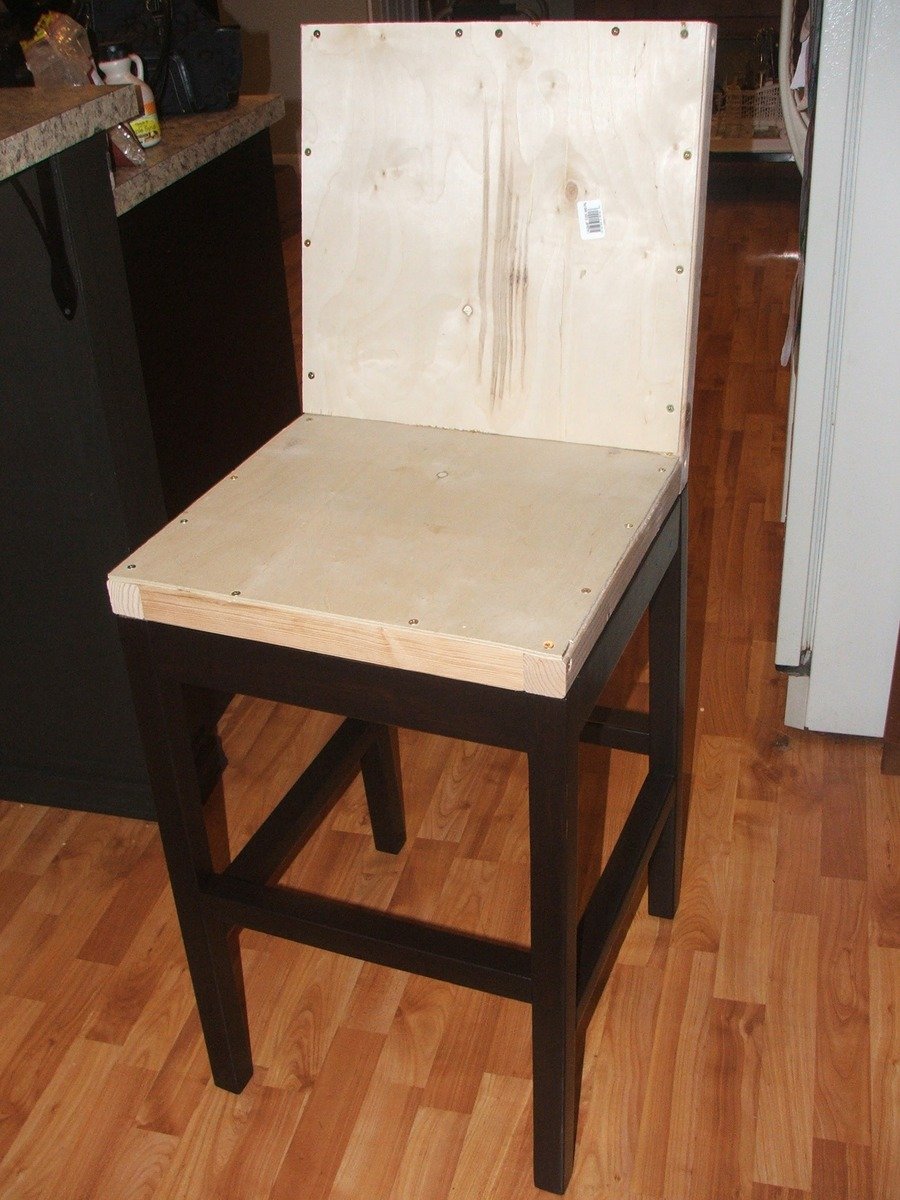
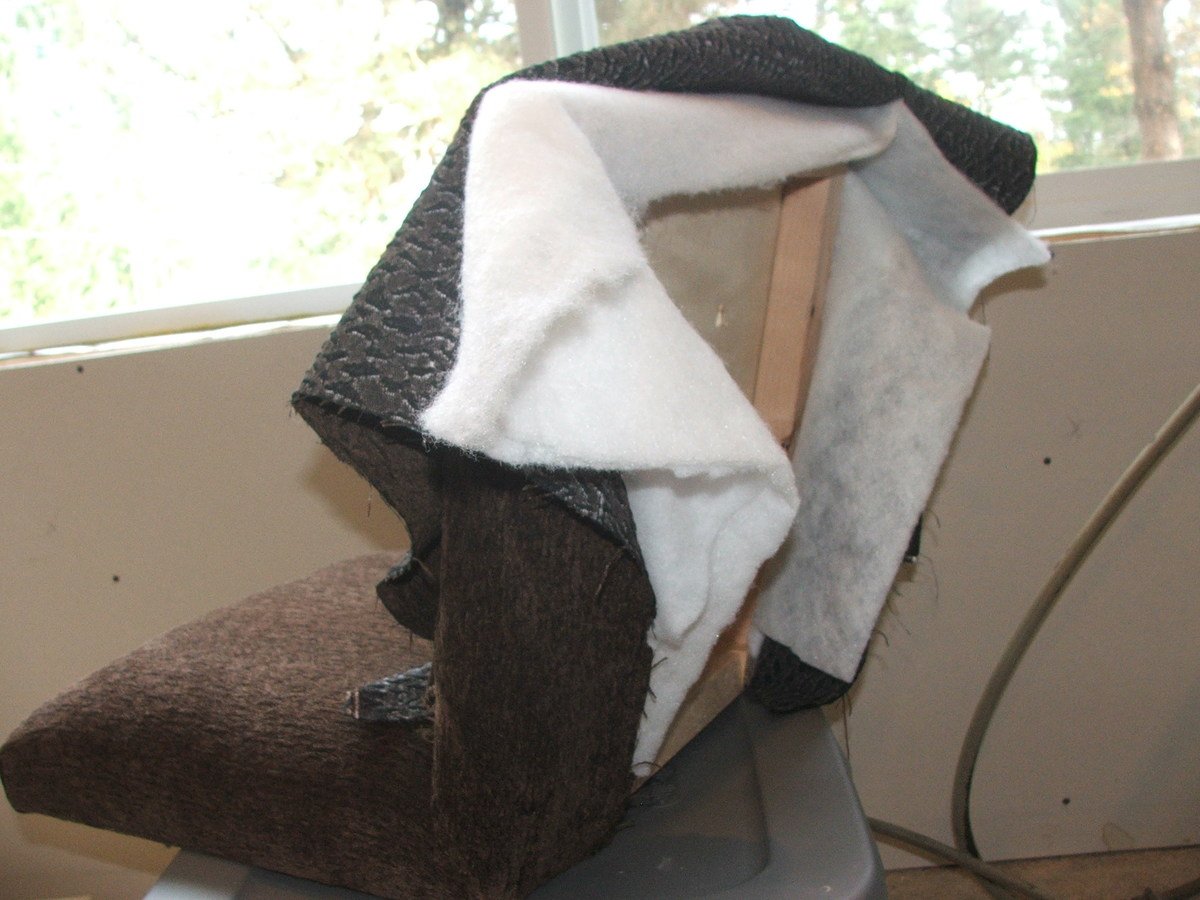
I have been searching for great barstools for years. So I was so excited when I saw Ana's Parson's Chair plans. I adjusted Ana's plan to create the height and dimensions of a barstool. I used more 2x2s for legs and rungs. The angle was changed to 5 degrees for legs and 10 degrees for seat back (Rather than remember geometry formulas, I found an online triangle angle calculator to get accurate leg lengths). I also have a hate-hate (not love hate) relationship with my sewing machine, so I chose to upholster with a staple gun and found tips for this at youtube. To take the guesswork out of the finishing I also found tips and techniques for that on youtube--namely that General Finishes gel stain is the way to go. The dry time on the finish is why I considered this a weeklong project, but this could easily be finished within a day. Thanks again Ana--thanks to you we have great barstools at such a fraction of the cost.
Fri, 03/02/2012 - 19:22
Would you mind sharing the measurements for your version? We are in need of 24" barstools/chairs for a counter height table that was given to us, and cannot seem to find DIY instructions for what we are needing, anywhere! We'd REALLY appreciate it!
Sun, 08/05/2012 - 11:49
This is beautiful. The fabric and finish look great! Really wonderful work!!

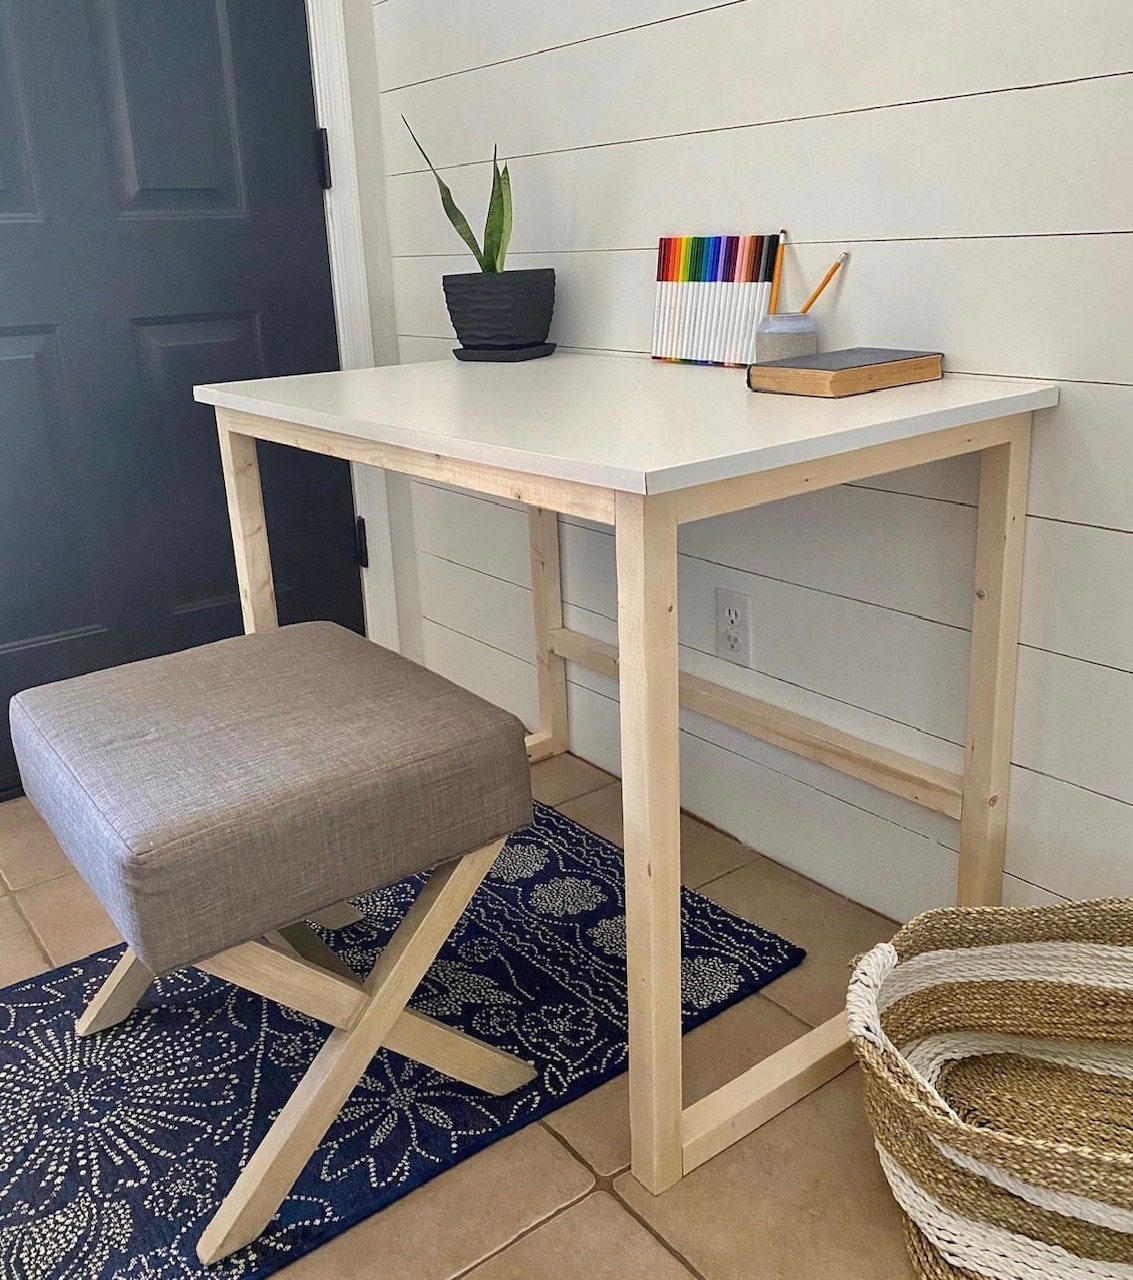
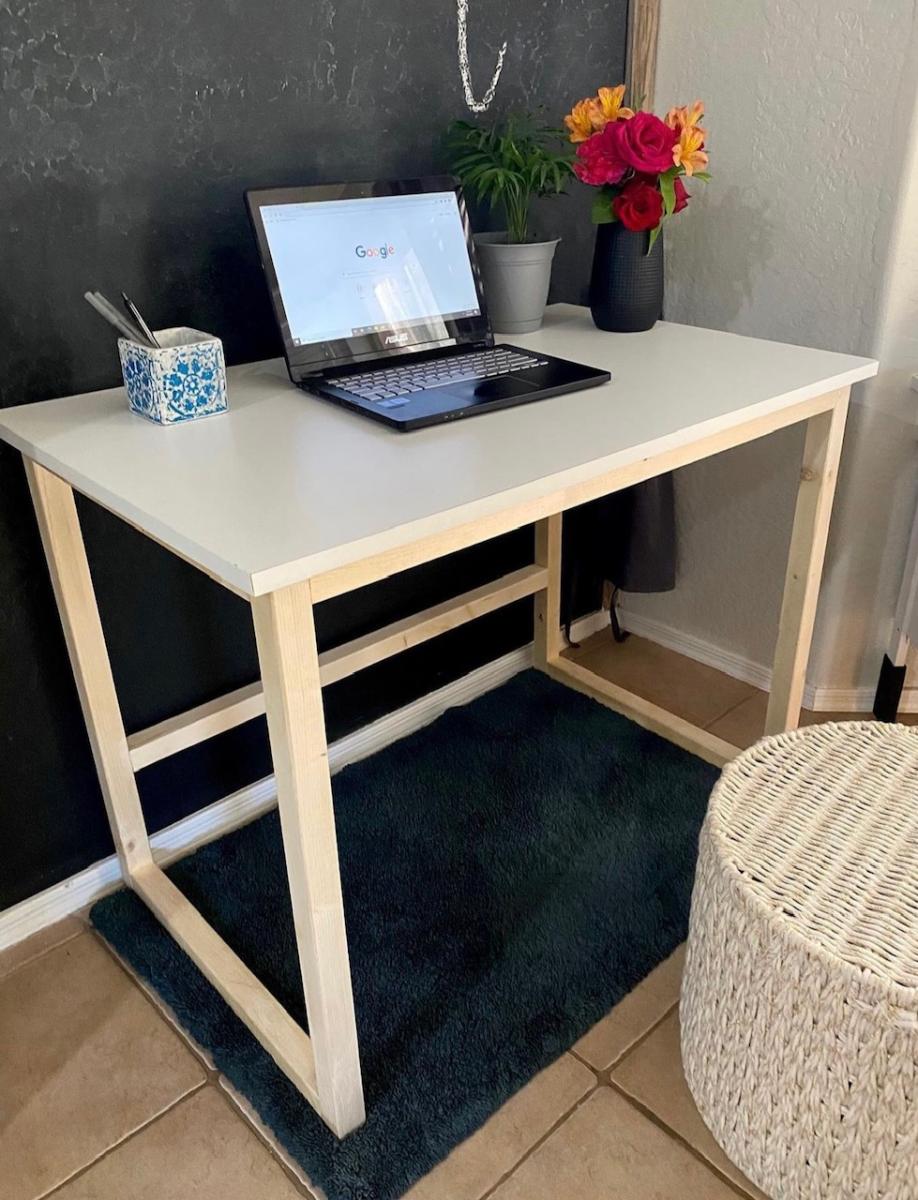
This project should have only taken me a few hours, but with a little one to take care of, I managed to make it take forever!
Super simple plan to follow - absolutely love how it turned out!


I made a simple rolling crate, and put it on its sides. Attached casters on the bottom. I used my scrap 2x4's for the top. Boom! A beautiful rolling side table with storage.


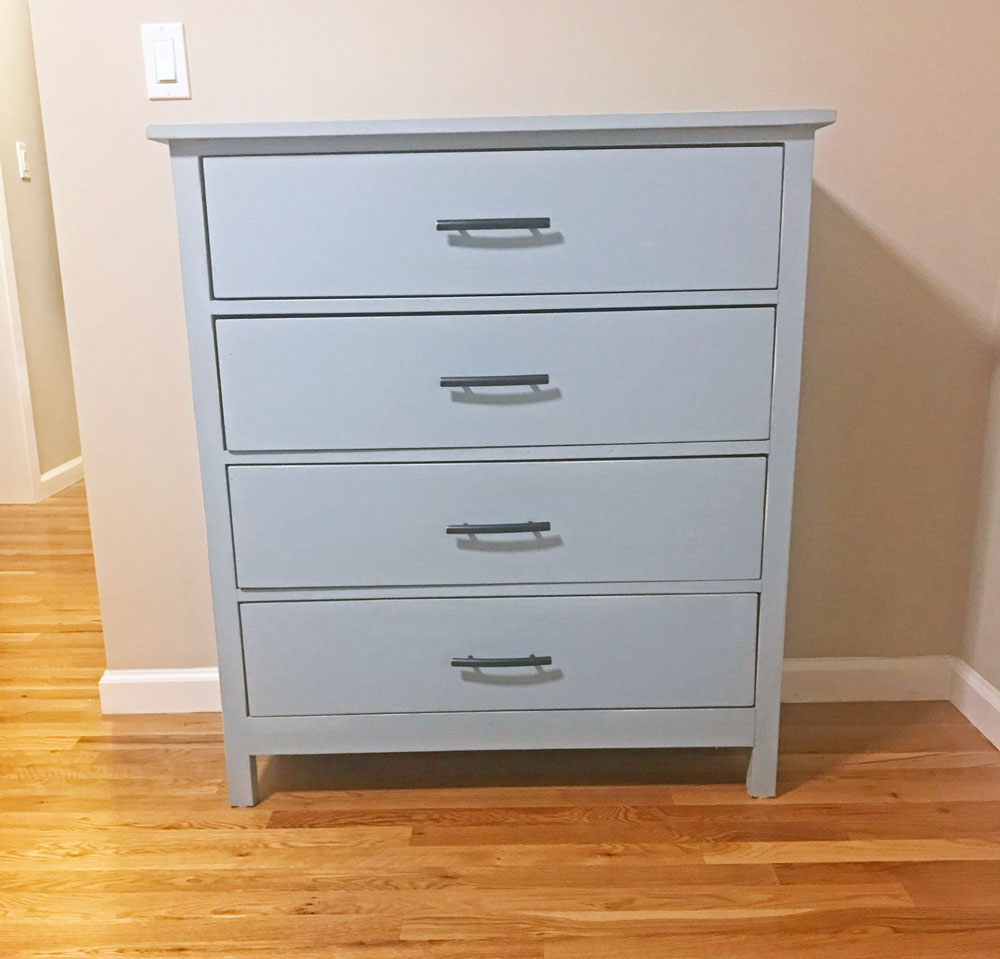
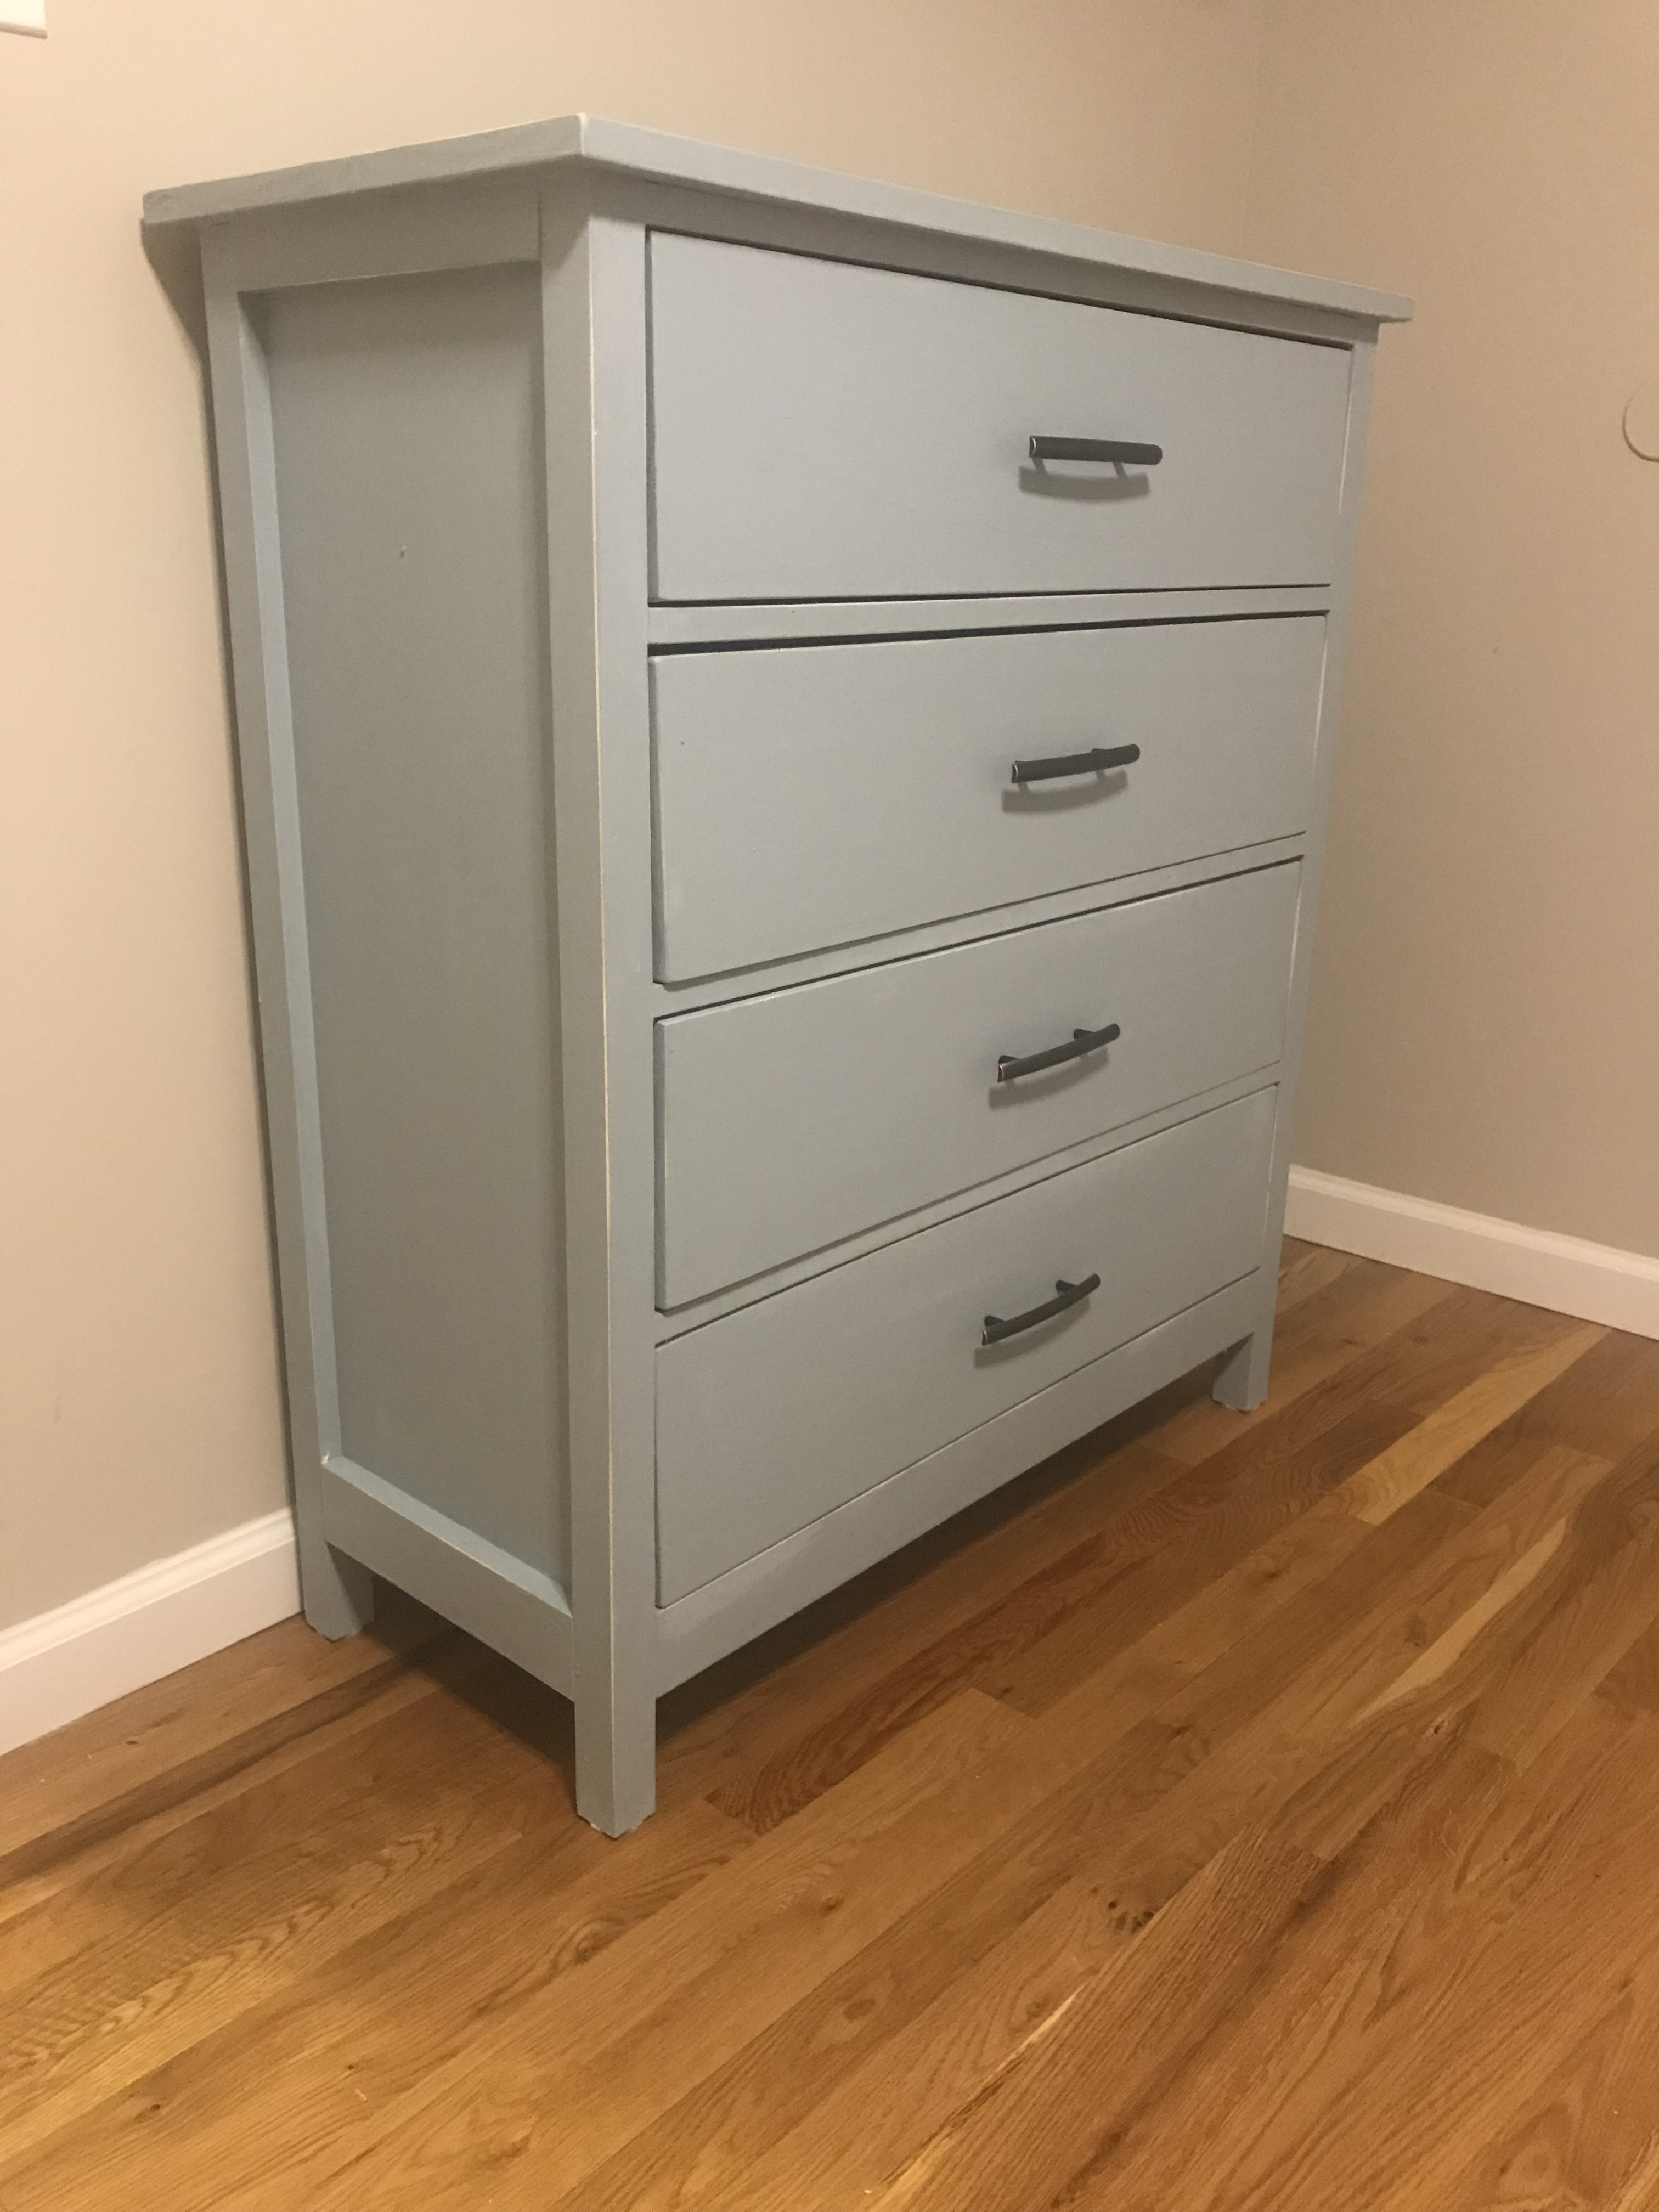
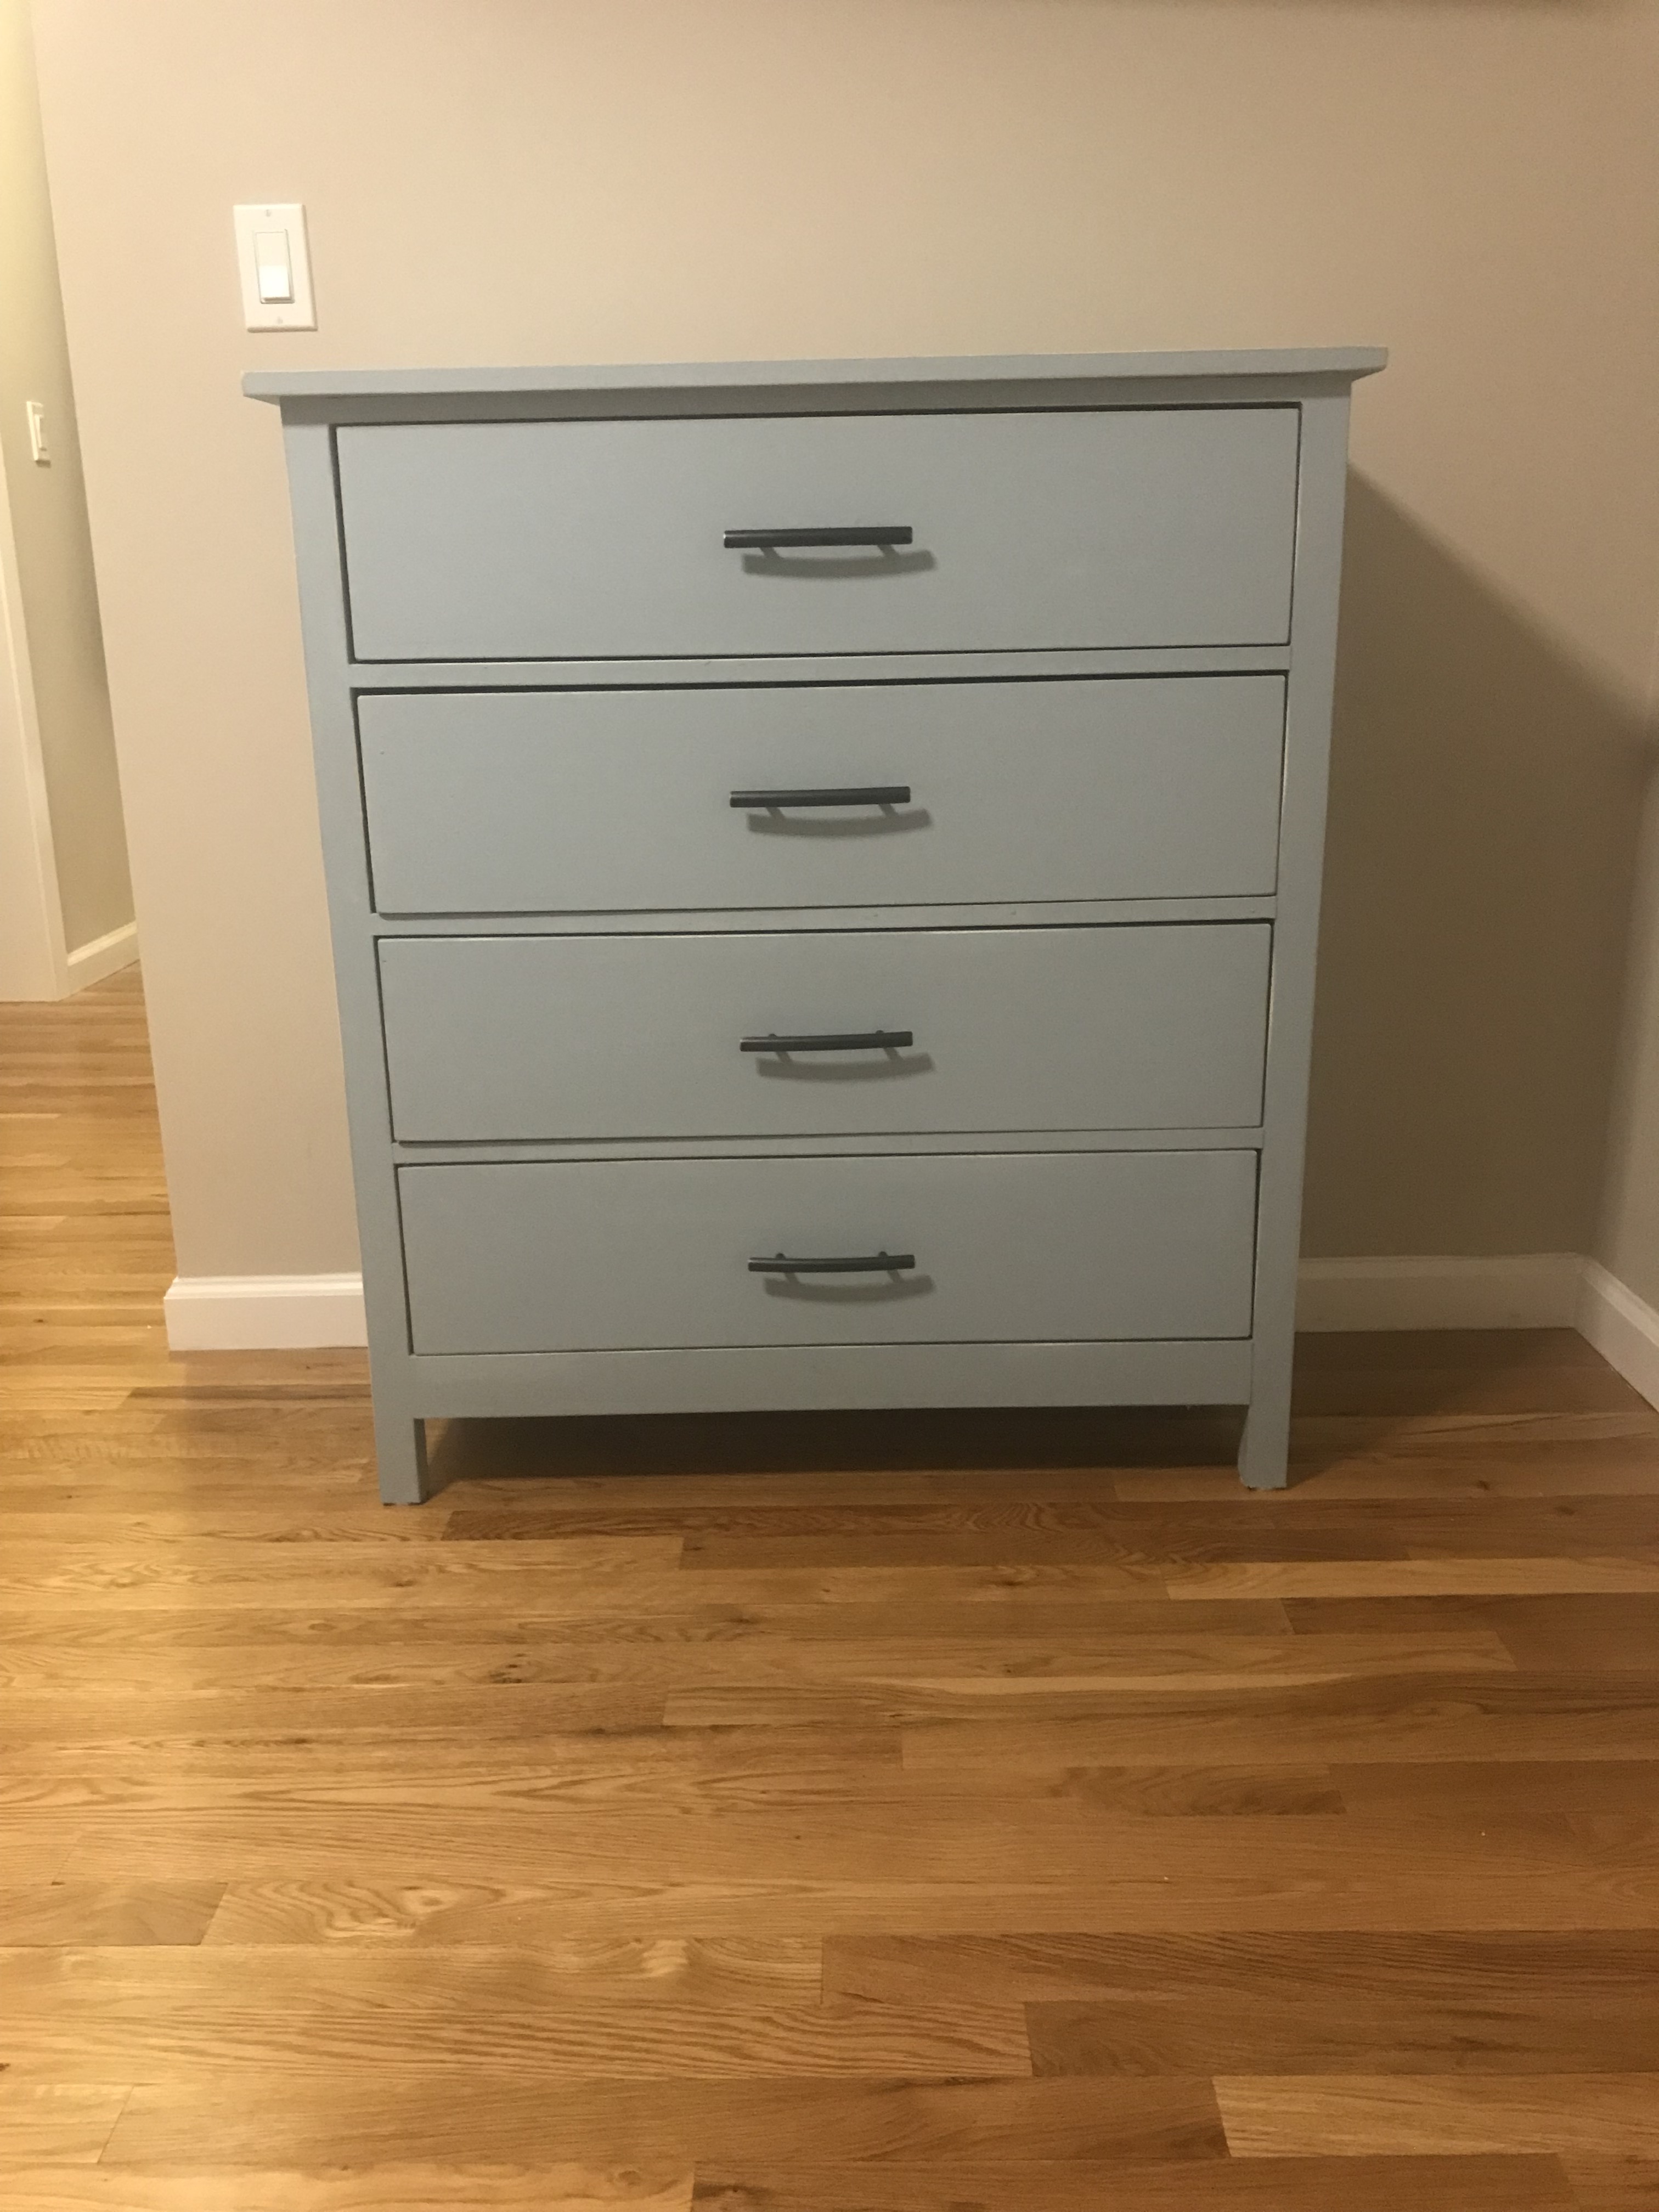
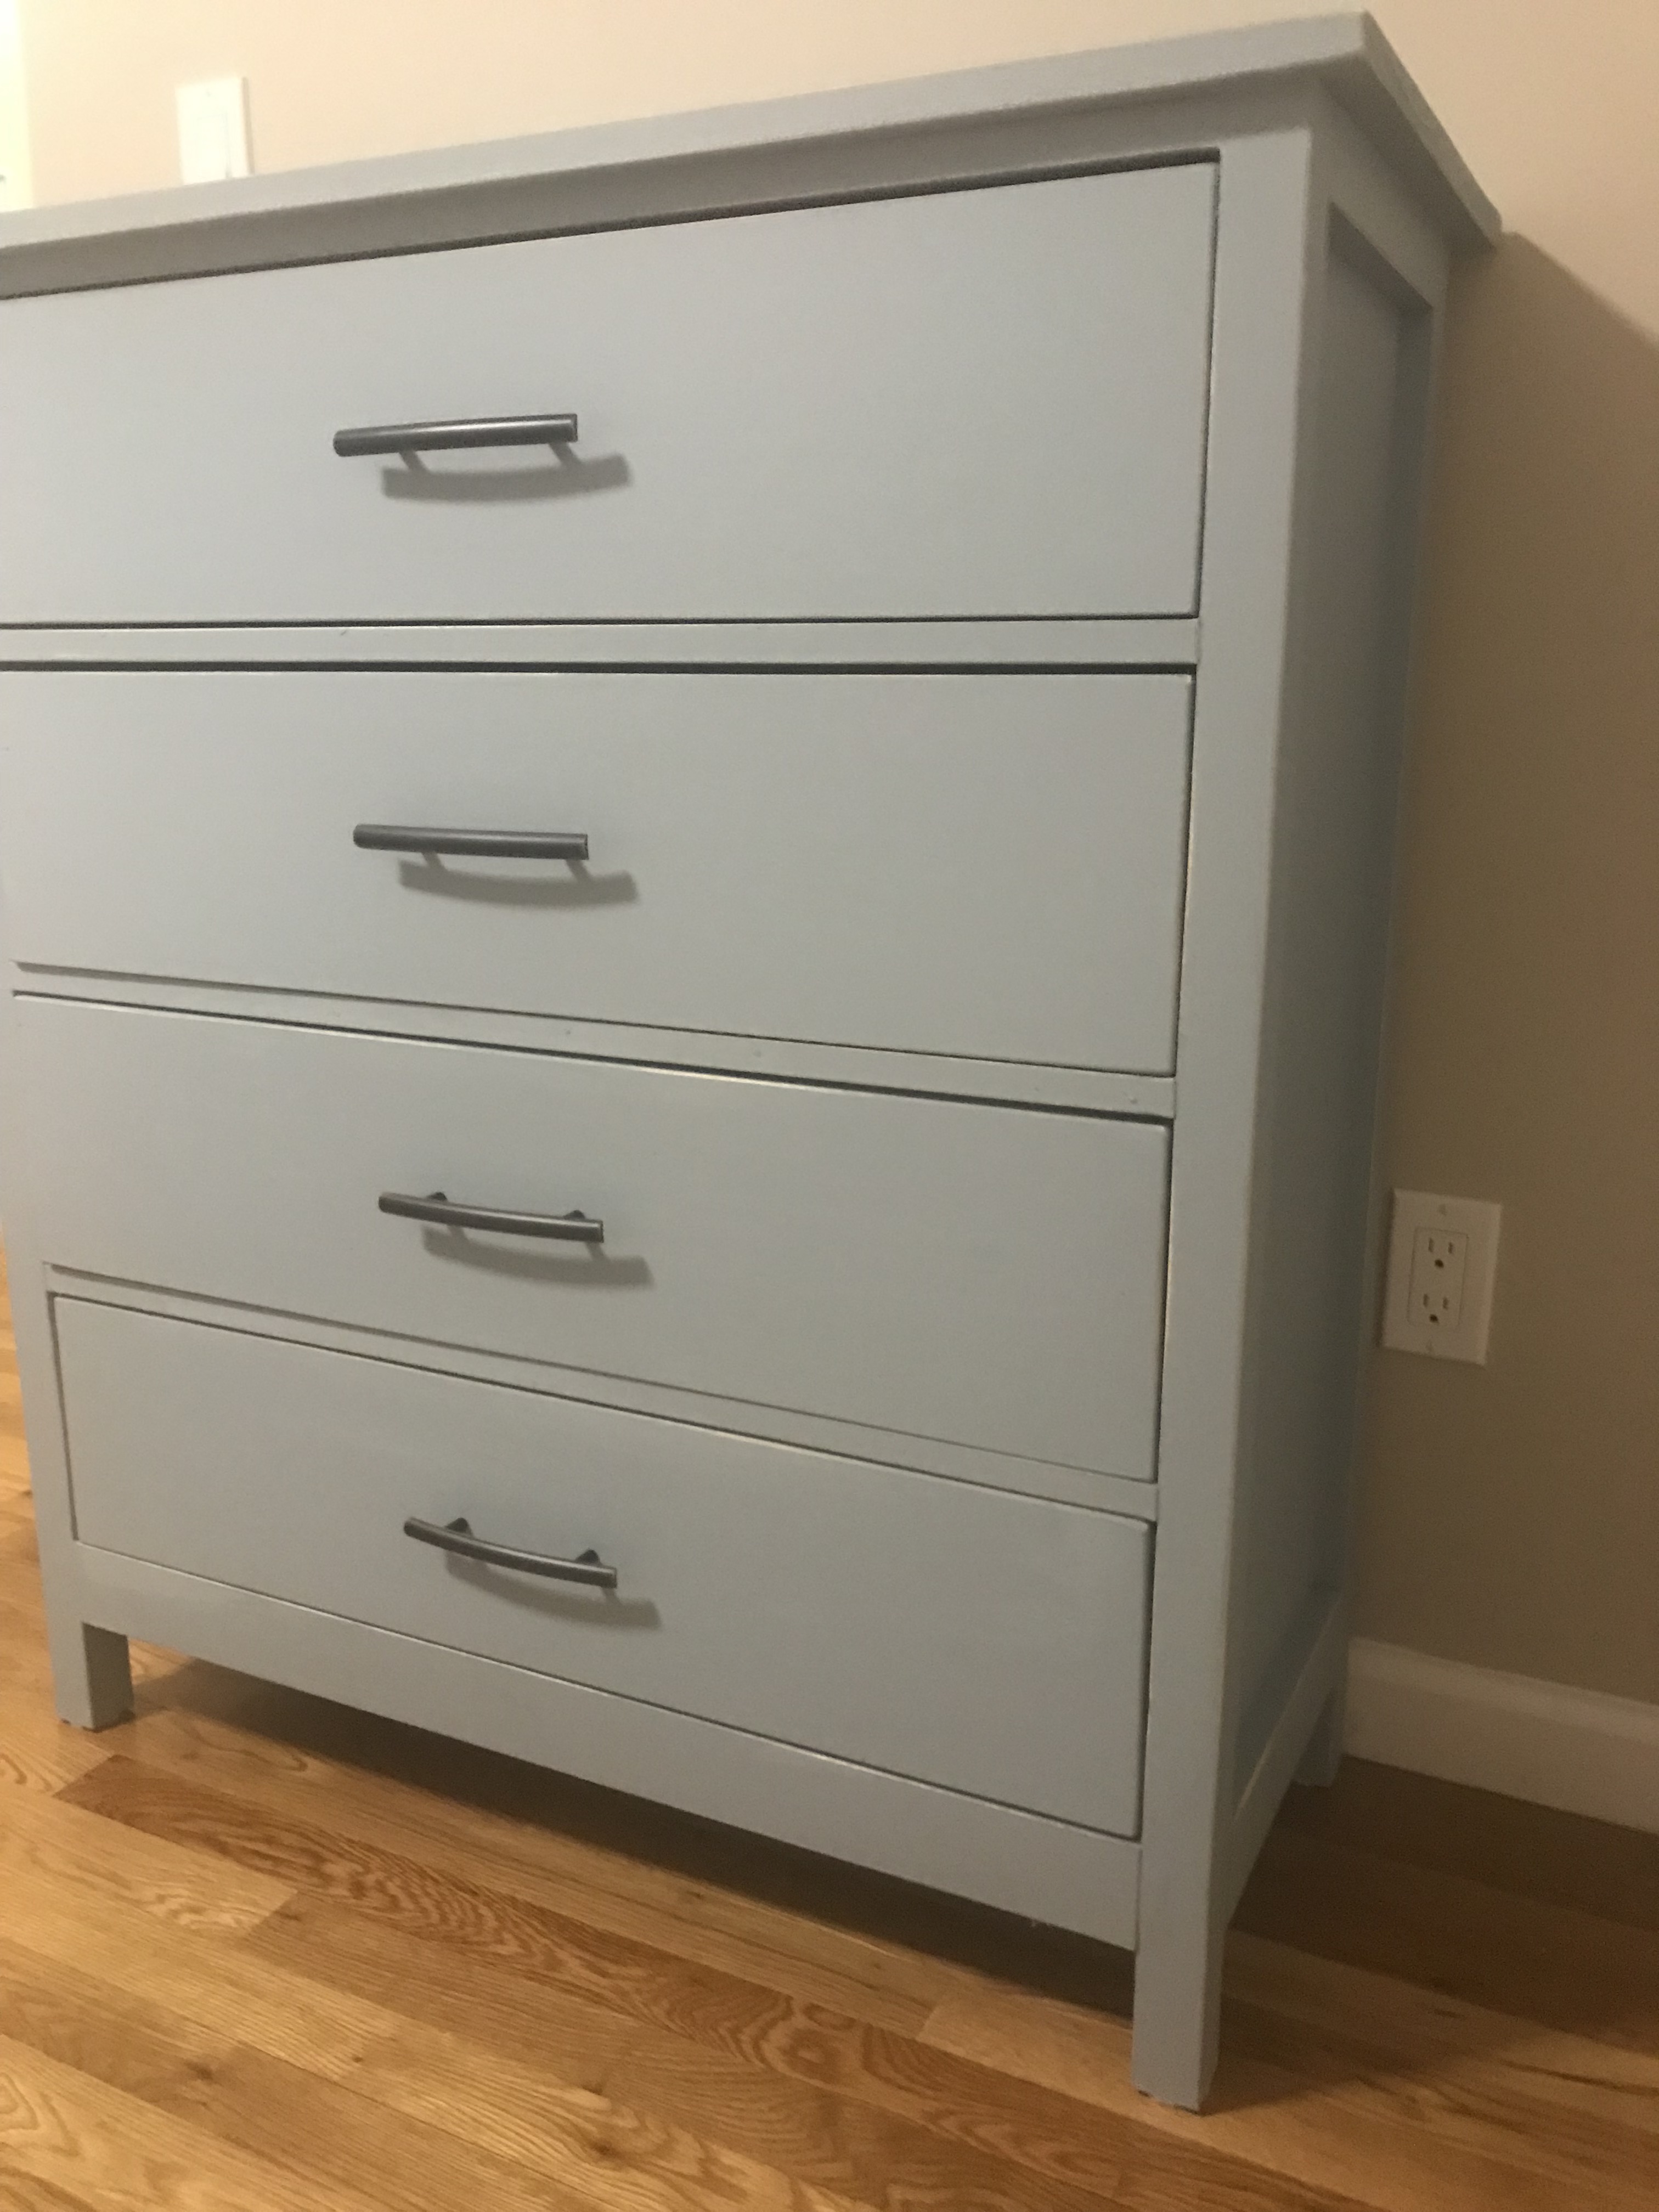
Dresser created for my parents.
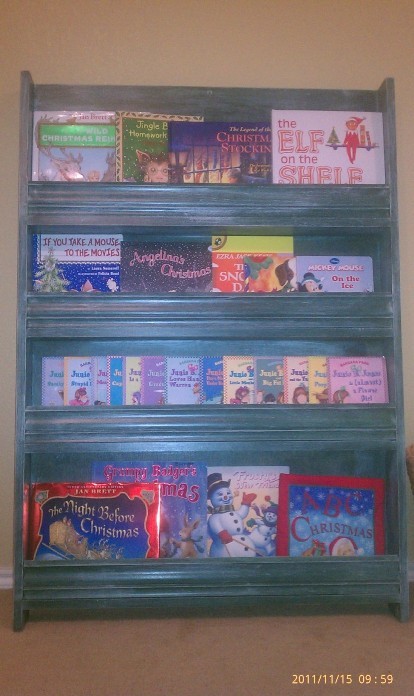
Here is my first attempt at this bookshelf. Don't own a pocket hole jig, so I used screws(1 x4 shelves) and brads(Molding) through side boards. Gotta invest in the Kreg jig for future projects. I used a jigsaw with a guide to cut the back panel. I cut it a little outside the line and sanded it flush with the sides. (no table saw, either)...
For the fronts, I used molding. I found out that the pre-painted molding, doesn't like to hold paint. Took several coats of the Hunter green to cover sufficiently for the base coat. Time estimate was given for construction and sanding. Thanks for the awesome design Ana. My wife's Kindergarten class should really enjoy this in the classroom along with the Kinder-nook.

This was the first project I had ever built through Ana White. A great table.
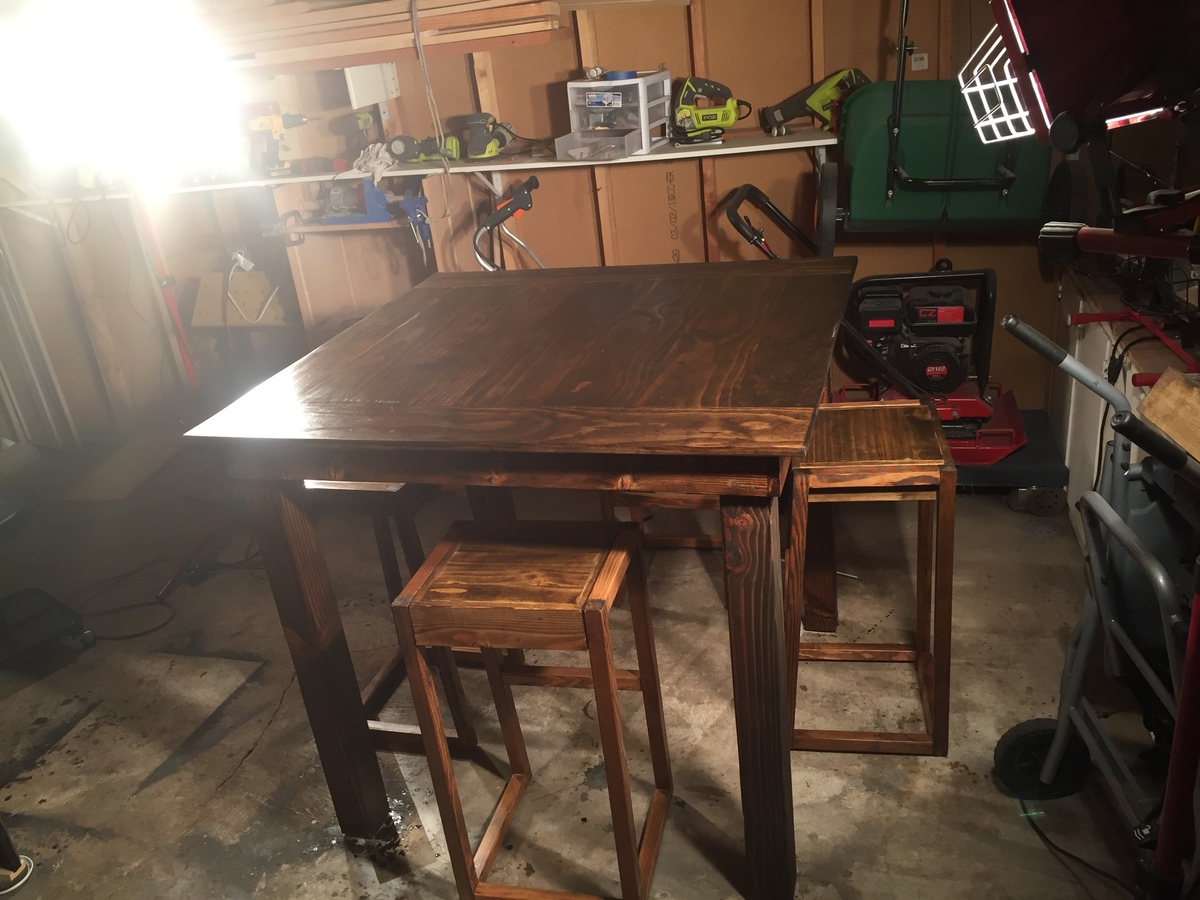
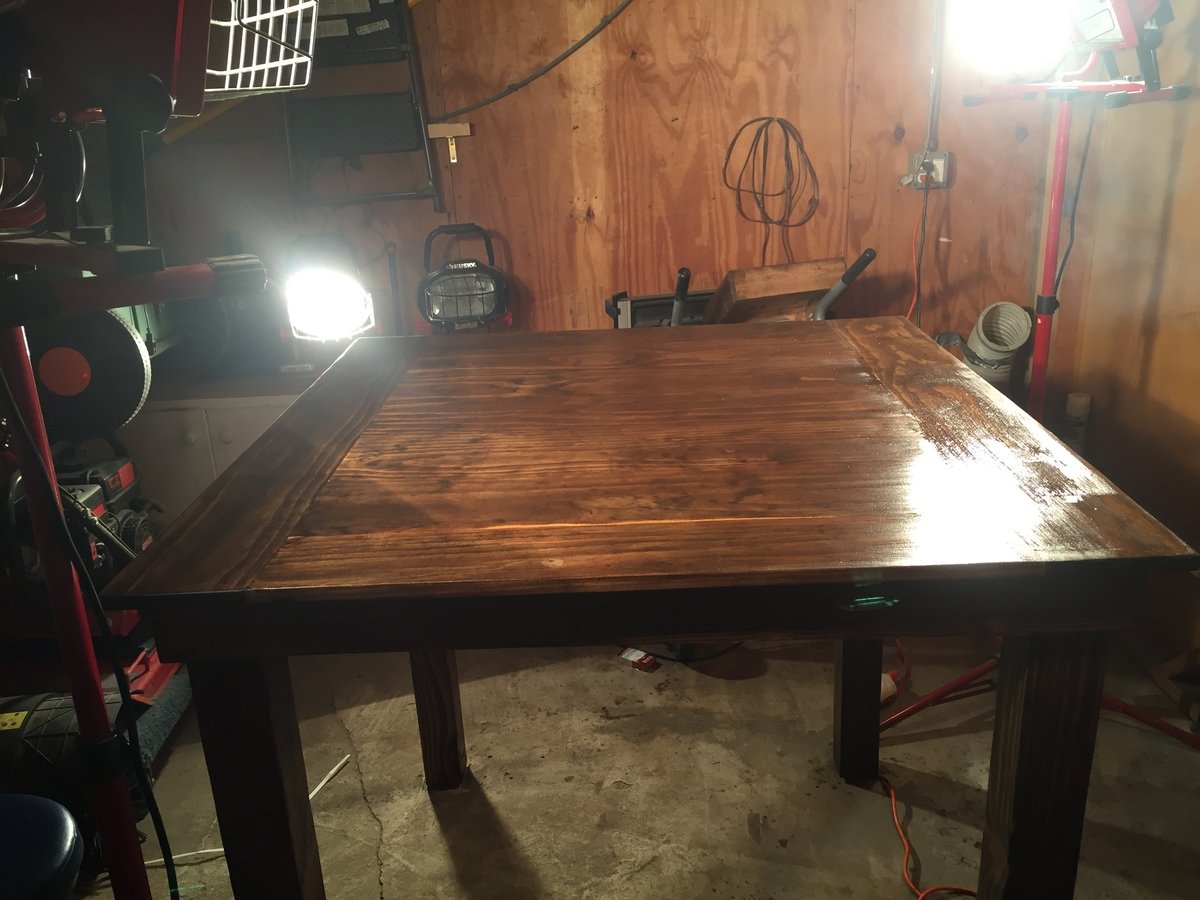
This was a lot of fun. Altered it to make it 44" x 44". 4 seater
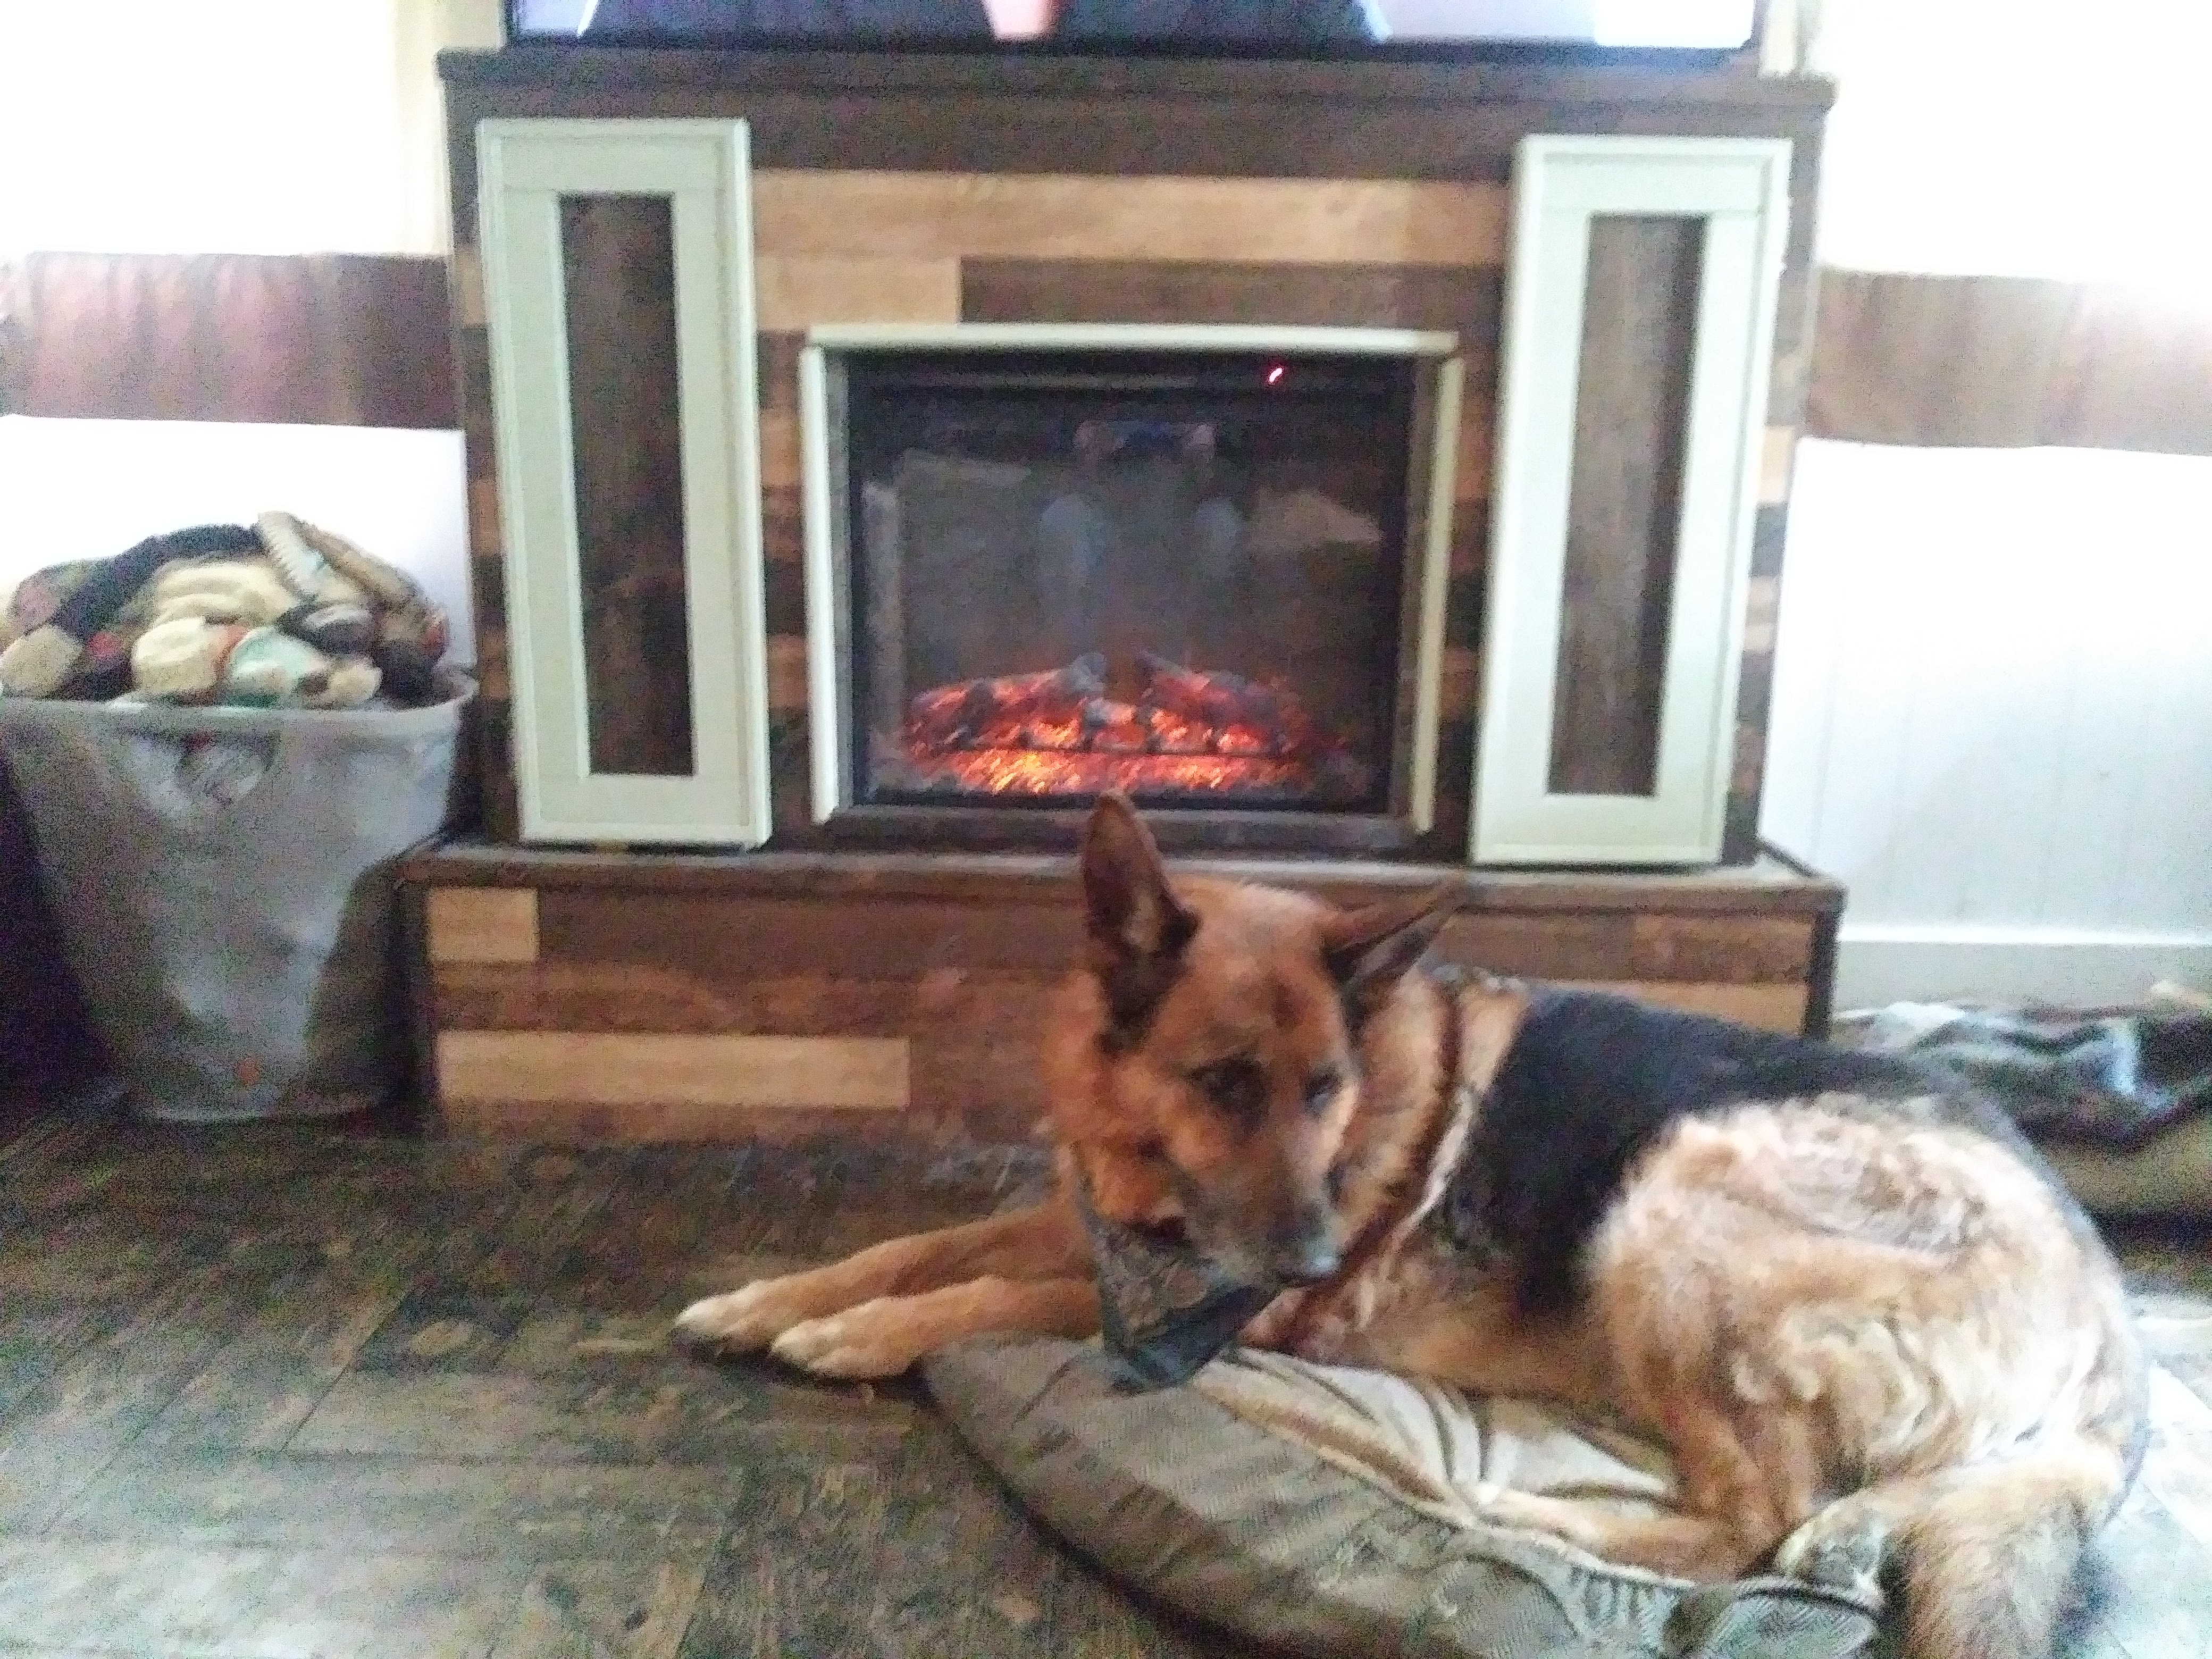
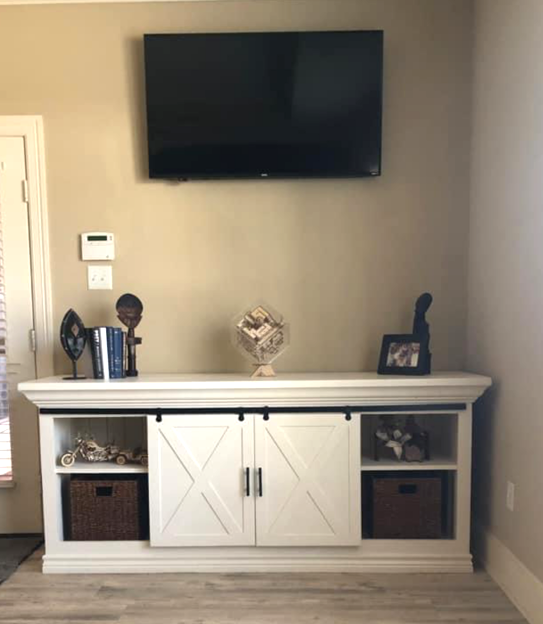
Slowly replacing all of the furniture in my home with things that I build. I used pallets for the structure, maple flooring for the facing, some scrap from shutter doors for the doors, 1×2 for the trim and adhesive tiles from the local ReStore for the top and around the fireplace insert. Perfectly fits a 65" tv.
I built the faux fireplace from your plans and wanted to share it with you. Thank you and God bless you. - Joe
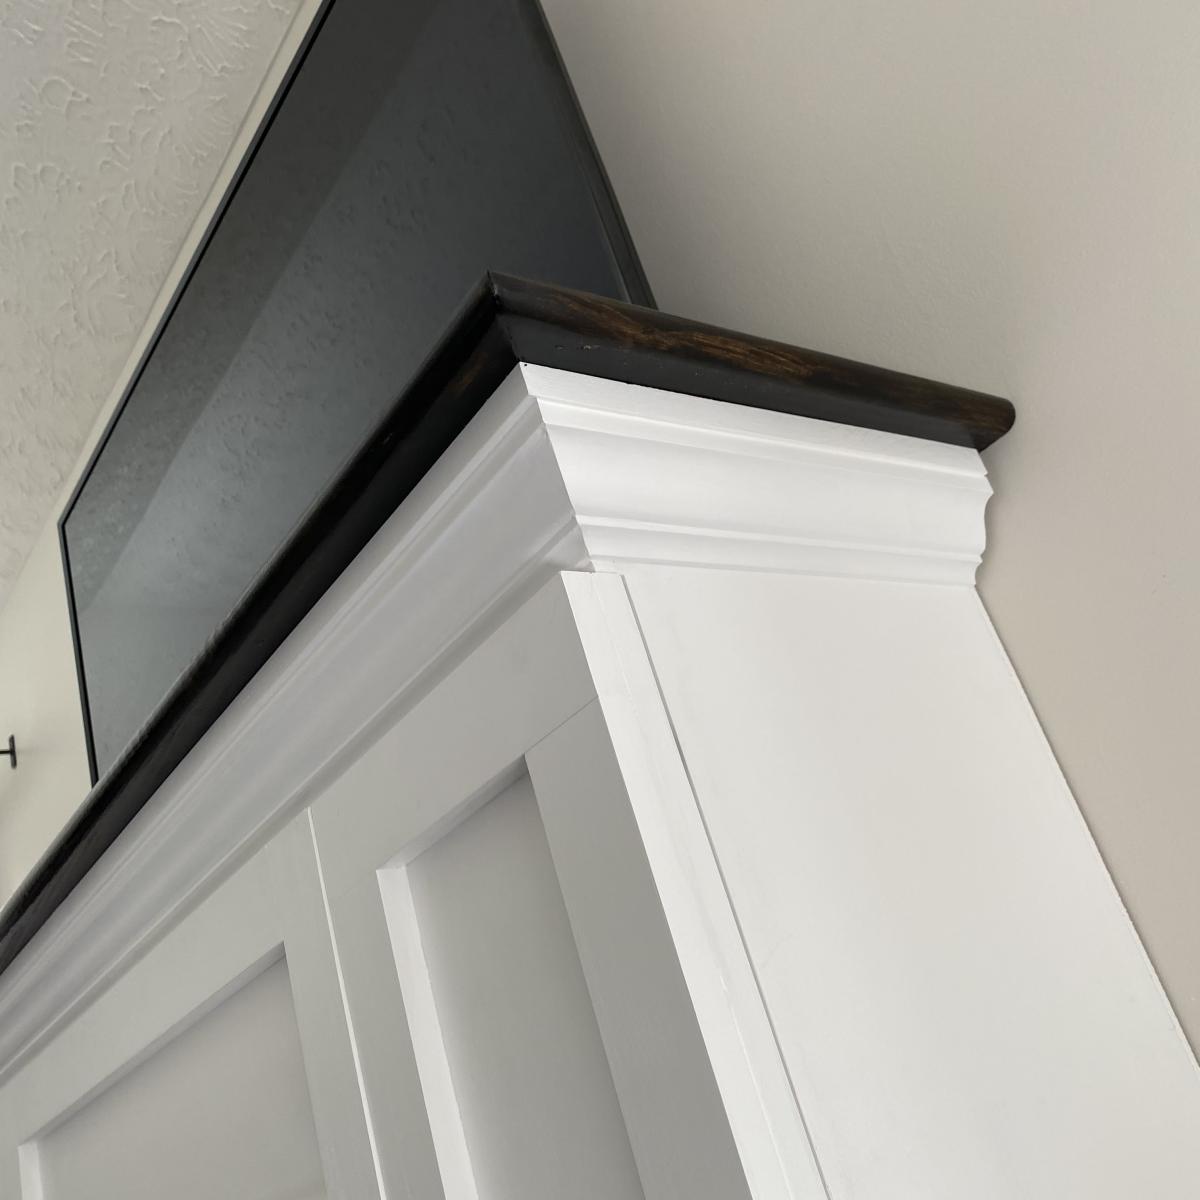
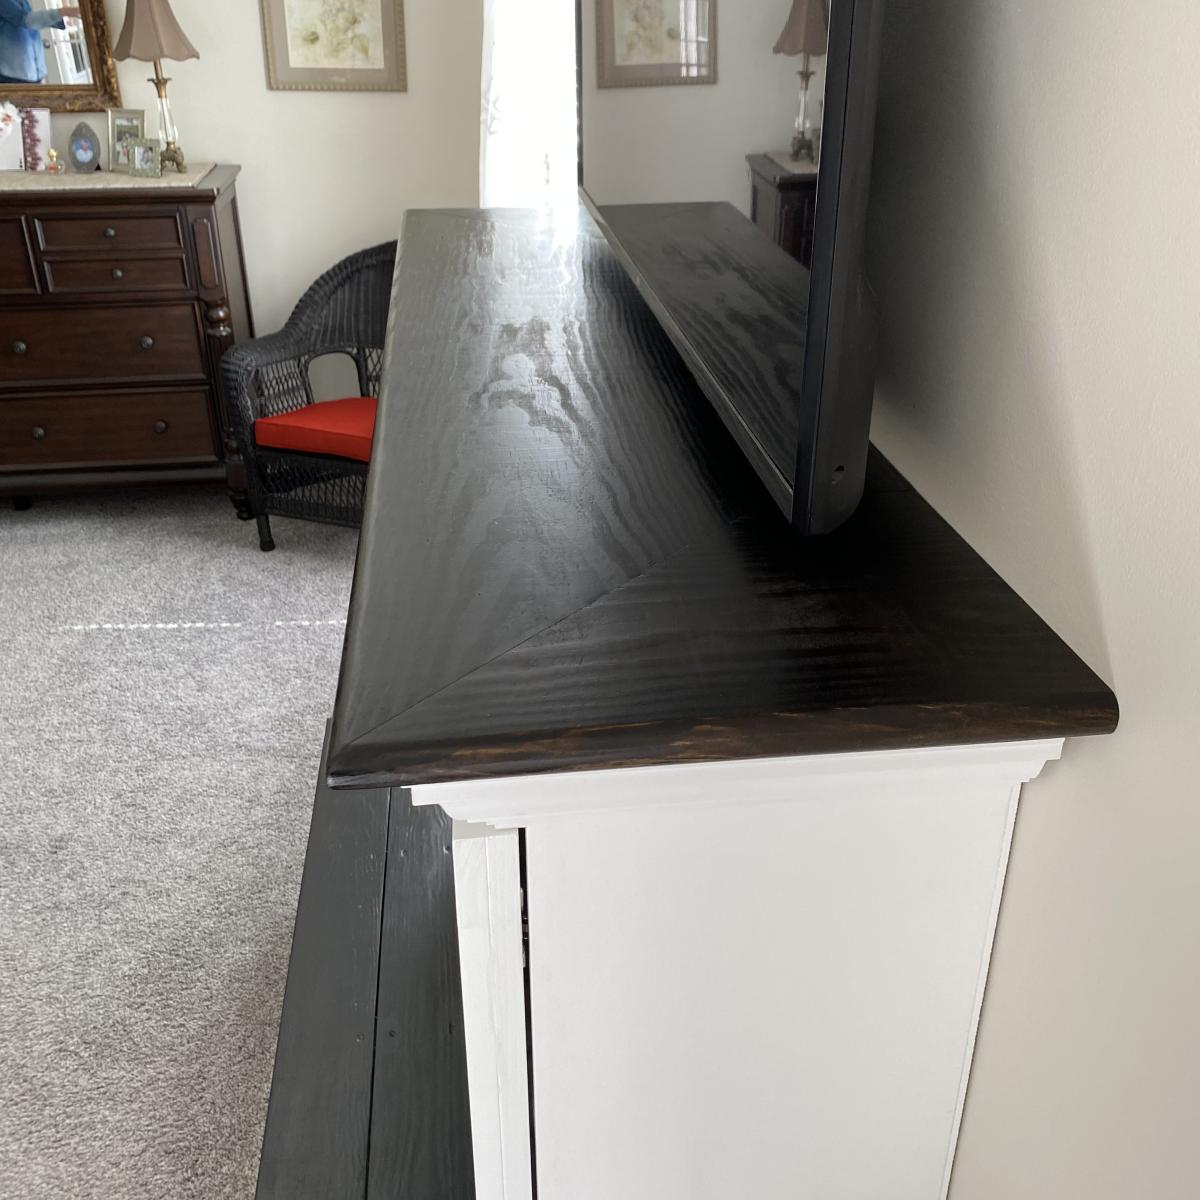
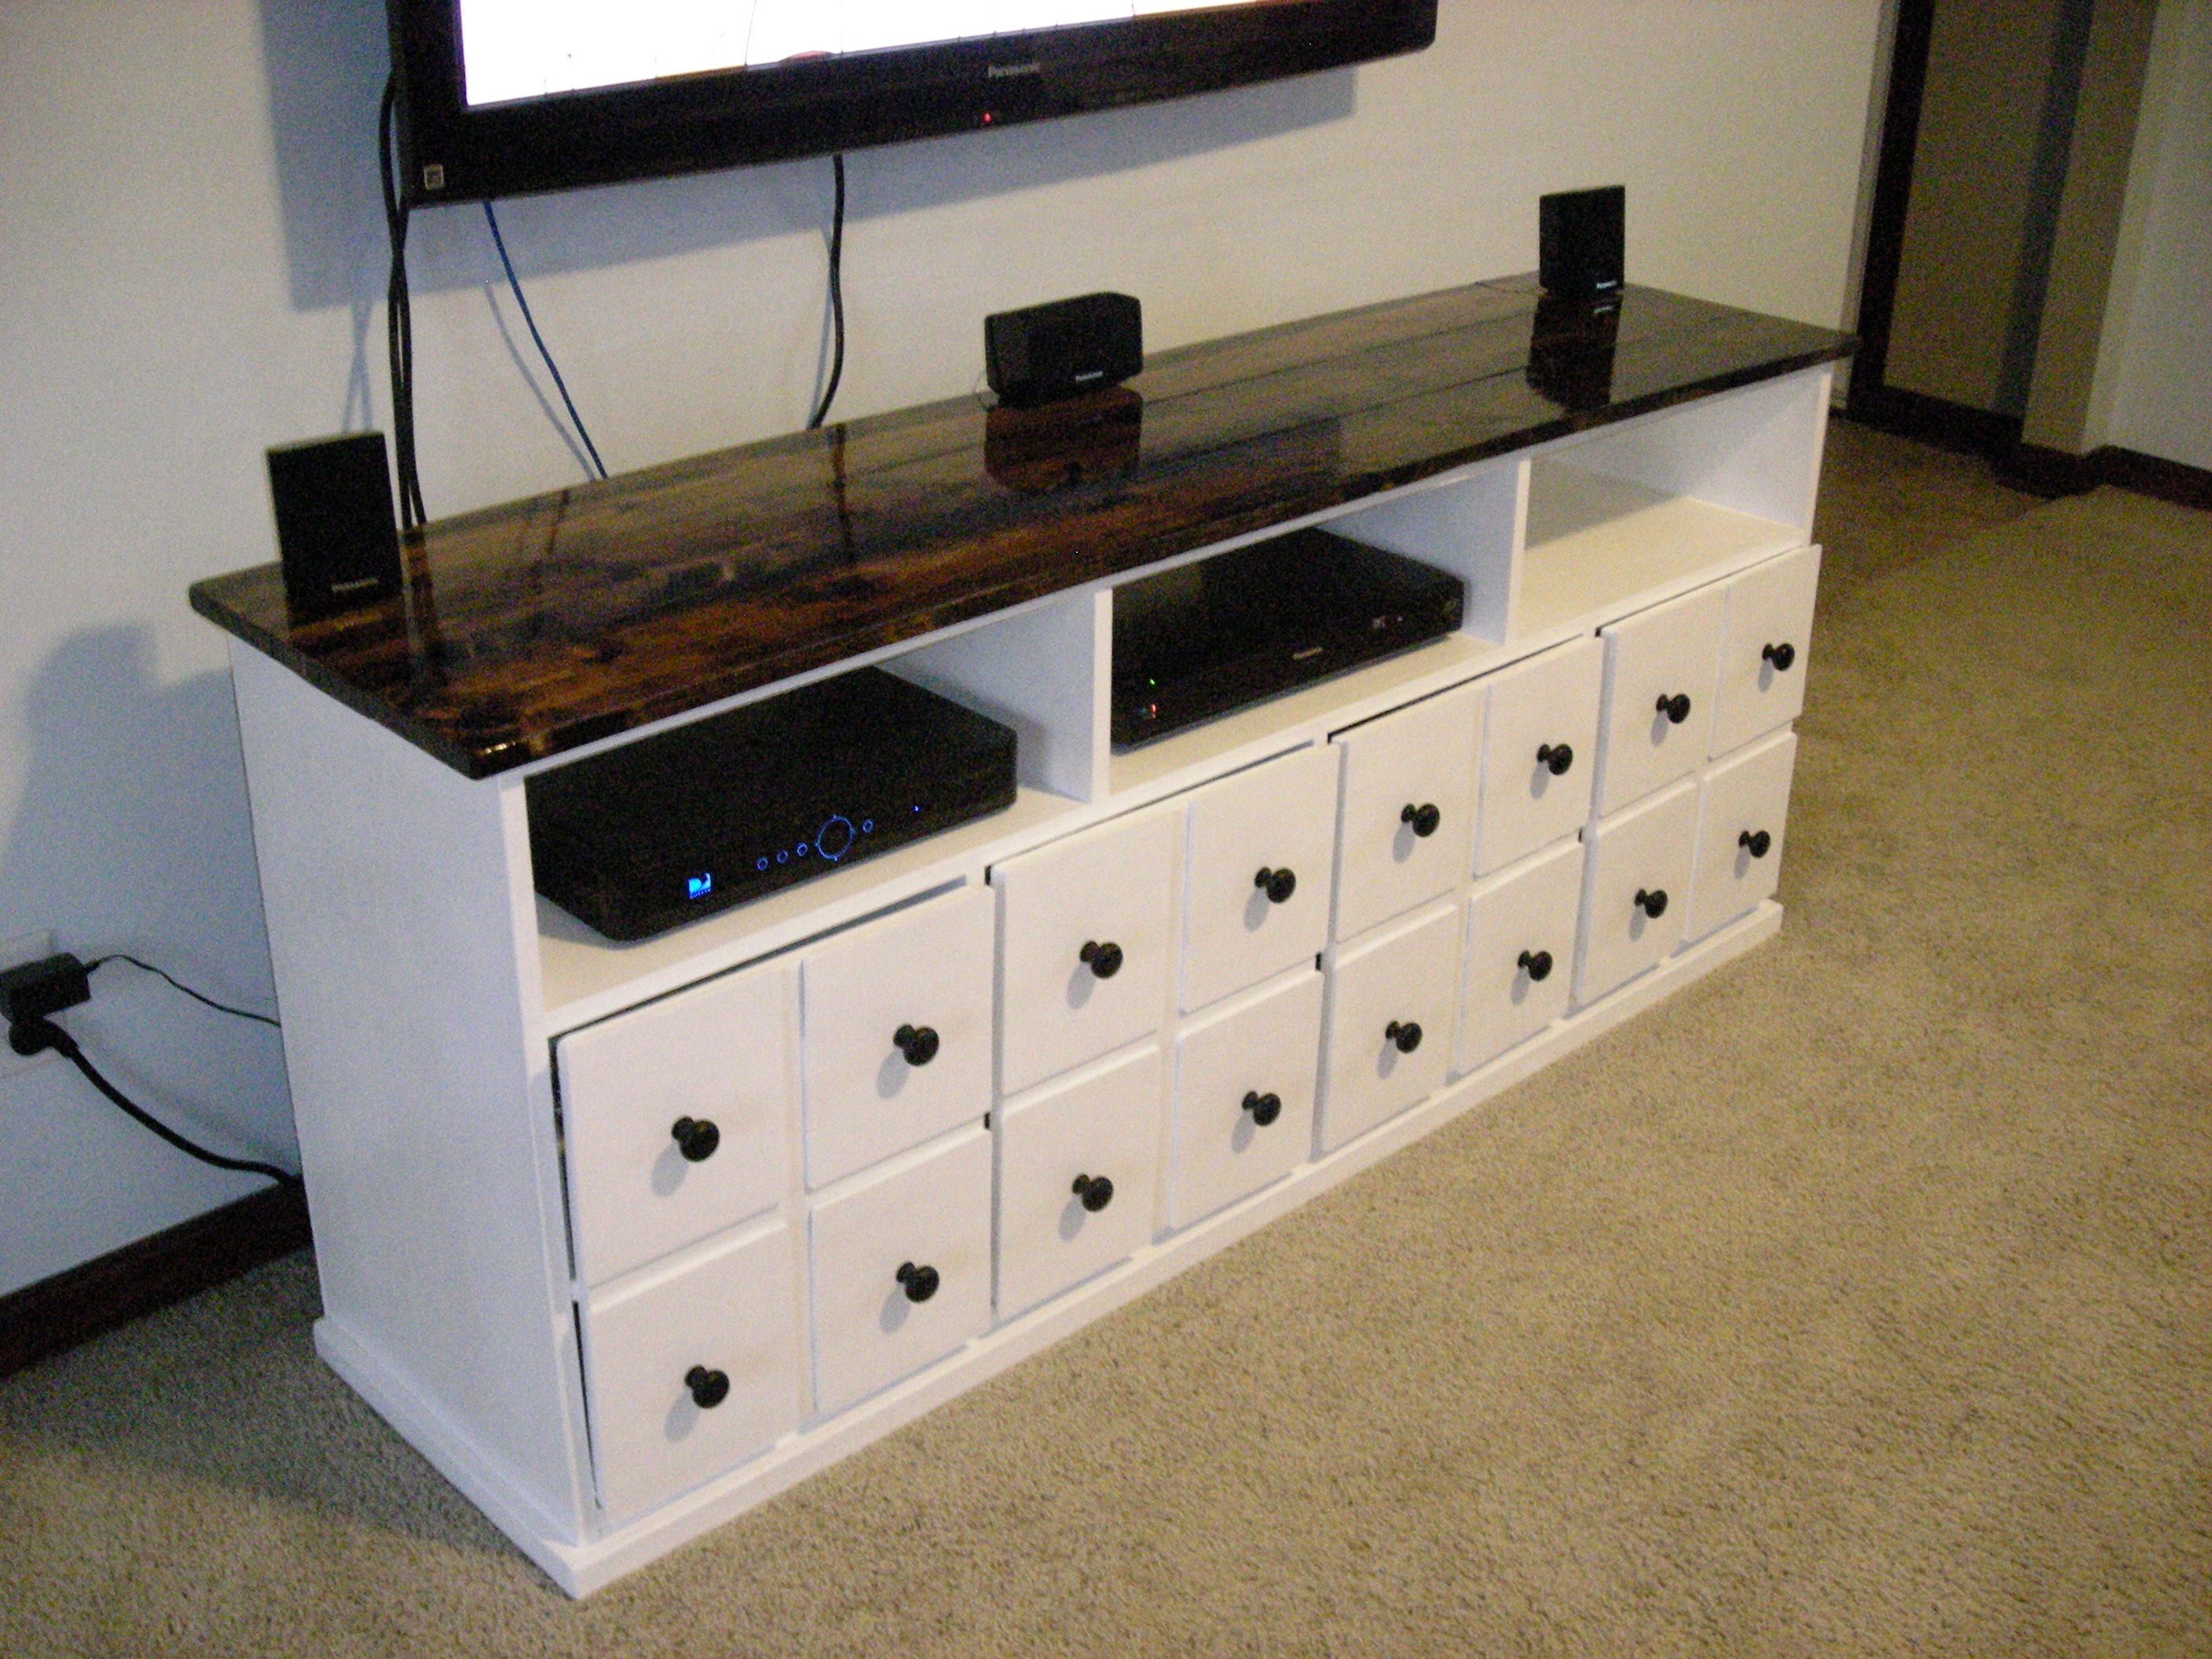
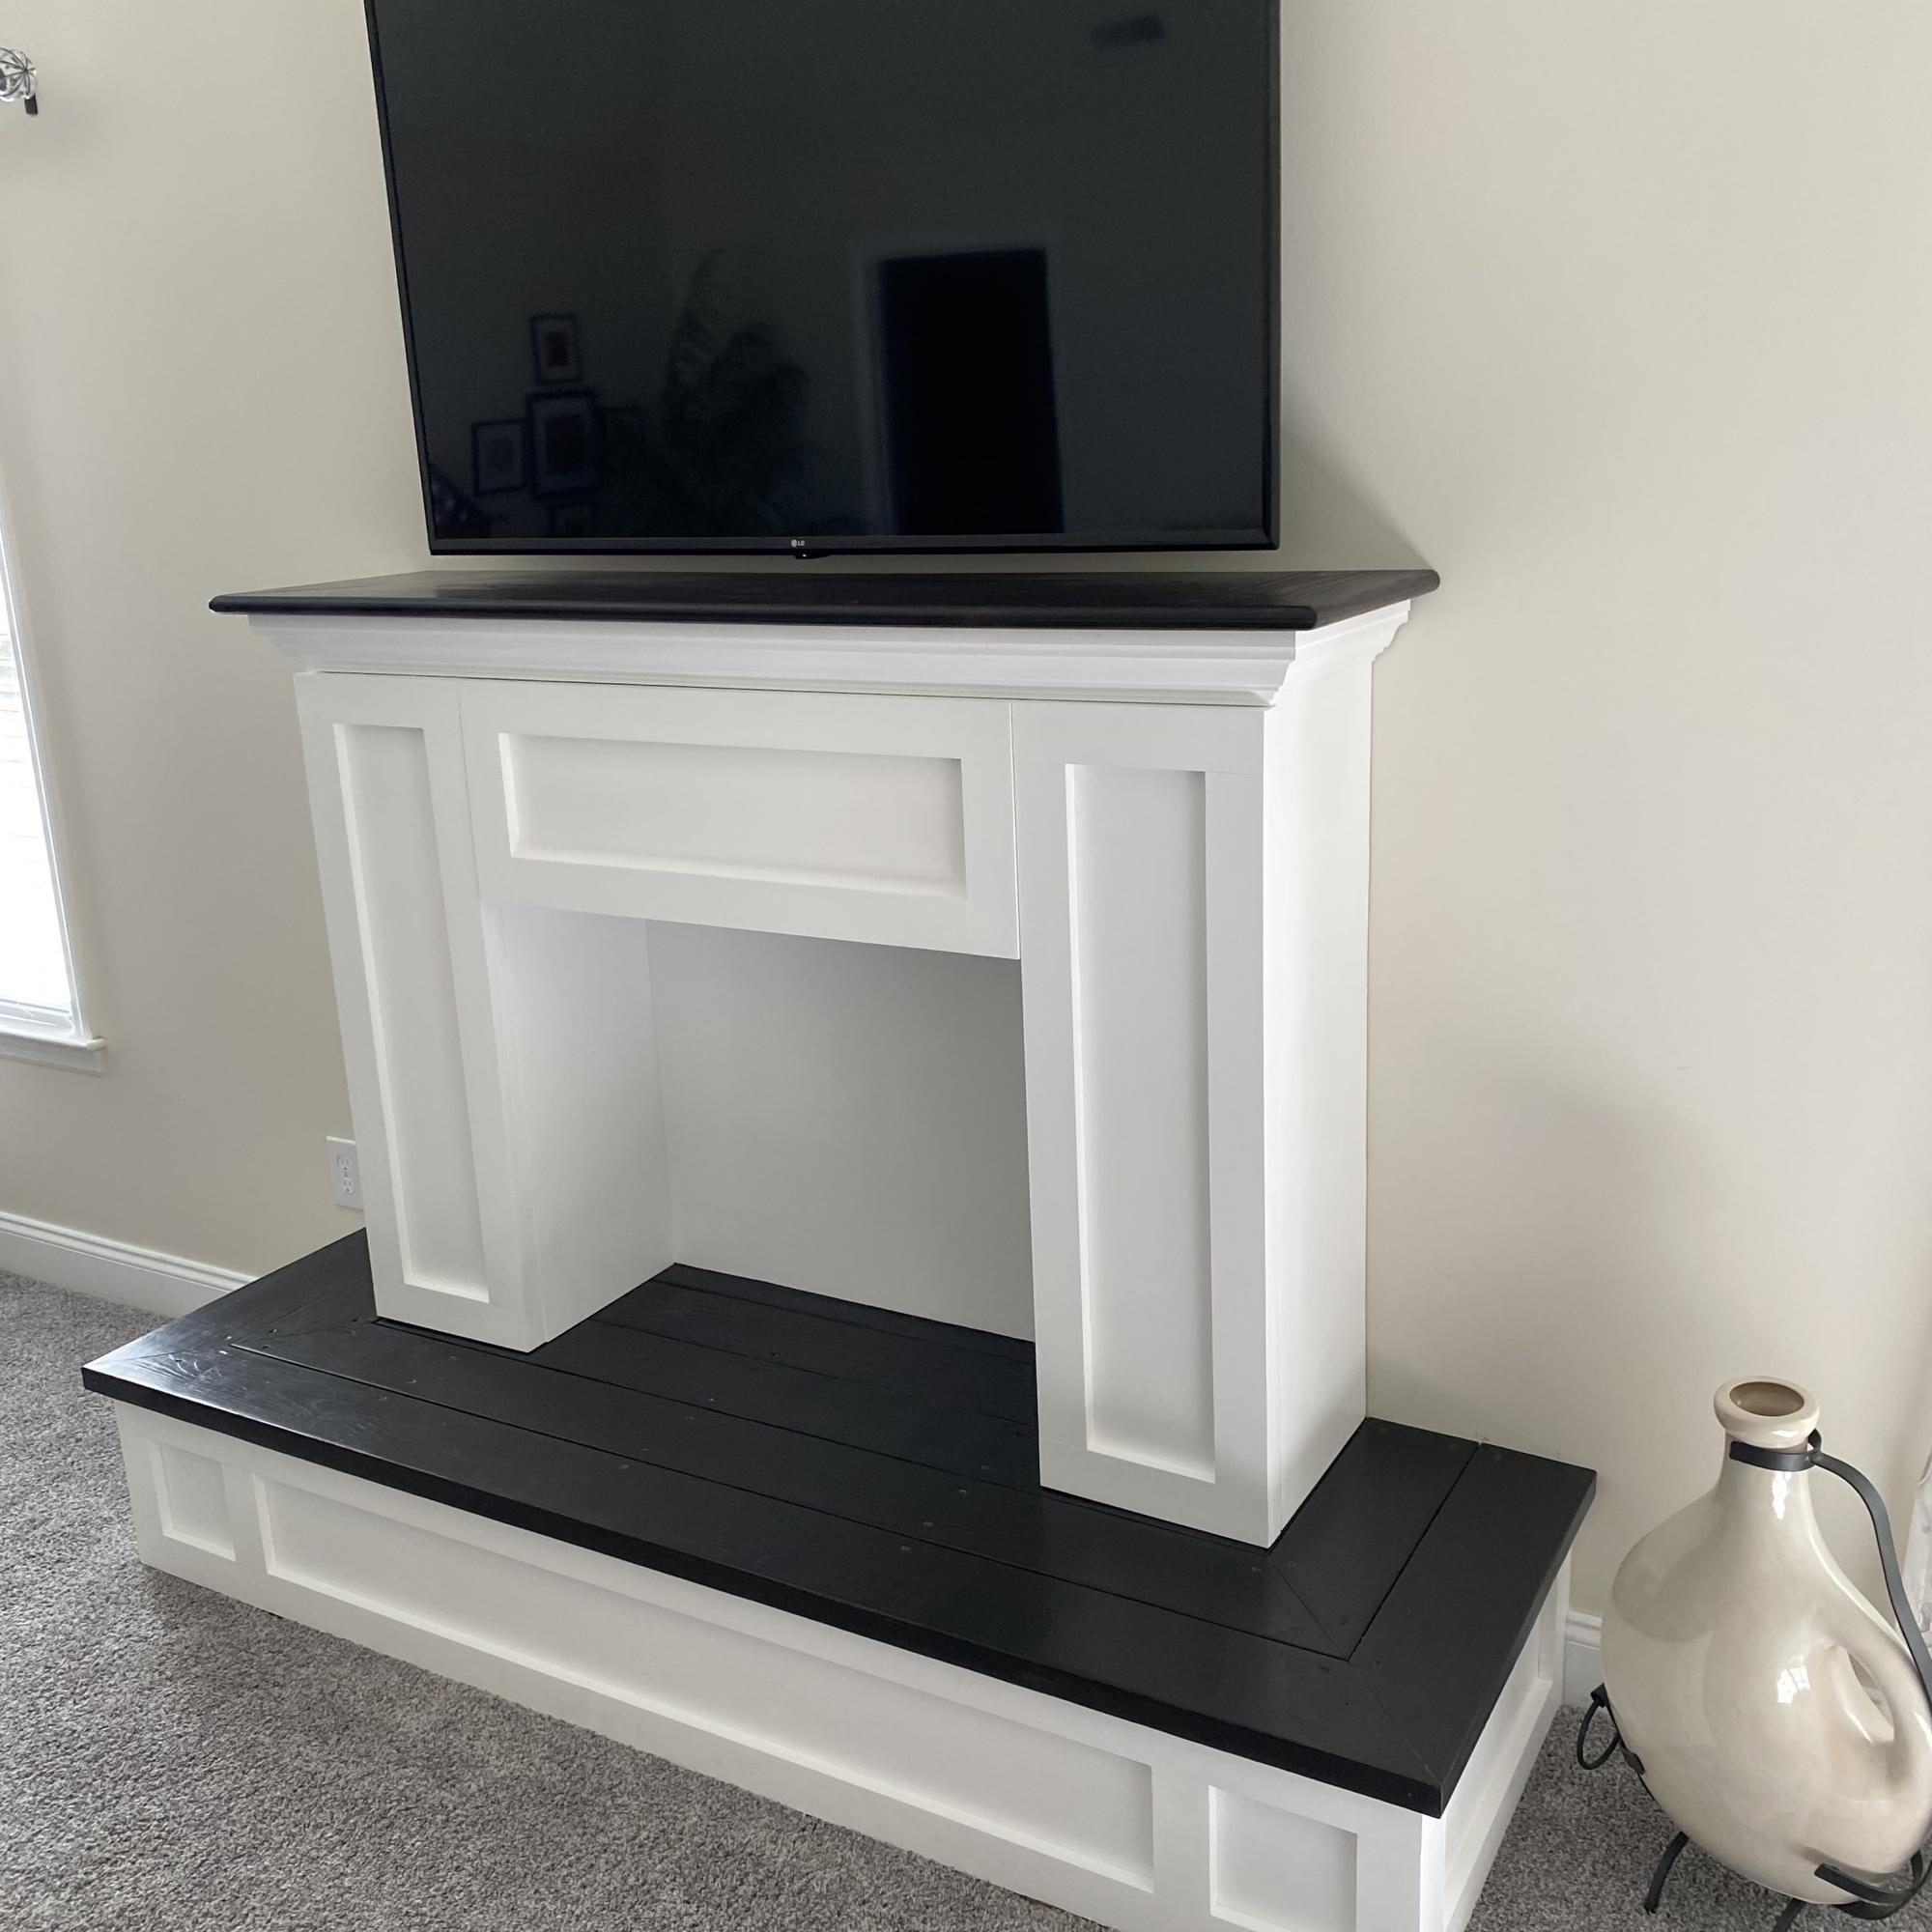
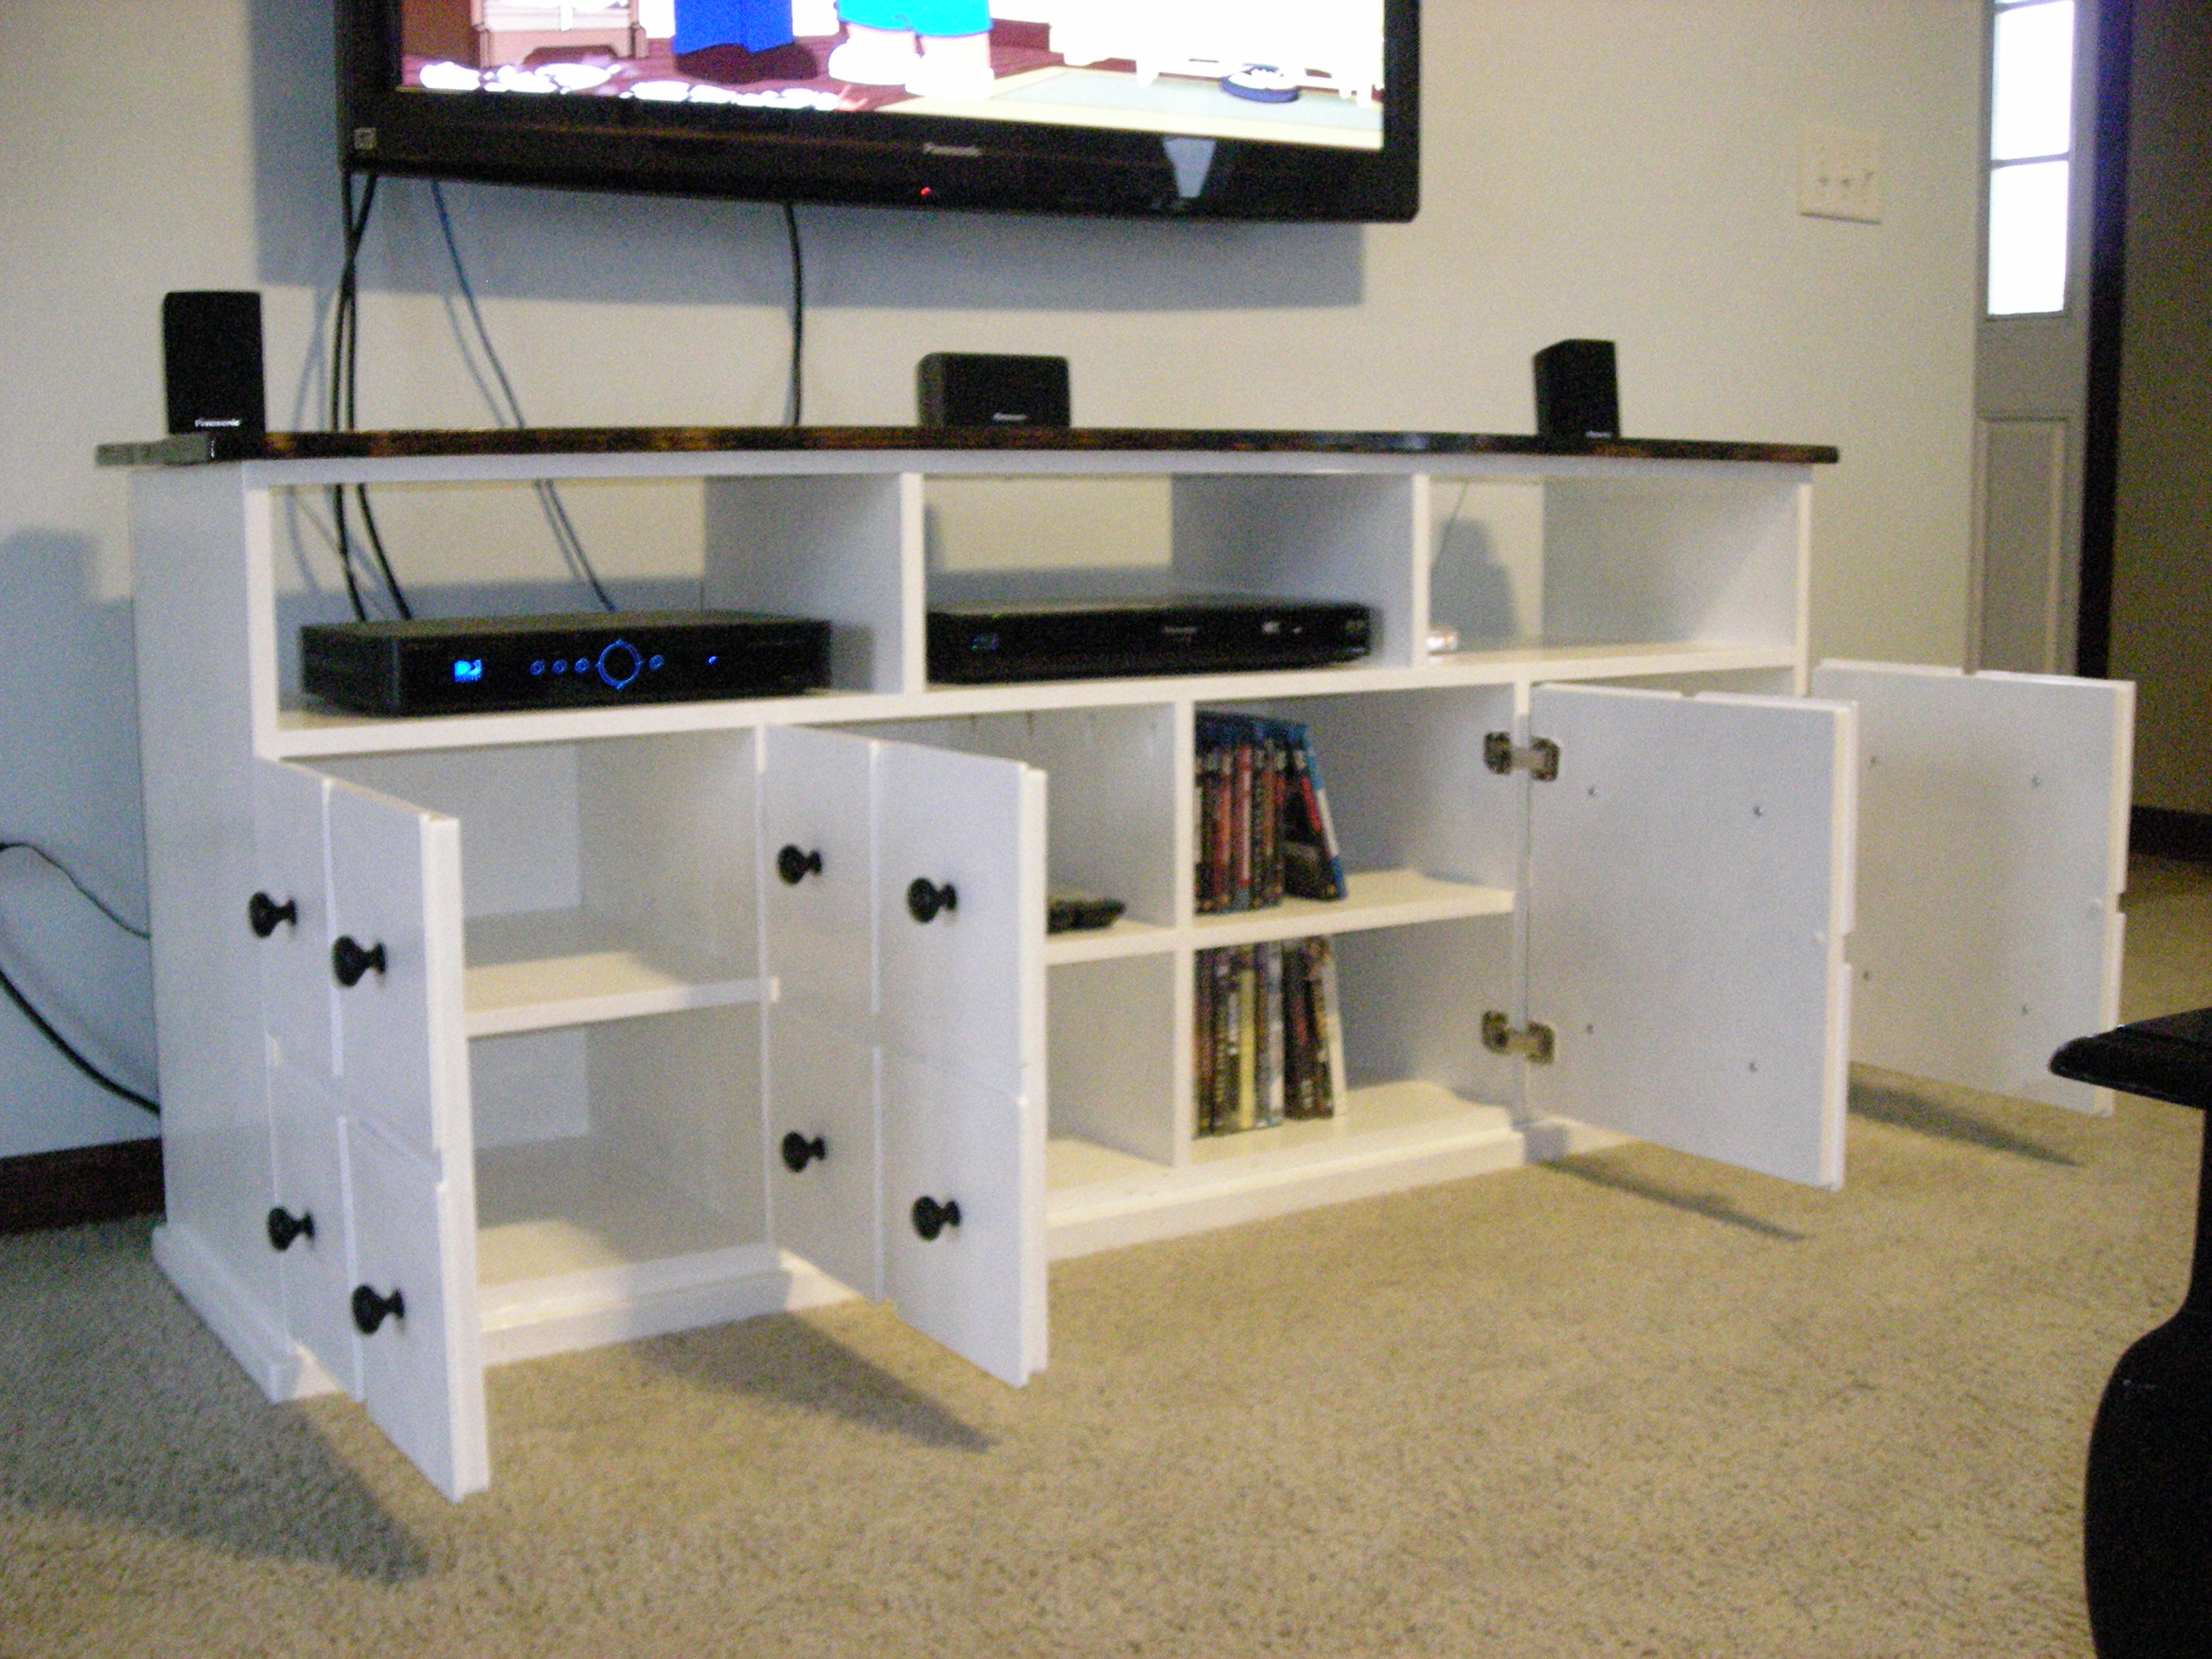
I know we've all seen this piece done a lot, but I knew I had to have it as soon as I saw it. I finally got around to making mine. I altered the plans slightly to allow for 4 doors. I also omitted the upper portion of the backing to allow for easy access to component wires. The piece fits perfectly in my space.
Wed, 11/30/2011 - 06:02
I love it!
The dark top looks great with the white.
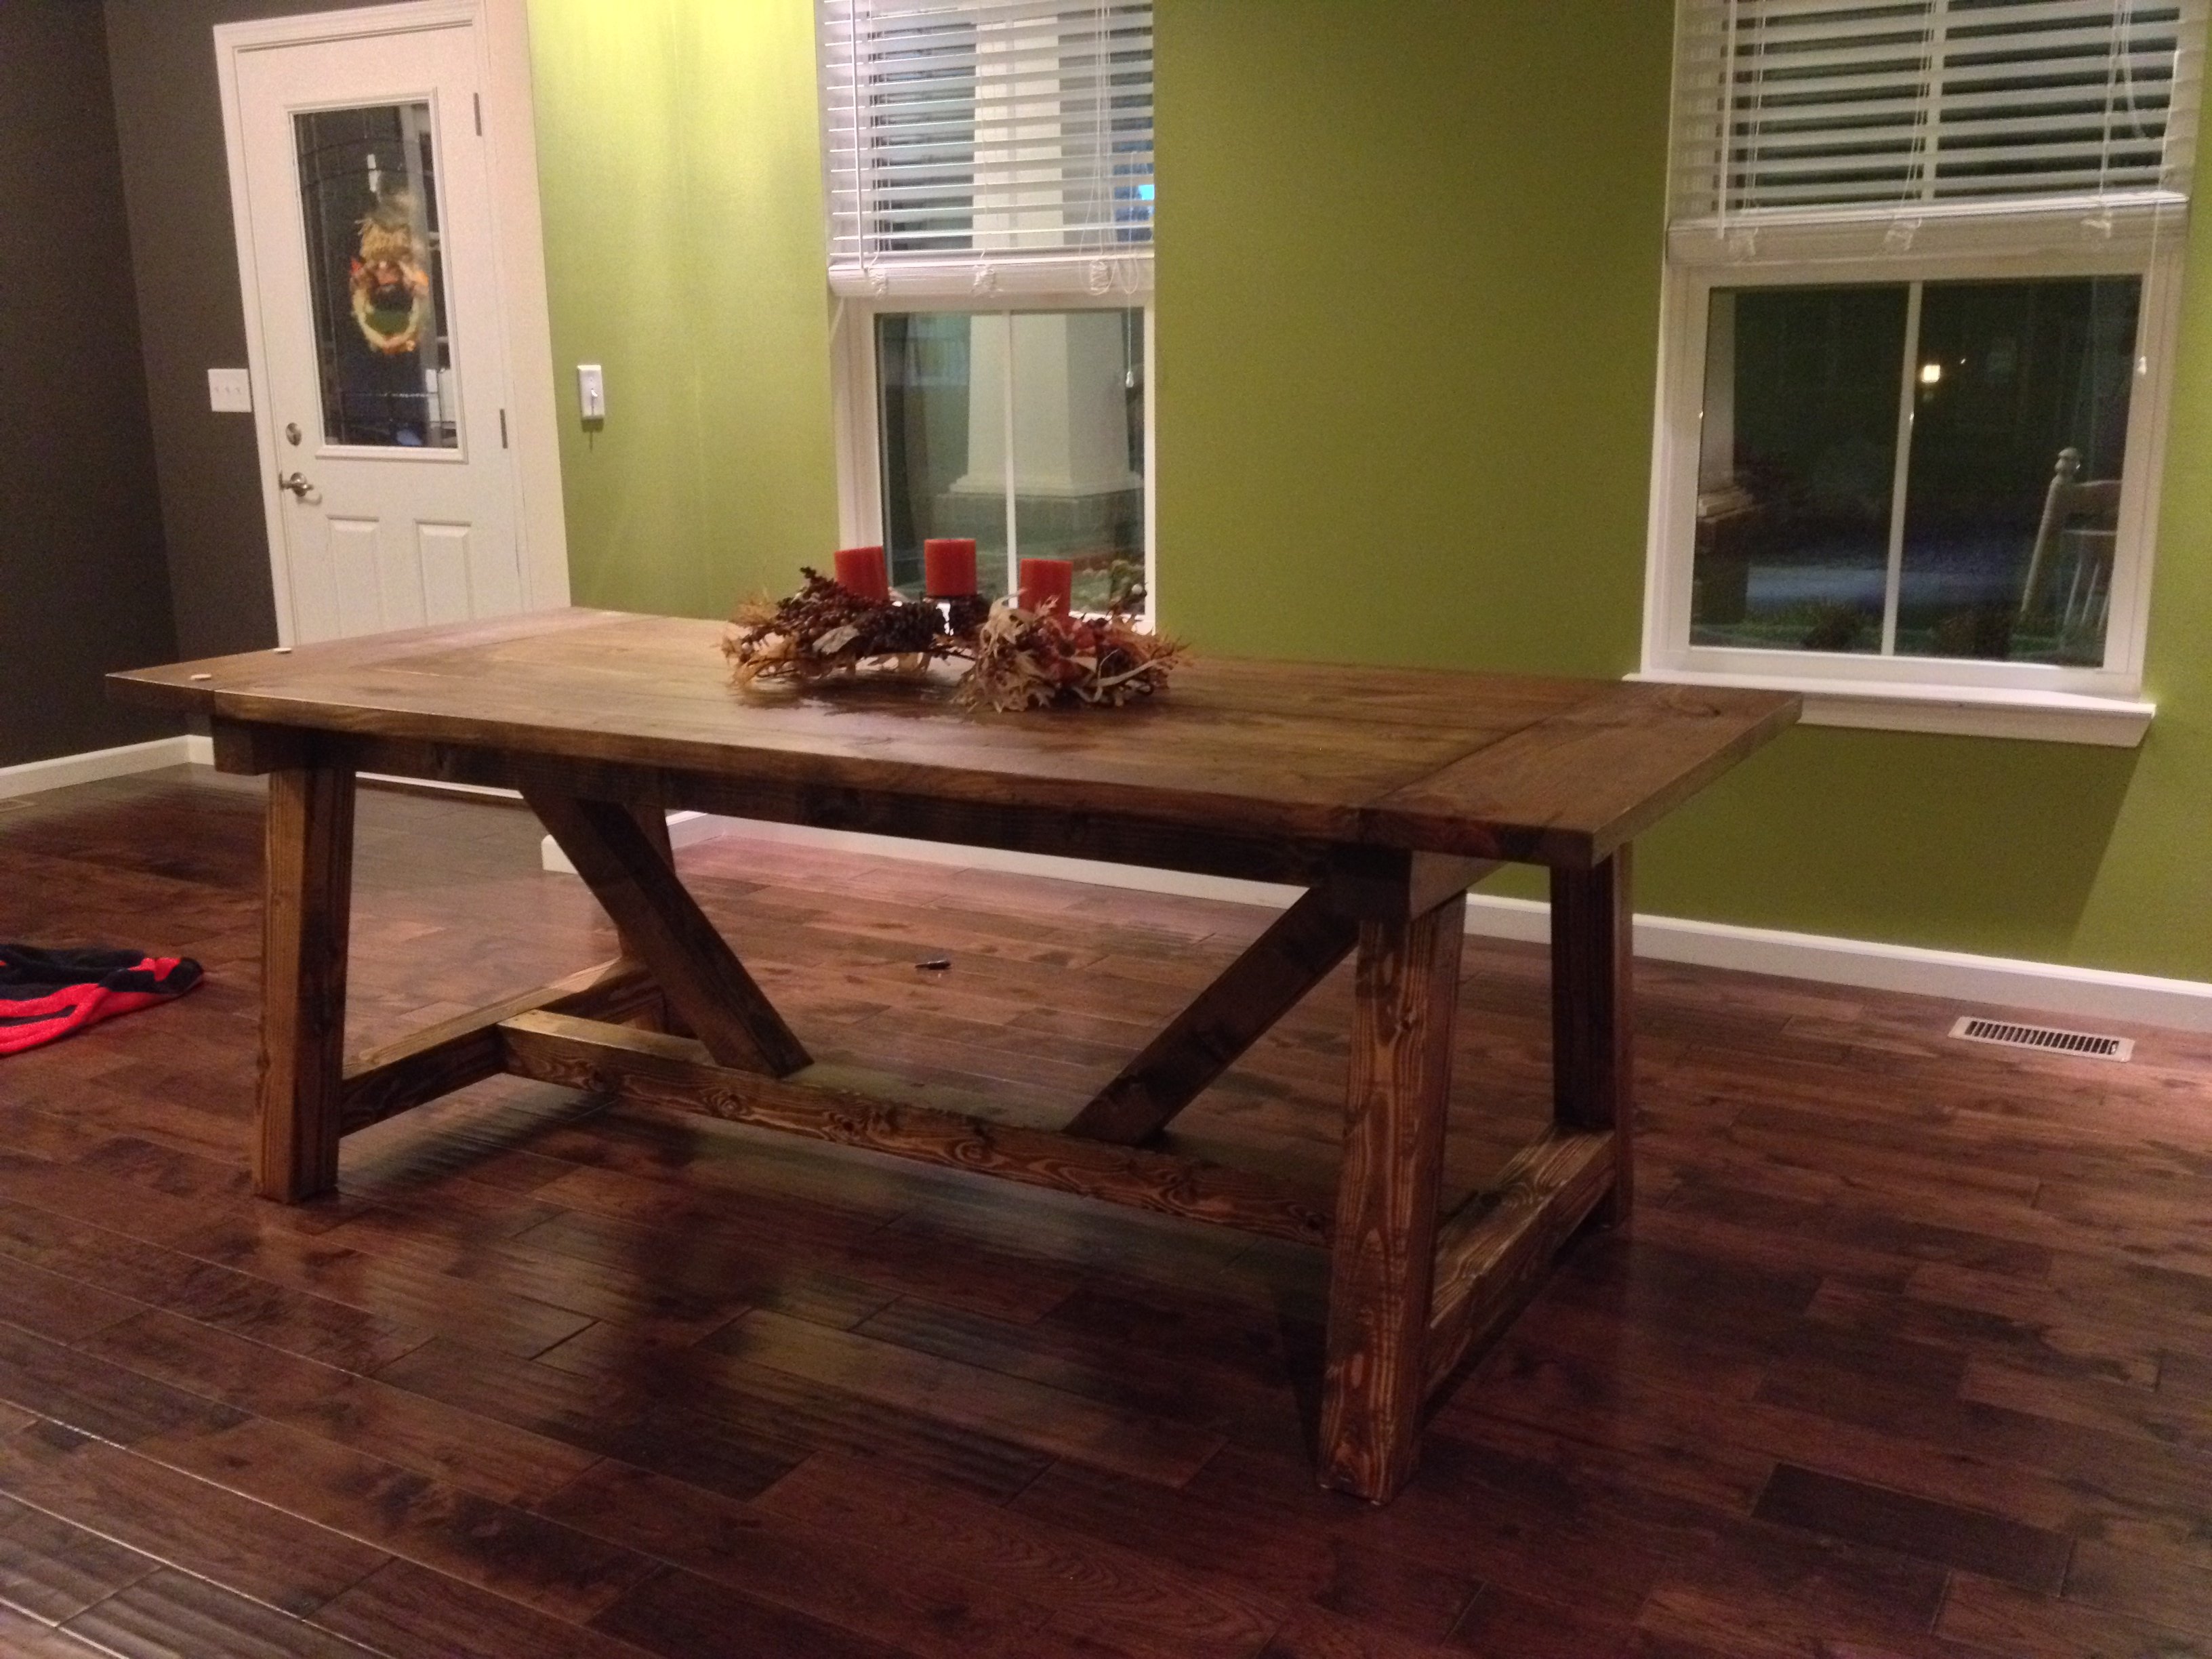
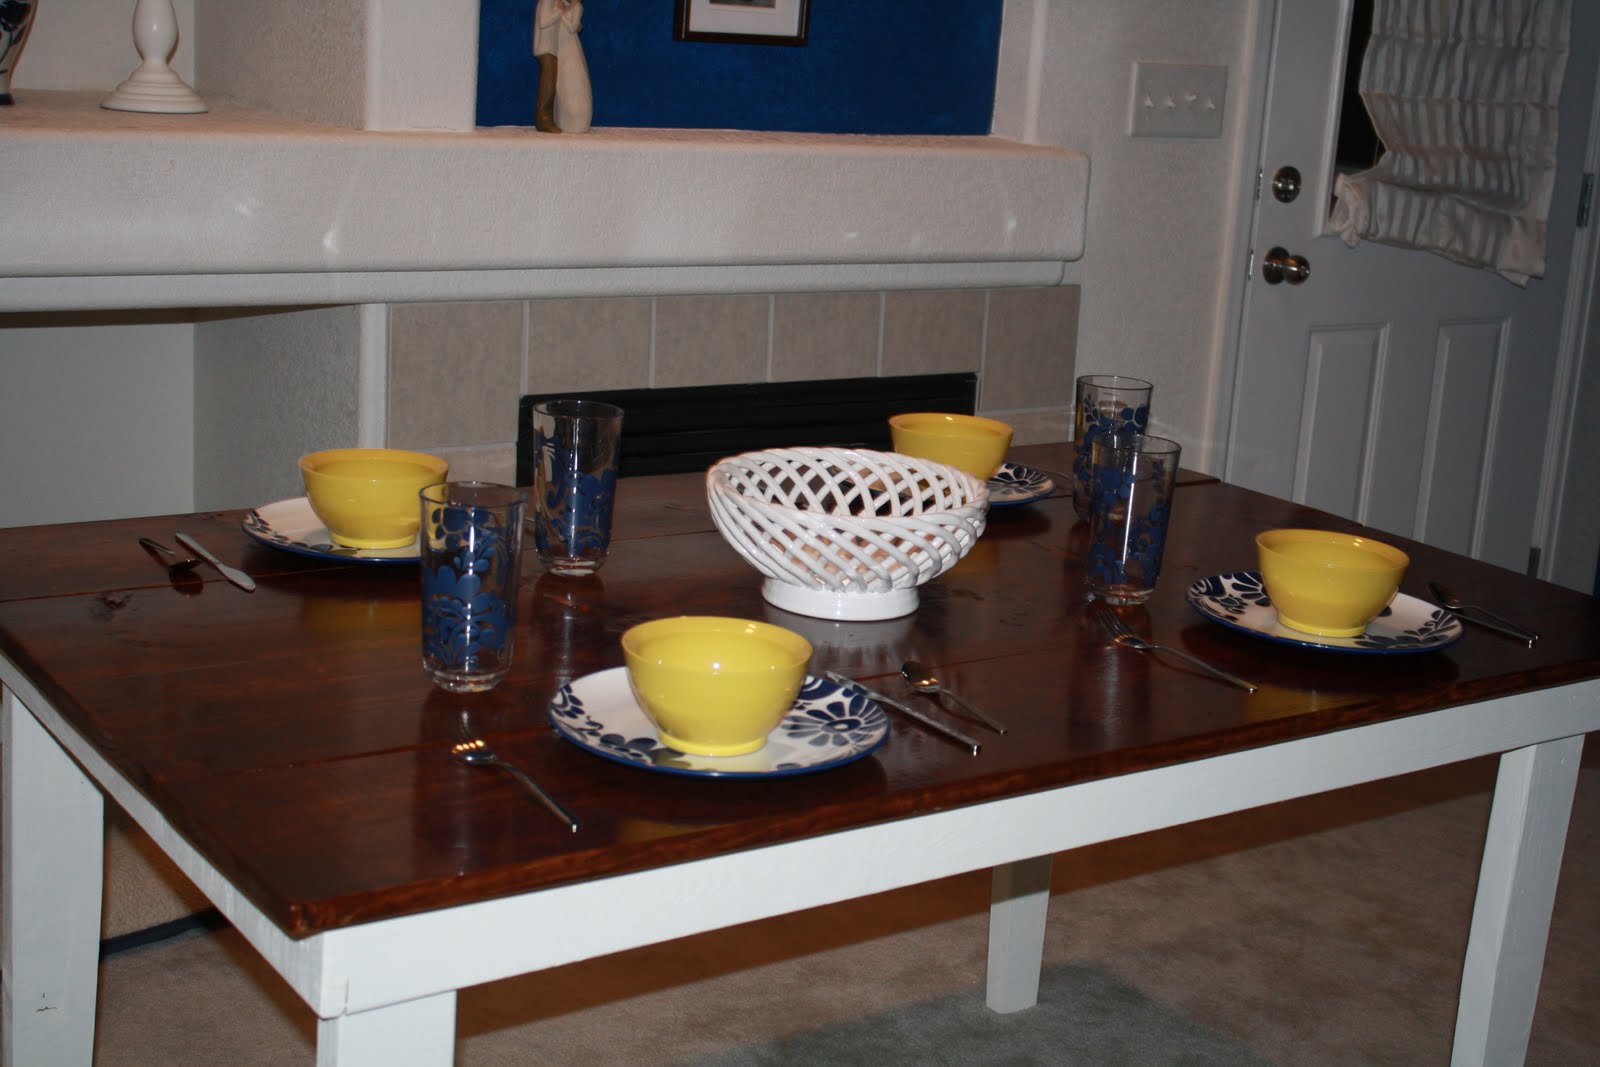
We recently built a new home, which left us with a lot of empty rooms and not enough furniture to fill them. Loving the look of pottery barn and restoration hardware, we started looking around for ideas. This truss beam table is exactly what we had envisioned for our modern farmhouse dining room. Mike (my hubs) did the building, which took only about 4-5 hours total. Then I did the finishing, which is what took the bulk of the time. We are super happy with our table and it is finished just in time for the upcoming holidays!! Thanks Ana White and Shabby 2 Chic for the inspiration and free plan!
