Rolling Crate Side Table

I made a simple rolling crate, and put it on its sides. Attached casters on the bottom. I used my scrap 2x4's for the top. Boom! A beautiful rolling side table with storage.


I made a simple rolling crate, and put it on its sides. Attached casters on the bottom. I used my scrap 2x4's for the top. Boom! A beautiful rolling side table with storage.


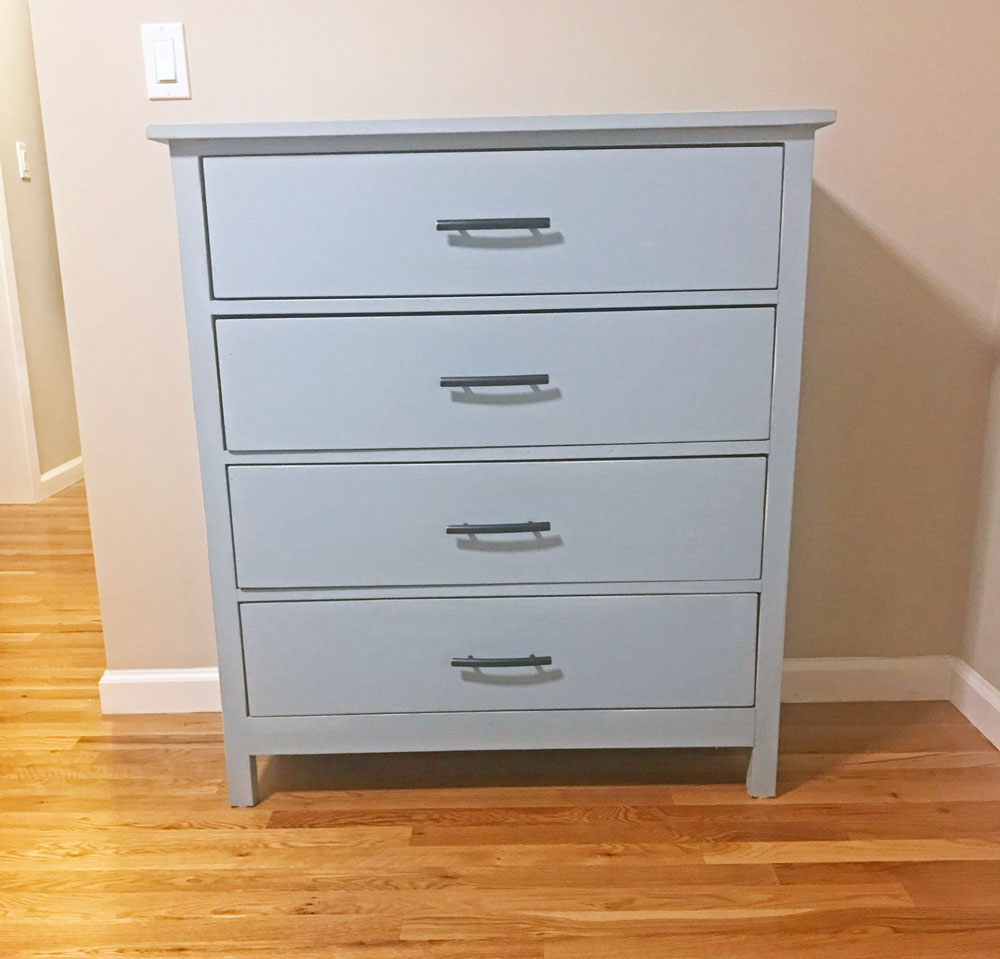
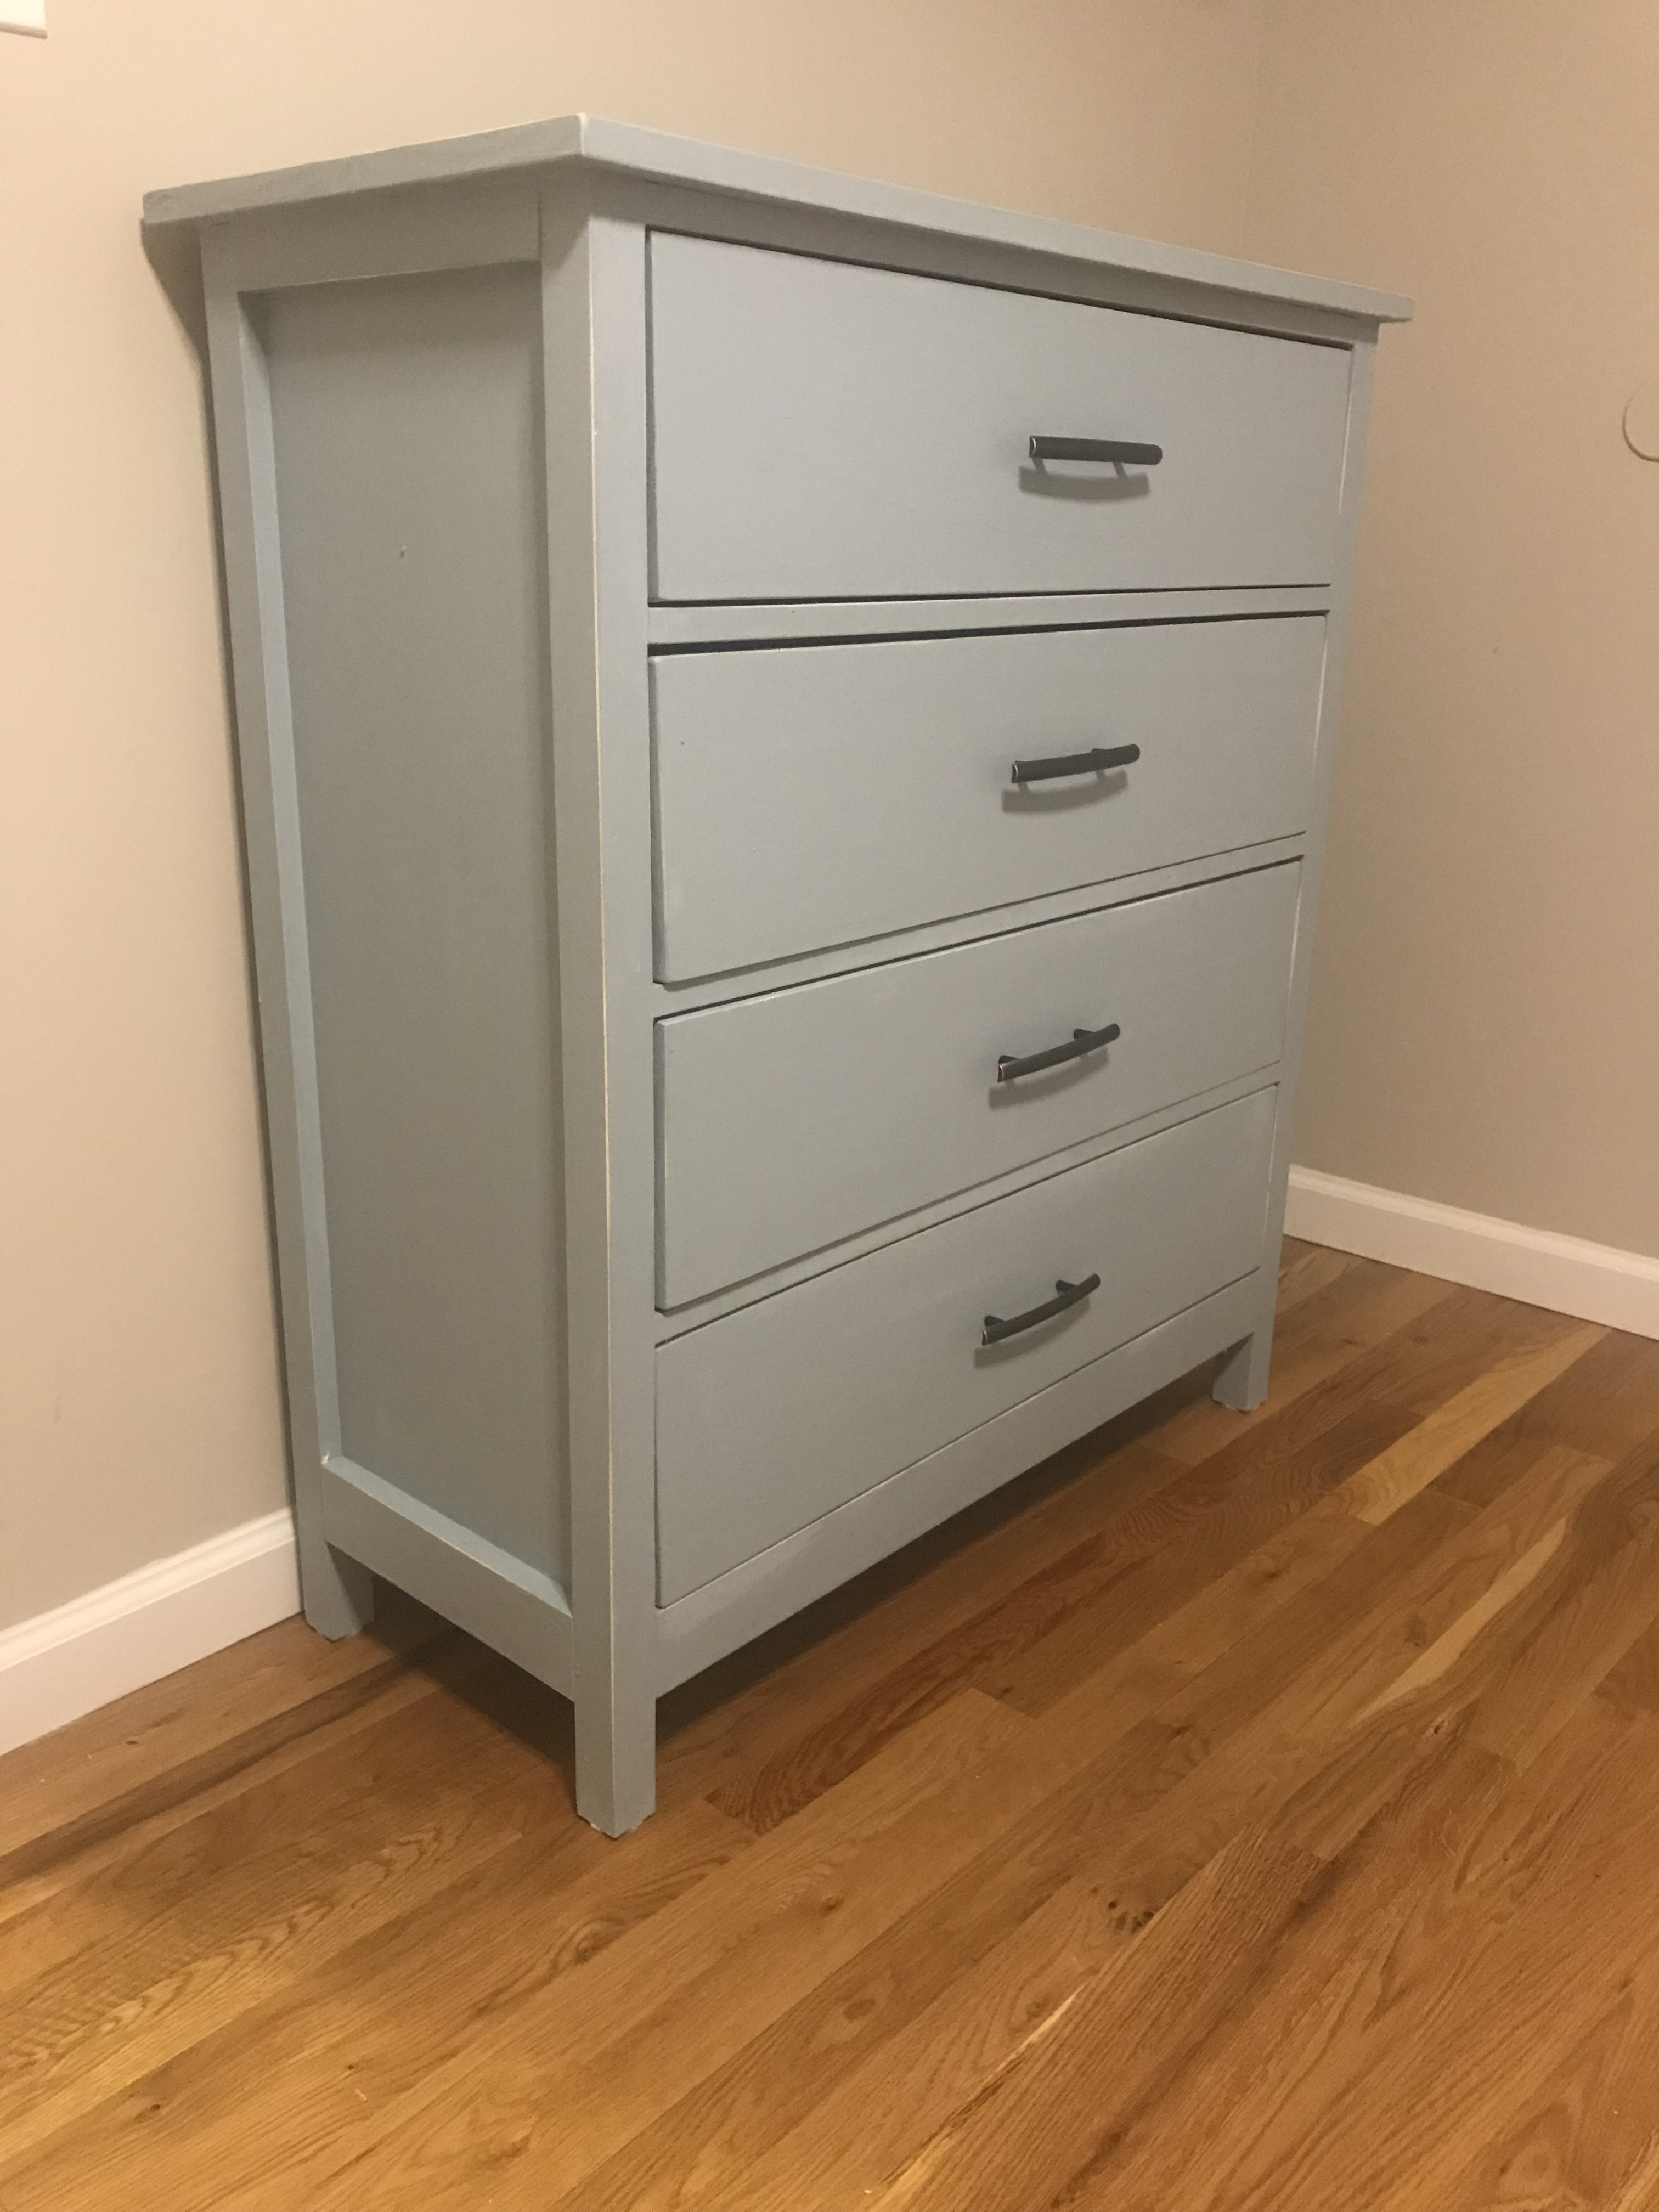
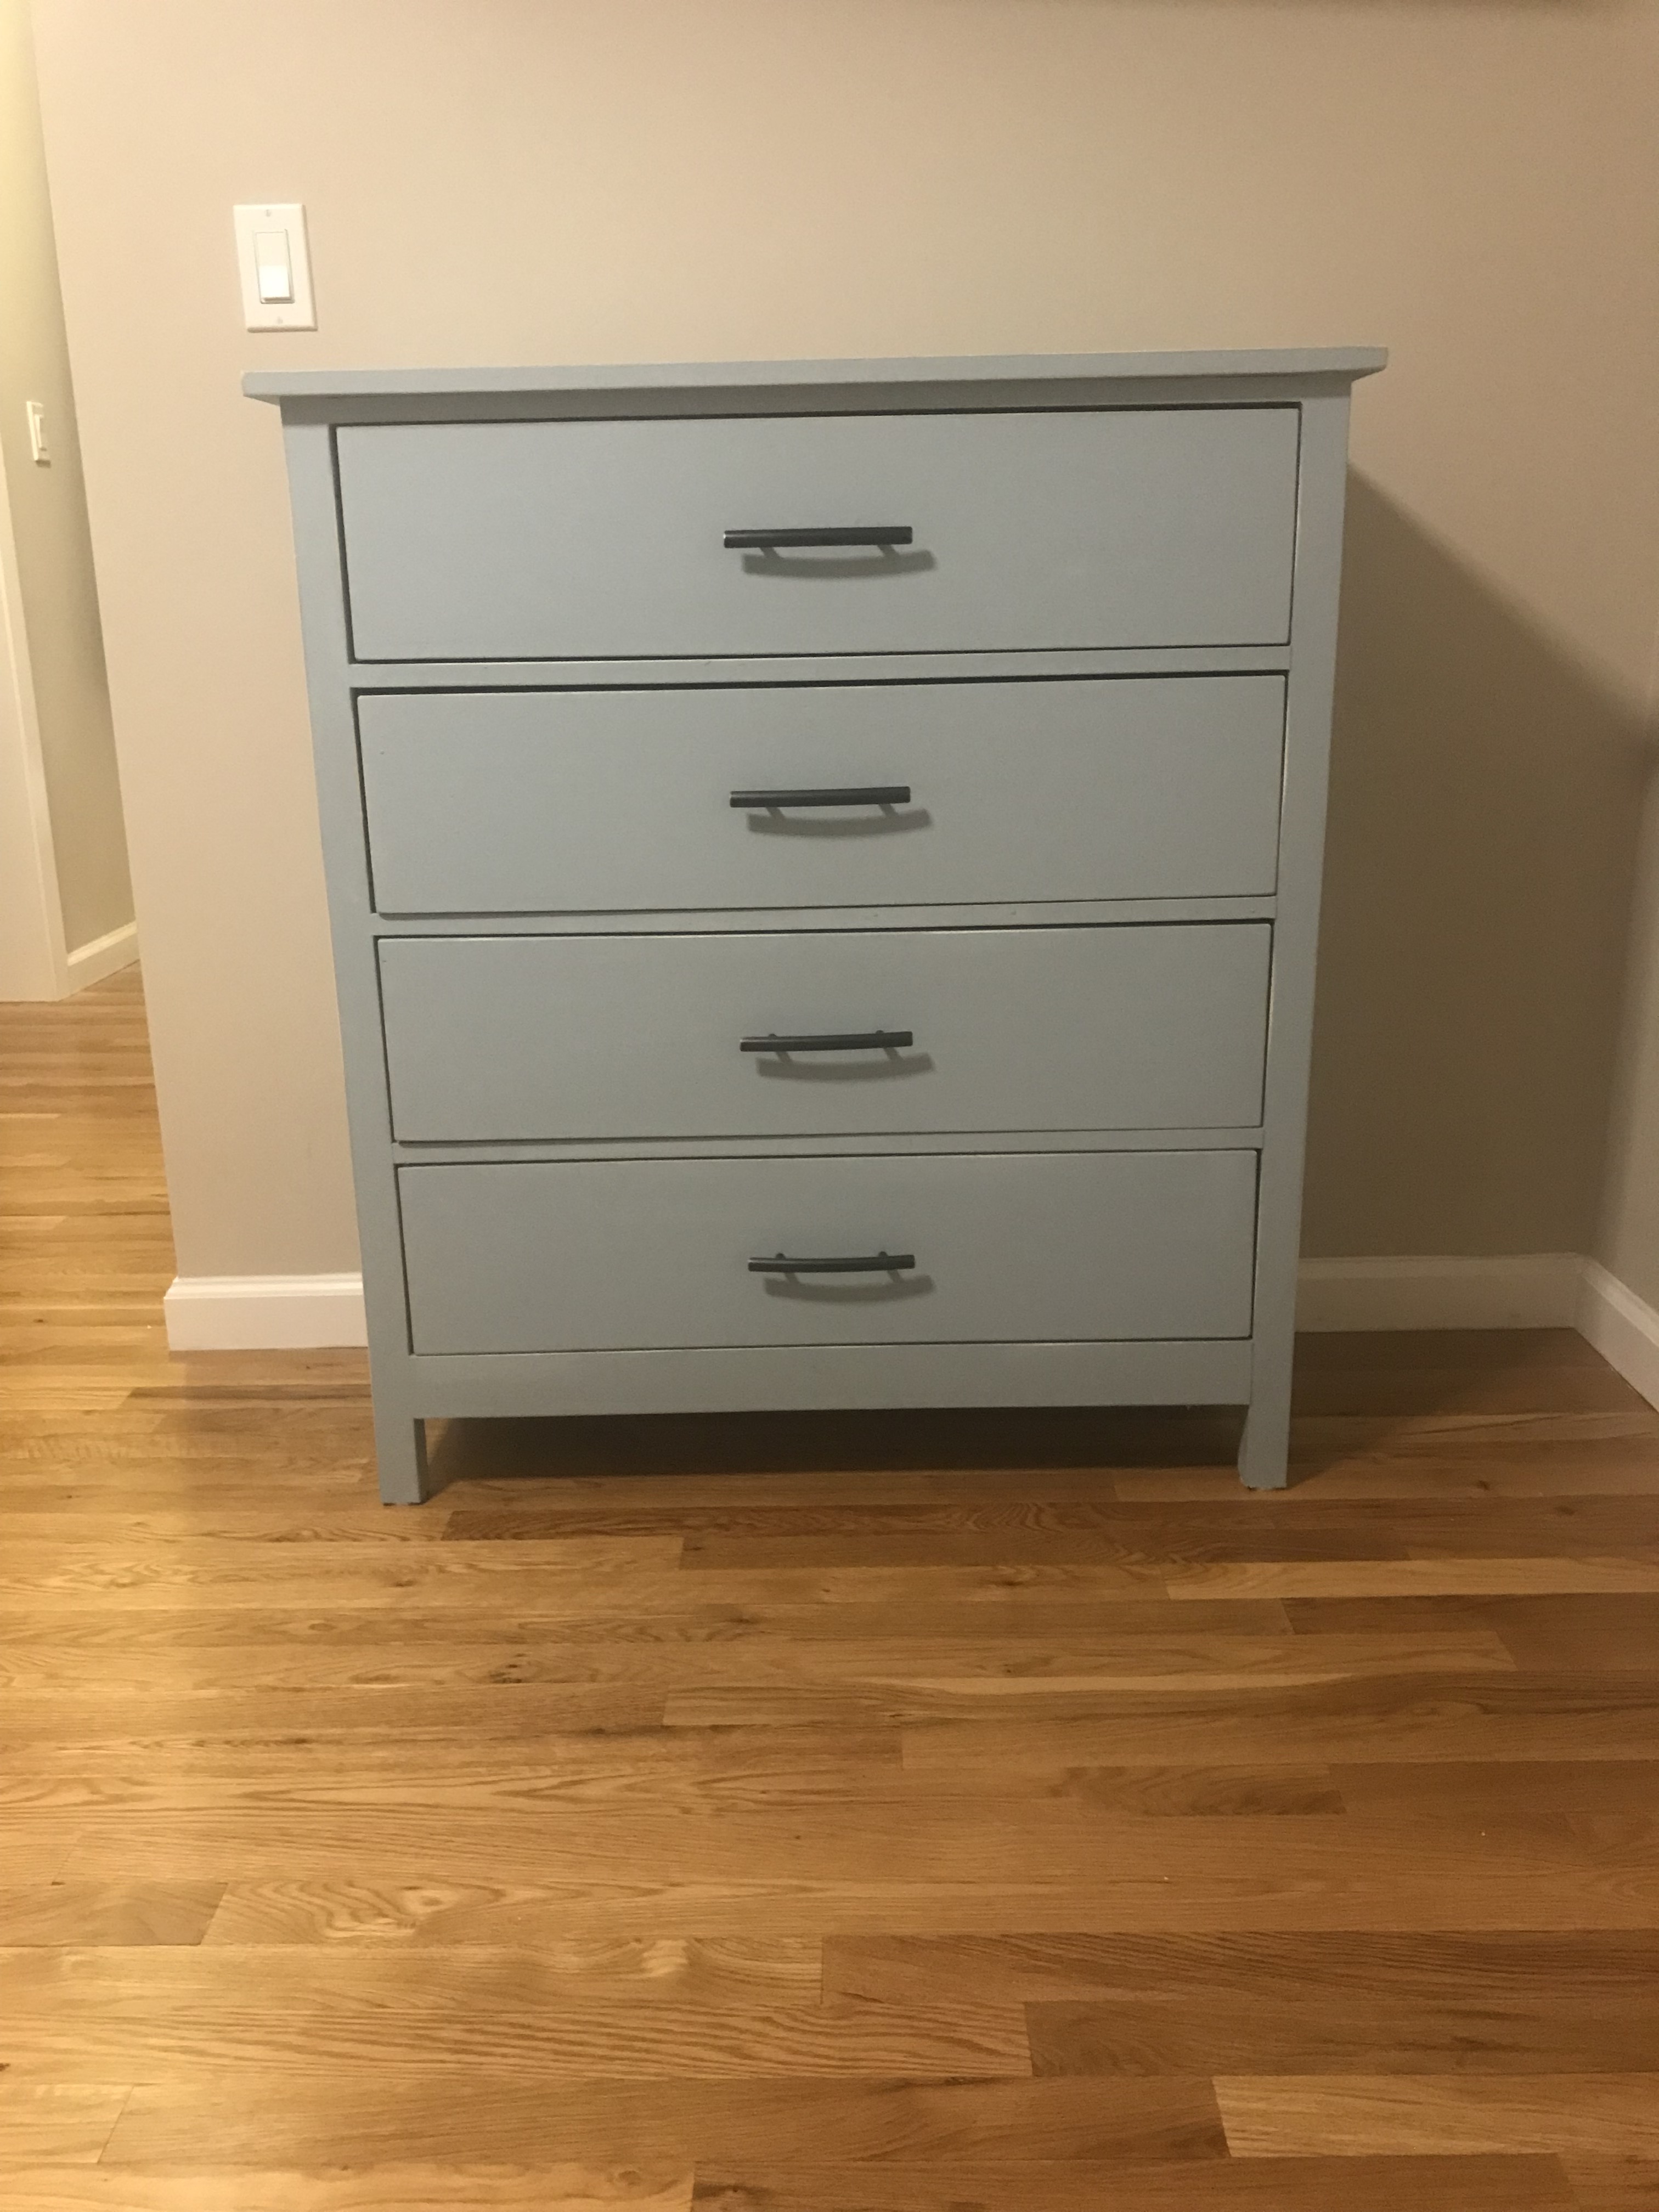
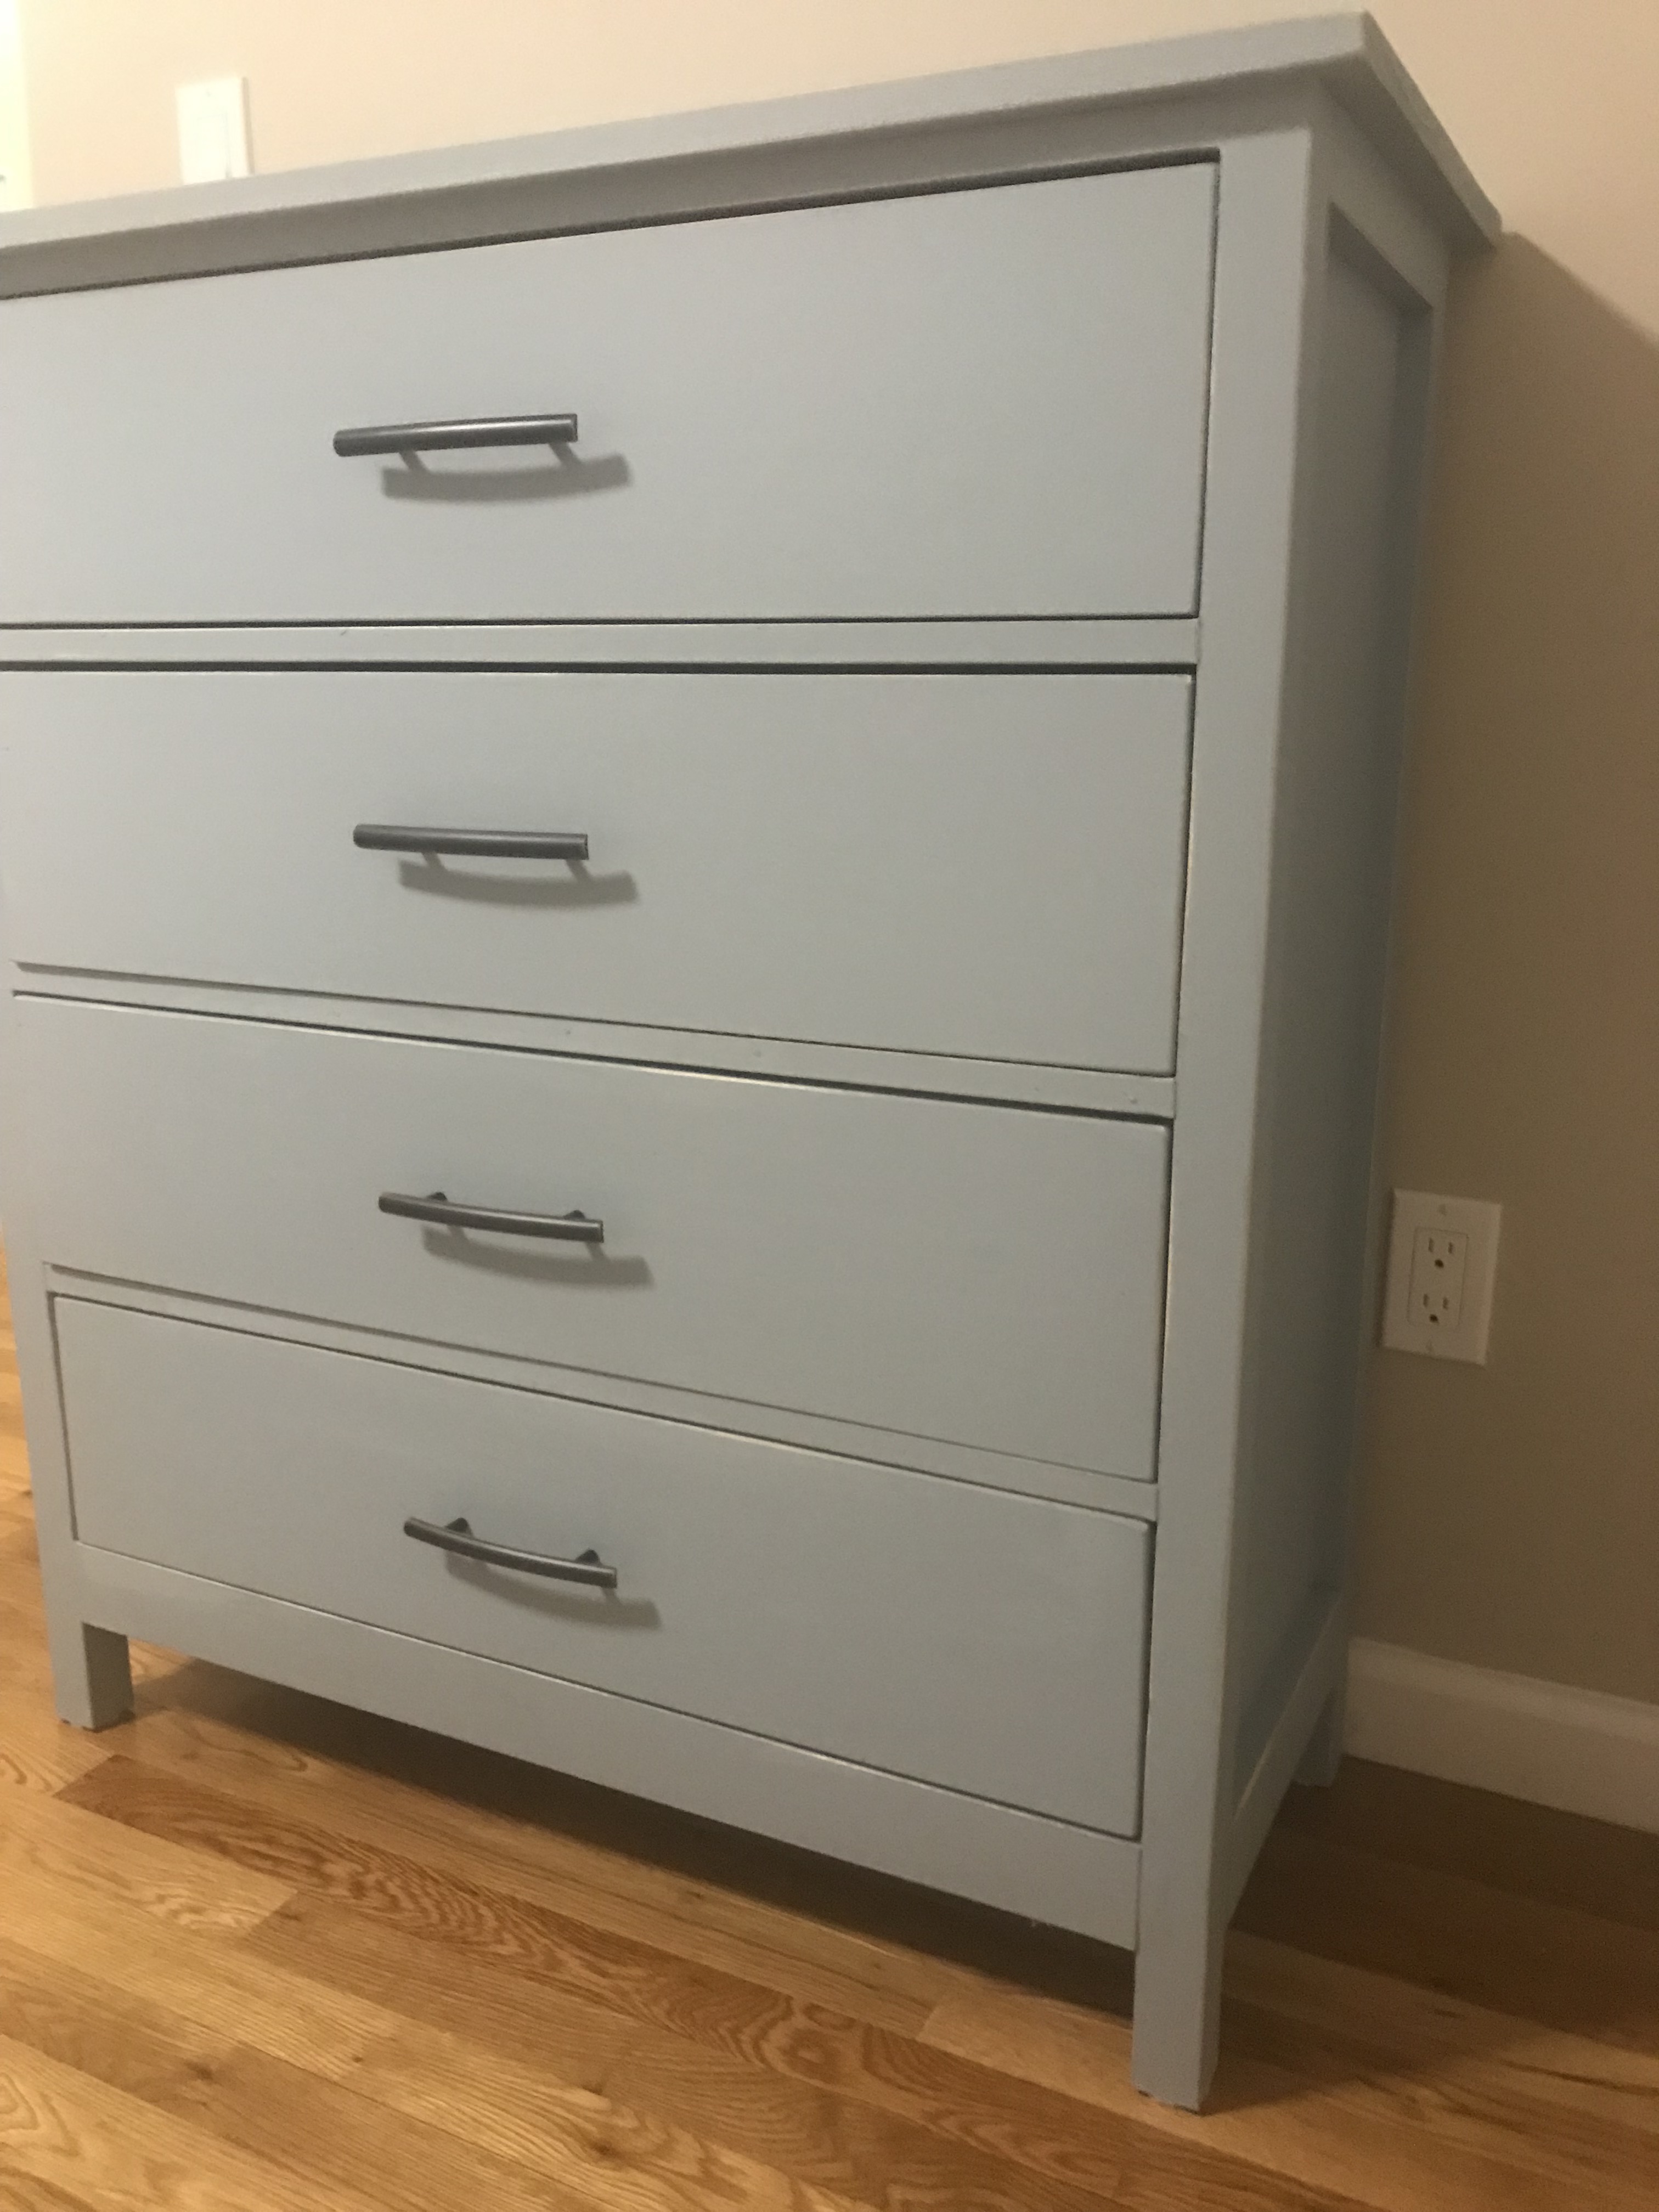
Dresser created for my parents.
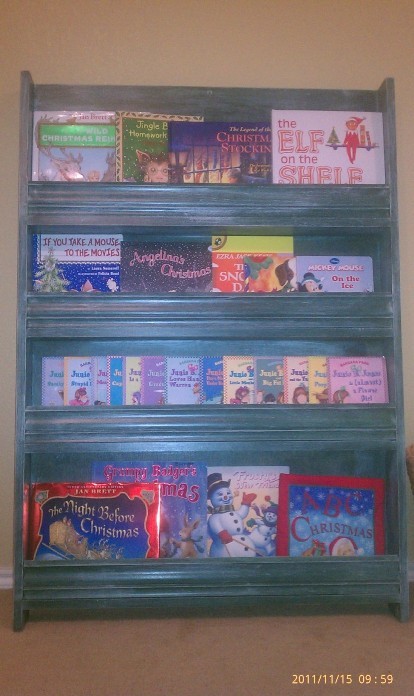
Here is my first attempt at this bookshelf. Don't own a pocket hole jig, so I used screws(1 x4 shelves) and brads(Molding) through side boards. Gotta invest in the Kreg jig for future projects. I used a jigsaw with a guide to cut the back panel. I cut it a little outside the line and sanded it flush with the sides. (no table saw, either)...
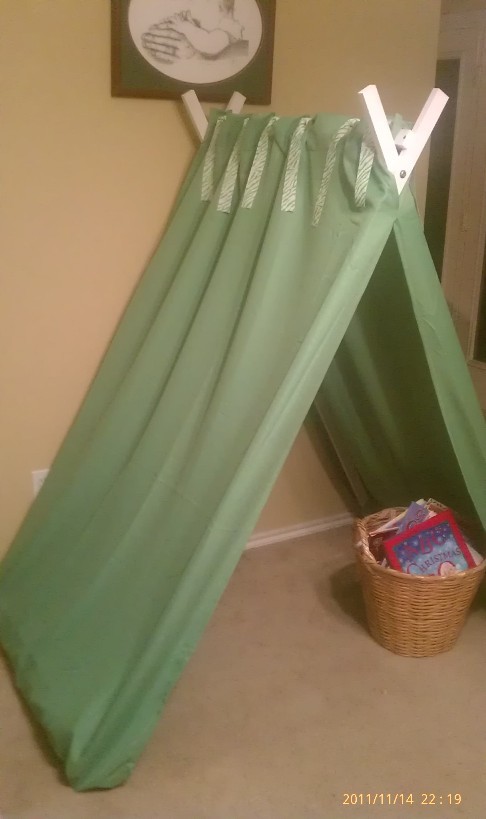
For the fronts, I used molding. I found out that the pre-painted molding, doesn't like to hold paint. Took several coats of the Hunter green to cover sufficiently for the base coat. Time estimate was given for construction and sanding. Thanks for the awesome design Ana. My wife's Kindergarten class should really enjoy this in the classroom along with the Kinder-nook.
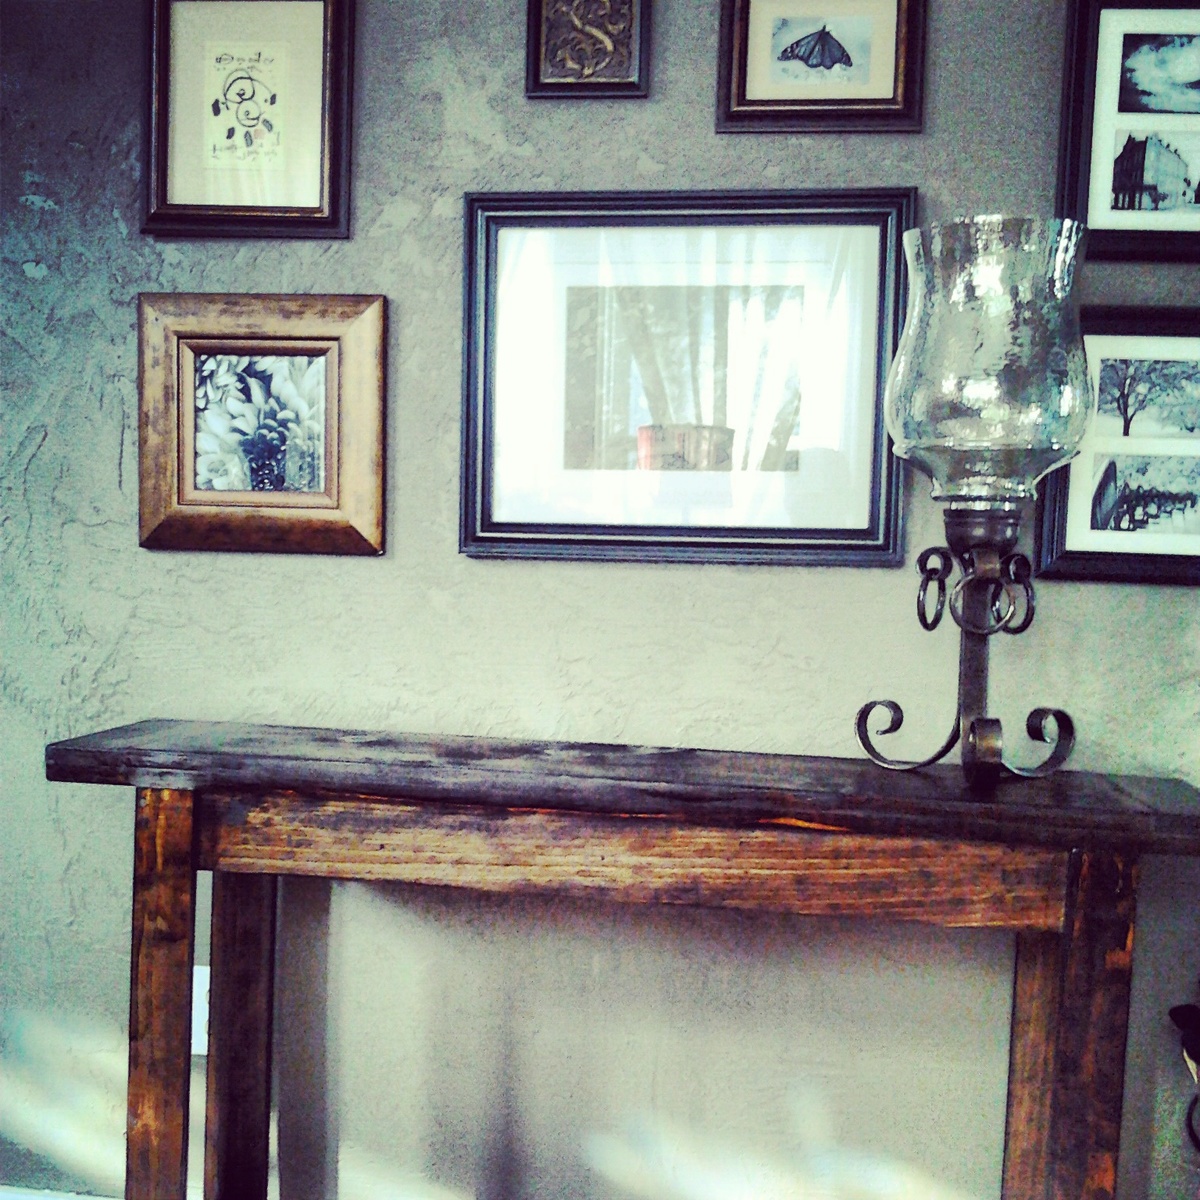
This was the first project I had ever built through Ana White. A great table.
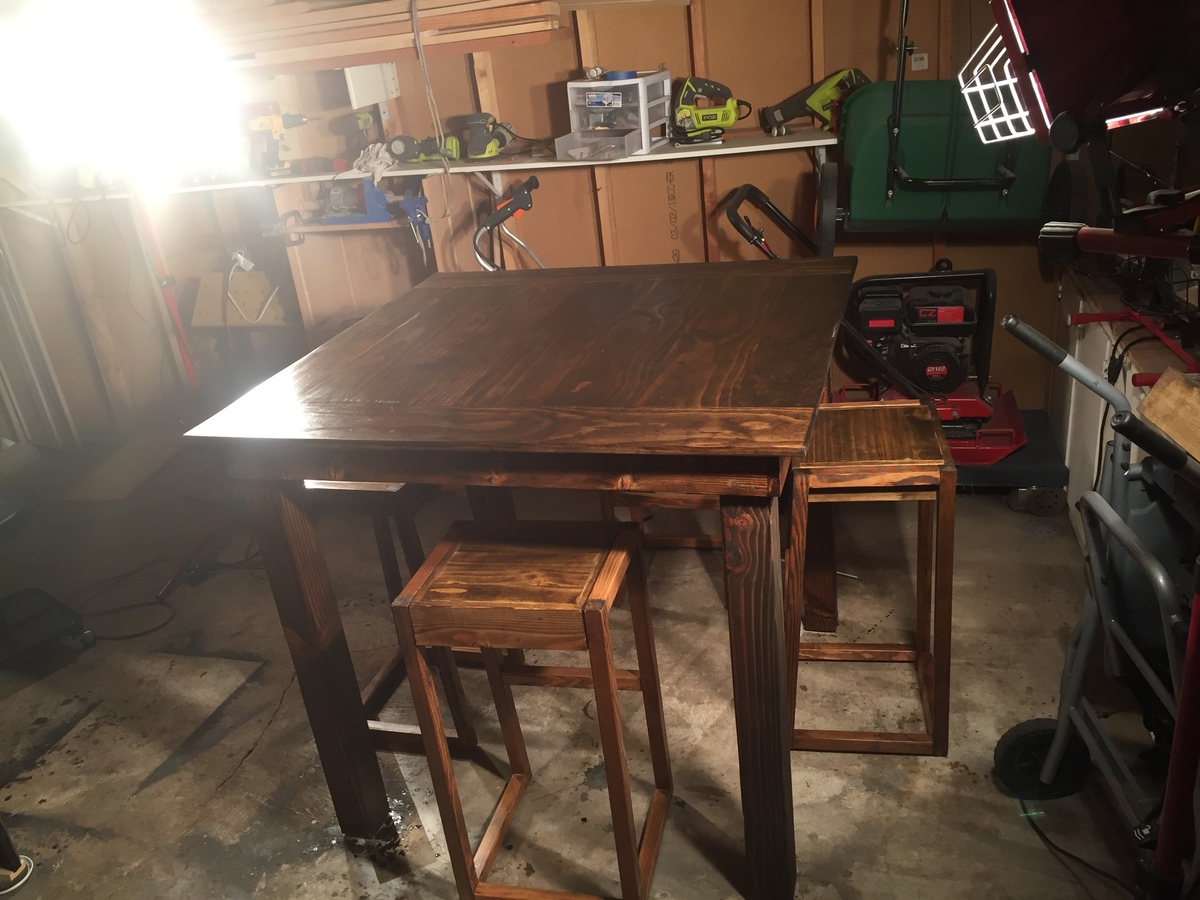
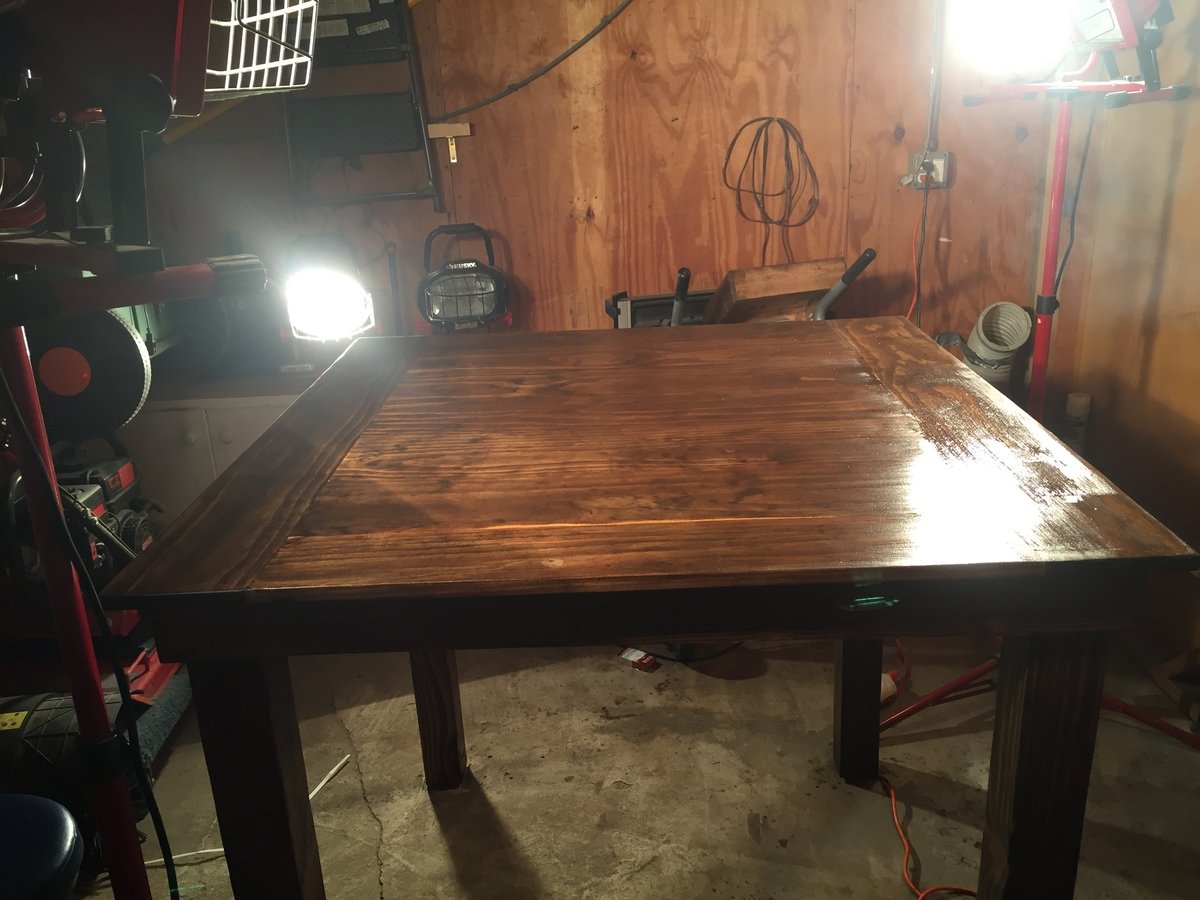
This was a lot of fun. Altered it to make it 44" x 44". 4 seater
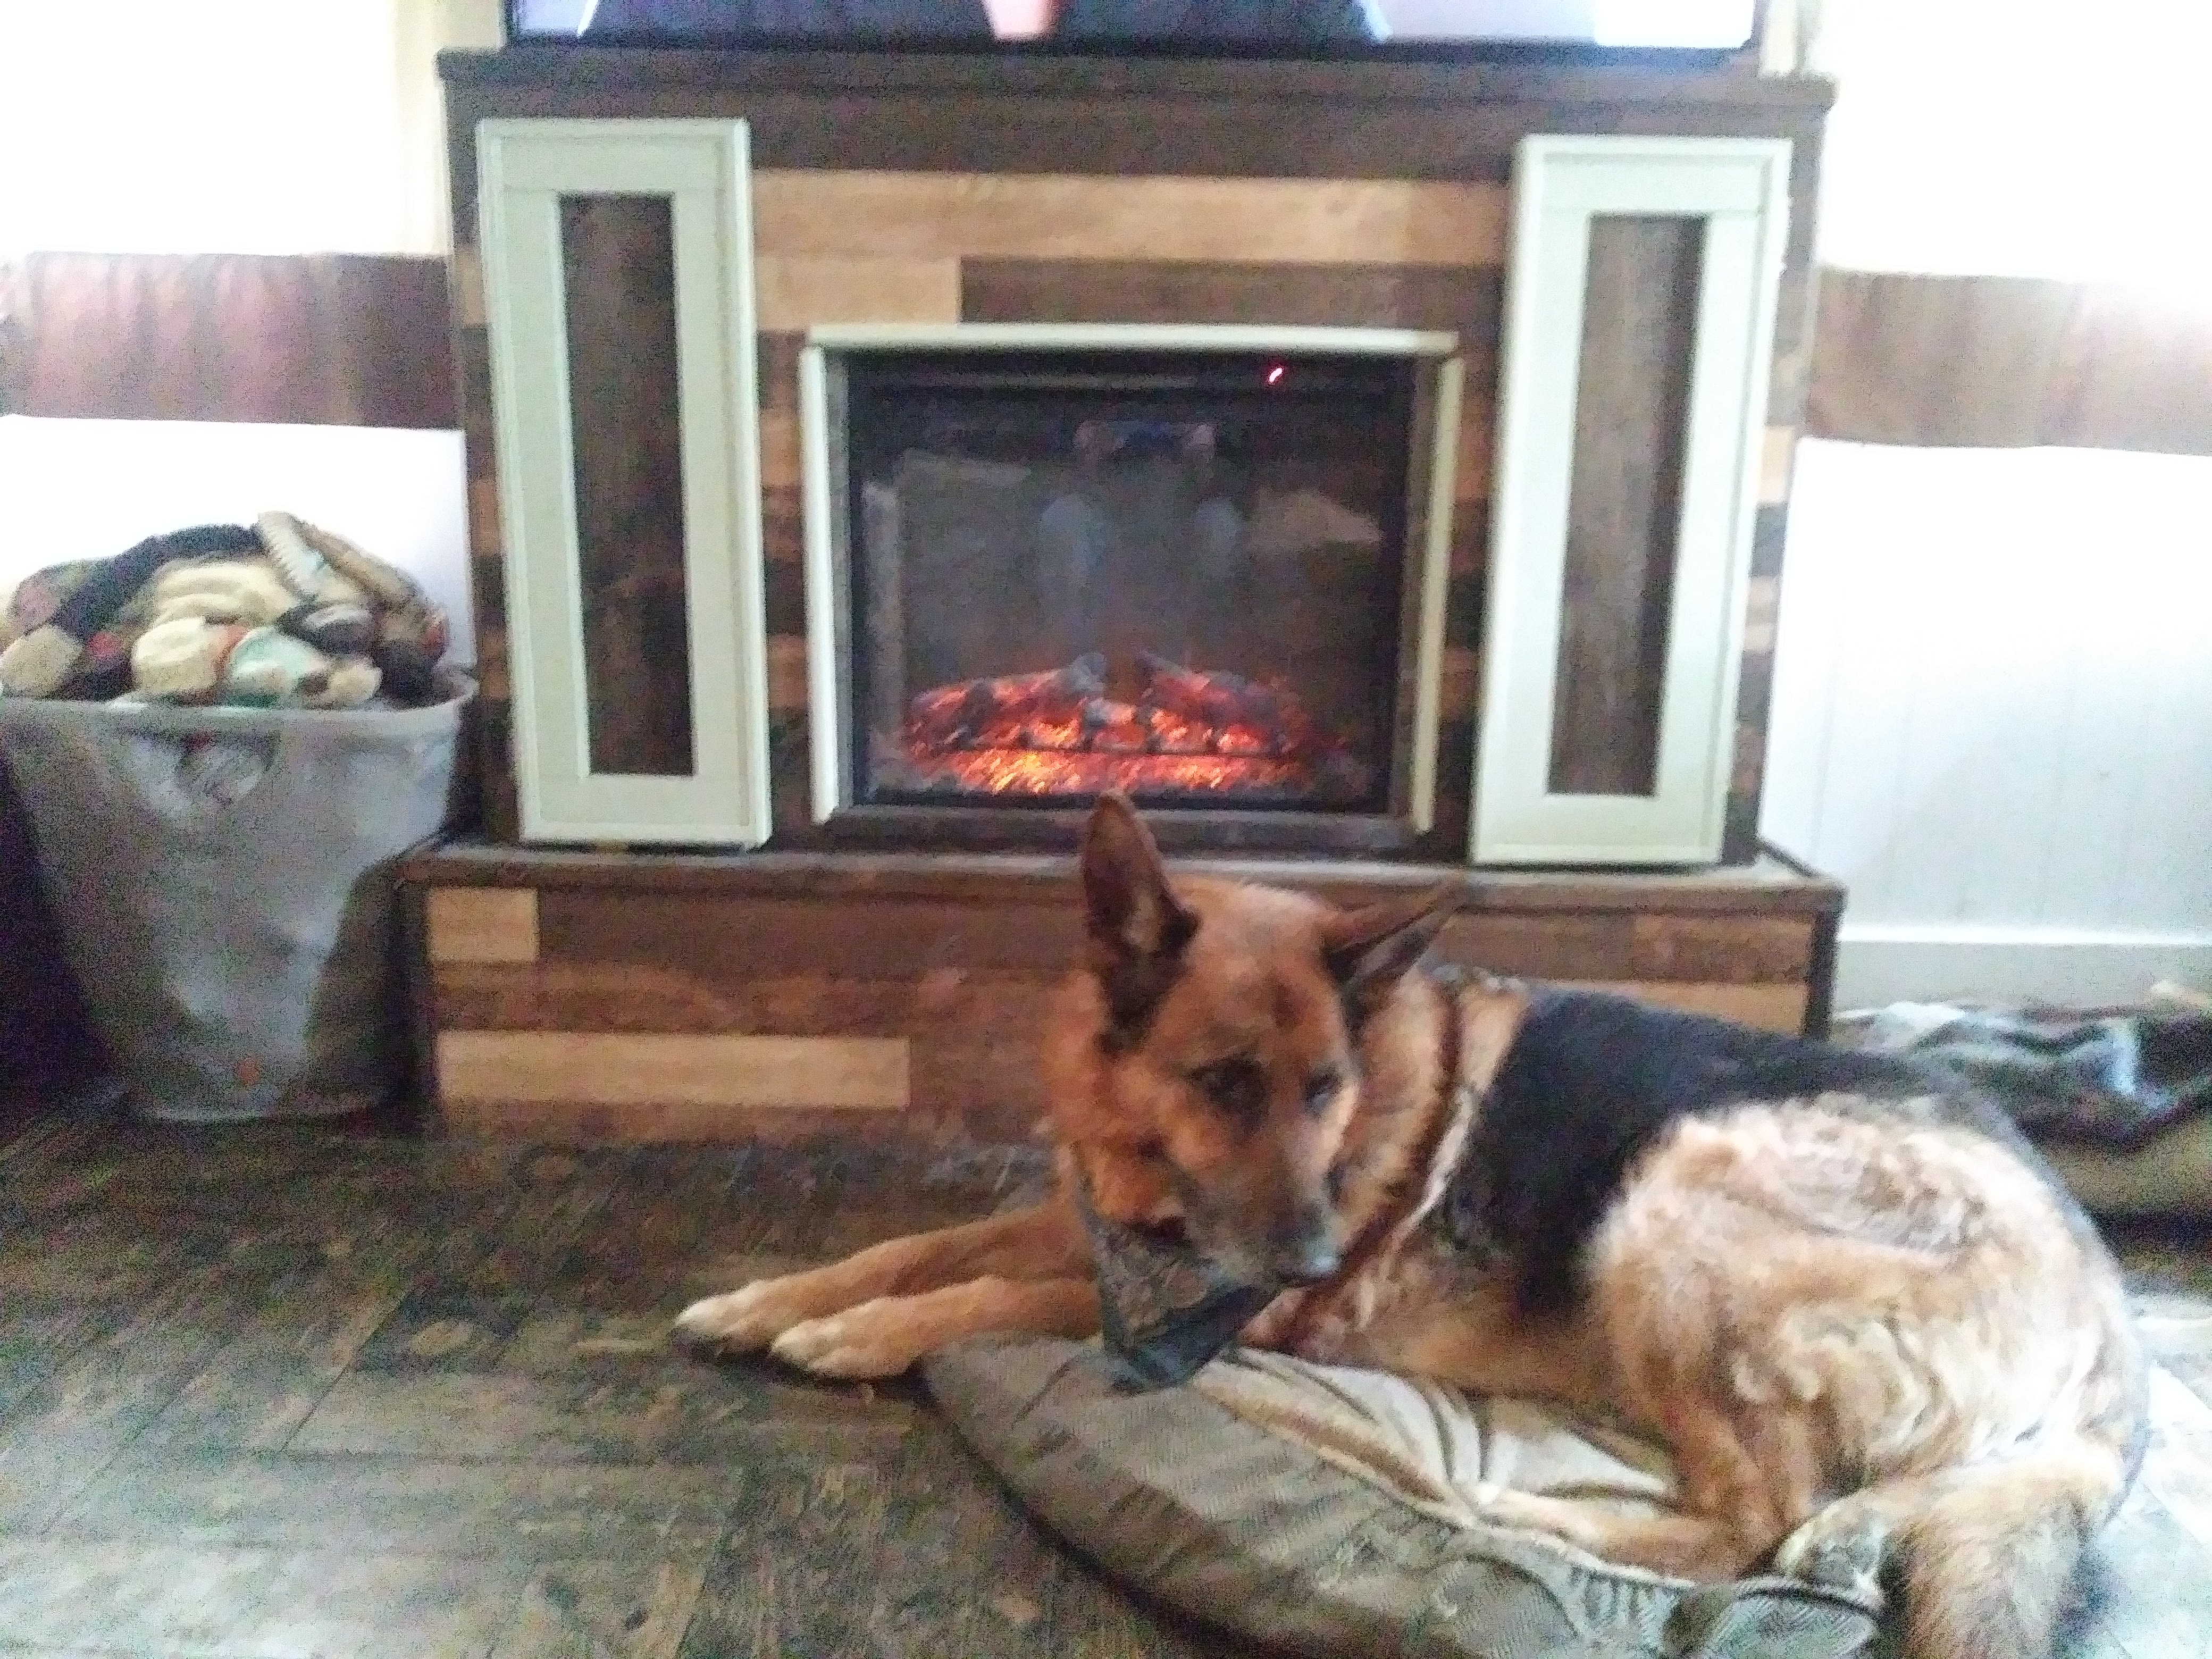
Slowly replacing all of the furniture in my home with things that I build. I used pallets for the structure, maple flooring for the facing, some scrap from shutter doors for the doors, 1×2 for the trim and adhesive tiles from the local ReStore for the top and around the fireplace insert. Perfectly fits a 65" tv.
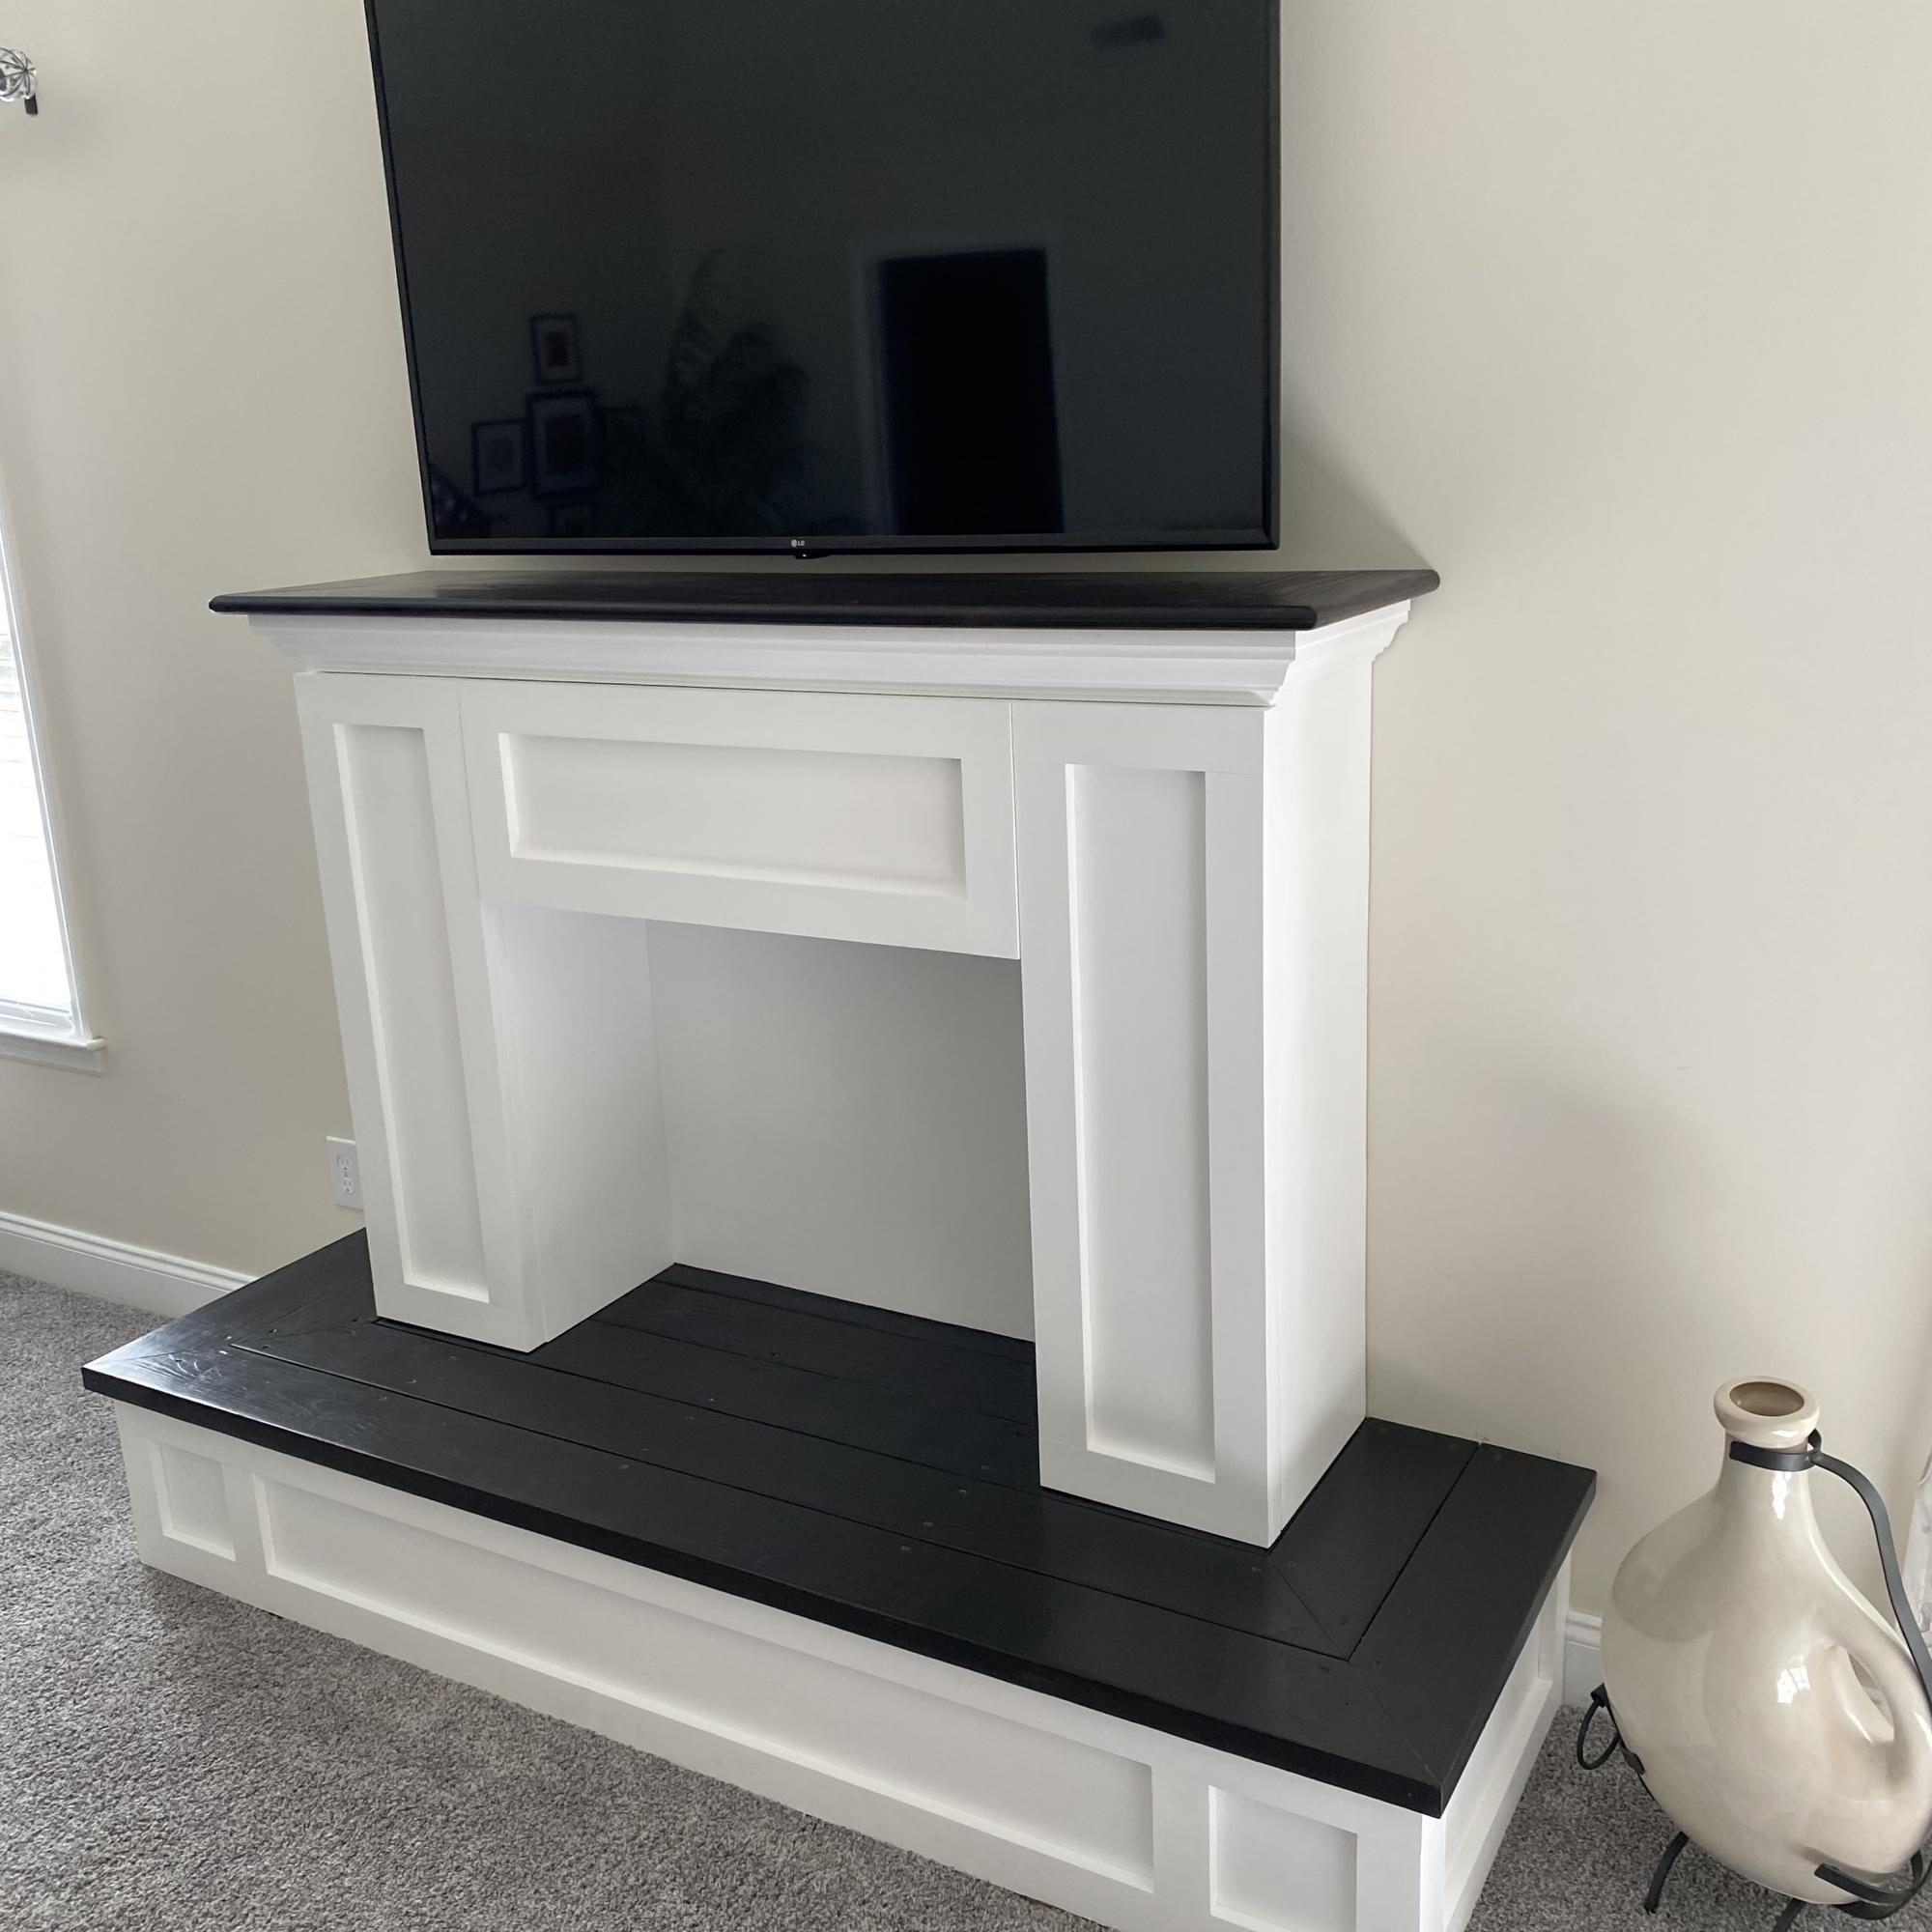
I built the faux fireplace from your plans and wanted to share it with you. Thank you and God bless you. - Joe
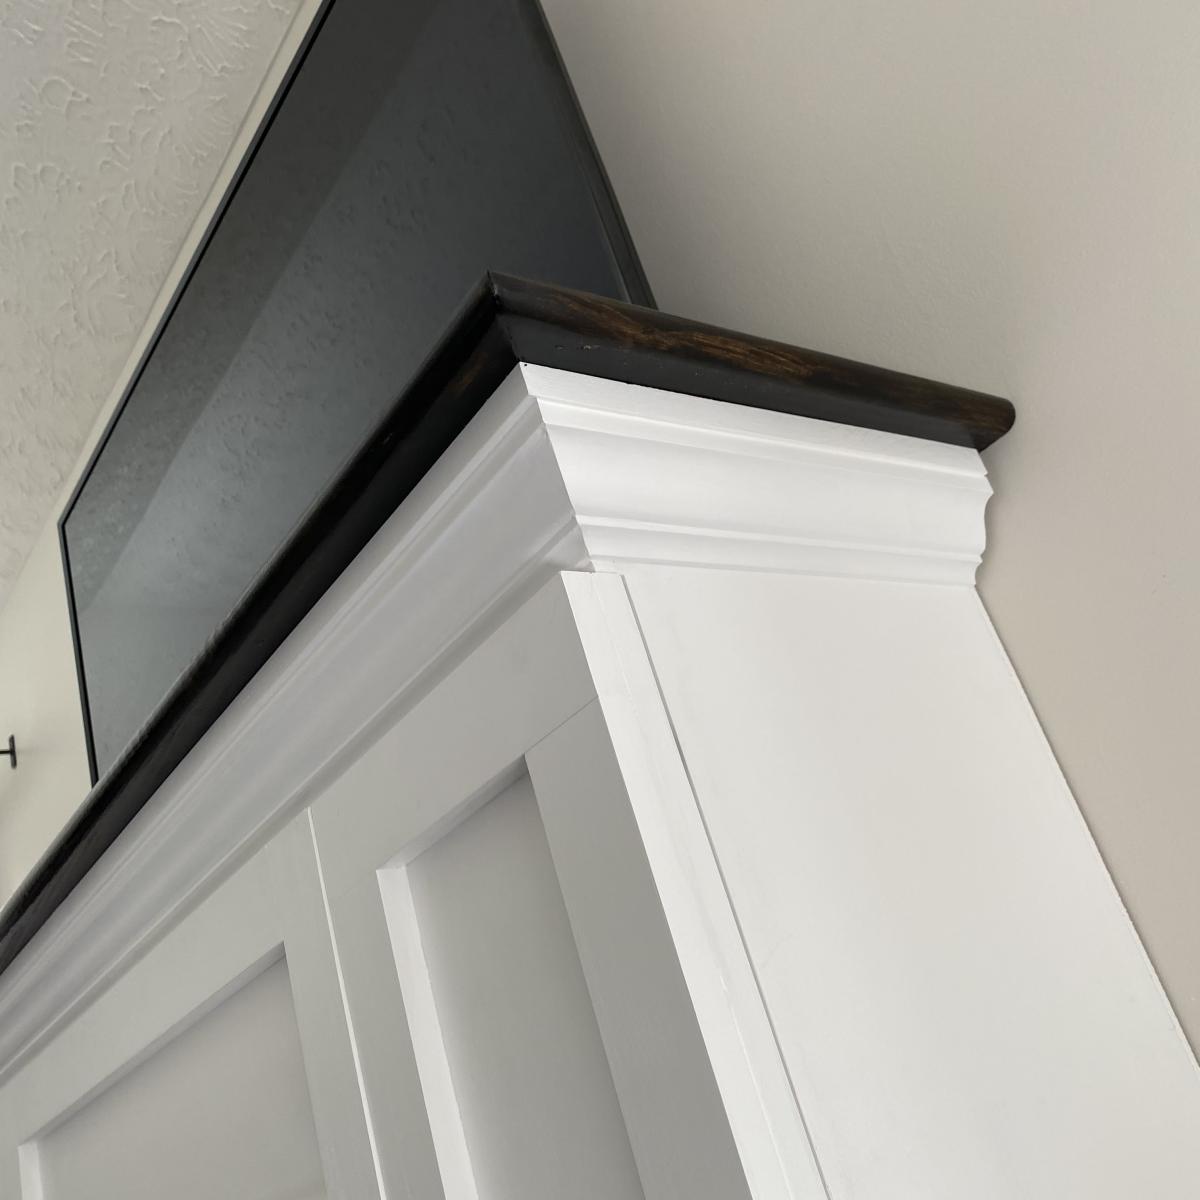
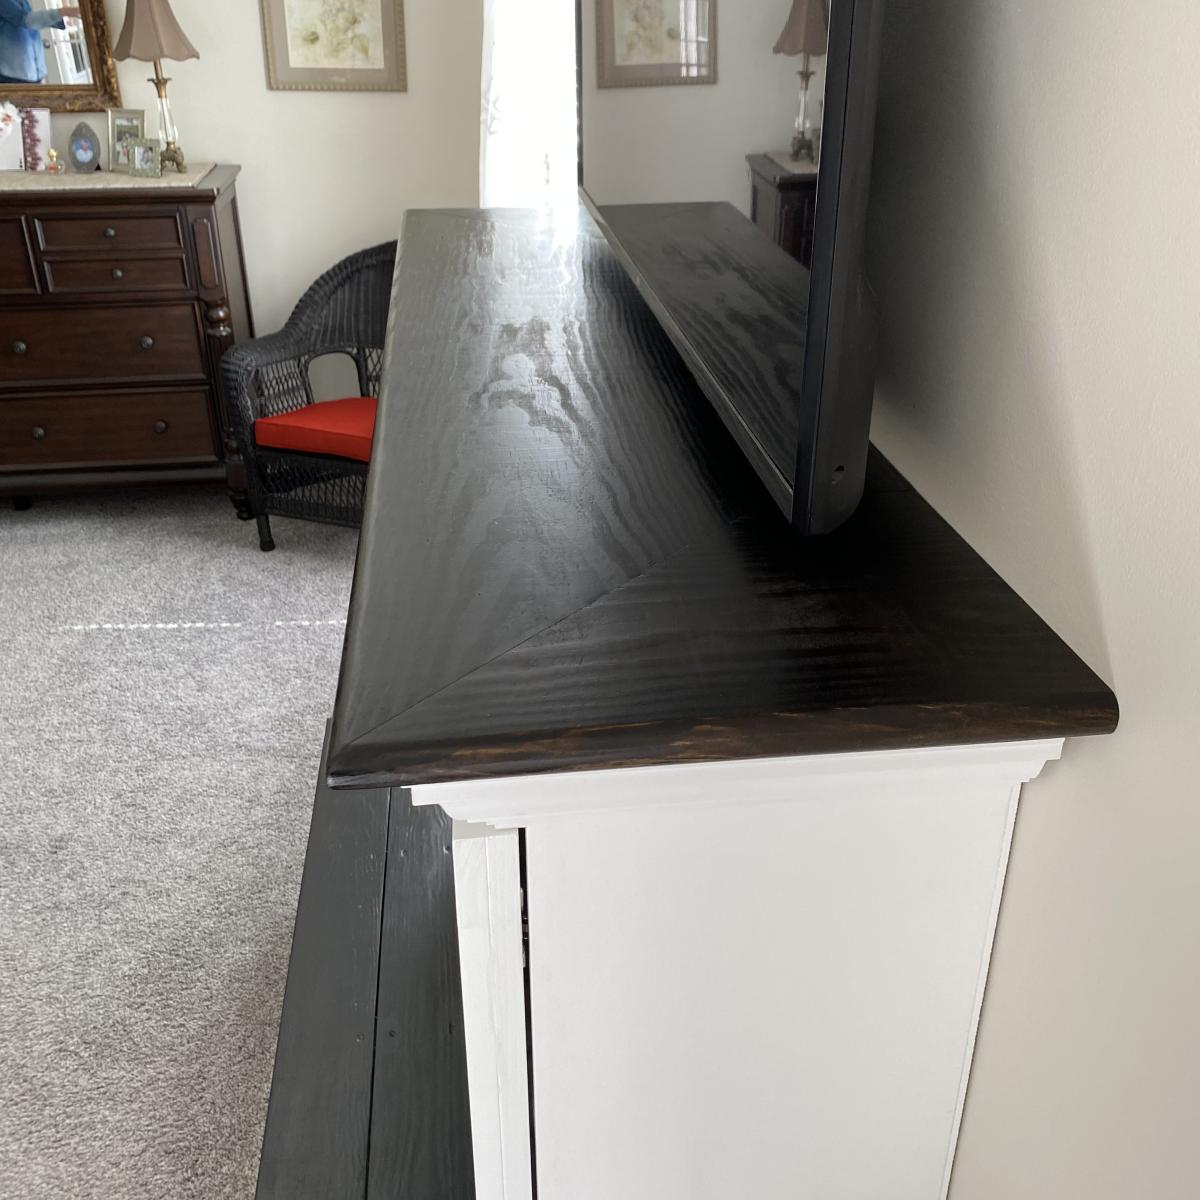
I know we've all seen this piece done a lot, but I knew I had to have it as soon as I saw it. I finally got around to making mine. I altered the plans slightly to allow for 4 doors. I also omitted the upper portion of the backing to allow for easy access to component wires. The piece fits perfectly in my space.
Wed, 11/30/2011 - 06:02
I love it!
The dark top looks great with the white.
We recently built a new home, which left us with a lot of empty rooms and not enough furniture to fill them. Loving the look of pottery barn and restoration hardware, we started looking around for ideas. This truss beam table is exactly what we had envisioned for our modern farmhouse dining room. Mike (my hubs) did the building, which took only about 4-5 hours total. Then I did the finishing, which is what took the bulk of the time. We are super happy with our table and it is finished just in time for the upcoming holidays!! Thanks Ana White and Shabby 2 Chic for the inspiration and free plan!
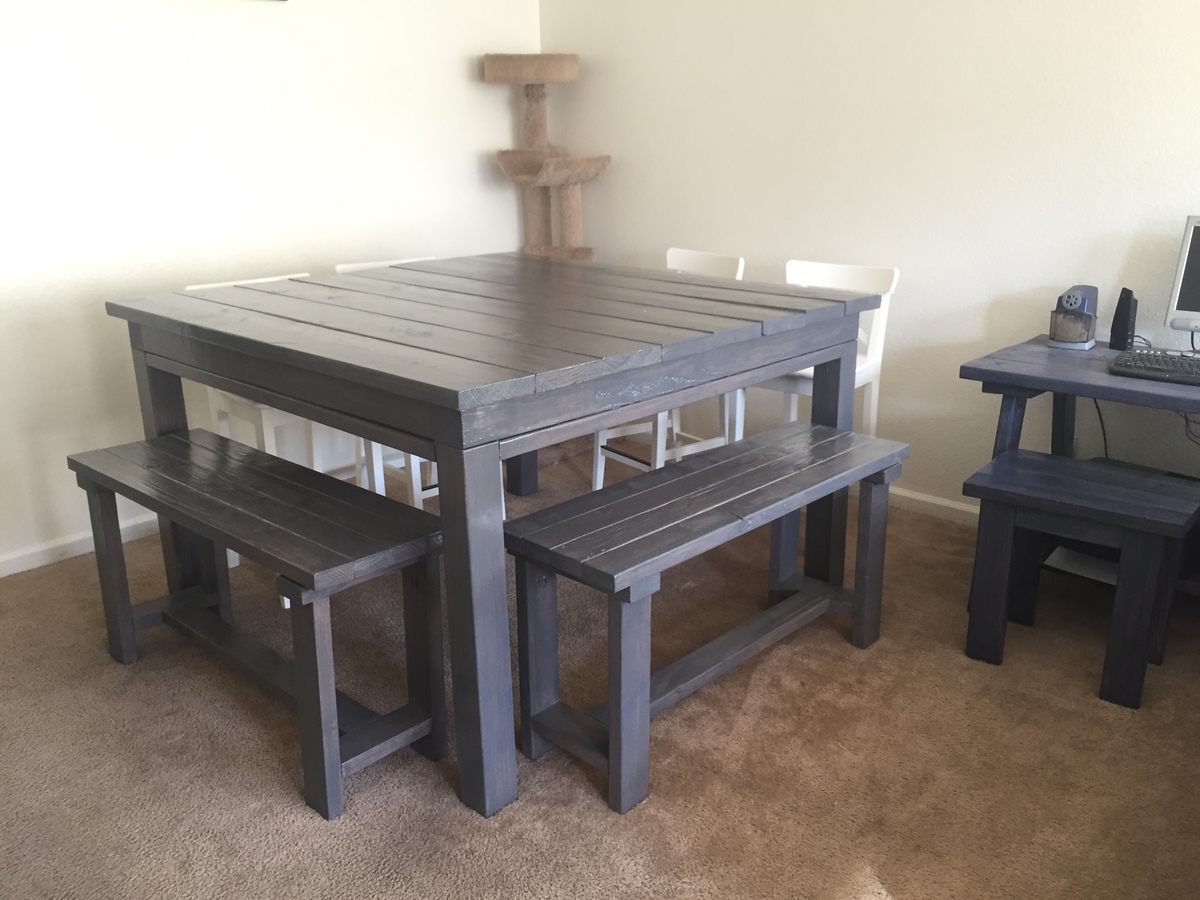
I fell in love with the truss beam table, but realized that it would be too small for our family of 7. With a little altering and using ideas from the pub/counter table, my husband and I were able to complete this lovely square table!! It stands about 36 inches high and is about 60 inches across. I am in love!
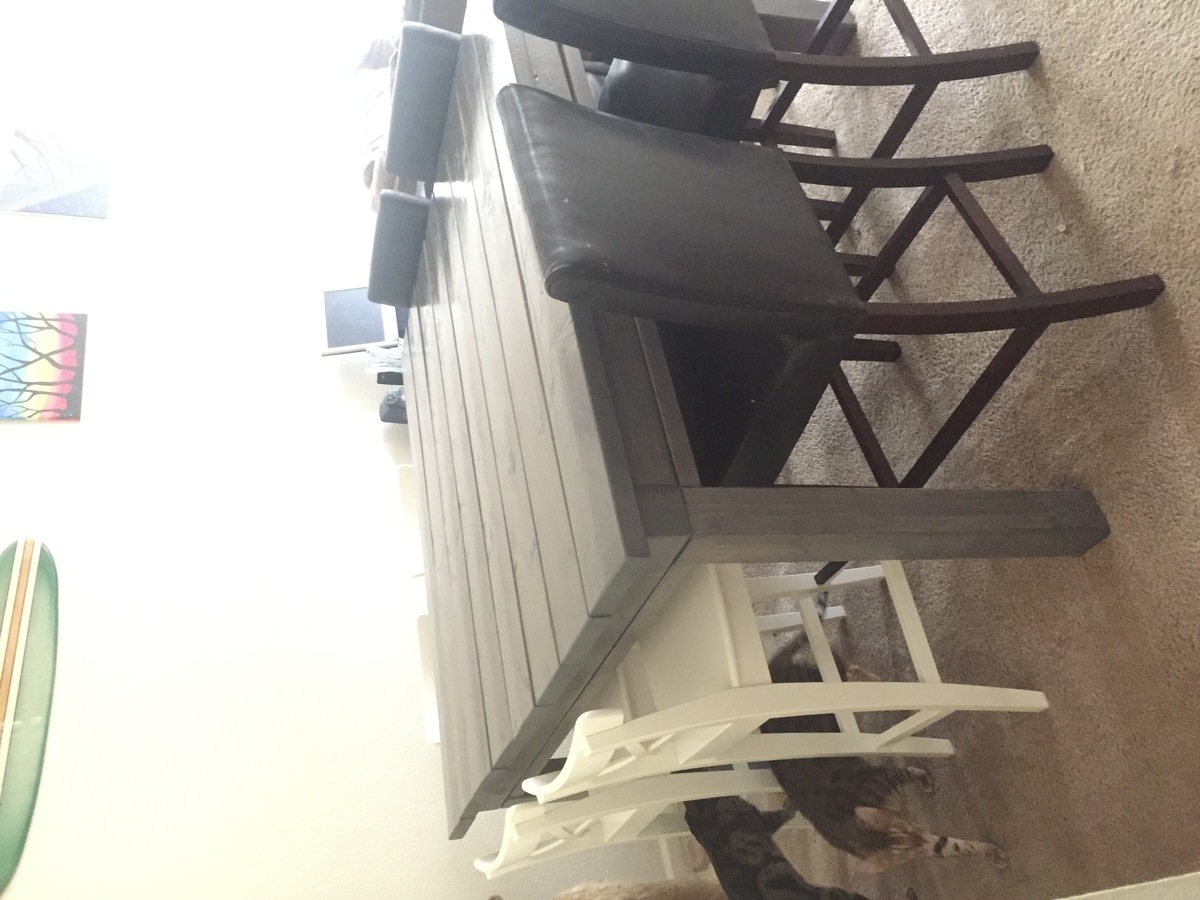

firepit within a table....great fun!

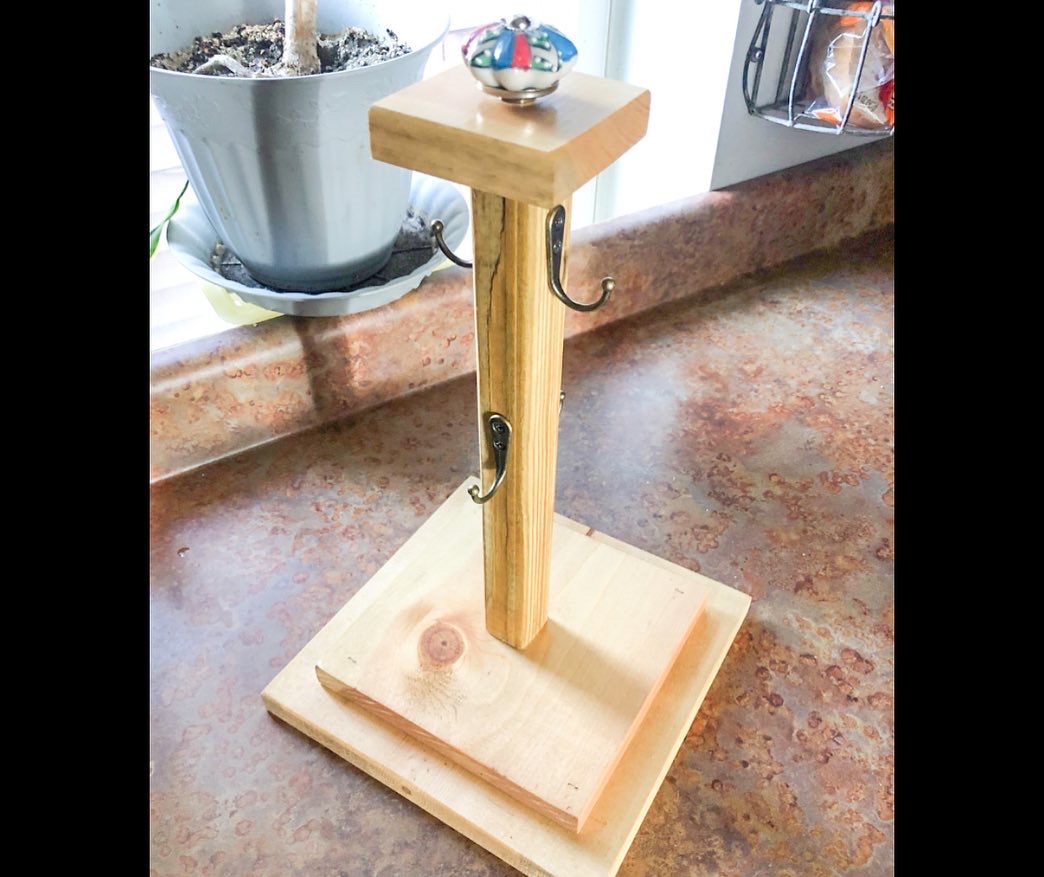
I followed Ana's plans for this Mug Tree stand! I absolutely adore it! Great plans and cute stand.
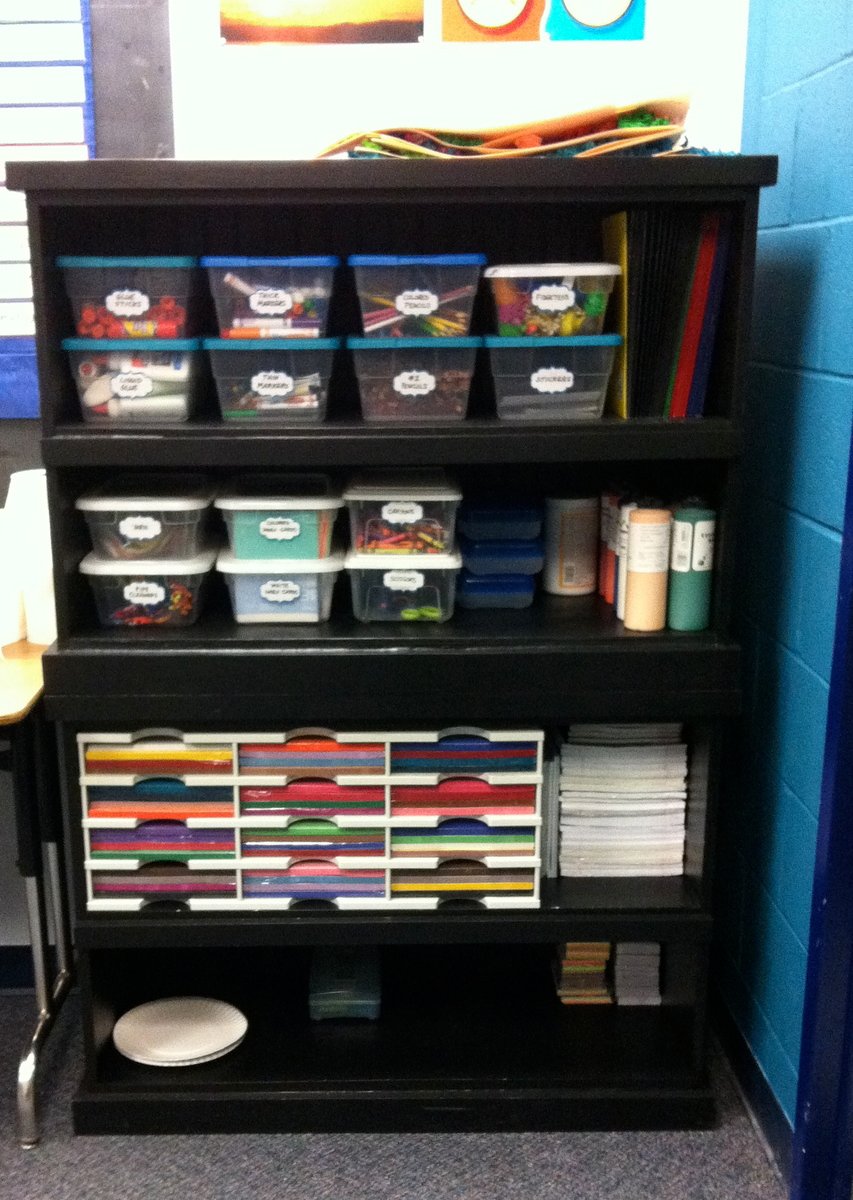
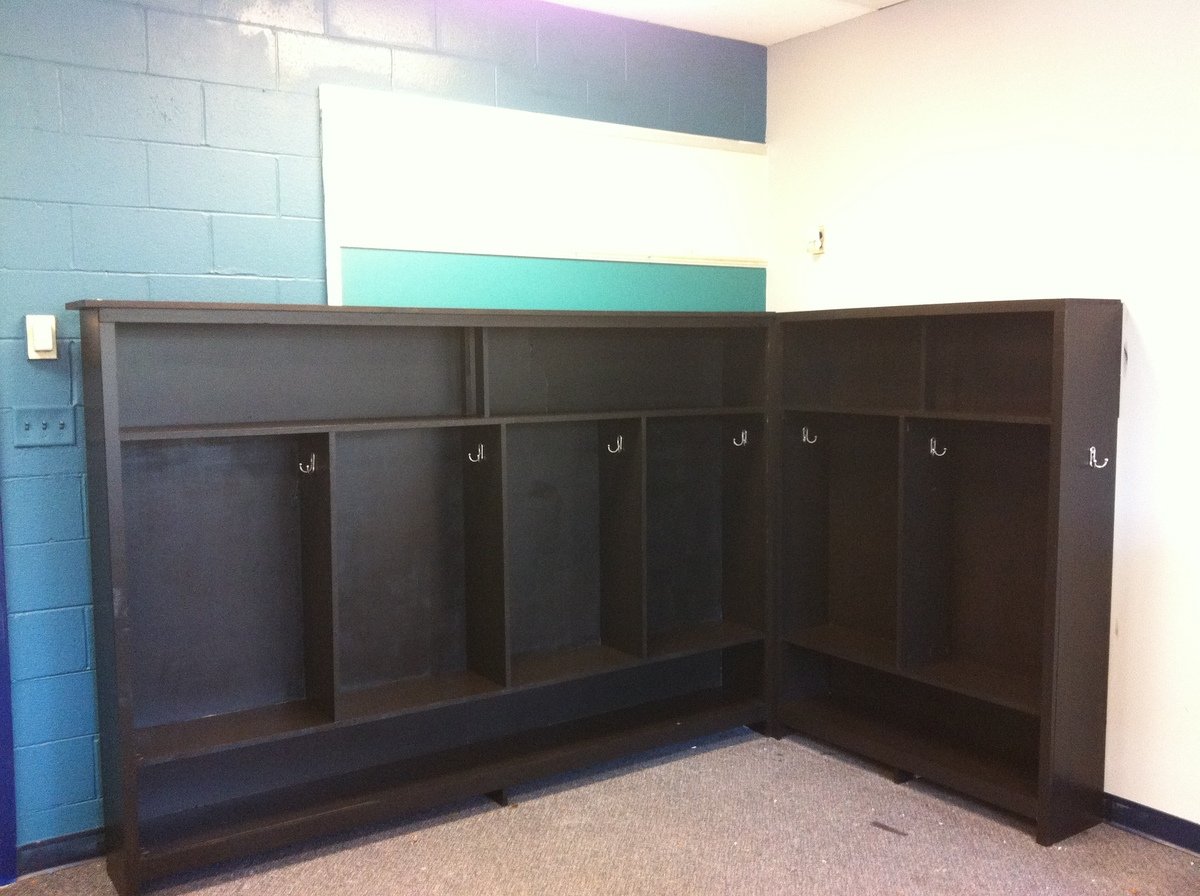
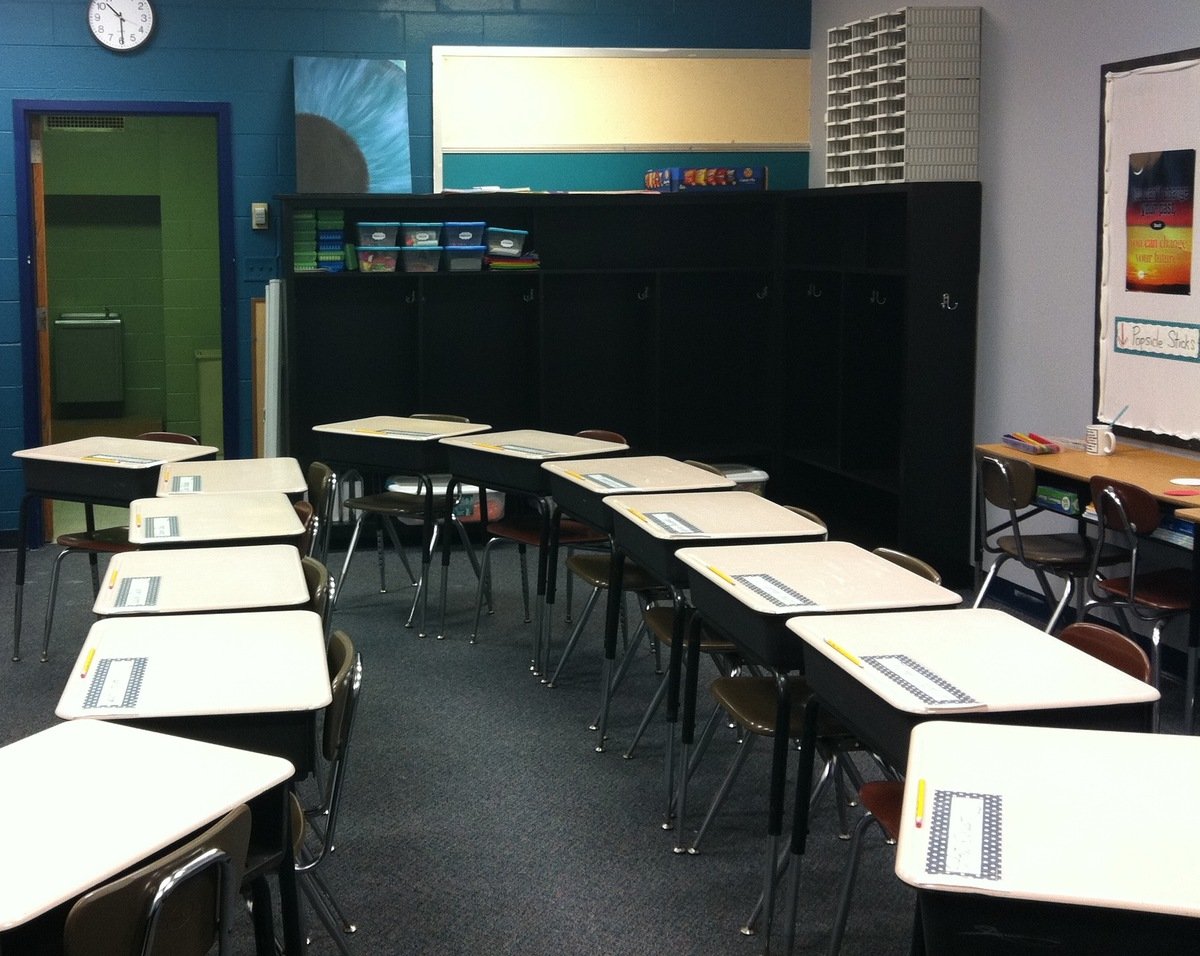
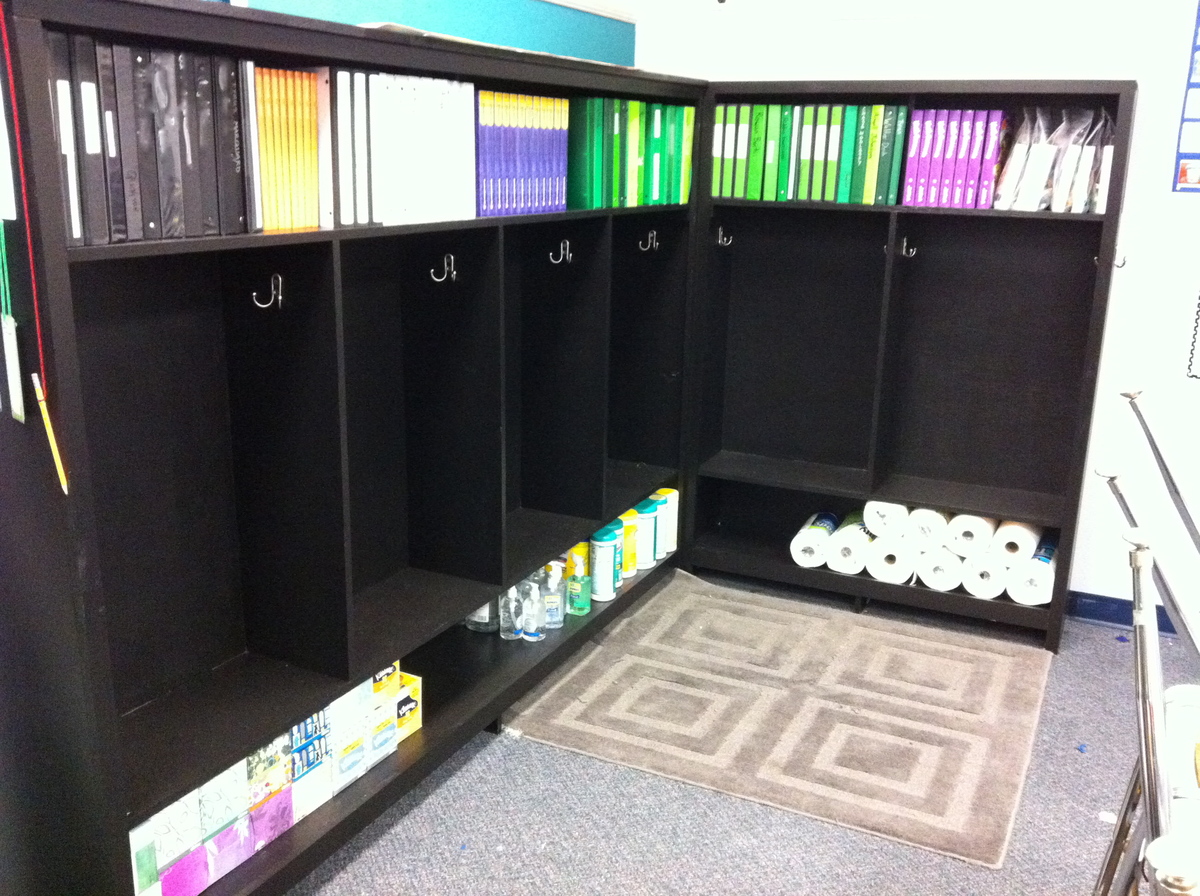
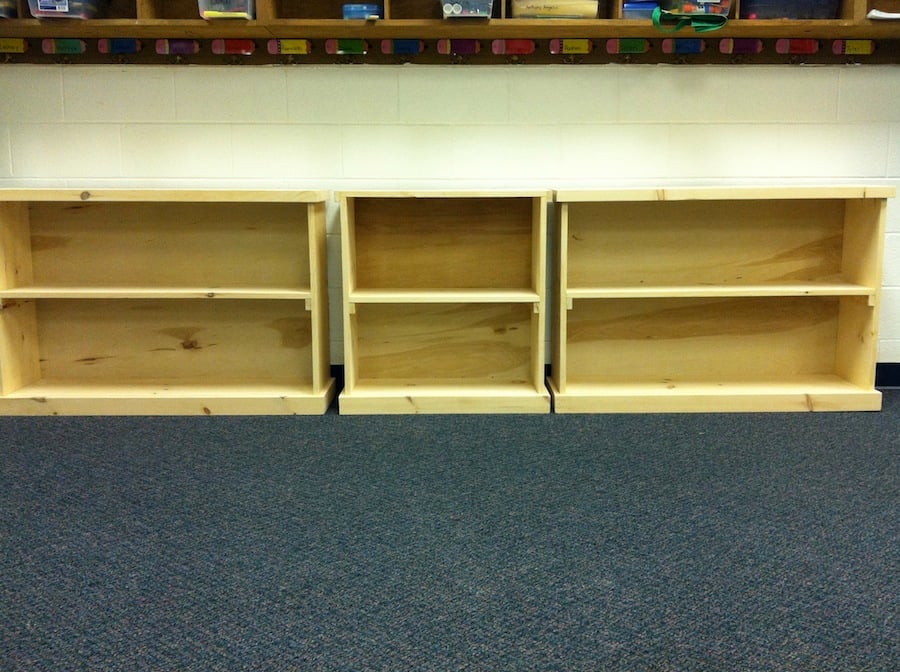
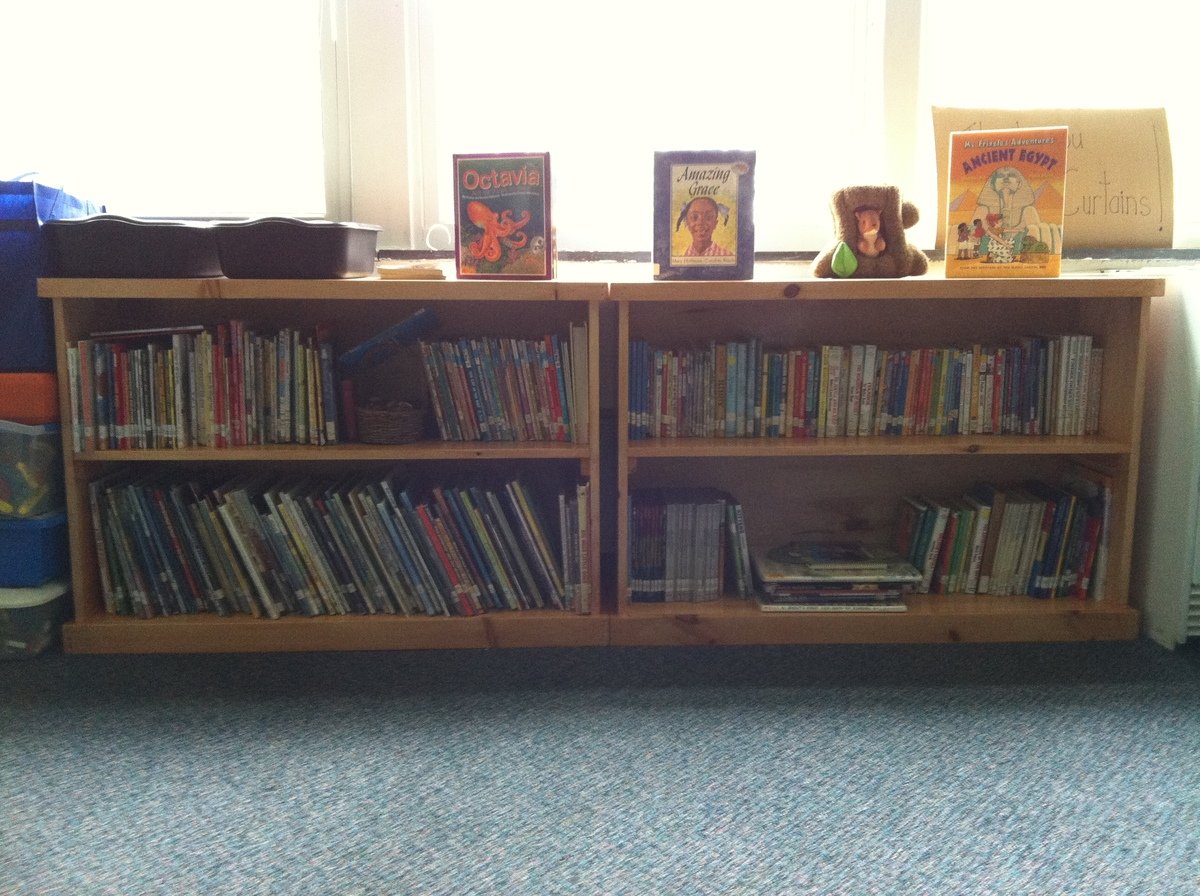
I am a teacher and my school is a brand new school leasing out an old school building for us to use. The classrooms were completely empty and I needed storage solutions. I didn't have cubbies for the kids to put their belongings in, nor did I have any storage for my own supplies and things for the kids/classroom. So I decided to build "lockers" for them with the additional storage, plus some bookcases to store supplies on. One of my fellow teachers loved them so much, she asked me to build her some - so I did. My classroom has the BLACK "lockers" and bookcases, the Honey colored are my fellow teacher's bookcases.
Tue, 12/06/2011 - 21:55
I'm surprised the district hasn't hired you to create storage for all the classrooms! These are really nice. What lucky kids - and coworkers.
Thu, 12/08/2011 - 10:31
How cool that you did that for your class!!! :) Love it!
In reply to Question by Guest (not verified)
Fri, 08/01/2014 - 15:39
the $350 cost was for everything in the pictures. the plans I used are linked - the main storage is just 2 of the bookcases stacked one on top of the other.
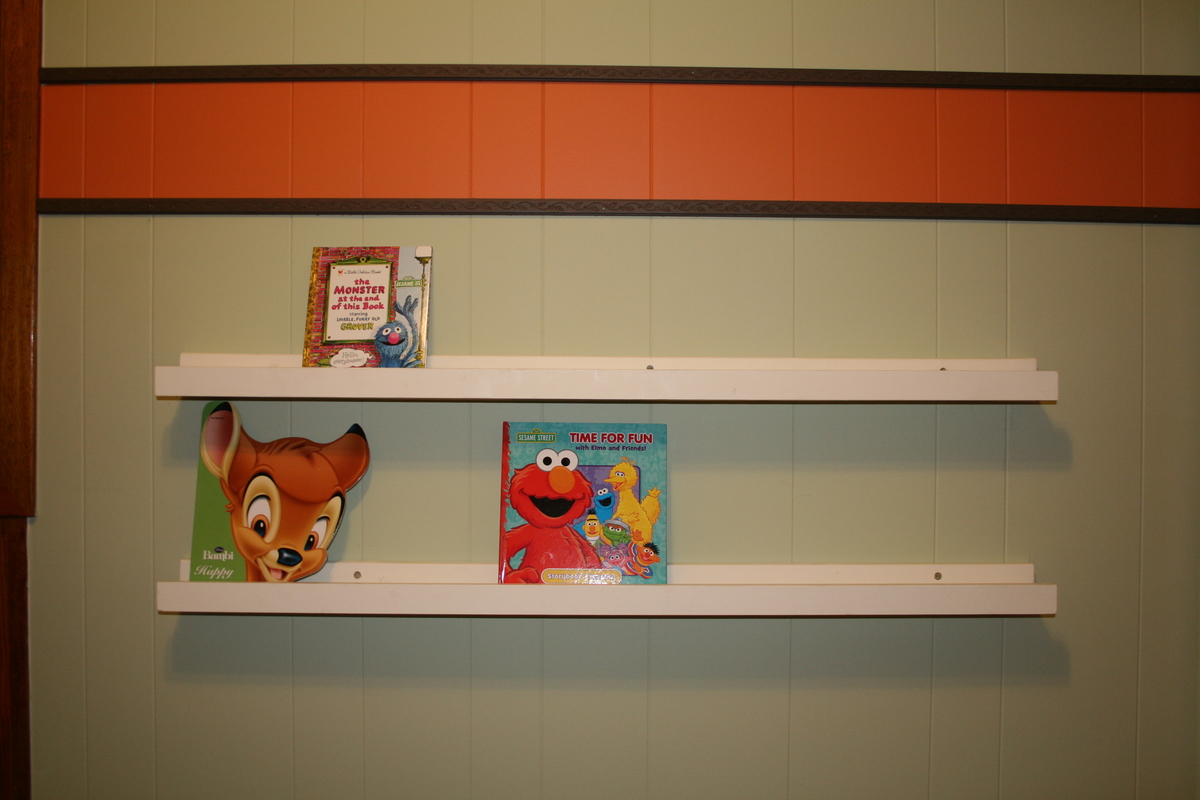
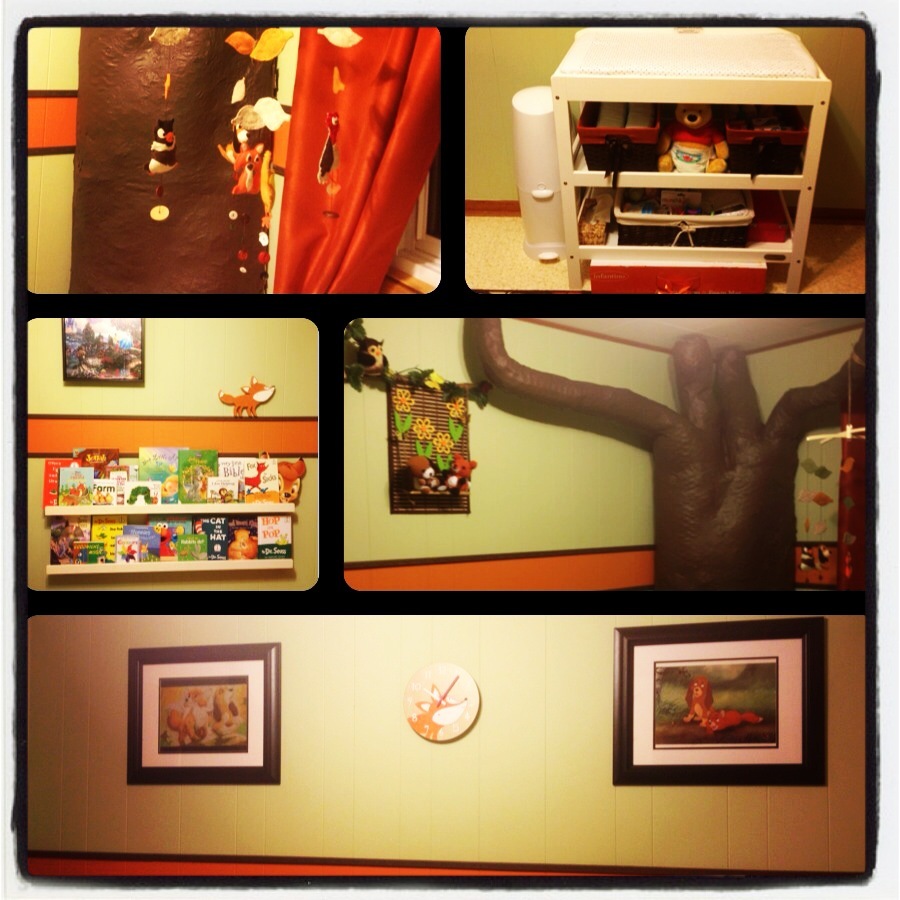
A quick easy project to put a few of the many books that we got for the nursery on display. I love how it turned out, and it barely cost us anything!
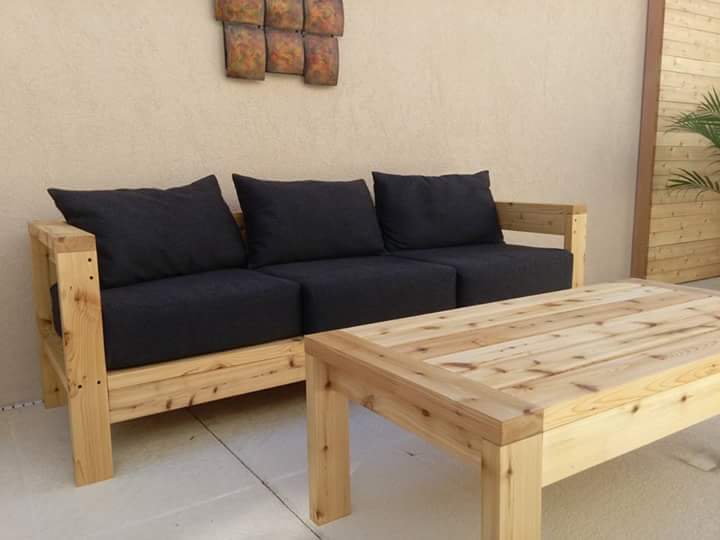
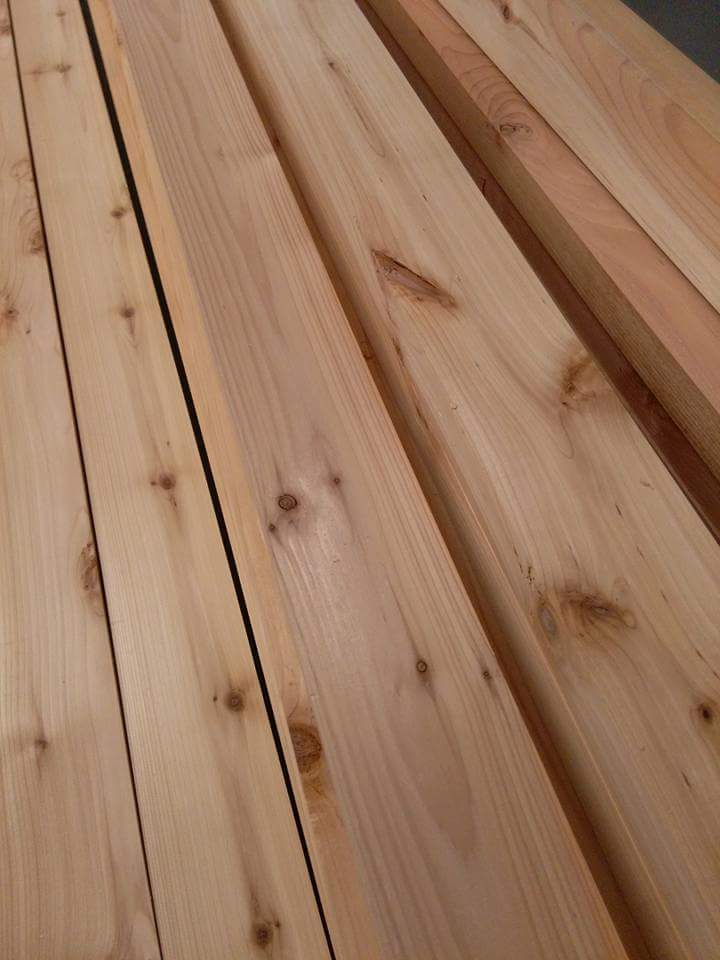
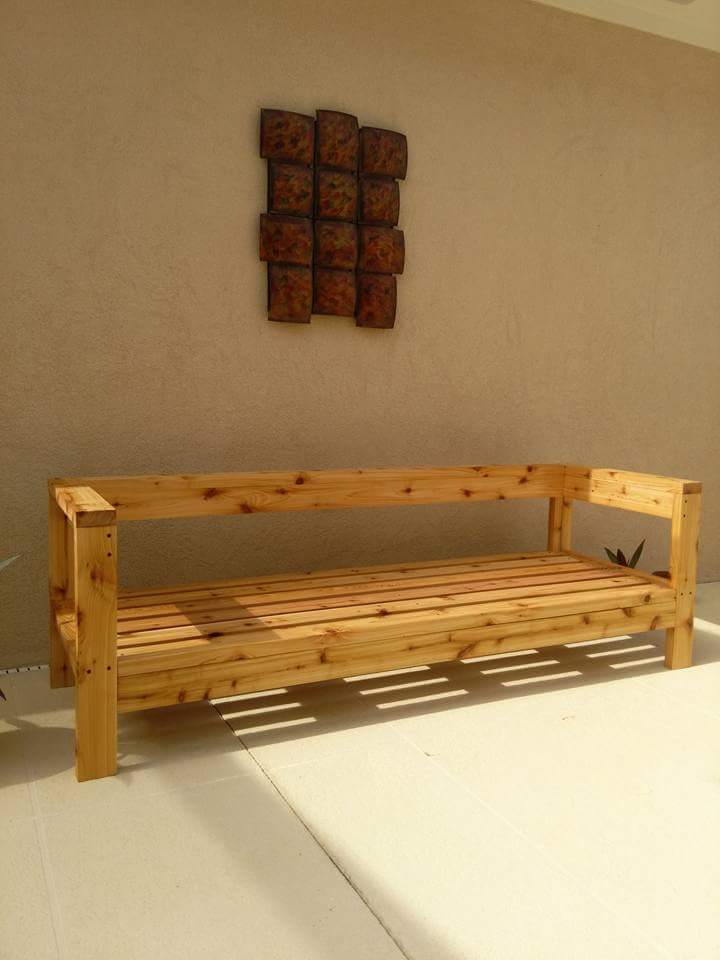
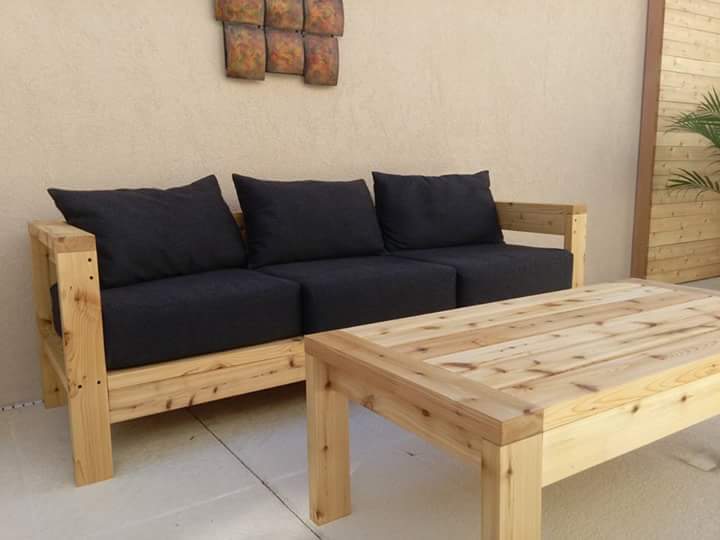
Thank you thank Ana for this awesome plan. It took me a week to transform the ruff cedar into beautiful 2x4. We use the kreg jig everywhere we could so the holes would be hidden, and black deck screws, and I couldn't wait for the cushions to share :) we added the extra pieces at the back and armrests. We used 12 boards 2x4x8 and no waste as we changed the measurements of 24" instead of 25.5 and height at 11" for the seat. One regret I used Thompson water sealer... we live in Florida and I am planning on leaving it outdoor.
Thu, 06/09/2016 - 18:32
I made them ;) bought the foam on Amazon 72x24x6 (I wished I bought 5 inches high instead) and the fabric I found in a discount fabric store , sumbrella fabric for $12.00 a yard!!! And cut all the cushion seats 24x24 and the back pillows I copied the pottery barn lumbar pillow size, I believe it was 26x18 razor age .
Thu, 06/09/2016 - 18:34
I made them ;) bought the foam on Amazon 72x24x6 (I wished I bought 5 inches high instead) and the fabric I found in a discount fabric store , sumbrella fabric for $12.00 a yard!!! And cut all the cushion seats 24x24 and the back pillows I copied the pottery barn lumbar pillow size, I believe it was 26x18 razor age .
Thu, 06/09/2016 - 18:41
I made them ;) bought the foam on Amazon 72x24x6 (I wished I bought 5 inches high instead) and the fabric I found in a discount fabric store , sumbrella fabric for $12.00 a yard!!! And cut all the cushion seats 24x24 and the back pillows I copied the pottery barn lumbar pillow size, I believe it was 26x18 razor age .
Thu, 06/09/2016 - 18:37
I made them ;) bought the foam on Amazon 72x24x6 (I wished I bought 5 inches high instead) and the fabric I found in a discount fabric store , sumbrella fabric for $12.00 a yard!!! And cut all the cushion seats 24x24 and the back pillows I copied the pottery barn lumbar pillow size, I believe it was 26x18 razor age .
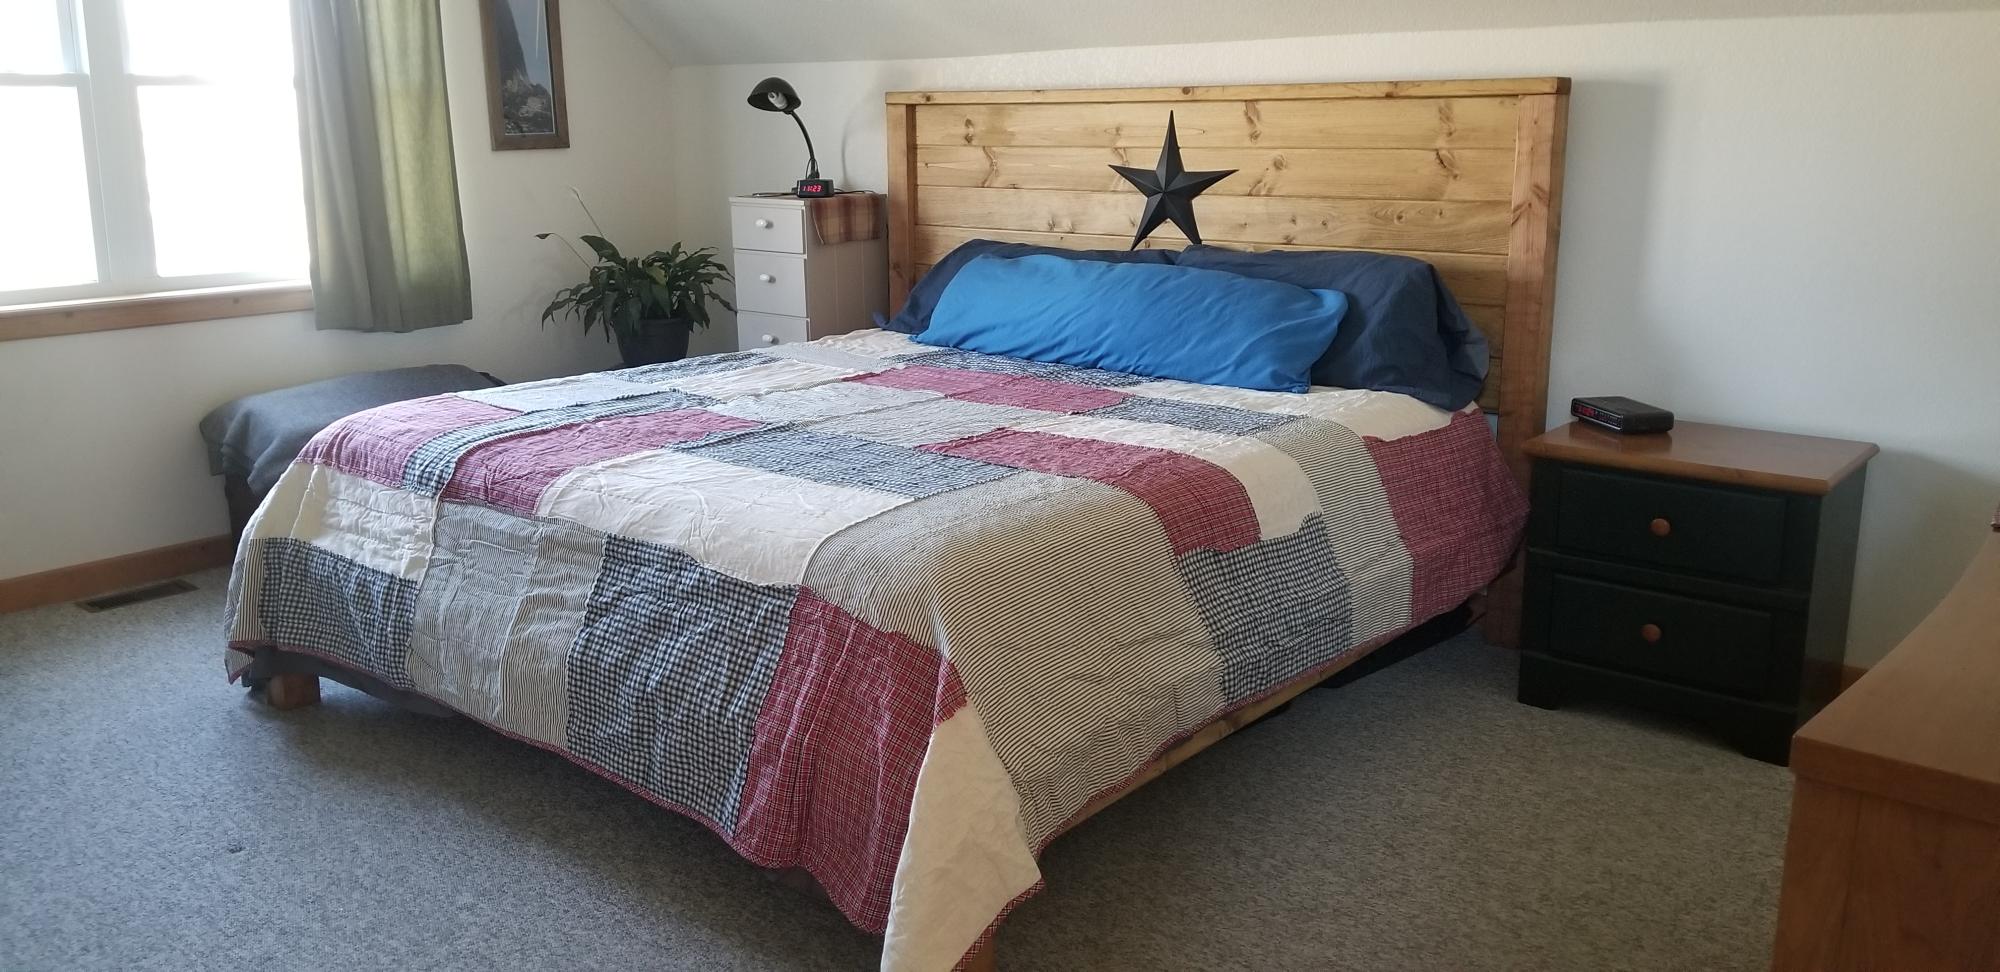
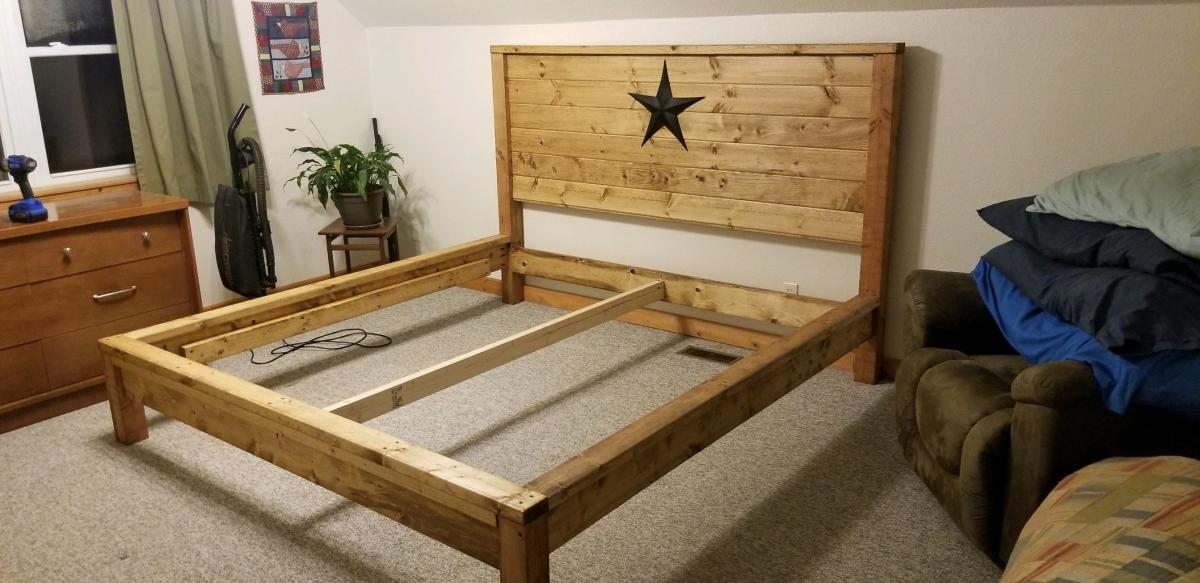
My husband thought I was joking when I suggested I could build this bed instead of purchasing one. Was my first time building furniture but won't be the last.
My bigger version of the barnwood frames. They are about 35x31 inches. I used a nail gun for the first time and it sure did make this go faster! I found it was best to build the inside square first and then I cute each piece of the outside square as I went to the fit was as "perfect" as possible.
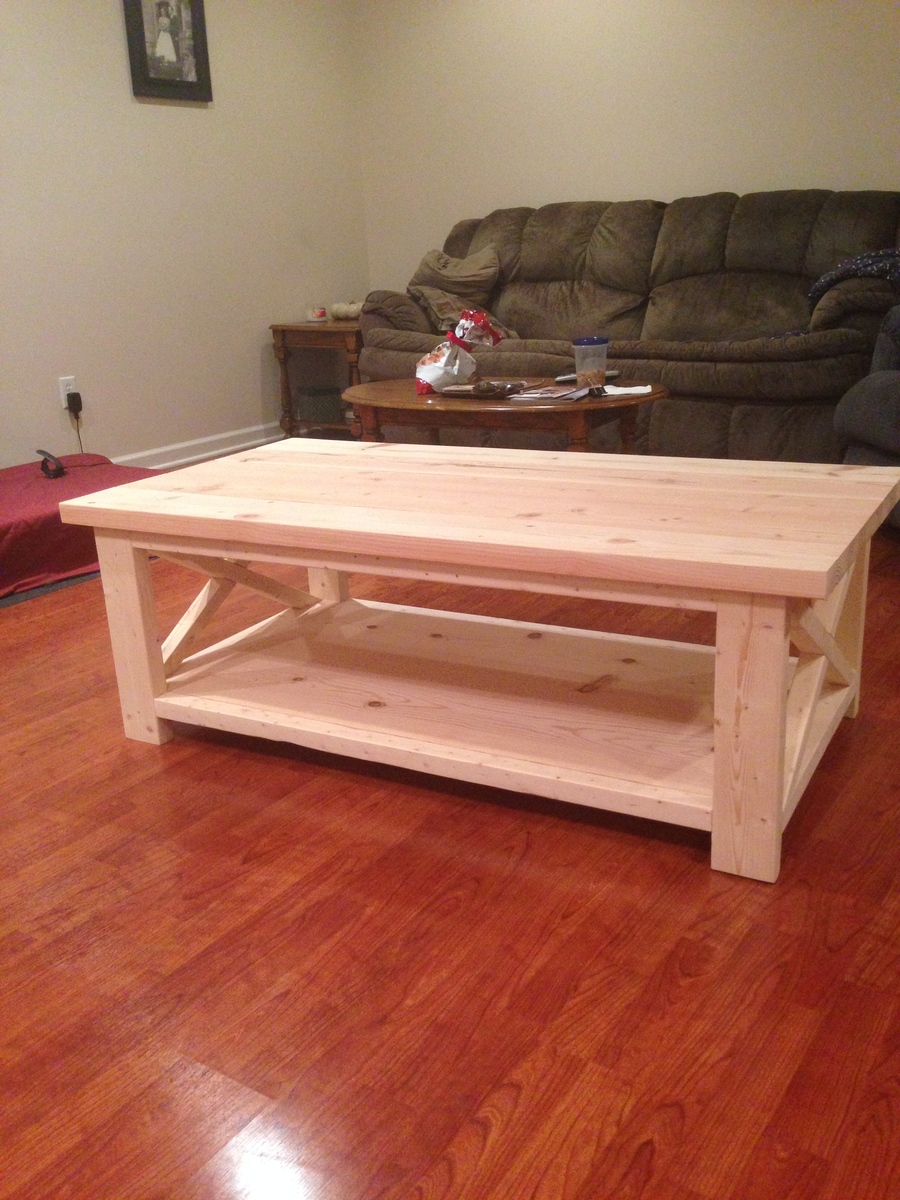
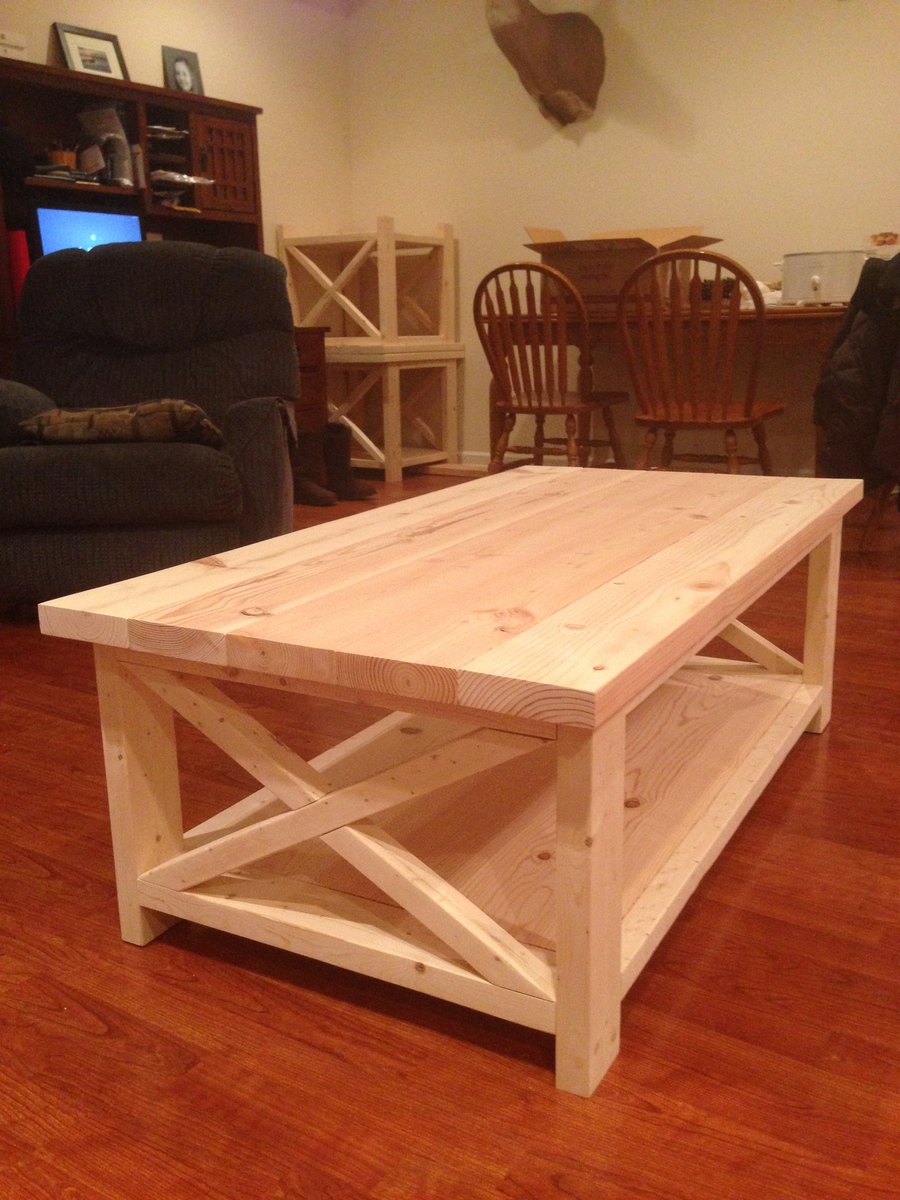
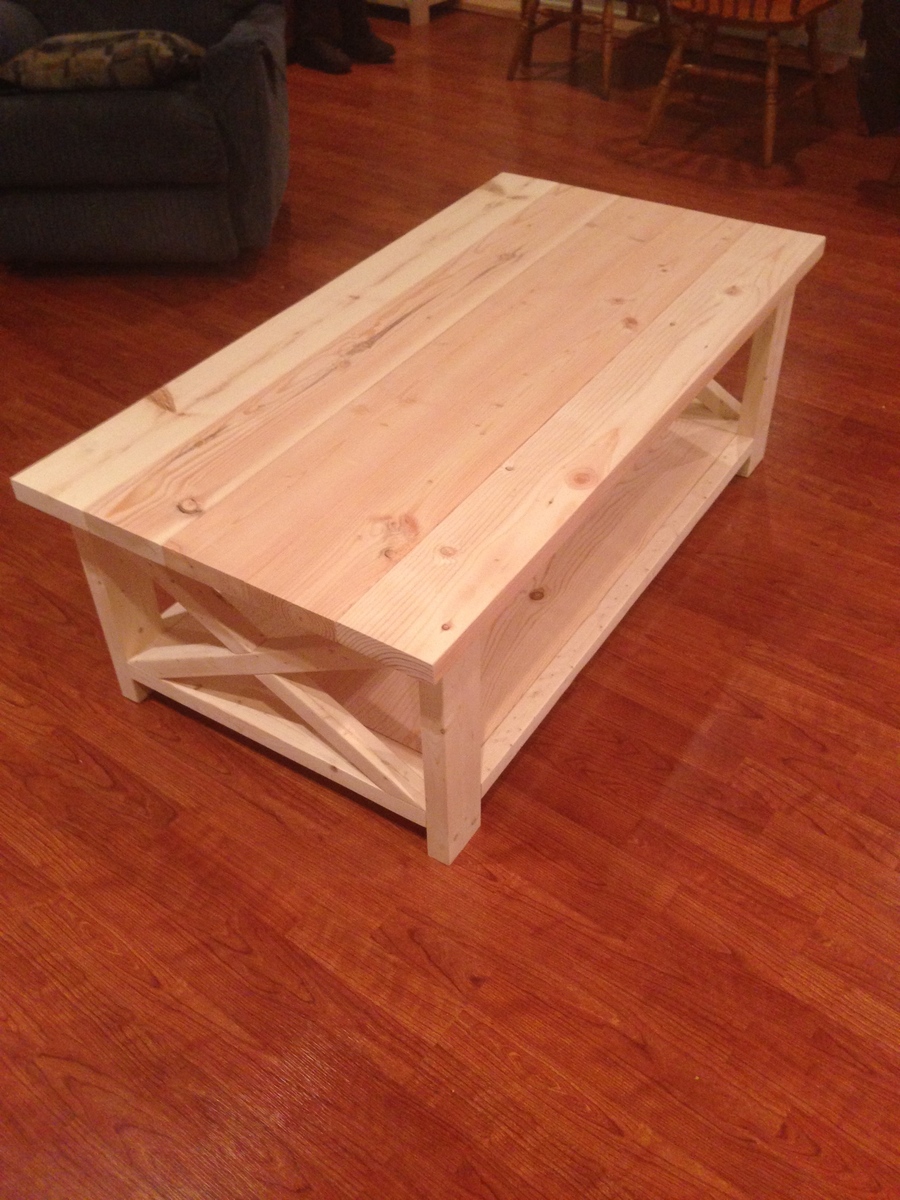
This coffee table is huge. will be finishing once I build the console table, the last piece of the rustic x furniture I have to build.
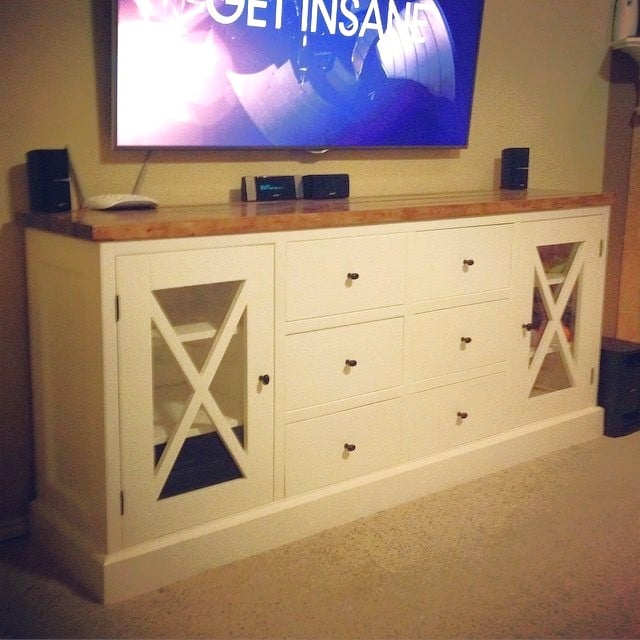
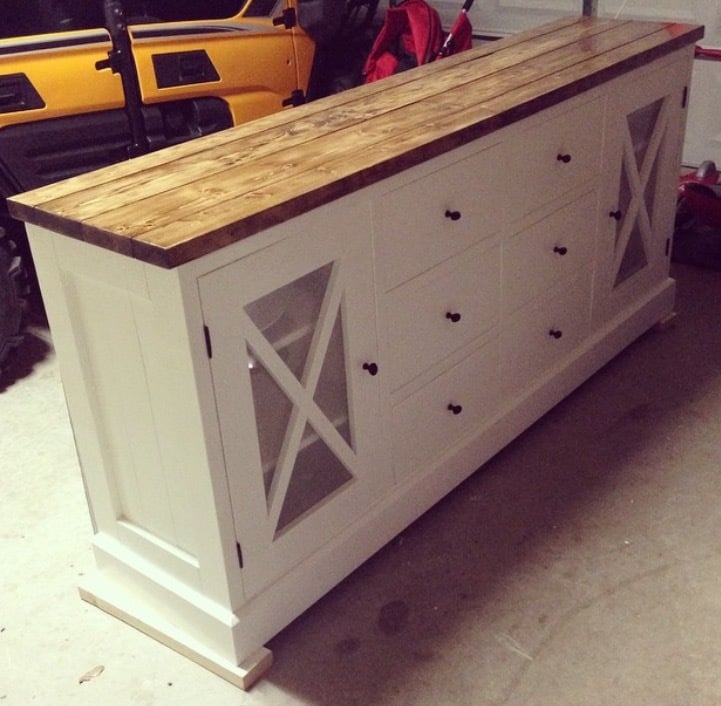
Being a stay at home mom I am on a budget. Finding a cabinet that fit our price and style was near impossible, until I found these plans. I was looking for a piece that could function as a media stand but also had enough space hide my kids toys. This plan fit the bill perfect. I modified it slightly to suite our needs by adding additional drawers in the center and making the doors full height on either side. This was surprisingly easy to build and I plan to make another in the future.
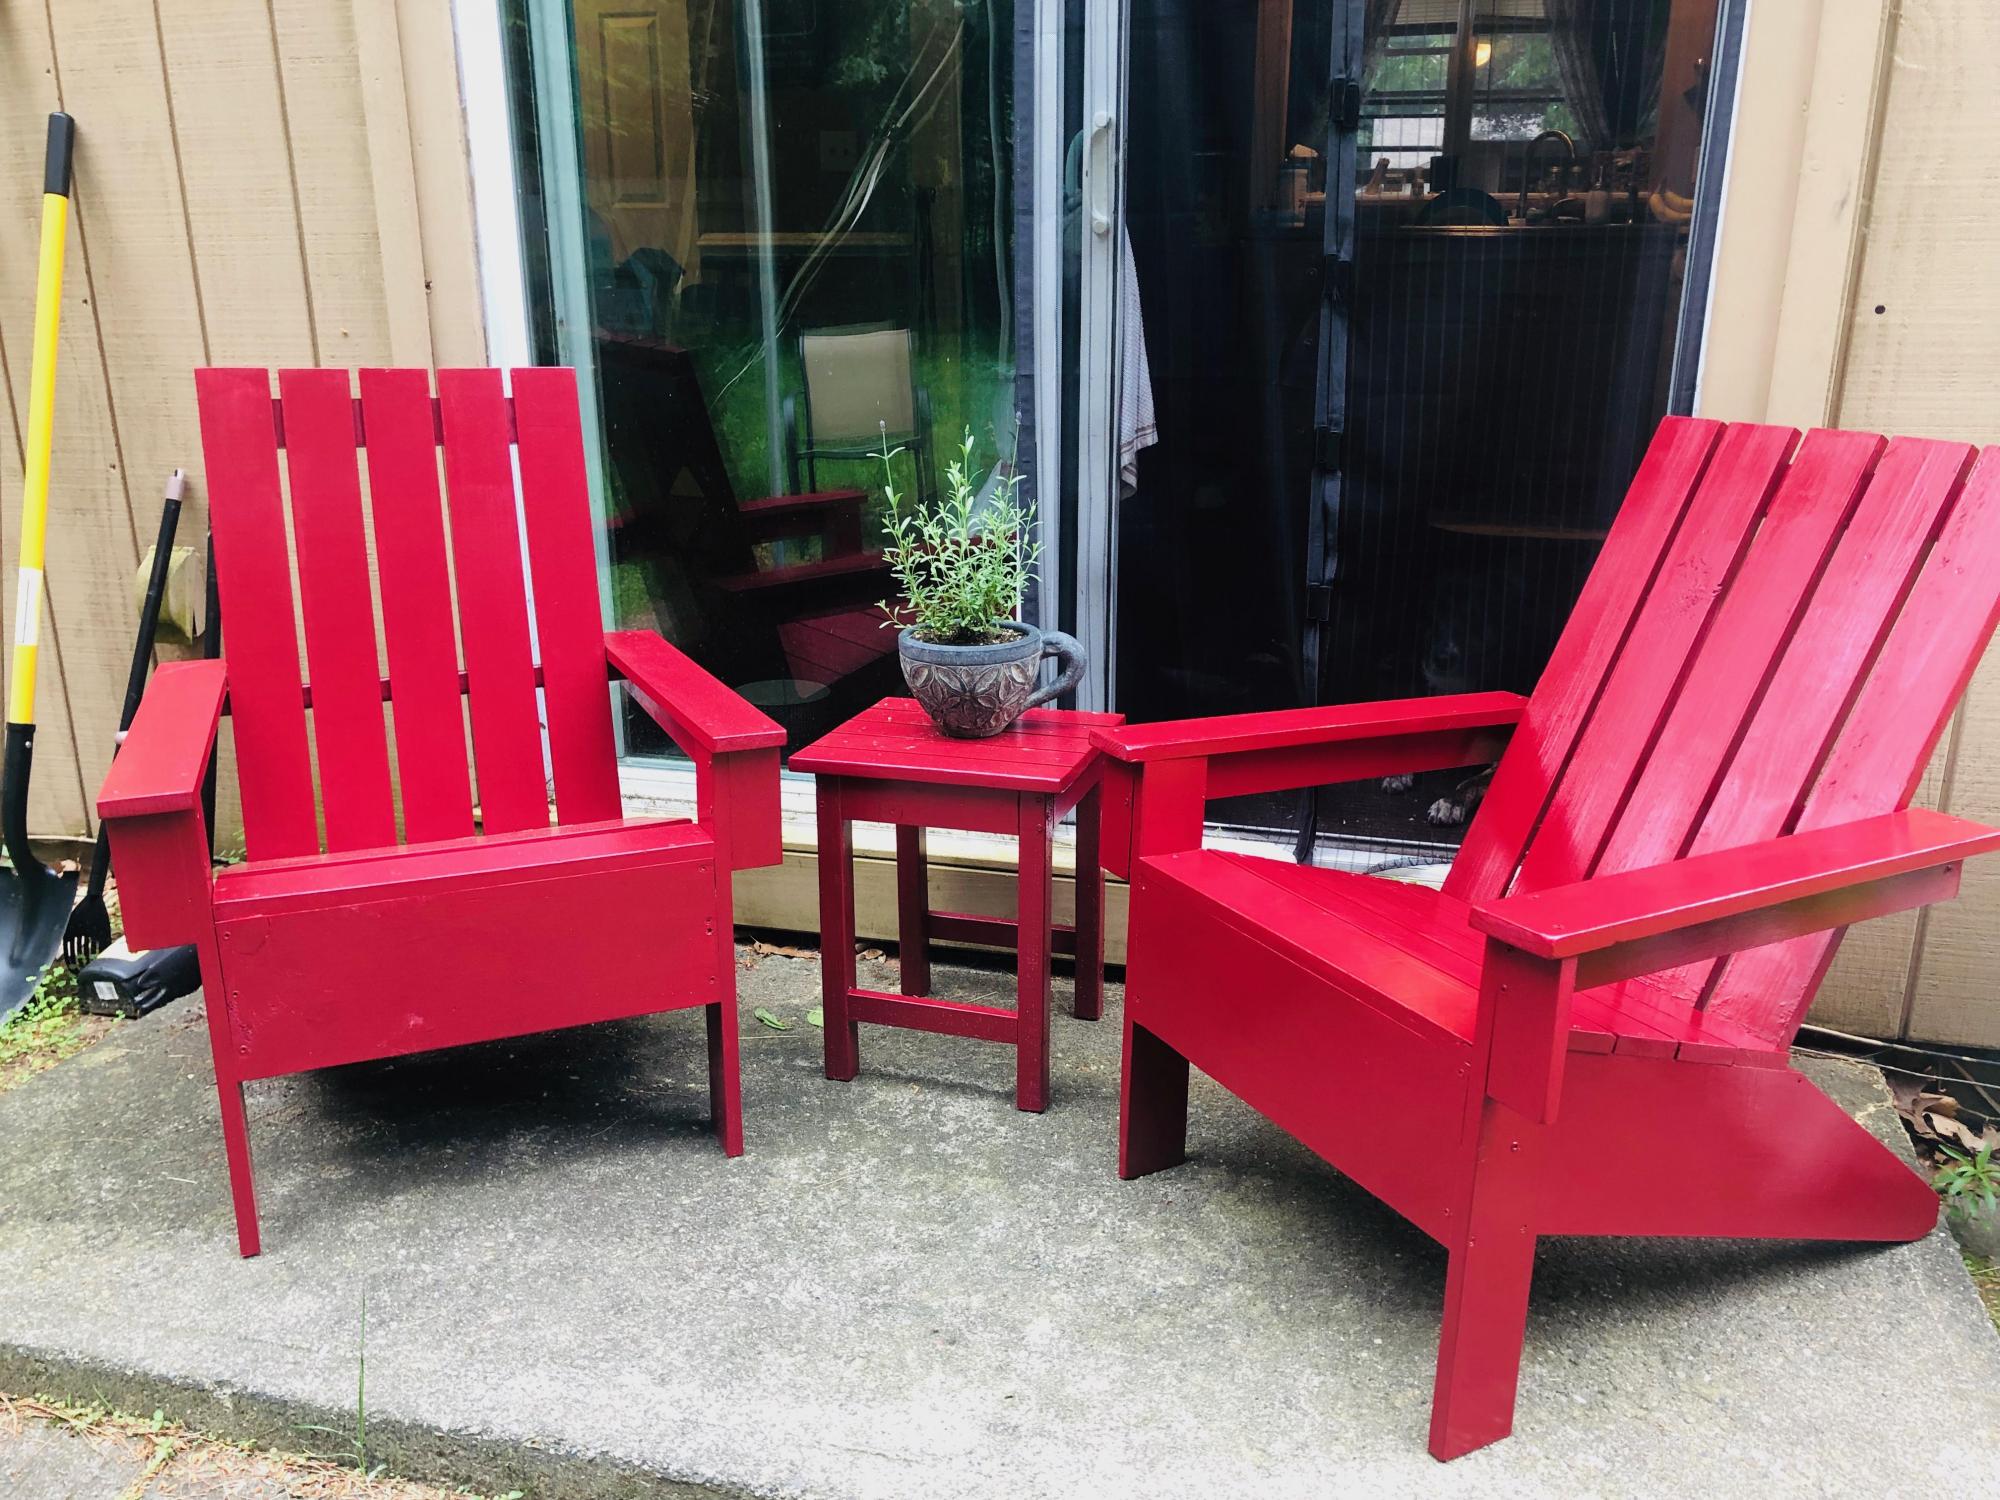
These were a labor of love! I bought my first miter saw and decided this would be the project to try angles. It wasn't easy but I figured it out.
These were pretty easy otherwise to put together once you get past the stringers. They aren't perfect but they are very sturdy. I've had a few people ask me to make them one too!
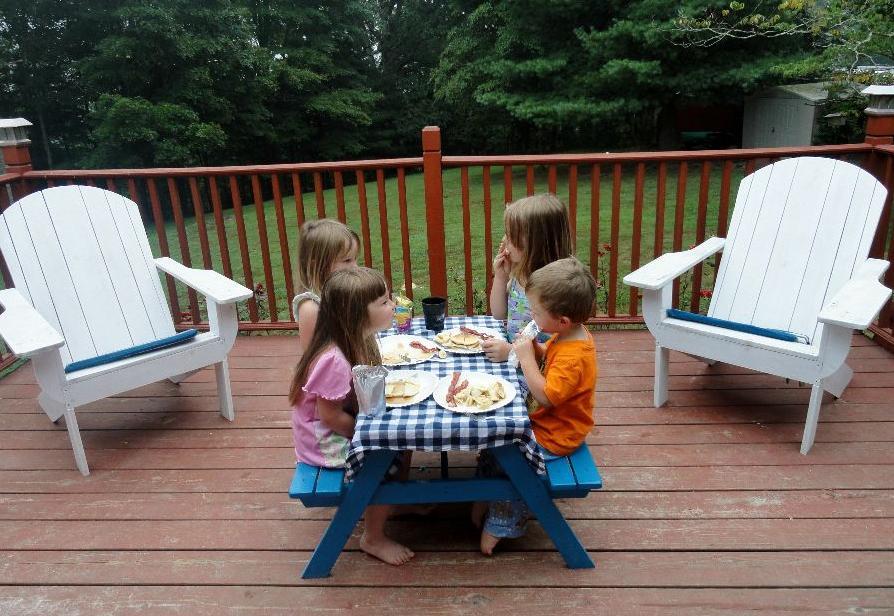
This spring I was able to build the preschool picnic table for my son. Today we fully used it for a picnic breakfast with the cousins. It can easily fit up to four kids ages 2 to 7. (I also built the chairs in the fall)