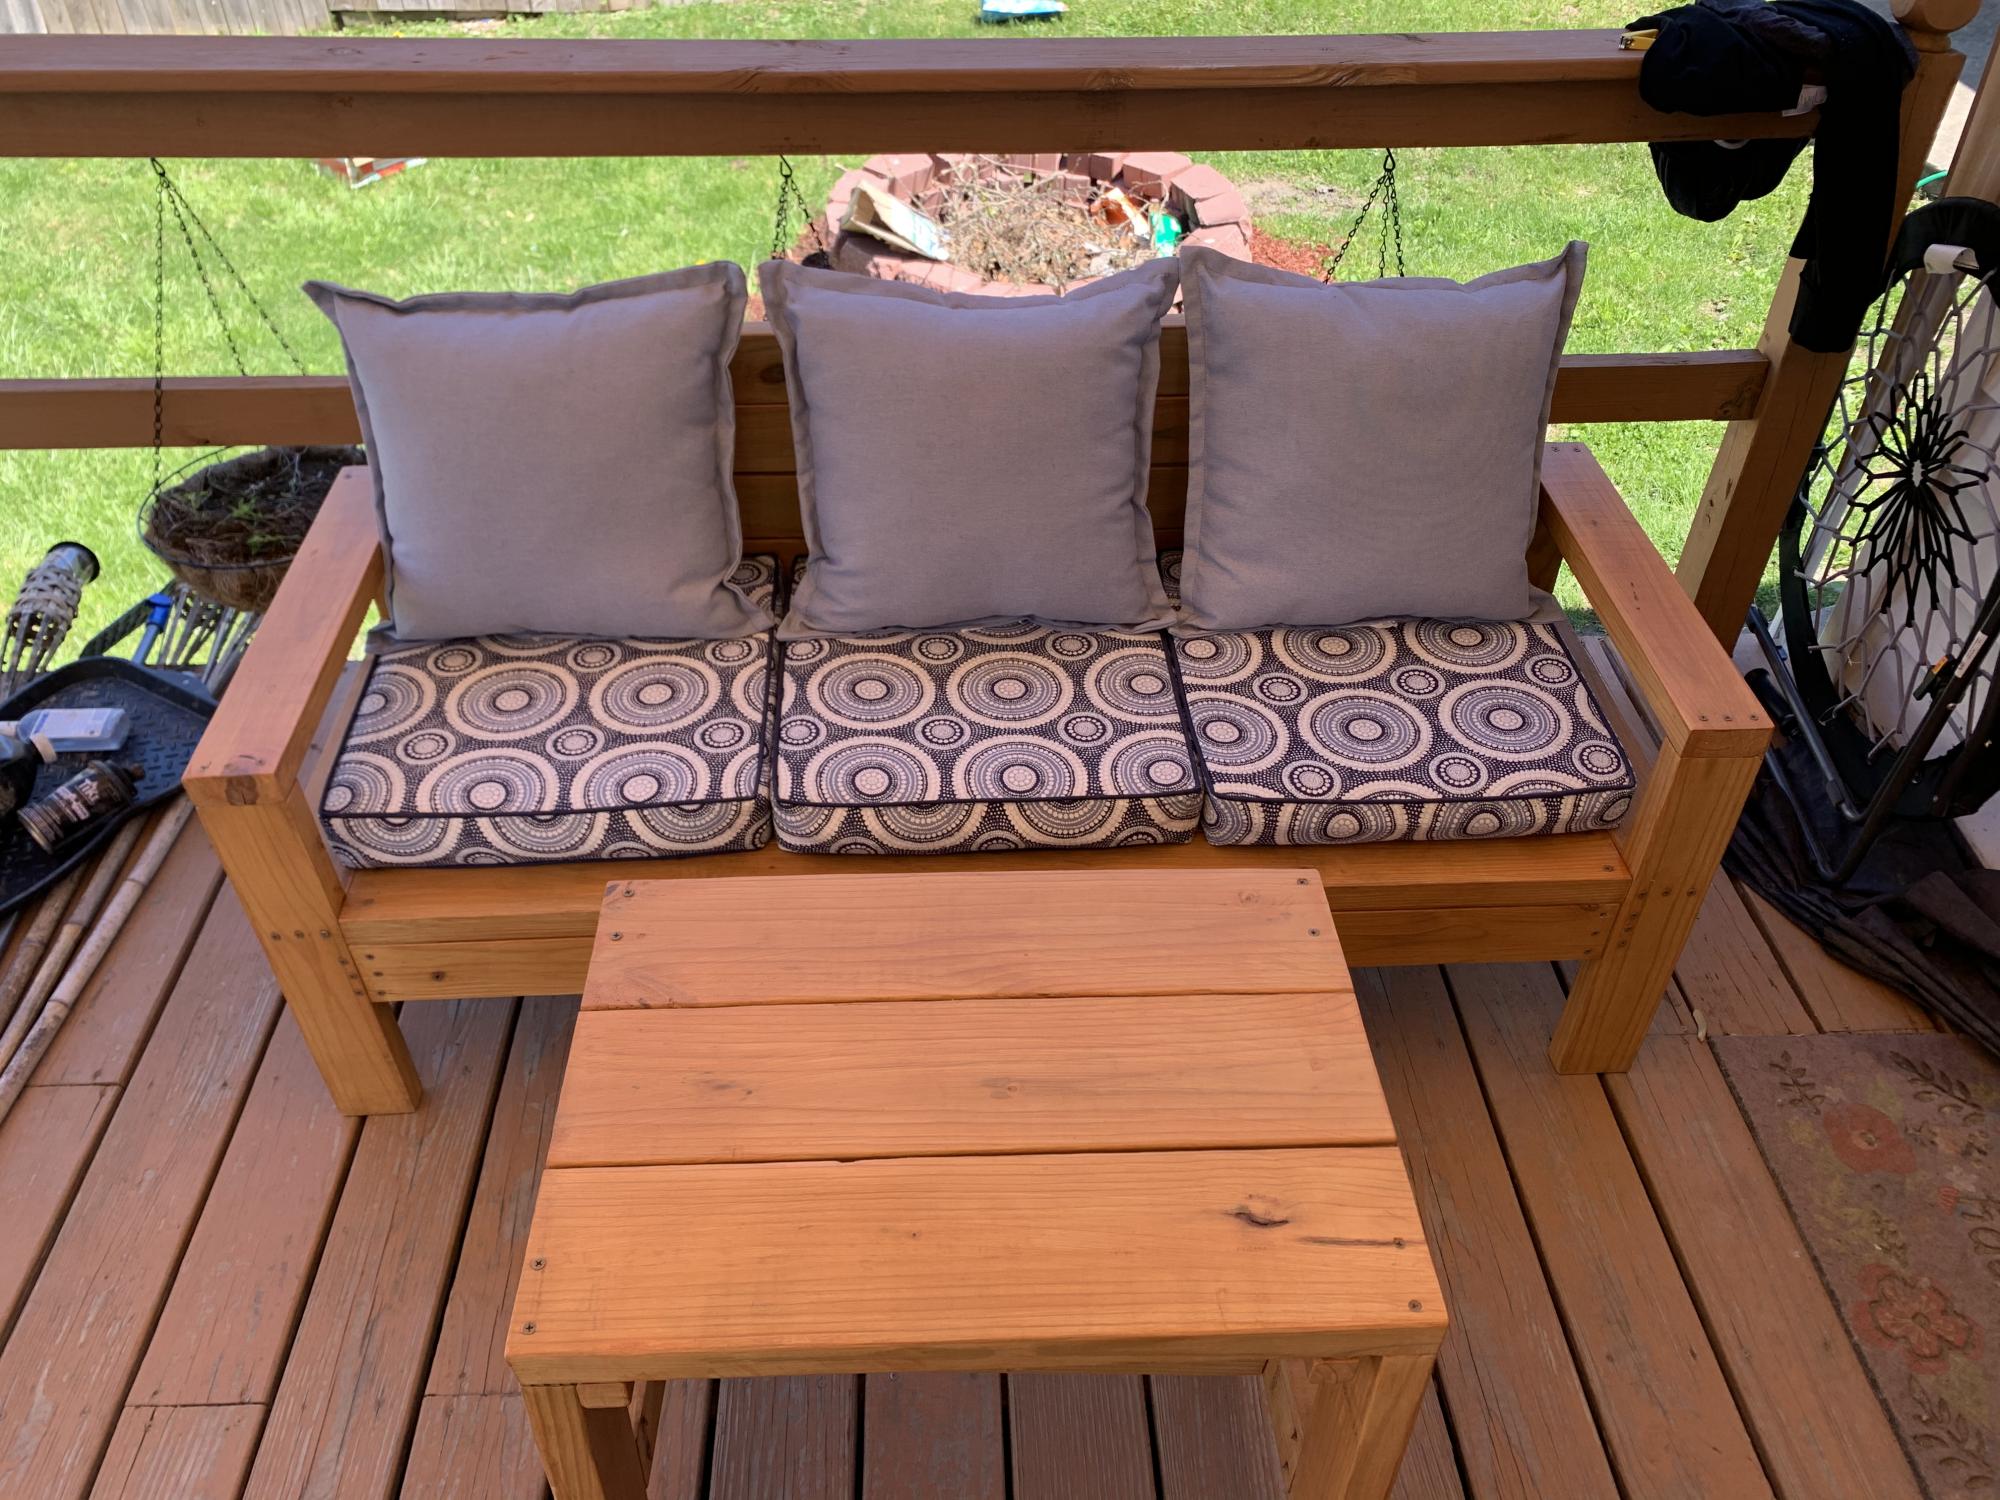
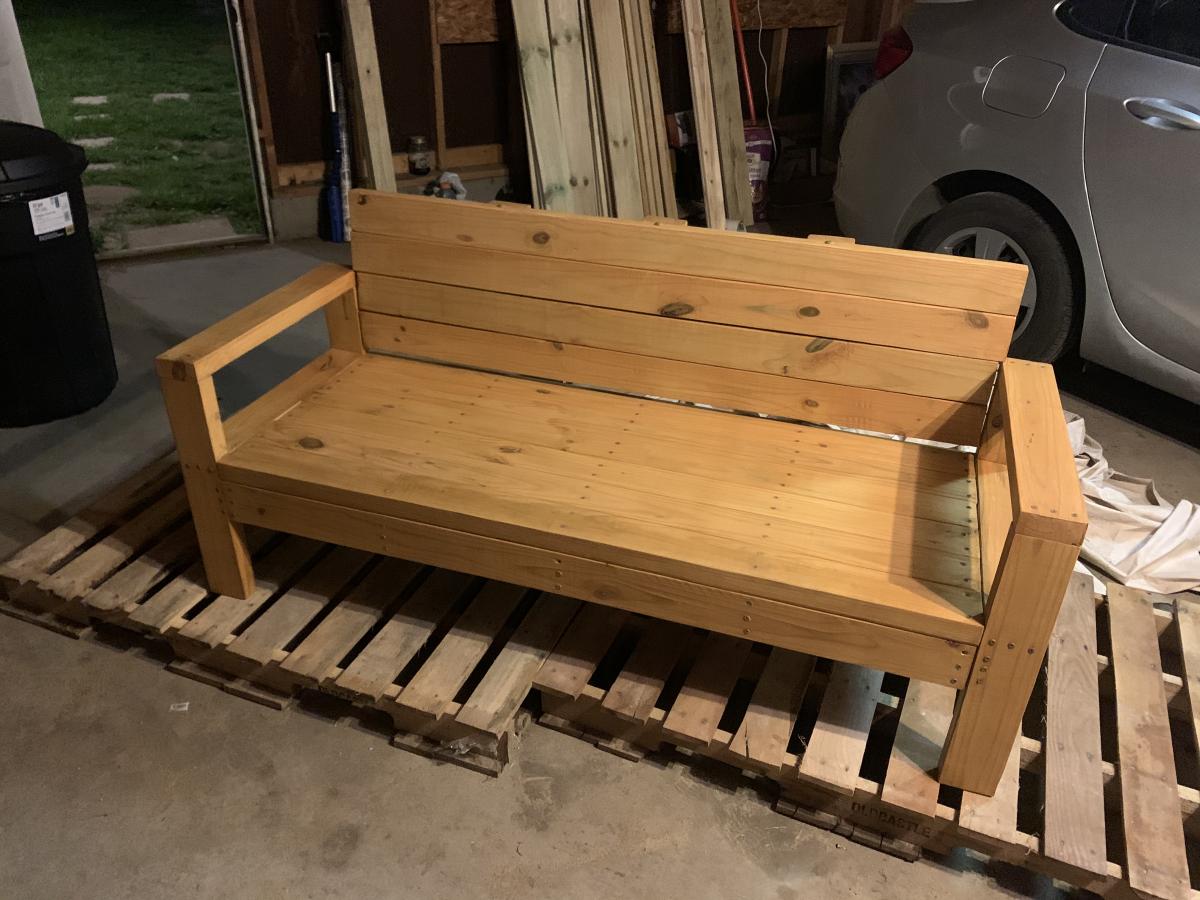
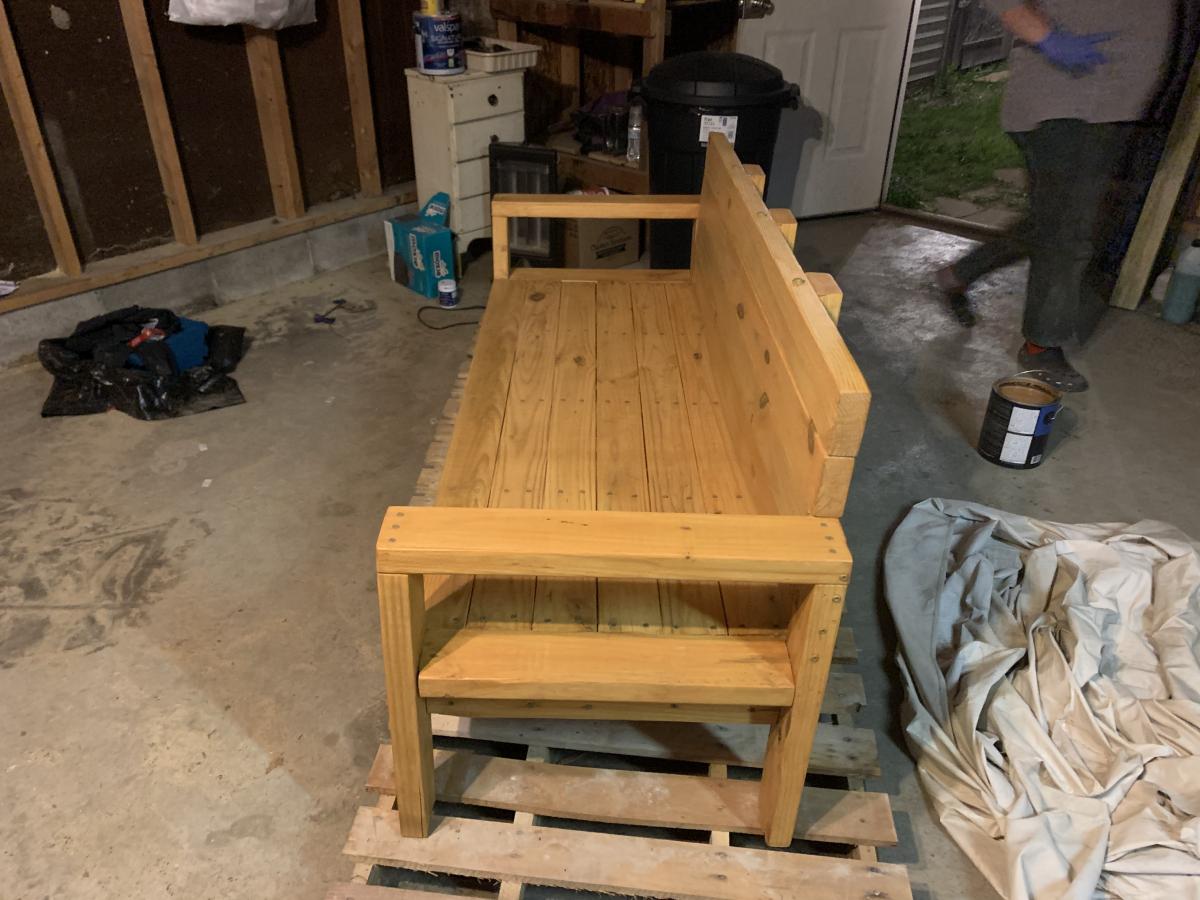
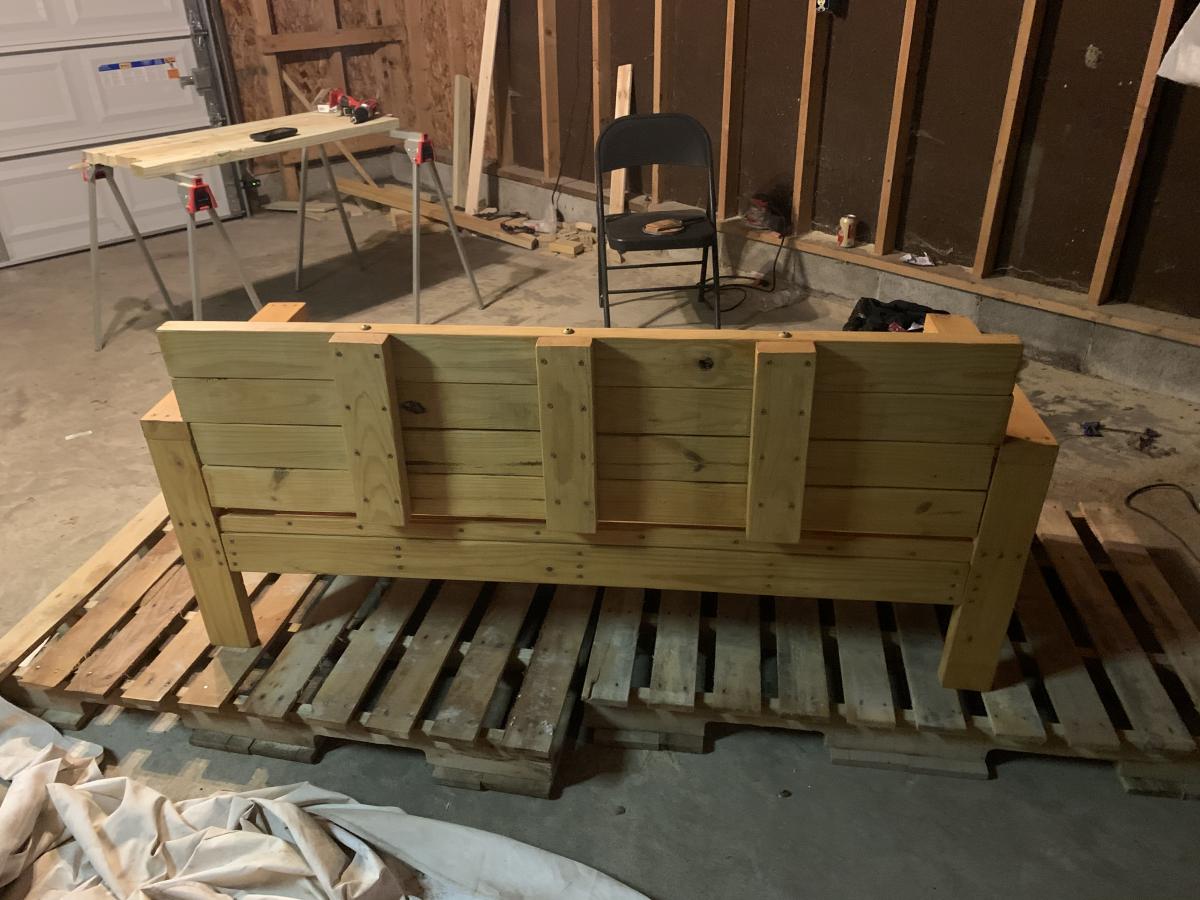
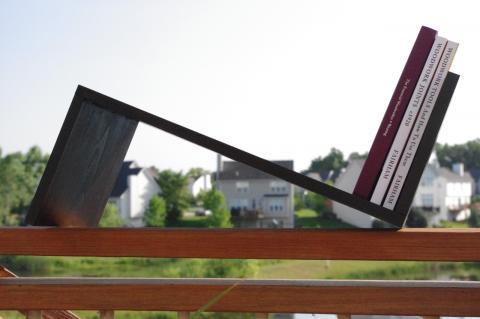
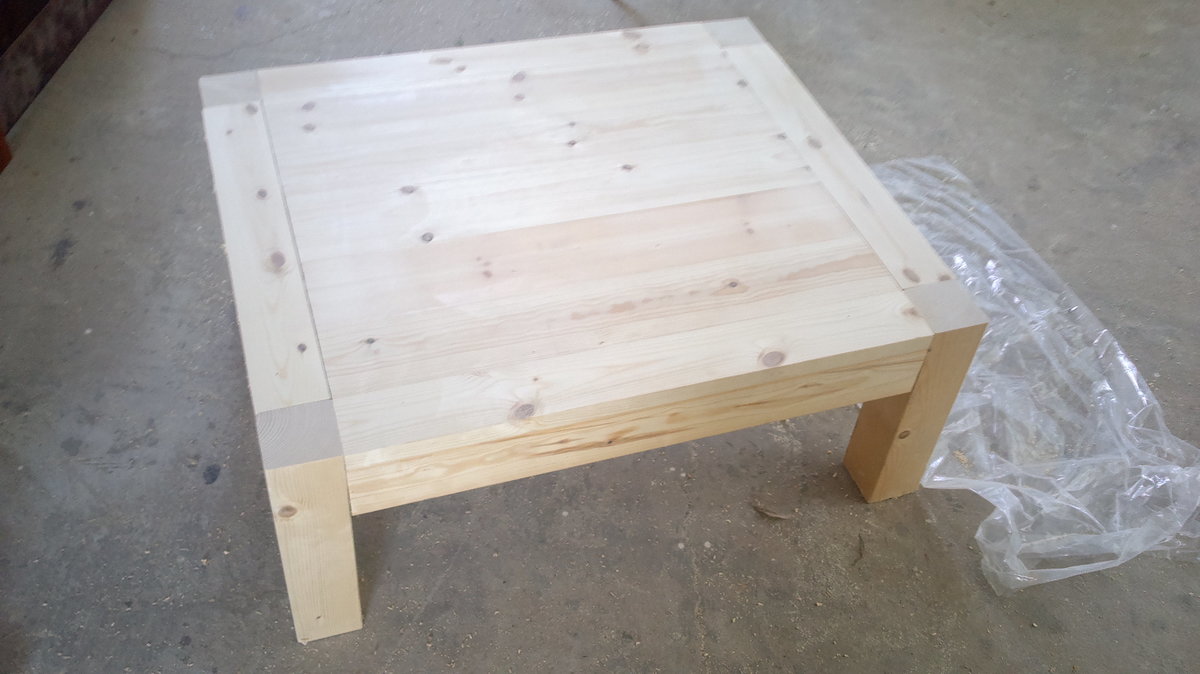
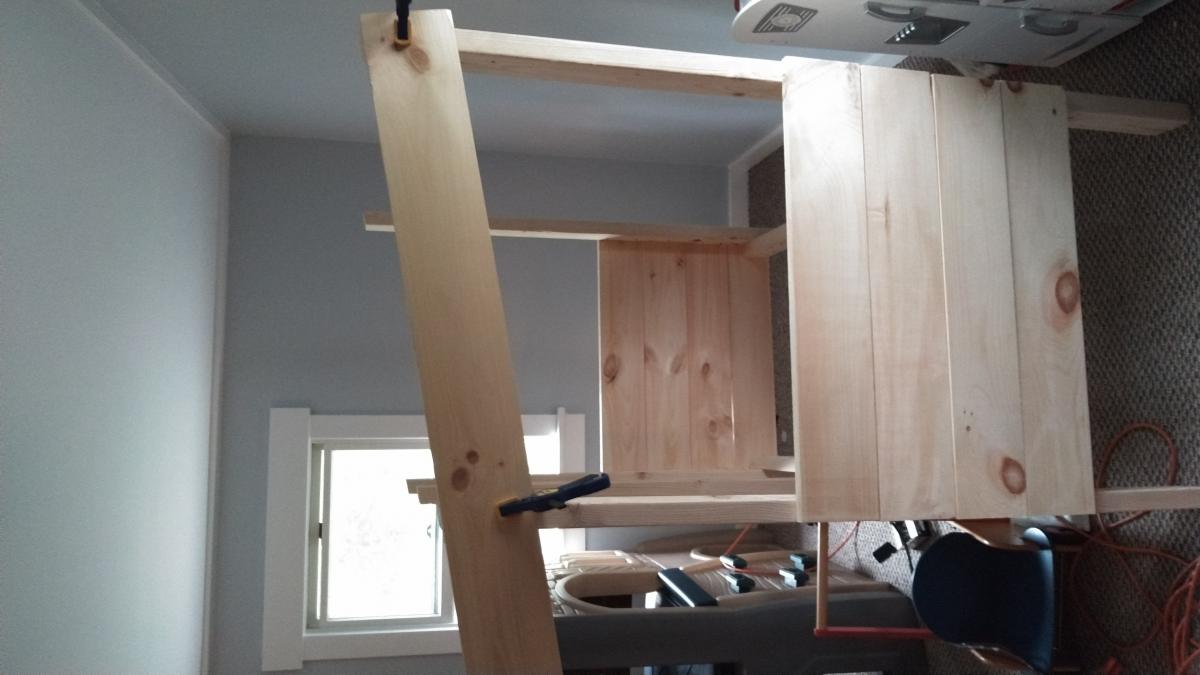
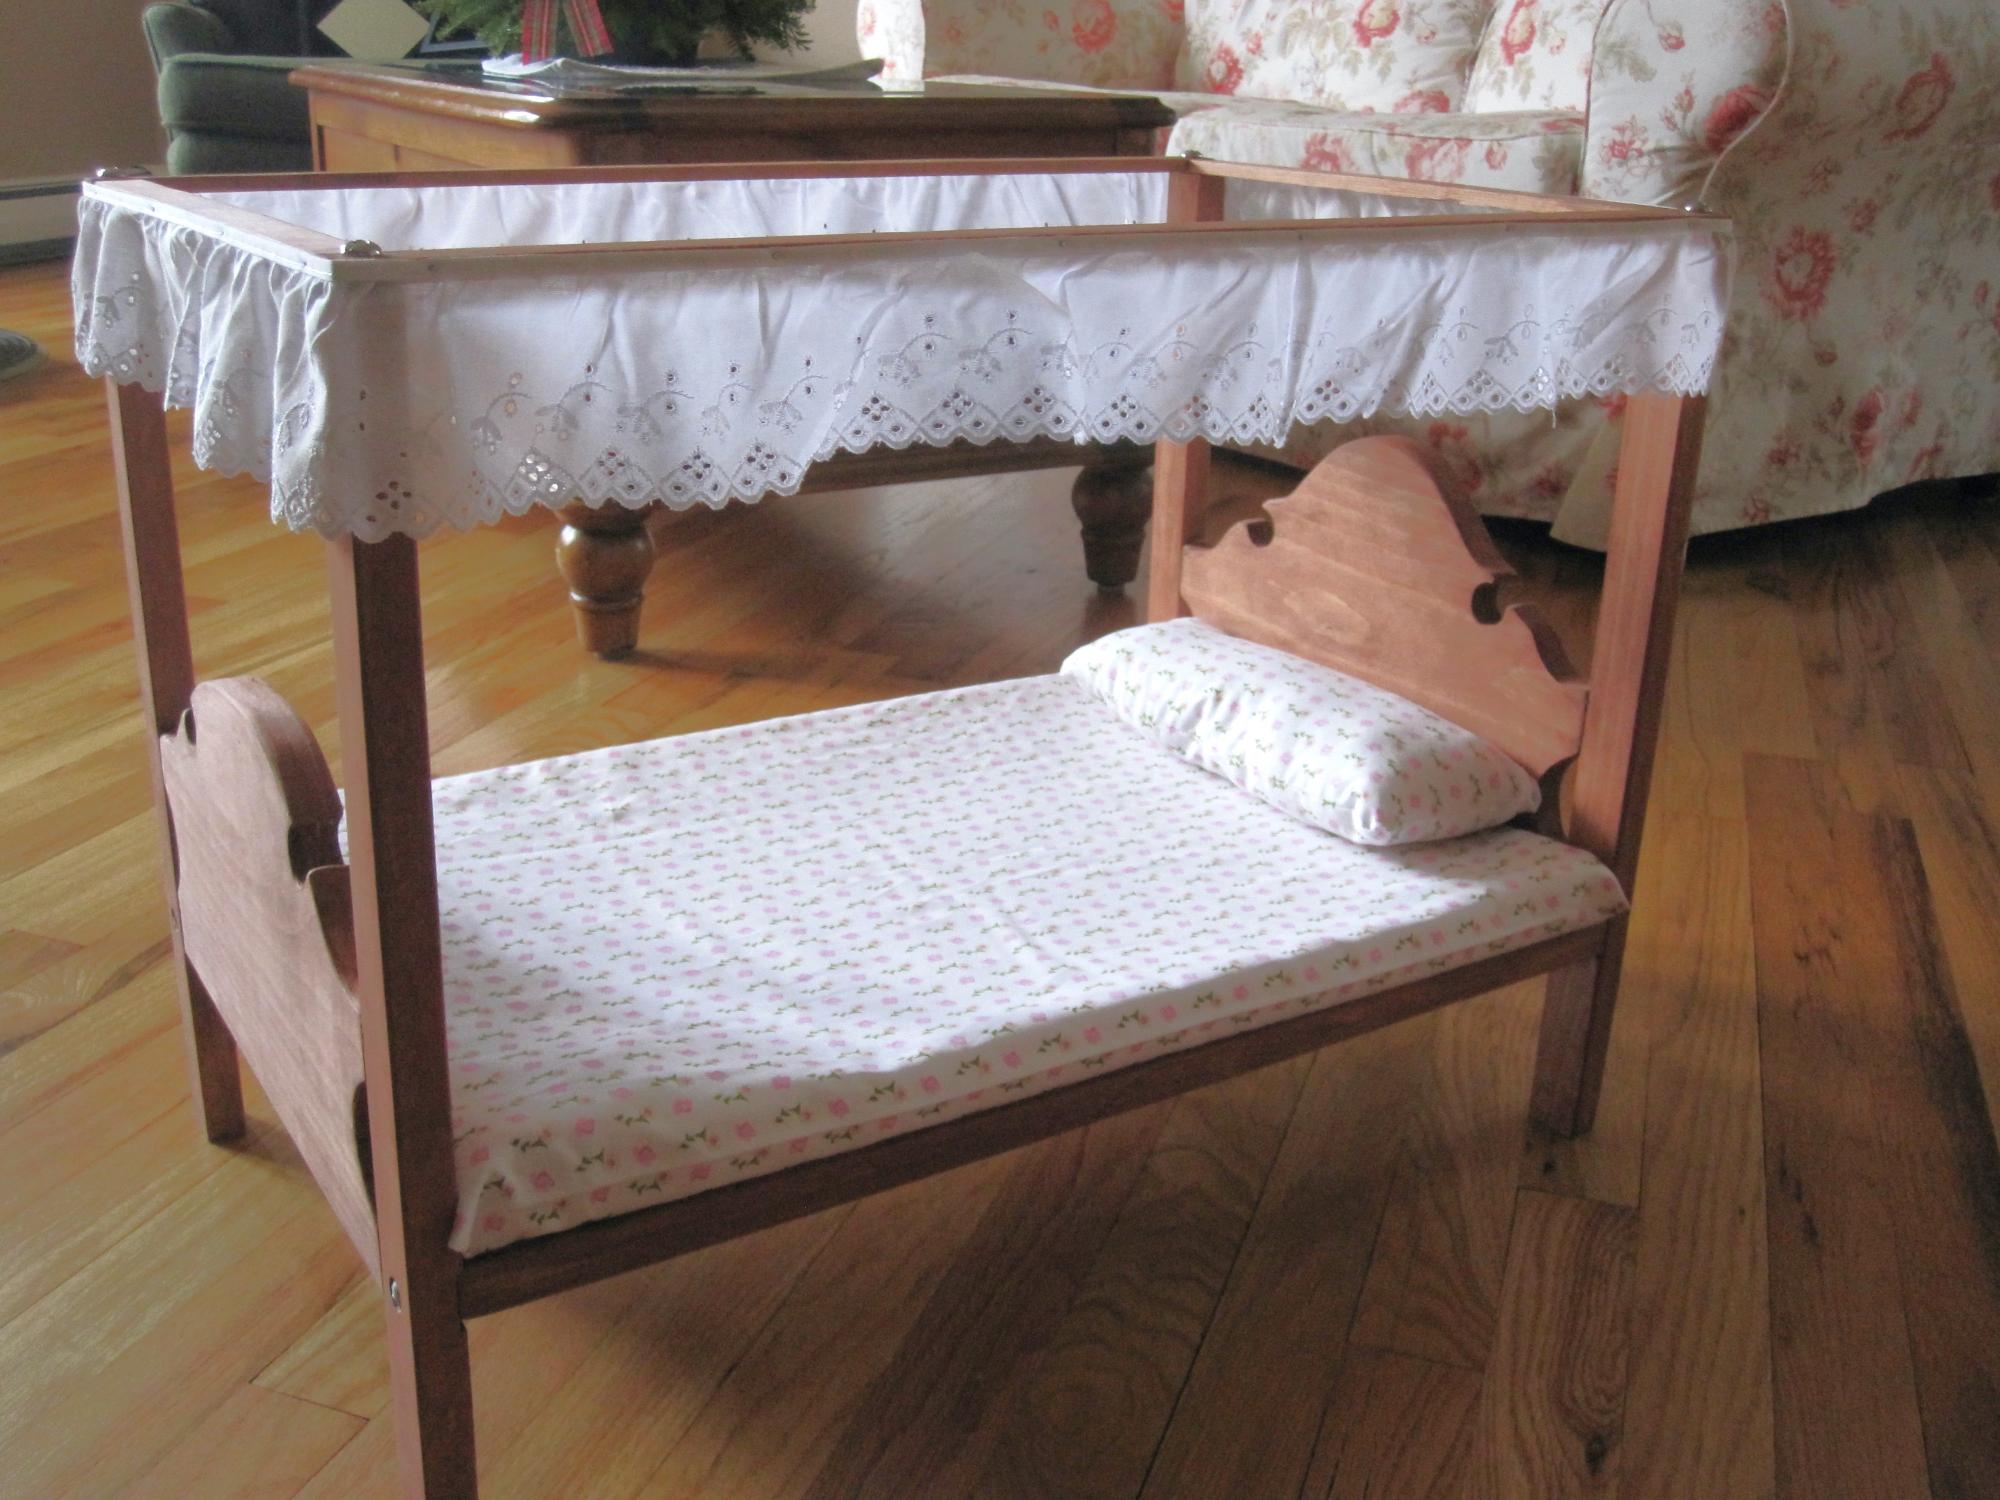
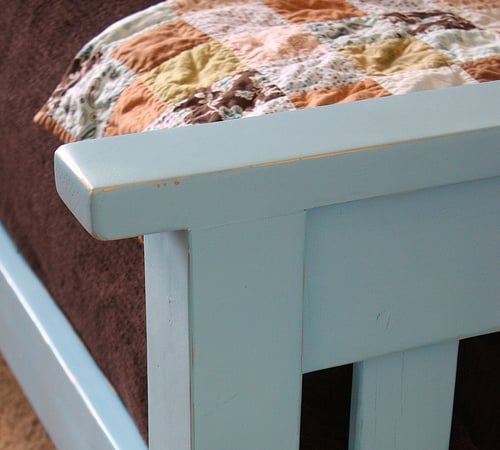
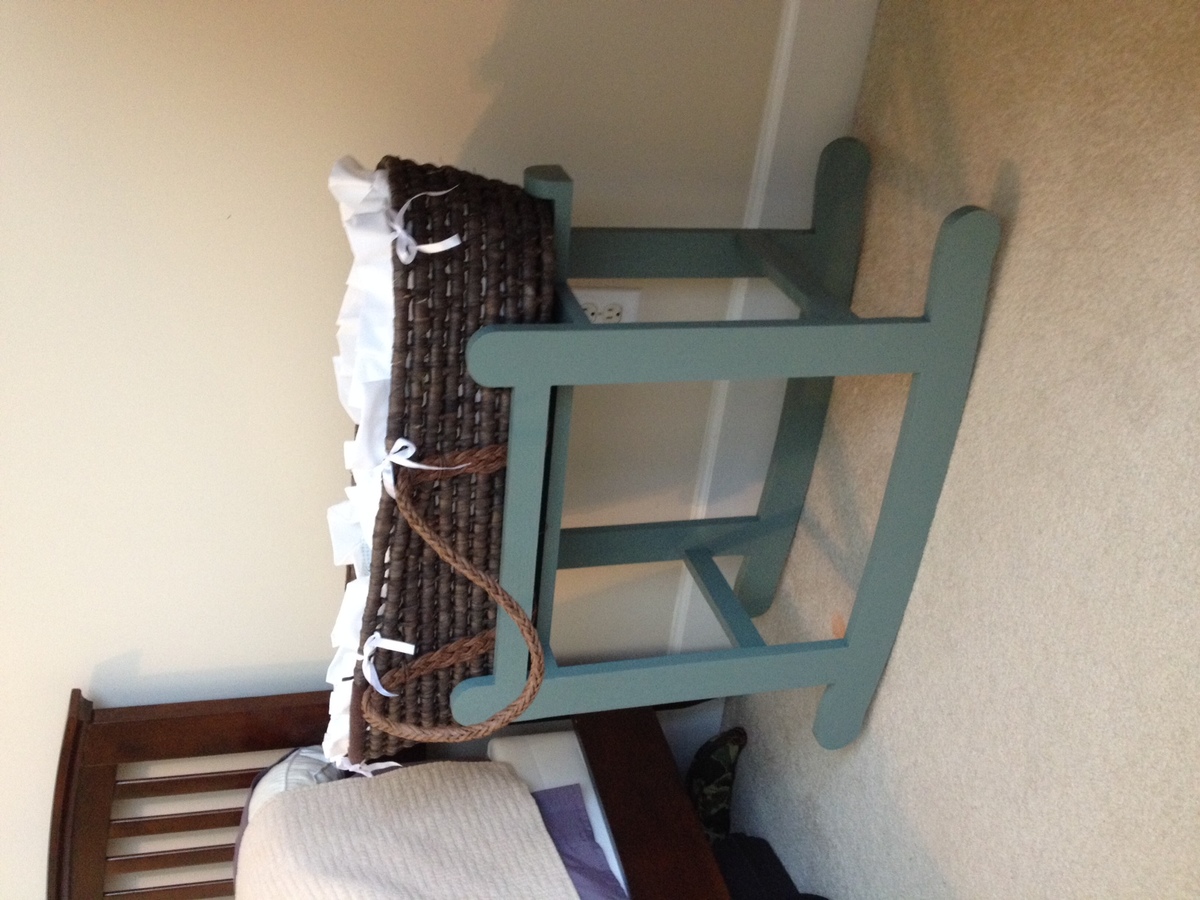
Moses Basket Rocker
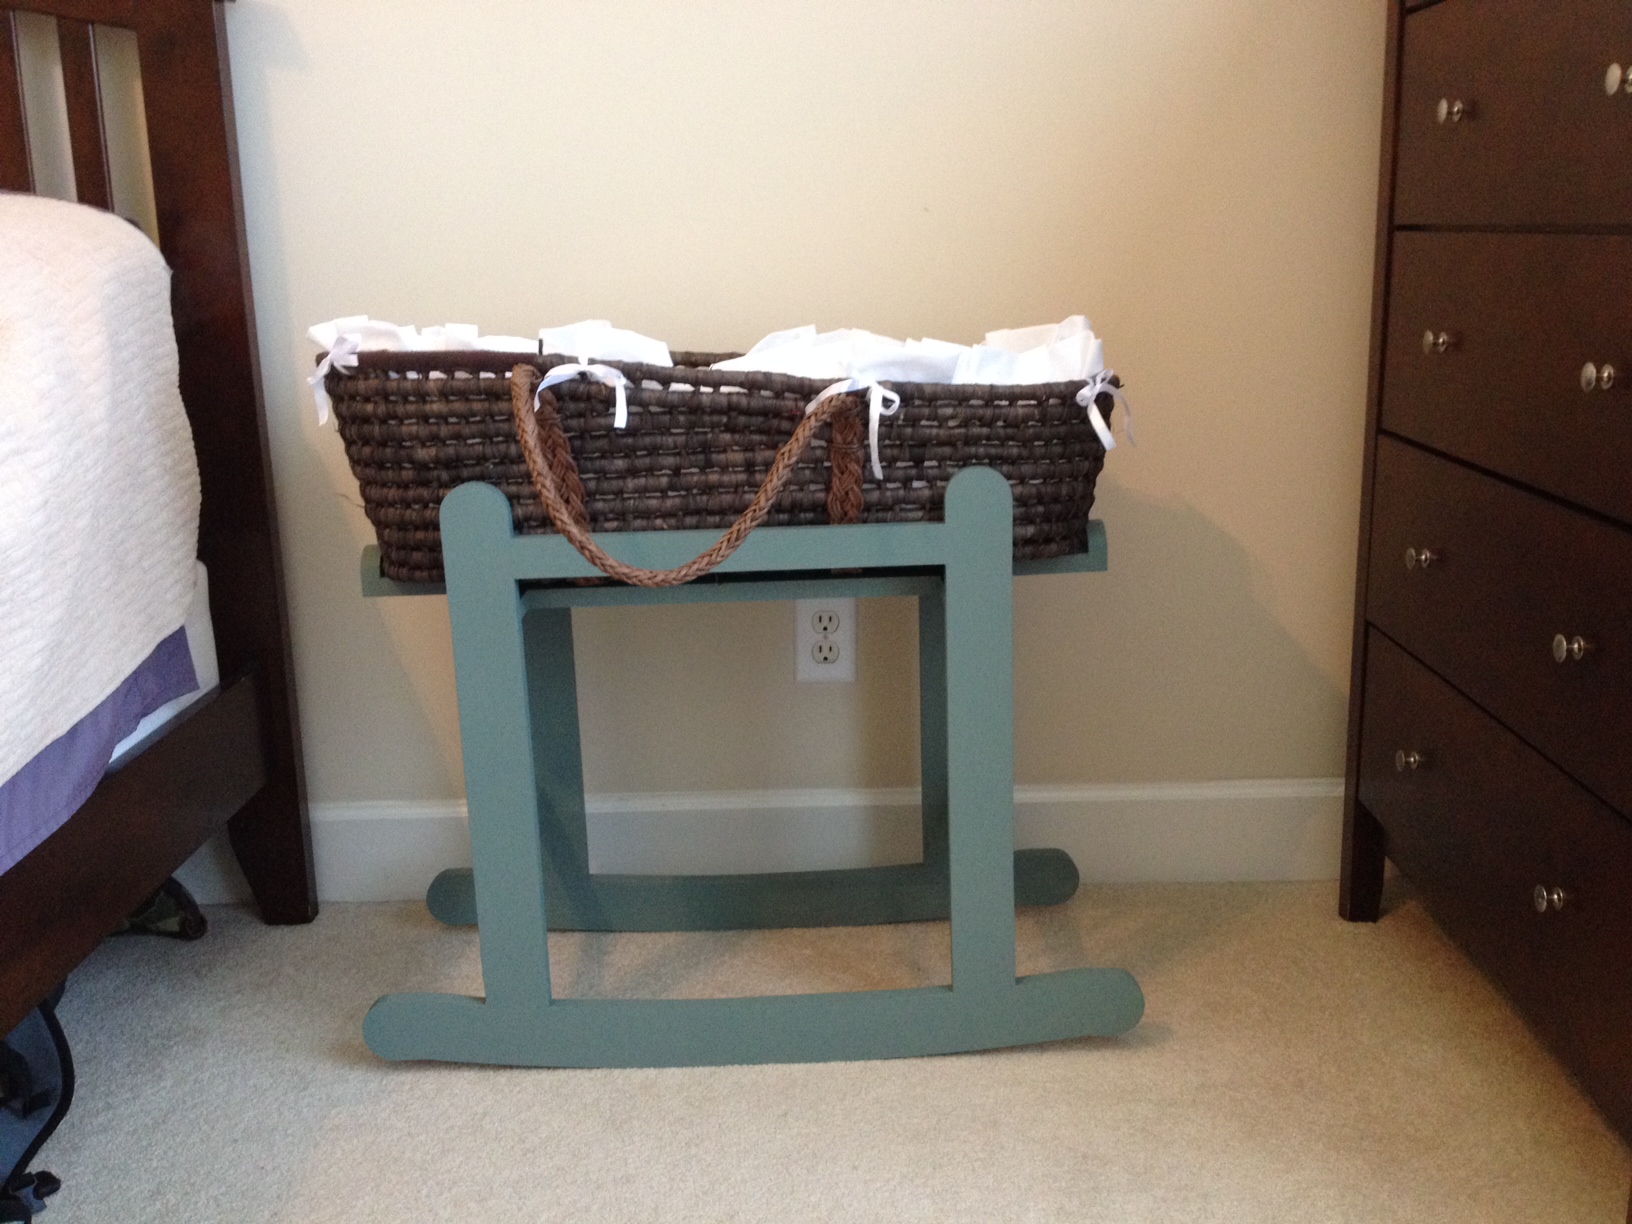
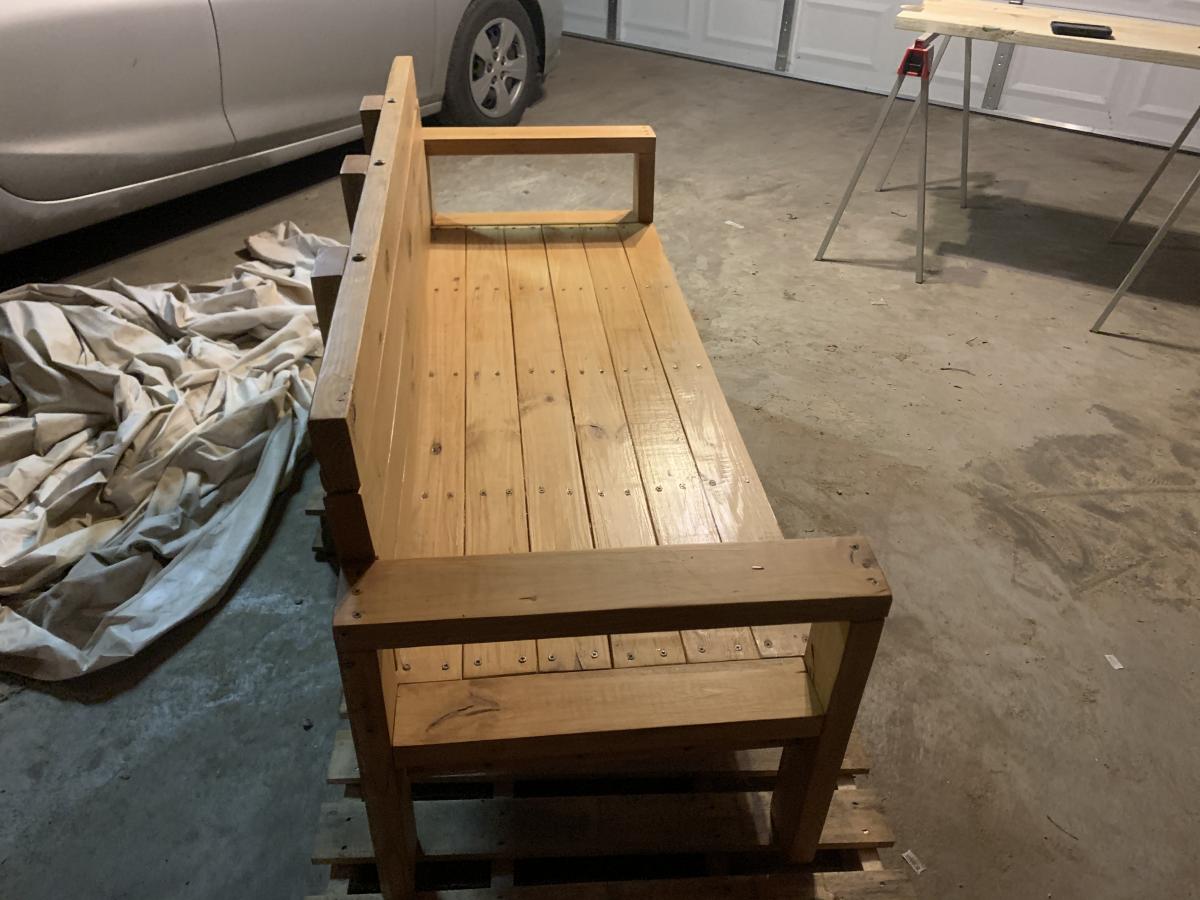
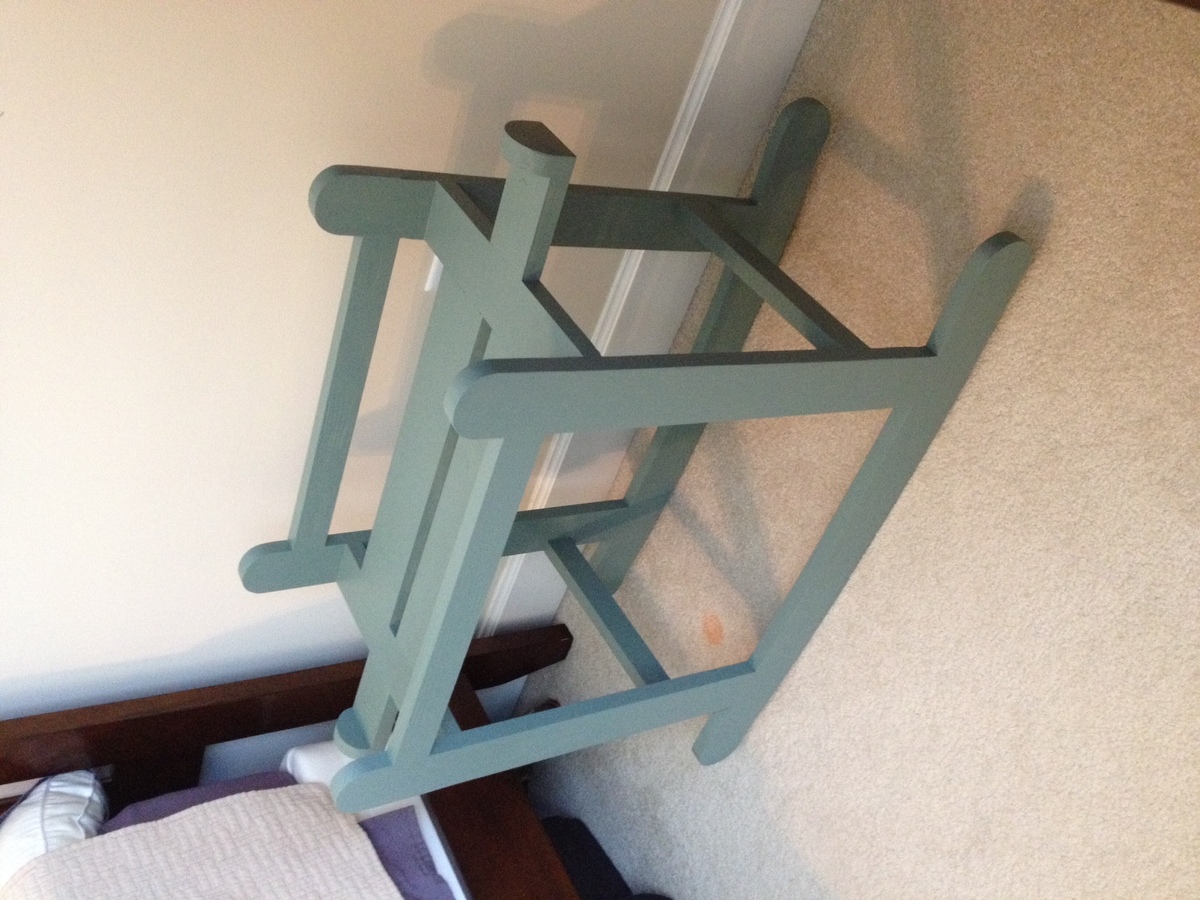
Pretty much followed the plan, except I raised the height of the platform. I intended to make the legs longer, but I forgot and cut them to the length on the plan. It looks like the sides of the basket aren't supported as well, but the basket stays in just fine.
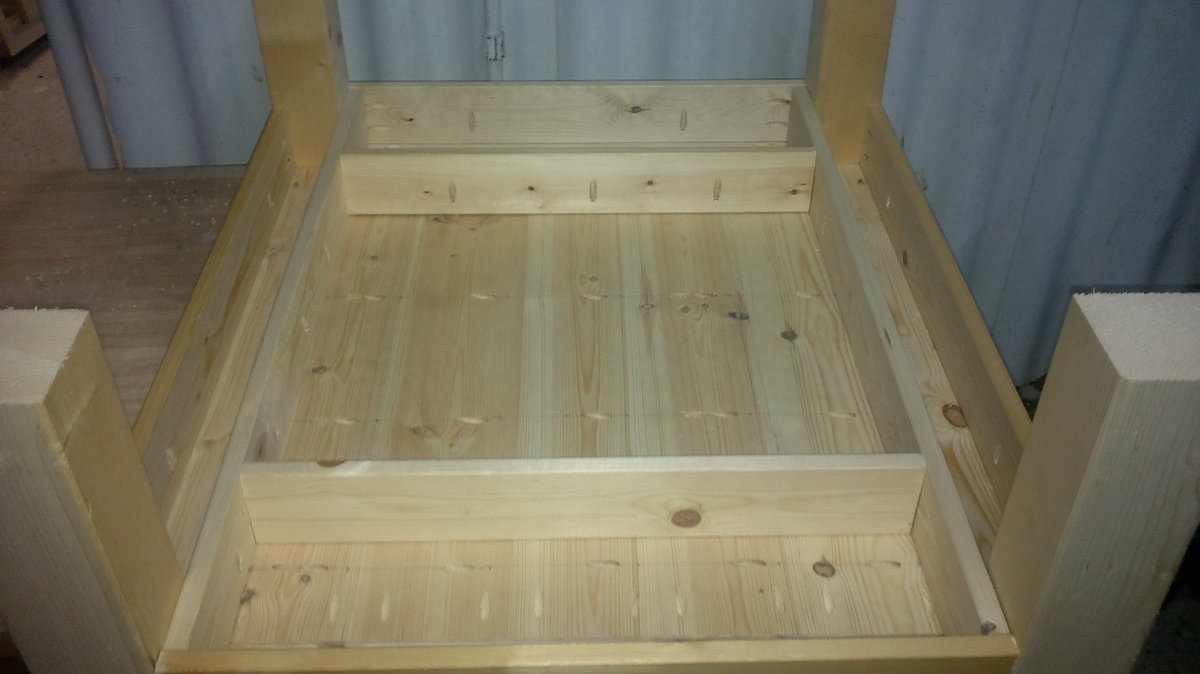
I also added little wings on the end to support the ends of the basket. I wanted to be able to remove the basket from the cradle without screwing it in, but also wanted the basket to be secure so I added the little wings. It was easy.
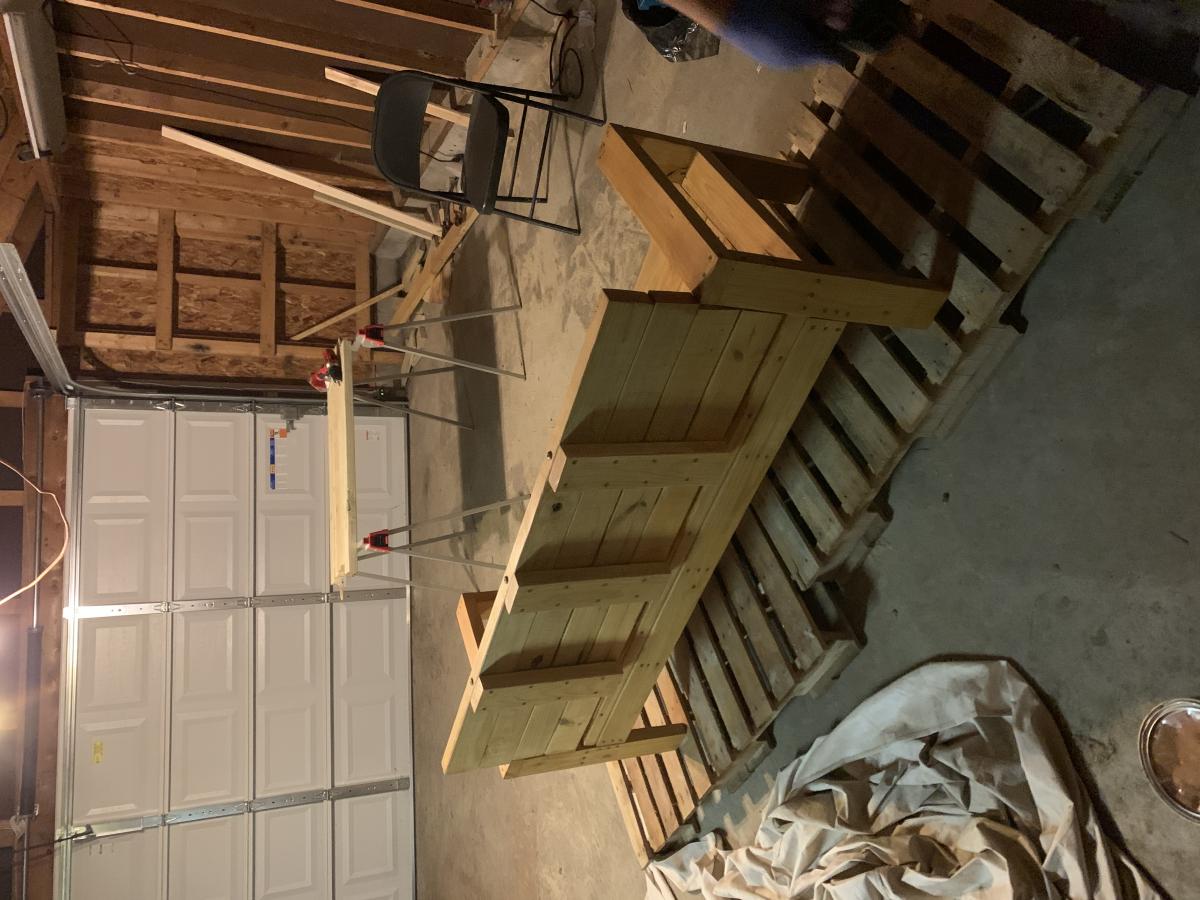
Overall a pretty easy project, except the rockers are time consuming. They're not hard to make, you just need to take your time.
Built from Plan(s)
Estimated Time Investment
Weekend Project (10-20 Hours)
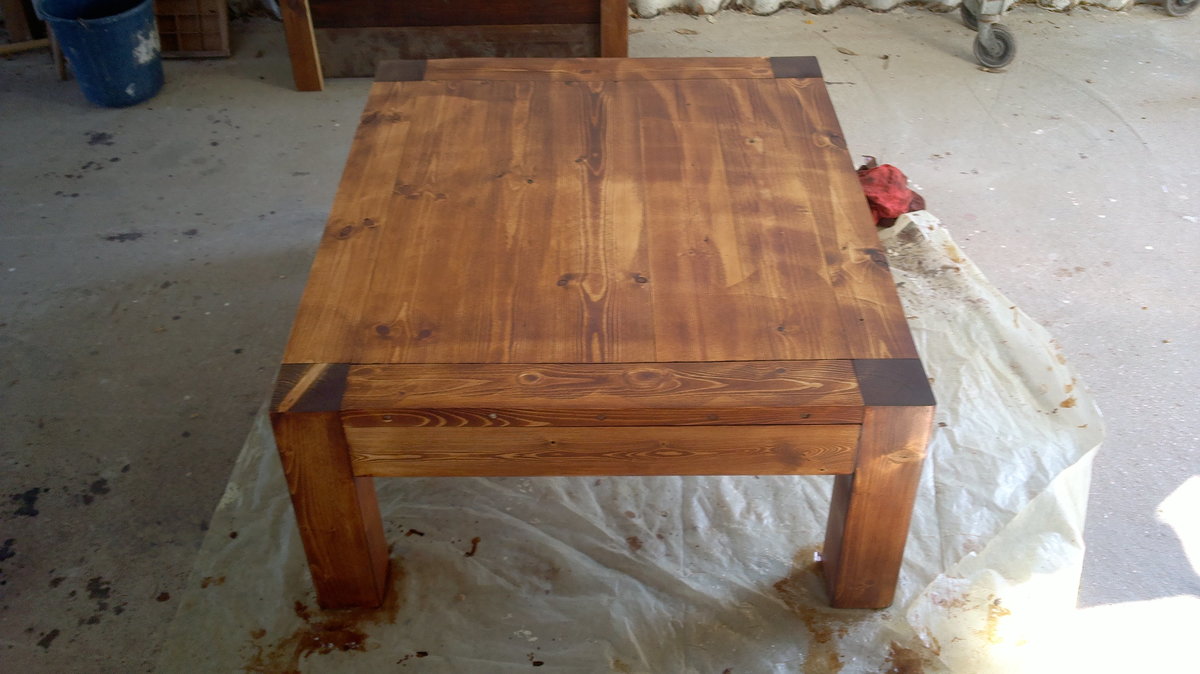
Finish Used
Sample paint on the clearance shelf - can't remember the color name.
Recommended Skill Level
Intermediate