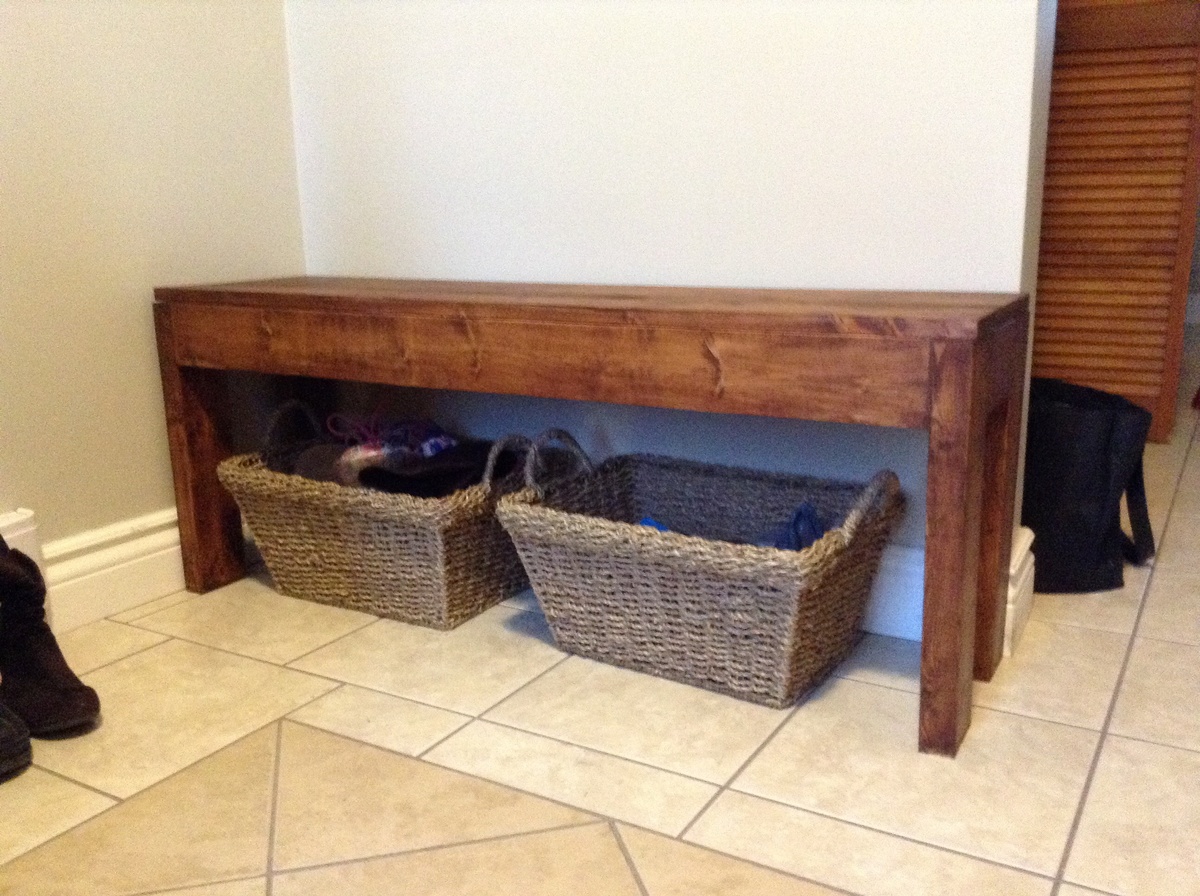
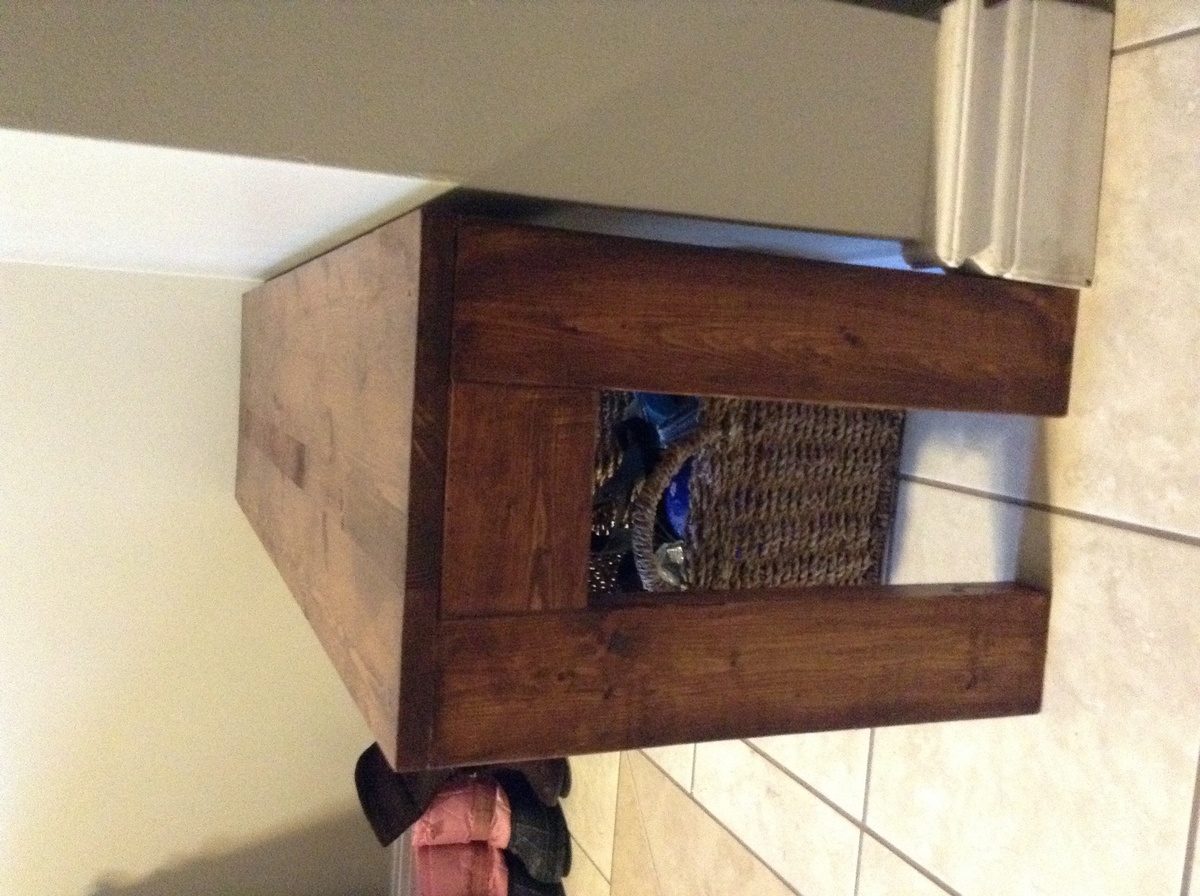
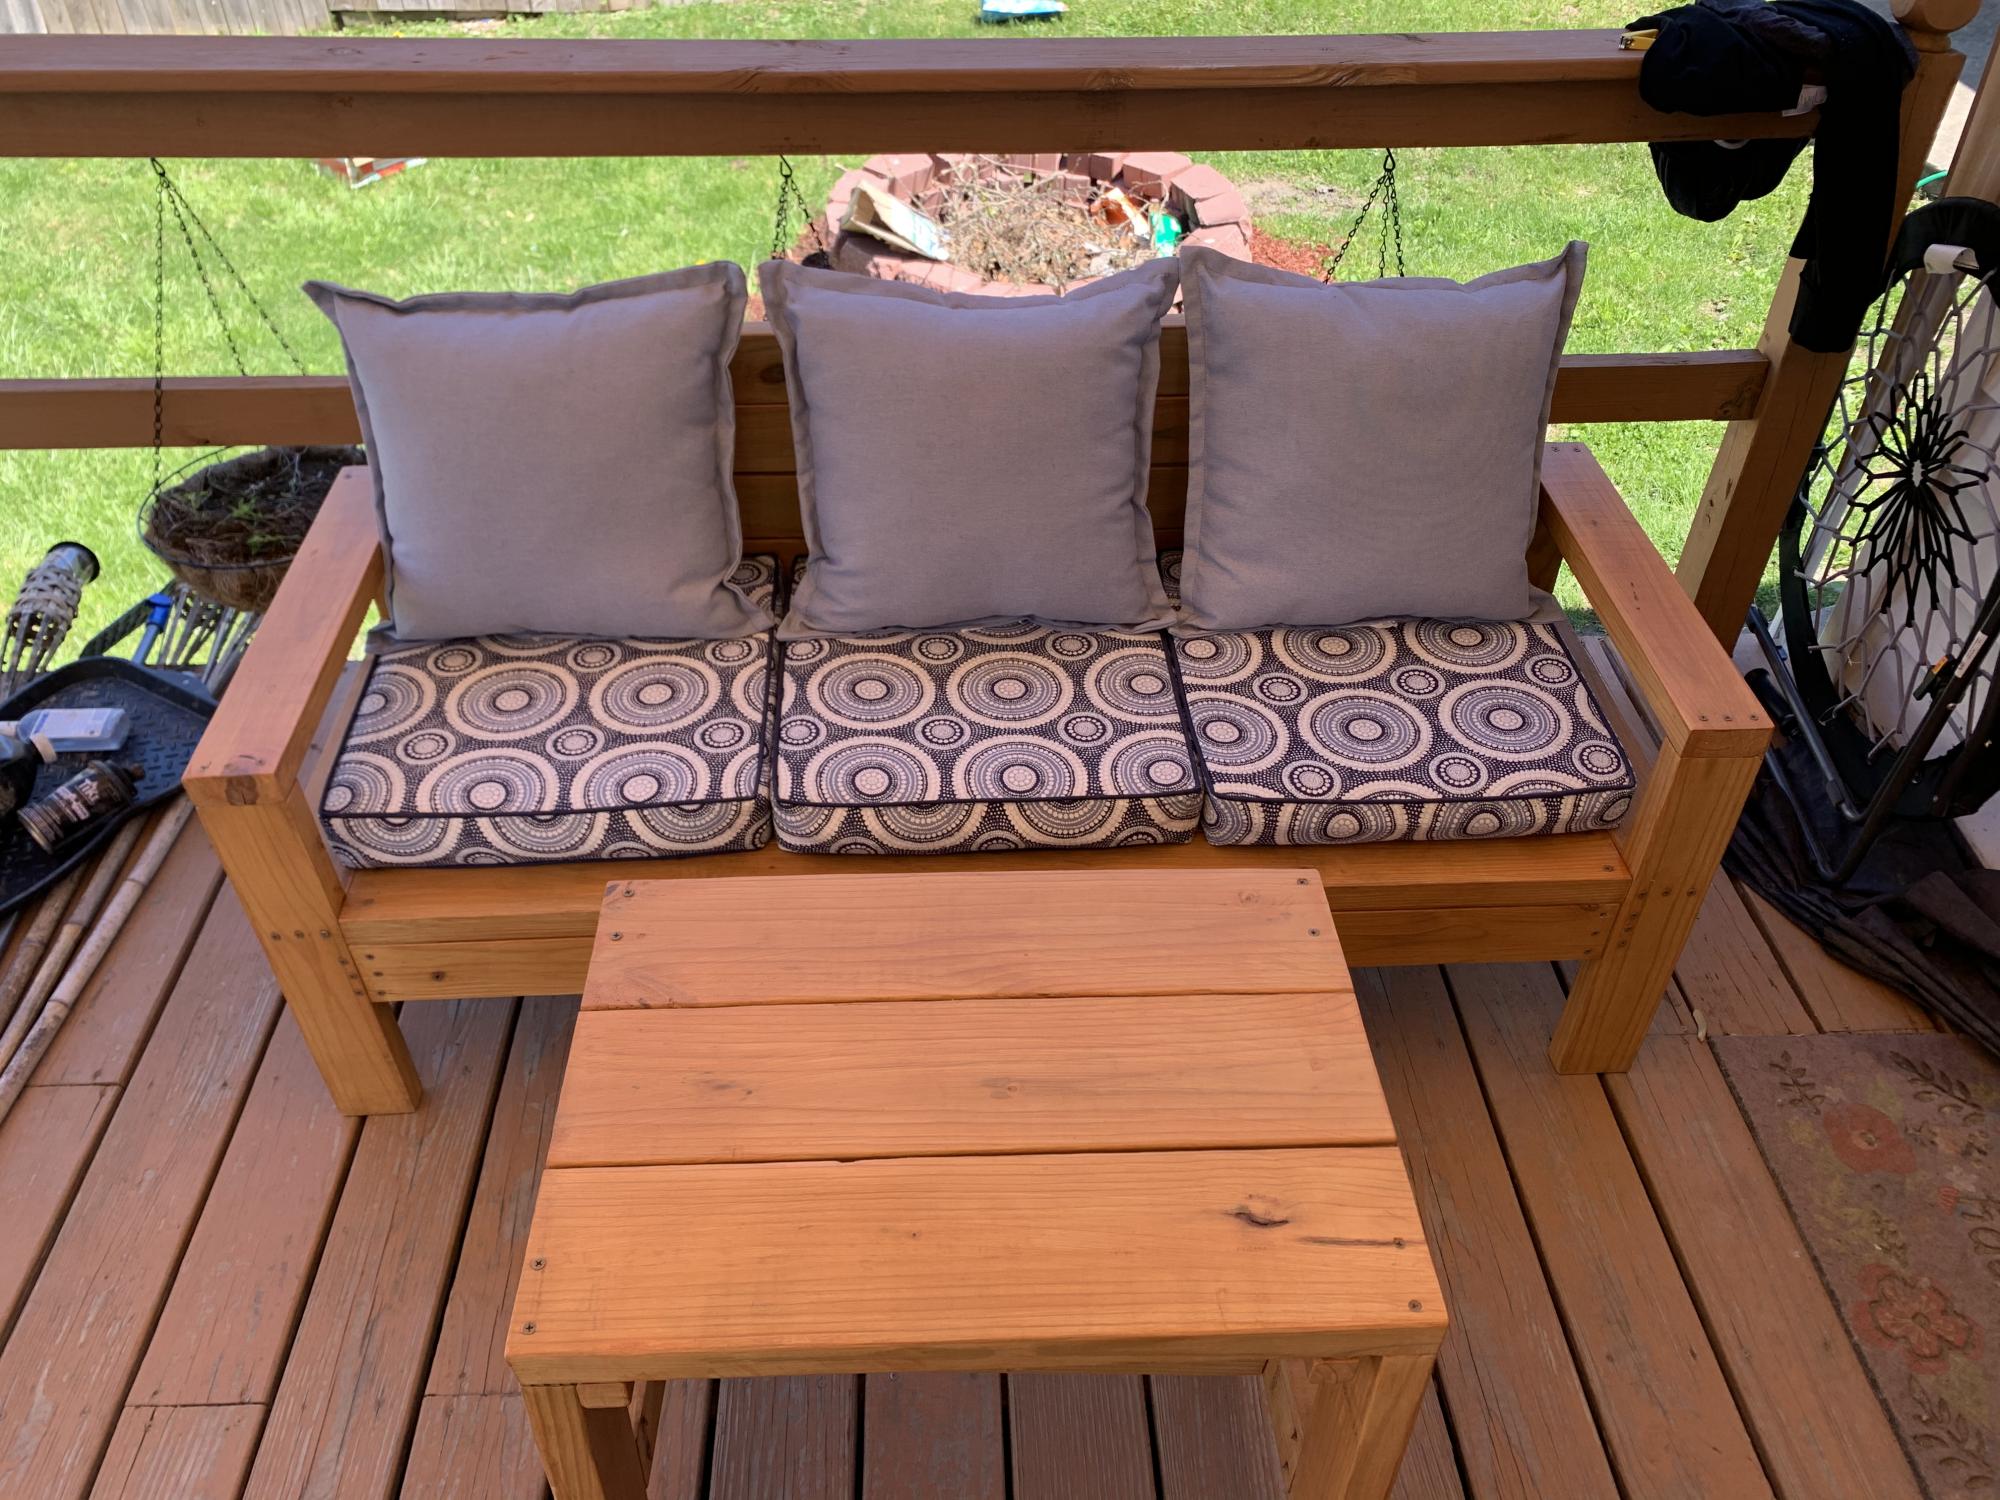
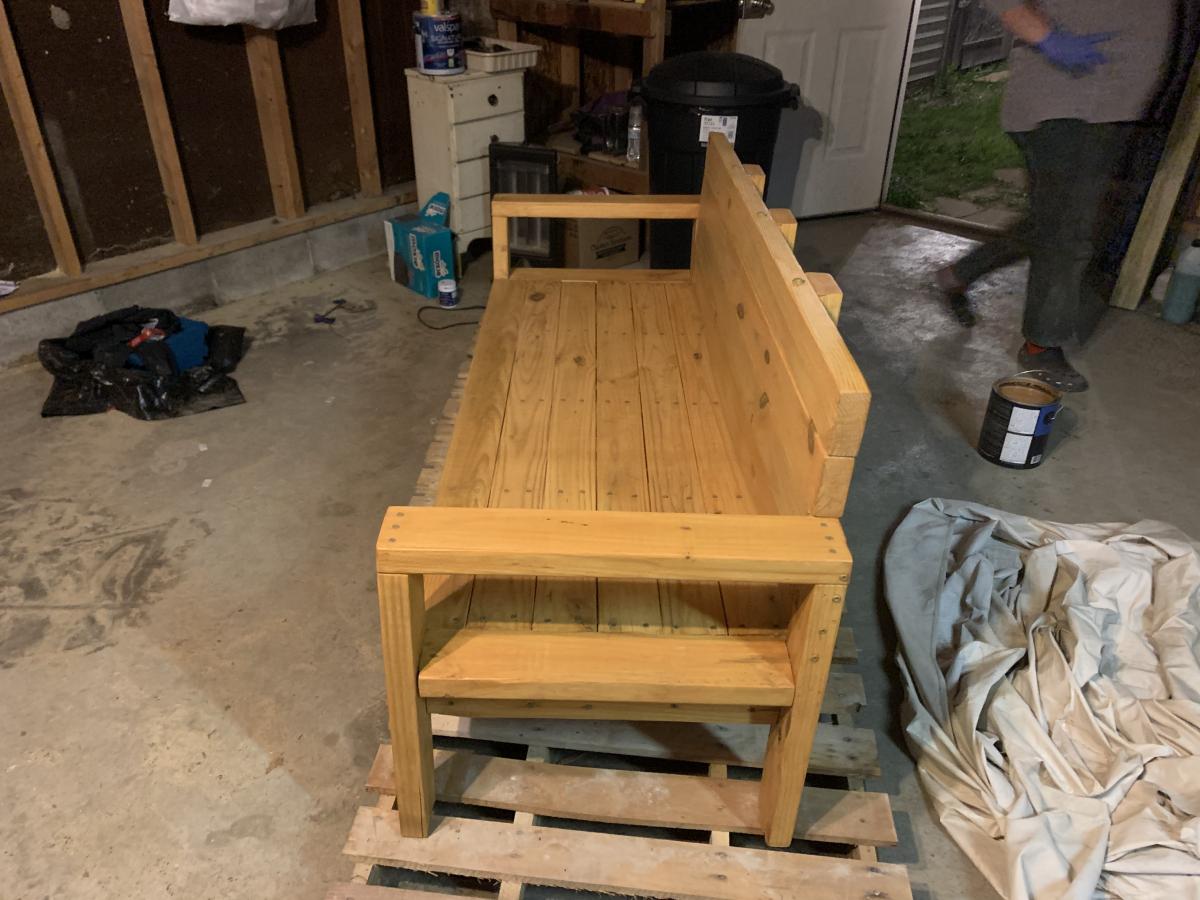
Corona Coffee Table From Cedar Posts Hand Turned
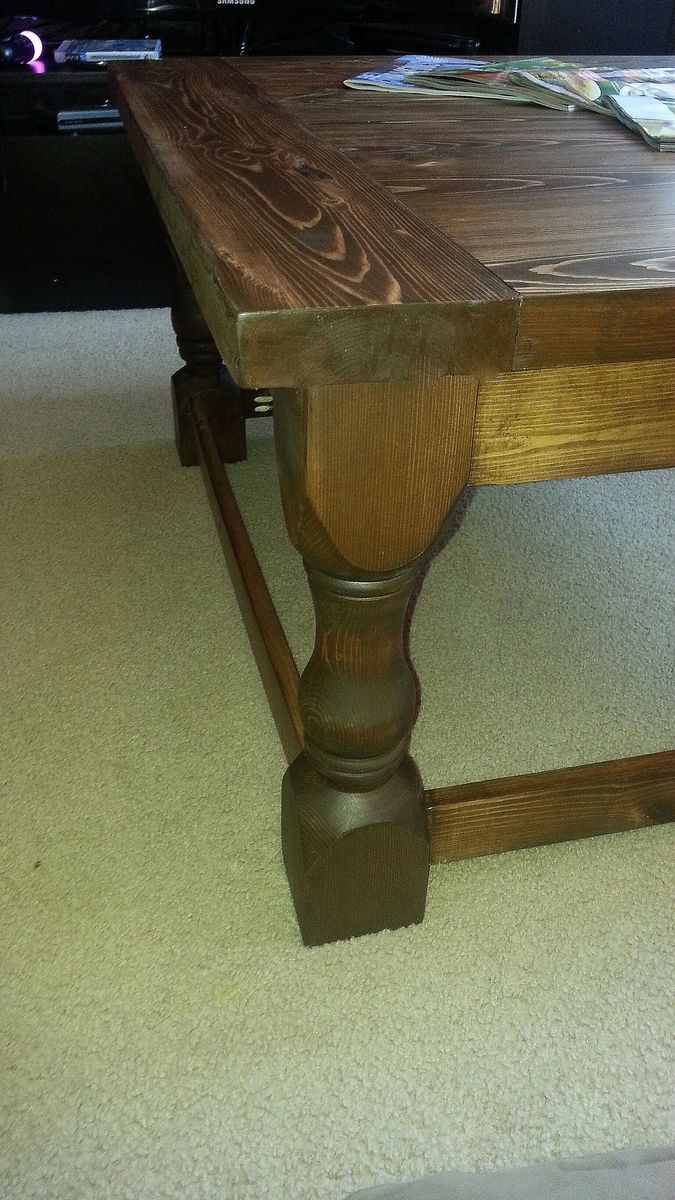
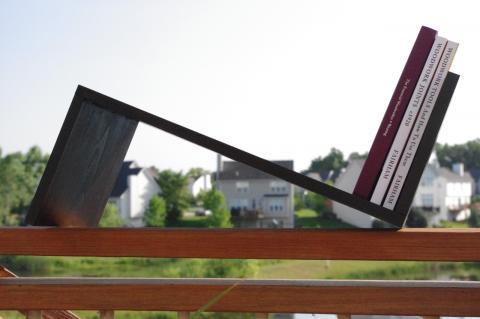
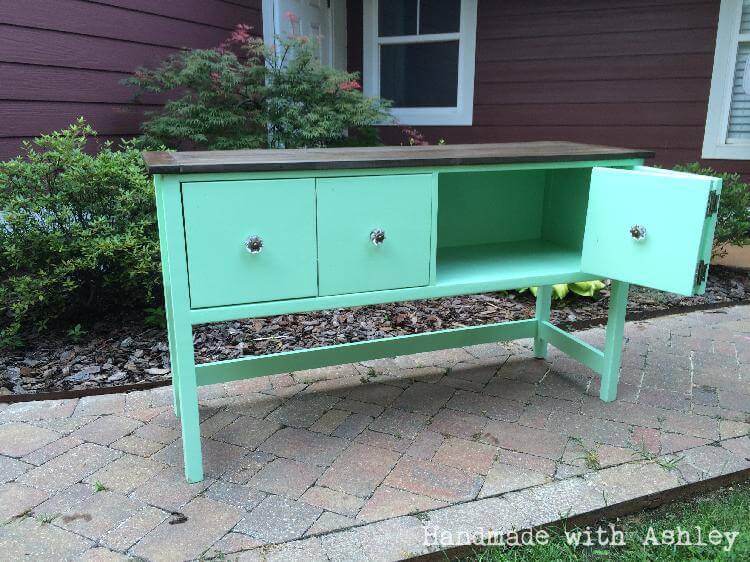
-This is a gorgeous table and I am very happy with how it turned out. I could not possibly pay for the turned legs at $40 each! Even if I did, it would be worth it, as this is a piece of furniture that will last several lifetimes.
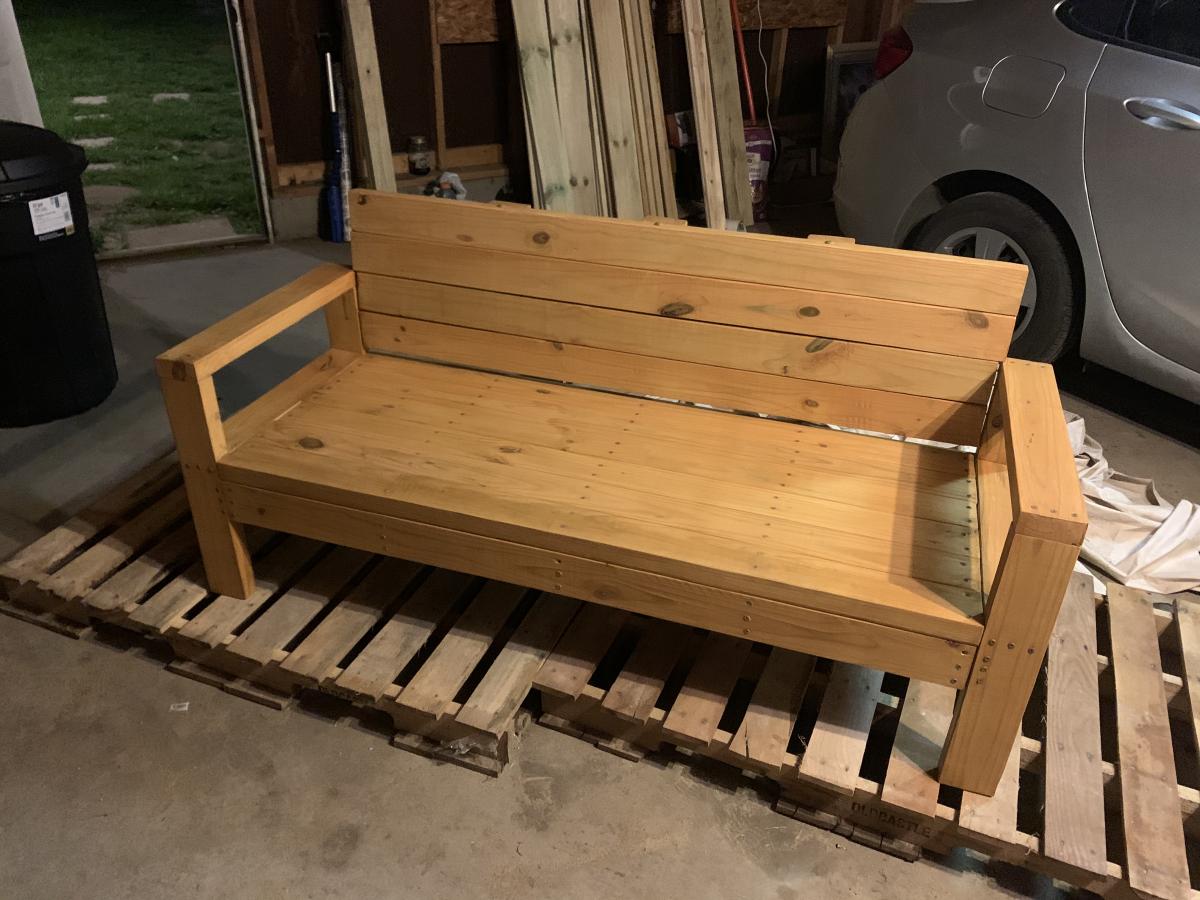
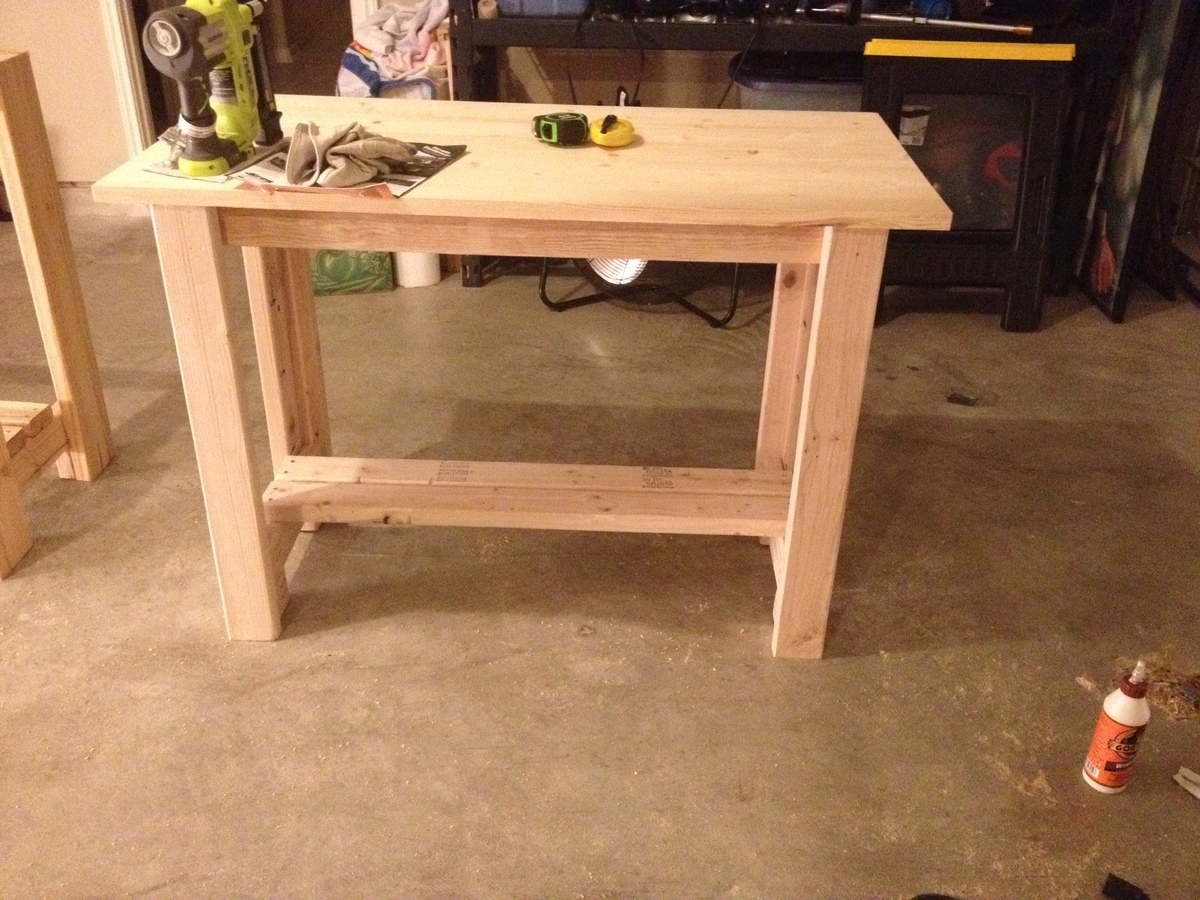
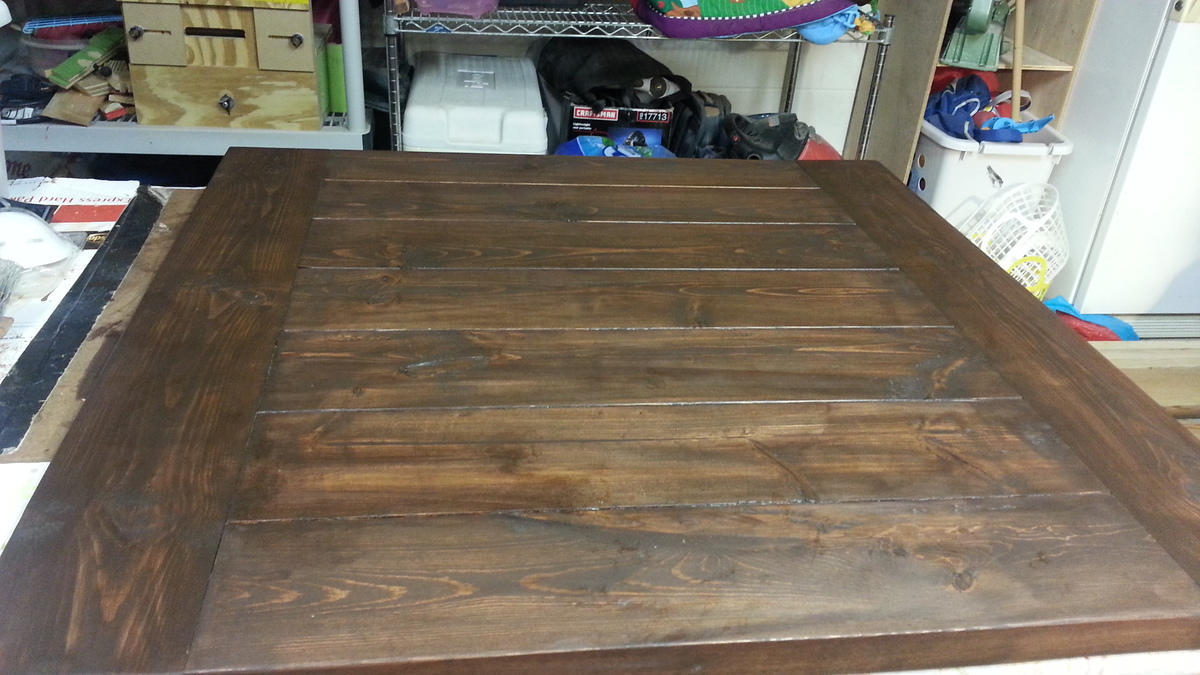
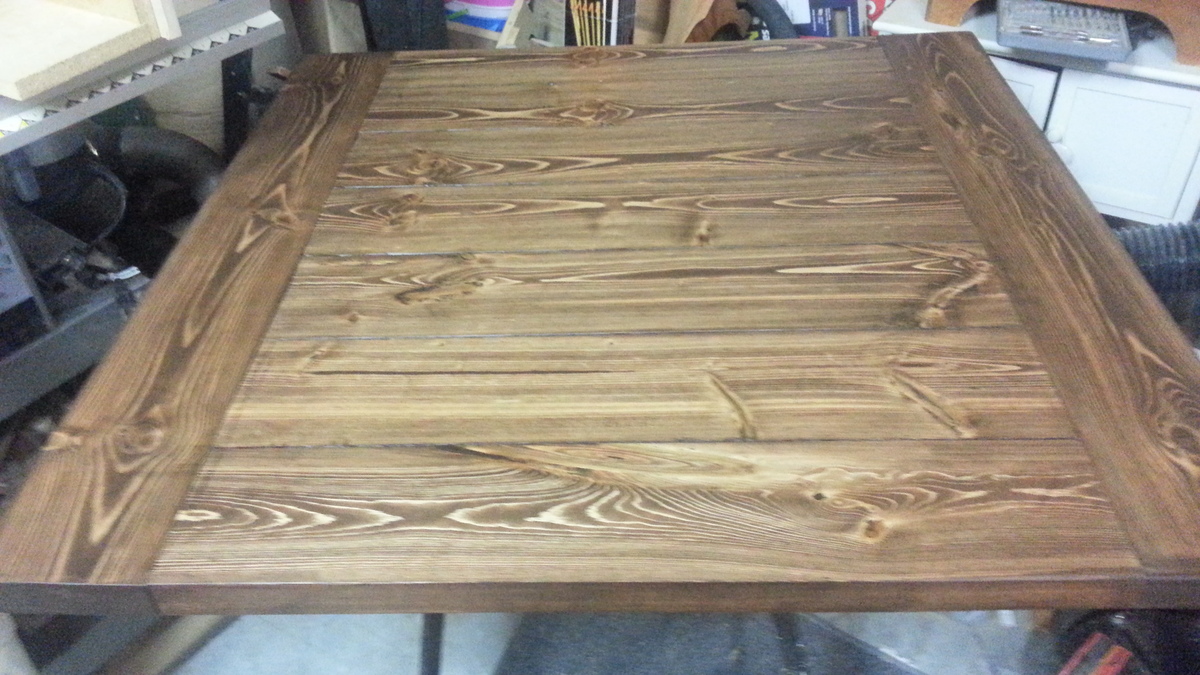
-I used very rough 2x6s for the project, so I had to do a lot of work to get them square and smooth
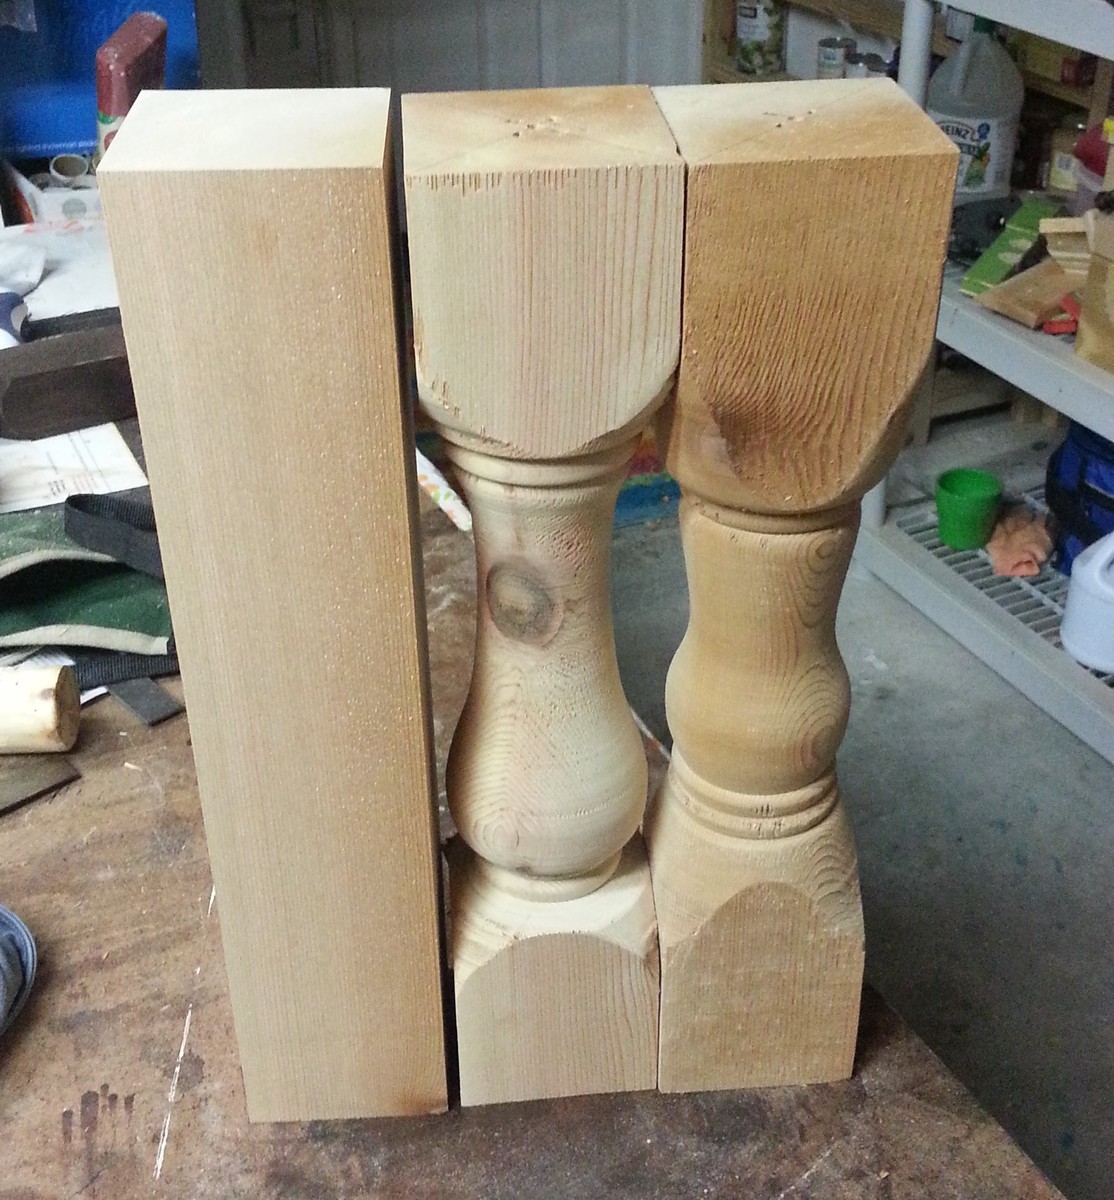
-I did not purchase the legs, I purchased a 8 ft piece of the best cedar Home Depot had, which actual dimensions are only 3.5x3.5, so the legs are not quite as chunky as I would have liked.
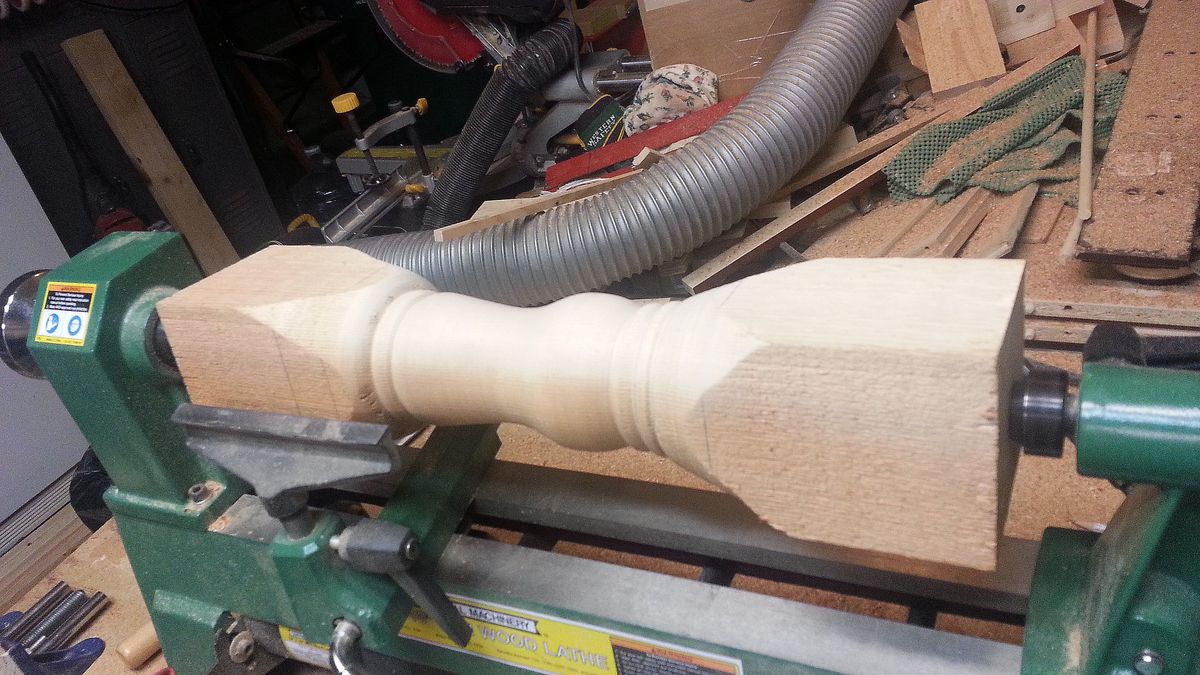
-I turned the 18" legs on a brand new mini-lathe I purchased from Harbor Freight, $150 after coupon. For the price of the legs, I chose to buy the machine and make them myself!
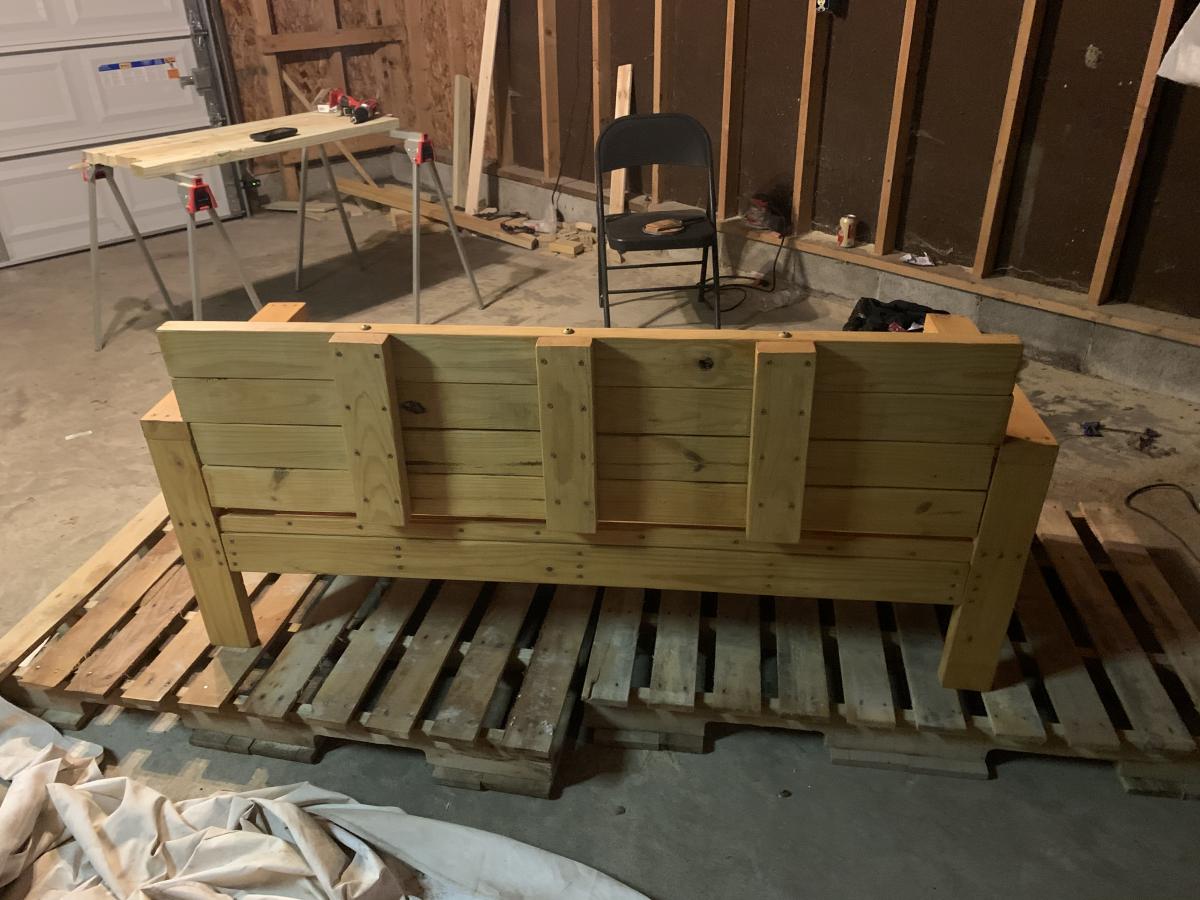
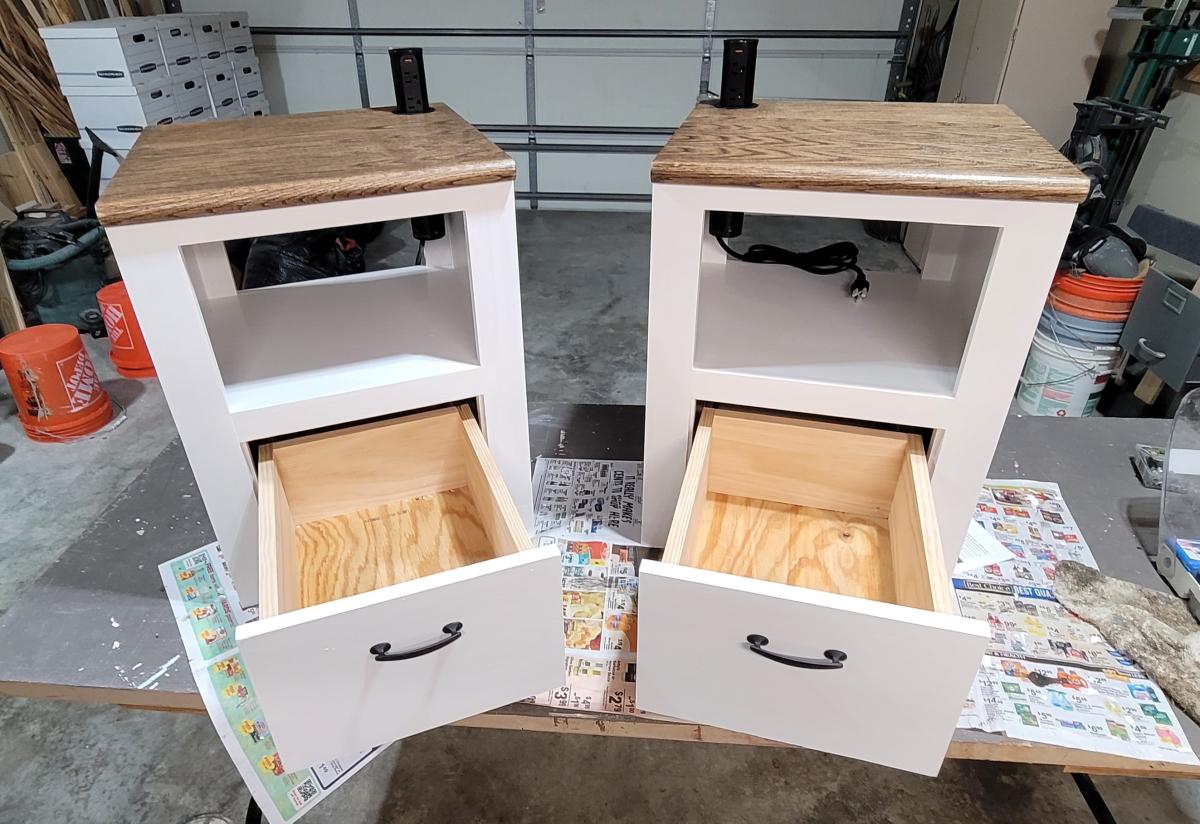
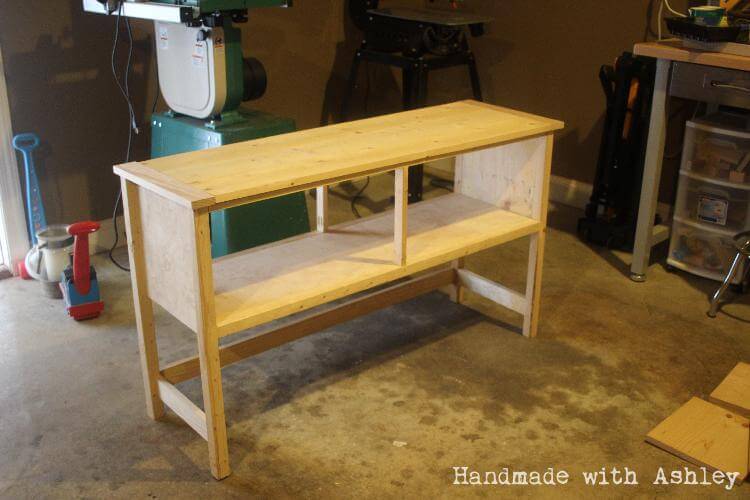
-I also used 1x4s for the lower shelf rather than a sheet of plywood, I felt the smooth bottom did not match the planked top. (The bottom is not done yet)
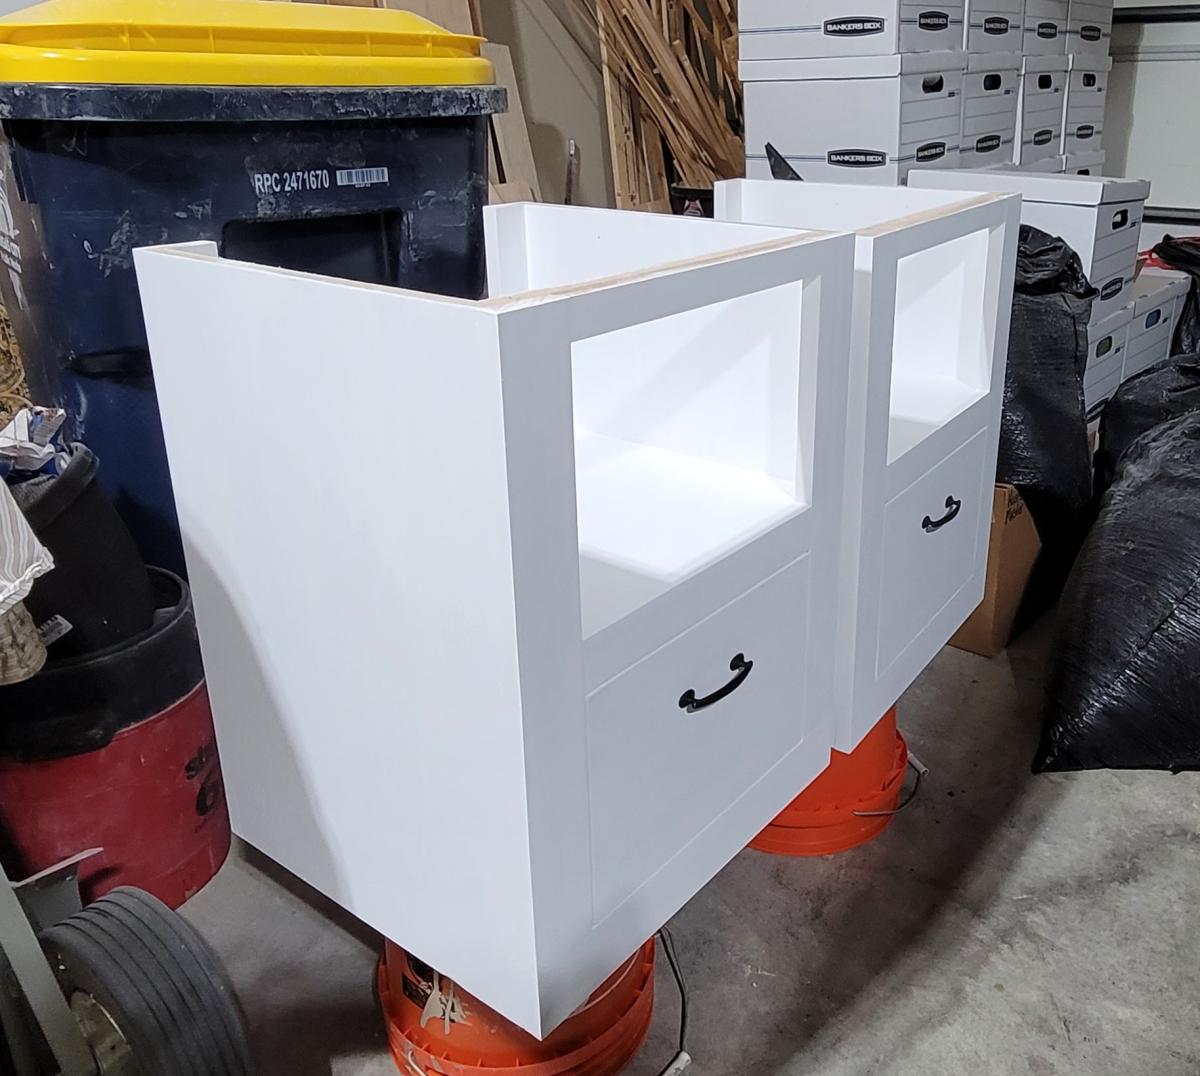
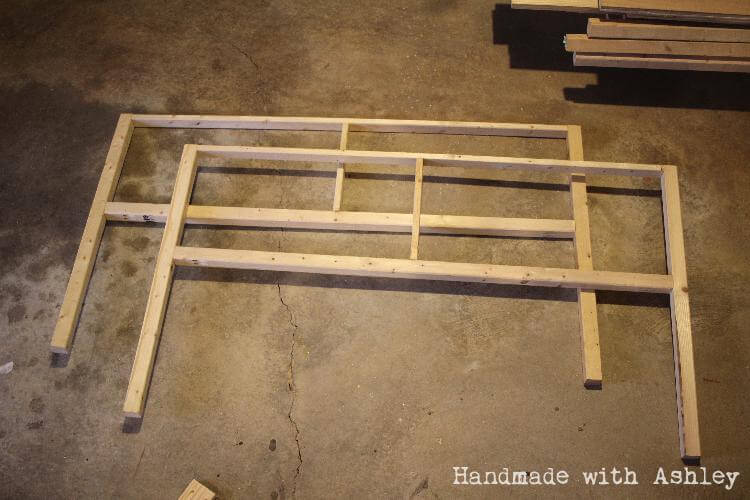
-The assembly was very straight forward and easy
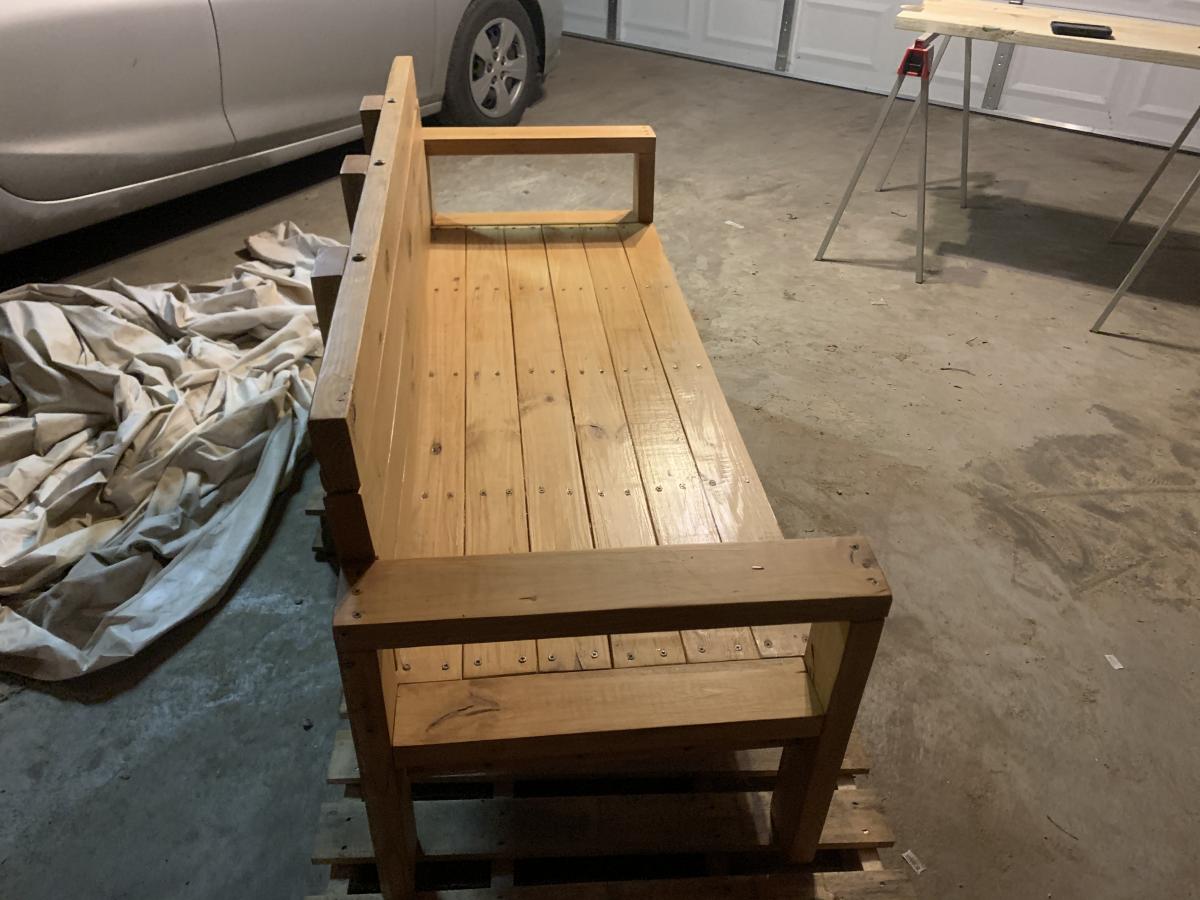
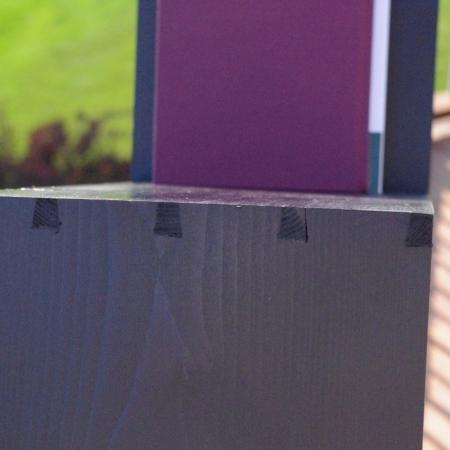
-This is the first project I made it a point to stain completely PRIOR to assembly! It turned out so much better, I also glued and screwed all joints with my Kreg Jig.
It's quite a massive heavy table that will last generations, my children dance, climb, sit etc all over it and its been in use about a month now. Two coats of the poly have held up very nicely so far, and the matte finish does NOT show dirt or fingerprints, where a glossy finish would!

***Minwax pre-stain conditioner.
***Varathane ULTIMATE POLYURETHANE WITH SOFT TOUCH
-Very strong word of caution, as a previous builder mentioned this can get very dark quick, that's ok if that's the look you are after. I actually did that and then resanded and hand planed back to nearly plane pine and re-sanded and re-stained.
-
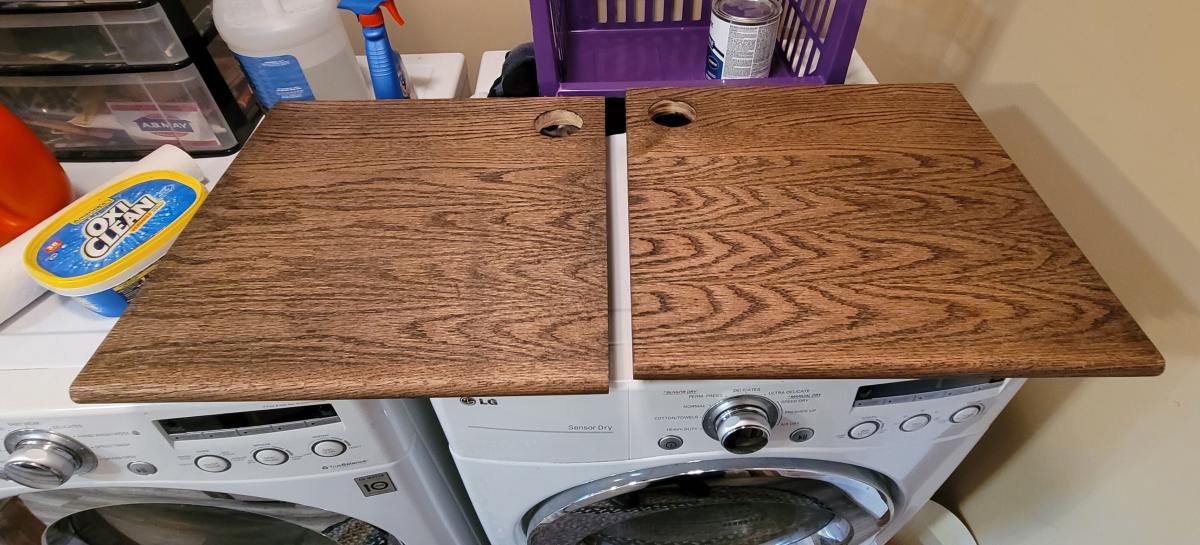
Step sand from 120, 180, 220, 320 (optional). Sand entire surface evenly with each grit sandpaper, this will leave a baby's butt smooth surface! This also closes the pores in the wood so they don't soak up as much stain!
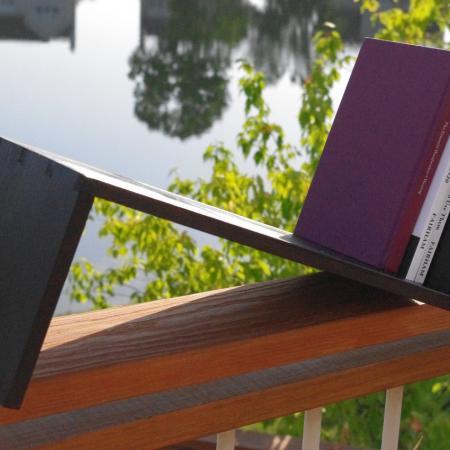
-I usually don't use the pre-conditioner but since this was my second attempt I did not want too much color, I like the natural wood grain to show through. And beside dark is not what Shanty2Chic had going anyway.
-Dont let it sit more than 5 minutes! I have found this stain nearly applies best like a rubbing compound, like waxing a car, in a circular motion at first and then with the grain as it dries.
-The polyurethane dries VERY quickly also and be sure to go in the direction of the grain
http://www.homedepot.com/p/Varathane-1-Qt-Matte-Soft-Touch-Polyurethane-266233/203331997