My Mudroom Lockers
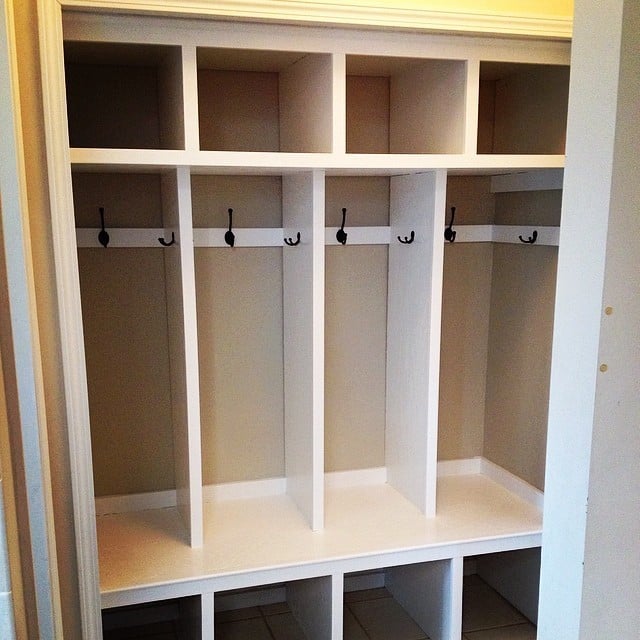
Turned an entryway closet into these lockers for my kids. I used the basic ideas in Ana's Smiling Mudroom for my plans. Lockers are just inside the entrance from the garage.

Turned an entryway closet into these lockers for my kids. I used the basic ideas in Ana's Smiling Mudroom for my plans. Lockers are just inside the entrance from the garage.
Hello,
I have a PDF with material, cut list, and assembly steps for anyone interested. I also used Type 2 wood glue and all screws with this build, substituting for nails in the original plan!
Please email me at [email protected] with any questions!
Thanks
Matt
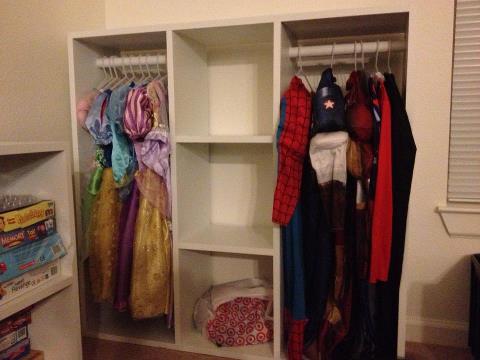
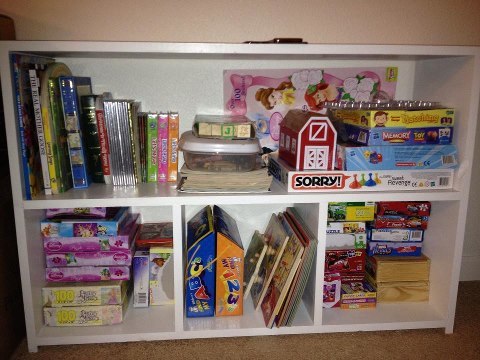
I was told about the site from my neighbor. Little did I know I would find myself wanting to build everything on this site. So I started with the 6 cube bookshelf leaving out the dividers on top to allow the kids to use it as a bookshelf. I also wanted them to have a place to store their dress up clothes when they weren't in them. So, I turned the 6 cube bookshelf on its side and added a couple of inches to allow for small dress up outfits. I am going to put the storage bins in the squares once I find some.

Thank you so much for the plans Anna. My two year old absolutely loved this Christmas present. I used drains for the stove tops and added a wire rack to the stove and tiled the backsplash.
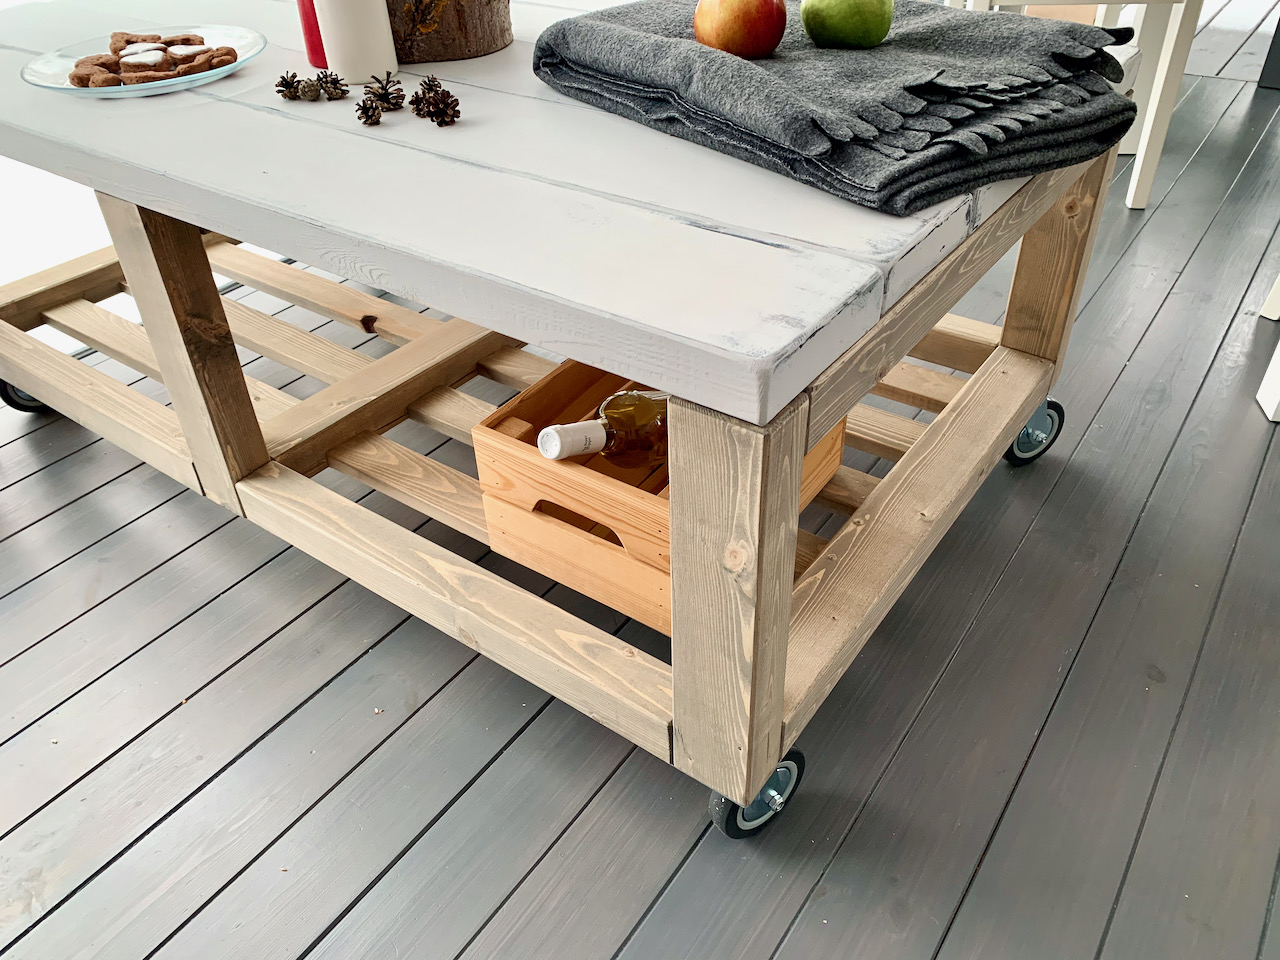
Super table i like it so much. Cant wait for summer to use it outside.
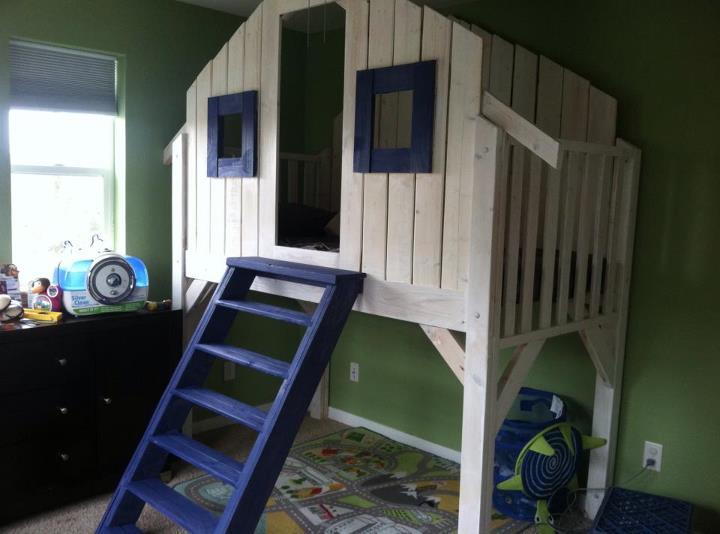
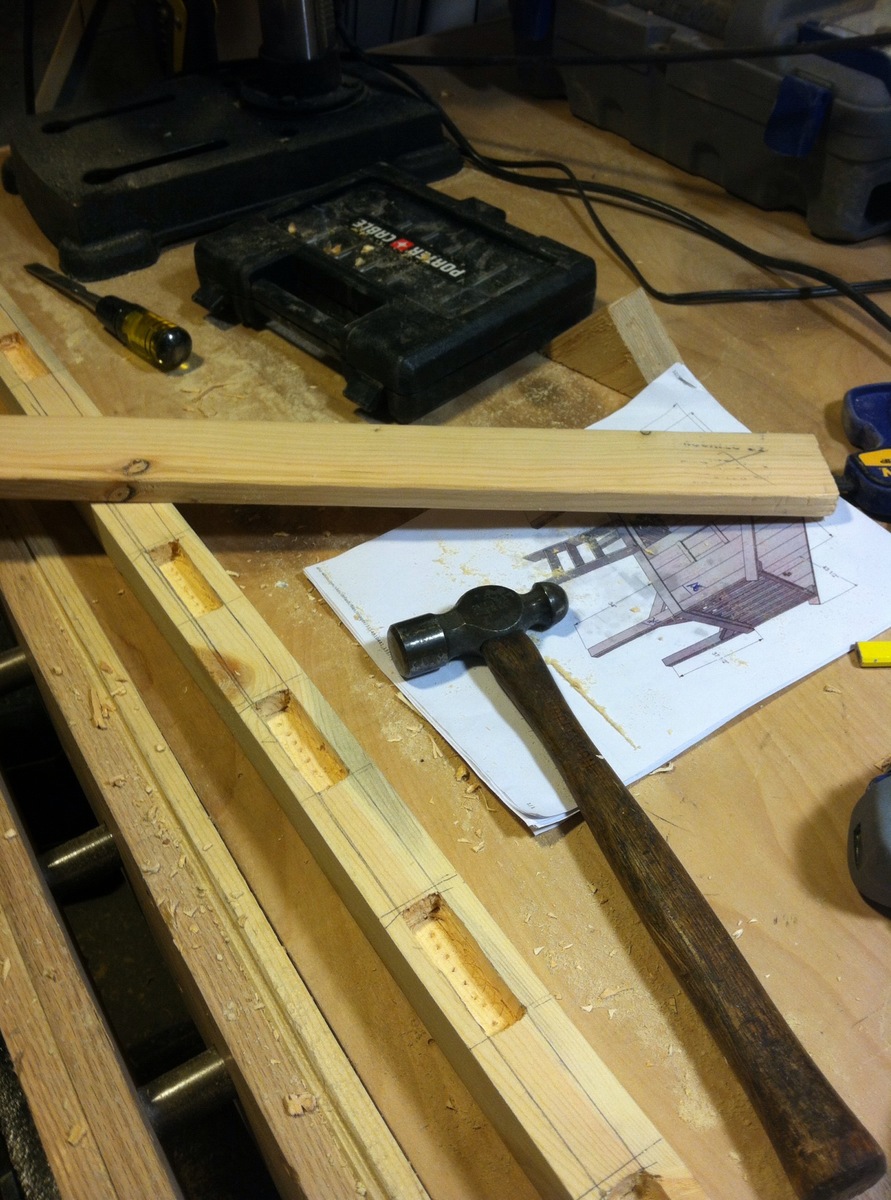
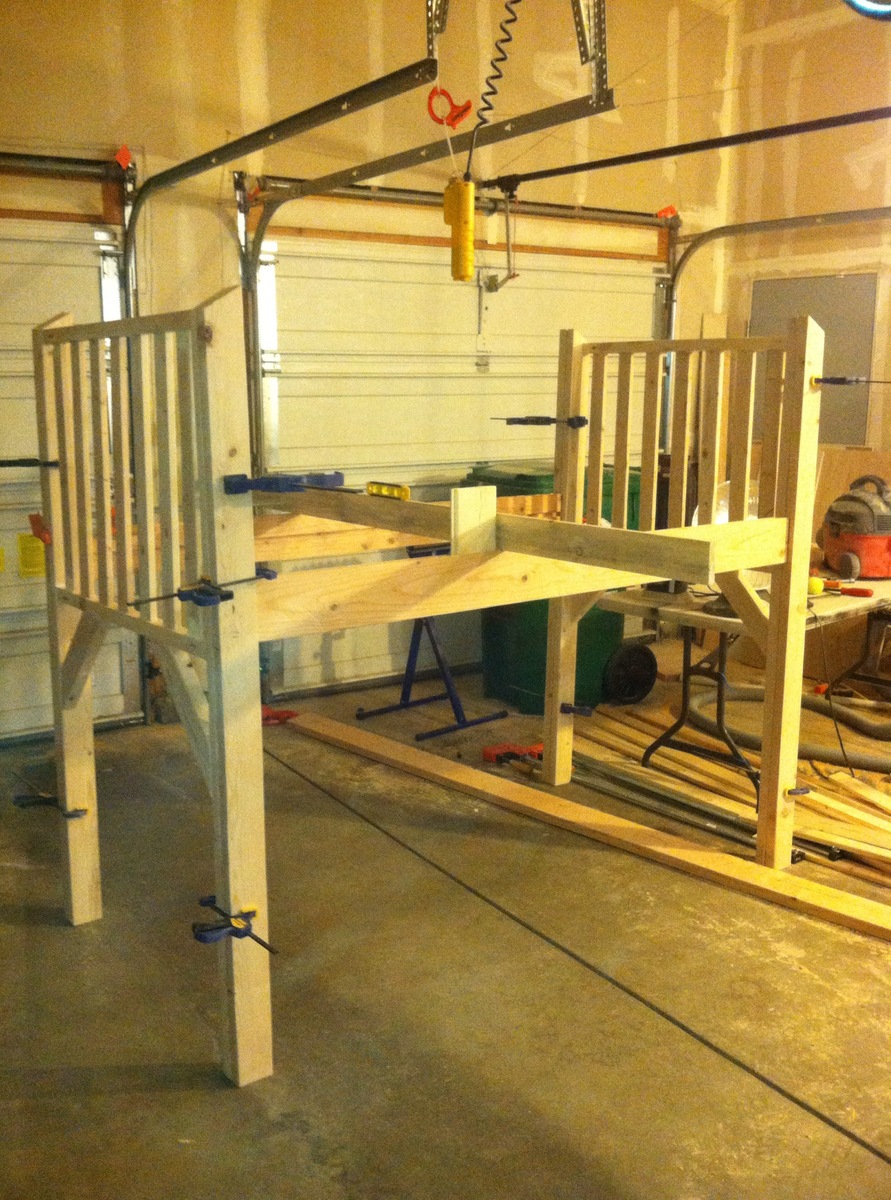
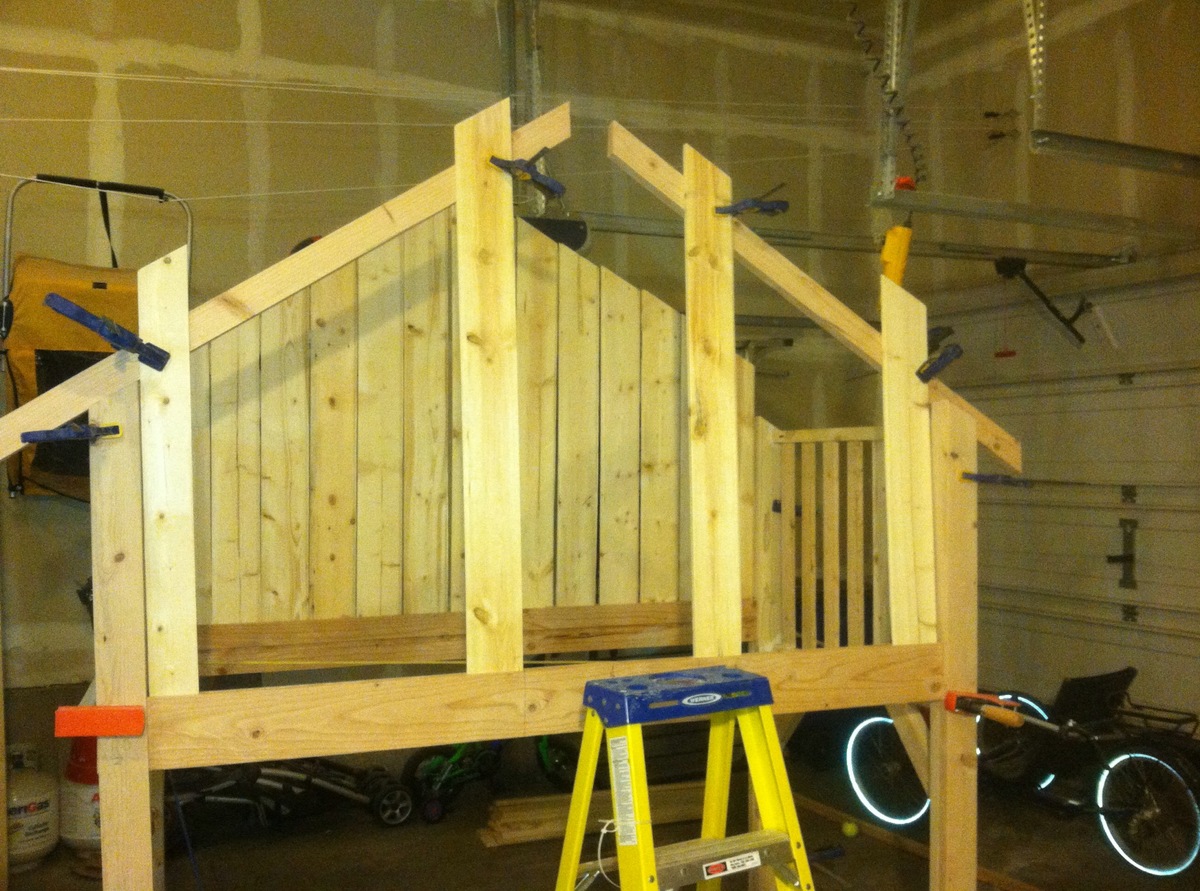
This build has been (thus far) my biggest and most ambitious yet. This is not only for the size of the build but the techniques I used. While I did use pocket holes in many spots I changed the design by using two stretchers to span between the sides and provide support for both side walls and bed slats. To reduce the number of pocket holes the original plan called for I used my stacked dado kit and created to dado cuts in the stretchers to support the bed slats and side walls.
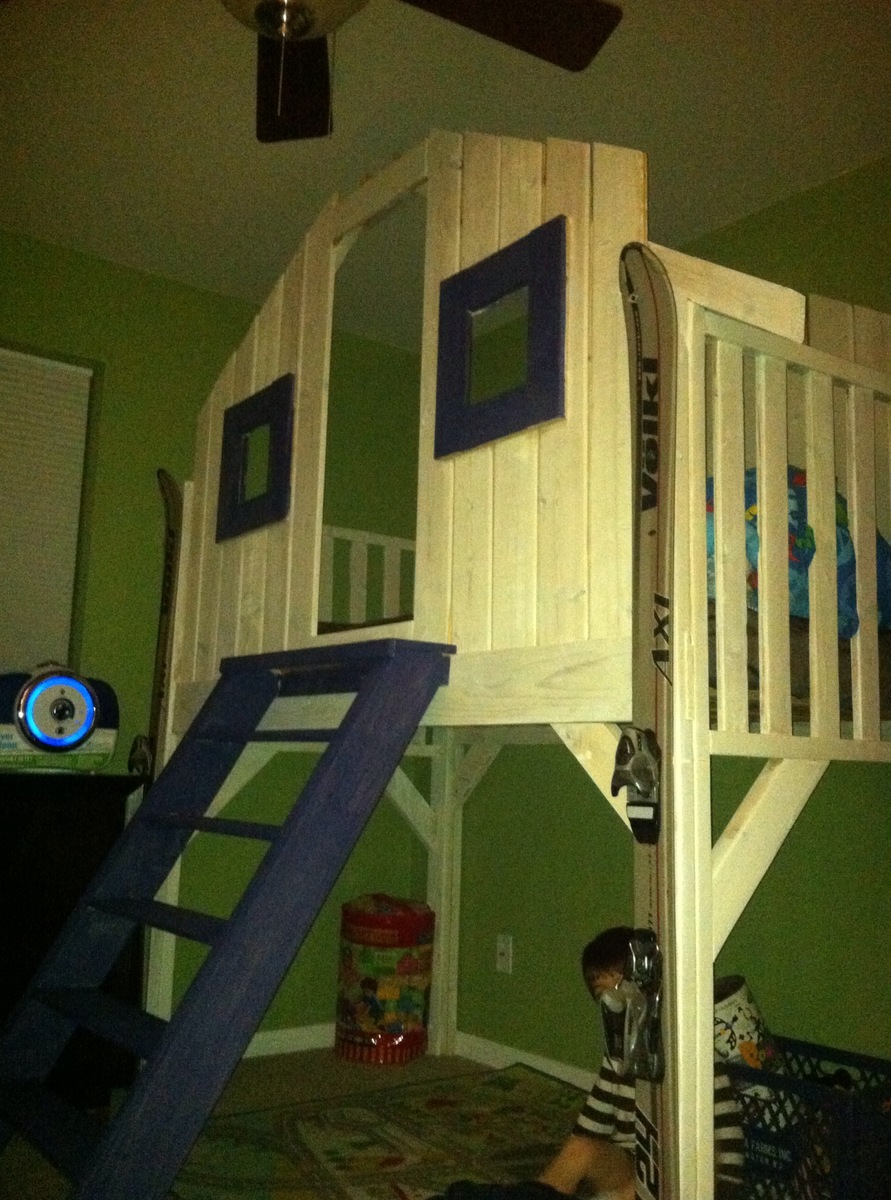
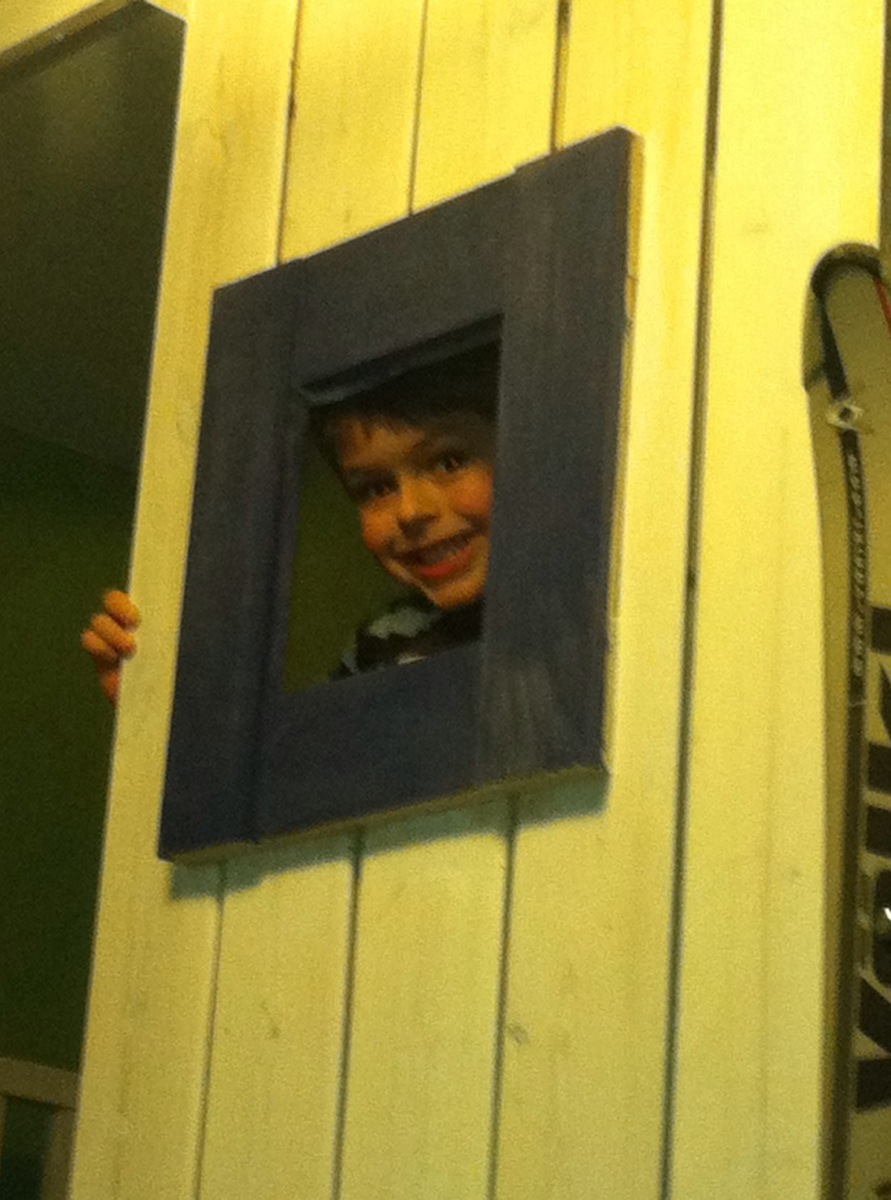
But I can't say enough good things about Ana and this site. The original plans where a inspiration to build this bed and continue to inspire me to build other projects around the house. All of our friends who have seen pictures of our Sons Ski Patrol Shack bed have raved about it and I can even see a little pride in my sons face when other kids are ranting about how "cool" his bed is.
So while I didn't follow the plans exactly the end result can't be disputed; its an awesome feeling to give your child such a great bed! My son came up to me and hugged me and said he loved his bed. So from a plan I downloaded to that moment of my son telling me he loved it was all worth the effort!! Thank you Ana for posting this and all the other plans. They are not just building plans to download they are happy memories waiting to be built!! Cheers from Colorado!
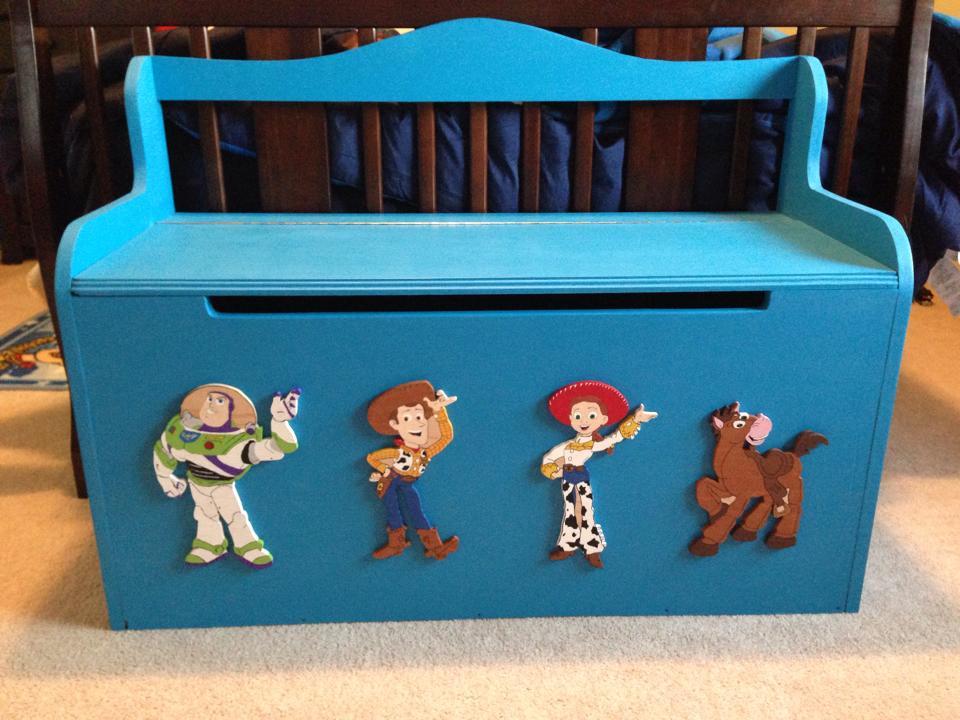
Just a quick box I put together for my son's toys. Cut the front part out to prevent finger bangs, added a routered edge to the front lid and hand cut and painted the charaters for the front. Nothing too complex.
Built the sewing table for my wife Penney. It has a work surface that is 36" x 60" and is 32" high.
Used 3/4" Baltic Birch and used premium pine to add edge banding. Used 1/4" plywood for a back to the sewing table to add strength and I think helps the look of the table. My Kreg Jig was used everywhere possible when assembling the case. Used full length piano hinges with #6 x 5/8" screws to attach the leaves to the table. Made the doors using premium pine with a plywood panel. For the legs, I used folding, locking leg brackets from Lee Valley to attach the 1-1/2" square poplar legs. The casters are 3" double-locking from Woodcraft.
Went a little over budget, but it turned out very nice and she loves it.
Thank you for the easy to follow plans.
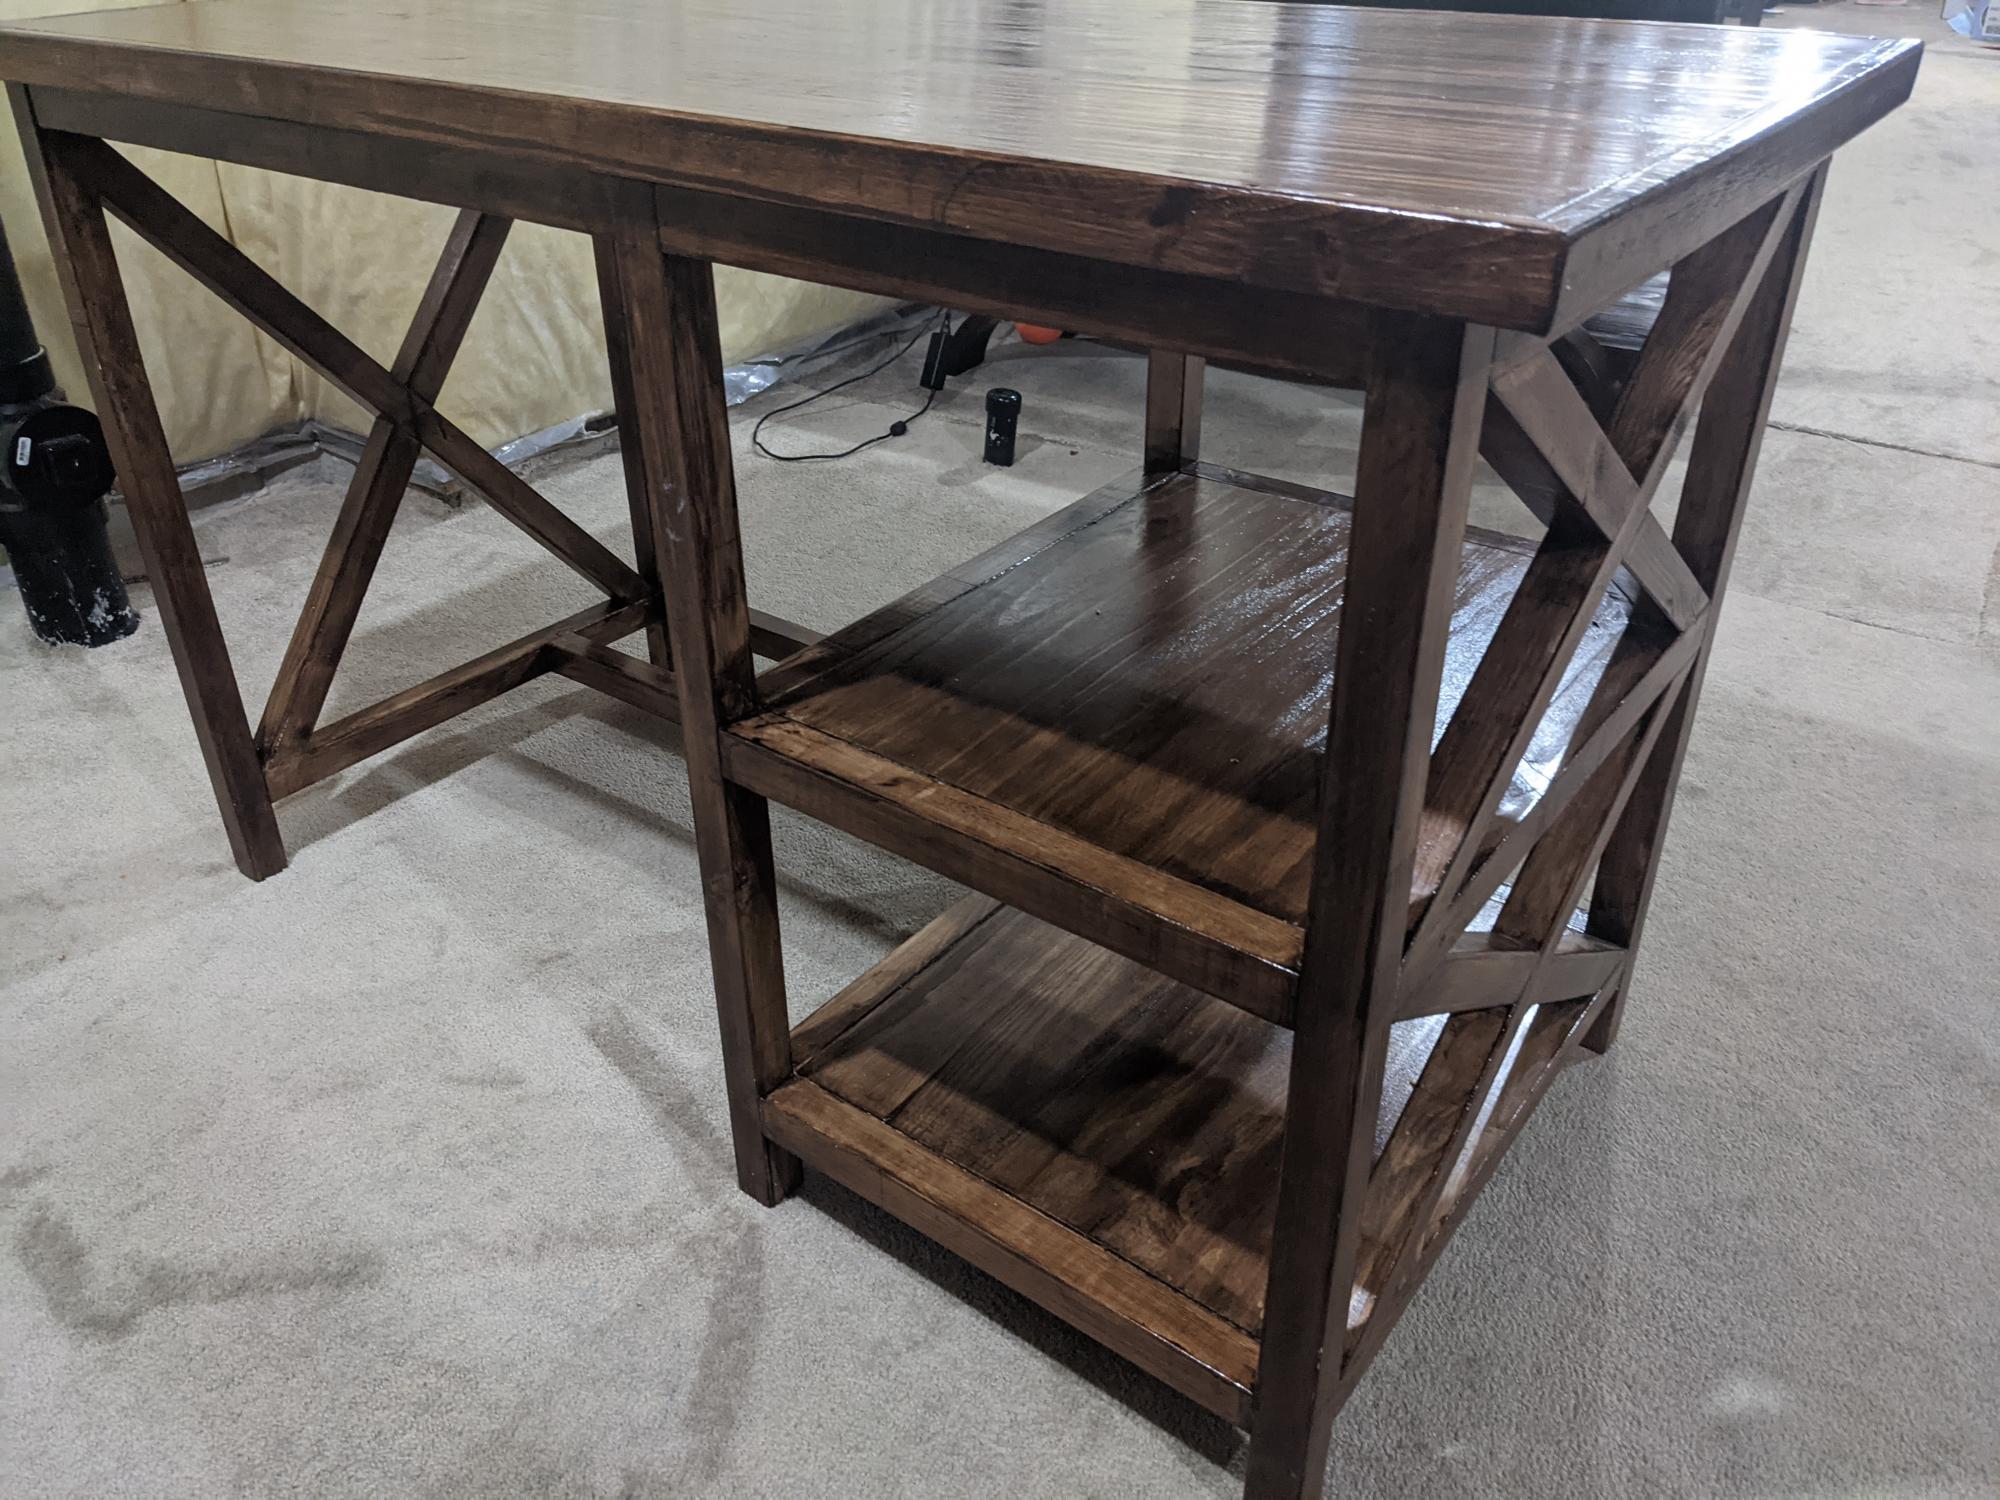
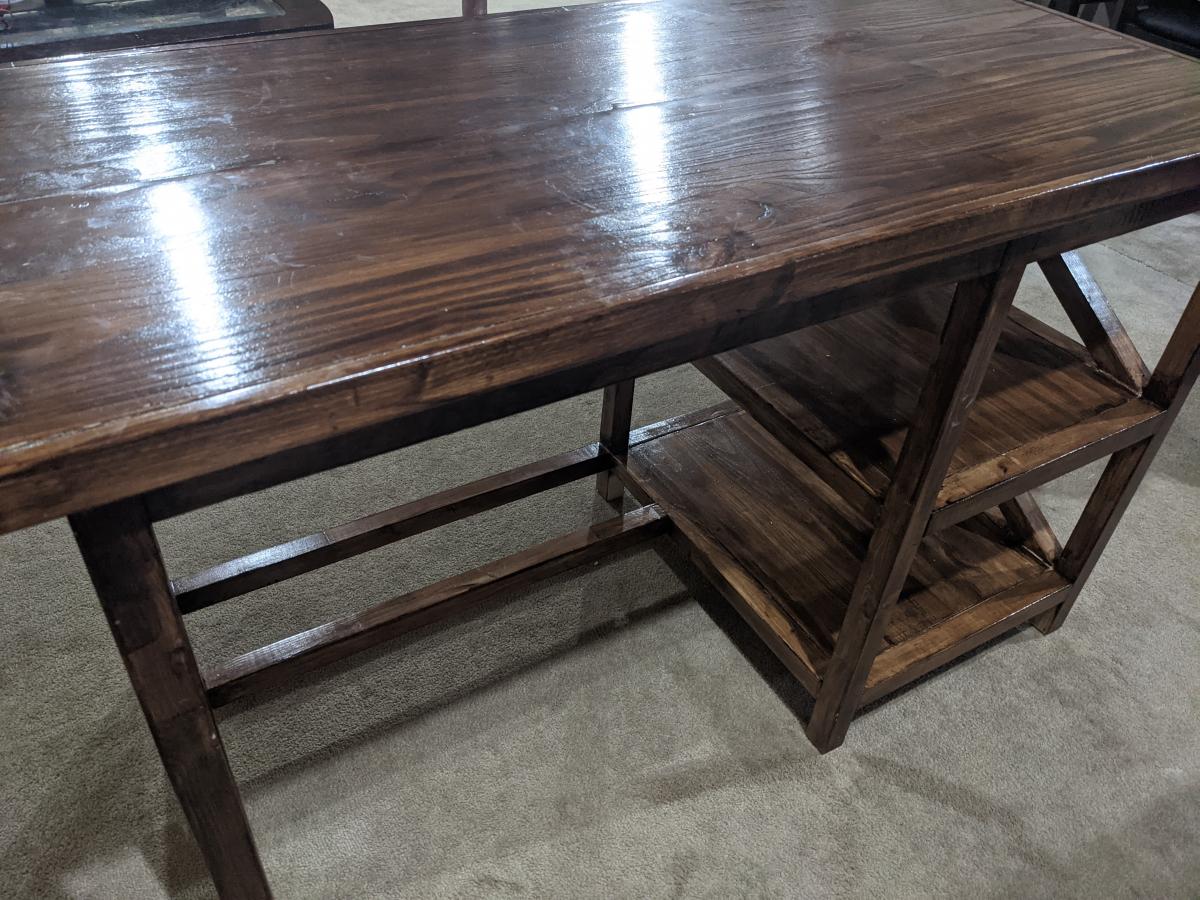
Made this farmhouse desk from the plans. It came out very well.
This is my first furniture build! I modified the Farmhouse Table mainly by removing the stretcher, so that someone could sit comfortably at the ends of the table. I used all pocket-hole construction, so the top is one piece, made out of alternating 2x8s and 2x10s. Overall size of this table was 78" long x 40" wide, to comfortably accommodate 8 people.
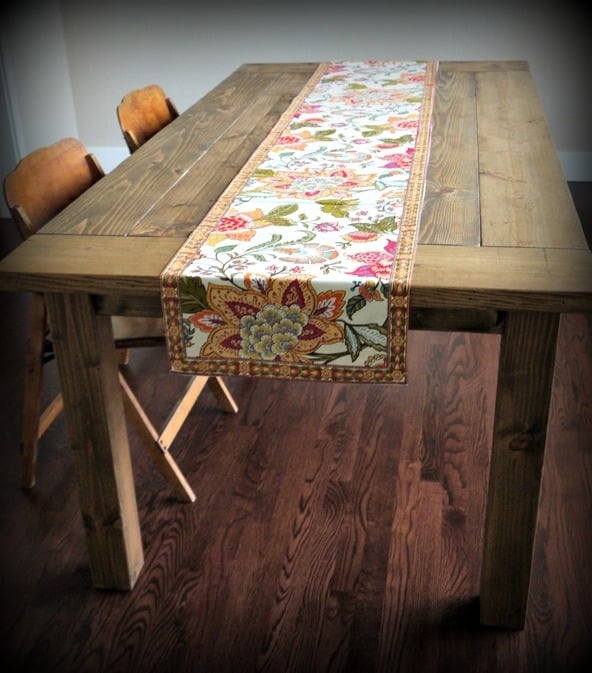
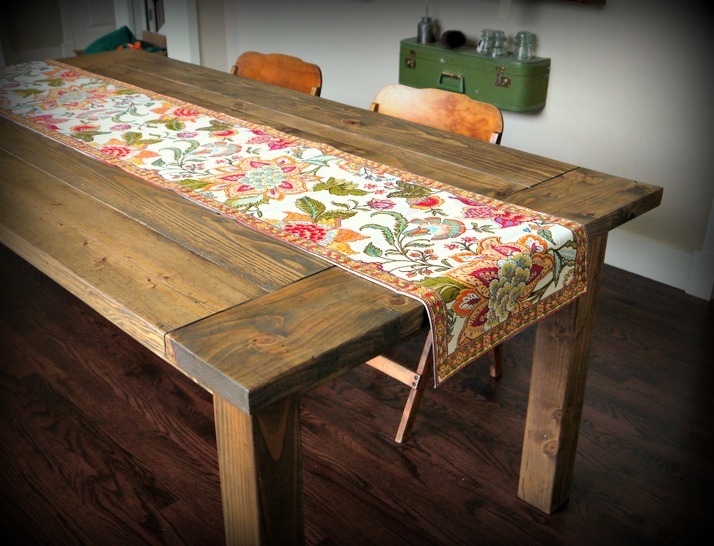
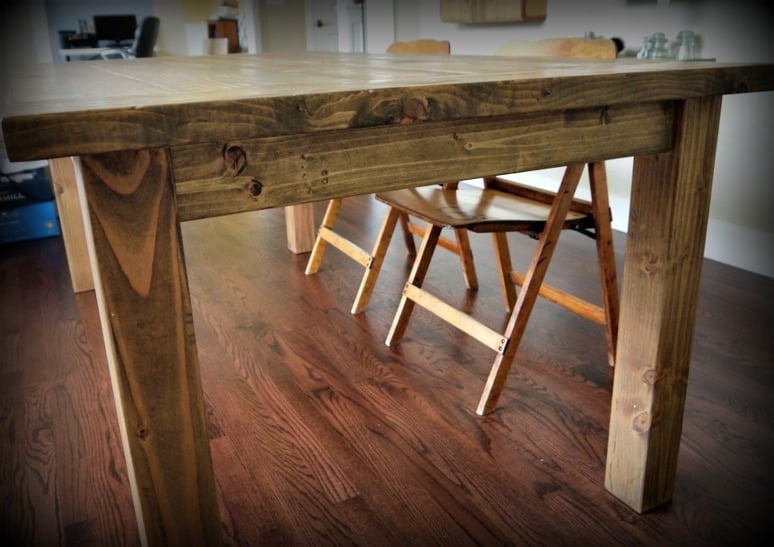
Sun, 02/24/2013 - 12:46
I like the changes you made! Where did you find the 4"x4" legs, or did you build them yourself?
Sun, 03/17/2013 - 10:04
Both Blue and Orange carry 4x4 pine boards. One 10' length will make all the legs.
Thu, 03/21/2013 - 17:46
I love this table! You did a wonderful job! Can you explain a little more about your modifications? Did you add any other support when you took away the stretcher? I want to make a table just like yours. I need to get rid of the stretcher too so that I can seat people on the ends.
In reply to This is exactly what I've been looking for! by smitty22
Tue, 07/02/2013 - 10:29
There are cross supports under the table top, to help support the top and keep the base square. I made them out of 2x2s. Email me at redhenhome AT gmail DOT com if you have any other questions--I don't see these comments in a timely fashion!

built these for my two daughters and their Newberry dolls. I built the parts and then they help assemble them to the final product. Great set of plans. Thanks so much for sharing them!
Fri, 01/02/2015 - 11:12
I love these! The beds came out wonderful and look super cute. :)
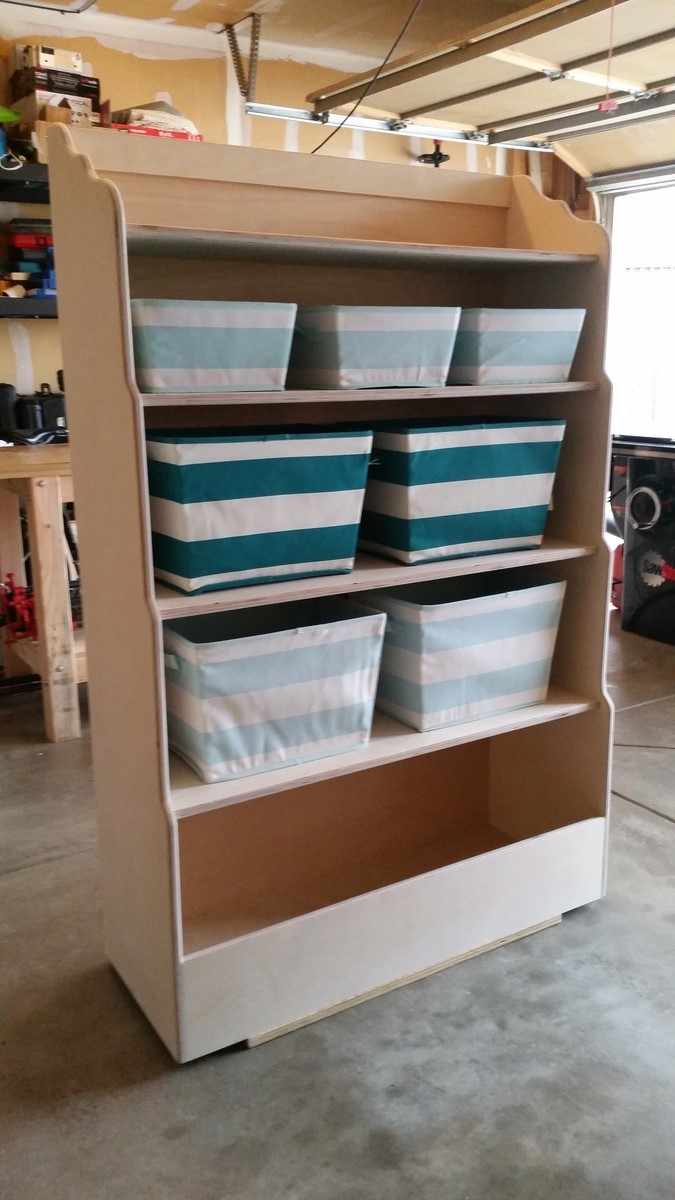
Similar to the Bankers Bookcase but I changed a few of the dimensions and style. I also dadoed the shelves.
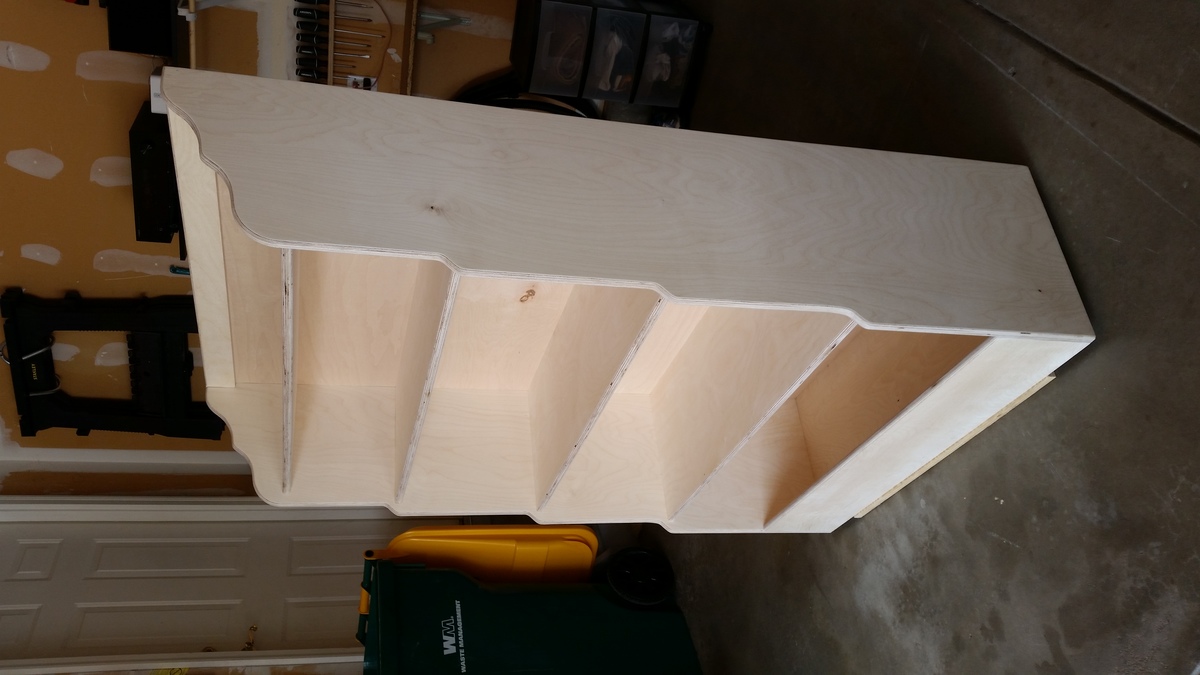

Other than struggling with the hinges a bit and sealing off the seams where the beadboard meets the center support beam in the back this was a successful and straightforward build
This was our second project from Ana's site. There were some bumps in the road (oh, the perils of getting warped 2 by 8 boards to line up perfectly side by side with the Kreg jig). All in all, this table isn't perfect, but it is ours and we love it.
The size of the table in the plans is quite perfect, I'd say. It is long, but fairly narrow. We can sit across from each other as a family of four and still feel cozy, but the table will seat ten if need be.
It is also very, very sturdy....which as a mother to two young boys I appreciate.
This was a 10-20 hour project for us, but we had two children under the age of 5 "helping" and are new to building furniture. I'm certain someone else could build the entire table in an afternoon.
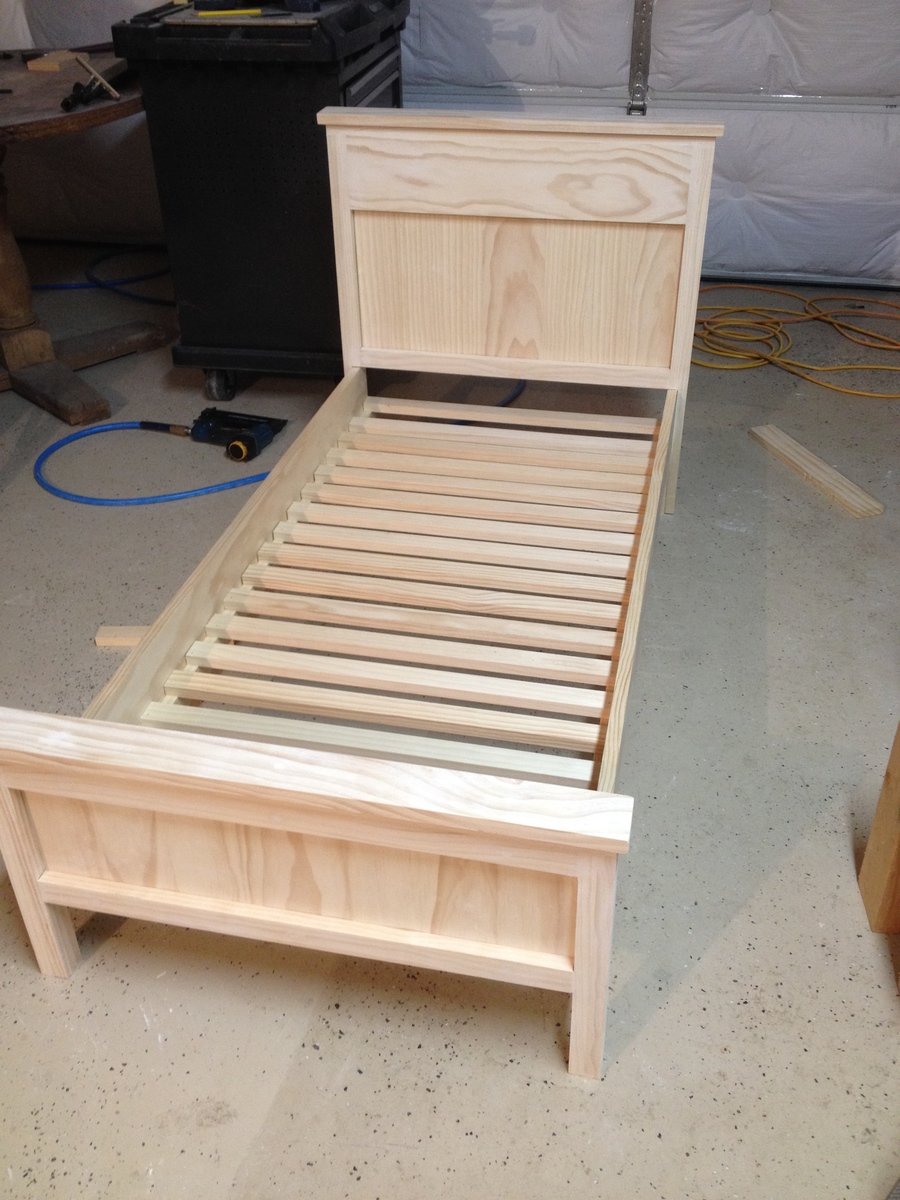
We saw the Farmhouse Toddler Bed on pintrest and fell in love with it! Our sons room is rustic so it was perfect. We printed out the plans and my husband said they were perfect and very easy to follow.
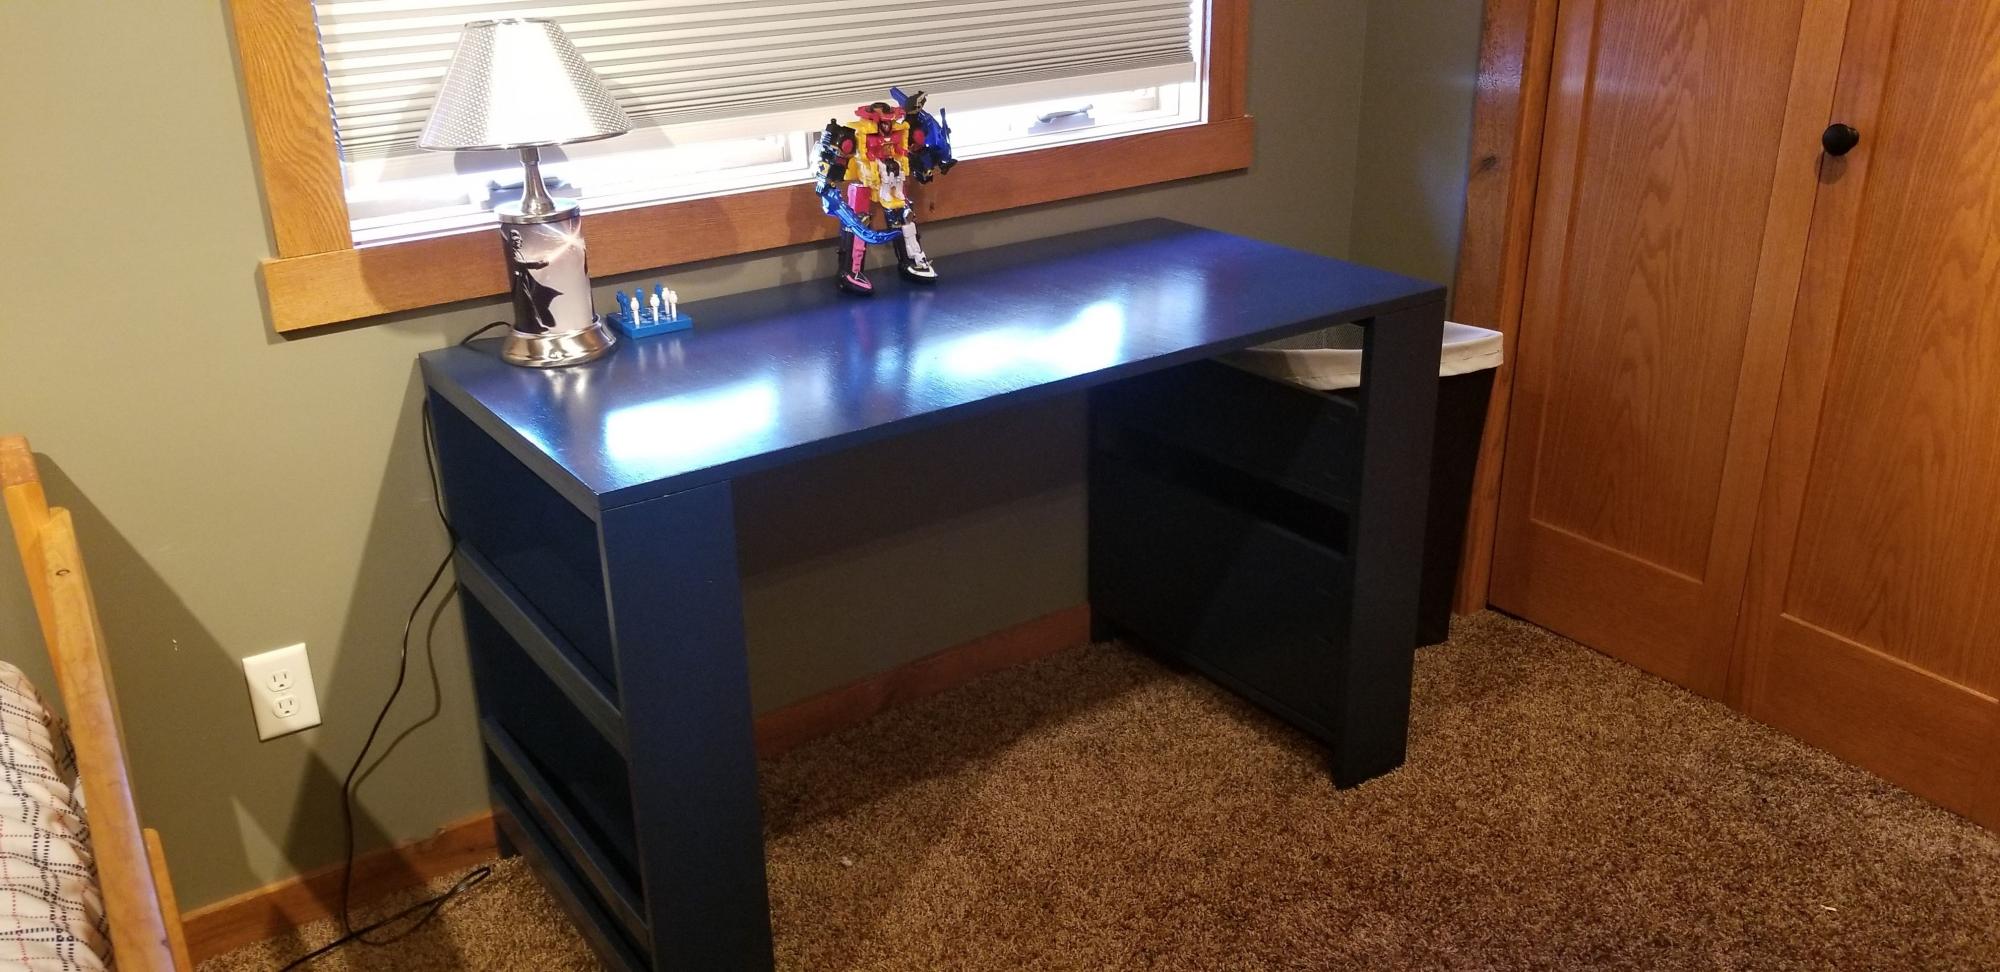
My son requested a desk for Christmas, this was an easy to make plan for a simple desk for a child.
This is my first time attempt at building a piece of furniture. There are definitely some mistakes but, think it still came out okay. Guess it is a learning experience.
I used two benches on each side attached the two with 2x4s and built a drawer on wheels for the middle
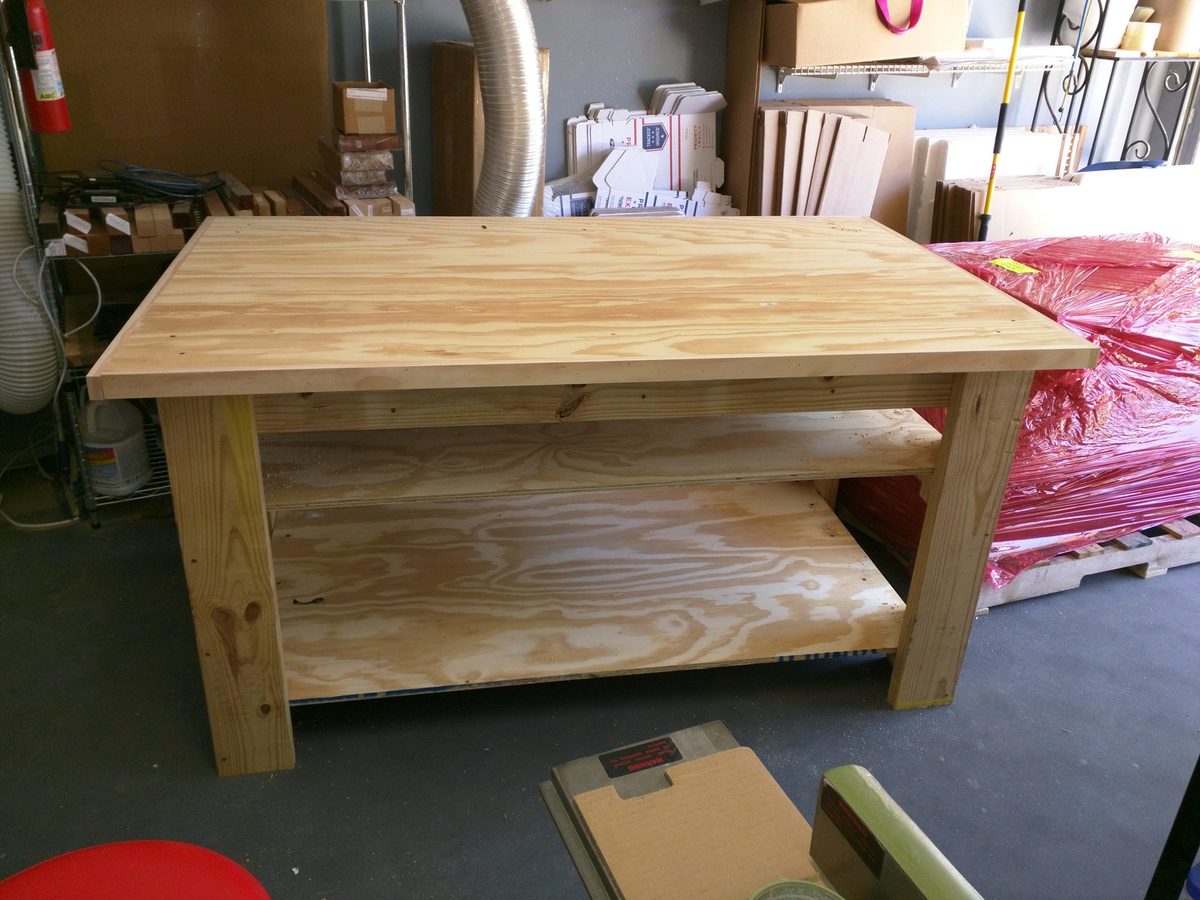
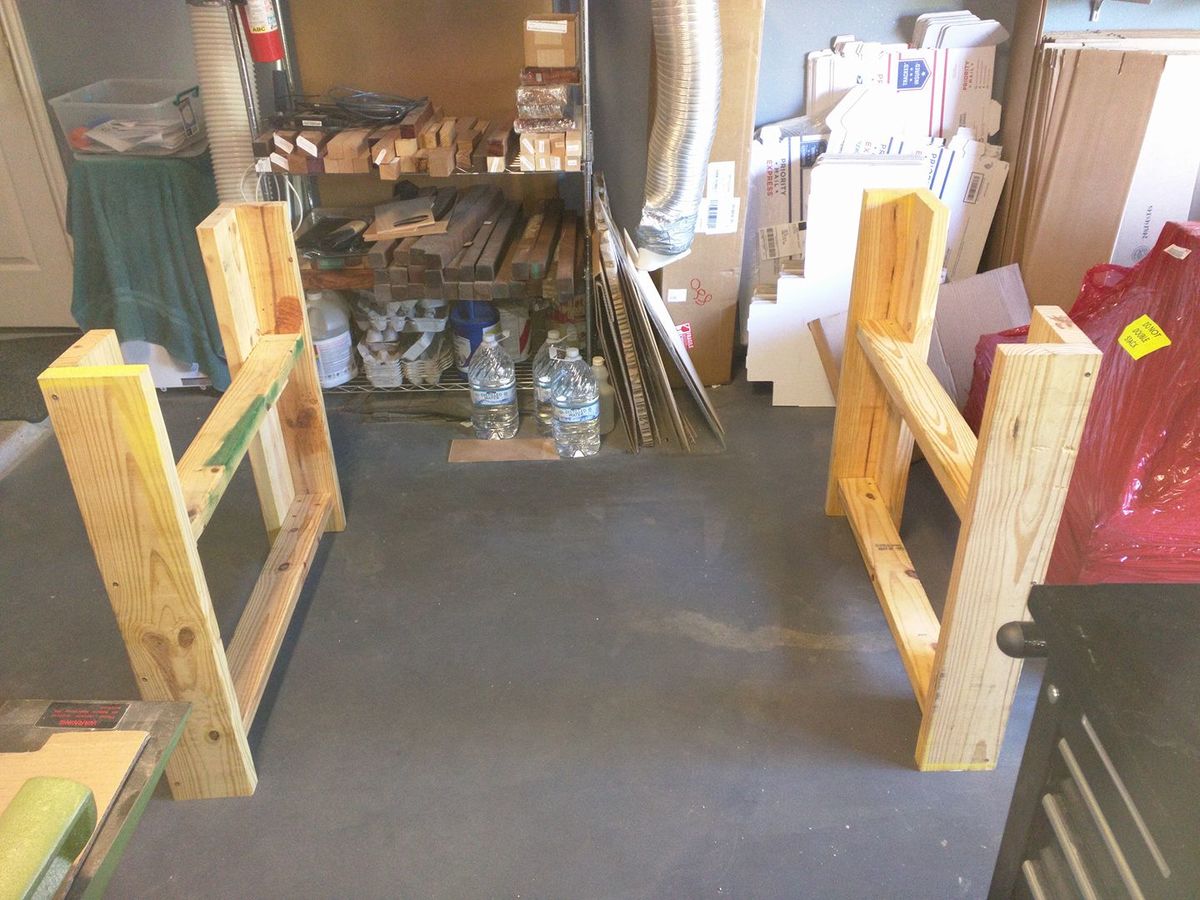
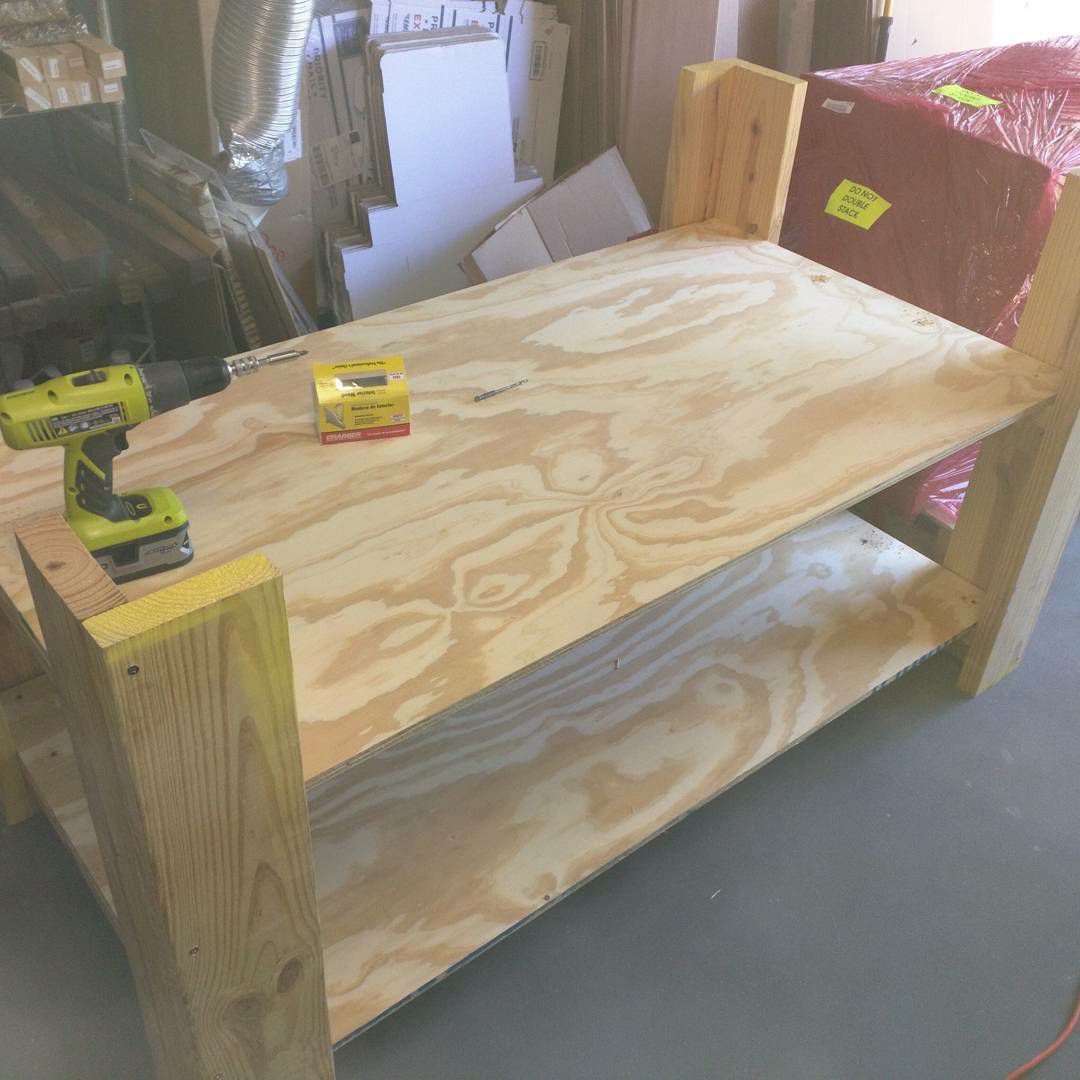
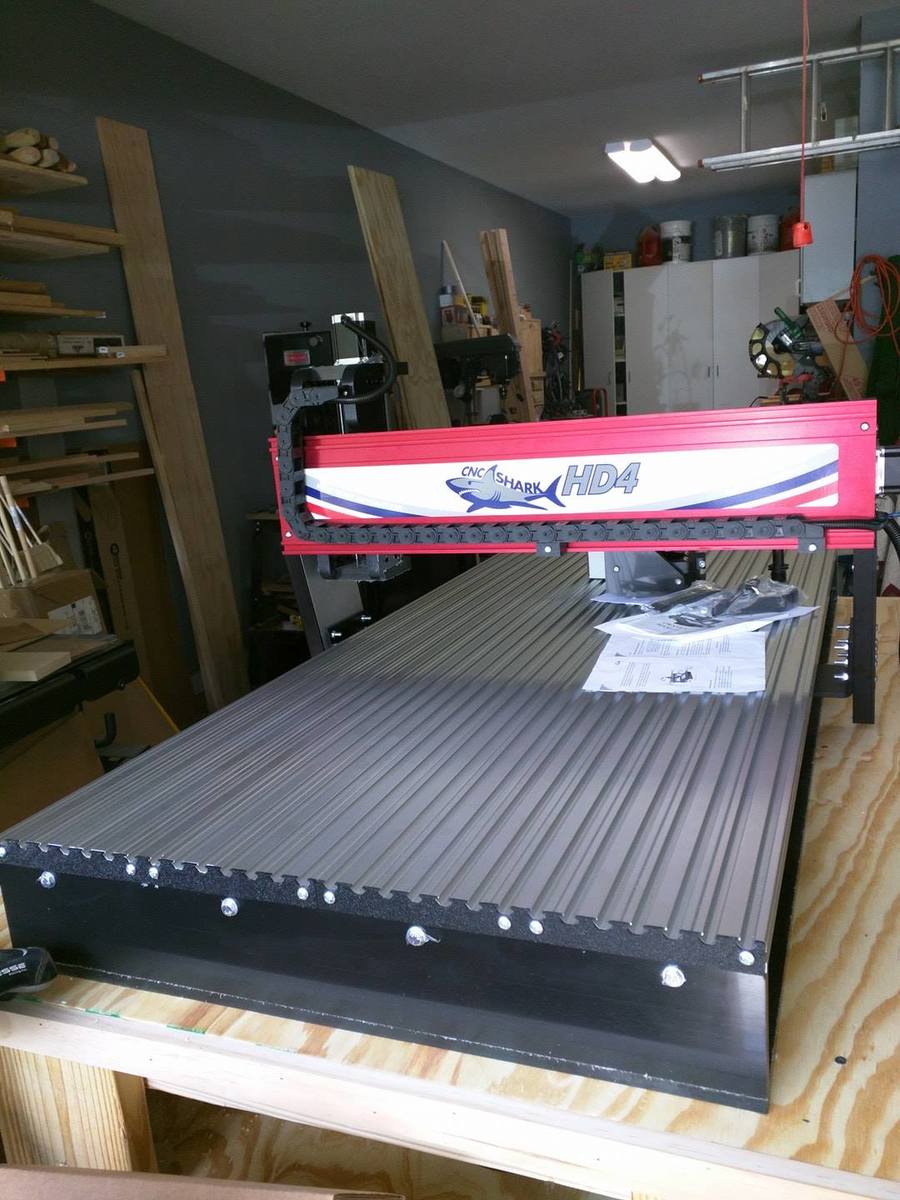
I started with the sturdy workbench plans ( http://www.ana-white.com/2011/03/sturdy-work-bench ) but enlarged it to 38x64x33 to accommodate my new CNC machine. The plans give you enough enformation so that making a size change it very easy. I used scrap wood I had and Plywood so the project only cost $85.00 to build. I didn't have many 2x4's so I used the 2x6's I had instead. Very sturdy table that took about 4 hours to build.
Thanks,
Janet Fox
