Rustic X Farmhouse Coffee Table
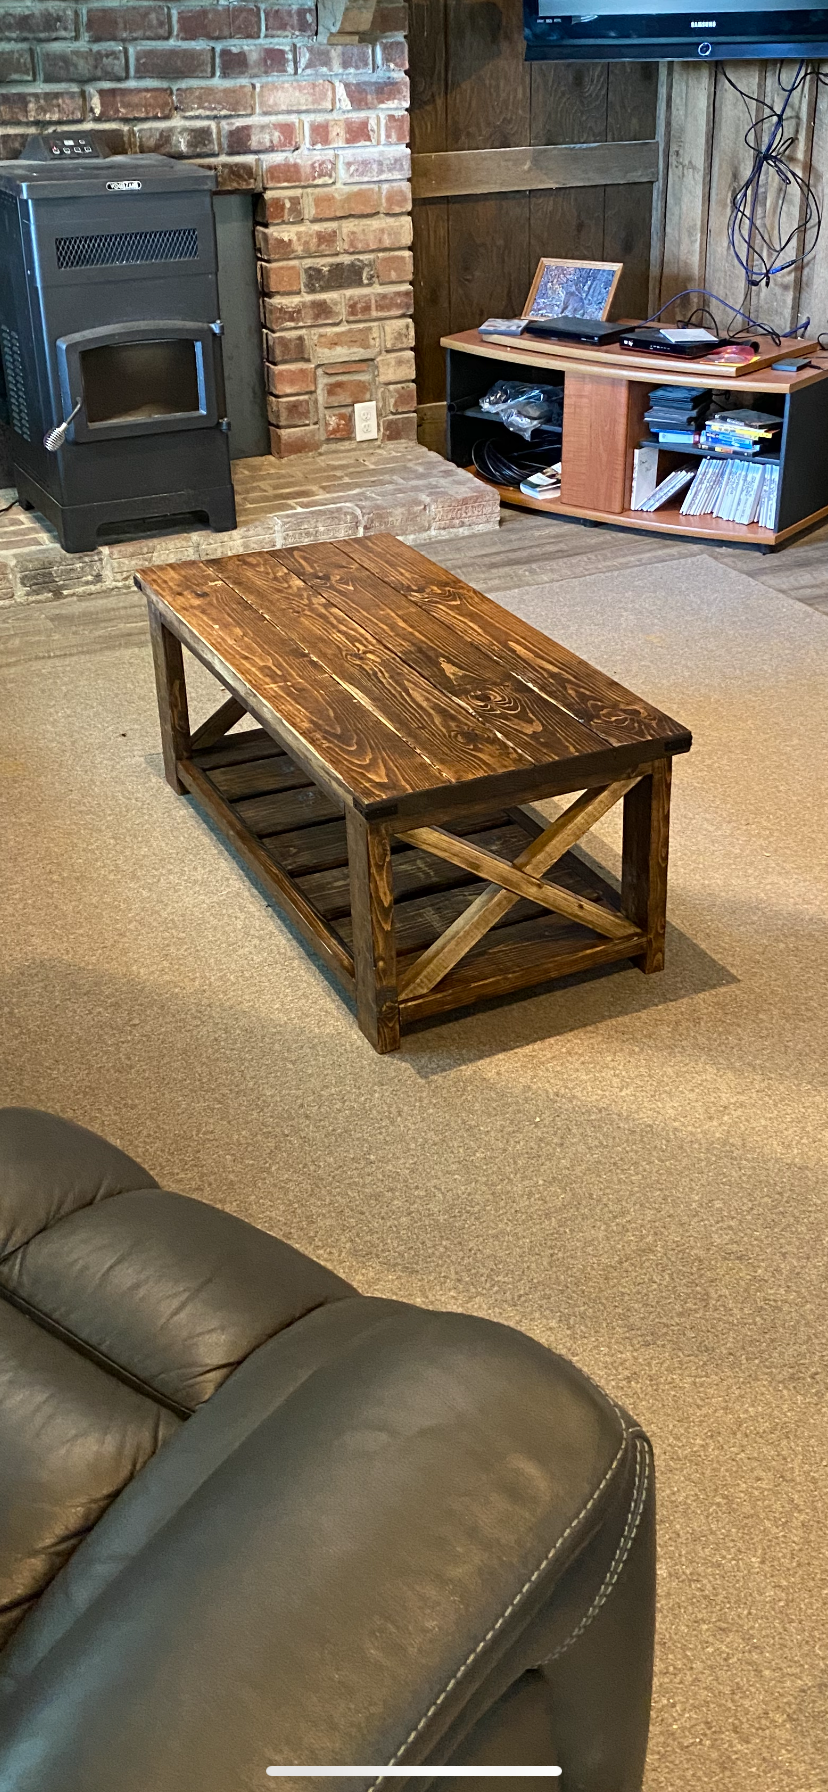
Rustic X Farmhouse coffee table, built for a true rustic farmhouse!
Minwax Polyurethane (5 coats, lightly sanded between each)

Rustic X Farmhouse coffee table, built for a true rustic farmhouse!
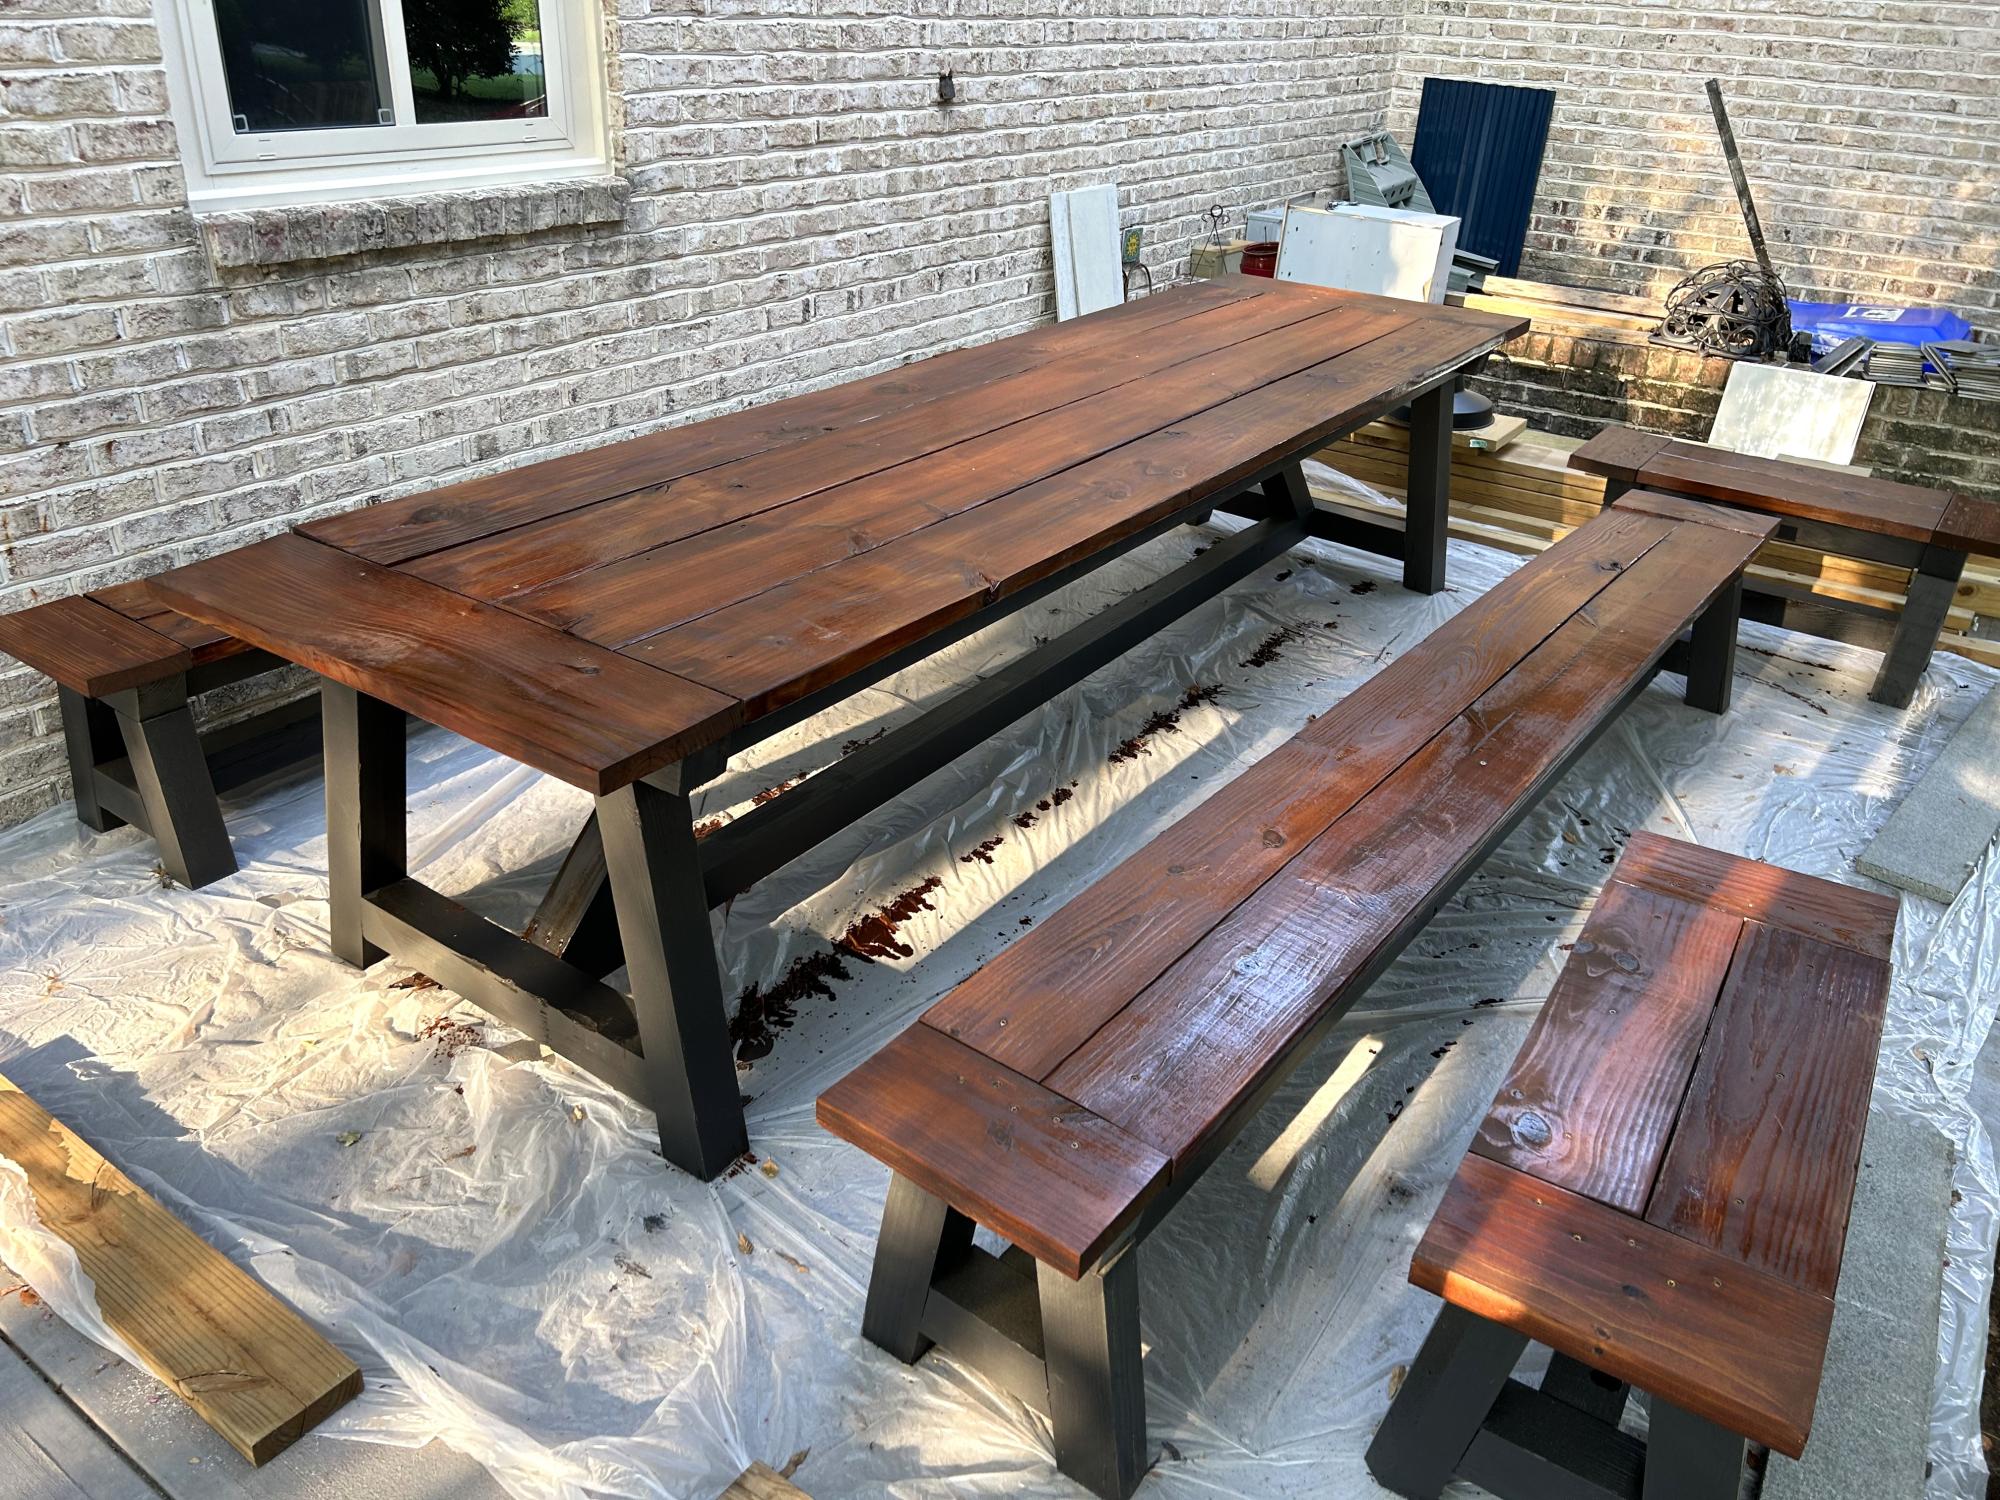
Built this for our side patio and we LOVE it. Decided to stain it in black and mahogany. I made mine longer. It measures almost 11’. Make side benches and end benches too.
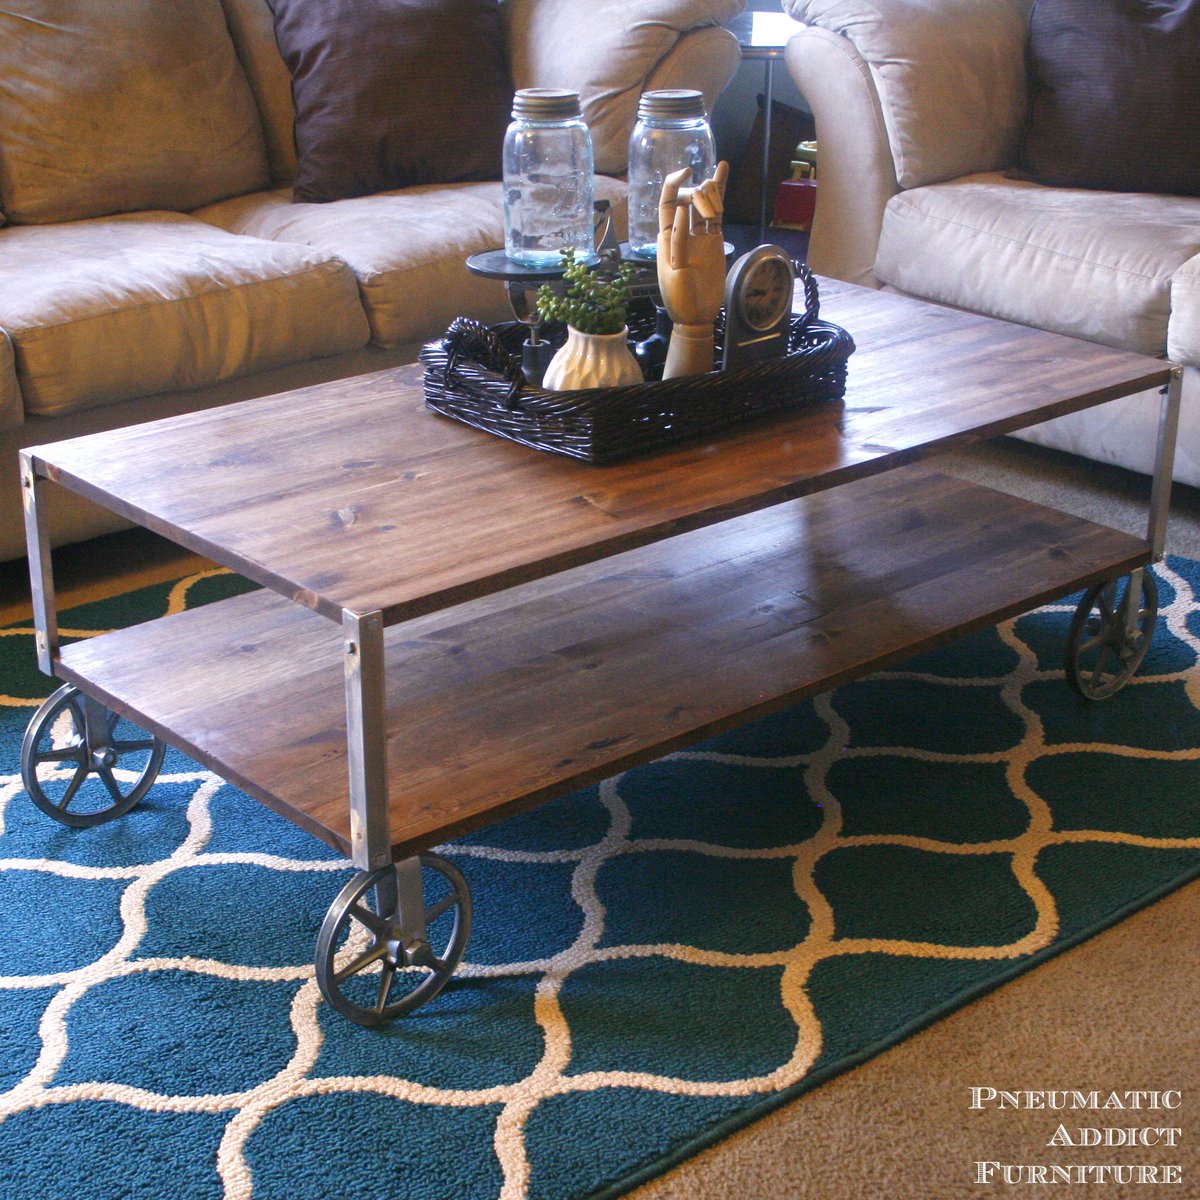
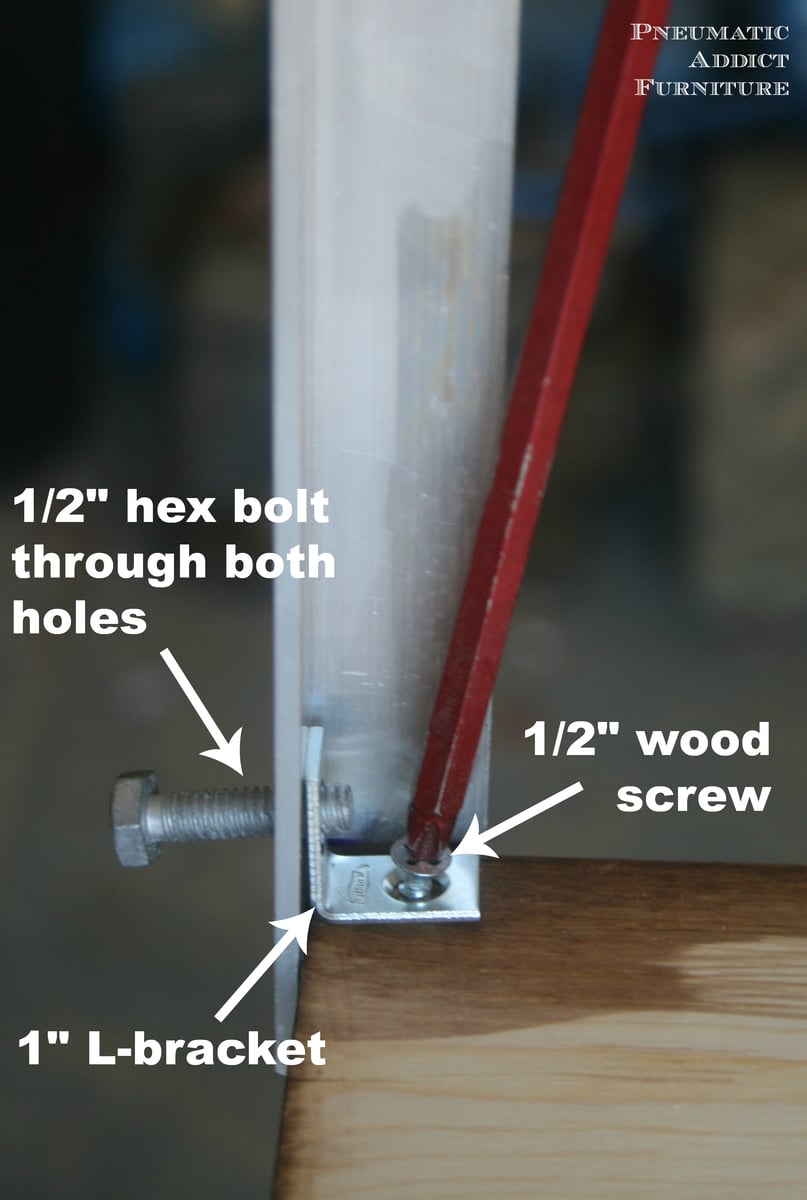
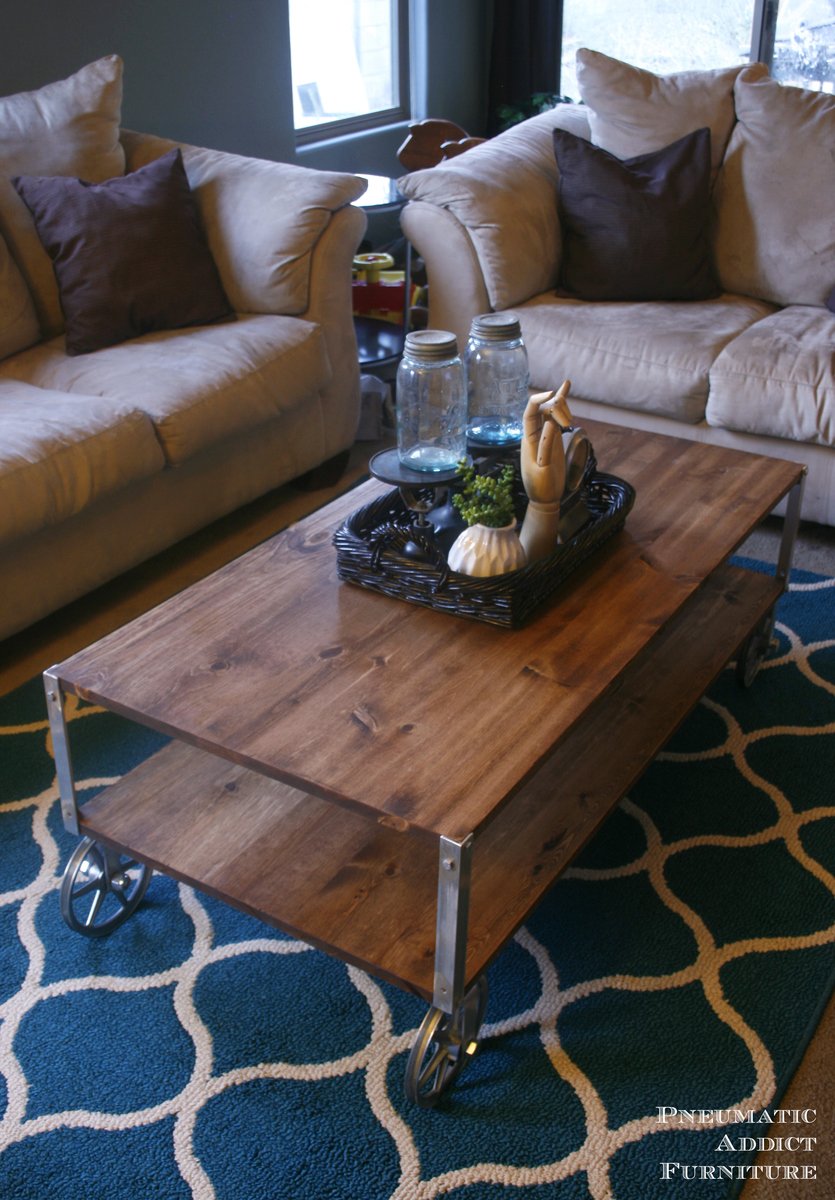
I took Ana's plans for the Easiest Industrial Cart and modified them into a coffee table. I shortened the pieces of angle aluminum to 10", omitted the middle shelf, and added some 7", DIY casters, made from pulley wheels. Since I used 3/4" thick project panels, instead of 2 x 12, I was only able to drill lag screws through one side of each corner of the wood. To add stability, I added small, L-brackets, screwed to the wood and bolted to the aluminum. I included a photo so you can see the modification closely.
Wed, 09/03/2014 - 16:17
Great job. You just gave me a good idea for a coffee table.
Veronica
Fri, 01/08/2016 - 13:48
Great Job on this coffee table!!! Looks very good, and the added L brackets fit the industrial look perfectly!
Here is a Triple Pedestal table with benches and two end stools to match everything else.
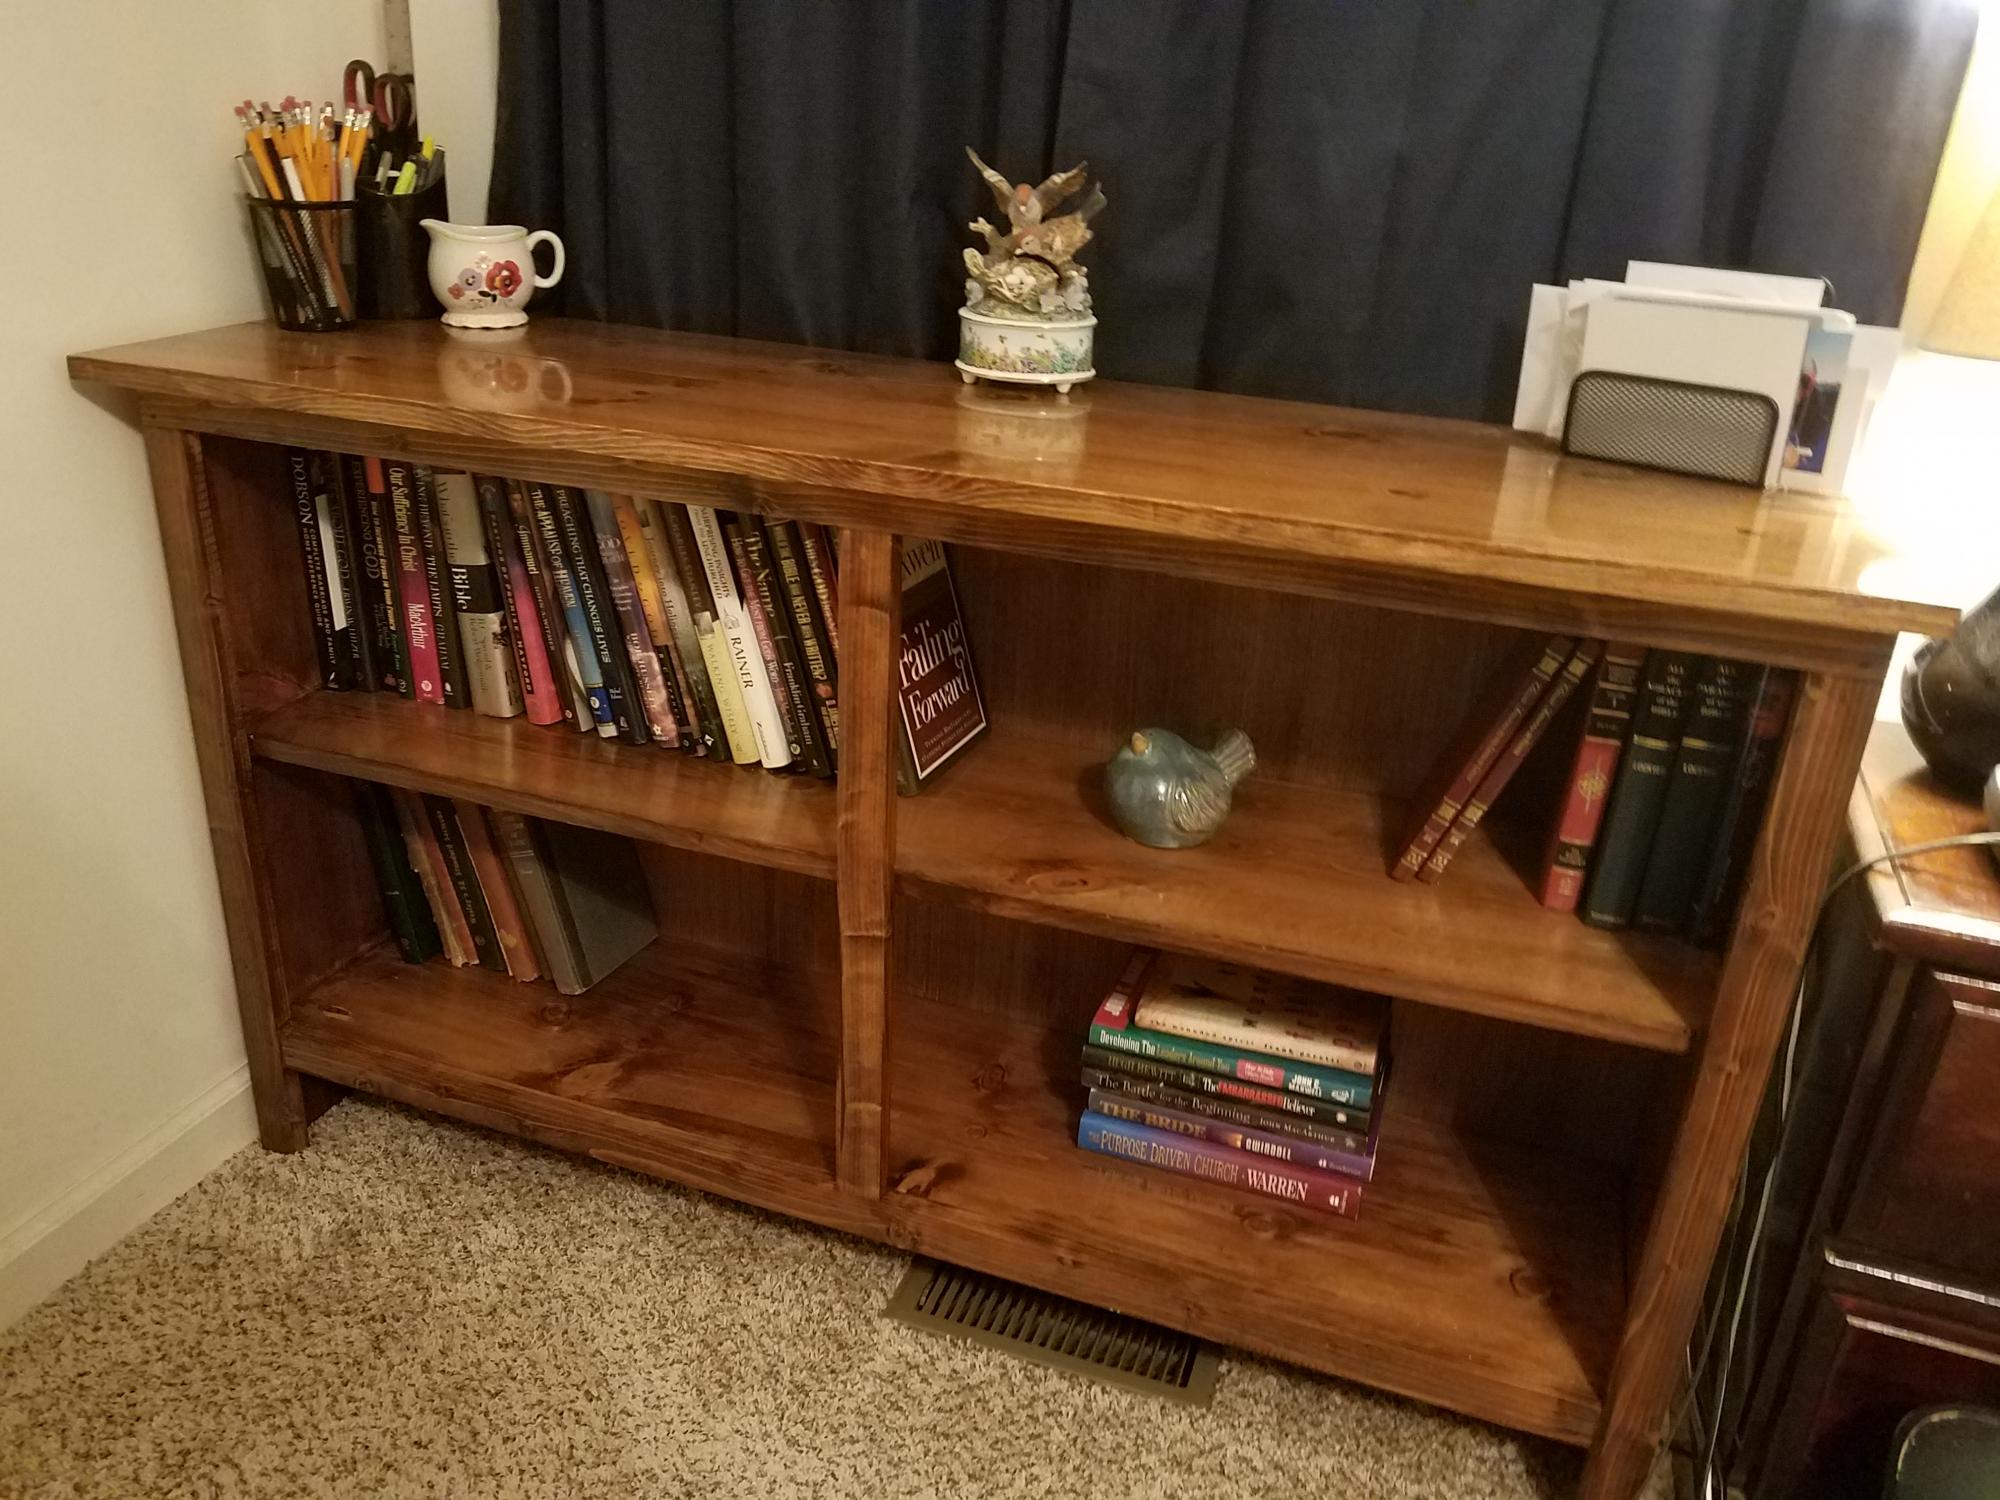
I started woodworking about 4 months ago and the first few things I made was a bit wonky. I didn't mind because it's solid wood and I was proud of myself for doing it.
I am 59 yrs old and I love building things! I now do better and made this shelving unit, and it's the best I've done so far.
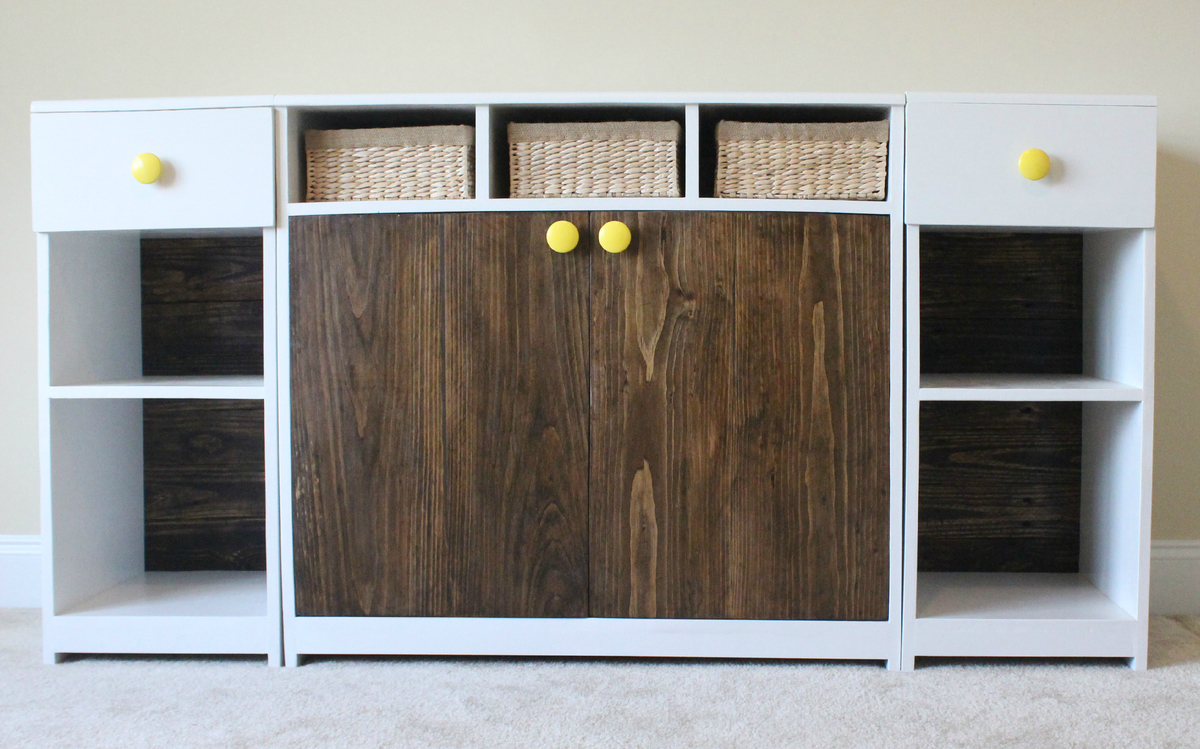
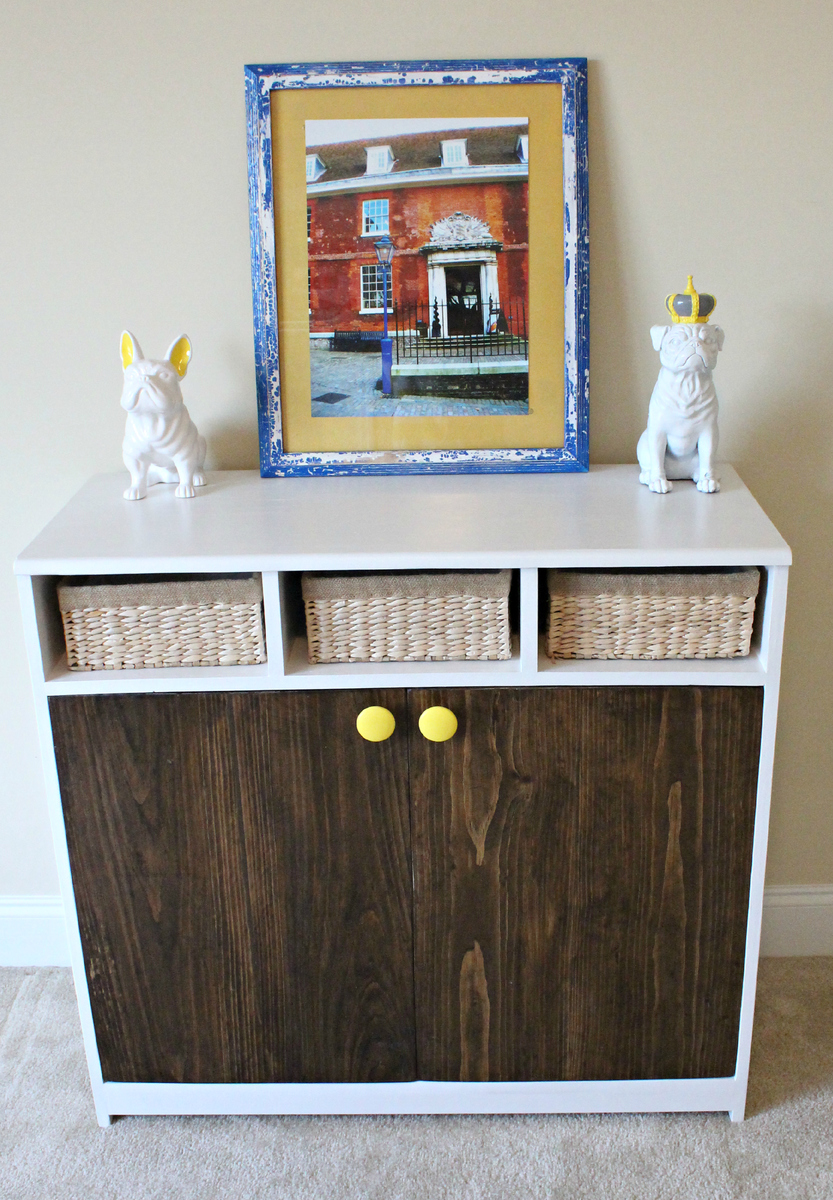
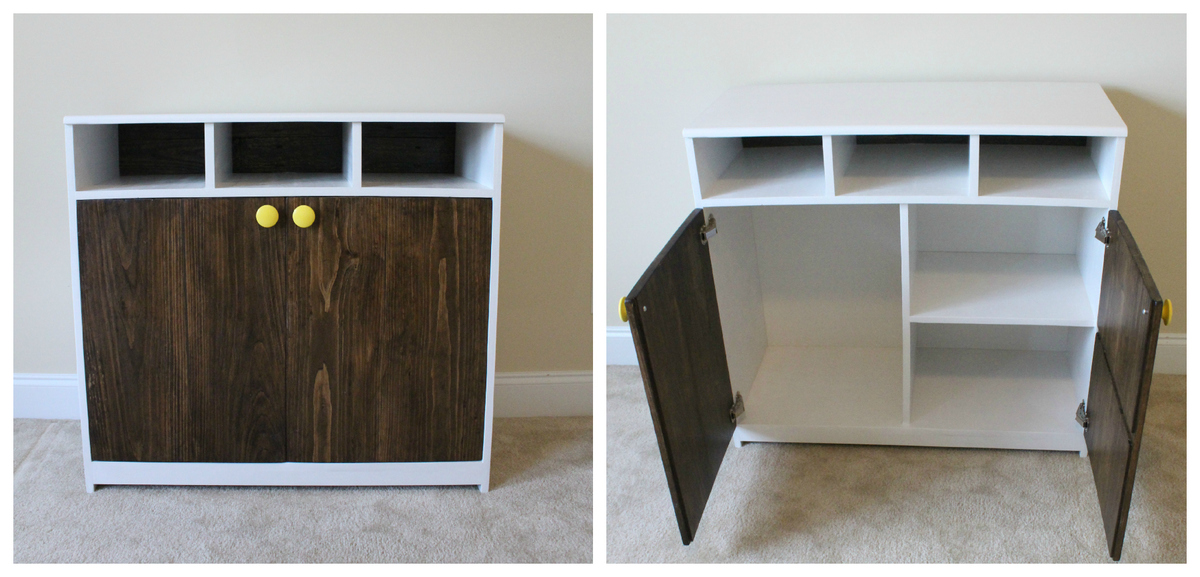
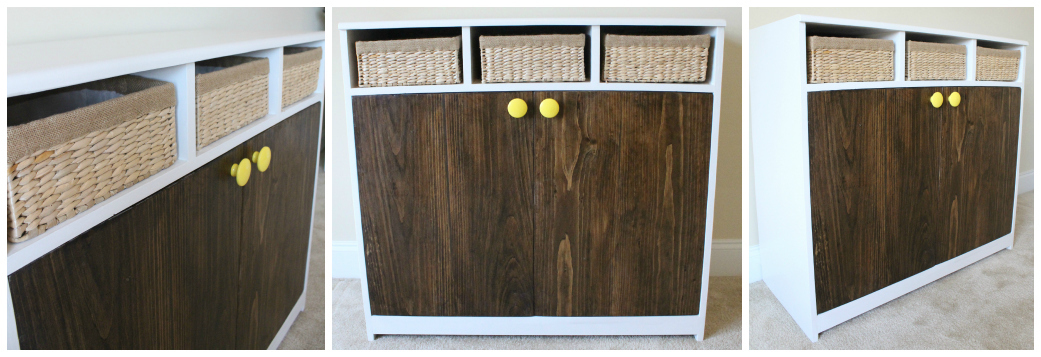
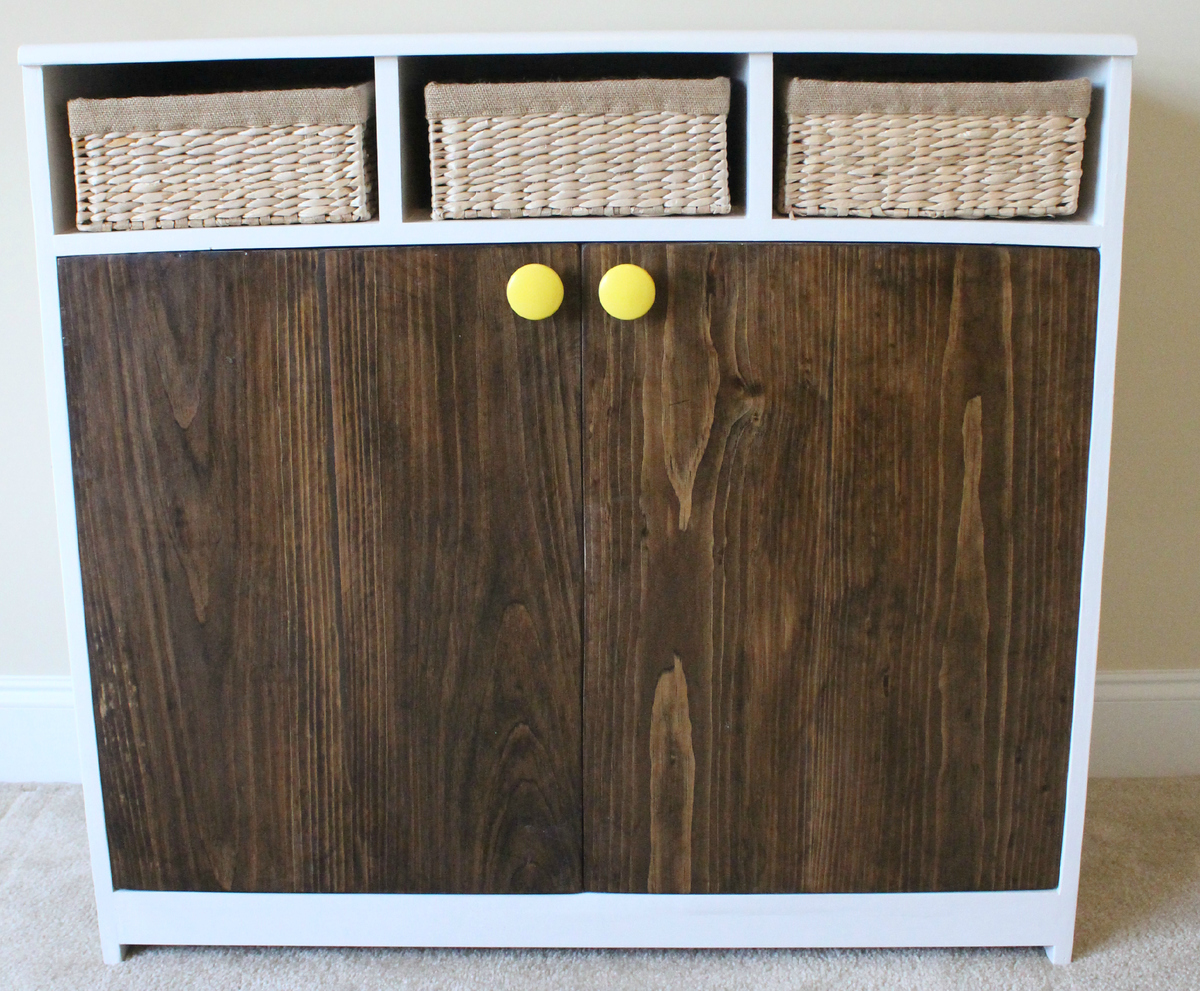
We made some significant changes to the shelves/cupboards. Since we were on a bit of a time constraint with the impending arrival of our little bundle of joy, we decided to nix the drawers all together and instead make three open face shelves. This made the larger cupboard and door face area a little shorter than in Ana's plans. We made most of these changes on the fly while sitting in the garage..
We have a big move coming up and probably won't put the hutch, center base, and side bases together until after the move. We'll post pictures of everything put together once we get settled.
Oh, and for some reason I've been calling this the Madison Changing Table. . When it is actually called the Madeline Changing Table.. whoops!
We wrote up general directions with pictures here: http://thehuth.blogspot.com/2012/11/madison-changing-table-part-3-cente…
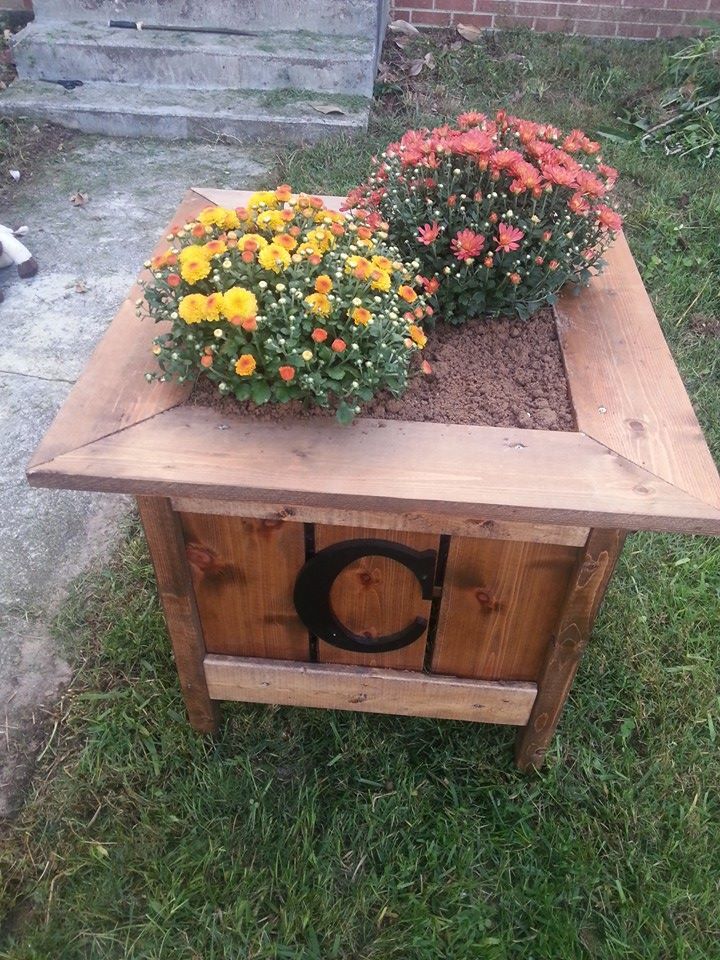
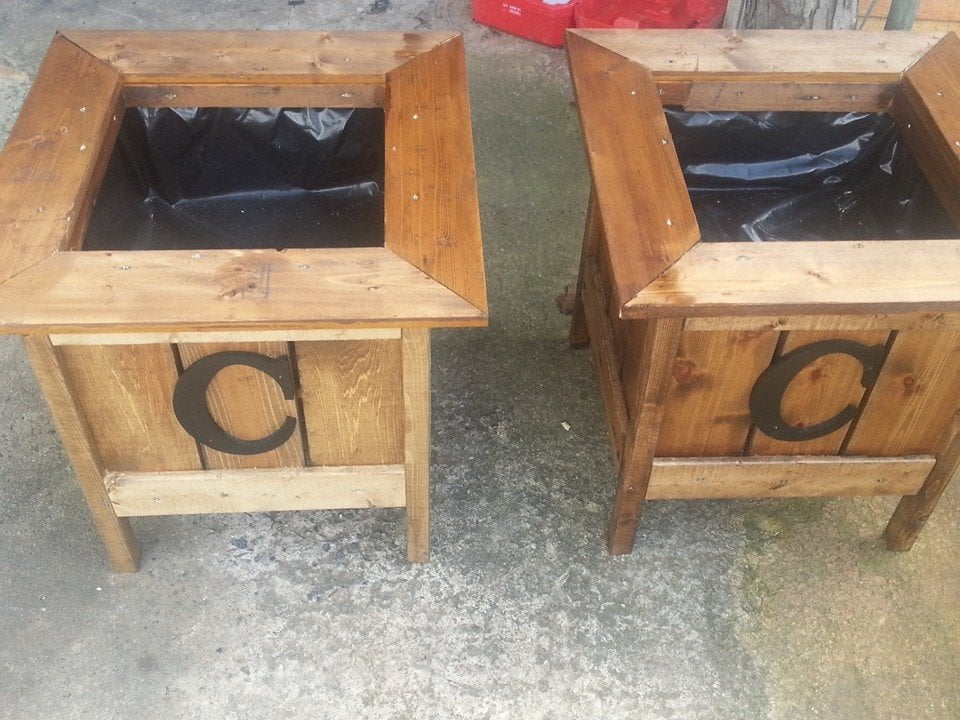
I used your "cedar planters for less than $20" plan and modified it to create two beautiful planters for my house. I framed out the top of the planter to give it a more complete look. Also, I added a "C" for our last name. -Shaye

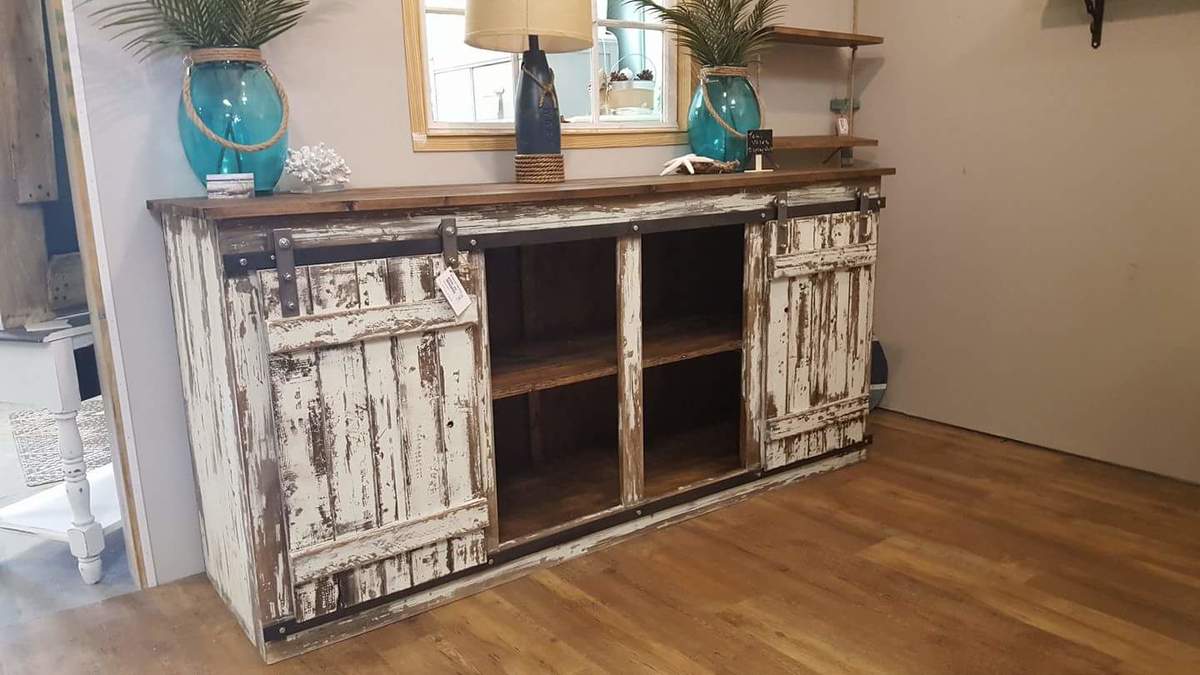
Sliding door console built by Kathryn and Scott Winkler of K & S Coastal Home Furnishings. Kathryn added her own unique chippy finish to set this piece off! Visit our other builds at fb.me/kscoastal
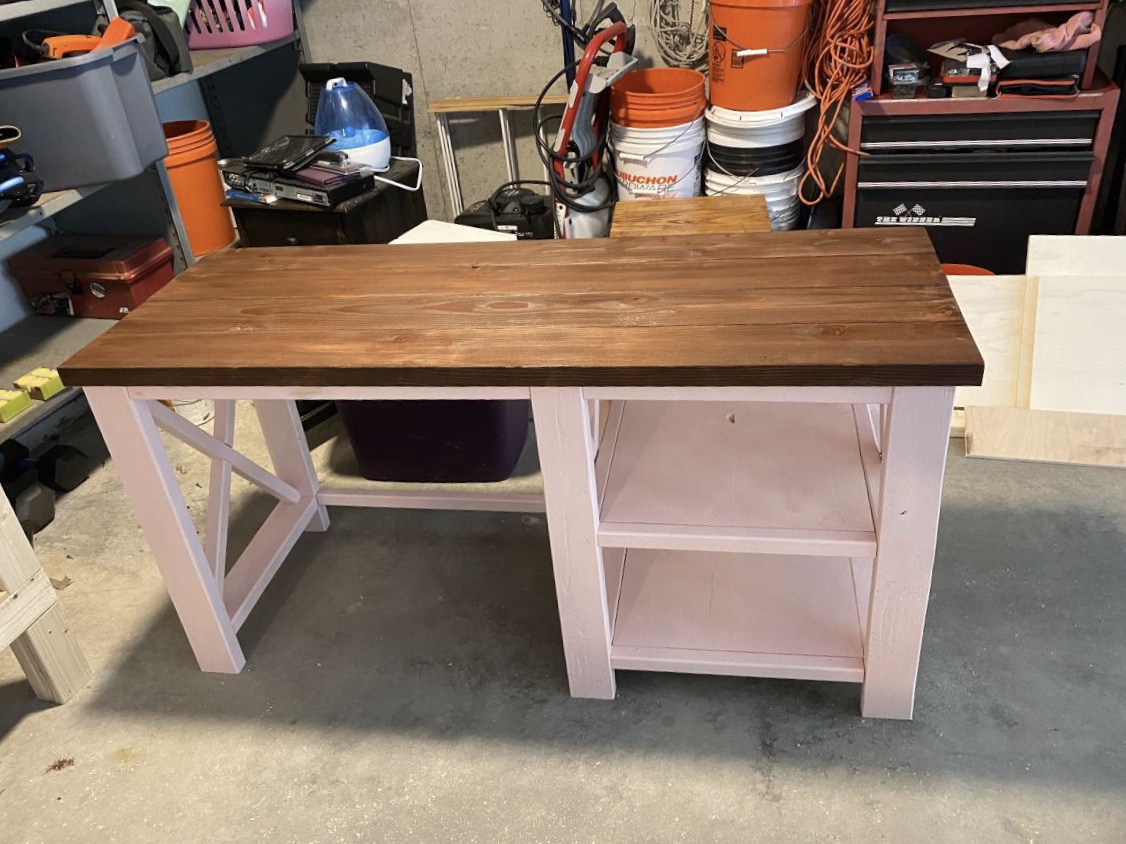
Built this for my daughter’a remote learning space. She chose the color of the base (ballet slipper pink). Minwax dark walnut for the top and 3 coats of poly.
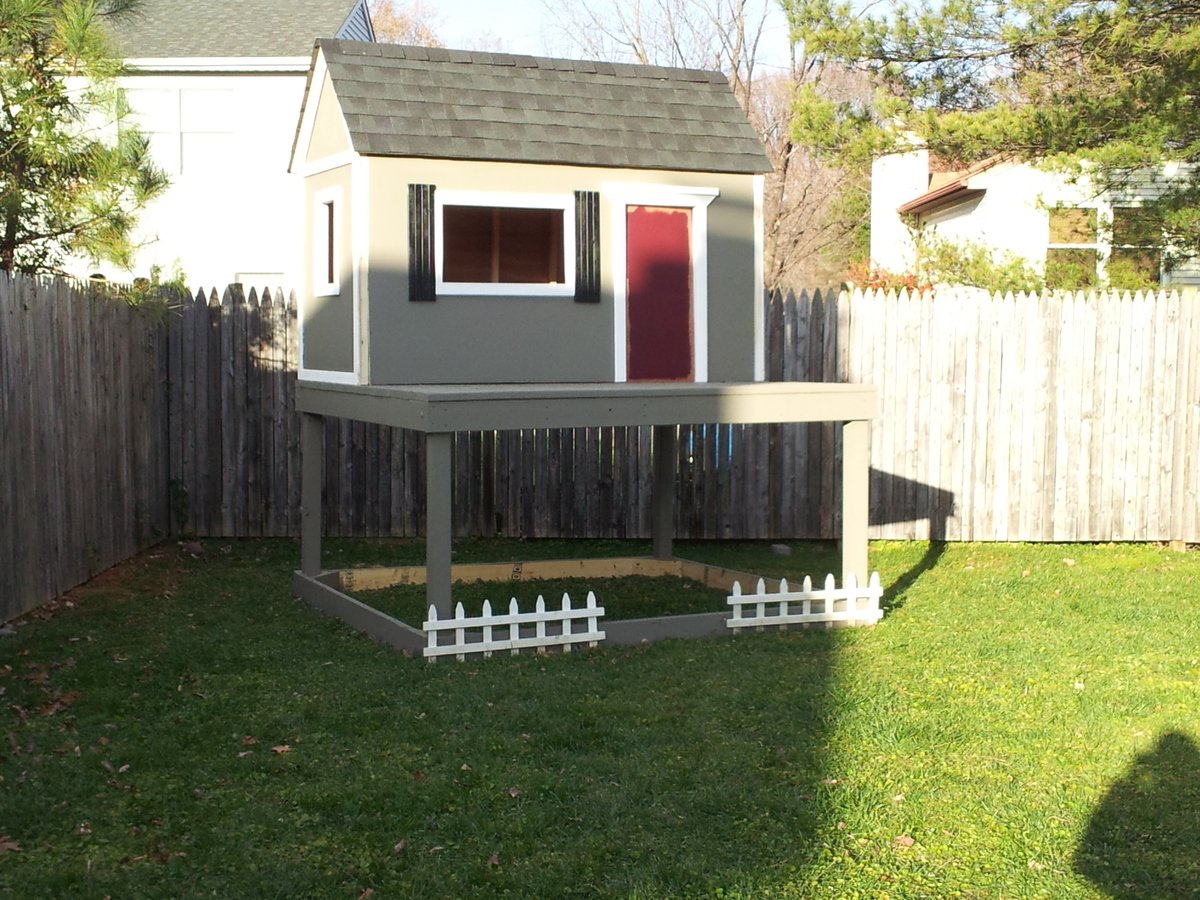
My husband and I used our Thanksgiving break to build this playhouse and deck, using Ana's plans. We are NOT builders...this is very doable for beginners with the right tools. Read the plans thoroughly before starting. Total cost (including all lumber, hardware, and paint) was under $600.
We still have door and house trim to complete, a little painting, and a handrail/ladder.
Santa may bring a slide and some other fun accessories!
Thanks Ana!!!!!

I built this table following Ana's plans! It turned out great!
Tue, 09/09/2014 - 14:42
This table turned out great. The stain job is very well done. Now I may have to build one.
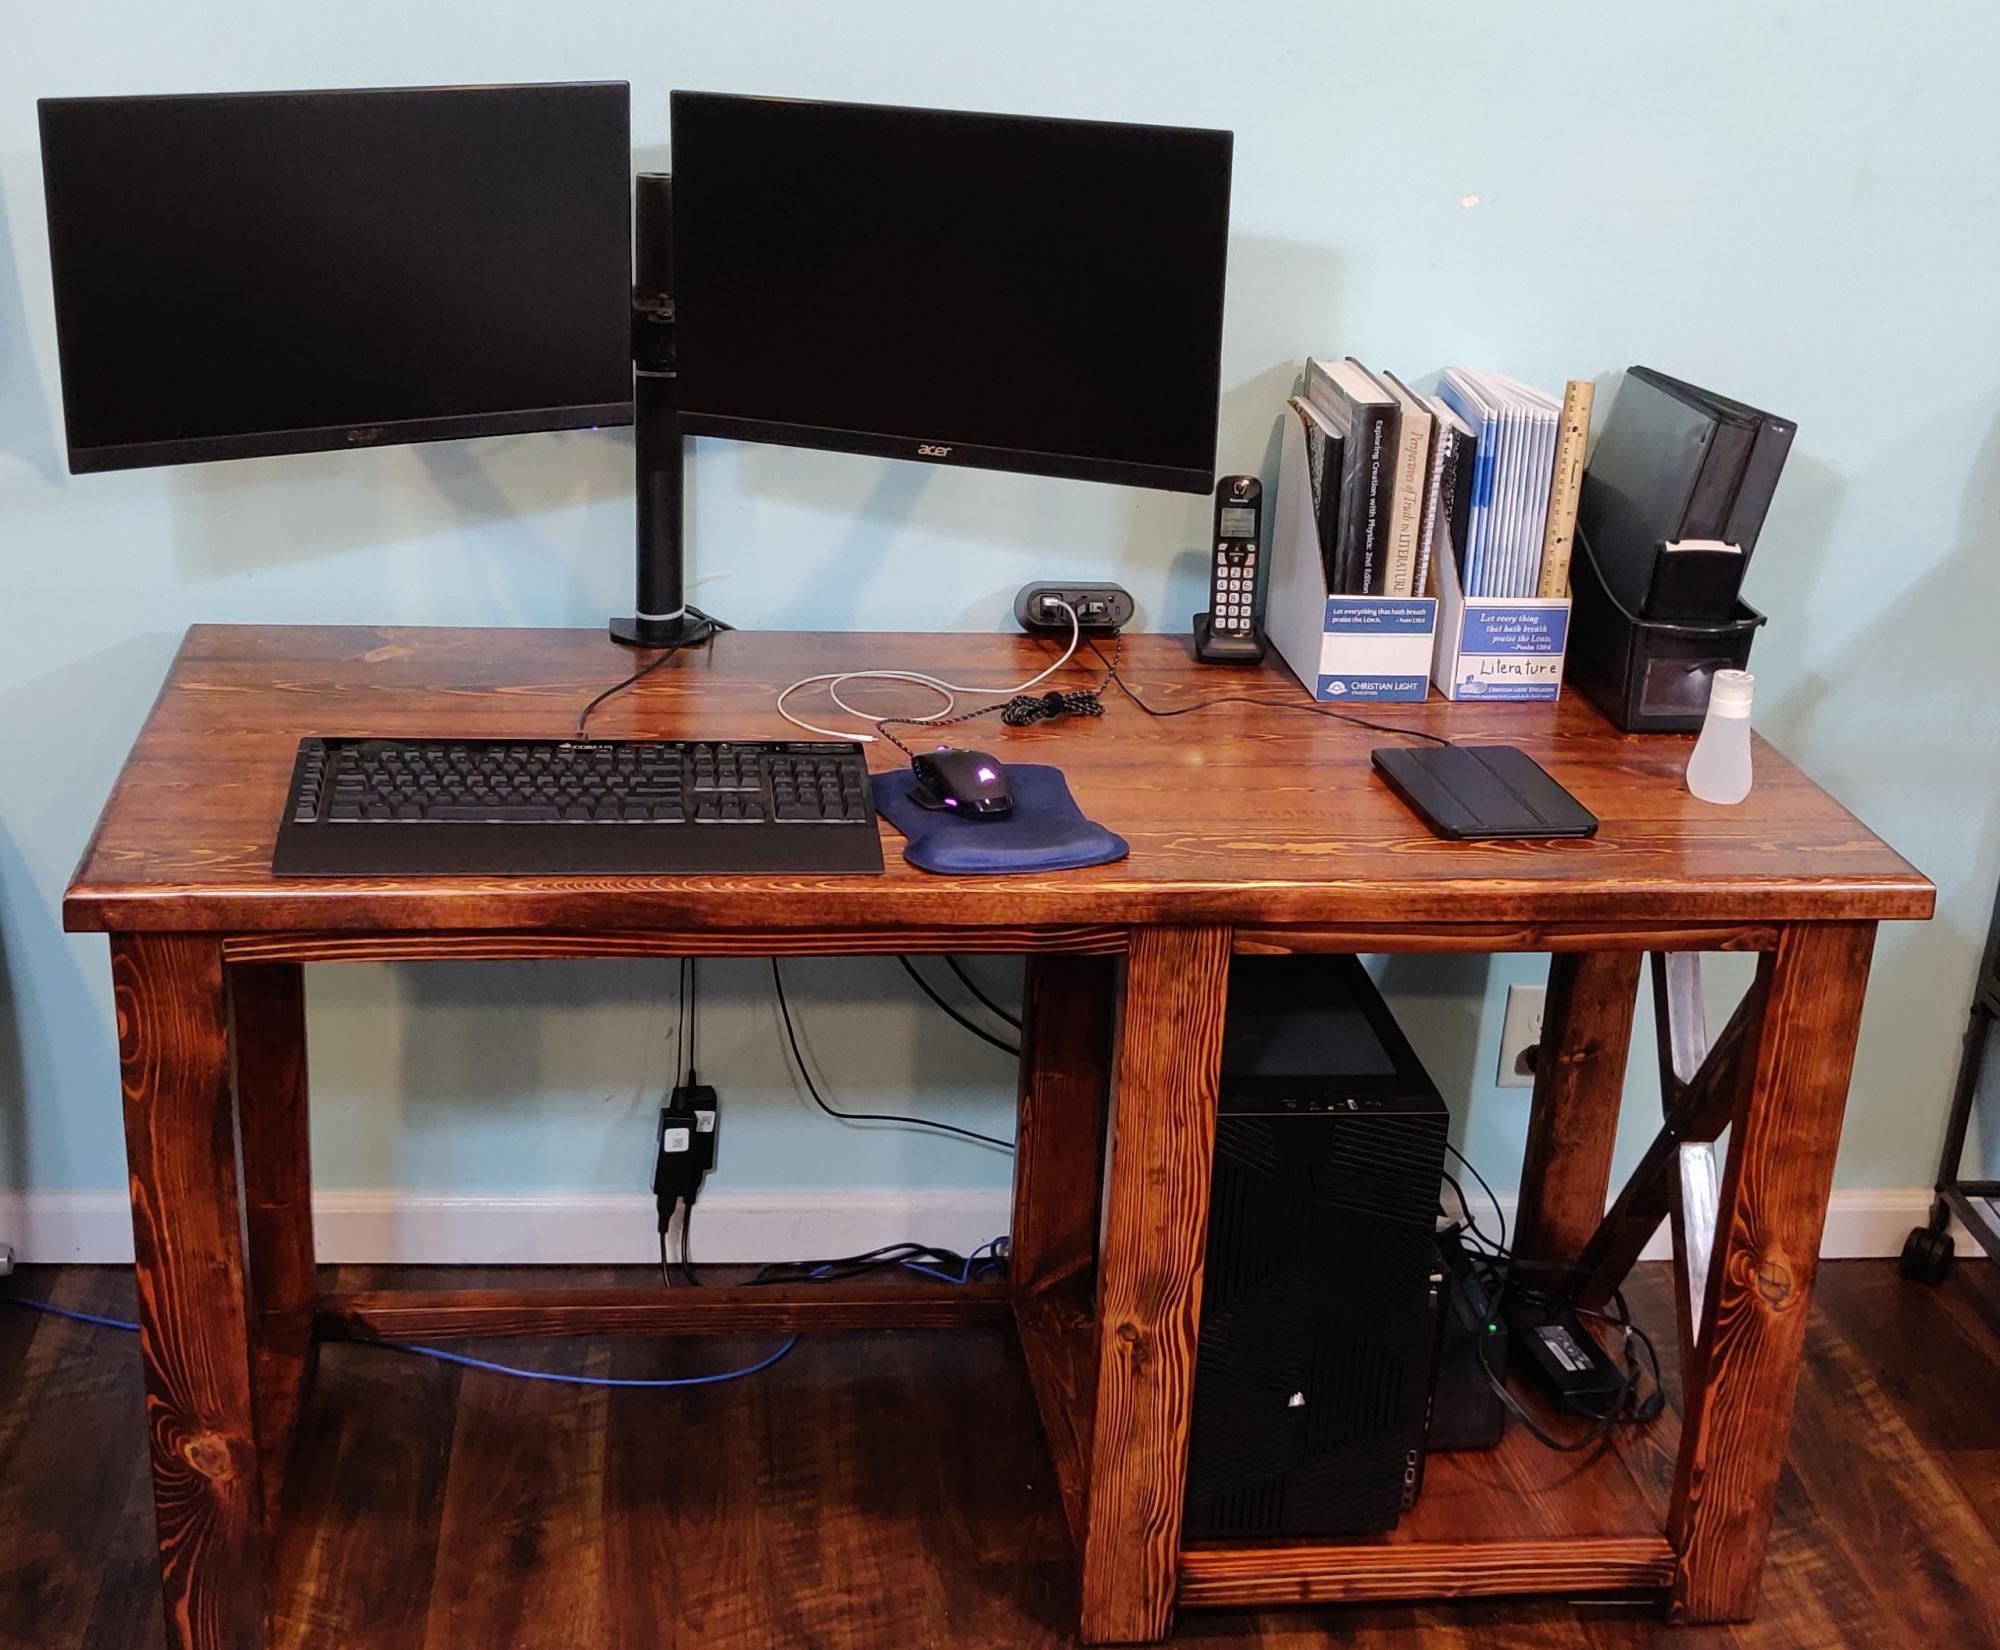
I built this iteration for my second son to give him a spacious workspace for his schoolwork, dual-enrollment activities, and for the occasional moments of kicking back and enjoying a bit of PC gaming.
We stained it with Minwax #215 Red Oak and used Minwax Satin polyurethane to finish ours.
I stuck to the Rustic X Desk plan for the most part and made the following modifications:
1) I used five 2x6 planks instead of four, to give it a 27.5-inch depth.
2) I used a 3/4-inch roundover bit to round off the tabletop to give it a smooth feel.
3) I left out the "middle" X, so my son could have easy access to the "guts" of his computer
4) I left out the middle shelf so my son could stow his PC tower "below deck"
5) Not really a modification; I used a 3/4" straight router bit to cut notches into the 2x2's used for the X detail so they would sort of lock together because I wasn't happy with the way the angles and all were coming out with the two half-leg parts of the X detail.
6) I hated the selection of furring strips at the local big box home improvement store and didn't want to travel all the way across town to see if the "lumber stores" had anything better, so I ended up milling my own on my table saw from cherry-picked 2x4 lumber. It was cheaper than buying the premium pine to boot, since a 2x4 would give me a pair of 2x2s and leftover 1/4x2 that I'll be able to run through a planer and turn into something useful. Not a modification, just more of a "if you're plagued with lousy selection, try this instead" idea.
7) Installed a Wiremold WMC220BK convenience 120V/USB power center to make it easy to plug in a desk lamp, charge a cell phone, etc. without making a cable mess. (https://smile.amazon.com/dp/B0768R2JDG)
8) Added felt pads under the feet to make it slide easily on wood/vinyl flooring
9) I set the bottom of the leg assemblies 1-1/2 inches above the floor instead of 3 inches, so our indentured robotic servant "Mo" won't get trapped underneath any of them. He isn't the sharpest tool in the shed but at least earns his keep. Mo is a late-model Roomba 675, if any are curious to know.
Between the "custom" milling and the fact that I should have run all this 2x4 and 2x6 through a planer to cut down on all the sanding and resurfacing needed, this ended up taking a lot longer than the initial couple weekends to build plus the staining and finishing time. I'm in the middle of building a second one of these with some slight modifications since the need/use case is a bit different. I'm also planning a third revision and build that will include some "geek-friendly" customizations, namely integrated cable management and will have two shelf bays instead of one, just half as wide (a single 1x10 on the left/bottom and another 1x10 on the right/bottom, with the seating area in the center). The third "generation" will be a Christmas present for a computer science student (who consequently also graduates at the end of this fall semester).
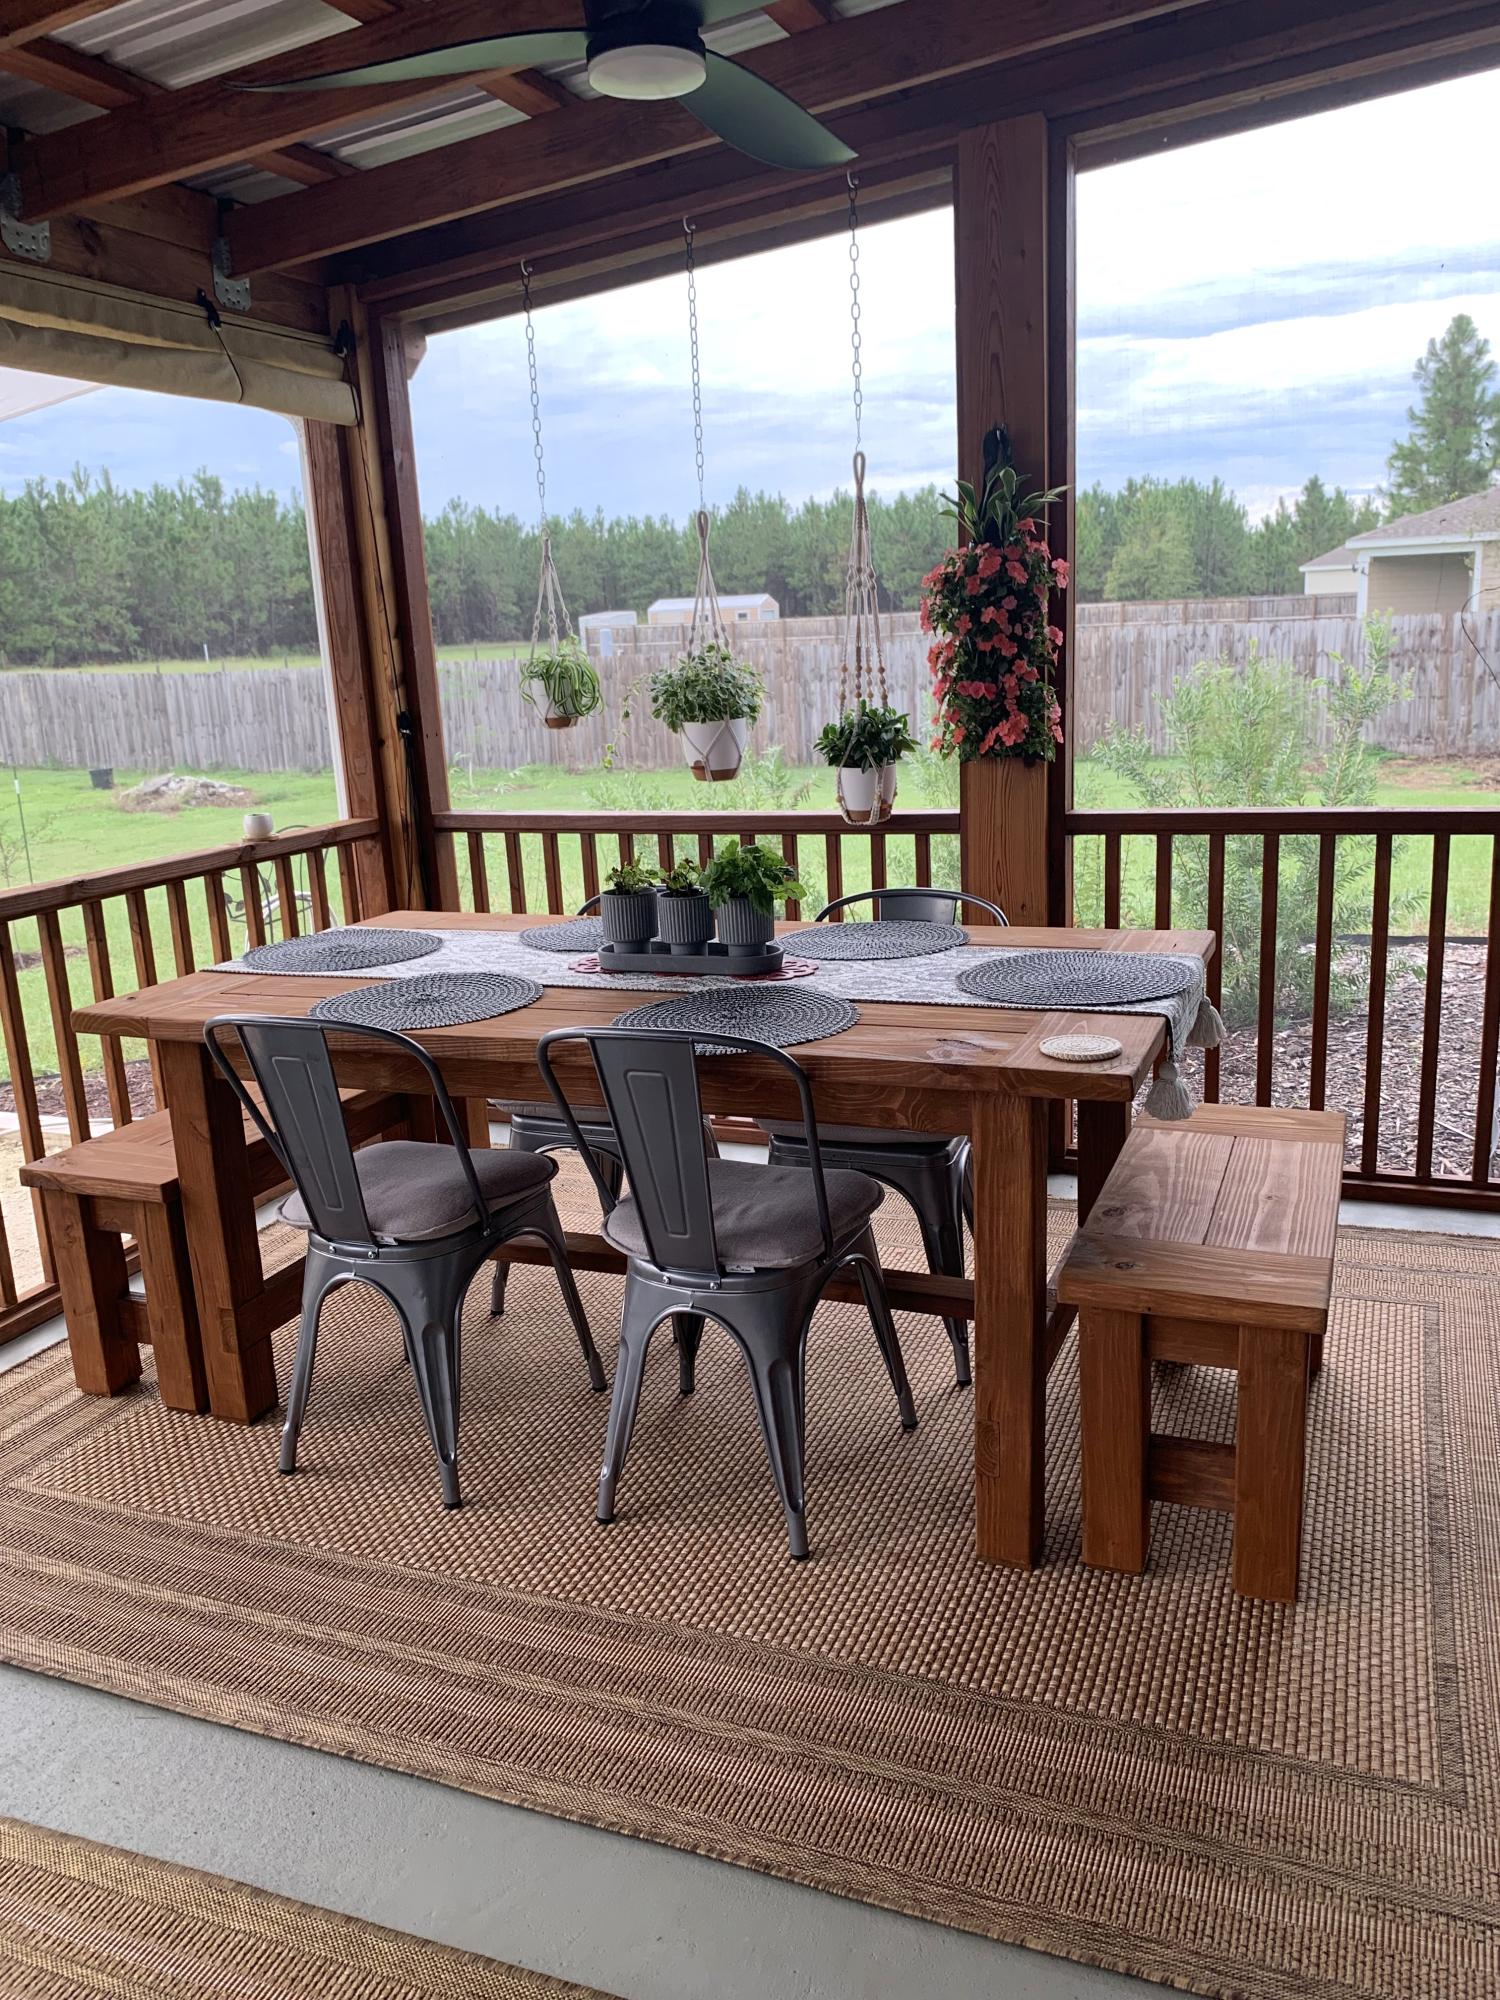
We recently built the sofa, two chairs, coffee table farmhouse table with two smaller benches. Everything is so comfortable. Thank you for the plans and advice about purchasing the cushions first in order to build to the size of the cushions. My husband built it all super fast. I stained everything and selected what to build. It all is so nice on our new covered & screened in porch that we built our. - Nancy and Bob
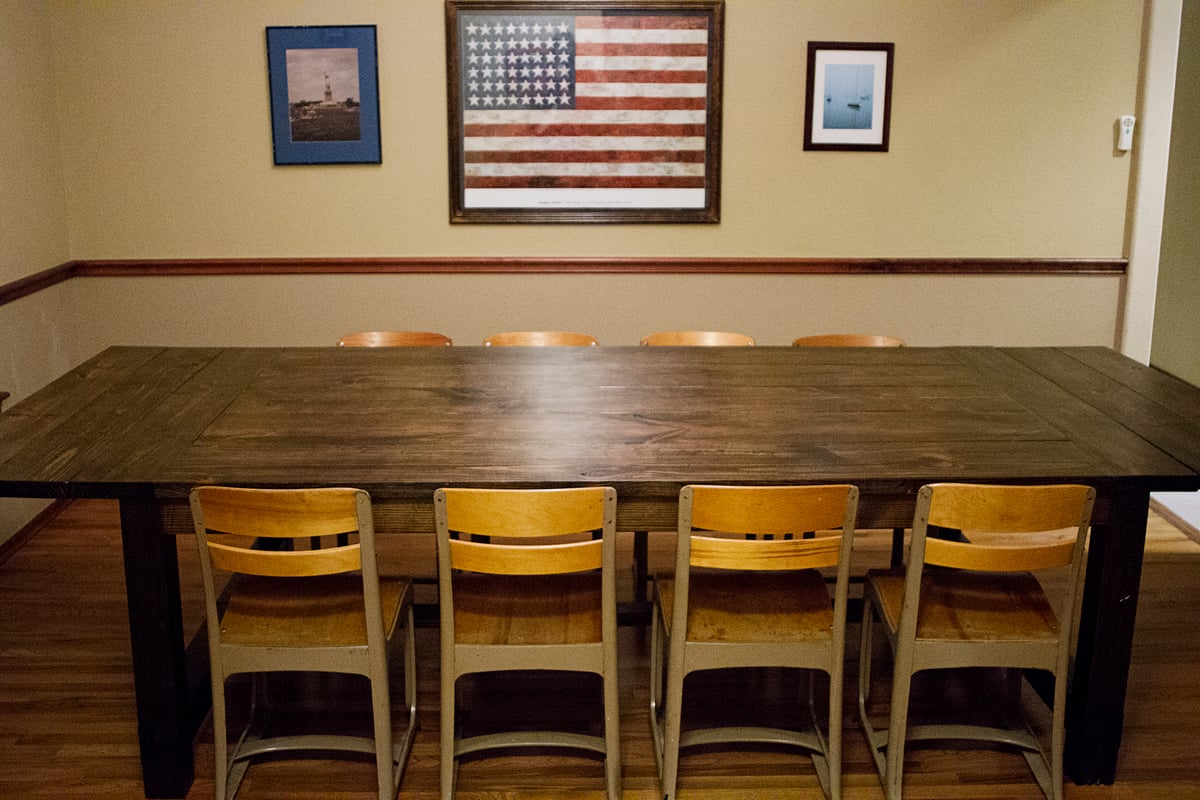
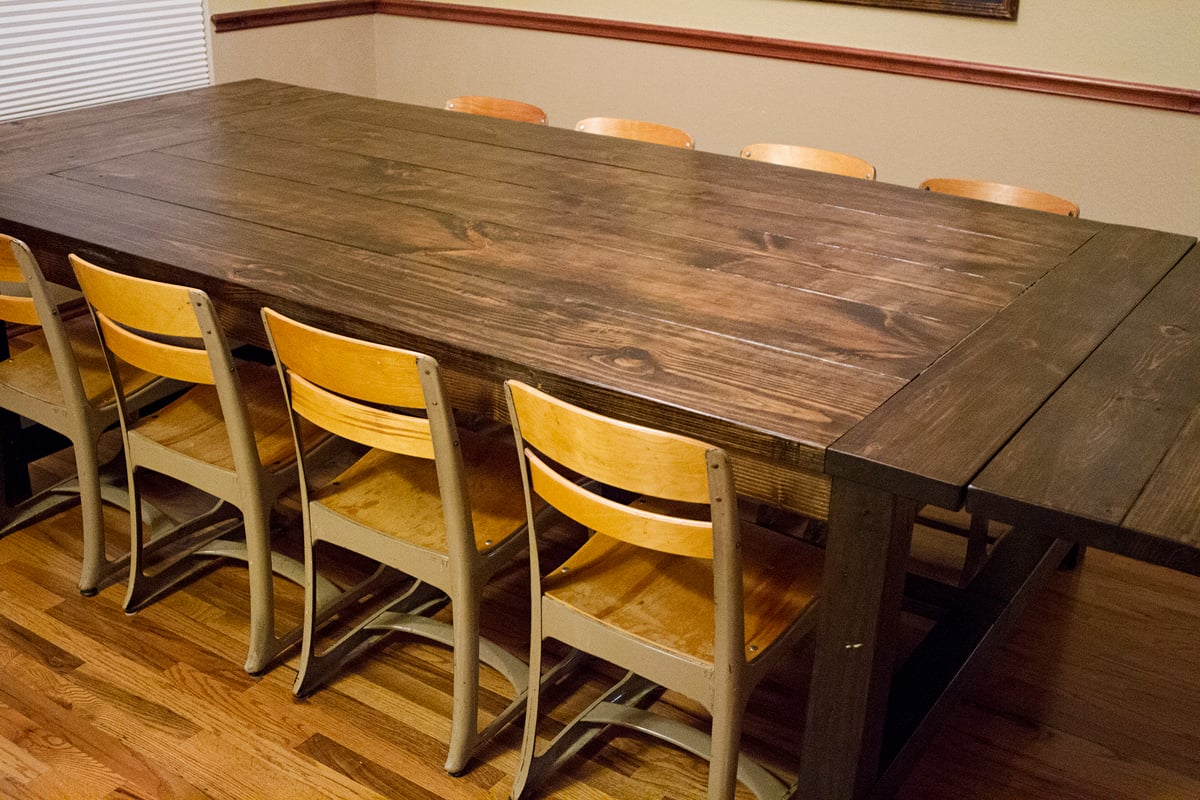
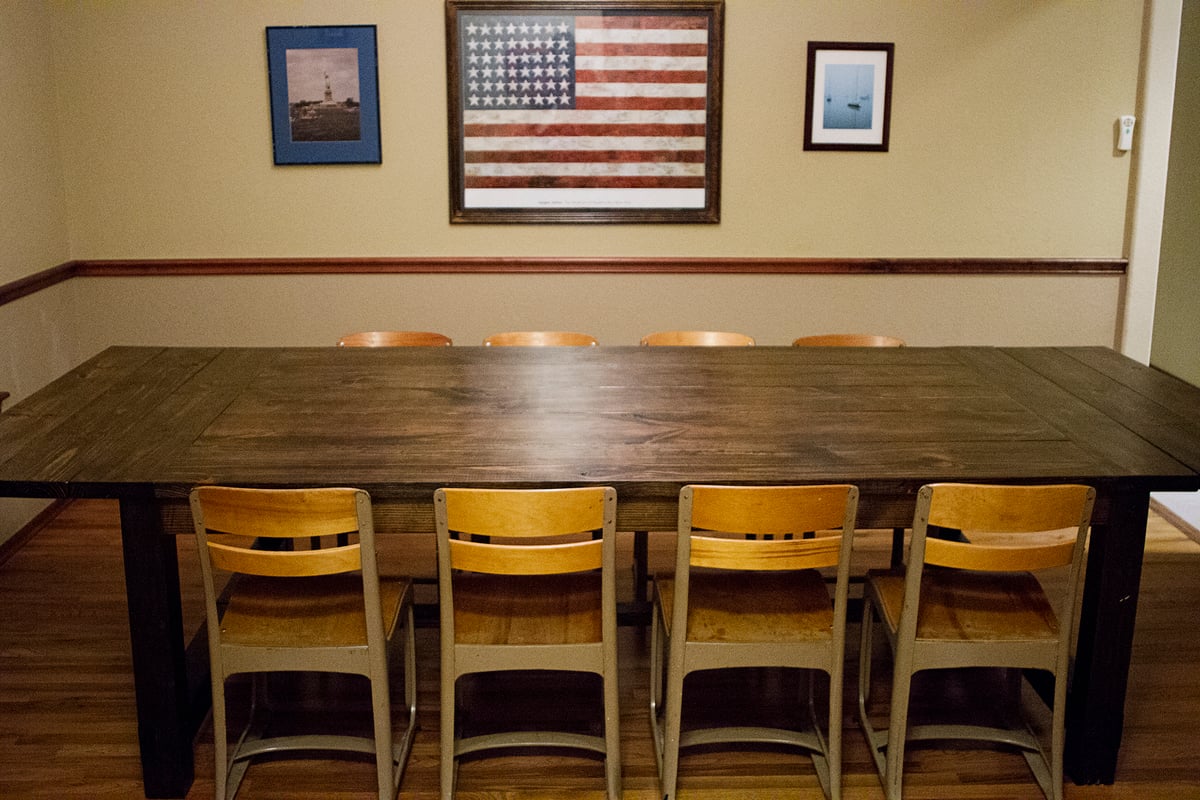
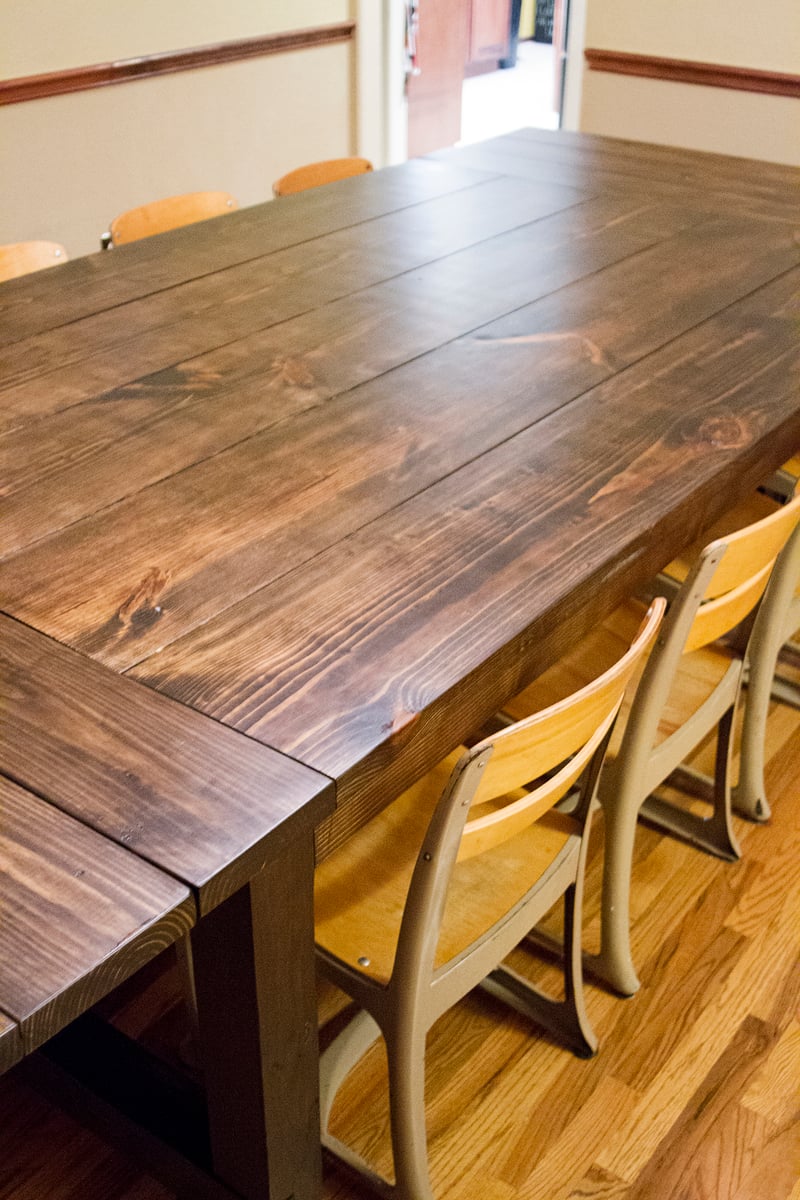
This is a massive Farmhouse Table. It measures 126" x 56" with the extensions on, as show. It is 96" x 56" without. The table top is 2x12's with 2x8 breadboards and it has 4x4 legs and end stretchers. It was modified from the farmhouse plan here on ana-white.com and from tommyandellie.com.
In reply to Chairs! by brookifer86
Fri, 11/30/2012 - 14:09
We lucked out on those. A family member's church was giving them away a few years ago and we scooped them up for free. I will get their info so that you might search them out and reply again for you.
In reply to Extensions by rjdavidson
Mon, 05/27/2013 - 17:53
The extension idea came from tommieandellie.com. The extensions are each made up of 2 beadboards each cut to the width of the table, 56" here. They also consist of a 2"x2" crossmember of 30" here and 2-2"x2"s 38" in length and cut on a 45 angle on on end. The beadboards are joined by pocket holes. the crossmember is centered on the beadboard that will be closets to the table, it is here to provide support for the last 2 pieces. These last 2 pieces are pieces that will slide into notches cut in the end apron and inside apron. They are placed with the angled edge about an inch from edge of the what will become the most outside end when the extensions are slid into place. The extensions slide into notches cut 1.5"x1.5" end apron and inside apron pieces 30" apart and centered. A lot of words that I am sure didn't explain anything. Mine are just modification of the plans on the referenced site.
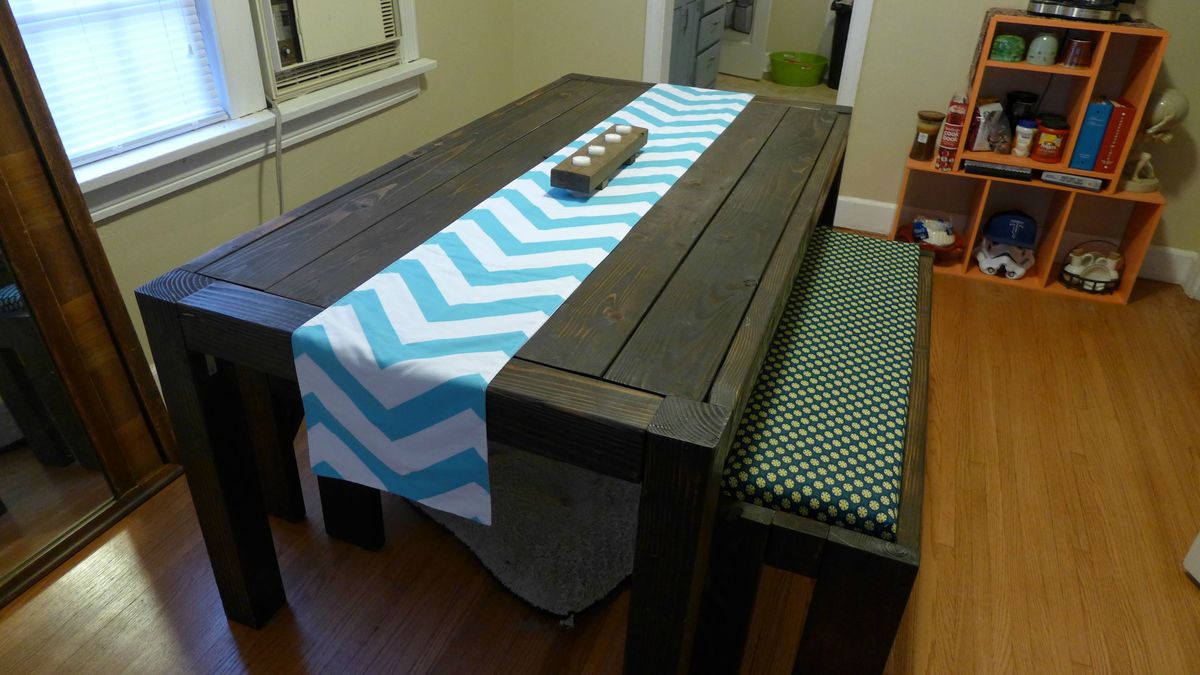
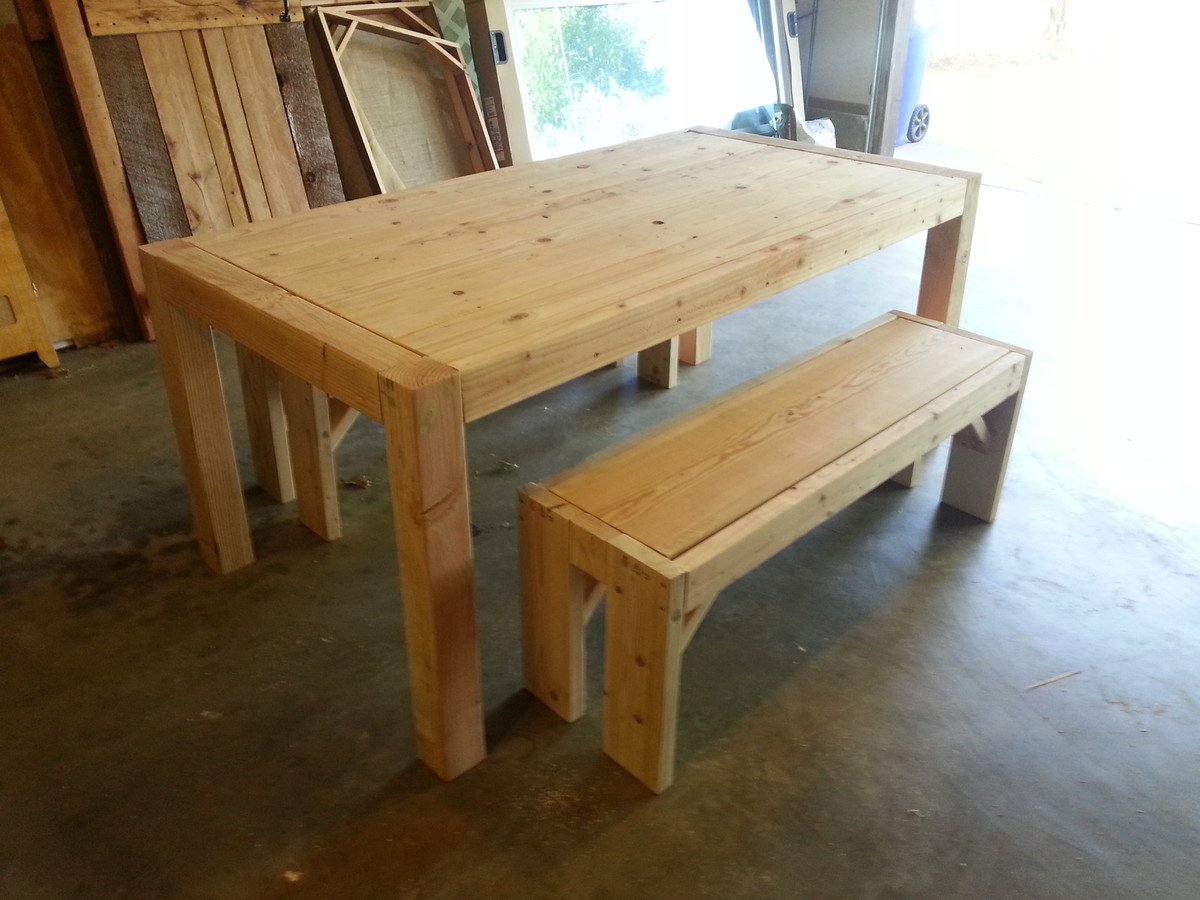
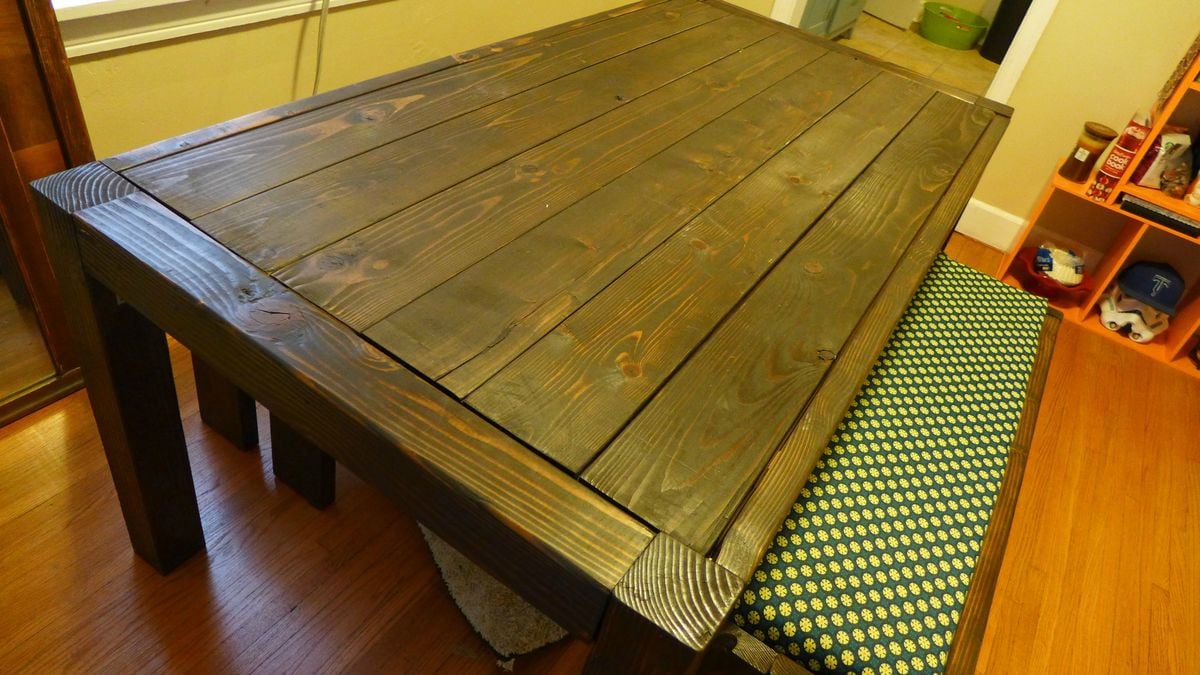
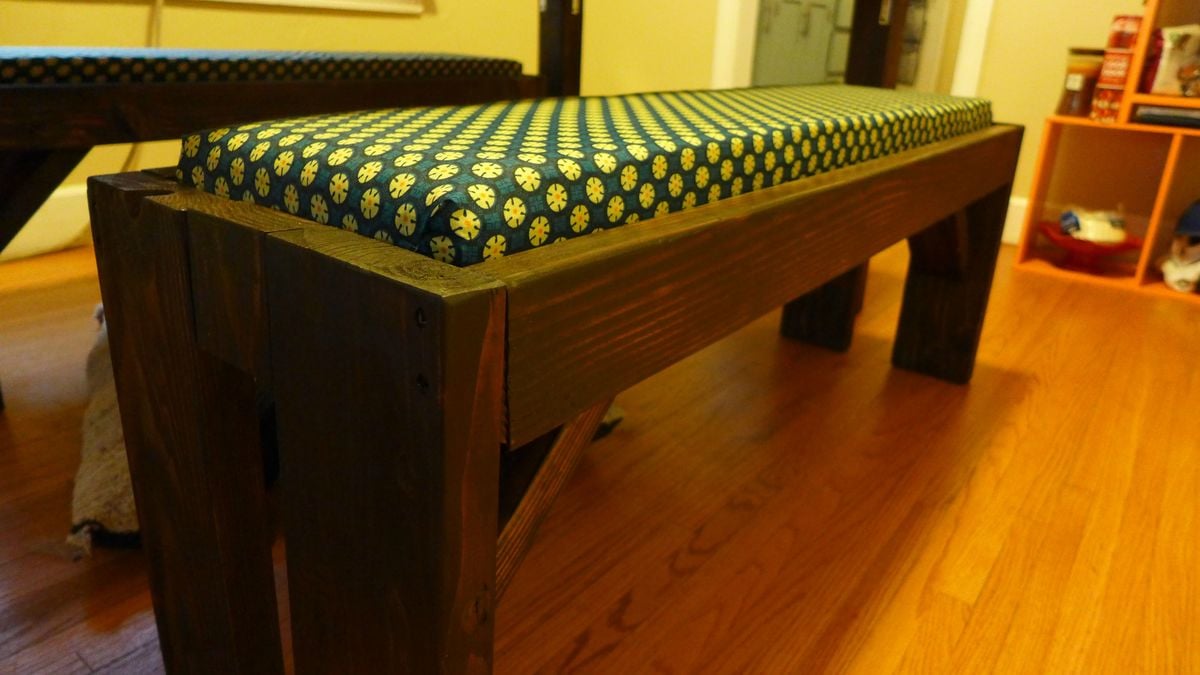
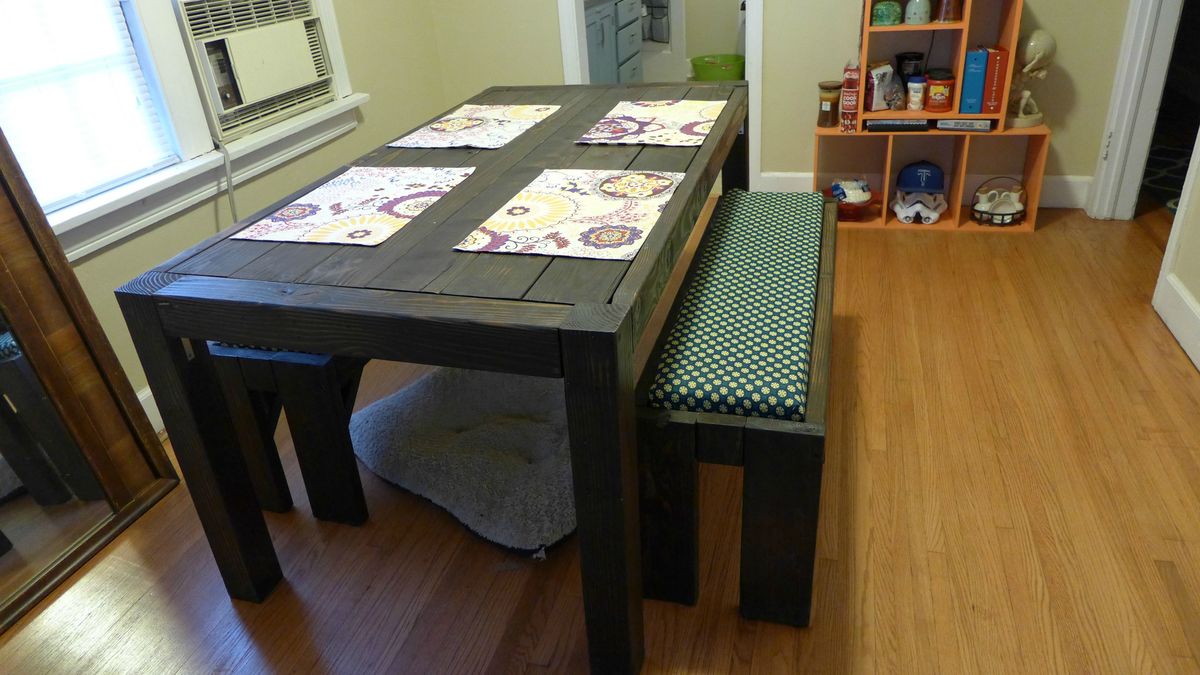
Modified the plans for the farmhouse table by using 4x4's for the legs and end pieces. Also cut 45 degree 2x4's for additional bracing on the benches. Upholstered the center 2x12 on the benches with some foam from army surplus.
Now that its all put together, I'm wishing I had went with 6x6's for the legs, but I like how the 4x4's look for now.
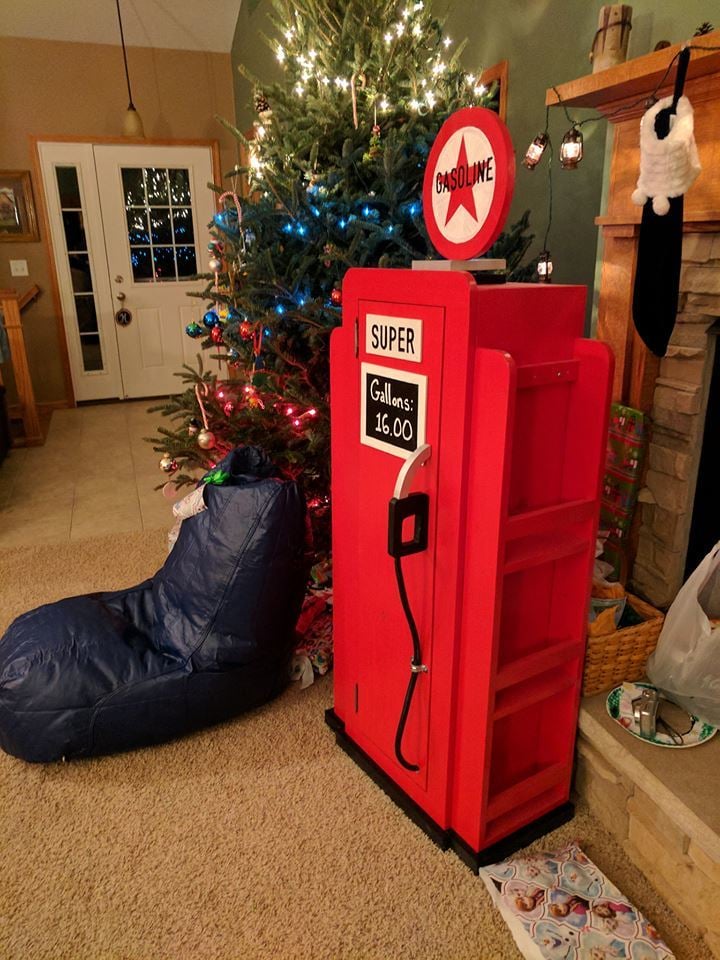
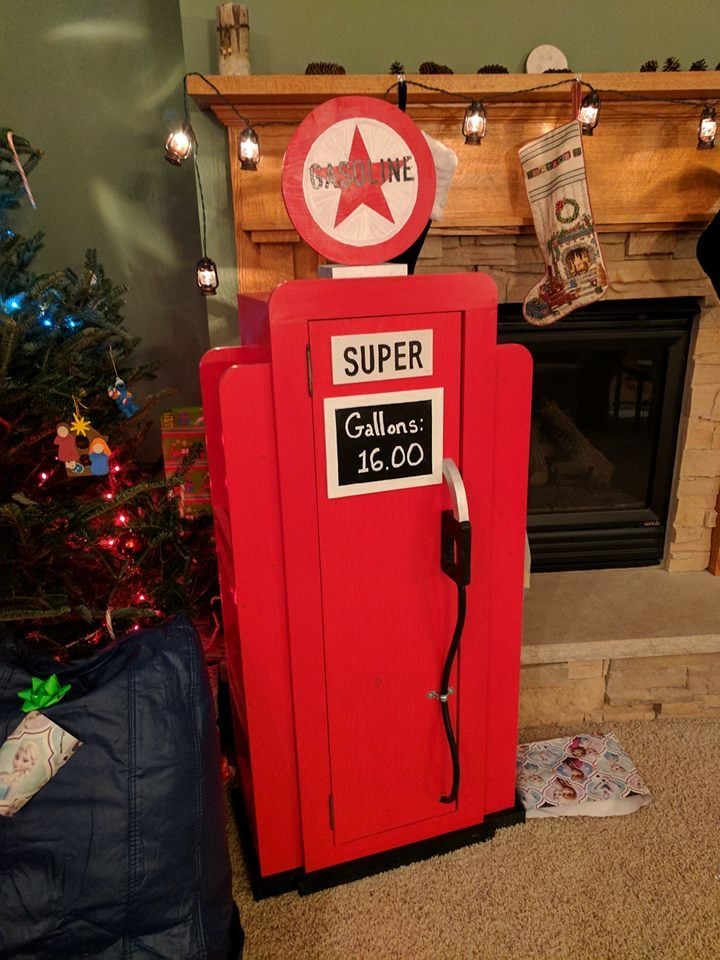
This was a Christmas present for my 6 year old. I felt that it was something fun and useful for him!

Thank you Ana for the plans!! I haven’t built anything in almost 20 years, My daughter and I built these together!! It was a great way to spend time together and we are now planning on building the matching coffee table!
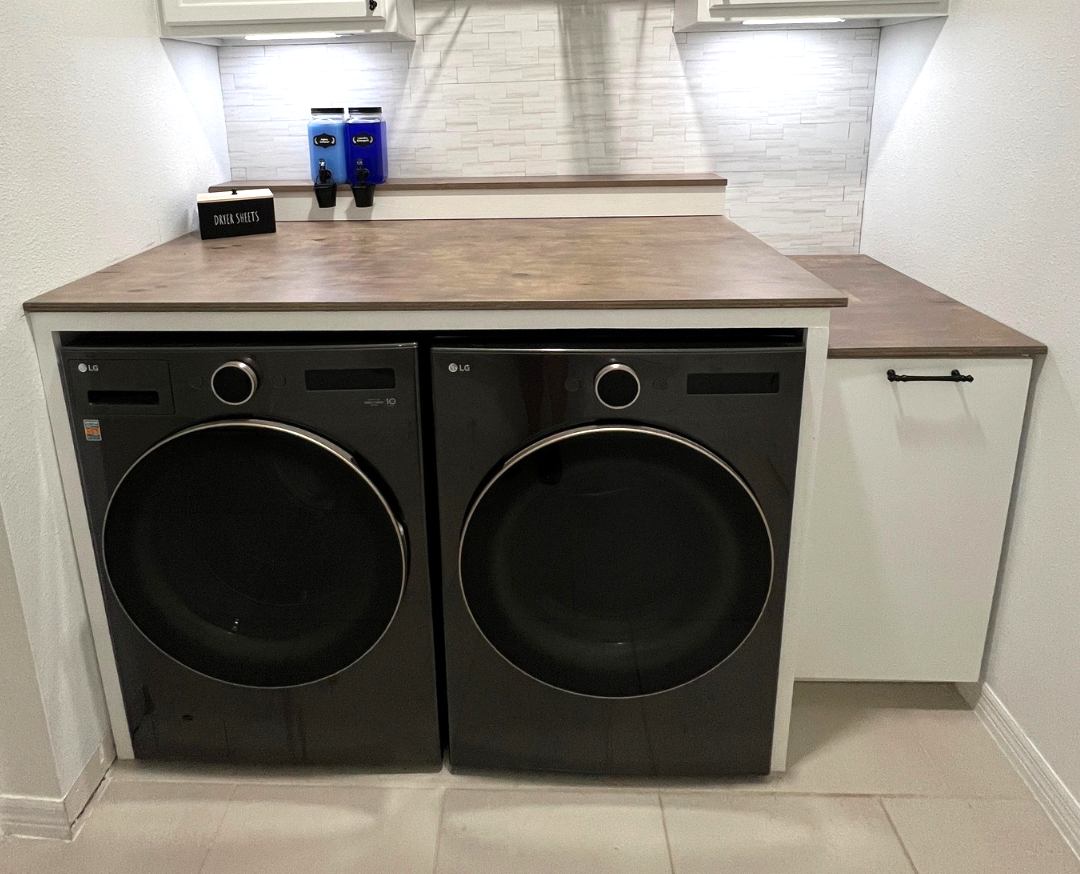
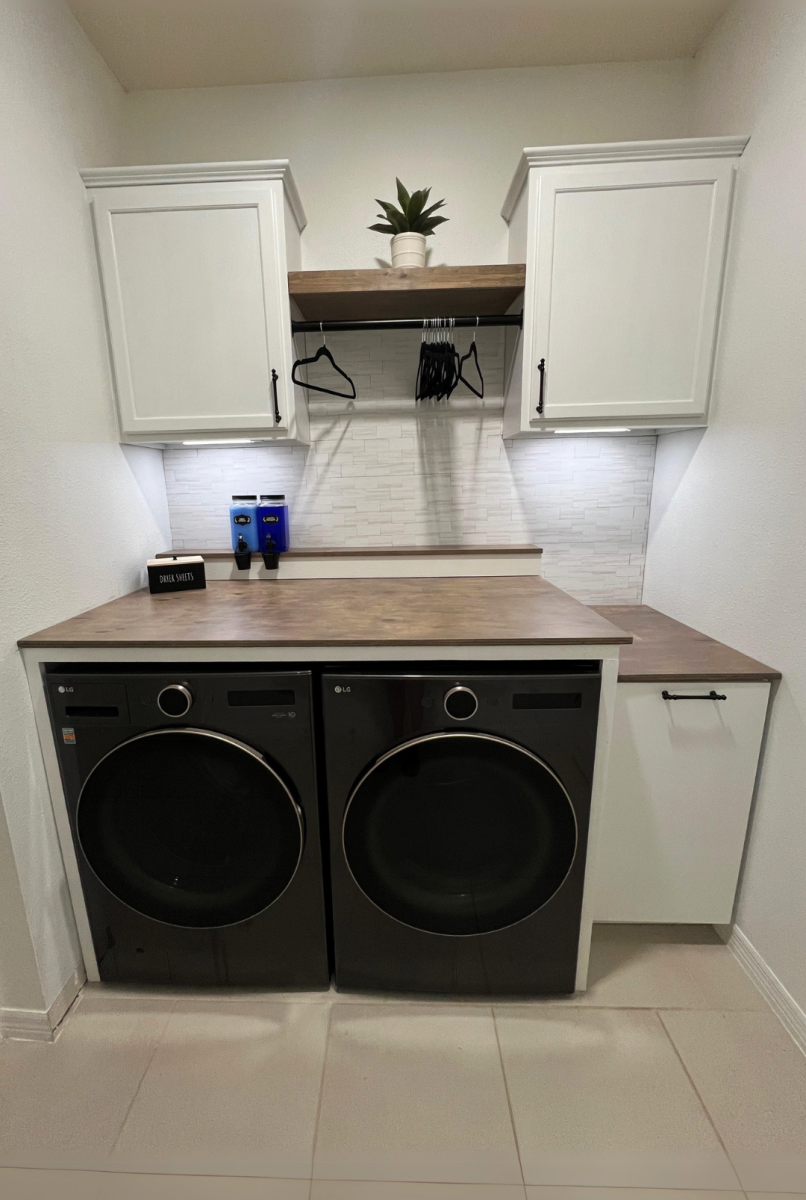
Built out the pull out cabinet to use as a hamper for towels in our laundry. -
