Community Brag Posts
Mudroom Unit

Mudroom unnit built from own design for a friend to fit a specific space they had.
Finished in a light grey colour.


Comments
Media console
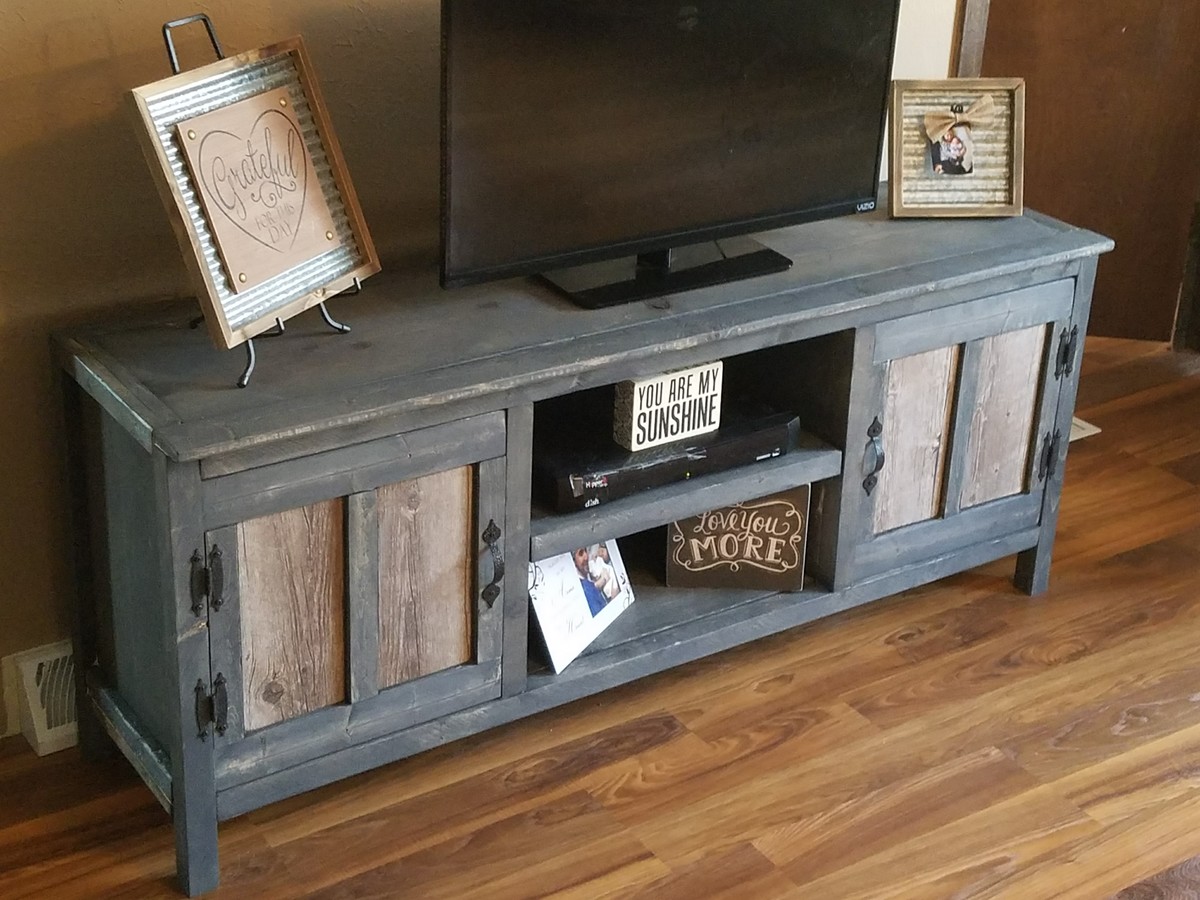
This was a fun build using the media console plans. I used ceramic tiles with a wood look in the door panels. Fairly inexpensive build and ended up with an expensive looking piece of furniture.
Coffee table
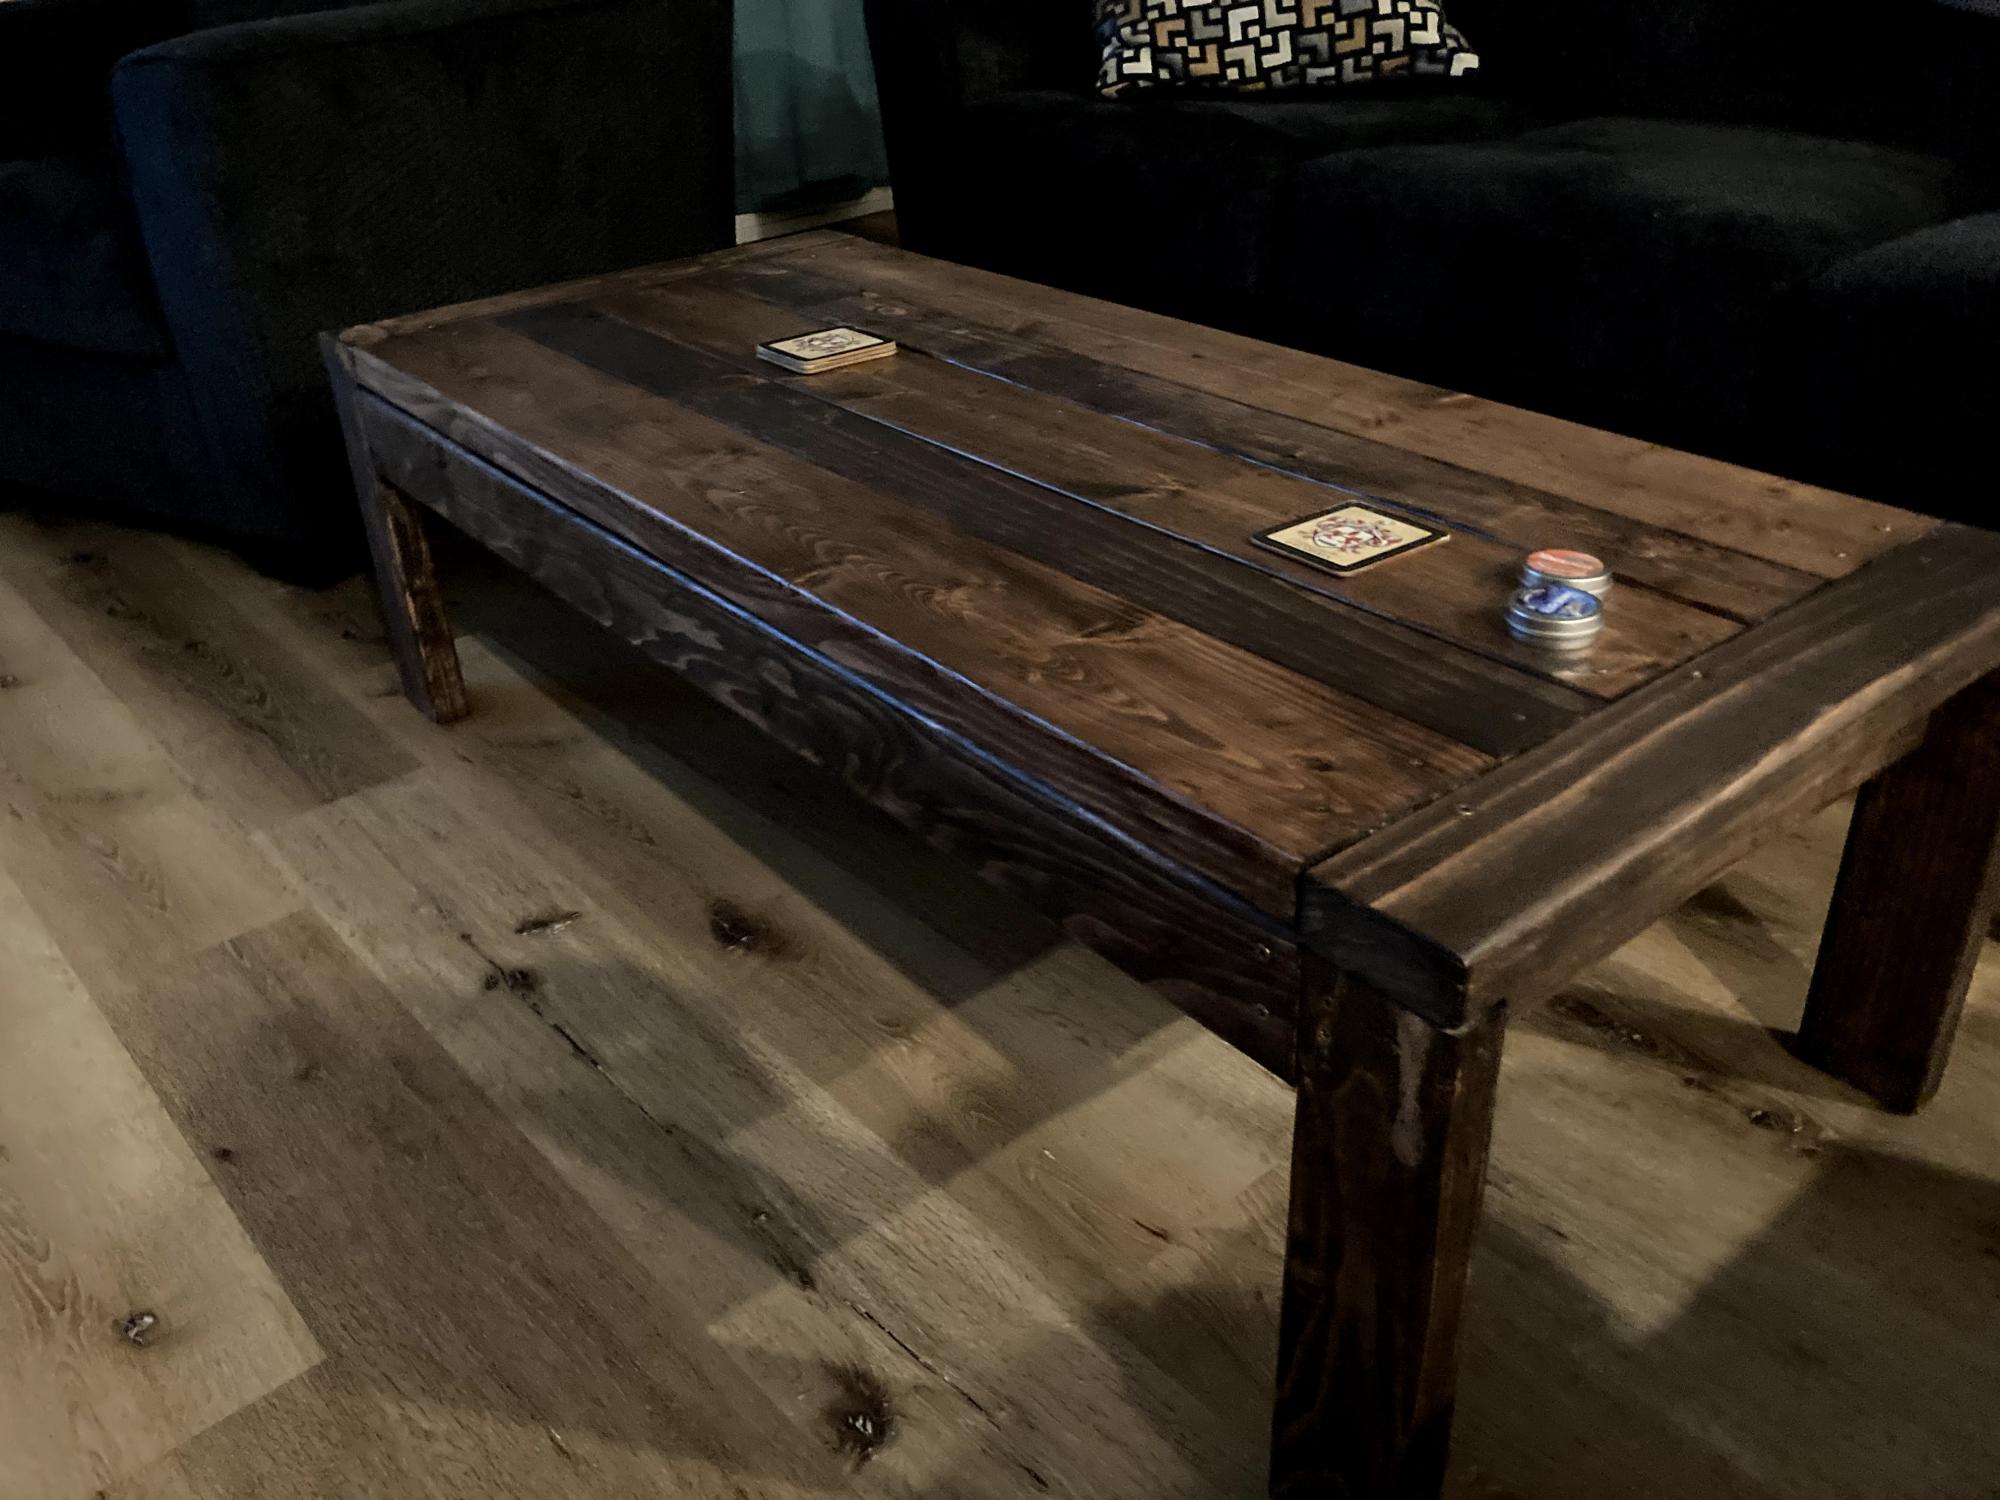
Used coffee table plan from Ana...turned out great. Used the stain/poly combo again, but this time opted to wipe it off. Turned out lighter than I wanted. But still looks great. Chose to do a different pattern for the top.
Necktie folding stool
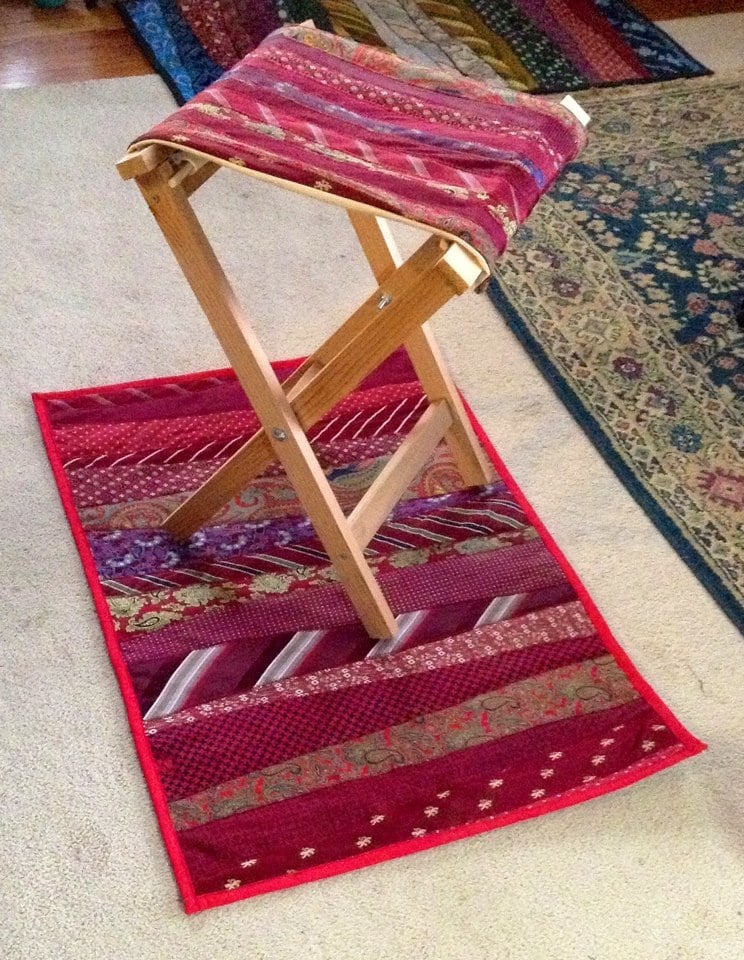
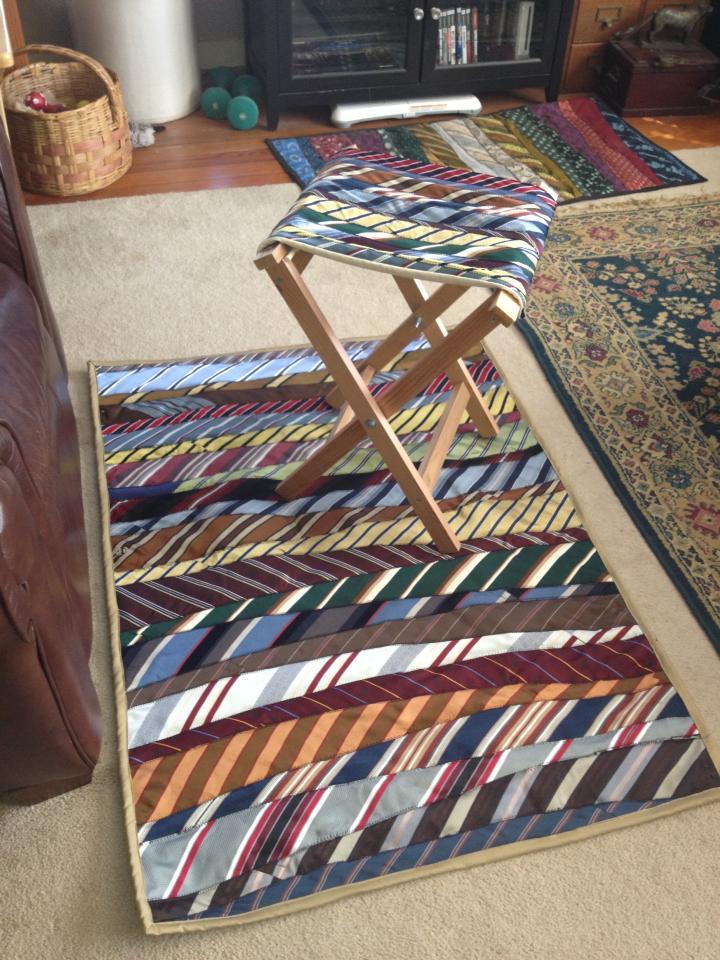
I zigzag stitched vintage neckties to plain canvas and used these directions to construct the stool frame. I used 1 5/8" screws.
Comments
Fri, 02/15/2013 - 19:23
Cool idea! Now I'm going to
Cool idea! Now I'm going to be looking for ties at rummage sales!
Craft Table
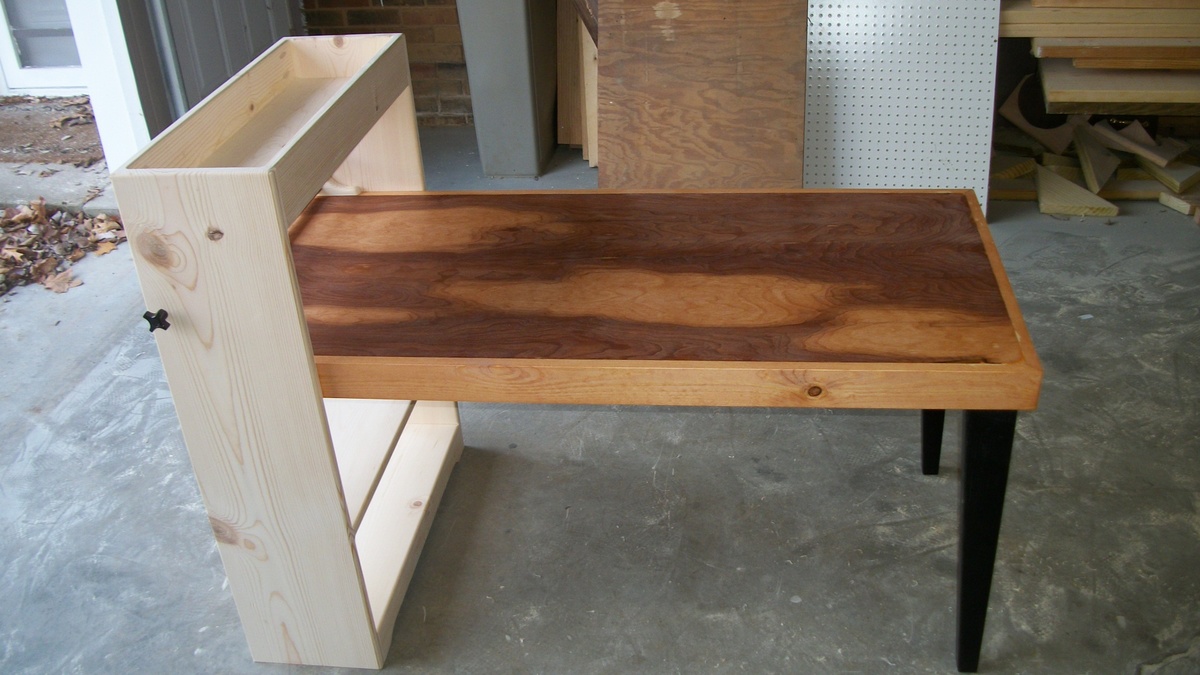
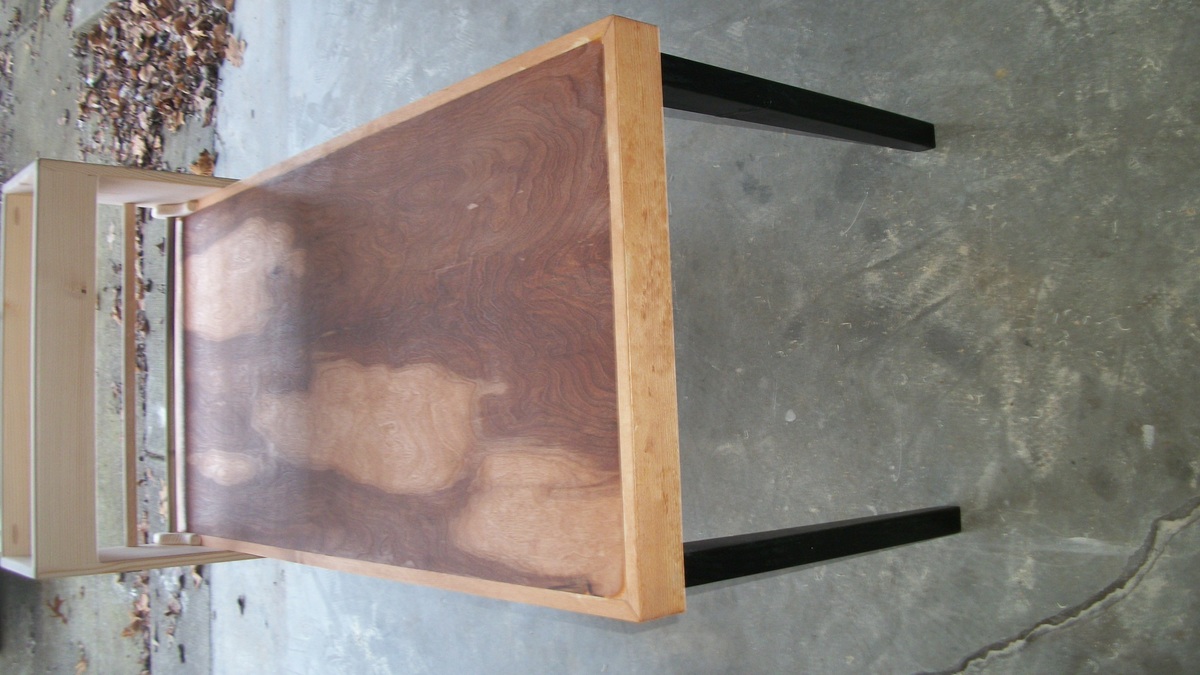
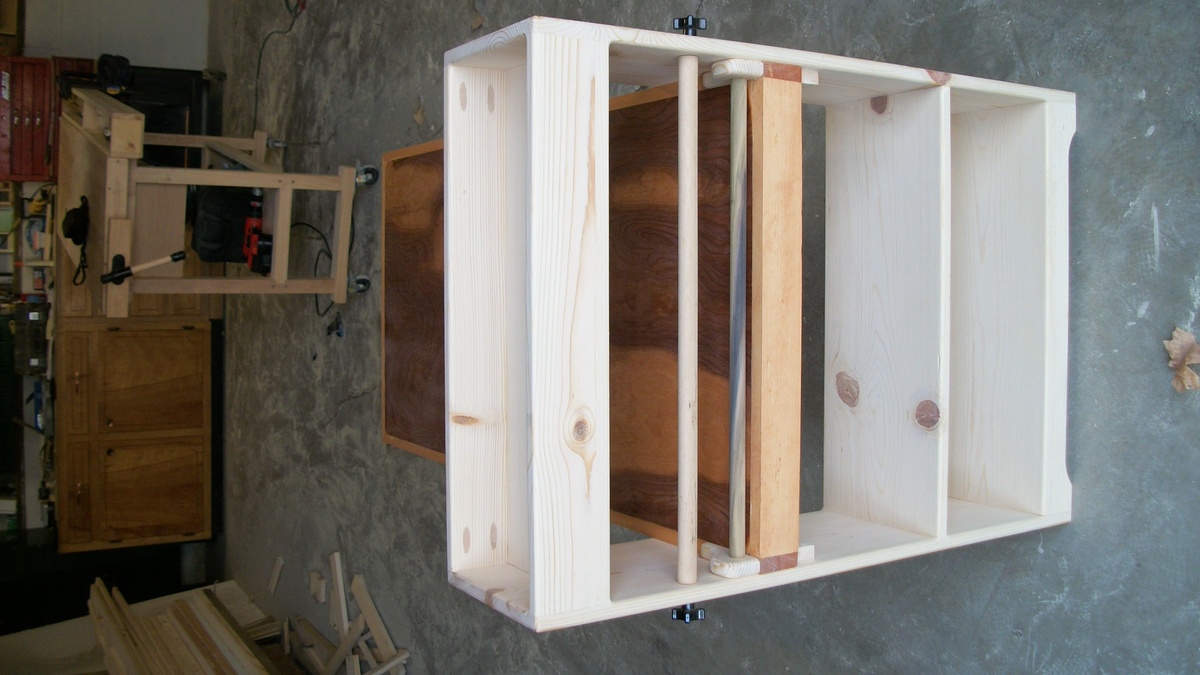
Built this based on the Arts and Crafts Table on Ana White's site. I added a dowel at the back of the table to keep the craft paper close to the table. I also added a removal dowel to hold the roll of craft paper. This dowel may be a little close to the table limiting the paper roll size. I made the table fit very tight so it can be removed when not in use. I use biscits on the table for the edge and pocket holes for the shelfs. This was my first try so adjustments will be made on the next one.
Dartboard Cabinet
Here's a couple pics of a dartboard cabinet I made from pallet wood. I routed/chiseled in "Odin's Knot" on the door just because I thought it looks cool. Kind of dartboardish looking! I've also included my highly engineered plan!
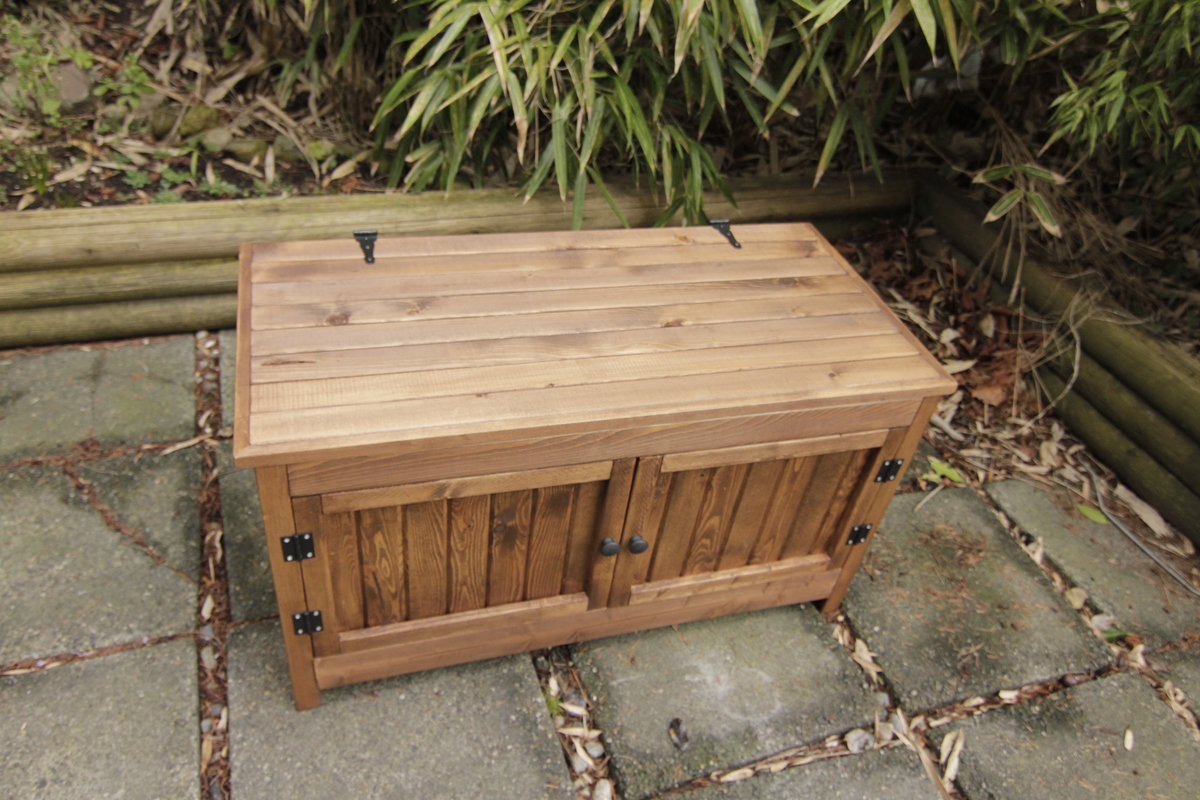
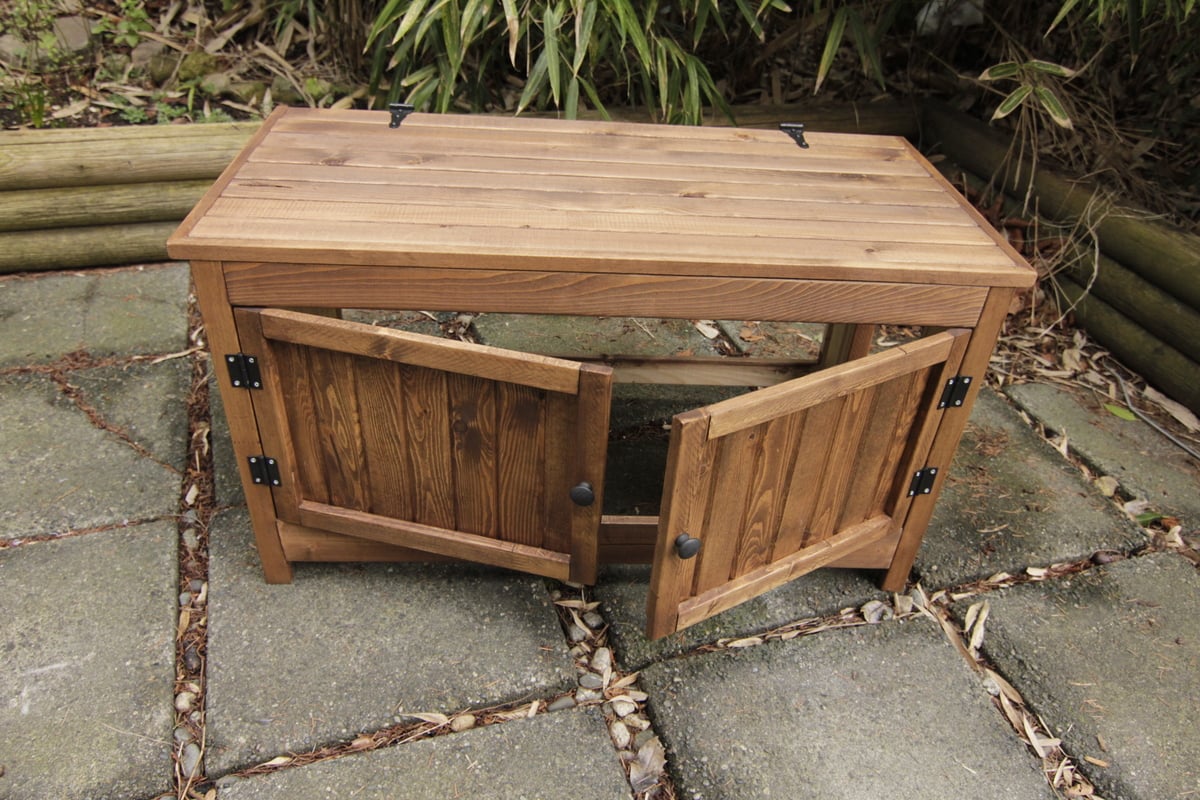
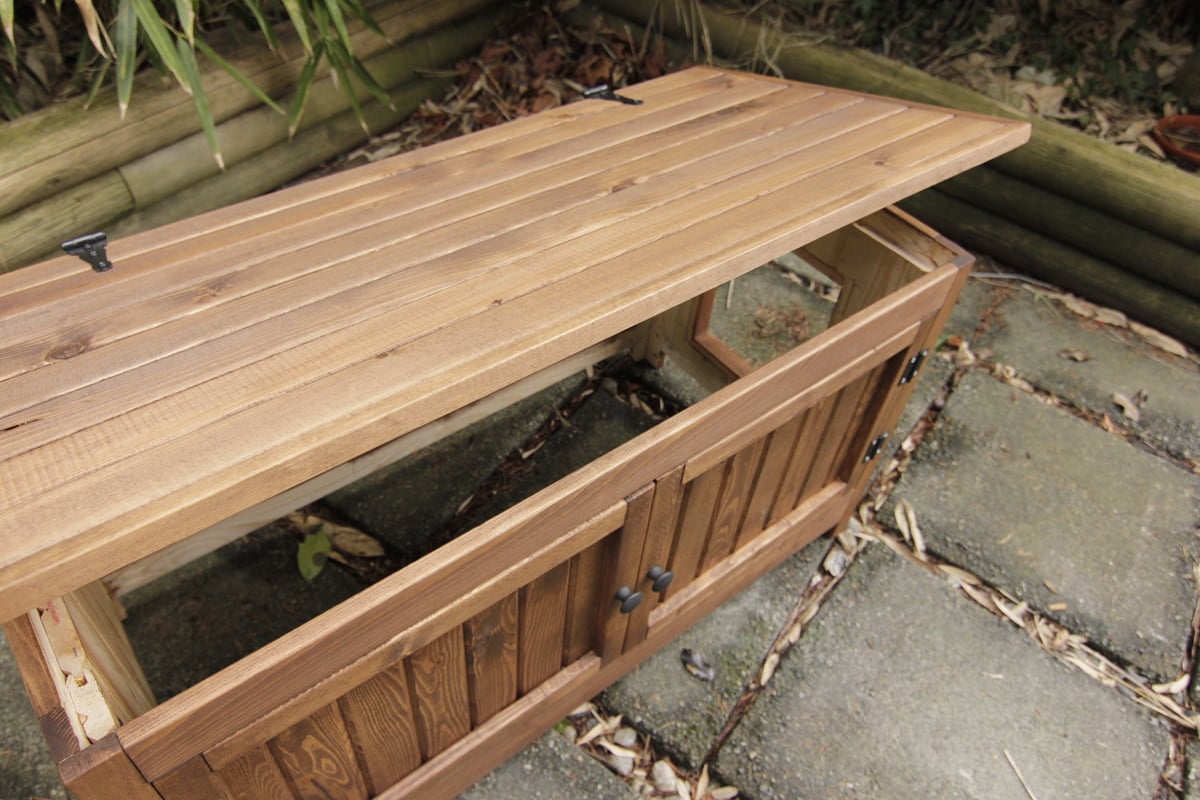
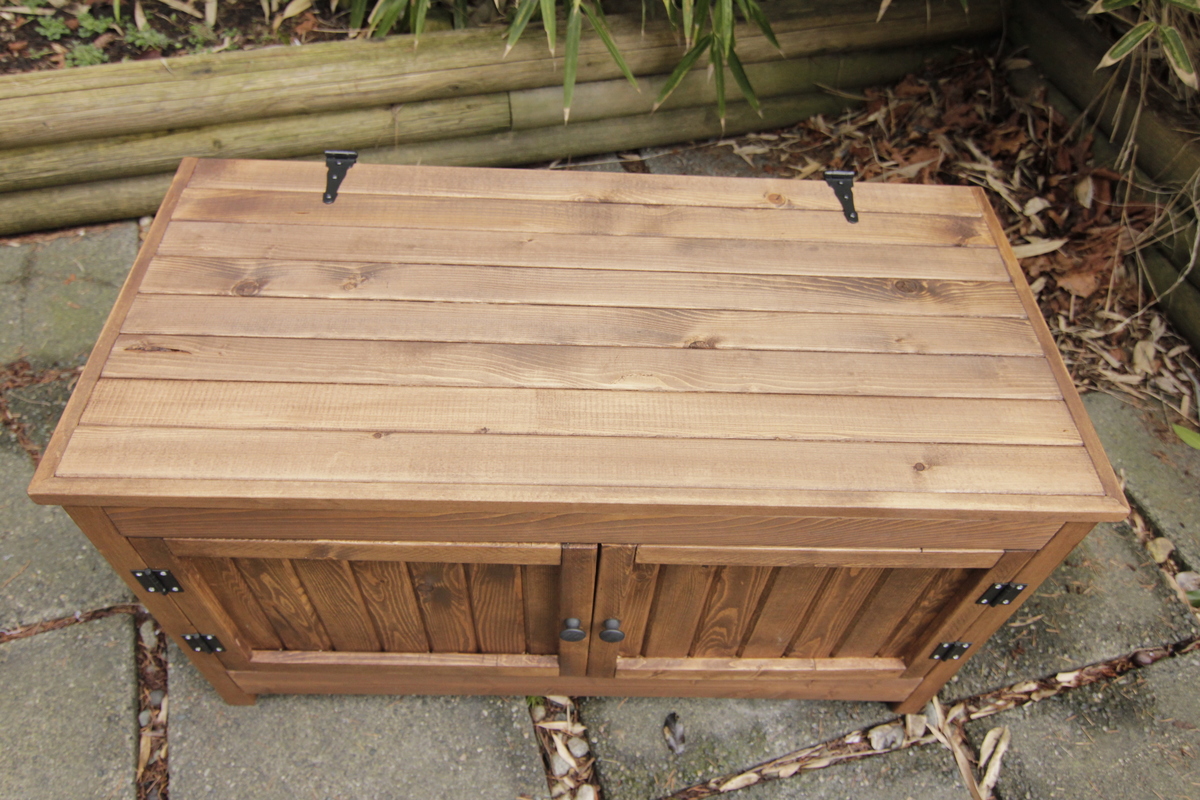
First Project - Modified Kentwood Nightstand into Bench for hiding a Litter Box
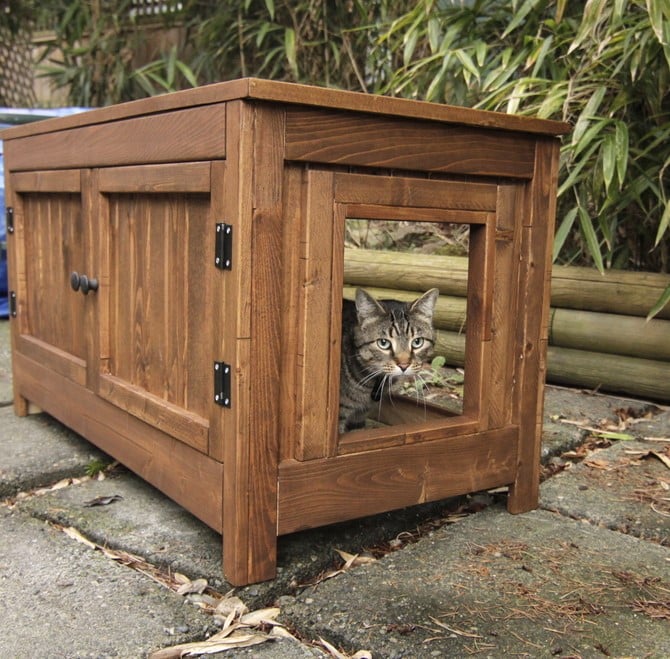
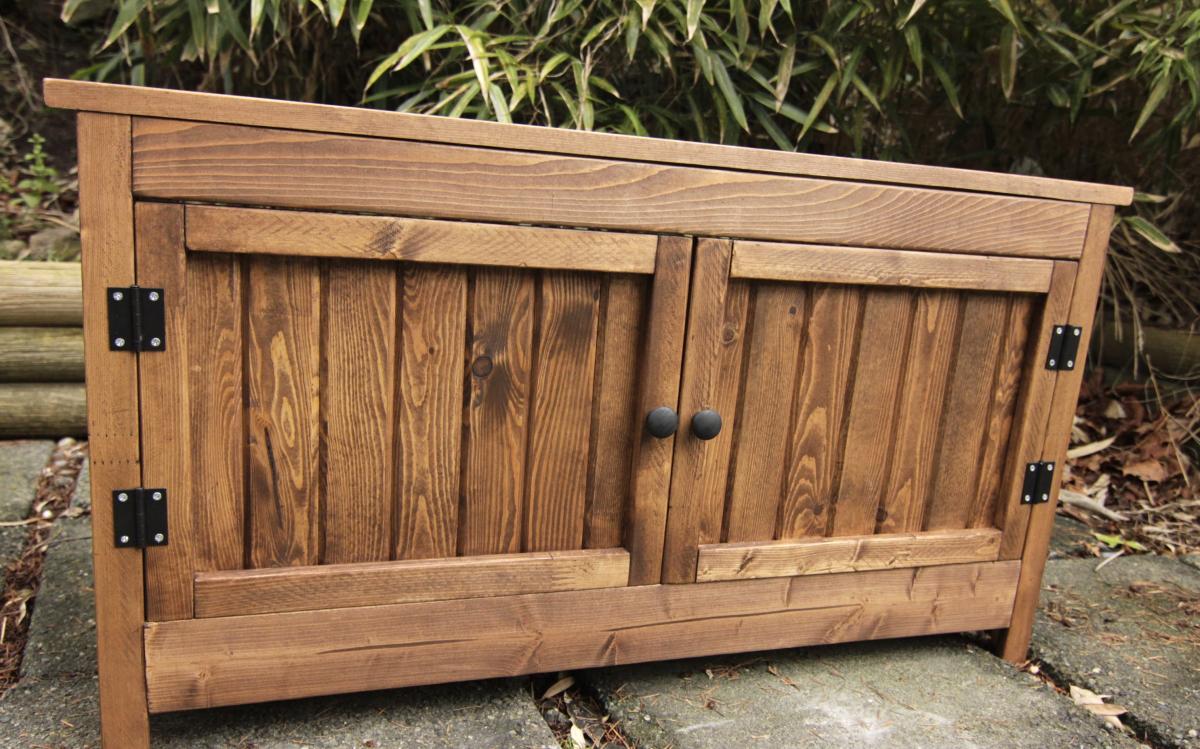
A while back I saw some posts on how to convert Ikea furniture into a litter box hider, which I thought was a great idea. Then I stumbled across the "Shanty-2-Chic" blog and the Kentwood Nightstand (and then of course Ana's site). I LOVED the stand and thought it'd be great to modify that plan into a bench version, so I could hide the litter box. I loosely followed the original plans and modified them to suite the dimensions of the litter box. I also wanted a lid that would lift so I could easily clean the litter box. I also cut a hole in one end so the cats could get in and out. I loved the look of the door on the Nightstand version, so I made two to fit the bench shape. I made one door first, then re-measured for the other door so that they would fit perfectly (good thing I did as the second one ended up needing to be a little longer than the other). In the photos I haven't added the bottom of the box yet, but I'll use L-brackets, attach leftover 1x3 as a border, then lay down old ikea shelves I had kicking around. The shelves will actually work out quite well as they have a laminate finish - making it easier to clean. I have a little carpet square to lay in there are well to catch the litter before the cats walk out. I intend to get a cushion for the top, so that my guests can sit on it when we're hanging out in the kitchen. I won't tell them they're sitting on top of the litter box :) Over all the project took me a really long time, but that was partly because I didn't have all the right tools, was often working in my living room (due to rain and working late at night), and I'm super anal about measuring! I'm really really happy with the way it turned out! P.S I bought the $20 Kreg Jig and must say that I LOVE that thing.
2) Rust-Oleum Varathane Wood Stain in Dark Walnut
3) Rust-Oleum Varathane Water - Based Wood Finish (for the inside of the box).
I used wood conditioner on the exterior of the box, let sit for about 1/2 hour then painted on the stain with a sponge brush. I wanted it dark to I left the stain on for a while.
I don't like shiny finishes so I didn't treat the outside of the box, however I did use it on the inside to prevent the wood from absorbing any smells.
Comments
Mon, 02/18/2013 - 17:20
Great Idea!
I really like this idea, I have to put the cat box in the farthest corner of my kitchen also. This is a great idea I hope you dont mind if I use :) Thanks for sharing
My Mudroom Lockers
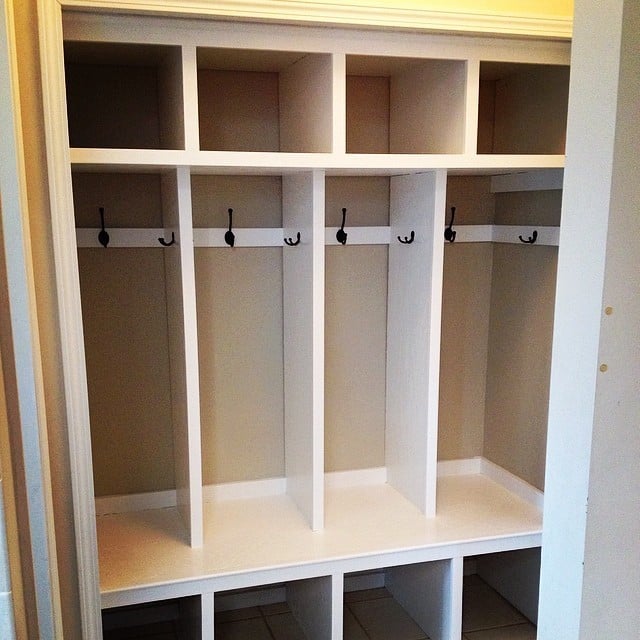
Turned an entryway closet into these lockers for my kids. I used the basic ideas in Ana's Smiling Mudroom for my plans. Lockers are just inside the entrance from the garage.
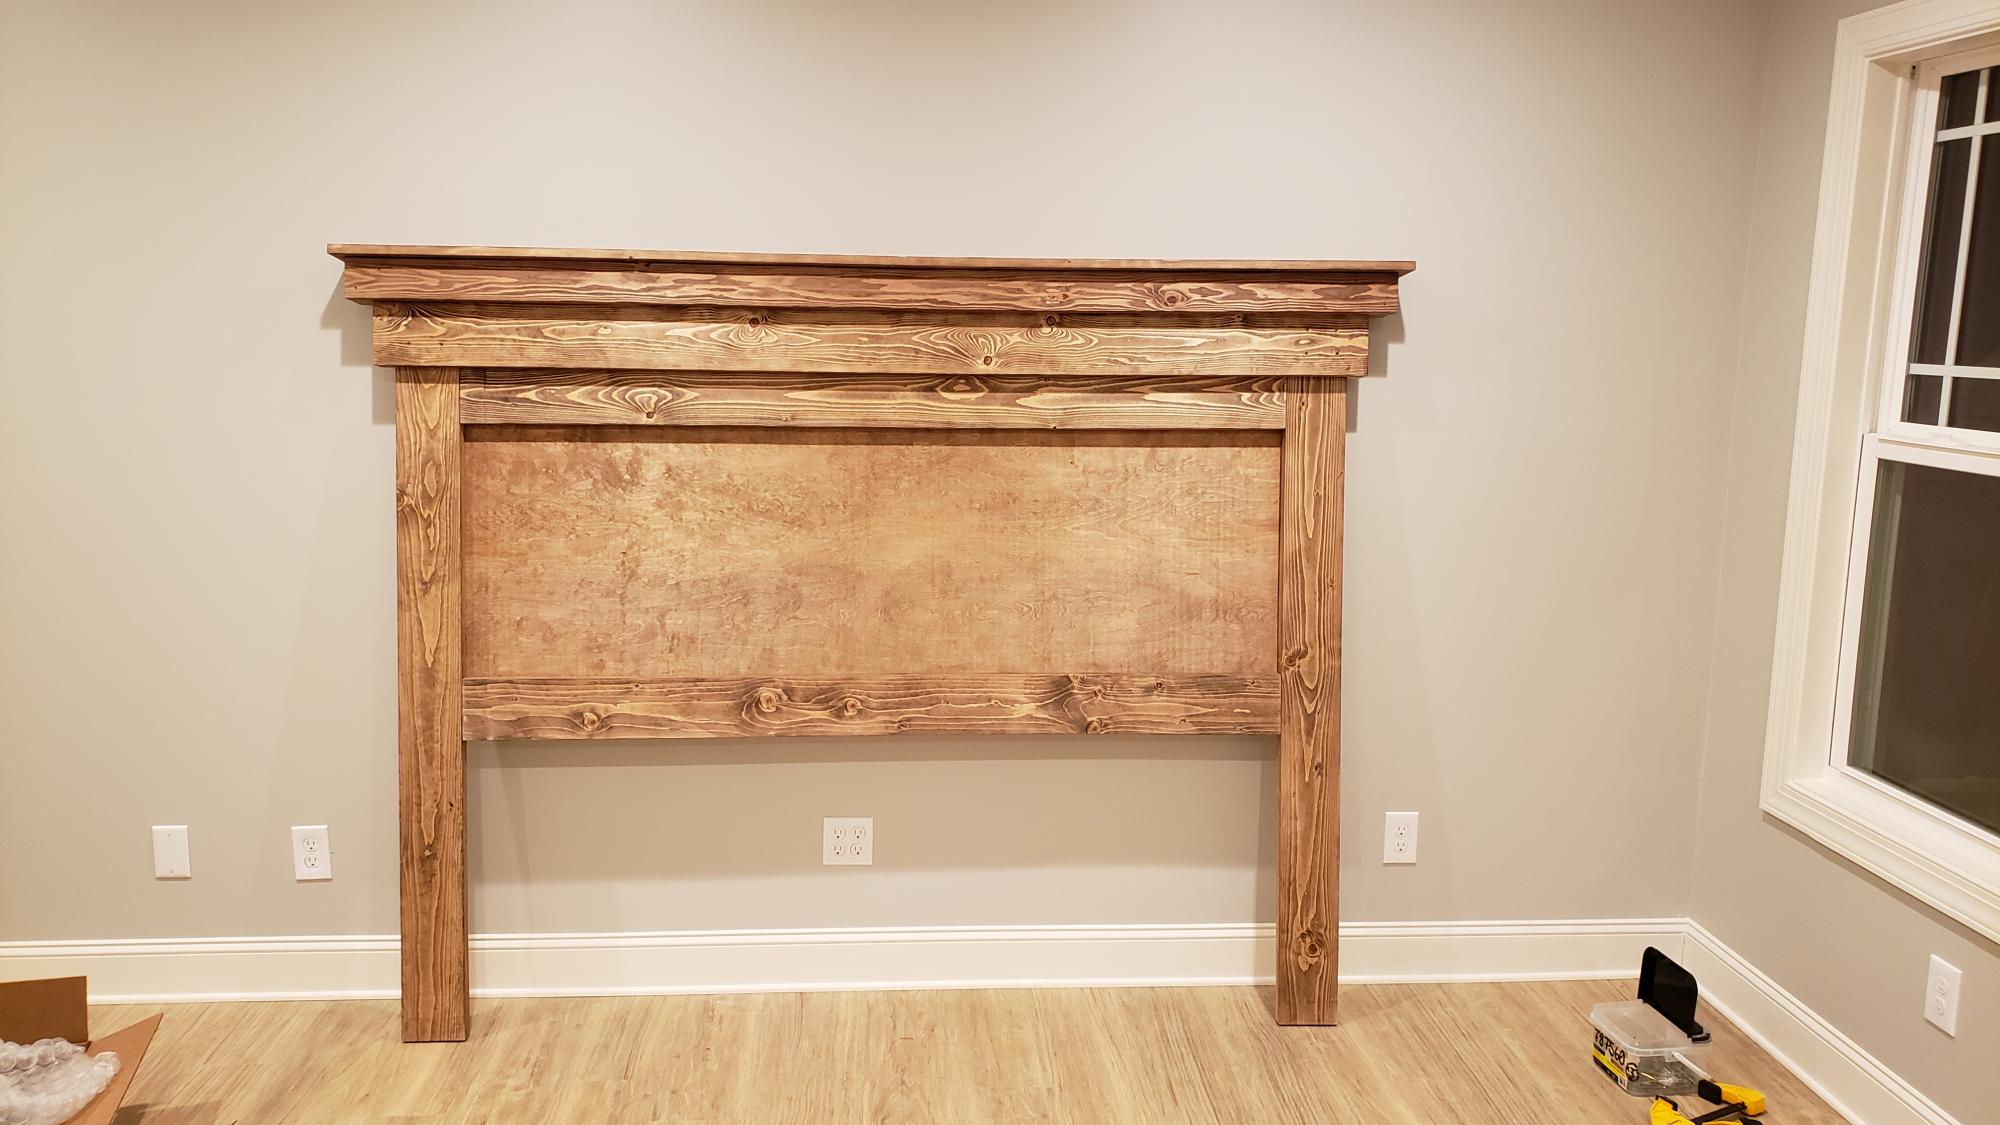
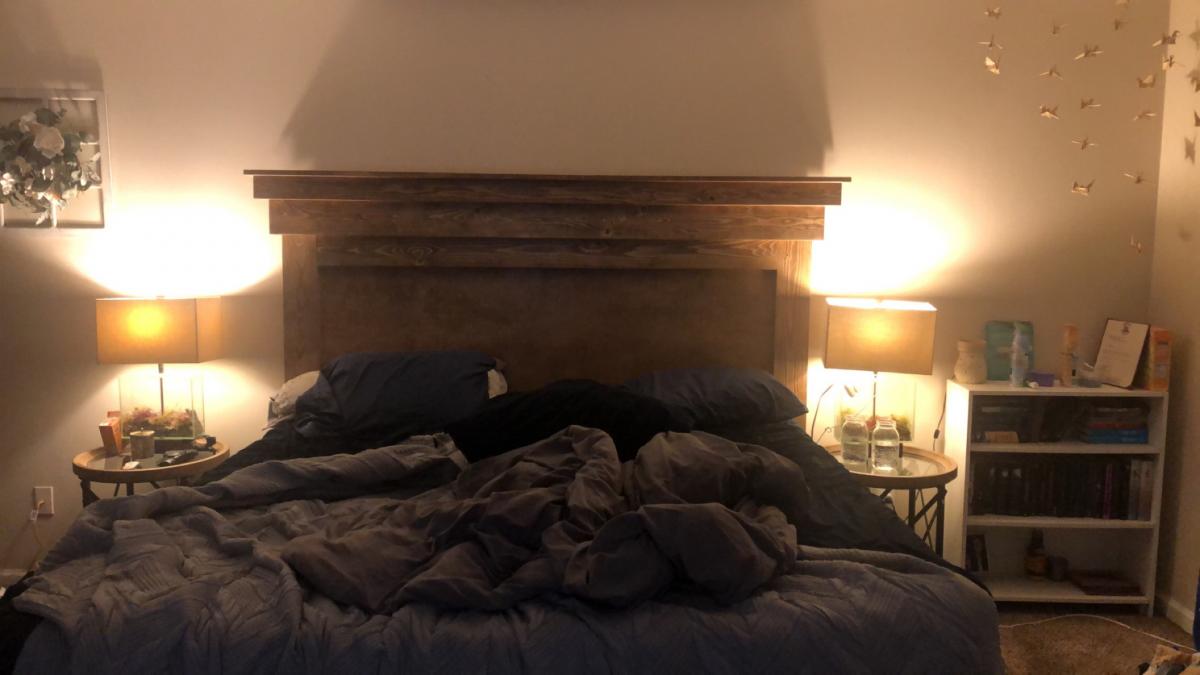
Mantel Moulding Headboard - King Size Here!
Hello,
I have a PDF with material, cut list, and assembly steps for anyone interested. I also used Type 2 wood glue and all screws with this build, substituting for nails in the original plan!
Please email me at [email protected] with any questions!
Thanks
Matt
Comments
6 Cube Bookshelf/Dress up
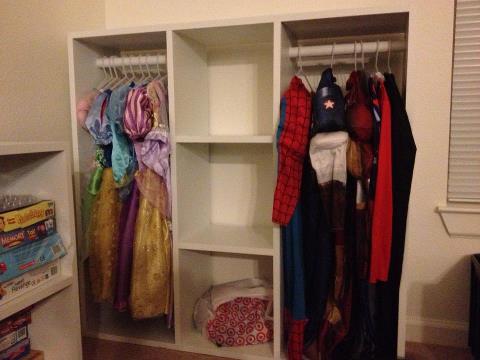
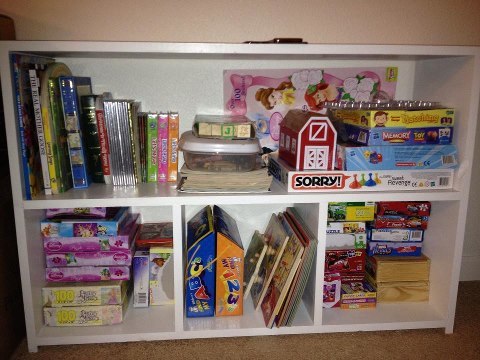
I was told about the site from my neighbor. Little did I know I would find myself wanting to build everything on this site. So I started with the 6 cube bookshelf leaving out the dividers on top to allow the kids to use it as a bookshelf. I also wanted them to have a place to store their dress up clothes when they weren't in them. So, I turned the 6 cube bookshelf on its side and added a couple of inches to allow for small dress up outfits. I am going to put the storage bins in the squares once I find some.
One Piece Play Kitchen

Thank you so much for the plans Anna. My two year old absolutely loved this Christmas present. I used drains for the stove tops and added a wire rack to the stove and tiled the backsplash.
Truss Coffee Table
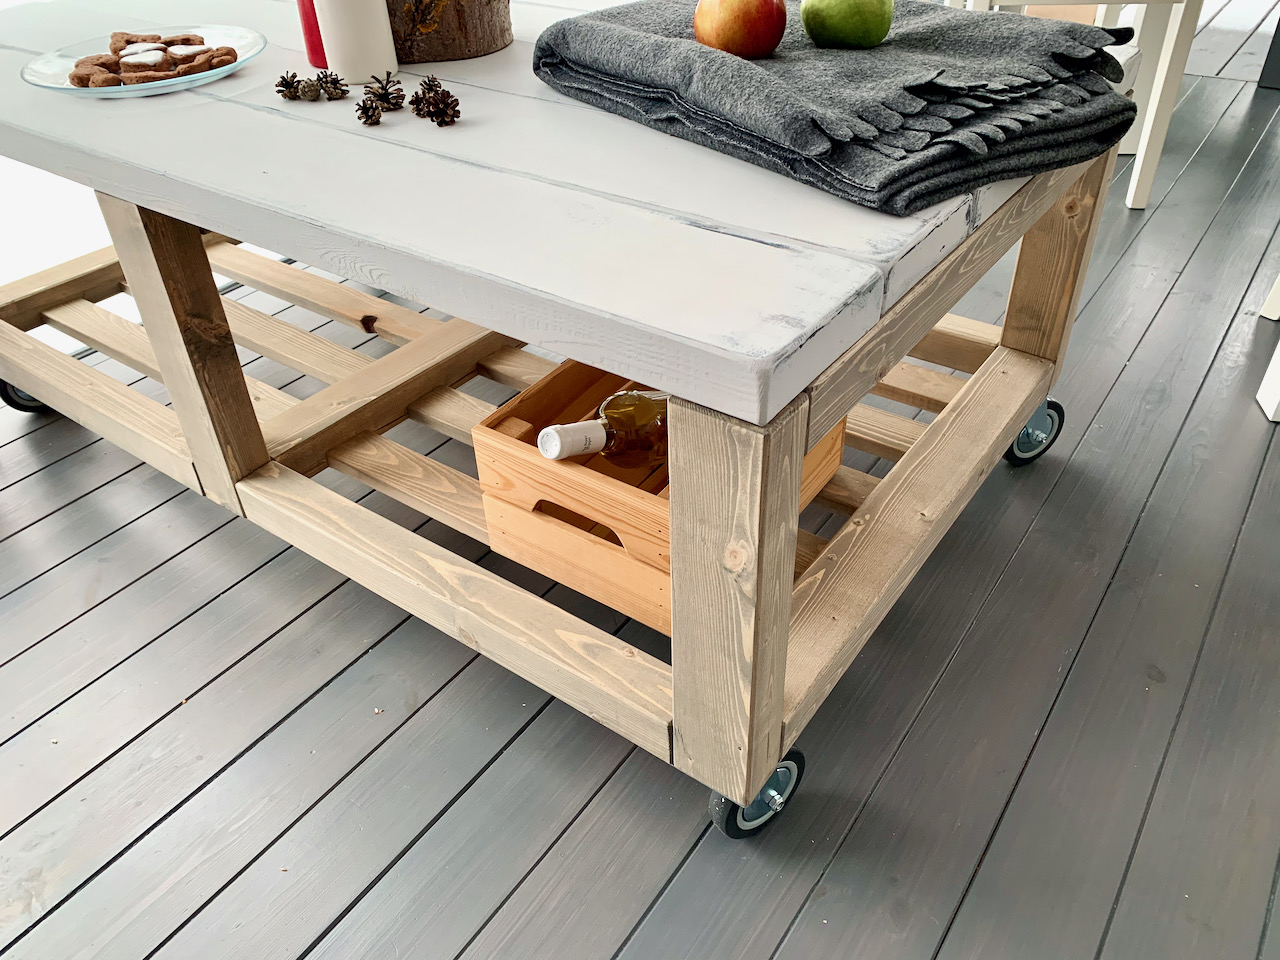
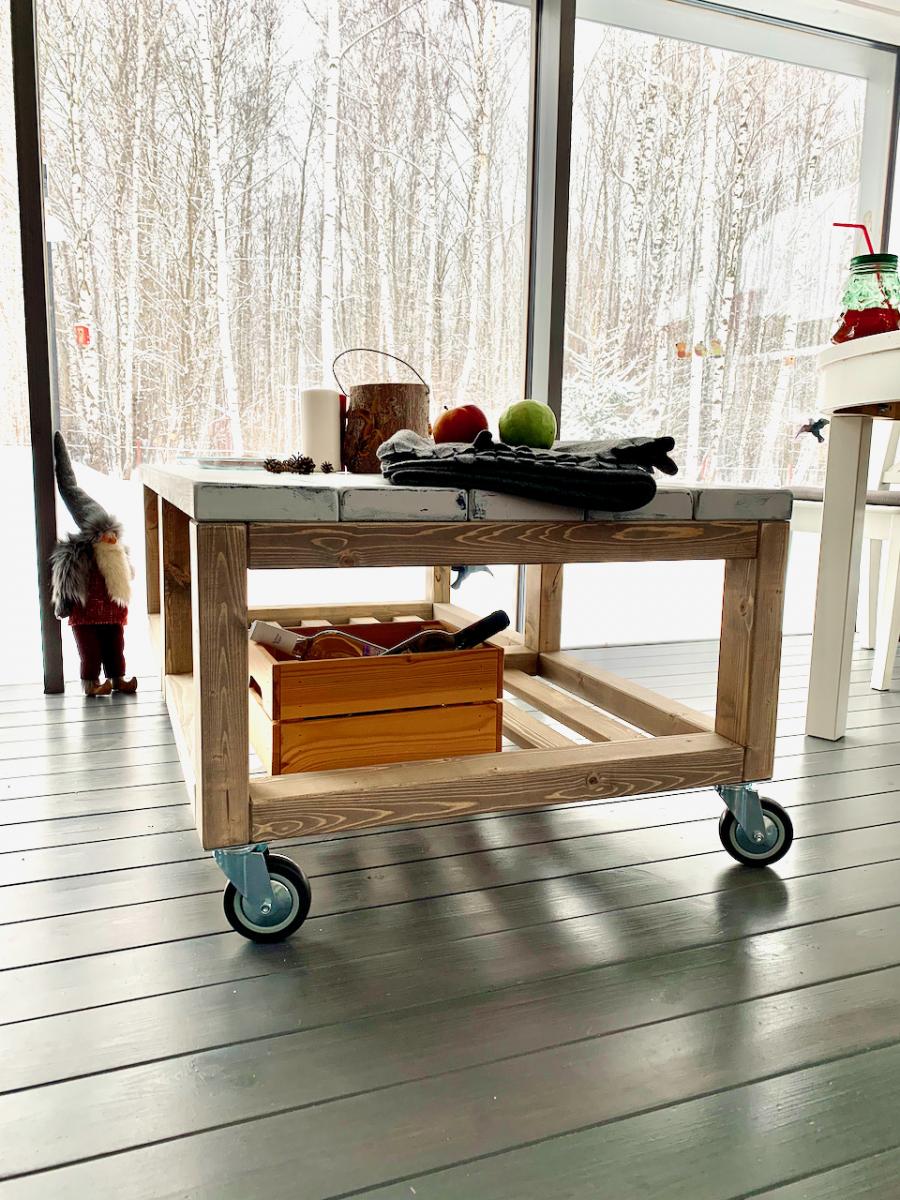
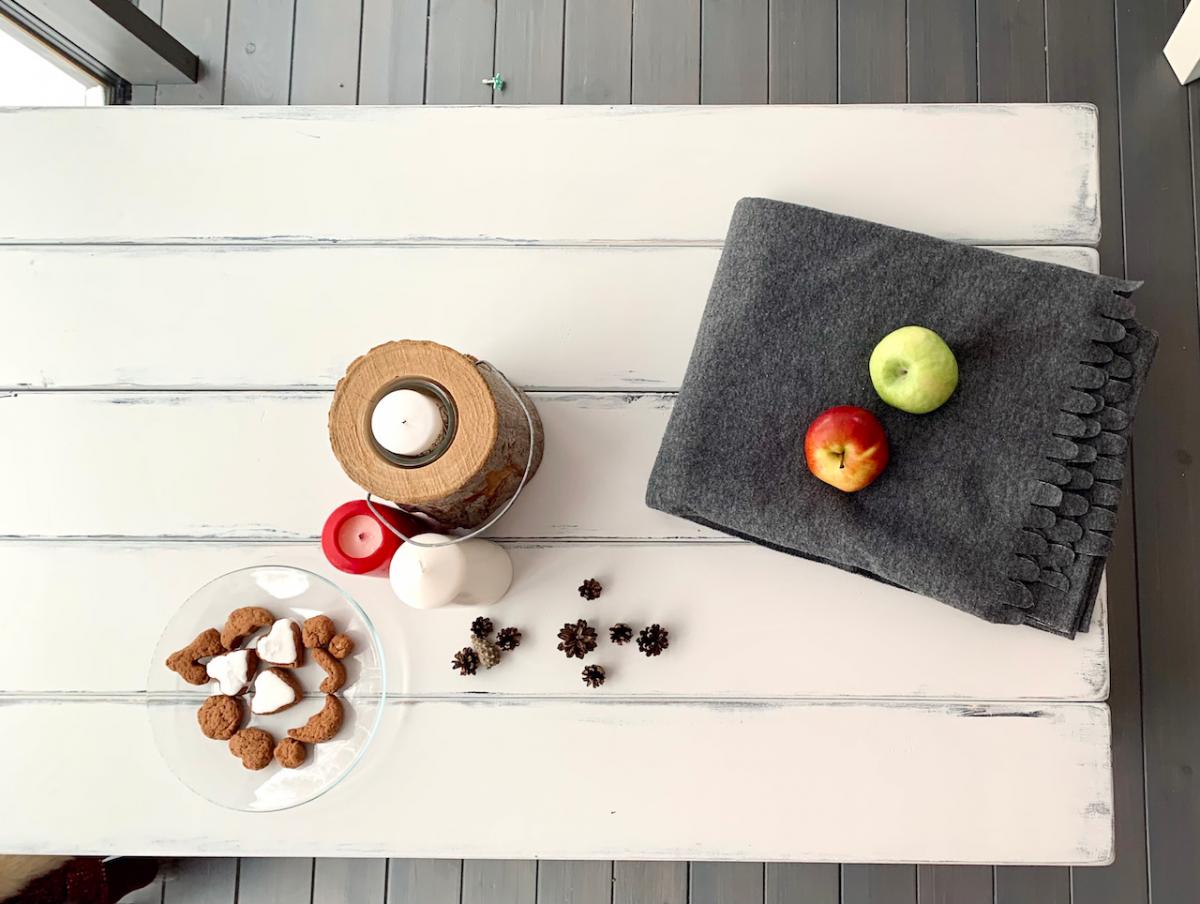
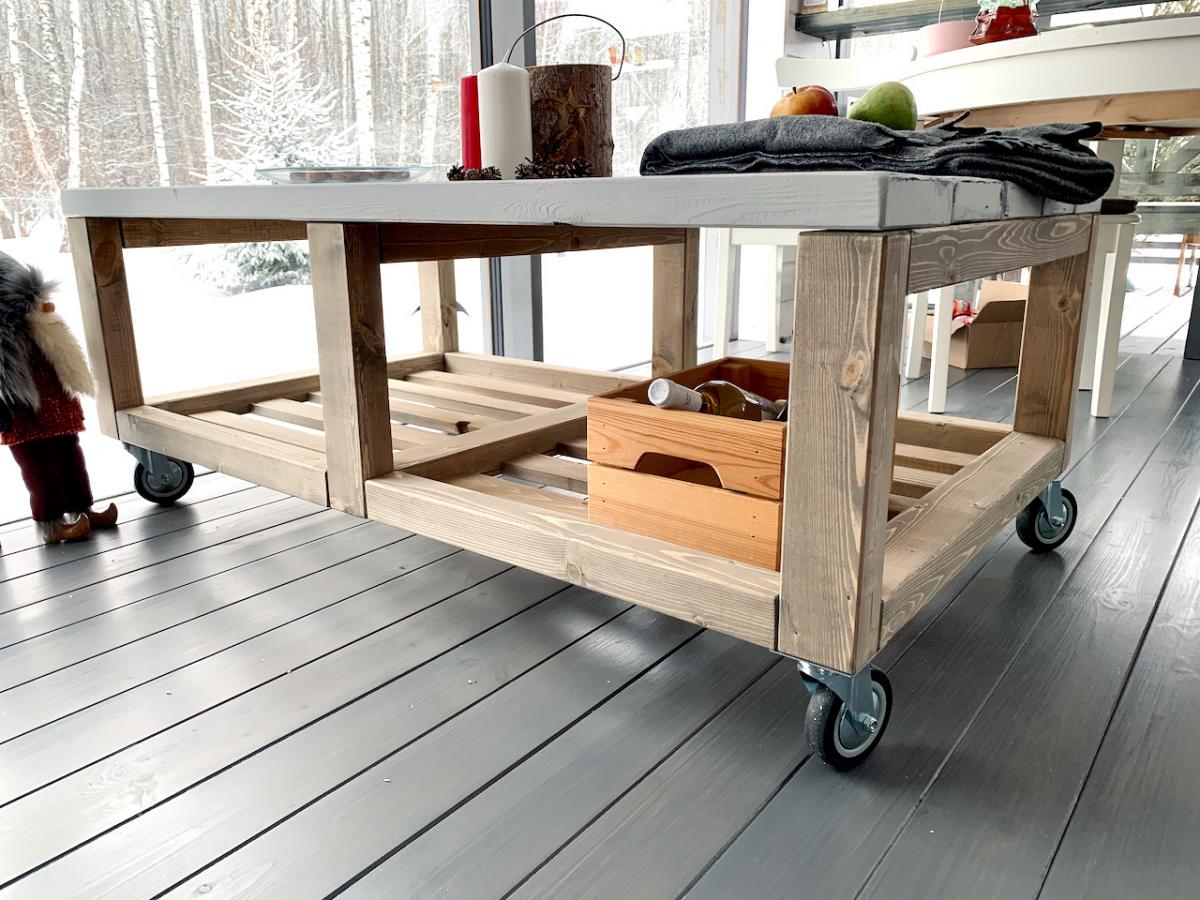
Super table i like it so much. Cant wait for summer to use it outside.
Comments
Ski Patrol Shack Bed (Mod of Clubhouse Bed)
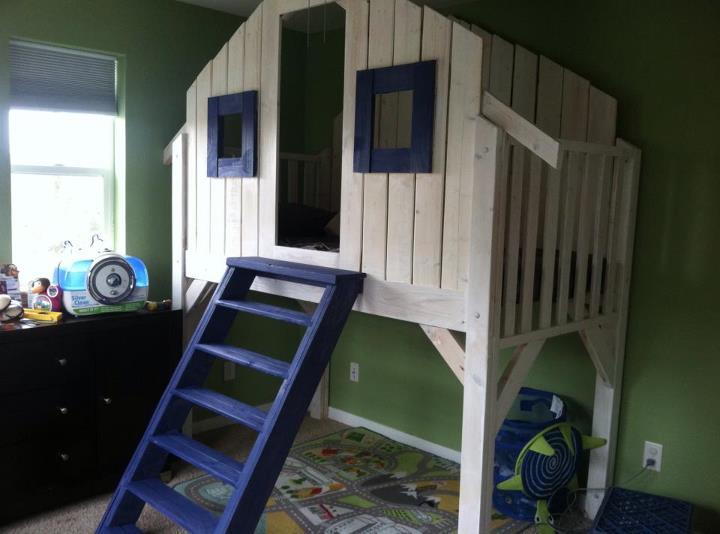
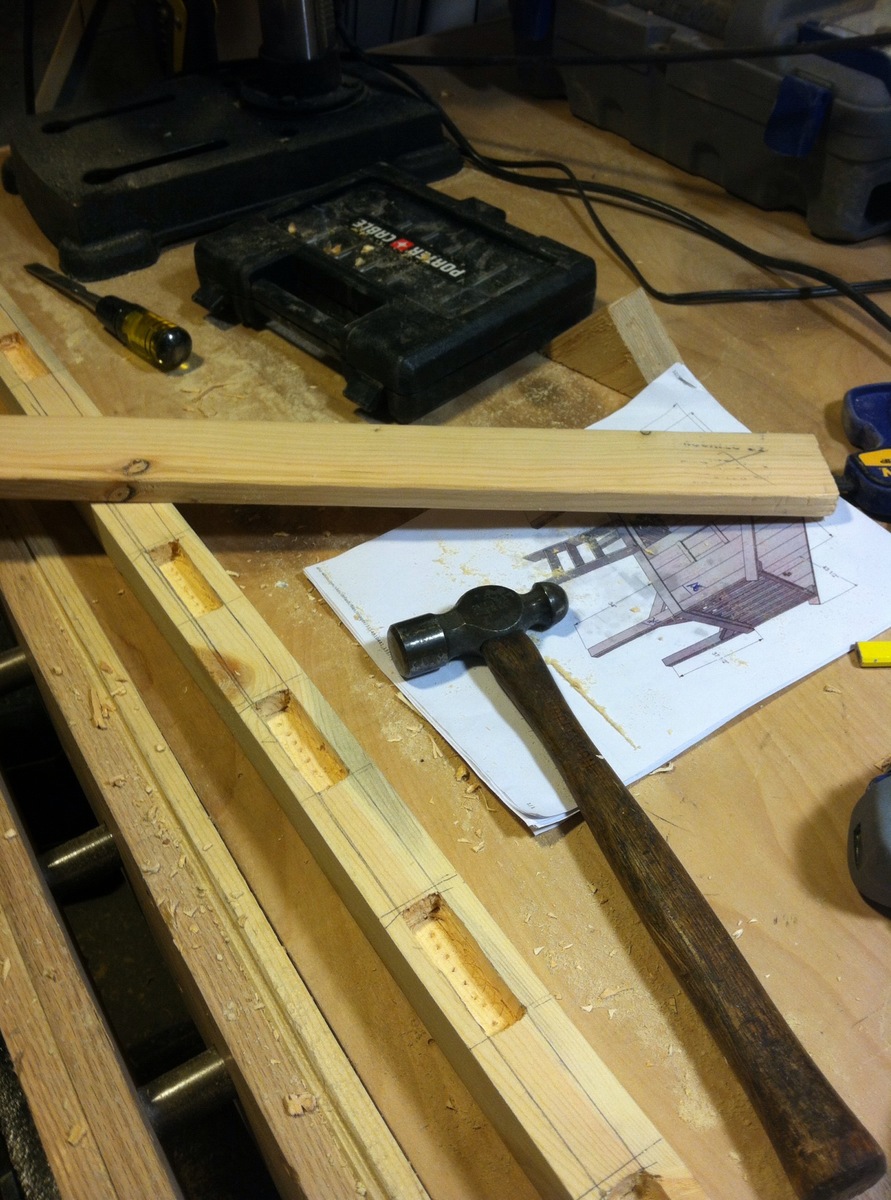
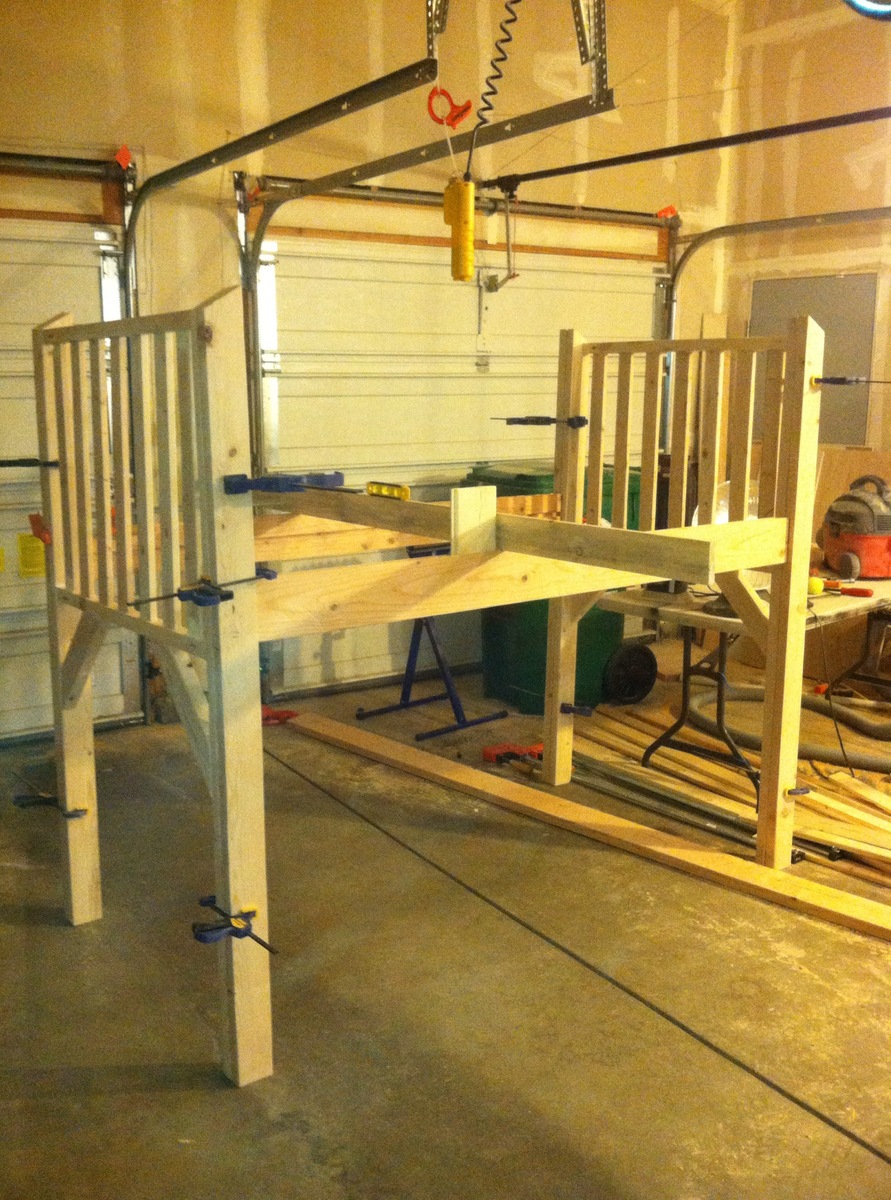
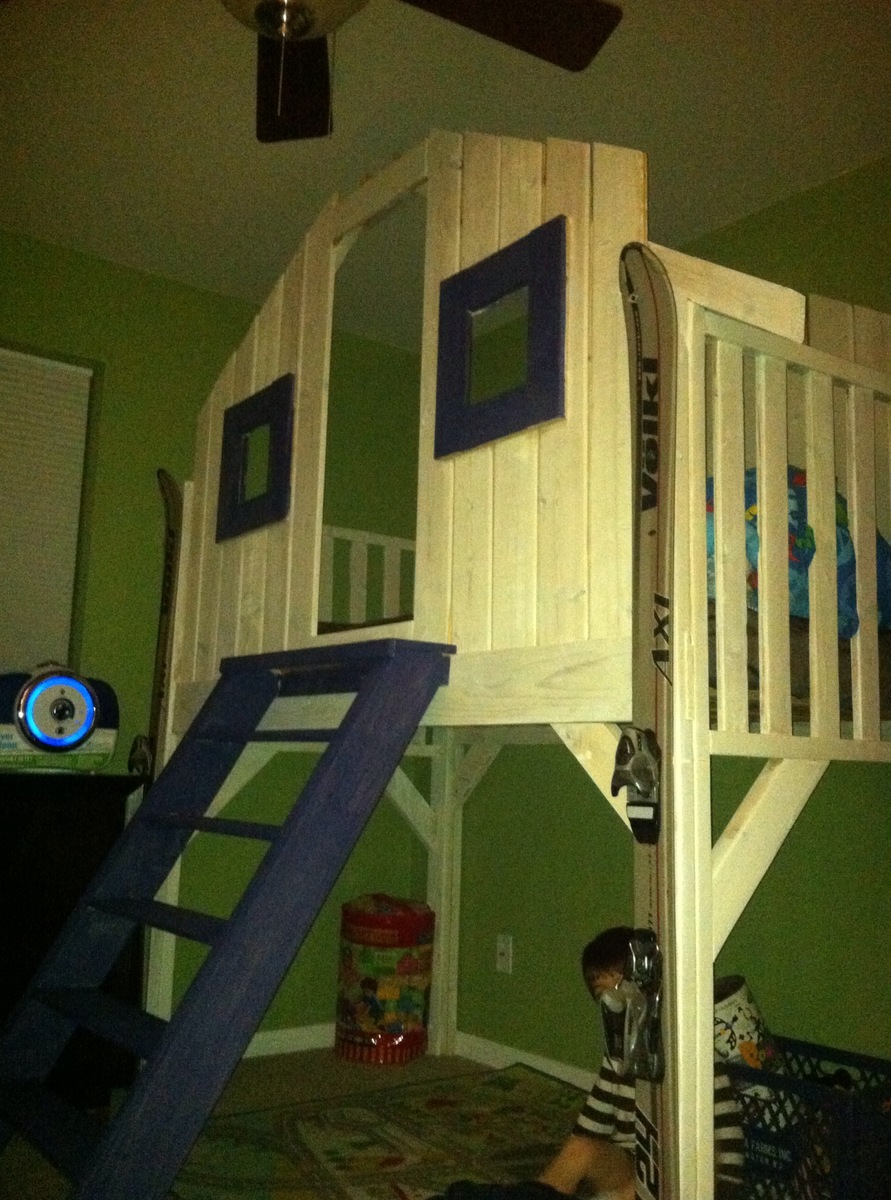
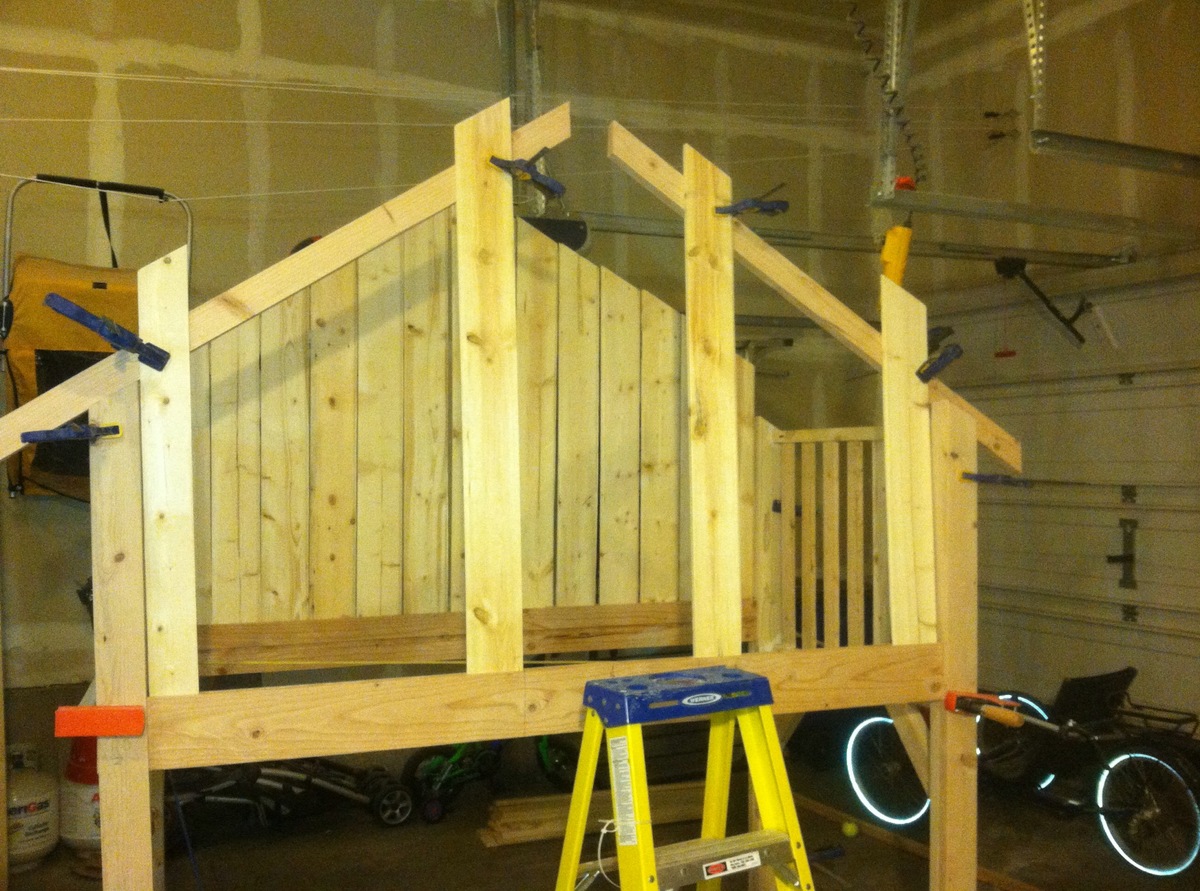
This build has been (thus far) my biggest and most ambitious yet. This is not only for the size of the build but the techniques I used. While I did use pocket holes in many spots I changed the design by using two stretchers to span between the sides and provide support for both side walls and bed slats. To reduce the number of pocket holes the original plan called for I used my stacked dado kit and created to dado cuts in the stretchers to support the bed slats and side walls.
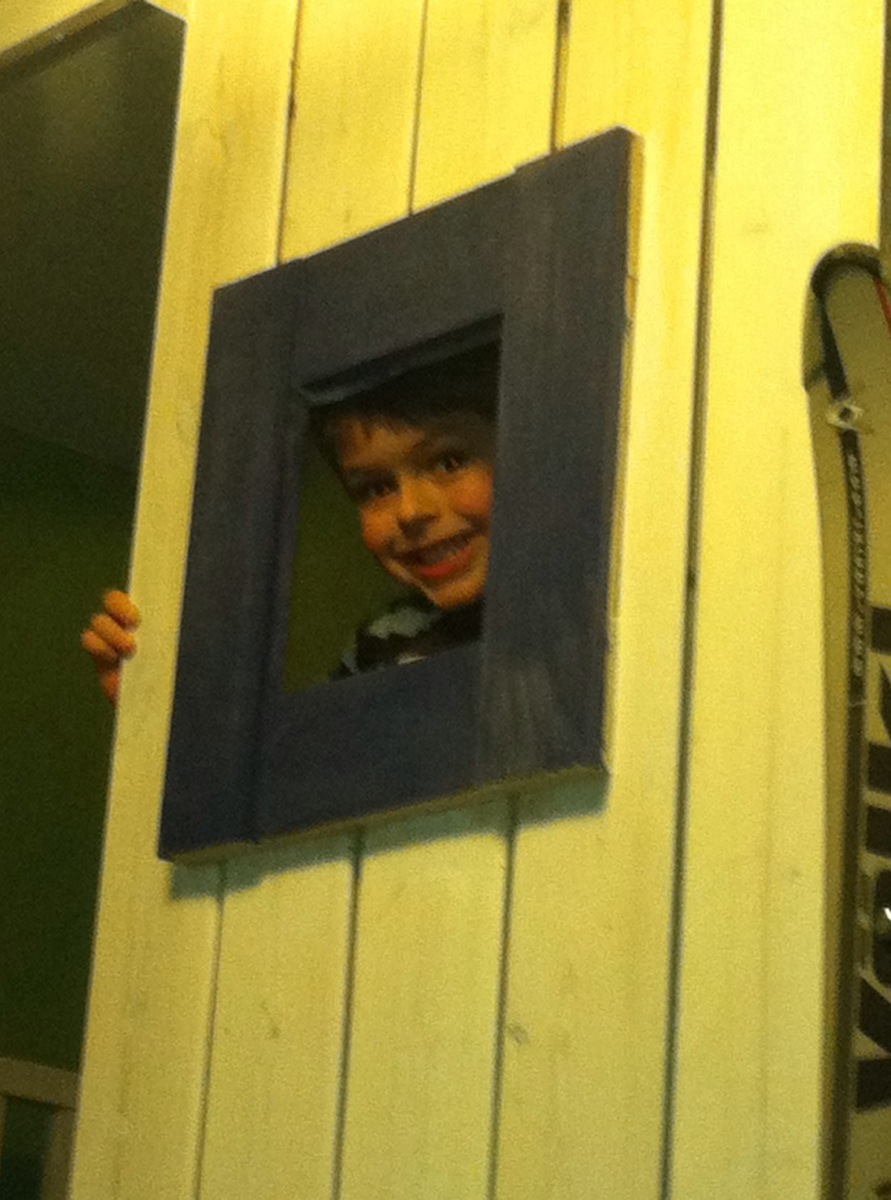
But I can't say enough good things about Ana and this site. The original plans where a inspiration to build this bed and continue to inspire me to build other projects around the house. All of our friends who have seen pictures of our Sons Ski Patrol Shack bed have raved about it and I can even see a little pride in my sons face when other kids are ranting about how "cool" his bed is.
So while I didn't follow the plans exactly the end result can't be disputed; its an awesome feeling to give your child such a great bed! My son came up to me and hugged me and said he loved his bed. So from a plan I downloaded to that moment of my son telling me he loved it was all worth the effort!! Thank you Ana for posting this and all the other plans. They are not just building plans to download they are happy memories waiting to be built!! Cheers from Colorado!
Comments
Penney's Sewing Table
Built the sewing table for my wife Penney. It has a work surface that is 36" x 60" and is 32" high.
Used 3/4" Baltic Birch and used premium pine to add edge banding. Used 1/4" plywood for a back to the sewing table to add strength and I think helps the look of the table. My Kreg Jig was used everywhere possible when assembling the case. Used full length piano hinges with #6 x 5/8" screws to attach the leaves to the table. Made the doors using premium pine with a plywood panel. For the legs, I used folding, locking leg brackets from Lee Valley to attach the 1-1/2" square poplar legs. The casters are 3" double-locking from Woodcraft.
Went a little over budget, but it turned out very nice and she loves it.
Thank you for the easy to follow plans.
Comments
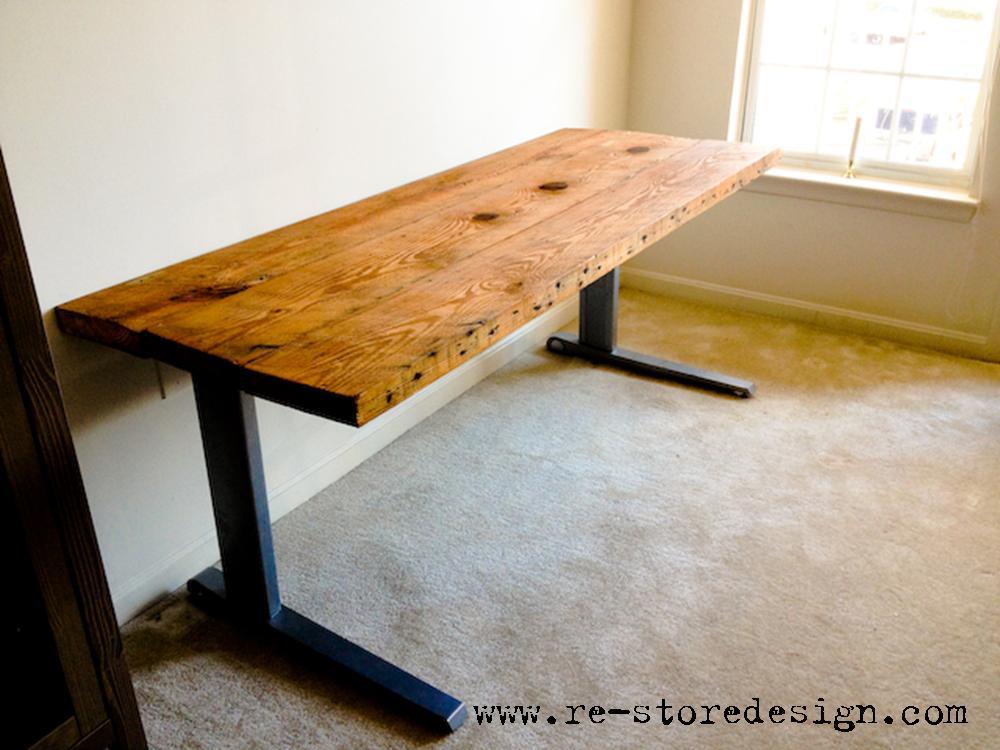
Farmhouse desk
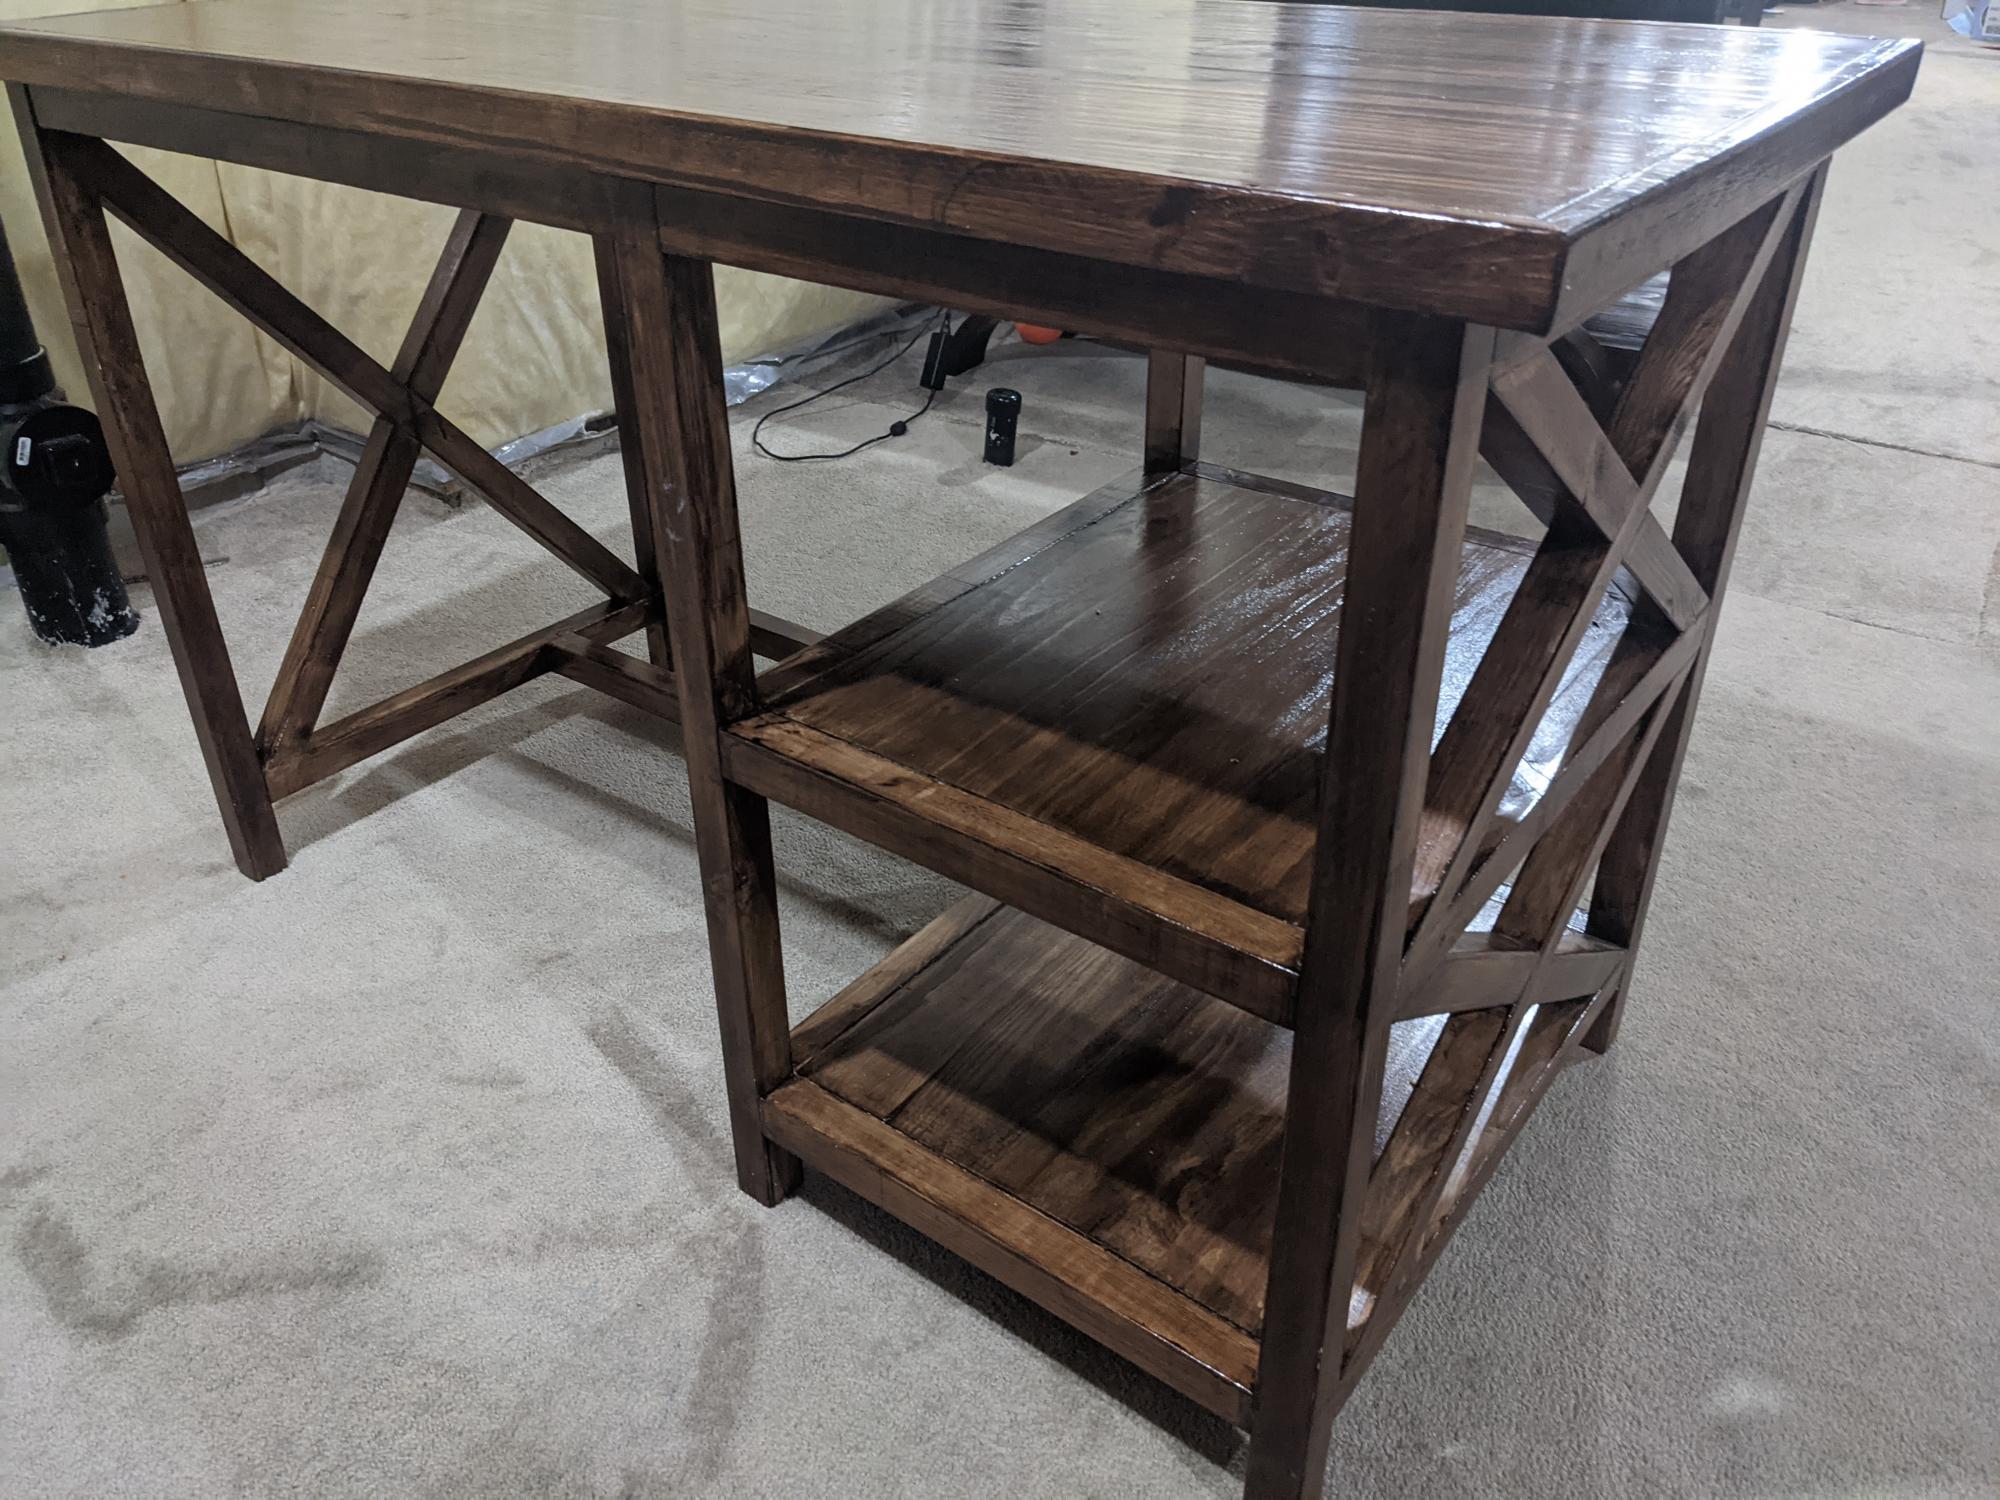
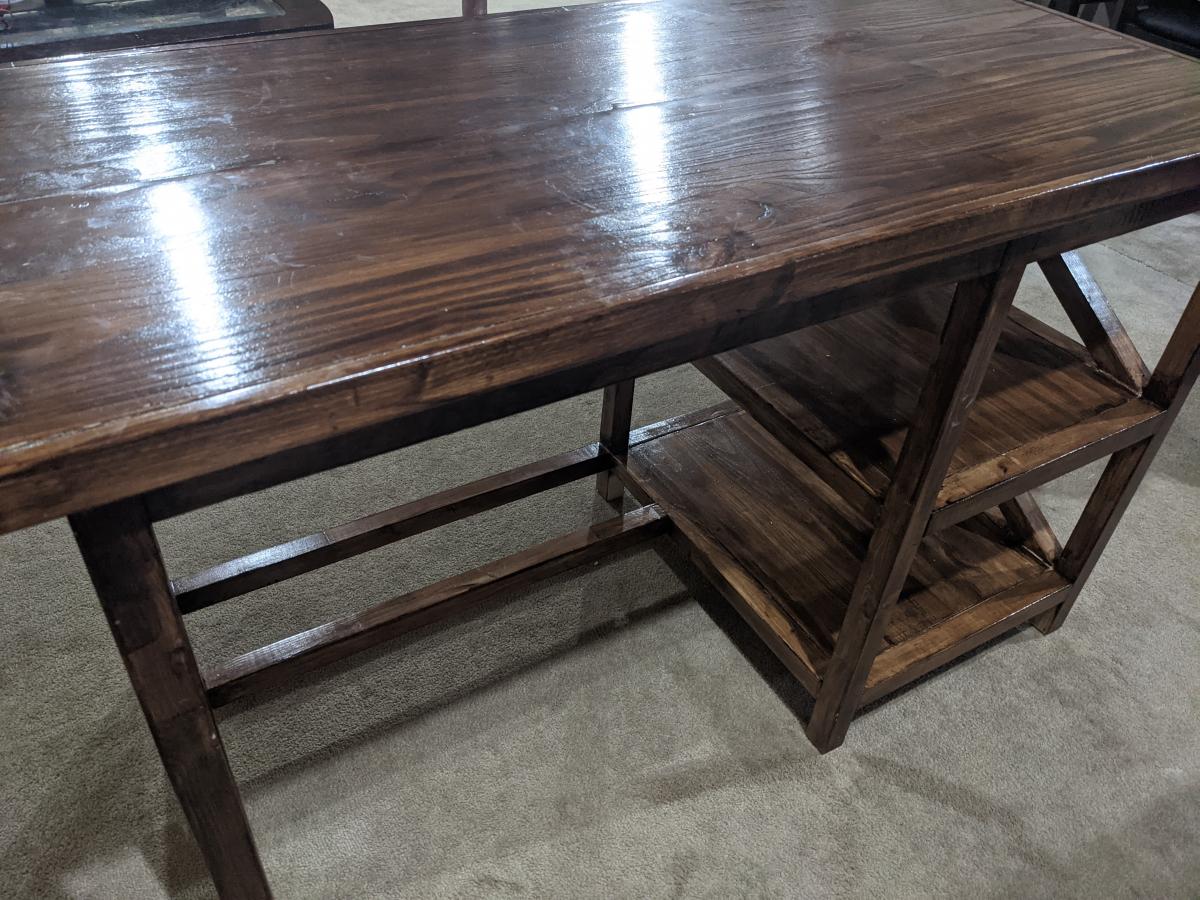
Made this farmhouse desk from the plans. It came out very well.
Comments
Red Hen Home Farmhouse Table
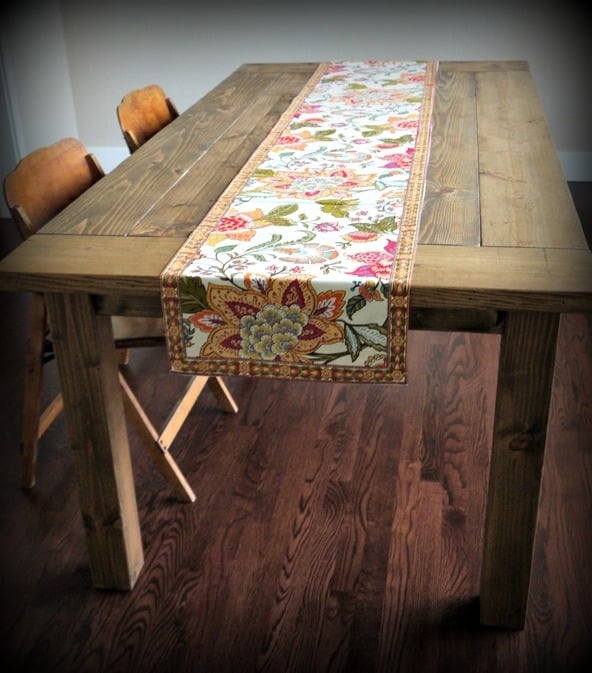
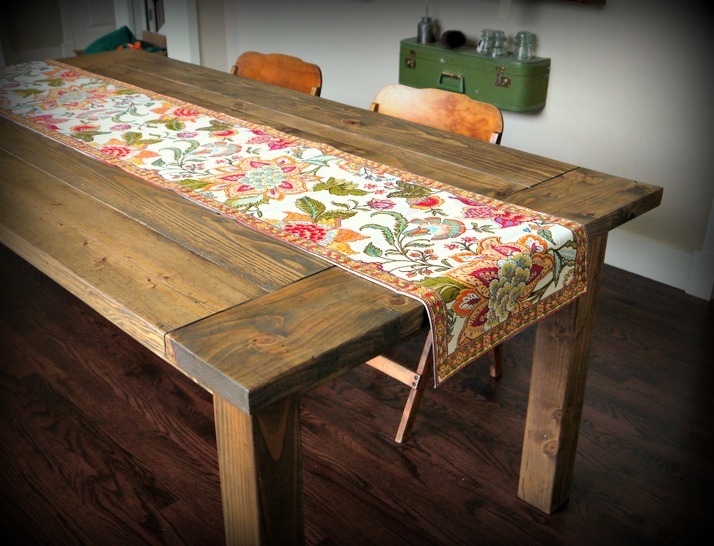
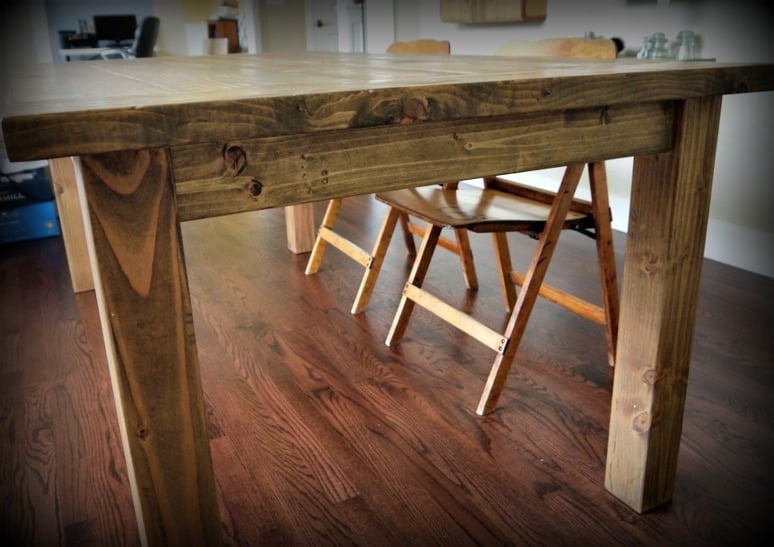
This is my first furniture build! I modified the Farmhouse Table mainly by removing the stretcher, so that someone could sit comfortably at the ends of the table. I used all pocket-hole construction, so the top is one piece, made out of alternating 2x8s and 2x10s. Overall size of this table was 78" long x 40" wide, to comfortably accommodate 8 people.
Comments
Sun, 02/24/2013 - 12:46
I like the changes you made!
I like the changes you made! Where did you find the 4"x4" legs, or did you build them yourself?
Sun, 03/17/2013 - 10:04
Both Blue and Orange carry
Both Blue and Orange carry 4x4 pine boards. One 10' length will make all the legs.
Thu, 03/21/2013 - 17:46
This is exactly what I've been looking for!
I love this table! You did a wonderful job! Can you explain a little more about your modifications? Did you add any other support when you took away the stretcher? I want to make a table just like yours. I need to get rid of the stretcher too so that I can seat people on the ends.
In reply to This is exactly what I've been looking for! by smitty22
Tue, 07/02/2013 - 10:29
There are cross supports
There are cross supports under the table top, to help support the top and keep the base square. I made them out of 2x2s. Email me at redhenhome AT gmail DOT com if you have any other questions--I don't see these comments in a timely fashion!
Dolls Beds.

built these for my two daughters and their Newberry dolls. I built the parts and then they help assemble them to the final product. Great set of plans. Thanks so much for sharing them!
Comments
Fri, 01/02/2015 - 11:12
I love these! The beds came
I love these! The beds came out wonderful and look super cute. :)
Bankers Bookcase
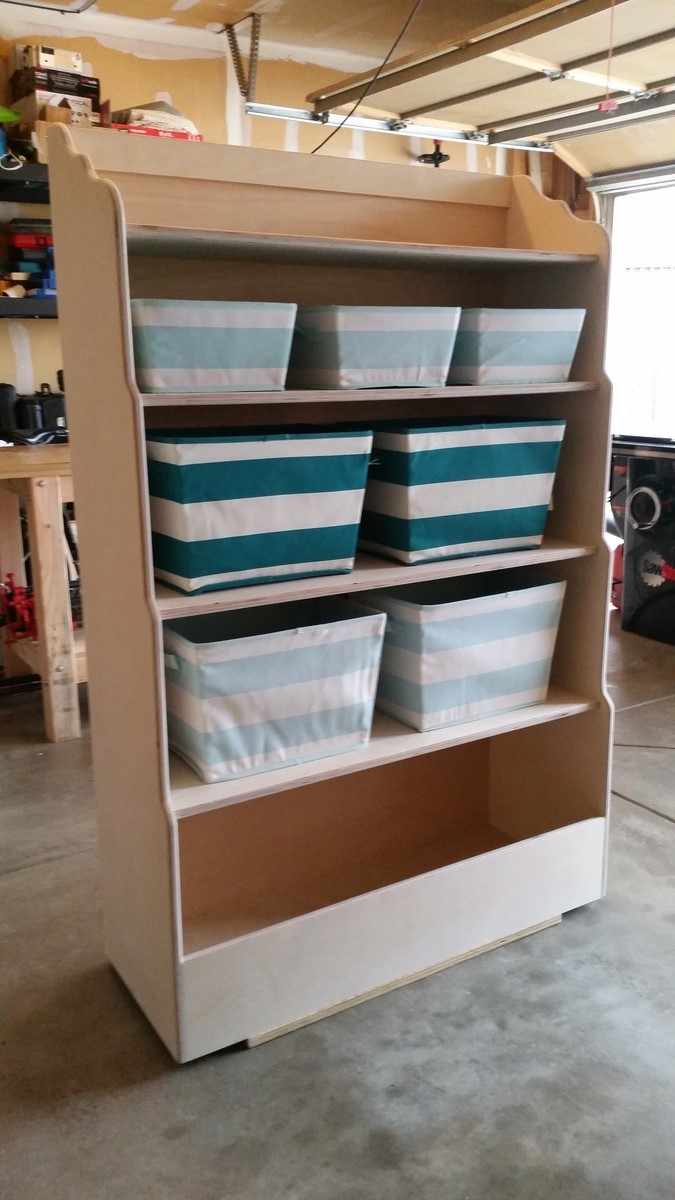
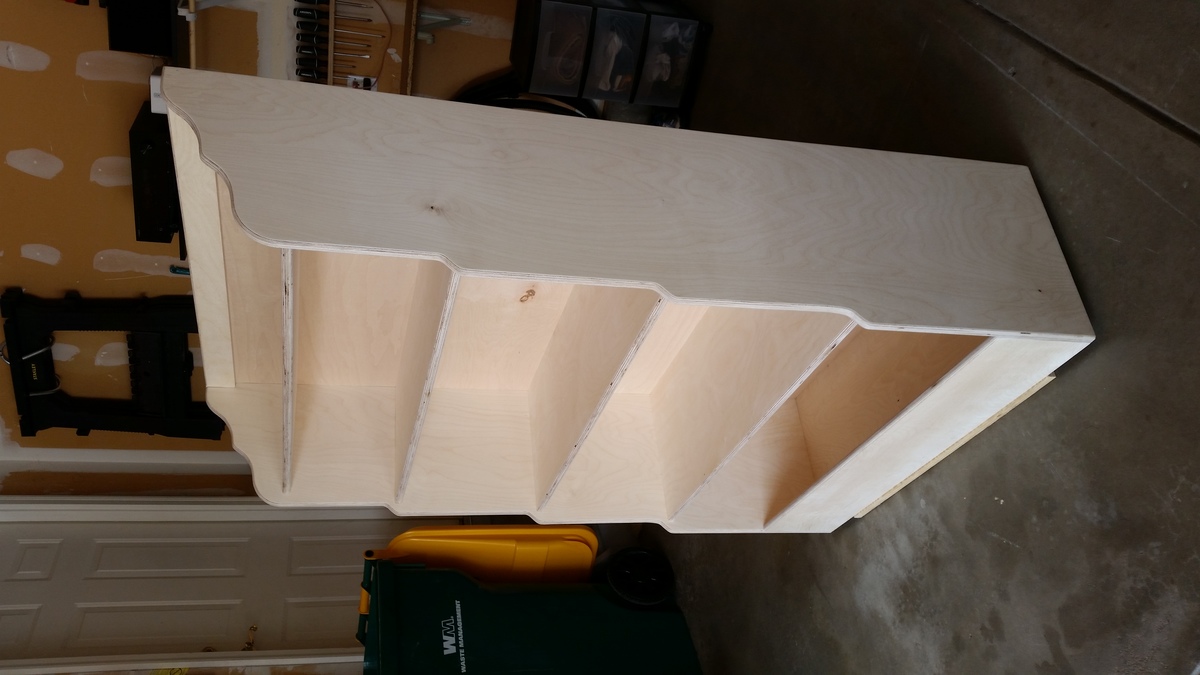
Similar to the Bankers Bookcase but I changed a few of the dimensions and style. I also dadoed the shelves.




Comments
MamaofThree
Sun, 06/08/2014 - 07:17
Parts
Hi. Can you tell me where you got the wood and the legs for this project? This is so beautiful! I'd love to make something like this!