Narrow farmhouse table
I shortened this table to fit the space, it works perfectly. Thank you again Ana for your wonderful plans.
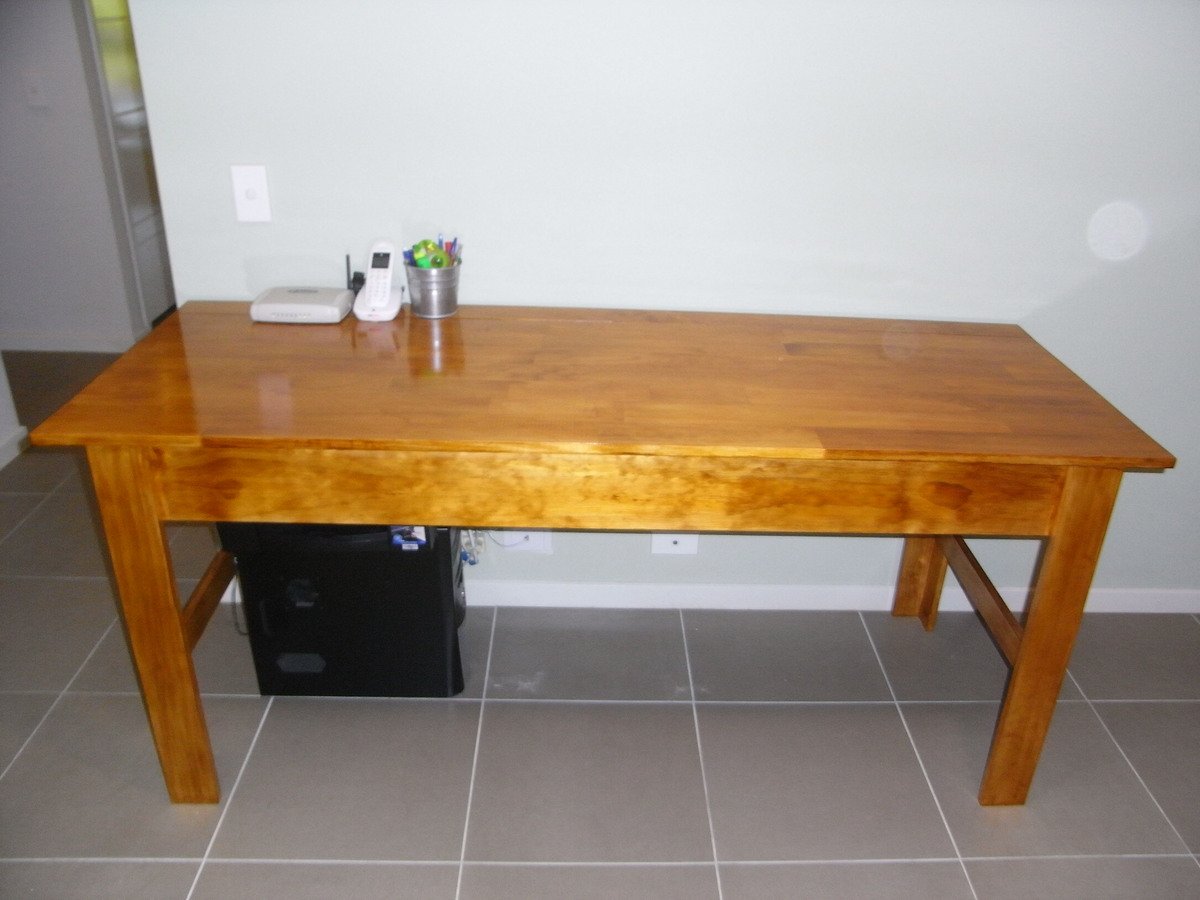
I shortened this table to fit the space, it works perfectly. Thank you again Ana for your wonderful plans.

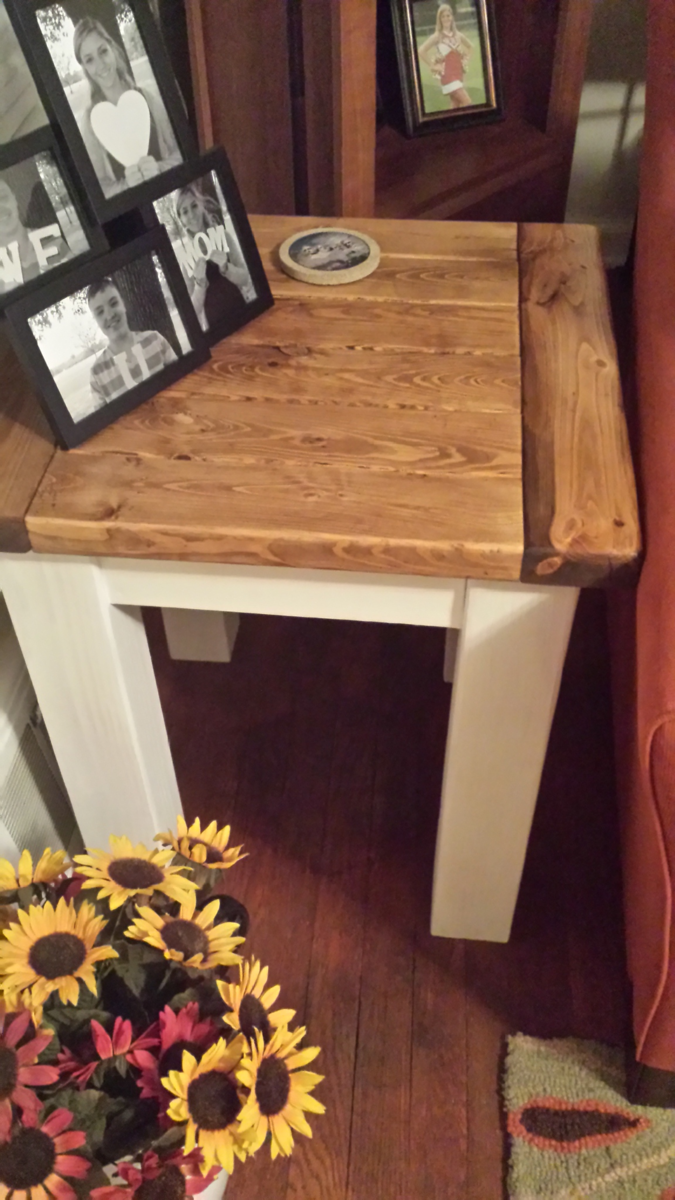
Absolutely love this site. Built 2 of these for my living room. Now building the matching sofa table to match. Couldn't be easier and I think they turned out great. Thank you for all the great plans
Wed, 11/12/2014 - 17:59
Awesome build! And your finish looks flawless, I love that pecan stain on the top!
Fri, 11/14/2014 - 14:00
That's a super nice build! Looks great...excited to see the sofa table as well!
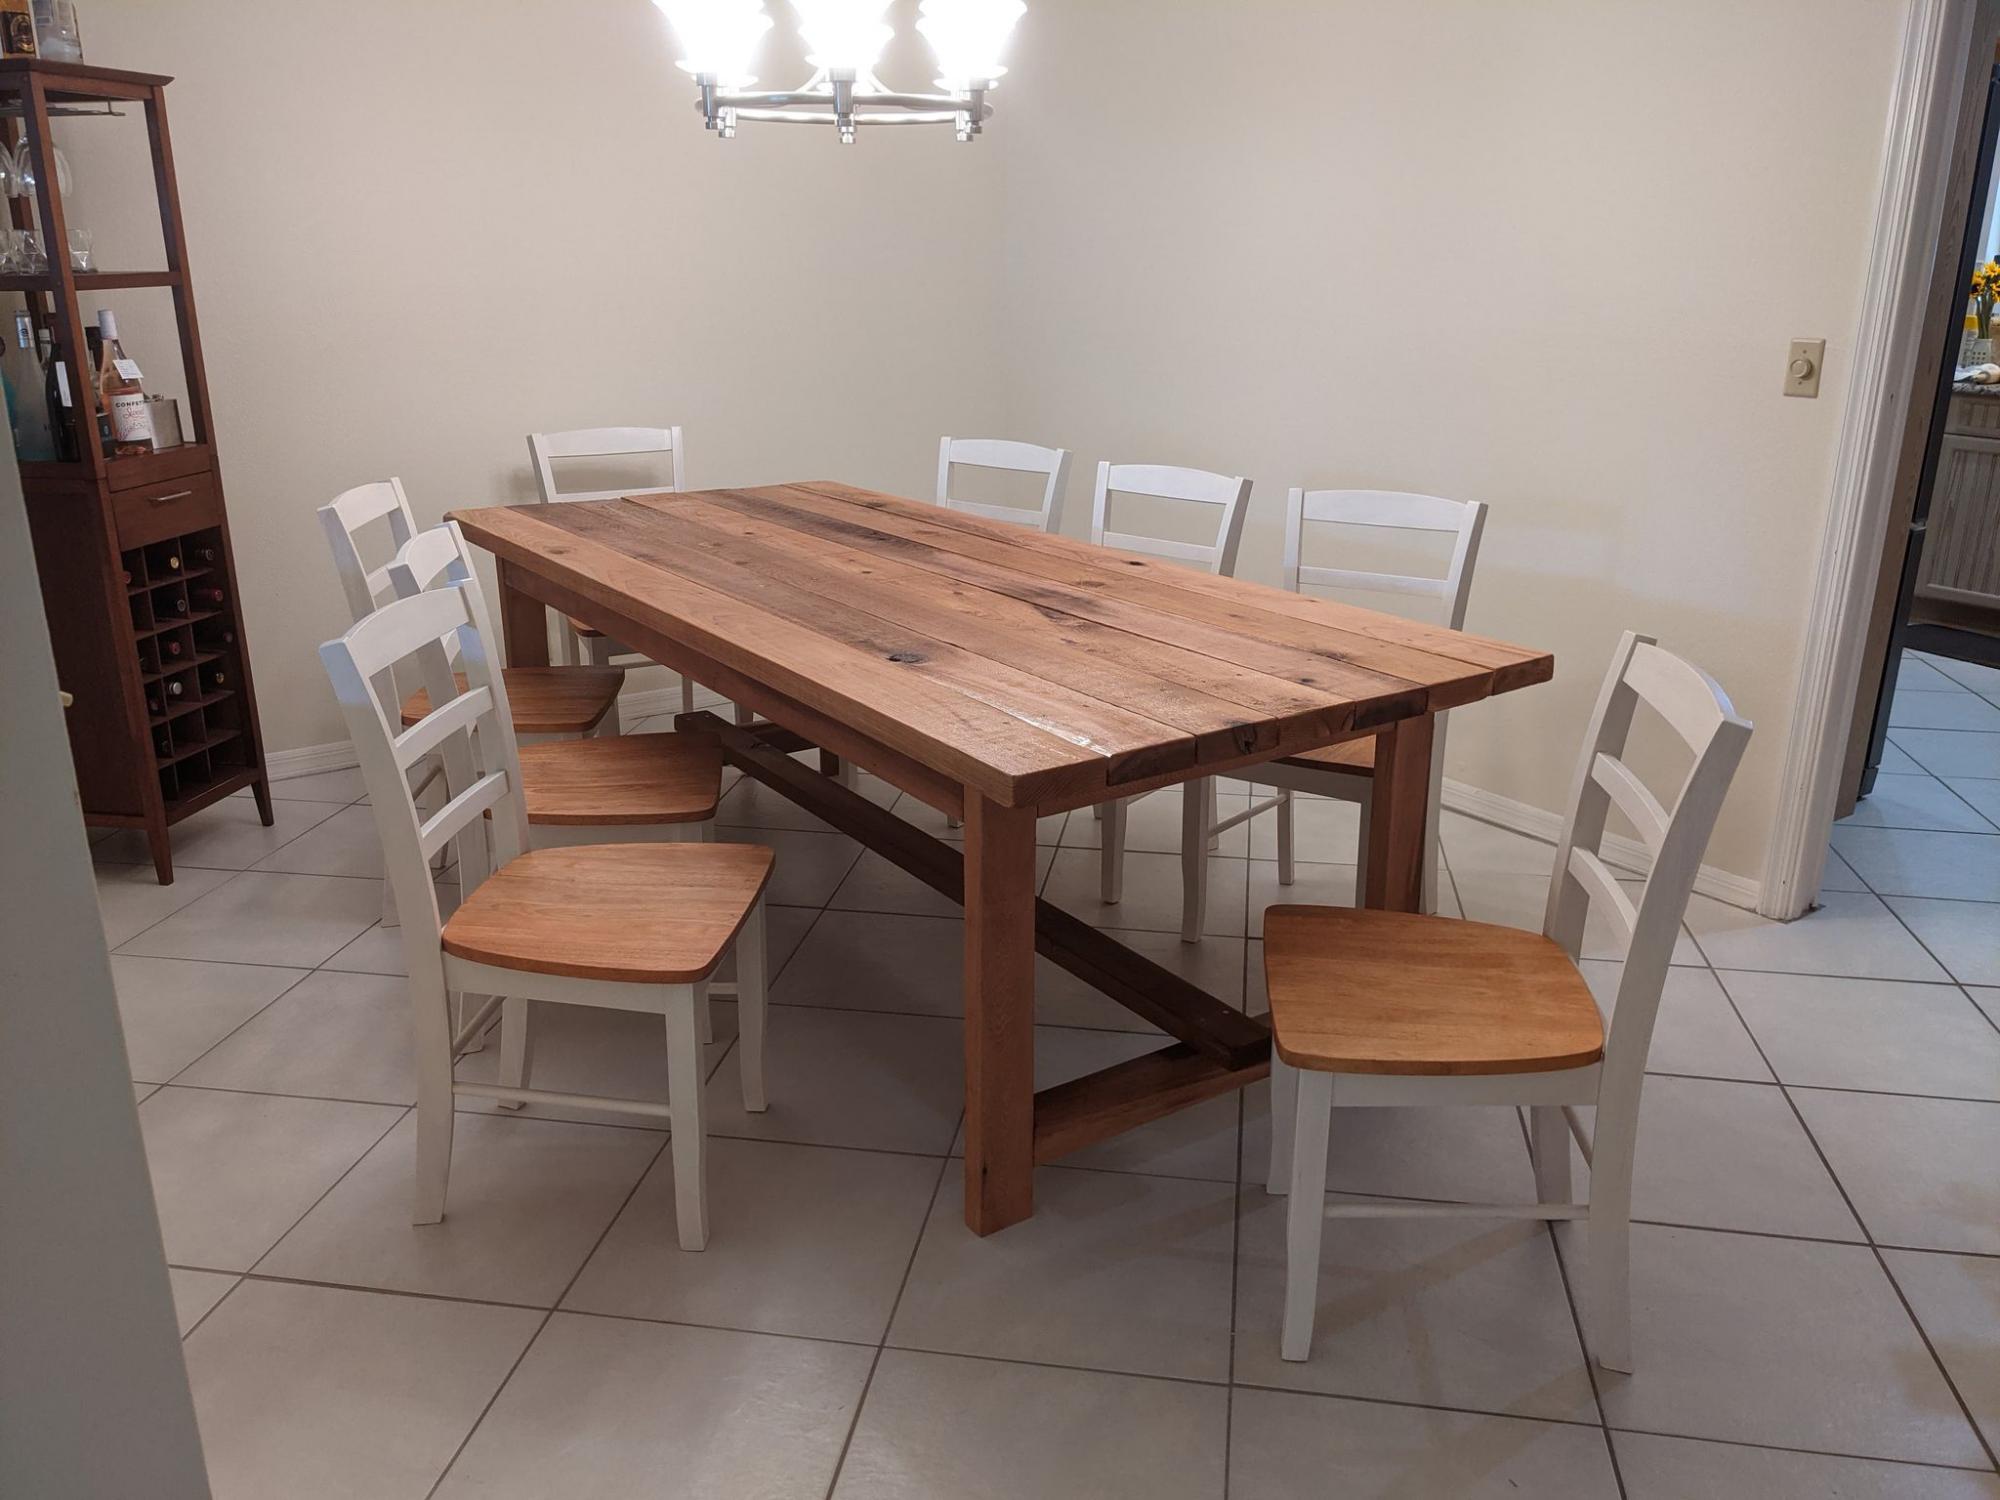
I found Ana's book at Barnes & Nobel and as they say the rest is history.
This was my very first ever wood working project. I made the tables and found the pre-cut lumber for the chairs online.
The table is made out of Cedar and the table cost me roughly $500 in lumber and hardware.
I am in love with woodworking now and plan to decorate our newly purchased Farmhouse.
Thank you Ana for empowering us to expand our skills and find value and pride in our work.
Thu, 11/26/2020 - 10:42
Welcome to the community, there is no better feeling than furnishing your home with exactly what you want!
We were looking for bookshelves for our children's bedrooms, but with 3 kids the cost was going to be astronomical. So I found a bookshelf I liked, googled the name and stumbled across Ana's plans. So glad I did!
A simple bench to try my first Kreg Pocket hole Jig. I designed the bench myself, but did not create plans. I used pine wood and 3 layers of varnish for protection. My wife wanted to natural finish so I preferred varnish over paint.
Surprinsingly easy project ! And my wife is very happy that the staircase if finally tidy. Happy wife, happy life ;-)
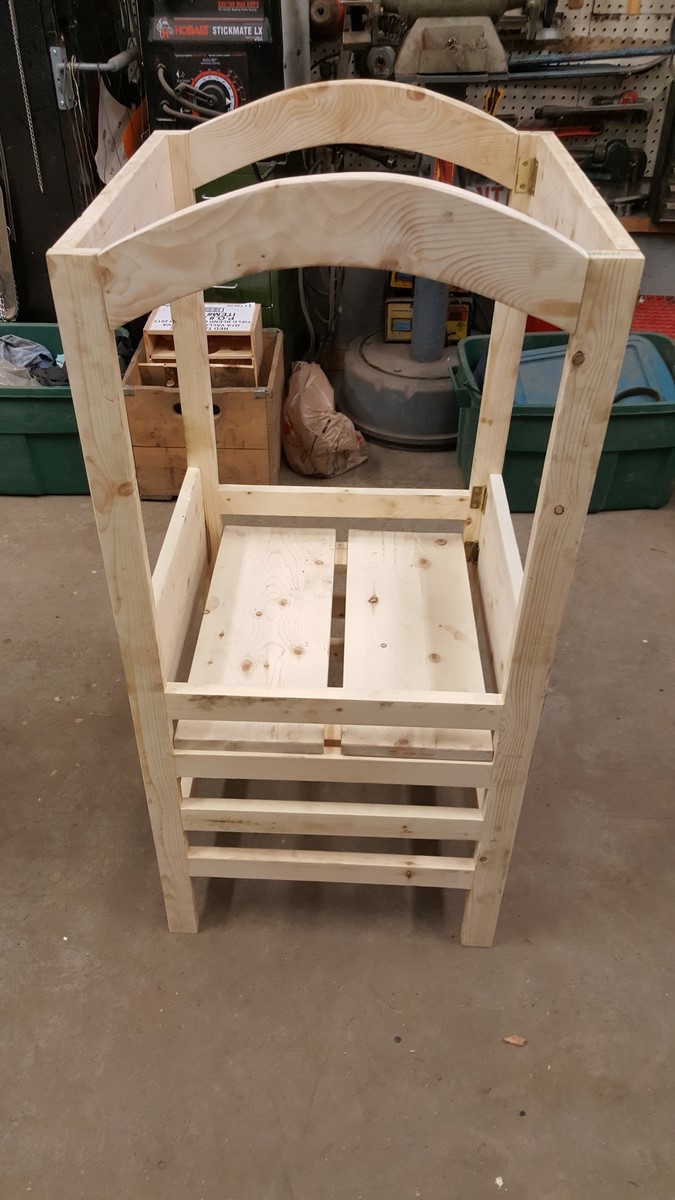
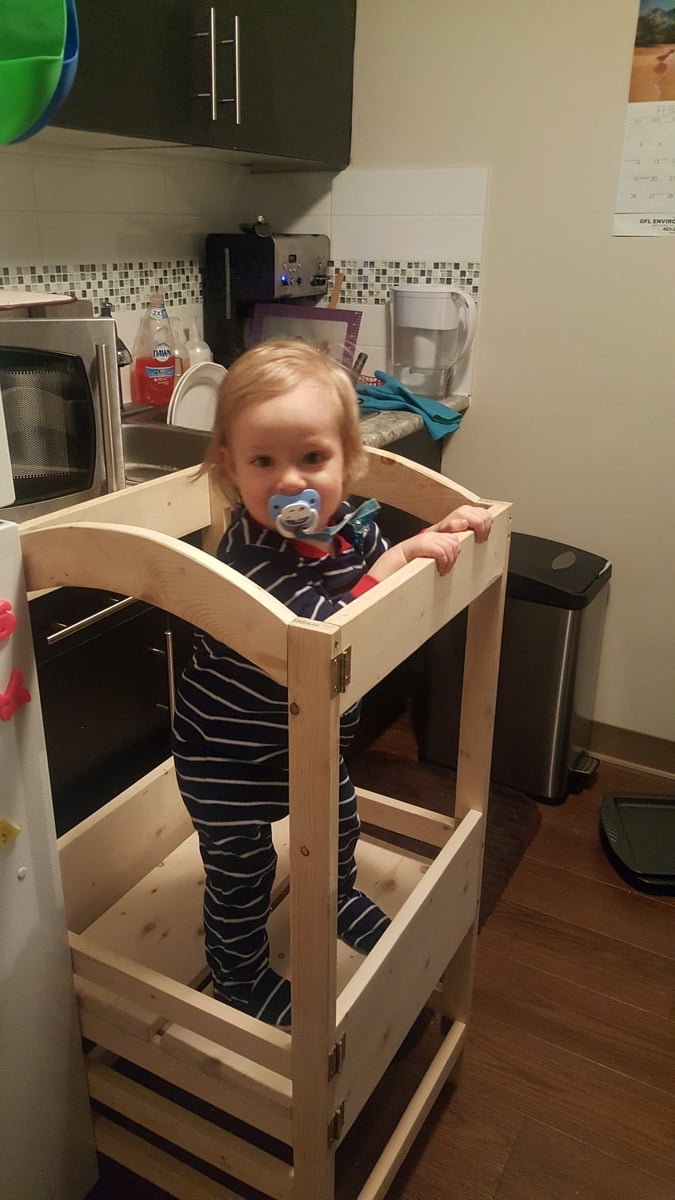
This project is so great! At first I put one side of the hinges on backwards but it was easy to fix and now it actually folds flat. I left the stabilizer feet off because I only have about four inches beside my fridge to store the tower in but it it's still completely stable. My son was "dancing" on it yesterday and it held up perfectly! Thanks Ana, I'm so excited to use this for years!!
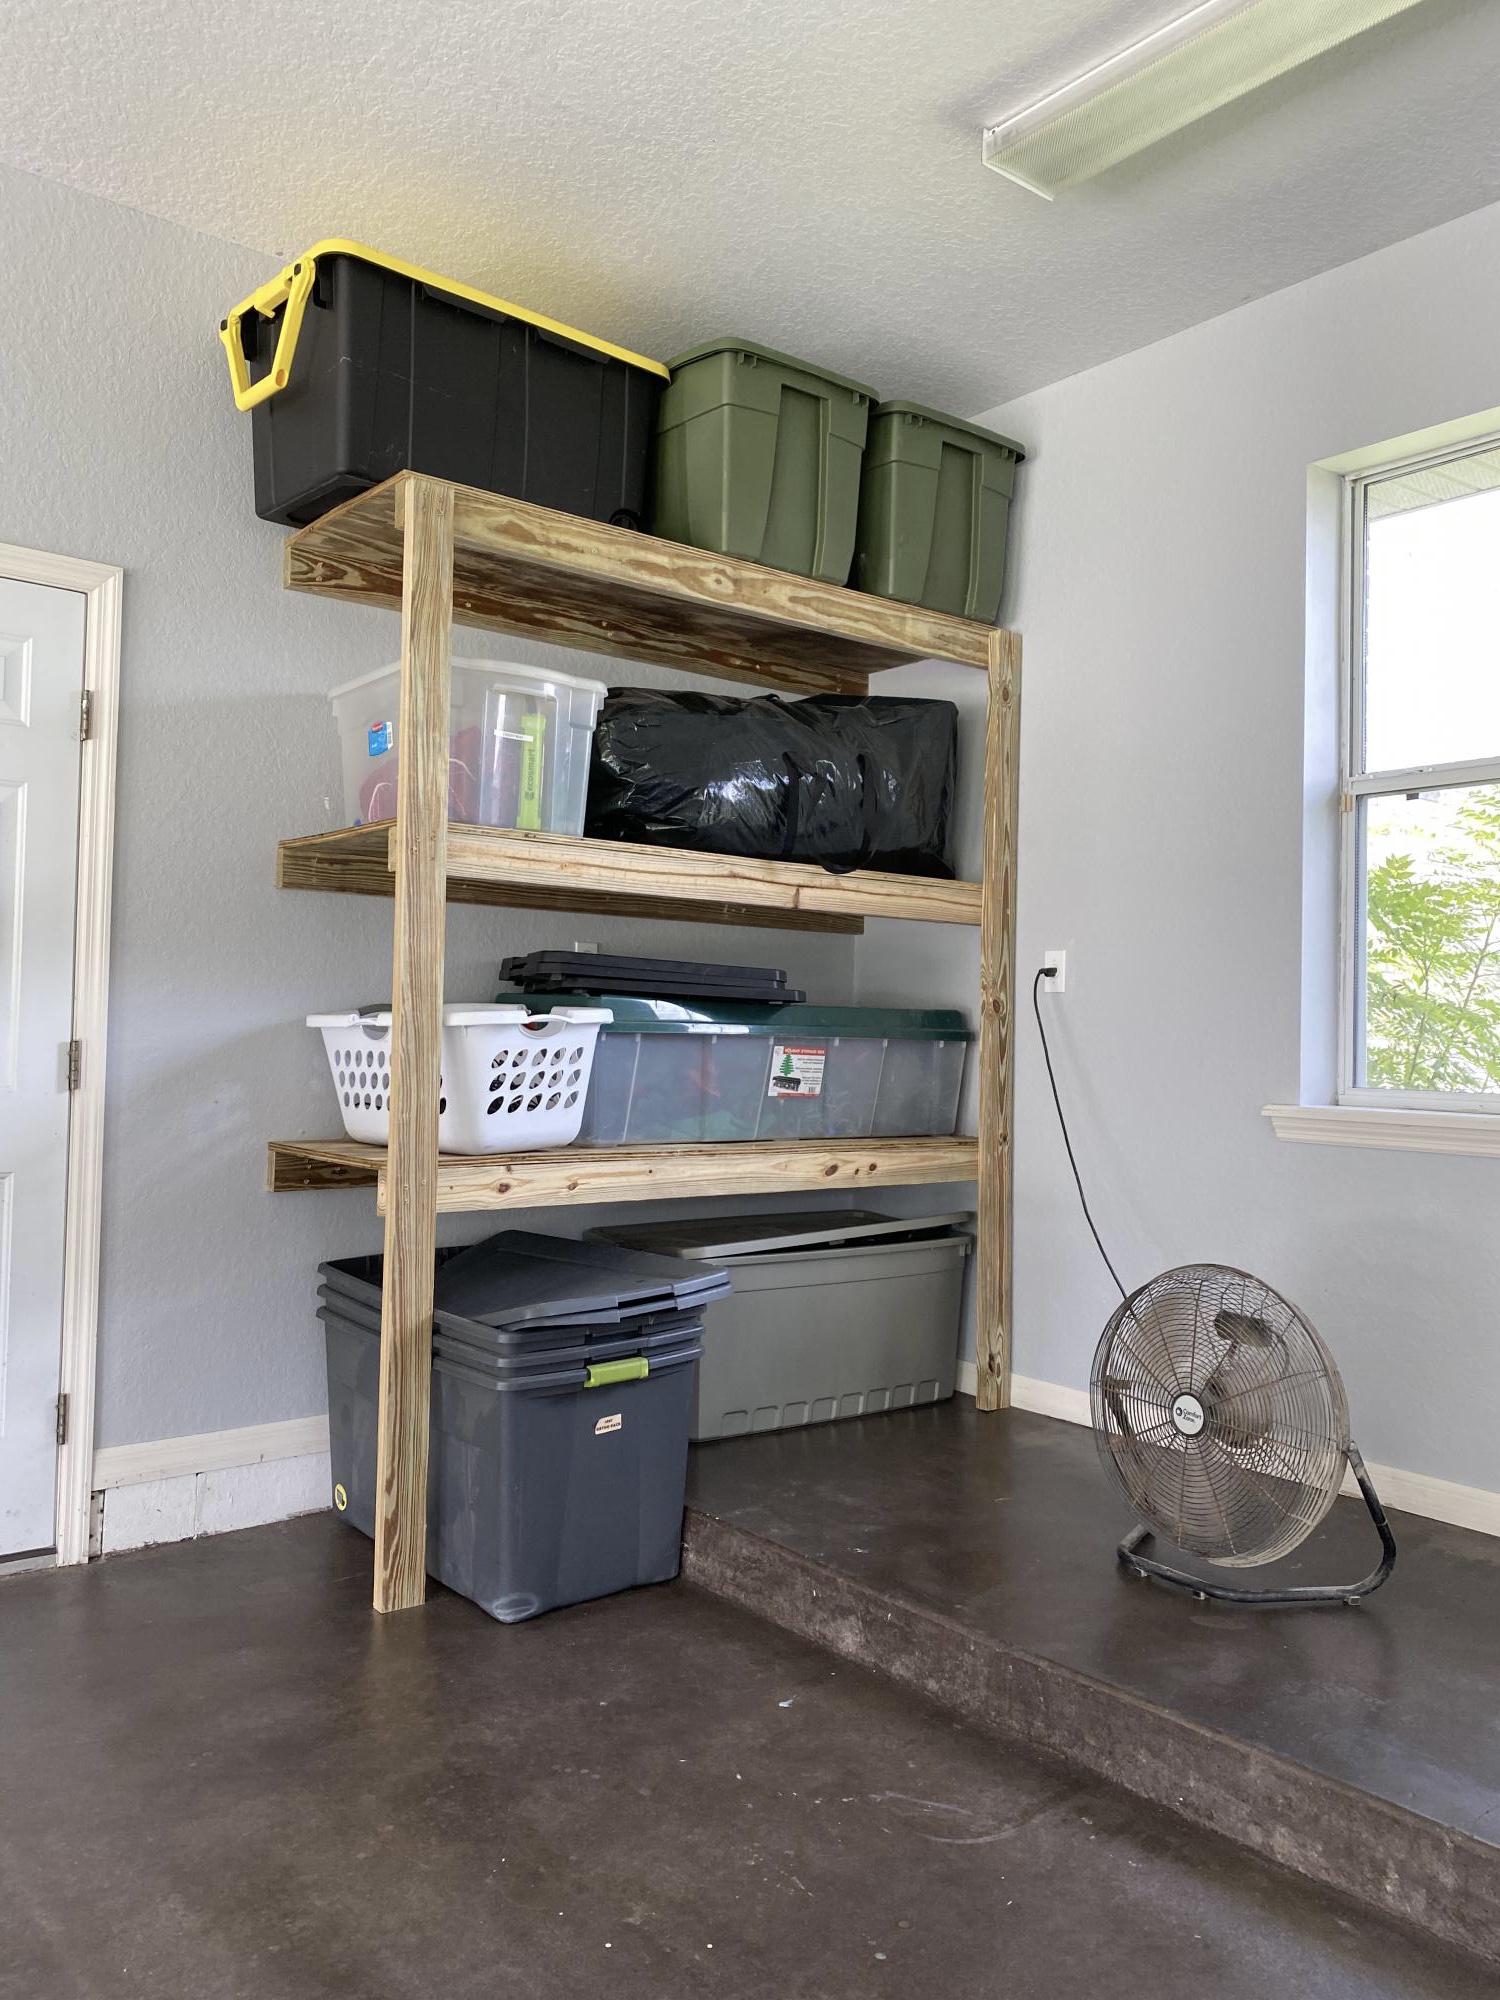
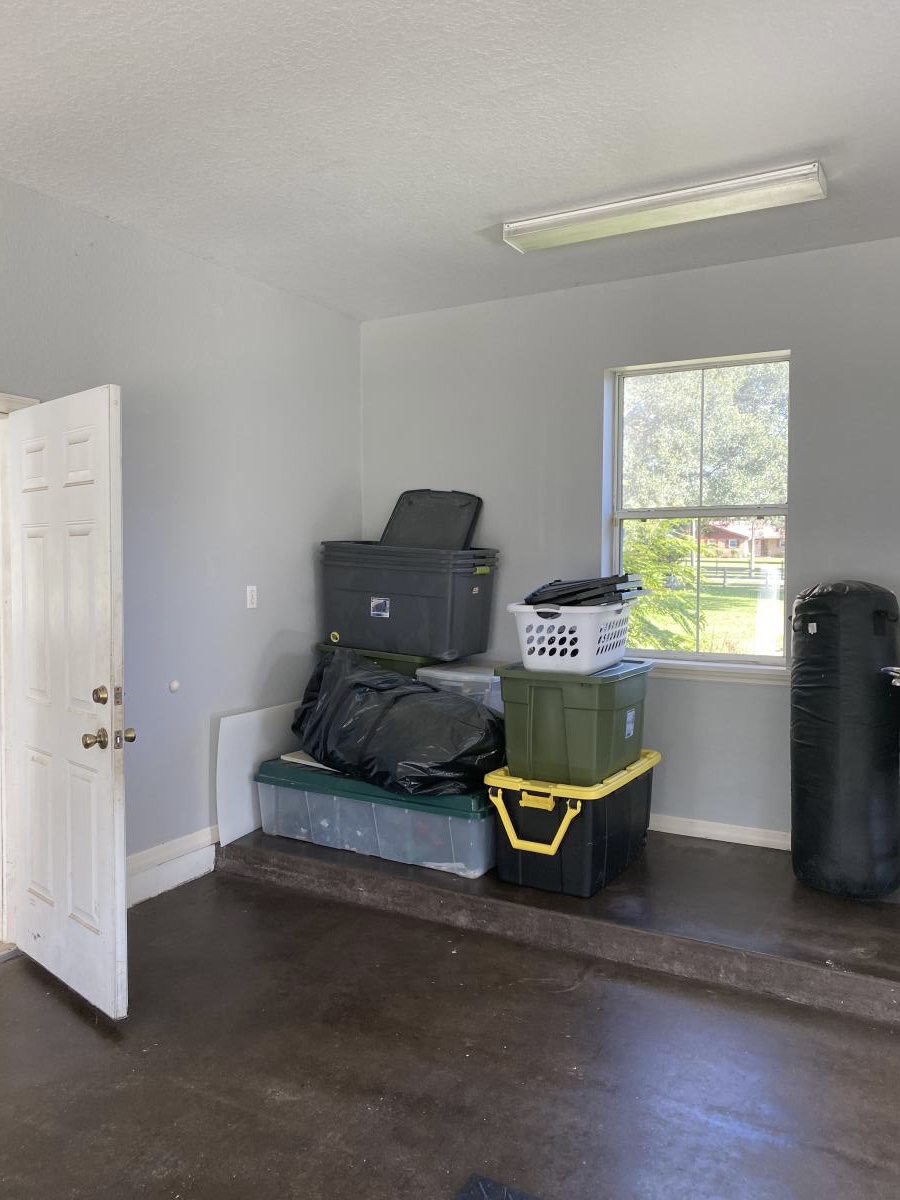
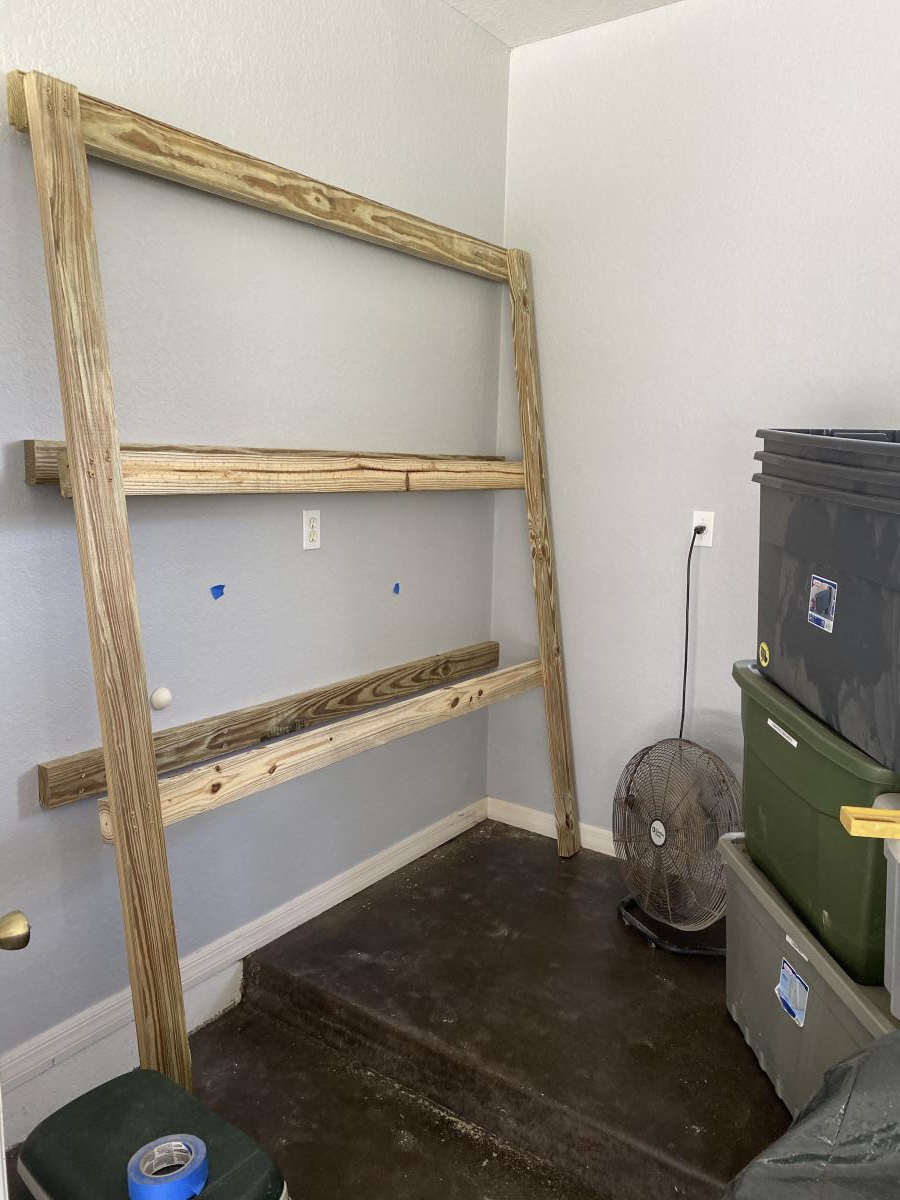
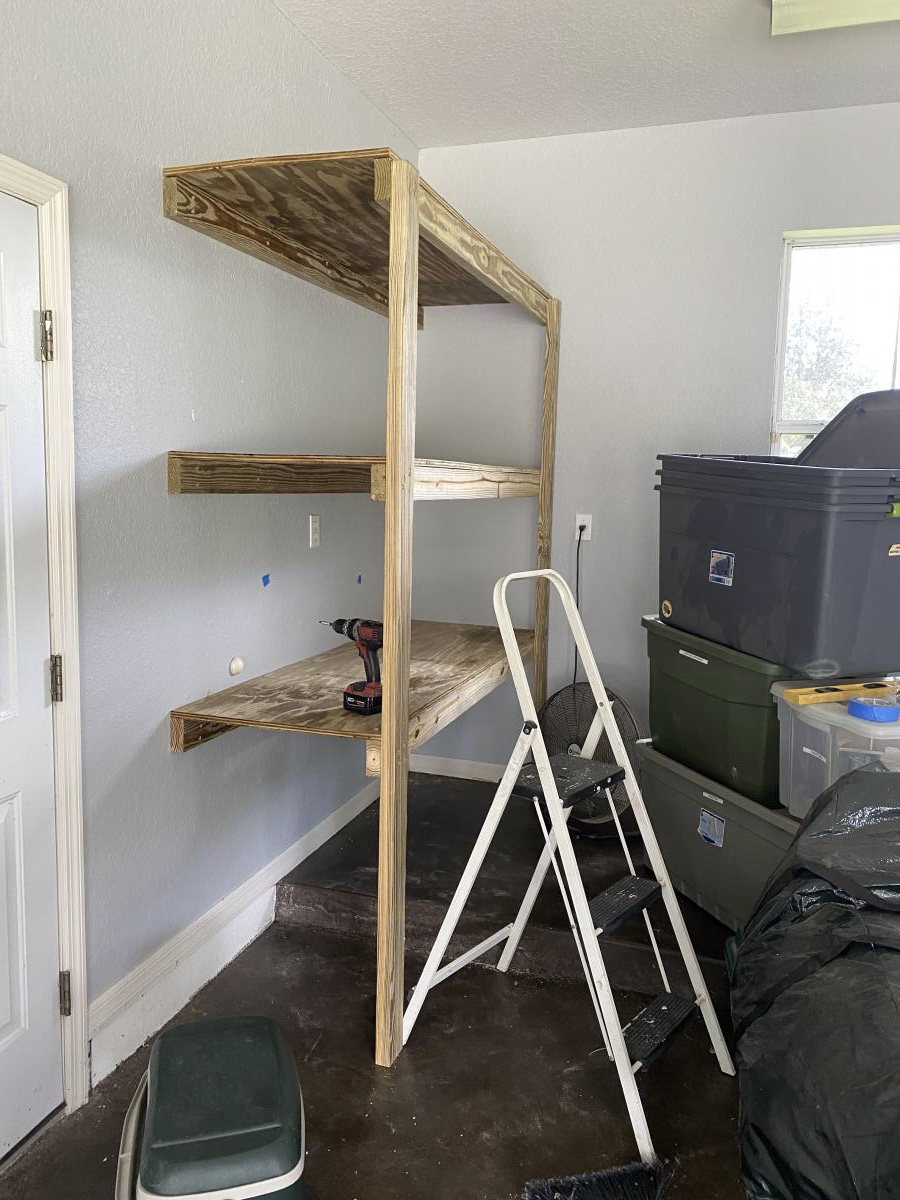
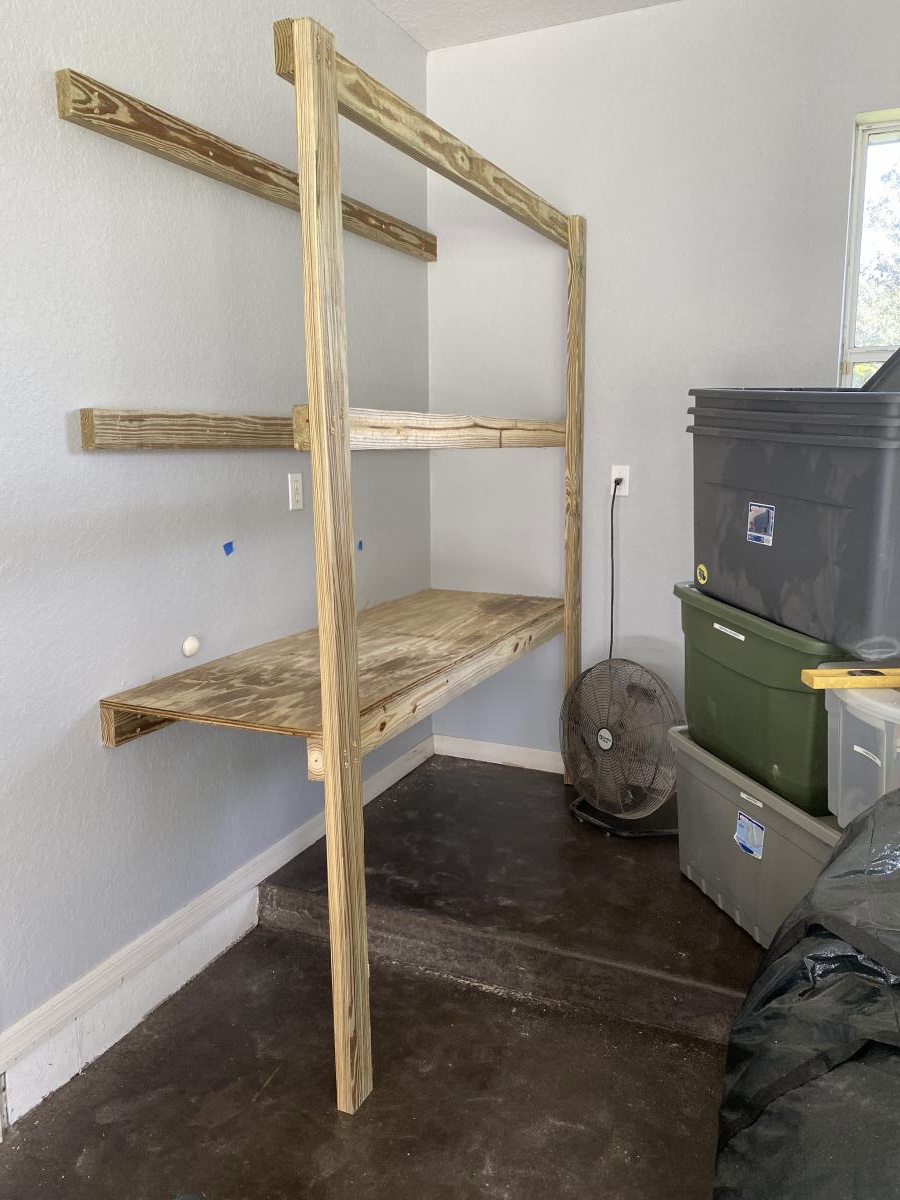
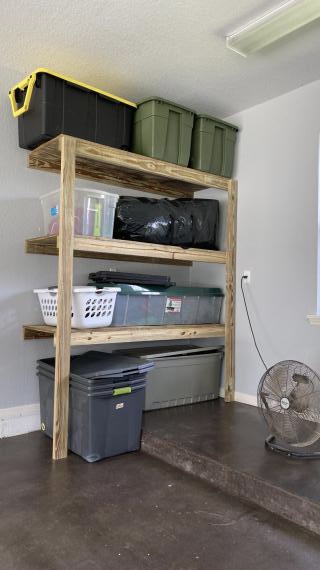
Since piles of anything in garages just ends up being a hard to clean home for spiders, We decided to get some space between totes and open some space to stick the shop vac to clear out critters. This was made of pressure treated wood and plywood bc we are in FL. I used 4 inch decking screws to attach to the wall studs. Ana’s advice of measuring your totes before was very helpful so everything fit where we needed it to.
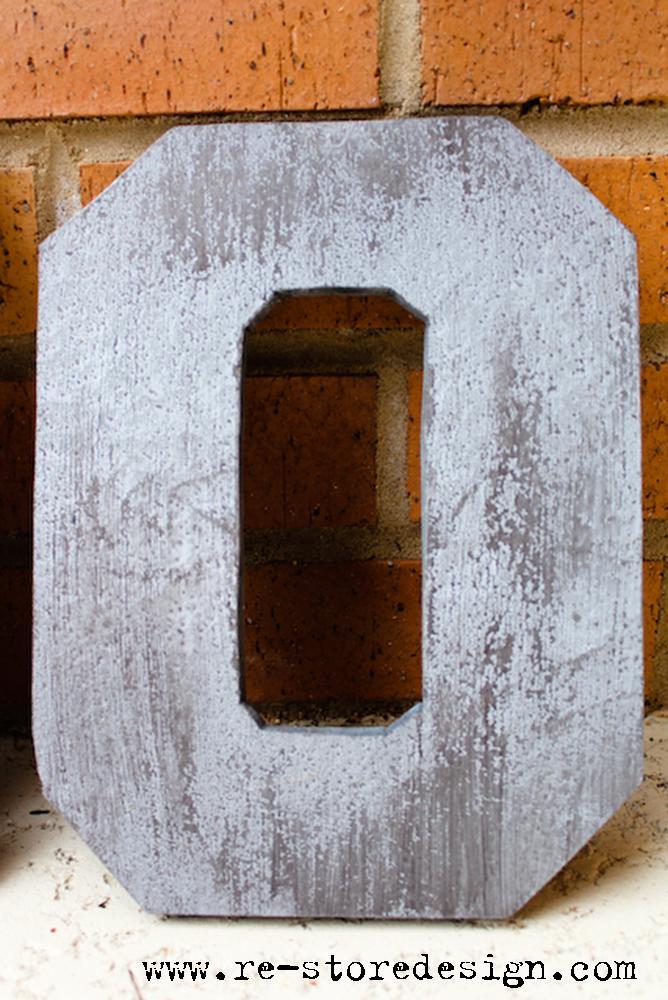
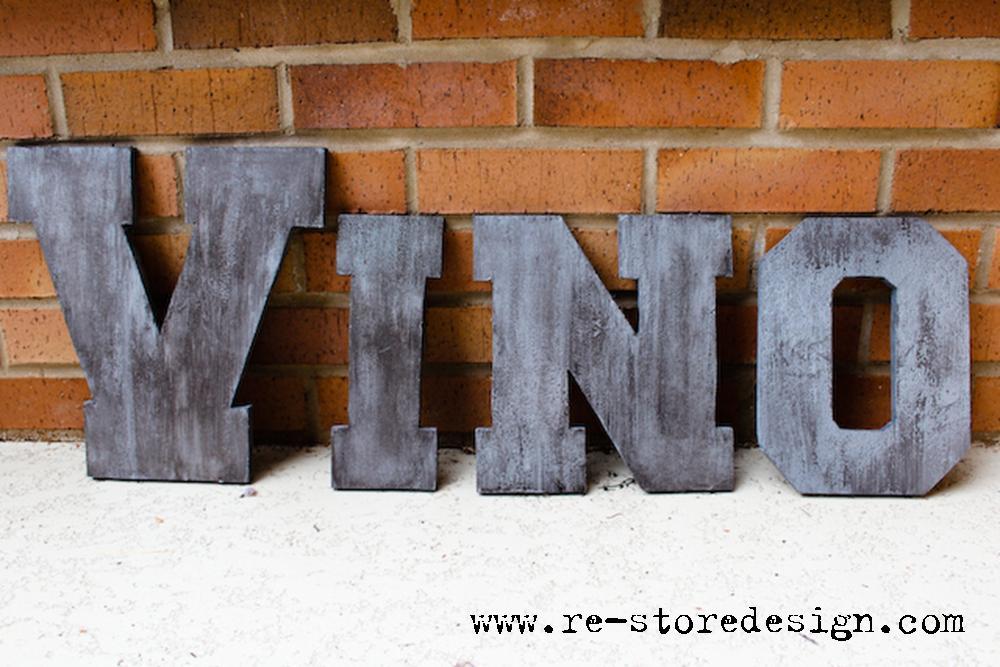
Whenever I see vintage metal letters in antique stores my instinct is to buy them all…that is until I look at the price! I was determined to figure out a way to make them myself for a fraction of the price. Here is what I can up with. I am excited to try other colors and fonts.
For the full process check out the post on my blog.
http://re-storedesign.com/2013/01/14/faux-vintage-metal-letters/#
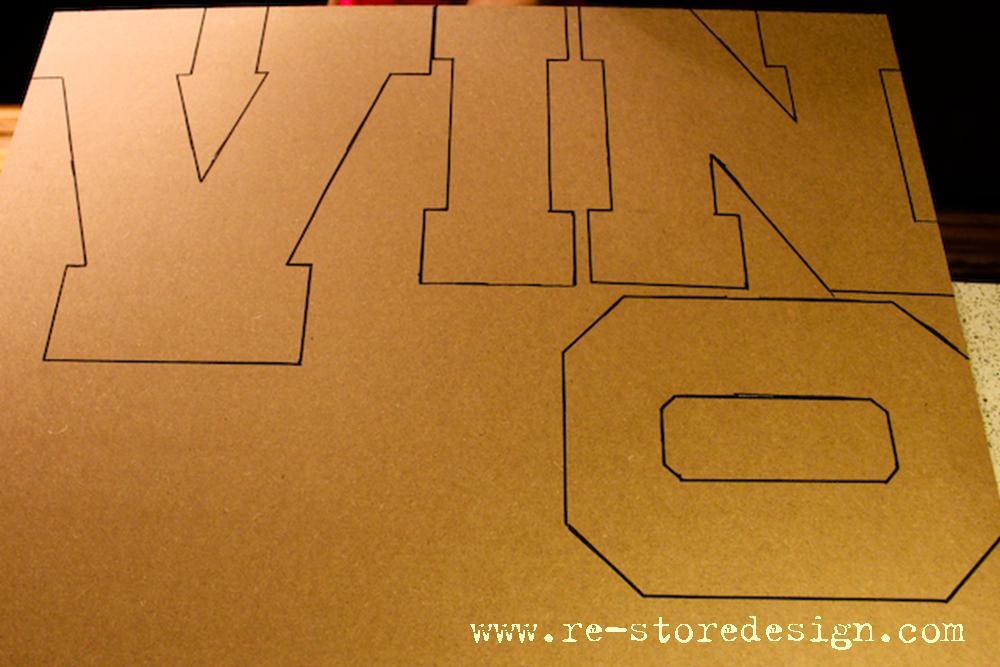
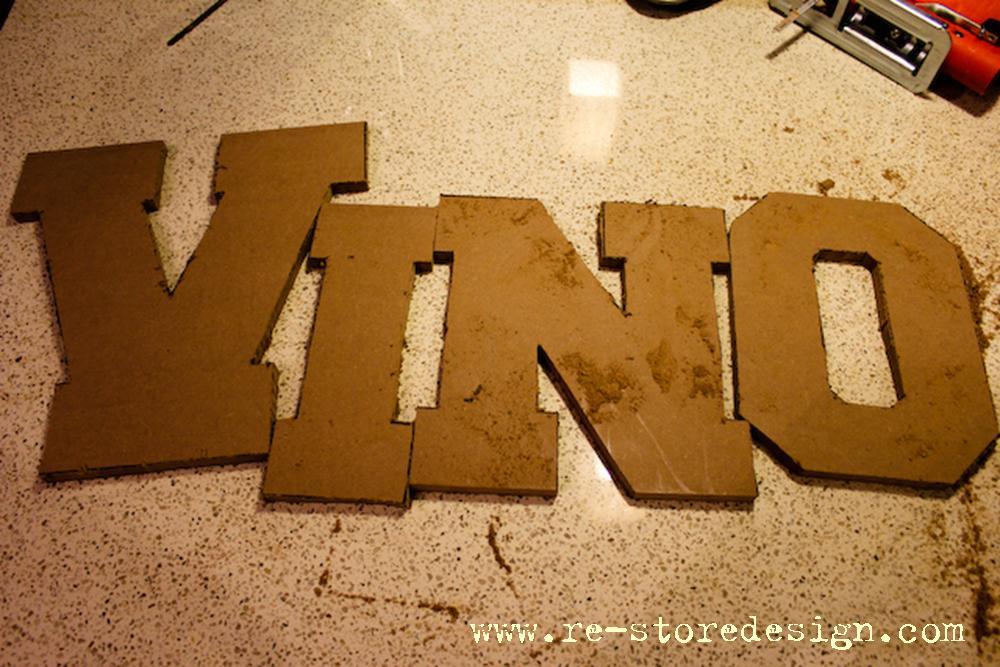
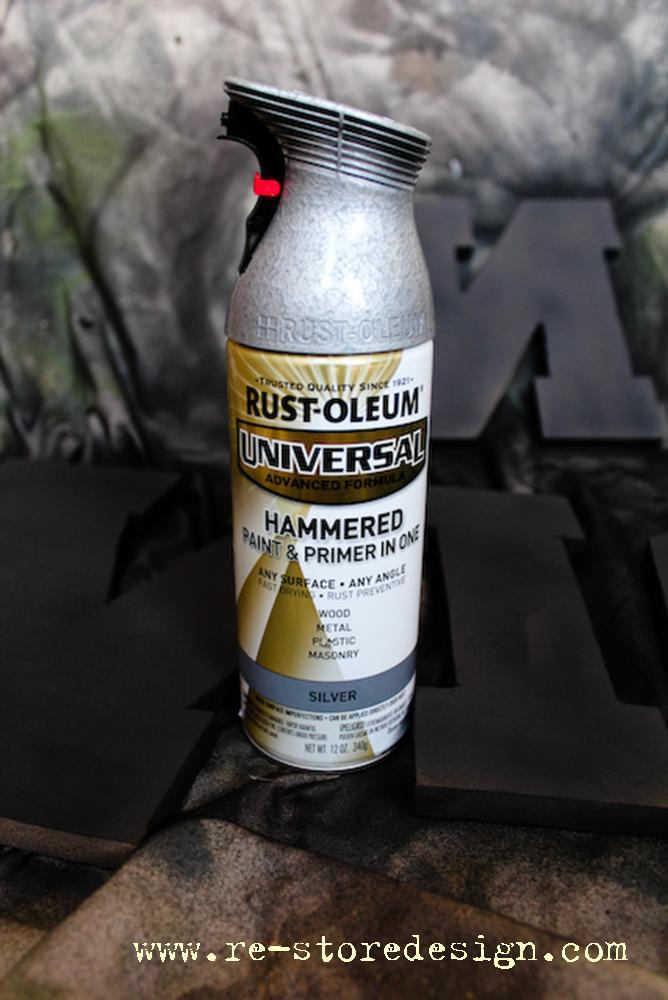
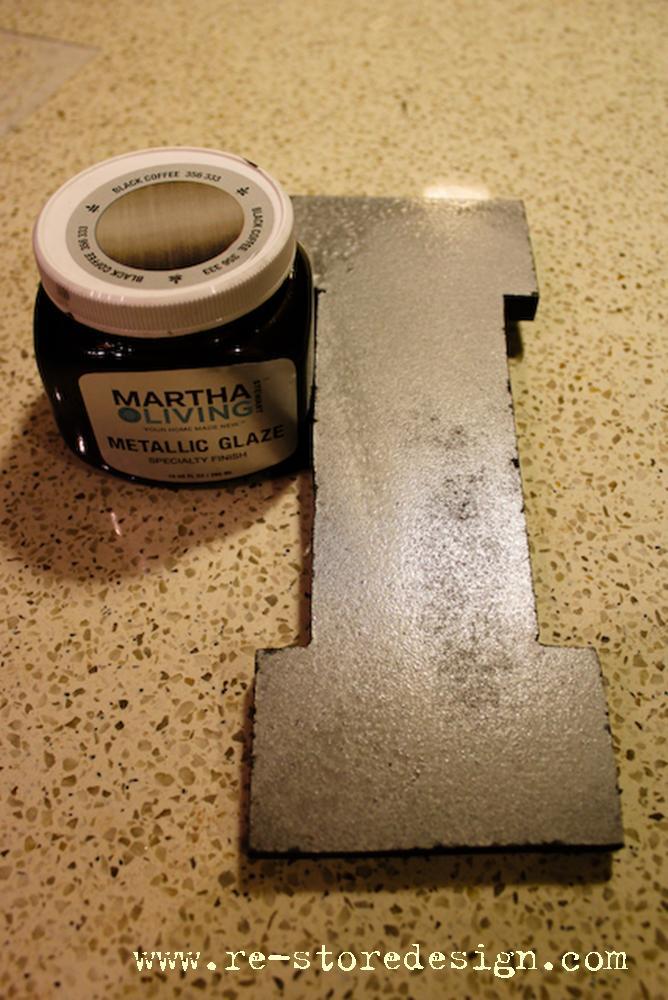
This was my first build and I'm really happy with how it turned out!
With our old kitchen crumbling to pieces, I decided to build a new kitchen. I followed several of Ana's cabinet plans to build the entire kitchen(more than I could list at the bottom). I was able to customize the cabinet sizes in order to maximize my kitchen space. I made the doors myself, so I didn't need to worry about standard sizing. It took me about a year from demolition to completion. I had to buy a few new tools, all the wood, appliances, the floor, and countertop, and still spent around $5,000. I learned so much from this project and we all love our new kitchen! Thank you Ana for all of your wonderful plans!
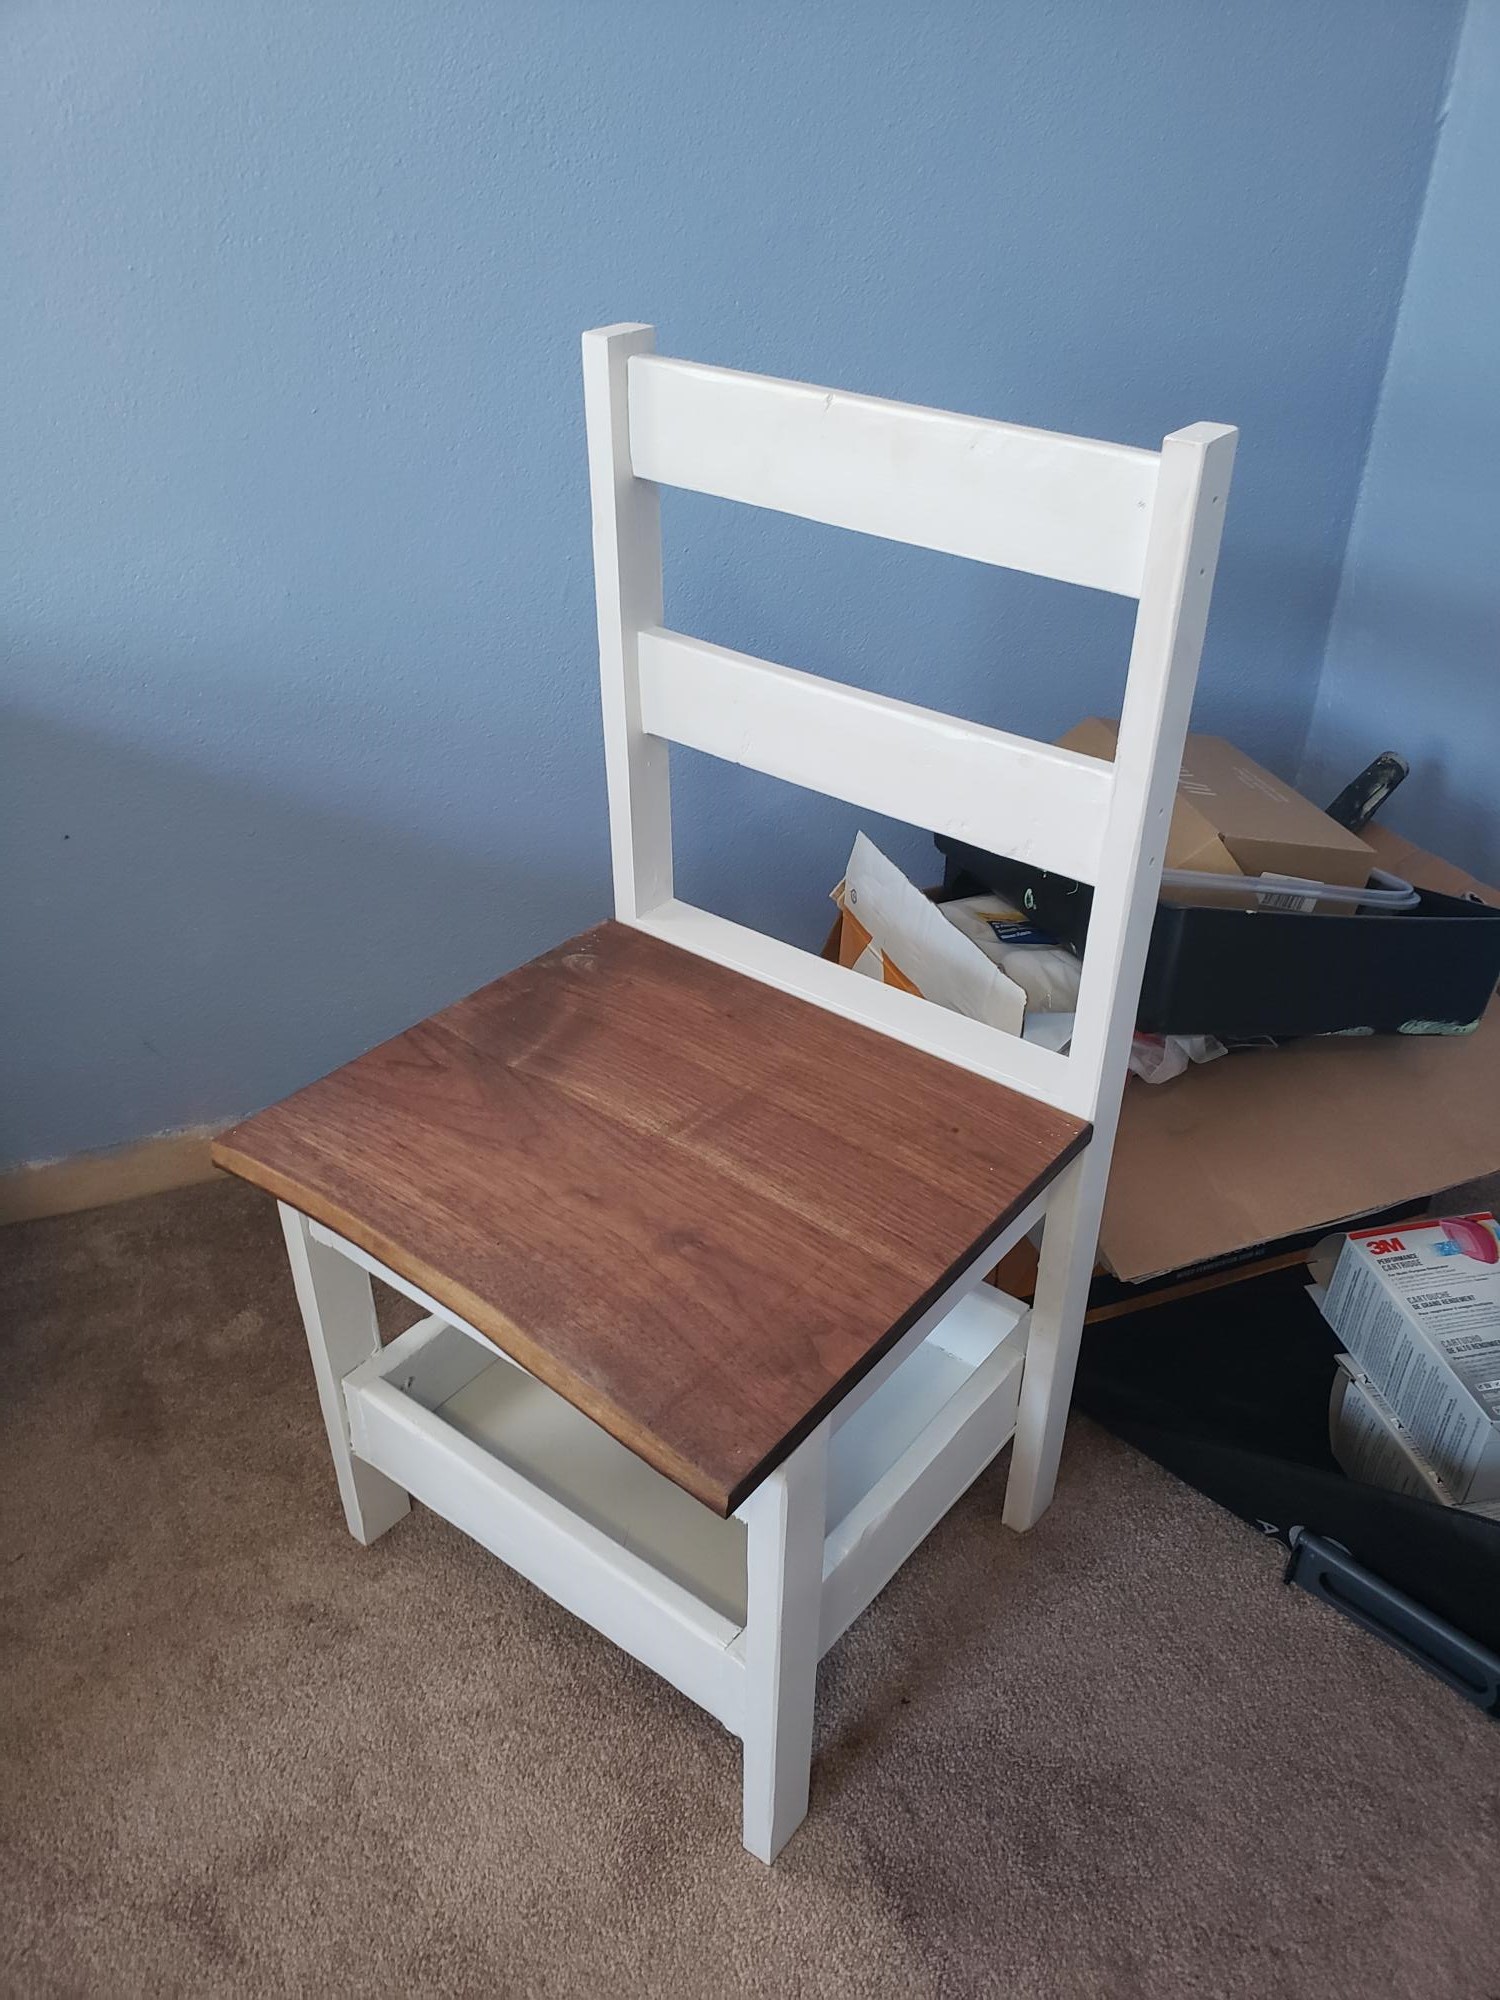
I made 4 of these and made seats out of walnut.
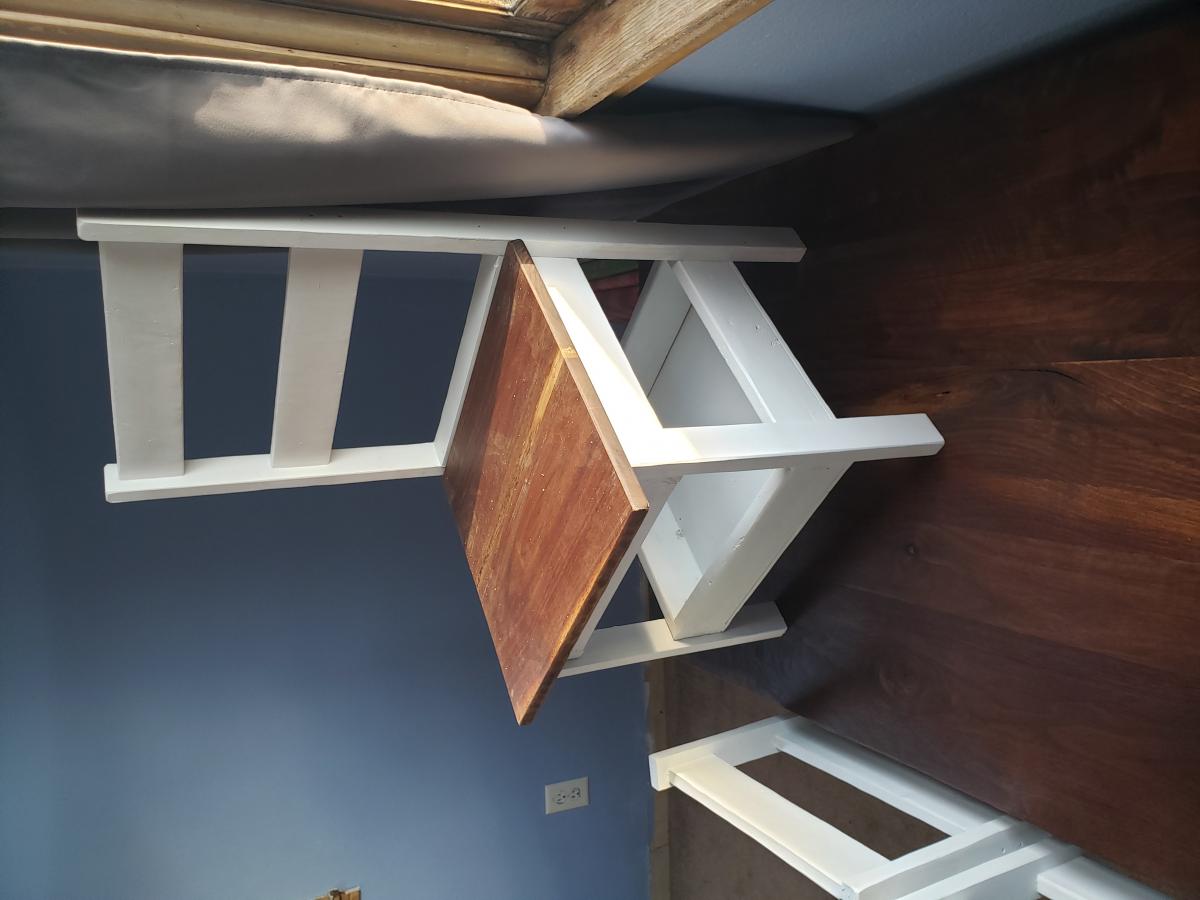

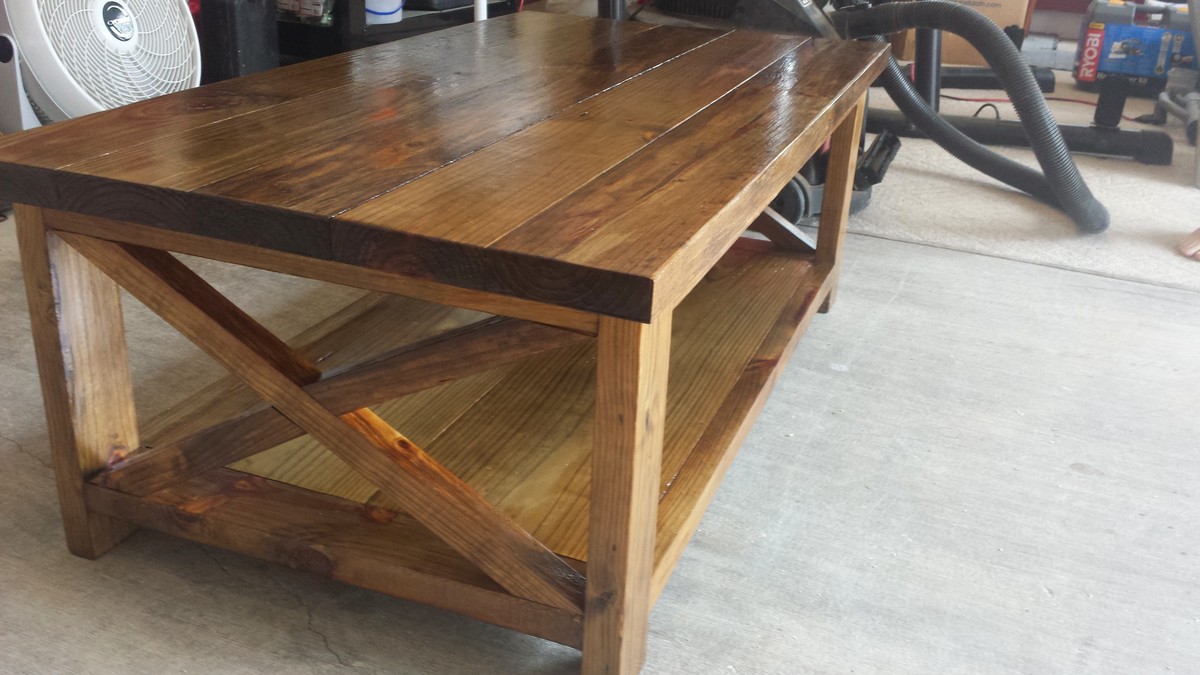
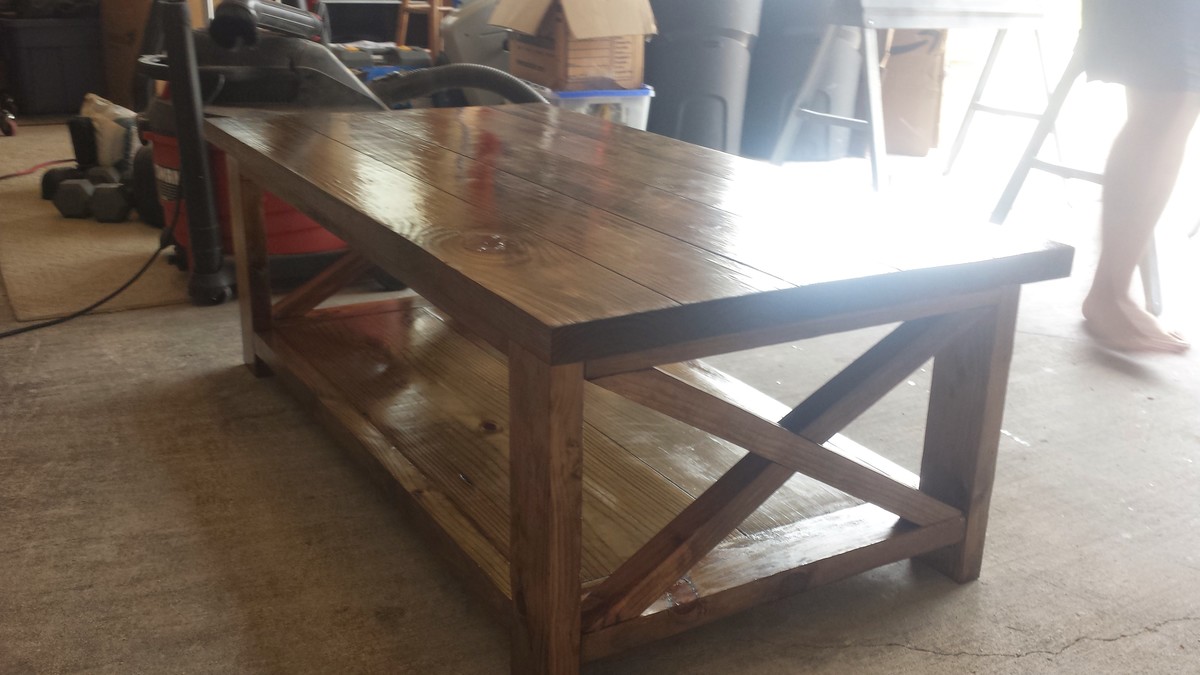
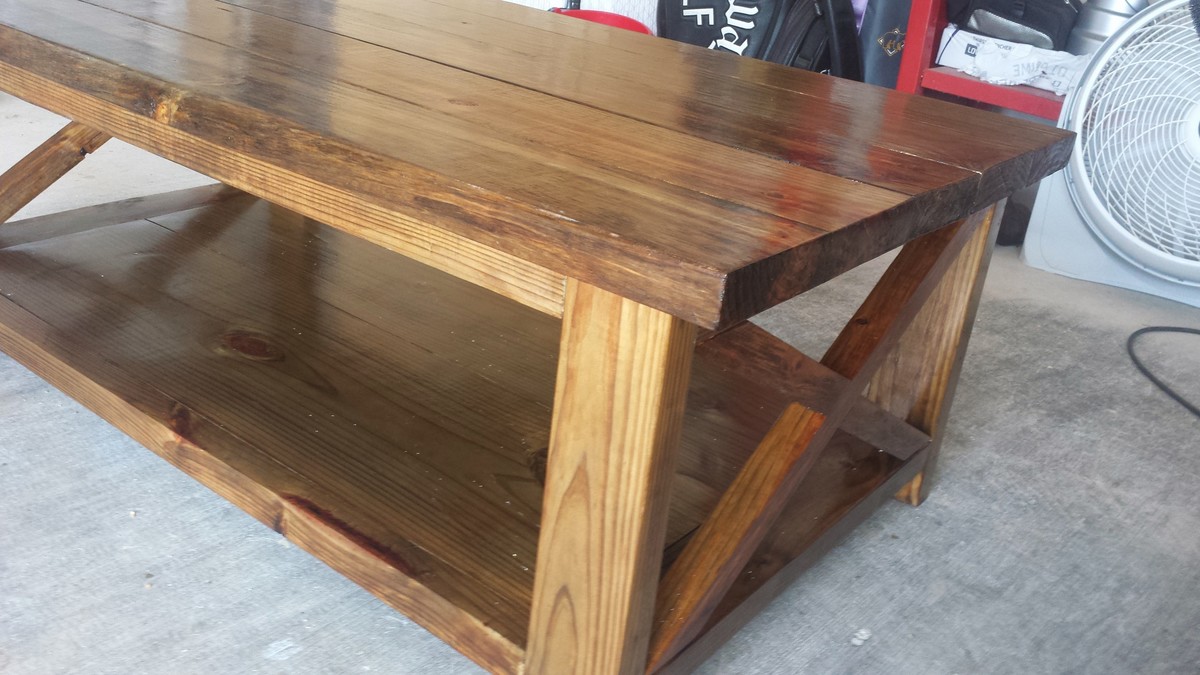
Rustic X End Table with a dark stain.
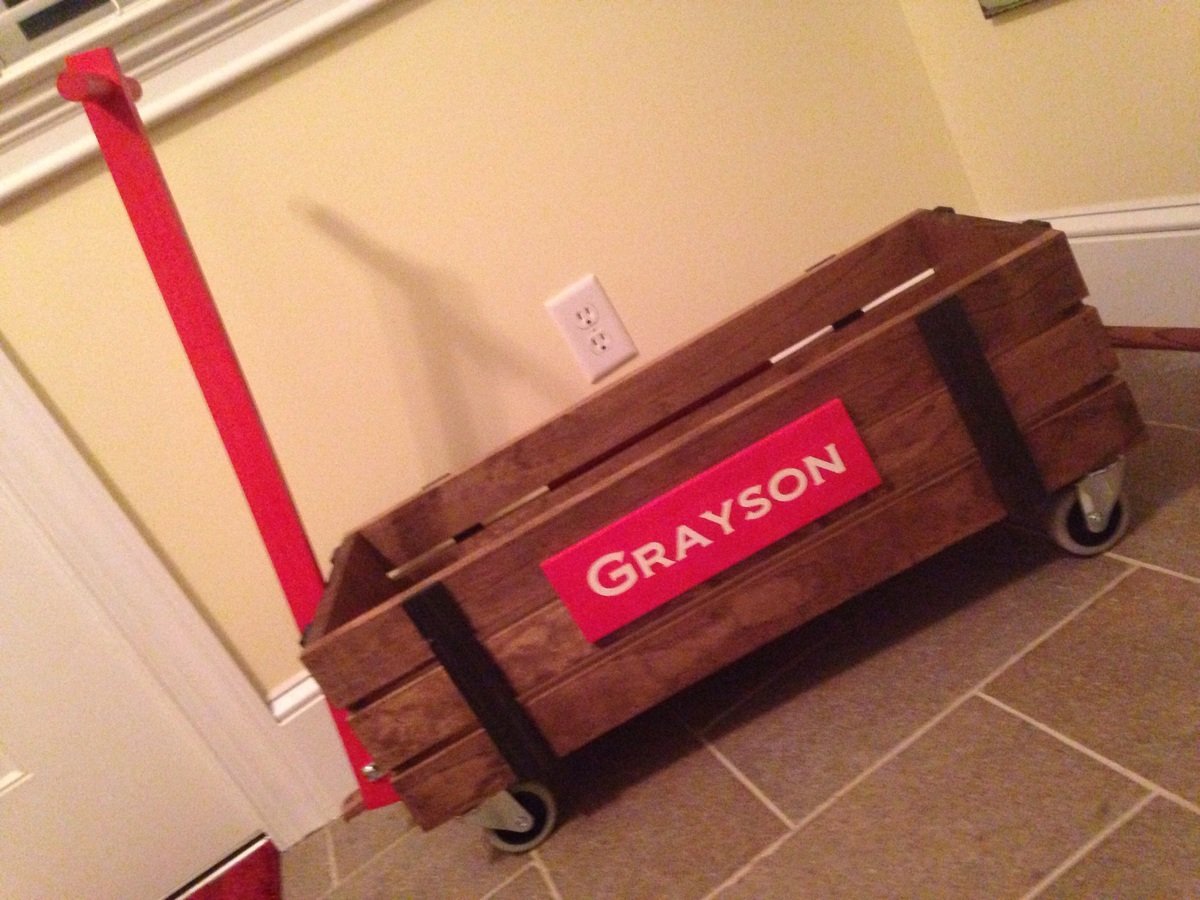
What new Mom wouldn't want this for a baby shower gift!!! Easy build
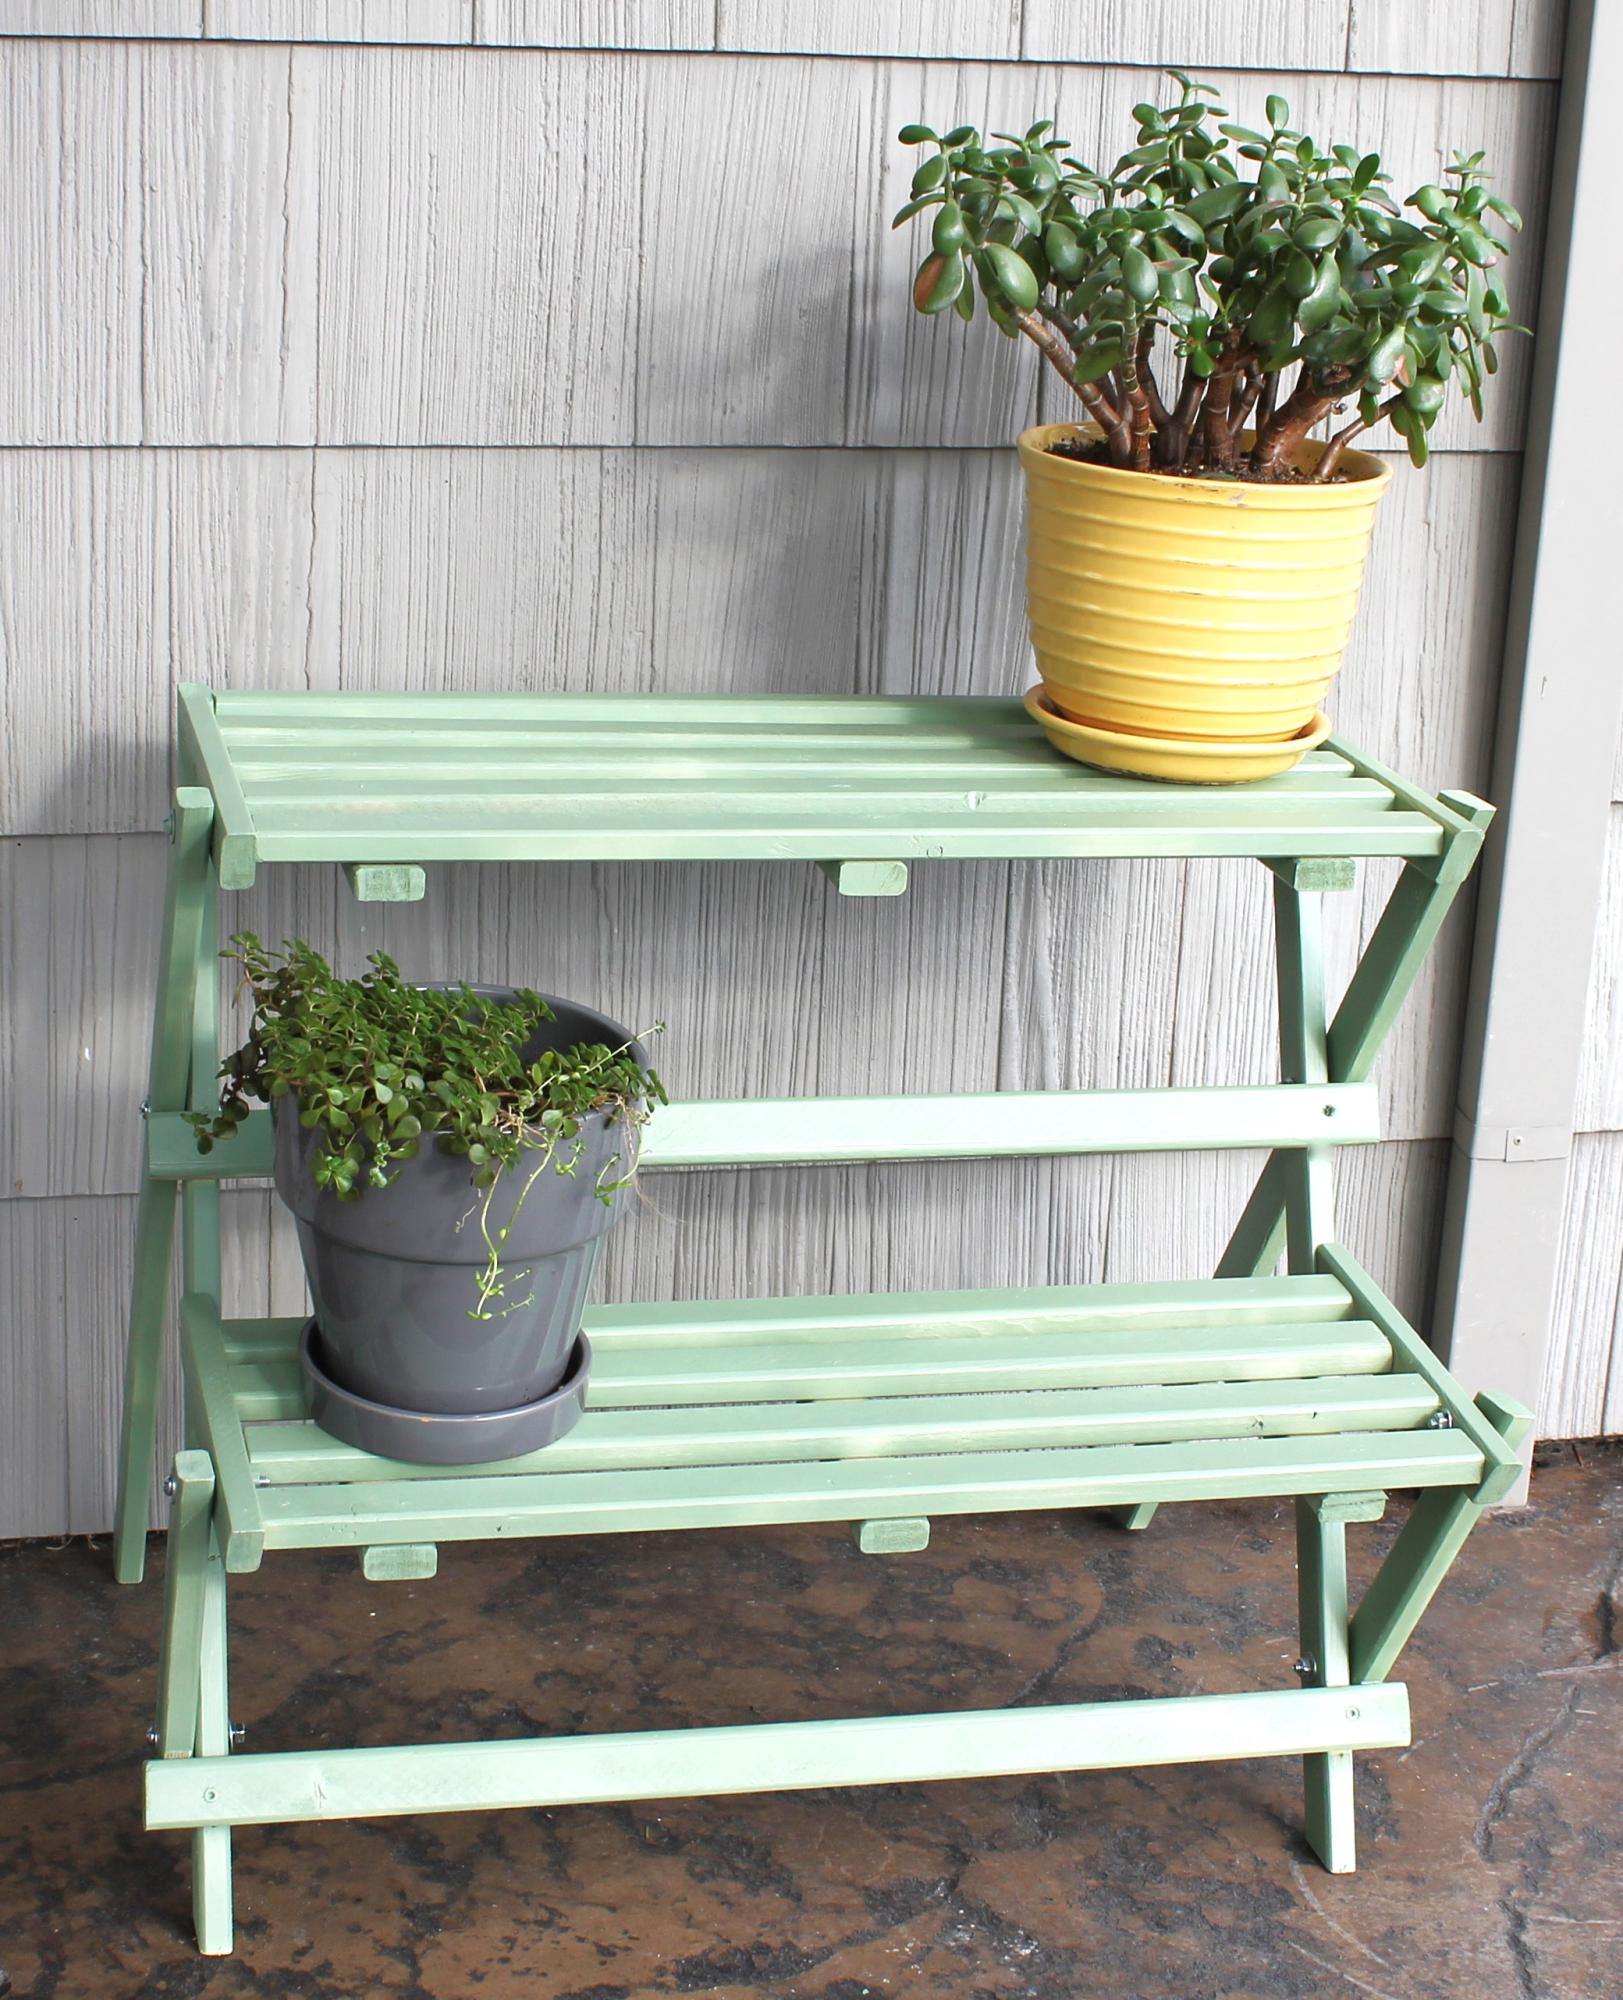
Easy to build and inexpensive about $20.00. I decided to build the stand and then disassemble all bolted items before painting. It made getting an even coat on all the individual boards a lot easier. In the directions please note that you need 24 washers for the connections. I found that re-tightening all the bolts prevented the shelves from moving even when a heavy pot is placed on top. Love that it can be folded up and tucked in the garage. Thanks Ana for the great plan.
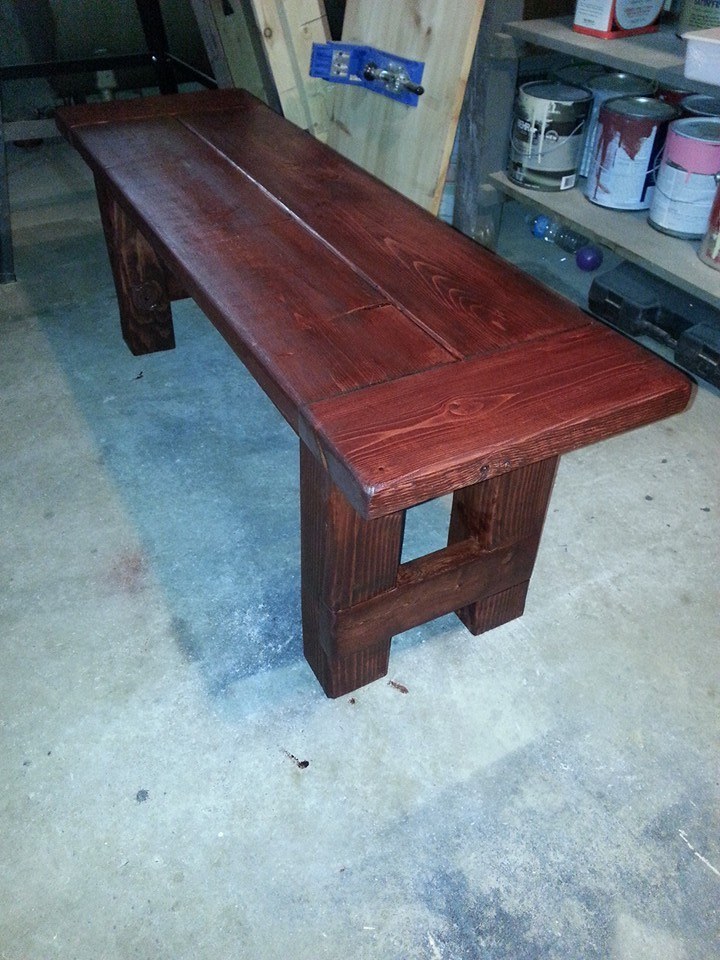
We bought a new house this past summer and got a new table but without chairs. My wife wanted a bench for one side and I decided to surprise her and make one. This was my first woodworking project and thanks to Ana it came out great. I made some modifications to the plan:
4x4 for the legs
2x8 for the top
2x6 for the breadboards
I also made it about half as long to fit under the table.
My time frame was longer than it needed to be because I made some rookie mistakes I had to redo some things. The notches in the legs was probably the only really hard part and with some practice not bad at all.
My wife loves it and now wants me to build more! I guess I have a new hobby!
I finished it off with a single coat of Varathane Red Oak and a satin poly.
On to the next project....
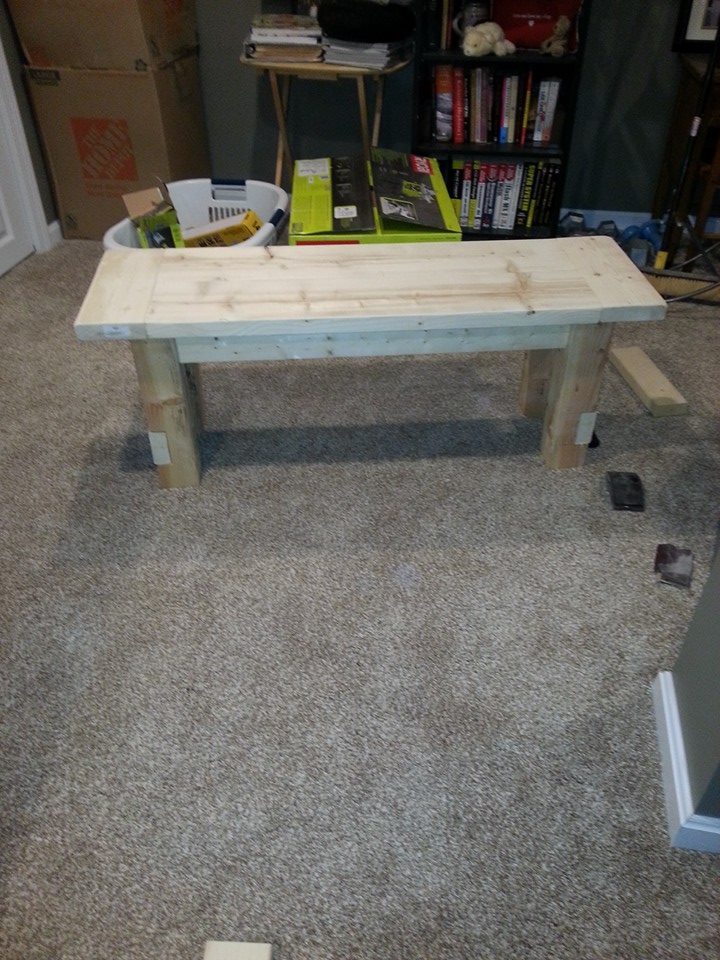
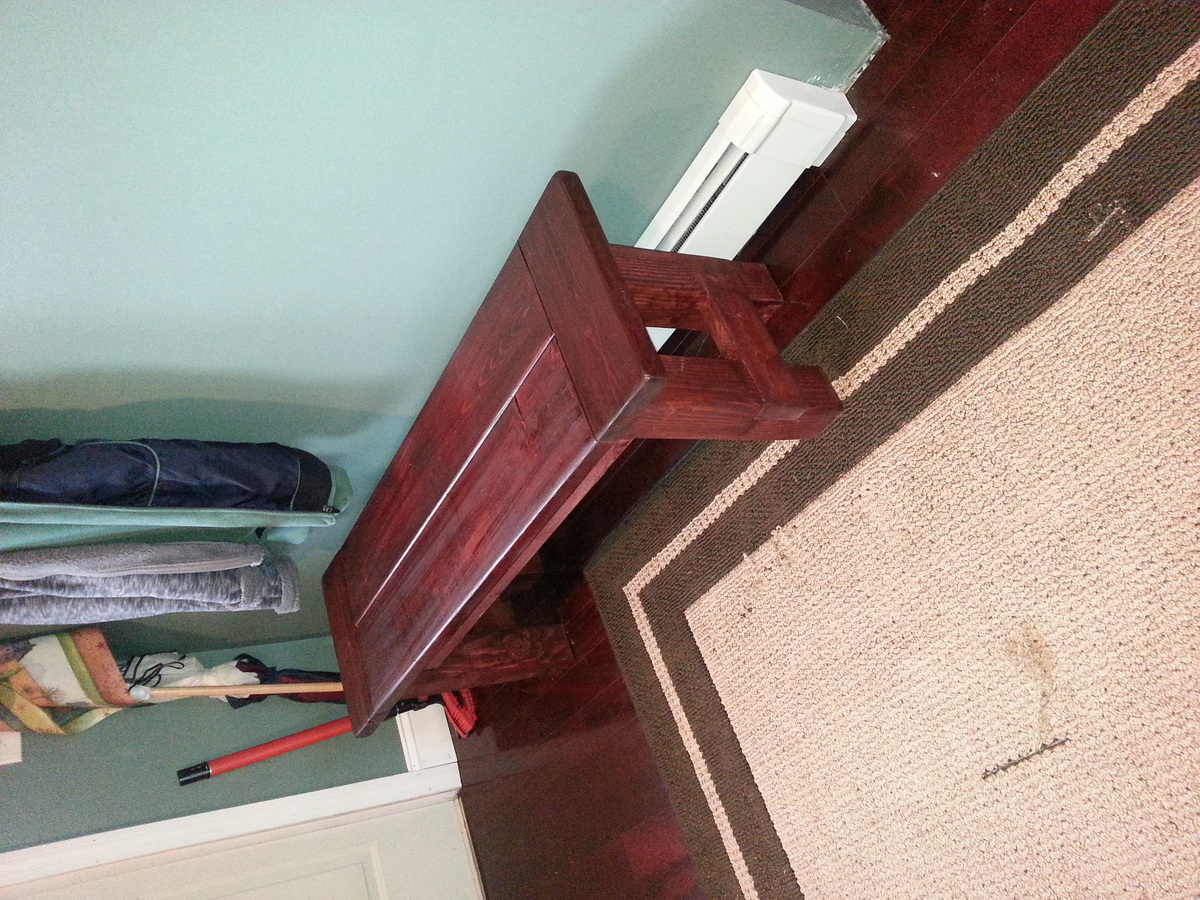
I am a Block Printer and Screenprinter, as well as indulging in other projects. I needed a fairly large table that would allow me to print fabric yardage fairly easily, as well as be able to layout the fabric to cut. I decided to build this table that I had seen on a couple of different sites. There was not much instruction on either site, but it was fairly easy, and I was able to figure it out pretty easily.
I wrote a more detailed blog post on my blog with details as well as what I learned while building this table.
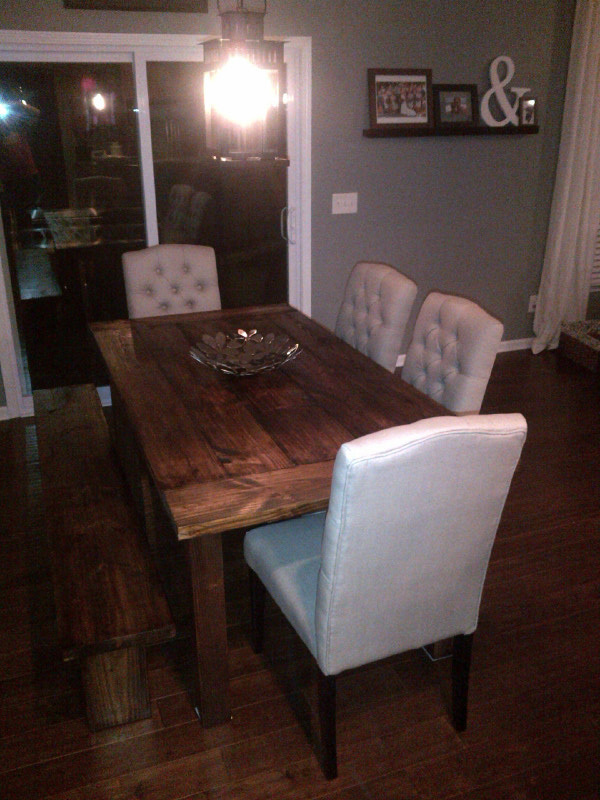
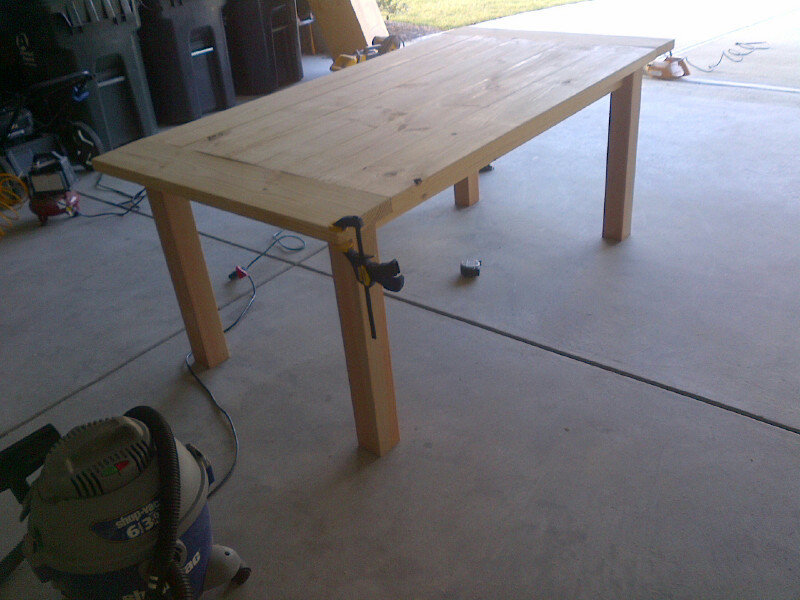
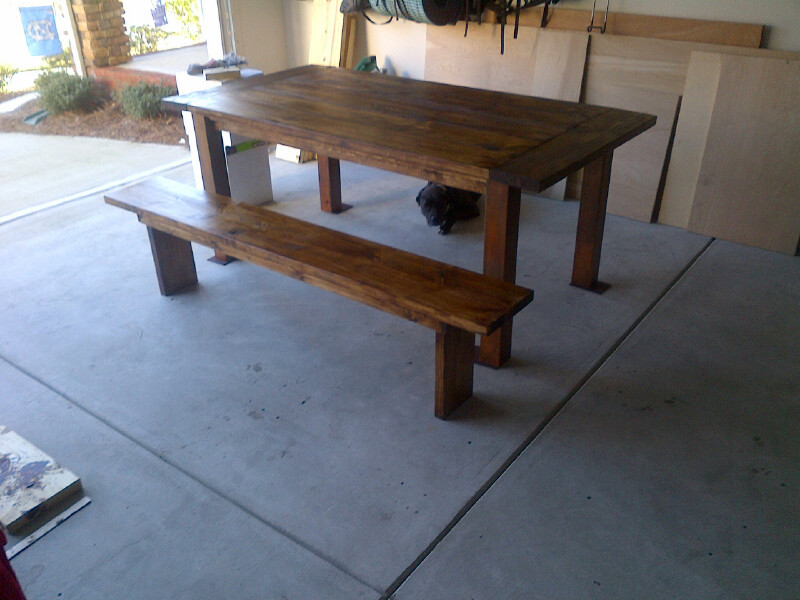
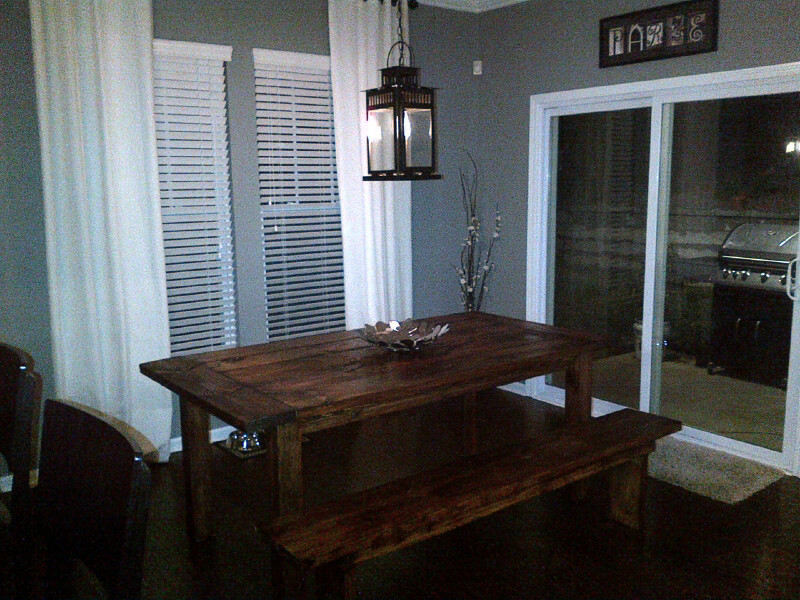
My wife has been looking for a new kitchen table for the house. Me being thrifty and not wanting to drop a grand plus on a kitchen table at PB, I decieded I would make one.
I modified a few of the plans I found on this site to make it work for us and our space.
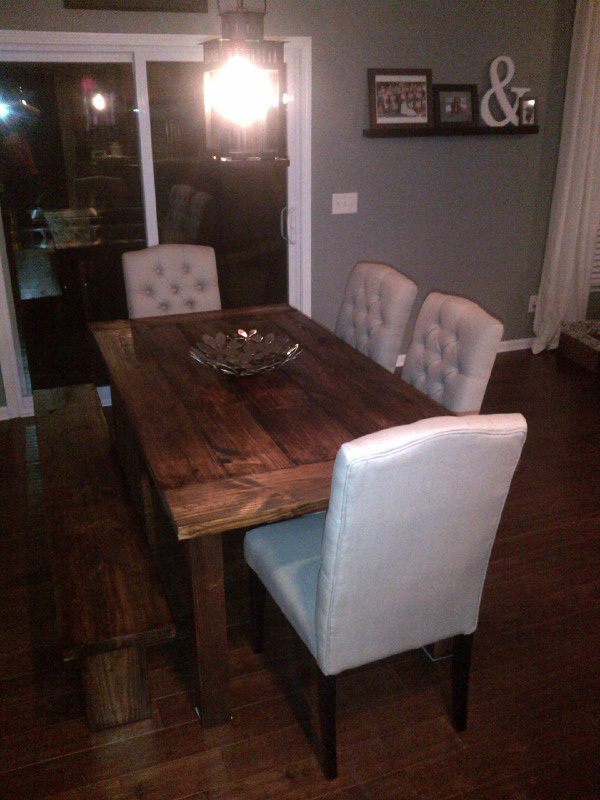
After about a weekends worth of work and $140 in stain and wood, I got a table that's 100 times better than what PB has for sale.
I even got a little crafty and figured out an Ikea hack for the light.
I used builder grade top choice 2x8s, 2x10s, and 2x12s for the table and bench, a blow torch to distress the wood a bit, and three coates of misson oak stain.
If anyone wants my plans, I have them done up in CAD as well.
C
Mon, 01/28/2013 - 20:14
Looks really nice! I like the look of the heavy, dark wood with the white upholstered chairs.

We started this project on a Sunday and finished Tuesday. We did make the legs taller to fit under our tv, so we also needed to adjust the front and back 2x4 support to be a little taller.
other than that, we followed the plans. I stained the top with Rustoleyum Dark Walnut and the bottom is spray painted, painted and distressed using the Shanty 2 Chic ideas.
LOVE this table! It was exactly what I wanted! Now, to find 2 small lamps to sit on either side. :)


I used tongue and groove pine for this. I just ripped the top board down so the ridge wasn't there.

Mon, 12/21/2020 - 11:28
The hardest part was putting the lid struts on.
Other than that it was all straight cuts, glue and brad nails.