Farmtable
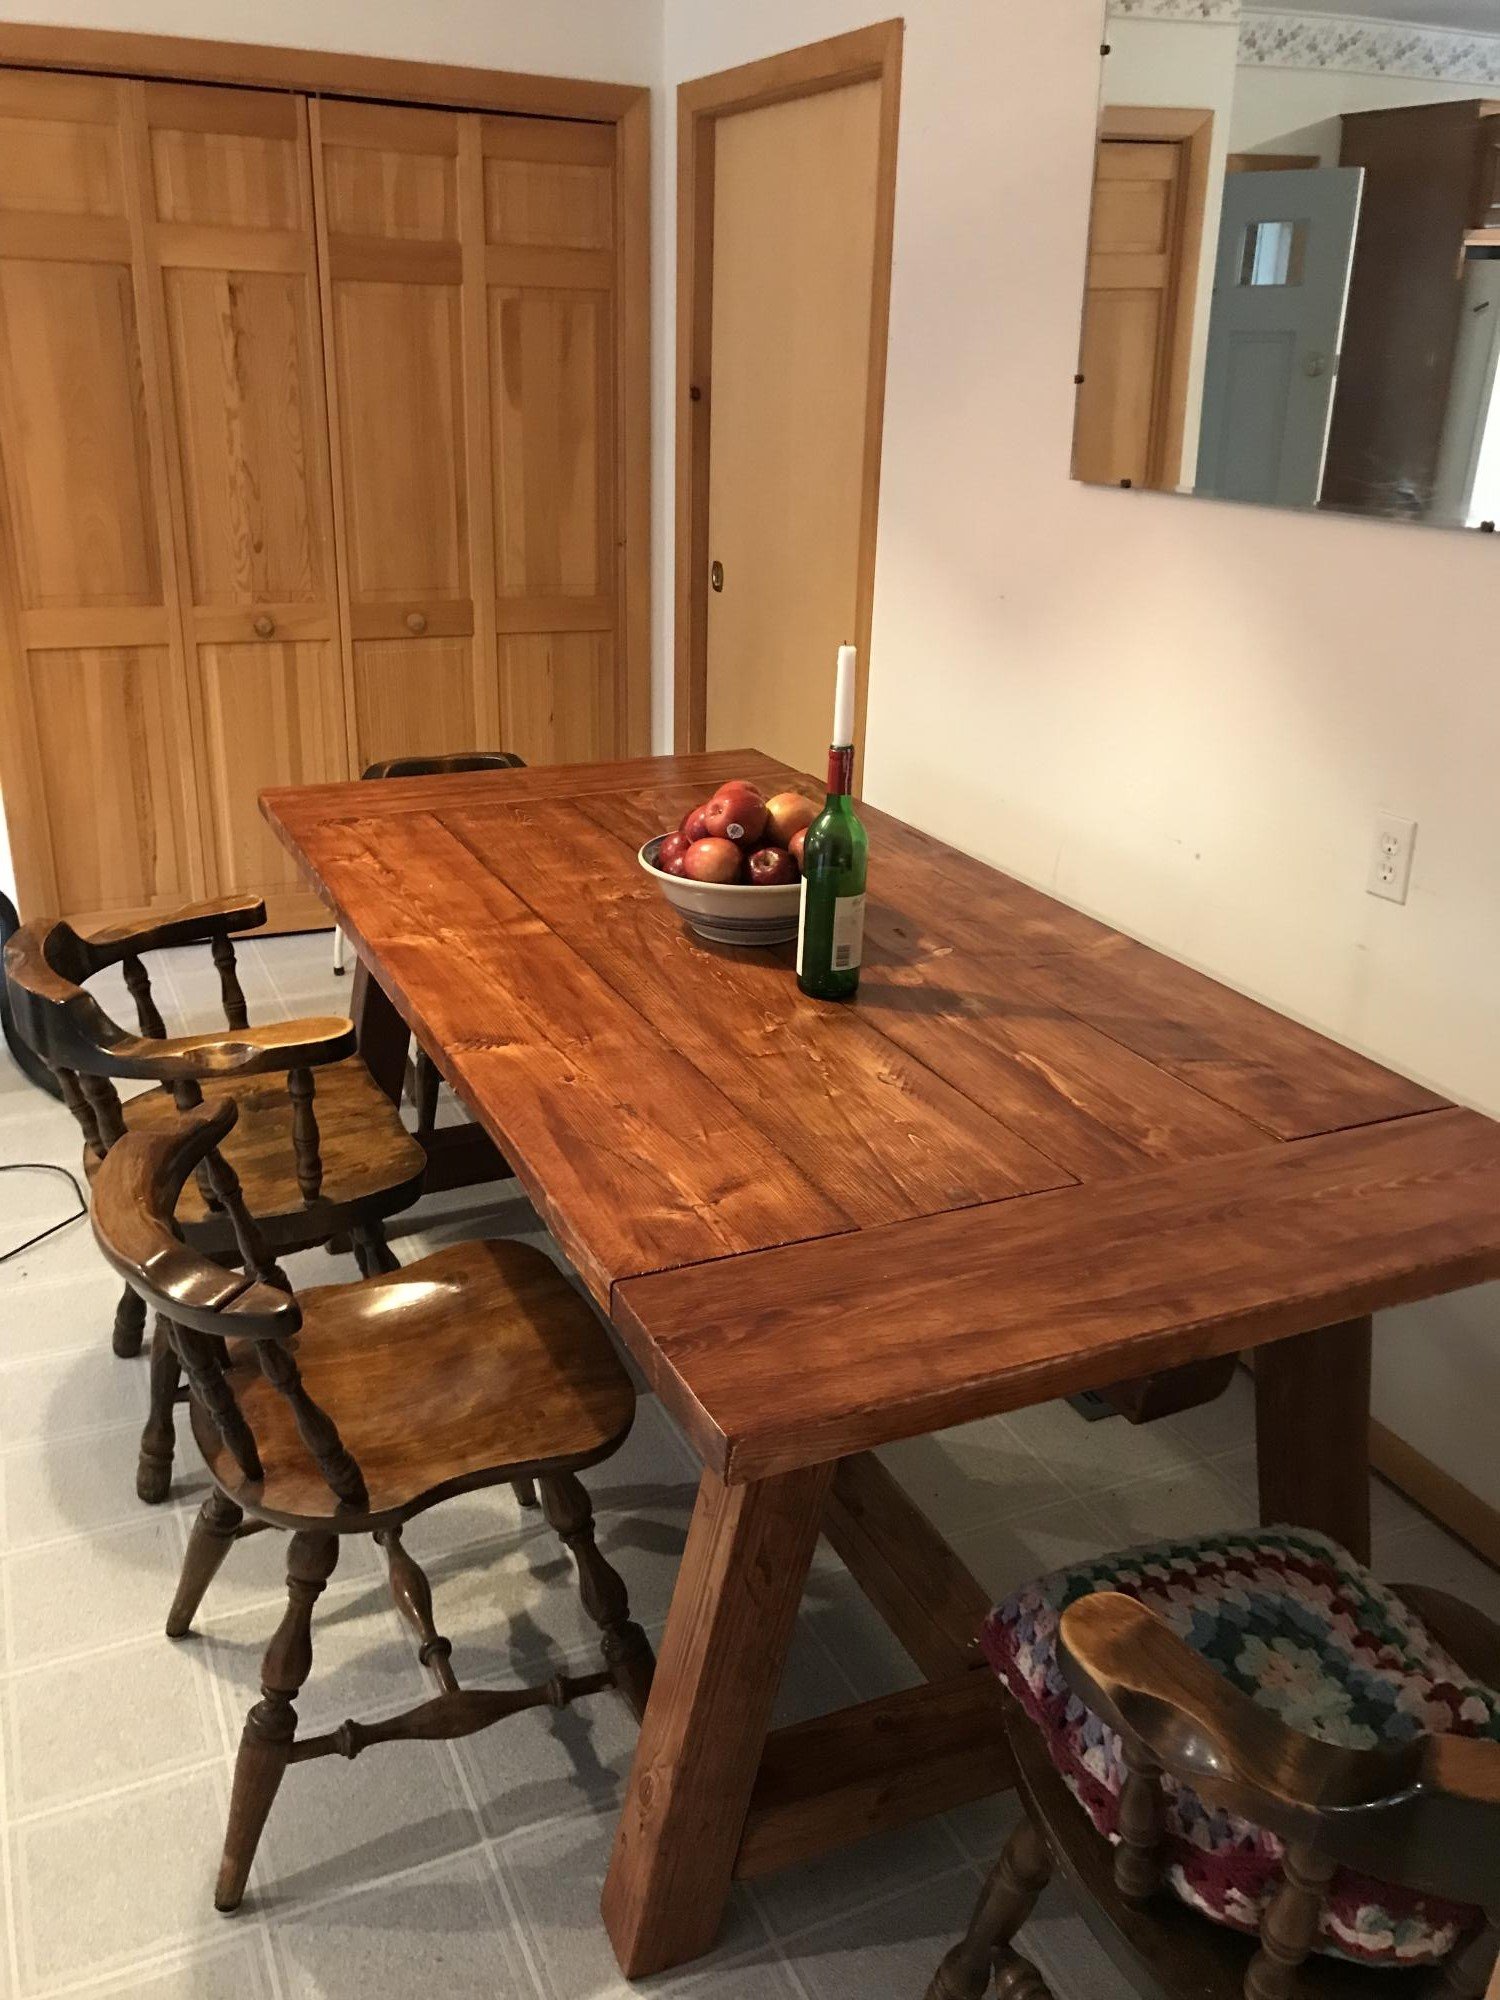
Top is 2x10 KD spuce. Finish is Varathane cherry stain and Varathane semi-gloss poly. This was my first intermediate project. Learned a lot.

Top is 2x10 KD spuce. Finish is Varathane cherry stain and Varathane semi-gloss poly. This was my first intermediate project. Learned a lot.
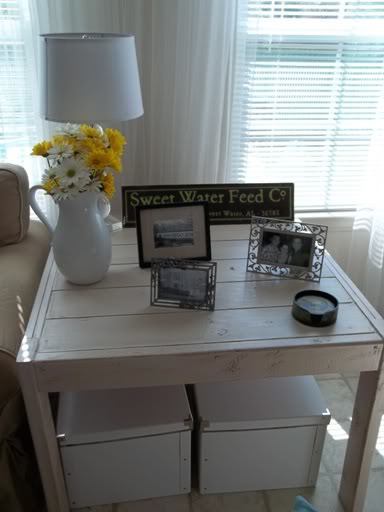
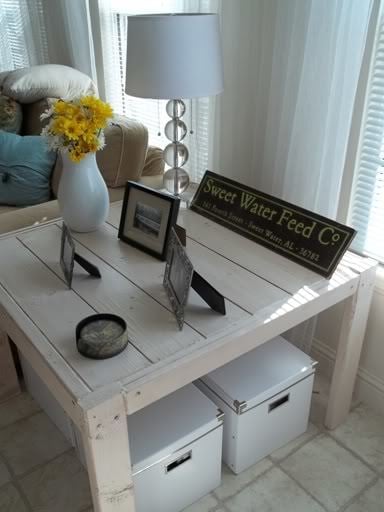
I loved the square modern farmhouse table when I saw it, and knew I wanted to use it as an end table in our living room. I had this really awkward space that my couches created when their corners met. It had been filled by 4 TV trays acting as a larger end table--all I did was cover it with a table cloth to disguise what it really was! ;)
I have a coffee table that is similar looking (with a slated top) so I knew it would compliment it! I may still go back and repaint it to something a little more colorful or to make the white more crisp, but overall I love it!
The table is very heavy and sturdy! At the time I built this, I was under the impression our local Home Depot didn't carry pine boards, so I bought Douglas Fir instead (turns out they do carry pine, they just have it in a different section). Definitely increased the cost a bit, but I have no regrets.
It took me about a week to put together, but I also work outside the home. Had I had a whole weekend to devote to it, I think it would have been done in one or two days.



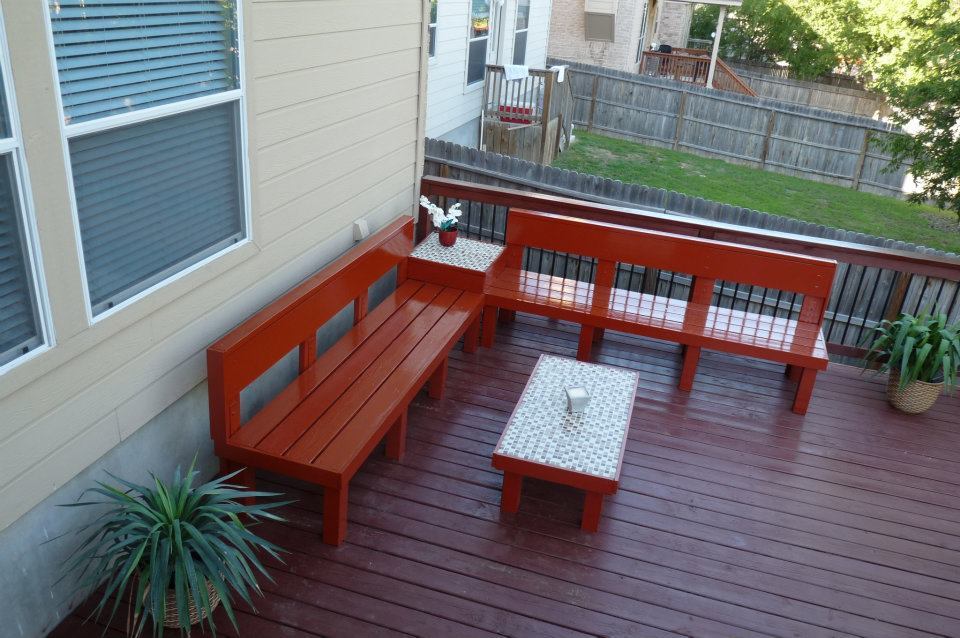
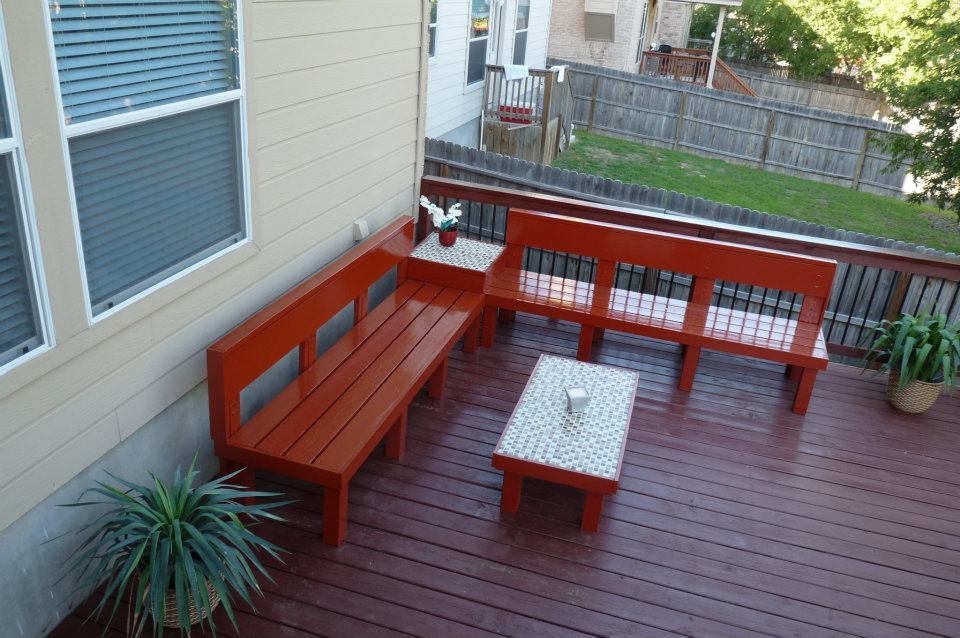
This is an outdoor seating arrangement that we came up with by looking at your website. We had to adjust the size to fit our deck. But once again without your website this would not have been possible.
Modified corner cupboard to use as corner bookshelf in boys room. Omitted the lower doors otherwise shelf cut to specs. Painted with bold blue to match boys colors.
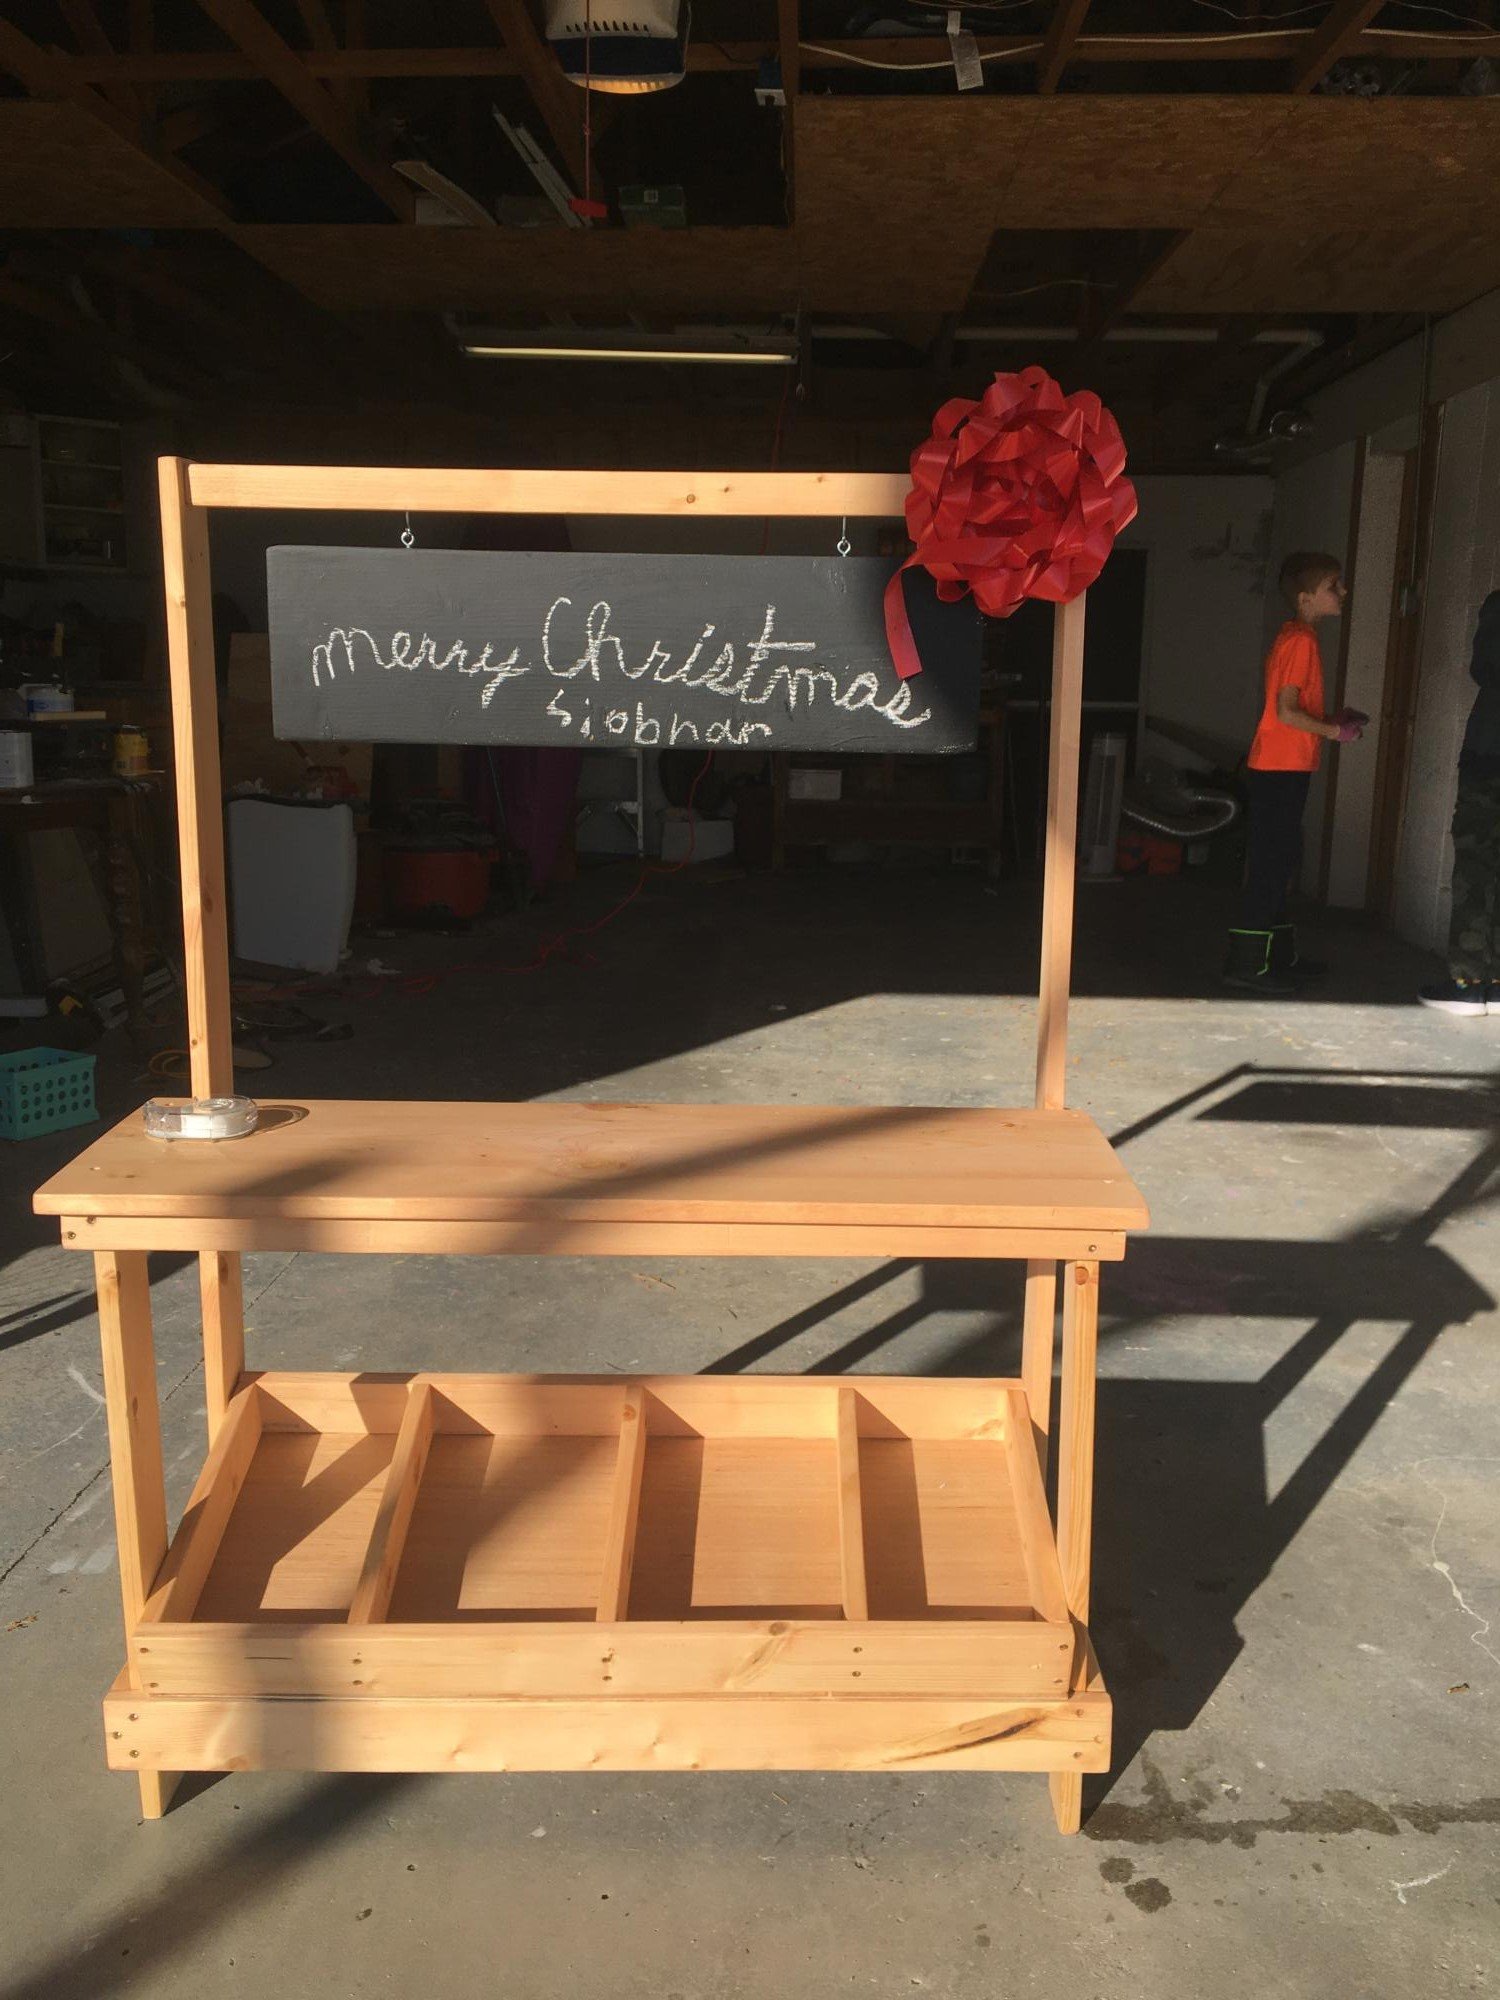
I made this for my daughter this year for Christmas. I’m pretty proud of how it turned out.
Wed, 12/22/2021 - 17:59
Thank you for sharing, wonderful job and a gift that will be cherished for years to come!
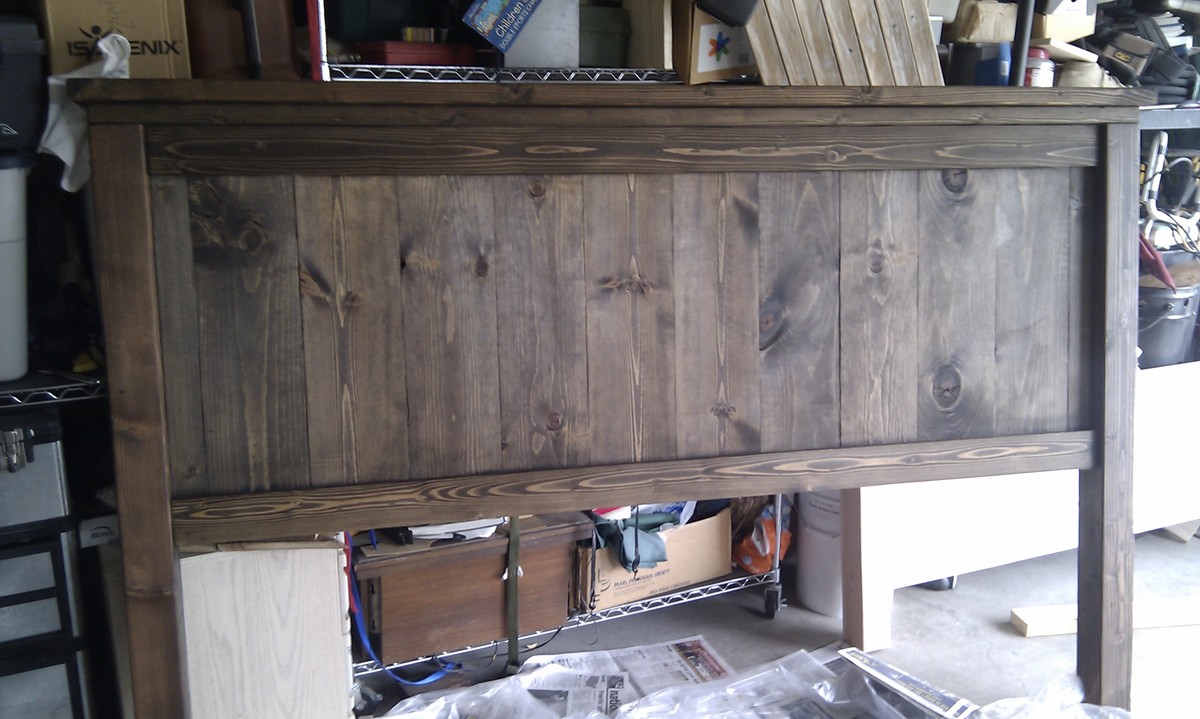
My husband and I finished our first project together. It was odd having him around in the garage, but I tried to not freak out too bad. He was so excited, until we were about three hours into sanding. Little did he know, that I would be sanding all week long. He spent the rest of the time busy after that. :)
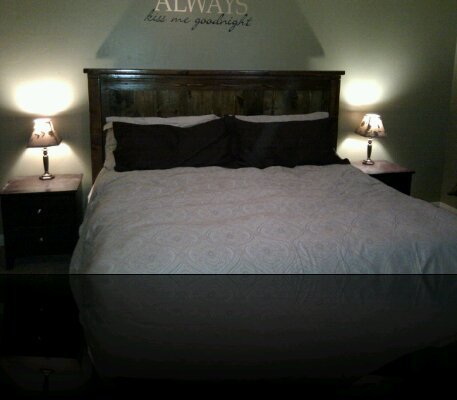
The project went smoothly. I think that the headboard is a little low even after I lowered the bed frame by removing the wheels. I am going to need to build leg extension, but will just enjoy the headboard for a while as is.
You can find more photos on my blog.

Recycled raised herb garden. Simply removed all the innards of an old grill I was going to throw away. Once it was gutted I pressured washed it and touch up the paint. Then I built a simple cedar box and placed it inside. Wa-la added basil, parsley and oregano.
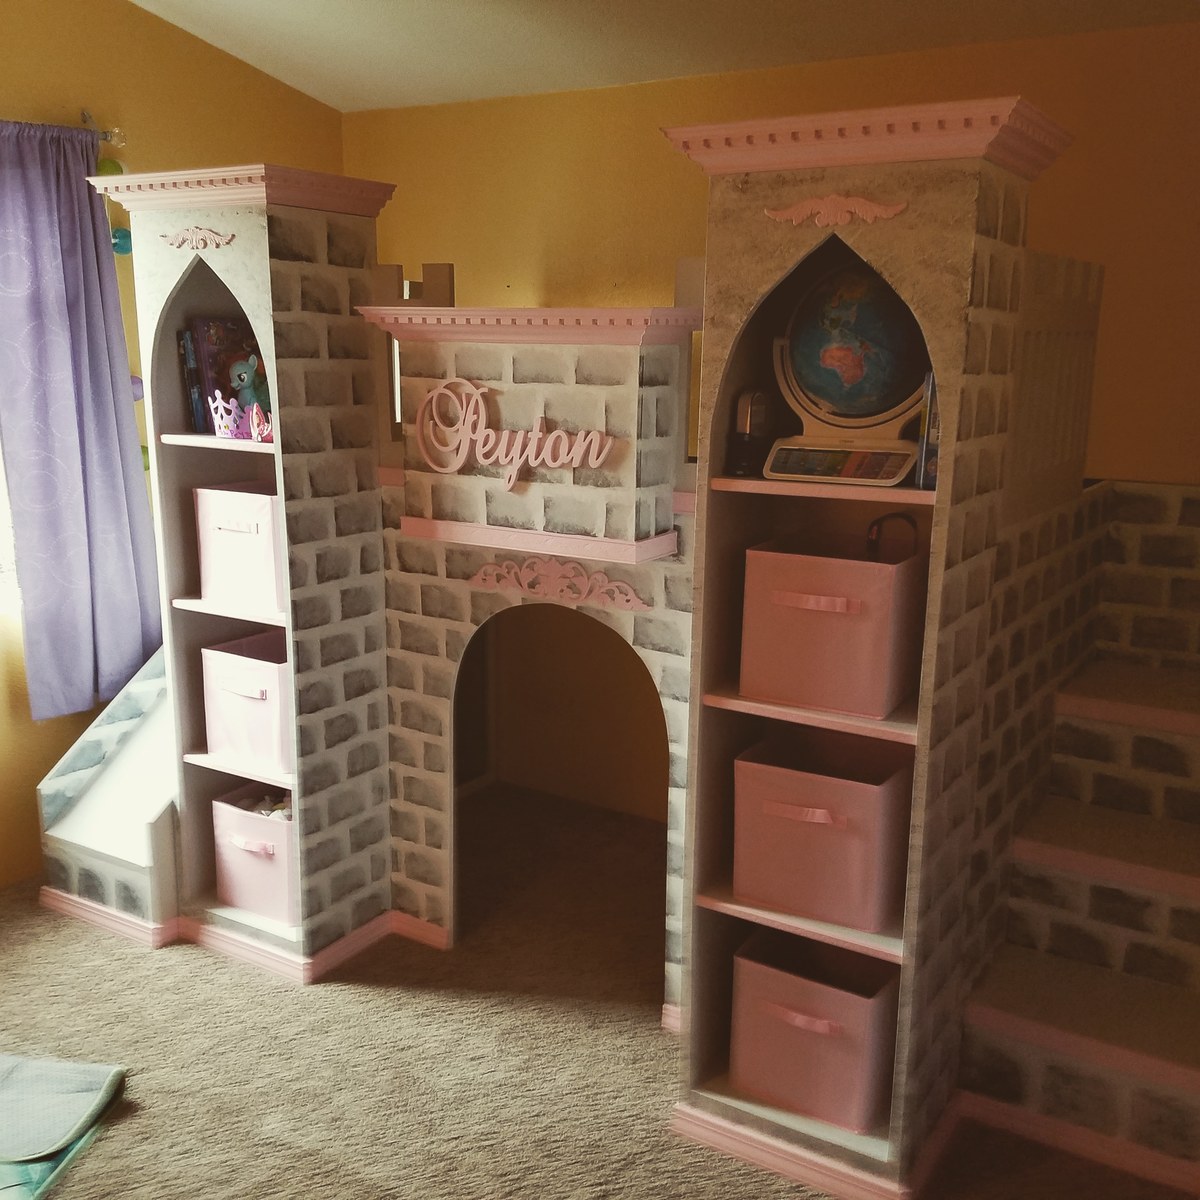
Took different plans from this site and combined them to make this princess castle for my daughter.
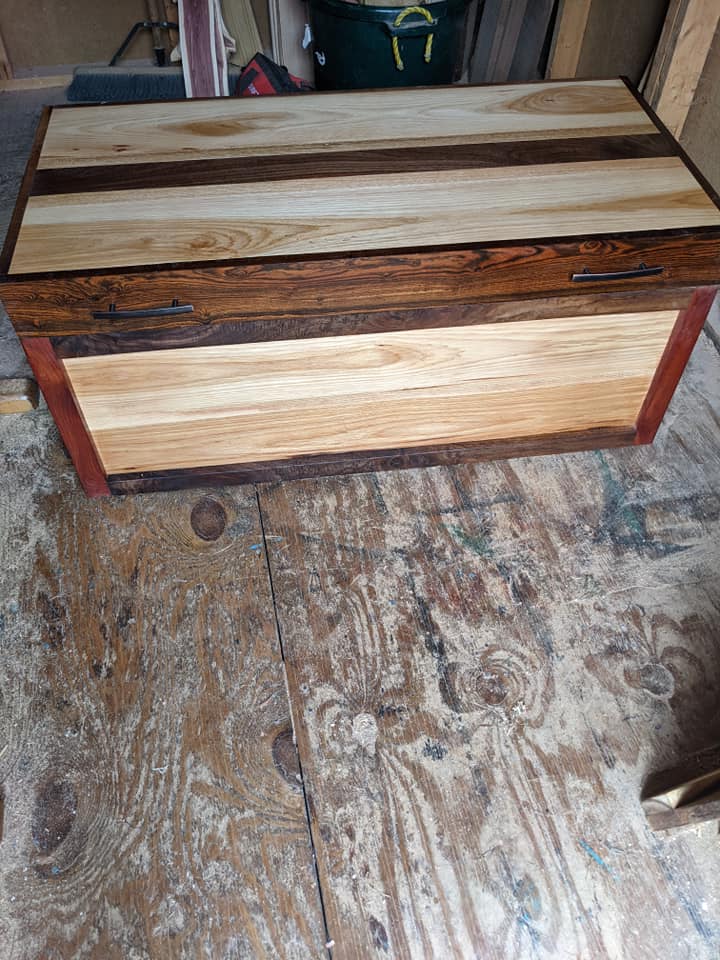
ana here is a picture of a solid hickory blanket chest i made my younger brother the chest is made from 1x8 hickory i used walnut and aromatic cedar trim and for the side trim i used elm the chest features in the top hickory red oak walnut and white oak with walnut side trim and the front of the chest features exotic hard to find mexican bocote lumber i i built the whole chest using plugged kreg screw construction and i used aromatic cedar for the floor and for the finish i used minwax antique oil finish 3 coats this is by far my most 2nd favorite project to come out of my shop over my 20 plus yrs woodworking not bad for simple tools a humble shop and a outdoor rated cord for power hope you enjoy let me know your thoughts n i would be glad to share more pics of my work


This bed lifts up so that my son RJ has a desk big enough for him and his friends. A large piece of plexiglass serves as a smooth service and a great place to store his music, art, and whatever he is working on at the moment.


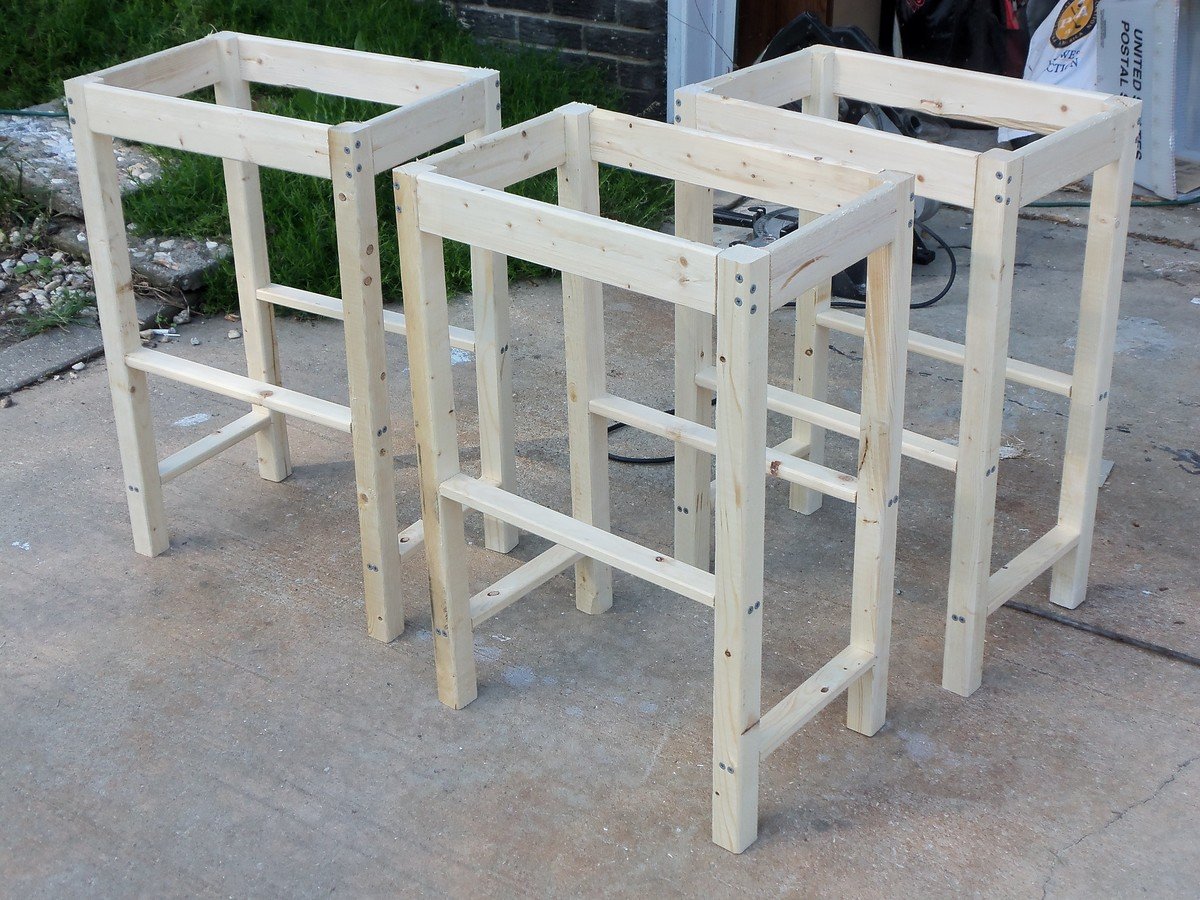
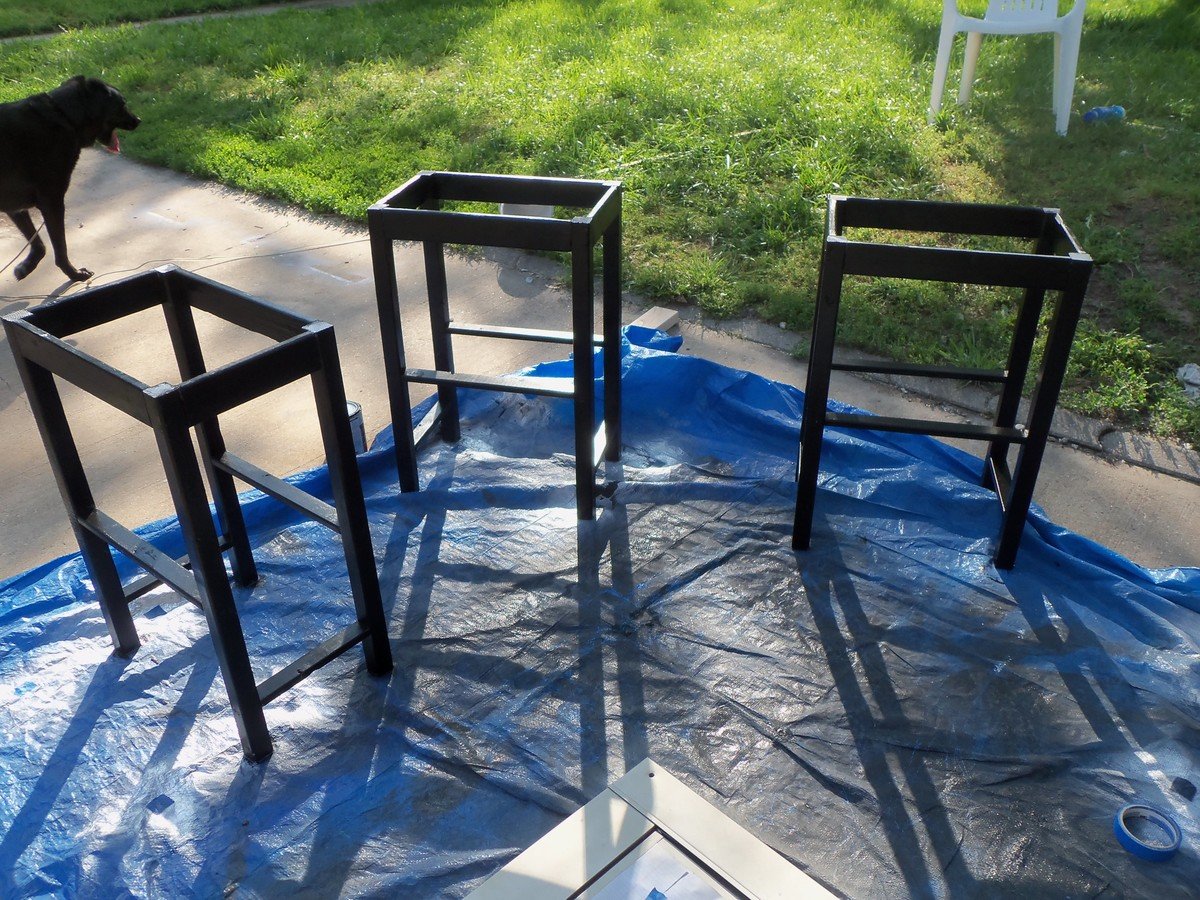
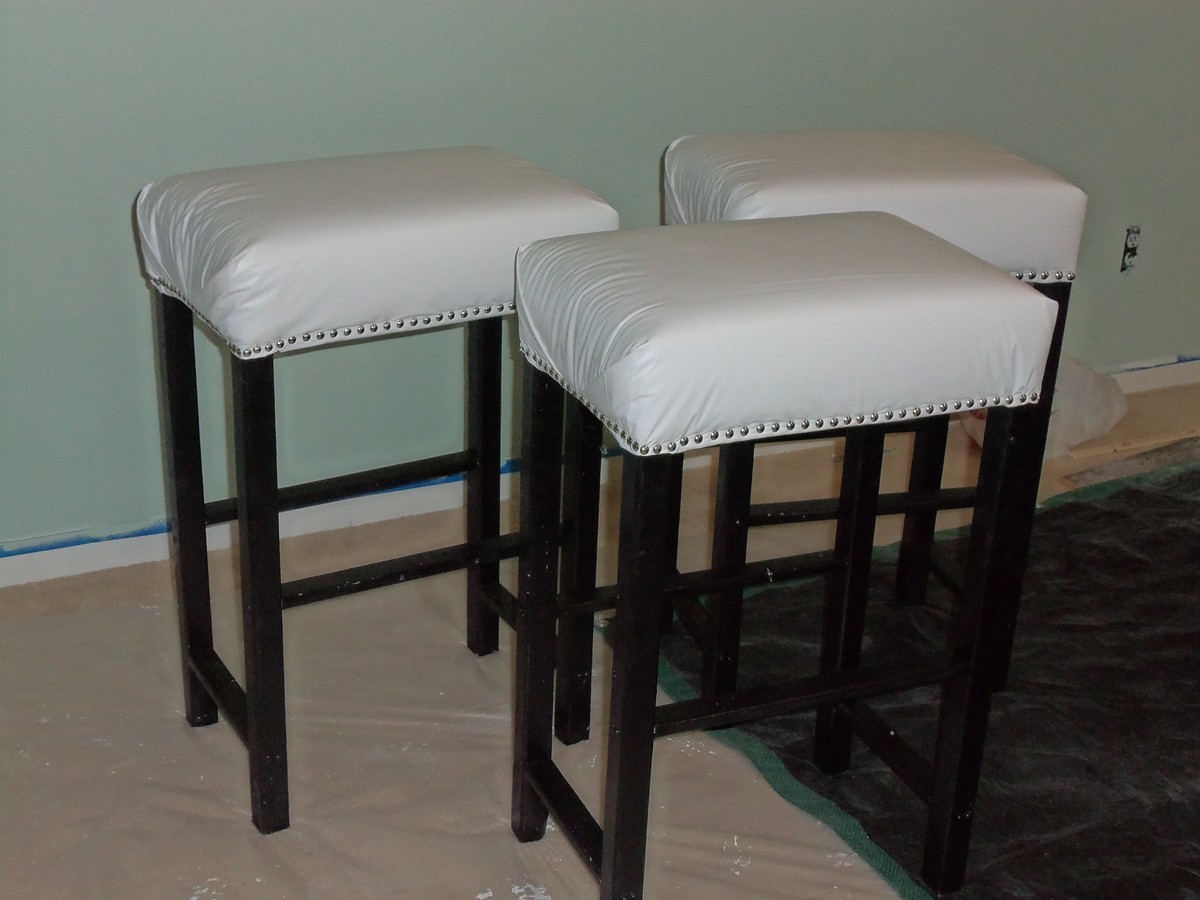
We really liked the look of this stool with the nail heads, and we customized the stools to bar stool height by extending the length of the 2x2s to 27.5". We also bound the legs together before we started to put the stools together and sanded down the ends to make sure that they sat flush and wouldn't wobble...I would definitely recommend doing that because they are sturdy and don't wobble at all.
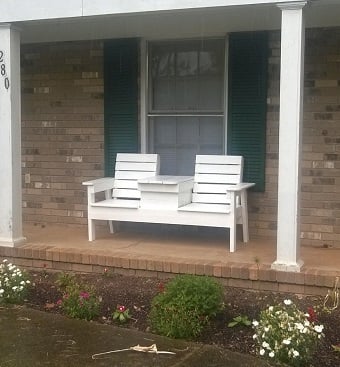
I made a few changes. I added walls and a hinge to the table to allow for a cooler to fit inside. I also decided to paint mine. The was a fun project and I love how it turned out.
Mon, 06/08/2015 - 09:20
How did you go about adding walls and a bottom to the middle? I was thinking about doing this, it seems that the seat slats would need to be shorter to accommodate this, is that what you did? Any information would be very helpful. Looks great!
Wed, 07/01/2015 - 05:08
I wanted to add an ice chest to mine as well. Was thinking to close the sides but leave the facade. slip in a couple cross boards at the bottom and that should suffice. Add some hinges on the back end and you should be set.... that's my thought process for how i may make my next one. Would love to know how they did this
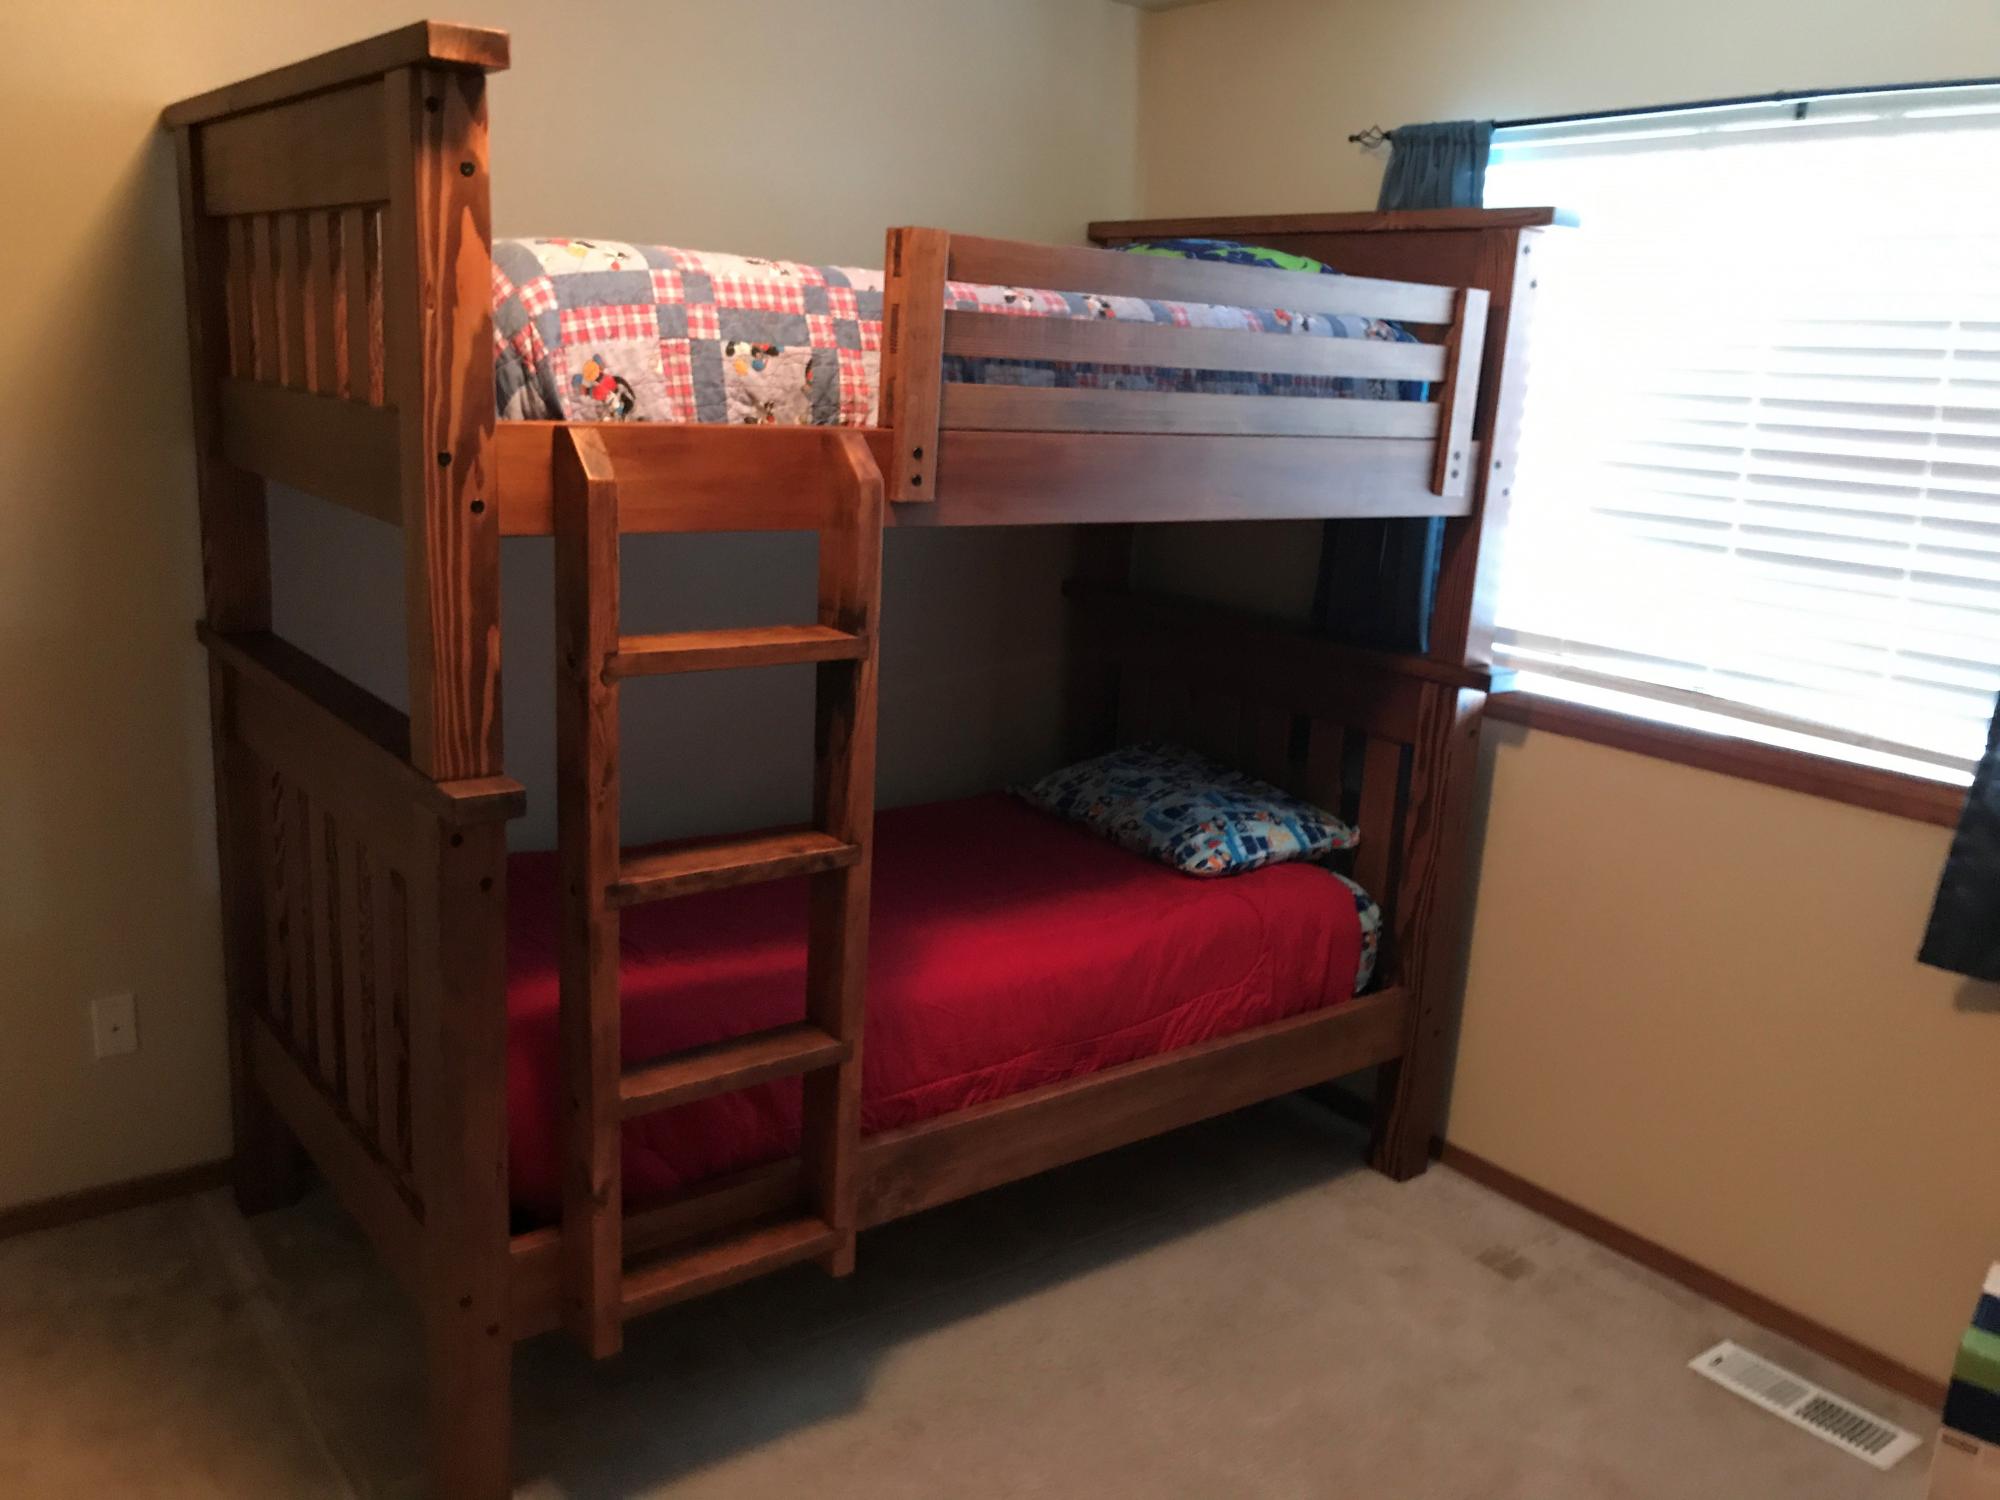
A variation of the simple bunk beds made with old growth lumber stained with "honey" minwax stain and topped with 2 coats of satin minwax polyurethane . Each step on the ladder made with dado cuts, glued, and screwed and secured to each bed to add strength and take up less floor space. Used 8 inch HeadLOK screws to attach head and foot boards to posts and 2 7/8 inch to secure steps on the ladder as well as top boards to the head and foot boards. I cut down x4 HeadLOK bolts to 2 inches to secure rail to top bed so they didn't go through other side. Utilized non mortise bed rail brackets for easy assembly and disassembly; holds strong with no wobble even before ladder and plywood bottom. 3/4 plywood bottom screwed to the rails to better support mattress and add ridgidity. I screwed them so the bottom child doesn't push up on the mattress for the top child. All screws with the exception of the HeadLOK were counter sunk for a flush finish. All to say? This thing is strong and turned out beautifully.
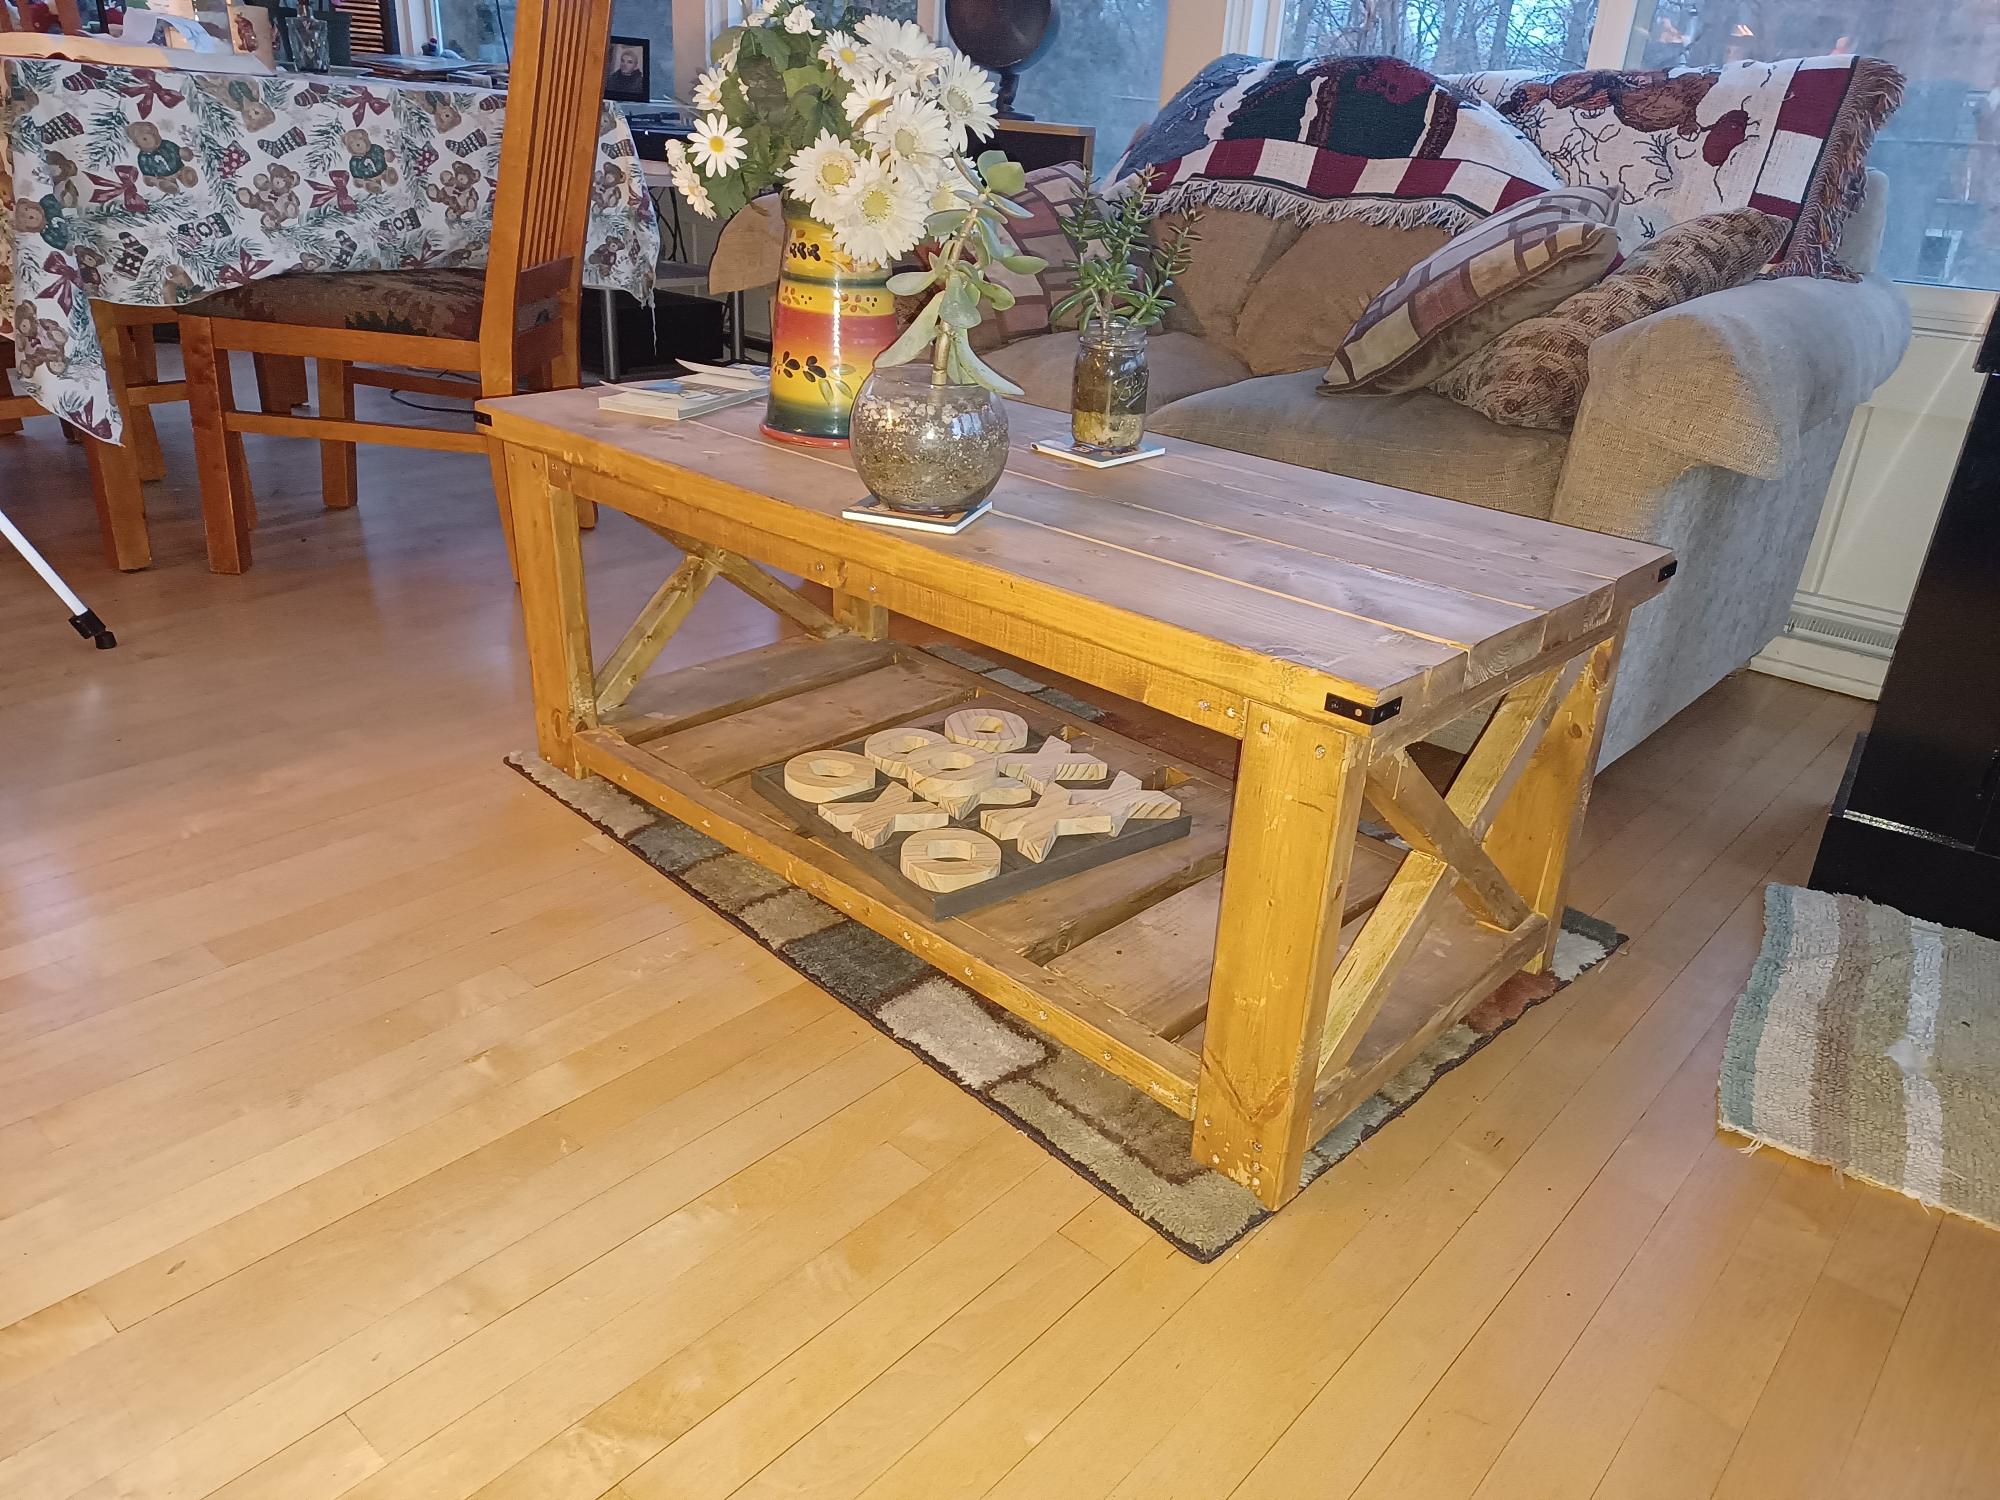
The directions on all of Ana's projects are great. This farmhouse table is in my sunroom and is a perfect addition.
Sun, 12/26/2021 - 17:15
Looks perfect in you space, way to go! Thank you so much for sharing:)
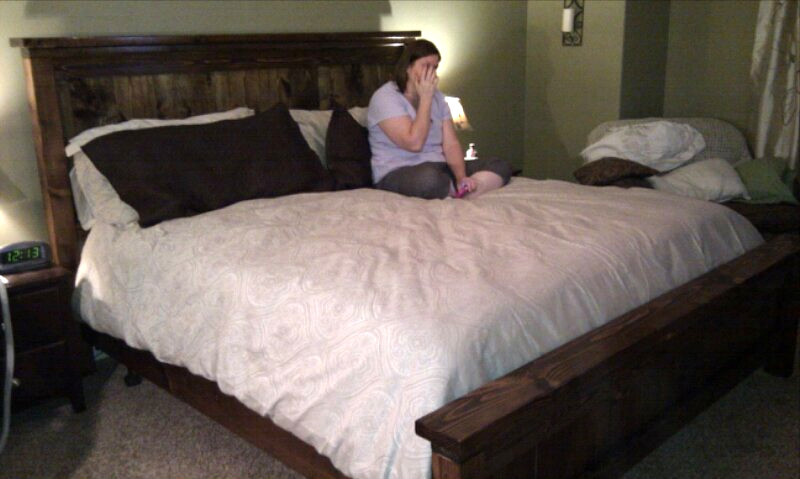
My first attempt at one of Ana's beautiful projects, and it turned out better than I (and my wife) could have imagined. I made this for our 14th anniversary as we have not had a bed during that time. I used Jacobean colored stain, which I wasn't sure of, but as luck would have it, a neighbor who is a professional painter drove by and stopped to check it out. He offered to lacquer it in a satin finish for free!!! and it made a world of difference. I have received several comments on how it looks showroom quality. My wife is very happy. Only problem is she now wants the Farmhouse nightstand and a matching dresser. Looks like I have many more weekends worth of work ahead of me. Wouldn't have it any other way though. Had a blast!
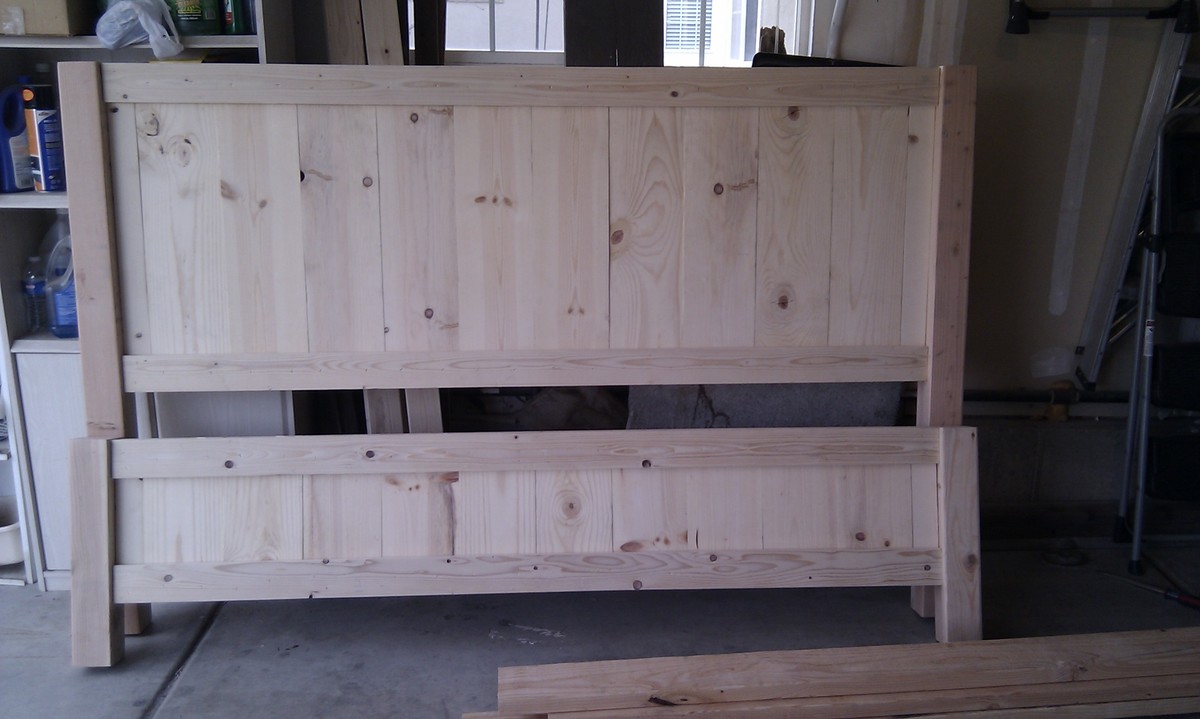

Rustic simple looking boats I have made for my Great Nephews
Chalkboard roof to write their names on and hand drawn windows by my step daughter.
I really like the rustic simple look.
Used A grey stain on the main part first. Then three coats of satin white each time sanding back with 400 grit until smooth.
Used a Forstner bit to drill a hole for the mast. I didnt want any screws or nails since it is being handled by a child.

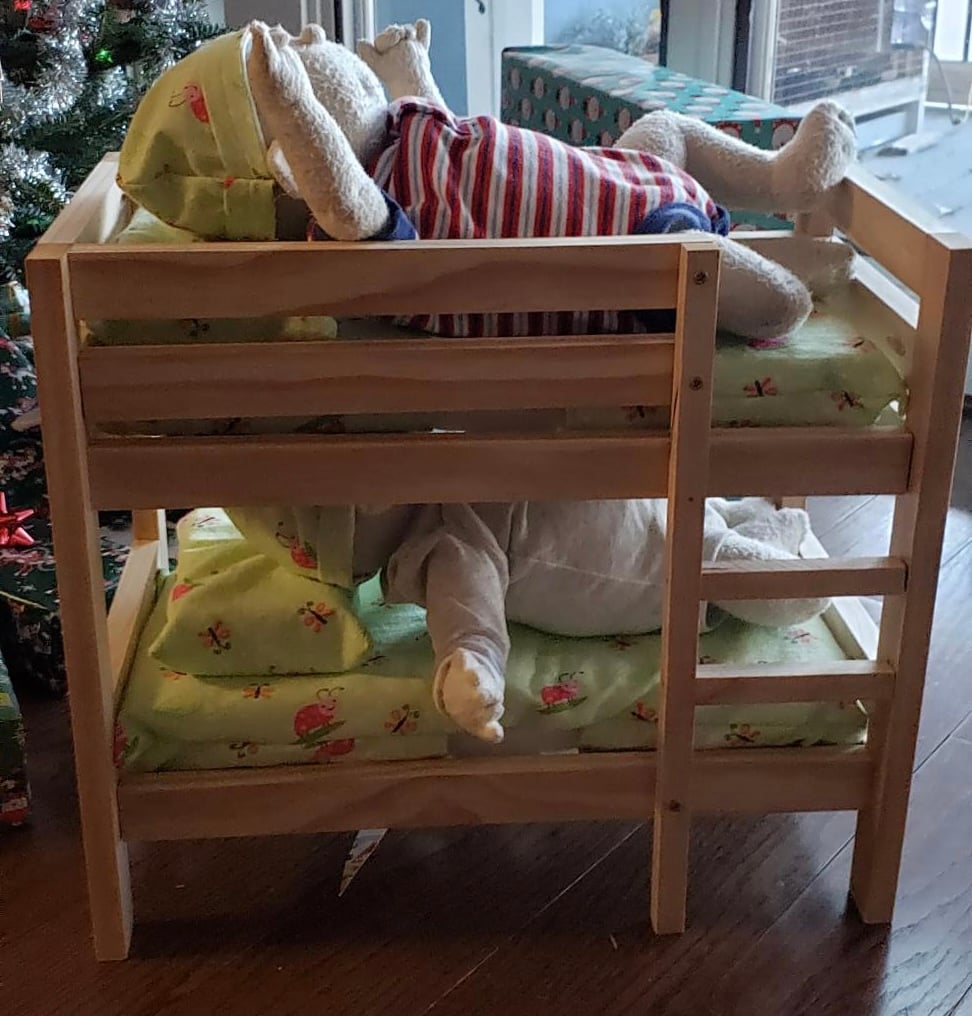
Built this with plans found on site. I left it unfinished to match the furniture in their room. My daughter helped by sewing the mattress and pillow covers. The girls loved it!
This was my first project from a list of many...so simple, it was perfect for getting started after a long winter's rest.
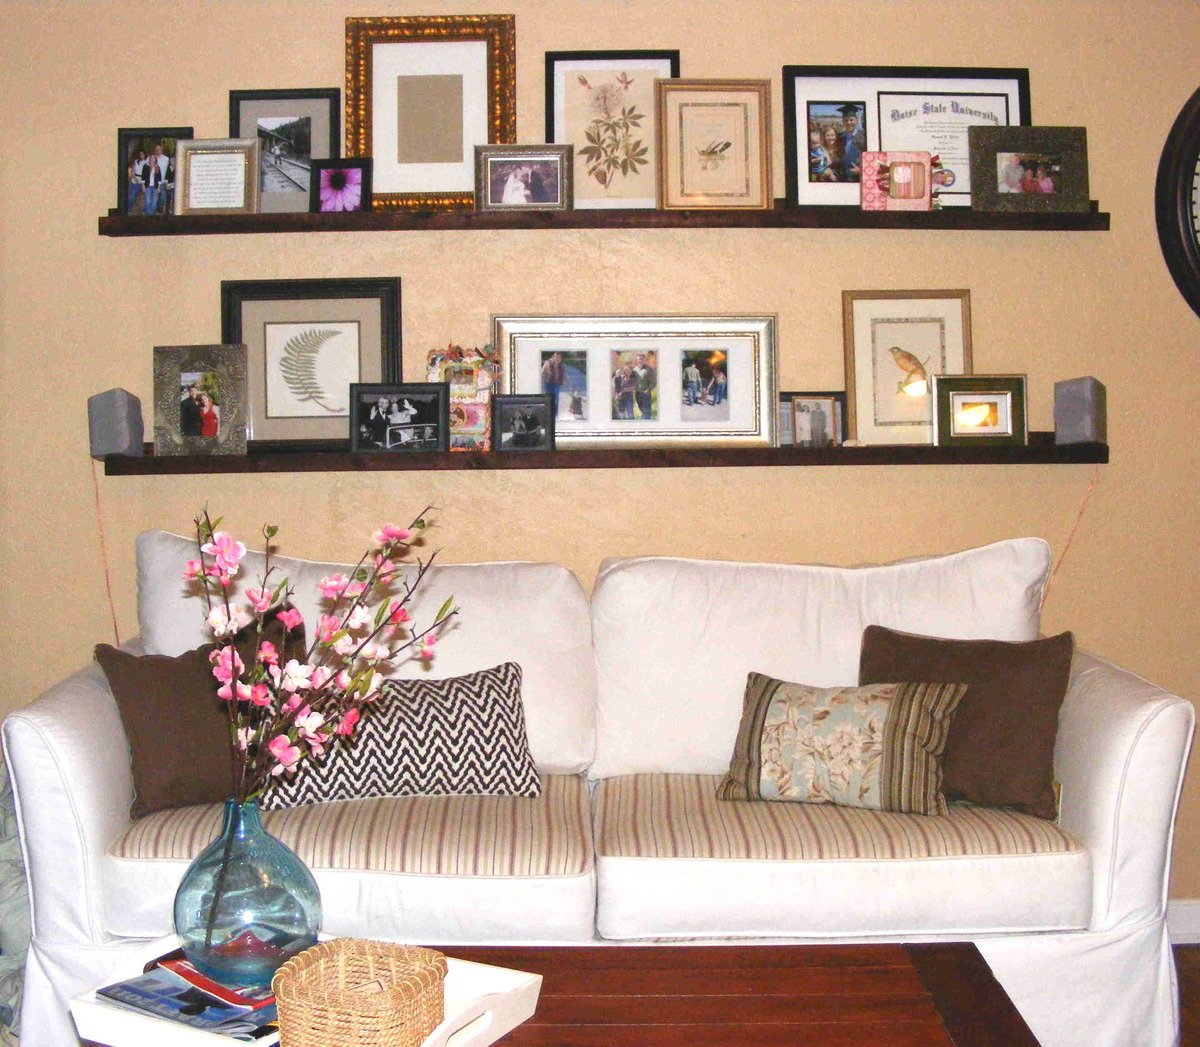
Thank you Ana for the plan! I really wanted the floating shelves from Pottery Barn, but they were super pricey. I searched out the fancy hardware that PB uses to mount them and it would have cost as much for the mounting hardware alone than to buy them finished from Pottery Barn.
These shelves were an easy solution for the same look, without the hassle of having to build a sleeve to fit over cleats like other more seamless designs.
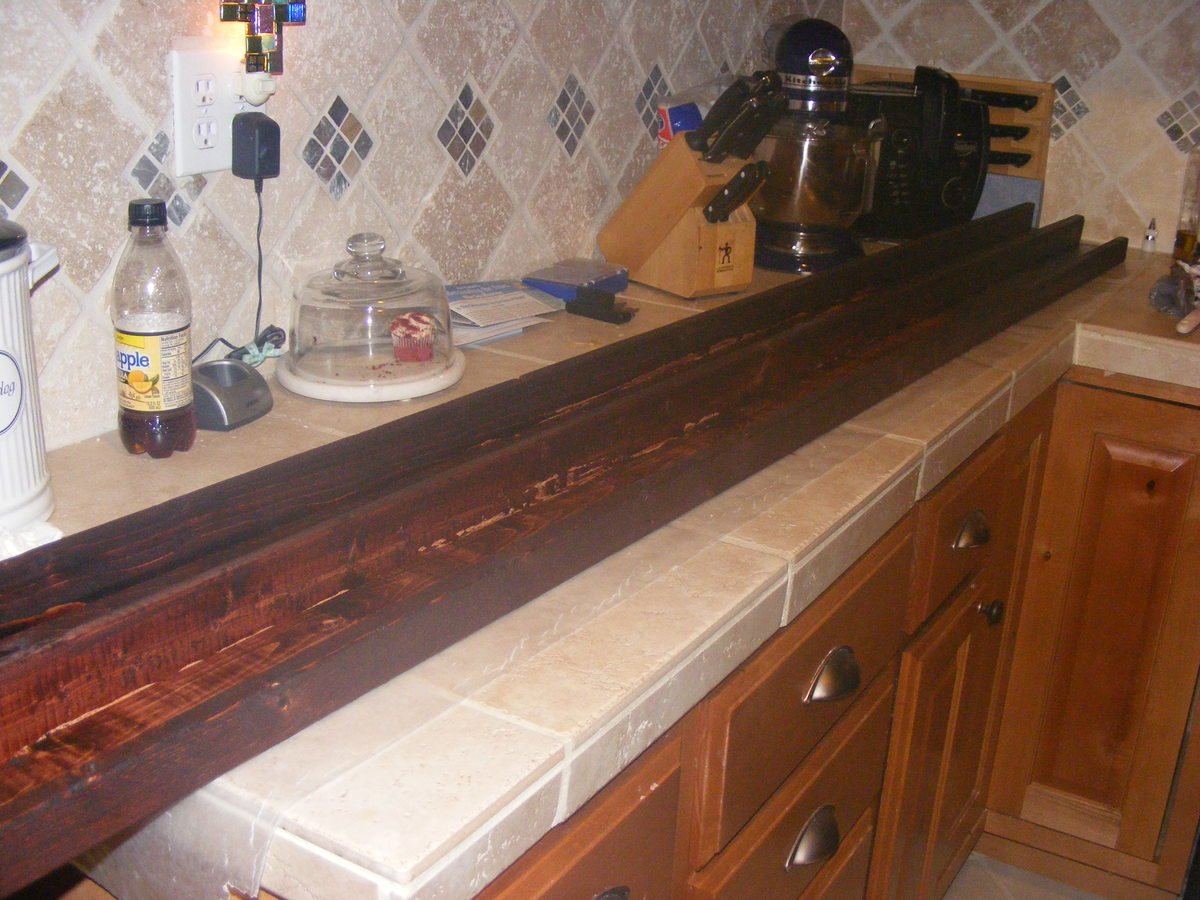
For my ledges, I chose to use 1x3s instead of 1x4s for the rear and base of the ledges. I didn't want them to protrude from the wall as far, nor did I want the rear of the ledges to be as visible (I'm wierded out by the contrast of the thick, dark line behind the pics. I would have chosen 1x2s for the back, but I didn't think it would be sturdy enough and it might be a little trickier to drill. I measured them to be a little smaller than the length of my sofa and they turned out just right. I built them in an hour or two and brought them in and stained them on my kitchen counter ( placed waxed paper underneath). It was February and too cold to do outside.
The best advice I have is to be really choosy about the lumber you buy. The "top choice," as they call it, should be renamed "crappiest choice." I guess that's what you get for cheap pine, right!
It fit just right for my budget and it was worth sifting through to make sure I wasn't getting a piece that was warped or twisted. I live in an old house and I'm sure the walls aren't exactly even (as you can see in the pic, the floor even slants a little to the right) but one of my ledges is not fully flush against the wall on one side because the board bows out a little (or maybe my wall bows in?).
Whatever. I'm thrilled with the look and love how I can display so many pics at one time. I'm thinking I want to put at least 4 pictures in each frame, and rotate them out seasonally. That way my display will go with the season. Yep, I'm a genius like that, hehe.


Comments
Ana White Admin
Thu, 12/16/2021 - 13:45
Very pretty table!
Thank you for sharing, you did an amazing job!