Walnut C-tables
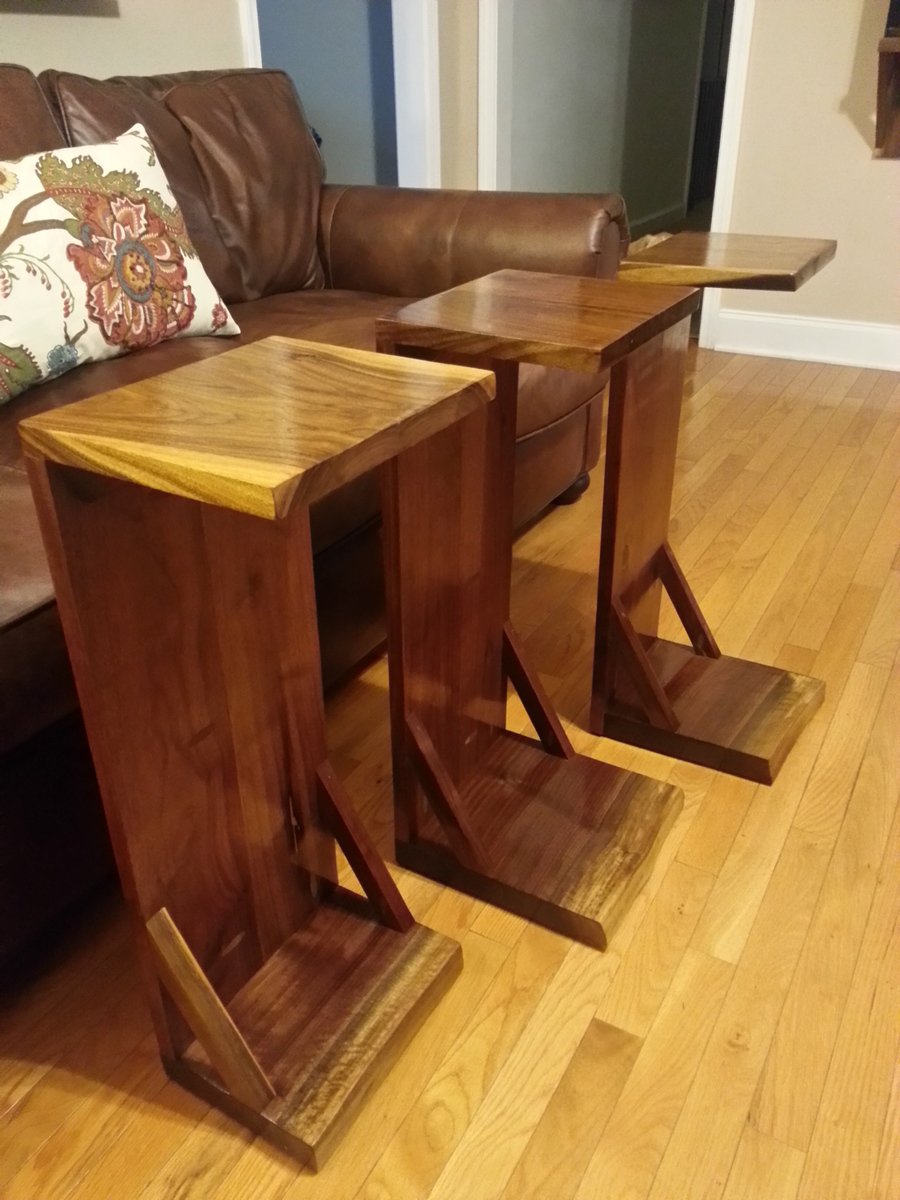
Final pieces for my walnut living room set. C-shaped end tables that fit perfectly over the arms of the couches. They aren't large. Just enough to perch a glass of wine or snack plate when relaxing at the end of the day.
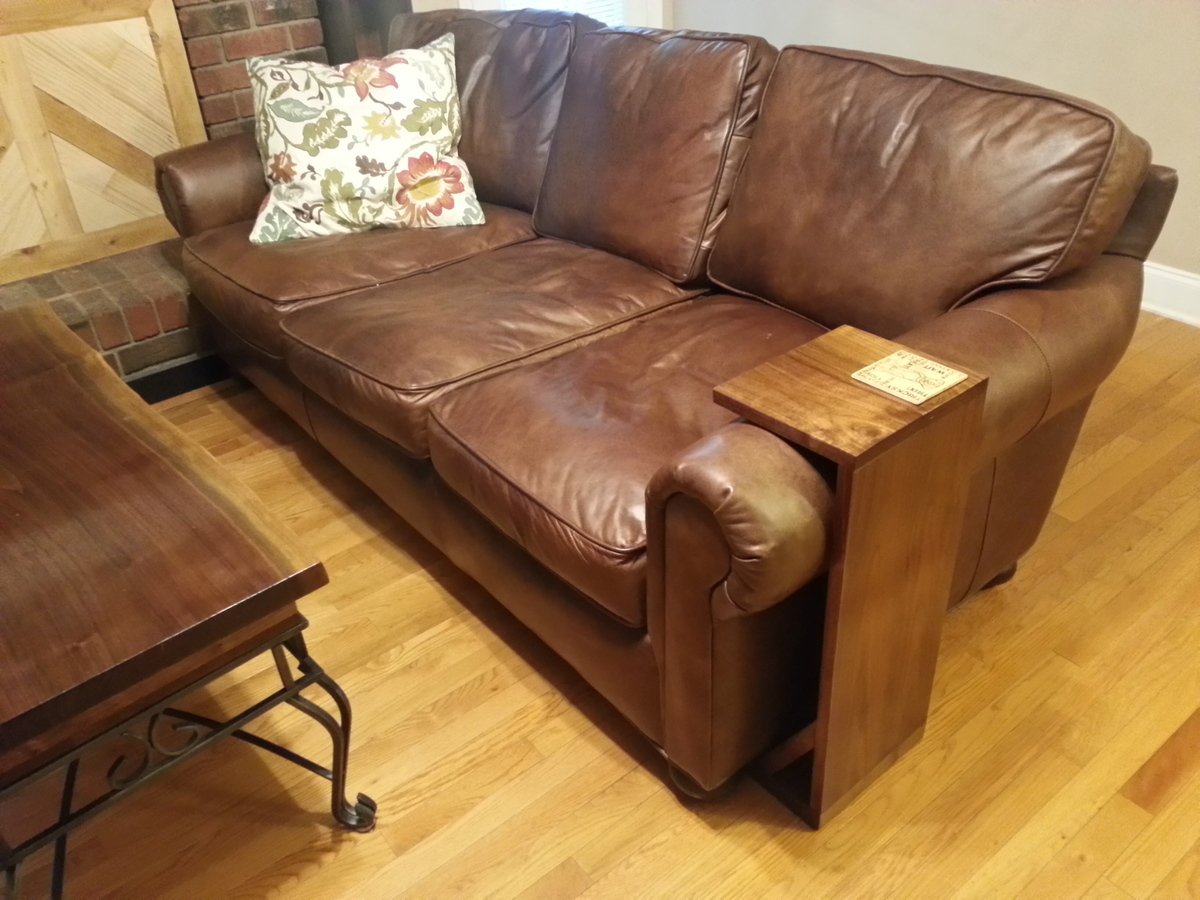

Final pieces for my walnut living room set. C-shaped end tables that fit perfectly over the arms of the couches. They aren't large. Just enough to perch a glass of wine or snack plate when relaxing at the end of the day.

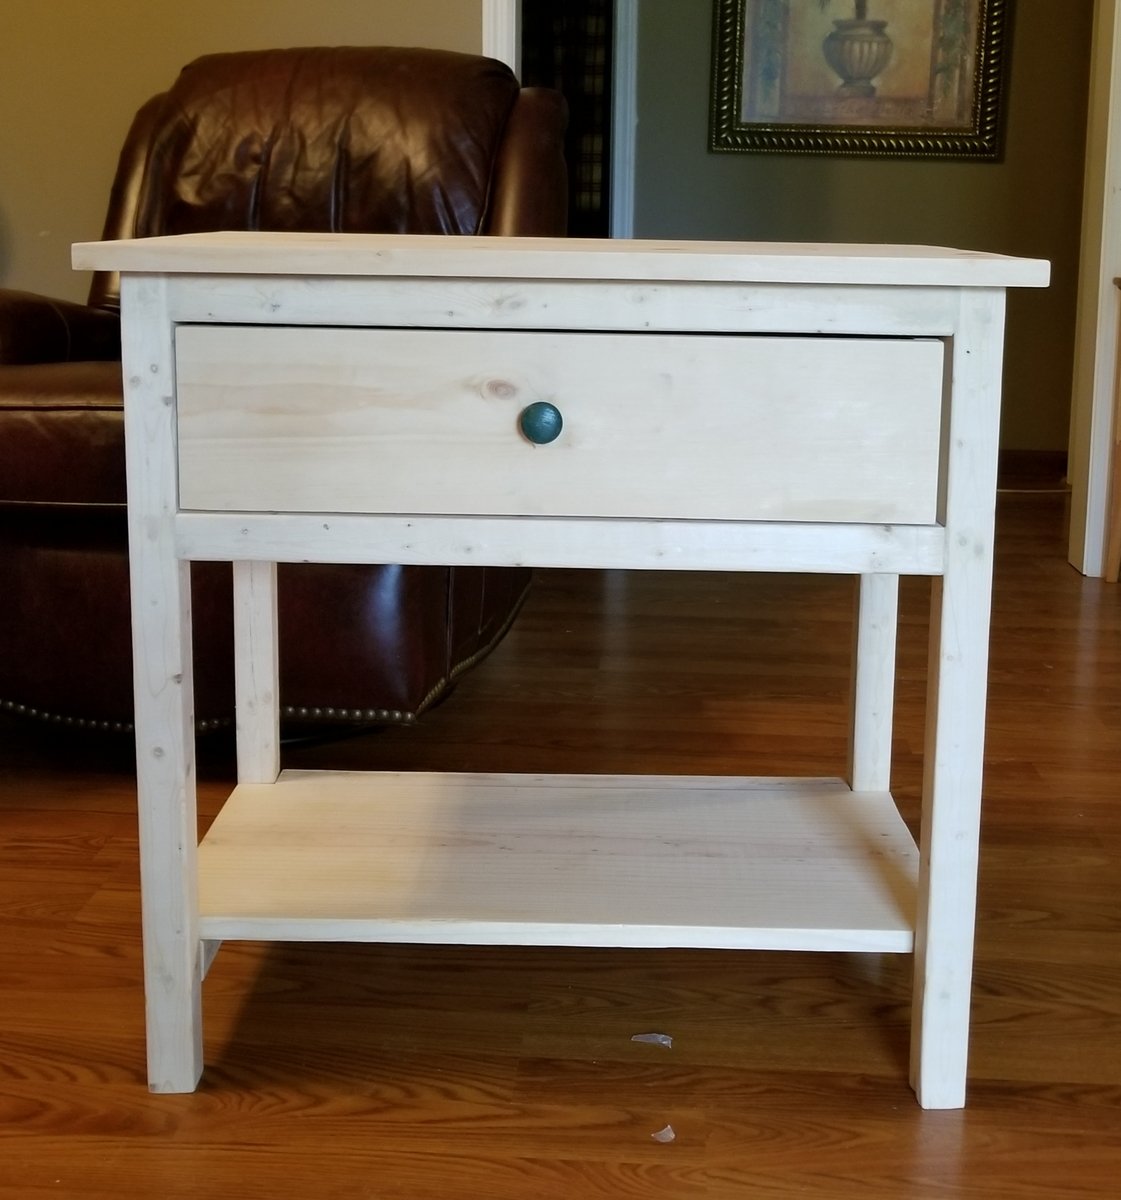
I built this for my son and his fiance. I am leaving the staining up to my son. It is only the 3rd or 4th piece of furniture I have built. I still have to build the match for it. I'm sure it will be much better, since I have learned from my mistakes with the first one.
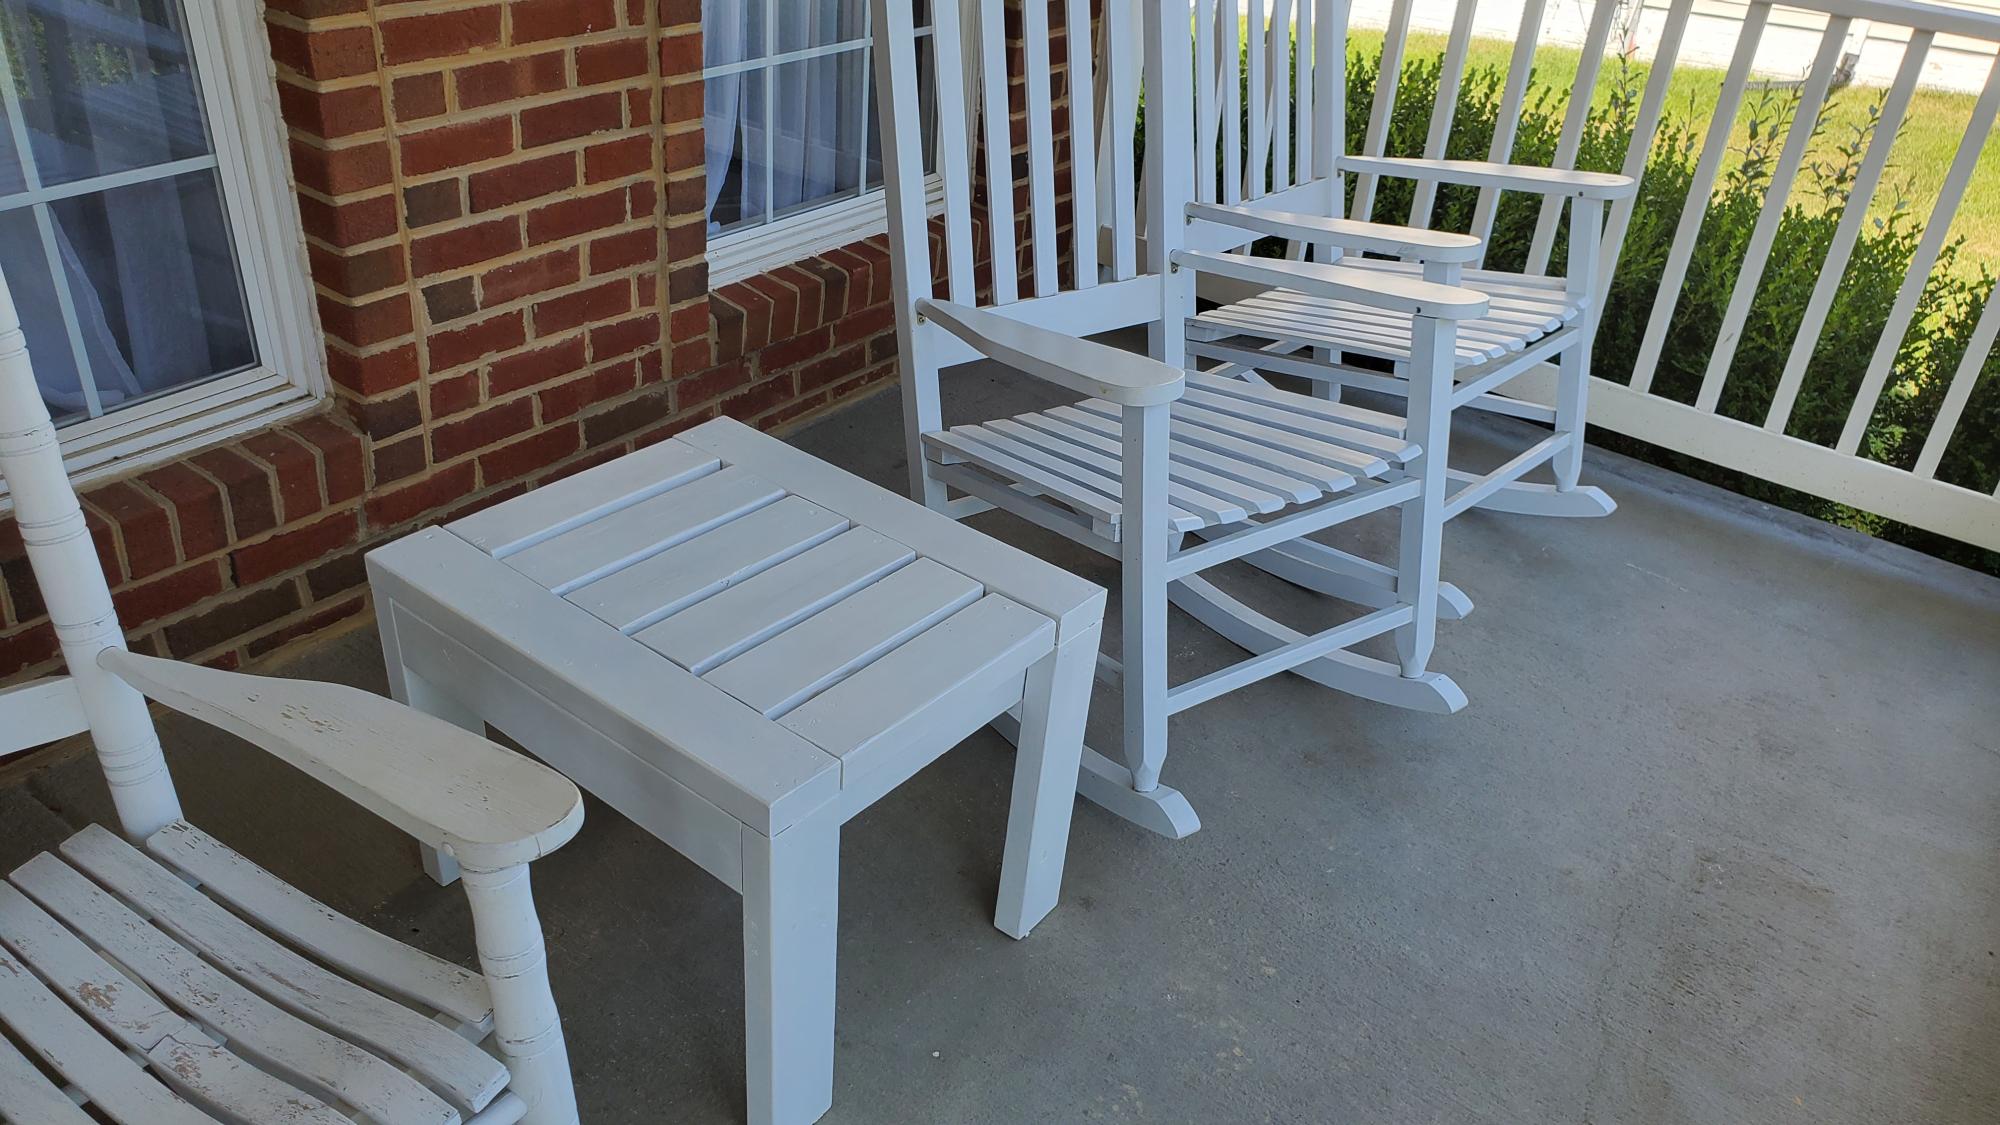
Thank you the inspiration!
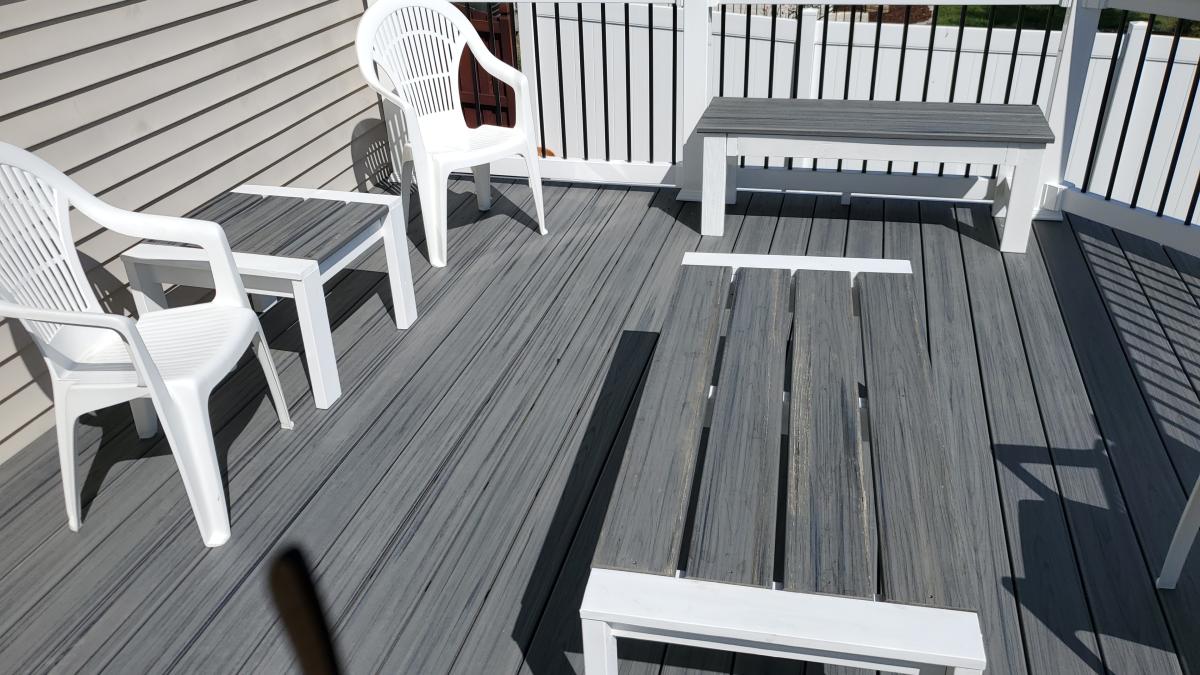
I'm a retiree and beginner woodworker, through your videos I used leftover lumber and Trex decking from new deck to make two side tables, coffee table, and a bench.
Thank you so very much!
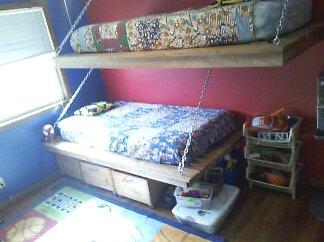
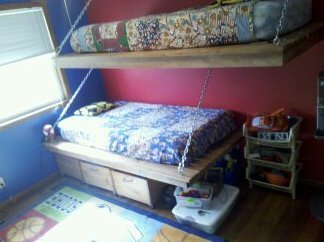
My boys have a small room, so once I saw these plans I knew I had to make them! I also used the plans for the rolling cubbies.
Wed, 11/30/2011 - 12:43
I am looking for helpful ways to enhance the quality of my bedroom
Fri, 07/20/2012 - 11:20
How does one secure this hanging bed securely to the wall if one chooses to hang chain support 45 degrees from the front side to the wall?
Fri, 07/20/2012 - 15:13
It's bolted to a ledger at the wall side of the bed.
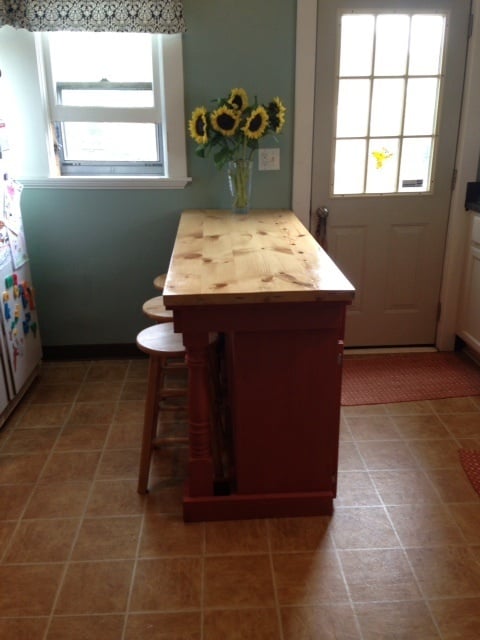
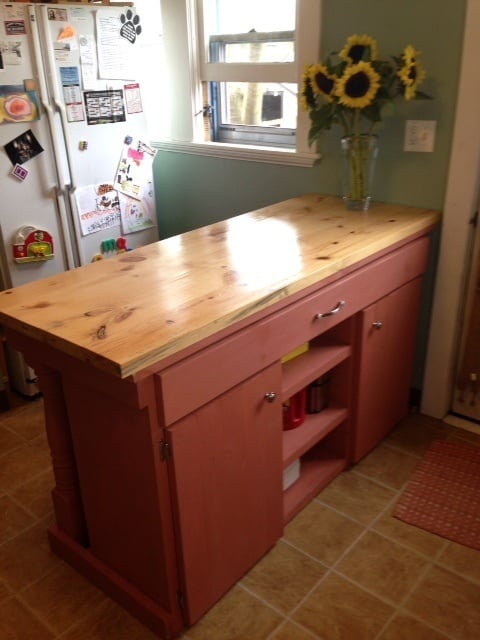
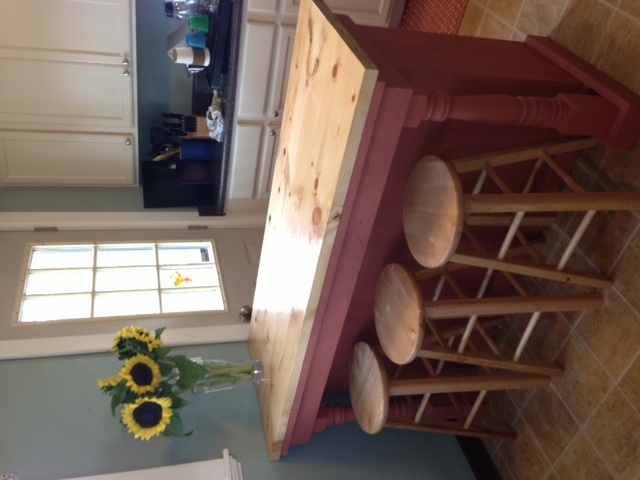
I have a small kitchen with no room for a table and no storage space. When I saw the plan for this kitchen island i knew it would fit perfectly in our space and a project my husband and I could work on together. It took several days in total, but we had to work around the kids, so probably could be done faster if need be. It is made out of white pine, including the top and legs. We probably spent around $150, but we looked at several similar islands going for over $600 and not even made with wood. We are so pleased with the outcome. We cannot wait to get started on the bunk beds for our son.
Thanks Ana White!
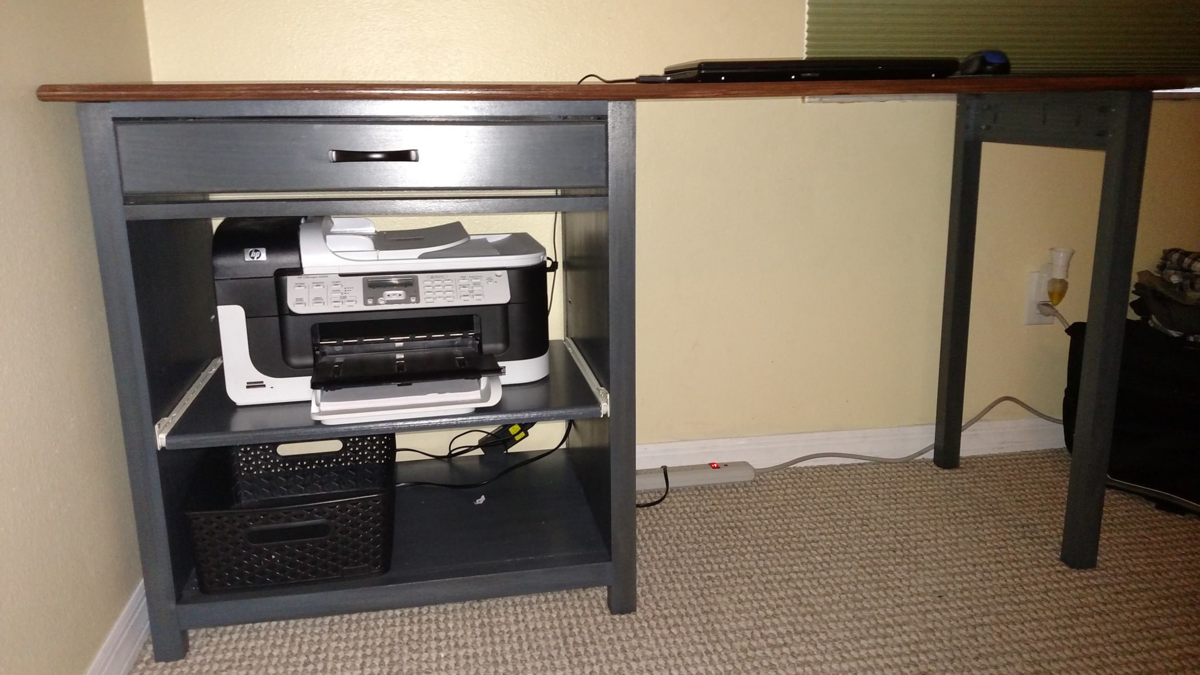
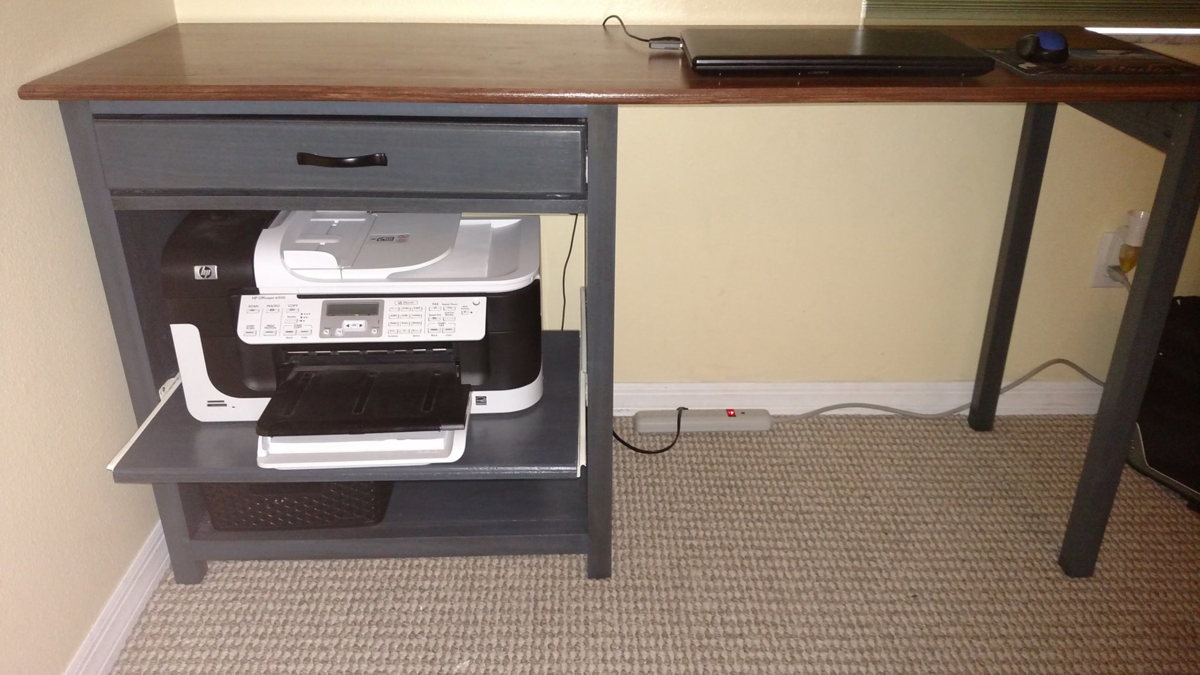
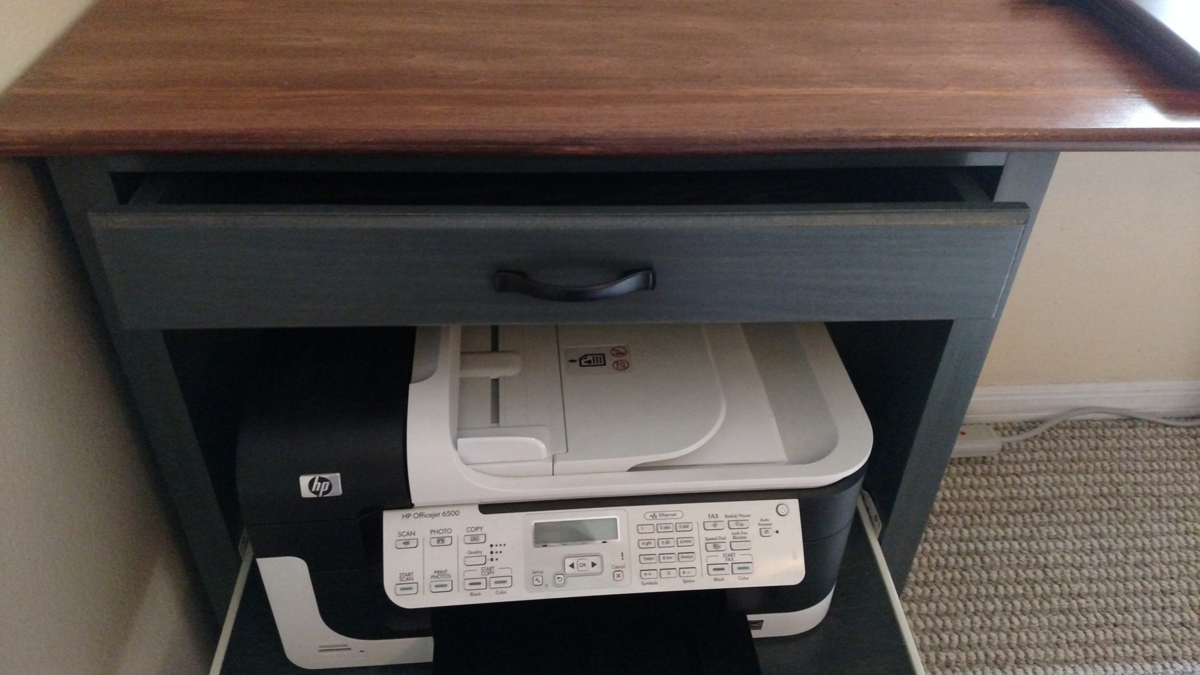
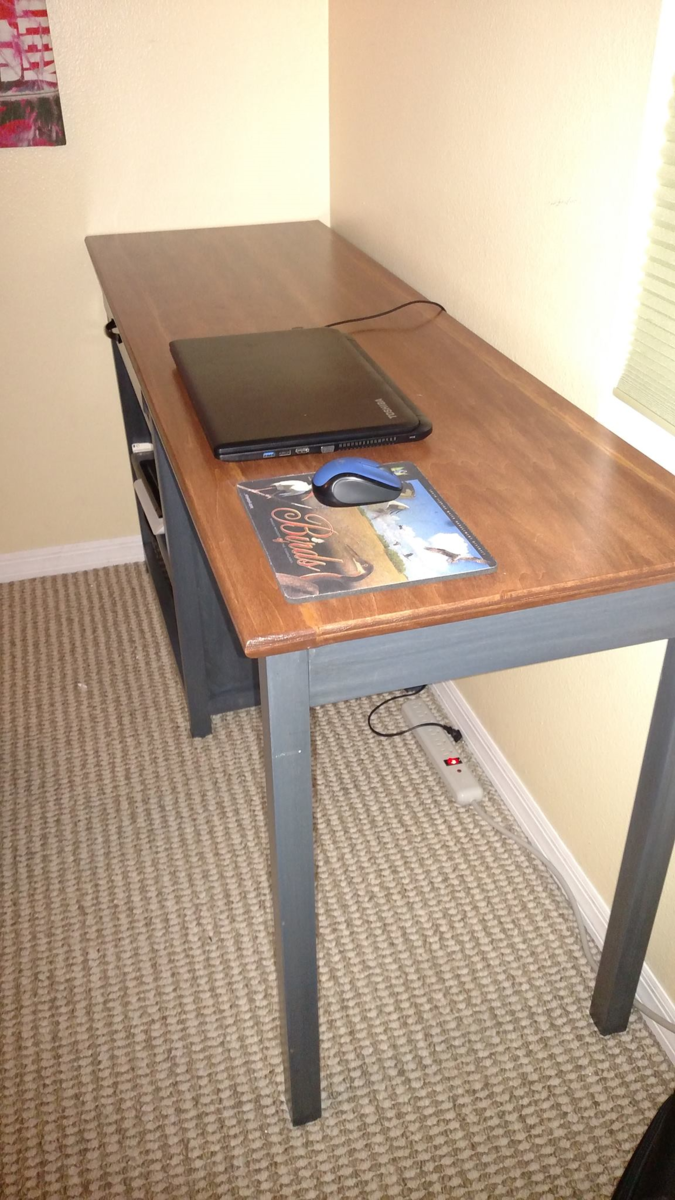
My husband and I have never built anything. We decided to build our teenage boy a desk, as I could not find anything I liked online. The project was pretty simple for amateurs to follow. The cutting and assembly was done in a day. We decided to add the drawer and pull out shelf for the printer. Really, figuring what color to stain it and the staining process was the most tedious. We routered the drawer sides and the top of the desk for a nicer look. So proud of our work and the fact that this will last our son for years to come.
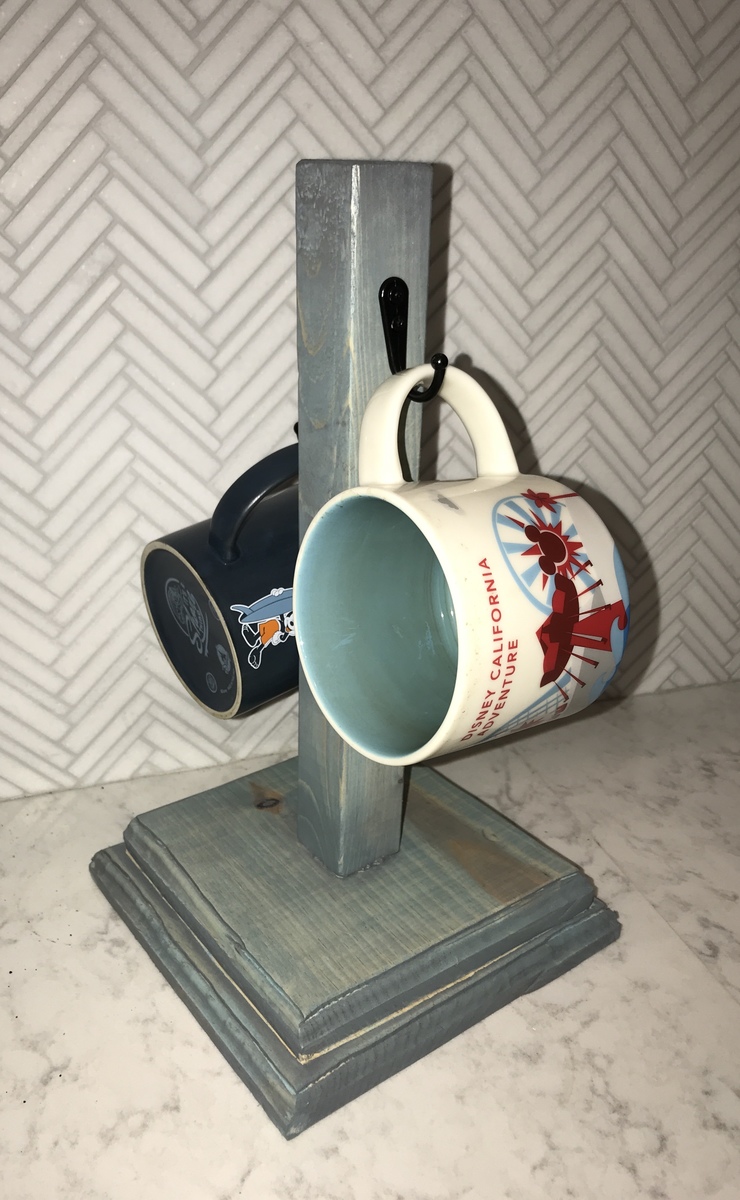
Fun and easy build to use up some scraps and try out some finish techniques and router edging. Not perfect because I was getting the hang of a new router, but perfect low commitment project to practice on. I only did 2 hooks for my needs and preferred not having to knob on top.
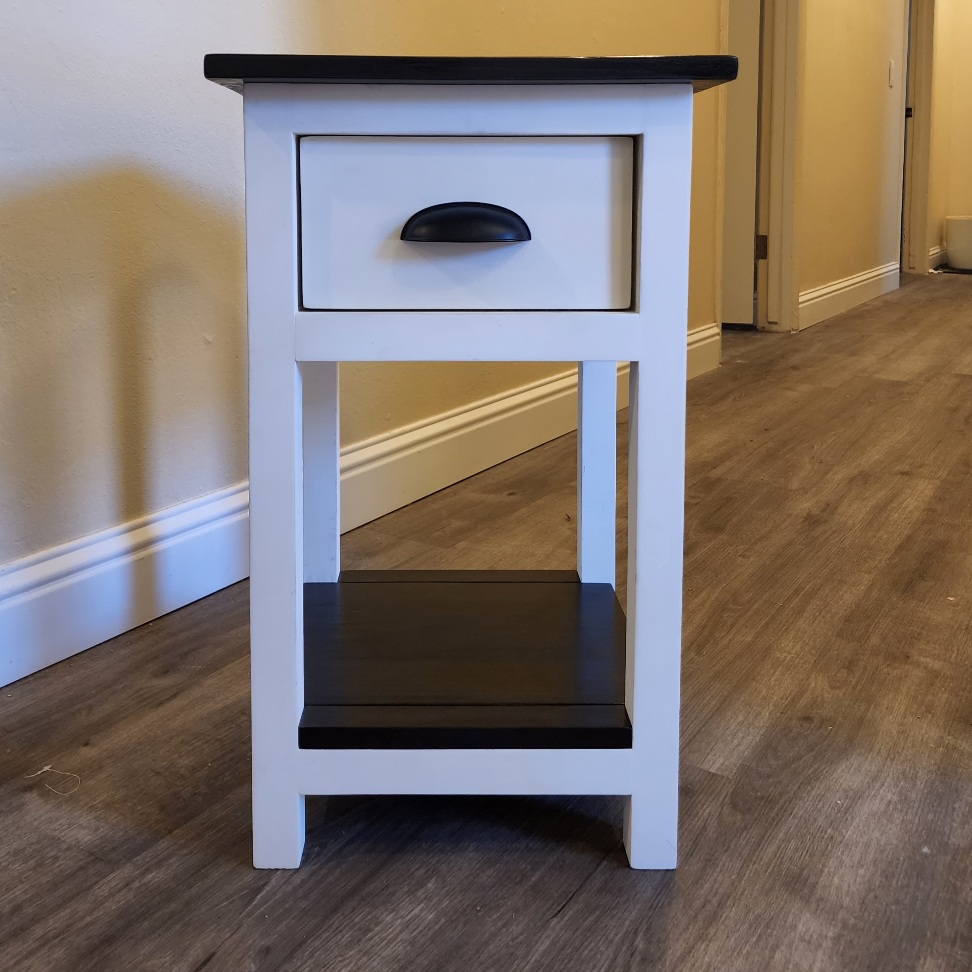
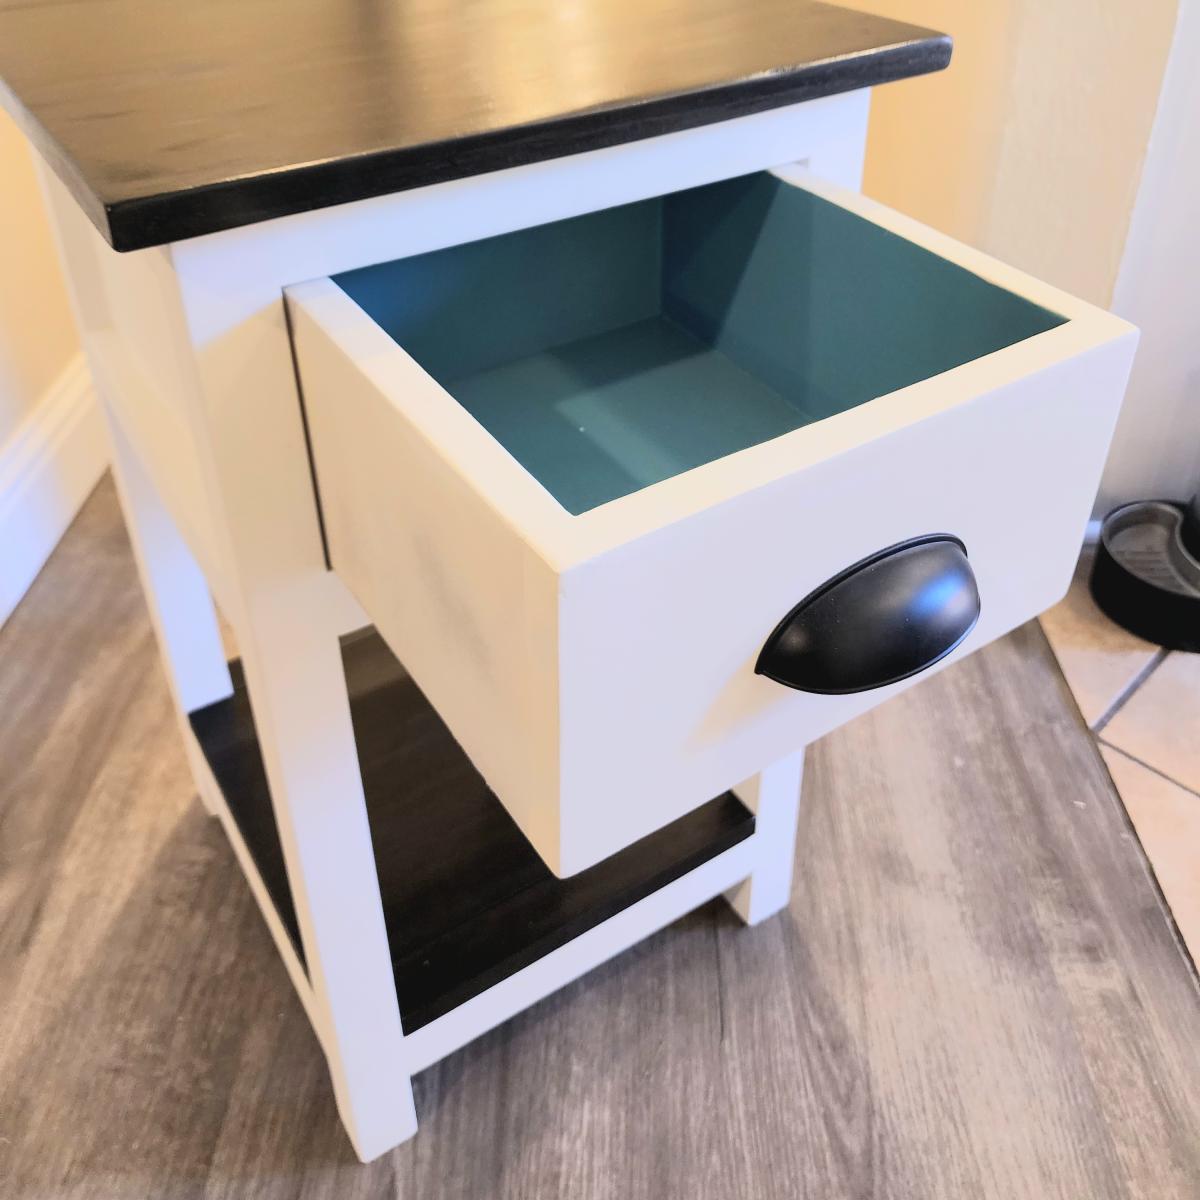
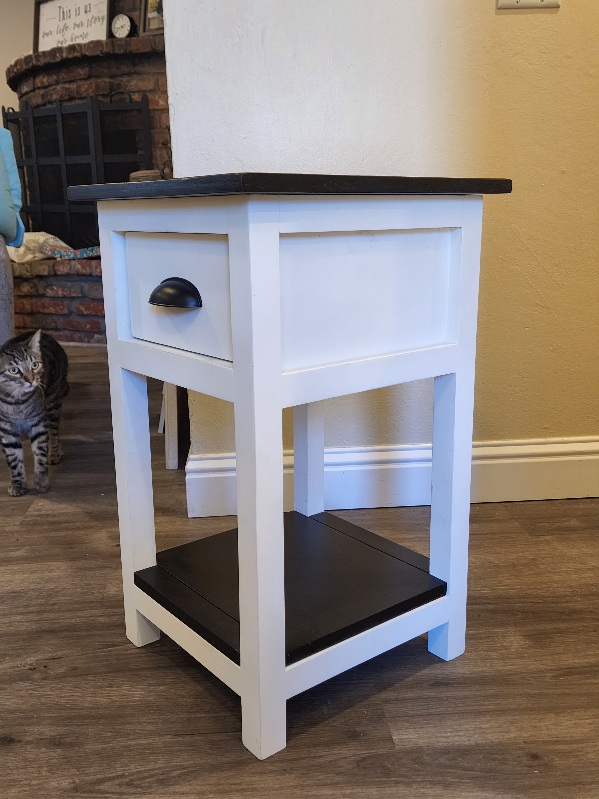
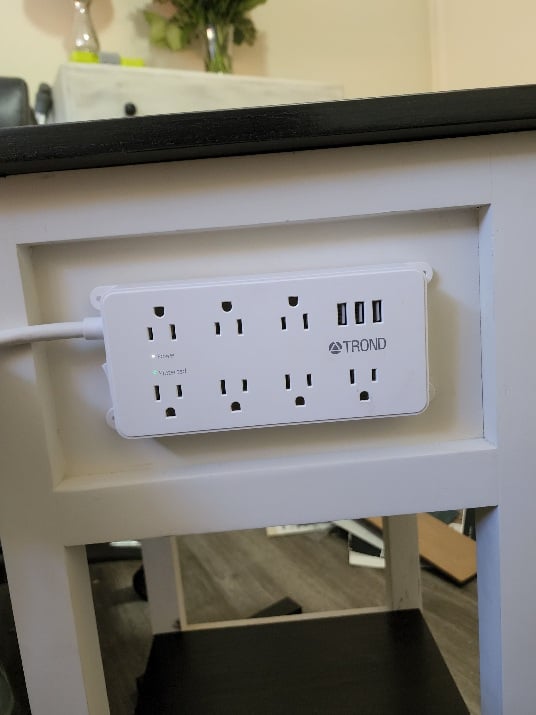
Just bought myself a miter saw and this was my first ever woodworking project... had a lot of fun putting it together. I opted to build the back the same as the sides rather than just putting the piece of plywood as suggested in the plans (and shortened the length of the drawer accordingly), so I could add a surge protector/usb port with extension cord in between the trim boards since the outlet placement in my bed is horrible and requires pulling out the bed from the wall anytime we need to plug something in. Took a bit longer than anticipated, with never having built anything before, but now that I know what I'm doing I expect the 2nd one to go much quicker!
Fri, 08/12/2022 - 11:45
Love the addition, way to go, can't wait to see your next project!
I built this nightstand several months ago, so I honestly don't remember my time or money investment all that well. It was a fun, easy project though. As usual the biggest time investment was in the finish work.

Tue, 08/09/2011 - 07:41
This came out great ... nice job! Can I ask you where you got the drawer handle?
Tue, 08/09/2011 - 17:33
Stunning! I love this look, the finish, the hardware! Gorgeous!
Mon, 02/27/2012 - 07:24
I cannot get the link to come up with the plans for this???
Sun, 03/18/2012 - 10:44
I read your description of the finish for your table but I was wondering if it was really paint, then stain in that order. I know nothing about finishes so any tips would be greatly appreciated.
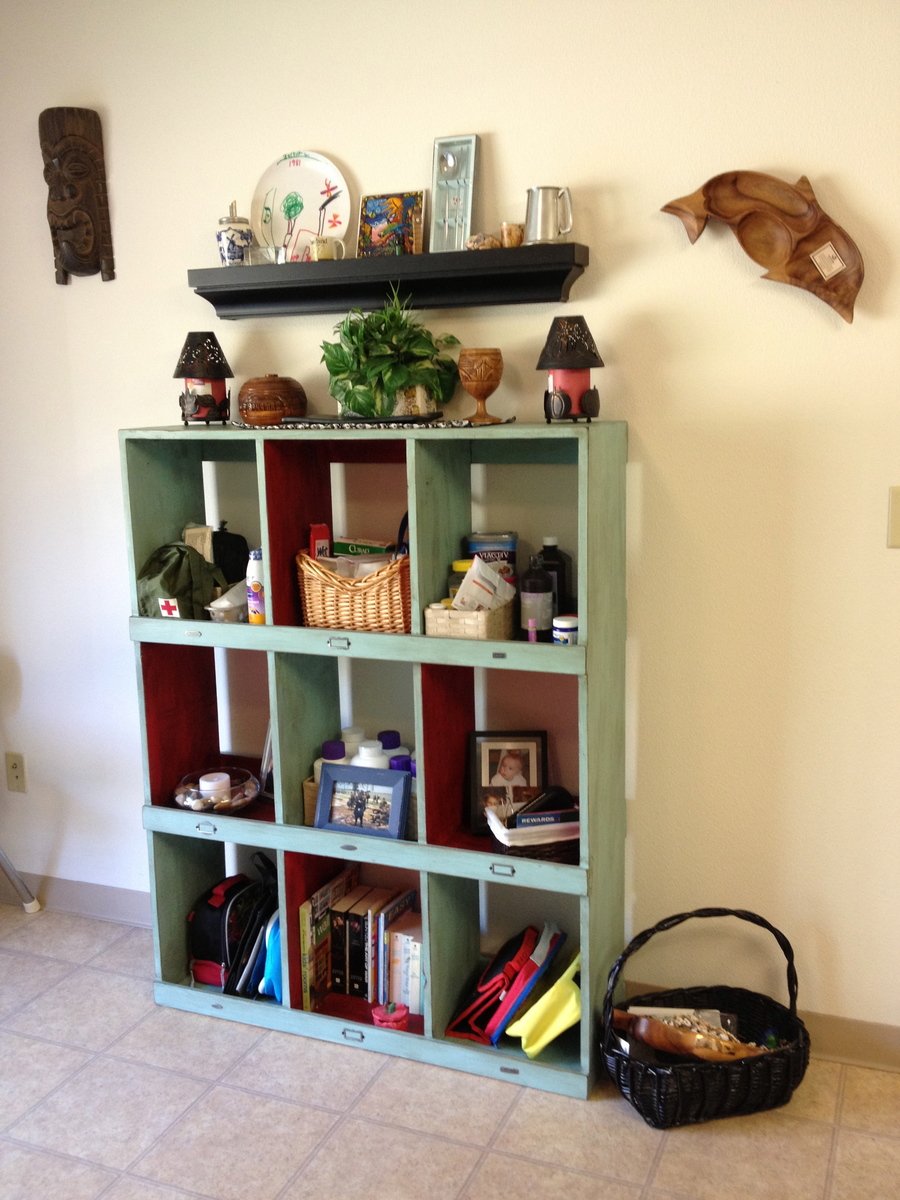
We are a military family who ended up with a very small house on our most recent move. We needed something that was functional for storage but nice enough to fit with our decor without looking too industrial, Ana White's General Store Cubbies to the rescue! We modified the plan to make it a 3x9. I finished it with Behr's lap pool blue and Glidden's delicious apple (which I plan to use for my next project as well) and then glazed with minwax jacobean stain mixed with behr glazing mix. The front tags are from Michael's crafts store in the scrapbooking section and in instead of putting tags on each cubby I added some stick-on tags with positive words on them. I couldn't be happier with how it turned out! Thanks Ana!
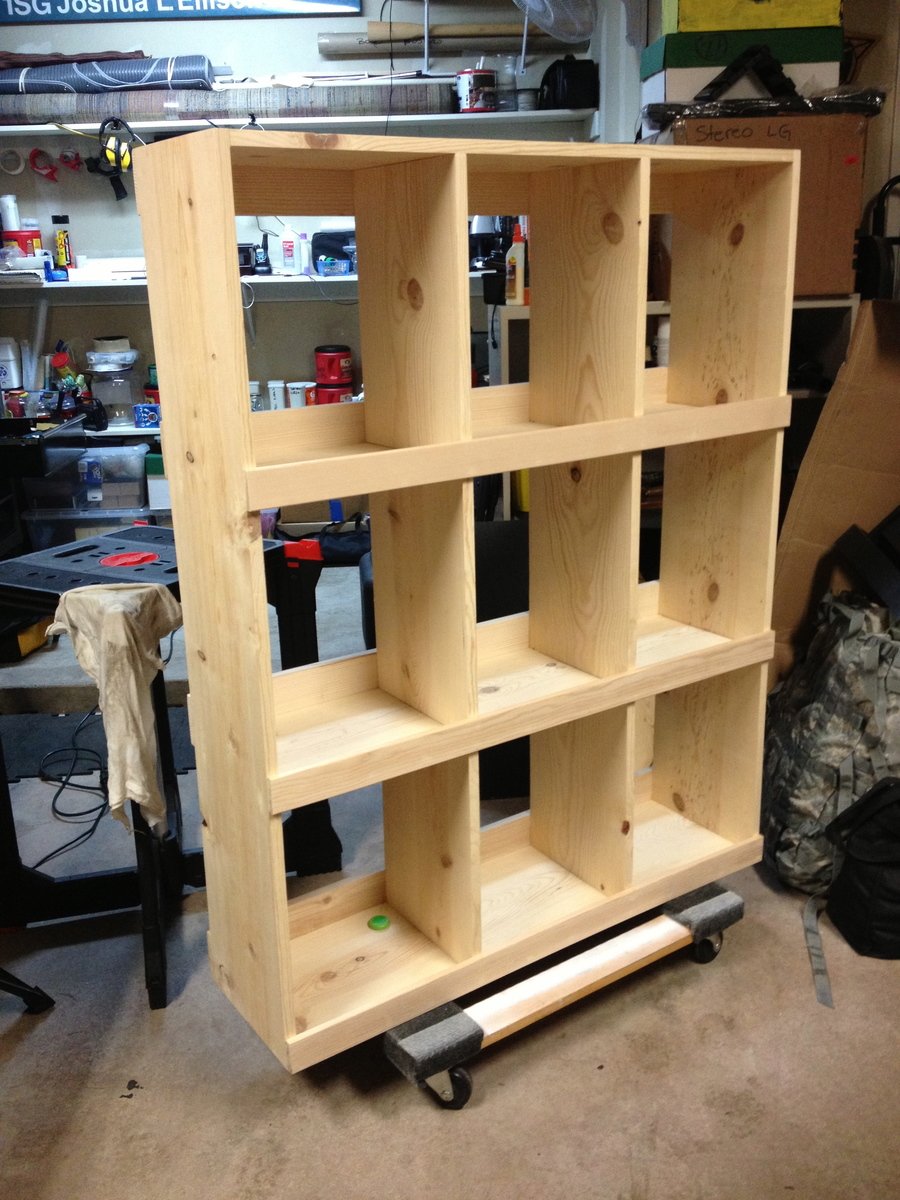
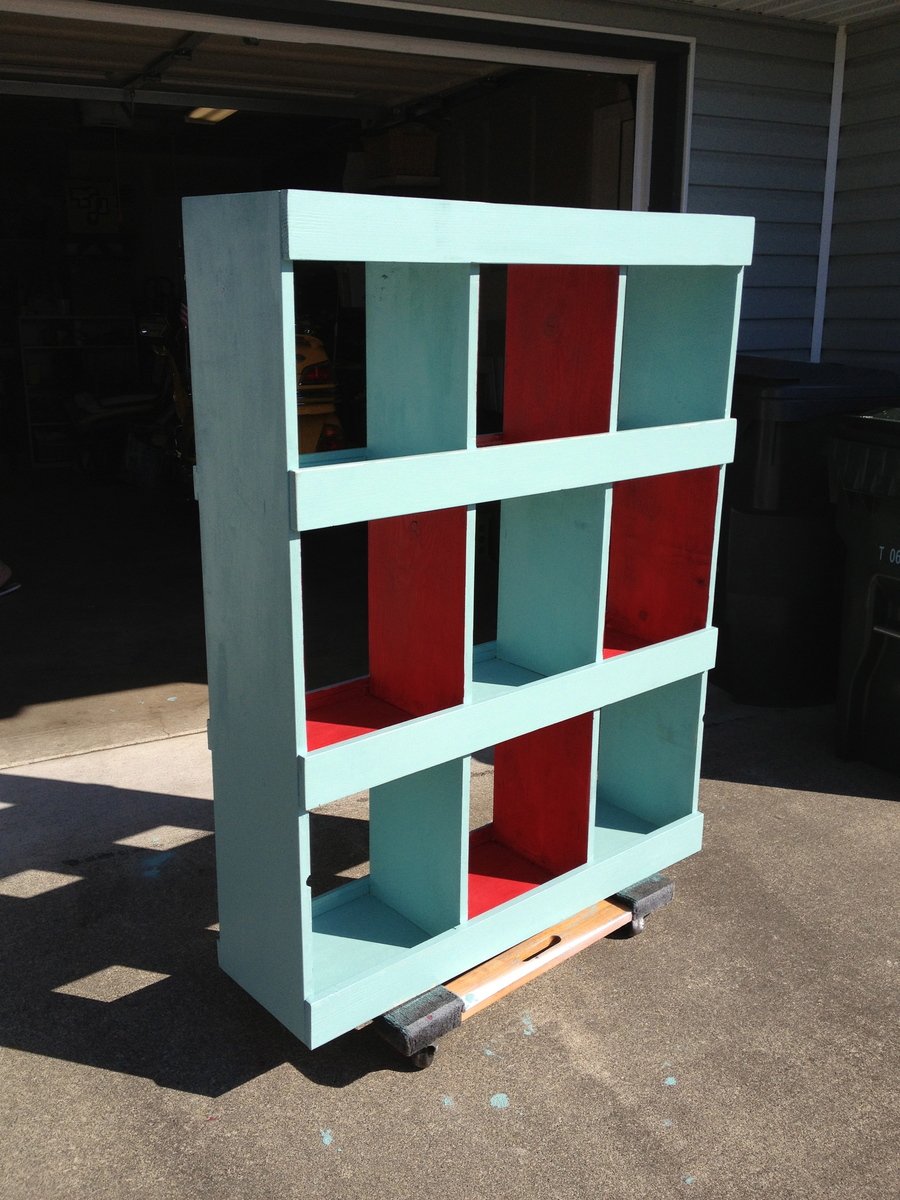
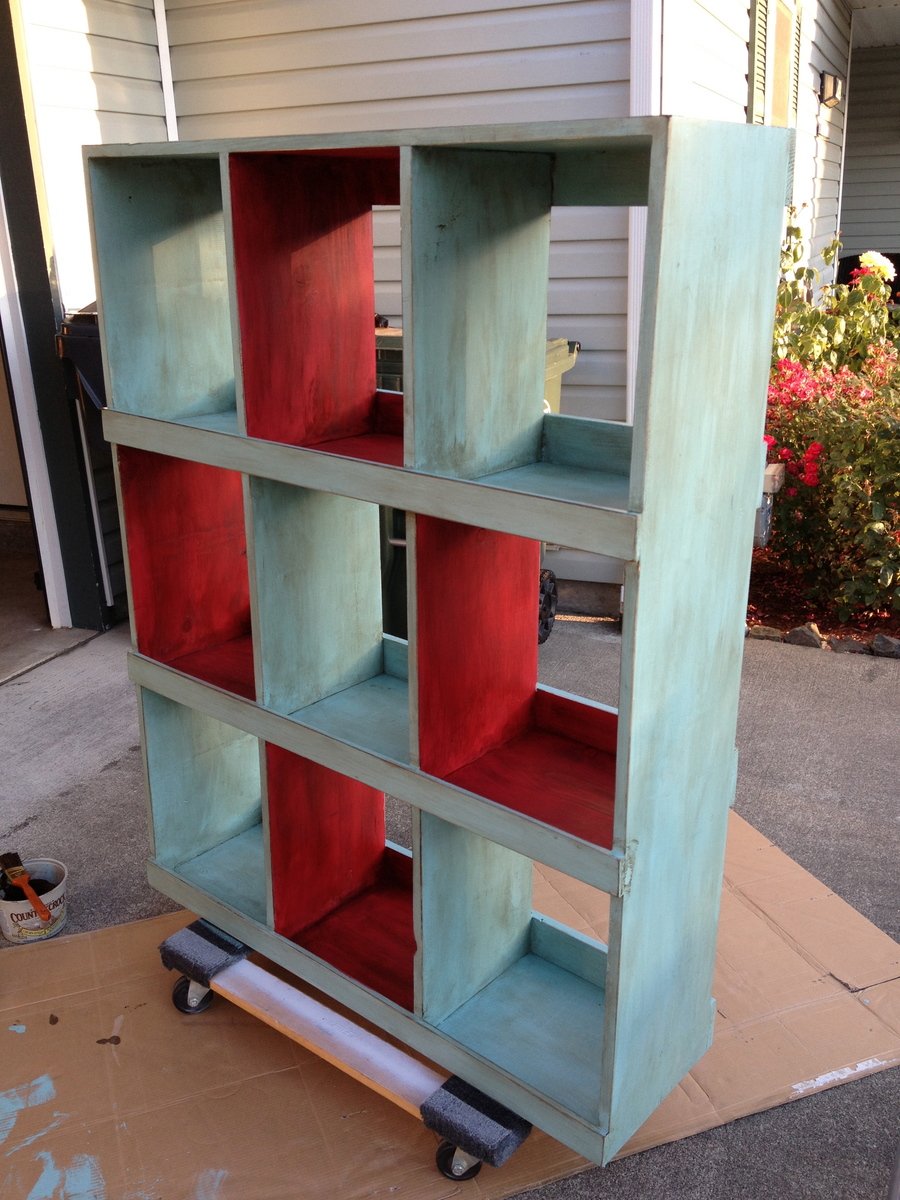
This is my first project! My friend and i were debating what to gift our friends for their anniversary. This was perfect. Good first time beginner project.
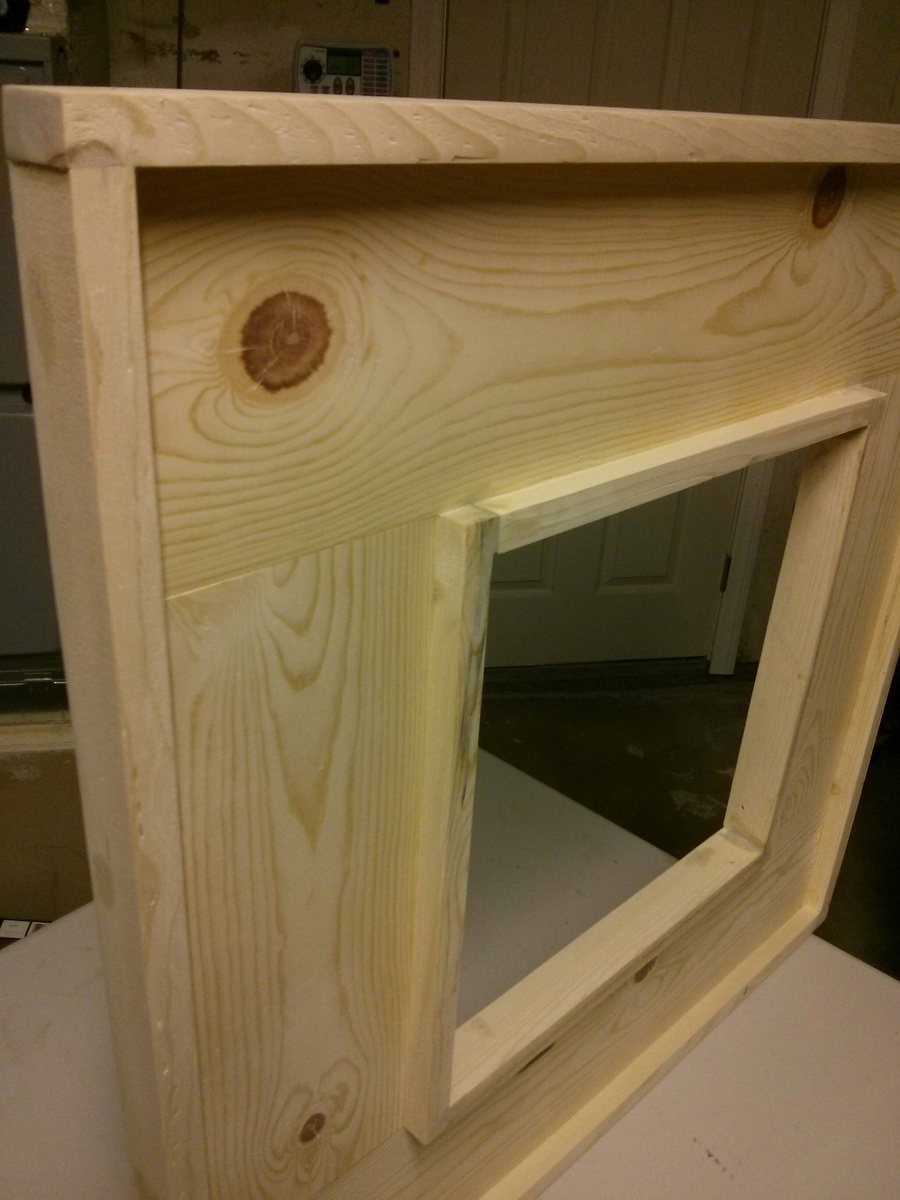
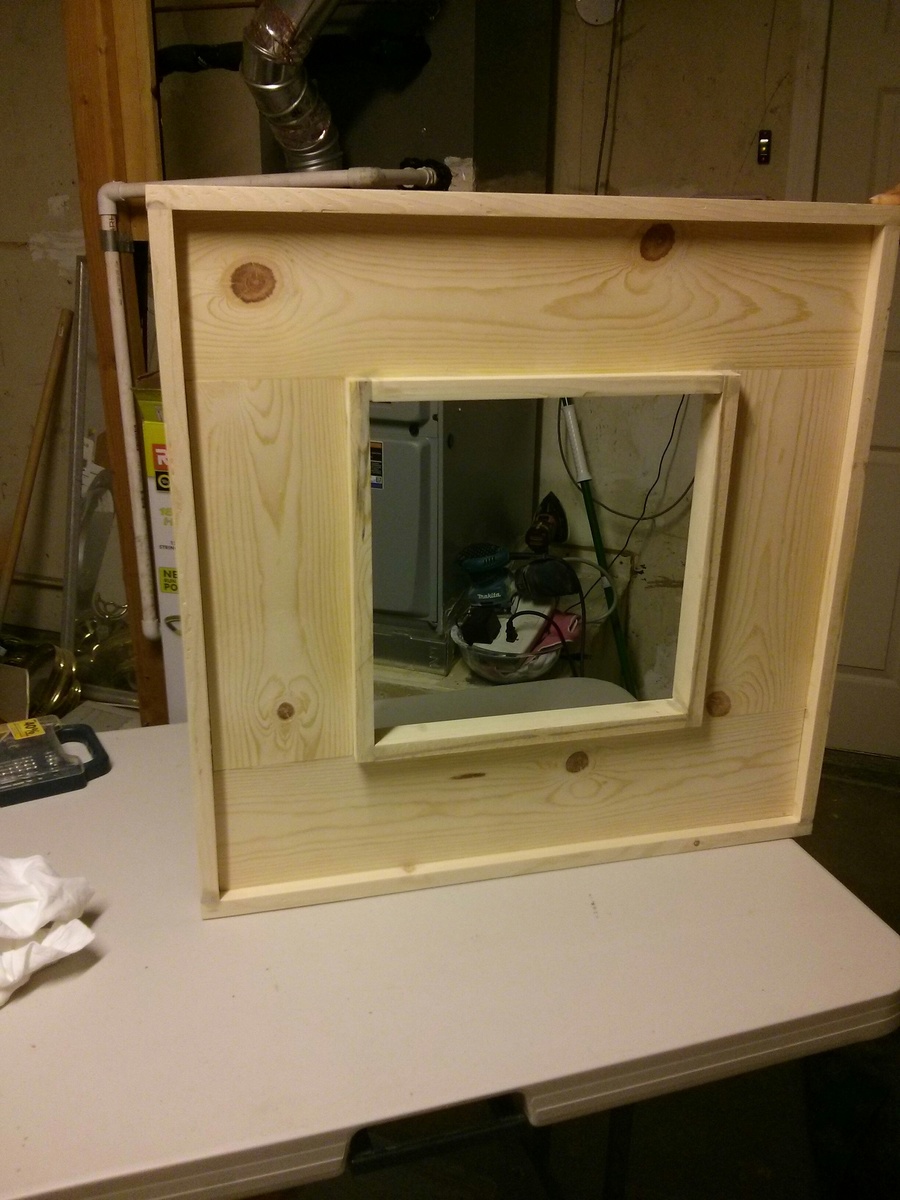

Currently redesigning our living room and needed a bookshelf to put next to our prop picture. Found this rolling bookshelf and decided to give it a go. We already made a few pieces of furniture so we already had the kreg Jig (my favorite tool ever!) and assorted screws. I found the directions to be fairly easy to follow, but then again, I had already built some furniture so maybe for a beginner it'd be harder to follow. I spent about 20 hours, and $66 on this - $40 for wood and metal emt pipe, and $26 for the 3"caster wheels (work brakes) found on Amazon. I already had all the screws and stain around from other projects I used Walnut Minwax stain with 2 costs of polycrylic. Really loving this bookshelf!
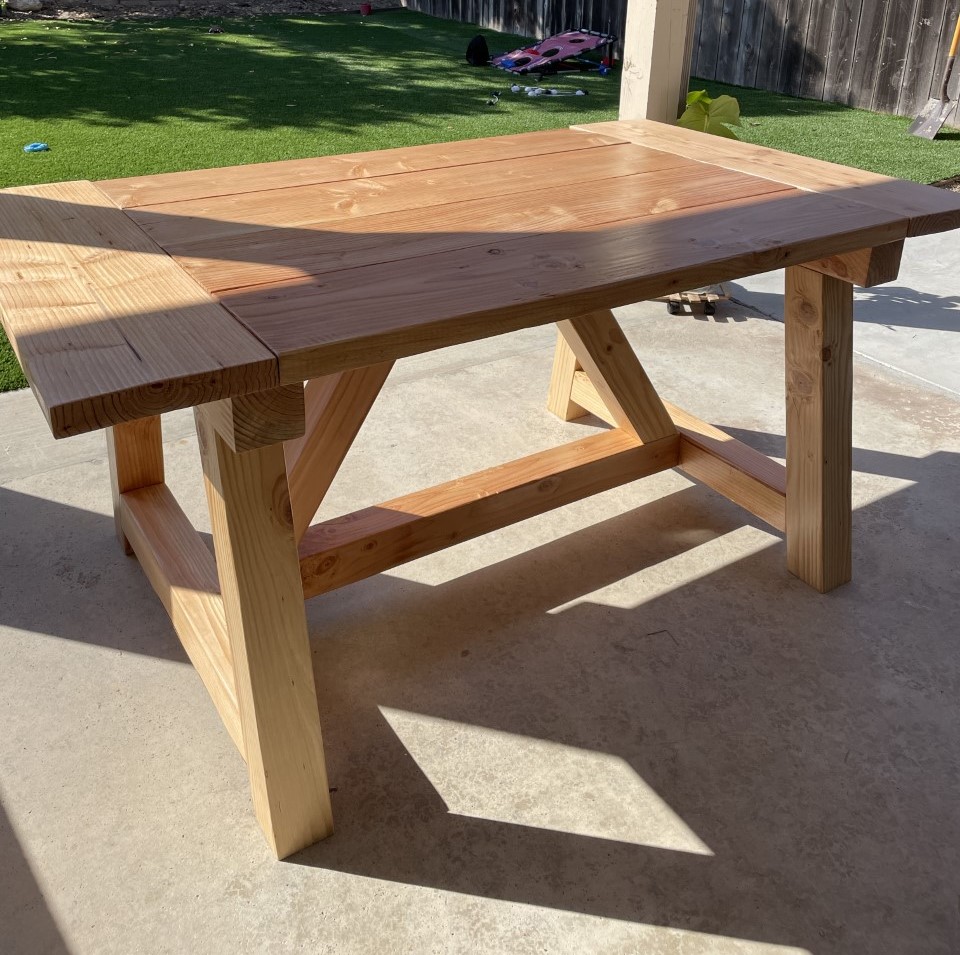
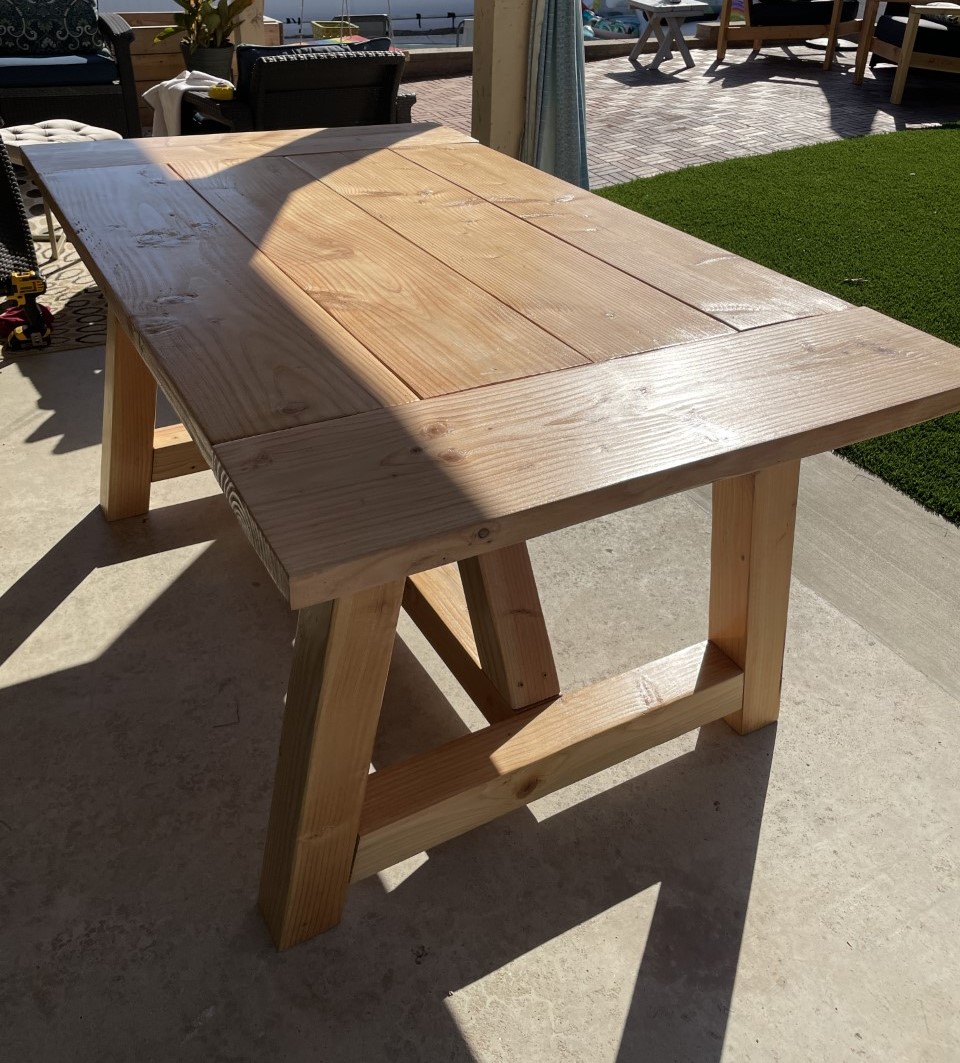
I can't believe I made this table myself!! Thanks so much Ana for your plans. It's super sturdy and oh so pretty! Yay!!
Mon, 08/22/2022 - 11:03
What a great feeling and it is just gorgeous, thank you for sharing!
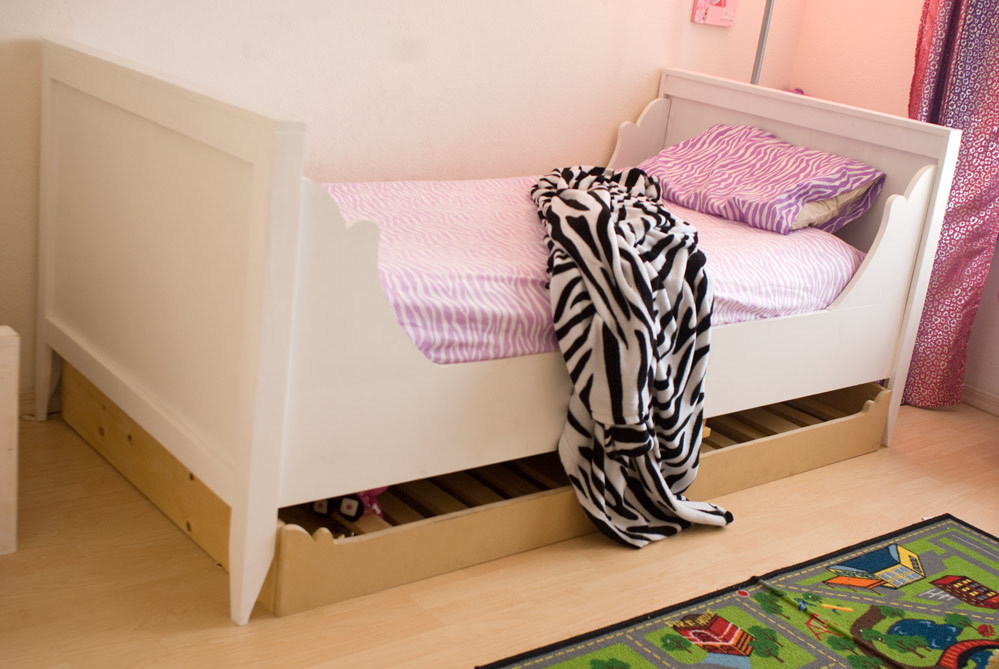
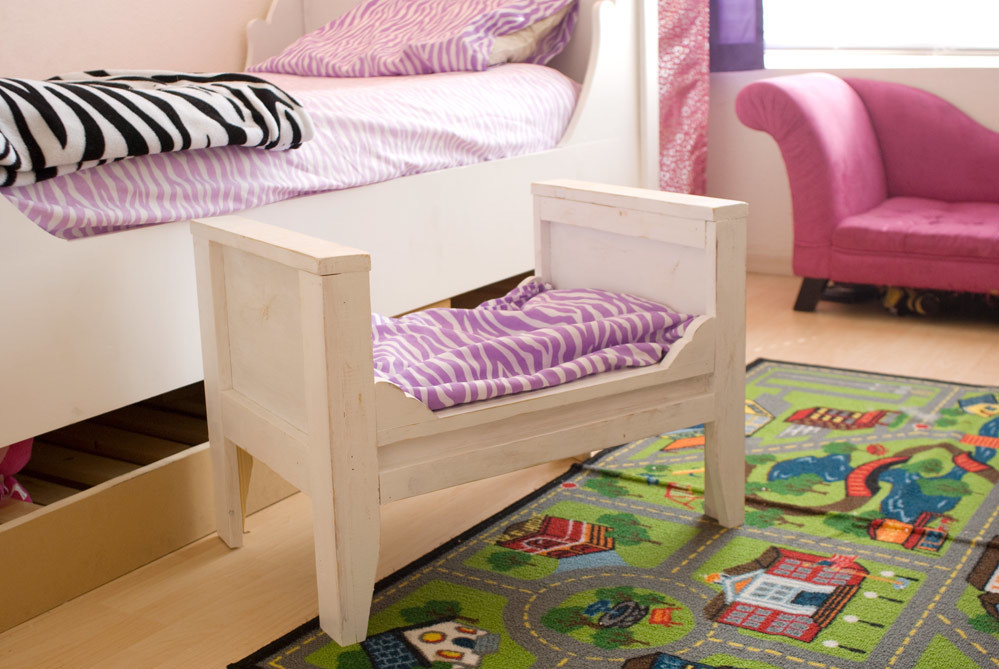
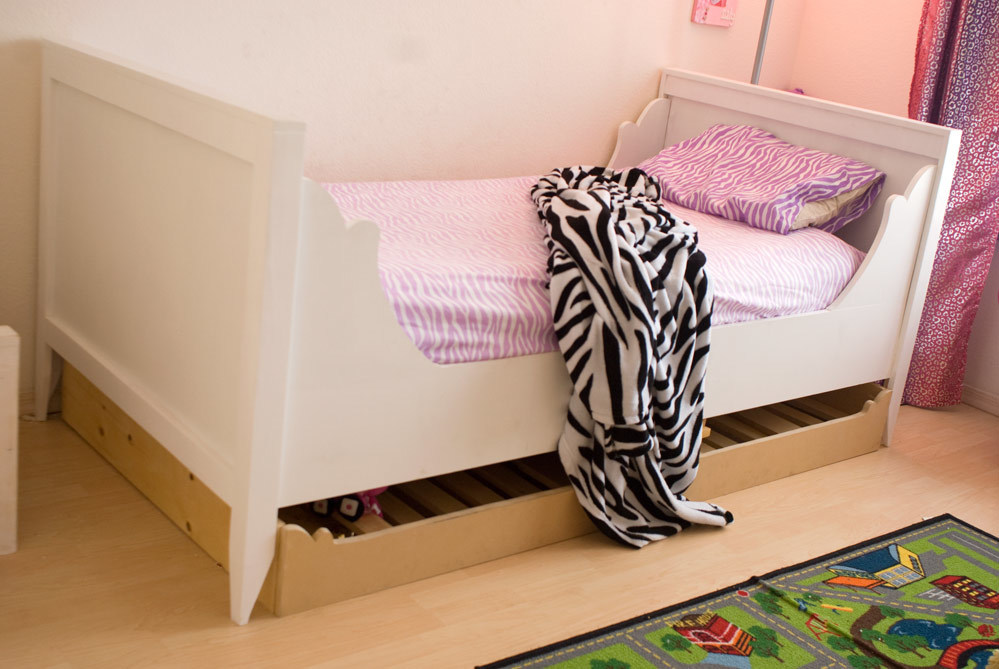
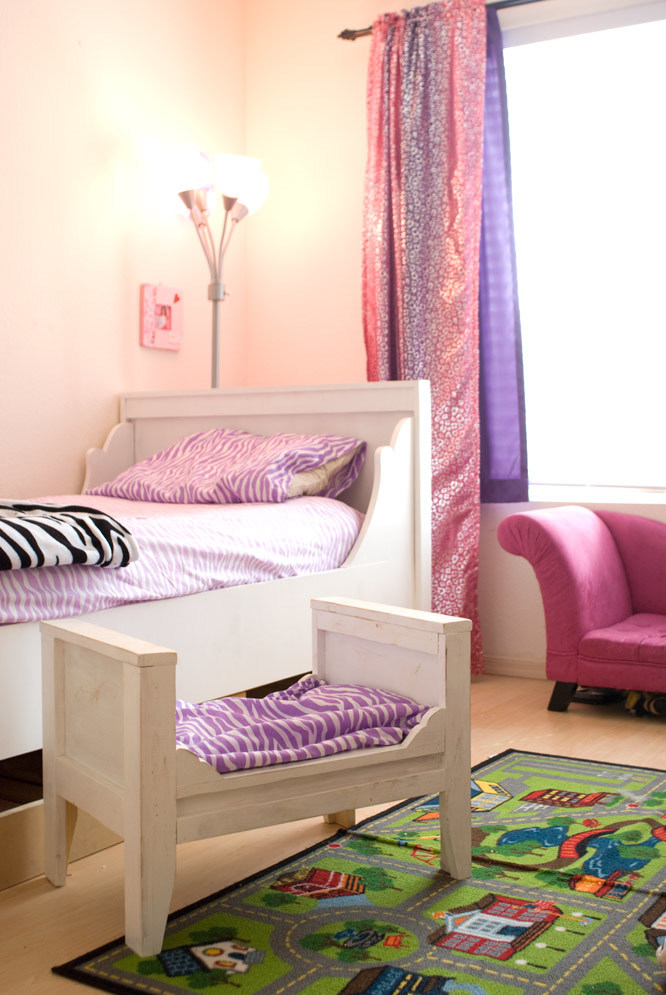
My oldest daughter was beyond needing a "big girl bed" - the poor thing couldn't "fit" in her toddler bed, and had to sleep curled up! So I had her help me pick out a bed, and she ended up asking for the Lydia bed (and she mimed that she wanted a trundle, since she didn't know what it was called!). The bed itself was a quick build, but then I lost steam when it came to doing the trundle. It came along a few weeks after the bed was in her room, but, as you can see, I still haven't painted it... or added a bed to it.... Then she wanted a bed for all of her Sonic dolls (I think she's kinda transitioning from being a tom-boy to being a girly-girl... she picked out everything in her room!)... So I built her a "matching" bed based on the farmhouse doll bed plans. Side note - I haven't cleaned her room in a while, so ignore the fact that the floor needs swept!
Mon, 10/03/2011 - 20:47
did you change the length between the posts in order to fit the trundle? on the page that she has to build a trundle it says to make sure there is 77" of clearance between each end.. not sure if I should leave it as is or adjust it for a trundle....
Thu, 10/06/2011 - 20:18
I increased the length to allow for the trundle, and there is a couple of inches between the mattress and the head/foot board. But her last bed had no room, so changing sheets was a "B". Now it's much easier :-)
I don't remember how much I increased the length, but it made the clearance 77".
Here is an end table I recently built for our living room. I modified the Rhyan End Table plans to include a routered top and some modification to the drawer fronts.
Tue, 03/21/2023 - 22:21
Great job! That stain looks awesome and I like the top with the edge routed. Nice work.
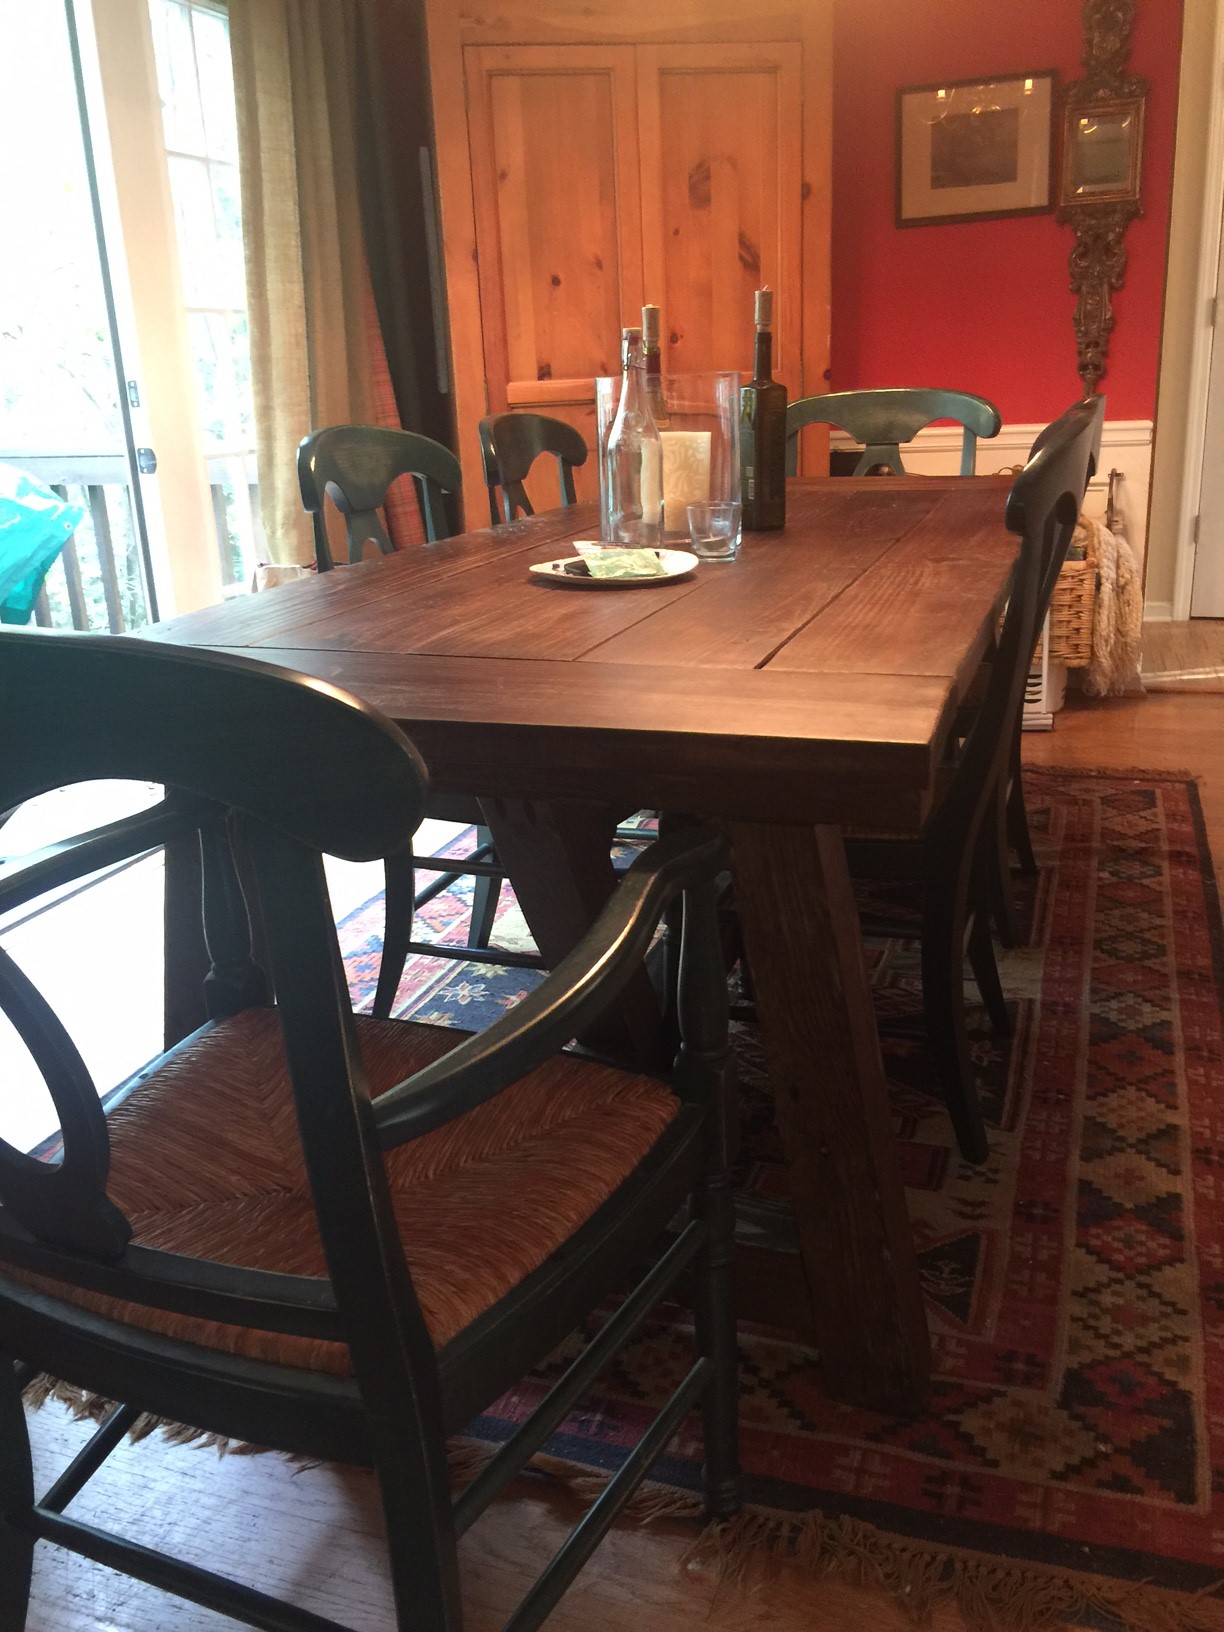
Built this for our dining room. Added two feet to the length. Neighbors started talking and now I've been commisioned to build a table and bench!
Inspiration came from this site, but the design is mine. I didn't have plans, so it was drawn out on paper from the sizes of the laundry baskets themselves. Birch plywood with Home Depot feet painted with rattle can white. Sanded and stained with a Minwax redwood stain and coated with Minwax poly.
Time: About 15 hours
$: 150 (wood, stain, sand paper)
Stain: Minwax Red Mahogany (2 coats)
Finish: Satin Polyurethane (1 coat, light sand, another coat)
We had to change a few of the measurements just slightly, but overall the directions were awesome!
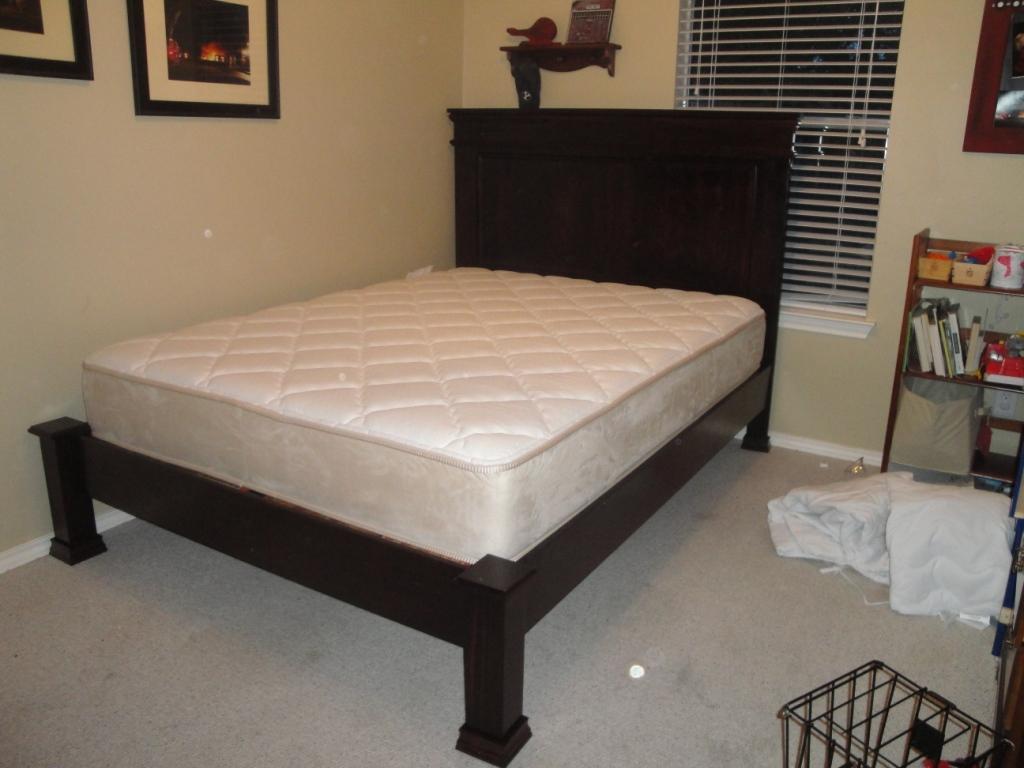
The only change that we made was to the "footboard", instead of 2x2's and a 2x4, we changed it to one 4x4. We added moulding at the base of the feet and at the top of the footboard we added a routed headplate. It gave it a real "finished" look.
Sorry for the "spotty" pictures...dang camera!


Sat, 01/11/2014 - 07:08
I love your version so much that I am copying it as much as possible............Thanks!
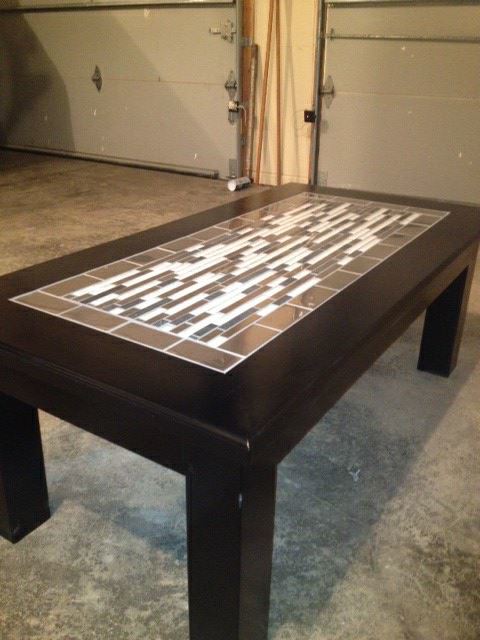
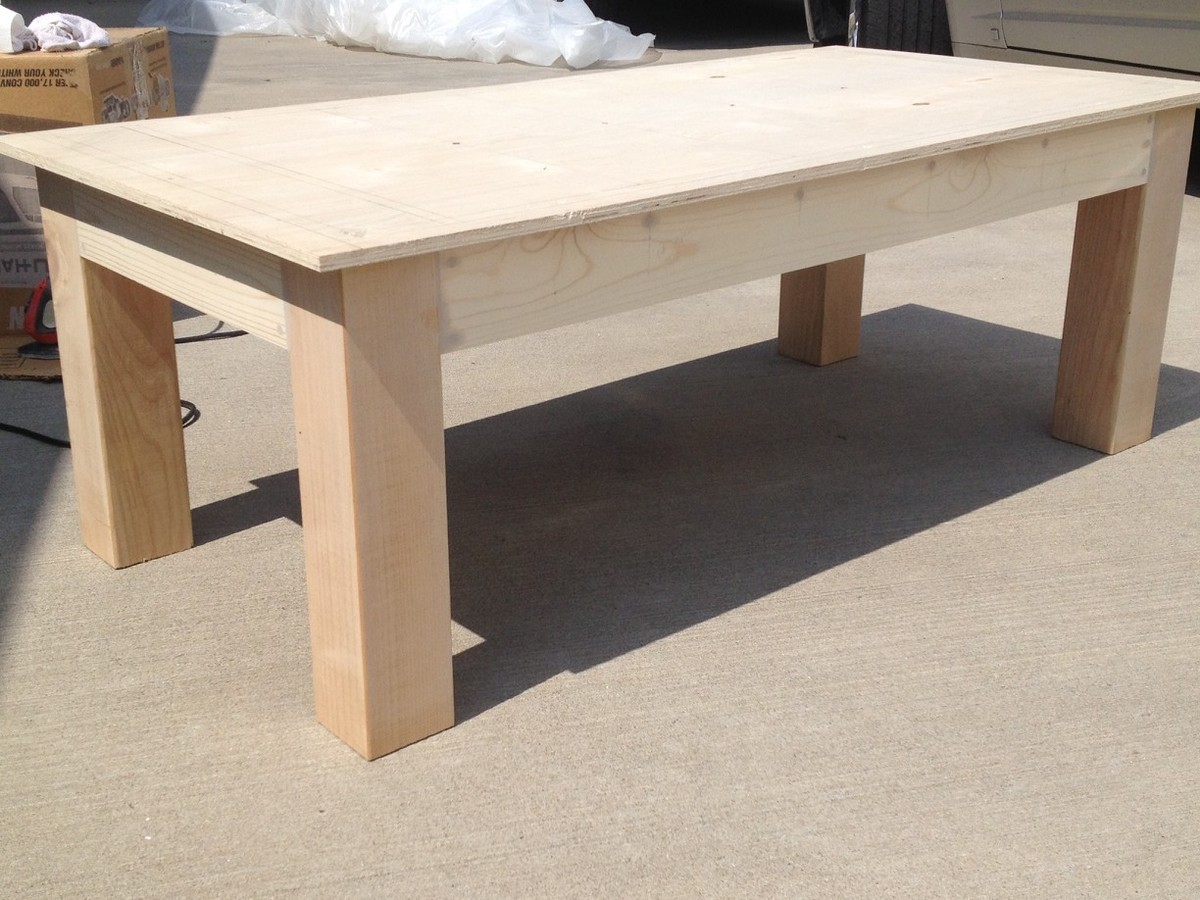
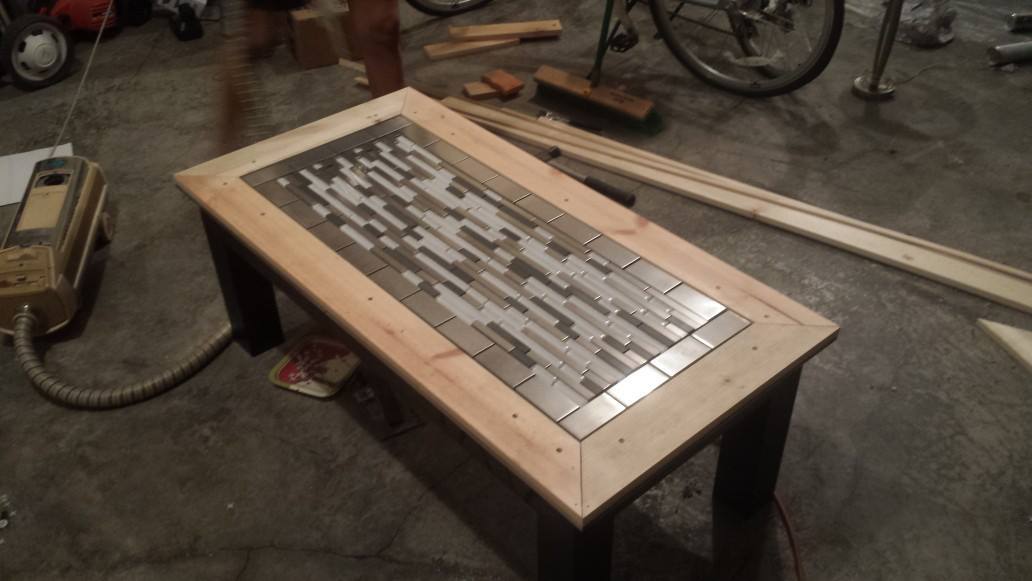
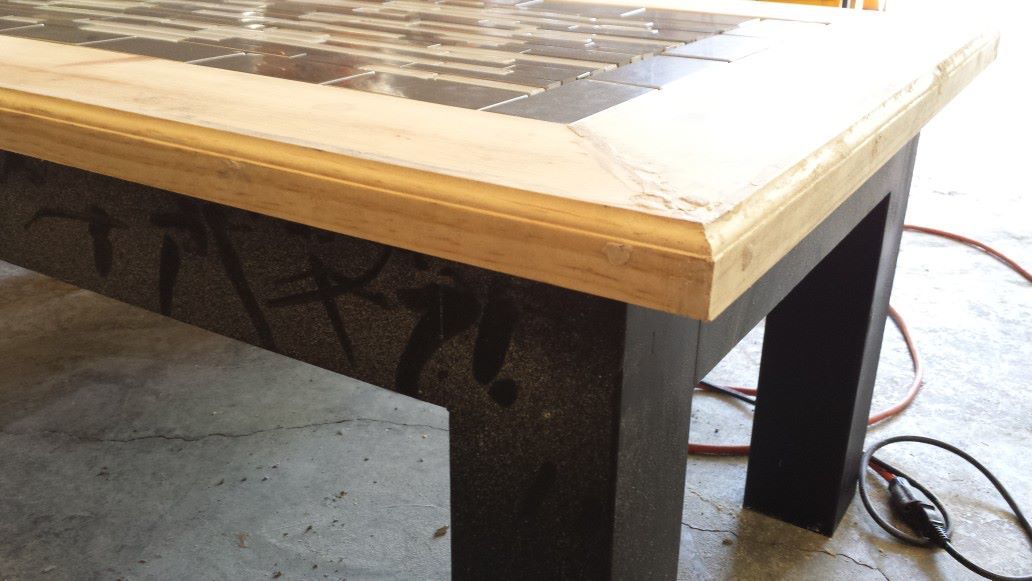
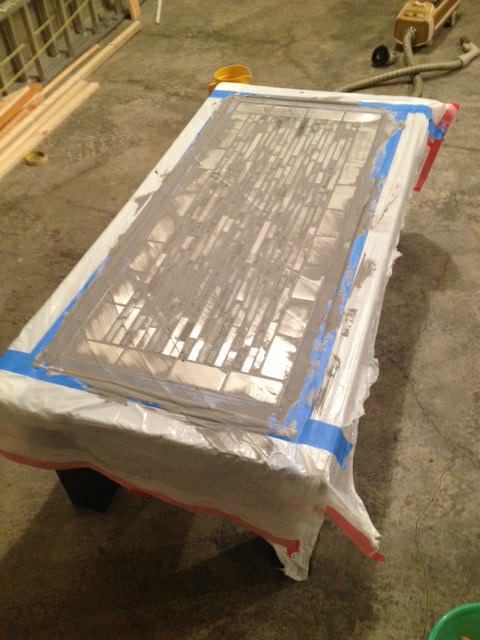
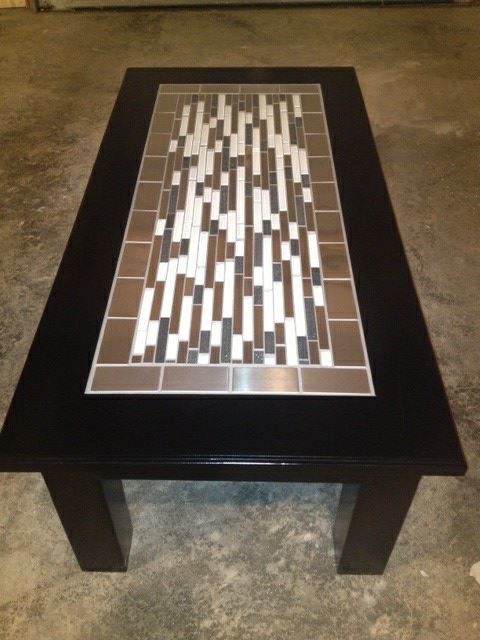
We wanted to build our own coffee table with a mosaic tile top, so we searched for plans that would give us a good, sturdy base to work with. The Tryde coffee table base with this design was simple, yet contemporary when paired with our tile table top. We tweaked the measurements slightly so that a 24"x48" piece of plywood could fit on top. Couldn't be happier with the result!
Fri, 09/06/2013 - 08:38
Very nice job! How you were able to keep the tile and trim flush? What was the thickness of the wood and tiles? Thinking of doing something similar on some cabinet counter tops in my family room.
In reply to Very nice job! How you were by Lthomas
Fri, 09/06/2013 - 21:07
Email me at [email protected] and I'll give you some more details!
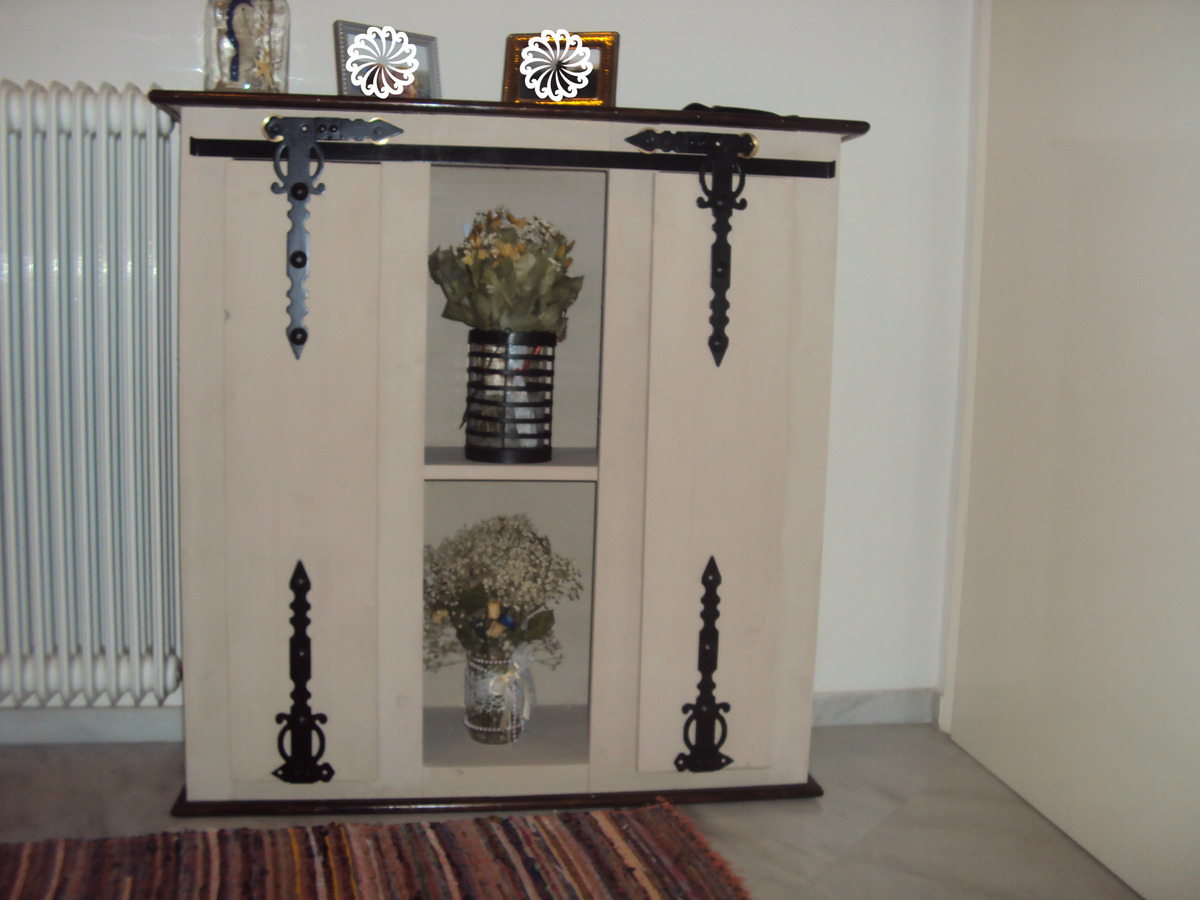
This was a great project. Added diffrent door design which resulted to great outcome.
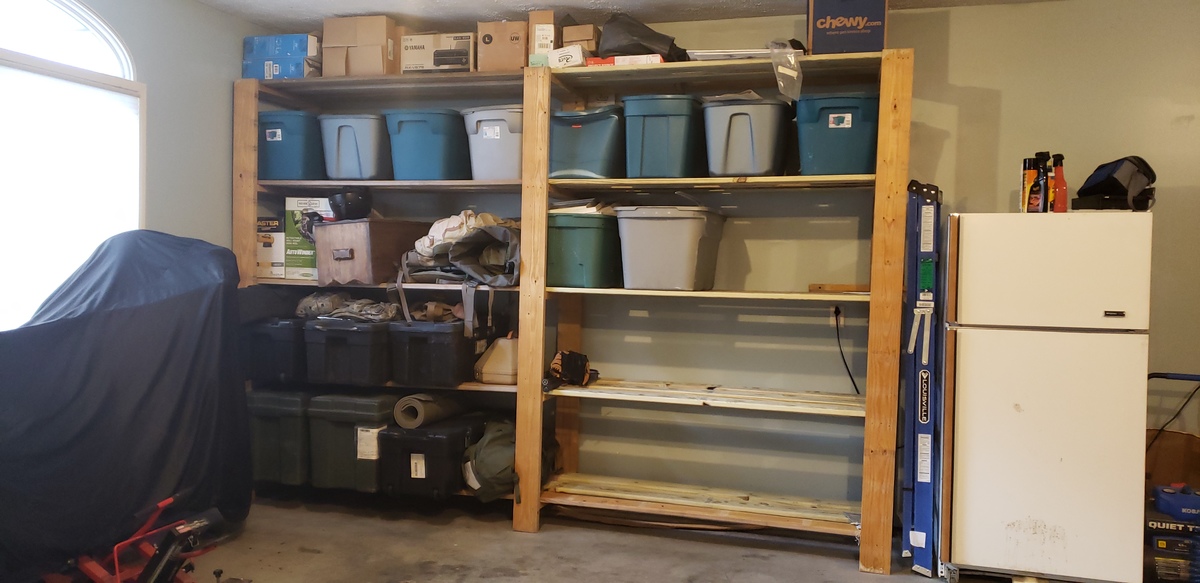
Heavy Duty, from reclaimed deck boards!
Especially with having to store active military gear, the huge gorilla trunks, and conveniently having a huge pile of 2x6's from disassembling a small deck . . Worked out perfectly!
Also, because they are heavy and tall, we did anchor them to the wall!
(I personally want to figure out how to add a sliding ladder, haha)