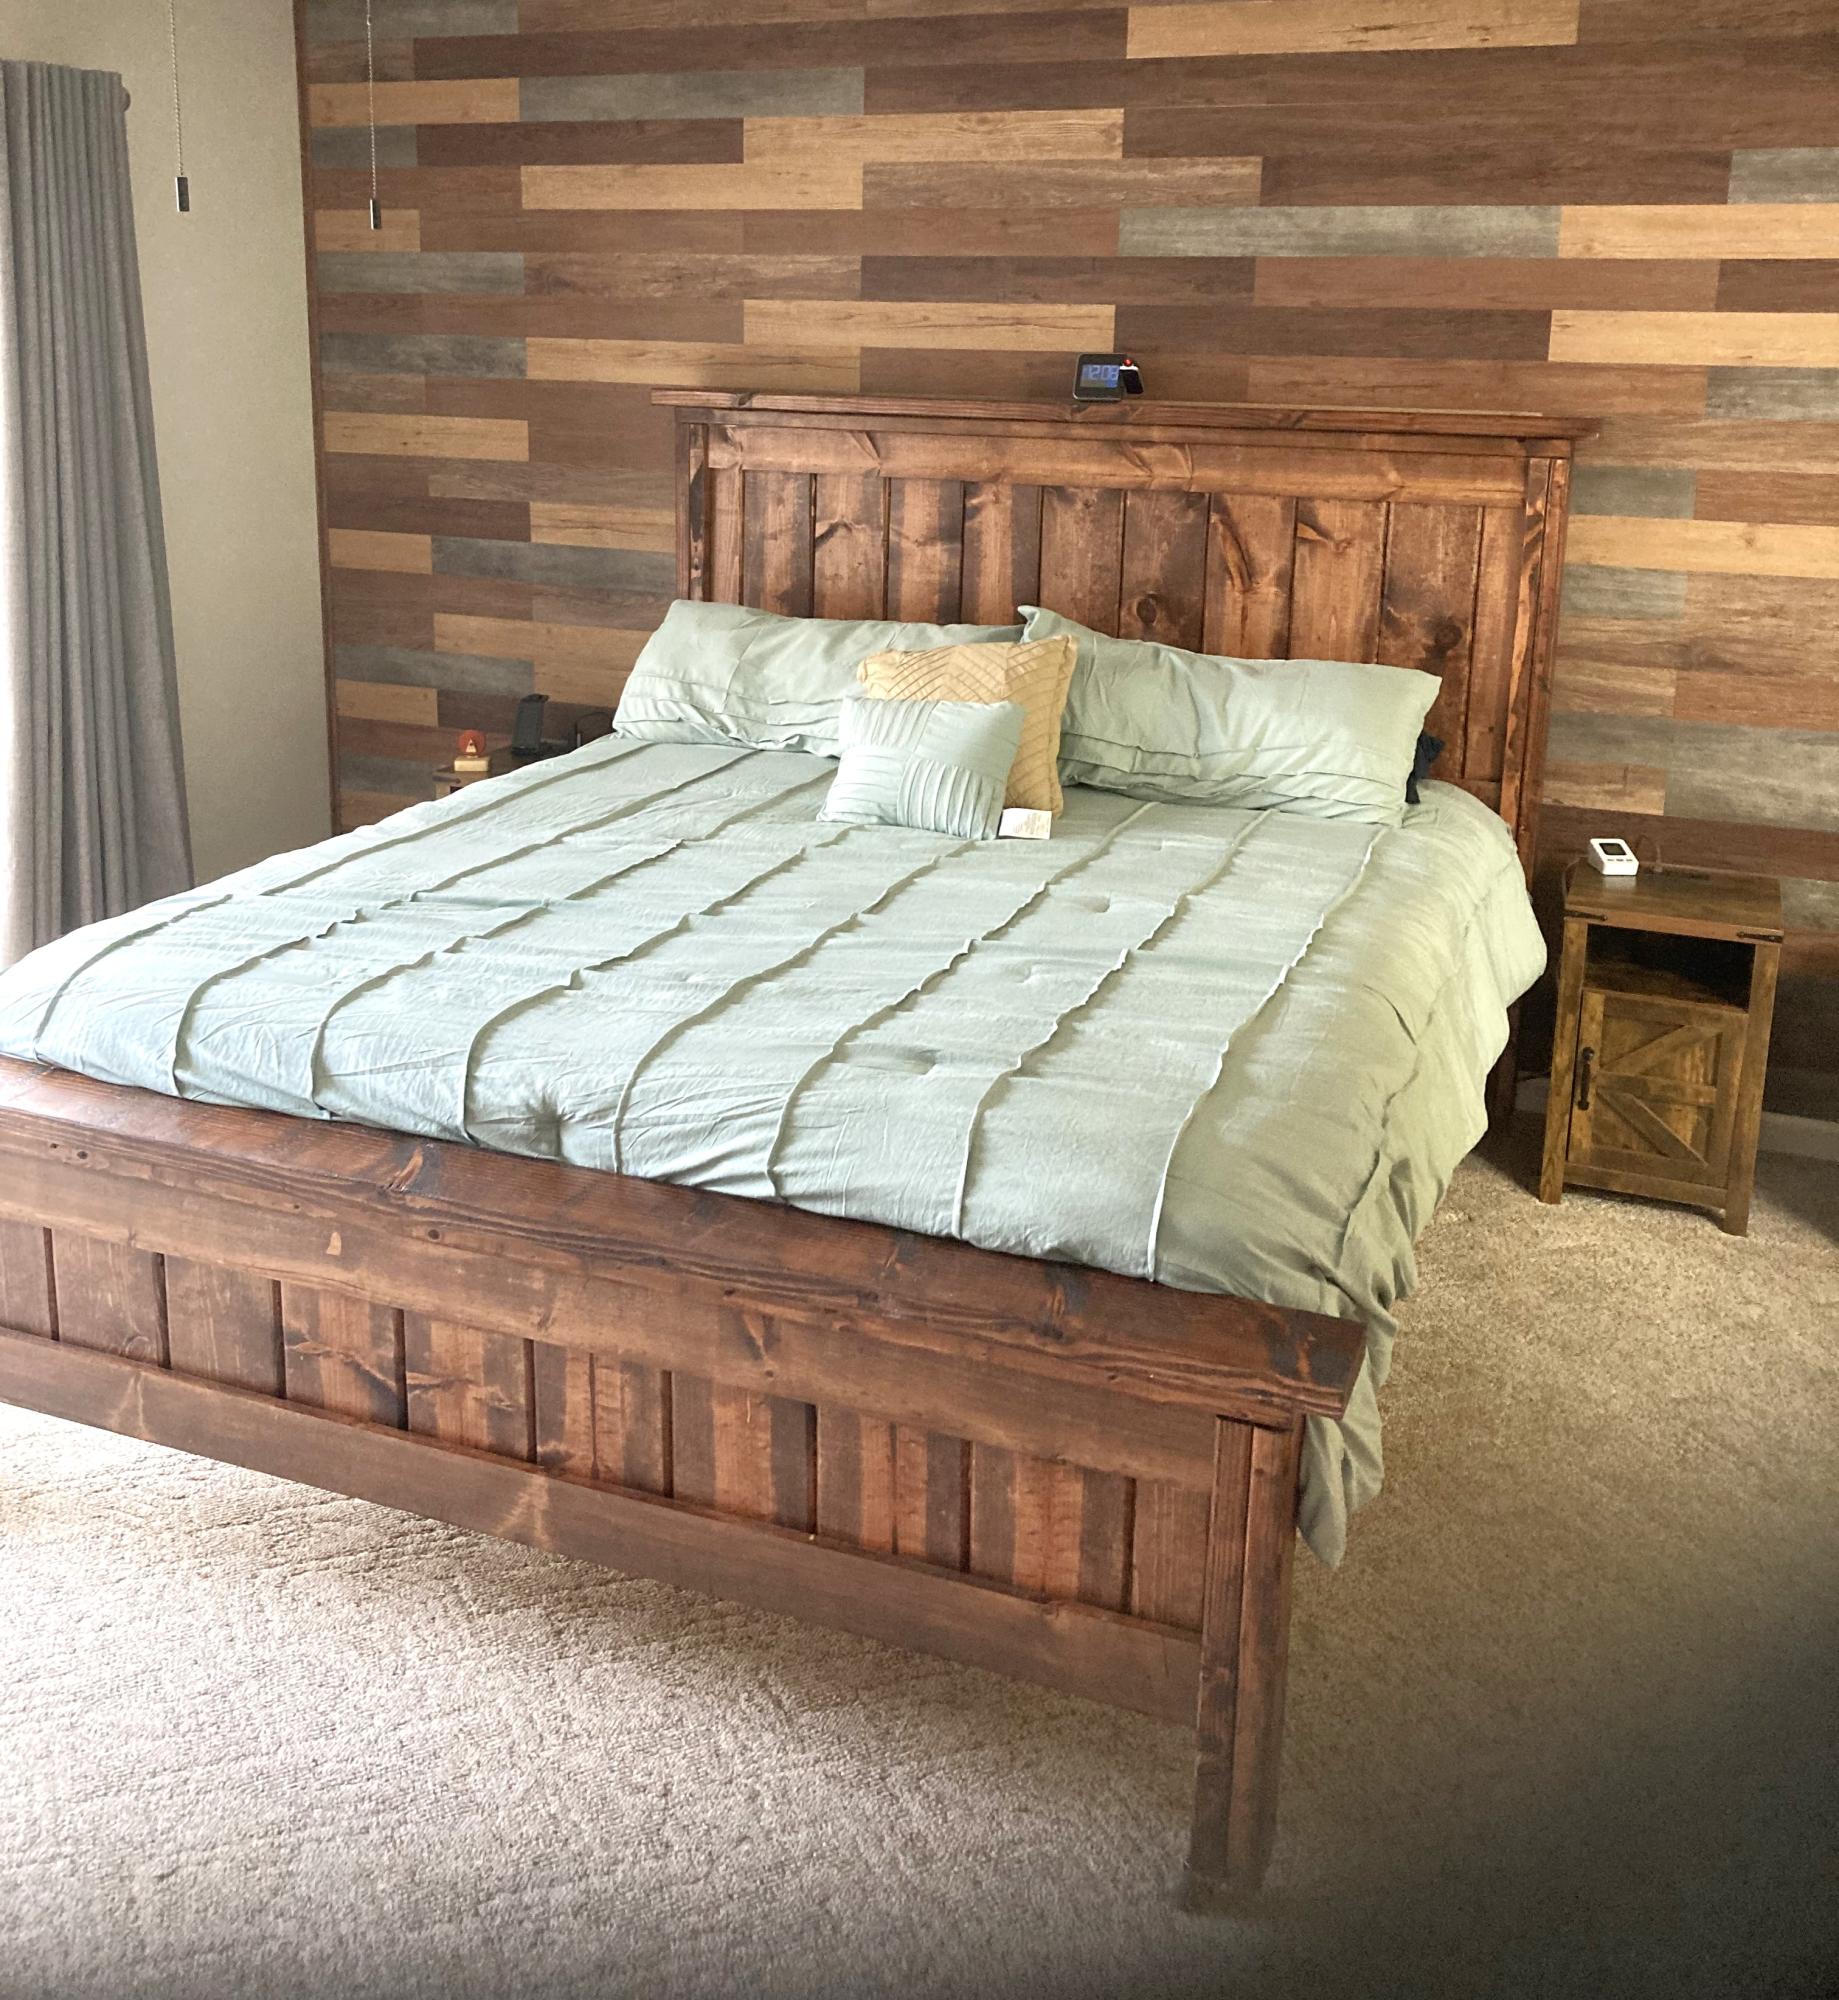
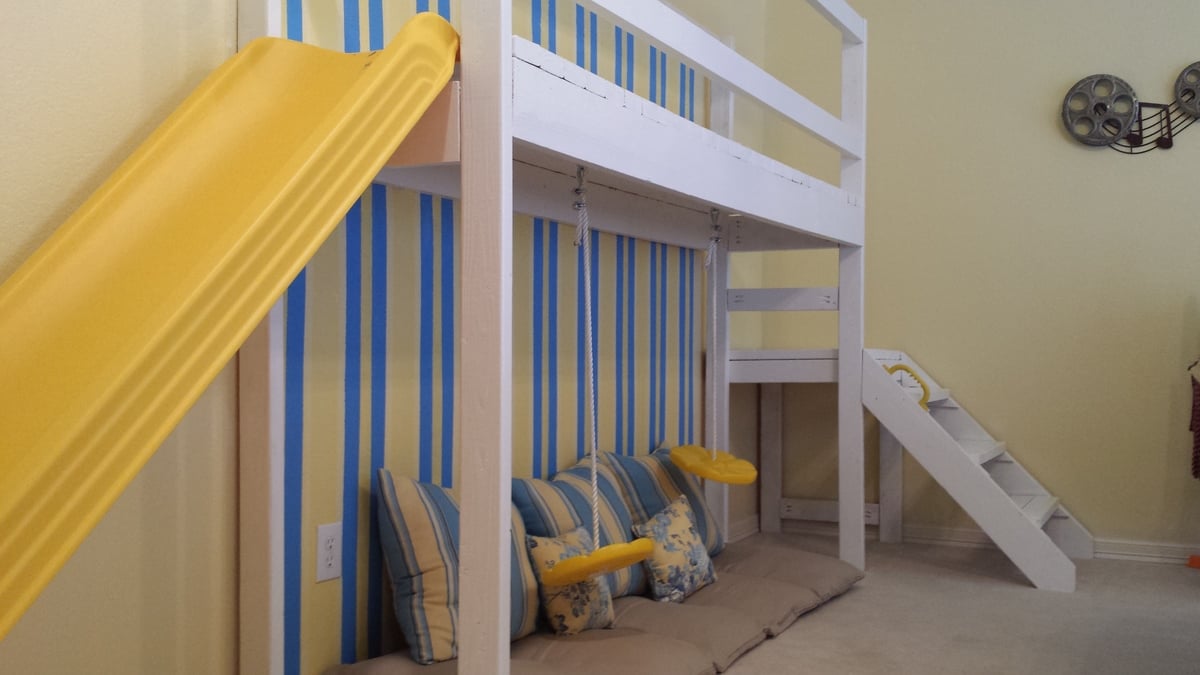
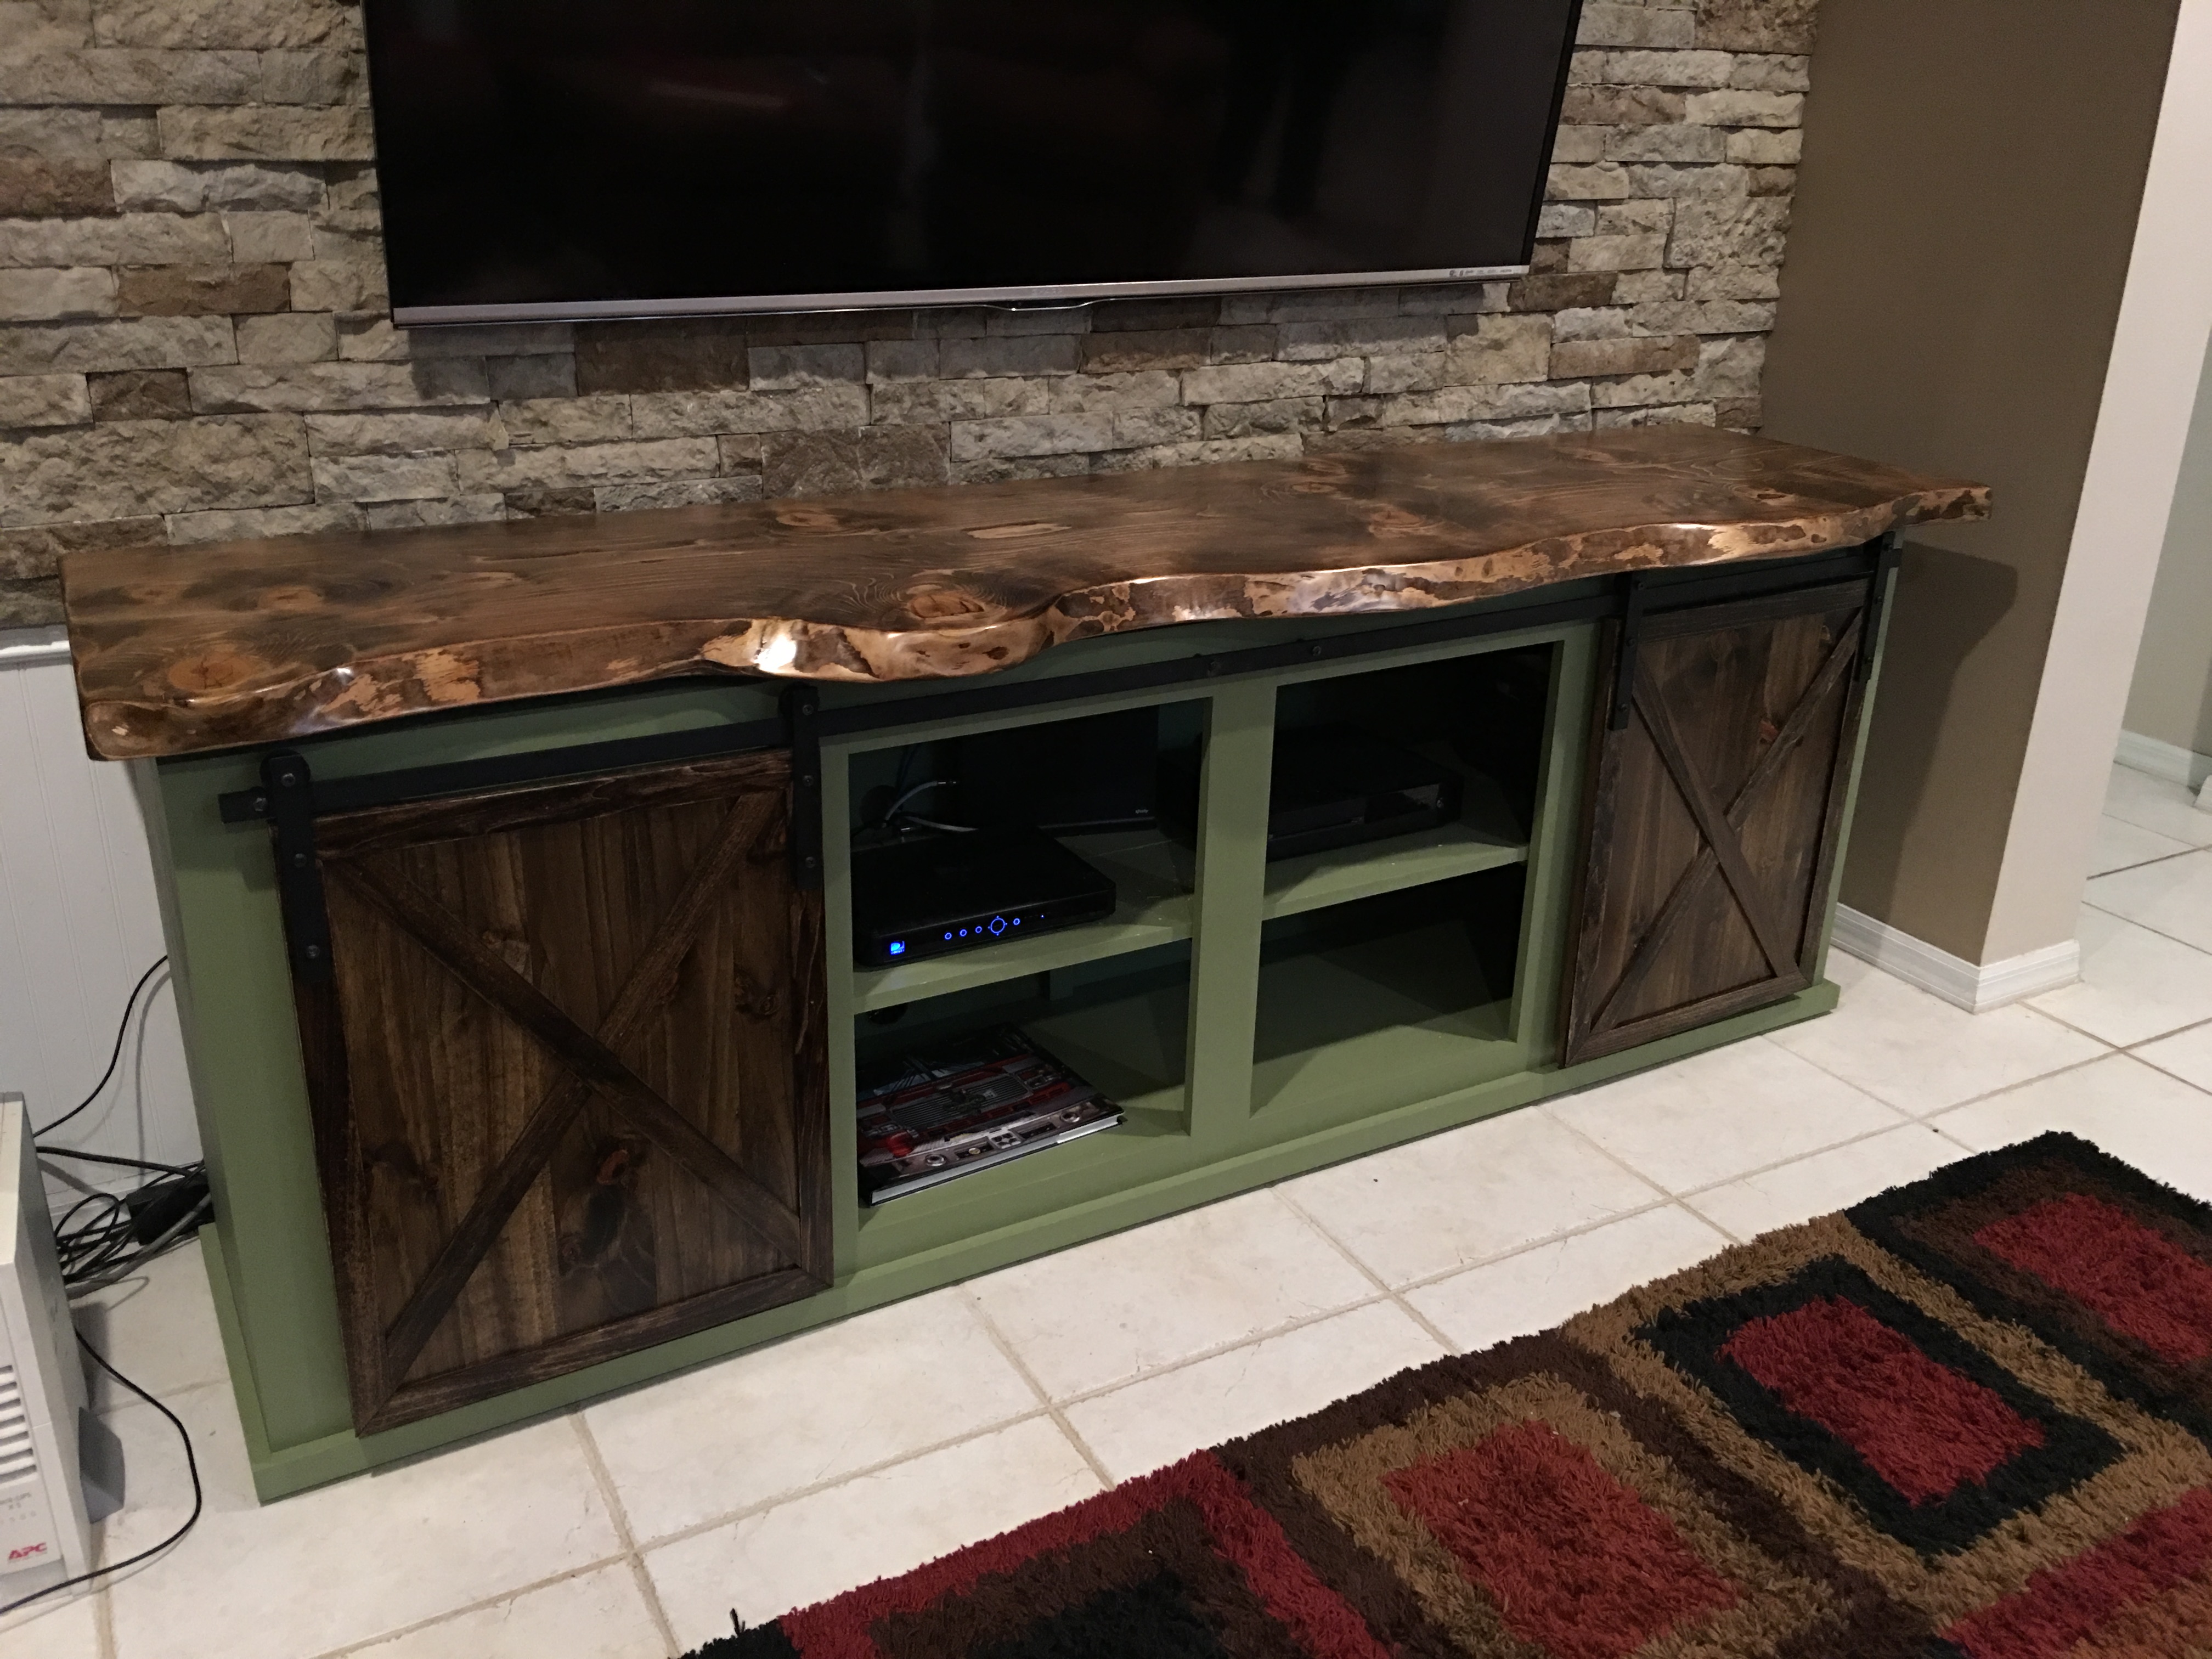
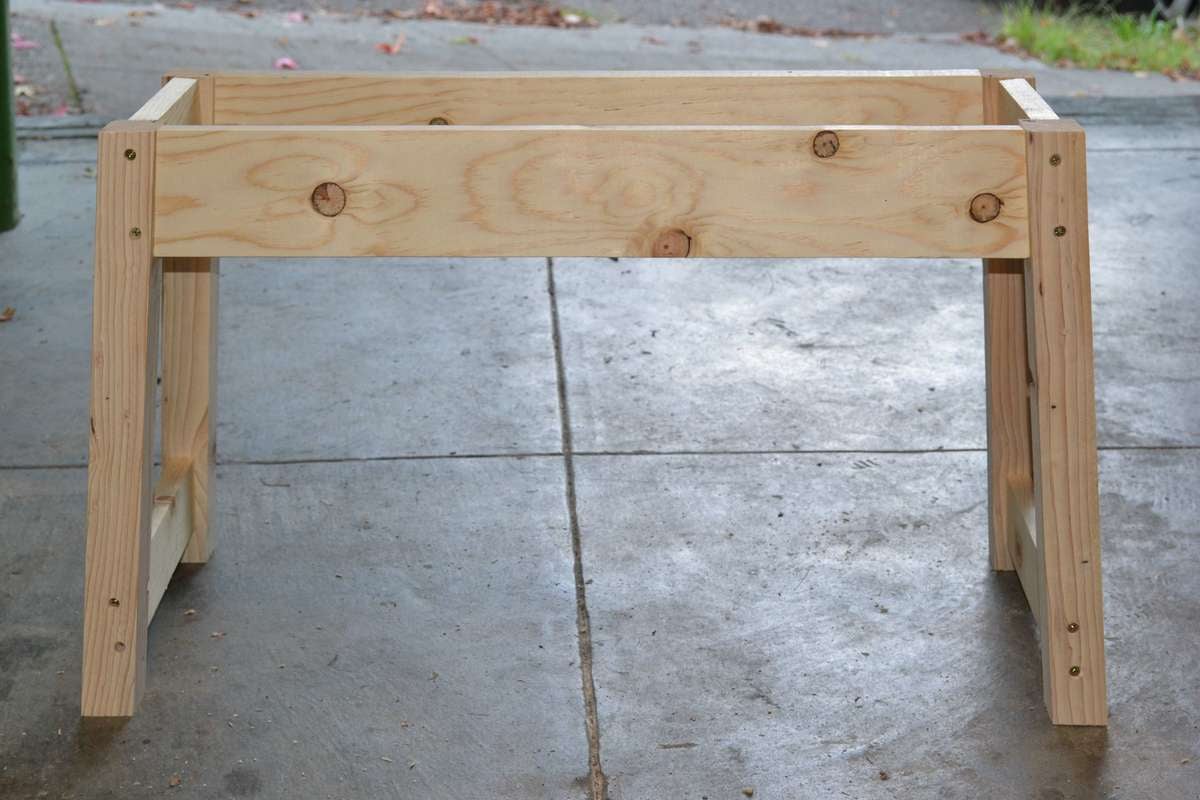
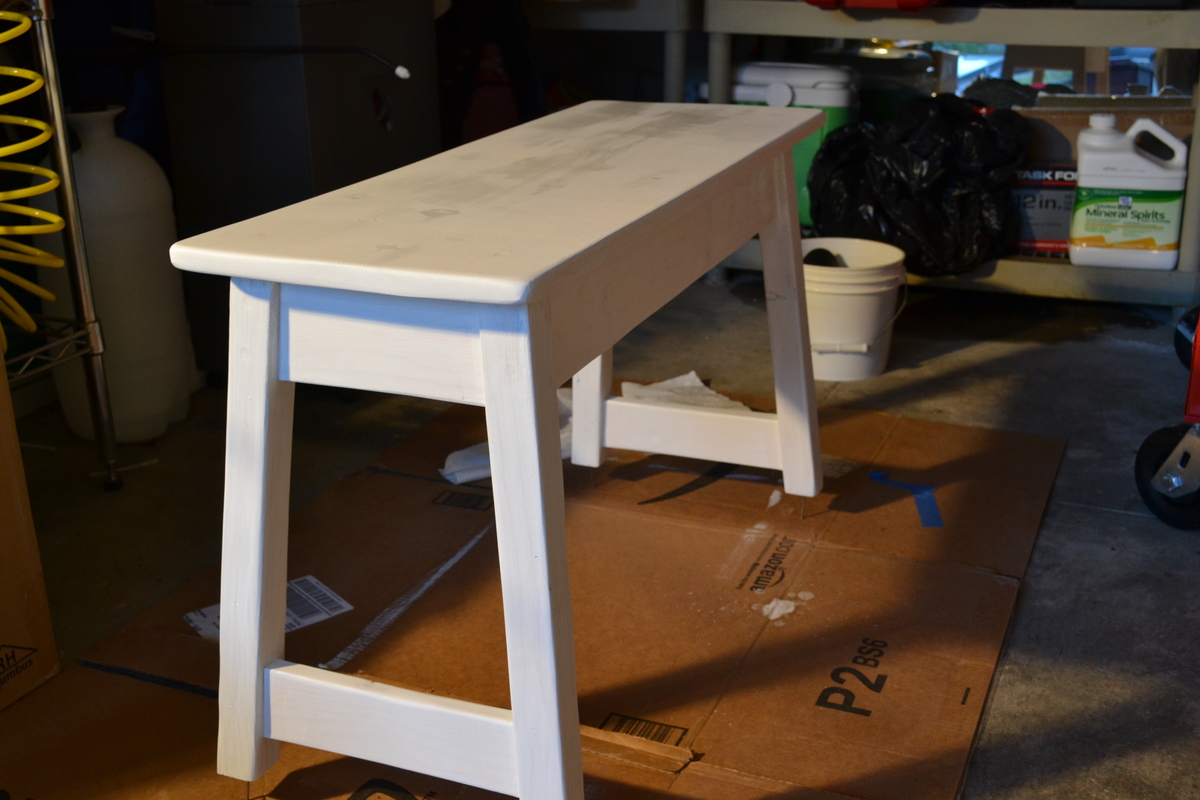
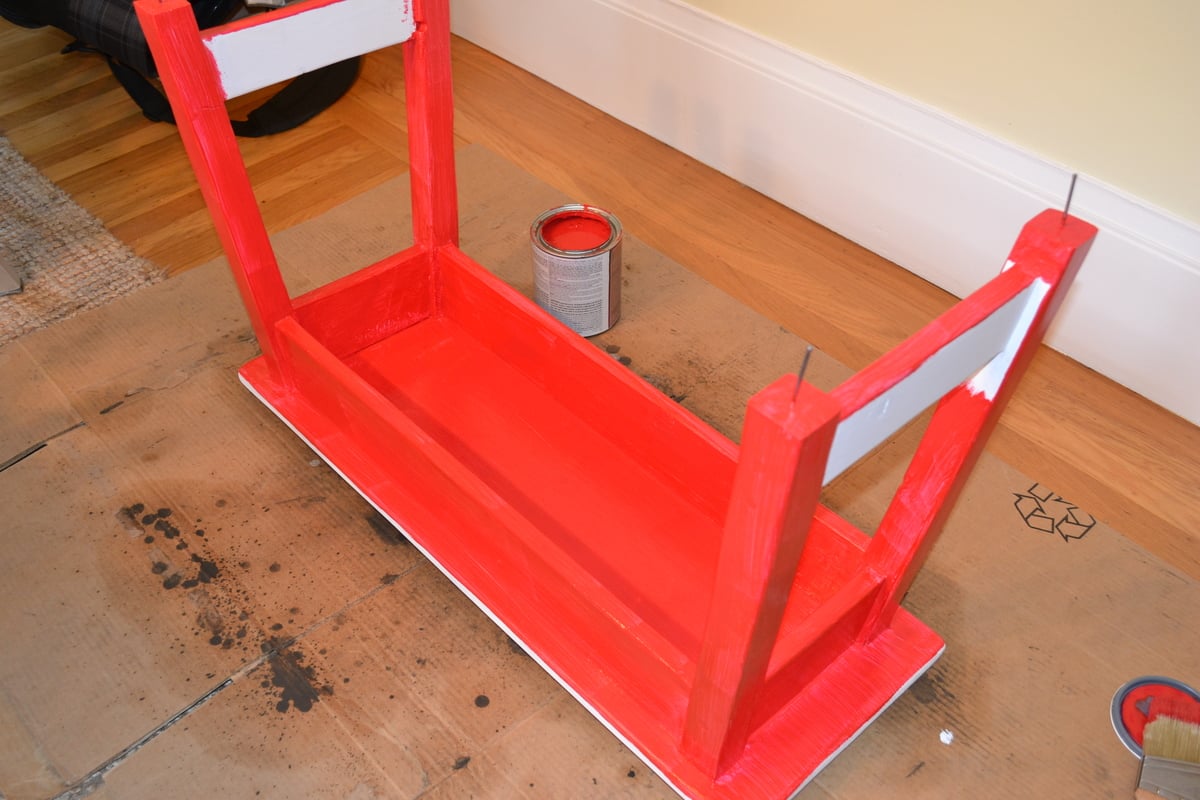
My wife and I were originally going to build a different plan from Ana, but she wanted to have hanging barn doors and we found this and said PERFECT! I tweaked the plans a little for the height as it would be too close to tv (where will I put my turntable?! :P ) and started to build. Built it from all pine. The structure wasnt too bad and went together wonderful. Painted it up with an exterior grade paint for durability, but didnt like how easy it would actually marr so I hit with three coats of spray polycrilic from minwax.
Due to time constraints and traveling every weekend, this took us all of a better part of 5 weeks to complete.
Made all the track from McMaster aluminum, some amazon pulleys for wheels, and some shoulder bolts w/ locknuts. This prevents from overtorquing the nuts down and binding the wheels :)
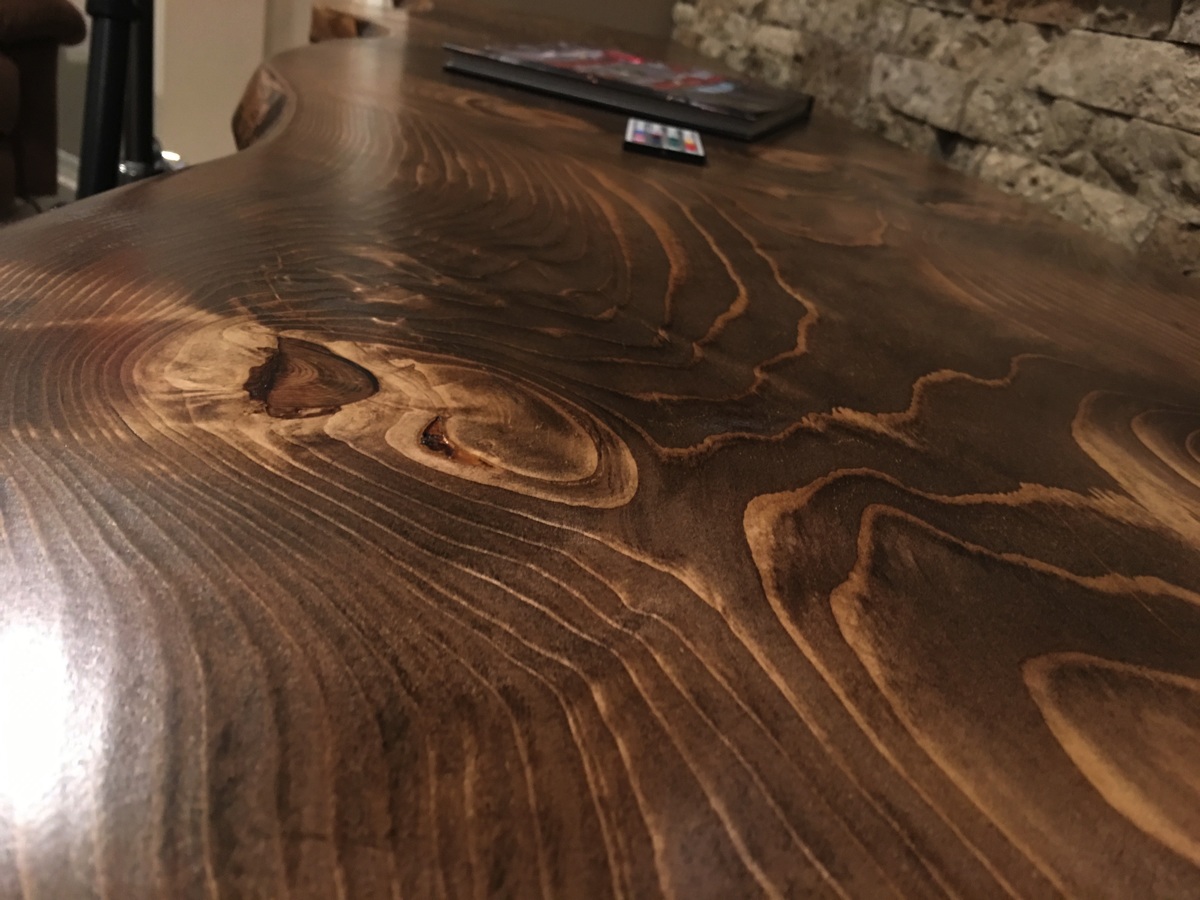
The TOP is my favorite part! I ordered a 13' piece of live edge pine slab w/ bark on from a mill in Ohio shipped to Florida, and had them rip it to my 92.5" length and the width I wanted for the top. Once I received I filled all the cracks/voids/knots with West Systems 2 part epoy, then sanded the entire unit from 80, 120, 220 grit. I used a belt sander to rip off any bark I couldnt pry off. Then some pre-stain, a very quick wiped off coat of Minwax Espresso, and 3 coats of spray on satin polyurethane (only 2 on bottom). Came out BEAUTIFUL!
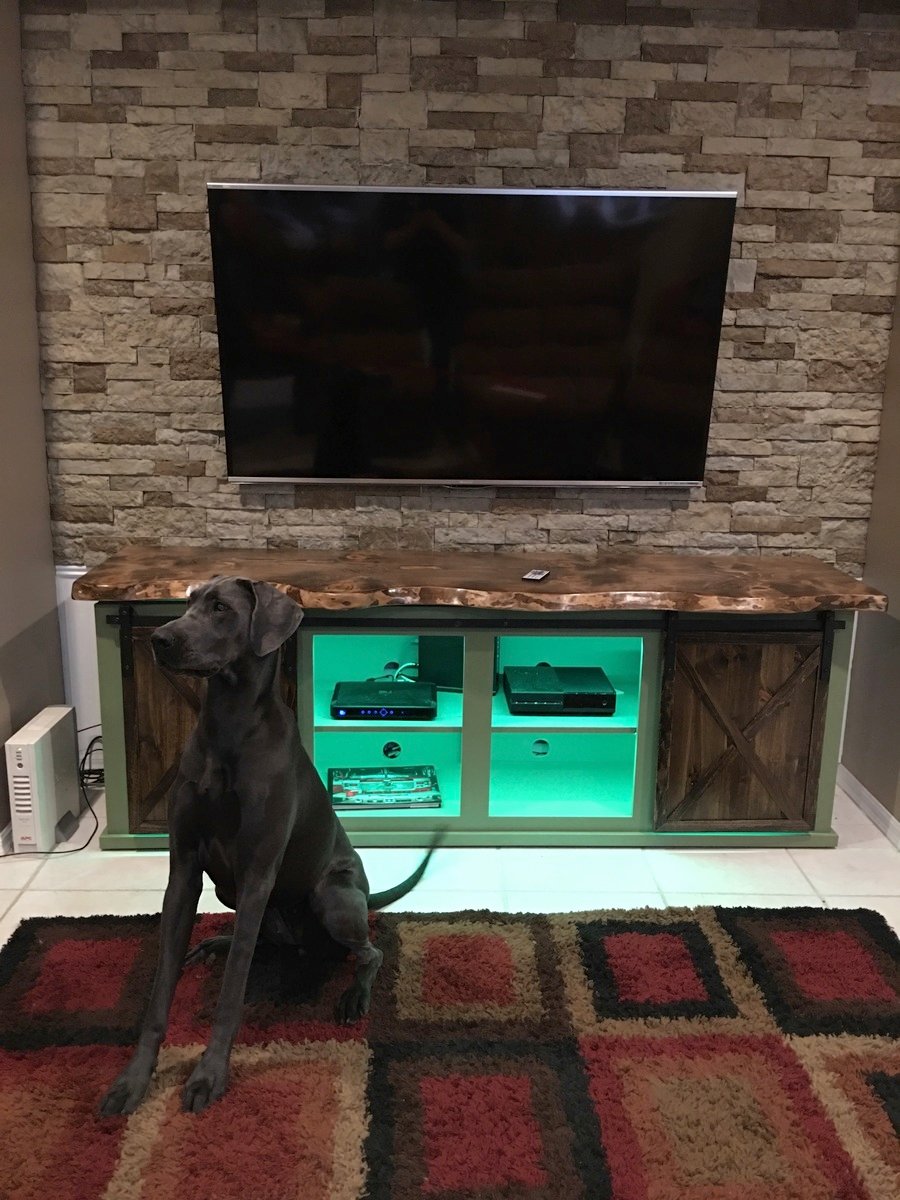
Bought some TE brand LED light kit (5m) on amazon for $18 shipped and super glued to the shelf. Had to put a 0.50" hole on one side toward the front to pass the light string thru, and used electrical tape to black out the lights running vertical in the corner. They are also programmable and color changing.
Table top is 92.5" long
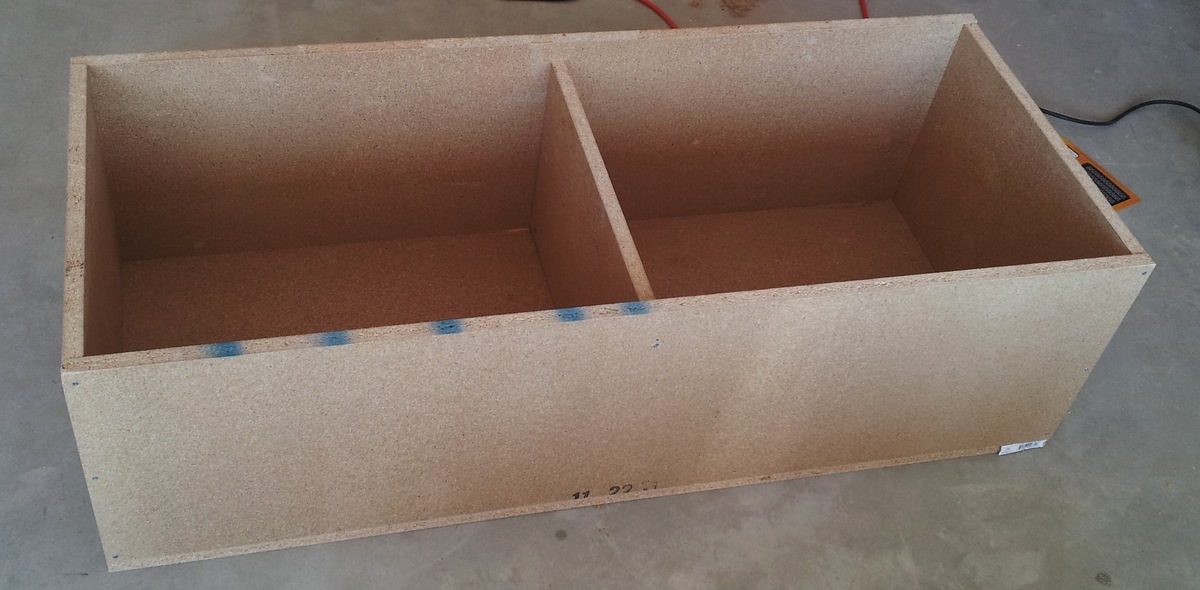
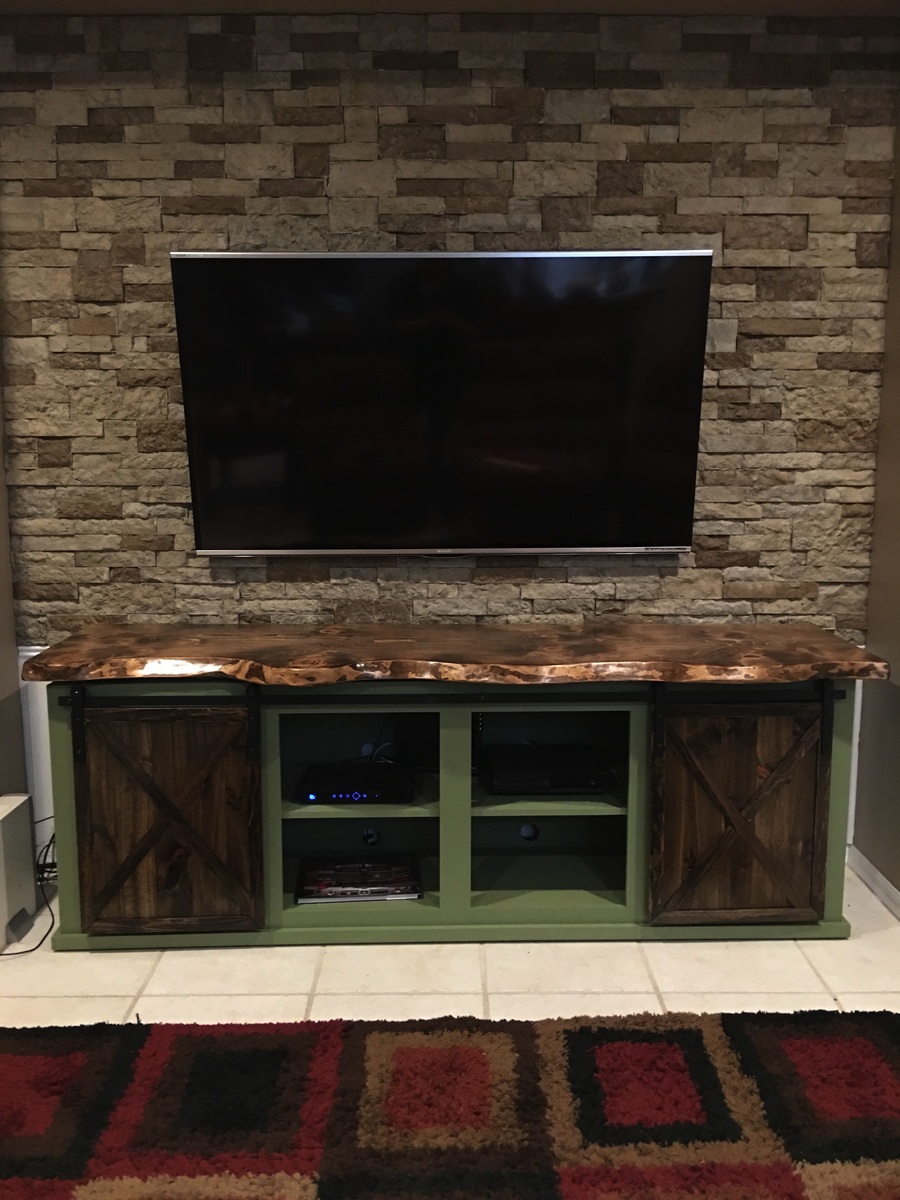
Unit is 88.5" long
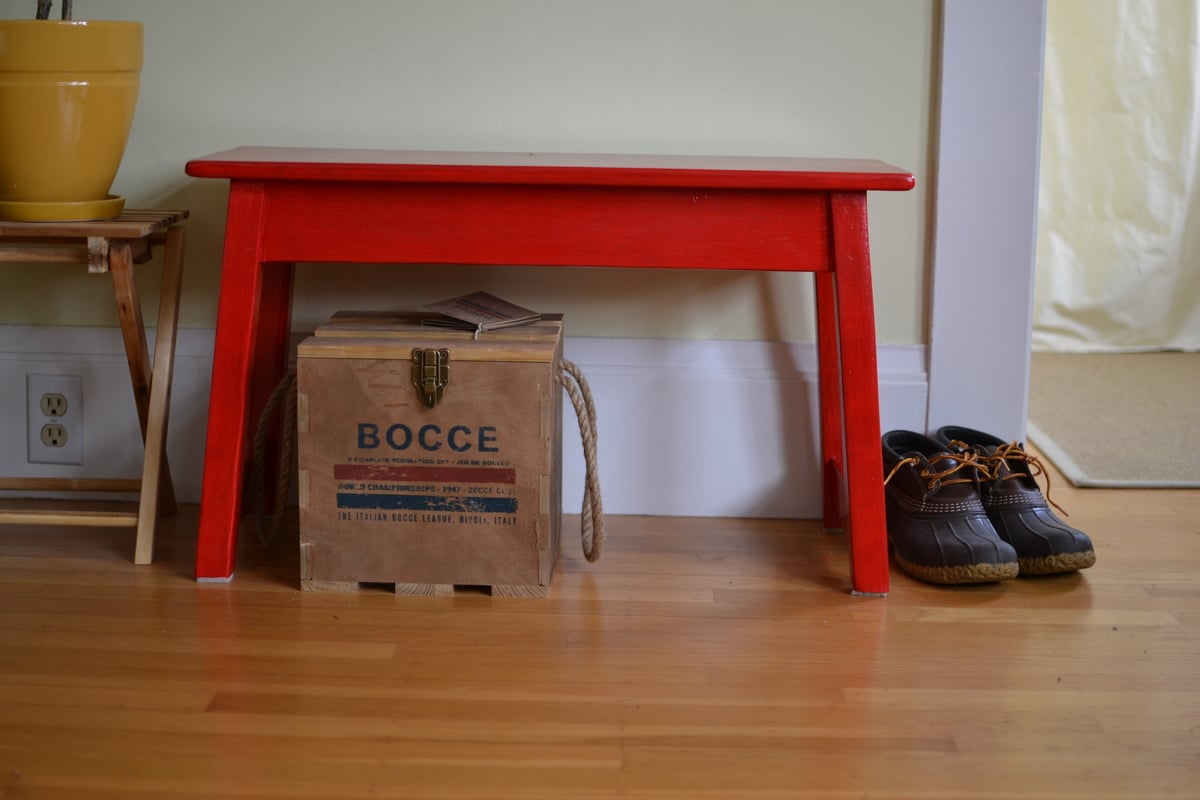
Beautiful piece that people have been raving about.
Thanks Ana for the plans!