Awesome shoe dresser
I gave up my closet for a bathroom remodel last year...totally worth it. Since then my shoes have been stored in a pile next to my bed. So happy I found this wonderful pattern. I love my new shoe dresser!! Thank you Ana!!
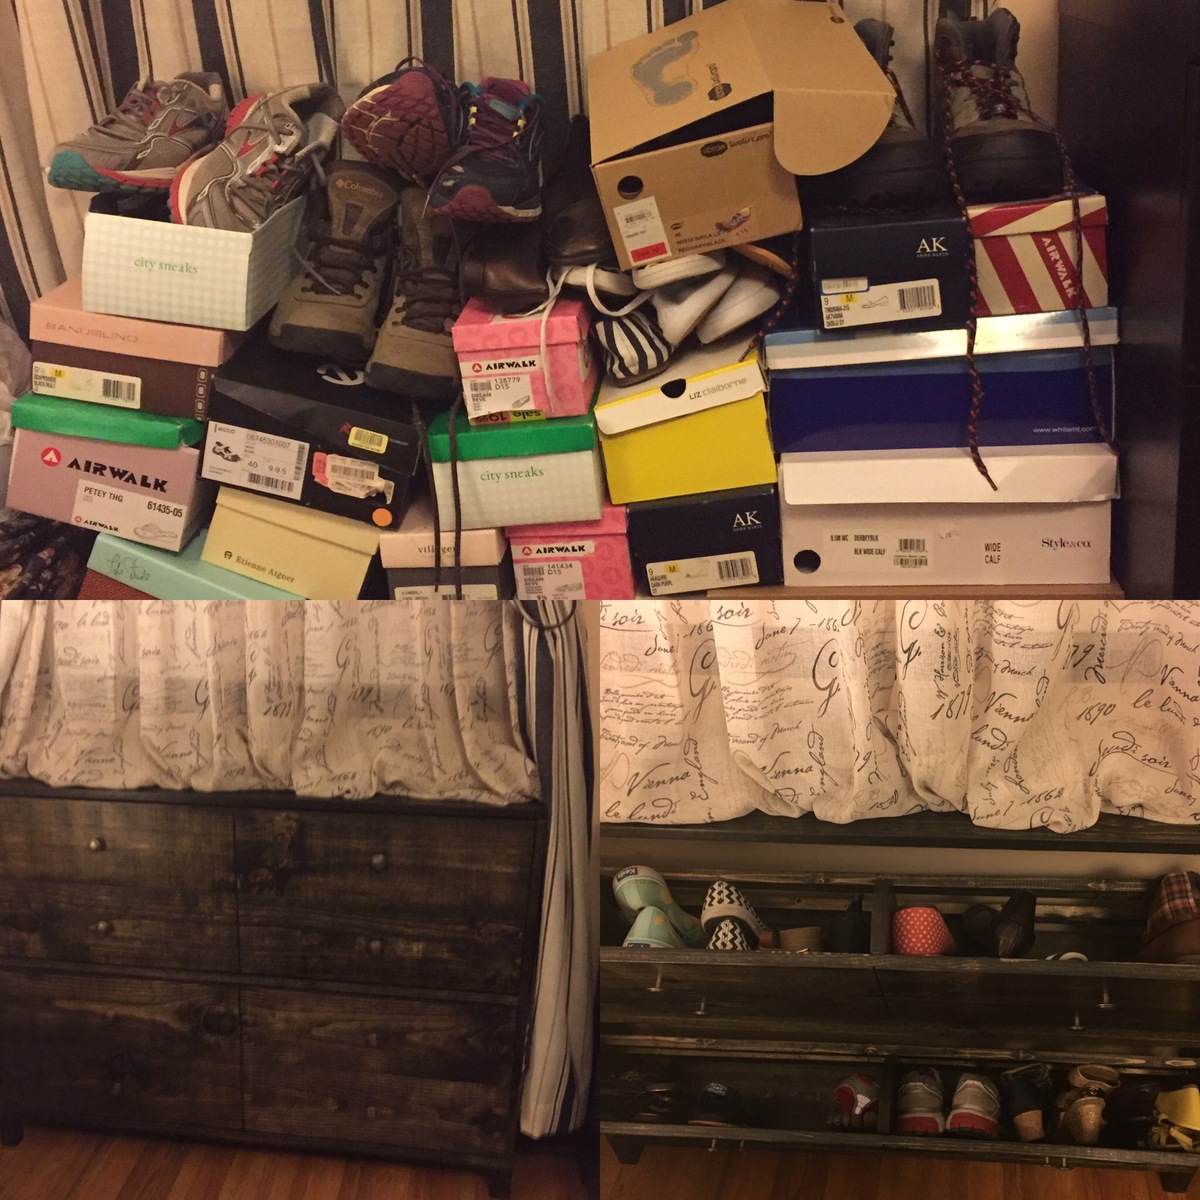
I gave up my closet for a bathroom remodel last year...totally worth it. Since then my shoes have been stored in a pile next to my bed. So happy I found this wonderful pattern. I love my new shoe dresser!! Thank you Ana!!

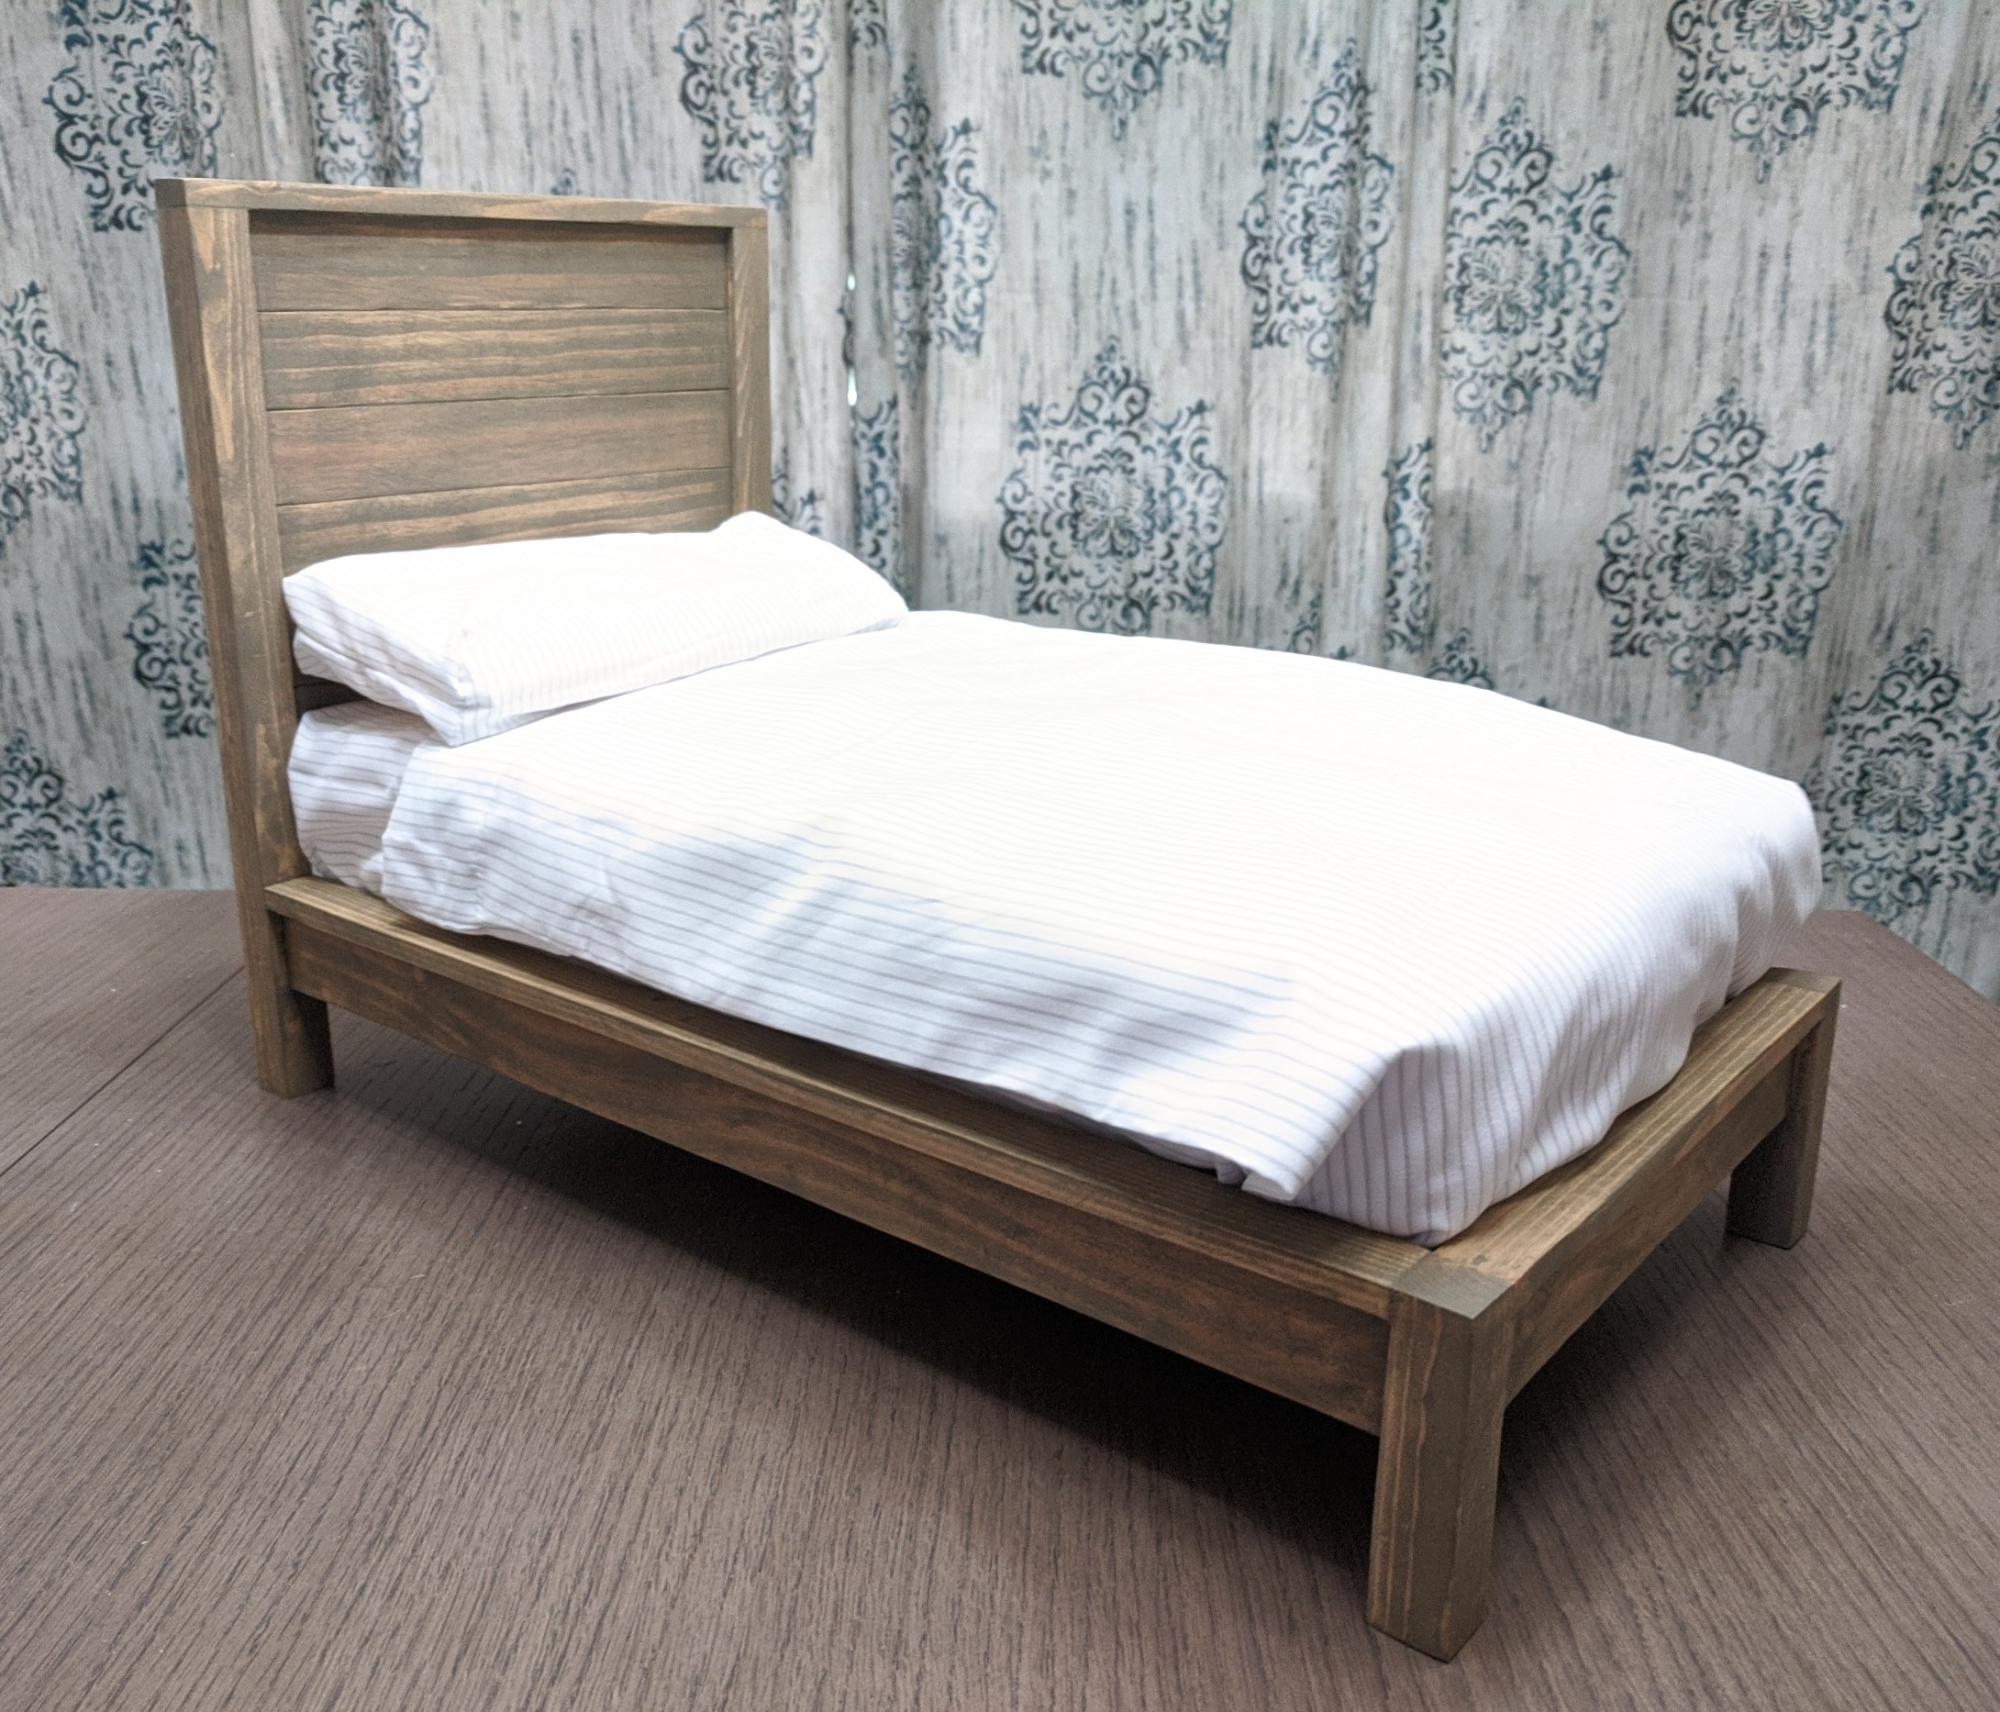
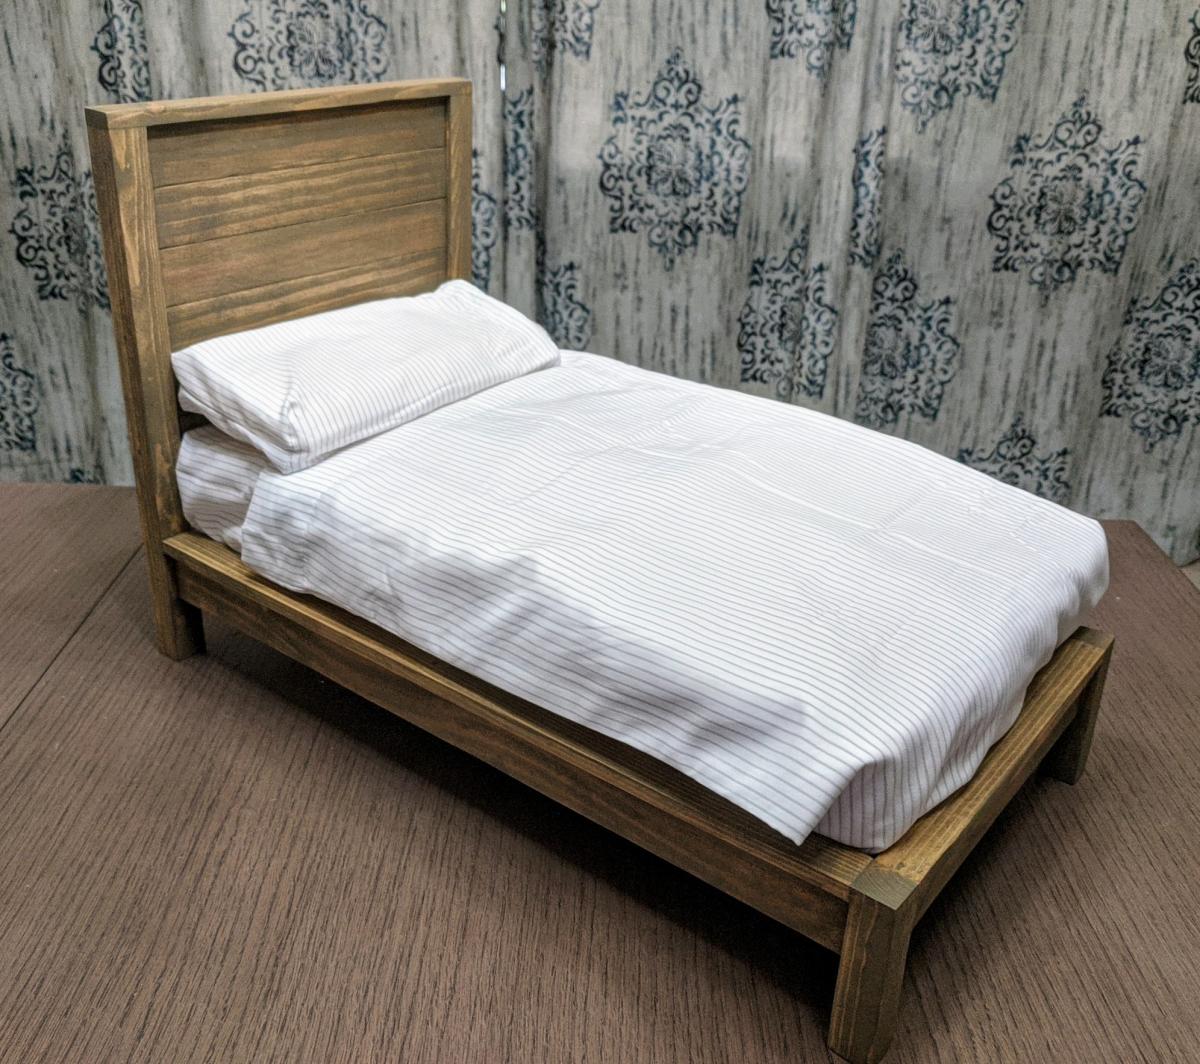
I made a 1/4 scale model of The Modern Farmhouse Bed as a doll bed for one of my granddaughters. I just divided all the measurements by four to get the dimensions and cut my "lumber" from a single 2 x 4. I cut shallow slots in the headboard posts for the planks to fit into, then glued them and secured with clamps and tiny nails. I made the slots where the side rails met the headboard and footboard posts a little deeper, 1/4", glued, clamped, and tacked with the tiny nails. All the nails were countersunk and the holes filled. Stained with "Aged wheat" stain. Foam rubber mattress and pillow covered by fabric.
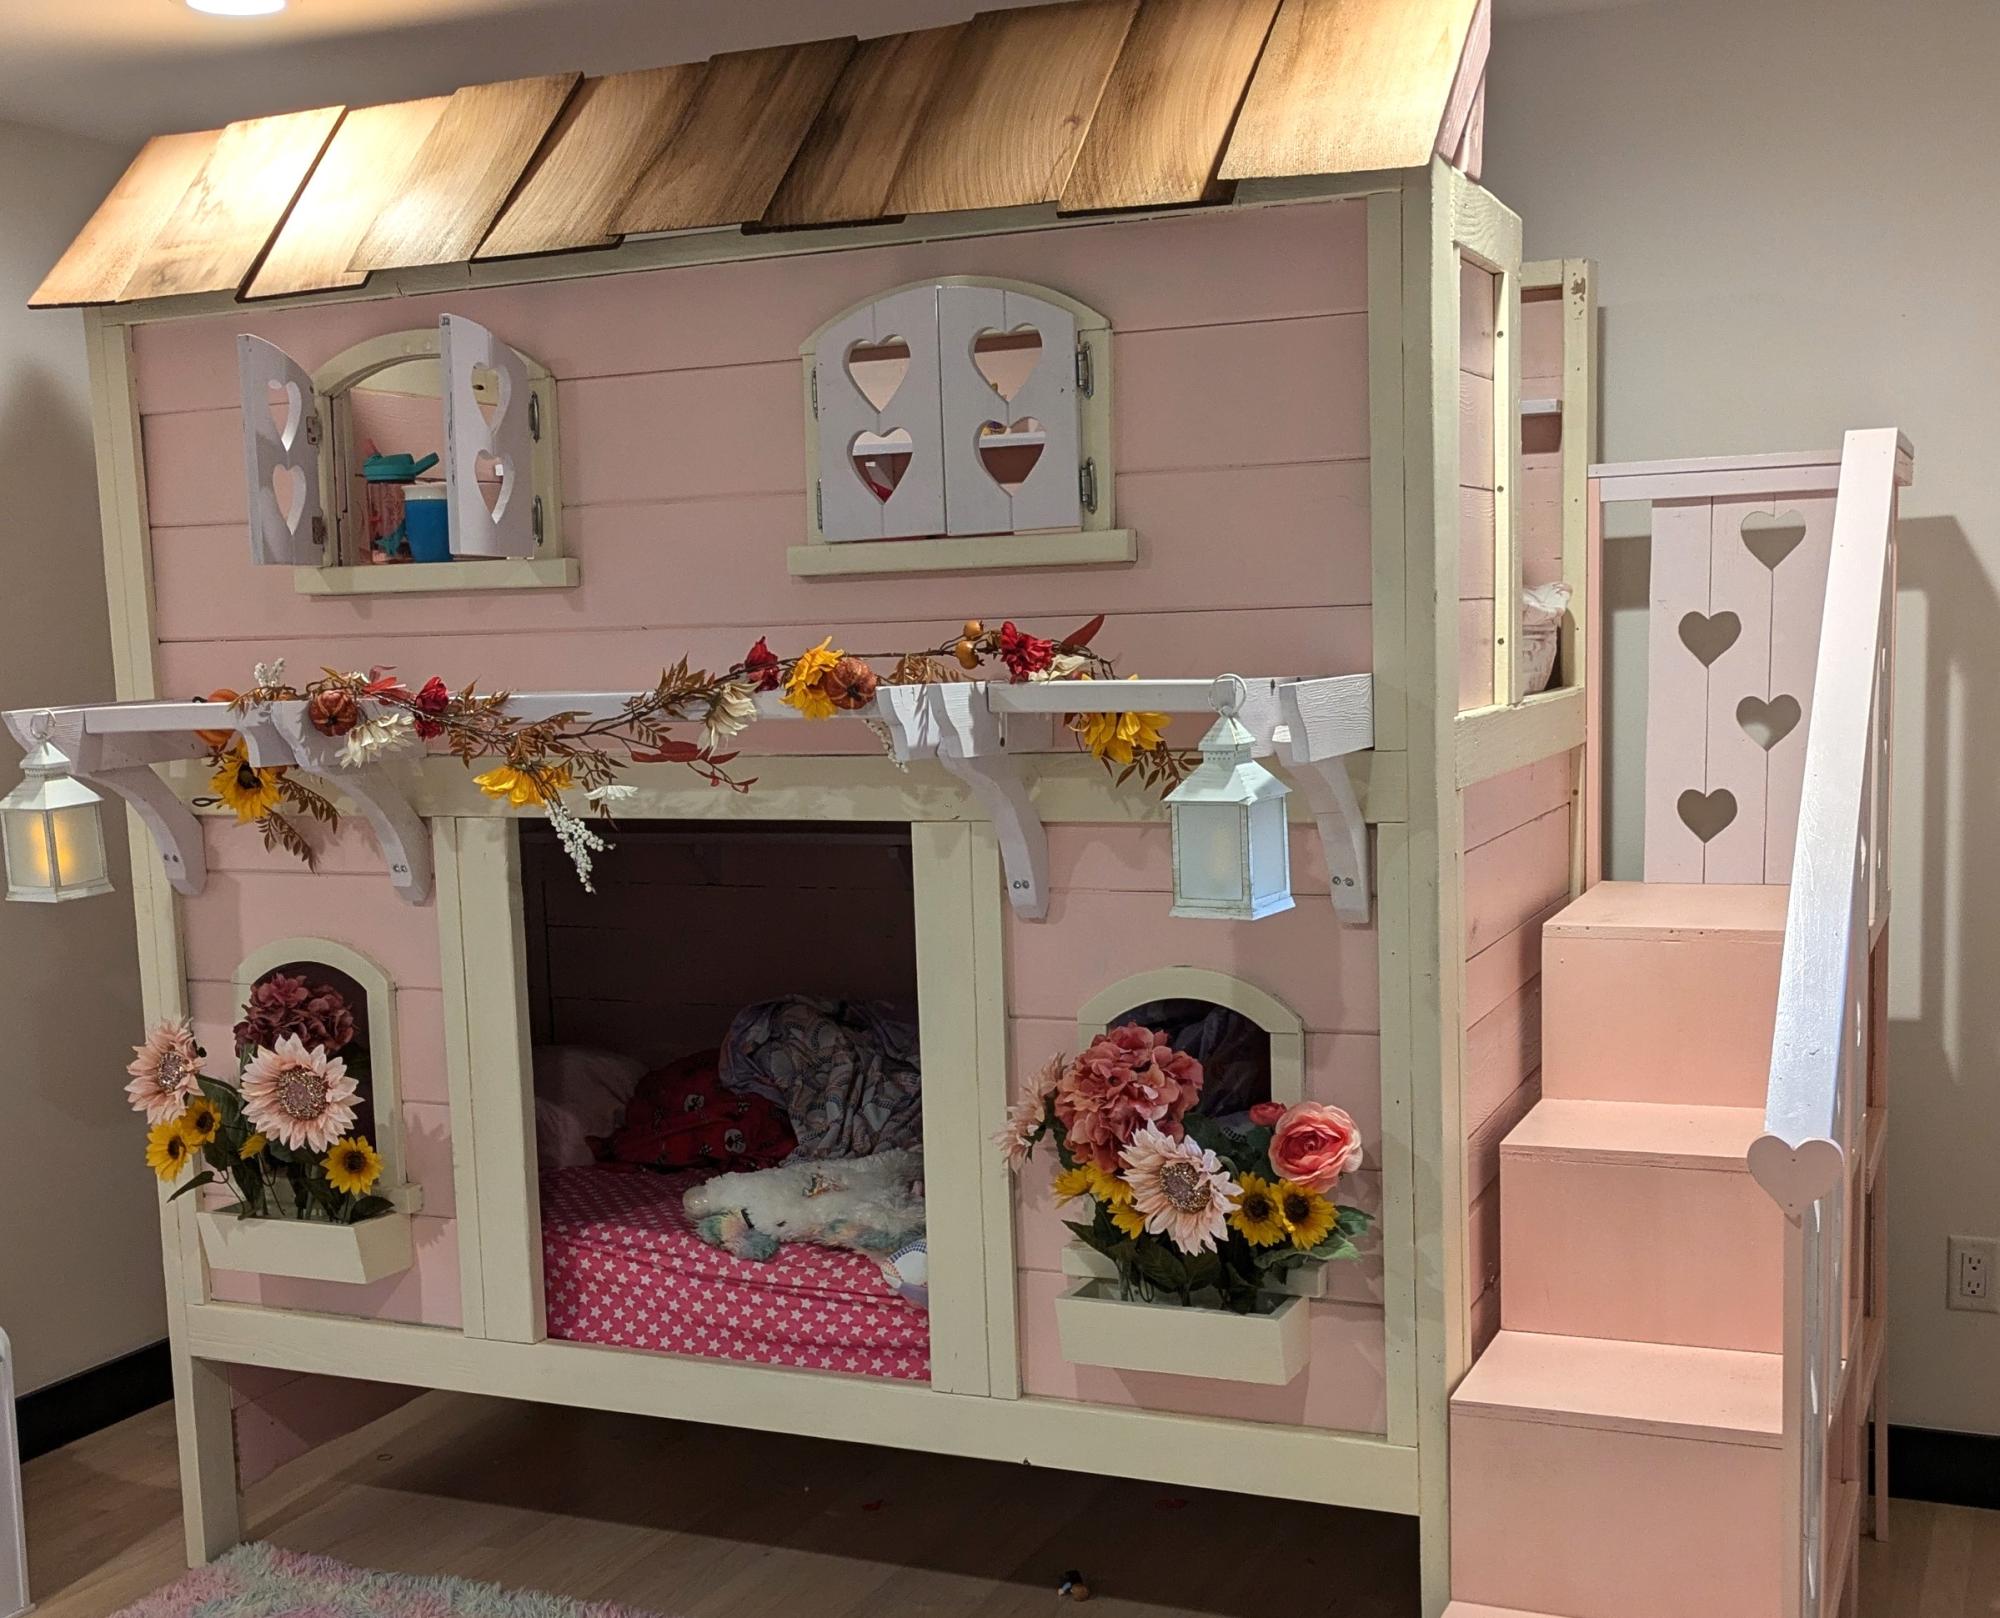
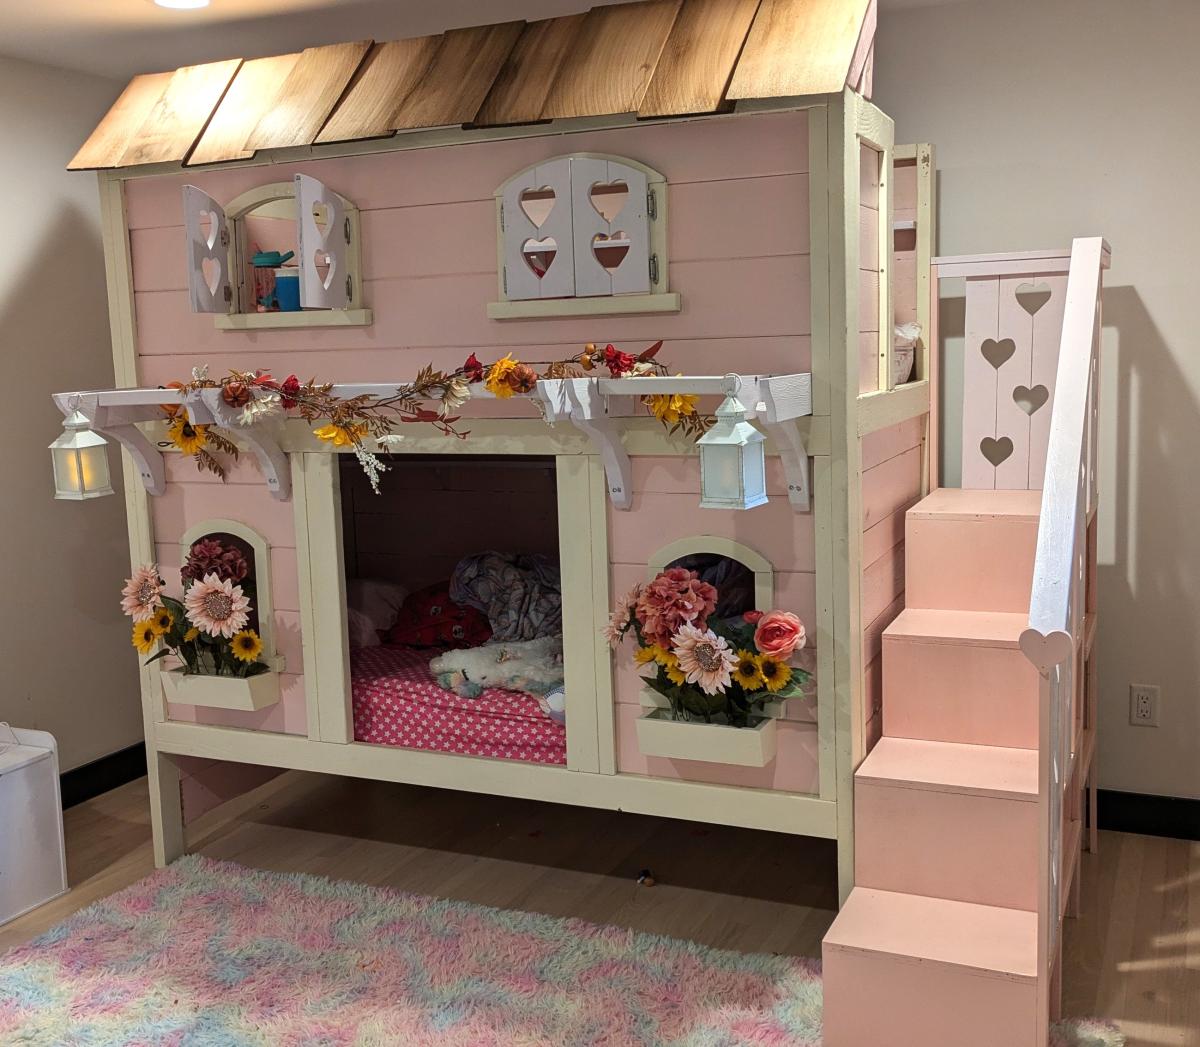
Made this bed for my daughter from the sweet pea bunk bed plans. Will probably add a trundle bed later but so far she absolutely loves it and I'm so happy with how it turned out. The plans were absolutely wonderful. So clear and helpful illustrations. This was my first big solo project and I learned a lot.
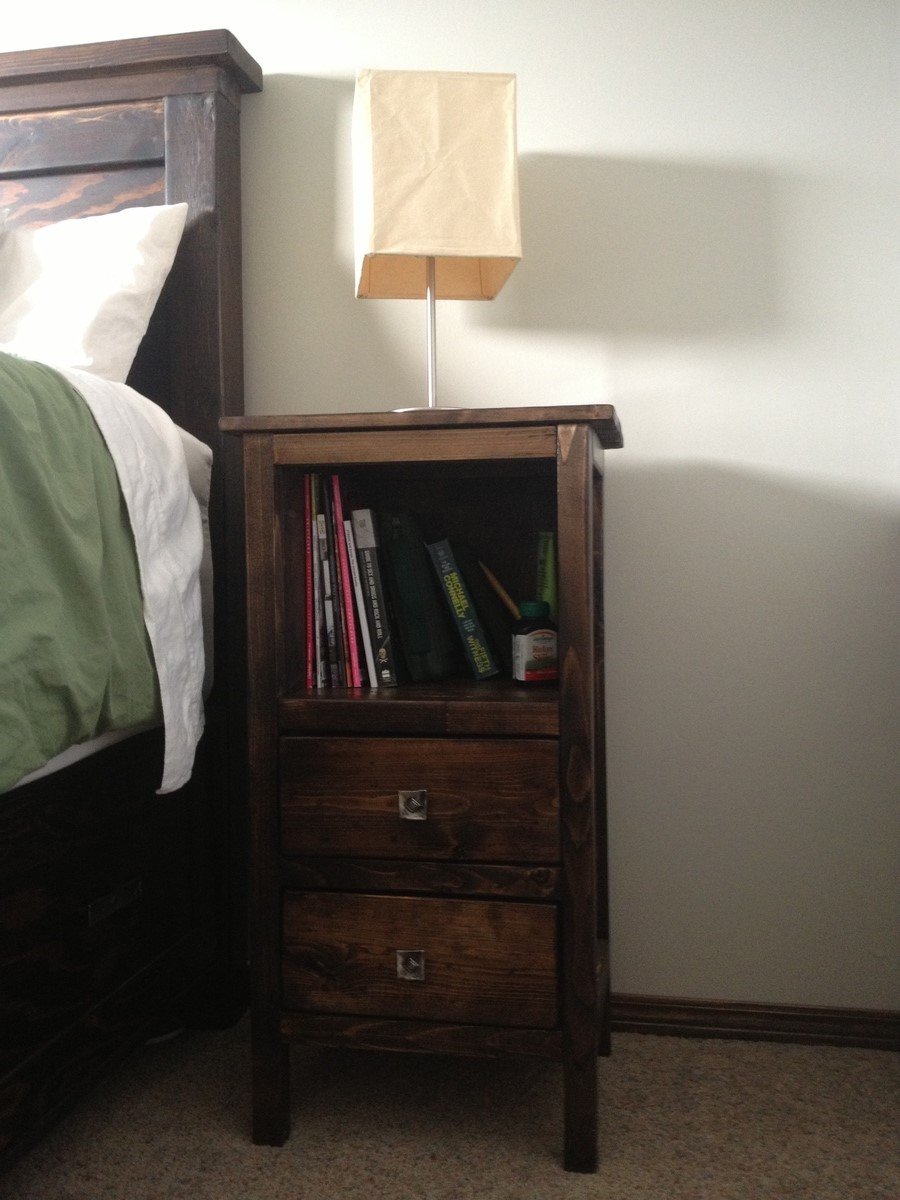
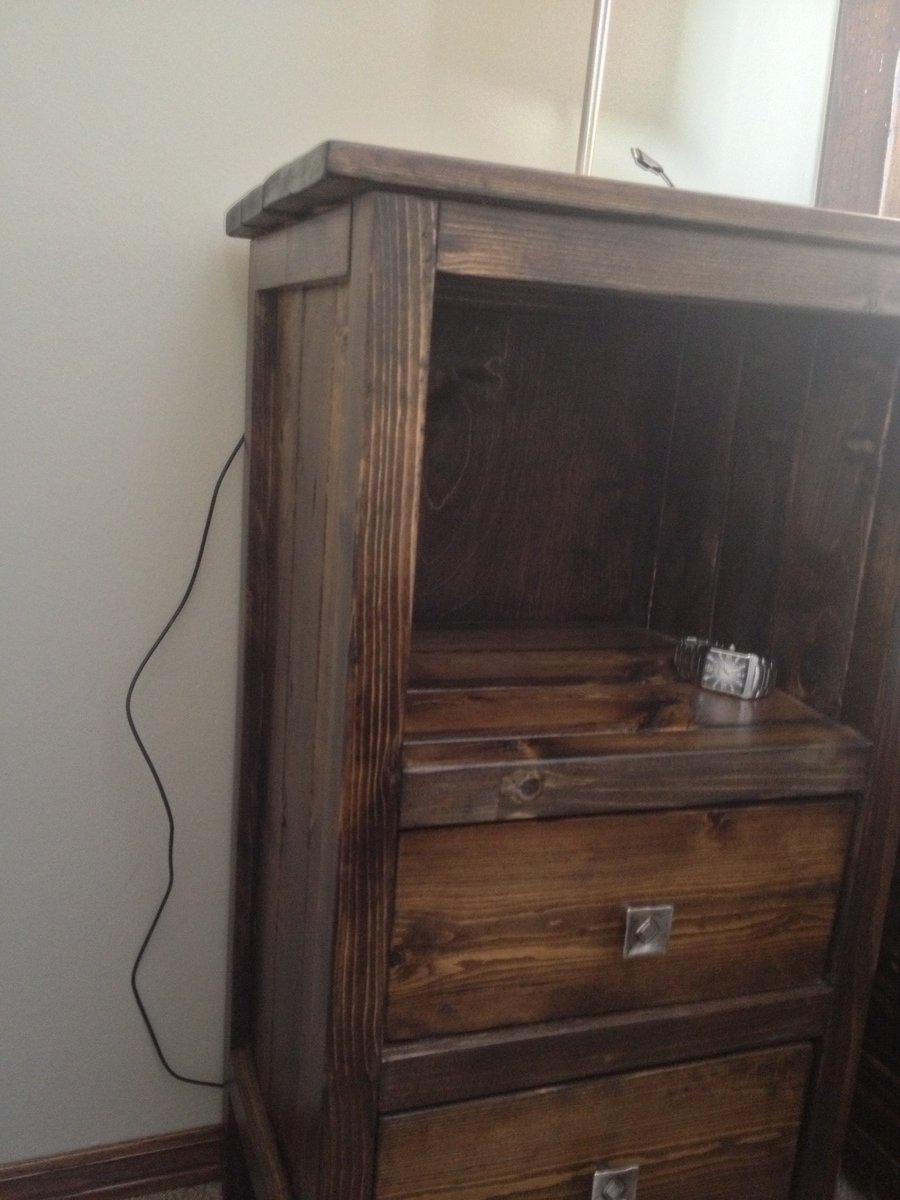
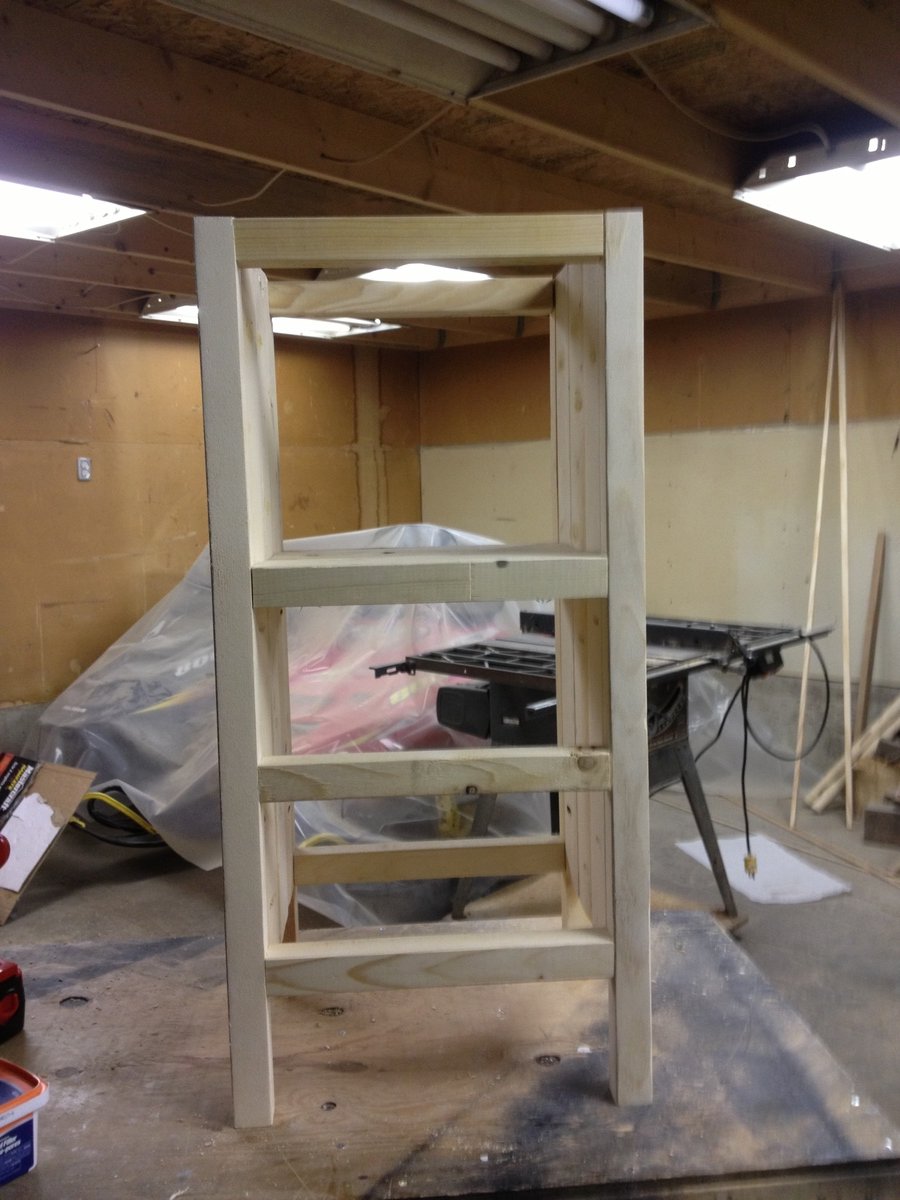
I used the "Reclaimed Wood Look" bedside table plans but altered them to make it taller to go with our bed and to make them less wide and long. The finished product has top dimensions of 14 1/2" by 14 1/2" to fit in our small room. I also removed the top drawer to make a bookshelf. The first table took about 4 hours to build and sand and the second one went a lot quicker. I stained each with one coat of Minwax Dark Walnut and sealed with 3 light coats of polyacrylic. The pulls are from Lee Valley.

This is the second of three AG doll beds I made for my nieces.
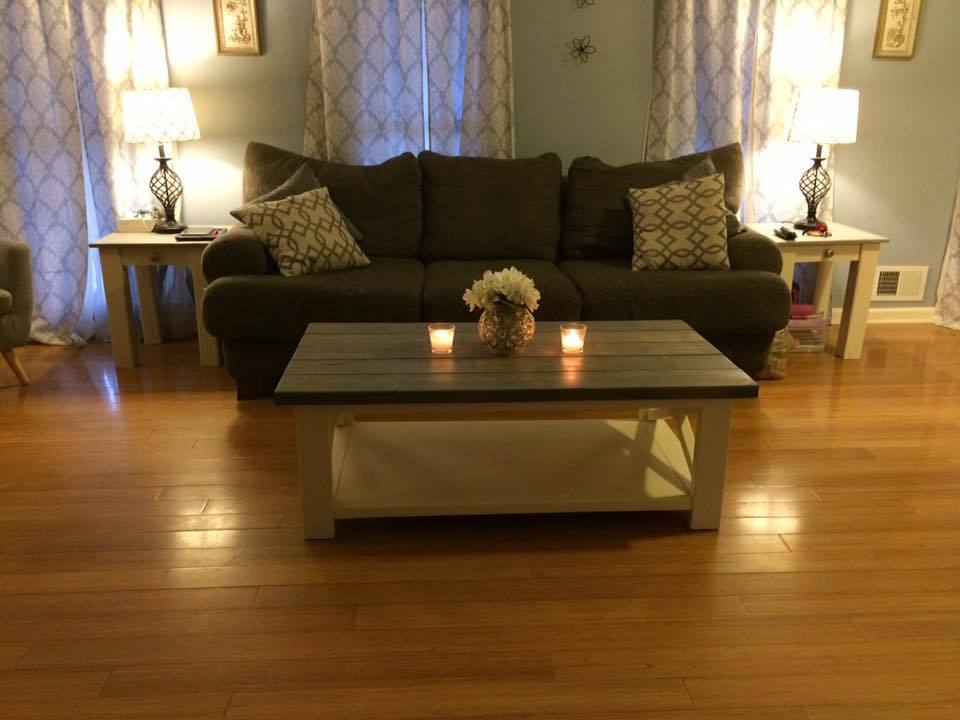
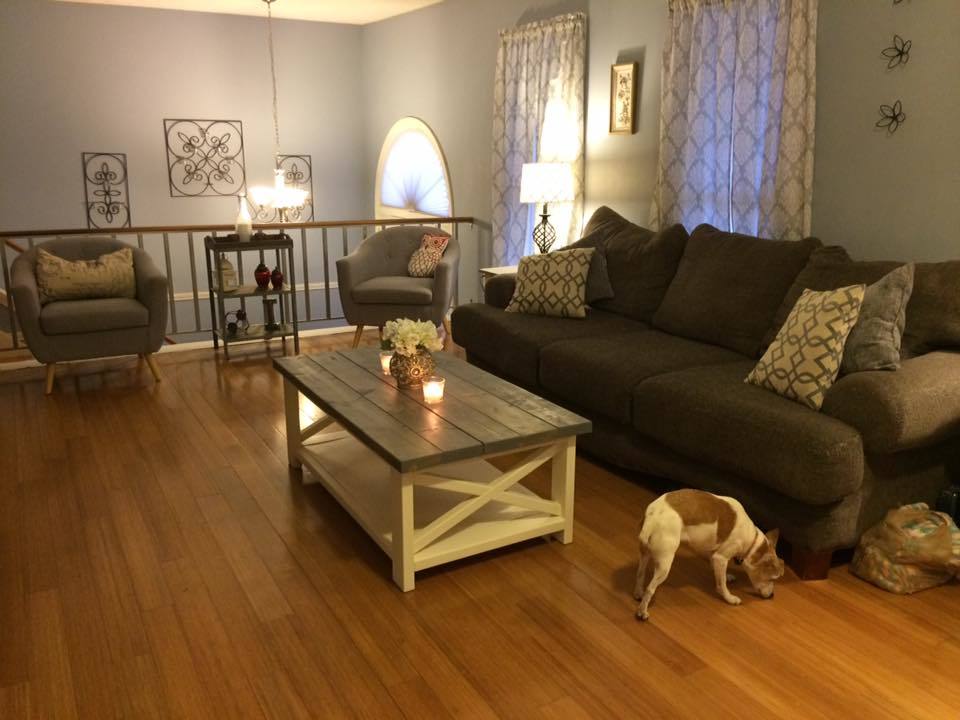
I am so in love with how this turned out! We will be making the matching Rustic "X" Console Table next!!!
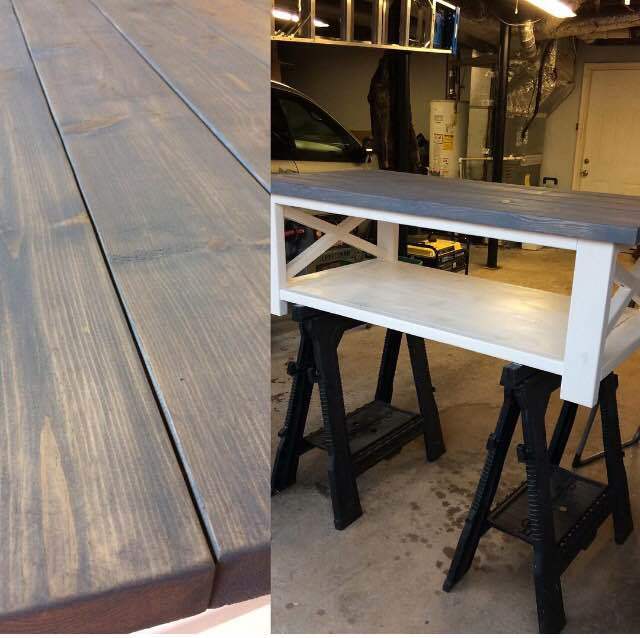

We needed a media cabinet for our very large akward wall. Not wanting to spend a fortune for particle board, I decided to try to build it myself. Lil me did my first build!! Did use thinner tabletop and made single barn door in the back for easy access to cords. Possibly might paint the doors a bit to add more dimension. Not shown but had our 22 yr old cat walk across the tabletop with white paint so we could remember him forever.


Here is my fist whack at this bed for my son. I am starting the one for my daughter as well, but am modifying the design to have storage stairs.
As suggested at the beginning of the instructions, be sure to read through the entire set of instructions before shopping and making this headboard. The parts lists calls for 3 - 7ft pieces of moulding. However, we needed more than three to do the finishing touches. Also, none of the mouldings suggested were at our Home Depot, so we improvised. Cutting some of the mouldings to go around the corners was too challenging for us, so we ended the moulding strips at the end of the bed. To give the ends a finished look, we used some of the 1/4" plywood, cut them, and sanded them. Be sure to sand all the surfaces. The instructions tell you how long to cut some pieces, but they don't say whether the board is supposed to be a 2X4 or 1X6, so be sure to go through the directions thoroughly before starting and cutting. We did use spray paint, and it took more than three cans to provide sufficient coverage, since the wood soaked up much of the first layer of paint.
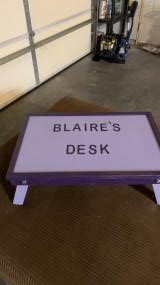
My granddaughter absolutely loves purple! She is almost 3 years old and she uses it for snacks putting together little puzzles and coloring. Very fun and easy project. I added a frame around the edges so it’s nice and smooth and her colors won’t roll off the desk.
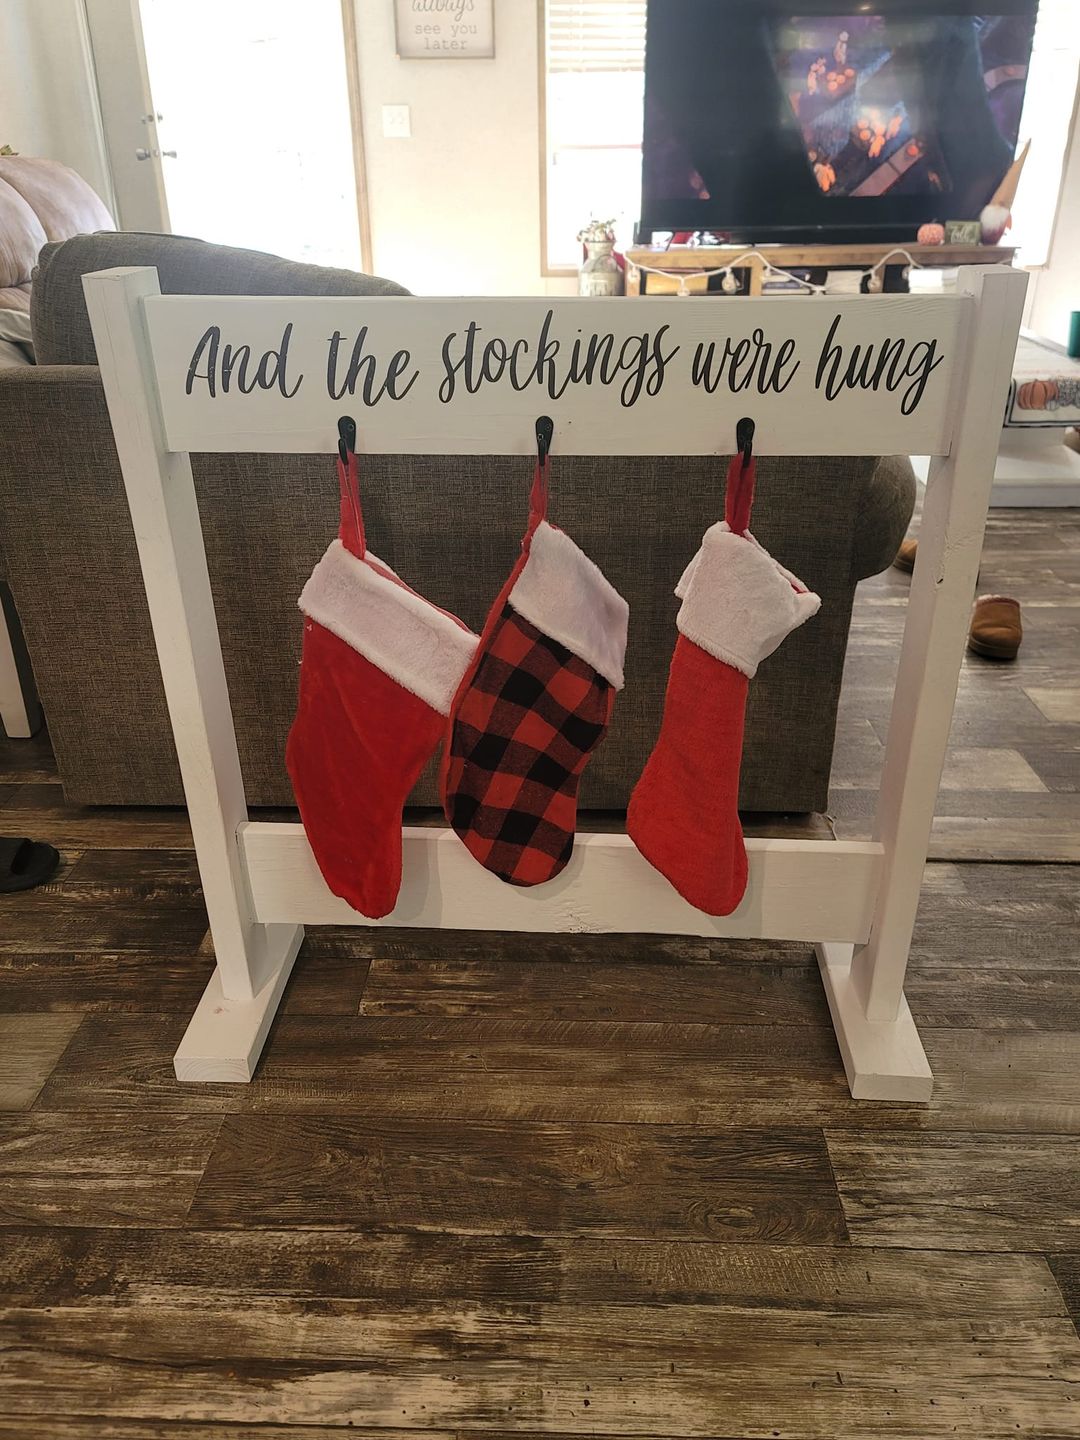
Here is something I finished this weekend! I did change the measurements to 30" across since I only need 2 stockings. Shared by Krystal Sims on our Facebook Community Page
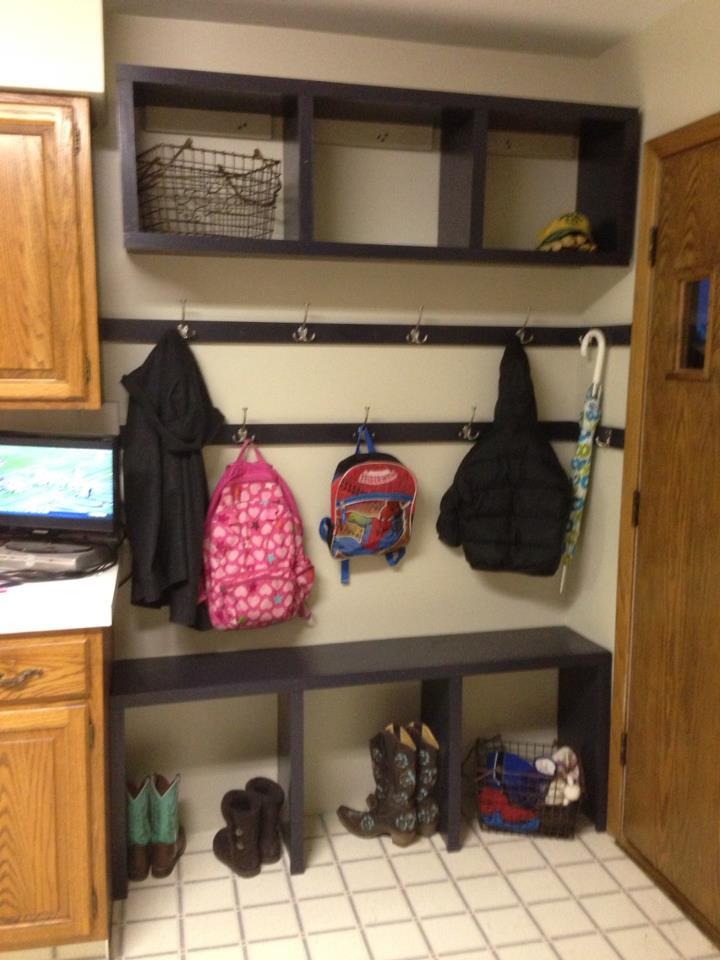
This winter brought gloves, snow boots and snow pants spread throughout my kitchen. This mama was going insane. Storage before was one hook per child at their height and 4 hooks for mom and dad with a pile of coats and shoes at the bottom. It took me about 3 days to complete while the kids were on Christmas break, which is pretty amazing :) This project was pretty easy once I got the hang of the Kreg Jig. The only issue I ran into was our corner wall is not square which gave me a gigantic headache.
Thank you Ana for these plans!
From a mama who is a little less insane, Tonya in Kansas
This was the first time I have built drawers! I love how it turned out!! This website has given me the confidence to build things I never thought I would.
We have 6 children and needed a dedicated area for coats, backpacks and other outdoor items. I loved how I could modify the smiling mudroom plans to fit my needs. I used plywood for the bench and 1" x 12" pine boards for the shelves and dividers to minimize the cuts.
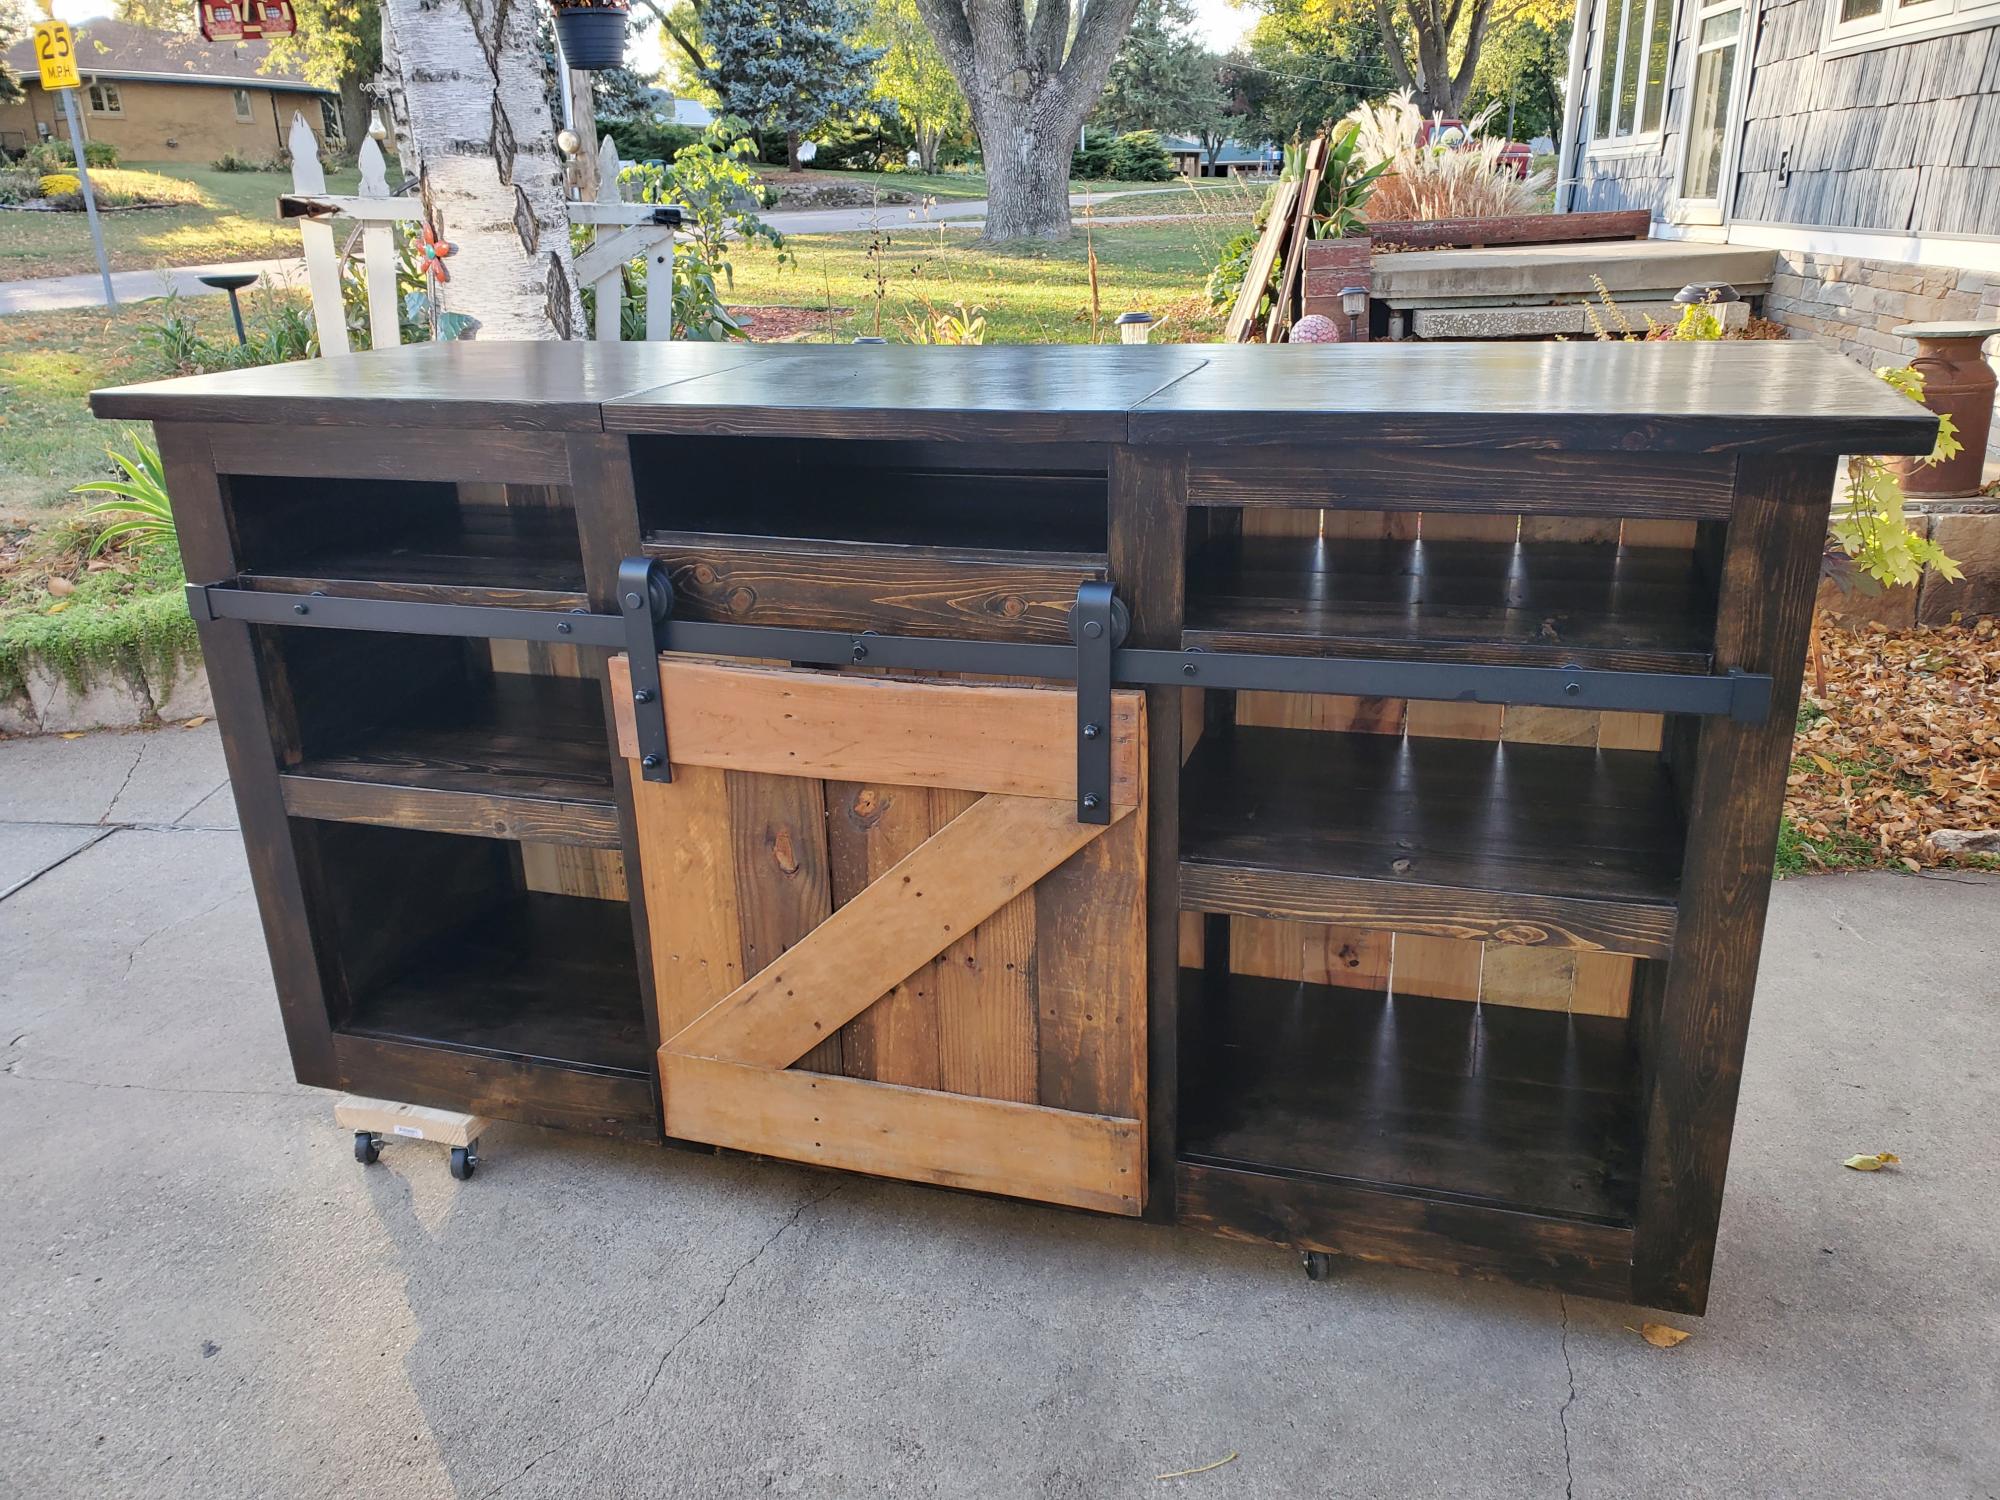
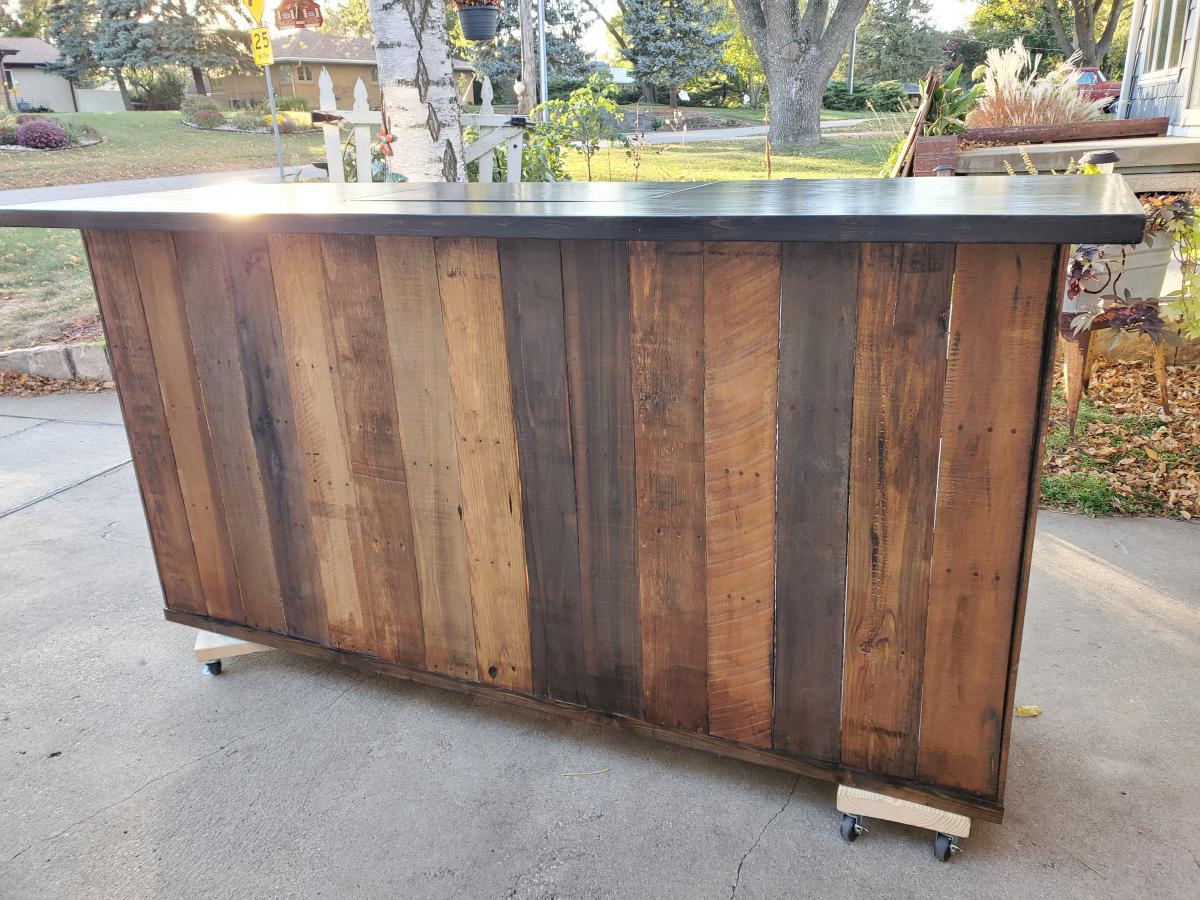
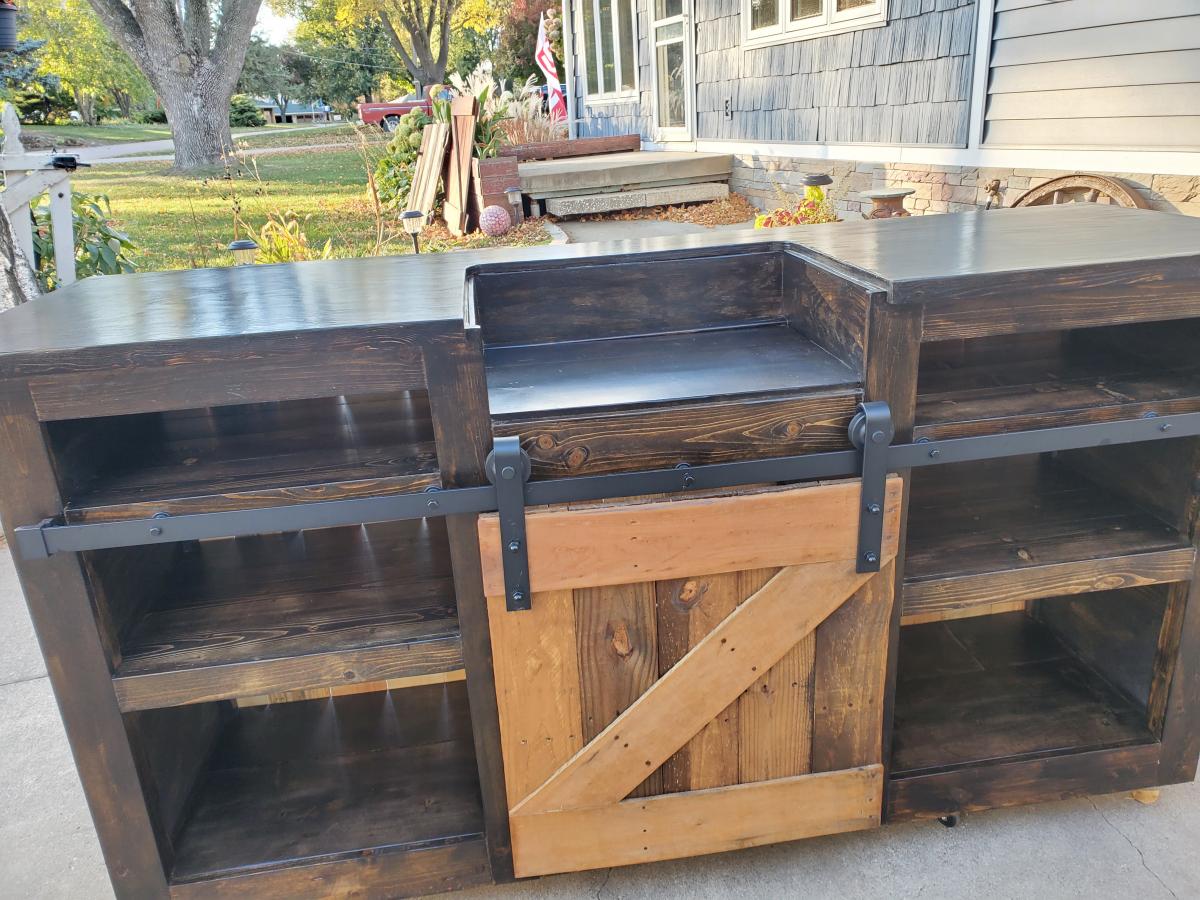
I followed the plans for the Grandy barn door console. Made modifications to meet the customers height requests. There is a removable portion of the bar top that covers the mixing station when not in use. The exterior is wrapped in pallet wood that was treated with a homemade stain(vinegar, steel wool, coffee grounds).
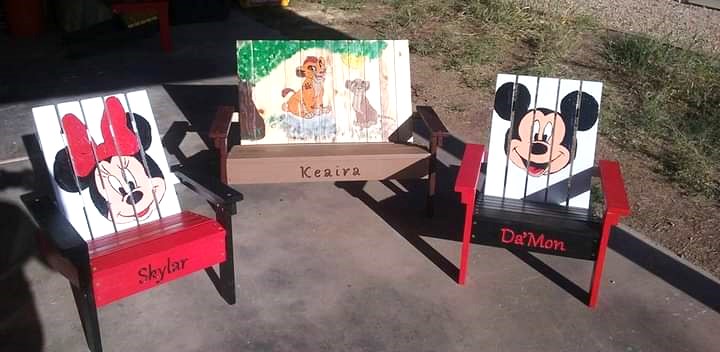
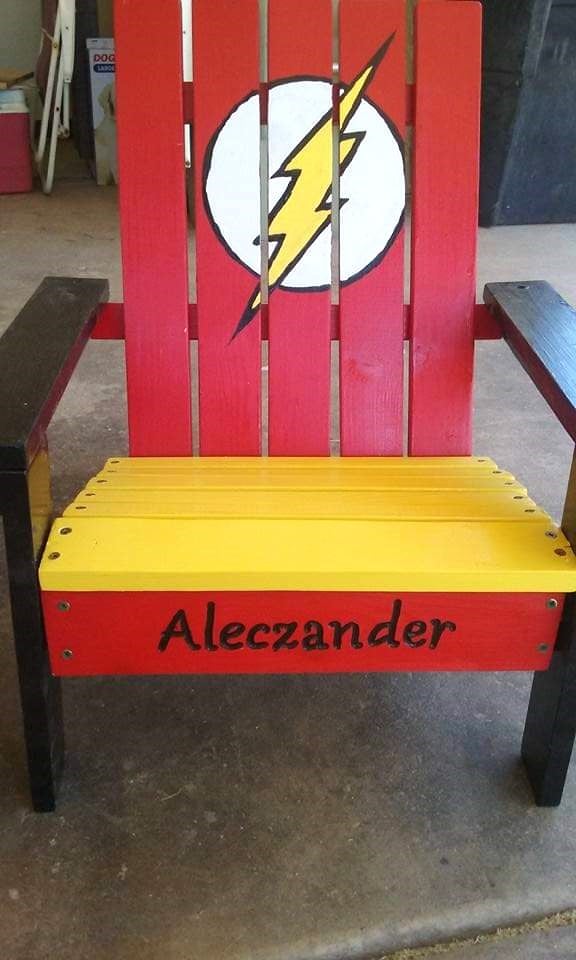
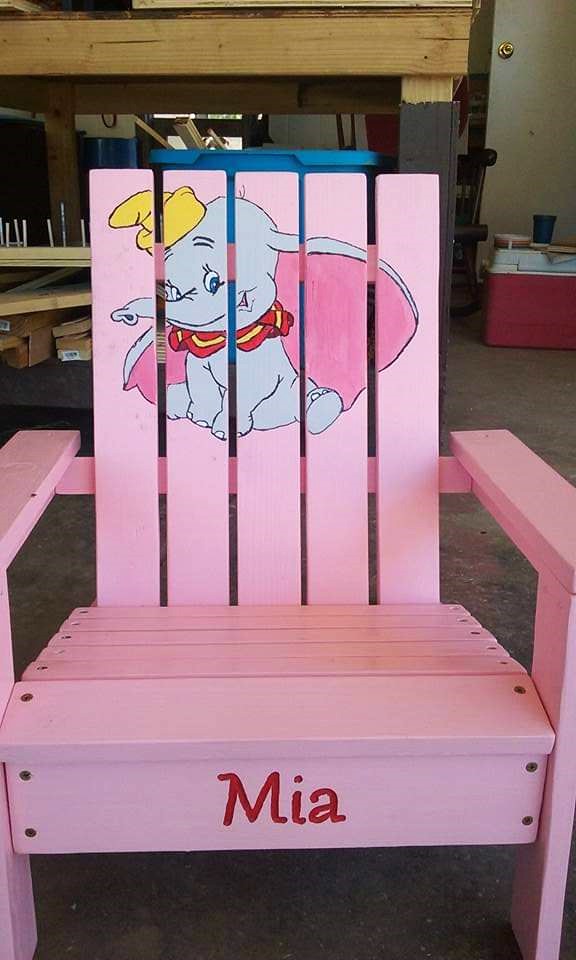
These are some of the chairs and a bench I have done. - Wandering Whimsy on Facebook
I did 4 shelves spaced 18 inches and made with 12ft long pieces cut in half. The total for my project was $26. I already had the stain and tools on hand.

First Brag. Solid pine in 2 X 8s obtained from dumpster diving behind a boat store. This wood is from boat shipping crates. Milled down with table saw to usable sizes. Not hollow like the WE Emmerson table. Very heavy and solid with NO wiggle!


Mon, 10/20/2014 - 04:54
Thanks and yes, I just studied the table from the catalogue and put it together, I was very excited how sturdy it is. It is pretty straight forward. Screw and glue the boards together using very strong clamps with each addition of a board to make the top I used the measurements from the catalgue as well. It was fun to figure out. Now it is one of my favorite builds!
This was my first furniture project and only my 2nd woodworking project, the previous one a cubby house over 20 years ago, so I was a bit nervous. I did lots of planning, research and designing before the first cut. I incorporated ideas from Ana projects as well as from other sites and learned how to use a drop saw, various sanders and the pocket hole jig.
We wanted a tall table because when sitting a a regular height table the view is blocked by the deck railing.
I decided to make it out of hardwood for durability in the Australian outdoors and also because we get sea air where we are. The hardwood (Blackbutt) was challenging to work with - extremely heavy and difficult to drill into, but the finished product is SO solid and will outlive us all. Due to the weight and density of the timber I overengineered as far as joining went, using more pocket holes than usual.
I saw the idea of the built in ice troughs years ago and was keen to incorporate them into my table. I also made the legs detachable so that the table top could be moved out onto the deck once it was finished and the legs added in situ. Once it was set up my husband put big screws into the legs just in case but it would really take an earthquake to move this thing.
I managed to build it over 3 weekends and finished it just in time for our family Christmas party but it only had 1 coat of stain on it at that stage. I finished it off later and we also decided that the ice trough covers would look good in a contrasting colour so did them in charcoal. If I made it again it would be a much quicker project as there was alot of 'firsts' and learning along the way.
The dimensions are:
2660mm long (about 8' 9")
1150mm wide (about 3' 9.5")
1165mm high (about 3' 10")
The legs are solid - 140 x 140mm (5.5")
It seats 10 - 12 comfortably and 14 at a squeeze.
We got the bar stools 2nd hand for an absolute steal - 12 for $200! They are handmade hardwood too and look great.
The timber was quite expensive but I was able to use the work account so got it at trade price. This would be a very expensive table to buy but all up it cost us about AU$1100.
This project was not exactly easy but I would class myself as a novice. With the right planning and preparation (plus stubbornness) anyone could do this :-)
In reply to A Piece of Art! by Ana White Admin
Sat, 01/28/2017 - 16:12
Thank you so much :-)
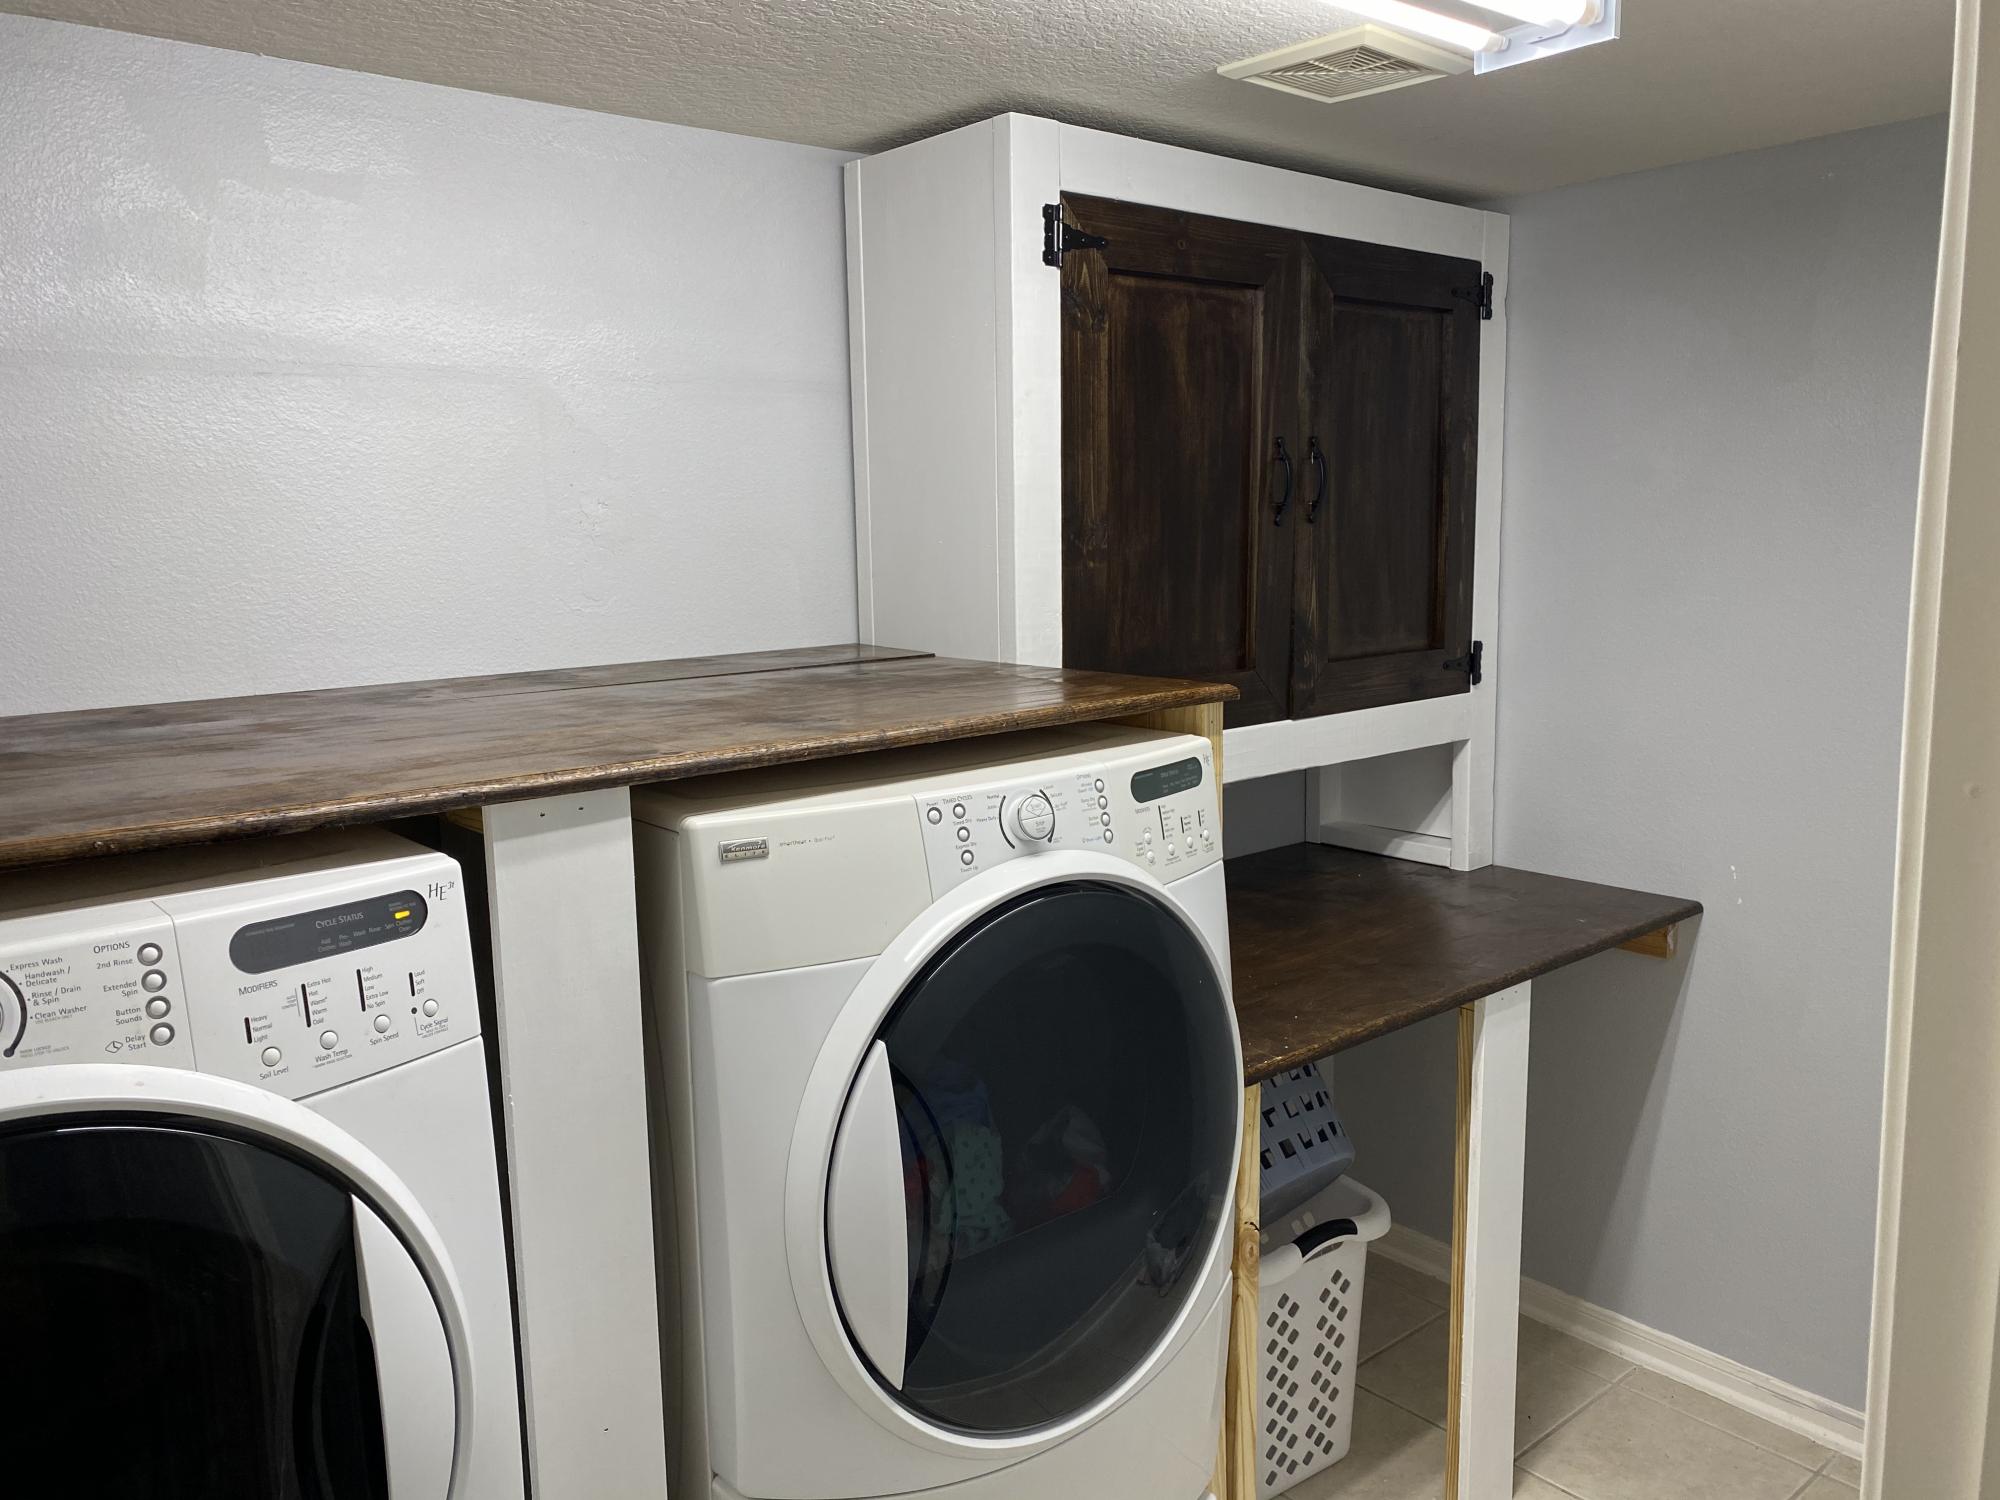
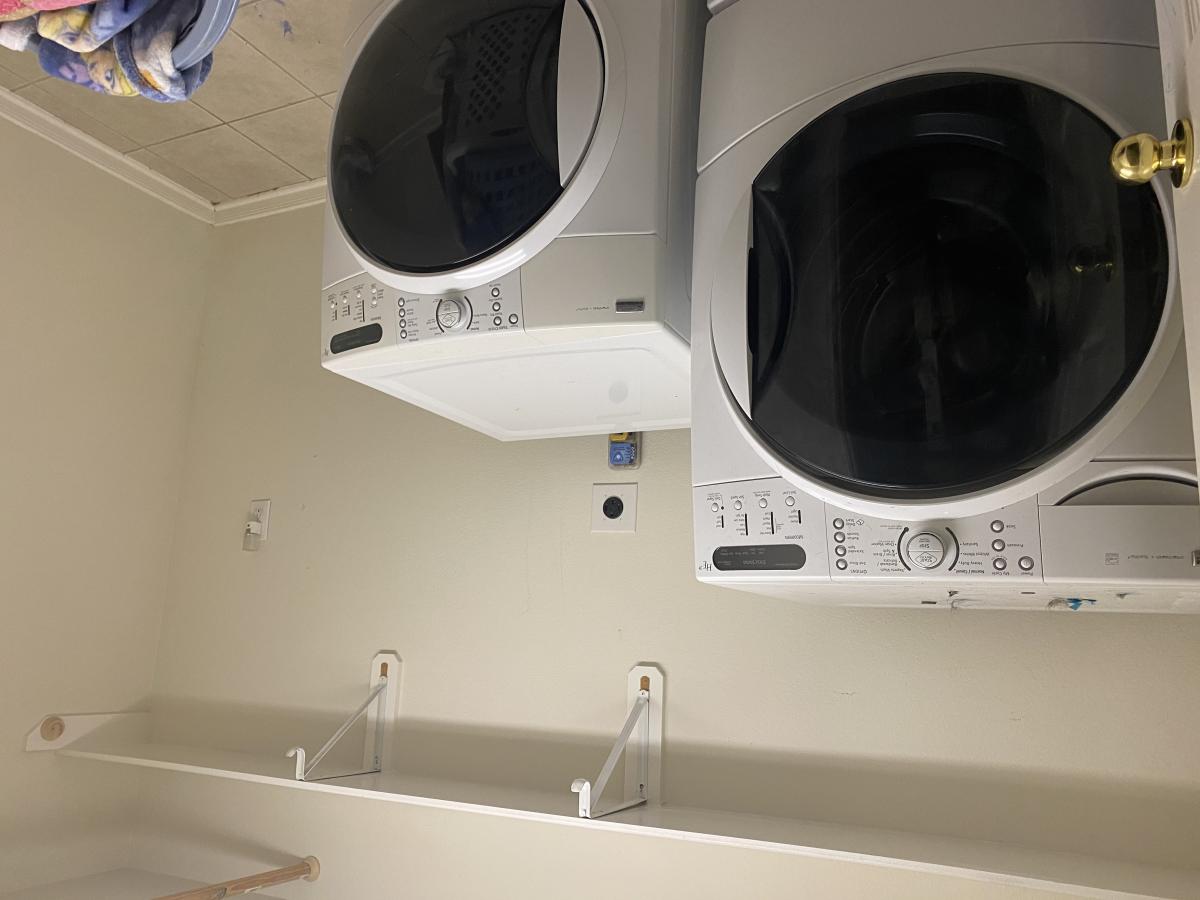
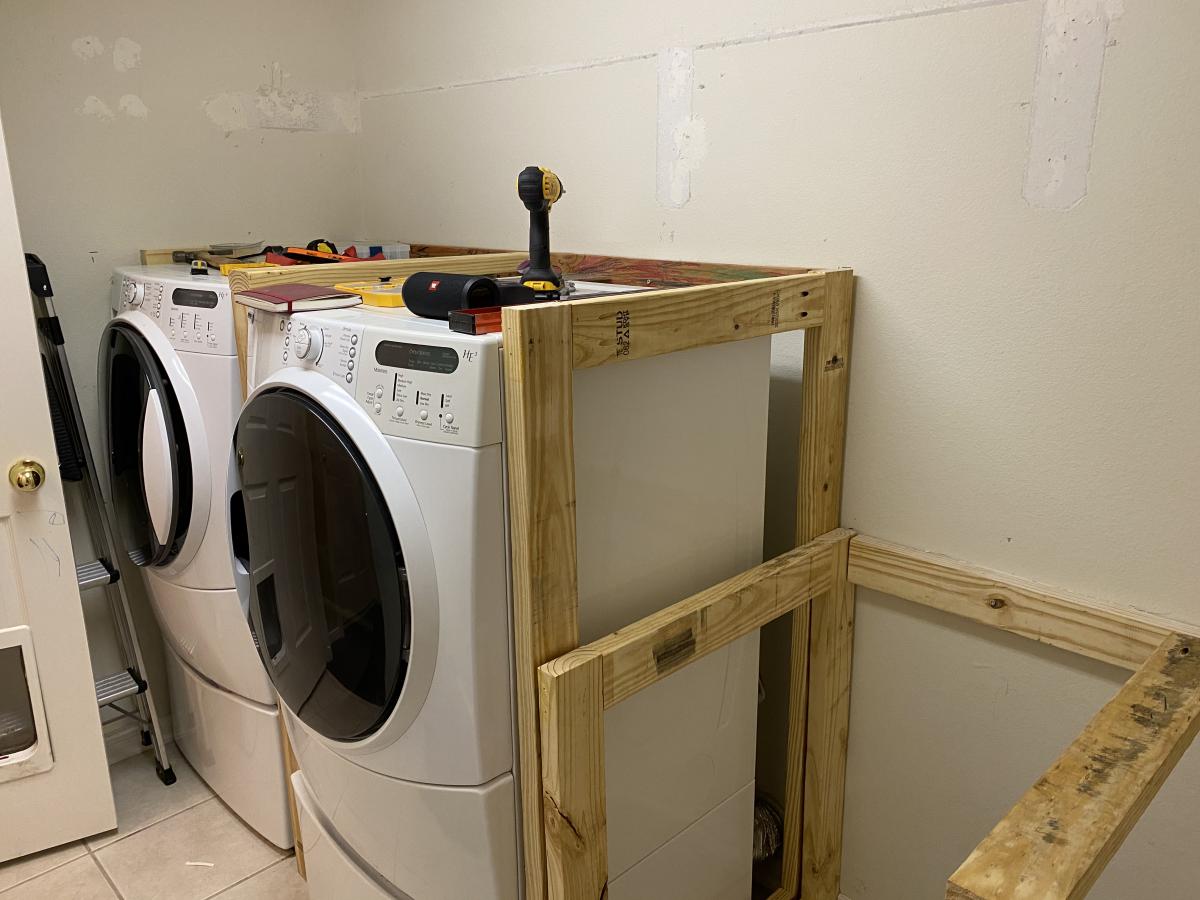
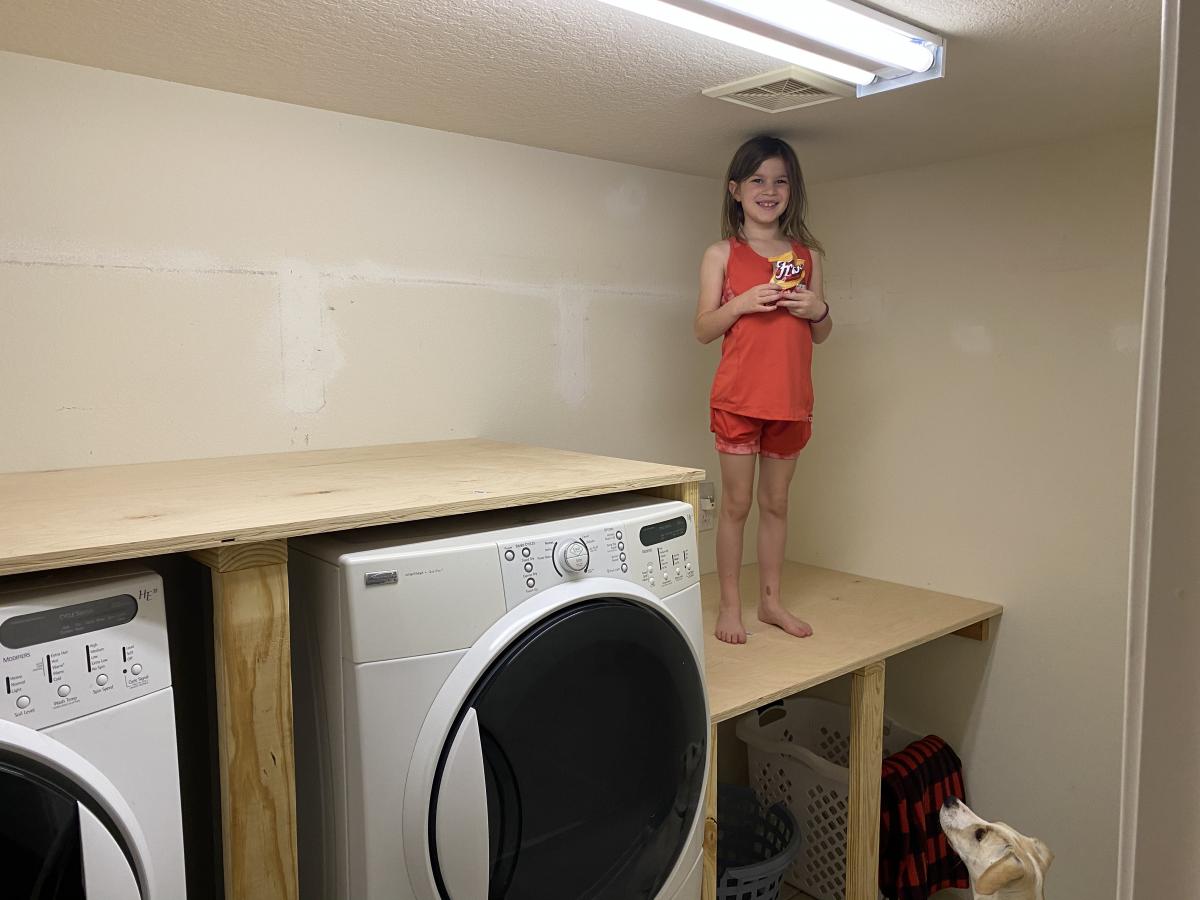
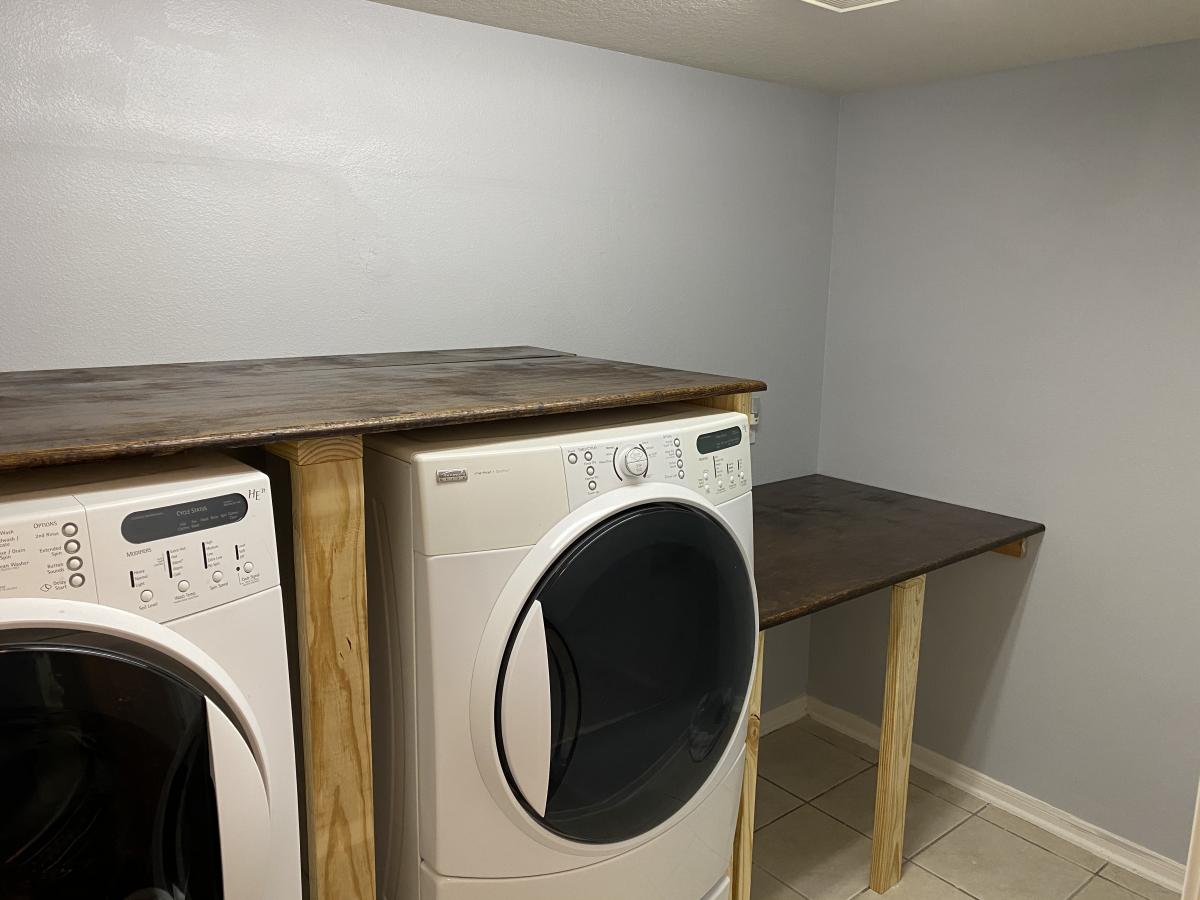
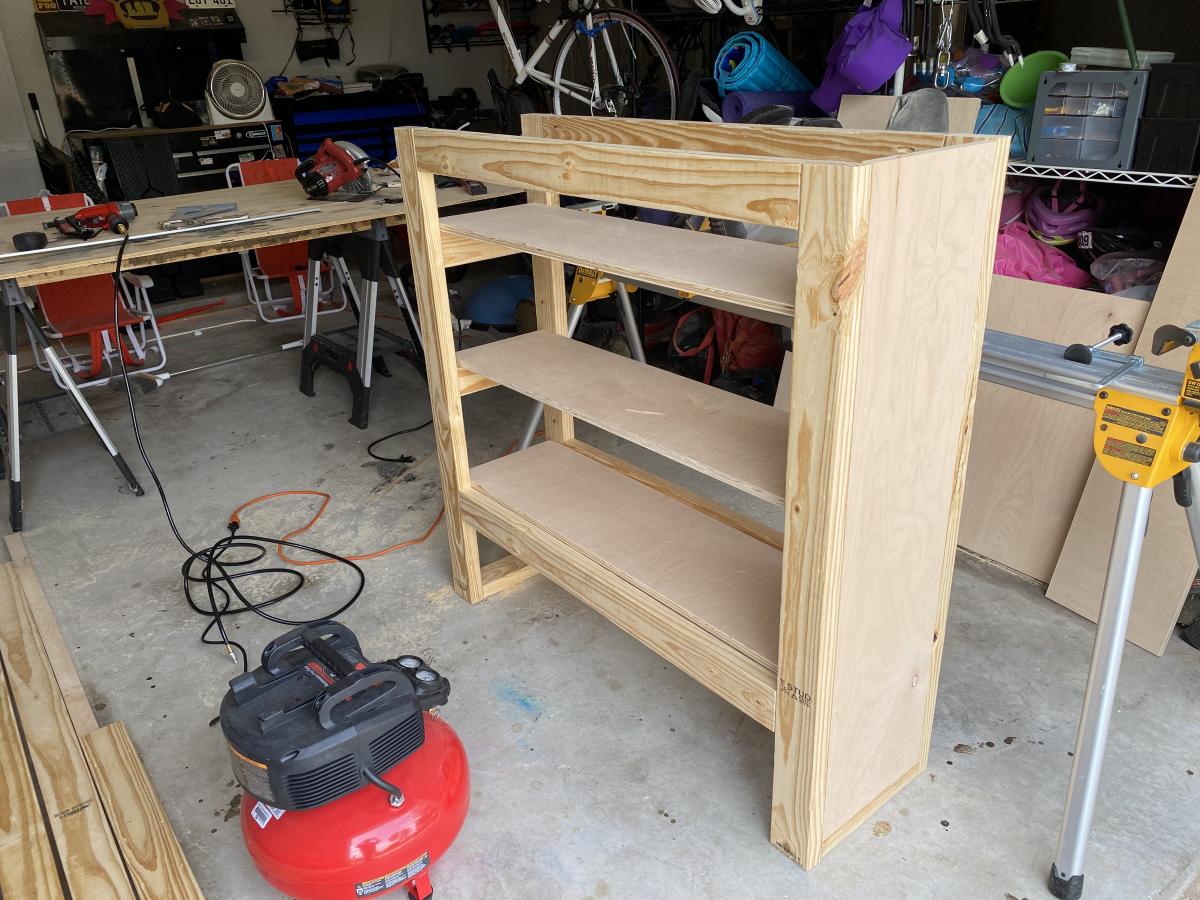
Wife needed actual storage and work space in the laundry room. I’m proud of this one because I planned and measured it myself. Really happy with the results and so is my wife!
Sun, 10/18/2020 - 14:56
You should be proud, it's amazing what some planning can accomplish! I'm sure your wife is very pleased!
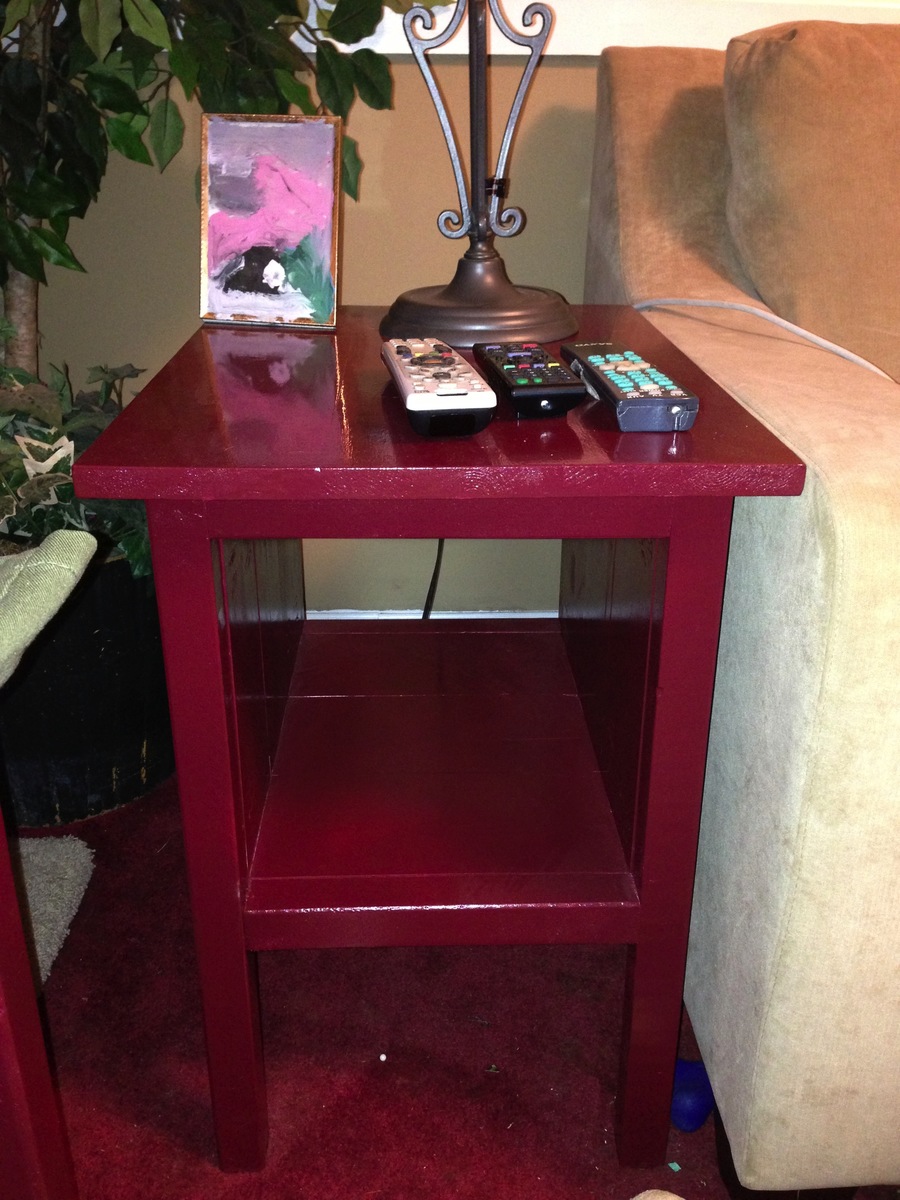
This was my first ever building project and I love it! I made 2 for my living room and have since made a few more things. Thanks Ana for an amazing website!