Community Brag Posts

Modern Farmhouse Bed

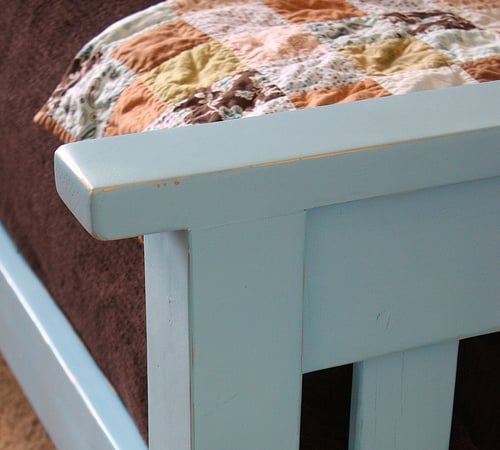
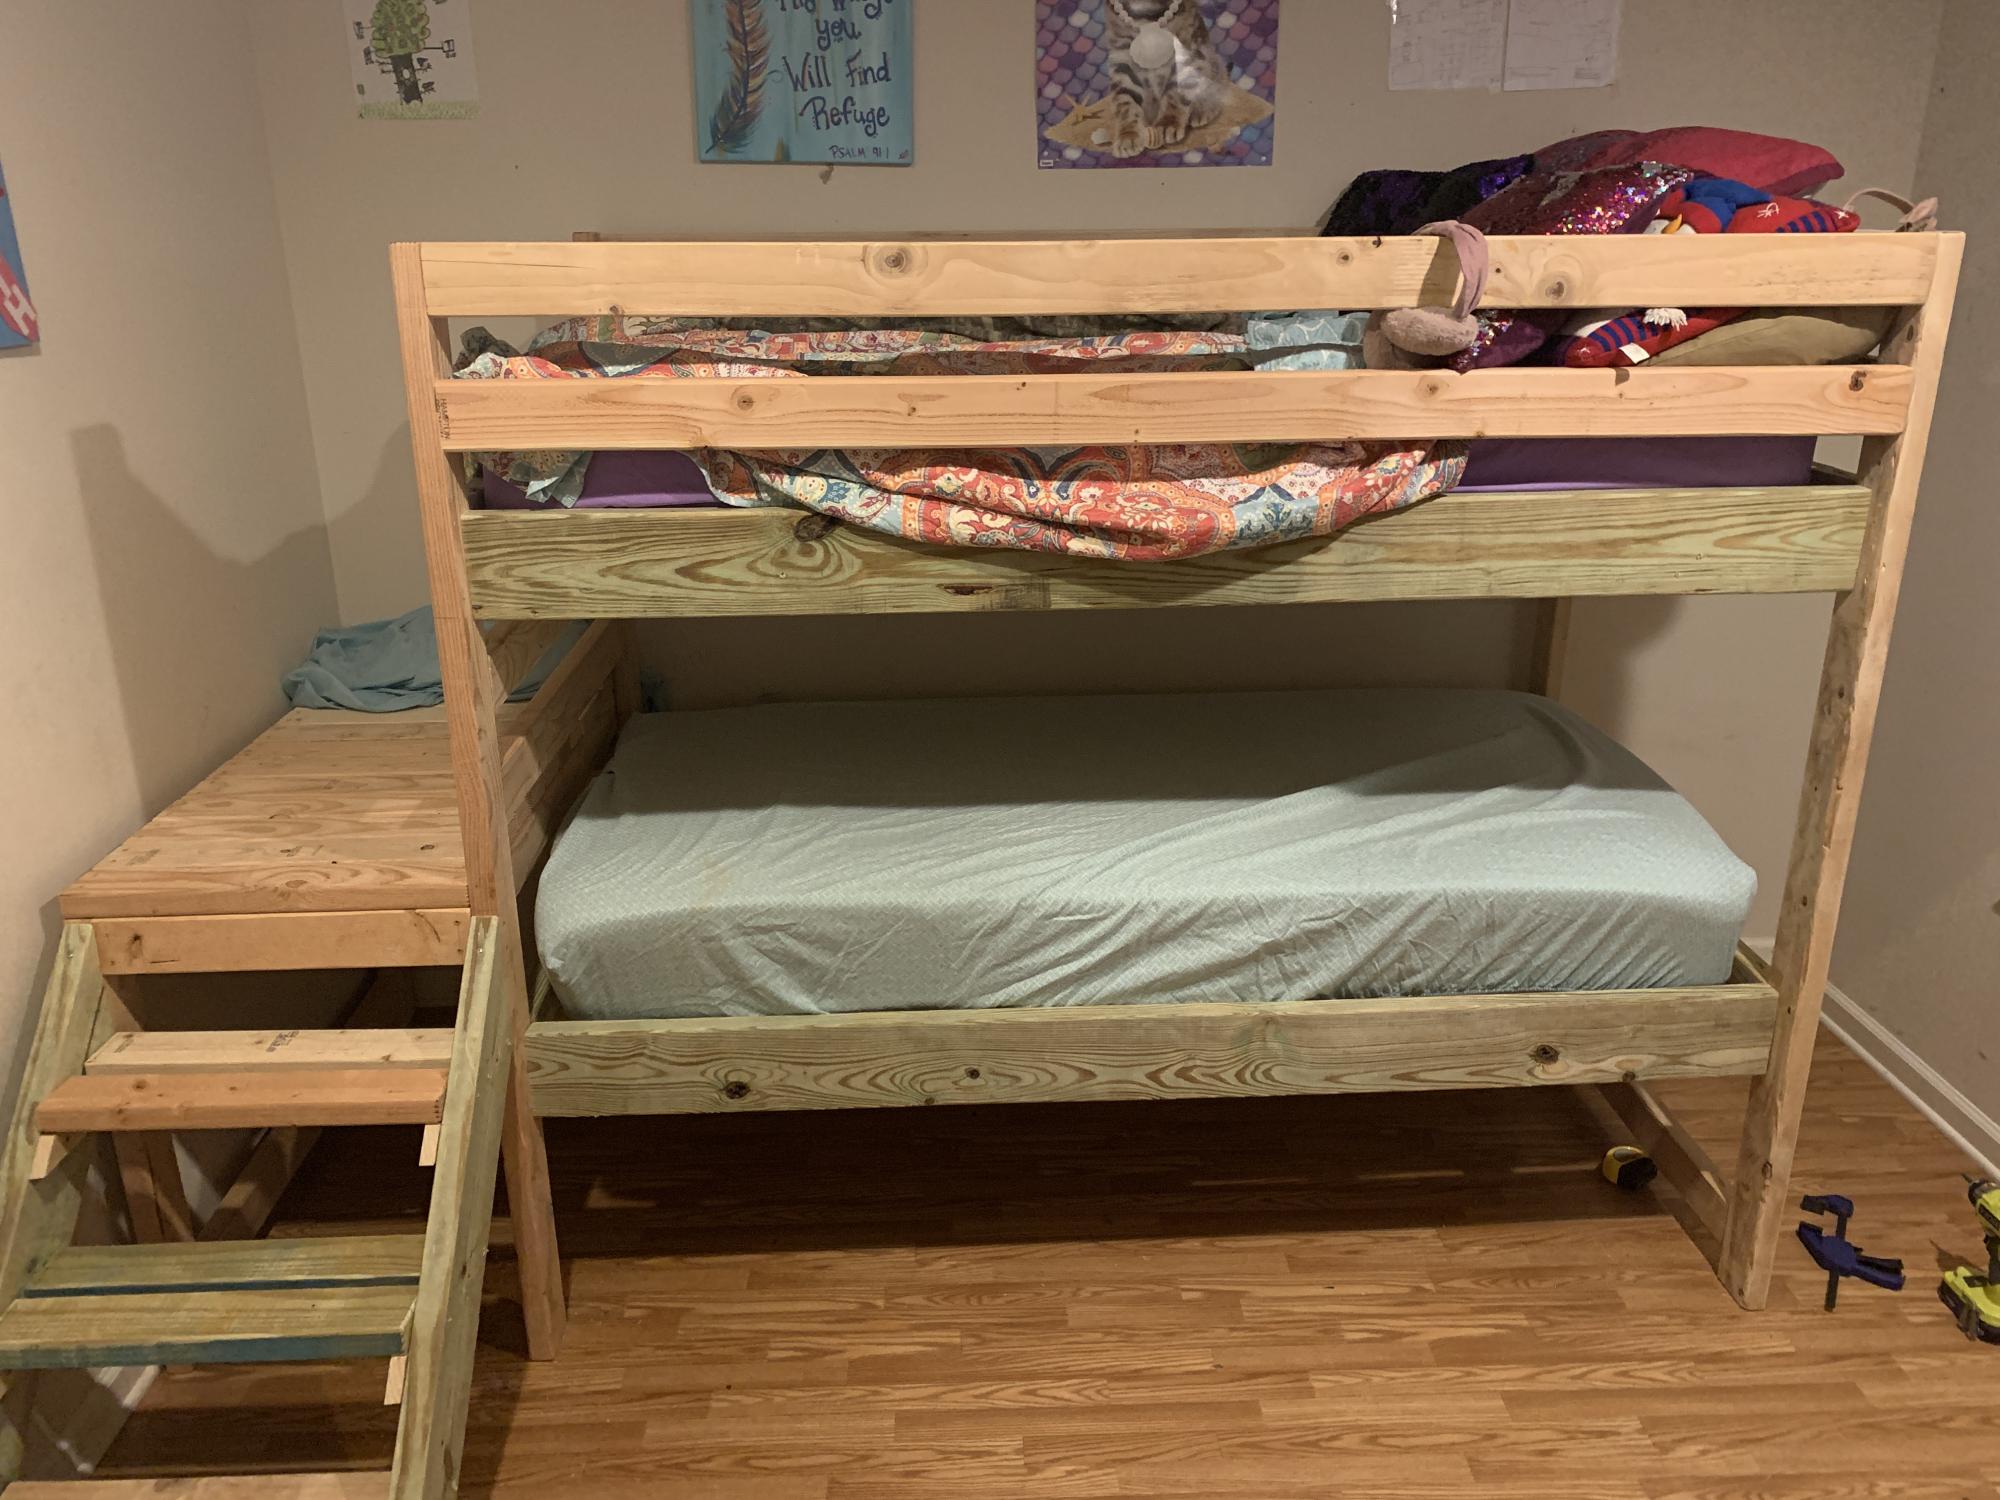
My daughter needed a new bed frame because her box spring broke so it no longer fit on the metal frame. This bed was perfect for what she needed. However, I needed to add one more 1x6 to the headboard. Didn’t realize that until I had the bed together. Will add it later.

Built from Plan(s)
Estimated Cost
Can’t remember
Estimated Time Investment
Afternoon Project (3-6 Hours)
Finish Used
Minwax Classic Gray Stain
Recommended Skill Level
Beginner

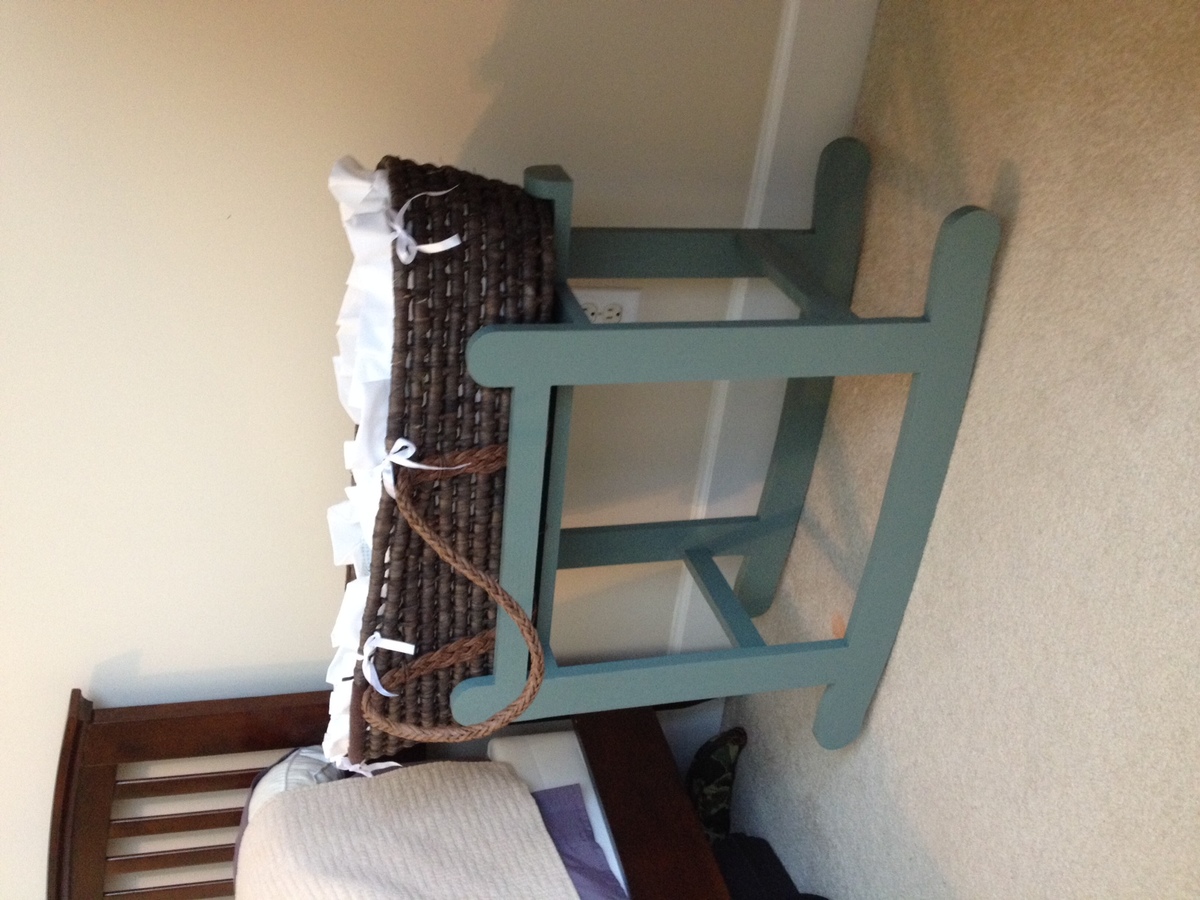
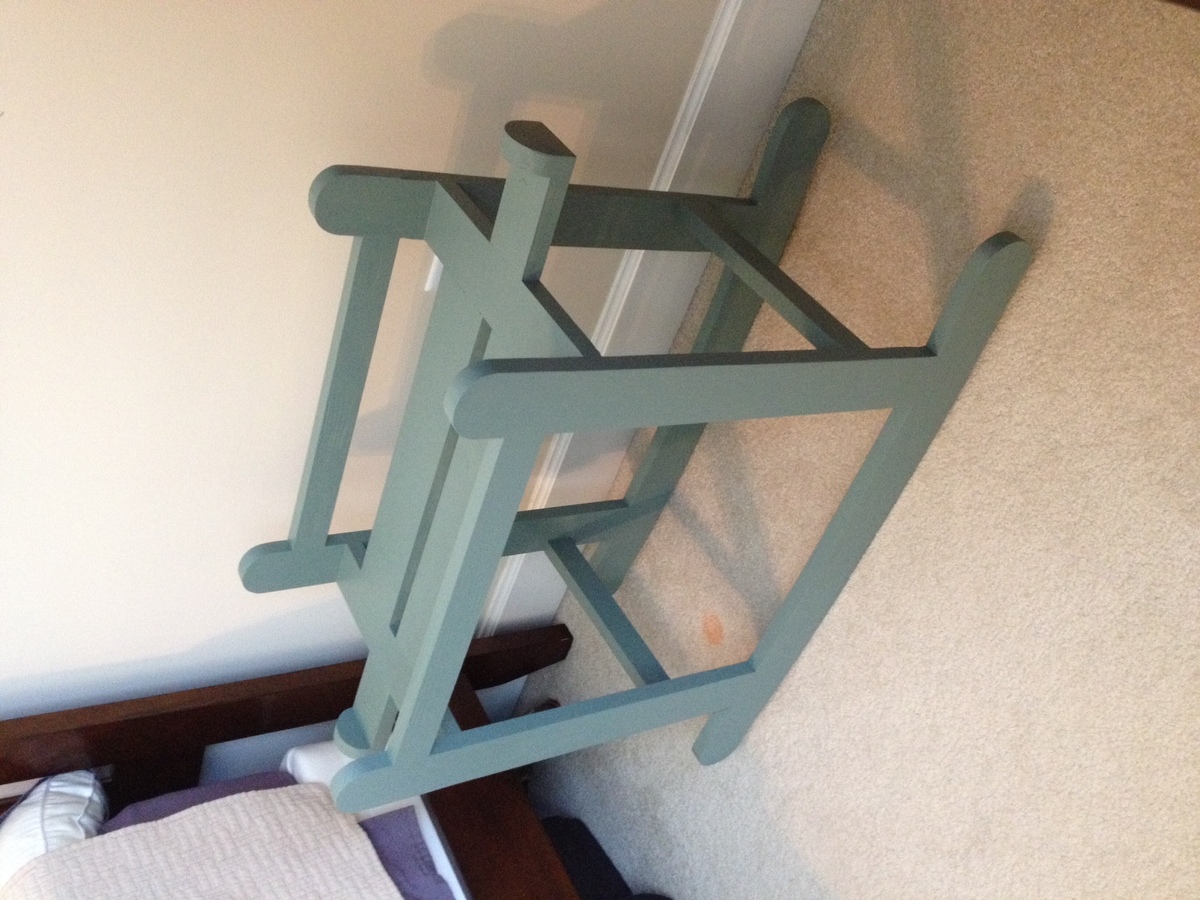
Moses Basket Rocker

Submitted by bd on Sat, 04/19/2014 - 14:15

Pretty much followed the plan, except I raised the height of the platform. I intended to make the legs longer, but I forgot and cut them to the length on the plan. It looks like the sides of the basket aren't supported as well, but the basket stays in just fine.

I also added little wings on the end to support the ends of the basket. I wanted to be able to remove the basket from the cradle without screwing it in, but also wanted the basket to be secure so I added the little wings. It was easy.

Overall a pretty easy project, except the rockers are time consuming. They're not hard to make, you just need to take your time.

Built from Plan(s)
Estimated Time Investment
Weekend Project (10-20 Hours)
Finish Used
Sample paint on the clearance shelf - can't remember the color name.
Recommended Skill Level
Intermediate

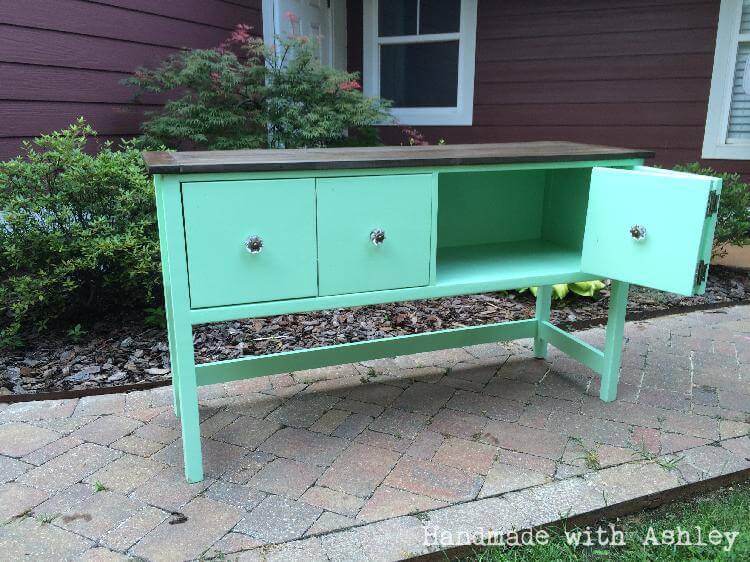
Emerson console with adaptations

Submitted by Imadeit on Wed, 07/20/2016 - 12:21

I adapted the Emerson console plans pretty extensively.  I constructed the cabinet out of low grade playwood, and then clad it on all surfaces with faux painted cheap furring strip lumber of various widths. I changed the base and made it sit completely on the floor so that I would not be chasing dog fur dust bunnies that seem to accumulate under everything!  I made the open storage wider to fit my componenets and added holes to pass the wires through the back.

It was very helpful to have the plans as a jumping off point.  It takes me forever in the planning stage.  I try to figure out my dimensions to hide as many raw edges as possible in every project.  I also want to work with the widths of lumber avaialble to me since I have a fear of a tablesaw (which is still in the box after 3 years).  Give me a chop saw and a circular saw and I'm your girl!

Very proud of this project.  Thanks Ana!

Estimated Cost
$300
Estimated Time Investment
Week Long Project (20 Hours or More)
Finish Used
Painted the boards BEFORE construction. Used five different colors of latex paint (samples) using 2 or three colors on each board. Used a mustard yellow, red, black, dark and light gray. First coat completely covered the board with one of the colors (alternating which colors). Put one or two additional coats of other colors of paint on each board with a VERY dry brush attempting to only put color on a few places. After fully dry, rubbed a dark oak gel stain over every board to add patina and dull down the colors. After dry, sealed with a satin water based polyurethane.
Recommended Skill Level
Intermediate

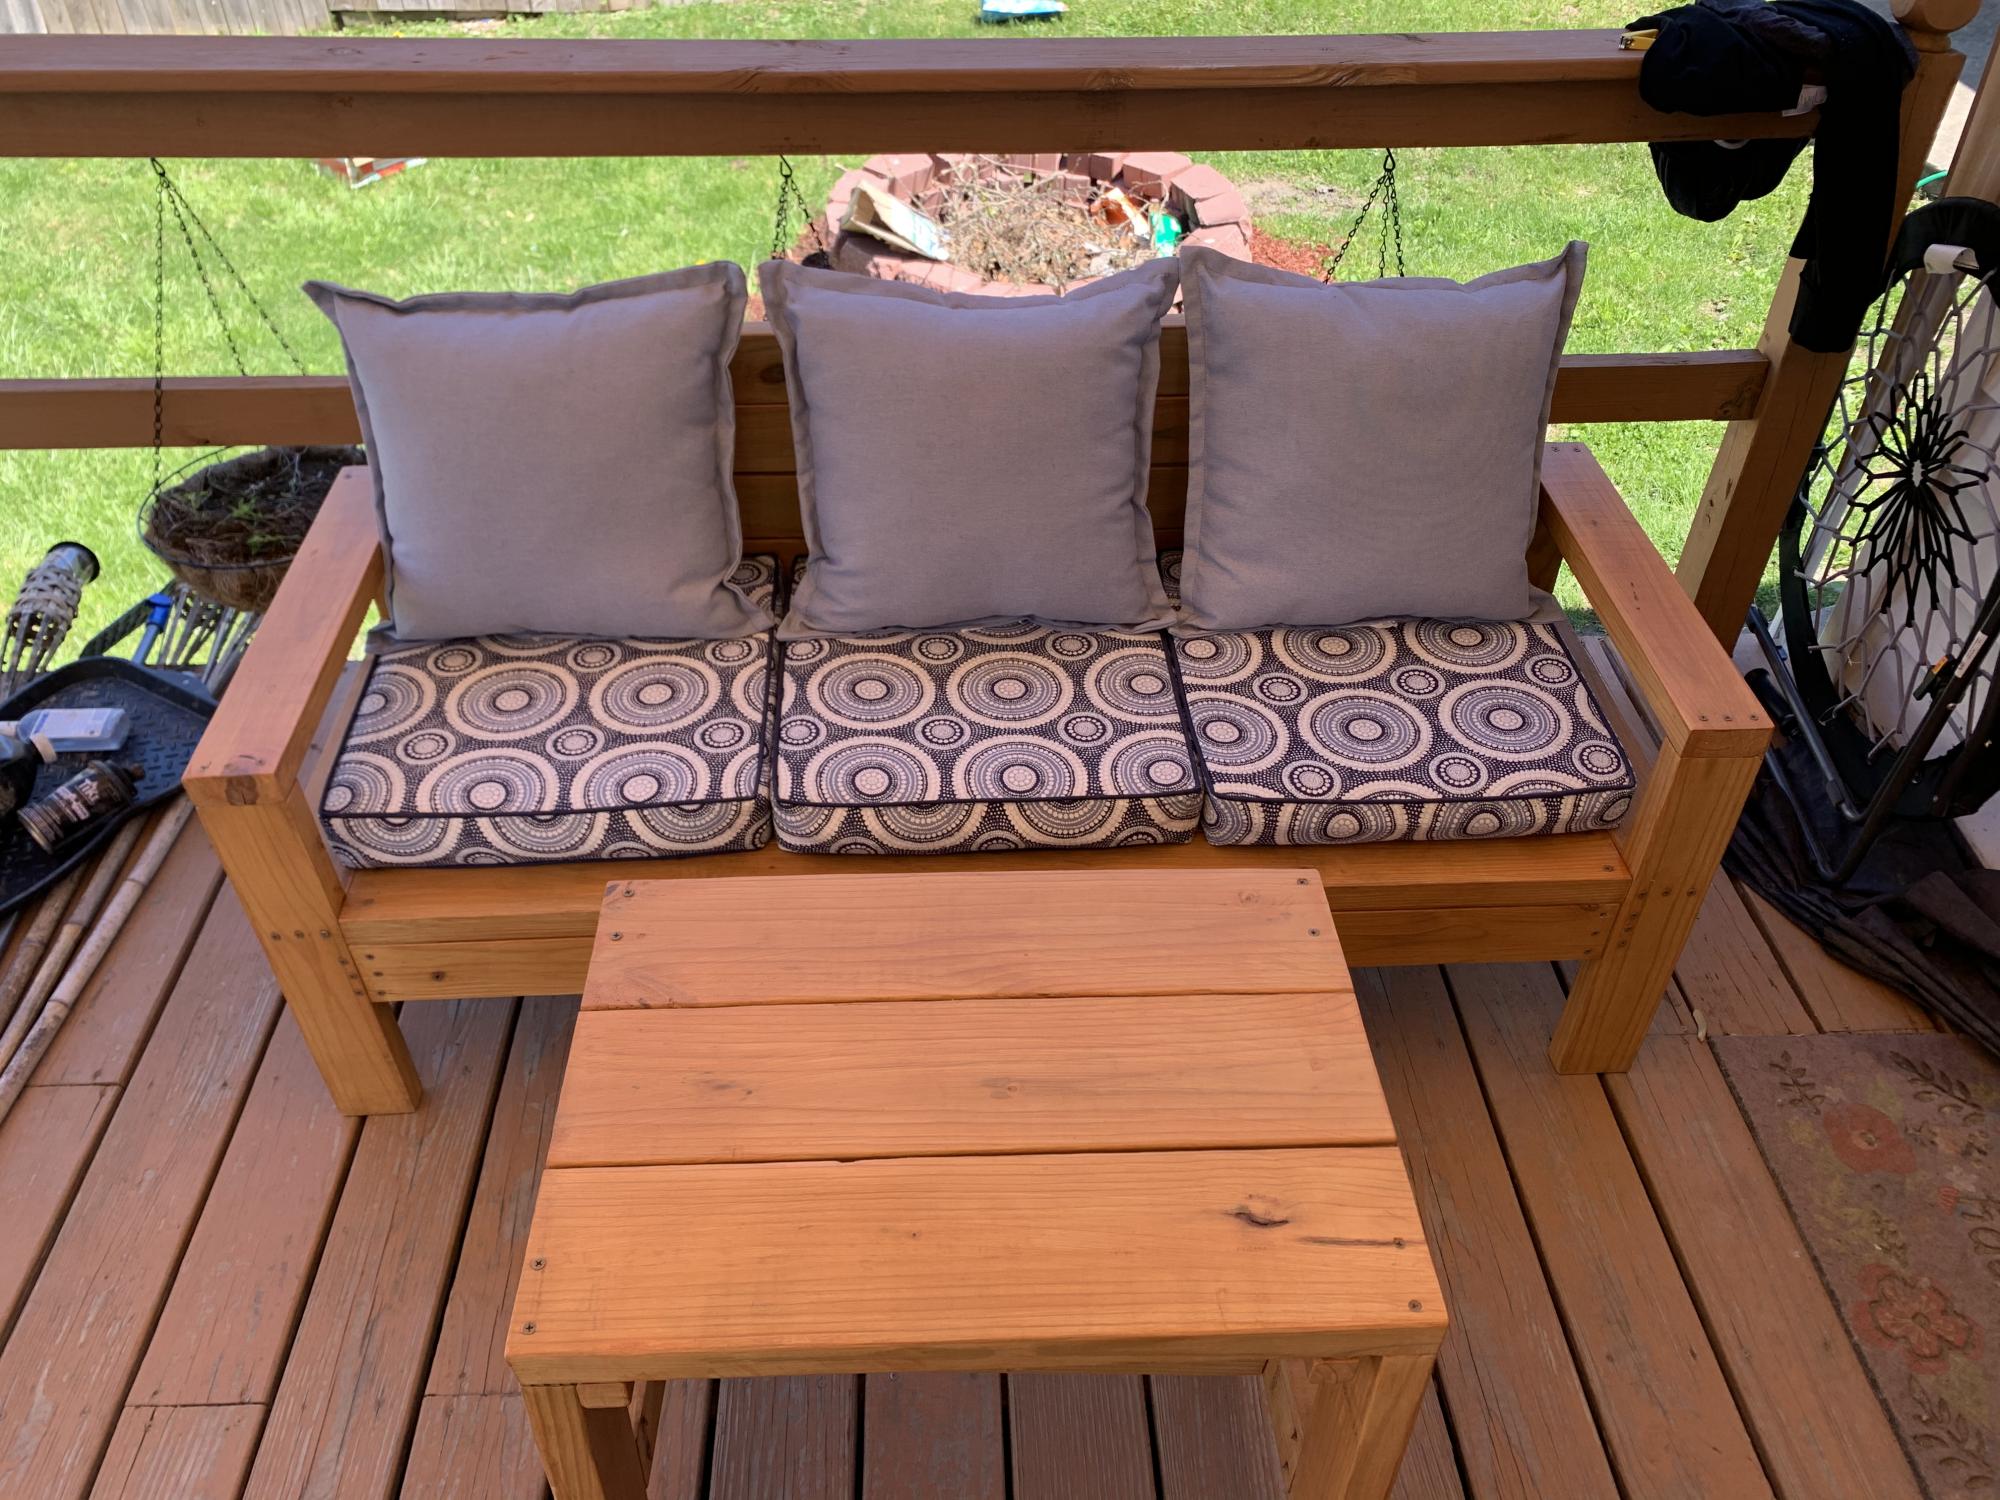
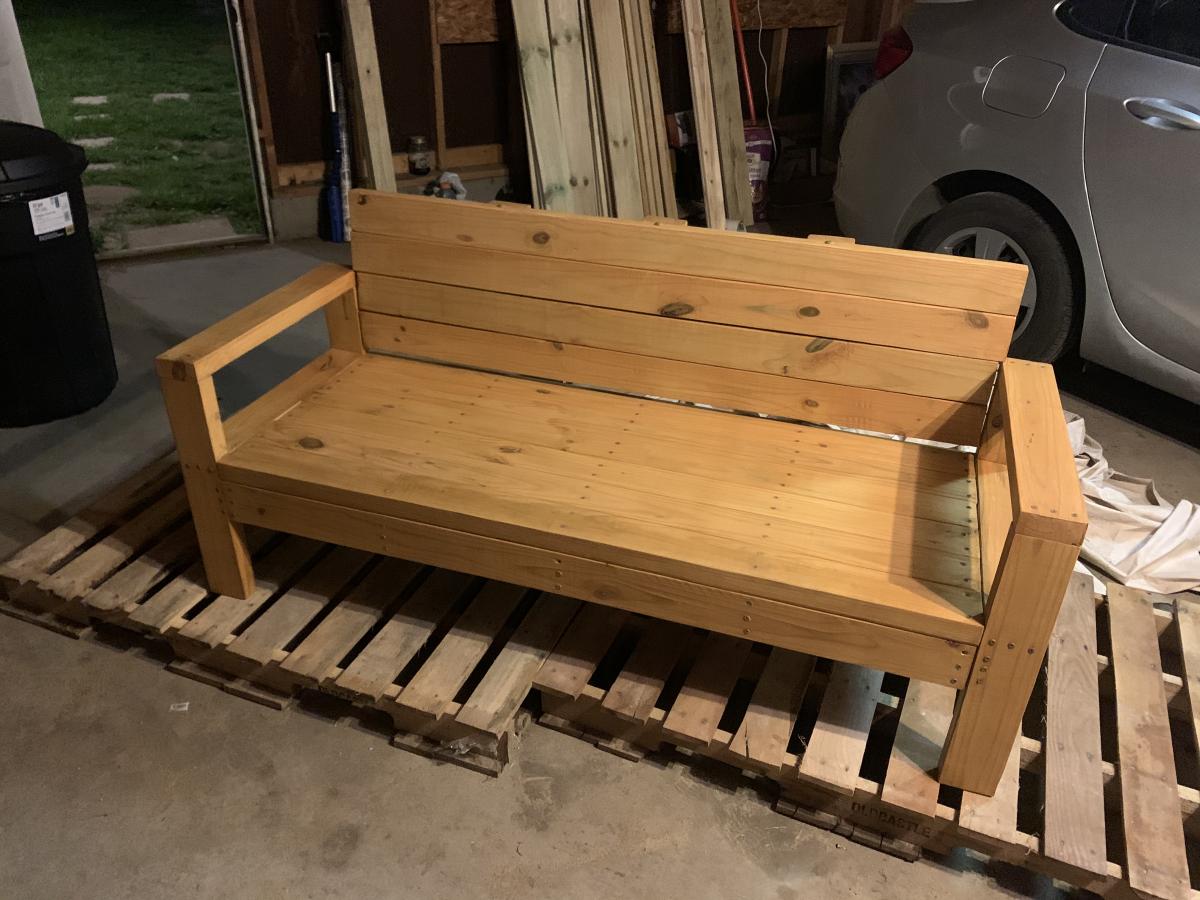
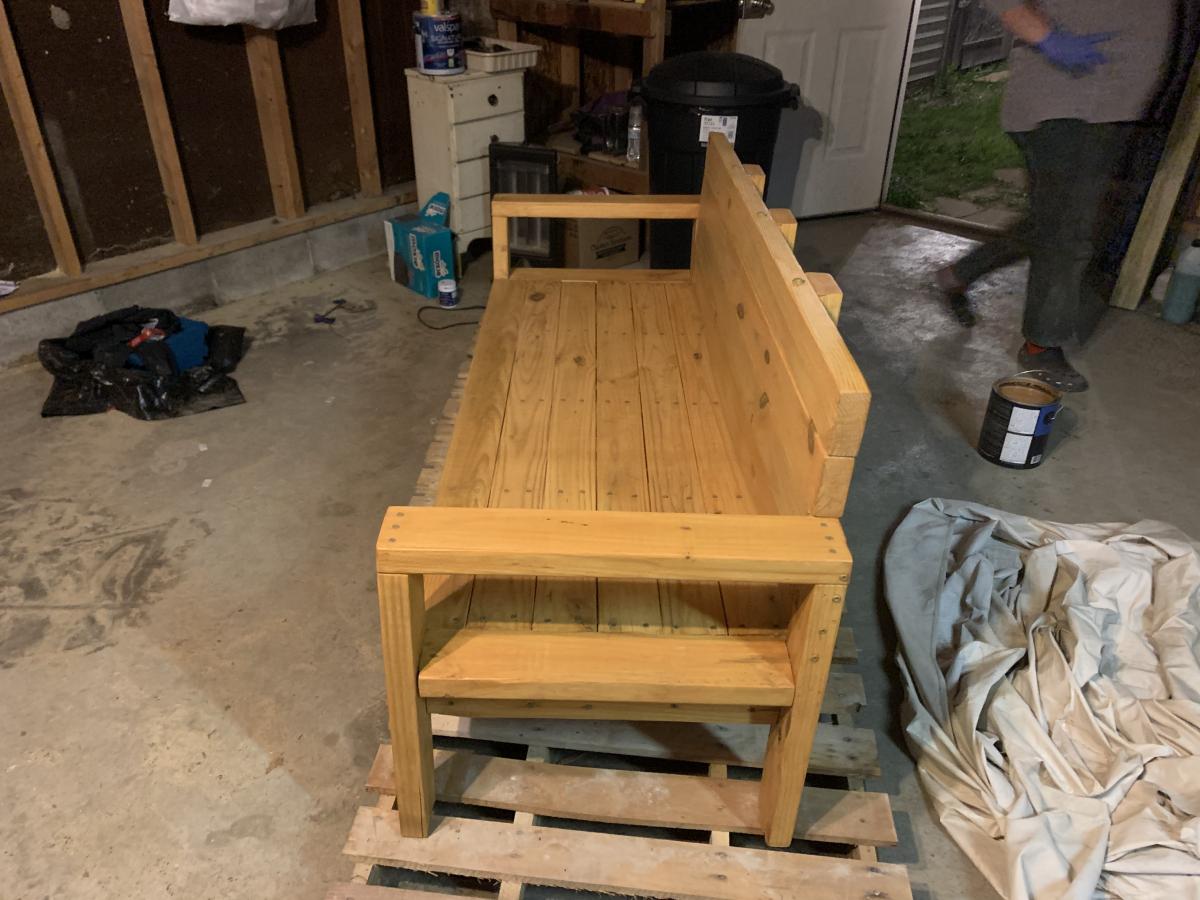
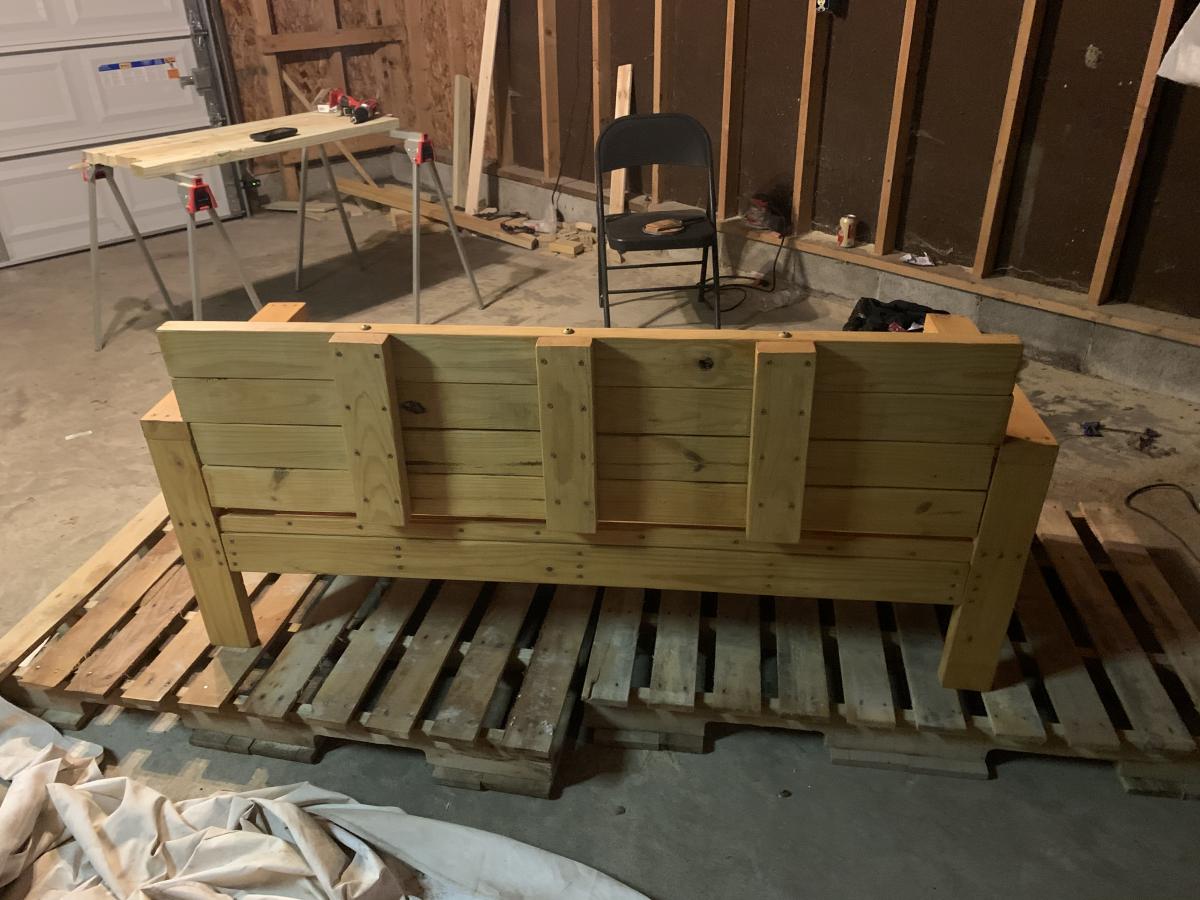
Nice little sofa

Submitted by emilacious on Mon, 05/11/2020 - 17:32

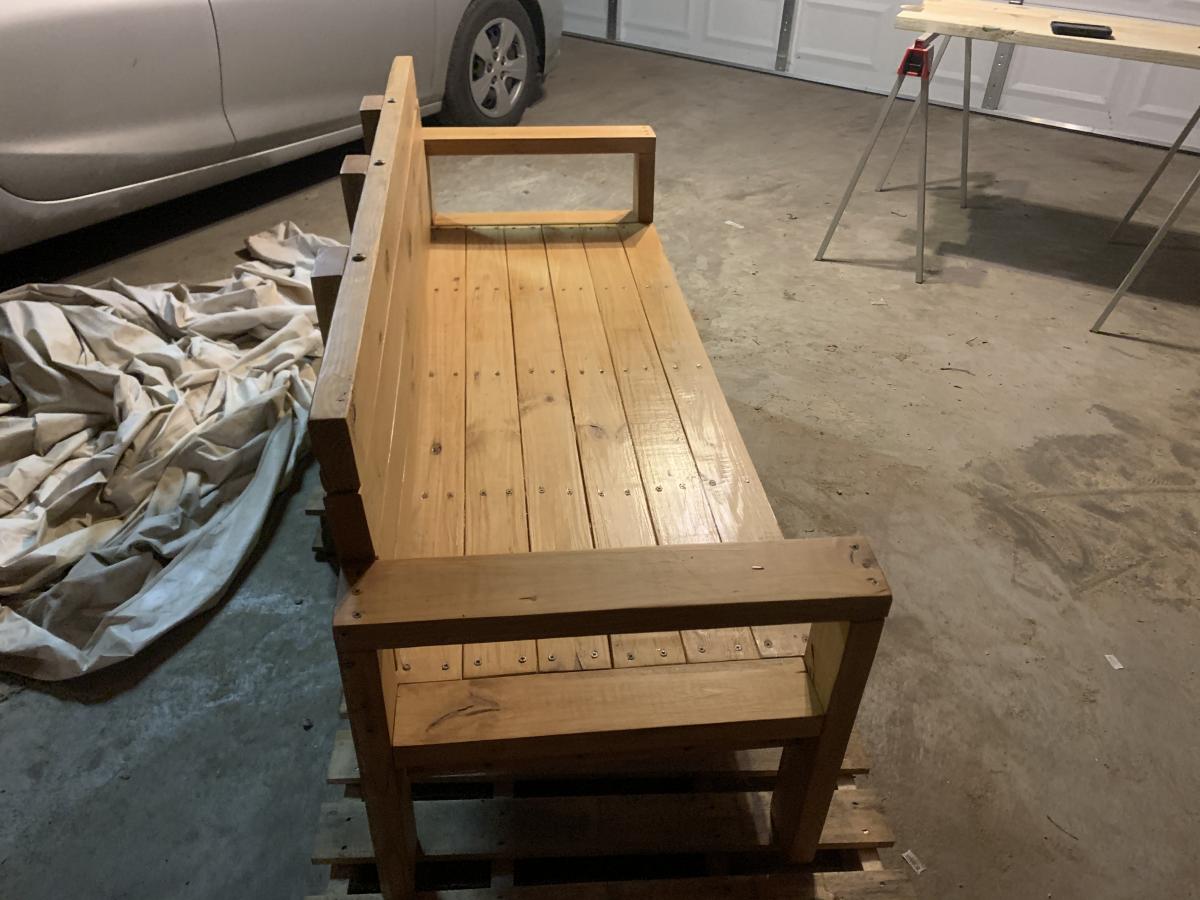
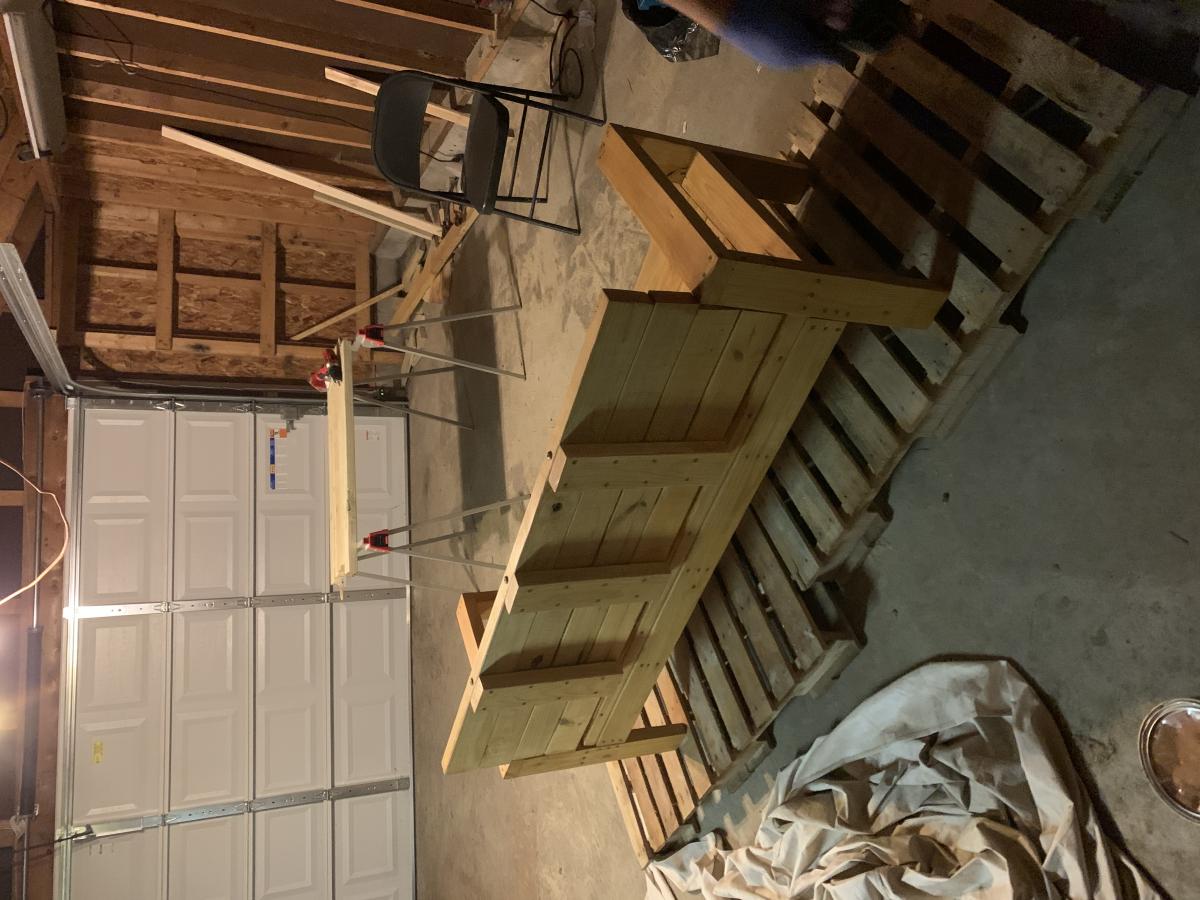
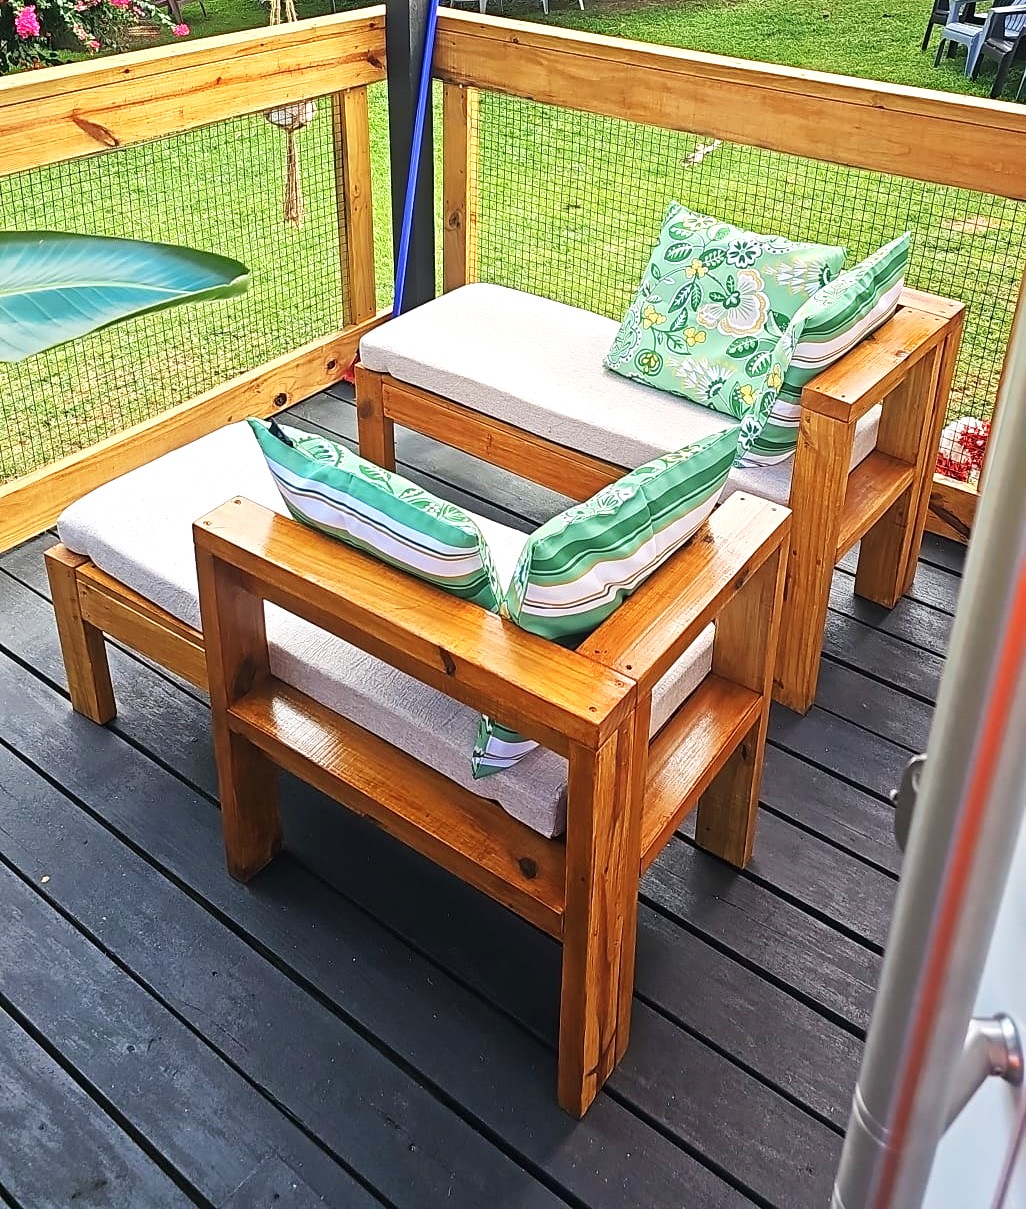
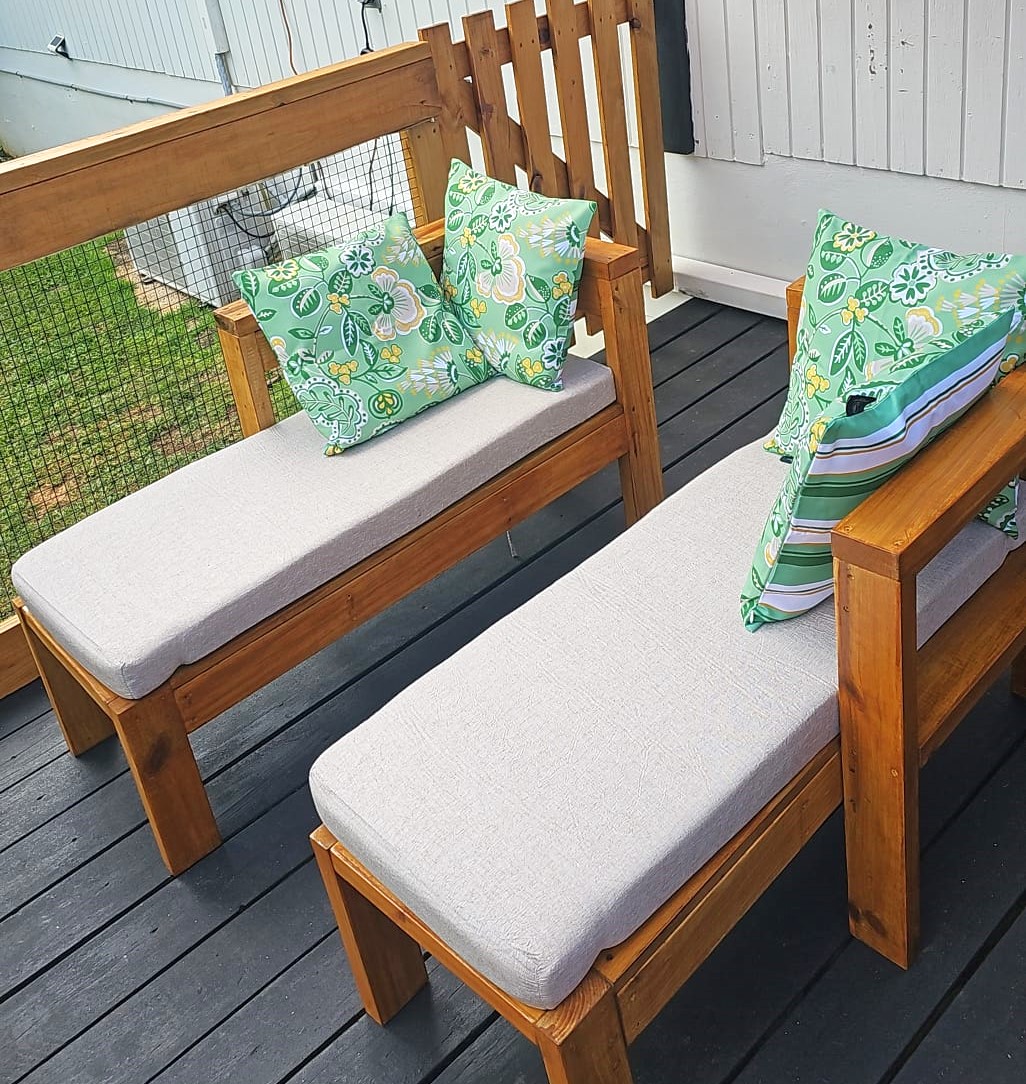
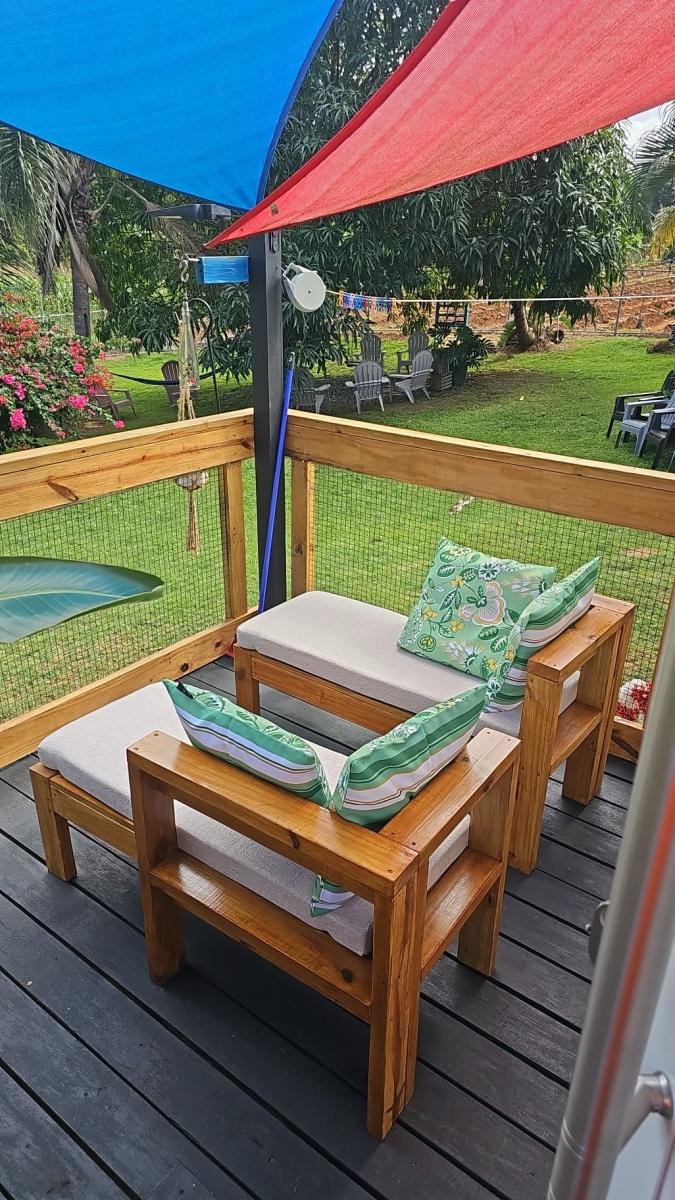
Made from the 2x4 outdoor sofa plans. Needed to make some outside furniture for our deck. 2x4 treated wood bench with a valspar stain. Free handed the end table with 2x4s, 2x6s and 2x2s. Also added height to the back by an additional 2 2x4s and had added some 2x4s perpendicularly for support. Added 3 6inch wood screws in the additional 2x4s vertically so it all ties in together. Made the measurements to fit the cushions. And added some outside throw pillows I found for $6 each

Built from Plan(s)
Estimated Cost
$50
Estimated Time Investment
Day Project (6-9 Hours)
Finish Used
Valspar exterior semi stain
Recommended Skill Level
Beginner

Modern Farmhouse Nightstands

Submitted by Anonymous (not verified) on Tue, 01/09/2024 - 08:28

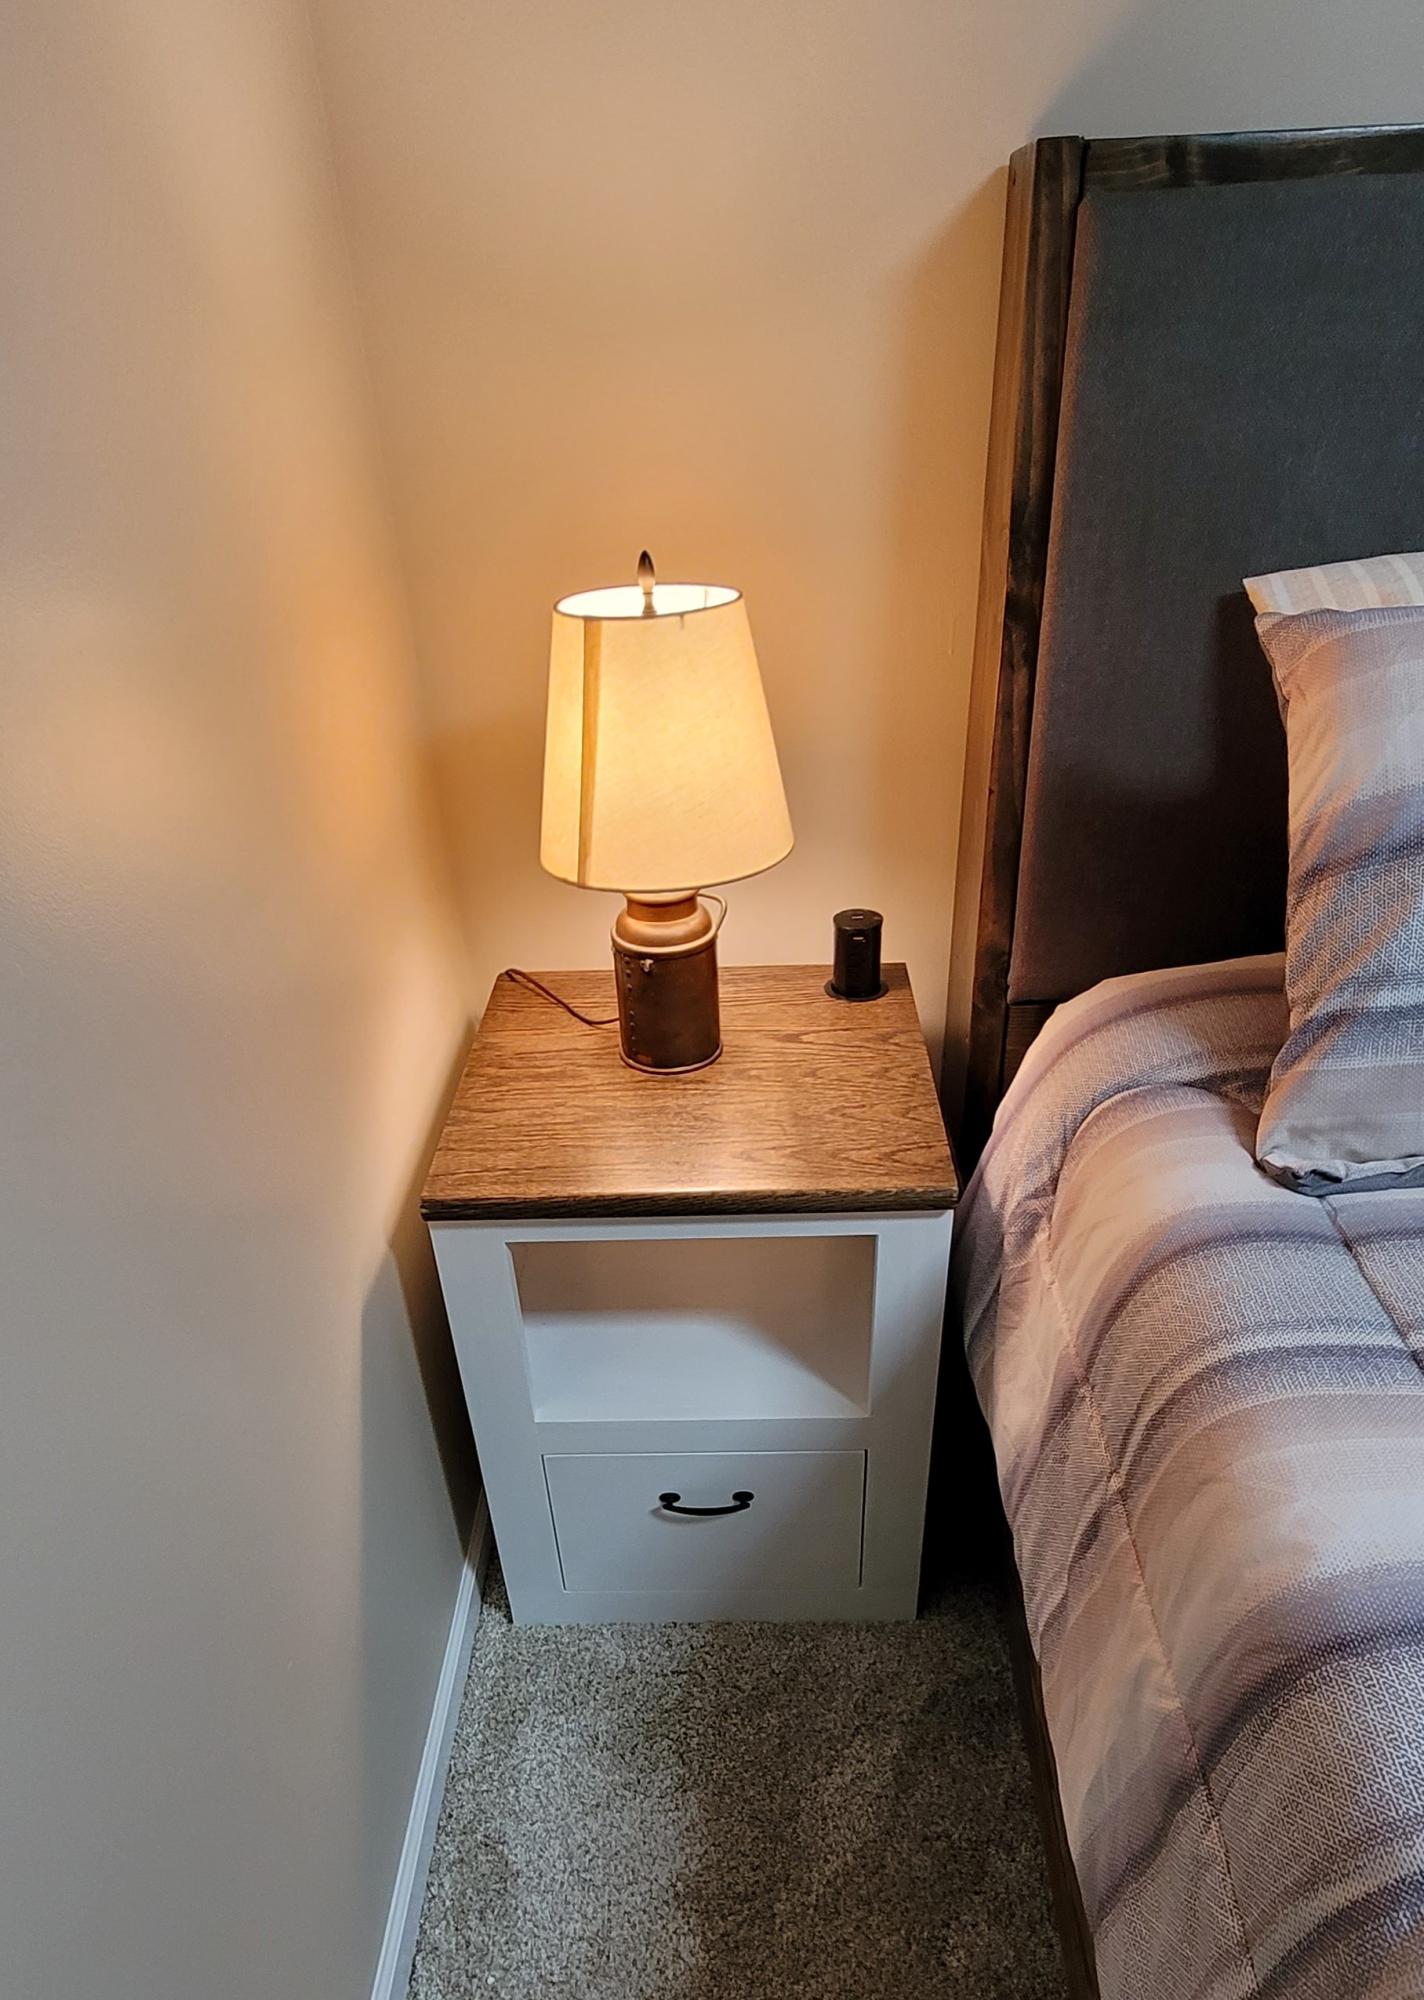
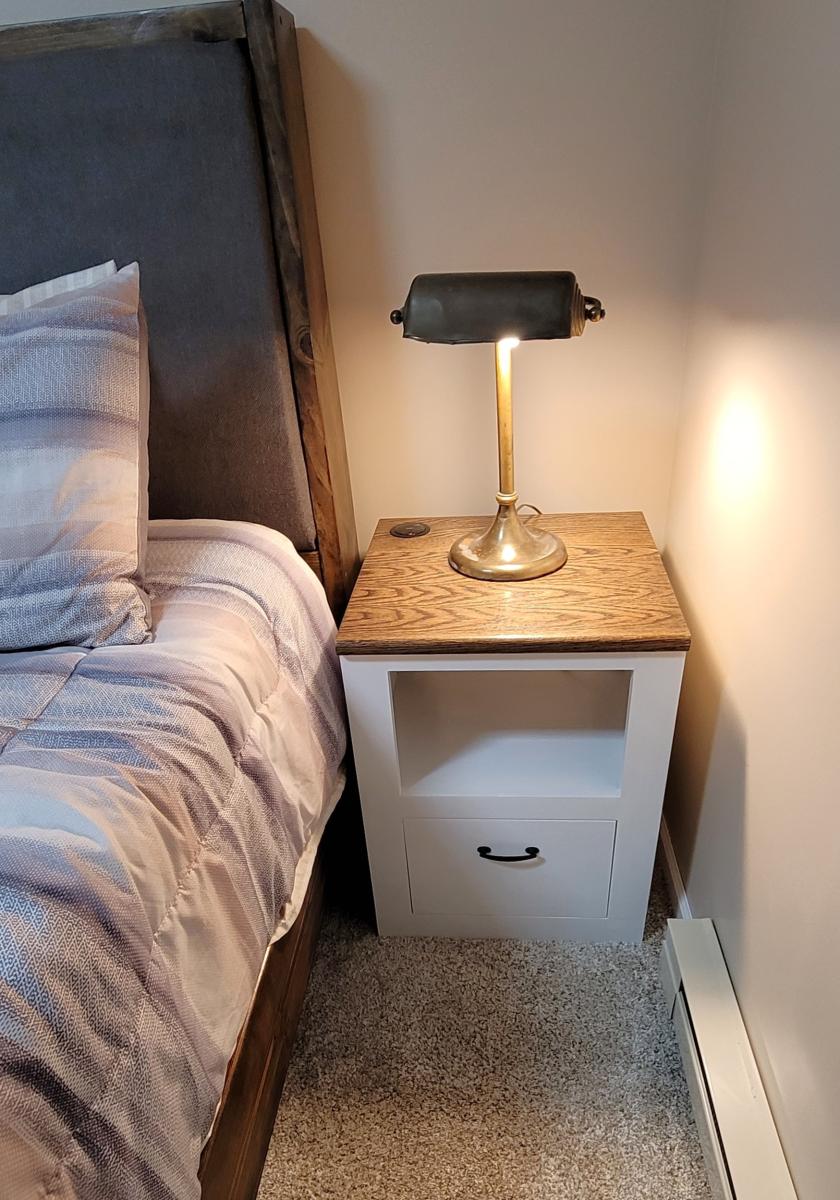
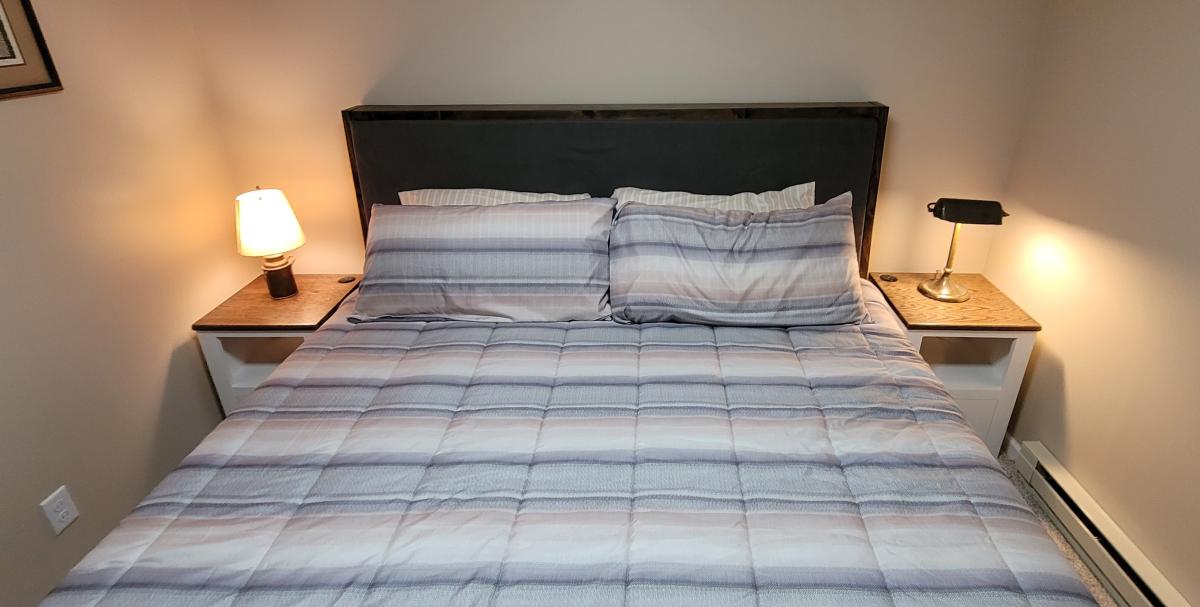
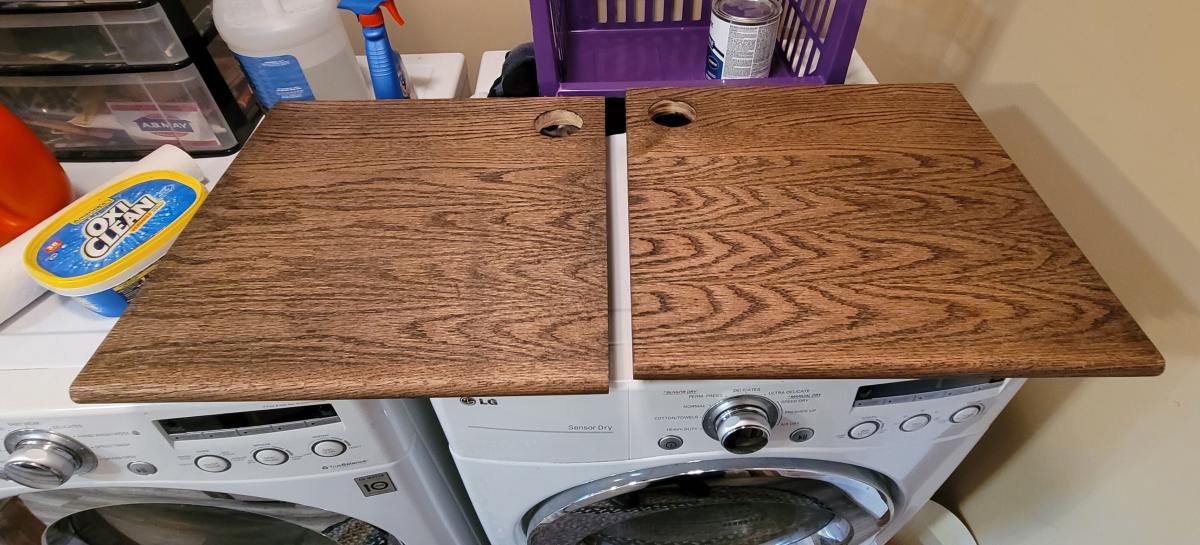
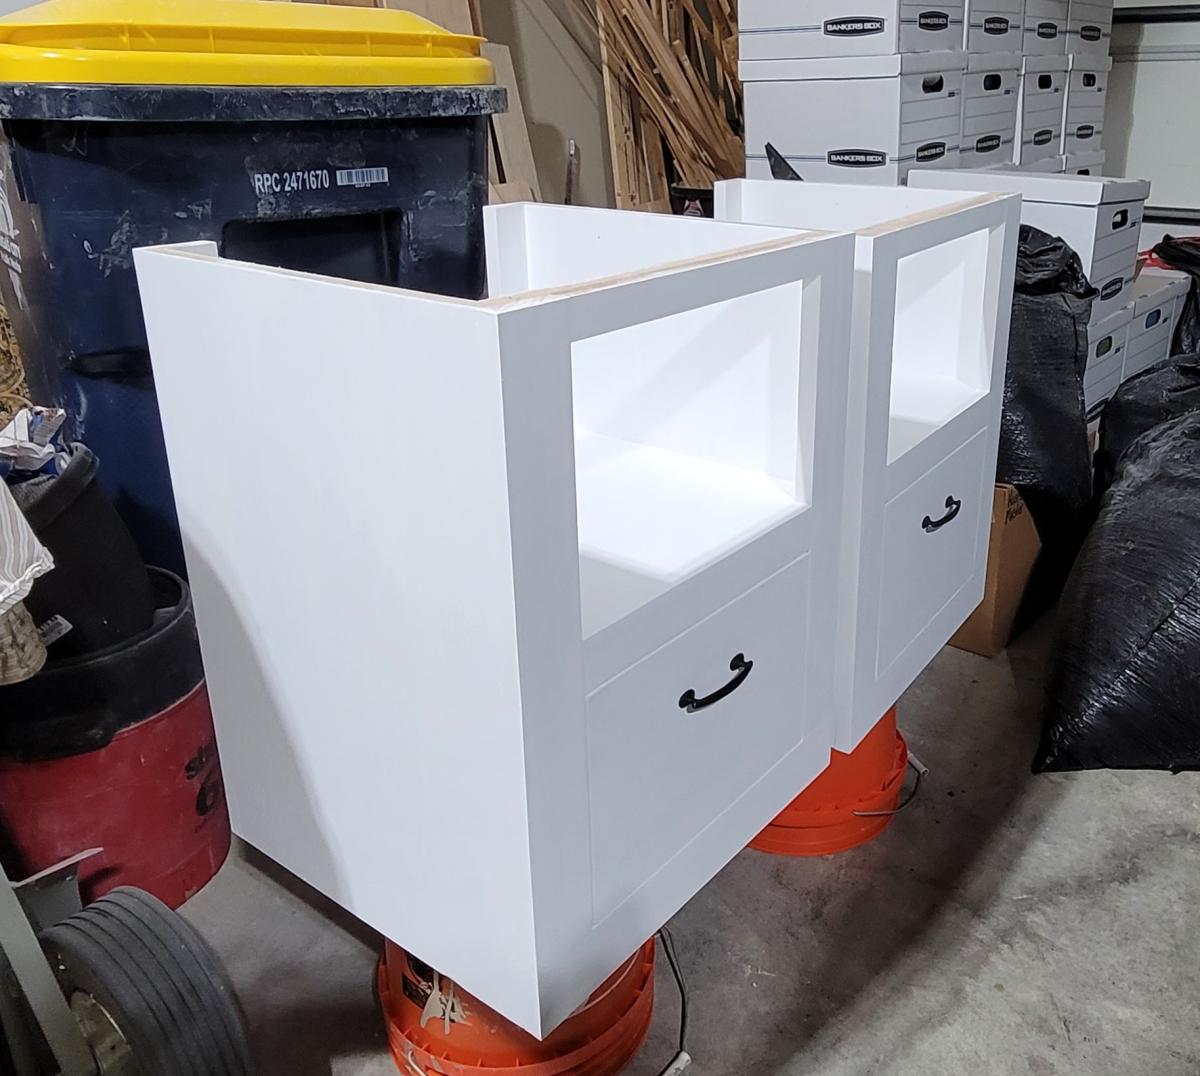
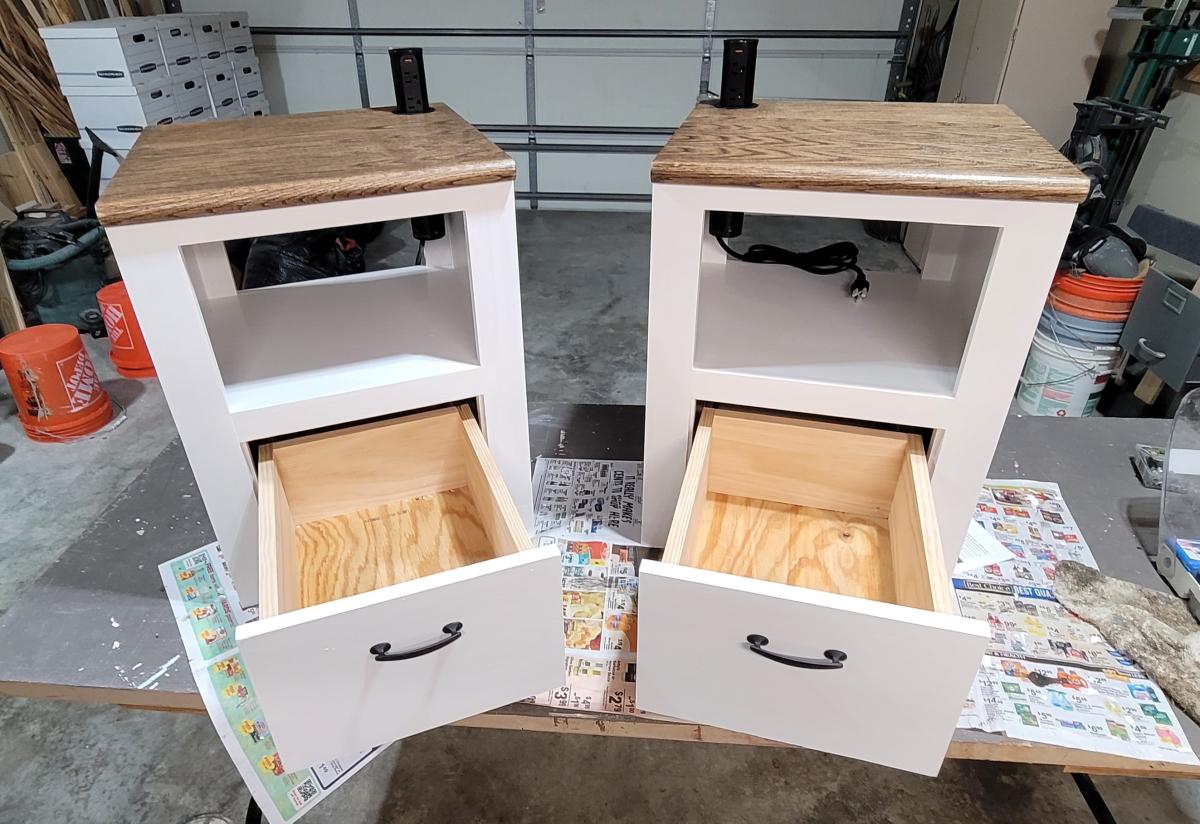
I downloaded th minimalist modern nightstand plans nearly a year ago and just got around to building them last week. Actually I modified them quite a bit because I had a small space to work with and because I wanted them to follow the design theme of some of the other furnishings and features I had made for my basement renovation. In particular I changed the top and made it out of oak stair treads. I also added pop-up electrical/USB sockets as well. I really appreciate the sequencing in the plans. Though I made some dimensional and design plans, I followed the sequencing steps. It made the project much easier to complete-particularly the drawer construction and fitting. If I had done it on my own, I would probably have permanently installed the middle shelf before fitting the drawer which would have made fitting the drawer and drawer front much harder. Thanks for teaching me that.

Craig Holstedt

Comments

Football Bat Shelves

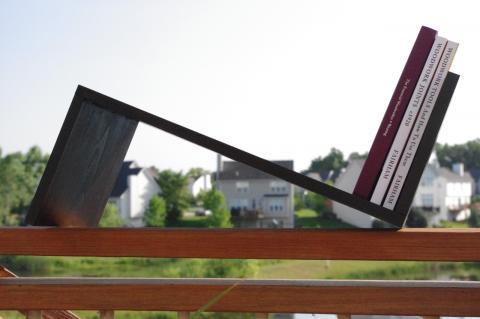
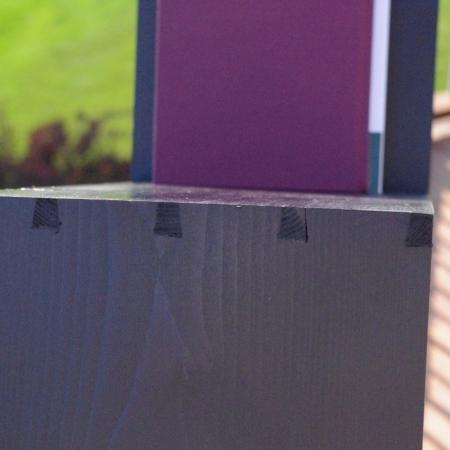
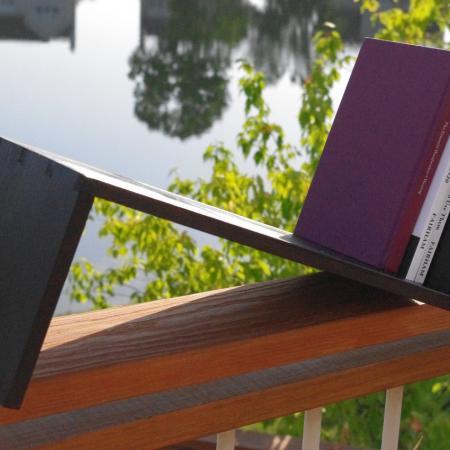
This is a simple shelf to hold the reference books I keep on my desk at work. That's now how it started out though. It was supposed to be a laptop stand, but a small mistake turned it into this. Rather than toss it as scrap, I decided to make lemonade.

I'd love to link a plan, but all you really need to do is take a 1x10, cut legs (mine are 8 inches long), and join them to the ends with pocket hole screws.

Estimated Cost
10
Estimated Time Investment
An Hour or Two (0-2 Hours)
Finish Used
Custom toner made from General Finishes polycrylic and Espresso stain.
Recommended Skill Level
Starter Project

Easy Work Bench- My first build

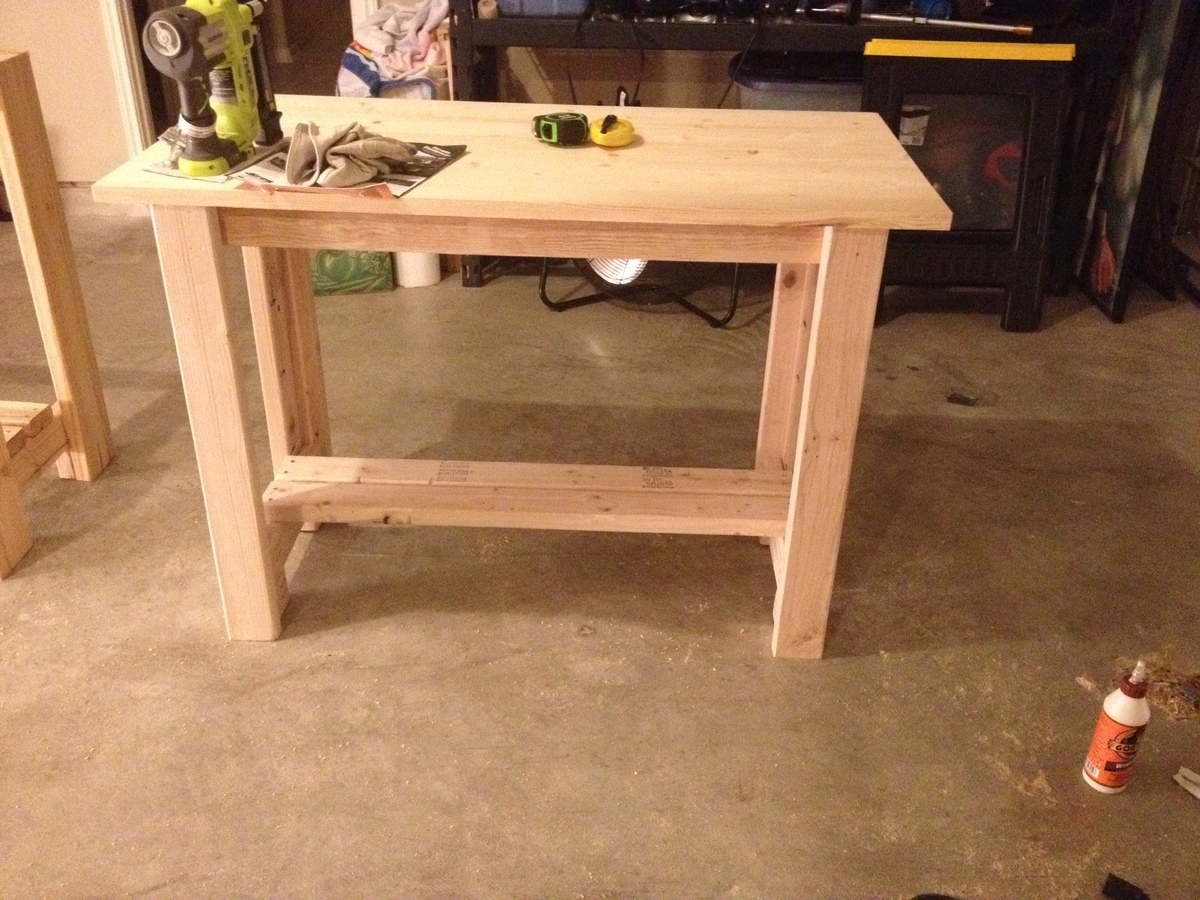
This was my very first build. I used all 2x4's except for the top with was a project board from Lowes. I also used pocket holes instead of 2in screws.

Built from Plan(s)
Estimated Cost
$40
Estimated Time Investment
Afternoon Project (3-6 Hours)
Finish Used
No finish
Recommended Skill Level
Starter Project

Elevated bed with storage

Submitted by Anonymous (not verified) on Wed, 05/13/2020 - 13:15

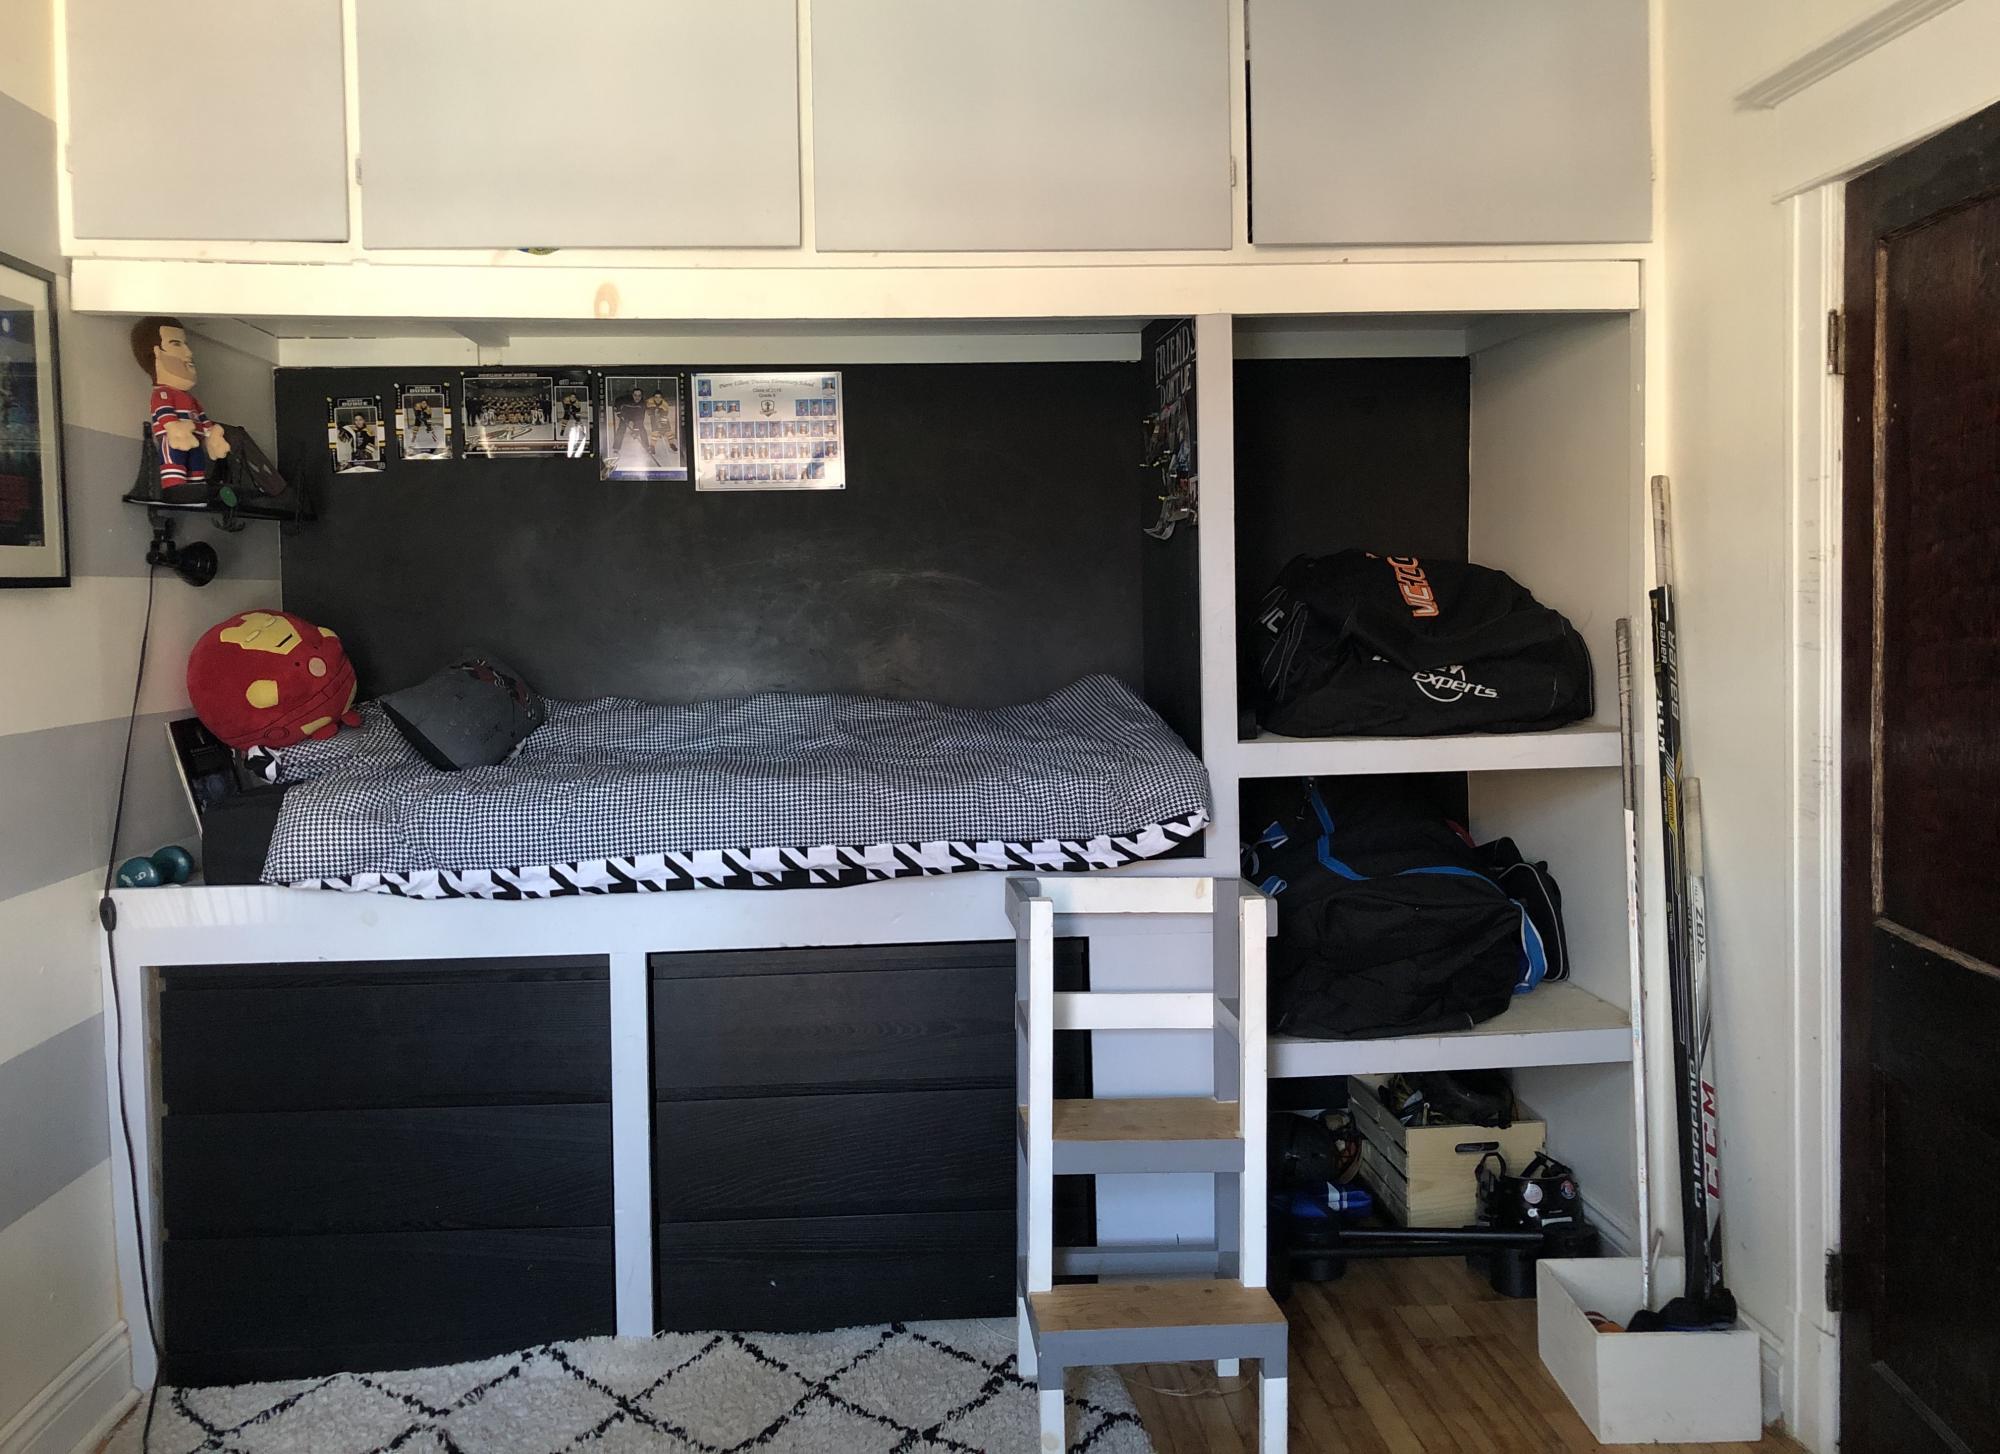
In this small teen bedroom (9-5' large), we had to fit clothes storage as well as room for the family hockey bags.
We decided to use 2 IKEA MALM dressers (one of which we already had) and we built a platform to elevate the bed. The space under the bed could then fit the 2 dressers.

After having measured the length of a single standard mattress, we used the remaining space to create very large shelves in order to place the hockey bags. We designed them open so that my 2 sons can come back from their hockey practices and drop their bag. We also made sure to not put the shelves too high so they can easily access them.

The upper storage (cupboards) were already existant in the house. They add even more storage.

The bed part is 6-7' long x 3-4' large
The locker part is a bit less than 3 feet long and 3-4' large

The little stool used to get up on the bed is a kitchen stool that we reused. It is movable.

Once the structure of the elevated bed was built, we finished the bedspring with a plywood sheet.

The rough 2 x 4 and plywood sheets that were used for the structure were then covered with nicer flat and smooth pine planks and mouldings, then painted grey. It makes for a nicer finish on the outside. But first of all, those mouldings hide the gaps between the dressers and the structure.

The cost of this project was very low: 264$ of wood + nails from Home Dépôt

PS: if you understand french there is a video on my blog that explains the building process in details.

Thank you !

Estimated Cost
270$
Estimated Time Investment
Day Project (6-9 Hours)
Finish Used
Grey paint
Chalboard black paint for the back of the wall and side plywood
Recommended Skill Level
Intermediate

iTable

Submitted by I Rub on Sat, 07/07/2012 - 14:45

Easy build. Great and sturdy results.
Great build for beginners and for some learning experience with a Kreg Jig. Table looks great and bulky.

Built from Plan(s)
Estimated Time Investment
Day Project (6-9 Hours)
Recommended Skill Level
Beginner

Comments

zendup

Sun, 08/11/2013 - 19:21

Did you use treated or untreated 4x4s? I am unable to find untreated ones where I live. Your table finish looks beautiful and I was curious as to whether or not your posts were treated.

JessicaHall

Sun, 08/11/2013 - 21:15

I was wondering the same thing myself about the 4x4's. Where I live the treated ones are about $7 and the untreated about $30. Also I have heard that you may have trouble staining or painting your treated 4x4's. I want to make a coffee table from one of your plans but I do not want to spend that much just on a 4x4. :/ Beautiful table though!
Corona Coffee Table

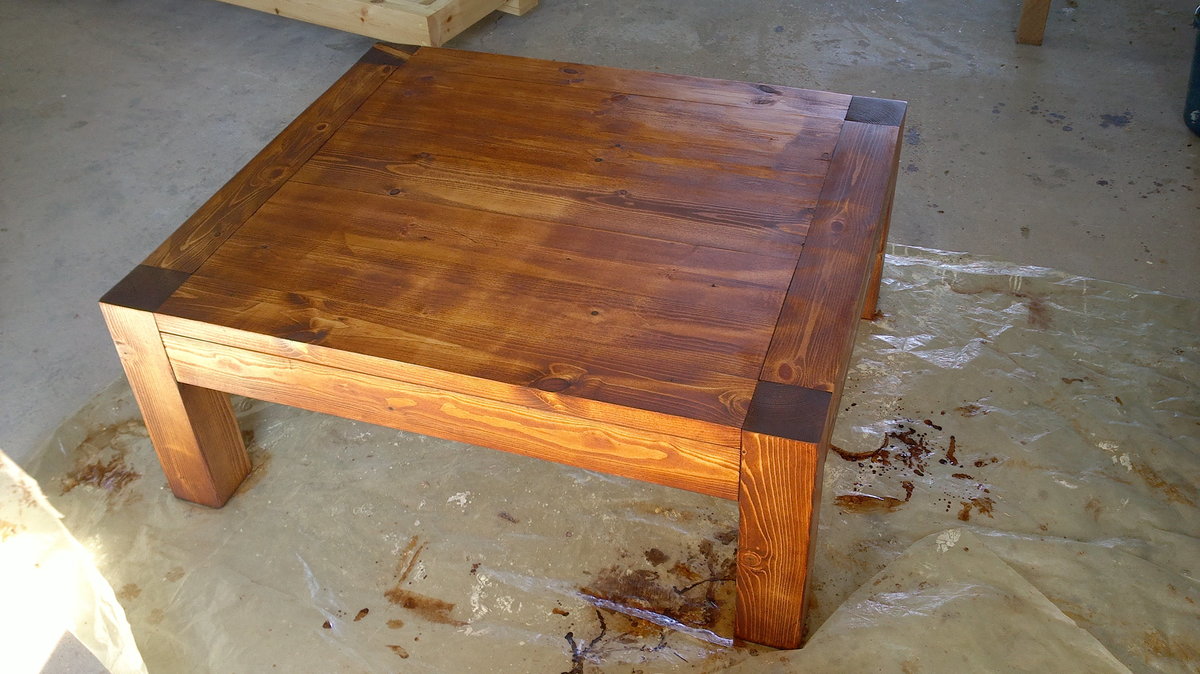
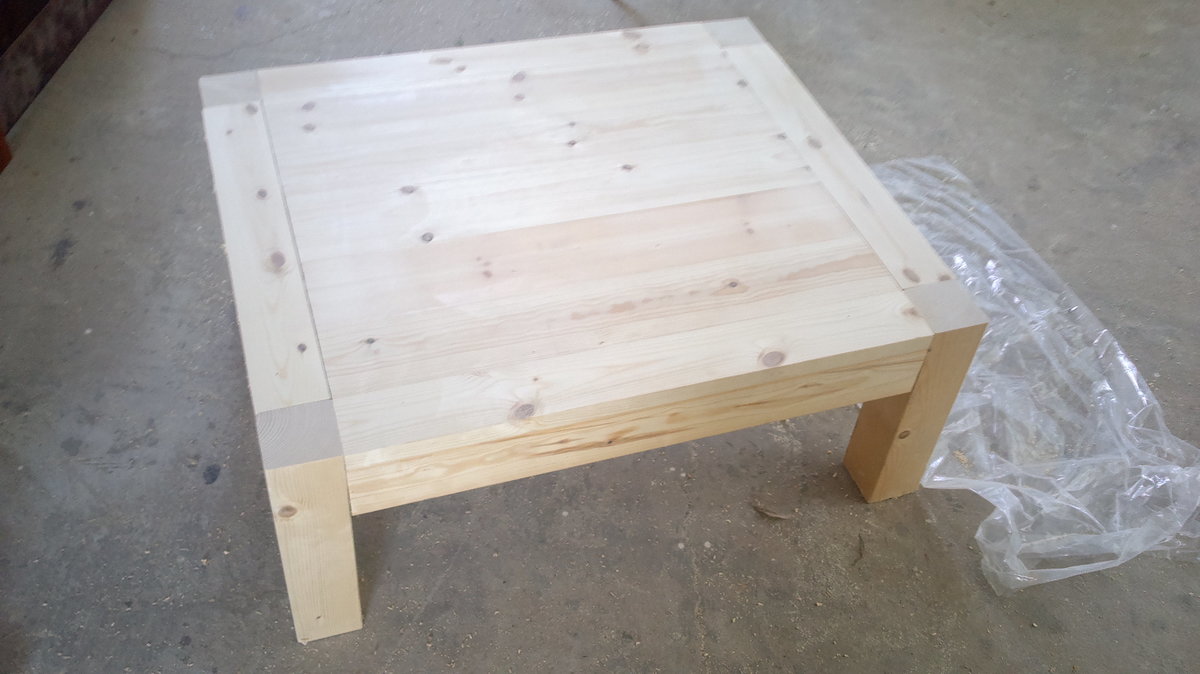
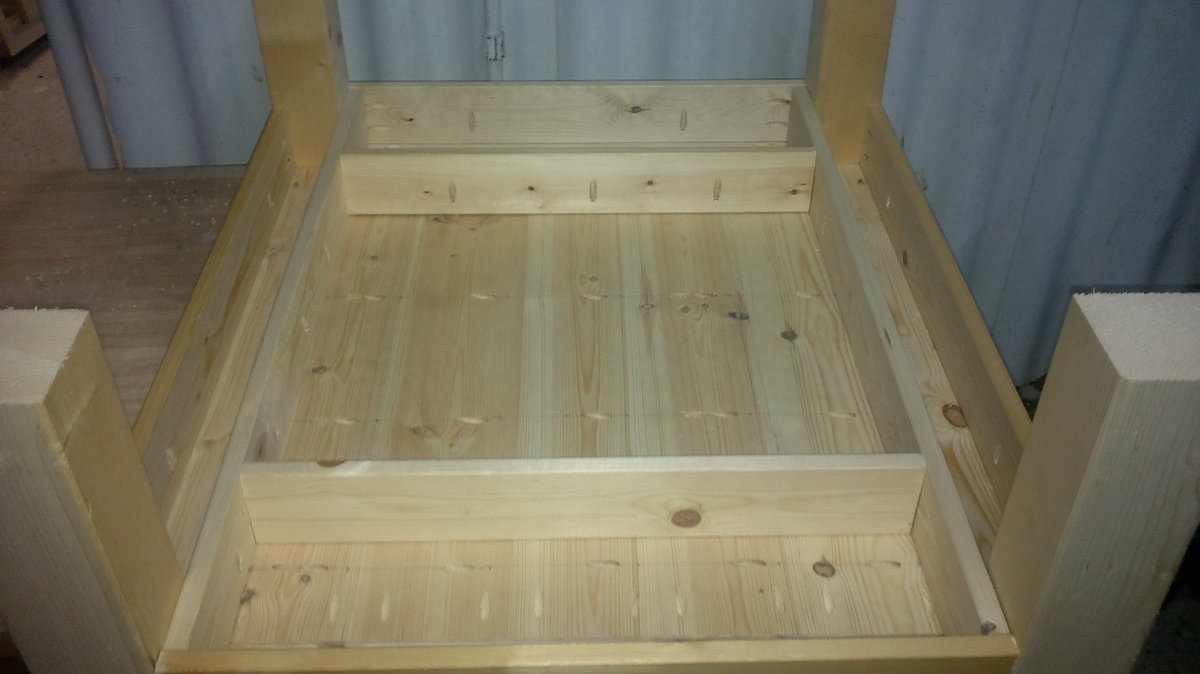
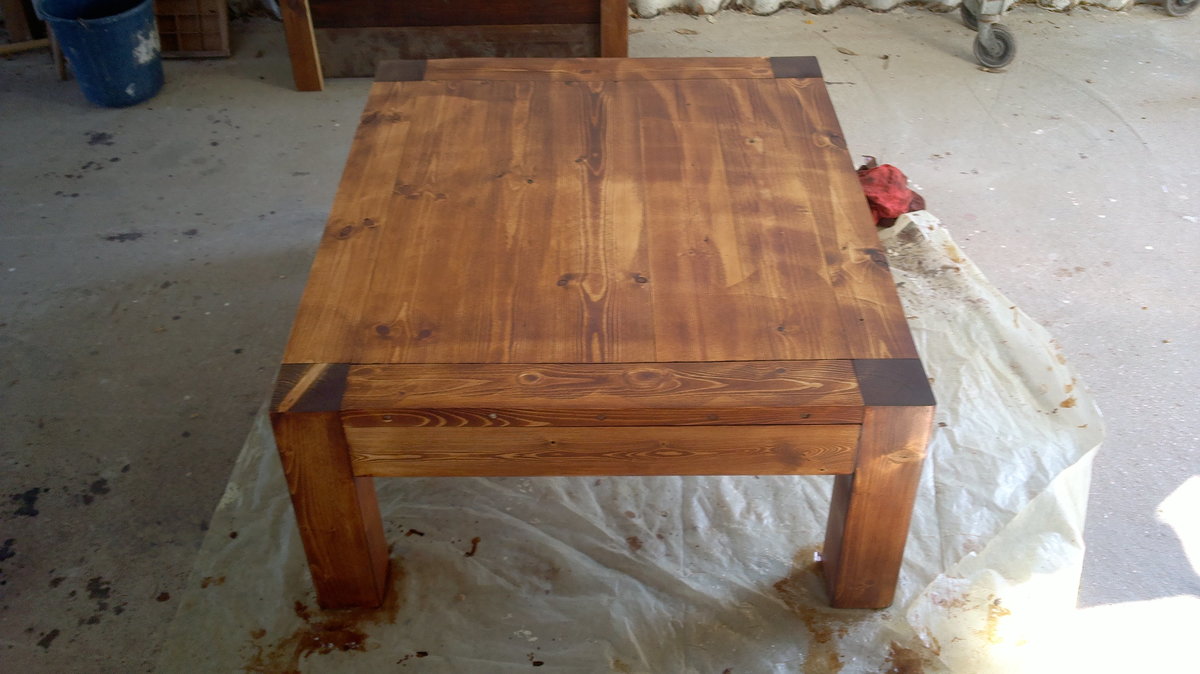
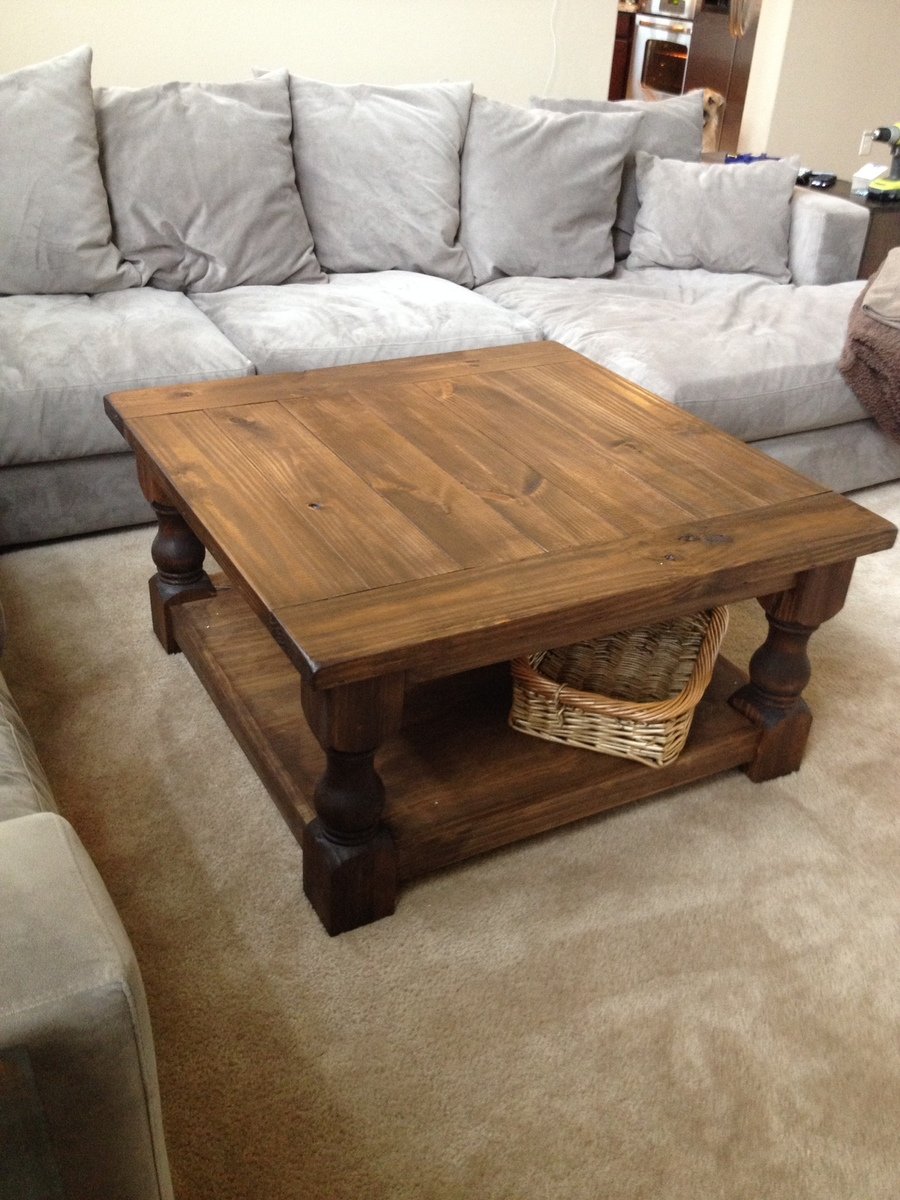
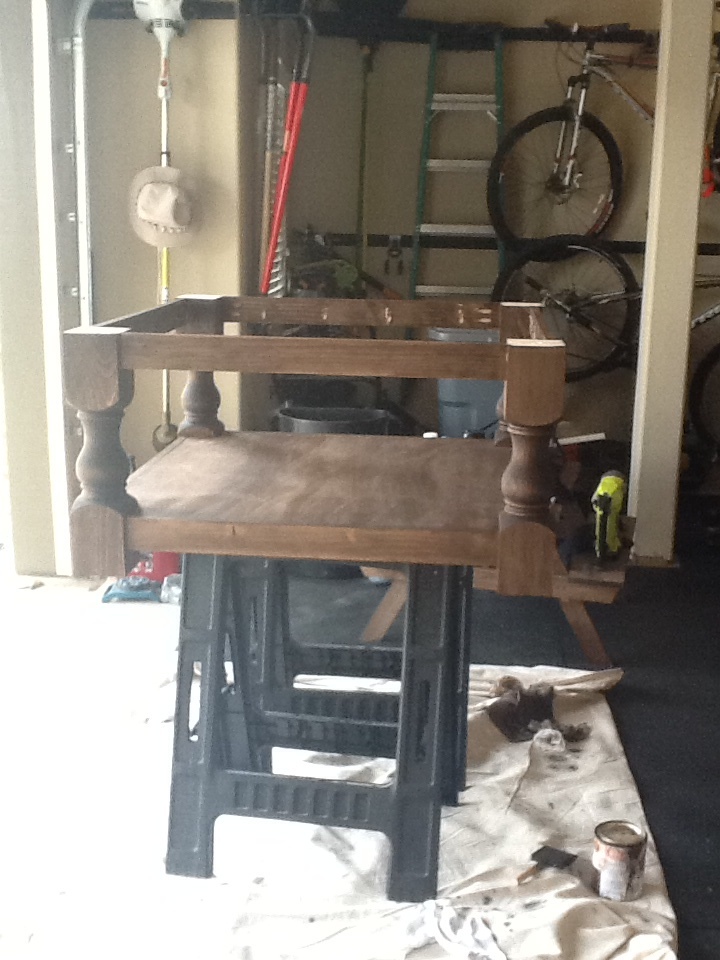
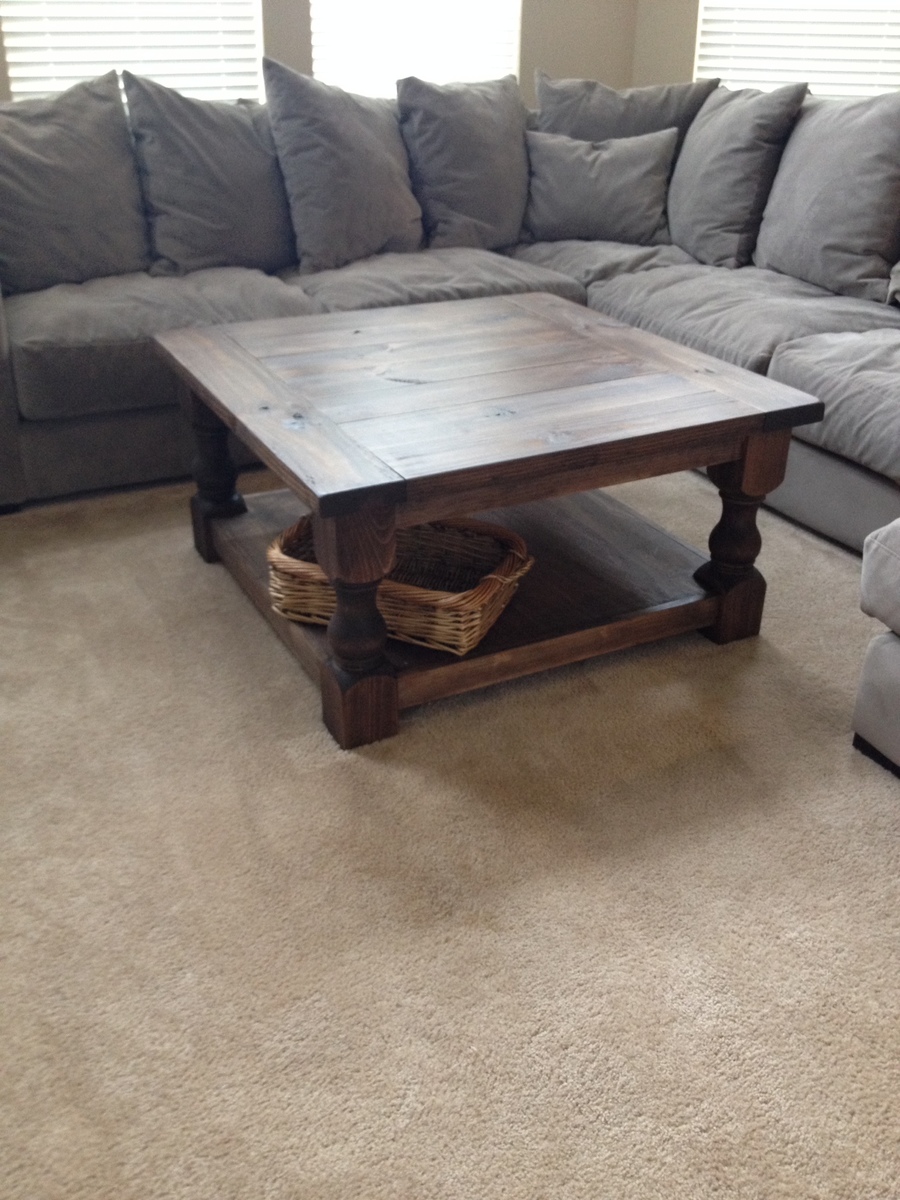
This was one of the easiest builds. When I saw this plan I knew it was perfect for my living room. Its a big coffee table but doesn't look that way in the pictures since it works well with my big sofa.

I stained the base before I attached the top which helped. I also didn't attach the top until it was in the living room since the top alone is pretty heavy. I also had my local HD cut the plywood.

Built from Plan(s)
Estimated Time Investment
Afternoon Project (3-6 Hours)
Finish Used
Rustoleum Dark Walnut (1 coat)
Recommended Skill Level
Beginner

Comments

Solid Cherry Live-Edge Garden Bench

Submitted by Anonymous (not verified) on Mon, 07/25/2016 - 12:00

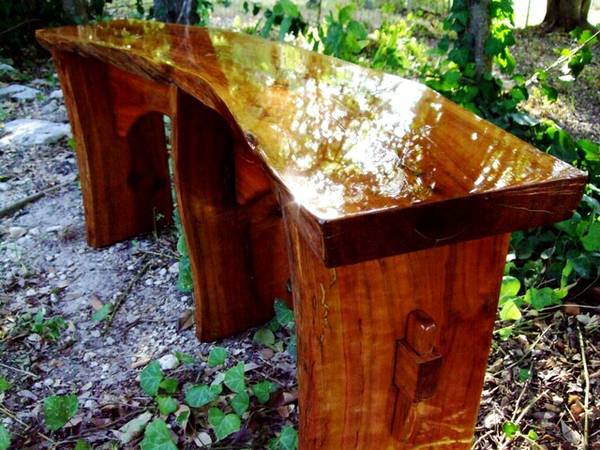
Live-edge garden bench made of solid black cherry. Bench top is made from a book-matched pair of 1-1/2 inch thick slabs. Leg and support pieces are made from the same log and feature pinned mortise & tenon joints on each end. The entire bench was treated with hand rubbed teak oil, and is finished in four layers of weather resistant oil-based polyurethane. Two round 1-1/4 inch chrome furniture glides are attached to the base of each leg.

Estimated Time Investment
Week Long Project (20 Hours or More)
Finish Used
Teak Oil, Polyurethane
Recommended Skill Level
Intermediate

Toddler Tree House Bed

Submitted by Dopamine83 on Sun, 05/17/2020 - 07:19

Made the Toddler Tree House bed. My little human was still a bit small for the ladder so I added a Ramp to it. It works great and my toddler has already made a permanent transition to it from the crib. My wife wanted to make it more of a beach shack this the colors. Im exploring putting some small bookshelves or a pull out to chest underneath to maximize storage.

Built from Plan(s)
Estimated Cost
$150-200
Estimated Time Investment
Afternoon Project (3-6 Hours)
Finish Used
Grey stain on the 1x6's, Kilz for the supports and ramp, and blue semi gloss on the roof boards.
Recommended Skill Level
Beginner

Entertainment Center

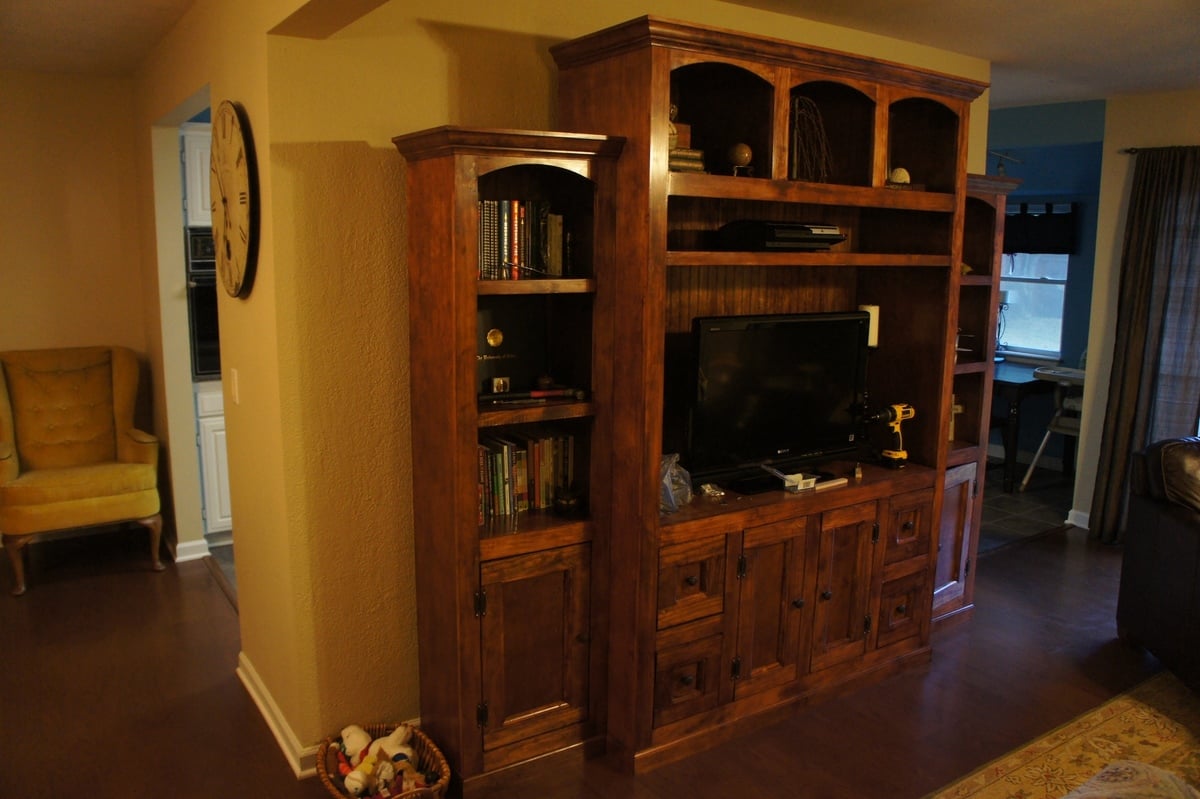
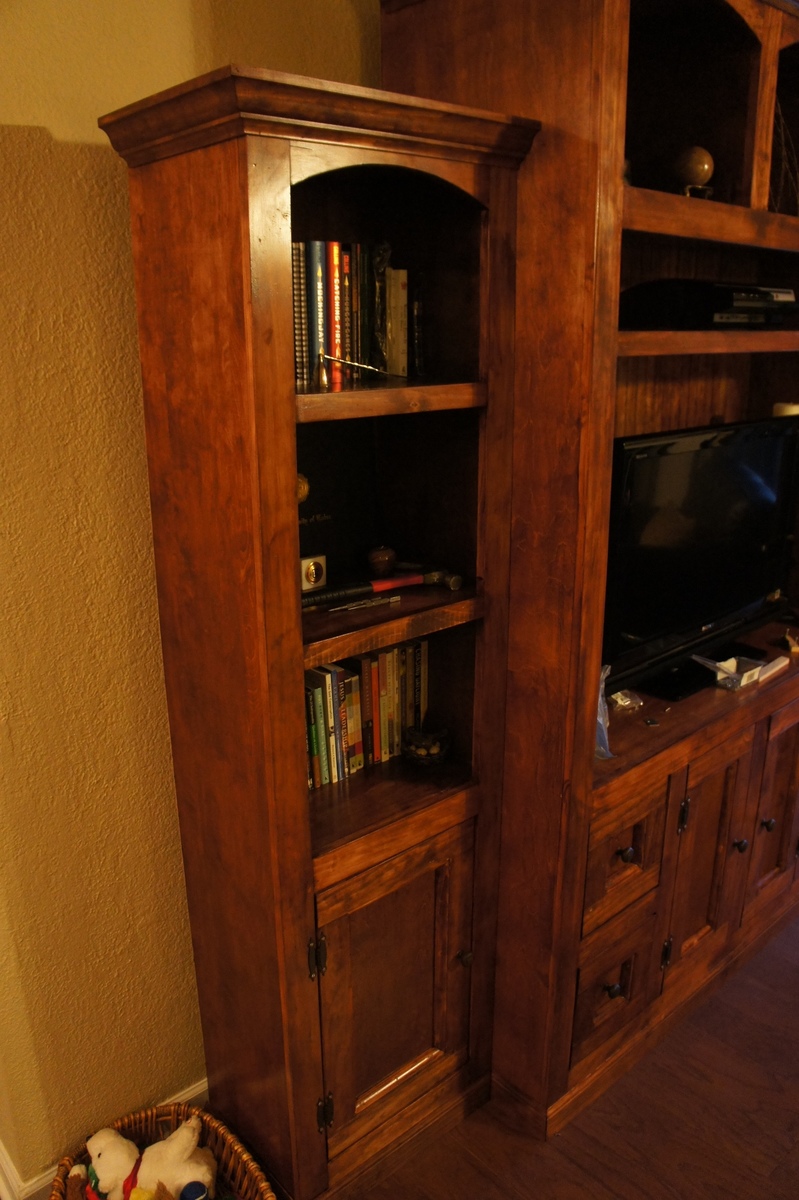
Submitted by Dave-Mac on Mon, 07/09/2012 - 13:10

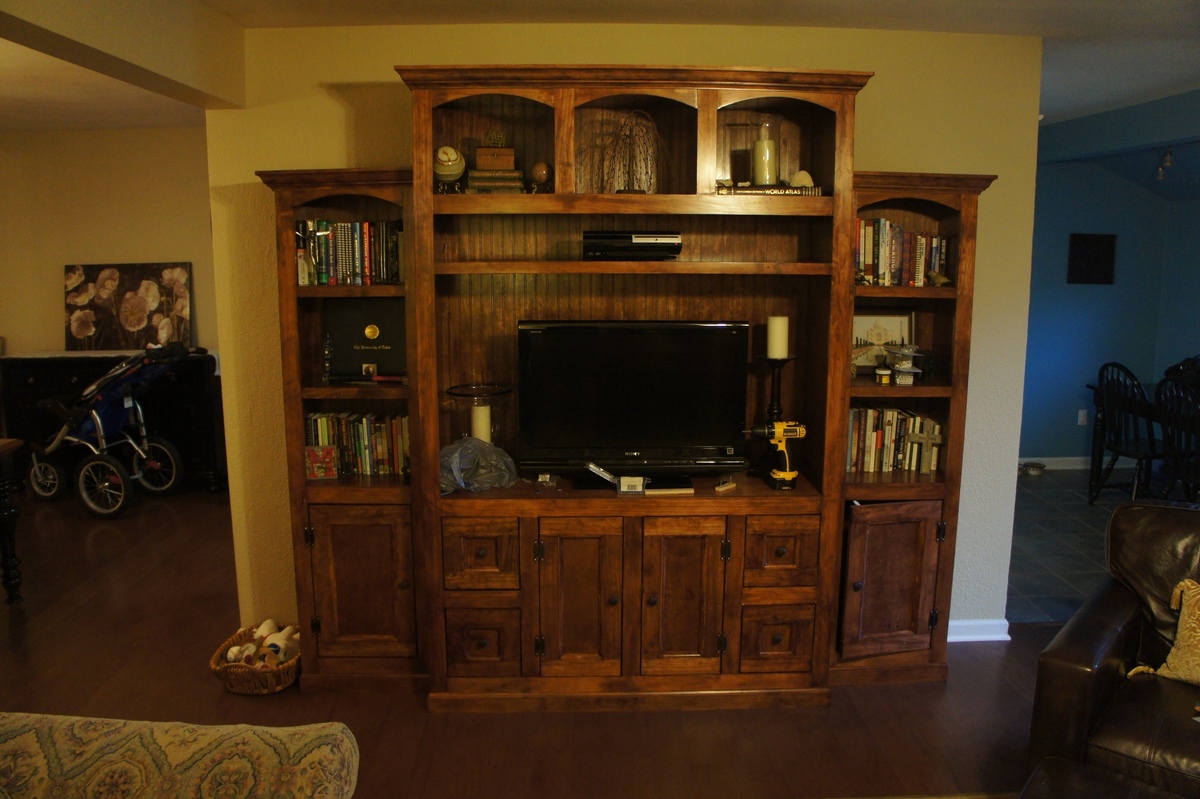
I got the inspiration for this from the entertainment centers that kristenlotz and azca33 (mostly azca33).

I built this over about 5 months in my spare time. It took a lot of wood and a lot of time. I will post plans and a breakdown of supplies if there is any interest.

Estimated Cost
$500
Estimated Time Investment
Week Long Project (20 Hours or More)
Finish Used
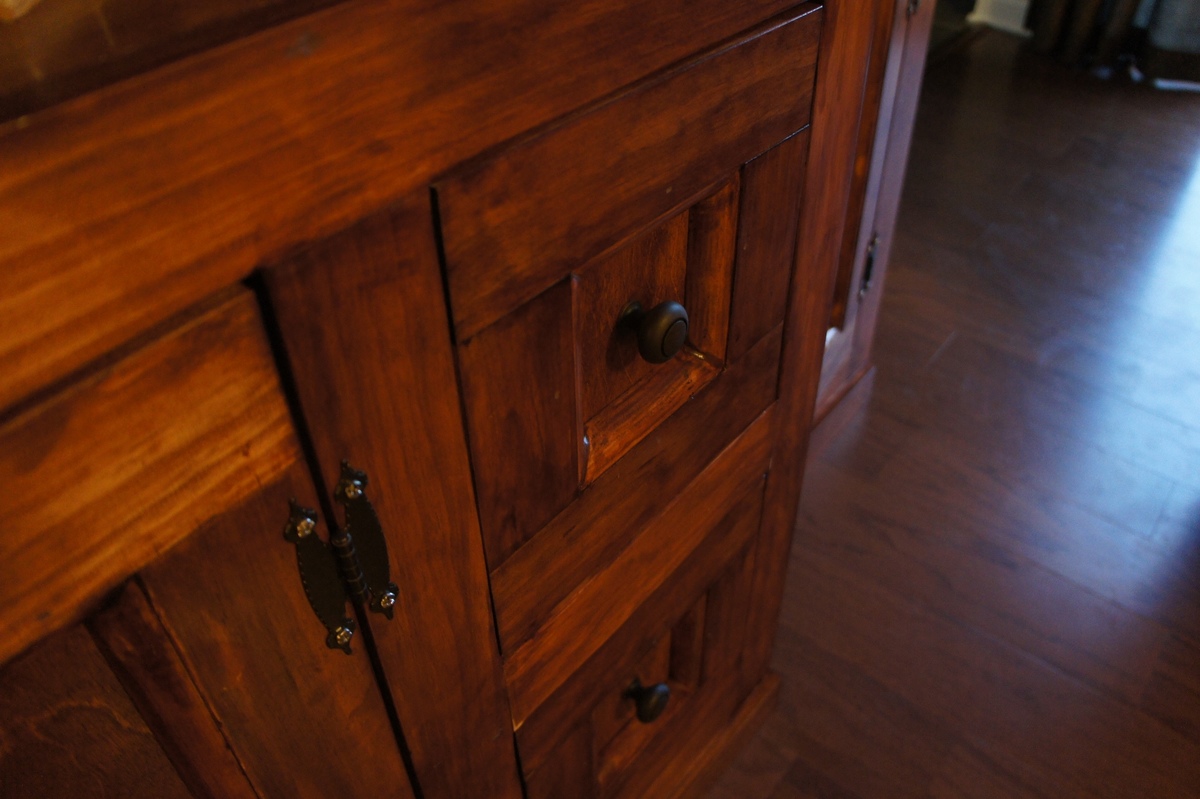
I filled all the visible pocket holes with stainable wood filler. After everything was put together, I sanded everything with 150 grit sandpaper. I used a palm sander for the plywood and hand sanded the pine trim and moulding. Then I vacuumed up the dust and wiped it clean with a damp rag. I applied Minwax Mahogany gel stain with white t-shirt rags I bought from Lowe's. If there was any excess of stain I would just wipe it off after about 5 minutes or so. I let that dry for at least 24 hours. Then I applied a coat of Minwax Clear Semi Gloss fast drying Polyurethane. Then I lightly sanded everything with 220 grit sandpaper. Vacuumed and cleaned again. Then another coat of the poly.
Recommended Skill Level
Intermediate

Comments

Misty Tillema

Mon, 07/09/2012 - 15:58

Wow, what a beautiful entertainment center! I love stained wood, and this would match my house perfectly. I'm not ready to take on a project this big yet, but when I am, I want to build it. Great job!

MARGARET (not verified)

Sun, 08/19/2012 - 07:14

This is a beautiful entertainment center. You did a wonderful job. My husband has been looking for plans to build one for us and very much likes this. Is there any way he can find out what material is needed and how you did this?

smbeddard

Sun, 08/19/2012 - 14:08

Dave, this looks great. It is exactly what I want to build for our family. It would be great if you could post the plans. Thanks.

azca33

Mon, 08/27/2012 - 17:49

Great job with the entertainment center, it looks great! Now you can enjoy not only sitting on the coach and watching TV, but sitting back and basking in the greatness of your skills! Good work!

kristenlotz

Mon, 12/31/2012 - 14:26

I love this project Dave-Mac. When I saw it I knew you must have gotten your inspiration from our brag. It is gorgeous. If we were to do our entertainment center again, I think we would incorporate a lot of the things you did with yours. I love that you did a stain instead of paint! Also the thicker stiles and the inset doors are amazing. We created plans for ours on our woodworking blog. Hopefully that helps others get started on their project. It's a lot of work, but it is a fraction of the cost of buying one. Great job! Here is the link to the plans:

http://www.jrlwoodworking.com/2012/12/furniture-plans-custom-entertainm…

kristenlotz

Mon, 12/31/2012 - 14:27

I love this project Dave-Mac. When I saw it I knew you must have gotten your inspiration from our brag. It is gorgeous. If we were to do our entertainment center again, I think we would incorporate a lot of the things you did with yours. I love that you did a stain instead of paint! Also the thicker stiles and the inset doors are amazing. We created plans for ours on our woodworking blog. Hopefully that helps others get started on their project. It's a lot of work, but it is a fraction of the cost of buying one. Great job! Here is the link to the plans:

http://www.jrlwoodworking.com/2012/12/furniture-plans-custom-entertainm…

DMac

Thu, 03/07/2013 - 10:17

It depends on what you are looking for. How complicated of a project are you looking to have built? If it is something on this site then I could build it for you.

This is Dave-Mac by the way. I couldn't figure out how to reset my password so I just made a new account.

DIY RH Dining Table

Submitted by vlilly on Sun, 04/27/2014 - 13:22

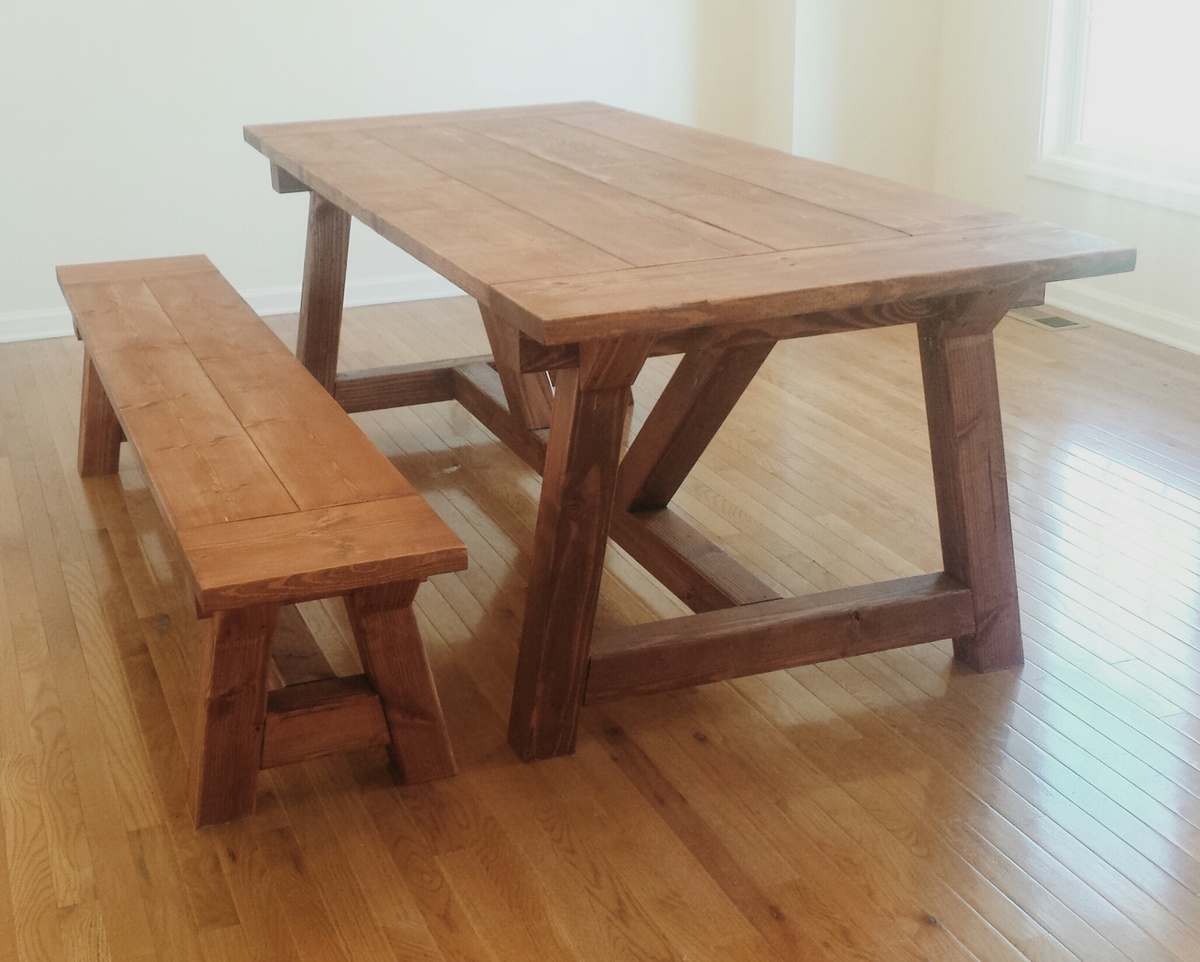
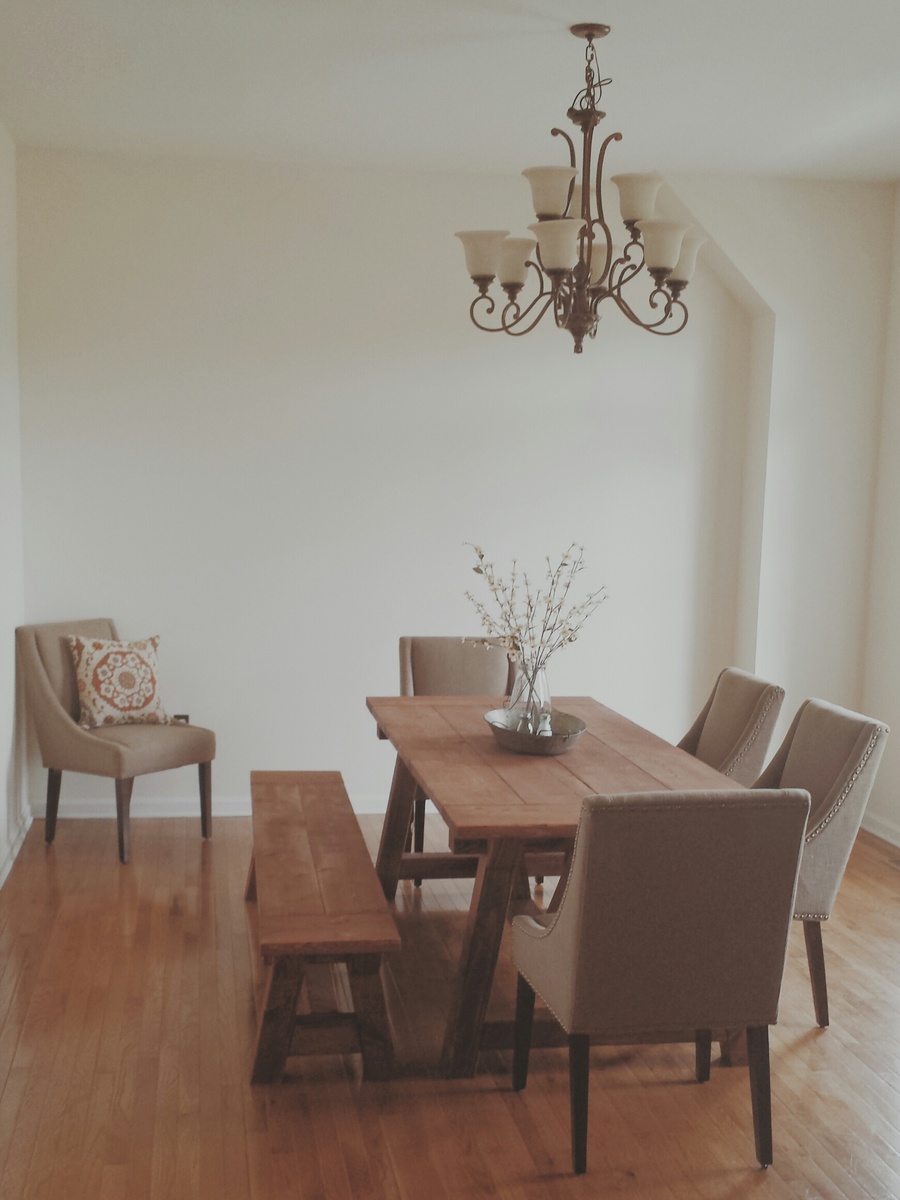
I loved making this! I had to travel about 2 hours to get the DF 4x4s which was the only pain in making it. This was my third big project and it wasn't hard at all! It's super heavy so it was a litte tough to turn it over. It only took me about 3 days to make it once I had all the wood.

Estimated Cost
$175-$200
Estimated Time Investment
Weekend Project (10-20 Hours)
Finish Used
Stained with Rustoleum American Walnut, then applied a coat of Rustoleum Poly in matte.
Recommended Skill Level
Intermediate

My Take on the Rustic Table

Submitted by Anonymous (not verified) on Wed, 07/27/2016 - 14:03

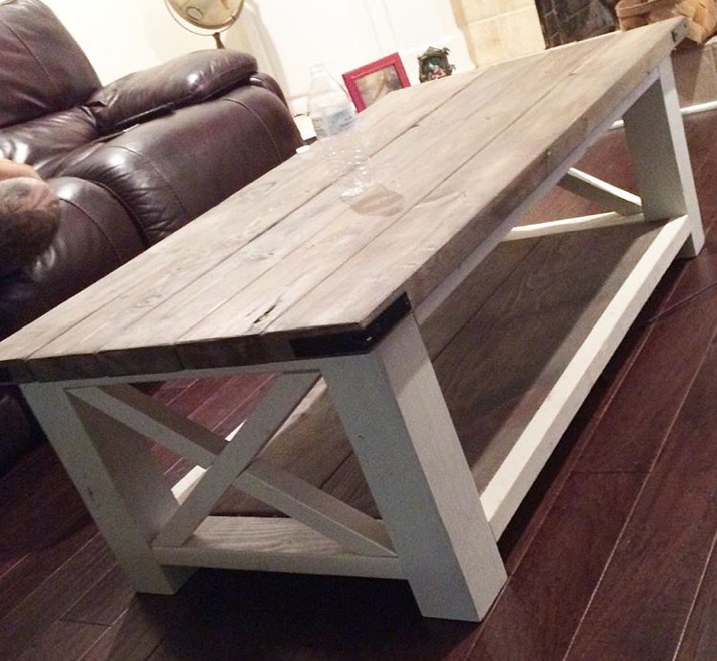
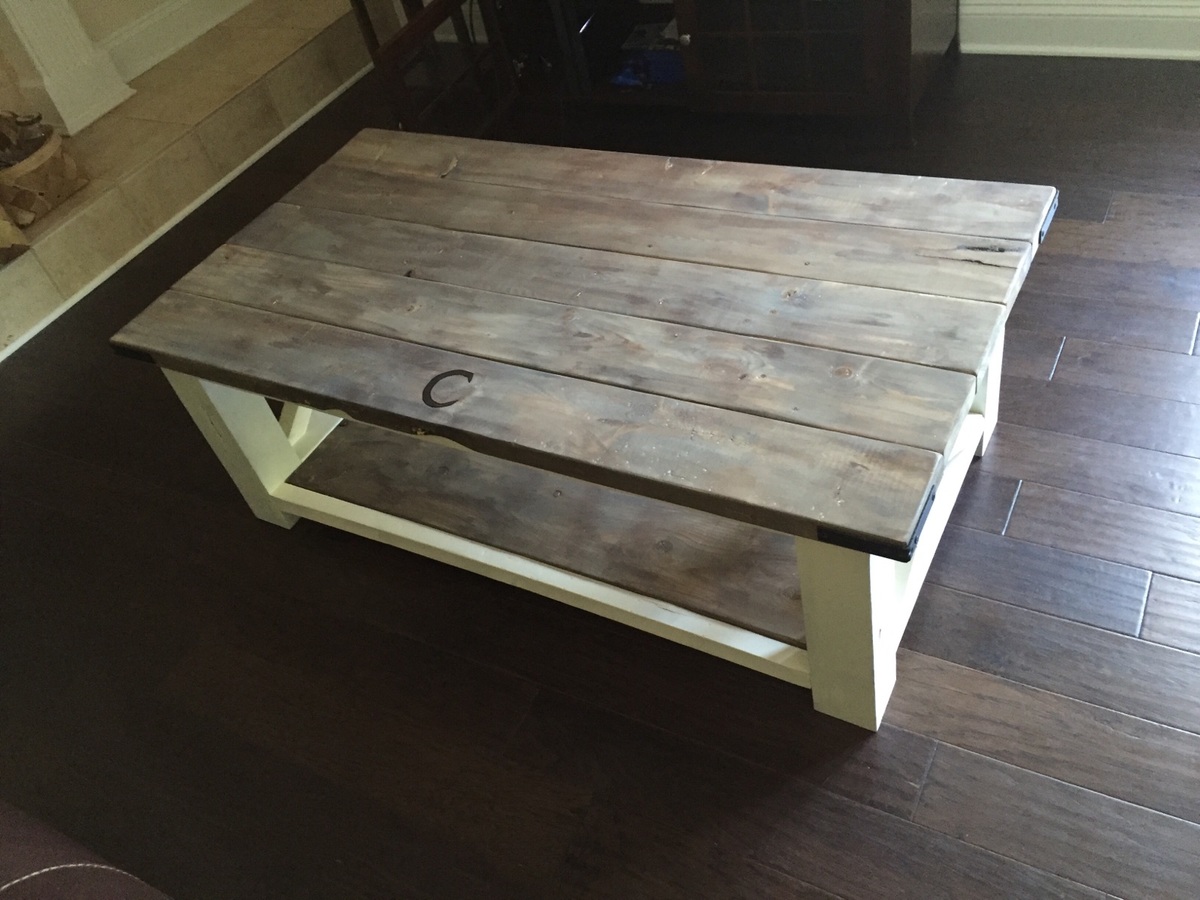
Tons of fun to build!  I wanted a firmer base so I used 4x4s instead of 2x4s. I also tried a new staining method for me. I laid down a light coat of special walnut. Once that was dry, I rubbed on a somewhat thicker coat of classic grey. It kind of has a marbled effect now! I also stained the letter "C" for my friends last name using a black Walnut color. I think she turned out alright! 

Built from Plan(s)
Estimated Cost
100 bucks
Estimated Time Investment
Day Project (6-9 Hours)
Finish Used
Miniwax
Recommended Skill Level
Beginner

Camp Loft Bed w/ Modification

Submitted by zpbrown84 on Tue, 05/19/2020 - 07:27

This was my first project to tackle from this website and I had some help from my Father in Law who is pretty good at carpentry. I have picked up a lot from this site as far as tips and such and this was the first of many projects for me.

Estimated Cost
$200
Estimated Time Investment
Day Project (6-9 Hours)
Finish Used
We have not finished it yet but the plan is the kids pick the color and help paint it
Recommended Skill Level
Intermediate
Back