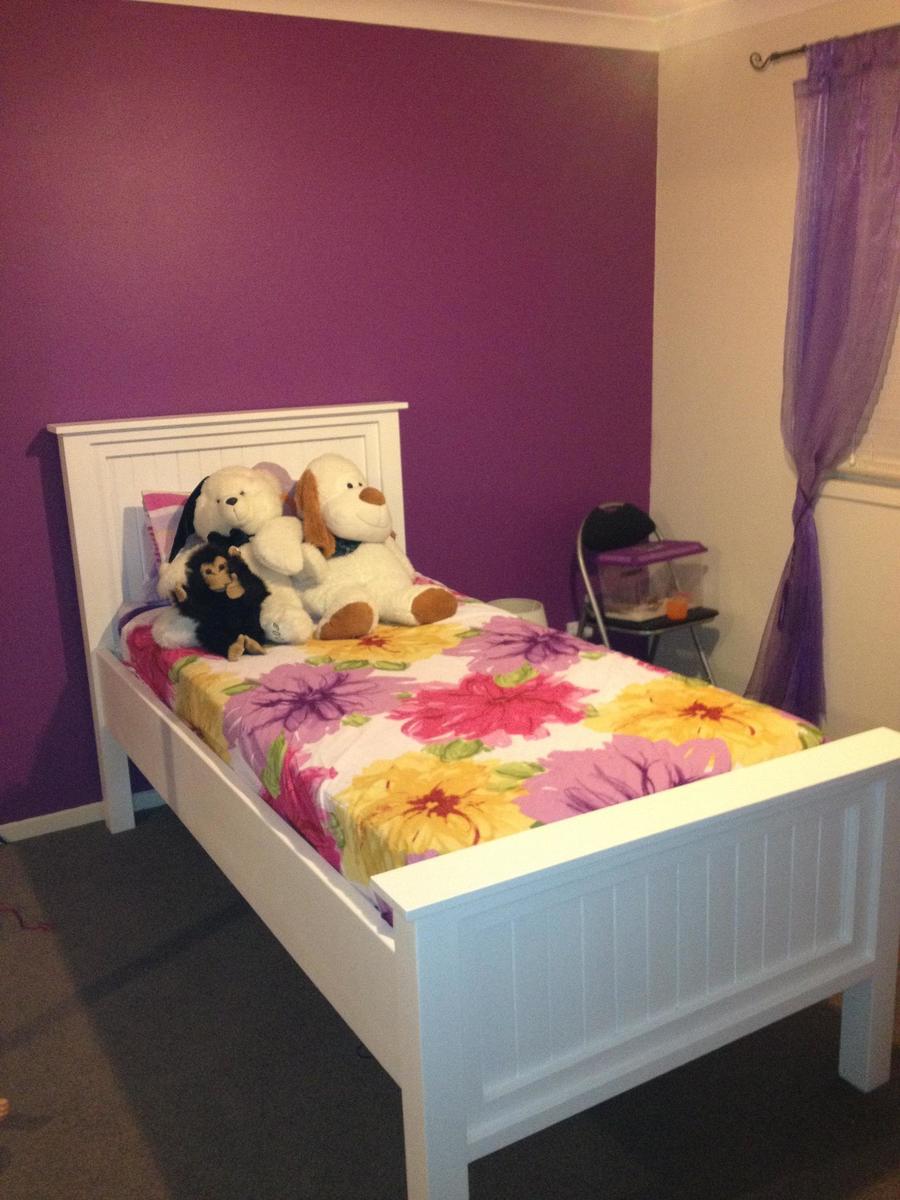
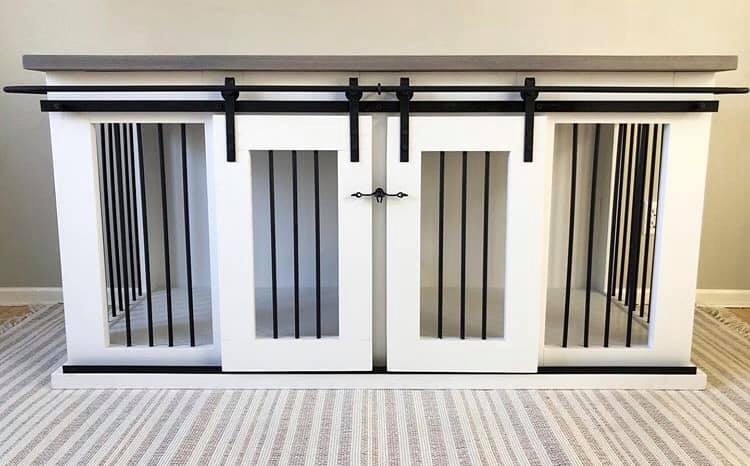
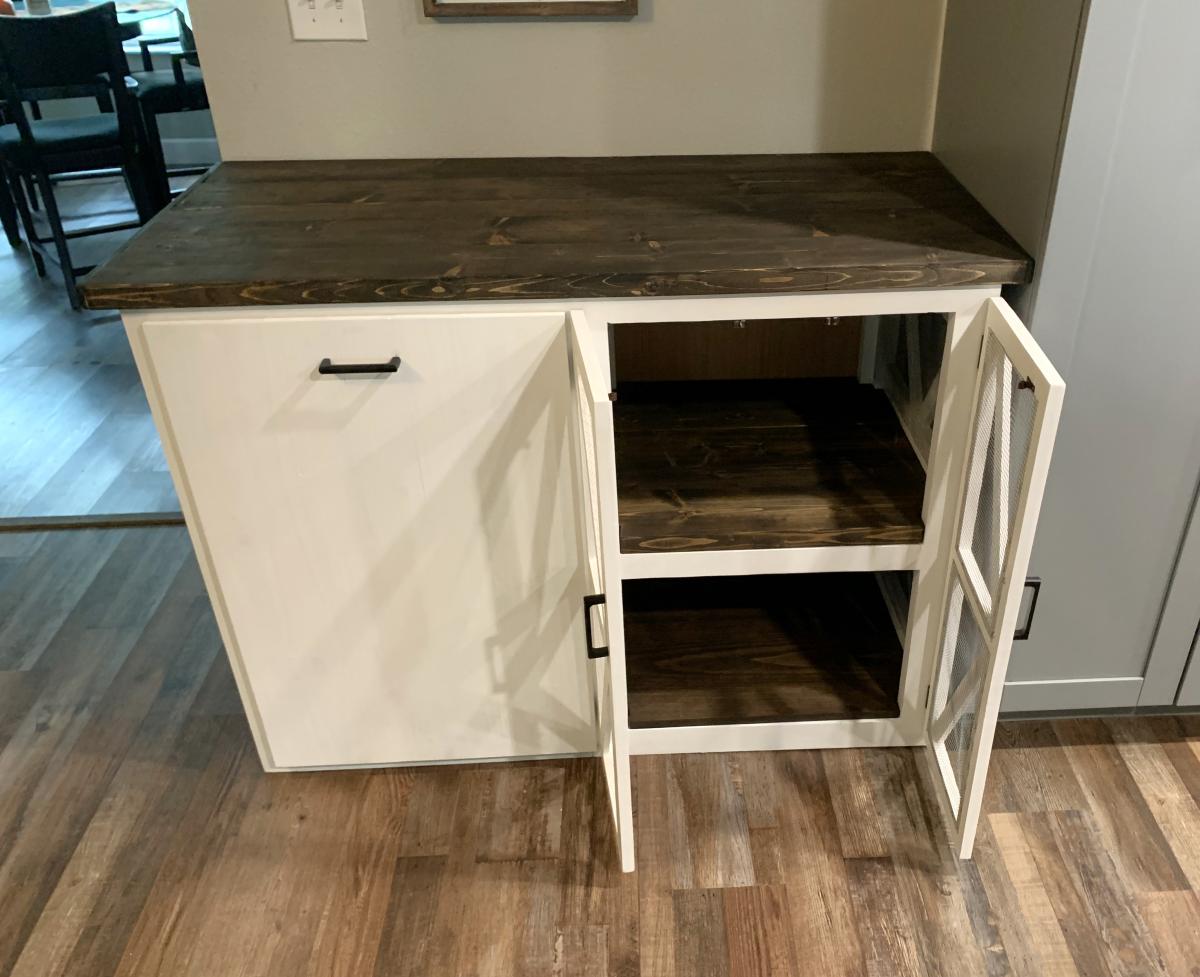
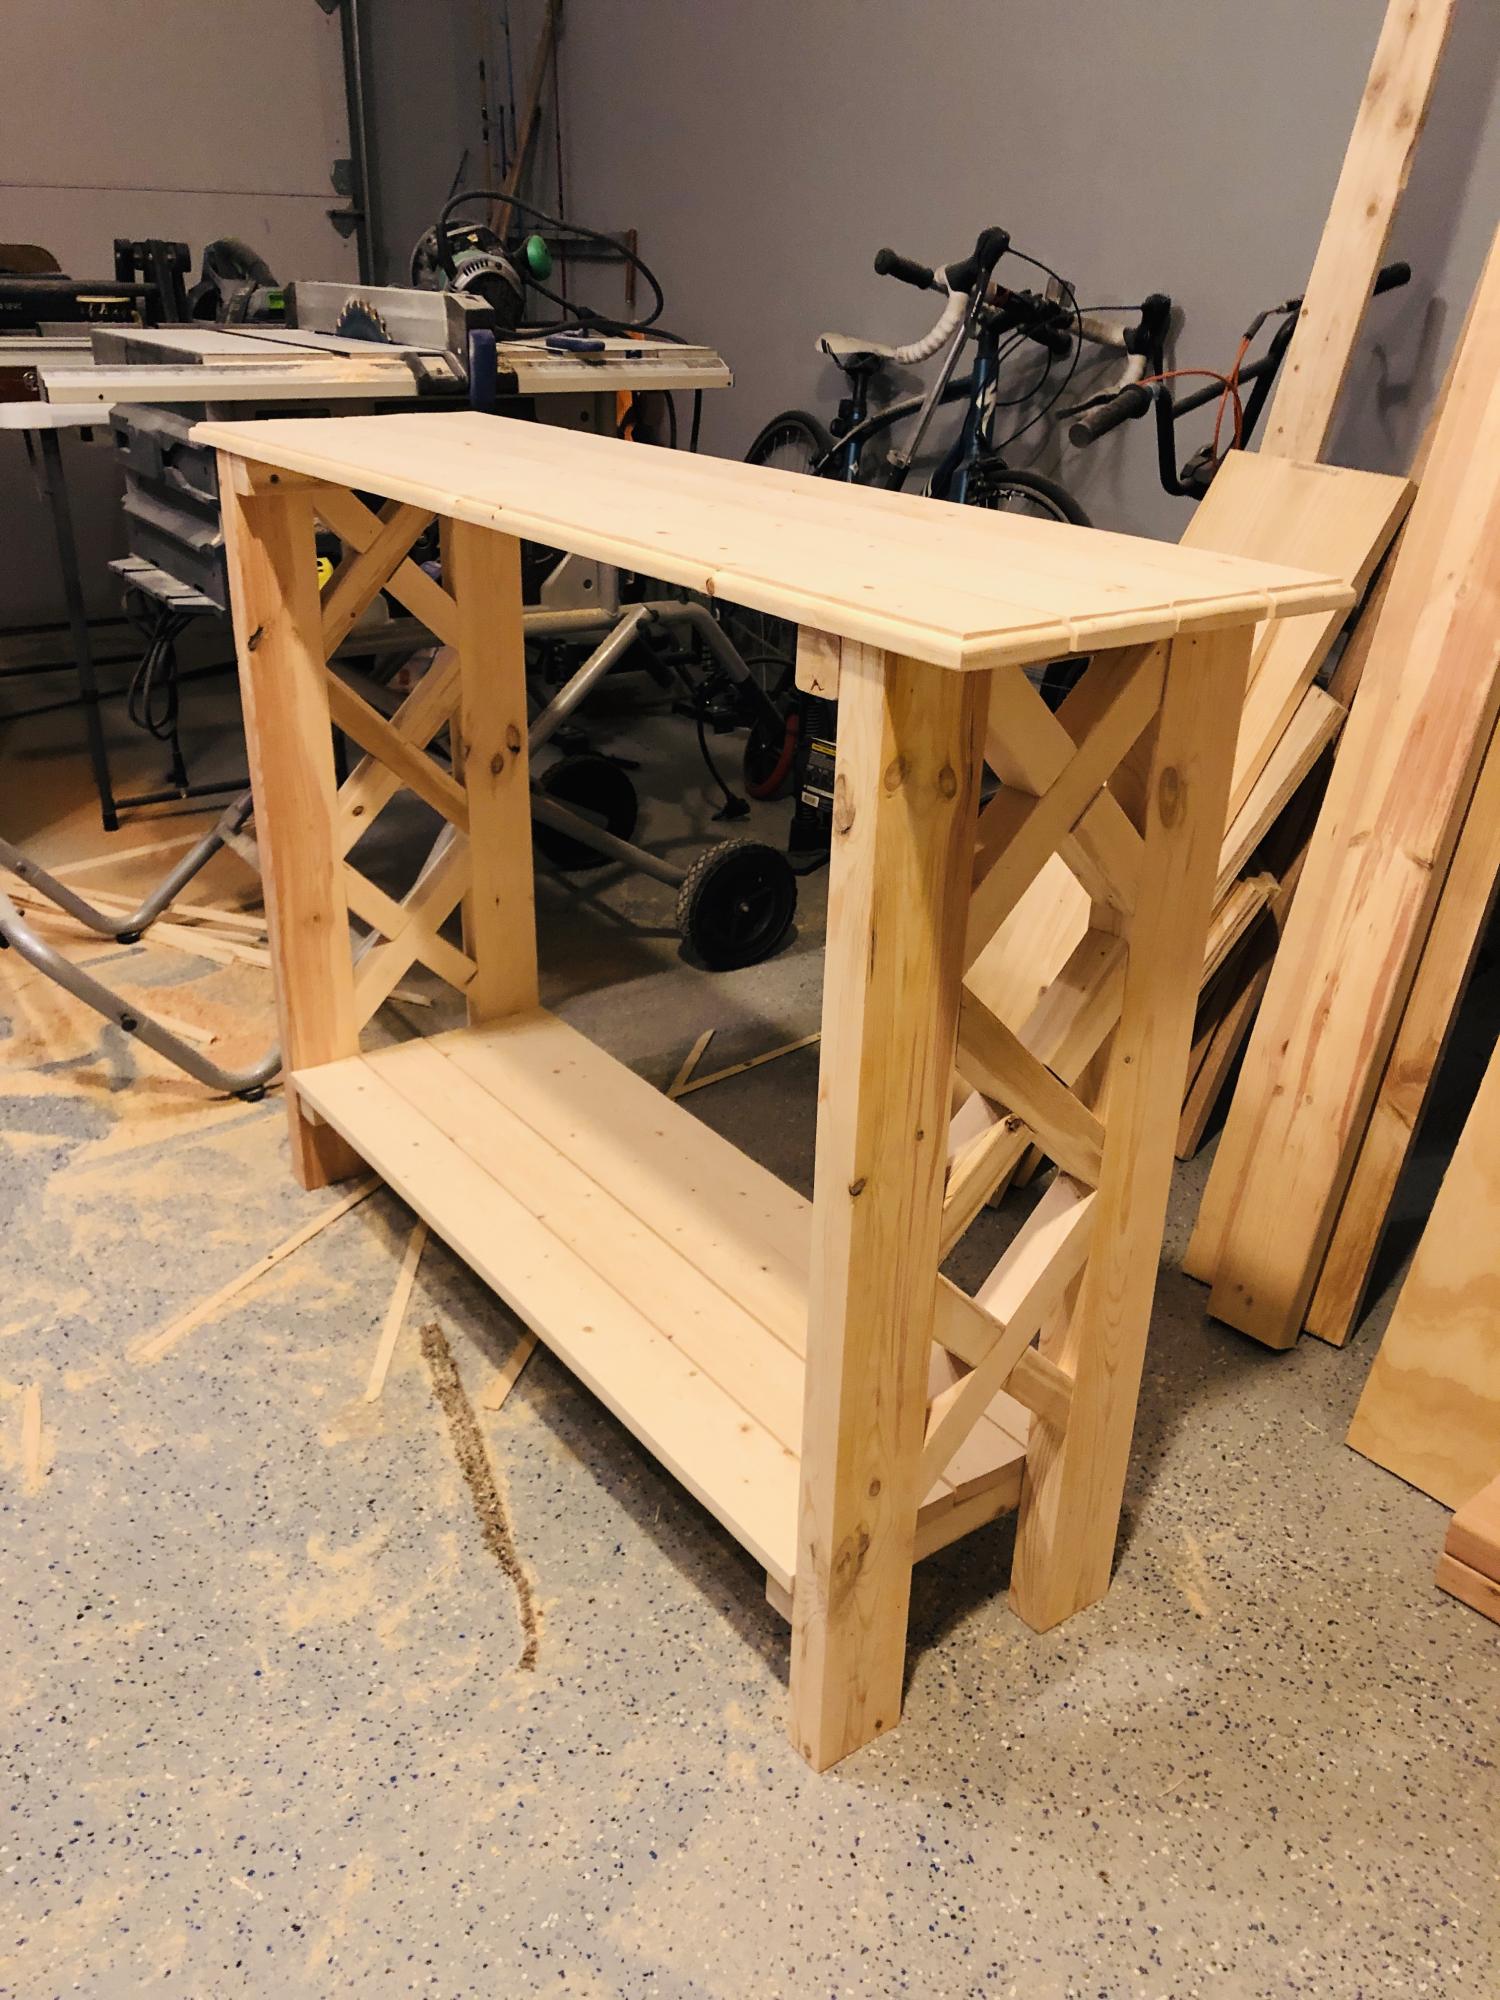
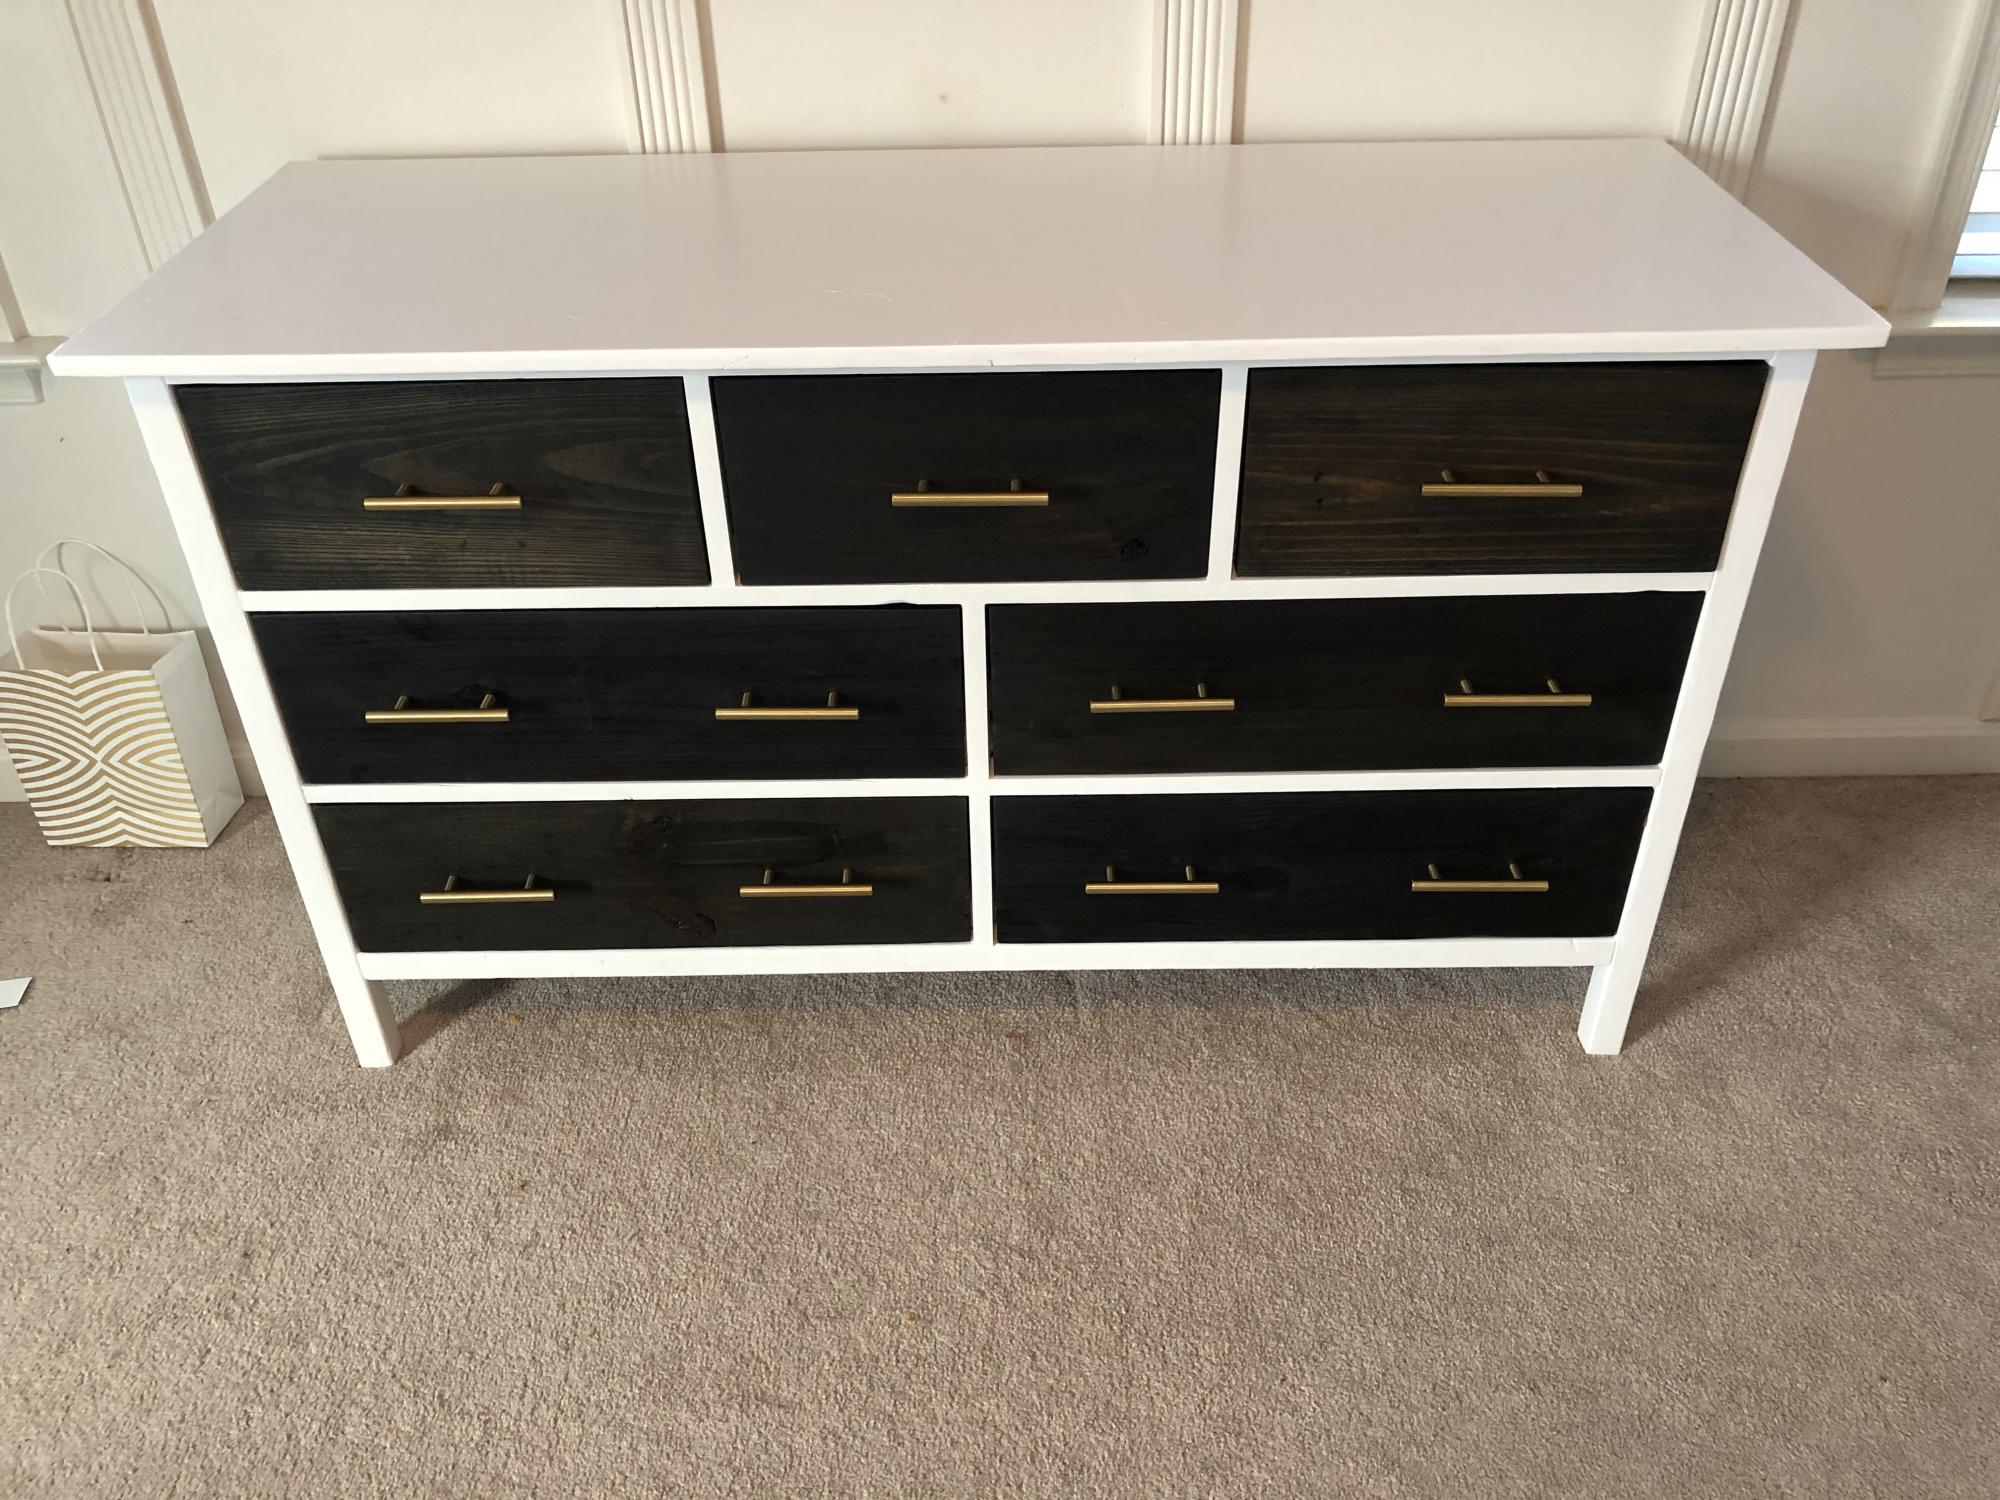
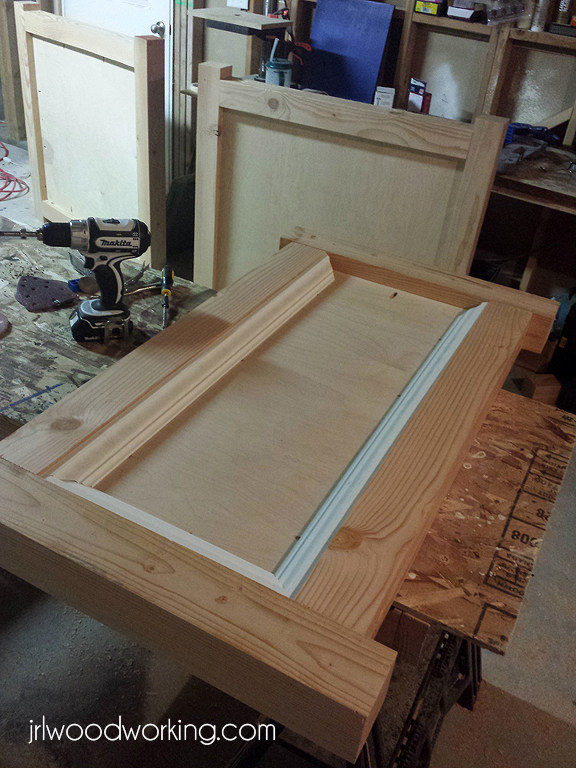
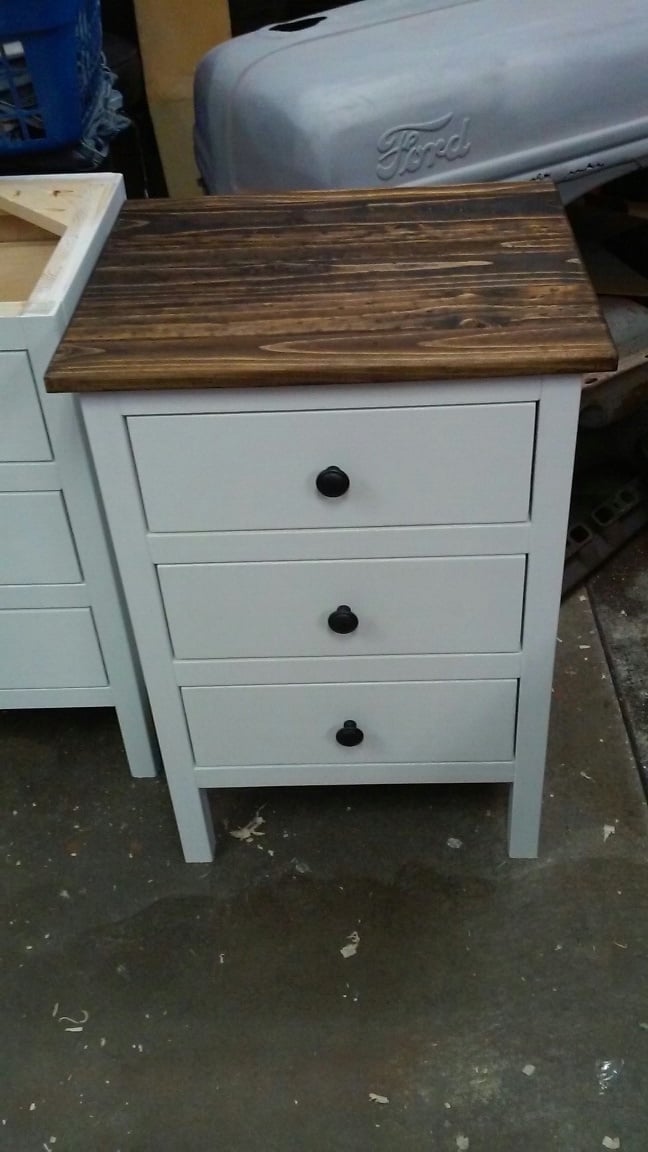
My Bedside Tables
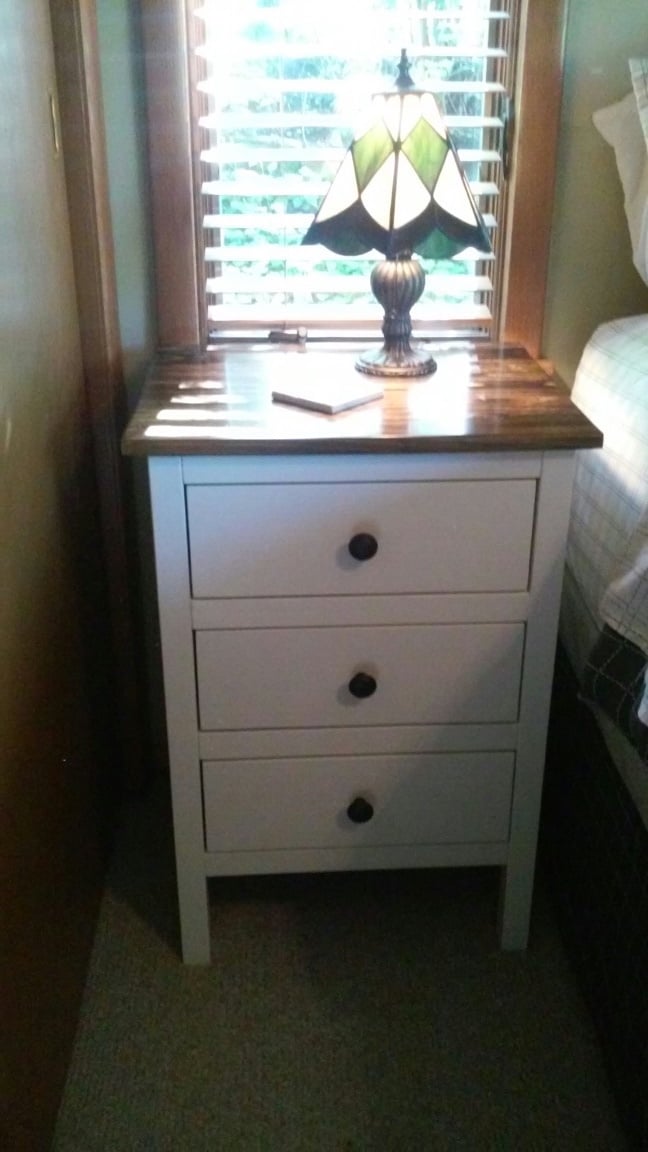
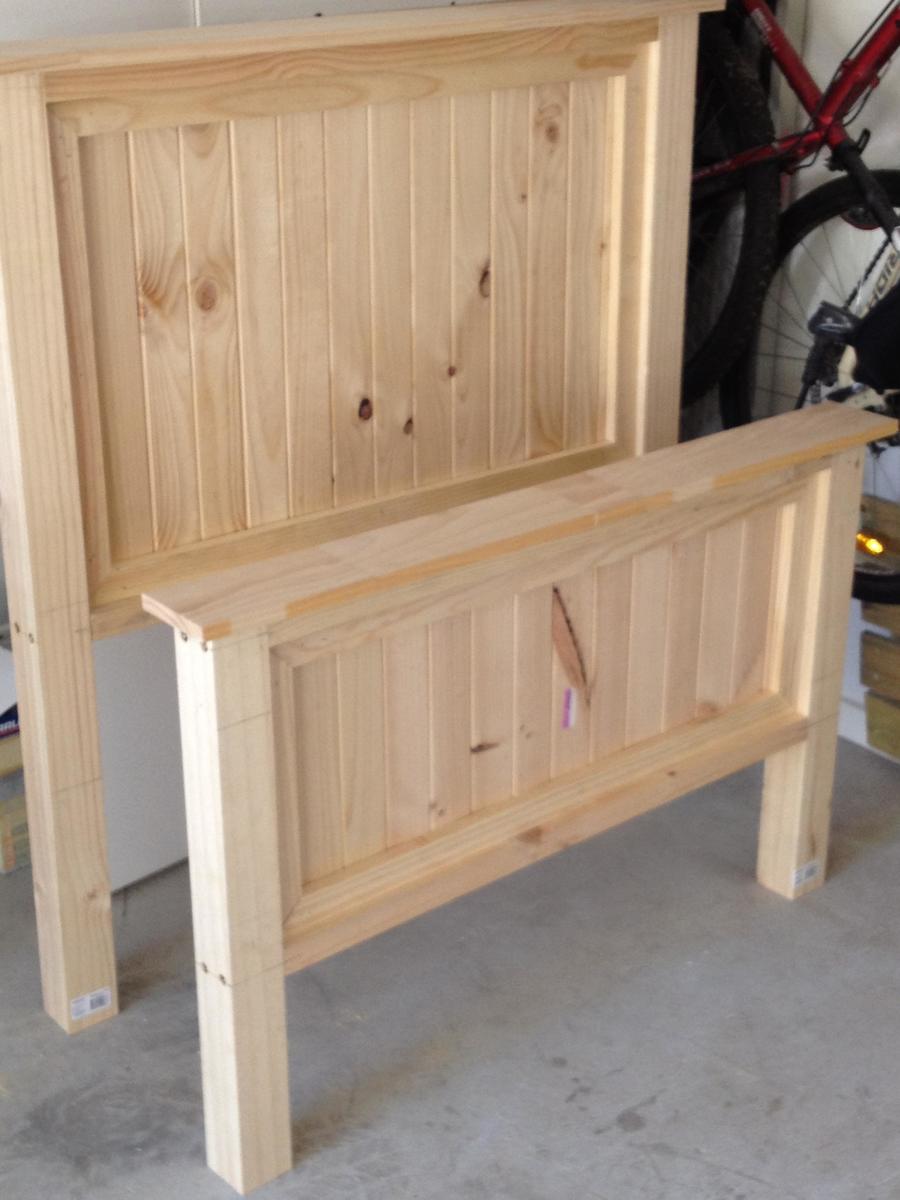
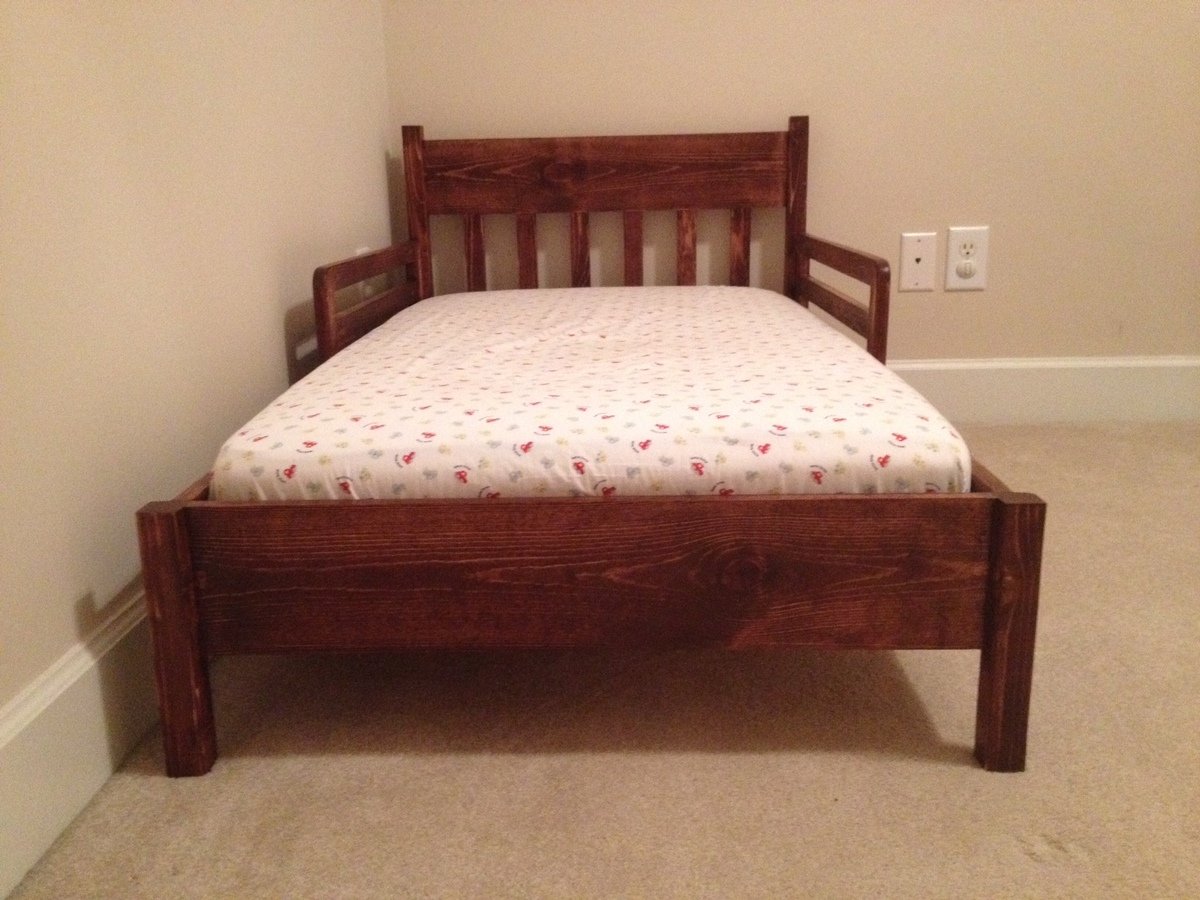
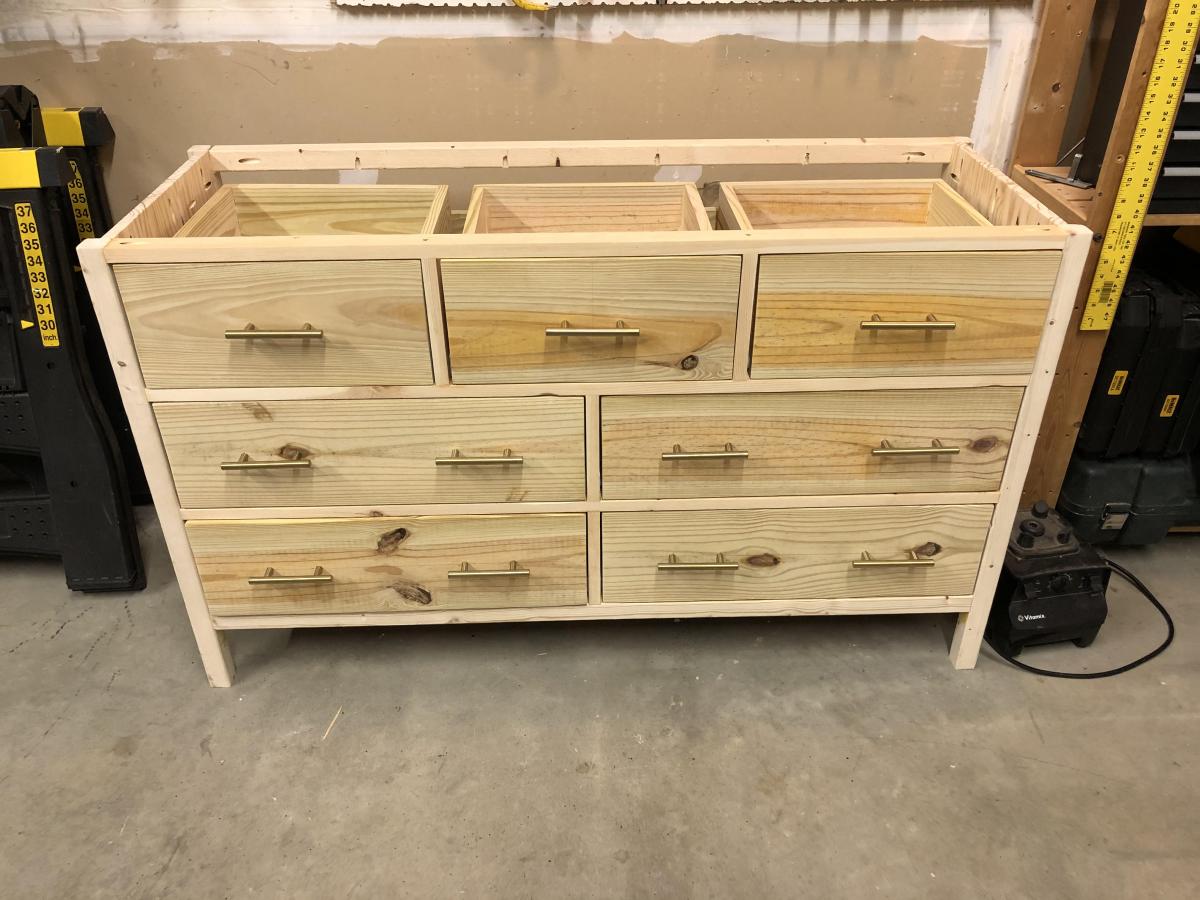
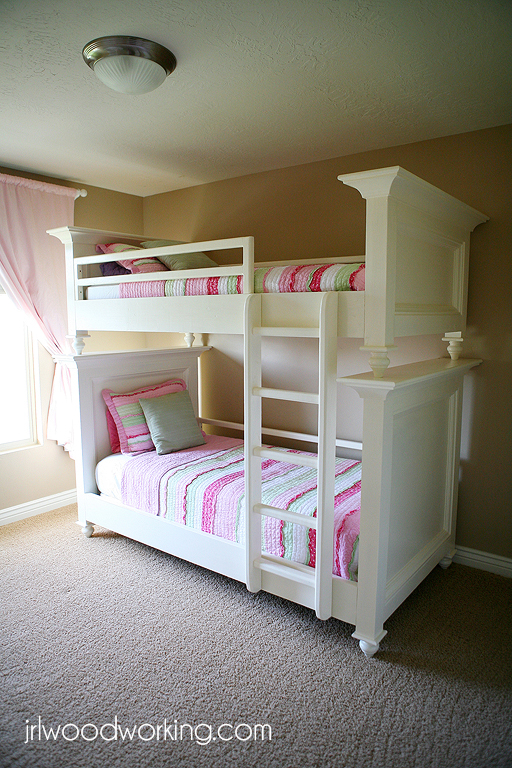
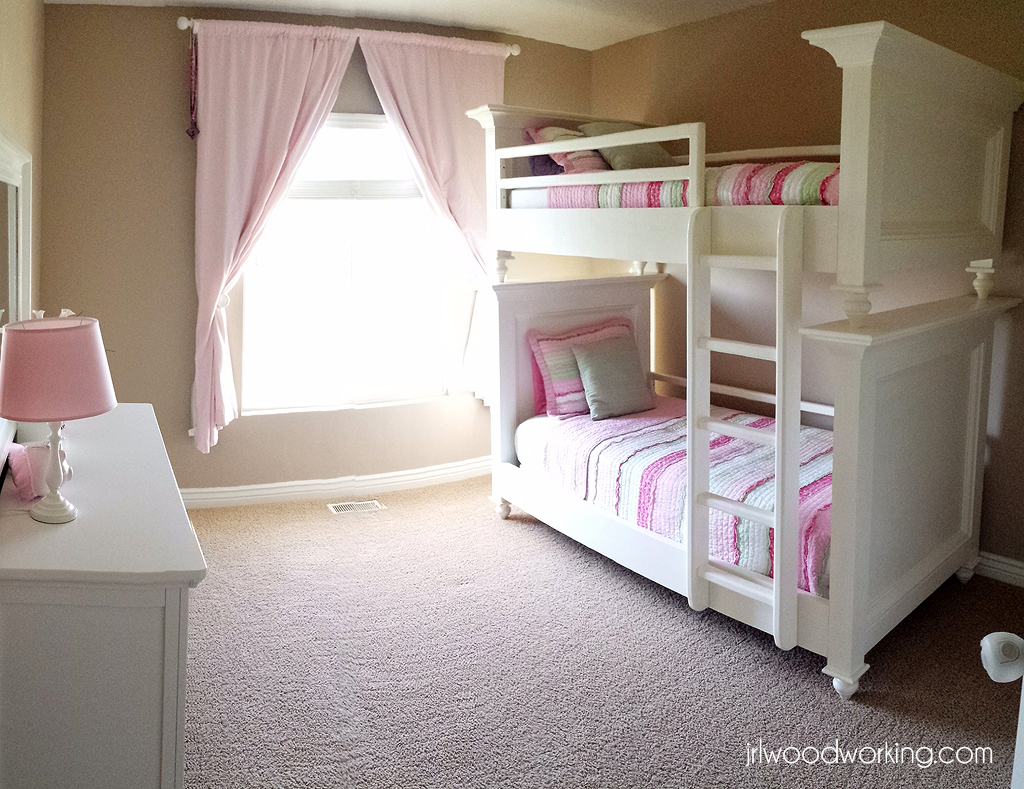
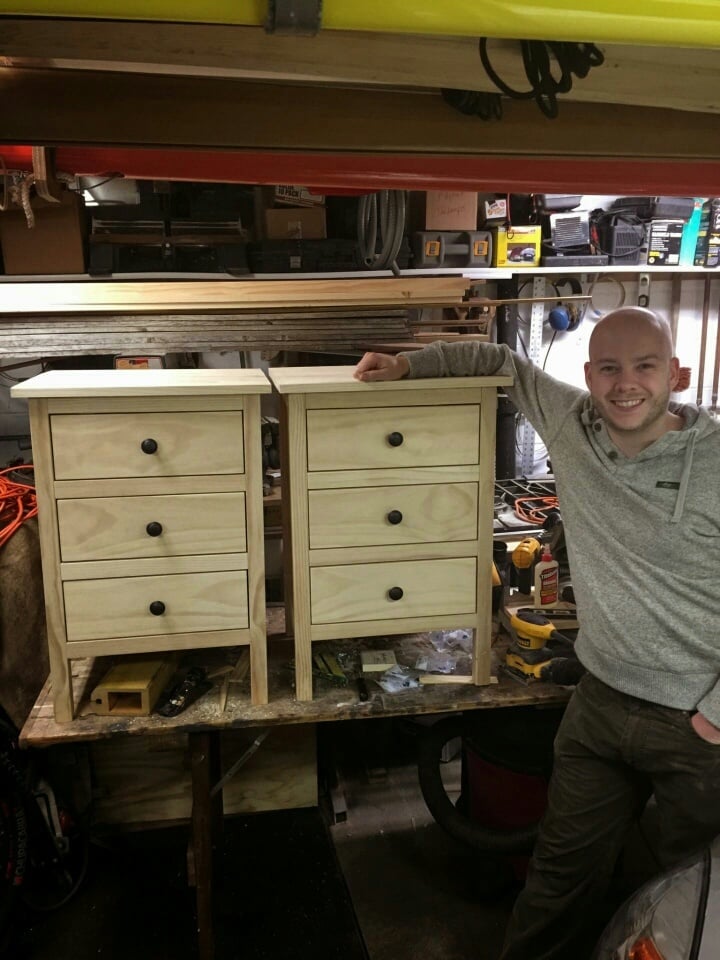
This was quite the project. It was the most fun and rewarding of the handful I've done so far. It took quite a while but now that it's finished I'm very satified. I would like to eventually build an extra large dresser that matches.
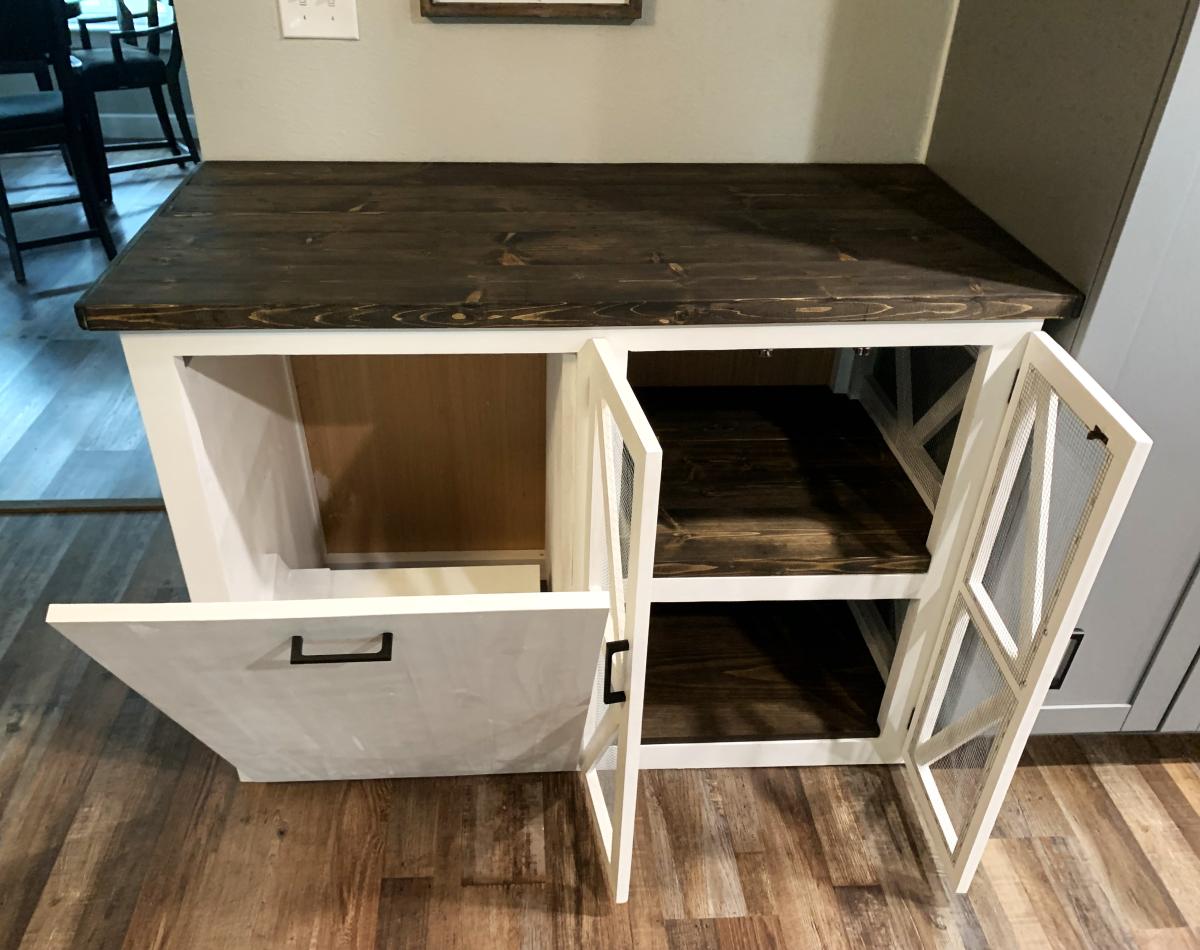
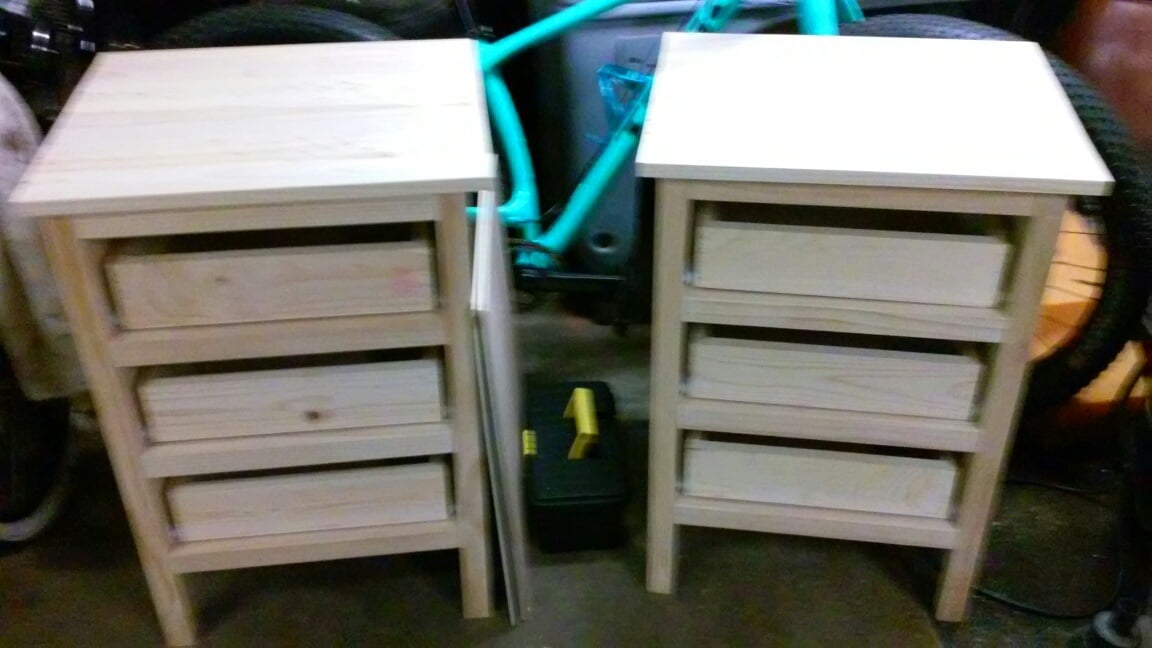
***The one thing that I am not totally happy with on this project are the euro drawer slides. They are loud and they have a cheap chinsy feel to them. When I build drawers in the future, I will either spend more and get fancy slides, or make some simple waxed wood slides for a more premium feel.

Built from Plan(s)
Estimated Cost
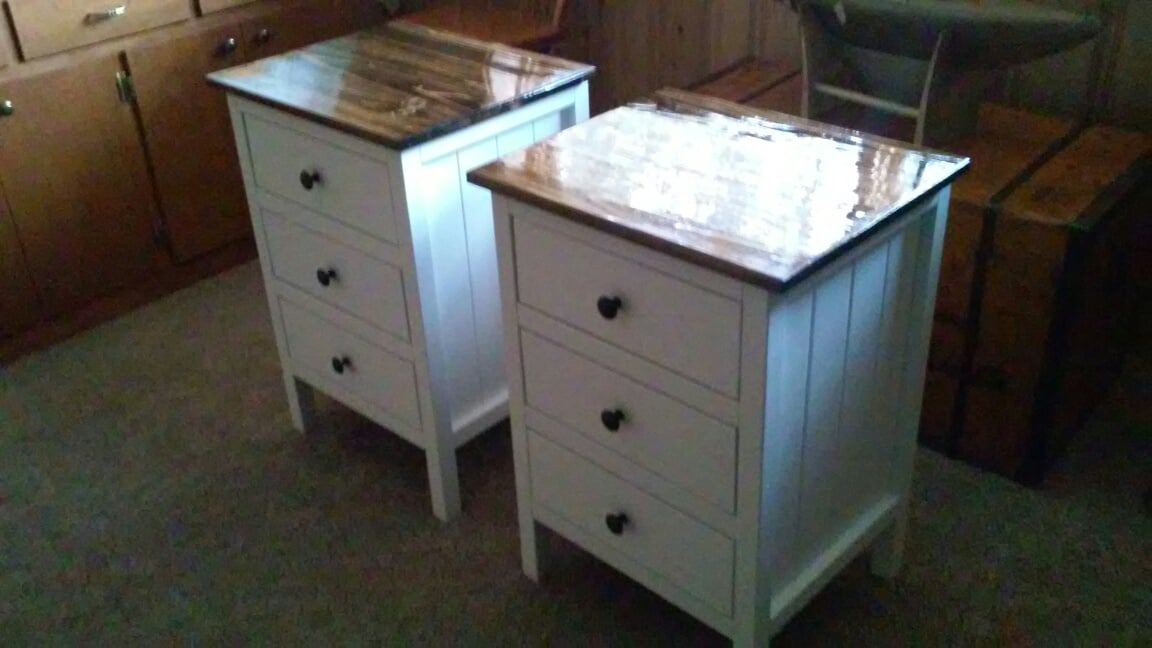
$220 for two.
I figure I have a total of $110 in to EACH of these tables. That includes all of the lumber (some quality lumber and some standard), cheap euro drawer slides, primer, paint, knobs, and hardware. Not included in the estimated cost is the wood conditioner, stain, and poly for the tops (I already had this stuff from a previous project. ***Compare at $499 each for a comparable bedside dresser from LL Bean.
I figure I have a total of $110 in to EACH of these tables. That includes all of the lumber (some quality lumber and some standard), cheap euro drawer slides, primer, paint, knobs, and hardware. Not included in the estimated cost is the wood conditioner, stain, and poly for the tops (I already had this stuff from a previous project. ***Compare at $499 each for a comparable bedside dresser from LL Bean.
Estimated Time Investment
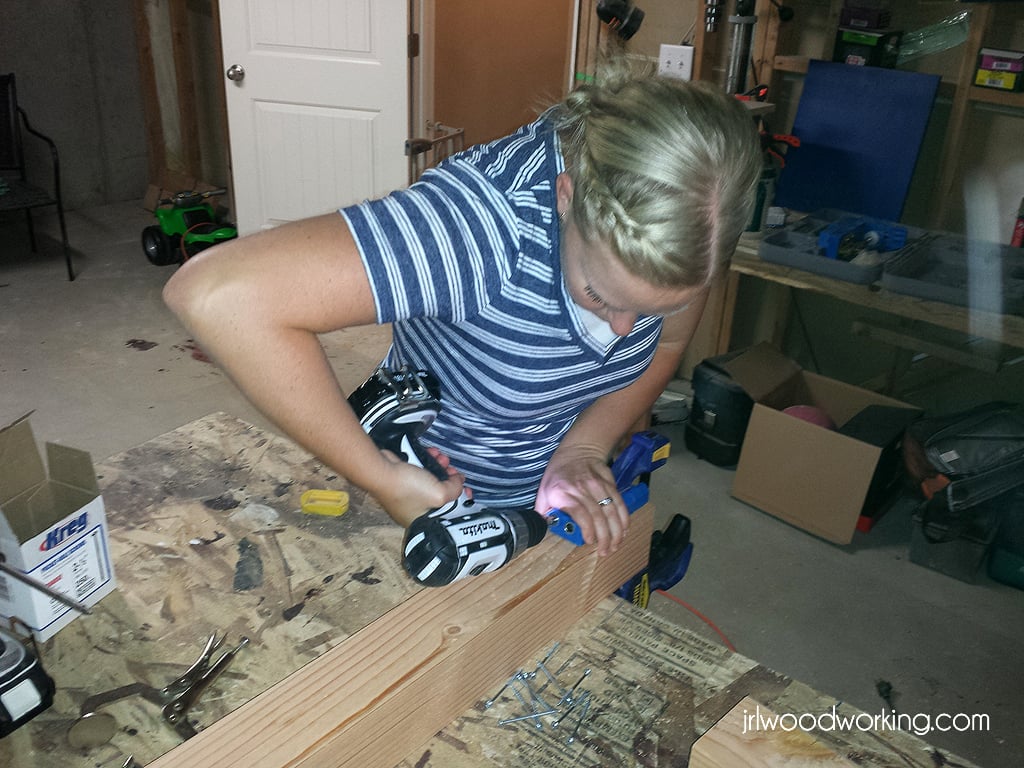
Week Long Project (20 Hours or More)
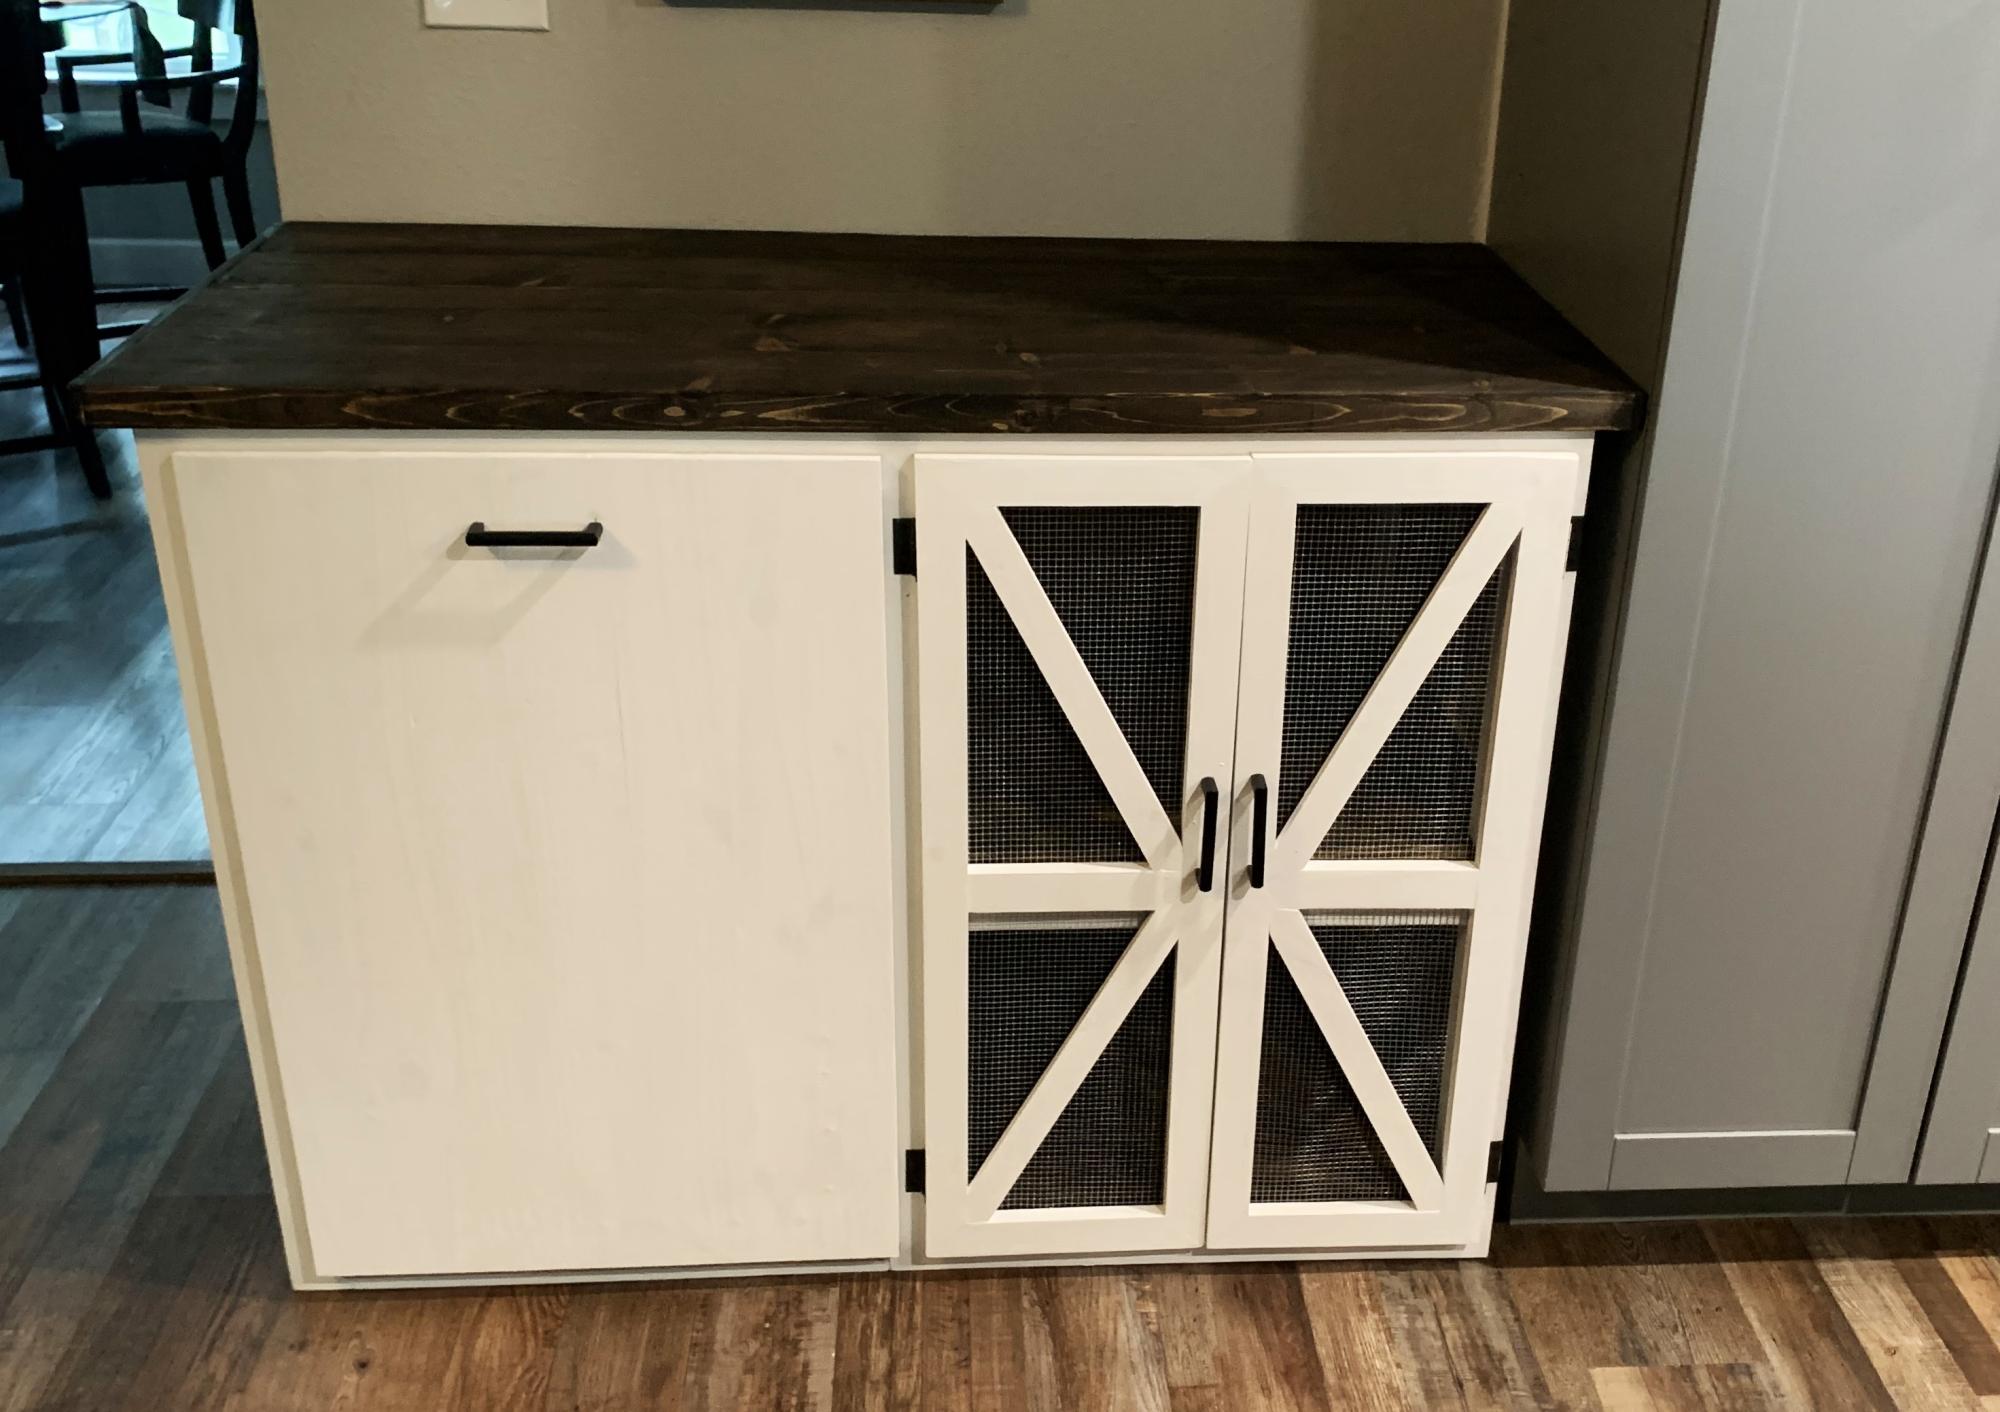
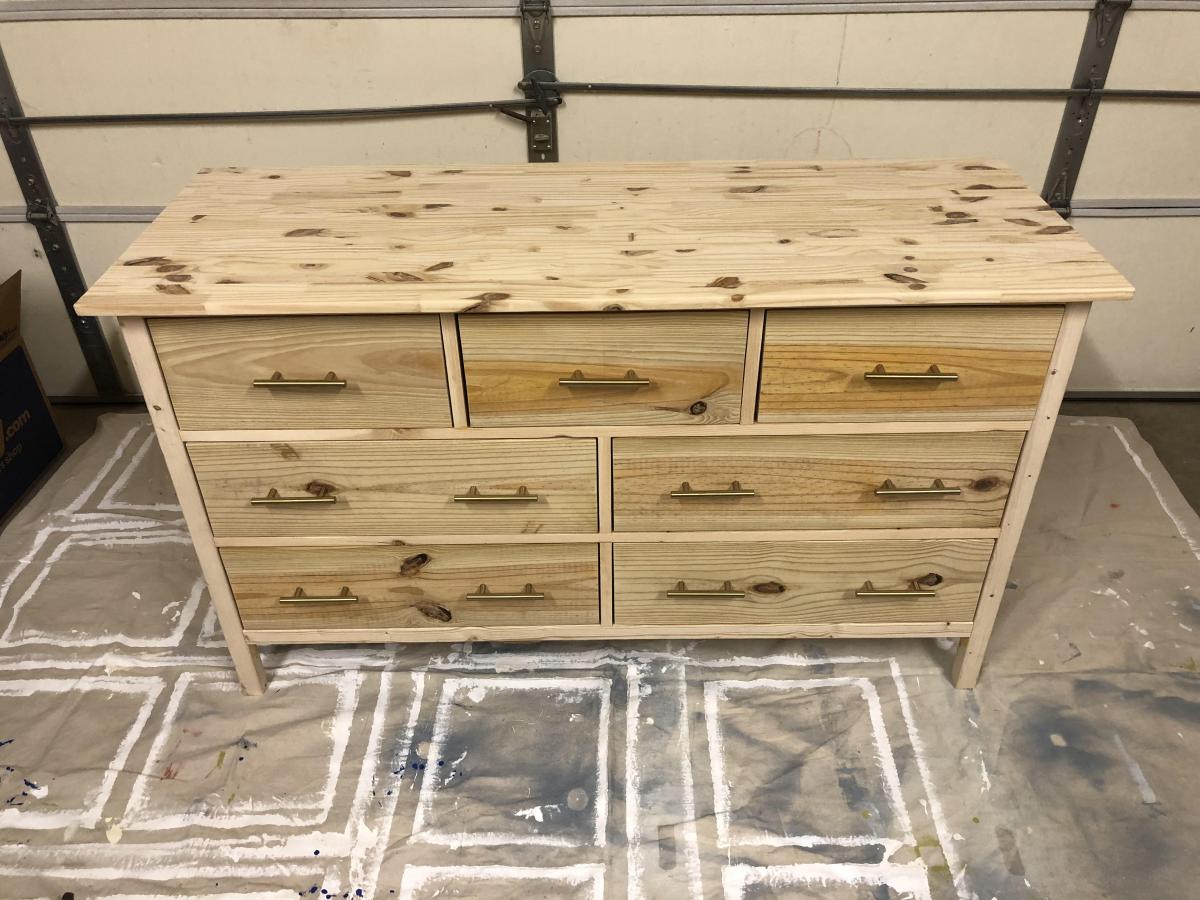
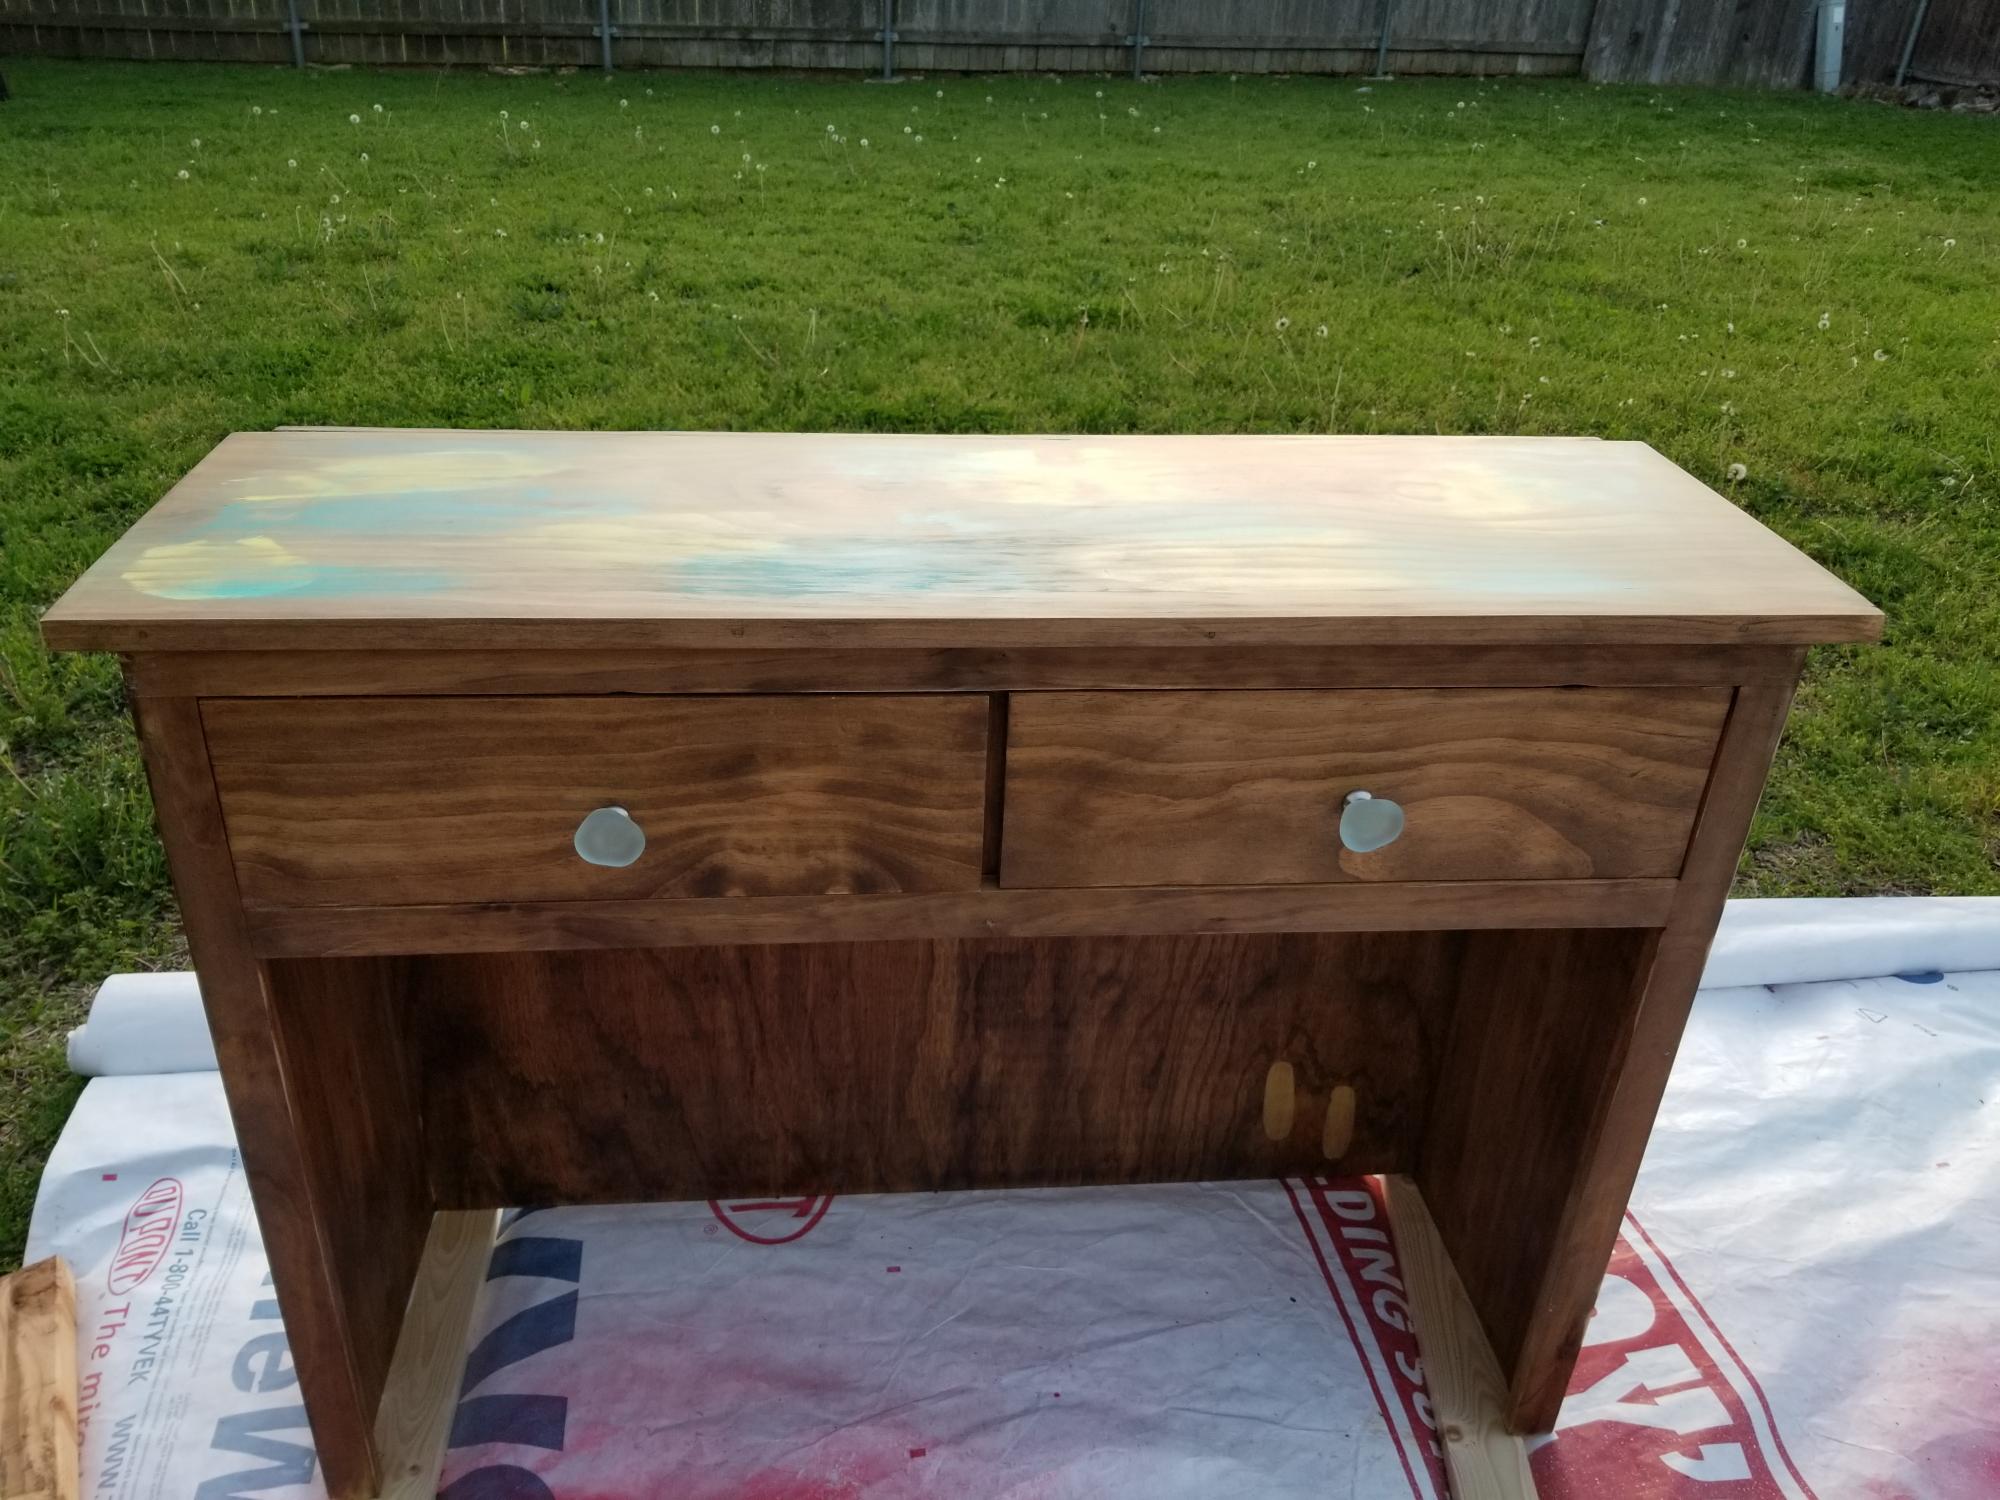
Finish Used
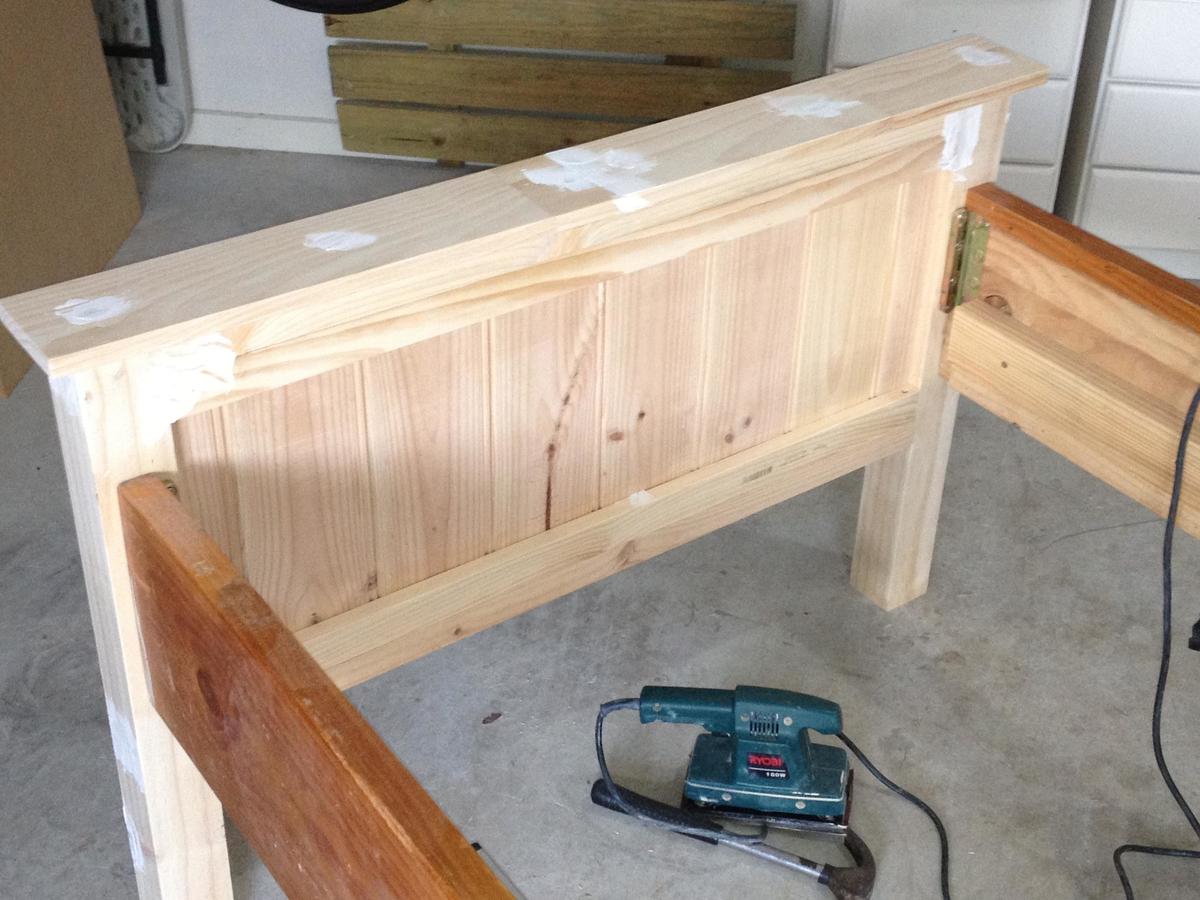
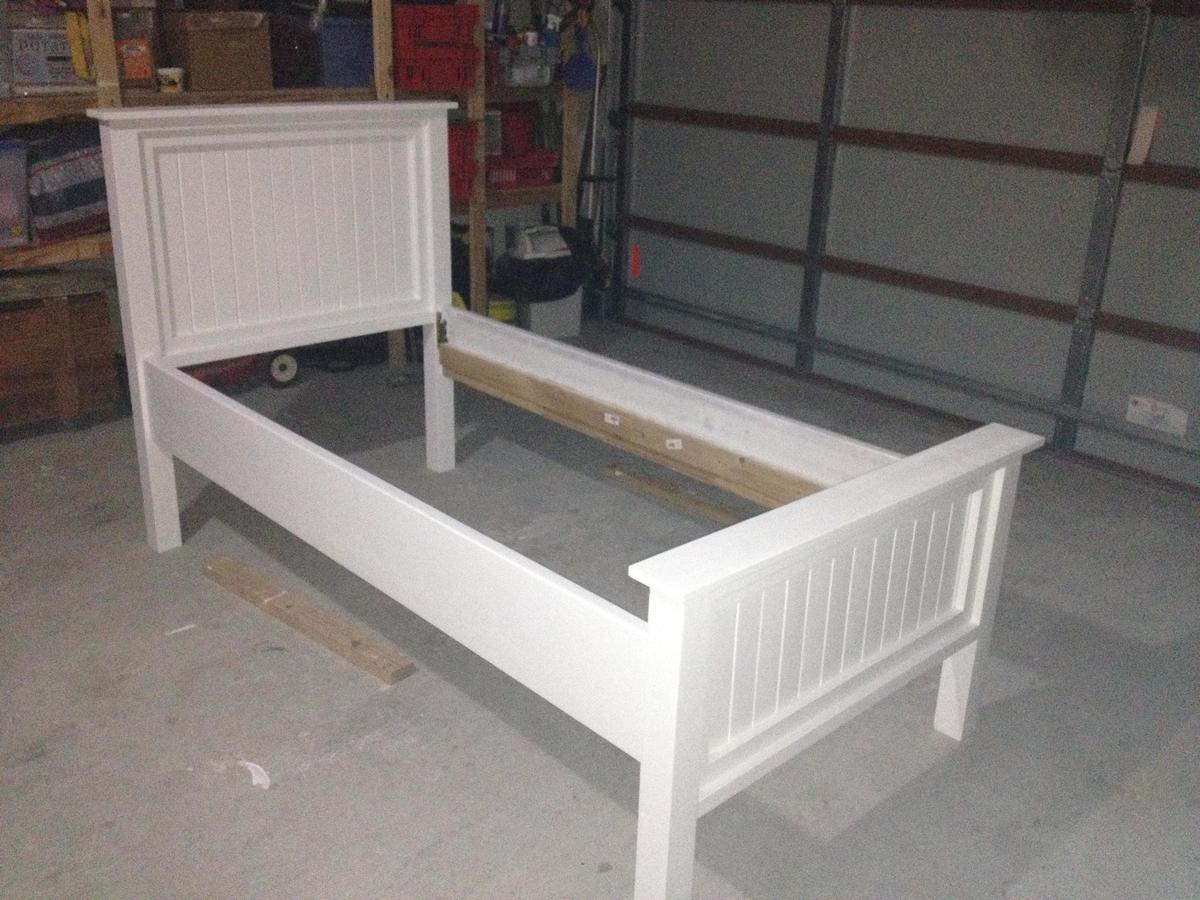
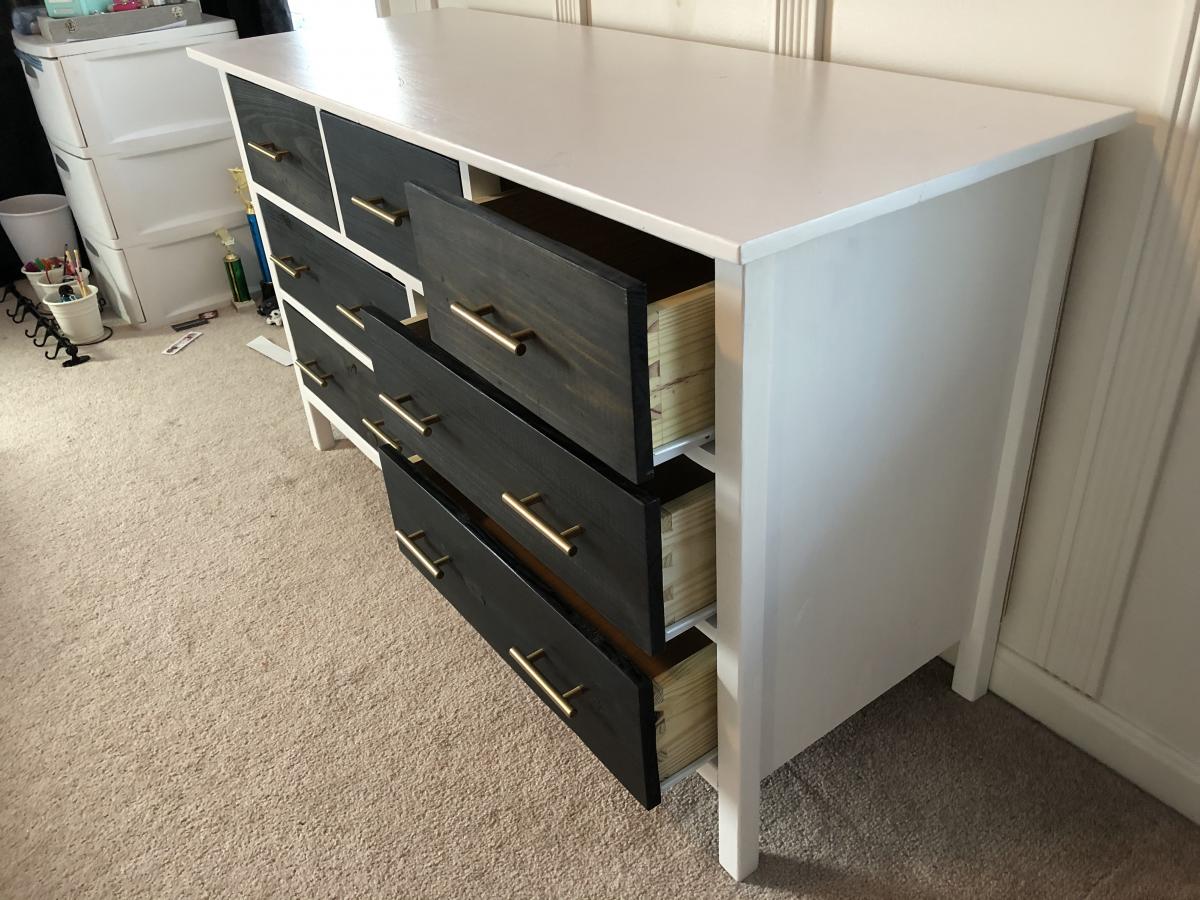
Kilz old based primer, then three coats of Rustoleum blossom white for the base.
Minwax pre-stain wood conditioner, Minwax dark walnut stain, and three coats of Minwax semi-gloss polyurethane for the top.
Minwax pre-stain wood conditioner, Minwax dark walnut stain, and three coats of Minwax semi-gloss polyurethane for the top.
Recommended Skill Level
Intermediate