X Base Farmhouse Table with Bench
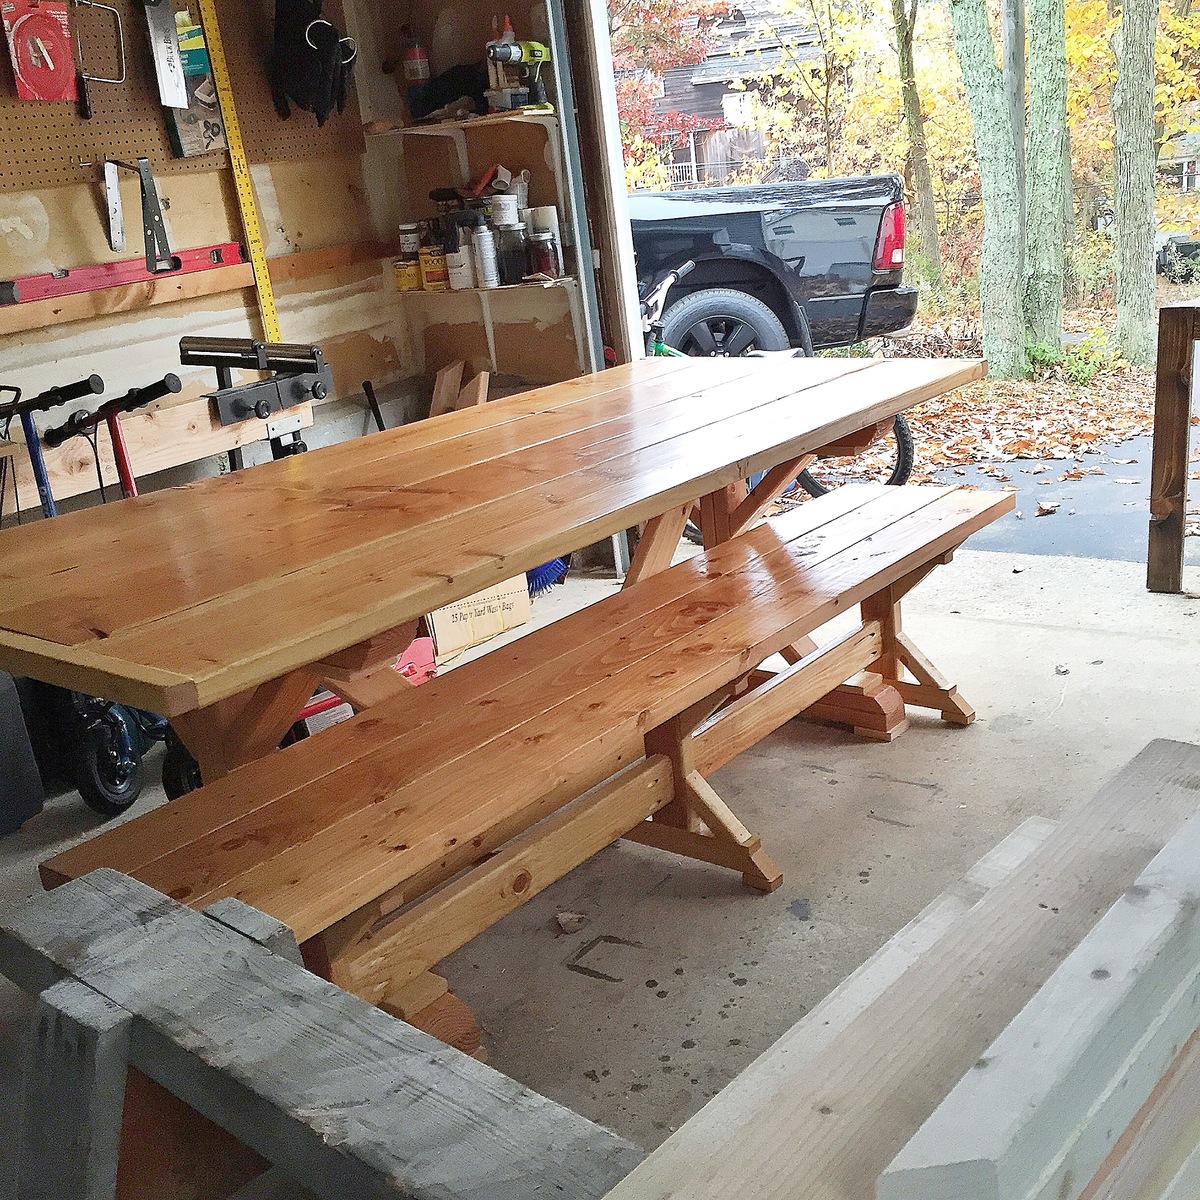
This table is very solid and the plans are very well written and easy to understand and follow.
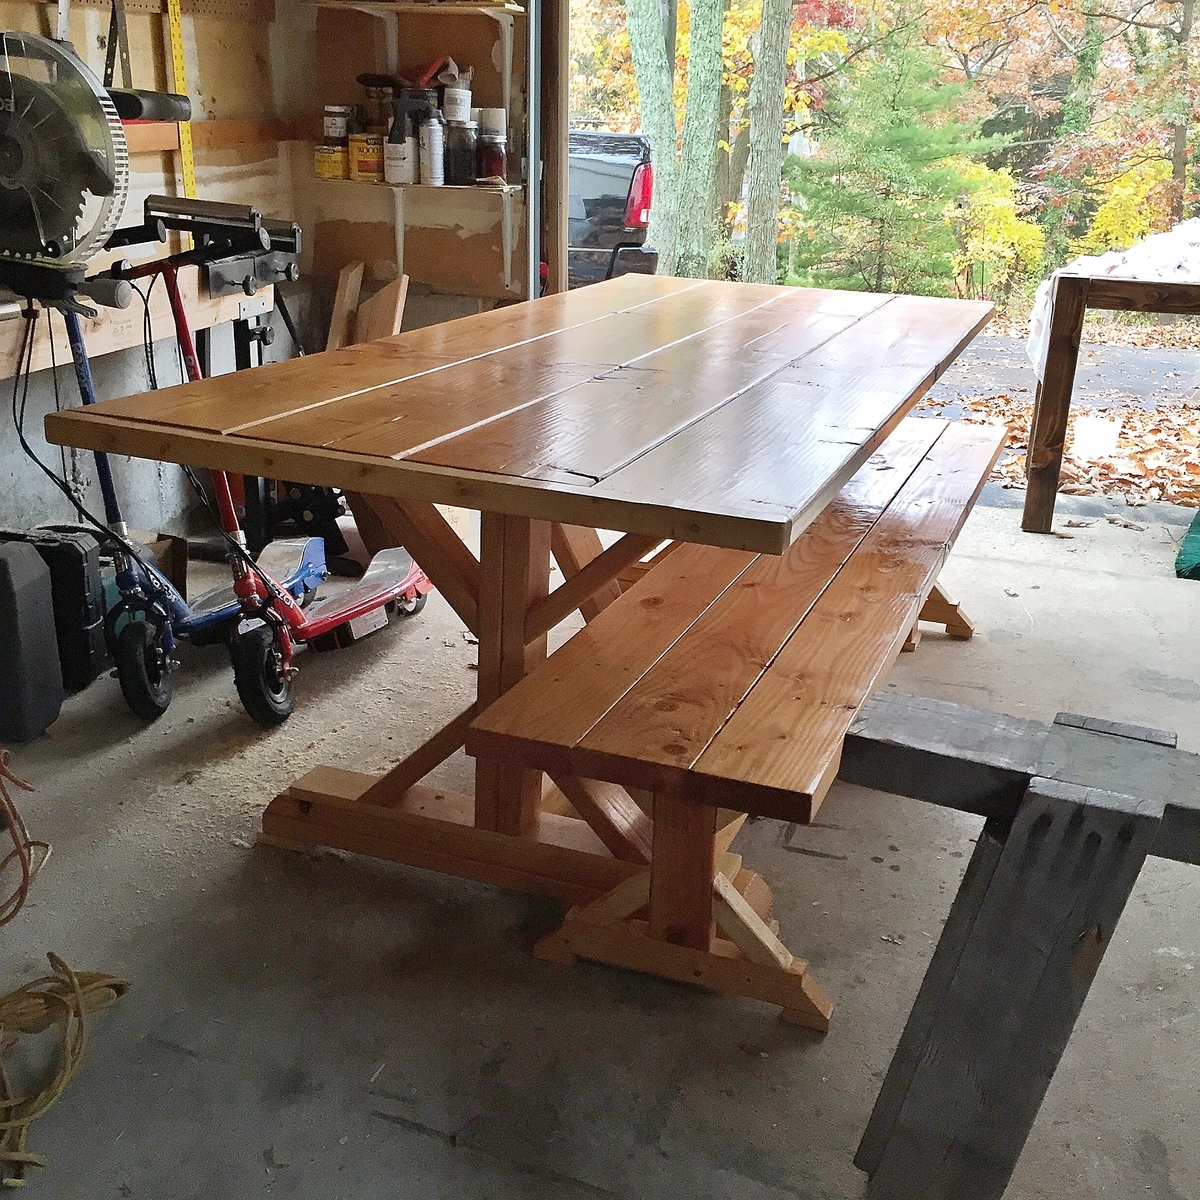
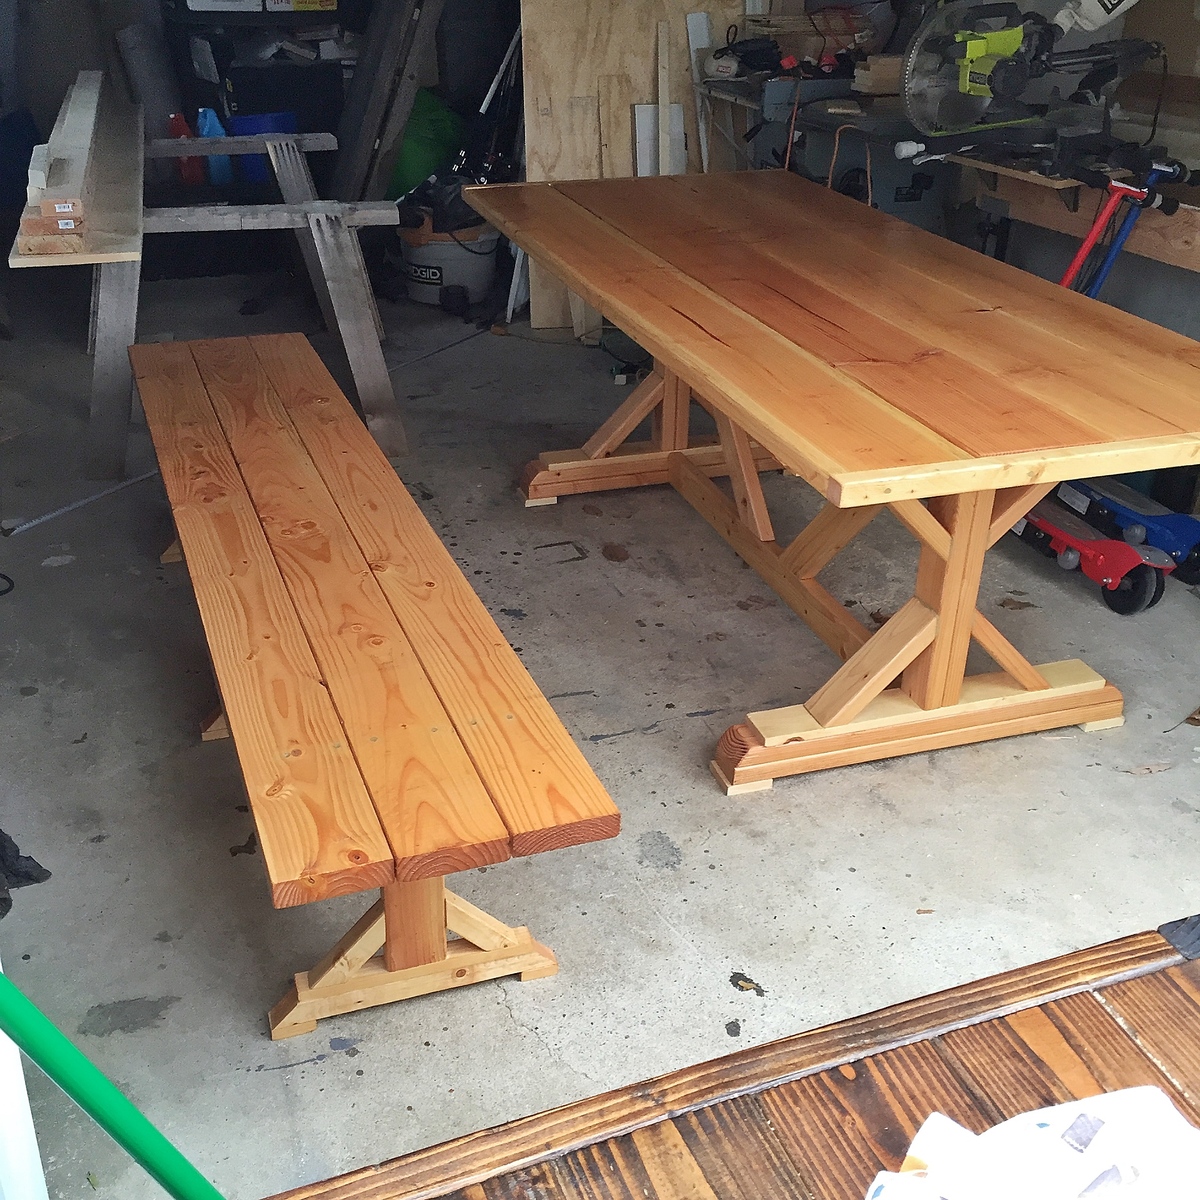
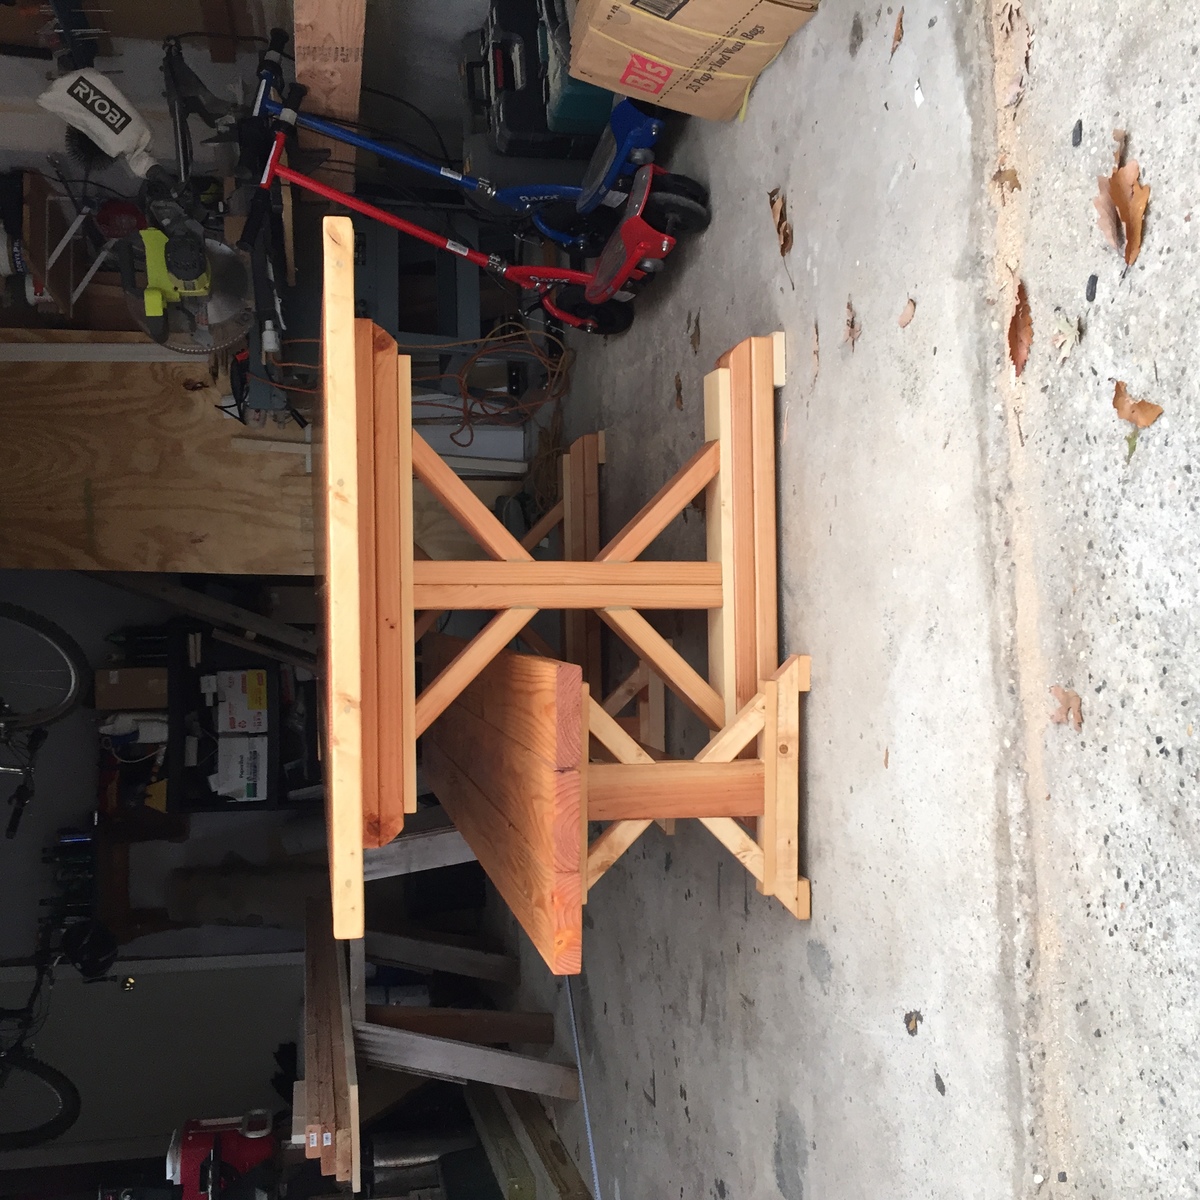

This table is very solid and the plans are very well written and easy to understand and follow.


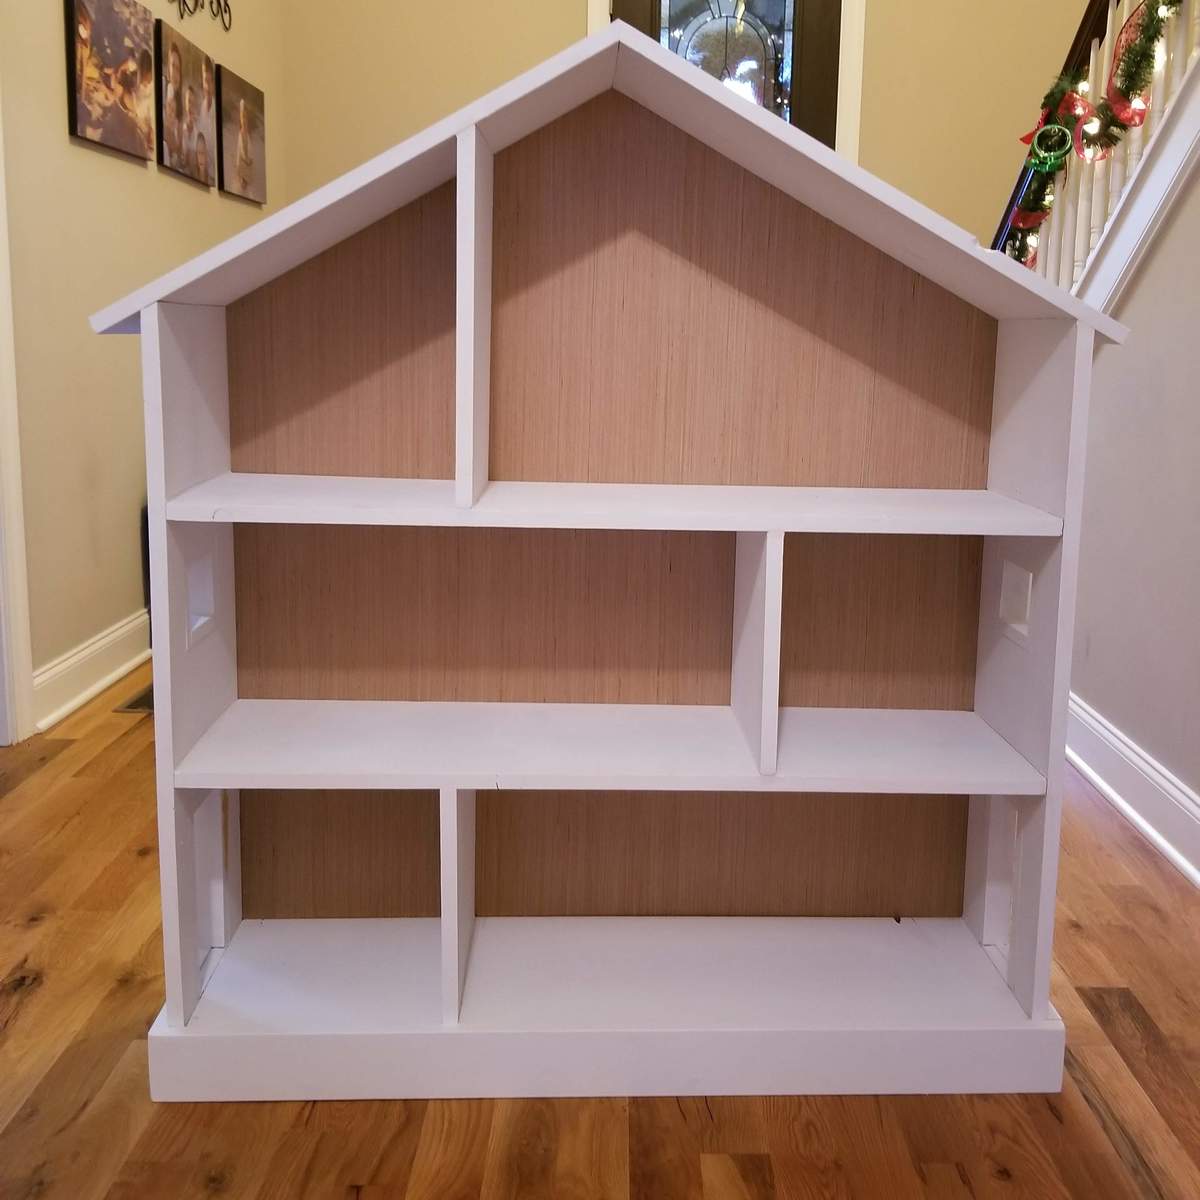
My aunt wanted to get her grandaughter a dollhouse for Christmas. I came to Ana's website and found this plan. It was tedious and time-consuming, but it was worth it. This was such a great confidence builder and has led me to build a lot more things for other people. I can't wait to see what the future holds. Used these plans...http://www.ana-white.com/2012/07/bookcase-dollhouse
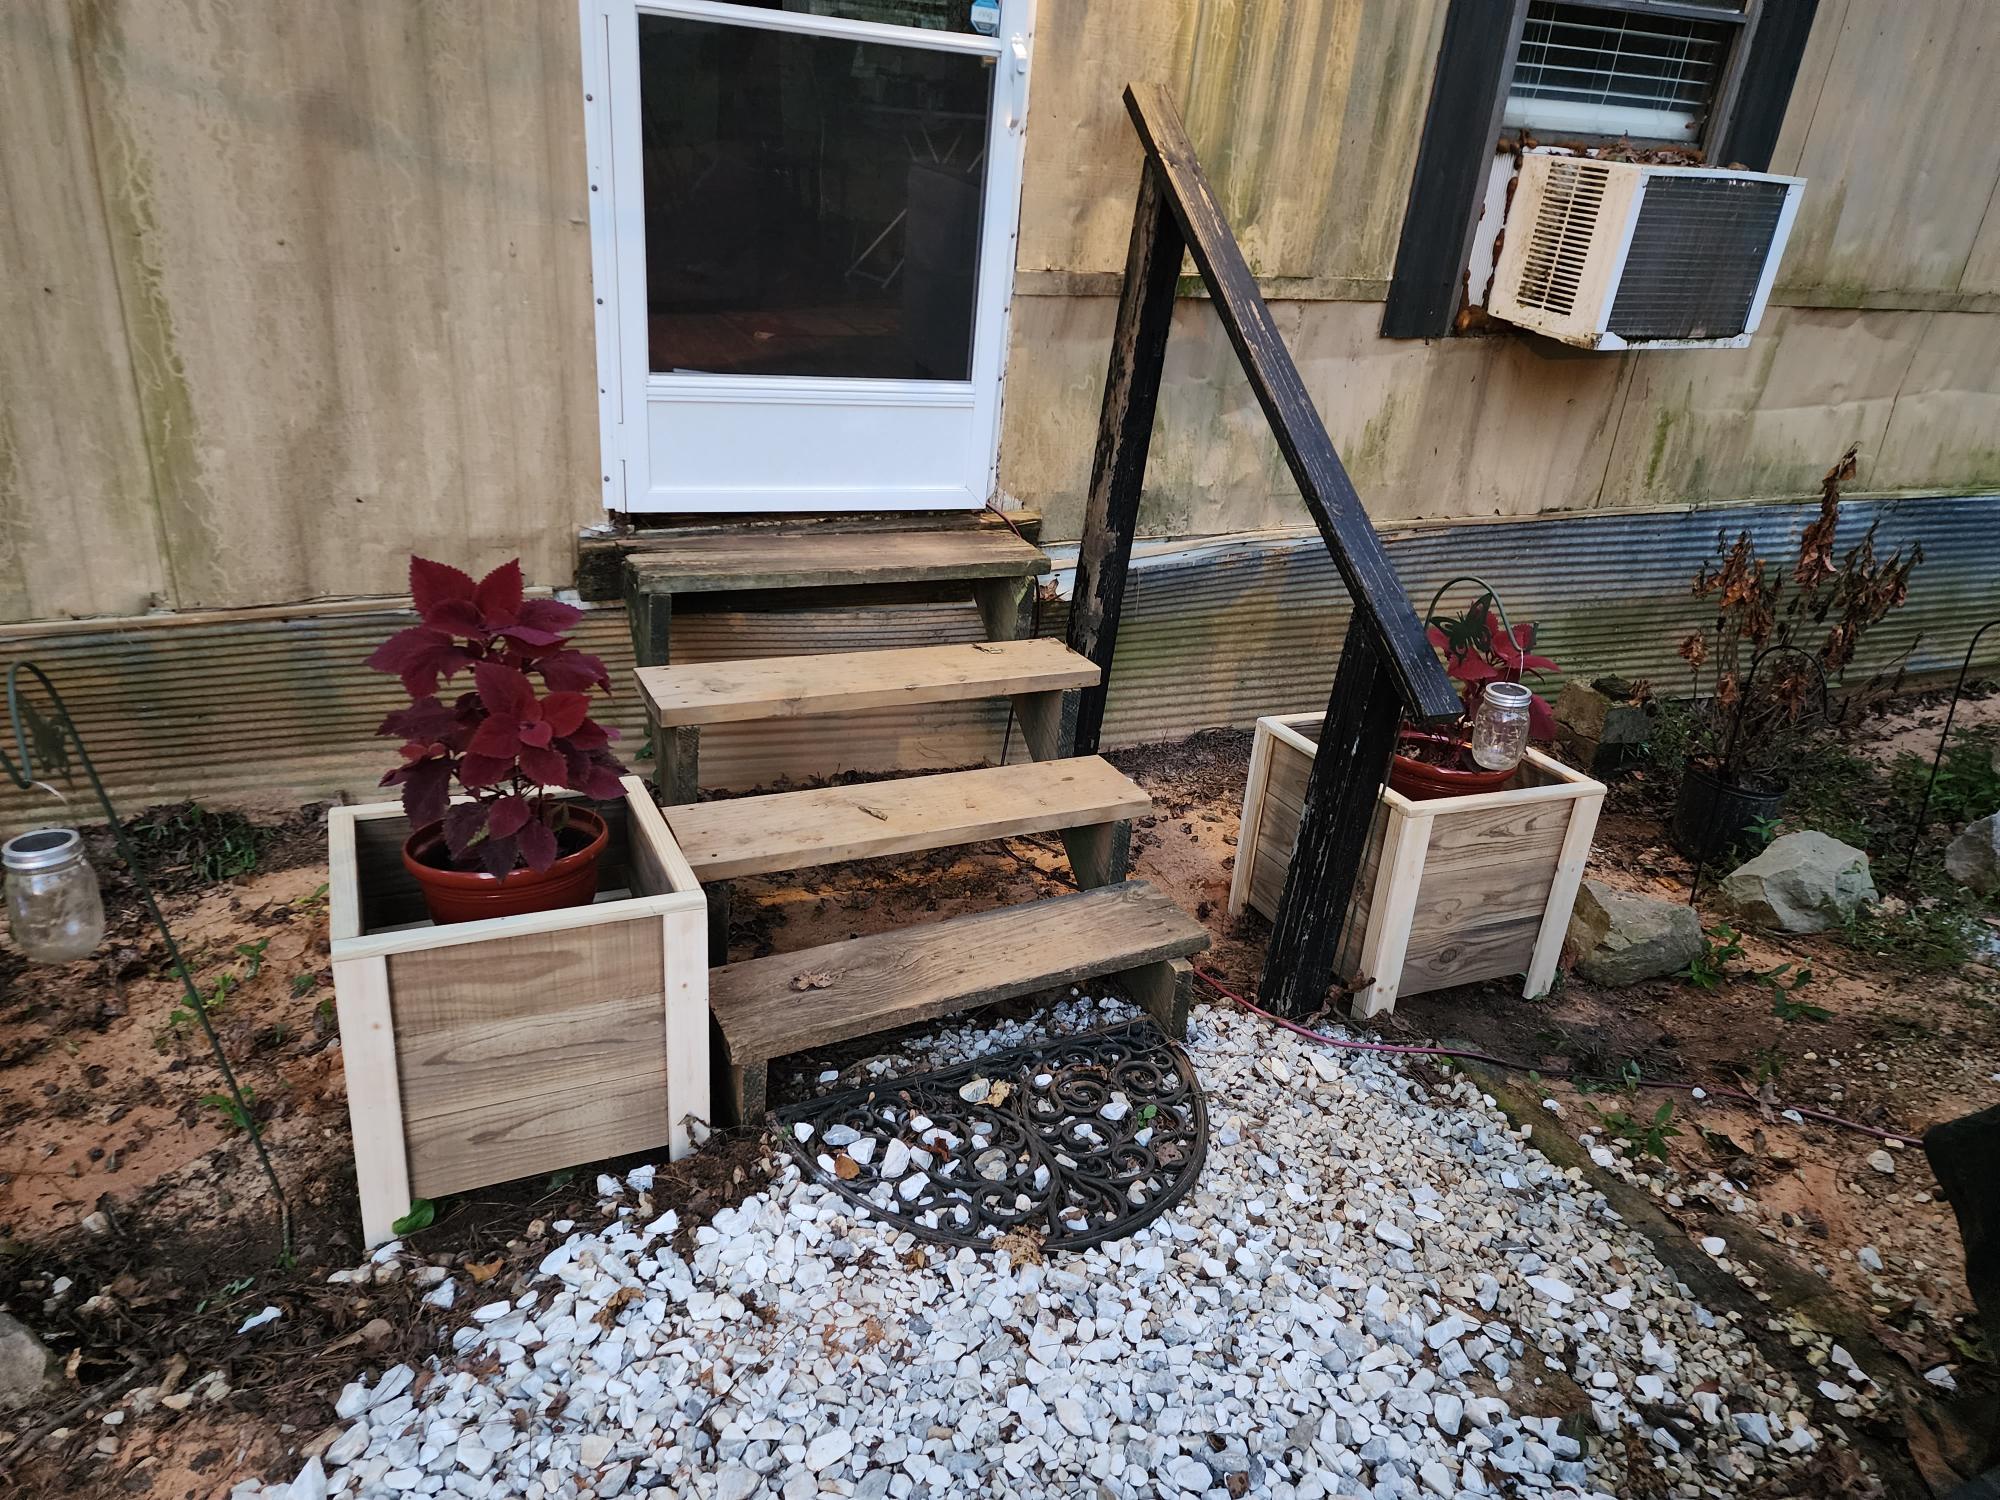
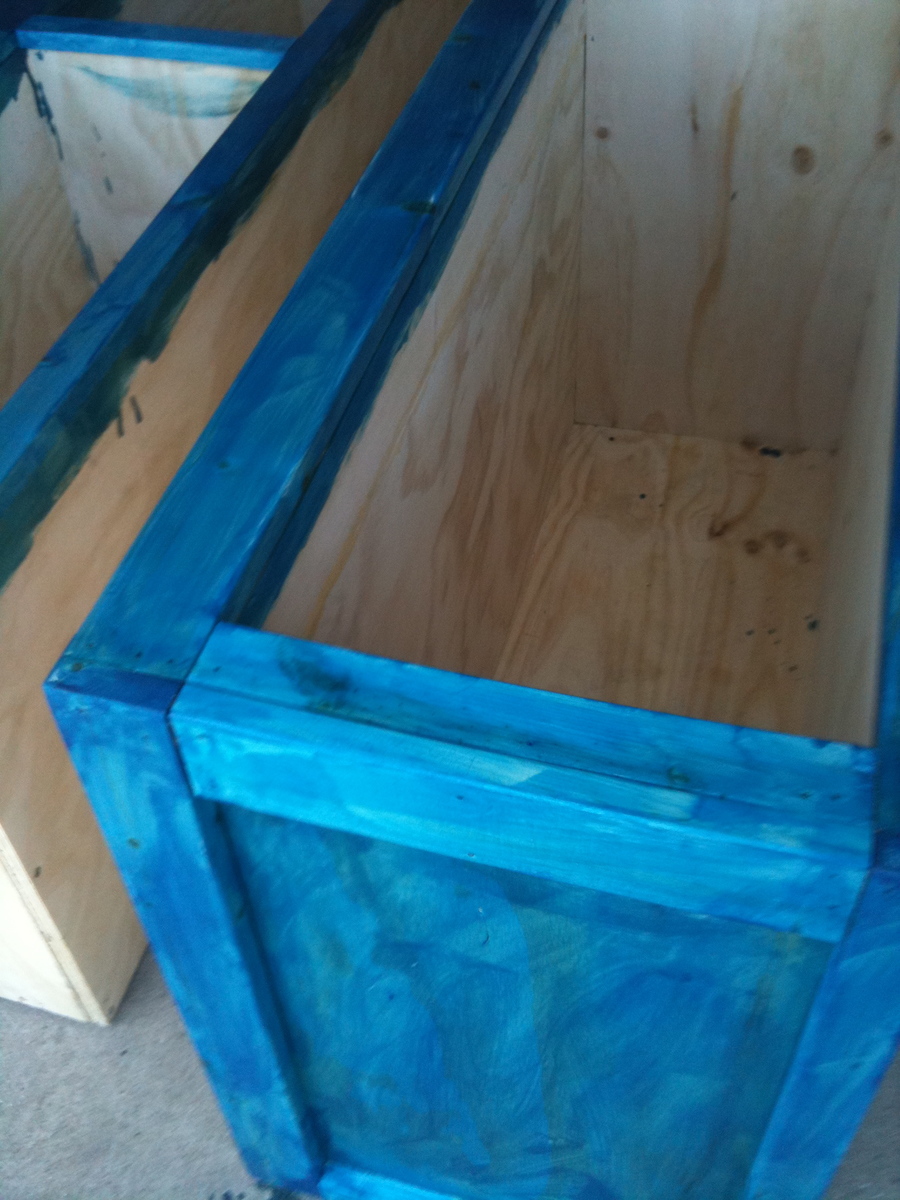
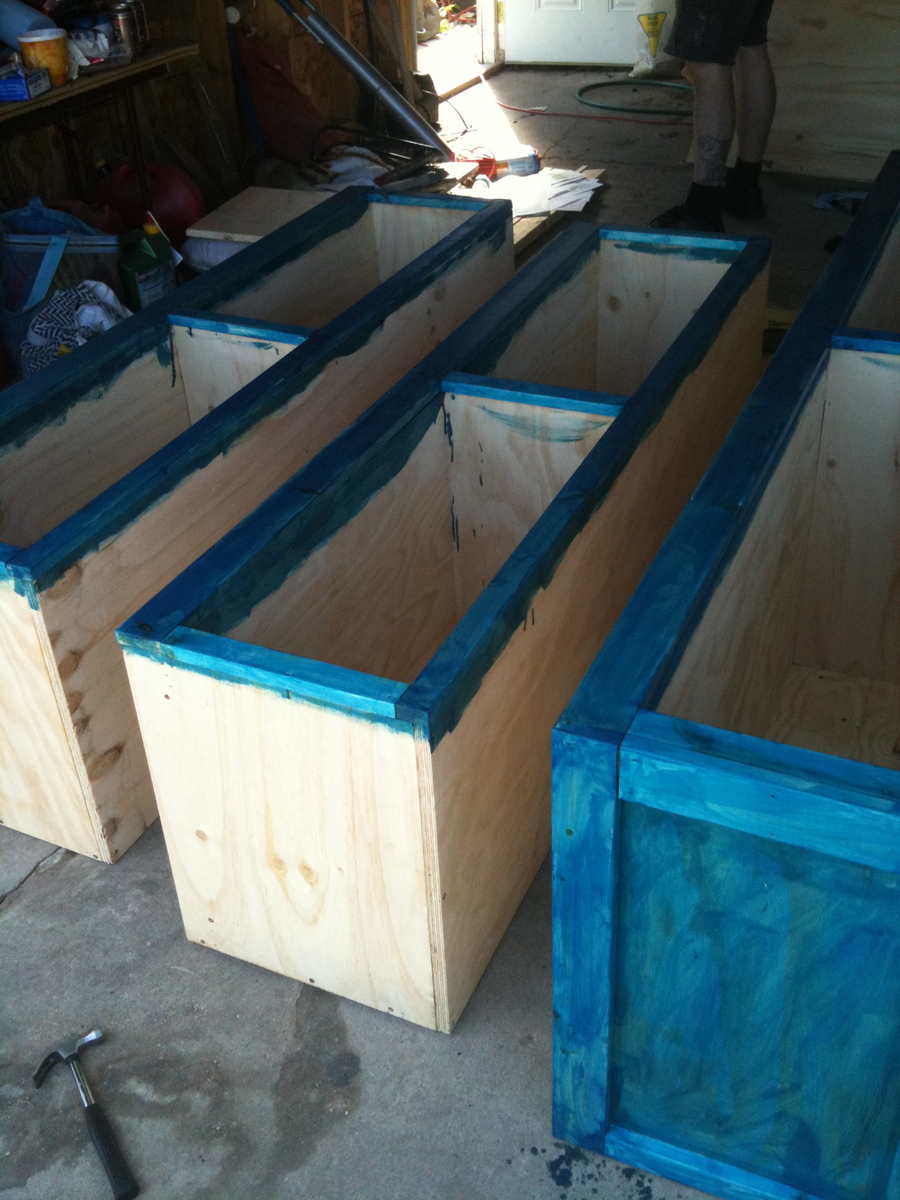
Just made these planters. I haven't painted them yet but I had to post it. They came out perfect. Thanks Ana for easy to follow plans.
This was my first ever build and I did it on my own, so I'm super proud, but there are admittedly some things I'd like to learn from. The top trim piece is missing because the board was too crooked to attach and I was too impatient to wait to go to the hardware store again! It also stands crookedly. Not really sure why, but if you have any idea, I'd love to hear because I had a great time building it and look forward to my next build, but want to learn from that mistake first! Thanks Ana, I really didn't even know how to use a drill before hand, what an inspiration you are!

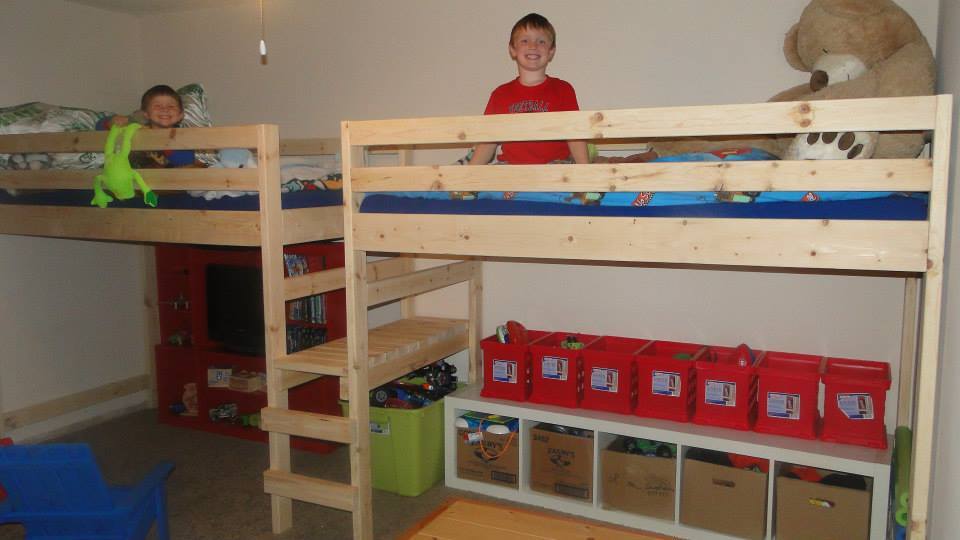
Camp Loft Bed modified to fit two twin loft beds in the bedroom with a shared platform step.
Age of boys in bed: 6 and 4
The boys have yet to agree on a stain color...awaiting their decision.
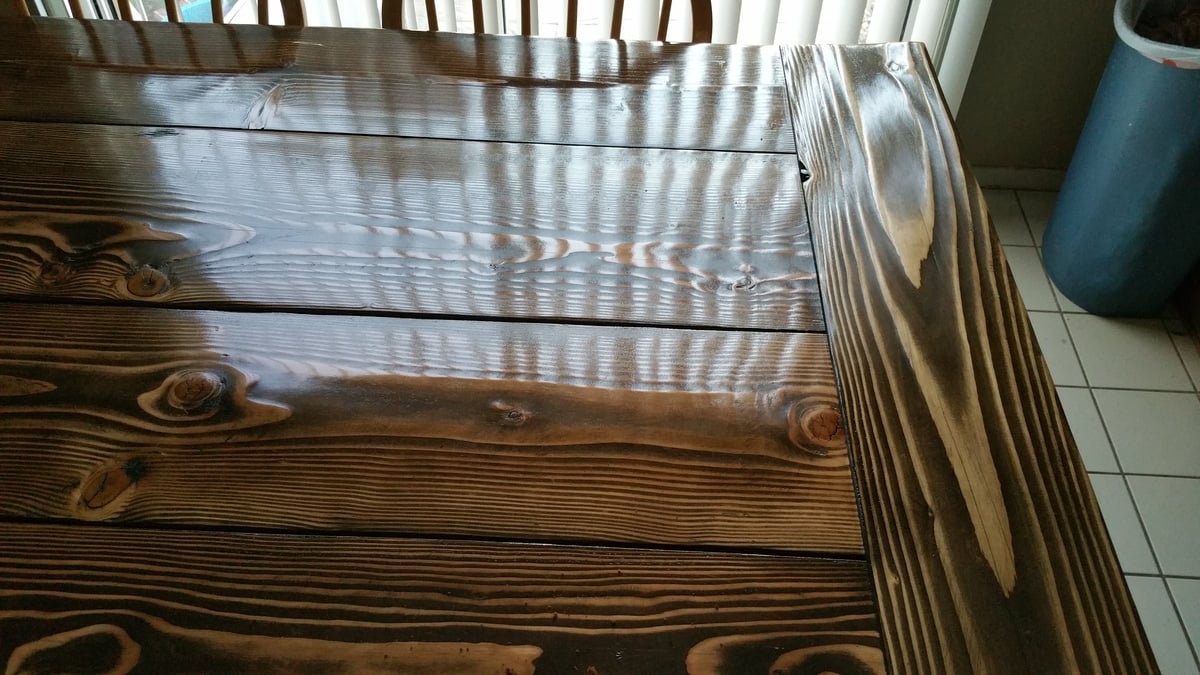
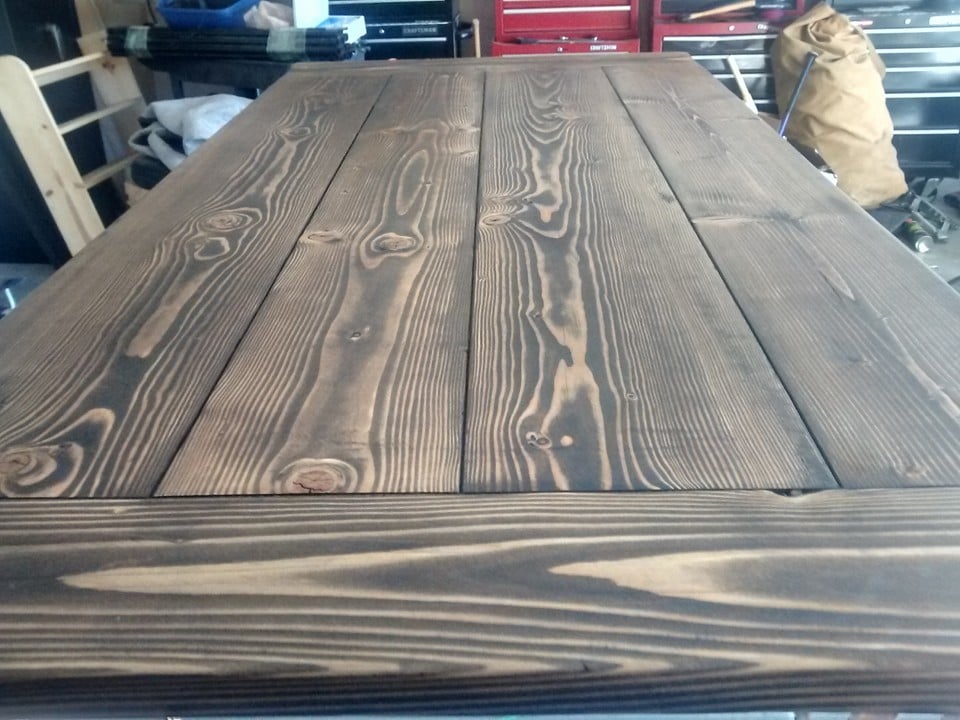
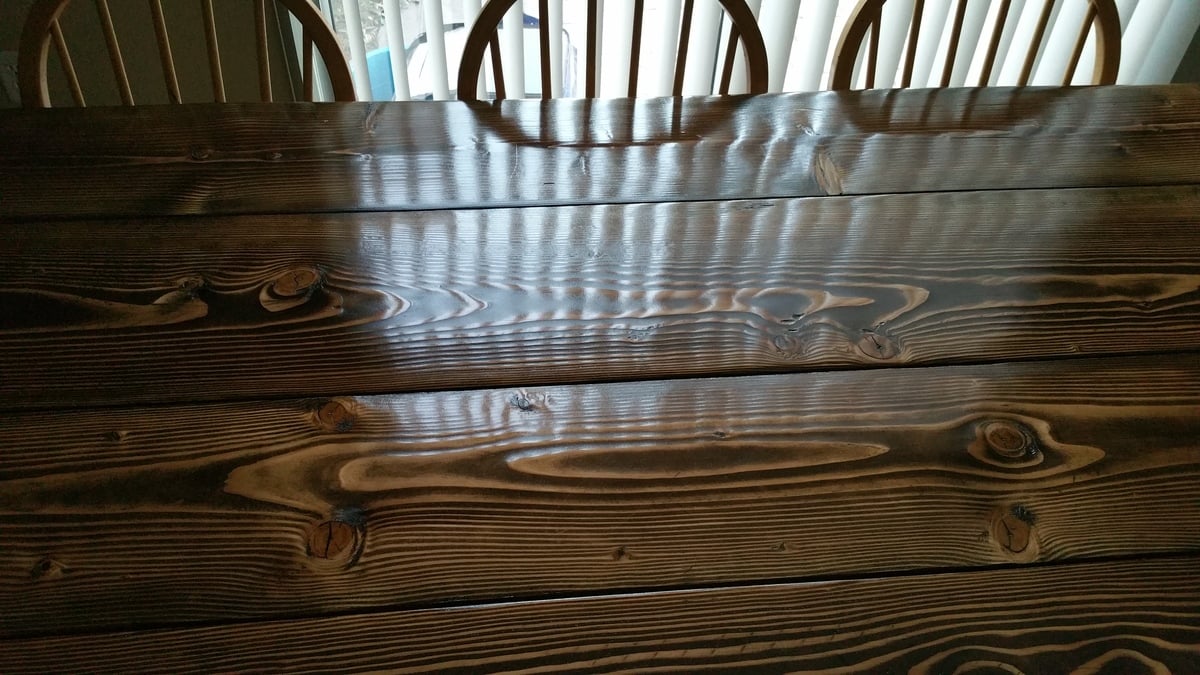
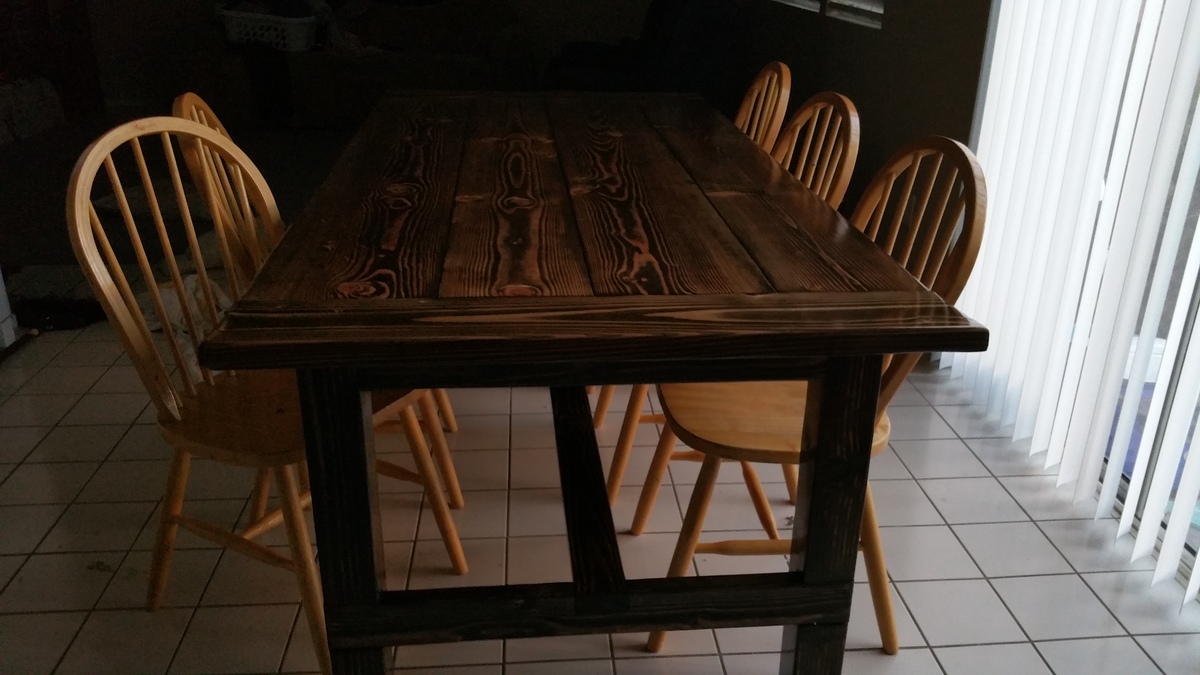
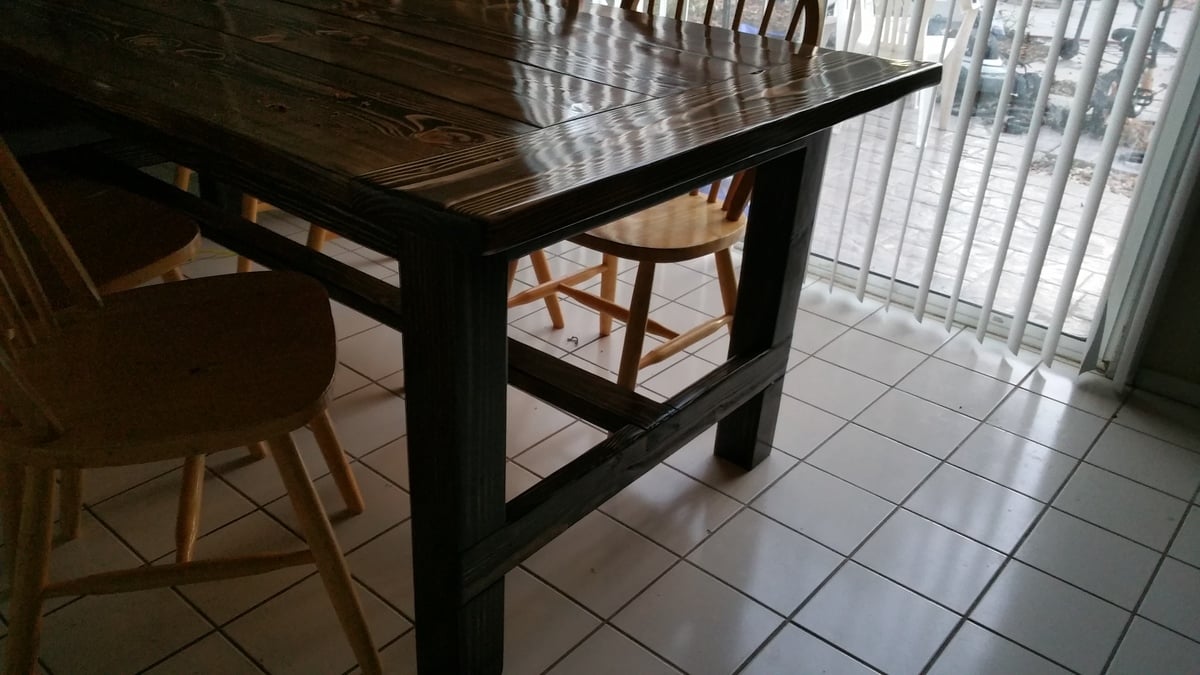
This is 84" long and 41" wide. I built this to fit our family. We are a family of 7 and our old table was just too small. It would not hold the food or all the people, so we came up with this. It has plenty of room and there is no more buffet style eating.
The build was pretty easy, the finishing took some time. All in all happy with the results. Looking forward to building the bench and chairs. This entire build is made from constuction grade pine off the shelf at the big orange box store.
Cost was under $100 for just the wood but the finishing items I did not ahve so I had to purchase. The finsih was a 80/20 mix of gloss minwax poly and miniral spirts. It worked very well and I am very happy with the outcome. I did learn a few things along the way, 1) off the shelf cheap lumber is not very stable and 2) this thing is HEAVY
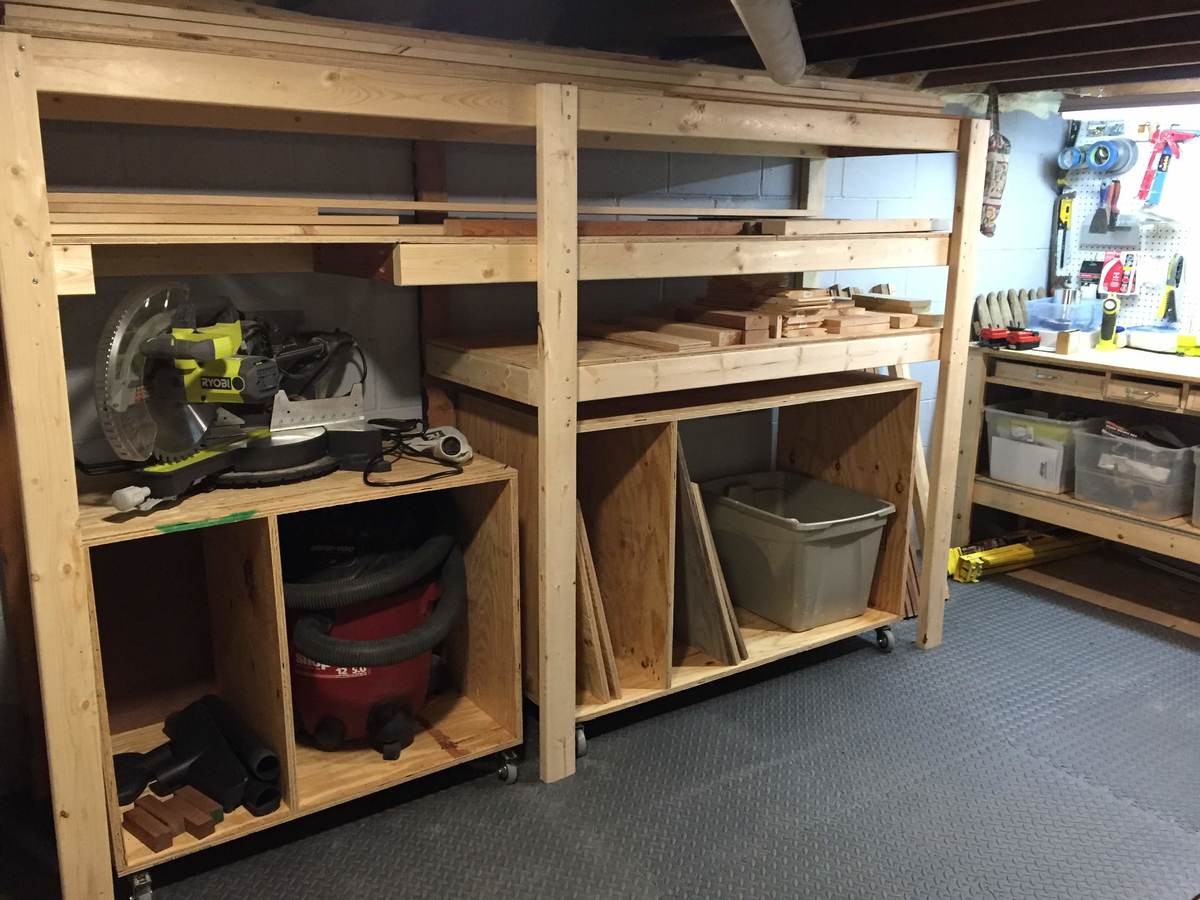
I don't have much space for a workshop in my home - just the corner of my basement. This plan was the answer! It adds so much storage and functionality. I plan to add some shelves to both units but love them already. Thank you so much!
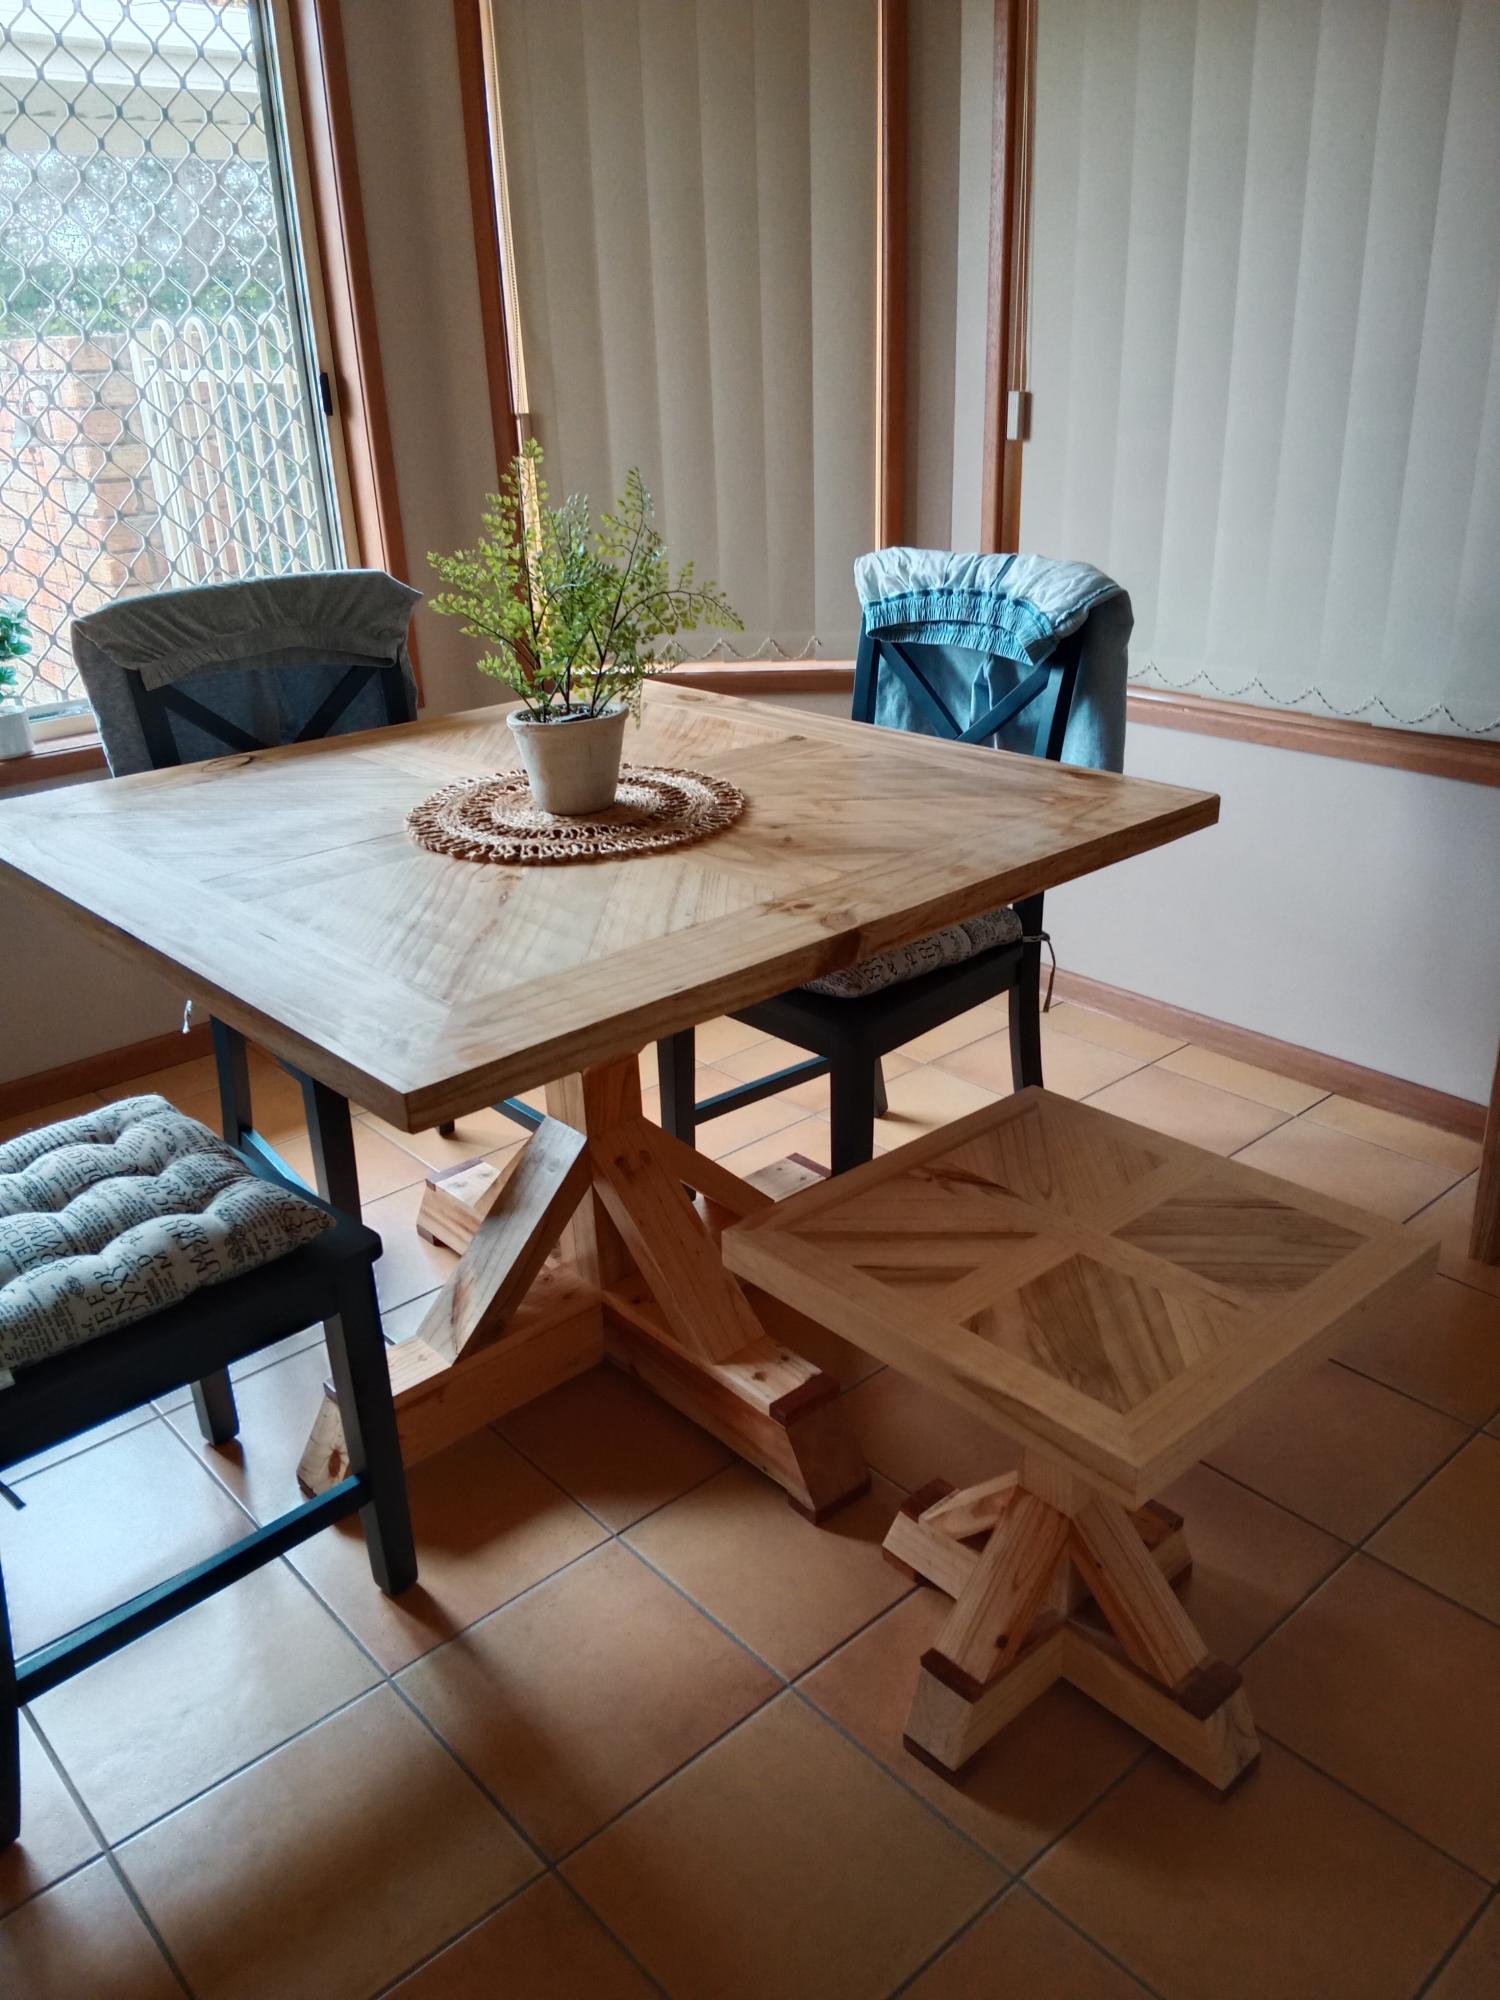
I was so impressed with the dining table i decided to make a lamp table as well
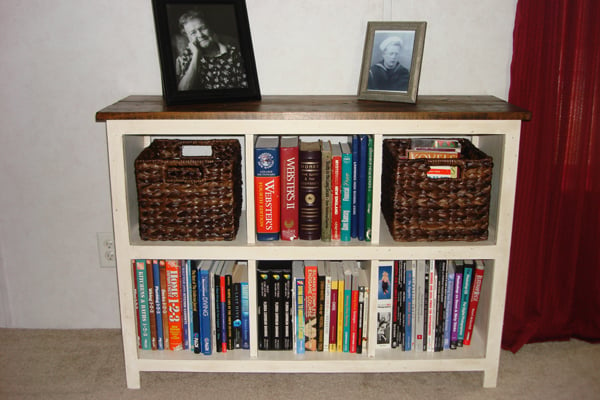
I love this bookshelf! It was quick and easy to build, the finishing took the longest. I decided to add a contrasting top with pine boards stained with dark walnut. I love how it came out! Now, on to my next Ana White project...
modified the plans by making the top from 4 1x6s and adapted the legs to use 1x6s instead of the 2x4s. The wood I used was higher grade pine than what is called for, but because of the reduced size (2' x 4') I came in at the same price.
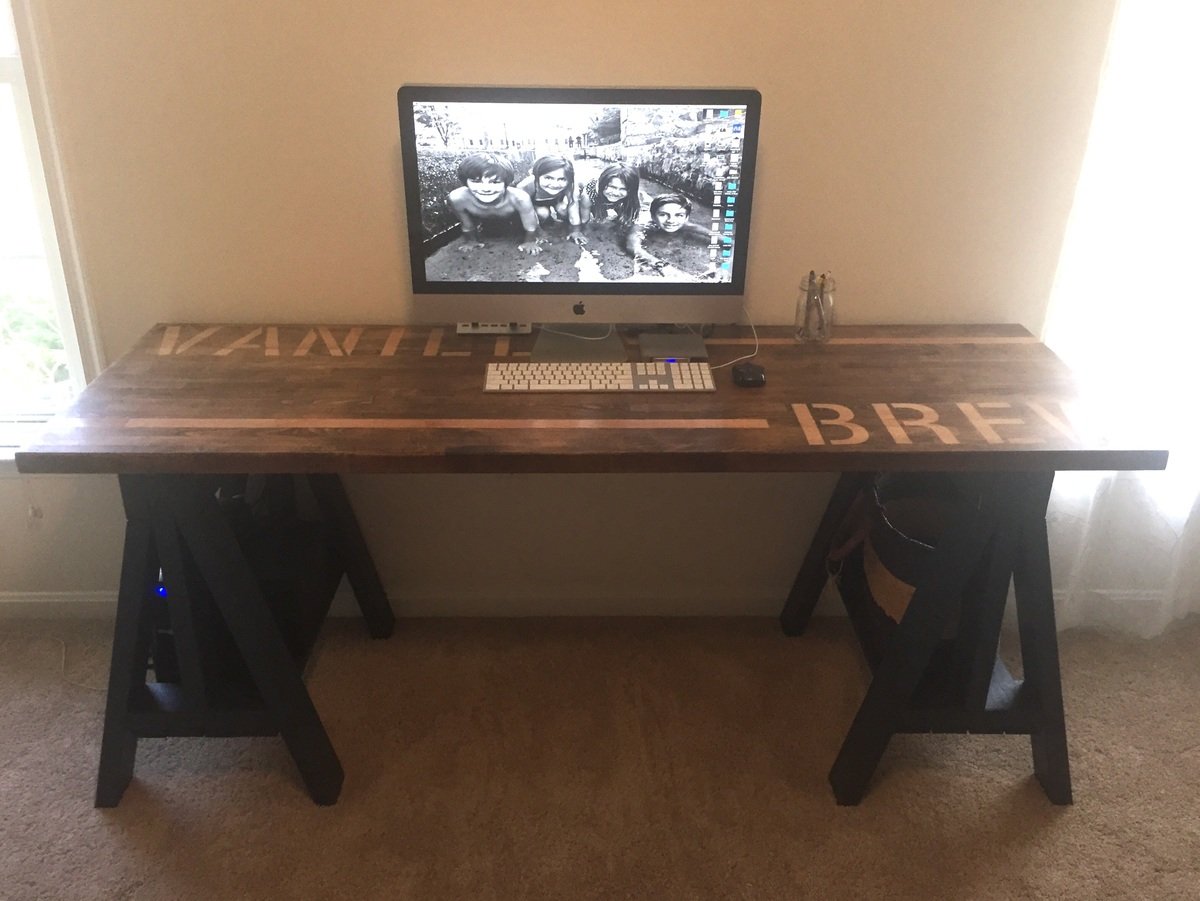
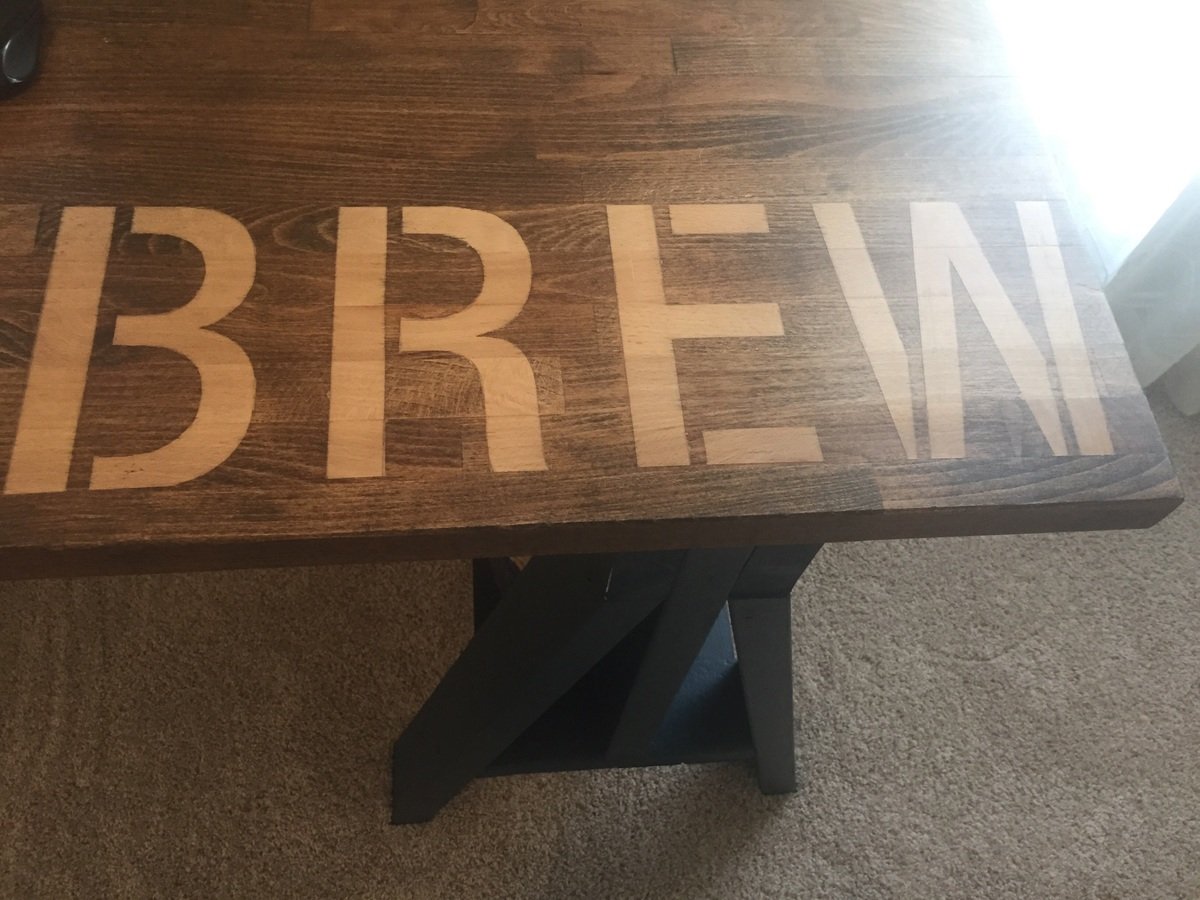
I build these from the plan for Heavy Duty Sawhorses. I preferred these for the thickness to match my butcher block desktop.
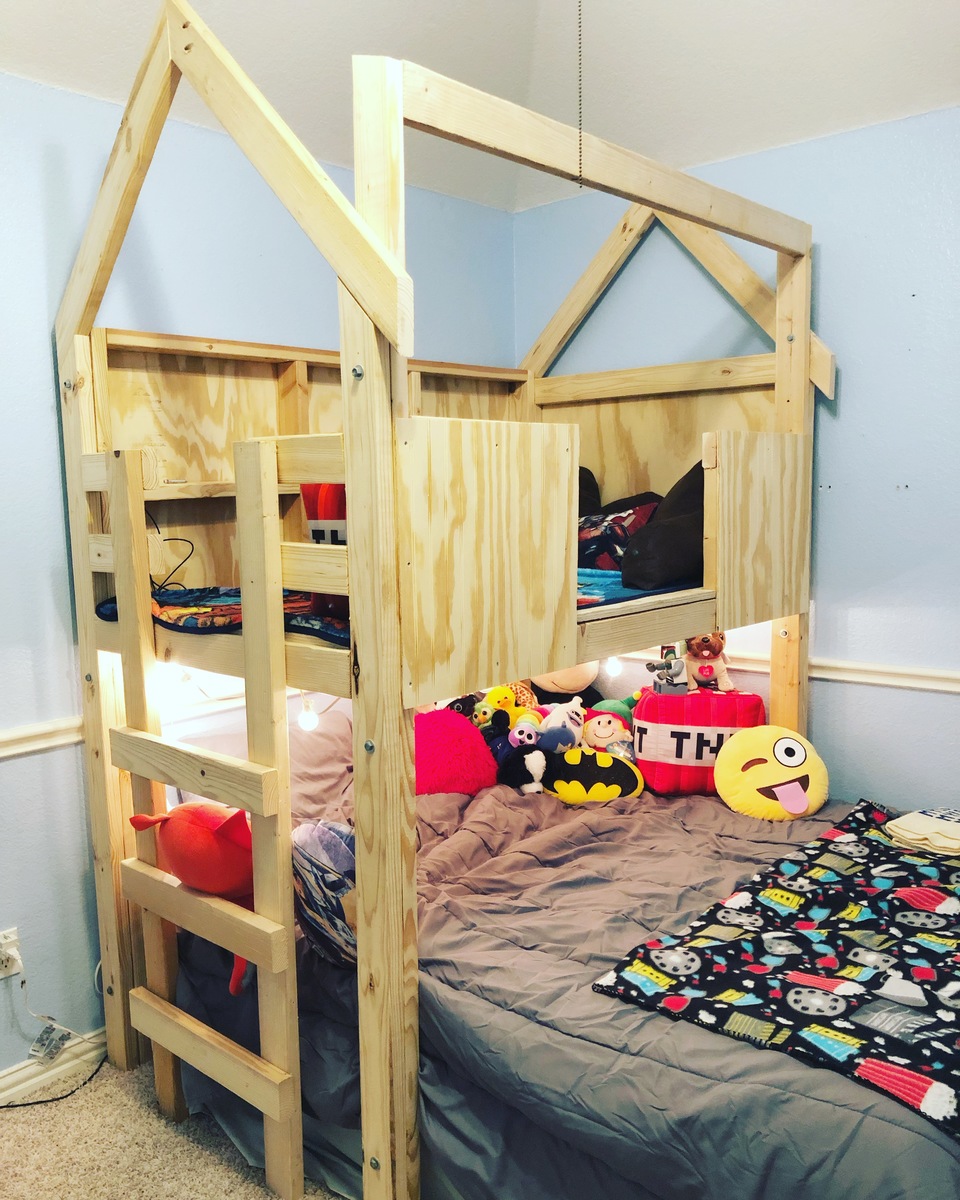
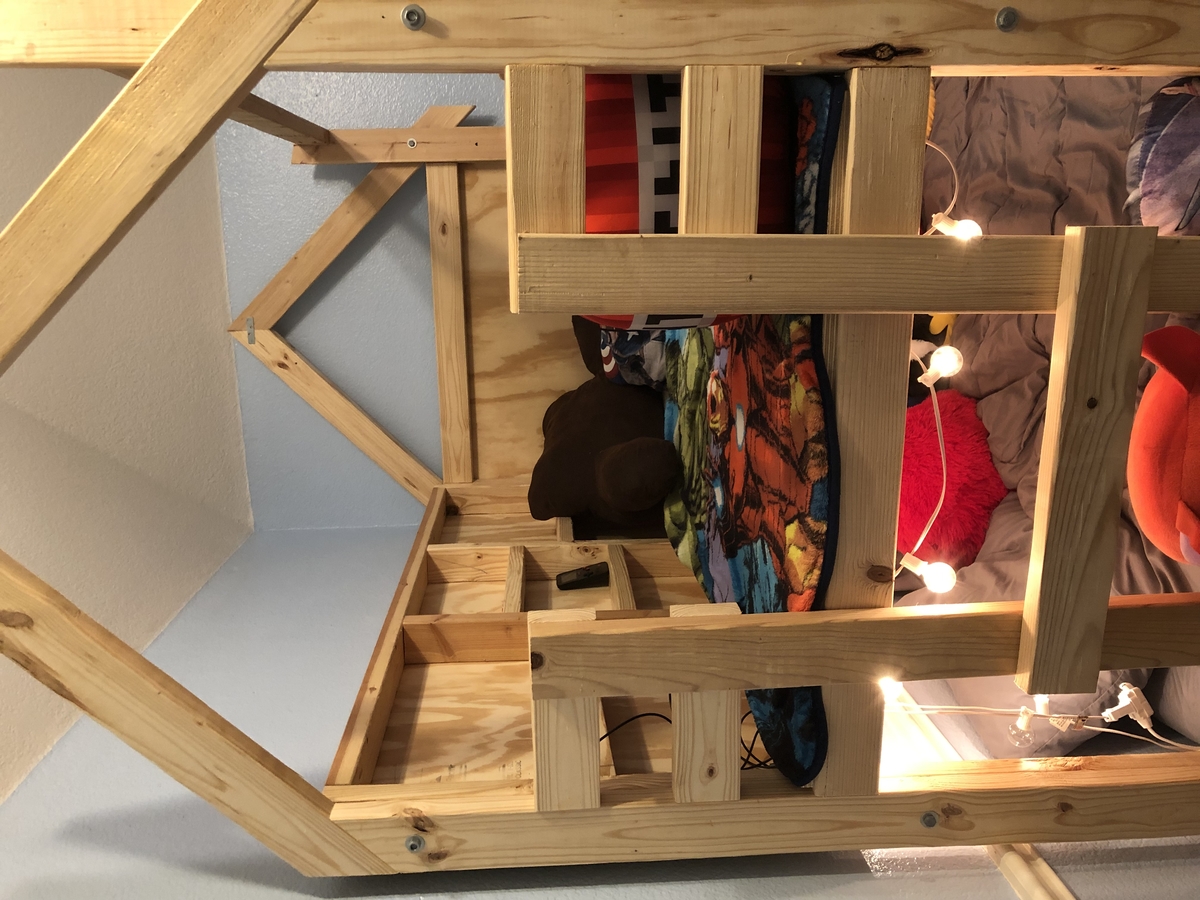
This is my first time building anything, and it was so fun, minus the million trips to home depot! I had to modify the original plans to fit over a queen size bed, and I actually built the roof that is part of the plans, but we decided to use fabric for the roof to let light in. For now, it's a convertible fort, ha!
I also added shelves along the back wall, similar to the onces done by Jamie Costiglio. I thought it was a good way to incorporate storage for some action figures. Plus, I left a space in the front open so that my son could jump from the fort to his bed. Underneath I strung up some lights with small command hooks and they're connected to a smart switch so we can ensure they aren't left on all the time.
This took me significantly longer than it might take a skilled builder because it was my first time. It was a solid 3 days of work - a full weekend and then one day the next weekend.
Overall this was such a fun build - now to add a rock wall on the side! :)
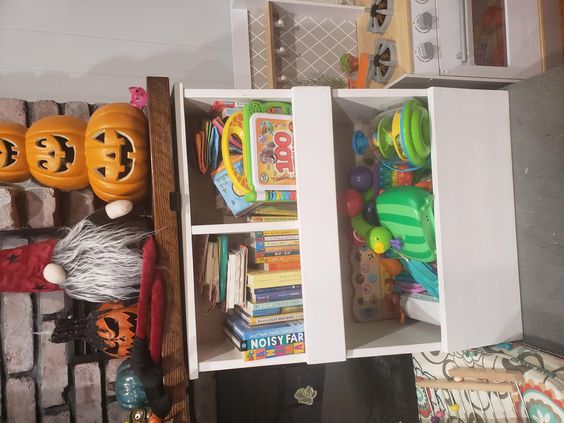
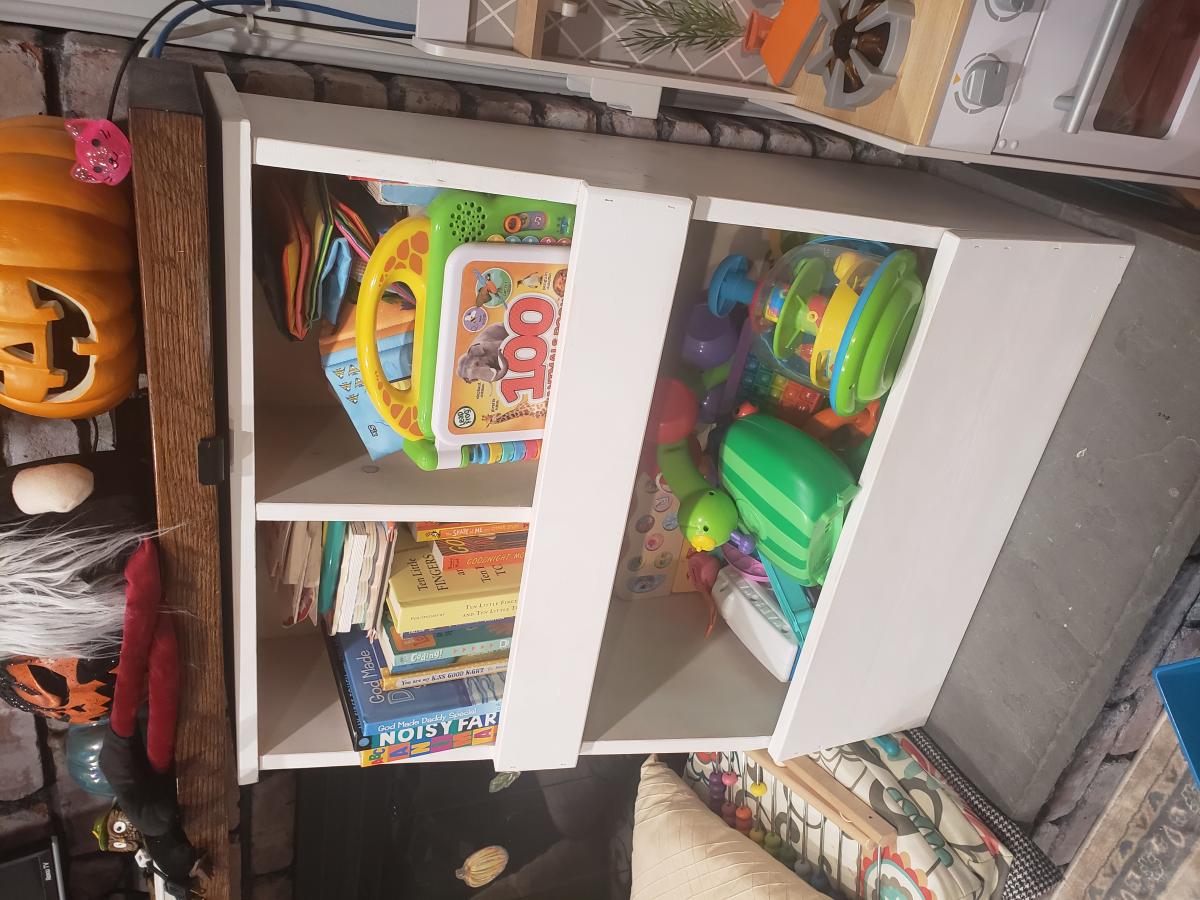
Adjusted the dimensions to fit between hearth and mantle. Perfect for my daughter's tous and book storage
This was my first project to tackle alone. It twisted a little on me not having another set of hands to hold things square, but it stands straight and doesn't wobble! Good enough for me. Plus it is an outdoor piece of furniture. The plans were easy to follow and I added 3" to the height of the legs so it was the same height as my arm rests on my chair.
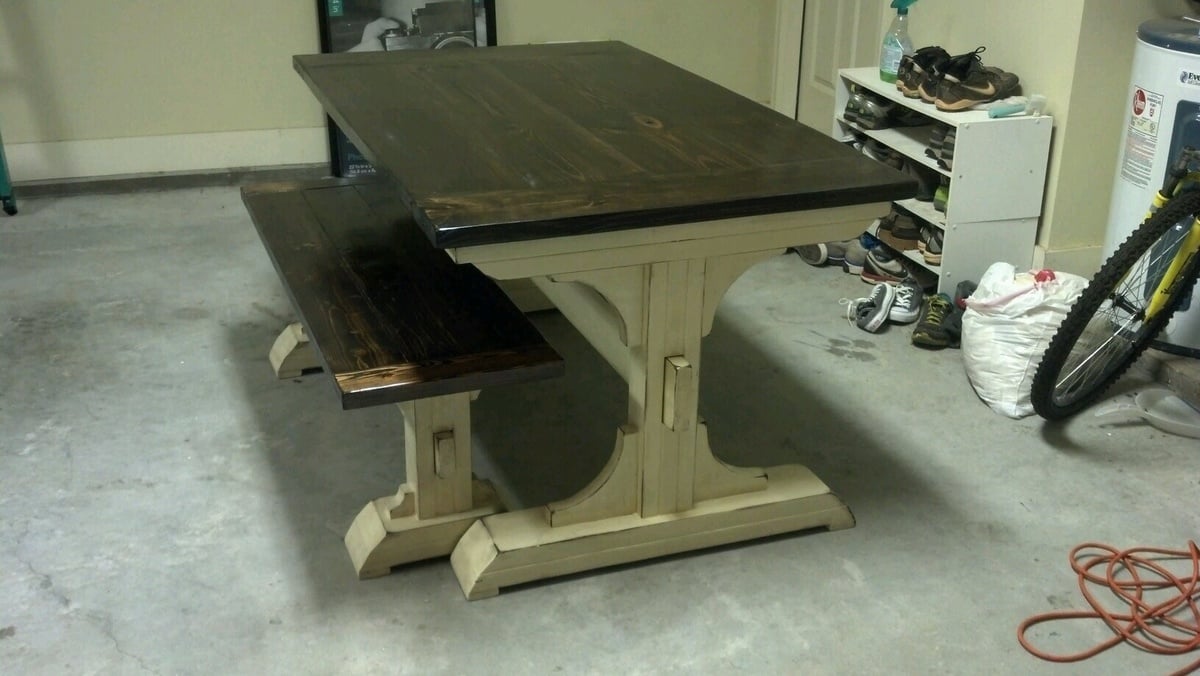
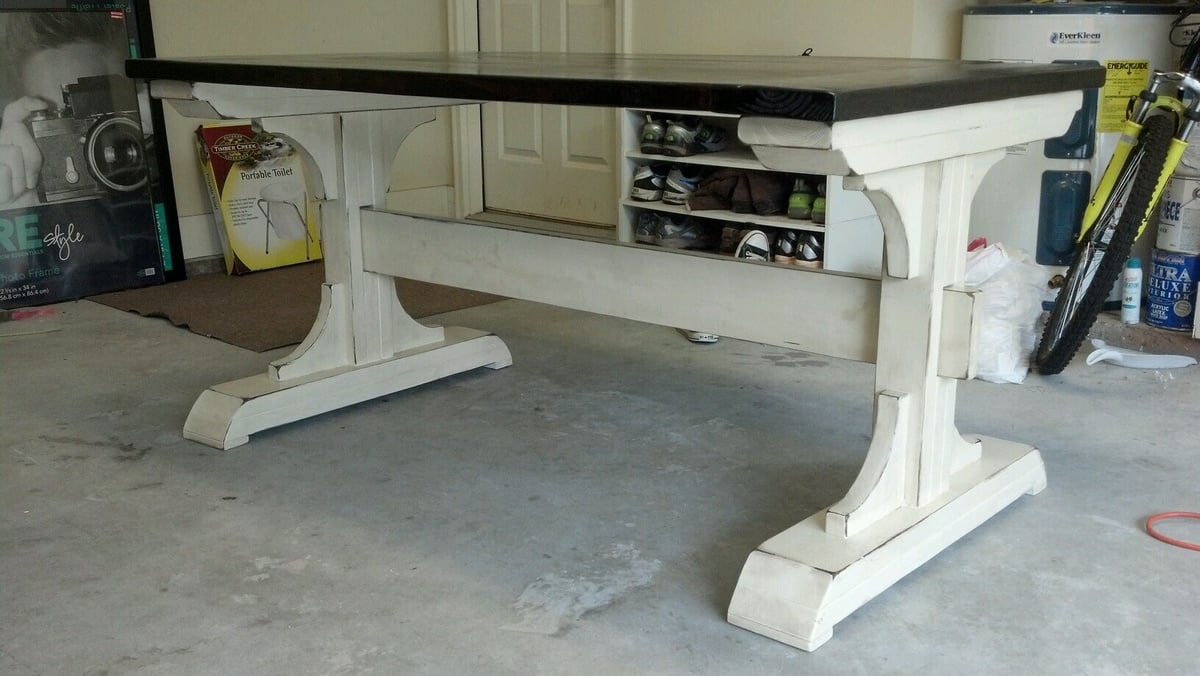
Thank you Ana for yout amazing plans for the triple pedestal table and bench! I modified it to work for the dimensions that I needed which brought it down to a double pedestal table and bench. It ended up as a 3'x5' table. I attempted the antique coffee stain technique but it wasn't taking so I just used the stain that I used on the table top instead of the coffee. I LOVE how it turned out!
Leah
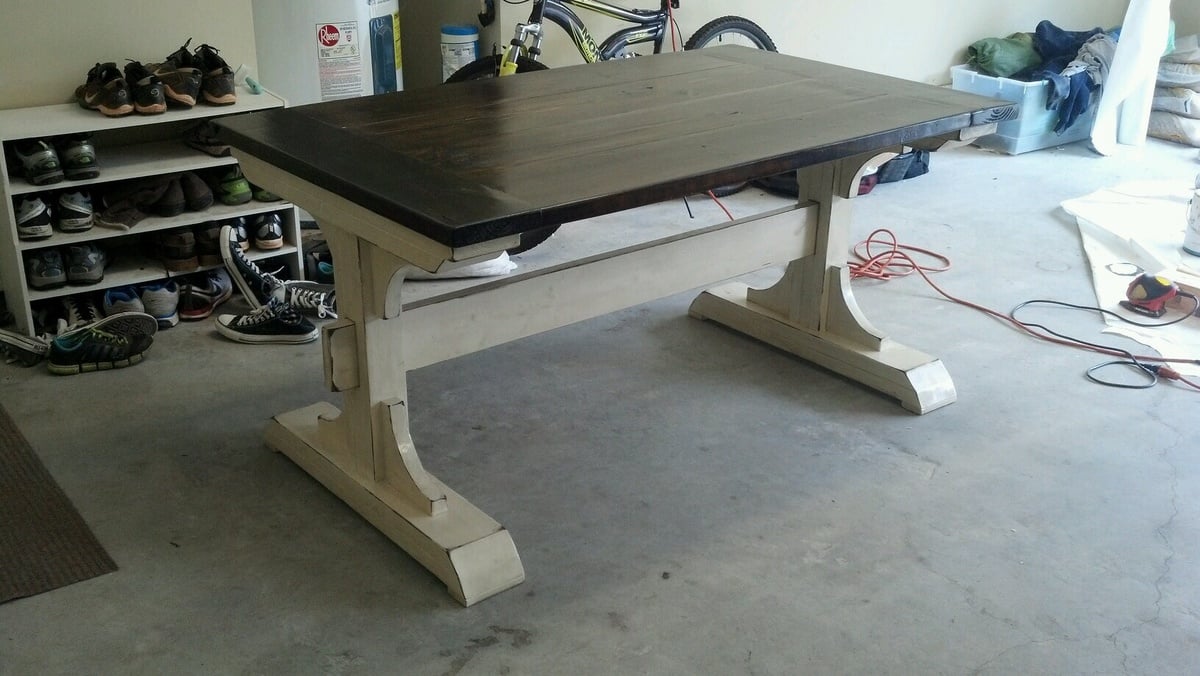
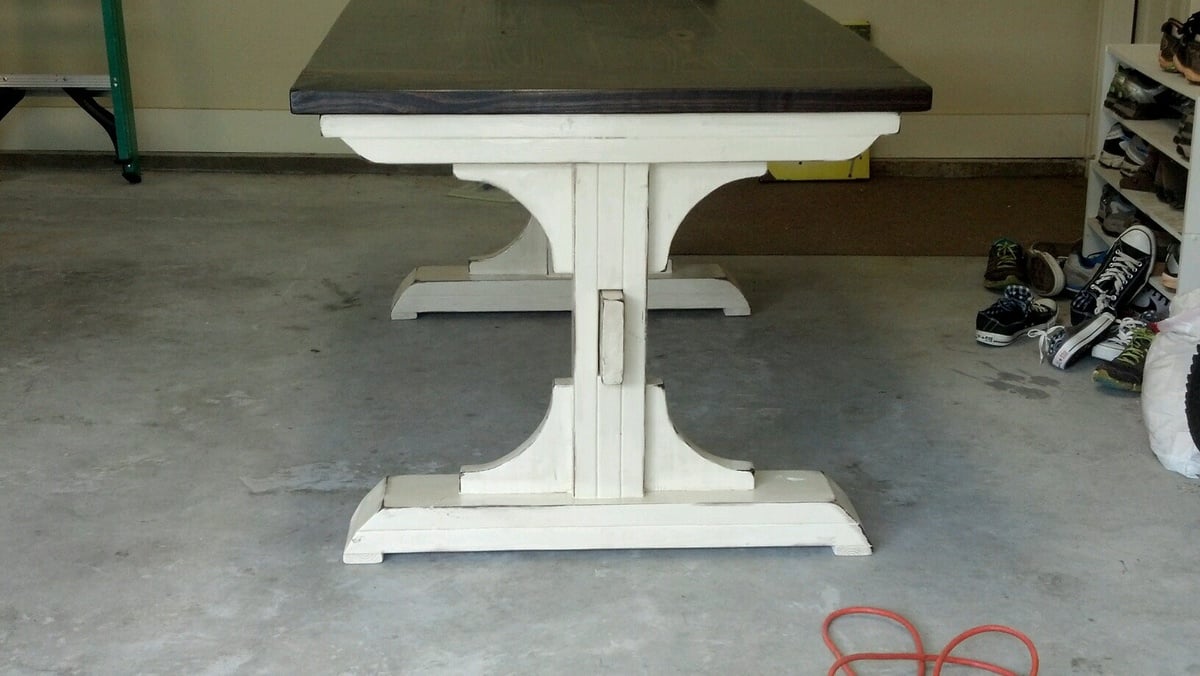
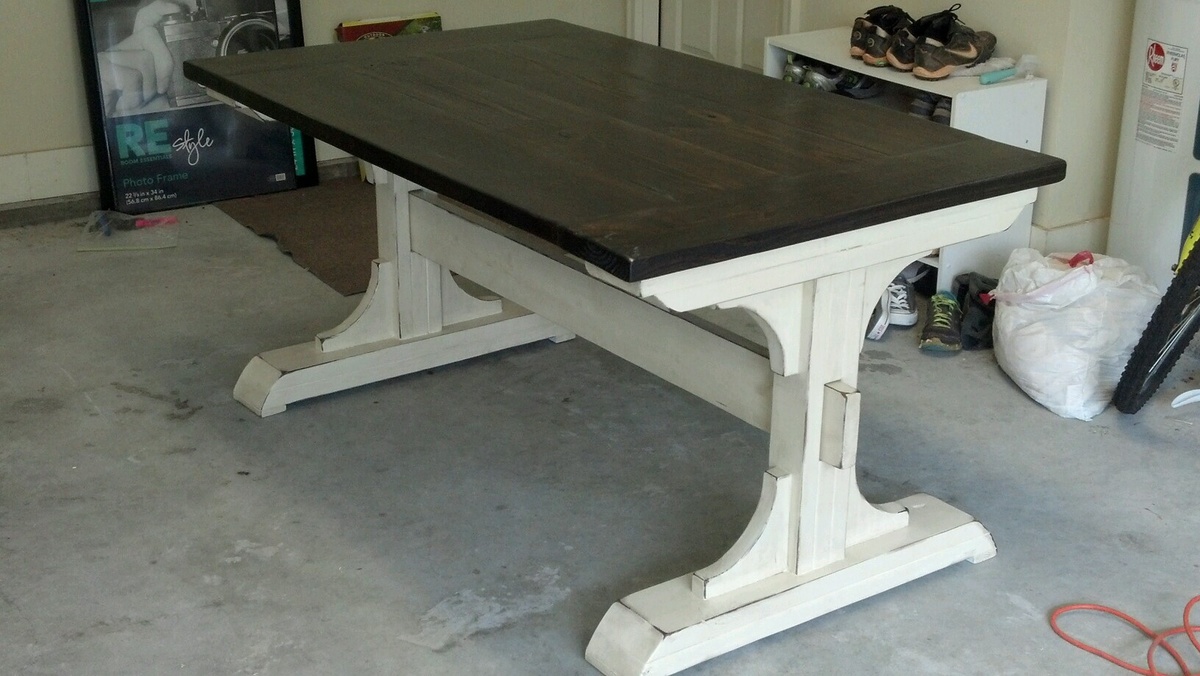
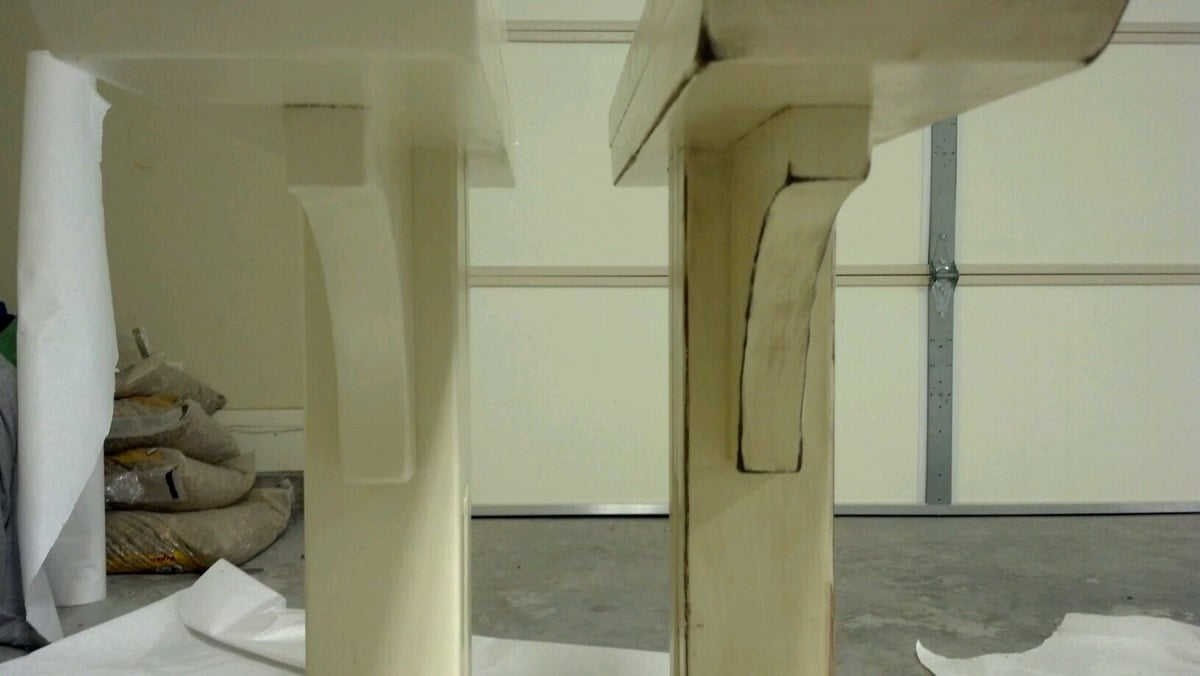
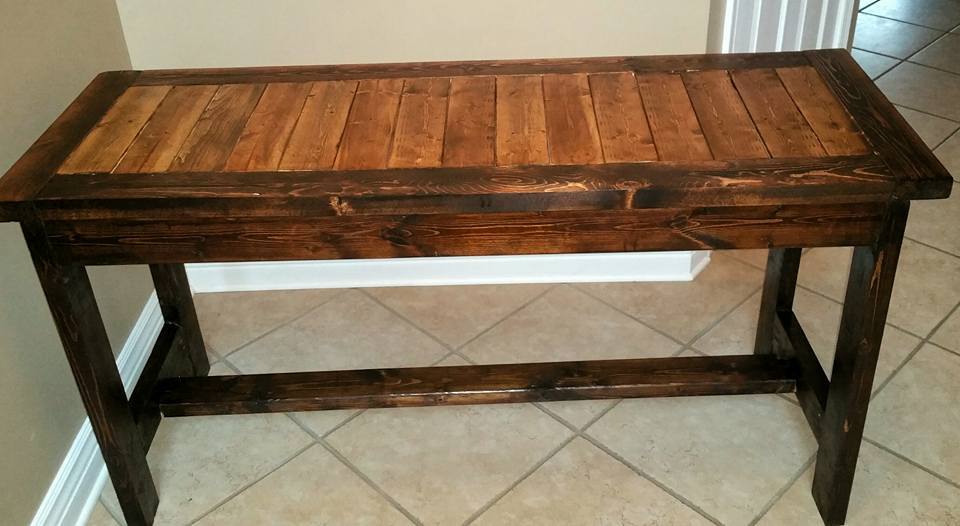
Modifications adopted from two other posters.
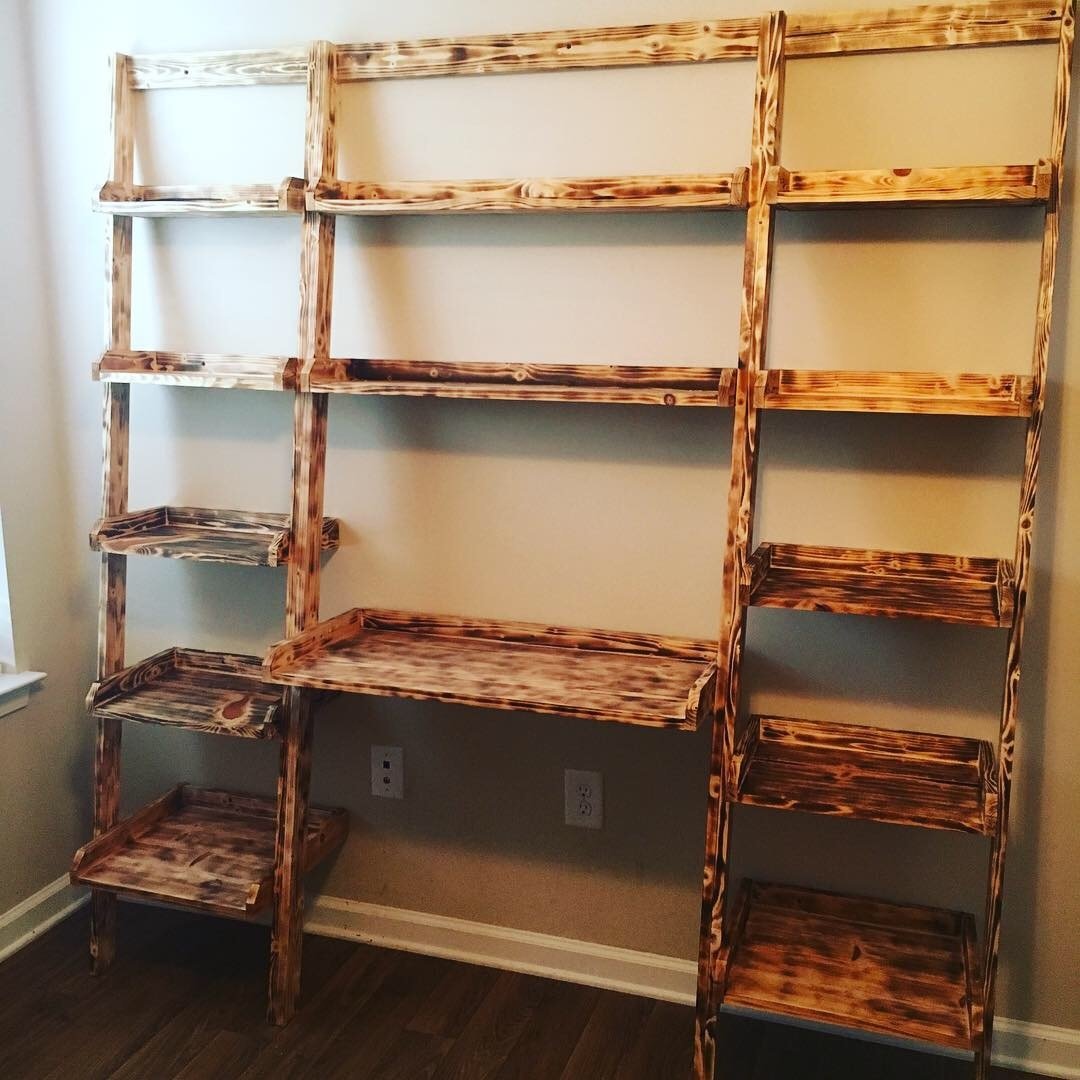
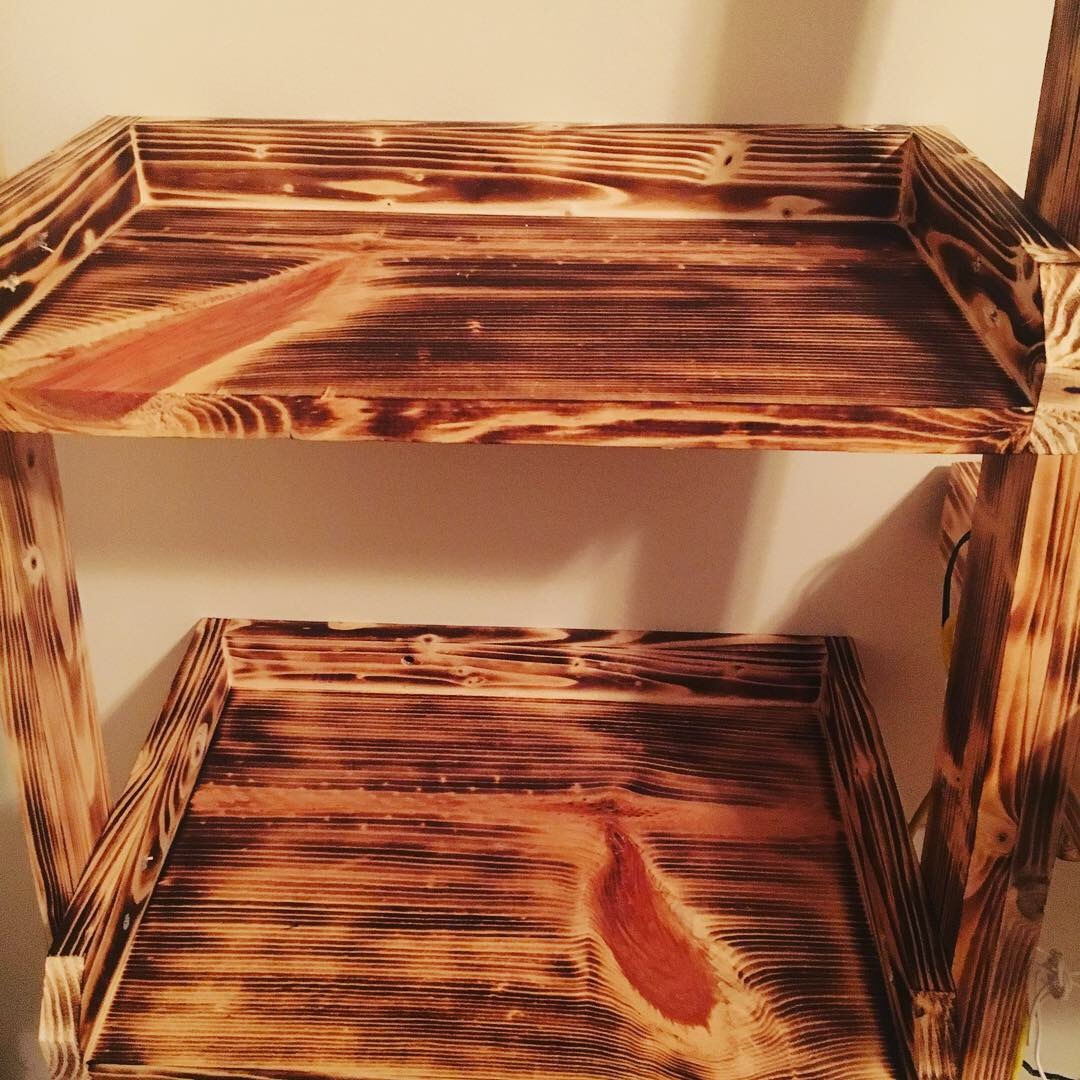
Used a handheld propane torch to “burn” the wood and it turned out amazing!
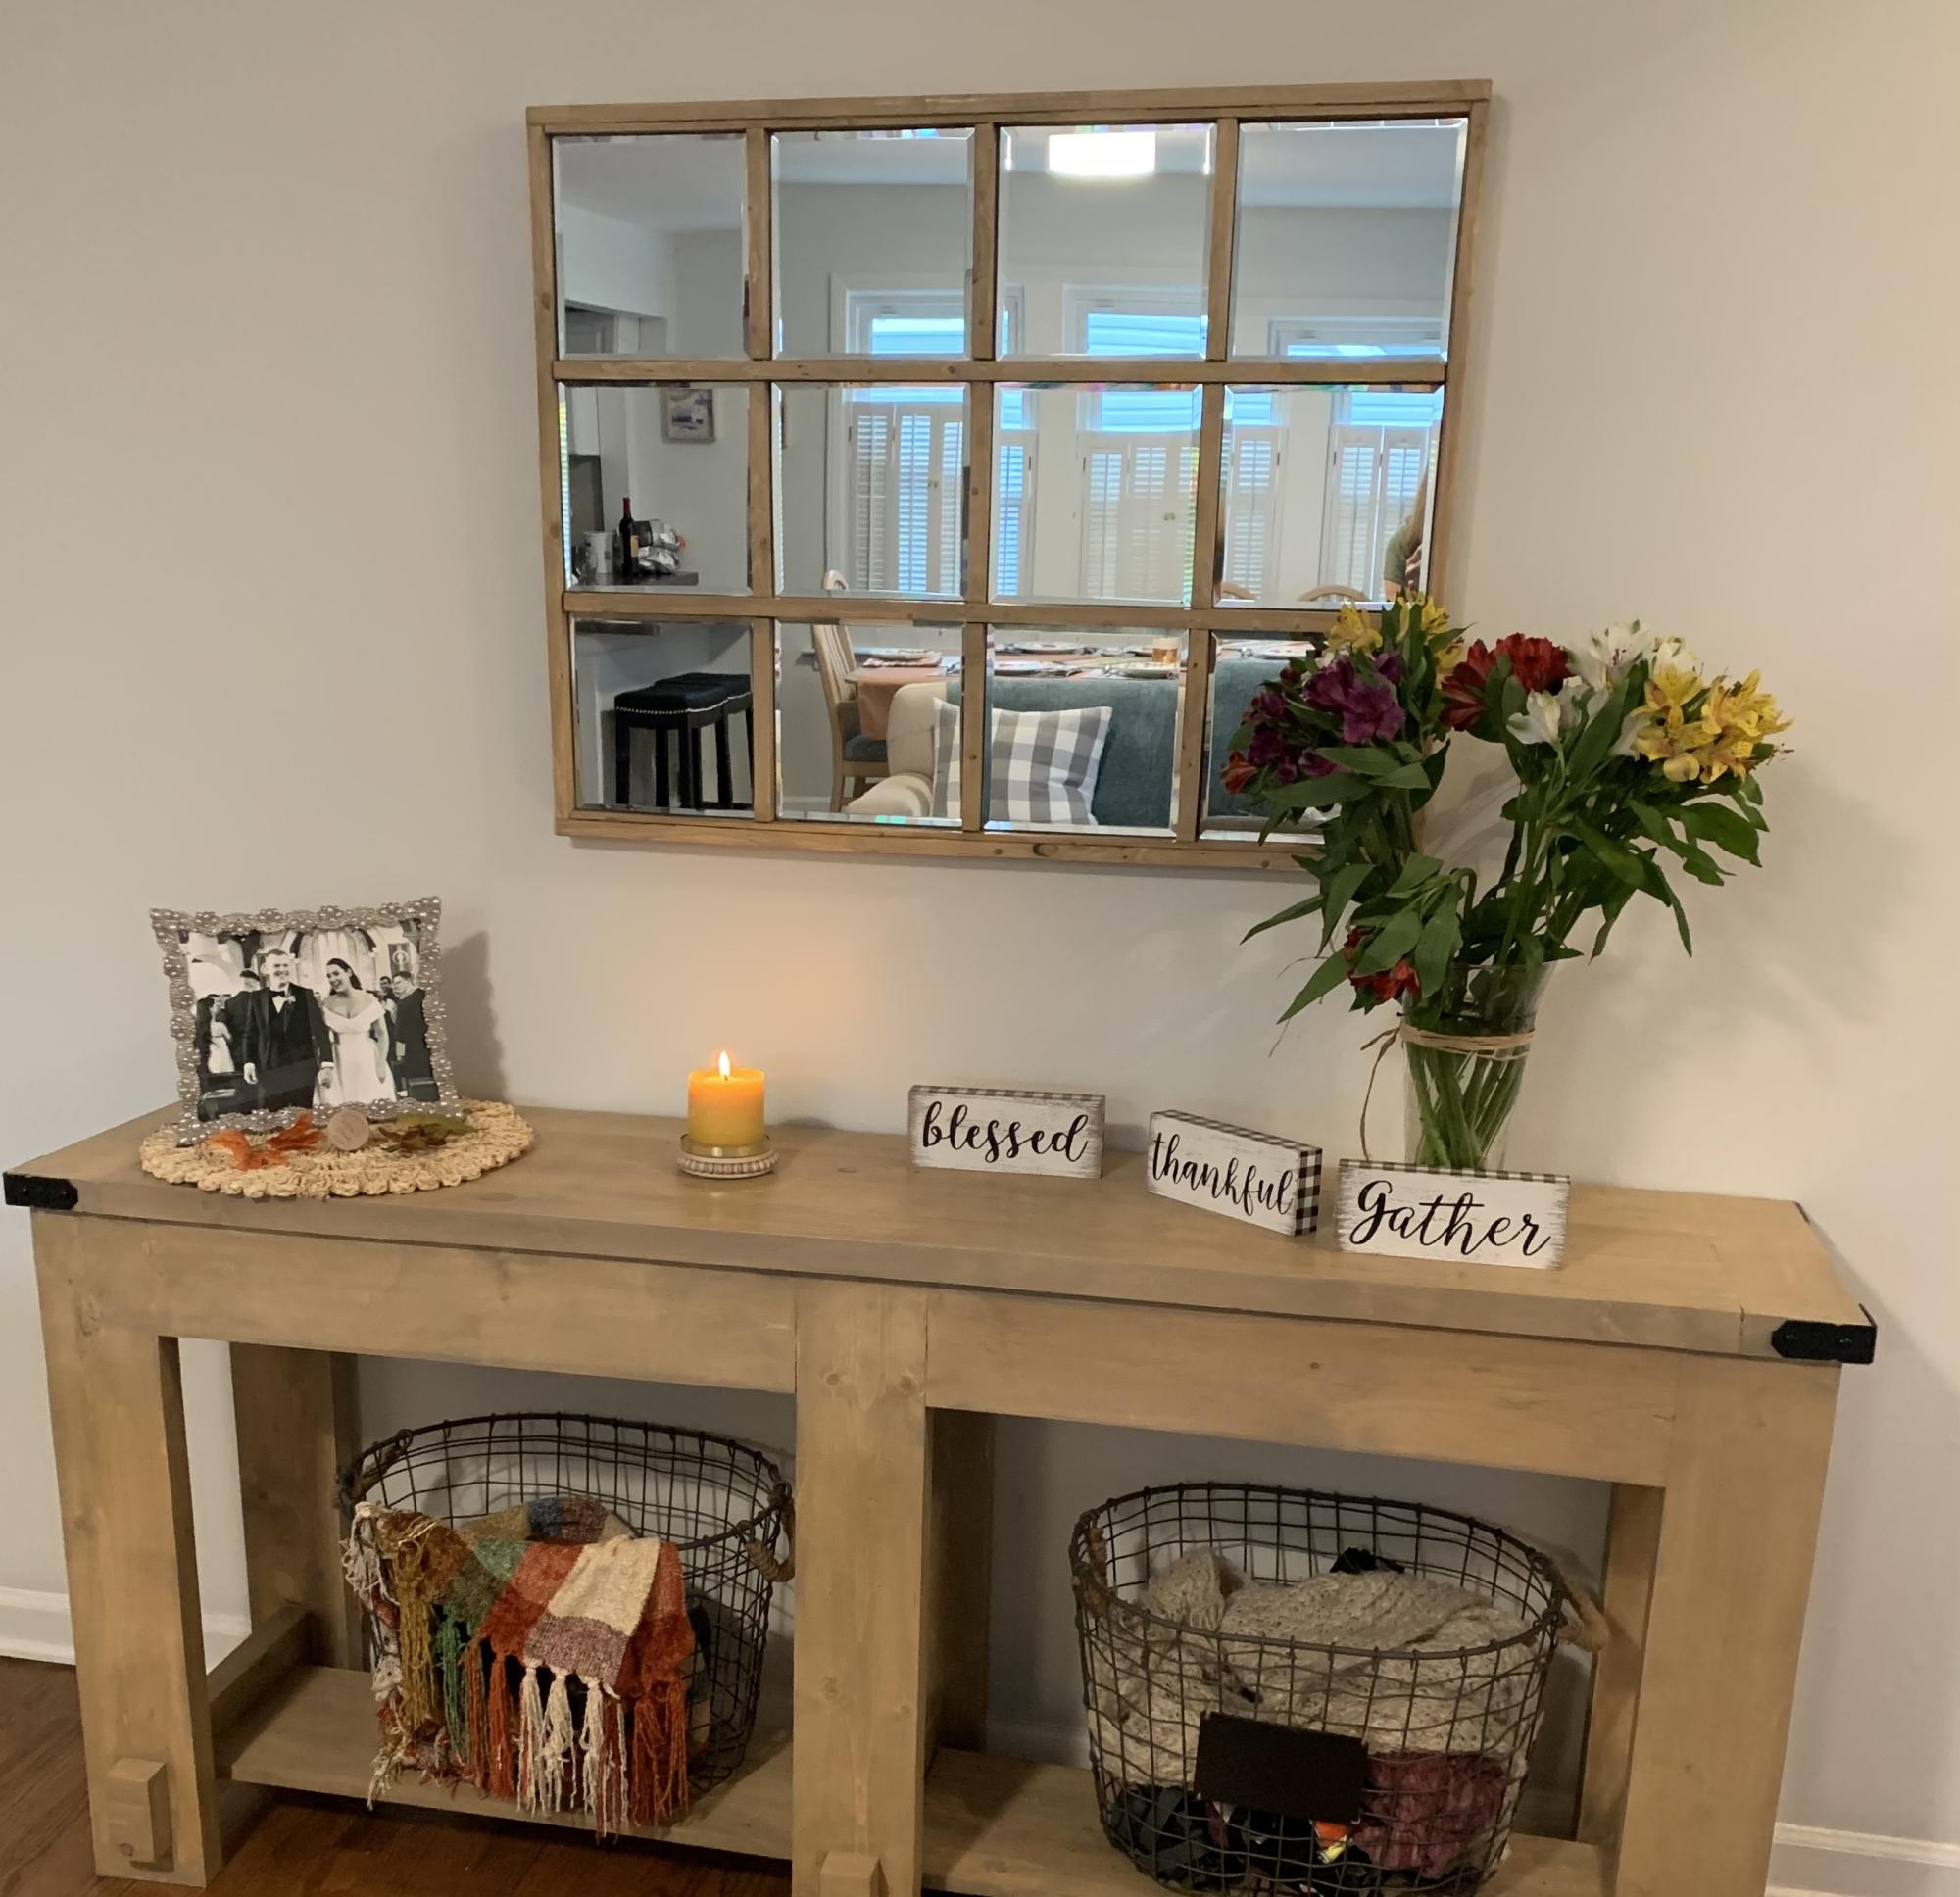
Thank you Ana for your amazing easy to follow plans and videos! I’ve had so many compliments in the mirror and goes great with the table from Shanty2Chic. I went with 8 x 8 mirror tiles. We love it!
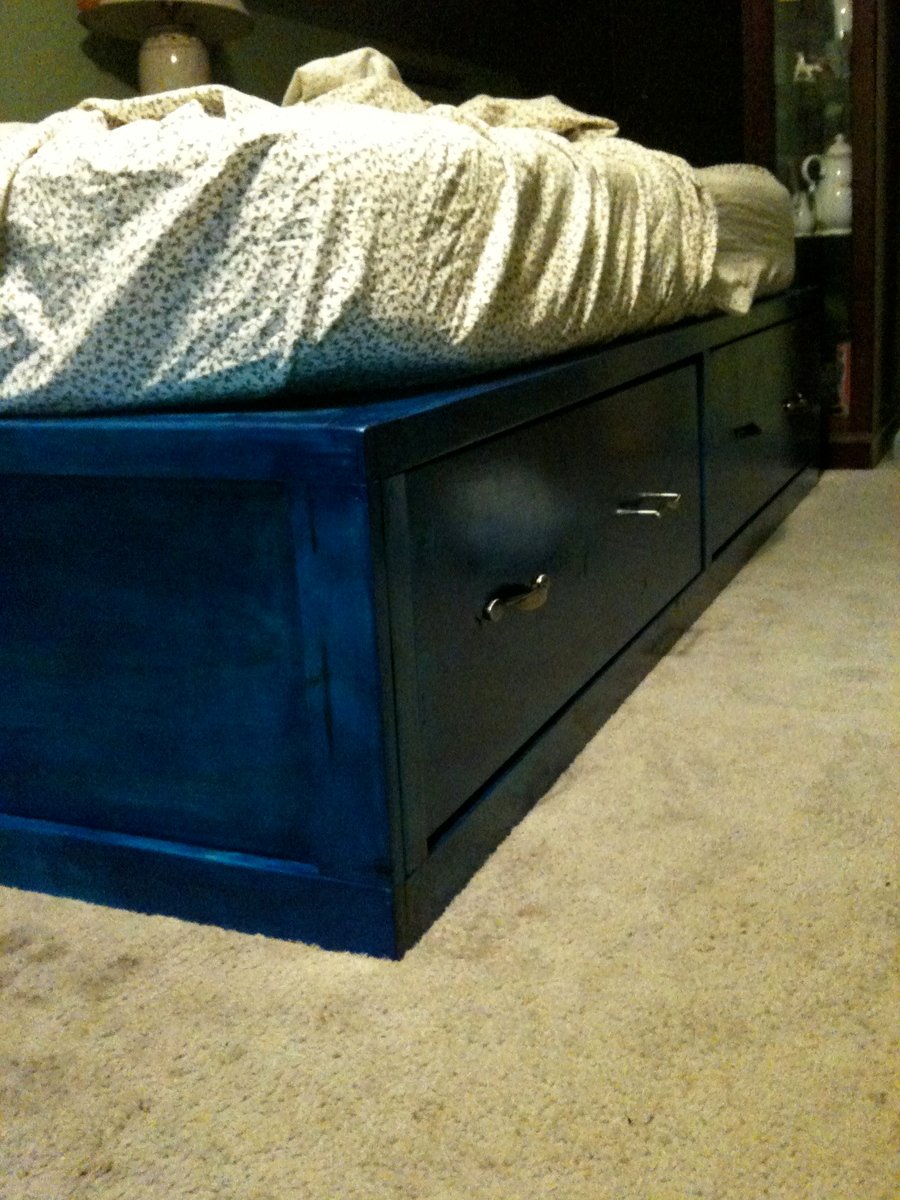
This was our first time building furniture. We built our new bed over the course of four days. We don't own any power saws so opted to give the cut list to our local hardware store who only charged us about $50 for all the cuts.
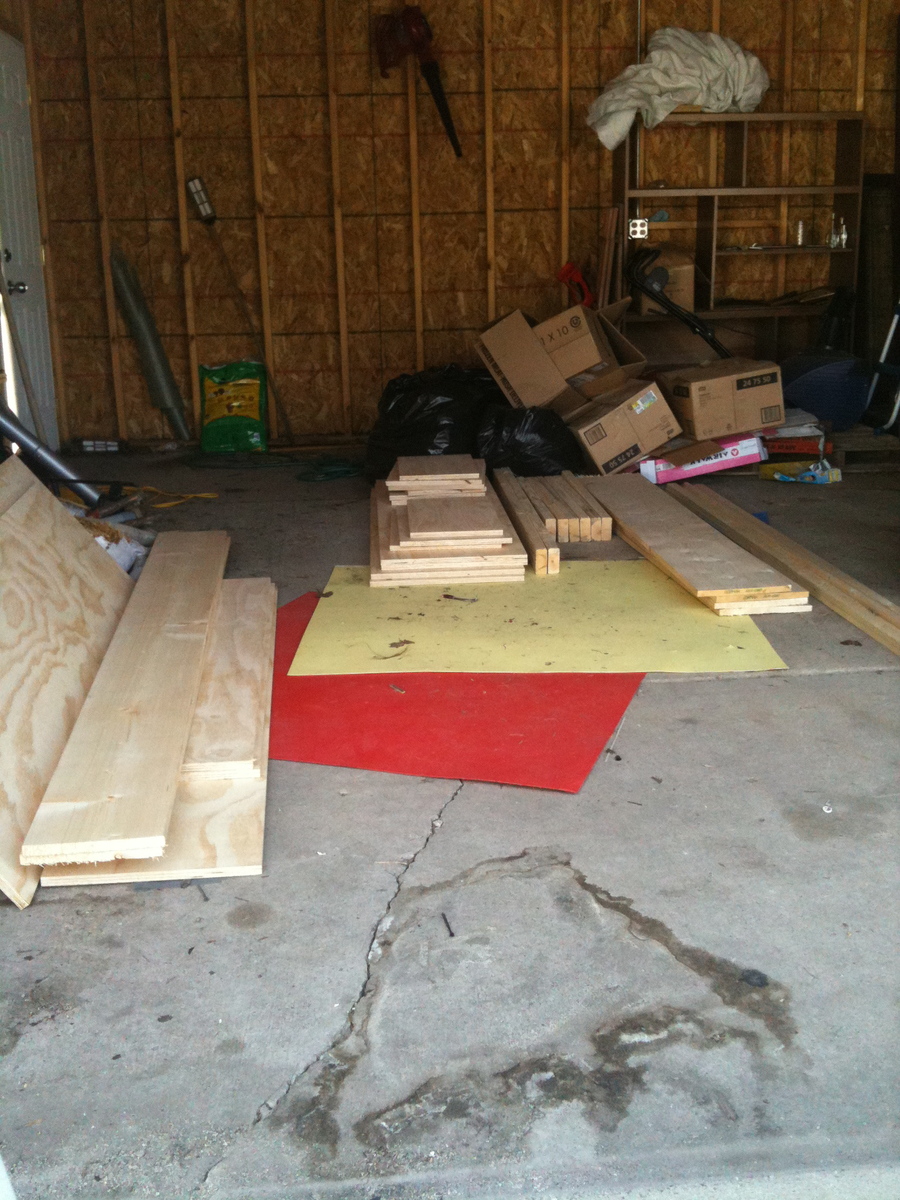
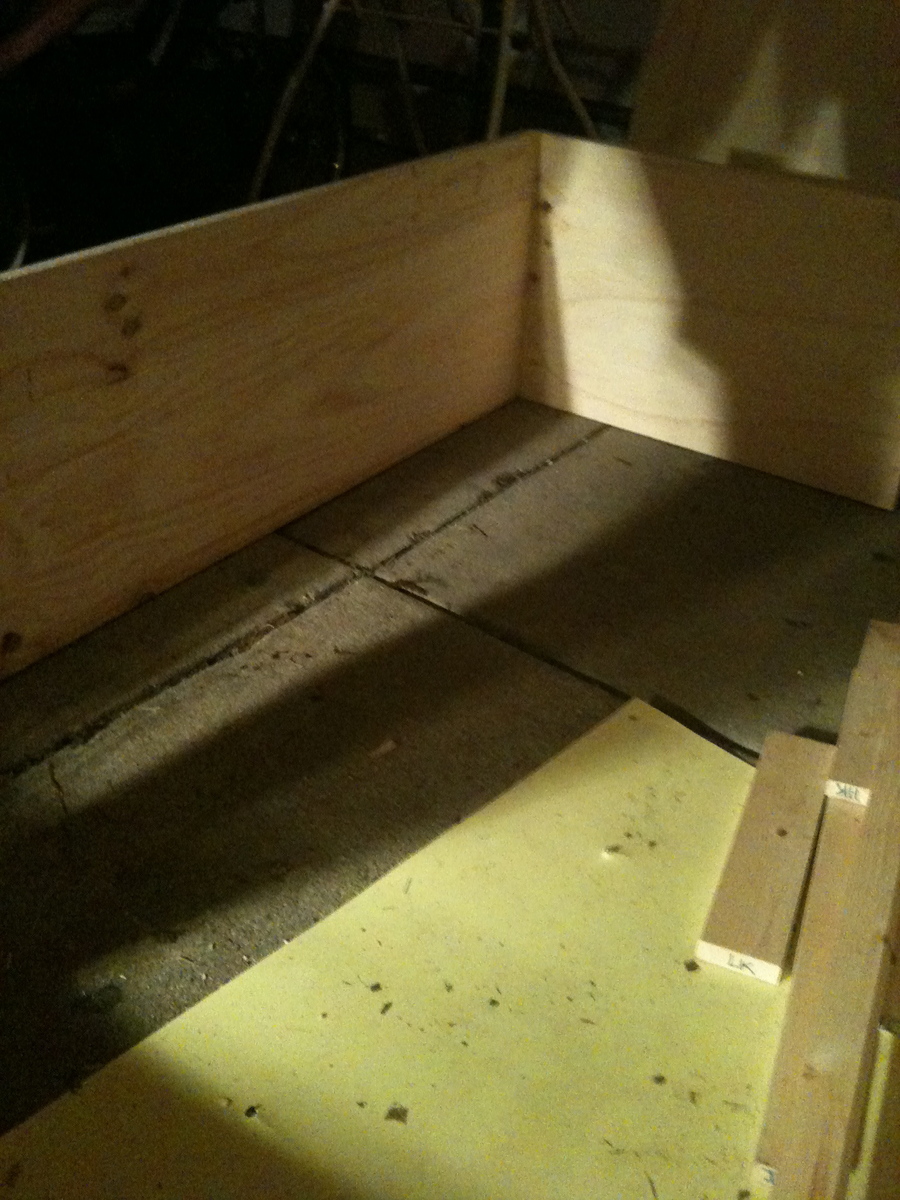
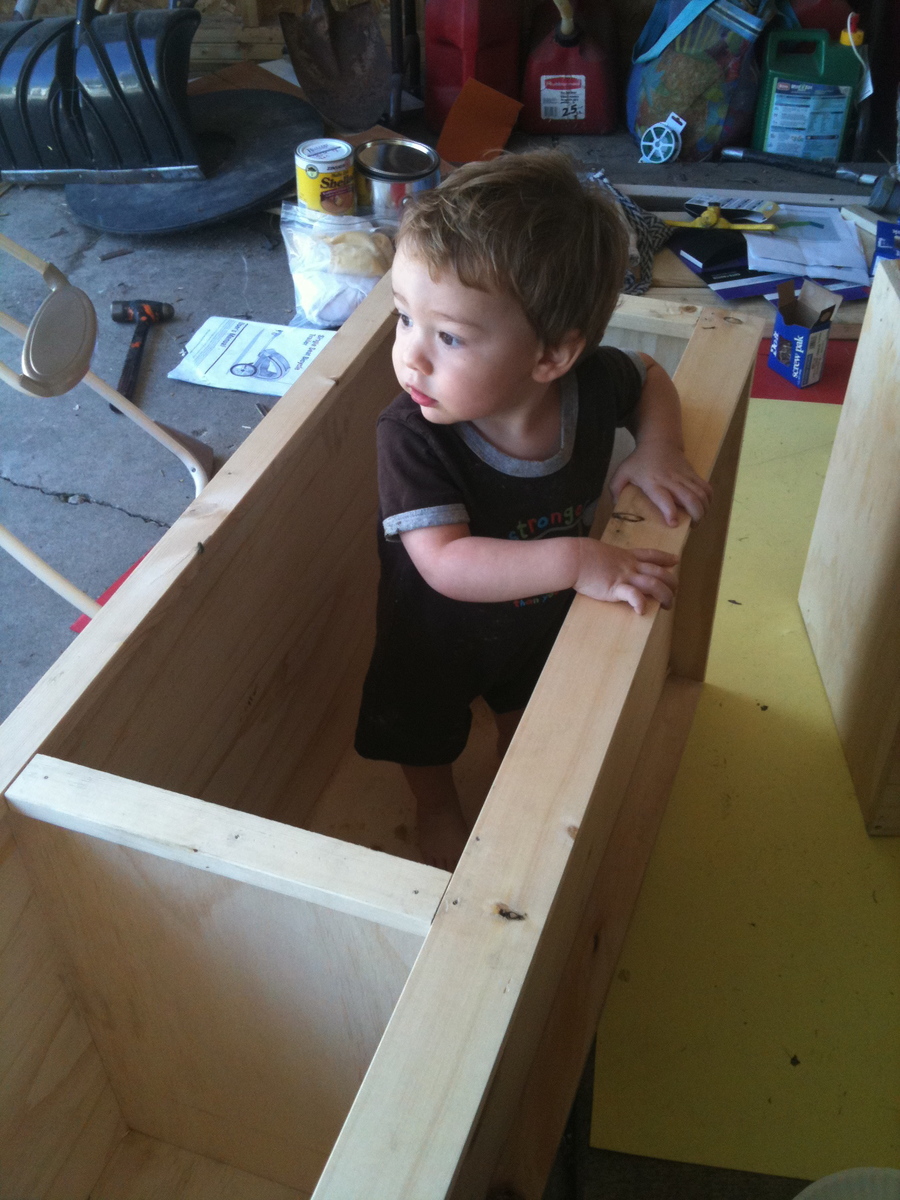
Day one consisted of picking up all the lumber, sorting into the three sections and labeling all the pieces. Day two was the longest day, lots of drilling and measuring and screwing and gluing and even the first two coats of shellac. On the third day we built the drawers, and finished coating everything with shellac. The last day was the installation of the drawer hardware, including the slides.
We're quite happy with the quality of our work, and appreciate the directions and plans. Though we aren't fine furniture makers, and probably none of our corners are 100% square, we finished in the time we thought, pretty close to budget, and with the satisfaction of doing it ourselves.
I've made 4 of these awesome chairs. The first two I did the same as the plans called for, and also made the stools to go along with them. Then I seen where someone had made the arms larger and added an extra board along the bottom to give it a more finished look, so I did the same and love these even better. Thank you for the plans.
Debora Cadene,
Atikokan, Ontario
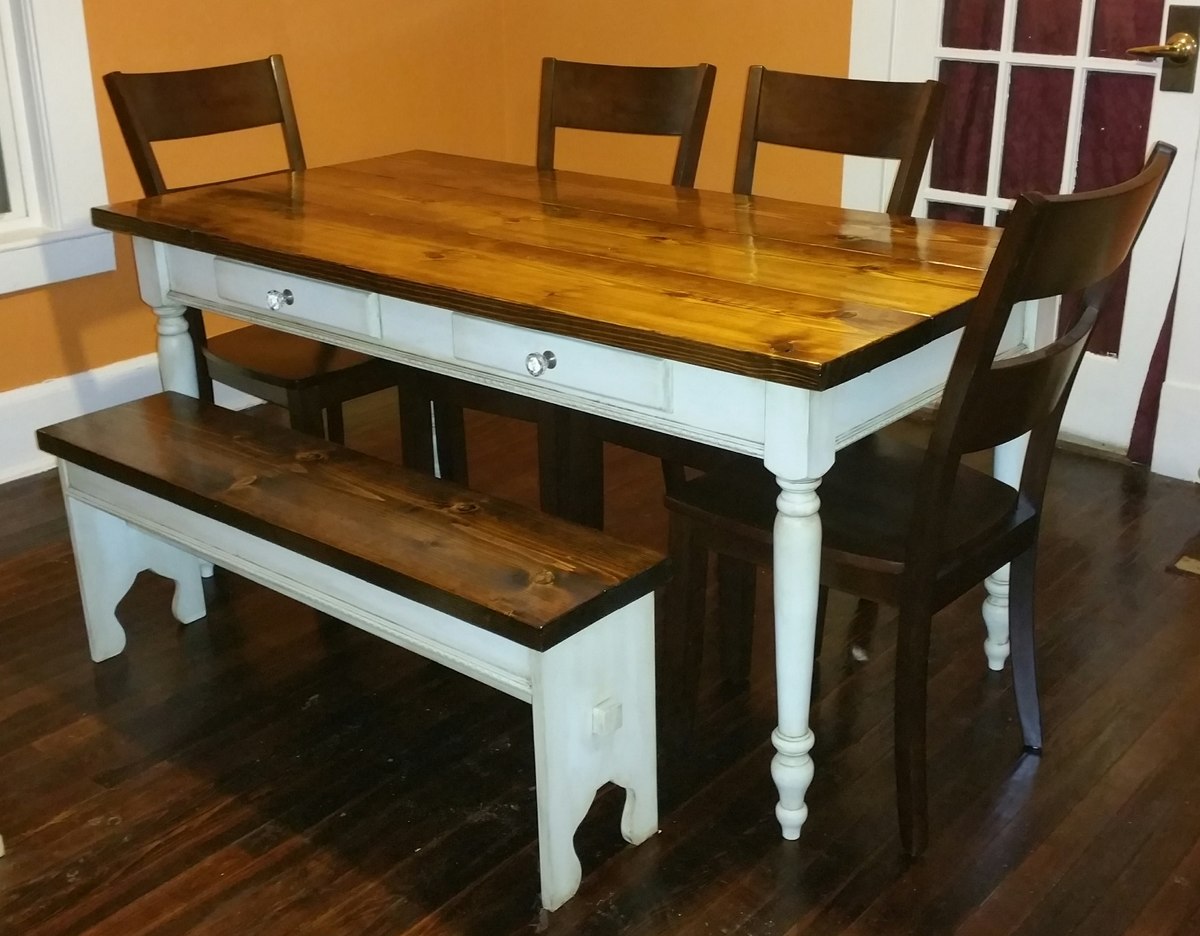
Although I didn't use a plan from this site, I do have Ana to thank for giving me the confidence to go alone and build this from a drawing that my wife drew up. All of my previous builds were from plans on this site so to make this from scratch without any help makes this my favourite build to date.
Table
Top: 2x12s
Aprons: 2x6s. Trim purchased from Lowes
Legs: Purchased from Lowes
Fake drawers: 1x4 ripped to size. Knobs purchased from Lowes
Bench
Top: 2x12
End sections: 1x10 (may replace with 2x10)
Aprons: 2x4
Chairs were purchased separately. (I'm not that confident yet)
Mon, 12/07/2015 - 07:38
I didn’t use any plans for this. My wife sketched out the design she wanted and I decided to go it alone. This is the first time I’ve built something from scratch without help and it was surprising easy to put together.
This is completely put together with the Kreg jig. The table top is made up of 3, 2 x12s attached together with pocket hole screws. I cut the 4 aprons and attached those to the legs also with pocket hole screws. To give extra support I attached 2, 2x4 cross braces between the longer aprons. The table top was then screwed in place with pocket hole screws through the aprons and 2” screws through the 2 braces.
For the fake drawer fronts, I cut them to size and routed the outer edges to round them off. I then attached the knobs and screwed the drawers in place through the back of the aprons. Finally, I attached trim to the bottom of the aprons. The knobs and trim were bought from Lowes.
The bench was made in a similar way. The top is made from a piece of 2x12, 2x4s for the aprons, the end sections are 2x10s and I used a jigsaw to cut out the arches. All attached together with pocket holes. I then added a 2x2 support beam through both ends and attached matching trim to the aprons.
Hope this helps.