Key table
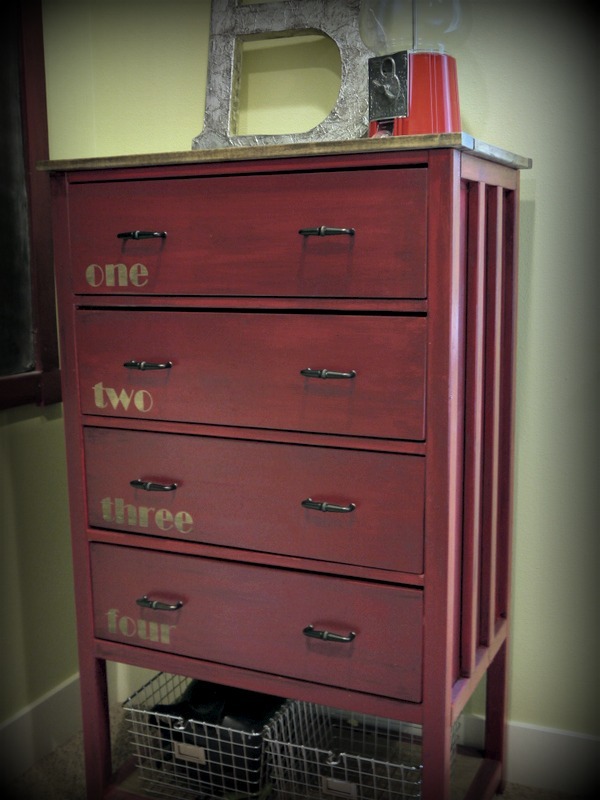
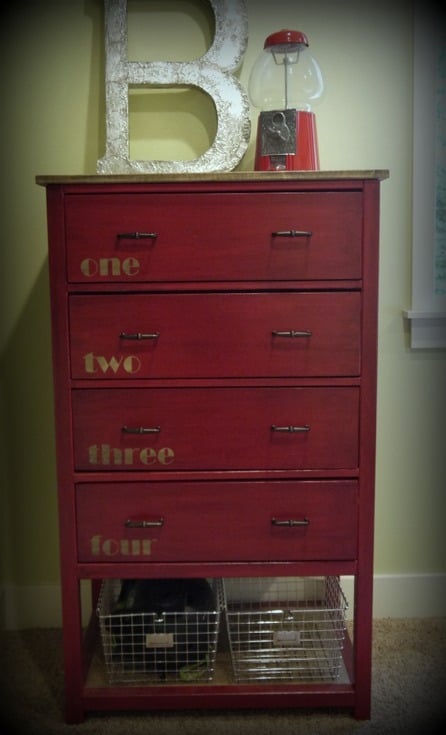
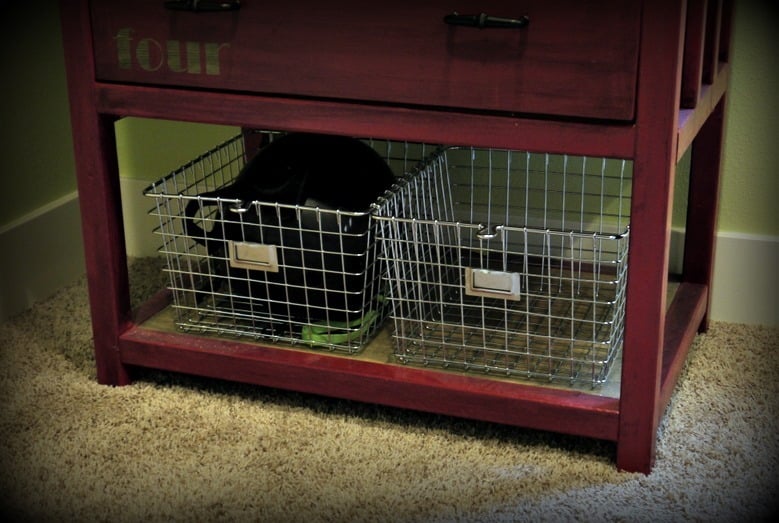
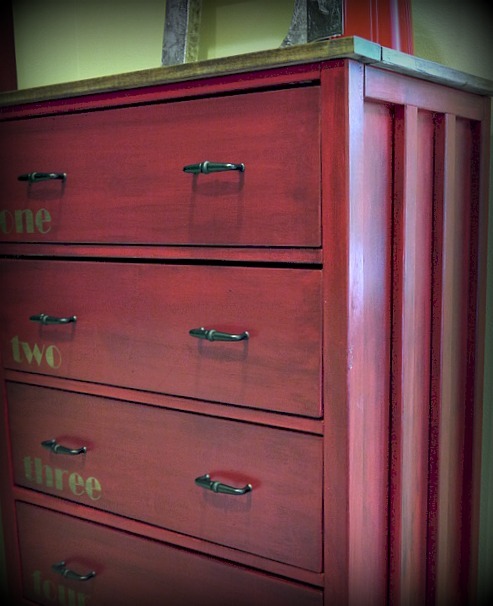
This is a variation of the cabin collection nightstand, I have a wall that needed a catch all, so we throw keys on top of it and junk in the drawers!
This is a variation of the cabin collection nightstand, I have a wall that needed a catch all, so we throw keys on top of it and junk in the drawers!
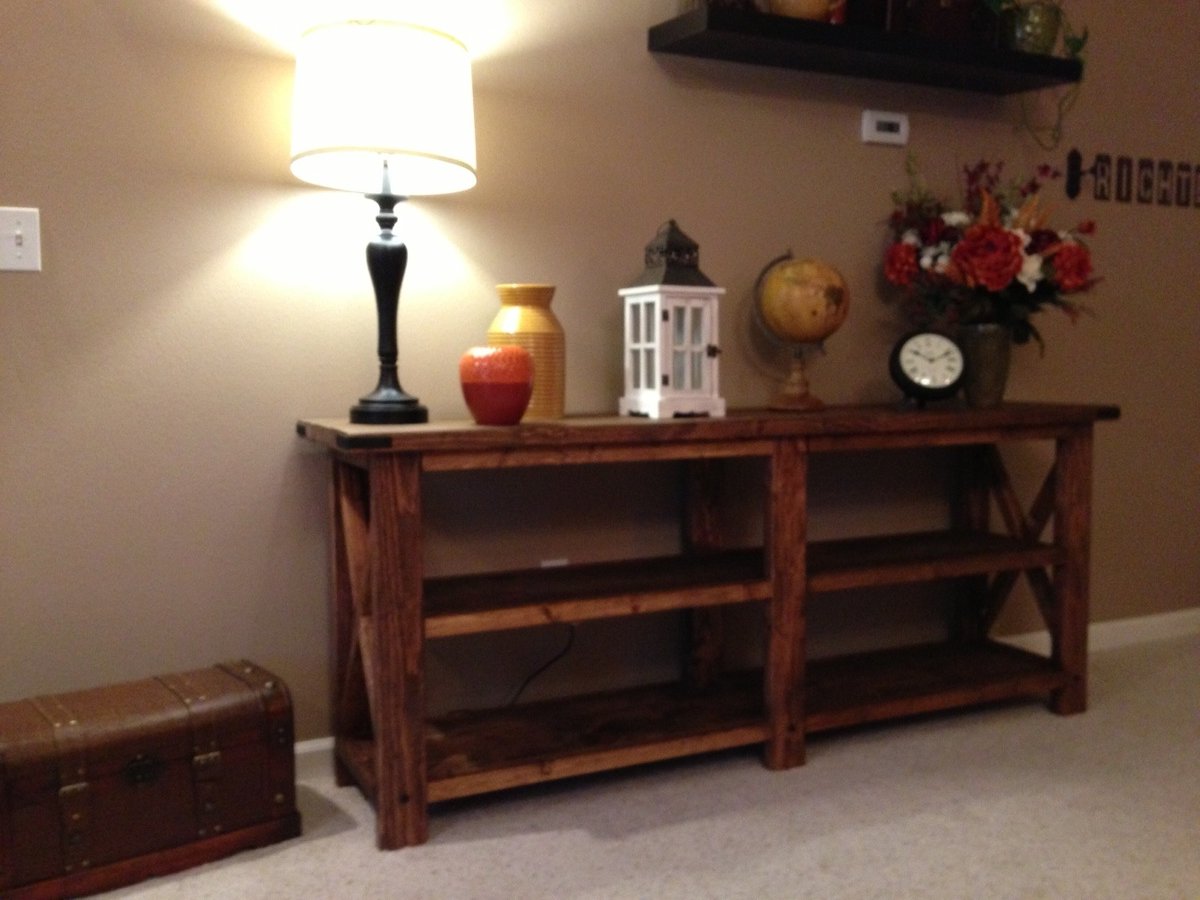
X- console
Sat, 05/18/2013 - 05:23
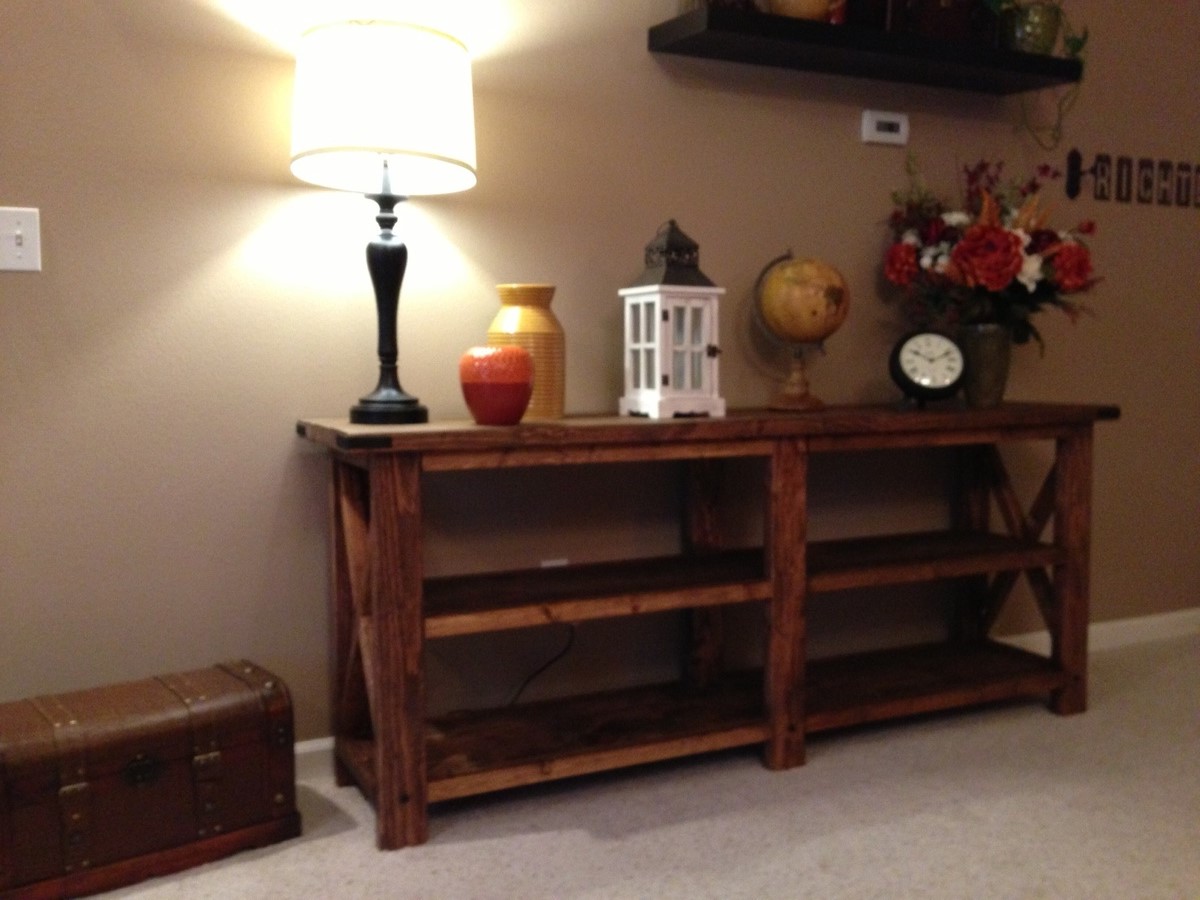
My first Ana White build. After this one,mi was hooked. I built the matching coffee and end tables too! I'll post those pics soon.
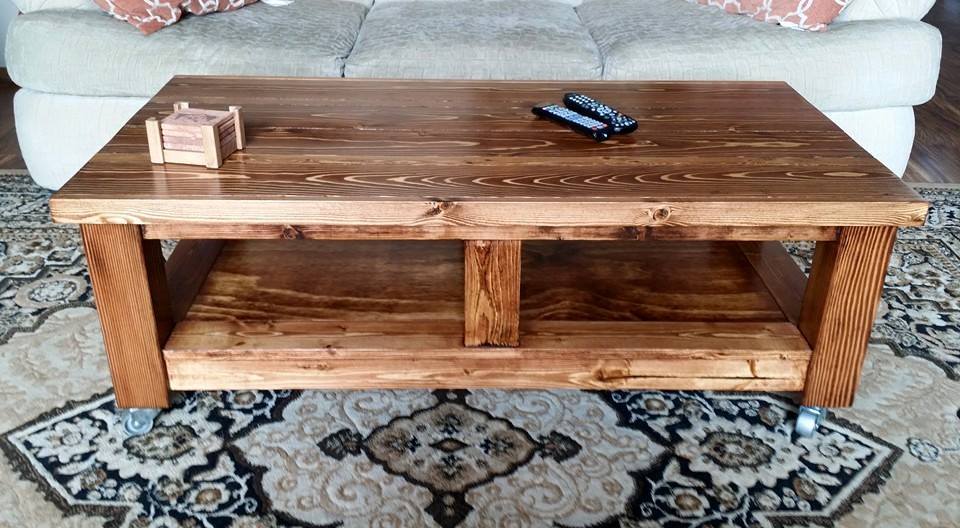
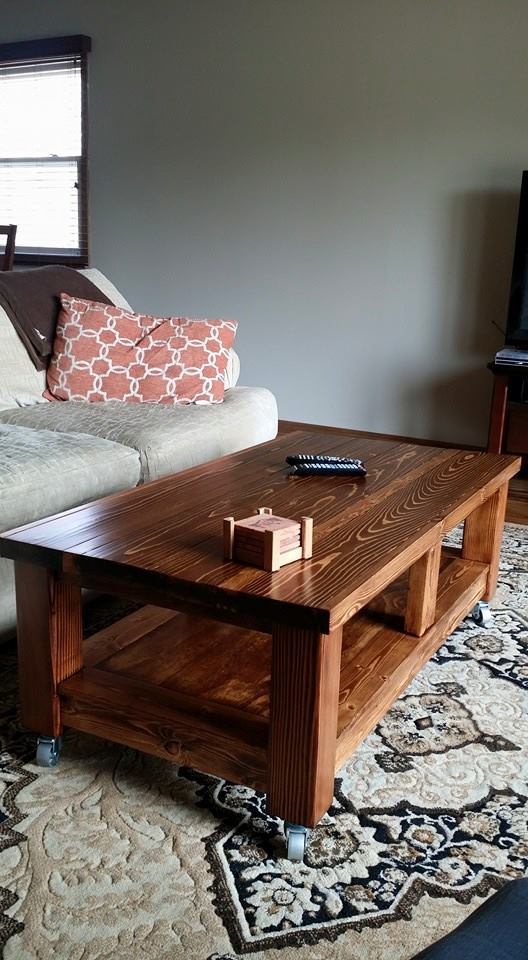
I built this coffee table from the Taylor's Coffee Table plans (http://ana-white.com/2014/02/plans/taylors-coffee-table) with a few "artistic"/necessary liberties. For the top, I used a slightly different pattern than shown on the plans. Starting from one side to the other, my plan includes a 1"x2", a 2"x6", a 2"x2", two side-by-side 2"x6", a 2"x2", a 2"x6", and finally a 1"x2". I liked the extra overhang that the 1"x2" included on the outside edges of the table.
I do not own a jigsaw, so instead of making the entire bottom shelf out of plywood, I made a "border" with 1"x4" boards with the adjoining corners cut at 45 degrees so that each side of the border matched up nicely. This allowed me to use a standard rectangular piece of plywood for the shelf "inlay."
As a first attempt at any sort of table, this turned out much better than I could have hoped!
I have had this space under my television that I never knew what I should do with it. There is a baseboard heater on the wall so I always figured I could put anything against it. I also have a lot of shoes. When I saw the plans for the vegetable bin I figured I could convert it to hold my shoes.
I used 1x8s for the middle legs allowing the cabinet to sit over my baseboard heater. I adjusted the height of each cubby to fit the various sizes of shoes I own. I put 1x4s along the back so as to allow everything to breath. It took me about 2 days to complete.
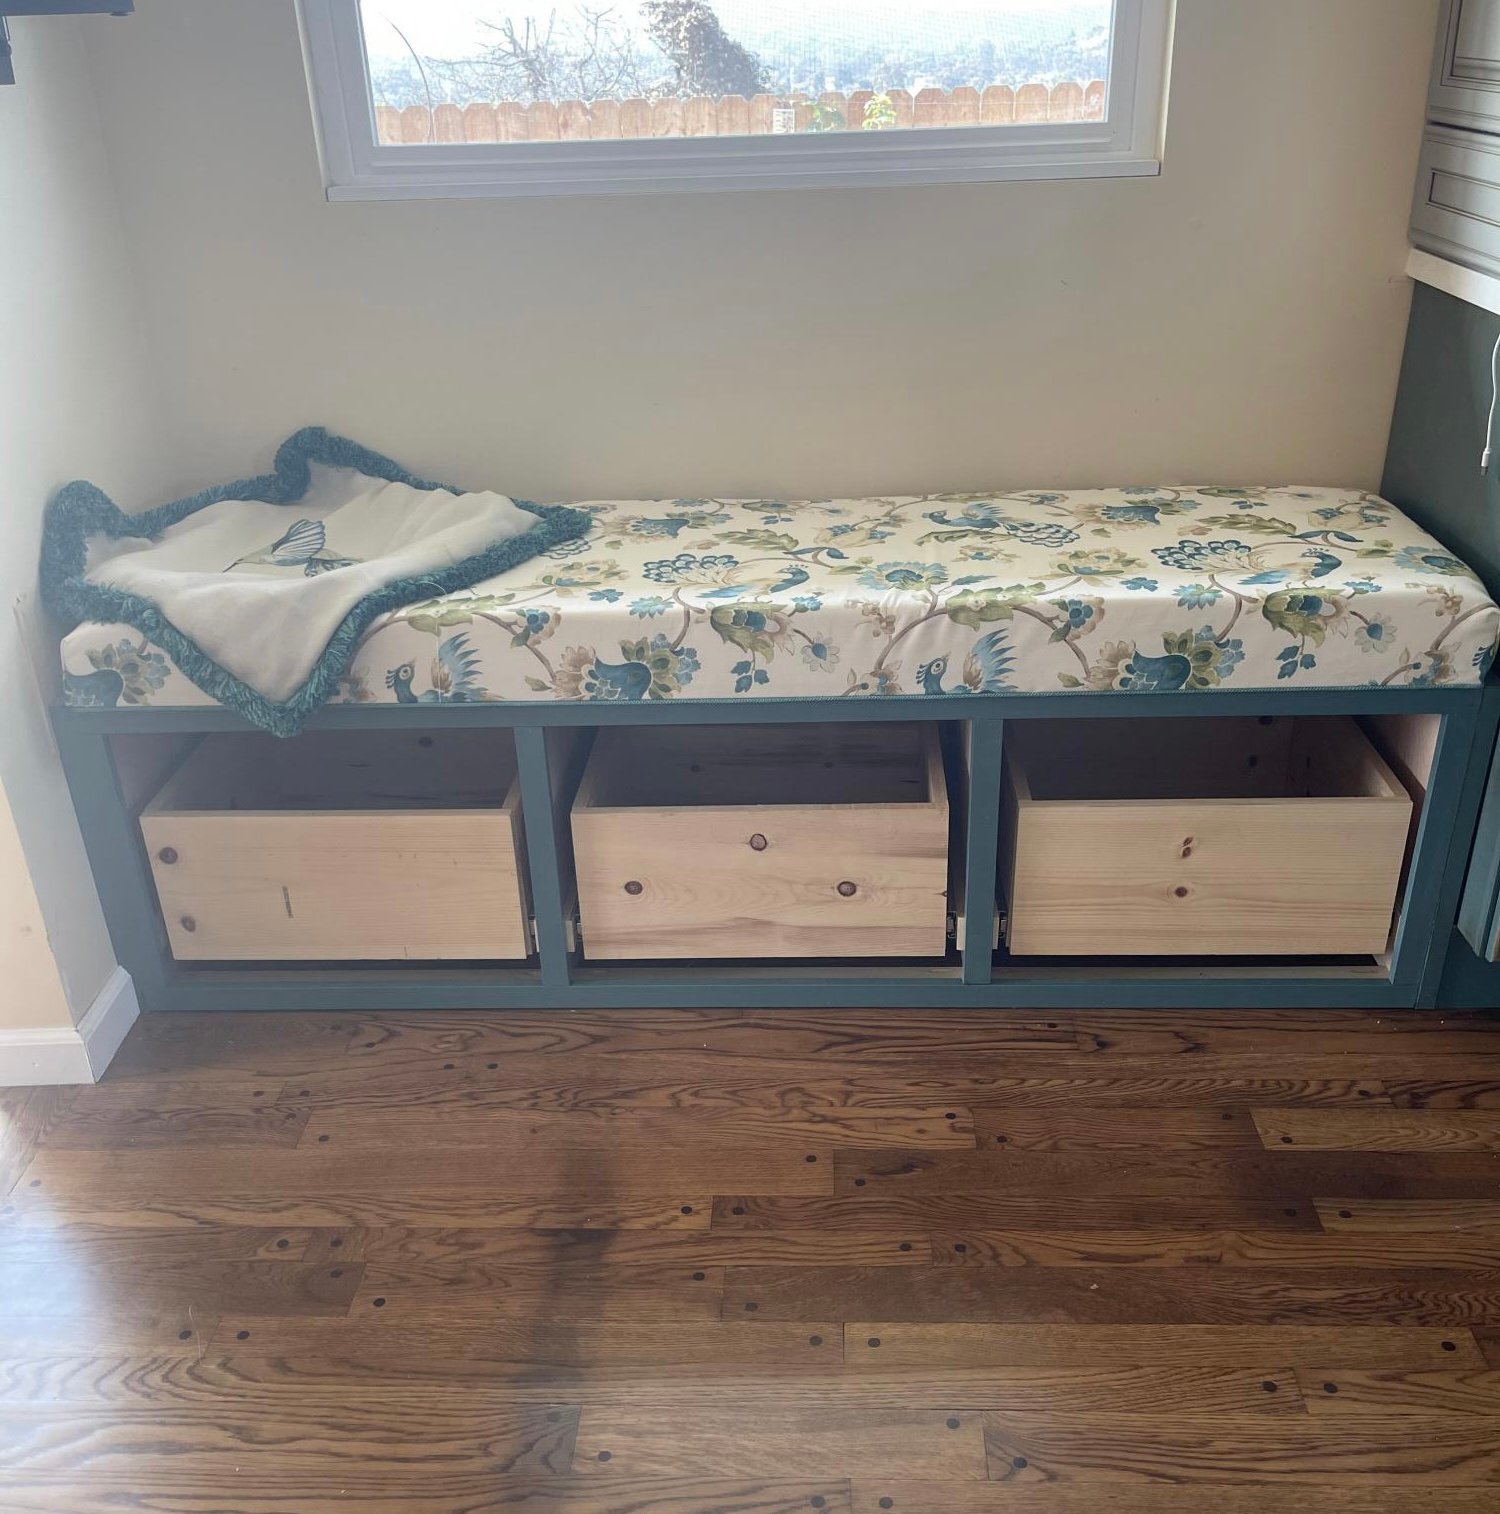
Still in process, just waiting for the cabinet doors to match my kitchen. I got the car us from shelf help. Learned how to make the pocket holes and the face frame! Saved me about $3,000!
Mon, 09/12/2022 - 11:32
Thanks for trying Shelf Help, can't wait to see finished project!
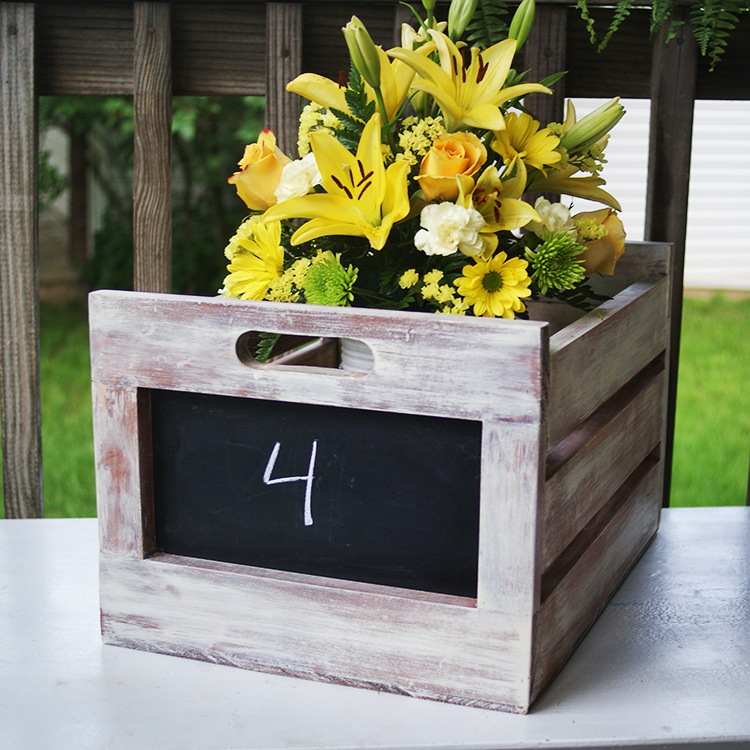
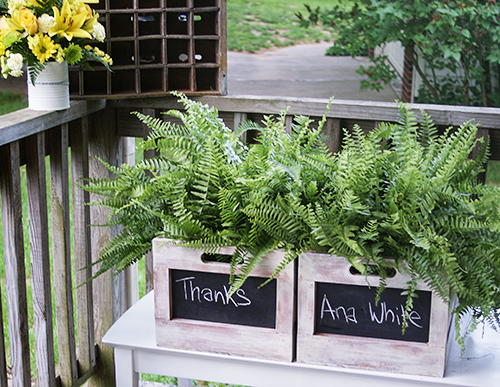
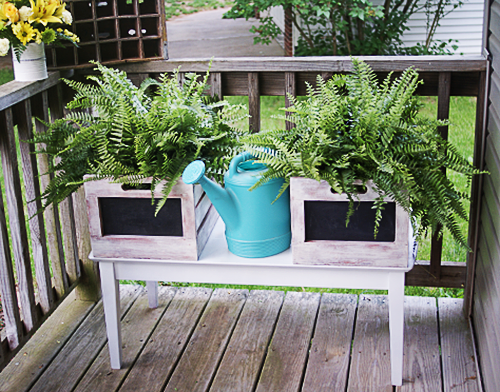
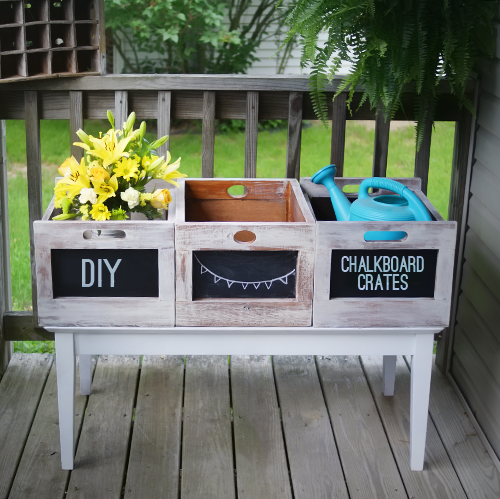
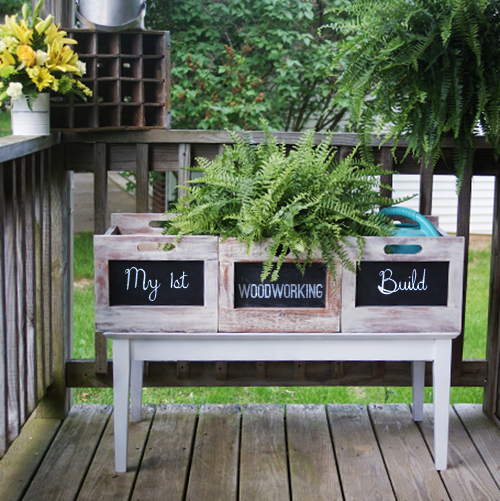
I made 3 crates using Ana Whites Chalkboard Produce Crate plan. It was my first woodworking project, was totally doable, and has created a monster. The middle crate in the photos was the first one, and I added extra 1x3s on the sides because I thought I didn't want the gaps between the side boards. Changed my mind for the second 2. I wanted a chippy finish so I stained with glaze and burnt umber by Golden, followed by a topcoat of dry brushed Titan Buff. I sealed with CeCe Caldwell Aging Wax.
Thu, 08/29/2013 - 18:29
These are beautiful. :) You did a fantastic job!
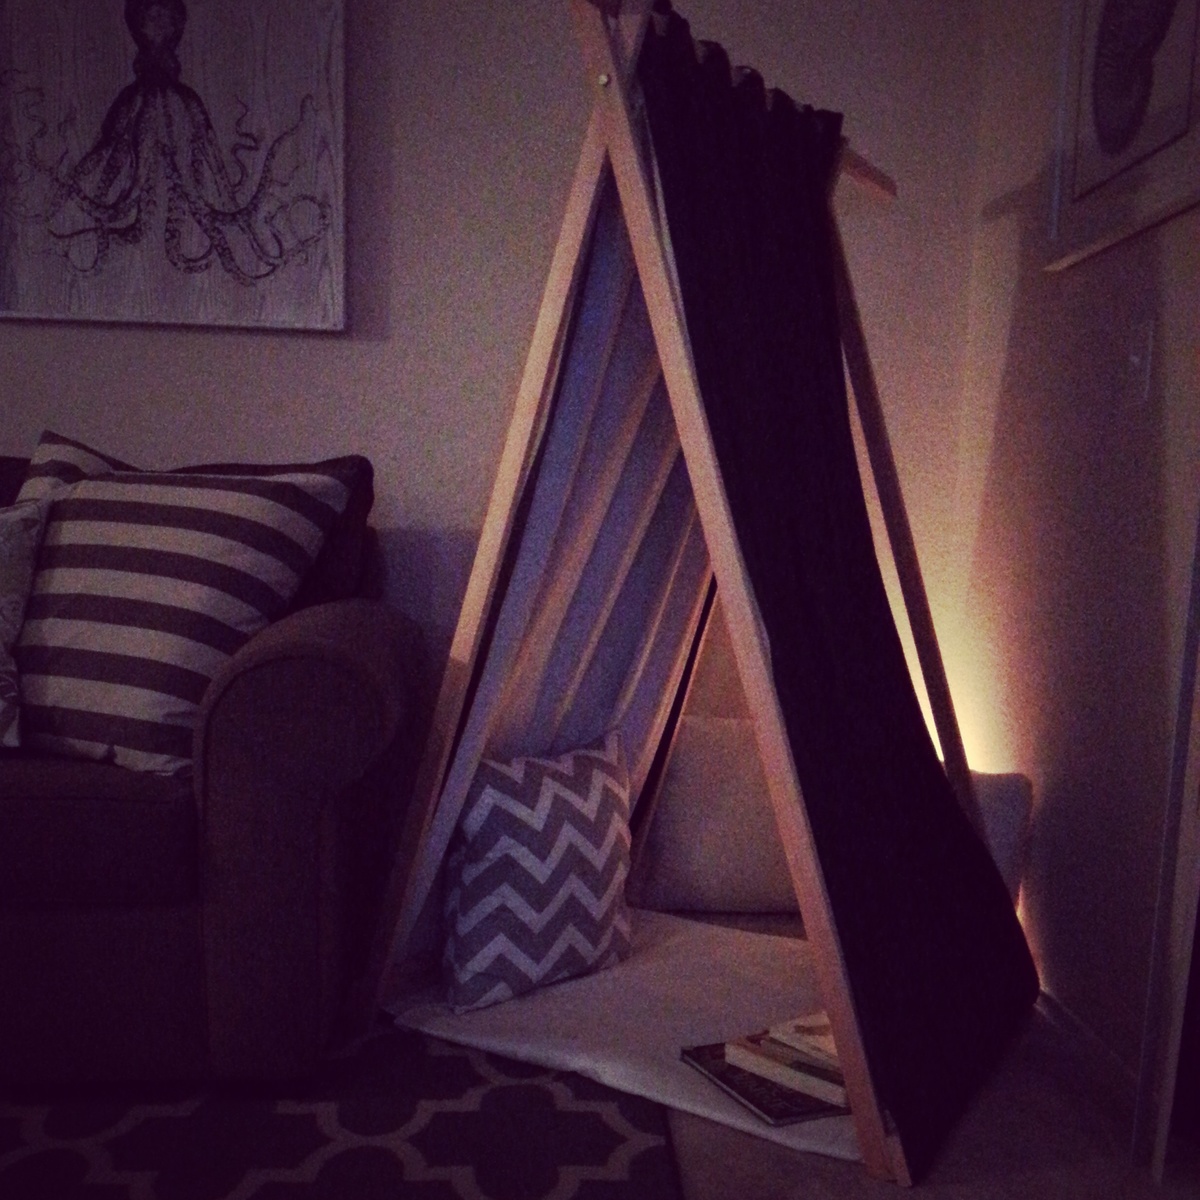
Super easy. Done in less than one hour. Used Target's Black-Out curtains.
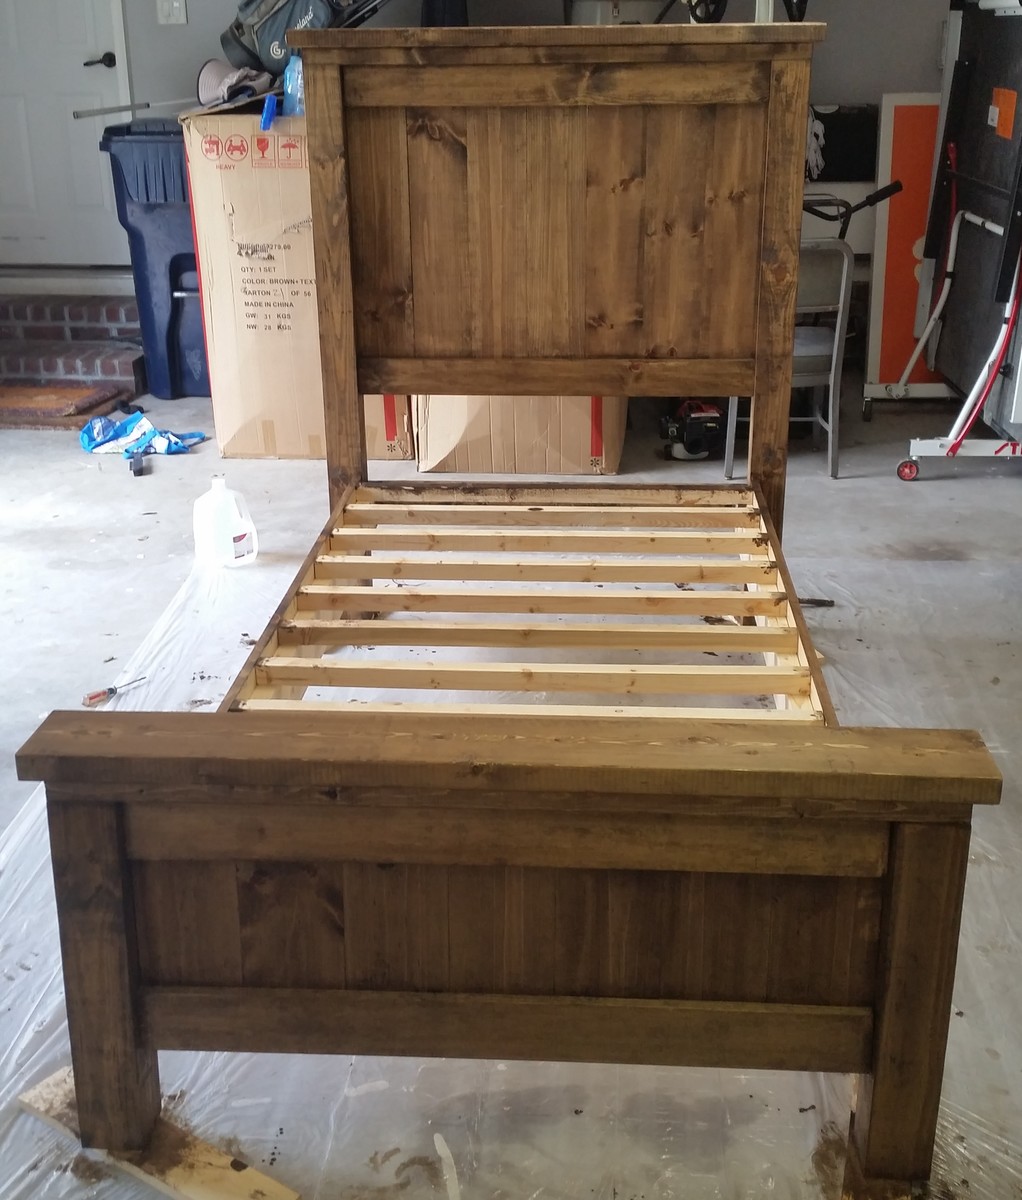
We used the least expensive pine at Lowe's because I really like the variation in the wood. I think it adds character. This was the first time I've used Weathered Oak and boy is it sheer! You can hardly tell it's there over the dark walnut but it did seem to lighten it just a little and give a slight grey to the very dark areas. Really liked the outcome!

Built for my Daughter and Son-in-laws new home
Tue, 10/05/2021 - 09:19
That is very sweet and looks amazing! Thank you for sharing~
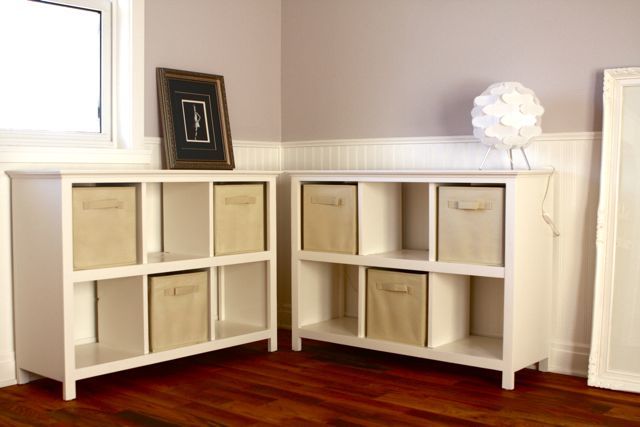
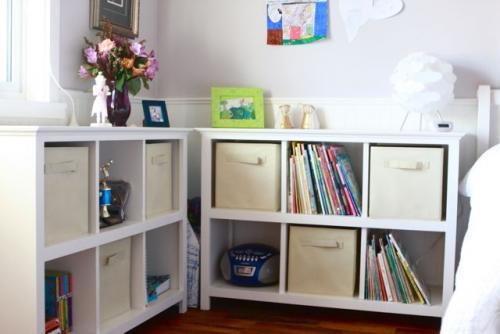
As part of my daughter's big 8th birthday bedroom re-do, I knew she needed some new storage for books and...er...stuff. You know how kids accumulate little scraps of paper, photos, tiny toys. I can't stand to see that kind of stuff lying around, so these cube bookshelves seemed like a great solution for the problem. The canvas "drawers" are from Target and were not expensive. I followed Ana's Six Cube Bookshelf plans very closely with two exceptions. First, I shortened the legs an inch to ensure that the units would be short enough to fit under the bedroom window. Second, I added an overhanging 1/4" MDF panel to the top of each bookcase and trimmed out the bottom of the panel with cove molding. The rest of the wood used was solid pine. I'm now working on building a third unit for my other daughter's room. This time I was smart enough to finish the insides of the cubes before putting the whole bookcase together. Getting into those corners once the project is complete is time consuming and difficult. Painting the insides of the boards ahead of time has proven to be much simpler.
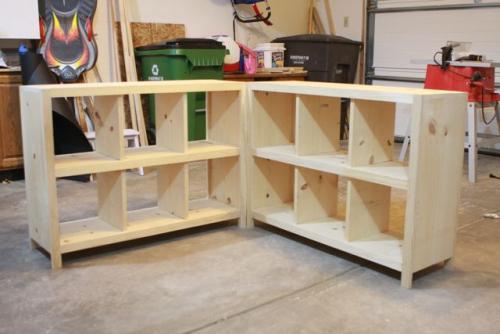
This was my first project with drawers, and I learned through sad experience how important it is to have ULTRA straight boards to begin with! I am grateful for things like itty-bitty washers to help correct things that aren't quite straight enough. More info on my blog!
Mon, 10/21/2013 - 10:47
I had to use Full Extension slides instead of regular euros because of the seam for the drawer bottom being right in the middle of the mounting holes. Now my drawers are not quite mounting the correct way. I have learned a lot of painful lessons on this one. Man.
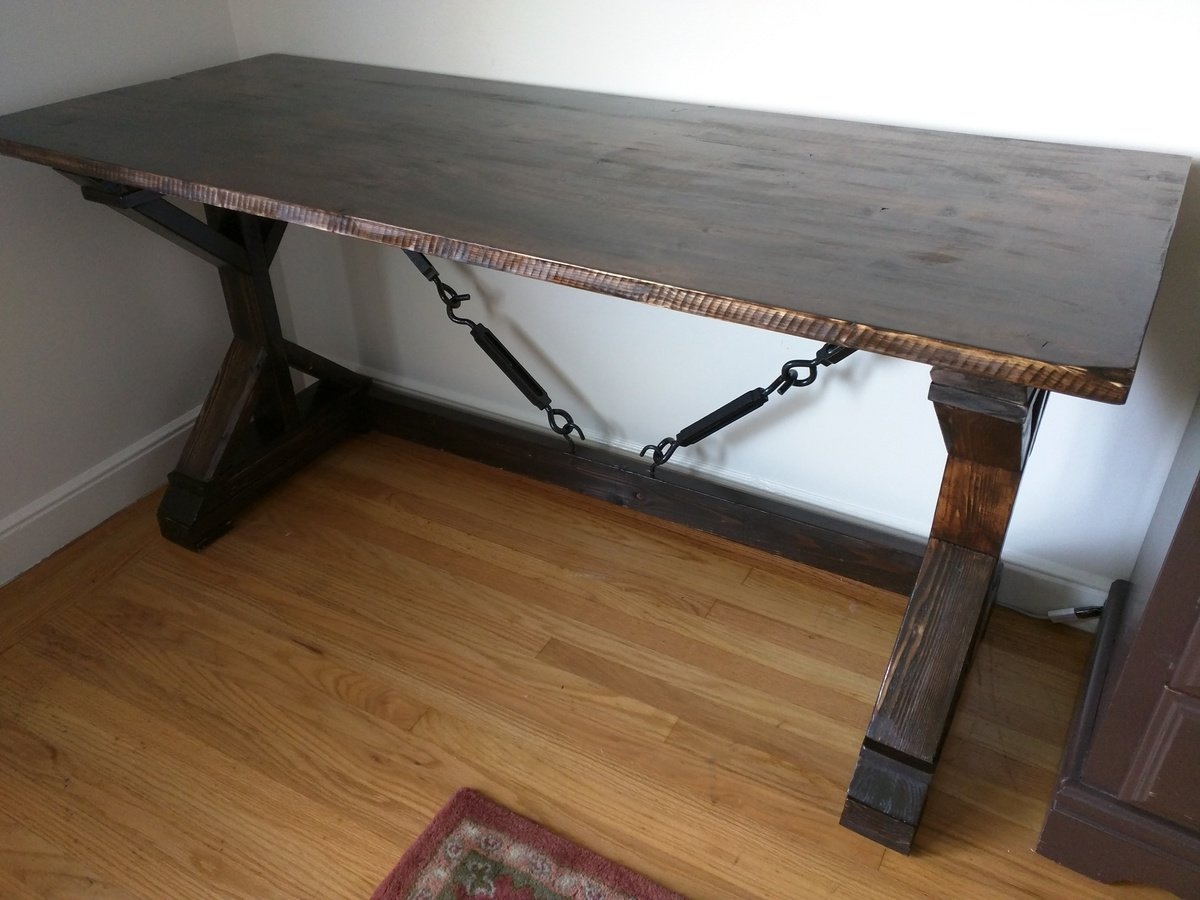
This is my first DIY furniture build. Had some issues with the Poly, but it turned out better than I thought. I used a couple of Turnbuckles with black hammer spray paint instead of the back slant supports. Made some mistakes, but learned a lot. Thanks Ana for the great site and all of the great posts.
Tue, 04/14/2015 - 19:33
Great build! How did you rough up or score the edge of the table top? Thanks.
Fri, 05/29/2015 - 22:51
Actually it was a pristine pine project board that was very easily dented and marked. If you notice the corner, that's from shortening it and roughly cutting with a circular saw. The end of the cut chipped the corner off and I just sanded it down with a rotary sander. Same sander for the edges gave me the tree ring look. I also went with cheaper 2x4 that had some blemishes and then sanded them down to give it a more lived in look for the side legs.
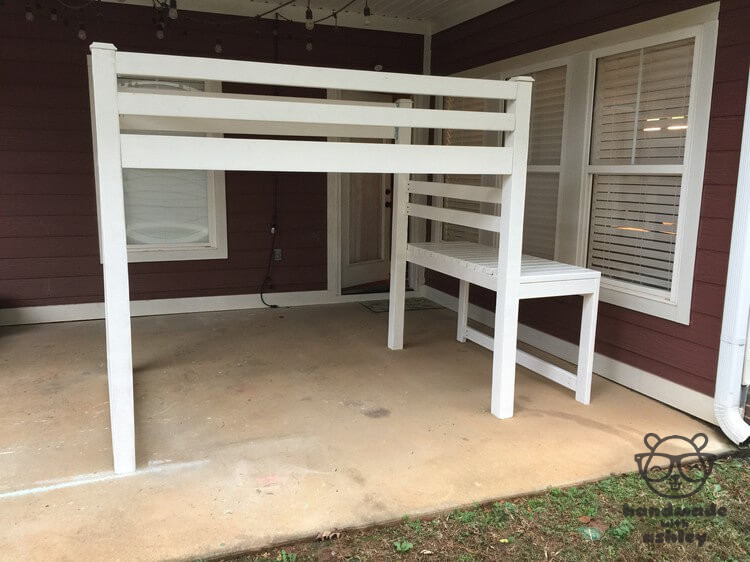
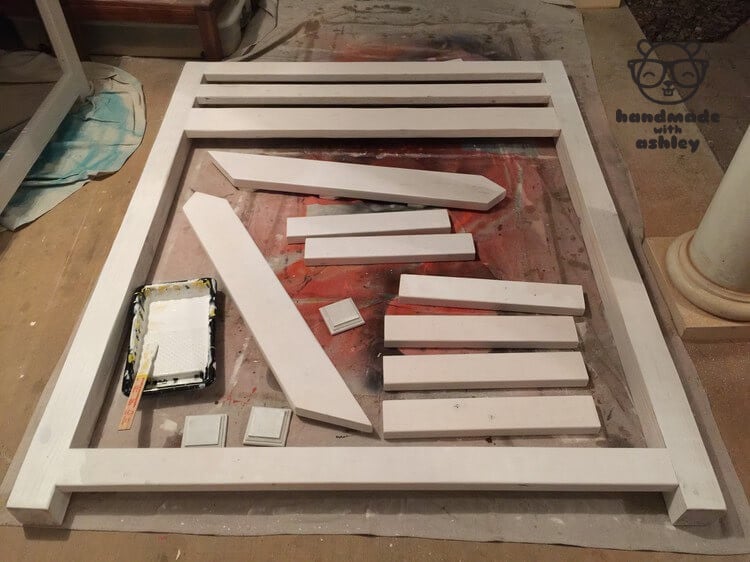
I assisted a friend in building a loft bed for her daughter. We followed free plans by Ana White for the junior loft bed. We made a few modifications such as changing it to fit a full-sized mattress (more details on my blog). The loft bed is the largest furniture item that I have built thus far. I have learned a lot from working on the project.
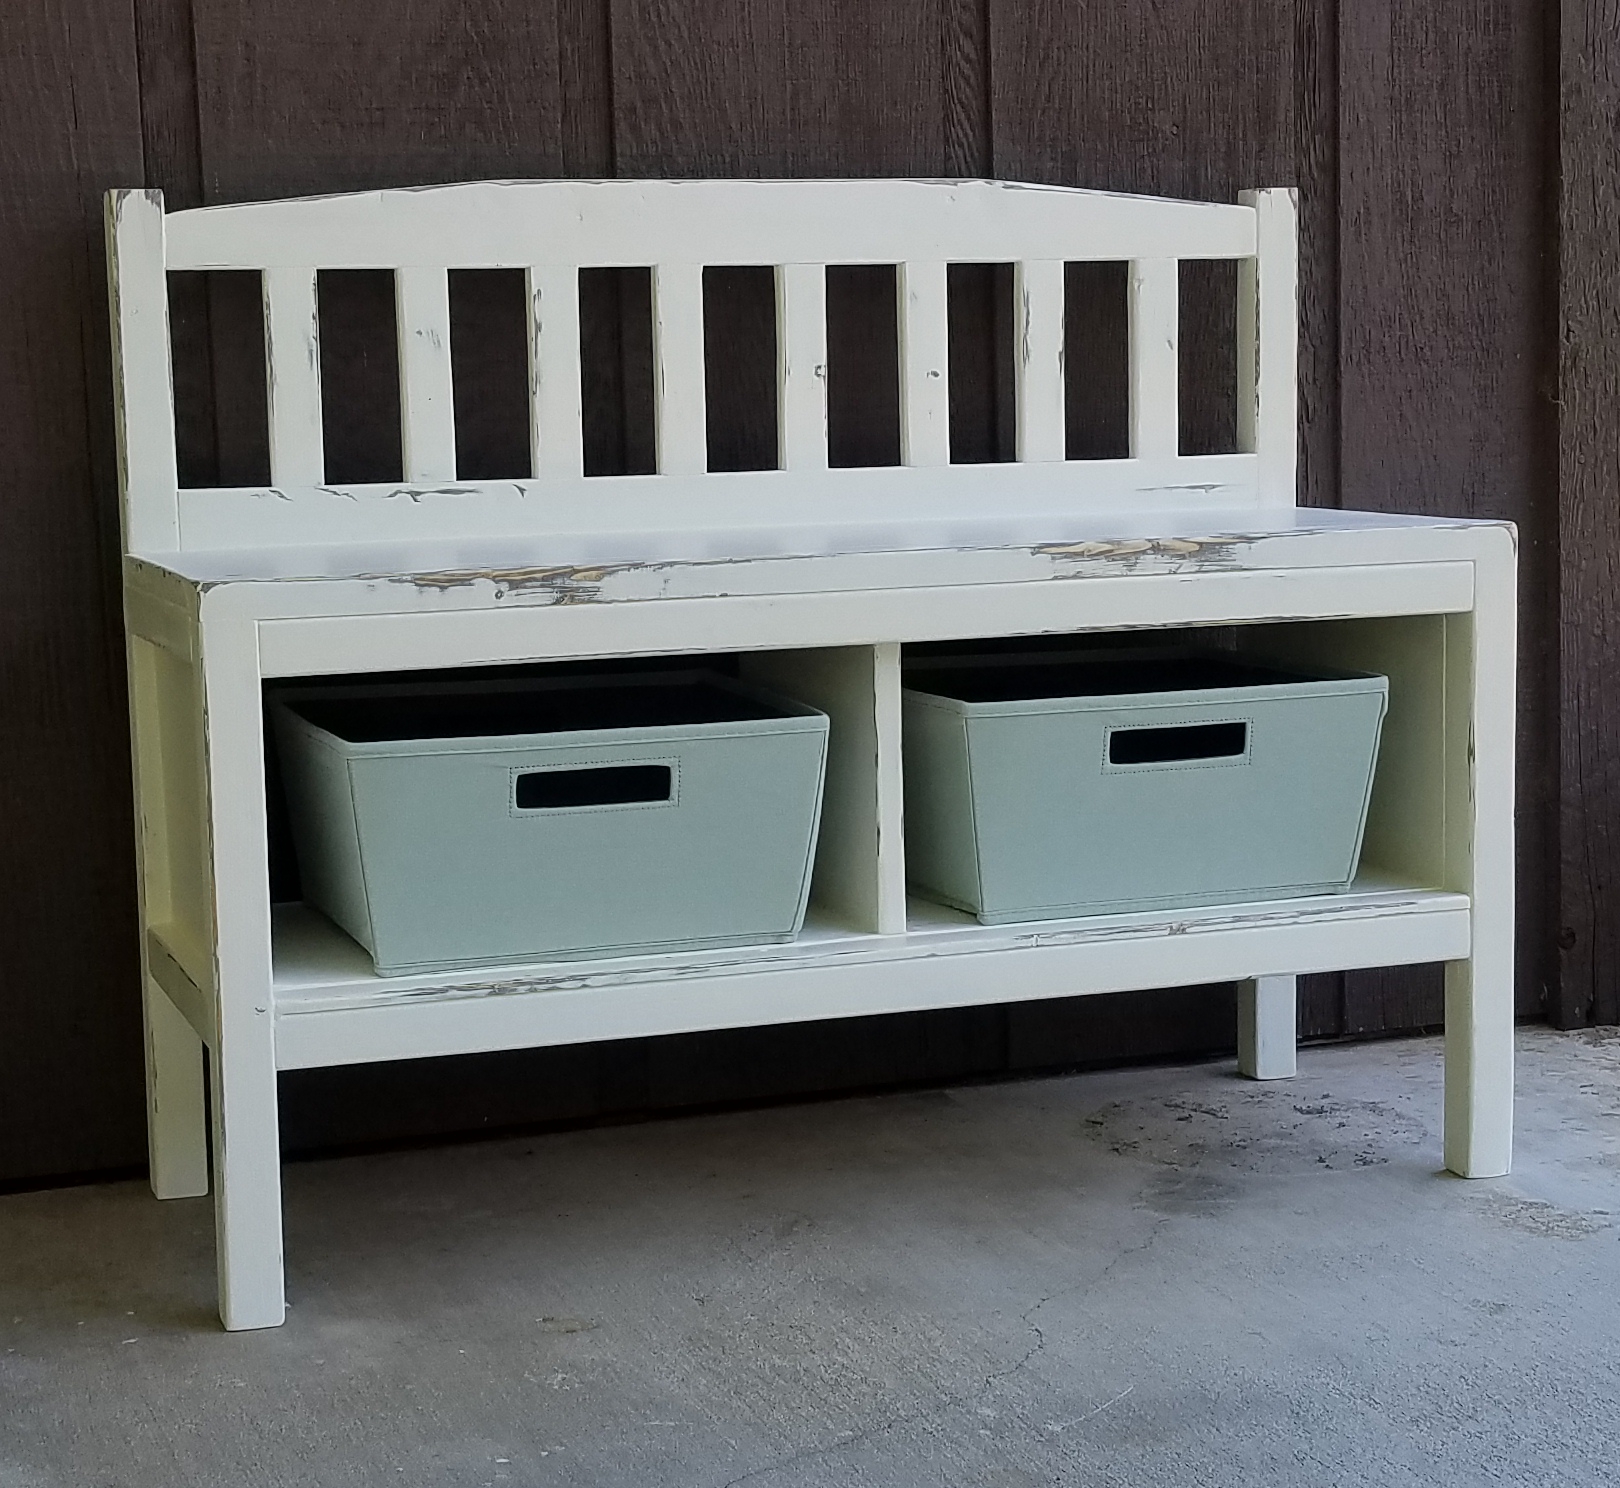
Cute little bench!
Wed, 10/06/2021 - 20:14
Way to go, super cute, the distressed finish is right on!
I have been wanting a bench for this space for years. I adapted the plans to fit the baskets I was already using. I used 2x8s to make the seat deeper. Final dimensions are 60" wide by 17.5 deep by 18" high.
My actual cut list:
2 - 2x4 by 57" front and back apron
4 - 2x6 by 18" legs
2 - 2x8 by 57" seat
6 - 2x2 by 14.5" seat supports
2 - 2x4 by 6.5" side spacer between legs
I used a Kreg jig for the first time to attach the support pieces to the side aprons. I used the same hollow made by the Kreg to add a few screws through the support pieces into the top.
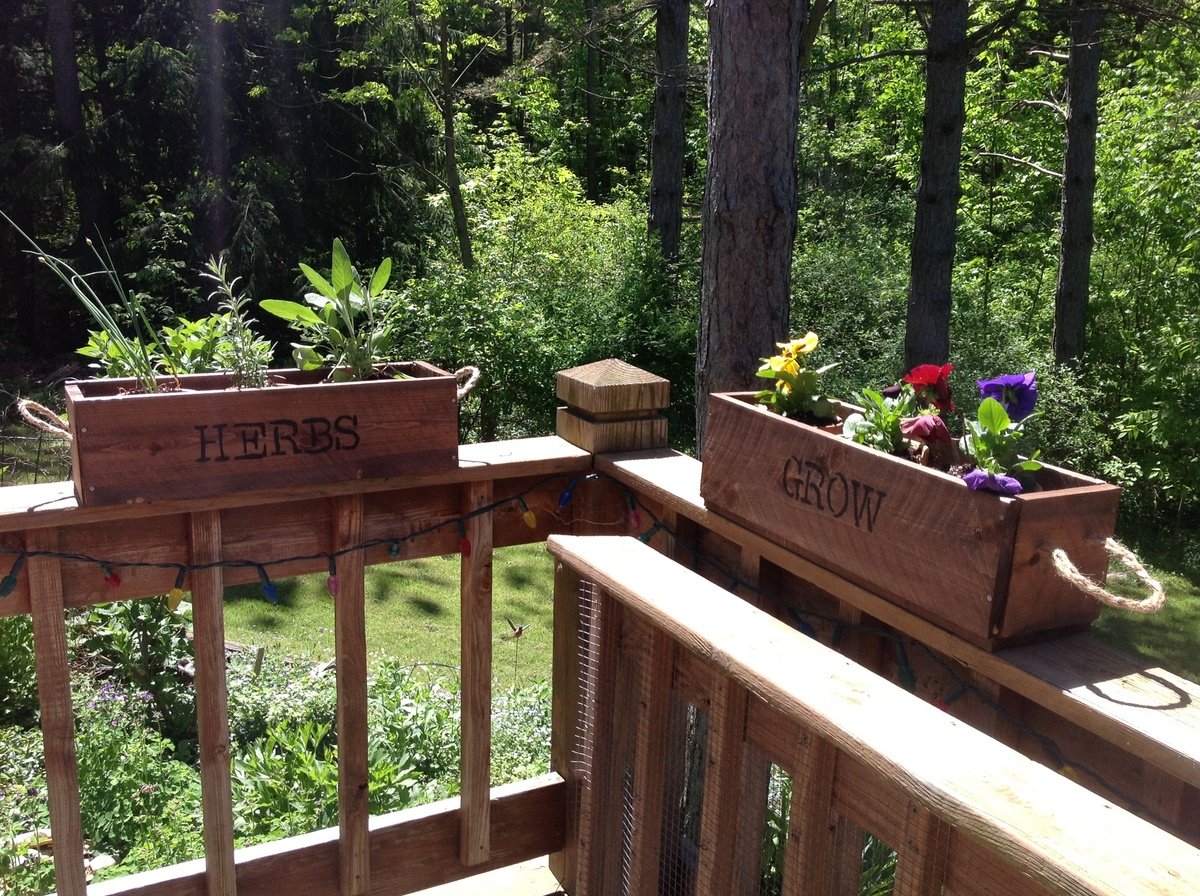
My very first woodworking project. I learned a lot. Most importantly, to watch my cuts more carefully. Also, a good stain and stencil dress up anything. I used braided jute for handles and love them!
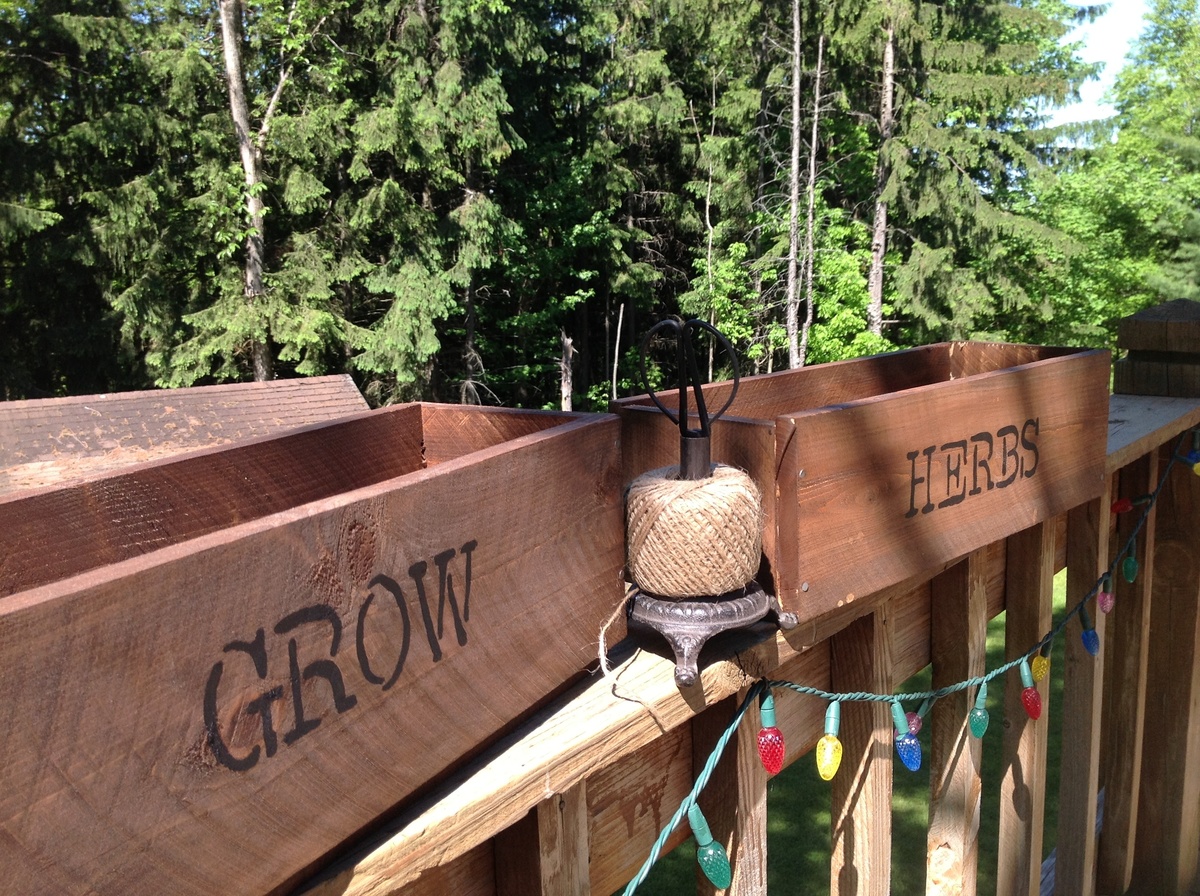
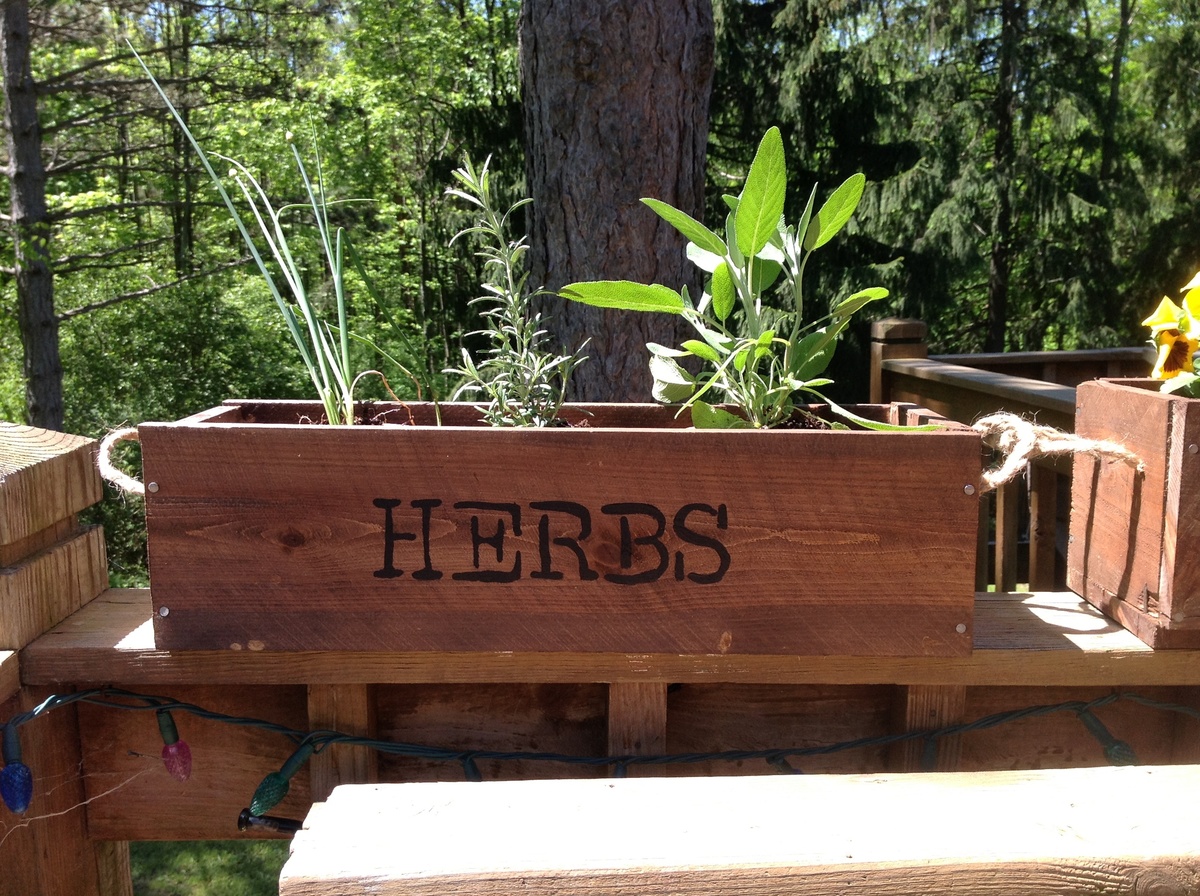
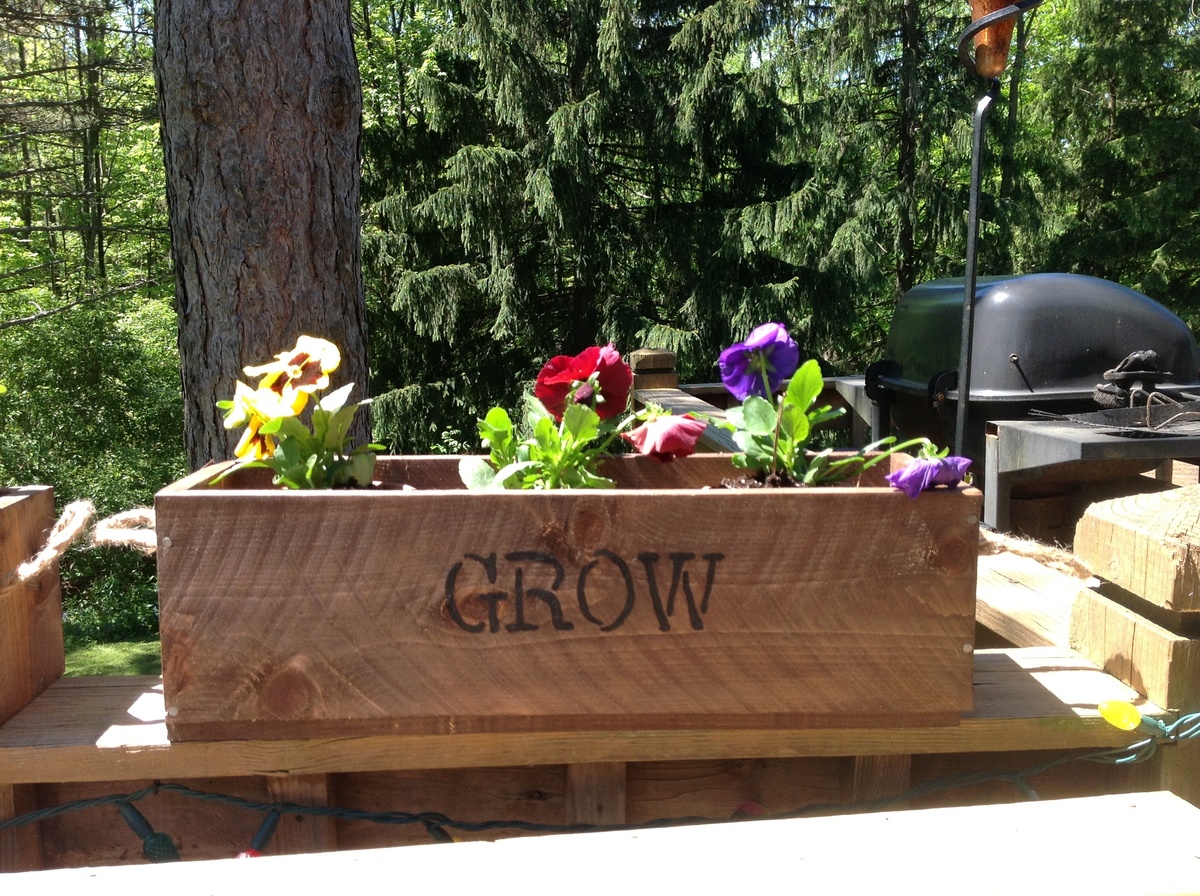
Sun, 05/26/2013 - 22:47
I love your herb and flower planters! Now I'm inspired to do some up for my deck as well! Nice job!
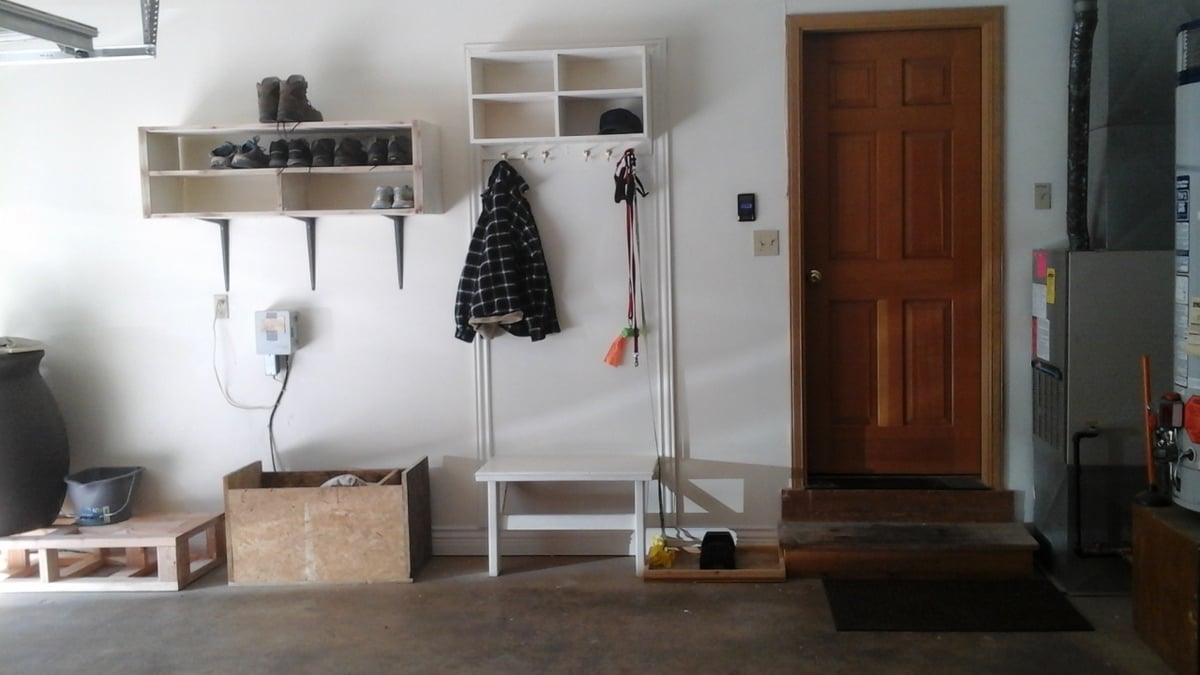
I built this little hall tree, bench and shoe organizer for the garage entirely from scrap lumber and left over paint. Keeps us organizeed. I really like it.
Of all of my Ana White-inspired builds, this is absolutely my favorite so far and the first piece of furniture I've built that I absolutely want to use as the centerpiece and inspiration for my DIY redecorating. I slightly modified the height of the top compartments so that all of our electronic equipment would fit. I also used 2x4's, which I ripped into 2x2's using an old blade where I slightly bent a couple of the teeth to leave the rustic curf marks. Because I altered the height of the top and bottom sections, I had to rip down my 1x3's for the bottom, and I had to use 1x4's (ripped down appropriately) for the top section's flip-down faux drawer fronts.
Fri, 01/10/2020 - 11:28
Absolutely beautiful. I plan to build this in two weeks, or start building it. Love your pulls. Where did you find them?
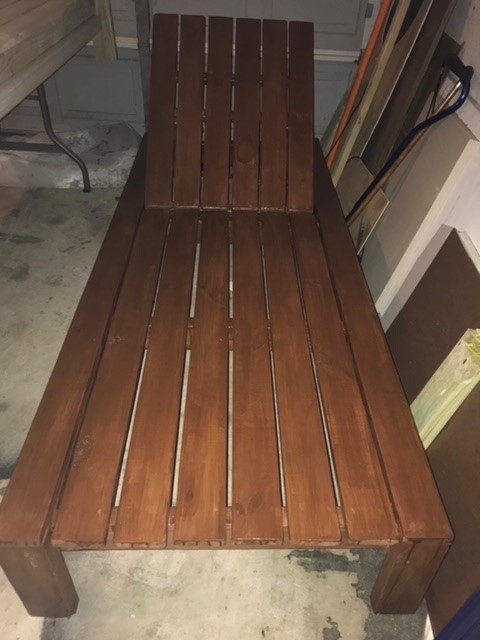
At the beginning of the covid lockdown my daughter who was attending college started looking for outdoor inexpensive chaise lounges to relax on since gathering in public areas was not allowed. We couldn’t find any so, I started searching for simple plans to make from scratch and ran across this plan. It came together very quickly and the instructions were very clear.
Wed, 10/06/2021 - 10:38
Thank you for sharing, looks fantastic and I'm sure your daughter is very happy with it!
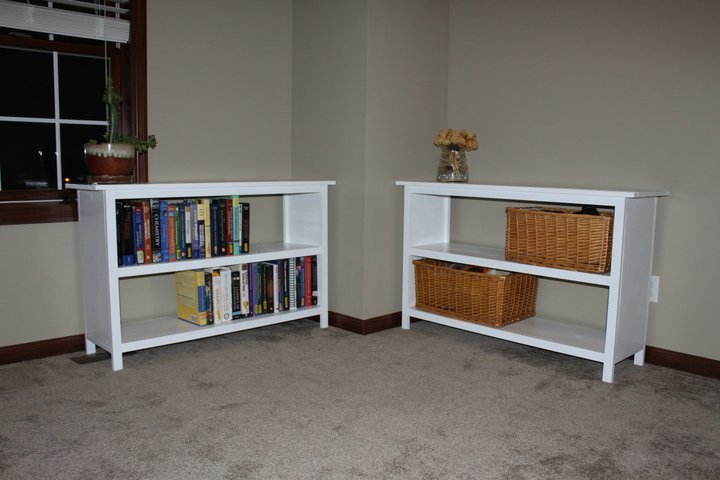
This was my first build, and it went really well. My dad helped me to cut the wood, and I was able to completely assemble, prime, and paint them by myself in the basement.
I decided not to use MDF, instead I used plywood, I think they turned out to be quite sturdy.
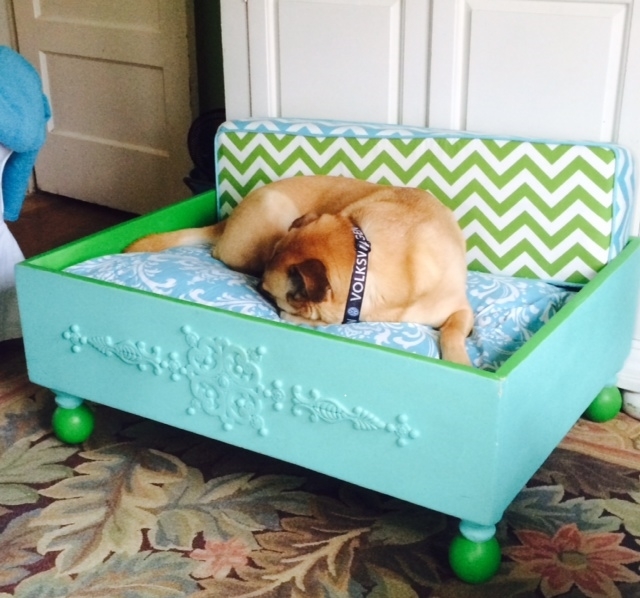
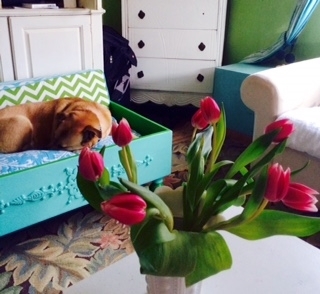
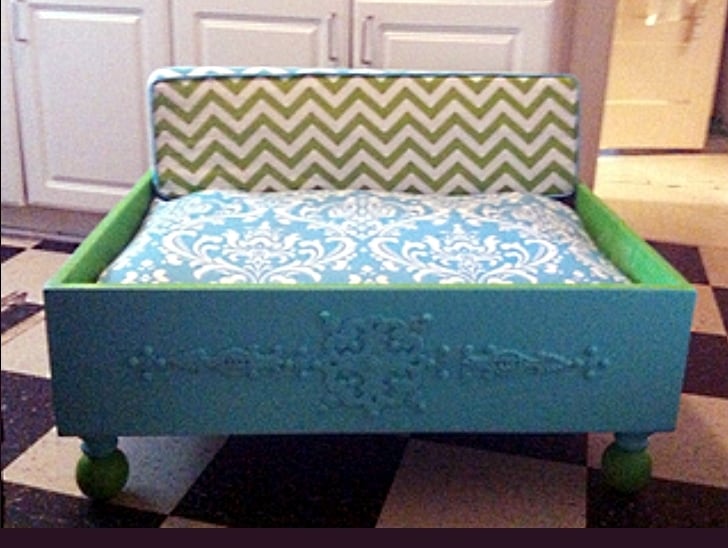
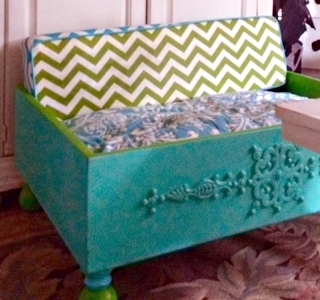
This is a dog bed for my dog Roo! considering it was my first time building anything I thought this would be a good project.
I used a kreg mini jig and bought cheap wooden ball post caps (that i sanded for an eternity) and wooden embellishments for a cute touch.
I made the removable piped box cushions using premier prints fabrics. The fabric has proven to be very durable and has stood up to frequent washing and looks as beautiful as it did on day one.
I am thrilled with my project and am thankful to Ana for giving me the confidence to try and the tools to ensure my success!
