I followed the plans with 3 modifications.
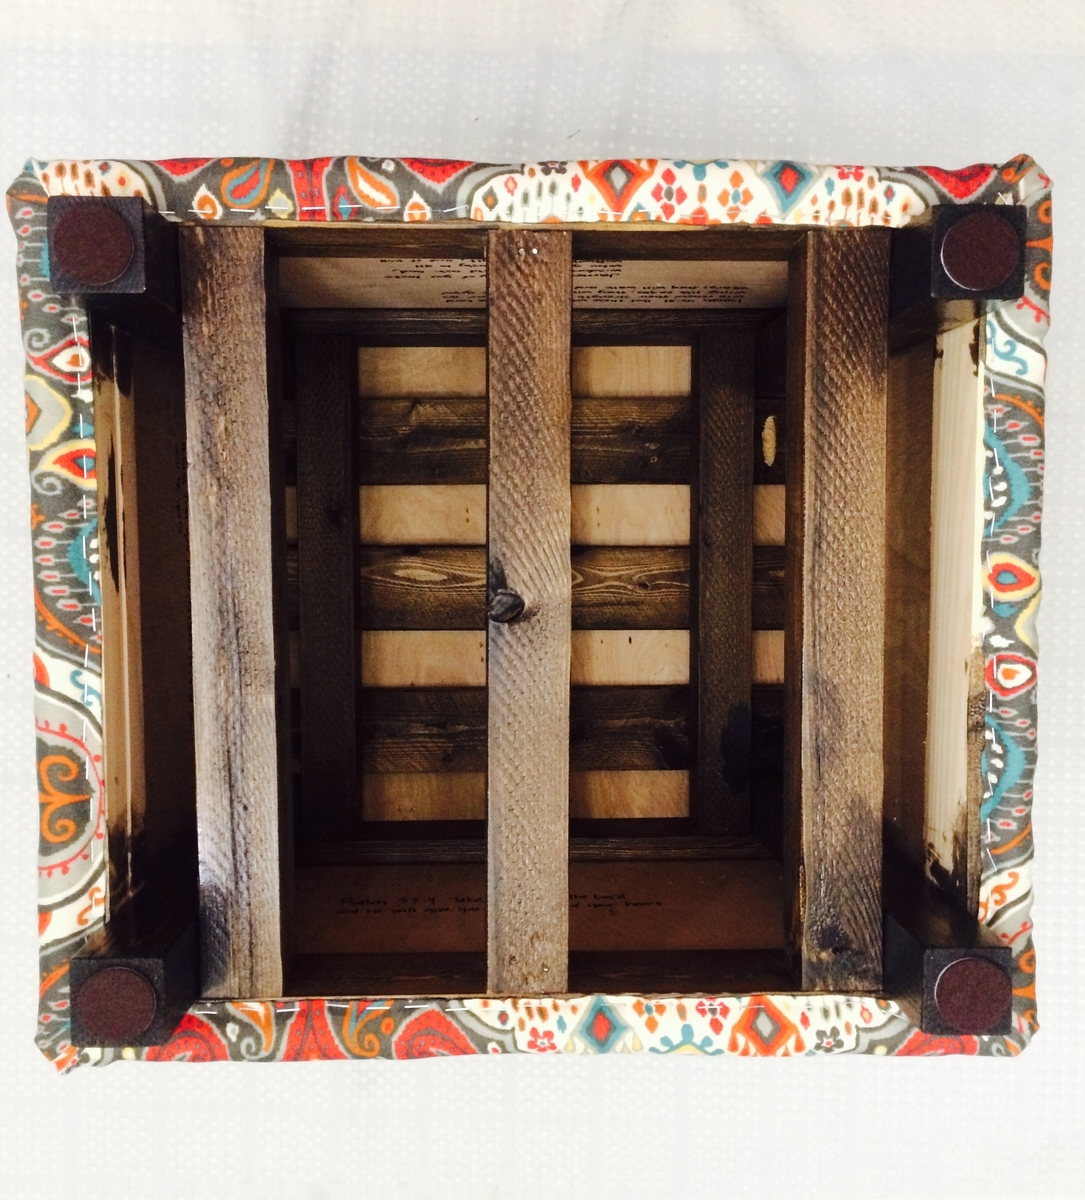
Modification #1: To add more structural support, I used 6 more 2x2s. 3 of them went directly under the 1x3s that made up the seat. 3 of them went at the bottom, flush with the lower 1x3s at the base, right by the legs. I did not pre-cut these! I measured the lengths and did the cuts as I needed them because they needed to be a snug fit-had to use the hammer to lightly tap them into place before securing with 2 in nails. For the middle 2x2s, I tonailed in a couple of 1 1/2 nails to keep the 2x2 from twisting/spinning (because I didn't use 2 nails to attach it the first time!) See the pictures for closeups.
Modification #2: I stained and polyurethaned the legs. Stain color is MInwax Jacobean (The other stained parts of the stool don't need staining, but mine are because I used scrap wood for this build and they were already stained.)
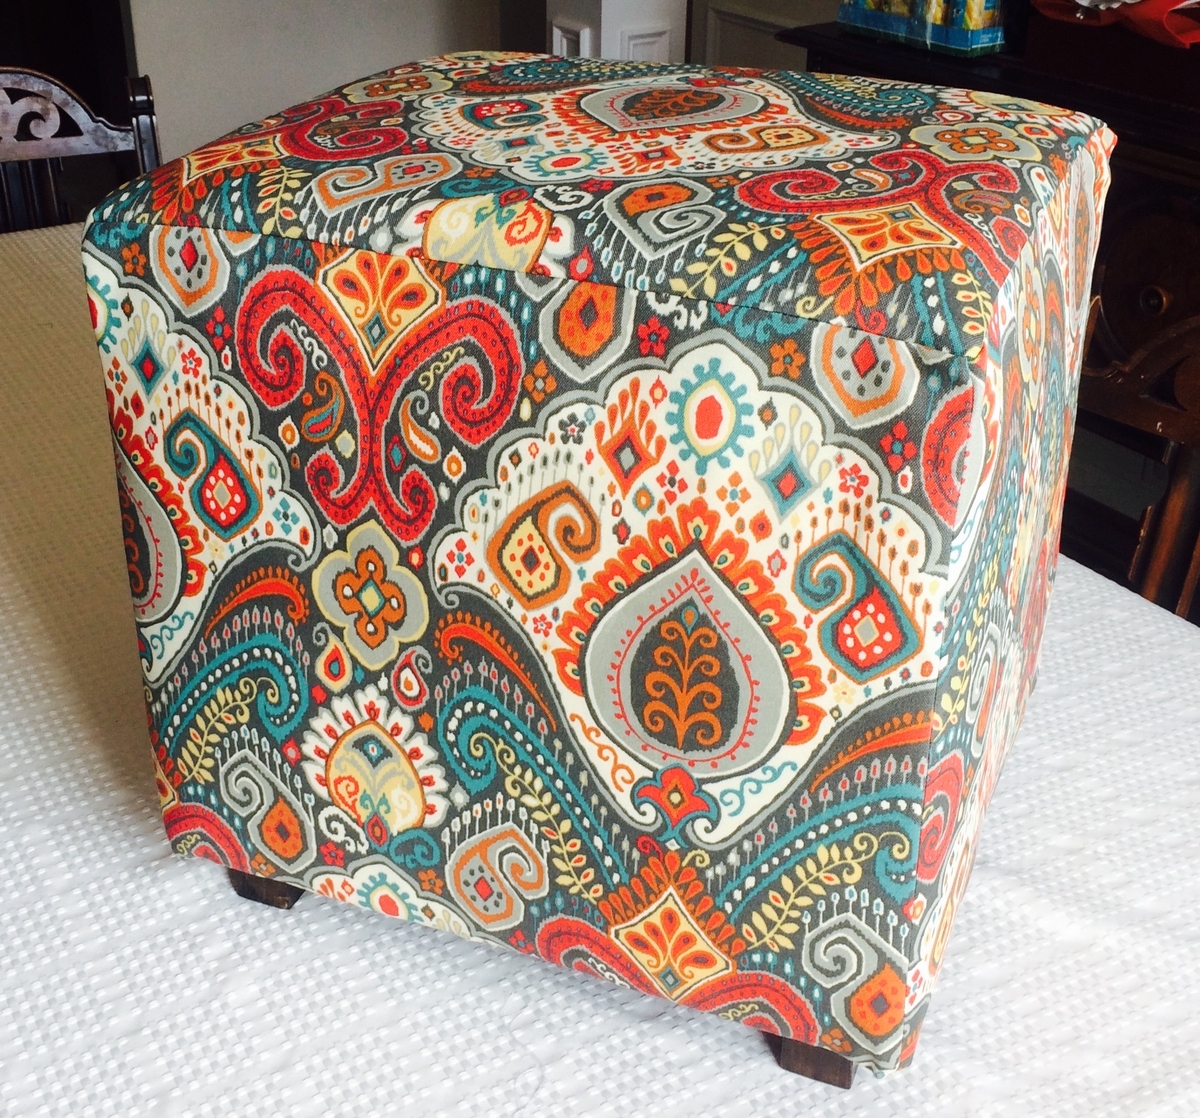
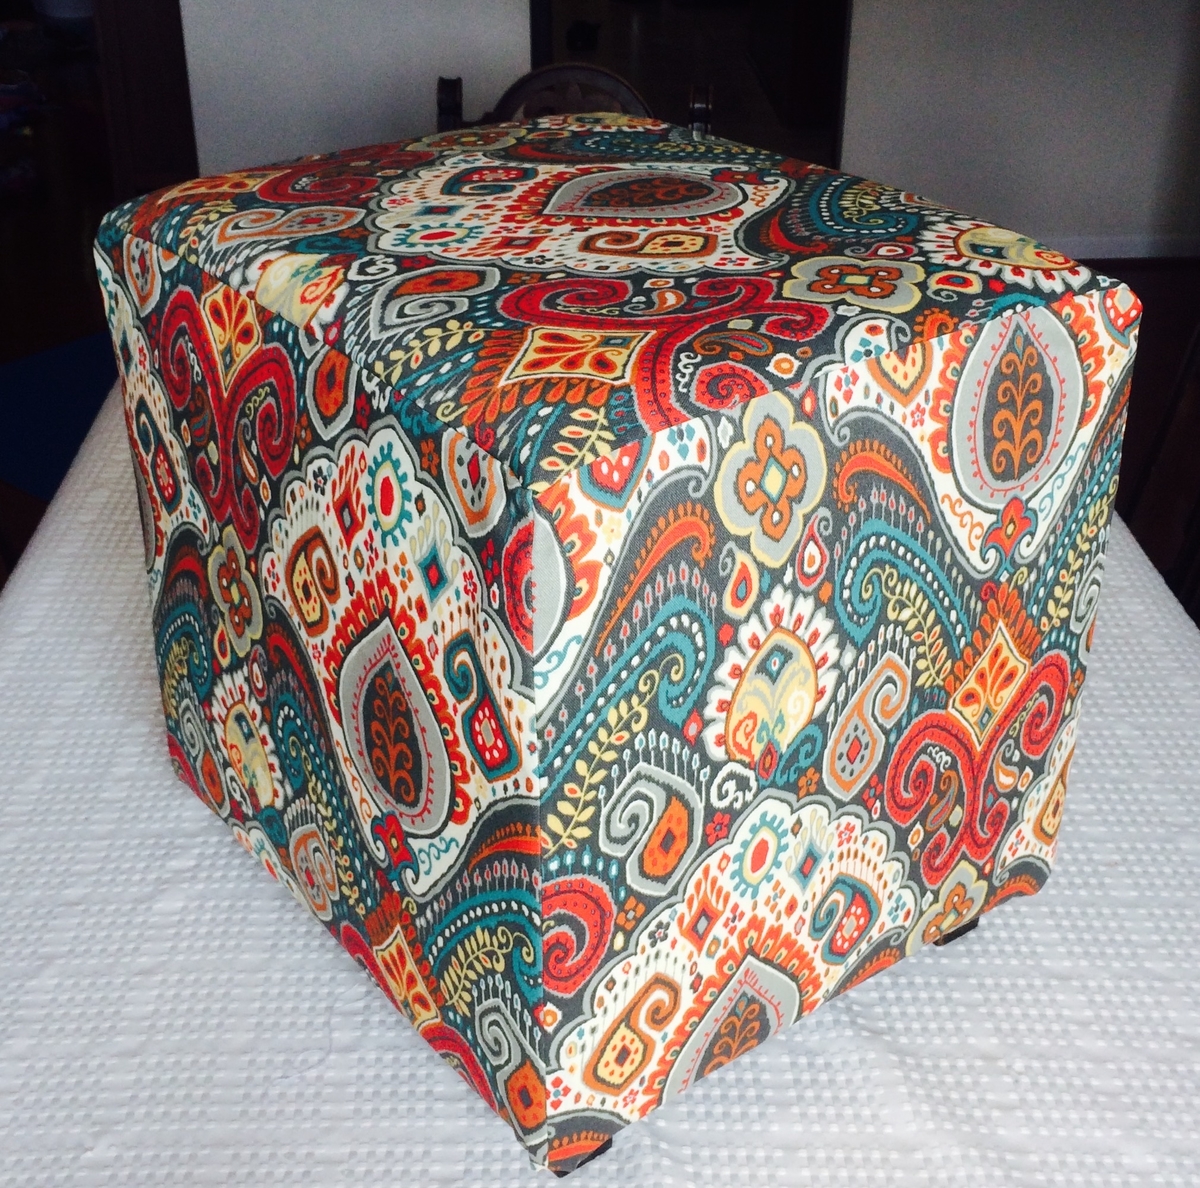
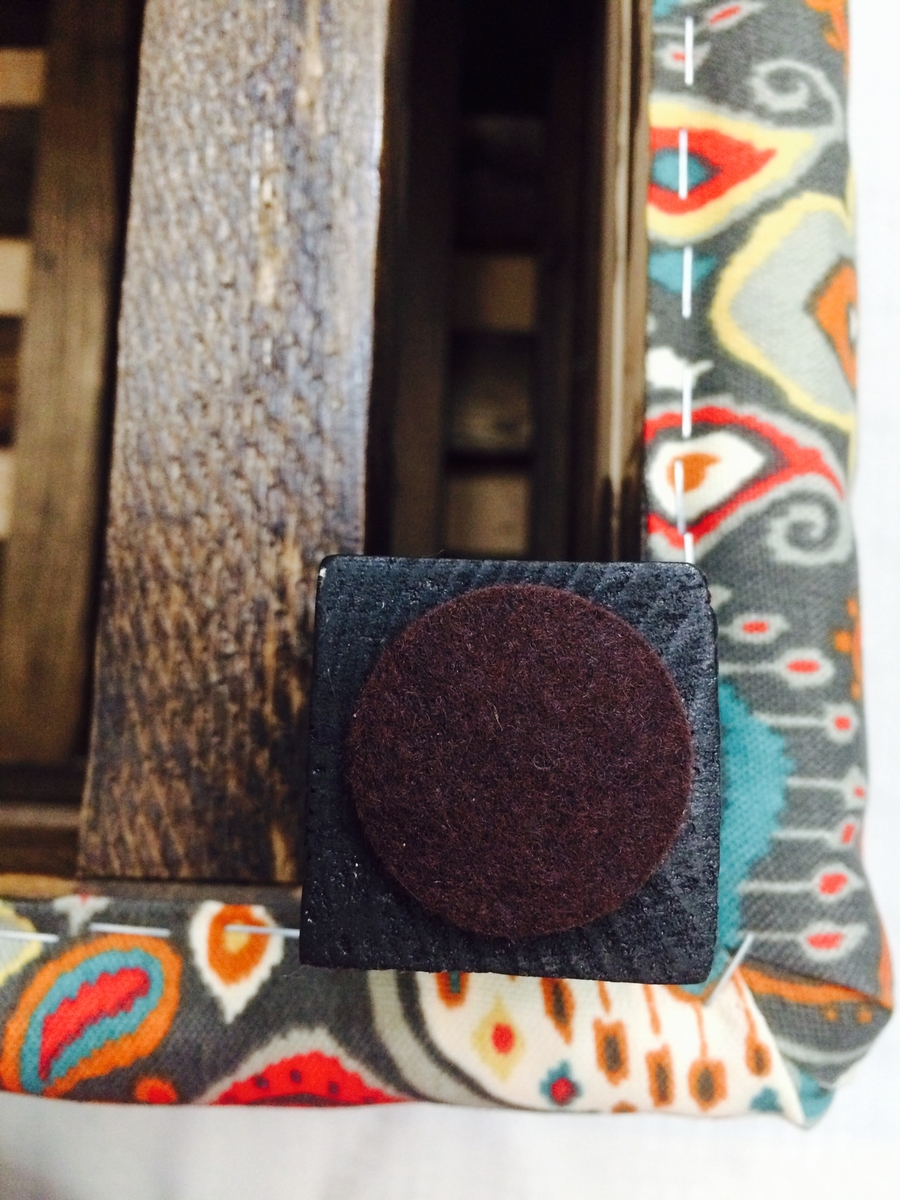
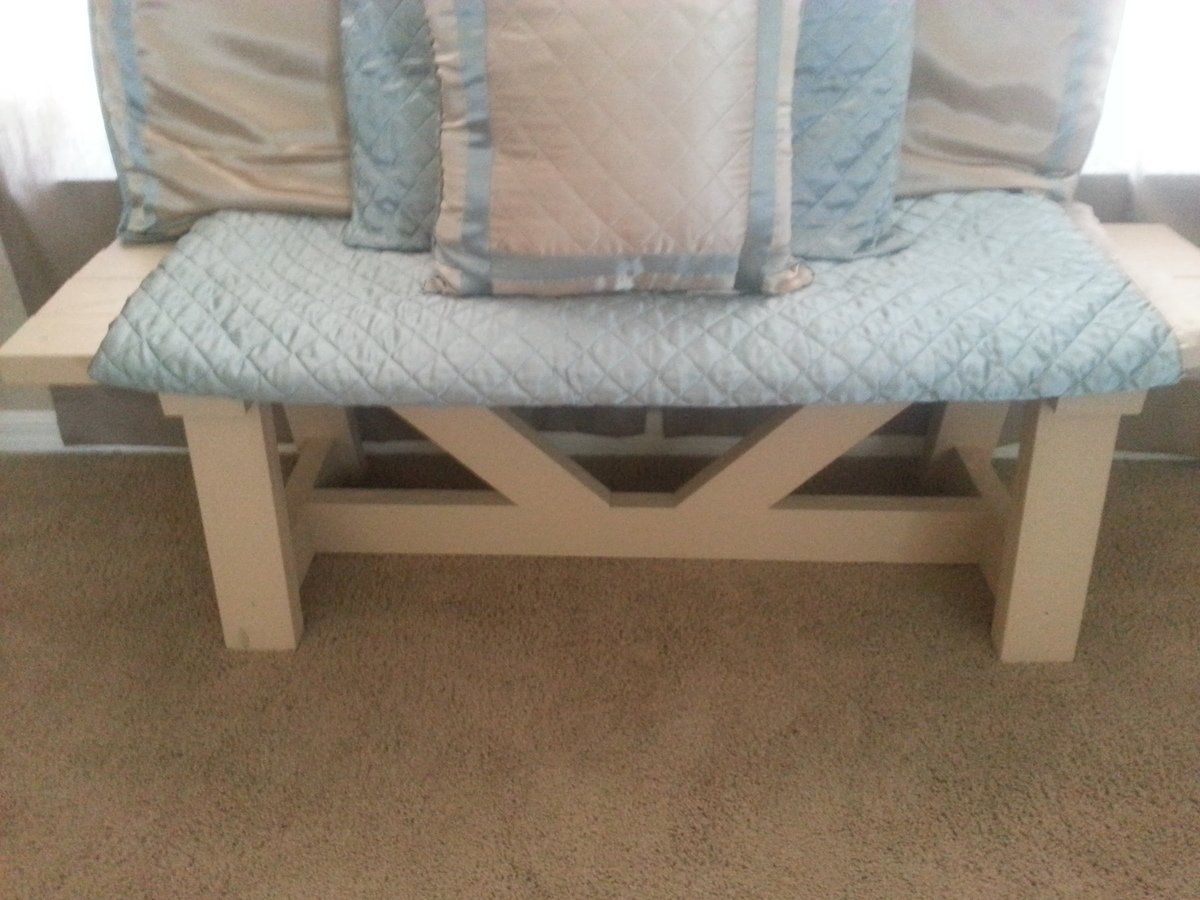
Modification #3: Padding and wrapping and slipcover - I purchased a 15x17x2 inch foam pad for the top of the stool. I had some 1/4 batting in my craft room. I used an upholstery stapler ($10 at Hobby Lobby + an extra box of staples) to attach the batting. I wrapped it around the sides and top, securing it along the sides of the cube with the stapler. I used a spray adhesive to glue down the foam pad. Then, I wrapped 1 more layer of the batting over the top of the foam pad, securing along the cube edges. I flipped the whole stool over, trimmed the batting edges, leaving enough to fold over and staple onto the base frame. I made the slipcover as instructed in the link provided in the plans, but I had to take the measurements from my stool NOT their measurements, due to the extra bulk created by the batting and foam pad. I used 1/2 in seam allowances on all seams, leaving 2 extra inches at the bottom. After making the cover and fitting it, I turned the stool upside down and stapled the cover to the frame, making sure that it all looked neat and secure. Tip: Some of the staples didn't fully sink into the wood so I had to use a hammer and a nail set to get them really secure. I added a felt slider to each leg.
Finished dimenstions are 19 in high, 18 in (long sides), 16 in (short sides).
Enjoy your build and hope it turns out great!