I wanted to build a cleaning caddy. Normally when I go to clean – I want to do it all at once. We have a bigger house – so I’ll be upstairs in the kids room – and realize I left the Windex downstairs – get upstairs – I left the paper towels downstairs….SERIOUSLY. So – hopefully this will stop that from happening!!!
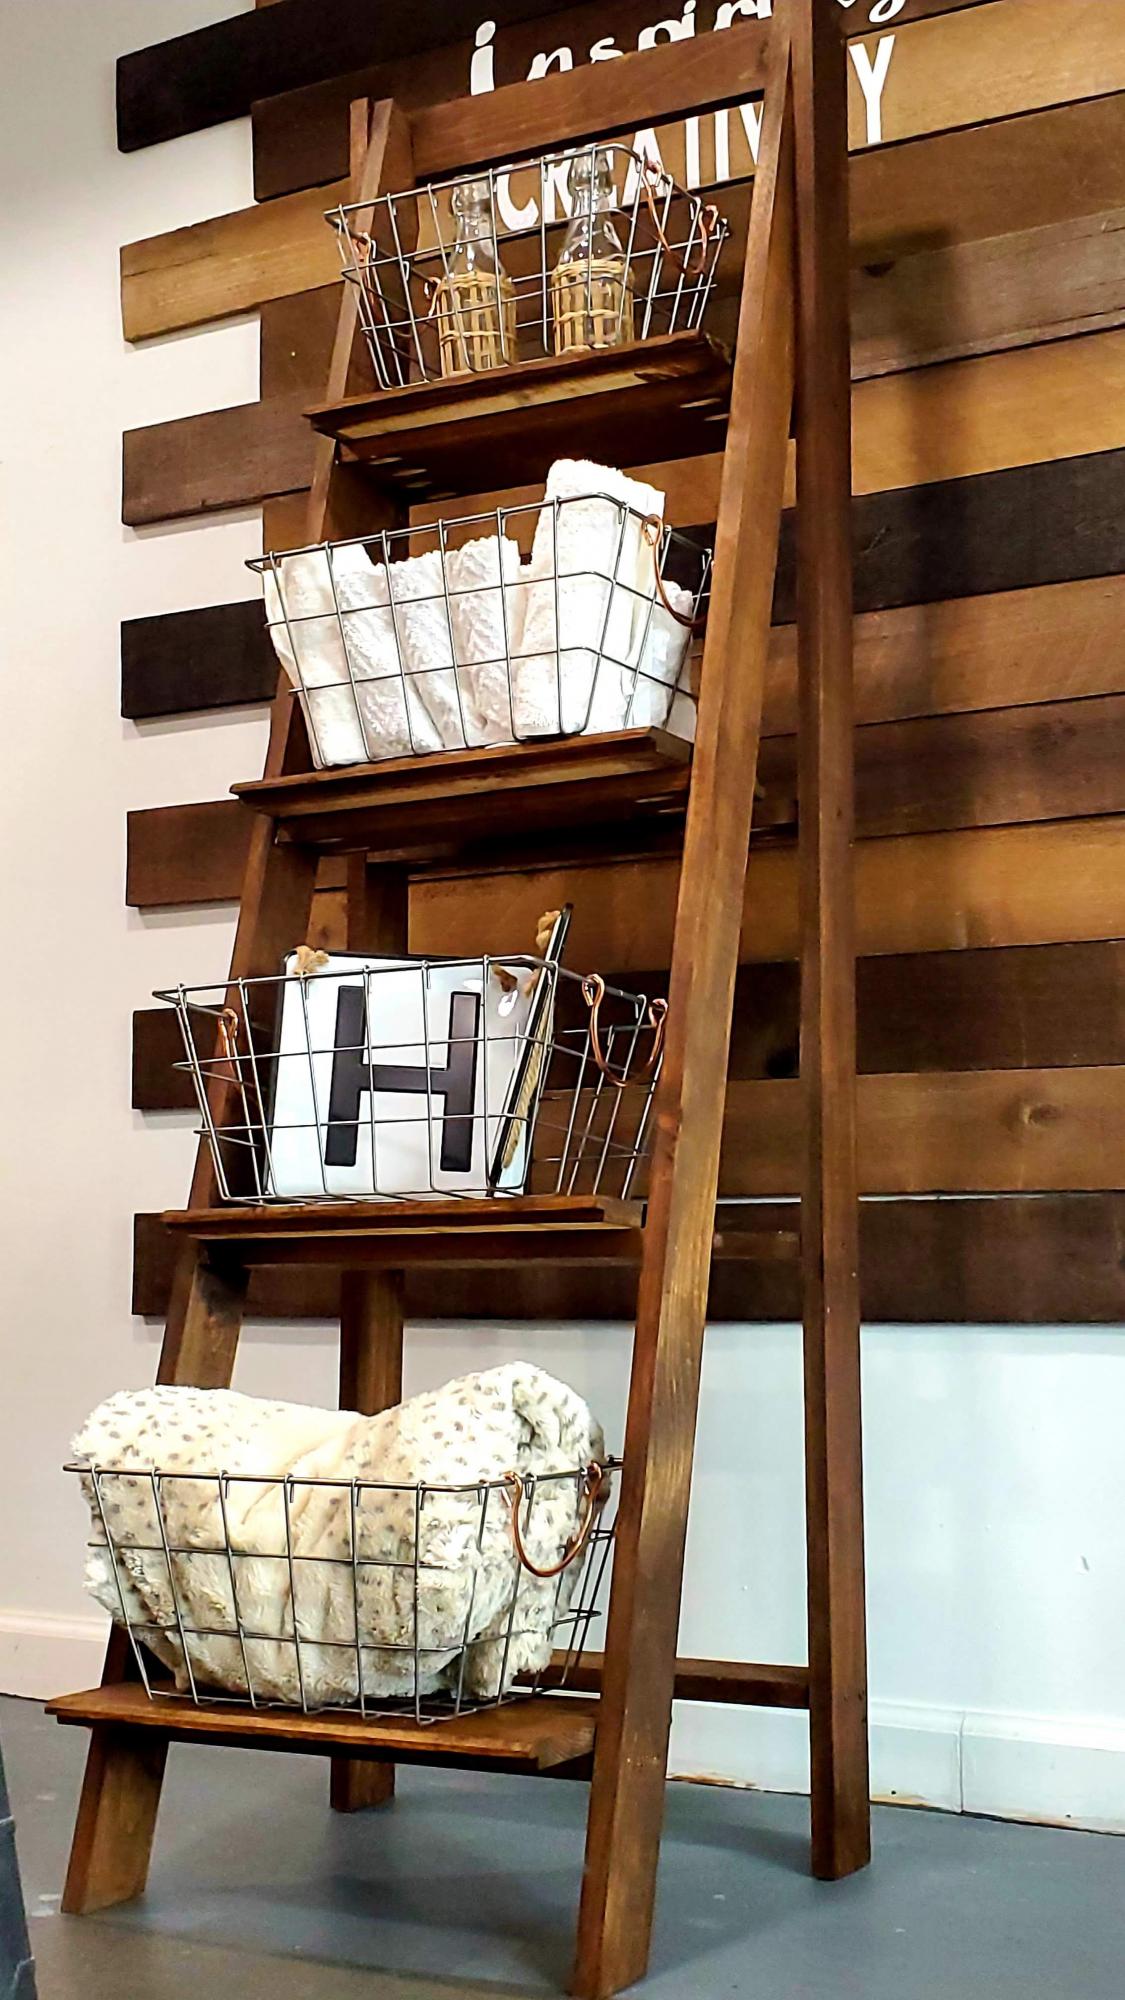
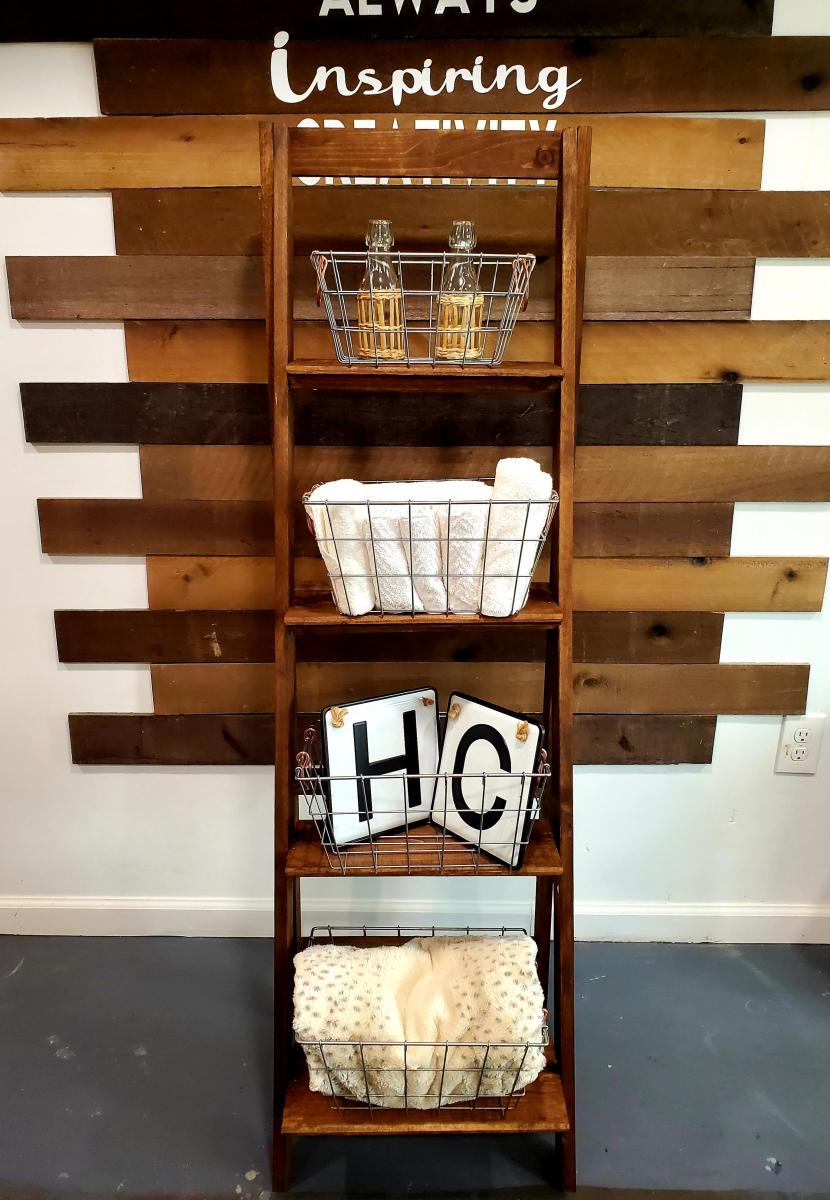
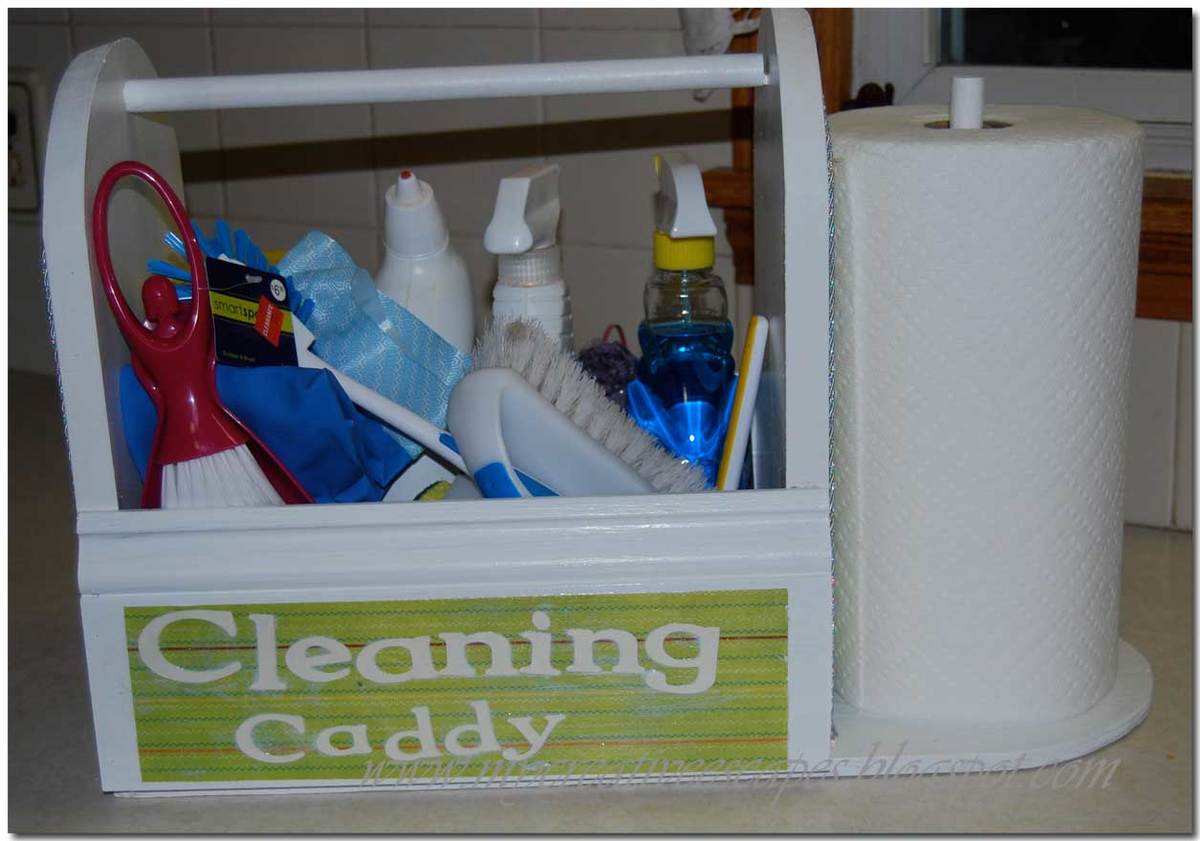
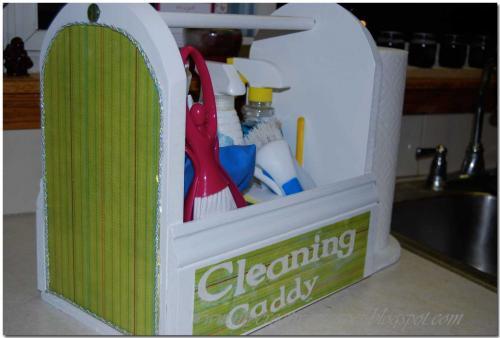
So – here we have my Cleaning Caddy!! It was actually pretty easy to build. I had everything on hand. I had the dowels from another project – so that is how I based everything.
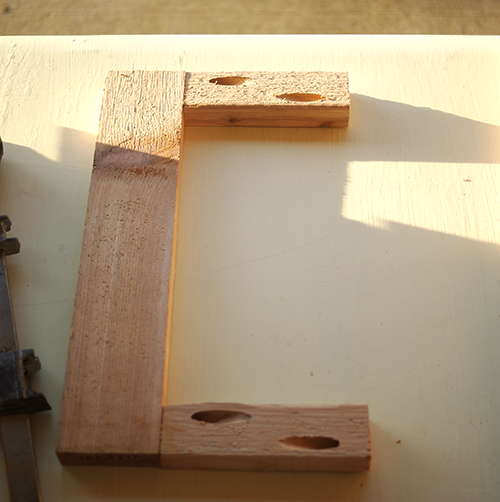
I took two left over pieces of MDF and made a design, cut it out with a Jig Saw. I wanted to make sure it was tall enough for the cleaning bottles.
Then I screwed the dowel to each side of the MDF sides.
I then measure the length I needed for the sides – I used scrap base molding we had laying around – I don’t even know where it came from!
Then came the bottom – I measured out the sides – and then I wanted it long enough to hold a roll of paper towels.
Glued and nailed everything in with the nailer (always use glue too – this thing is kind of heavy with all the cleaning supplies)
I screwed the dowel in from the bottom for the paper towels.
I painted it many times with white trim paint – used many different types of wood so I wanted it to look uniform.
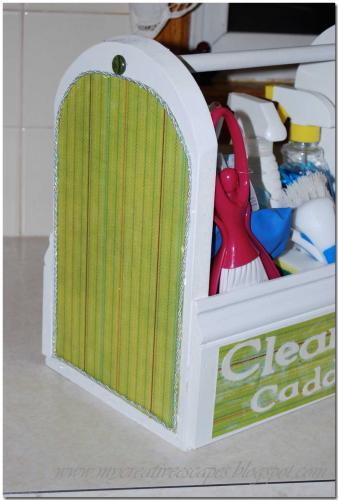
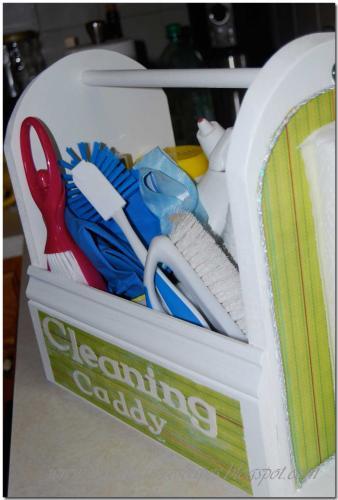
Then for the finishing touches – I went to my abundant scrapbook paper collection – Mod Podged it all up. Love that stuff!!! On the front – I cut out “Cleaning Caddy” with my Cricut. And on the sides I trimmed it out with cording I had on hand, just used hot glue and did about a 6 inch section at a time. I hot glued buttons where my screws were on the outside tops. My counter sink bit was the wrong size, so they stuck out a little. Now it’s a nice decorative element.


Comments
Ana White Admin
Tue, 10/05/2021 - 11:33
Great shelf!
Thank you for sharing, it looks wonderful!