Loft Bed
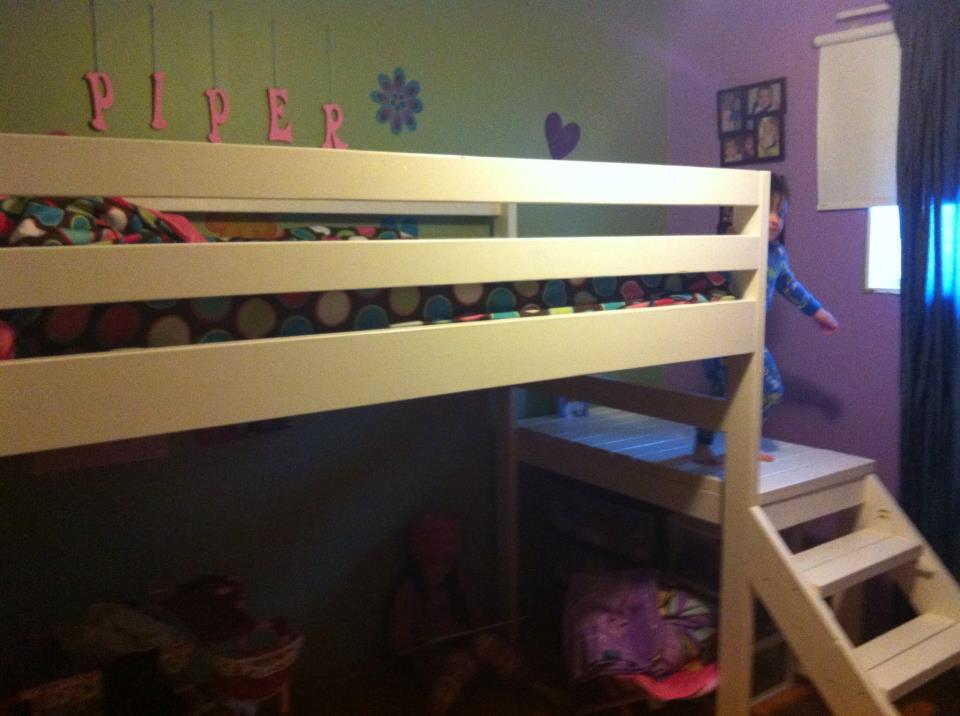
This took me 4 days to sand (by hand), prime and paint so daddy and papa to put together the bed she's always wanted.

This took me 4 days to sand (by hand), prime and paint so daddy and papa to put together the bed she's always wanted.
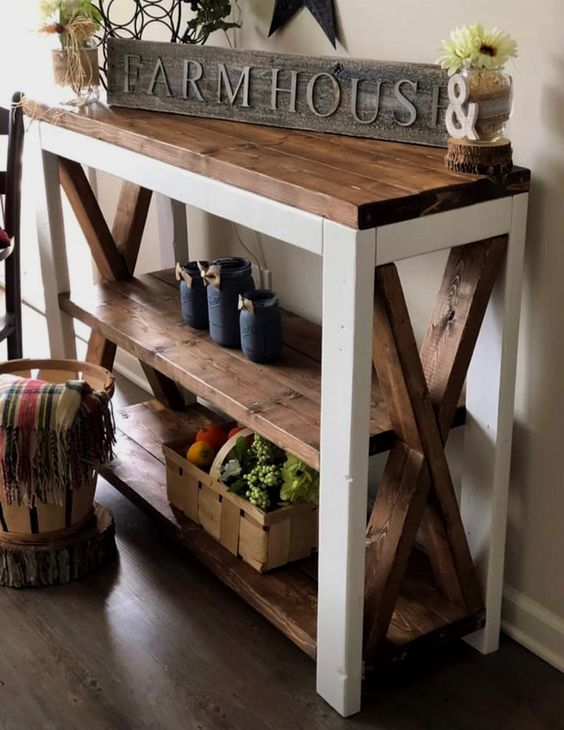
Rustic X Console Table with a Two Tone Finish
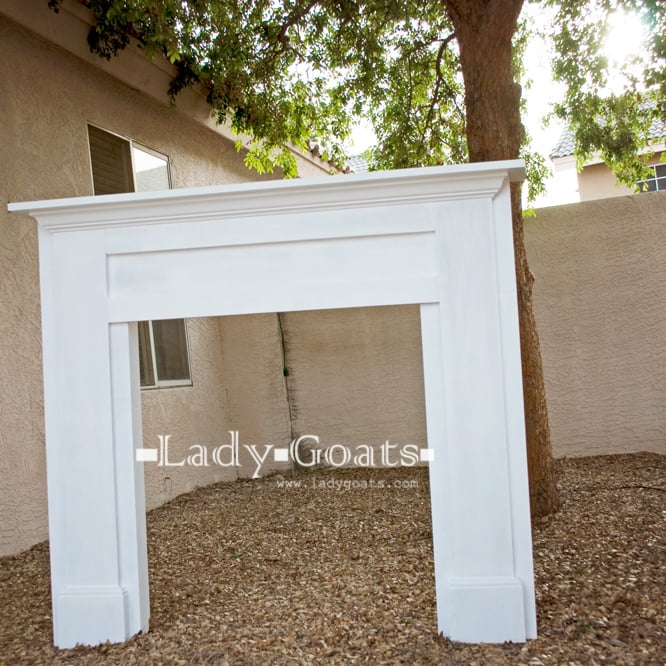
Built a fireplace using Mimi's Faux Mantle plans - I think it turned out great!
Built from Purebond plywood because I can't find straight boards in bigger sizes in my area (EVER!) and used fir 1x's for everything else.
Finished with three coats of Behr paint/primer in ultra white. I will not buy Behr again. Personal preference.
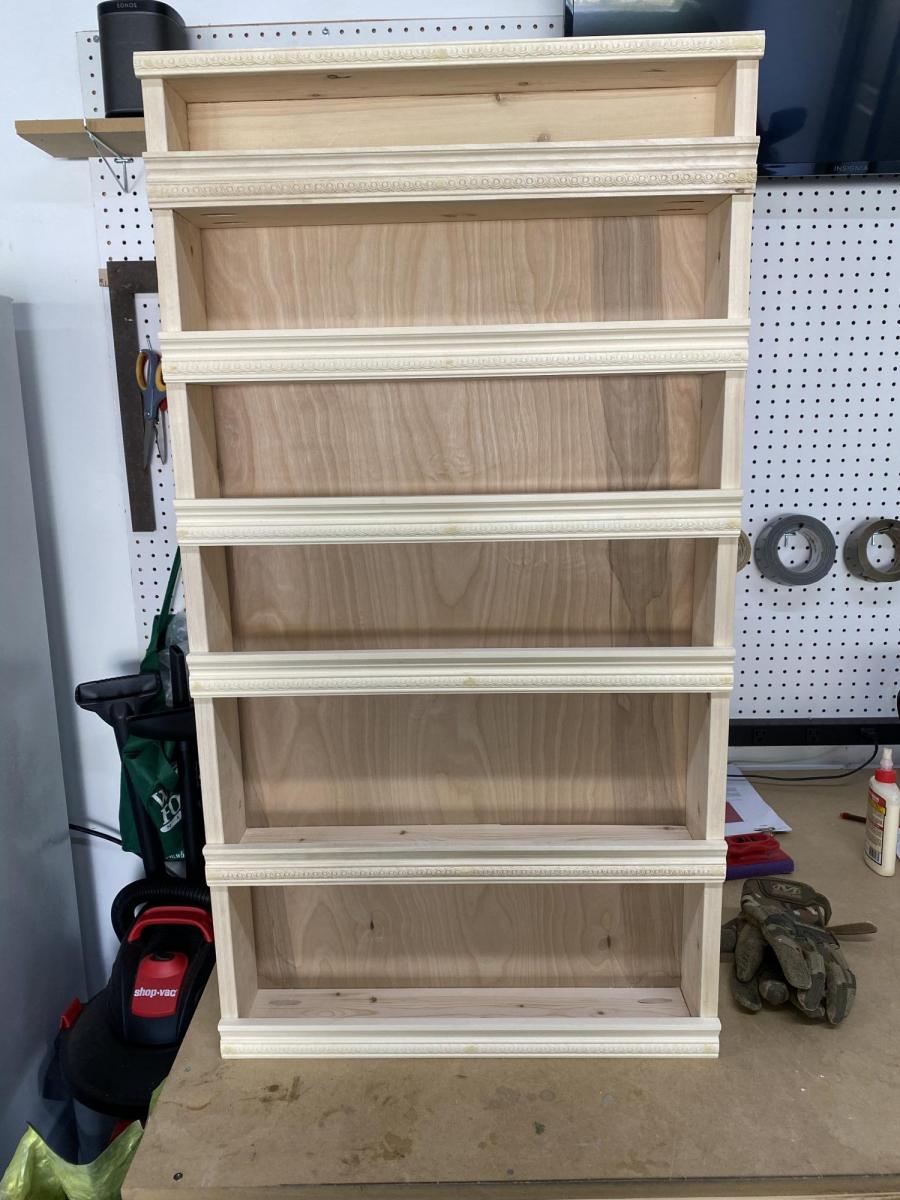
I tried this as my first ever project after going through different plans and technique. I did great (I think :-) ) until end and think i screwed up with staining. There is dried glue left on the surafce which i thought i sanded but appeared as soon as i stained.
Feed back / comments on the design and please suggest a way to fix the staining issue.
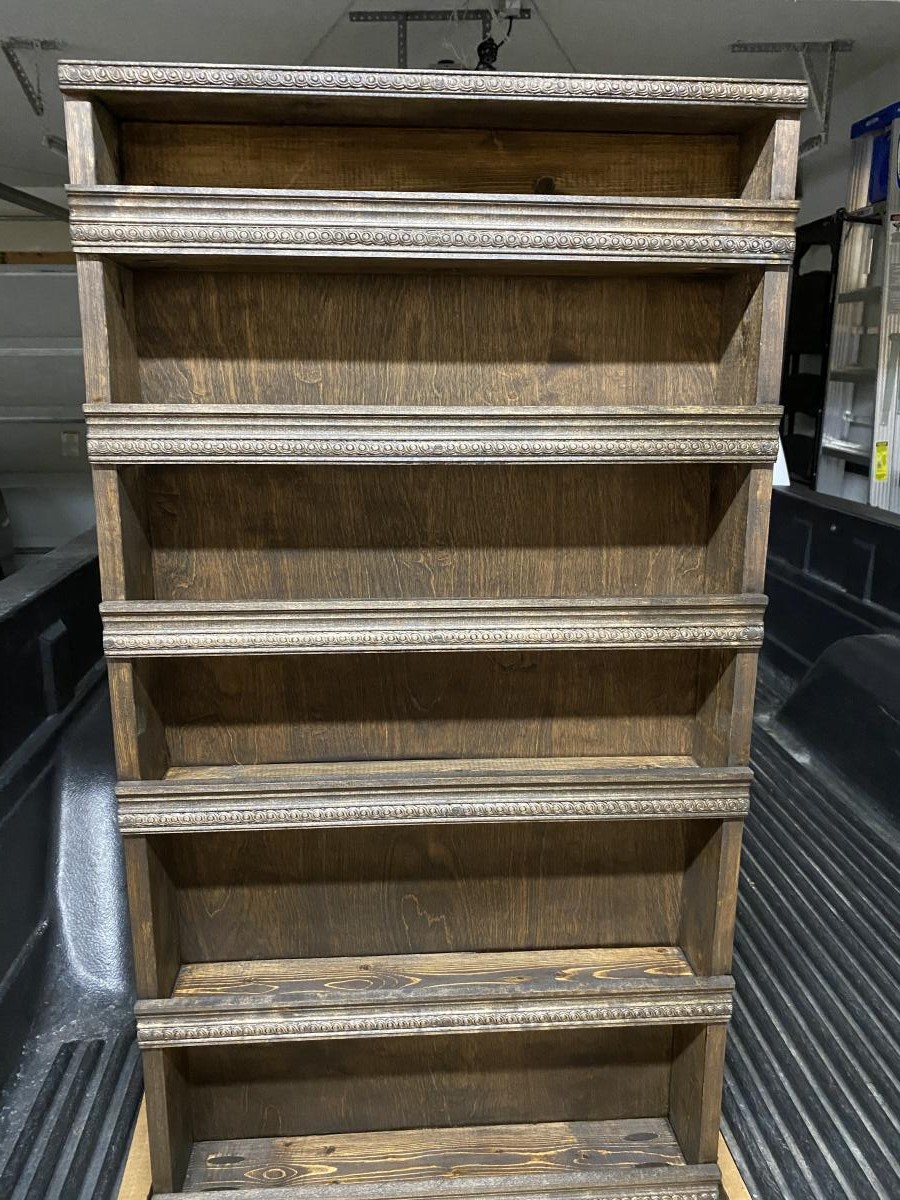
Change out the dowels with some molding and stained. Wife loves it!
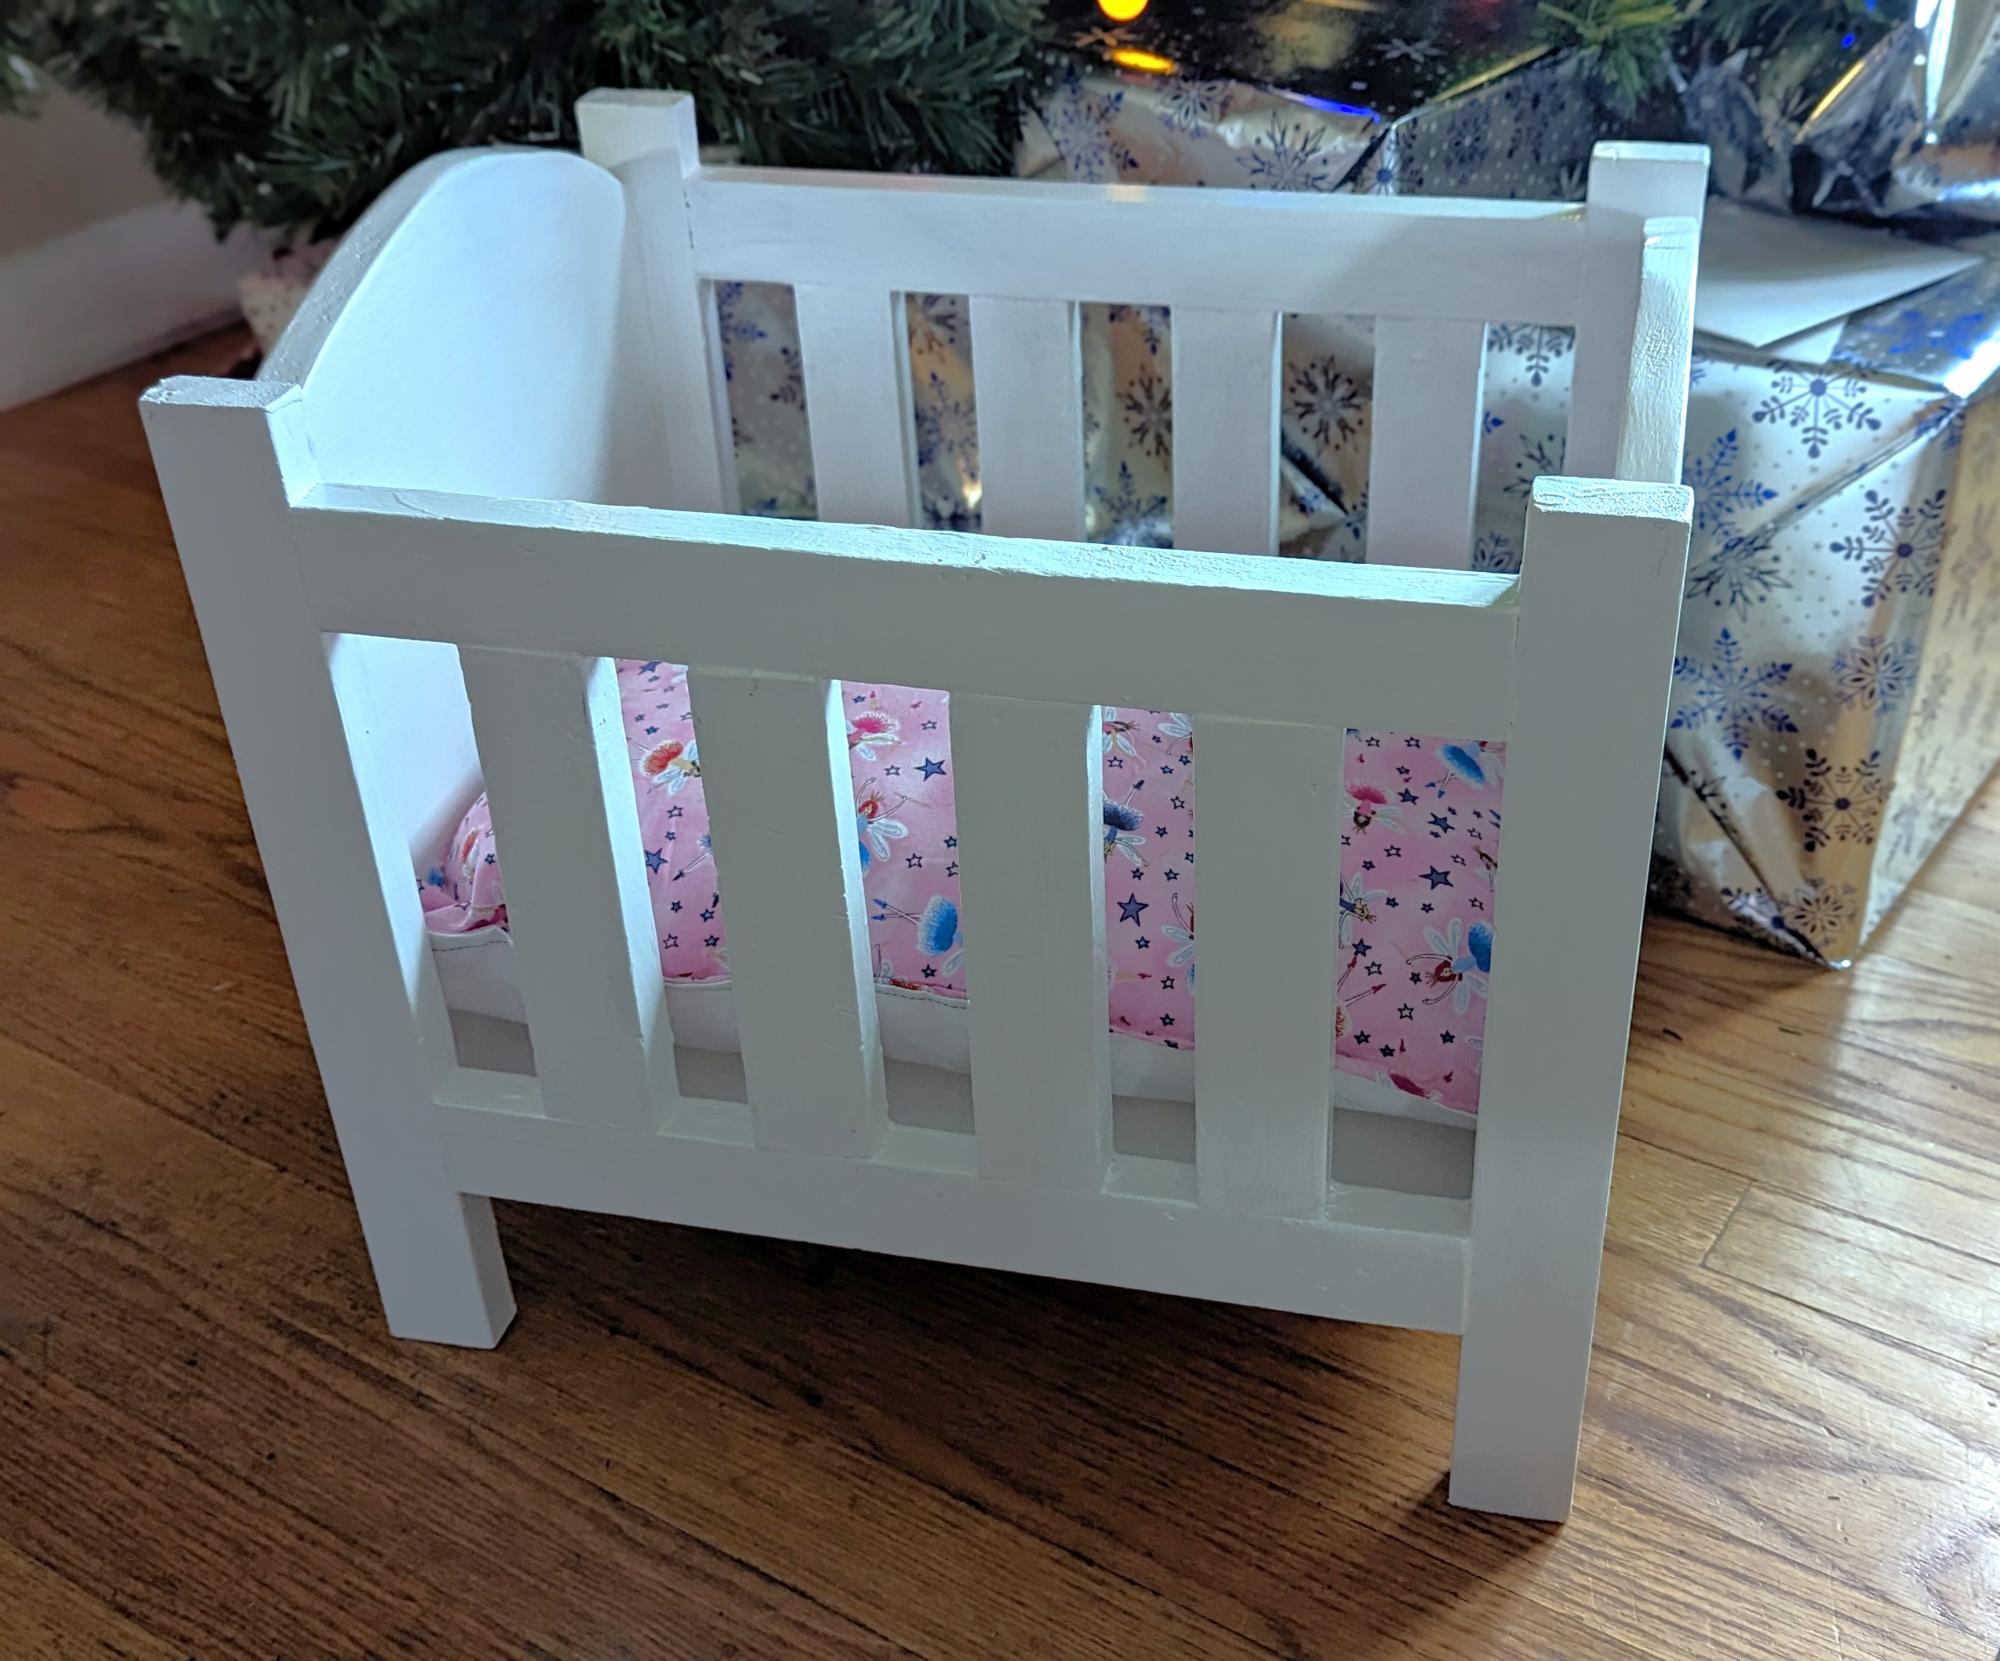
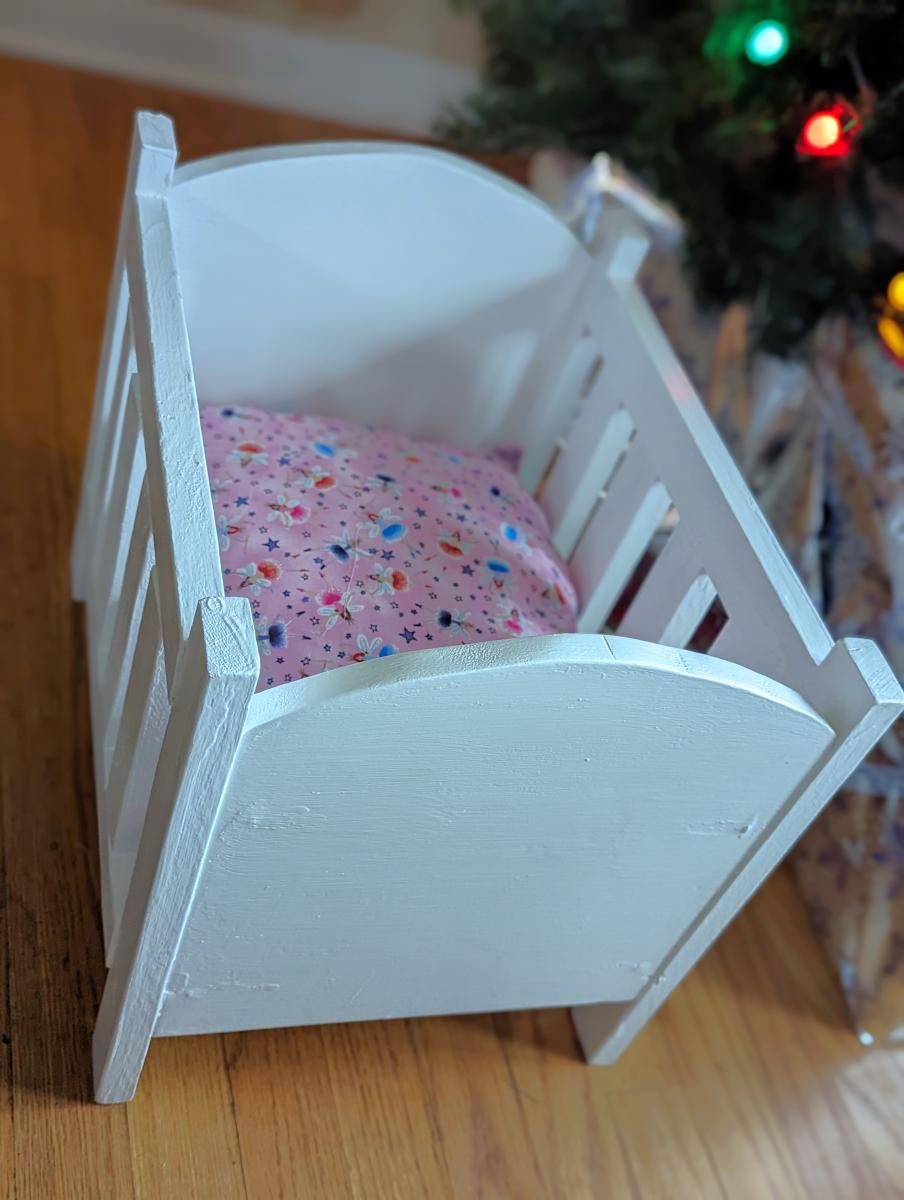
I built this doll crib for a girl we are helping make Christmas special for this year. It's all materials I had on hand (thanks scrap pile!). I love how it turned out. Loosely based on the fancy doll crib plans.
A lady I work with at Driscoll Children's Hospital is giving birth this week to a boy. Instead of the traditional gifts I thought he should have an airplane and the Plane Old Shelf caught my fancy.
I made a couple of minor additions to the design with the addition of the traditional red and green navigation or running lights on the wing tips and a bright yellow axle. The wheels, cowling, and buttons are from Hobby Lobby. I took a small piece of bass wood, soaked and bent it and then let it dry overnight to form the propeller.
In South Texas the color scheme means something. The wing tips,tail, and cowling of the single engine trainers the want-a-be Navy pilots fly carry this color. They are everywhere.

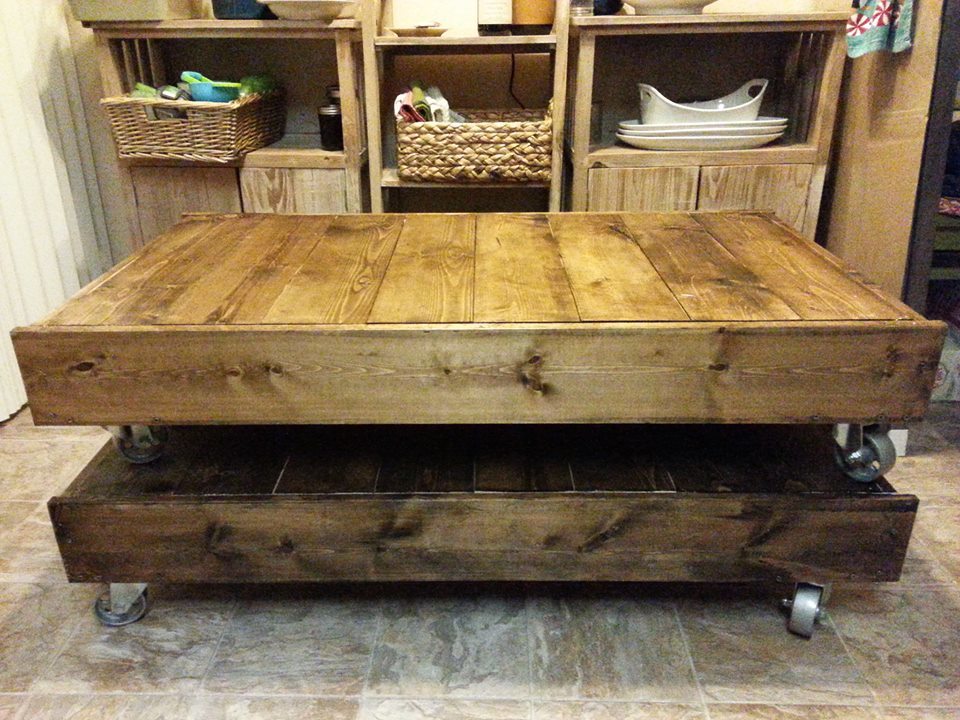
Made two tables with my sister in less than six hours! During this time we also went to the store, took many breaks and even ate lunch! A fun project that develops tons of confidence :) Made out of pine, used 3" steel casters, stained in espresso, and didn't use wood glue. Ate sushi on them tonight! Also.....a perfect table for sitting on the floor and coloring, using a lap-top, or toss some pillows on it for a sleepy pup. Super neat!
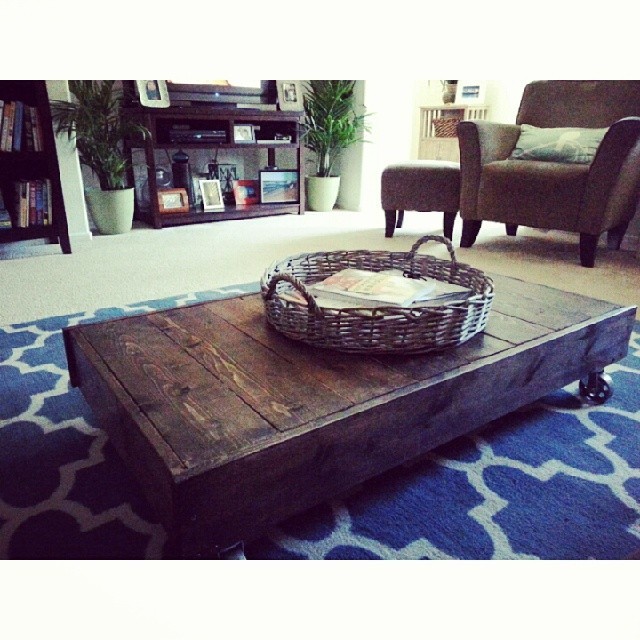
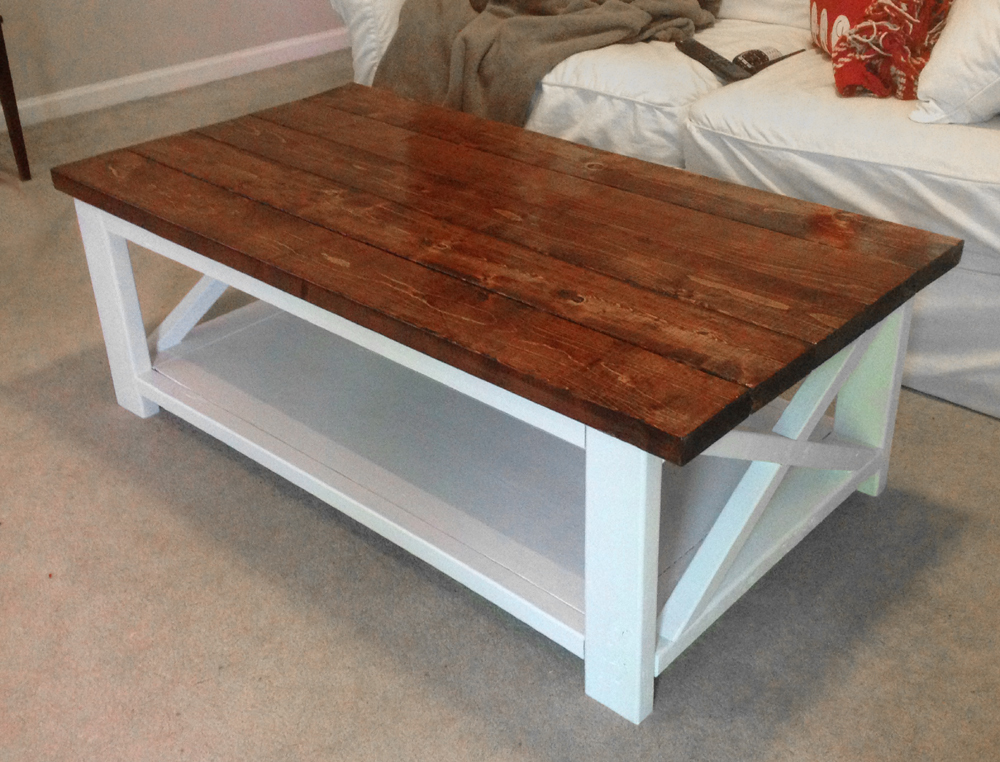
We moved into a new house with exposed dark beams and white railings. Plus, we were gifted a new white couch, so the wife wanted a new coffee table. I loved this project and decided to do it a little different and try the dual finish look to go with our furnishings and house. We love the finished product. Assembly was a snap. As always, the staining and clear coat step took the longest.
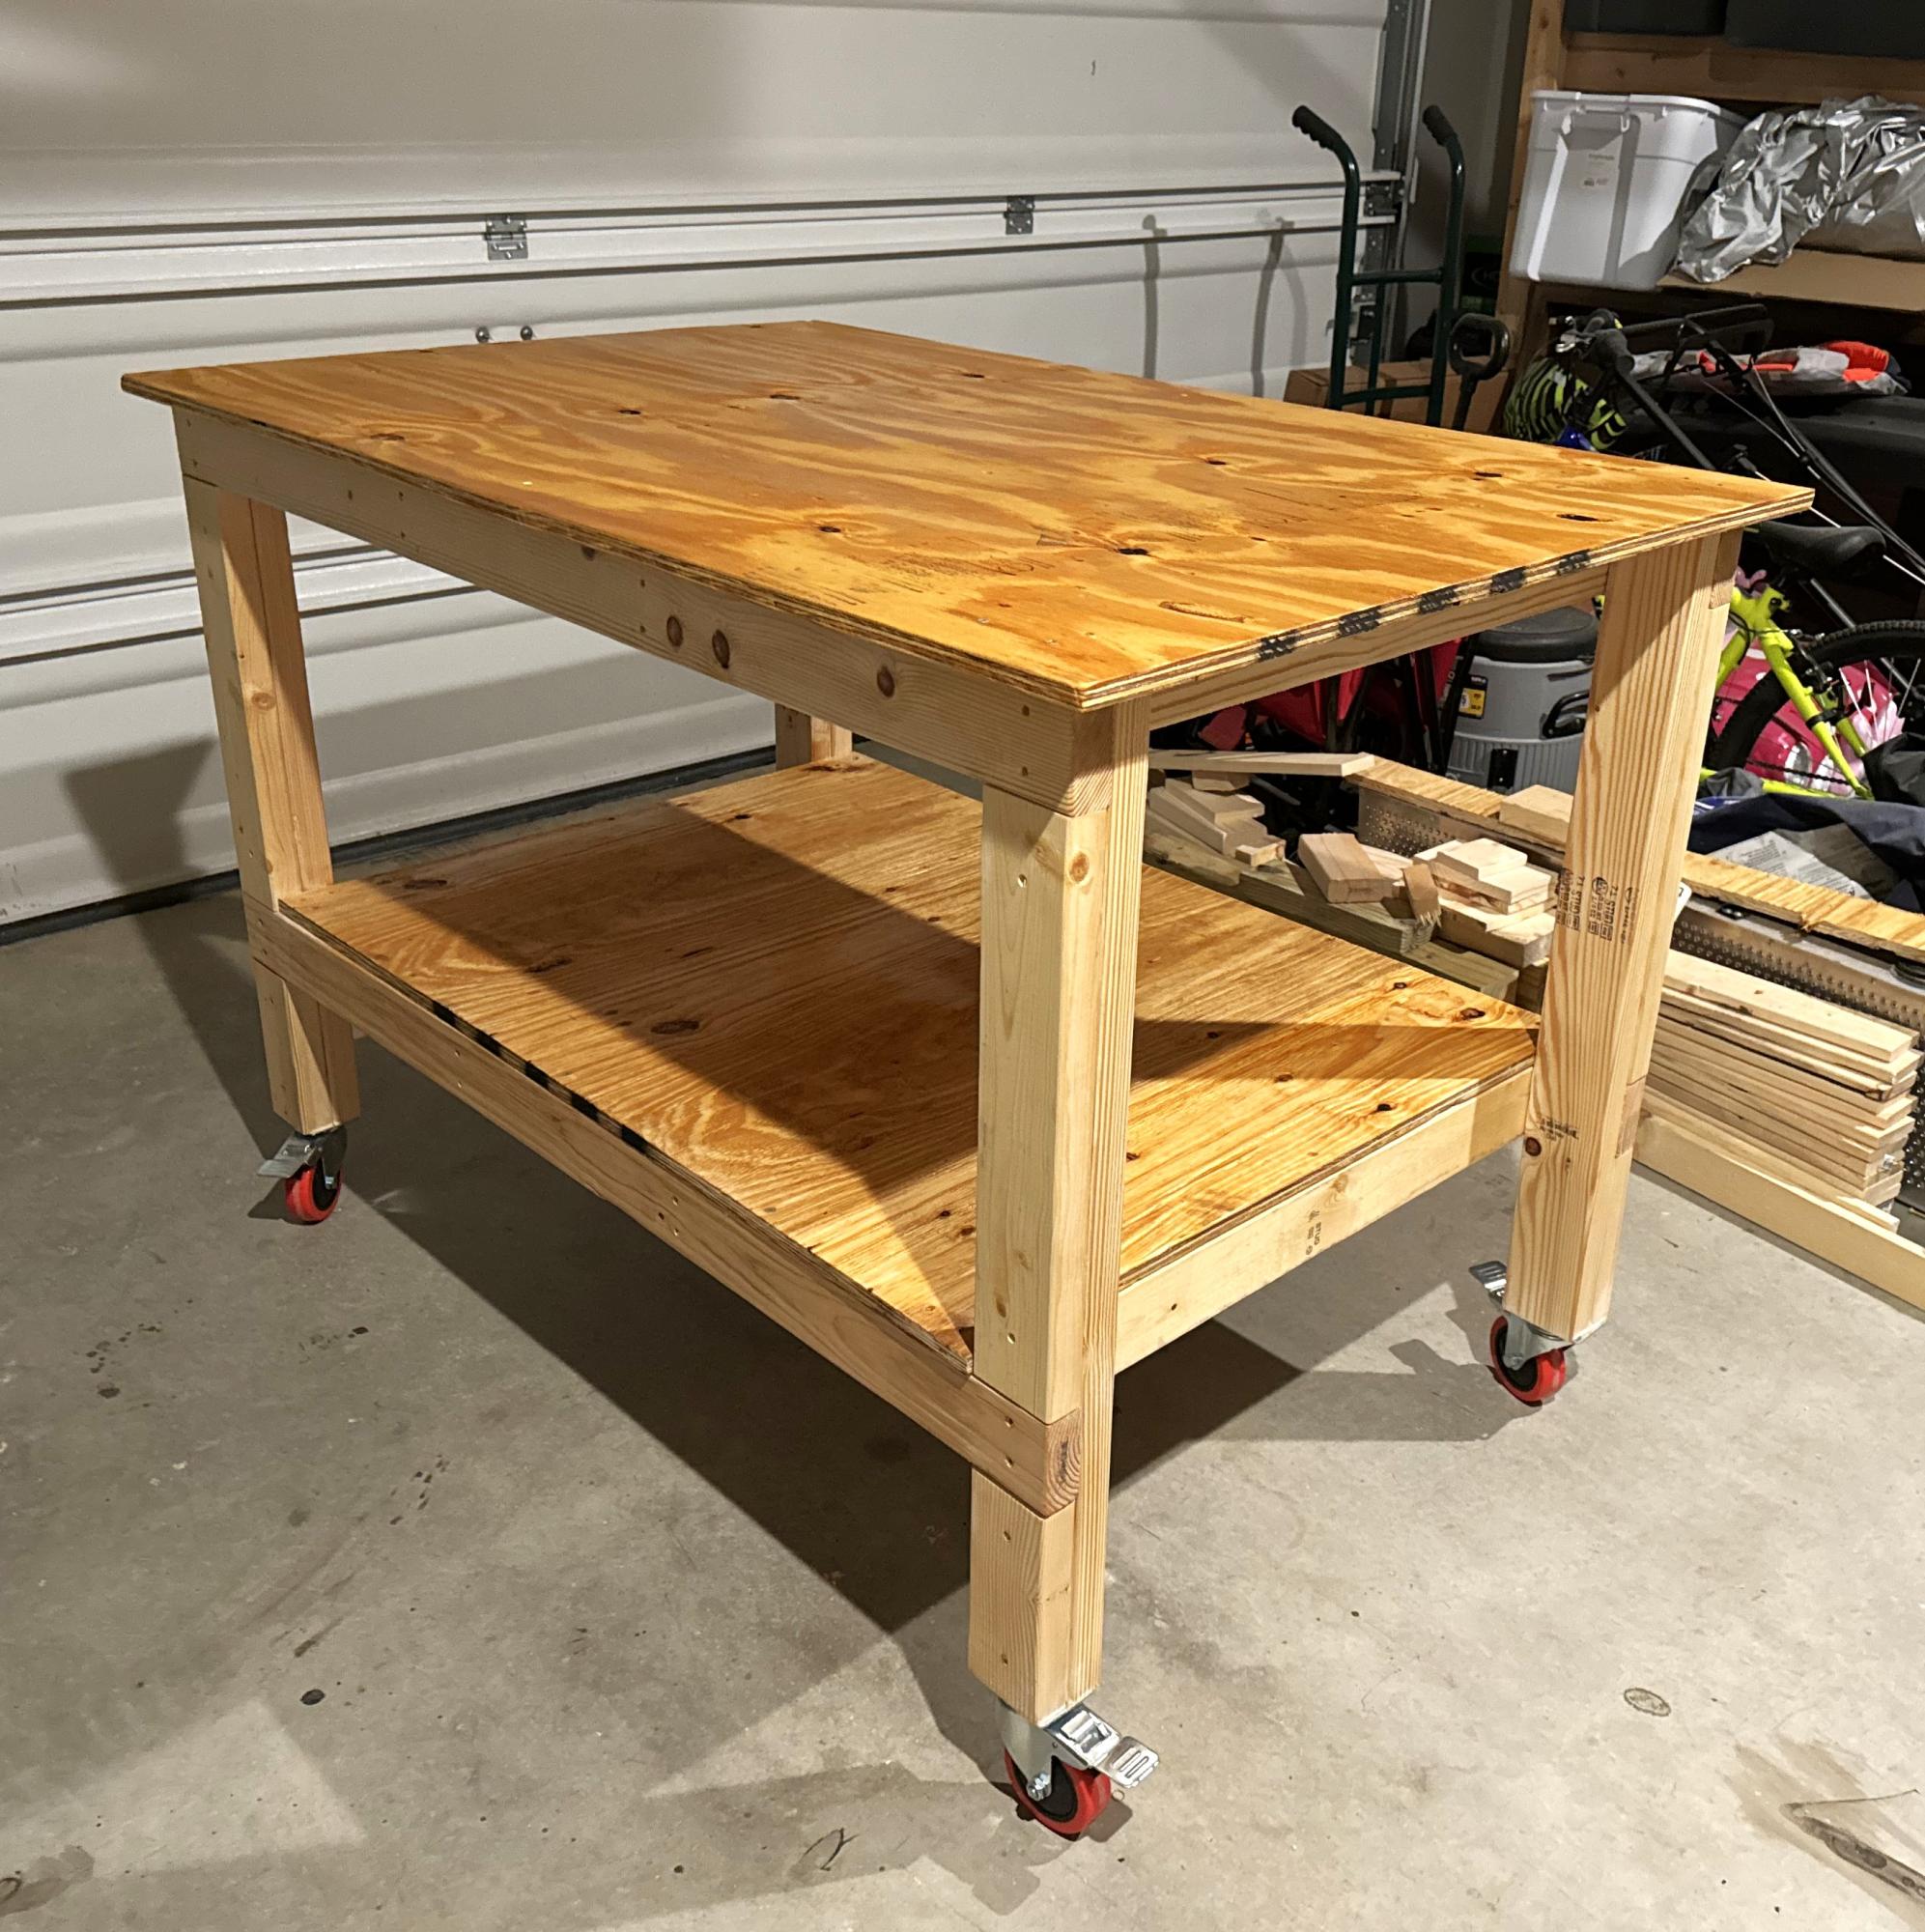
DIY Workbench
I built a regular table, then added half inch plywood to the top. Once the plywood was screwed and secured, I began tiling. I glued the tile down, waited 24 to cure then grouted!! I added aluminum trim to finish the top. I used Ceadar to make the legs only and used pressure treated for the rest.

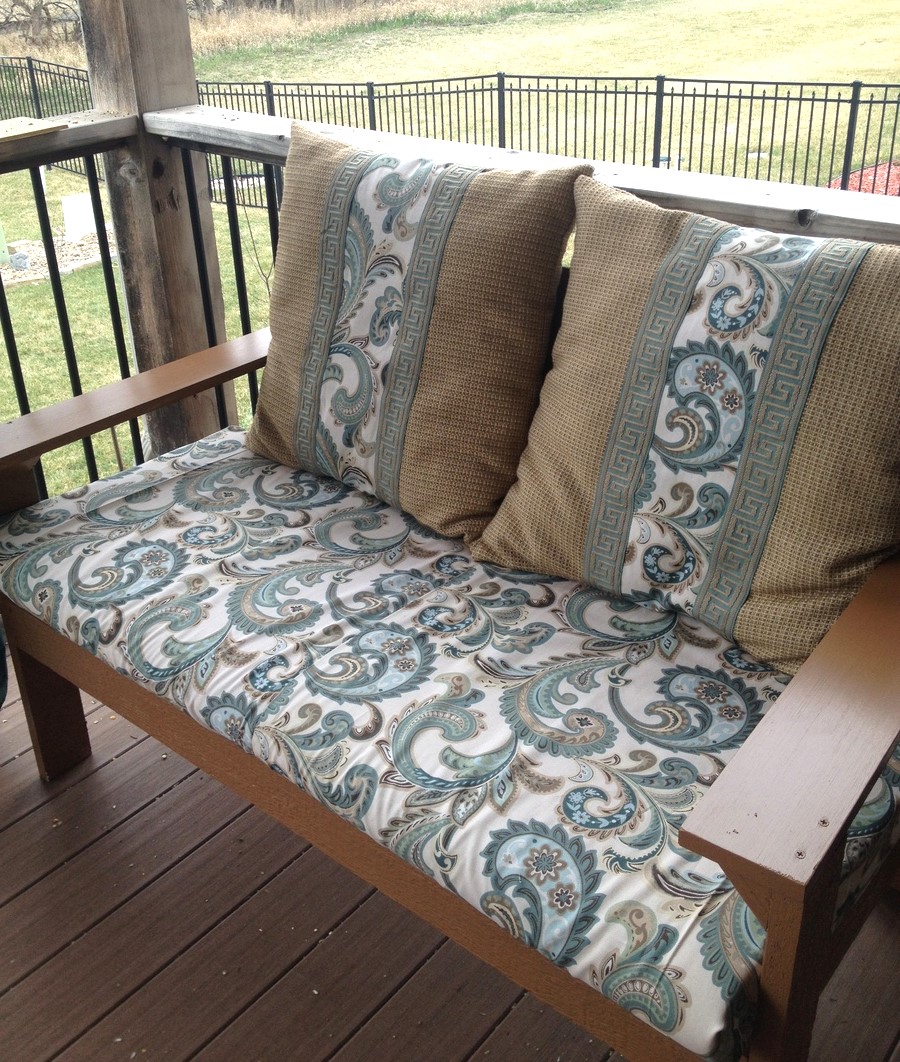
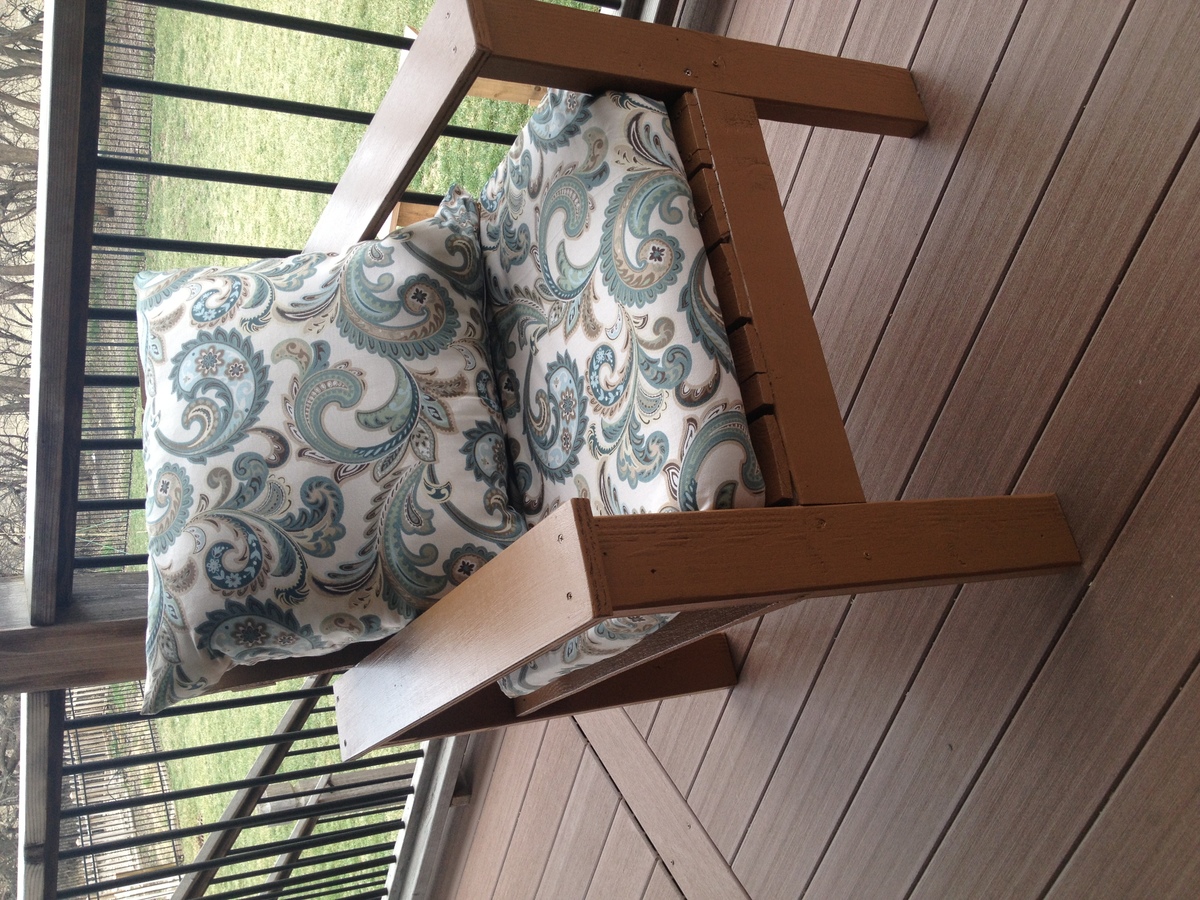
We used Ana's "Simple Lounge Chair" plan, used a few pallet boards with some scrap lumber we had laying around in the garage, and made an awesome patio set for less than $75! The only cost we had was in fabric for the cushions, which was an added embellishment we chose to do We purchased pillows from a local thrift store, and even a couple at a local garage sale for $2 each... added our own special flare to make it match the fabric, and wahlah!
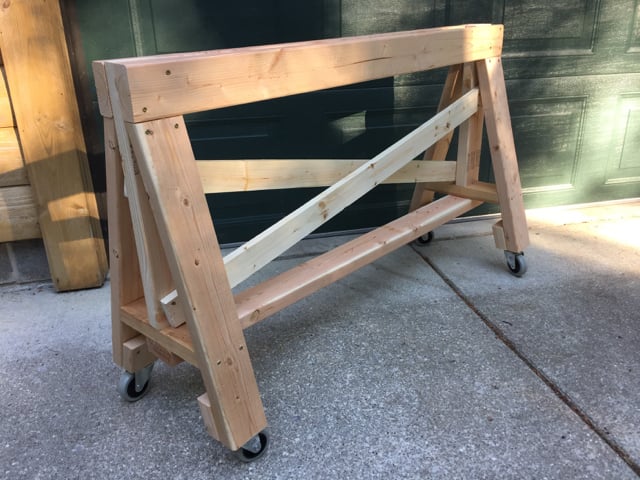
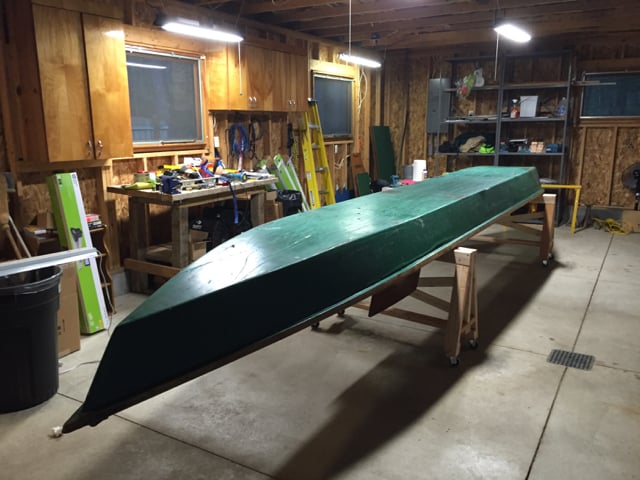
Your saw horse plan worked great for a wooden boat project I'm doing -- the 3" wheels (with one locking) enable me to move the boat around the workshop or even outdoors for heavy duty sanding.
I added blocks of 2x4 to the legs for more surface for the wheels and I extended the cross pieces to 4-feet long as the old AuSable River (MI) guide boat is about 40" wide.
I made these toy boxes for my two grandsons for Christmas. They have been laser etched with their names and a special note on the inside of the top lid. "Always remember you are braver than you believe, Stronger than you seem, Smarter than you think and Loved more than you will ever know. Love Papa and Lita.
Jim Greaves https://www.facebook.com/jim.greaves.180

Last year, I found these plans and with the help of my brother we modified them so they could be used with or with out cushions and to add storage underneath the day bed. I found the cushions on clearance from Crate and Barrell and managed to get them all for around $250. I finally finished staining the furniture this past weekend and thought I would share the finished result. The shade is a $8 curtain that we stretched across the top. We have had a lot of good times using this furniture!!


Sun, 06/17/2012 - 10:17
This is gorgeous! What an awesome place to kick back on a summer night
Sun, 06/17/2012 - 10:17
This is gorgeous! What an awesome place to kick back on a summer night
Fri, 03/20/2015 - 23:41
I am interested in the plans for this piece and love the added storage.
Excellent plans and a great build! We had a blast and LOVE our new table that will go in our new house once built.
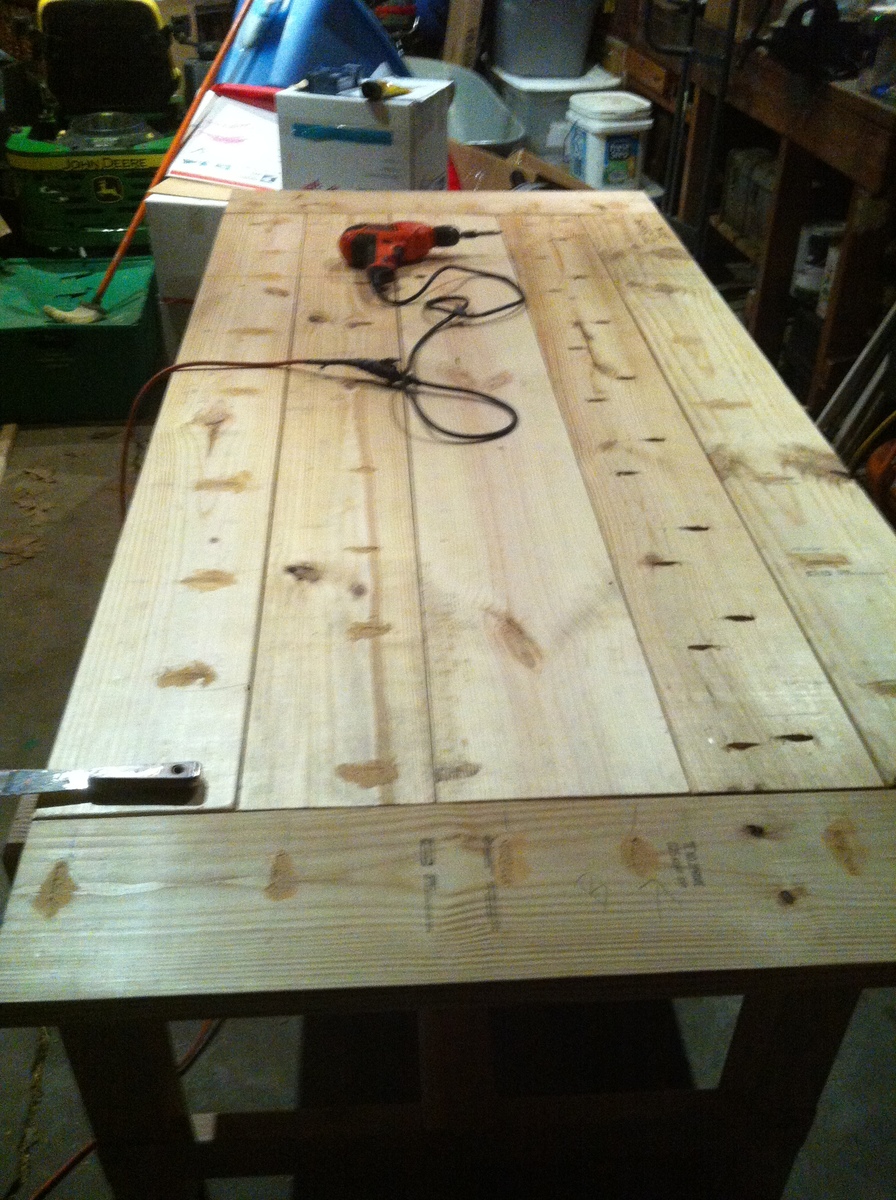
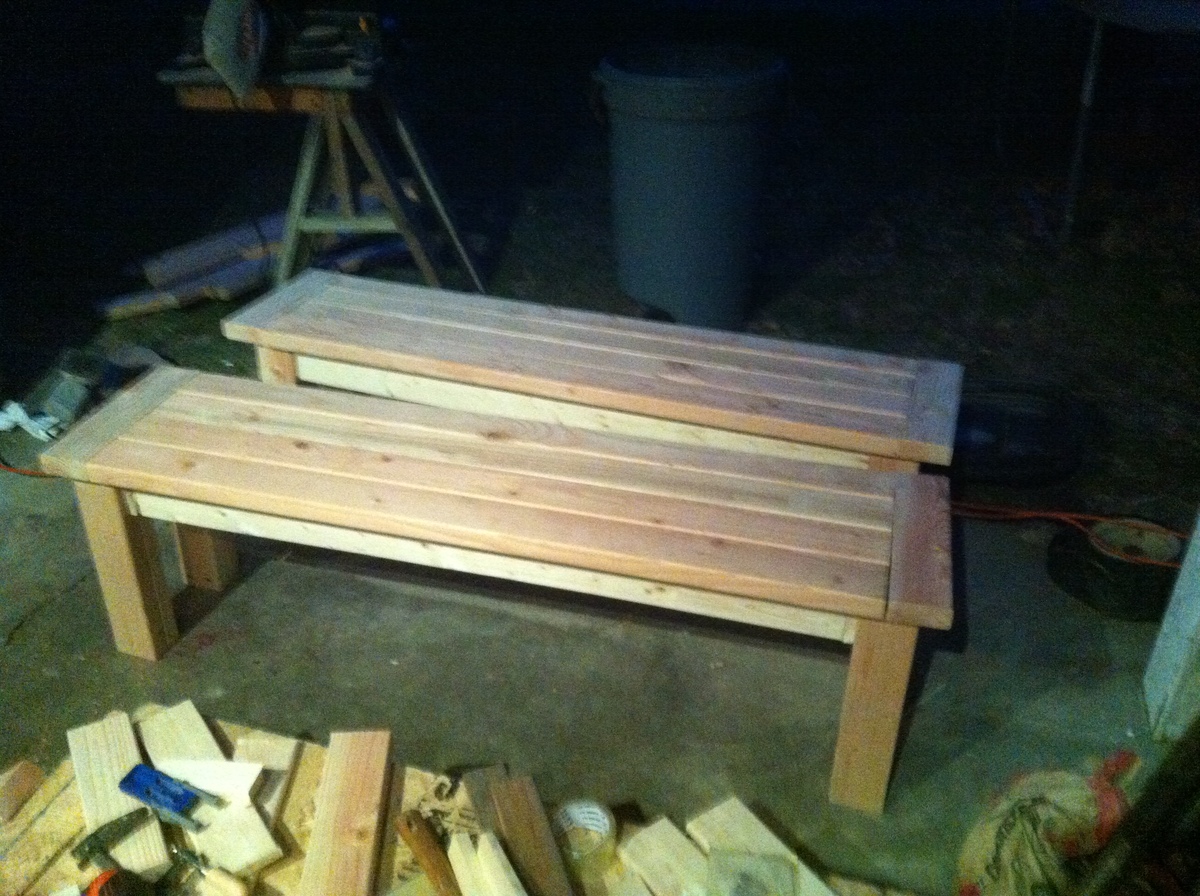
We have now stained the benches but have not taken any photos. We also added the brackets shown in the photos.
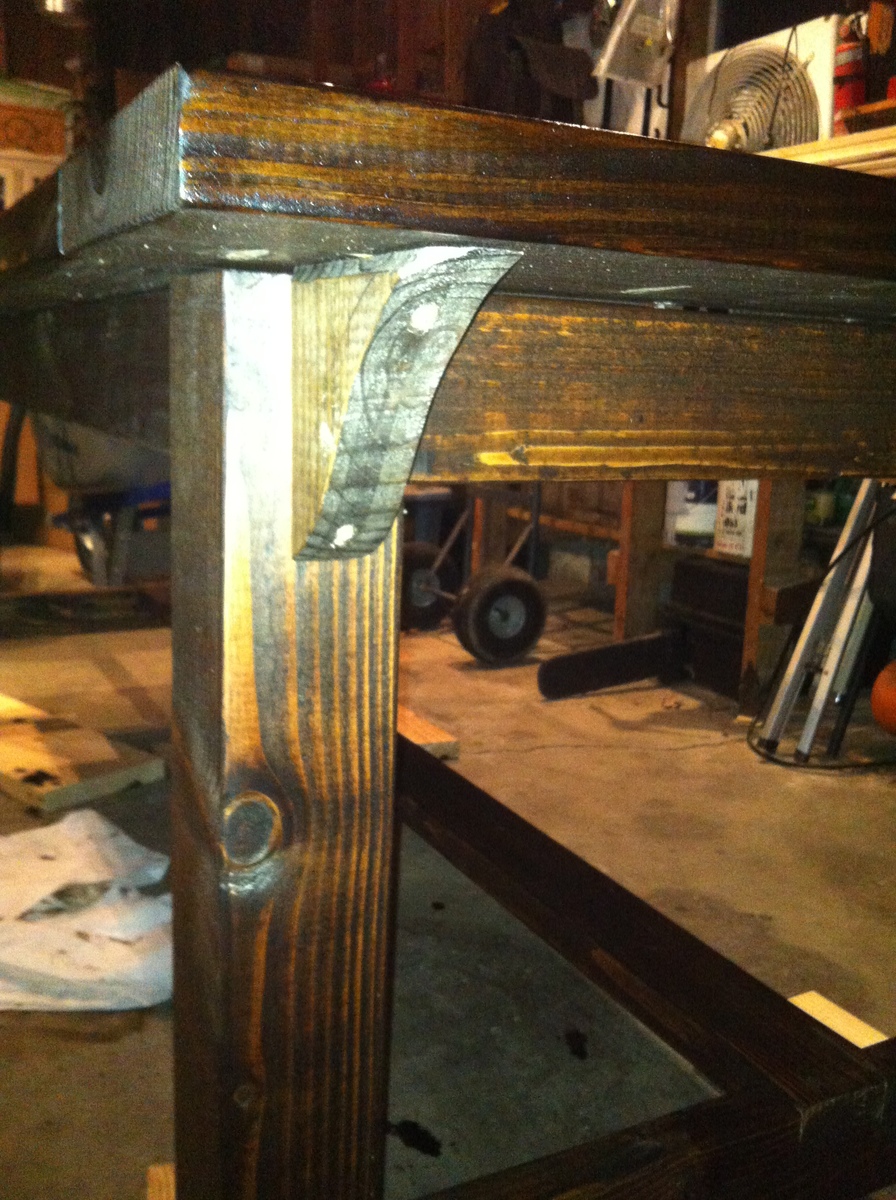

A table that I made out of a slab of rough wood, end cut from a mill. The rounded sides of the coffee table legs were made out of round fence posts cut down the centre & placed on the sides of cedar boards. I painted my wife & I on the legs "2 old crows". I had sufficient wood left over to build a side table.

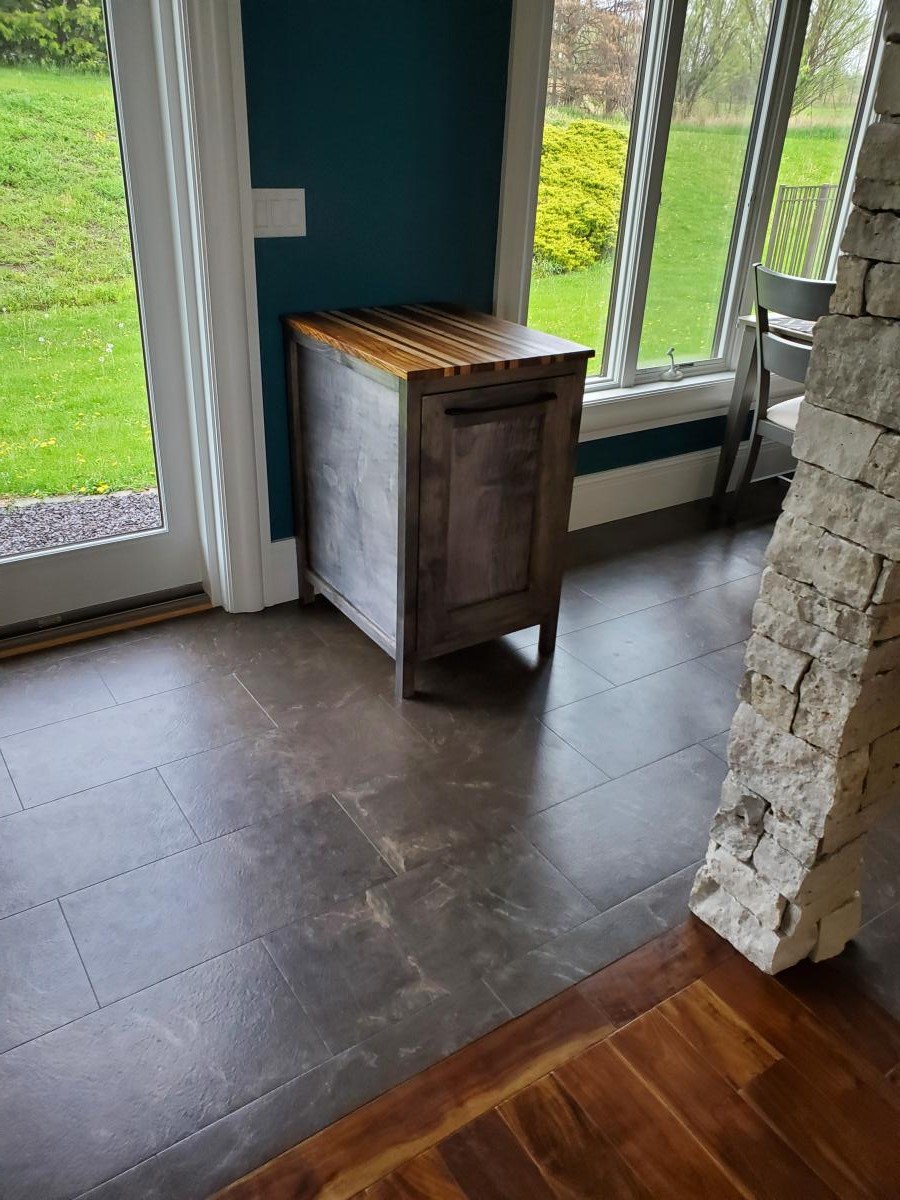
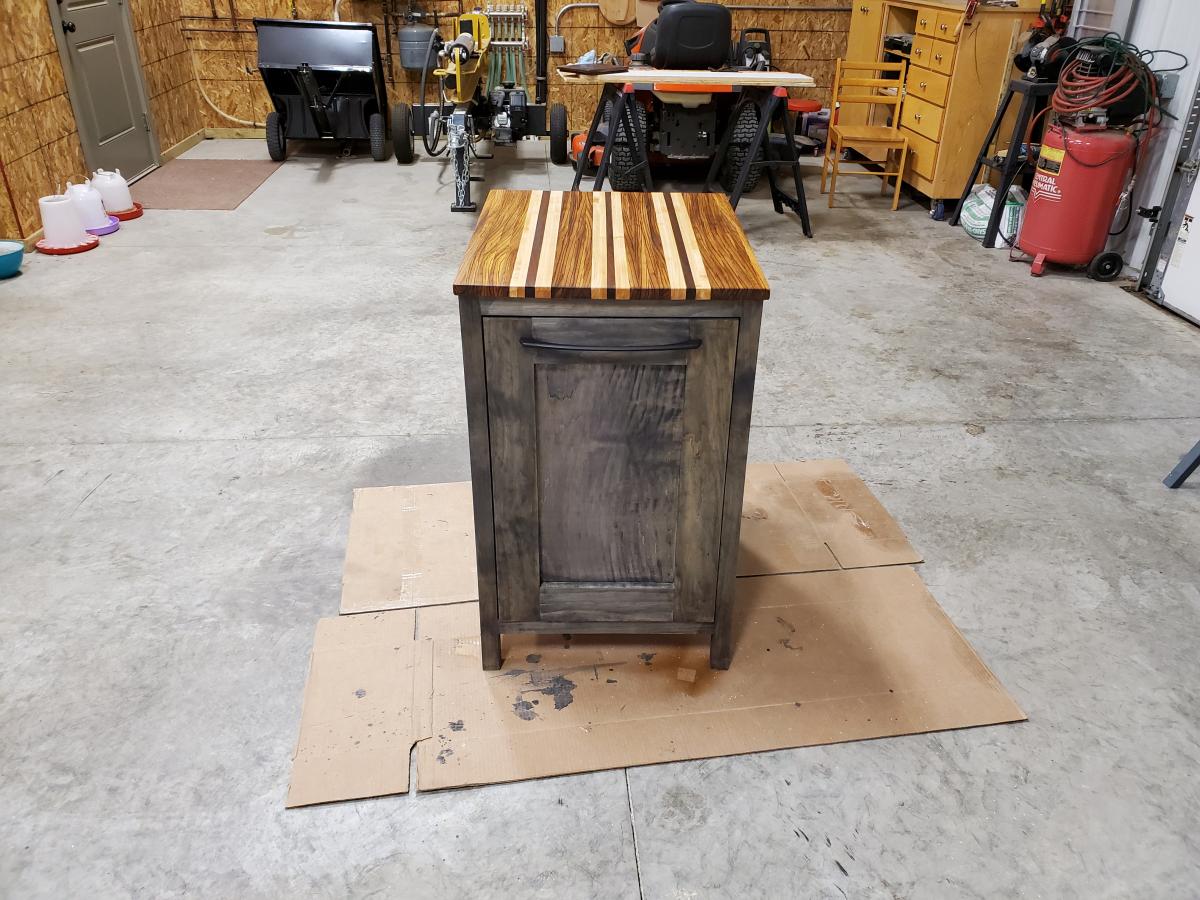
My first foray into pocket holes. Keys are taking your time and making sure everything is square. Turned into a nice Mother's Day gift.
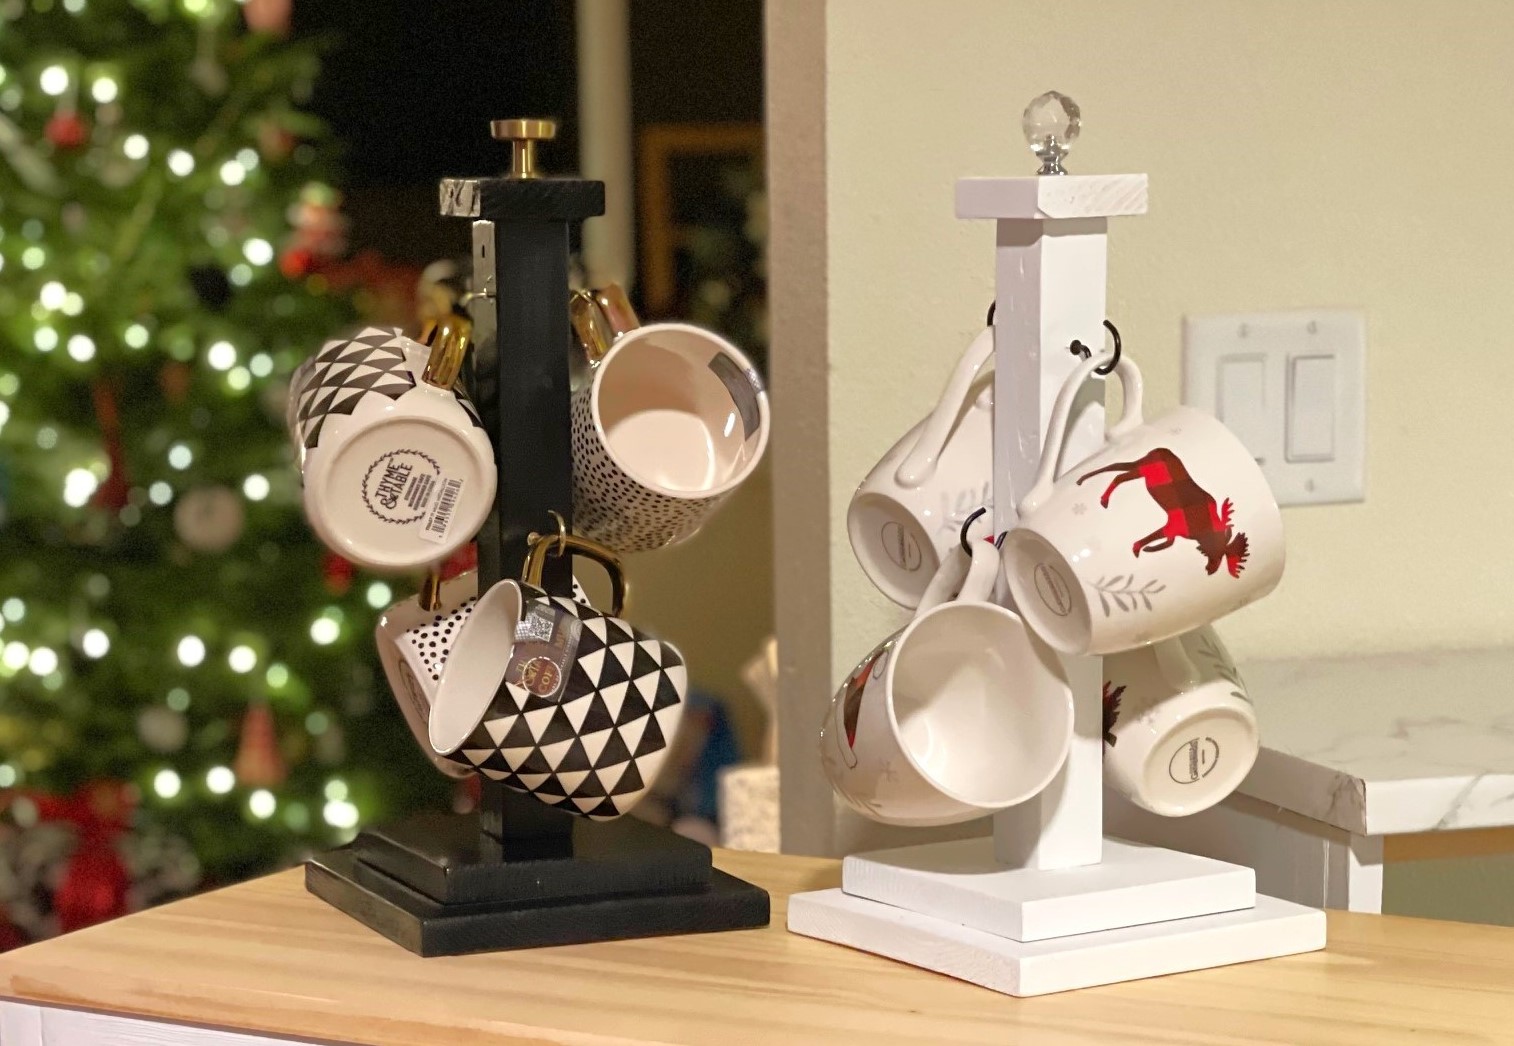
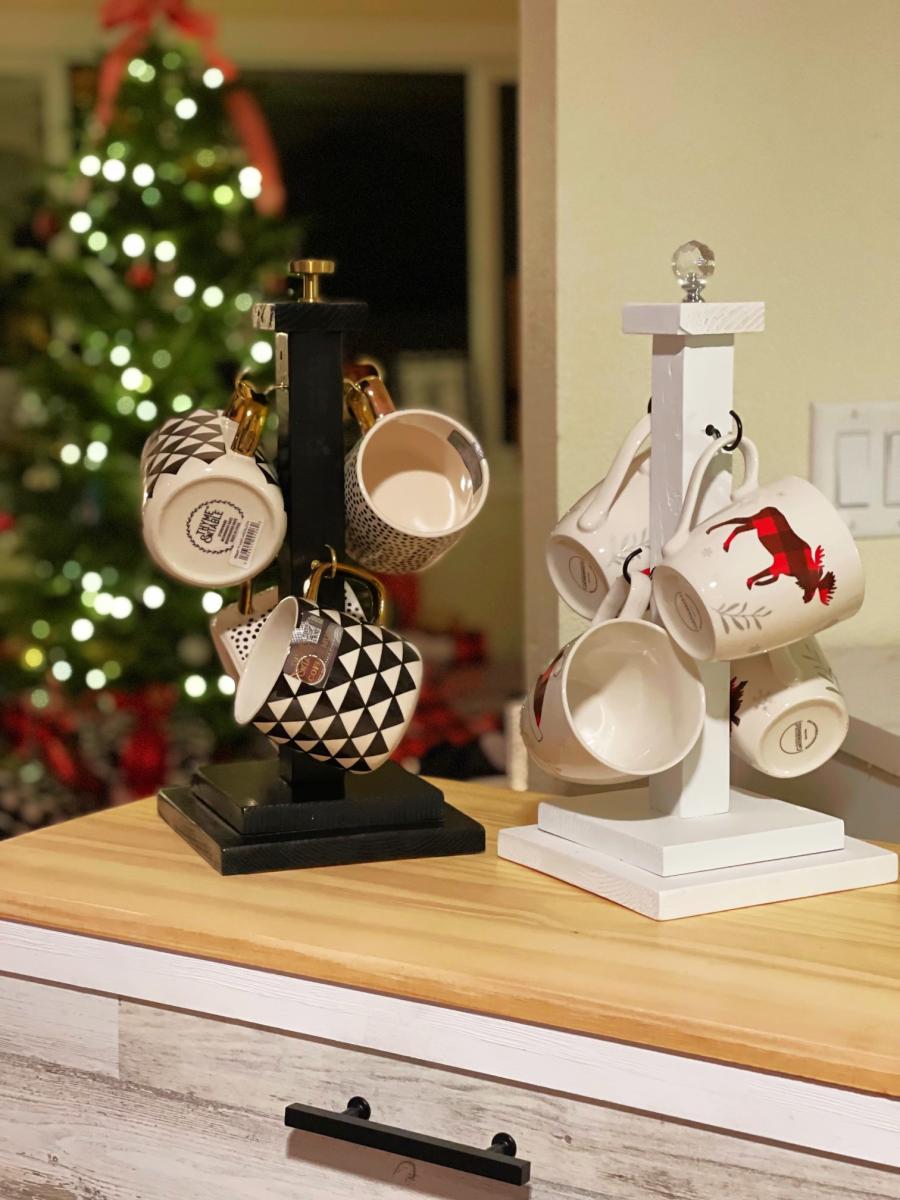
These are fun and easy handmade Christmas gifts. Easy to modify hardware and finish to get different looks depending on the mugs you choose to pair with it!
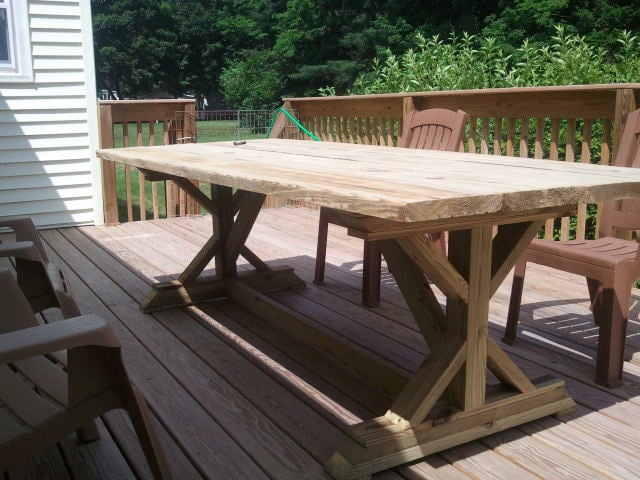
Needed a table for our deck, but didn't want to spend the $400-500 on sets at the store. Followed the plan for the most part and it was fairly easy to build. The only thing I did differently was in building the ends was put the "X" supports in after making the "I" shape in case I was off with my cuts.
Spent an hour cutting all the pieces on a Friday night and about 3 hours assembling Saturday morning. Table was ready to eat lunch on!
Wed, 06/20/2012 - 12:12
This is amazing! I really want to build this, but the plans seemed really confusing to me. Did you use a kreg jig for this?
In reply to This is amazing! I really by benfoldsfivealive
Thu, 07/05/2012 - 12:05
I did not use a Kreg jig because i dont havd one and I didn't try to hide my screws. I did pre-drill all my holes so that I didn't split any boards... and my dad is a carpenter so he helped me attach the 2 cross pieces (which is the only part I had trouble with) to the ends, which we did by just angling the screws in. I will try to take a few more detailed pics in the next few days so you can get a better idea of how I did it.
In reply to This is amazing! I really by benfoldsfivealive
Wed, 06/20/2012 - 19:15
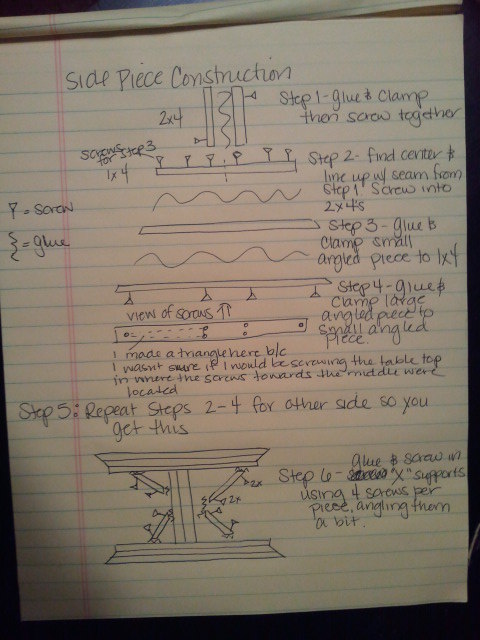
Posted an explanation of how I made the side pieces. Hope it helps!
Mon, 07/02/2012 - 03:37
Hi, great build !
Could you please explain how and from where did you screw the curved pieces at the bases ?
same question for the table top boards ?
Thank you!
In reply to Quick question by I Rub (not verified)
Thu, 07/05/2012 - 12:03
If you look at the first drawing I have attached it will show you where to screw the curved pieces in. I screwed through the 1 x 4 to attach the smaller curved piece. Then I would screw through the larger curved piece into the smaller curved piece to attach it.
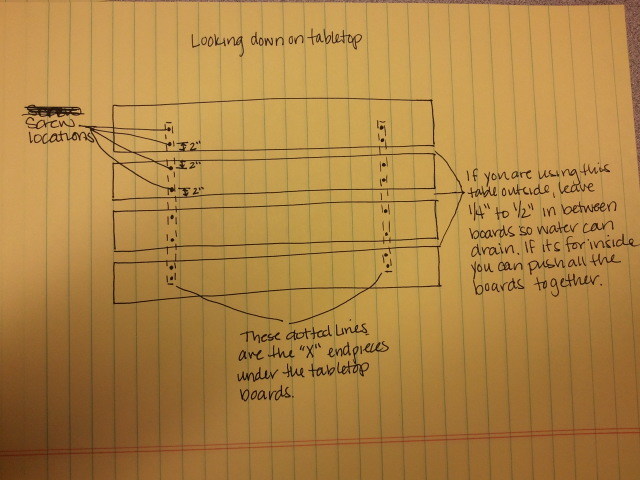
The table top pieces I screwed in from the top into the side pieces that you build first. I used 2 screws per board per side. The 2 boards in the middle should have screws at least 2 inches in from each side. The 2 boards on the end will have one set of screws 2 inches from the side that is next to the boards in the middle. The second set of screws will end up in about the middle of the outside boards. I'm going to attach another drawing to explain. Let me know if this helps.
Mon, 07/09/2012 - 11:22
I plan on building the table this week, will use your advice. Much appreciated.
Sun, 07/15/2012 - 16:20
Thank you for posting this. I started the project yesterday and I started with putting the cross braces on first and it did not turn out leveled. I thought that I would try to put it together first and then add the cross braces but was scared if it would hold. Thanks to your post I feel more confidant about it. I am going to make a run to the big box store and start over. Its okay because this is my very first build and I am just happy with my first 45 degree cut with my new circular saw ;) I guess its a learning process.
Thanks again for your post,
Gus
In reply to Thank you for posting this. I by Gus (not verified)
Thu, 07/19/2012 - 07:58
Glad I could help! Good luck with your build!!!