Community Brag Posts

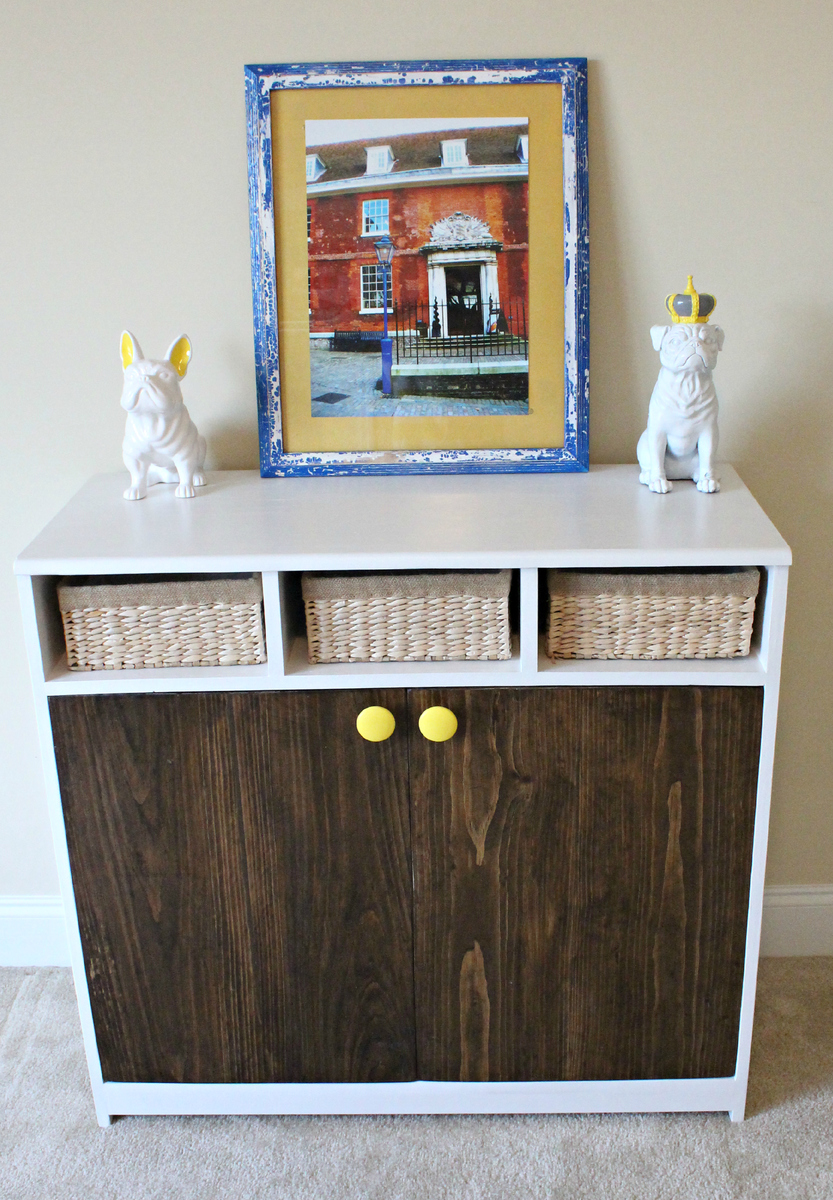
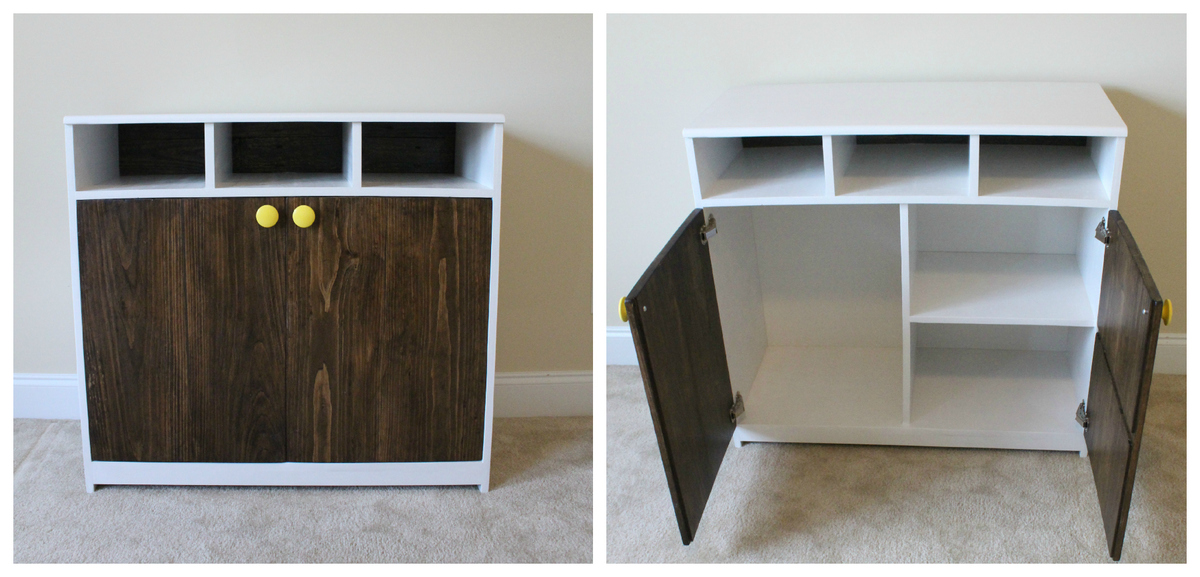
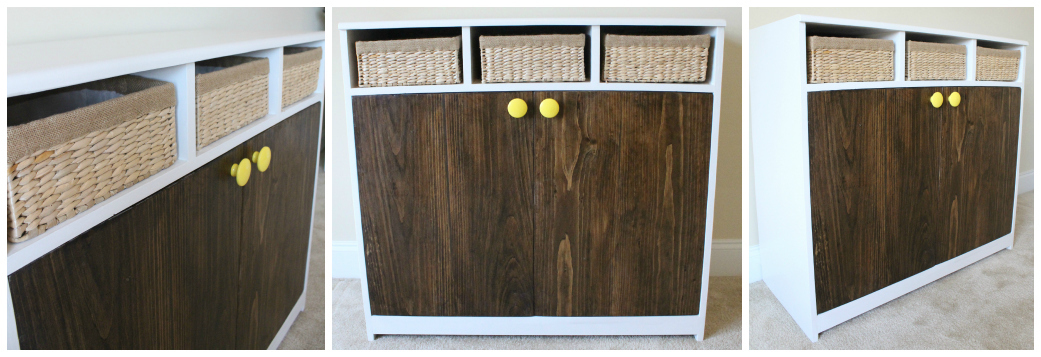
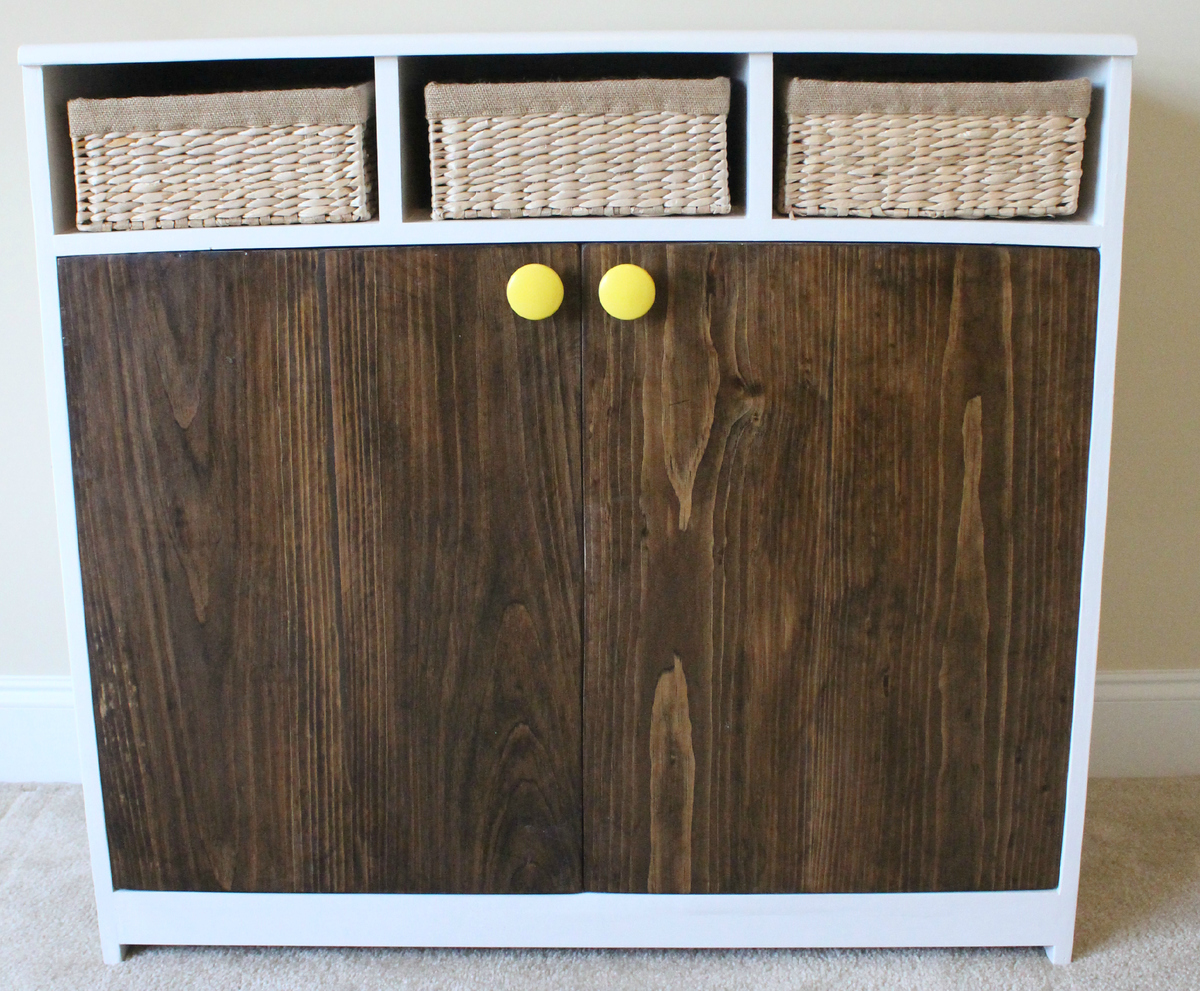
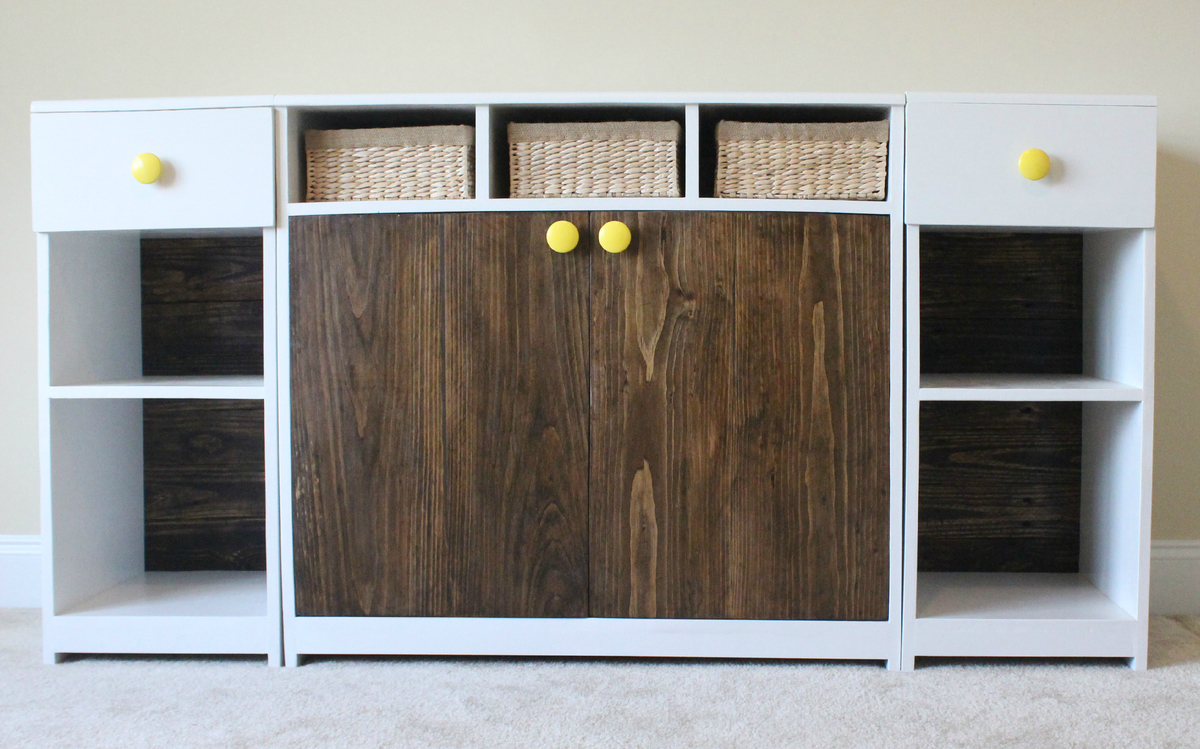
Madeline Changing Table Center Base

Submitted by Huthbert on Thu, 11/22/2012 - 08:16

We made some significant changes to the shelves/cupboards. Since we were on a bit of a time constraint with the impending arrival of our little bundle of joy, we decided to nix the drawers all together and instead make three open face shelves. This made the larger cupboard and door face area a little shorter than in Ana's plans. We made most of these changes on the fly while sitting in the garage..

We have a big move coming up and probably won't put the hutch, center base, and side bases together until after the move. We'll post pictures of everything put together once we get settled.

Oh, and for some reason I've been calling this the Madison Changing Table. . When it is actually called the Madeline Changing Table.. whoops!

We wrote up general directions with pictures here: http://thehuth.blogspot.com/2012/11/madison-changing-table-part-3-cente…

Built from Plan(s)
Estimated Cost
$75
Estimated Time Investment
Weekend Project (10-20 Hours)
Finish Used
Behr Irish Mist, Minwax Dark Walnut Stain, Polyurethane (on pallets) Polycrylic (on painted surfaces)
Recommended Skill Level
Beginner

Cedar planter

Submitted by Shayed on Sun, 09/07/2014 - 11:55

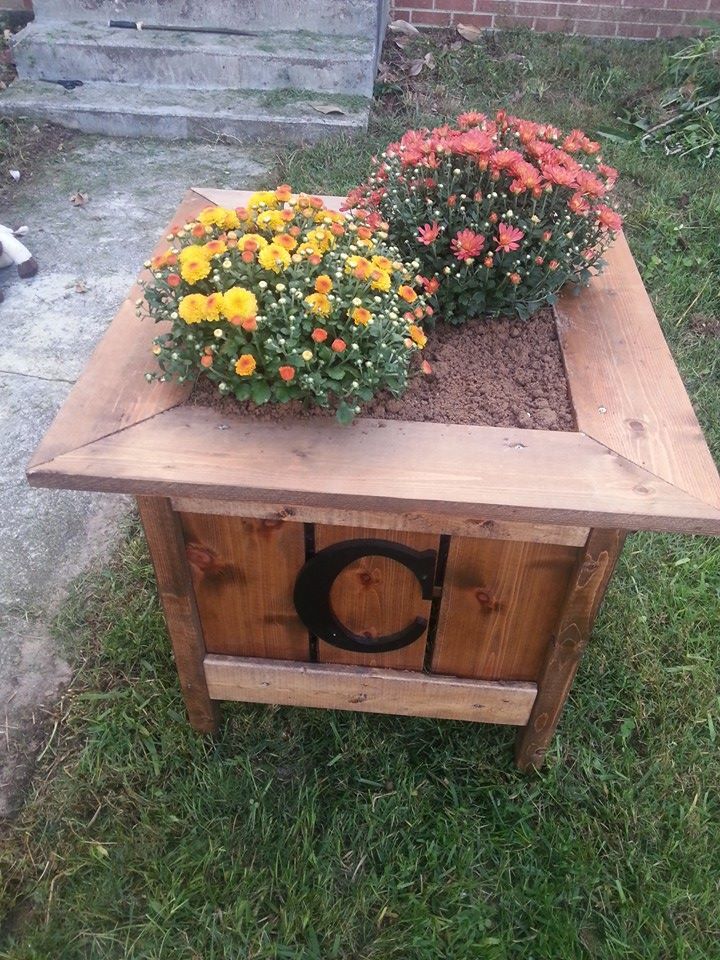
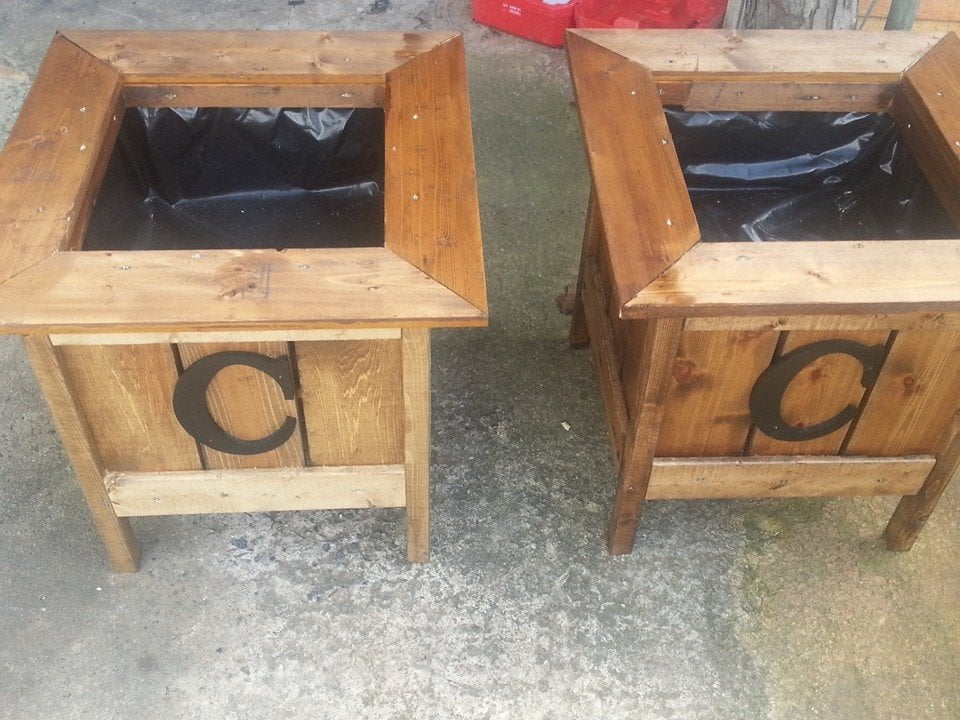
I used your "cedar planters for less than $20" plan and modified it to create two beautiful planters for my house. I framed out the top of the planter to give it a more complete look. Also, I added a "C" for our last name. -Shaye 

Built from Plan(s)
Estimated Cost
$20, I used a lot materials I had on hand.
Estimated Time Investment
Afternoon Project (3-6 Hours)
Finish Used
mahogany stain
Recommended Skill Level
Beginner

Grandy Sliding Door Console

Submitted by Anonymous (not verified) on Tue, 12/27/2016 - 02:59

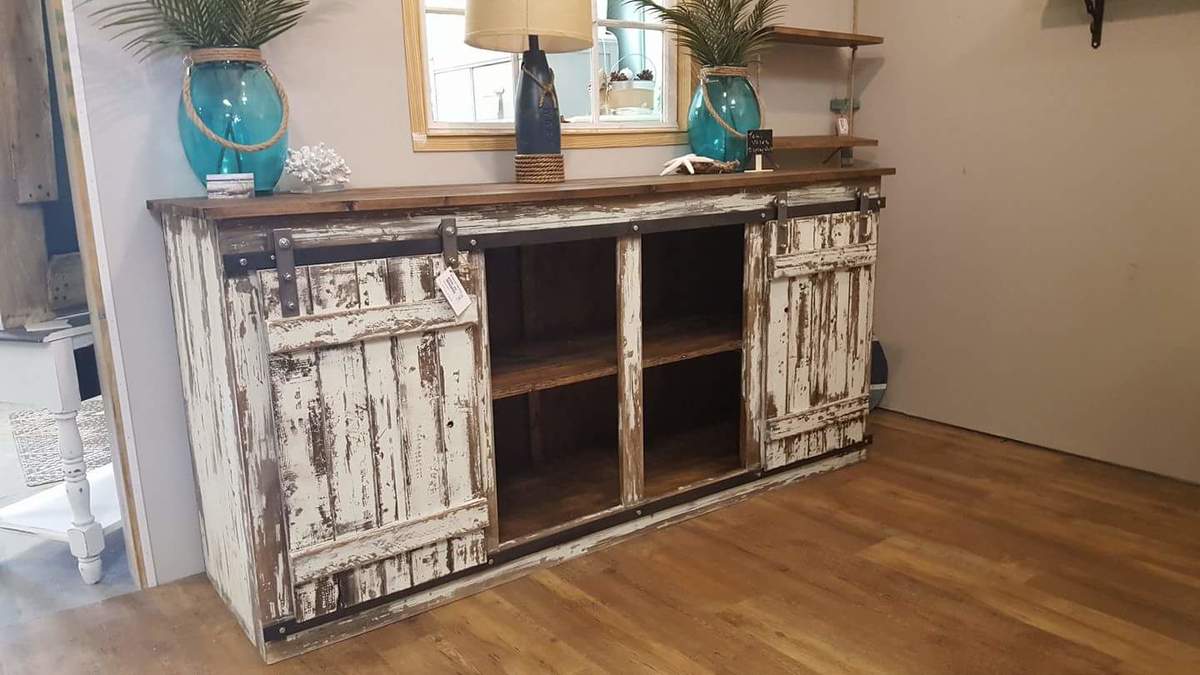
Sliding door console built by Kathryn and Scott Winkler of K & S Coastal Home Furnishings. Kathryn added her own unique chippy finish to set this piece off! Visit our other builds at fb.me/kscoastal

Estimated Time Investment
Weekend Project (10-20 Hours)
Finish Used
Chippy finish
Recommended Skill Level
Intermediate

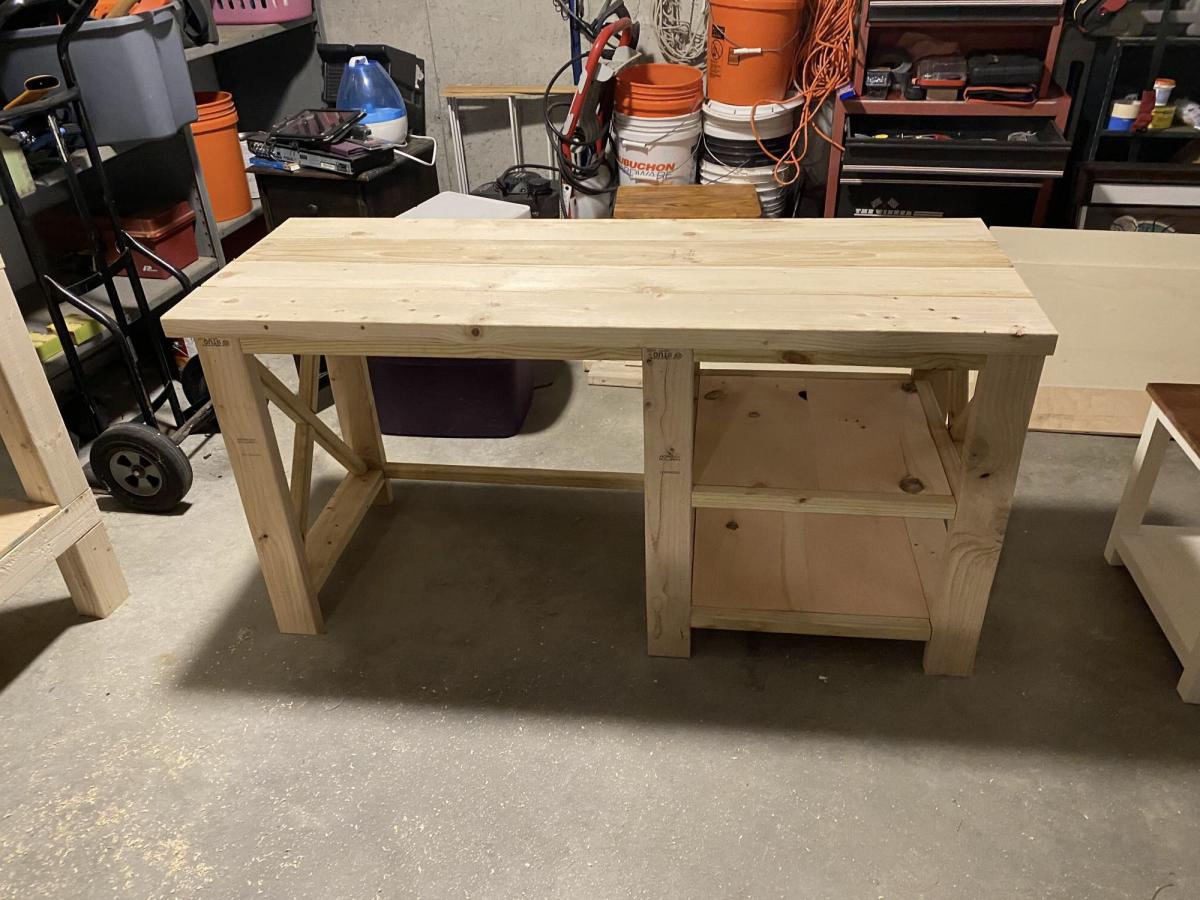
Rustic X Desk

Submitted by dheald on Mon, 09/07/2020 - 06:31

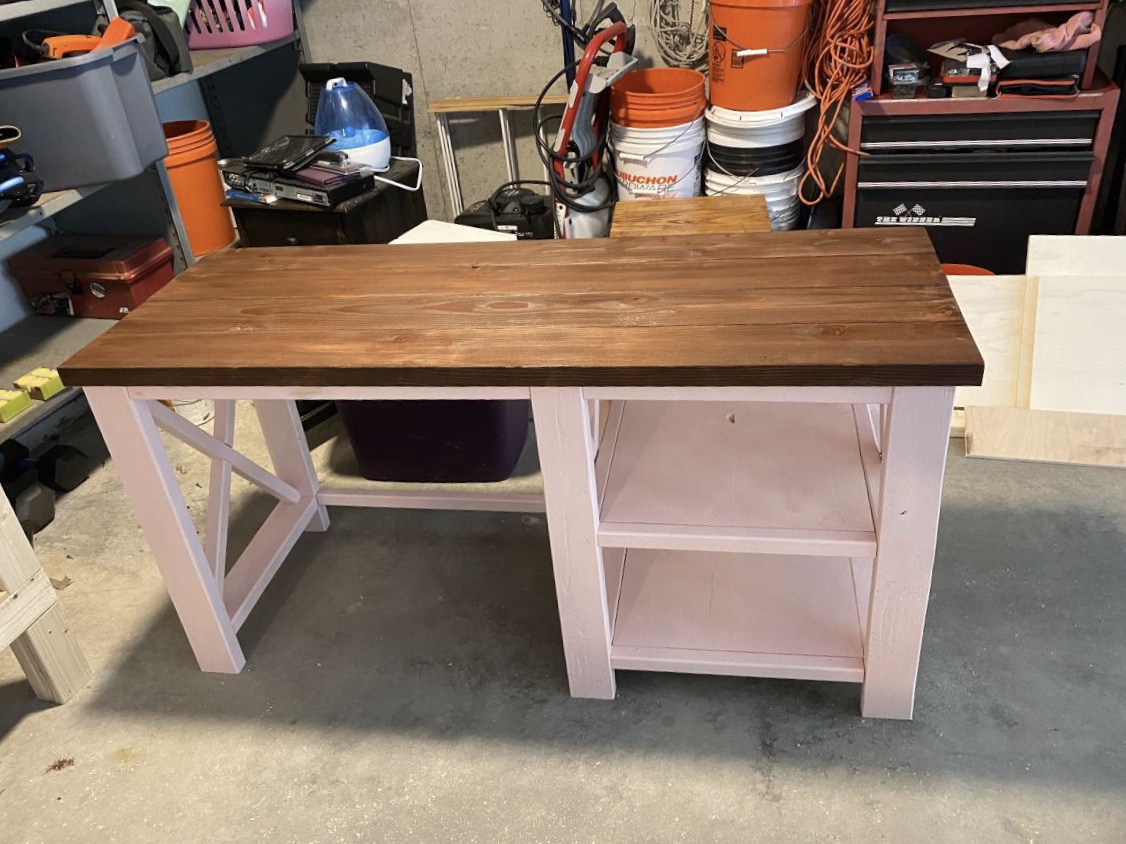
Built this for my daughter’a remote learning space. She chose the color of the base (ballet slipper pink). Minwax dark walnut for the top and 3 coats of poly.

Built from Plan(s)

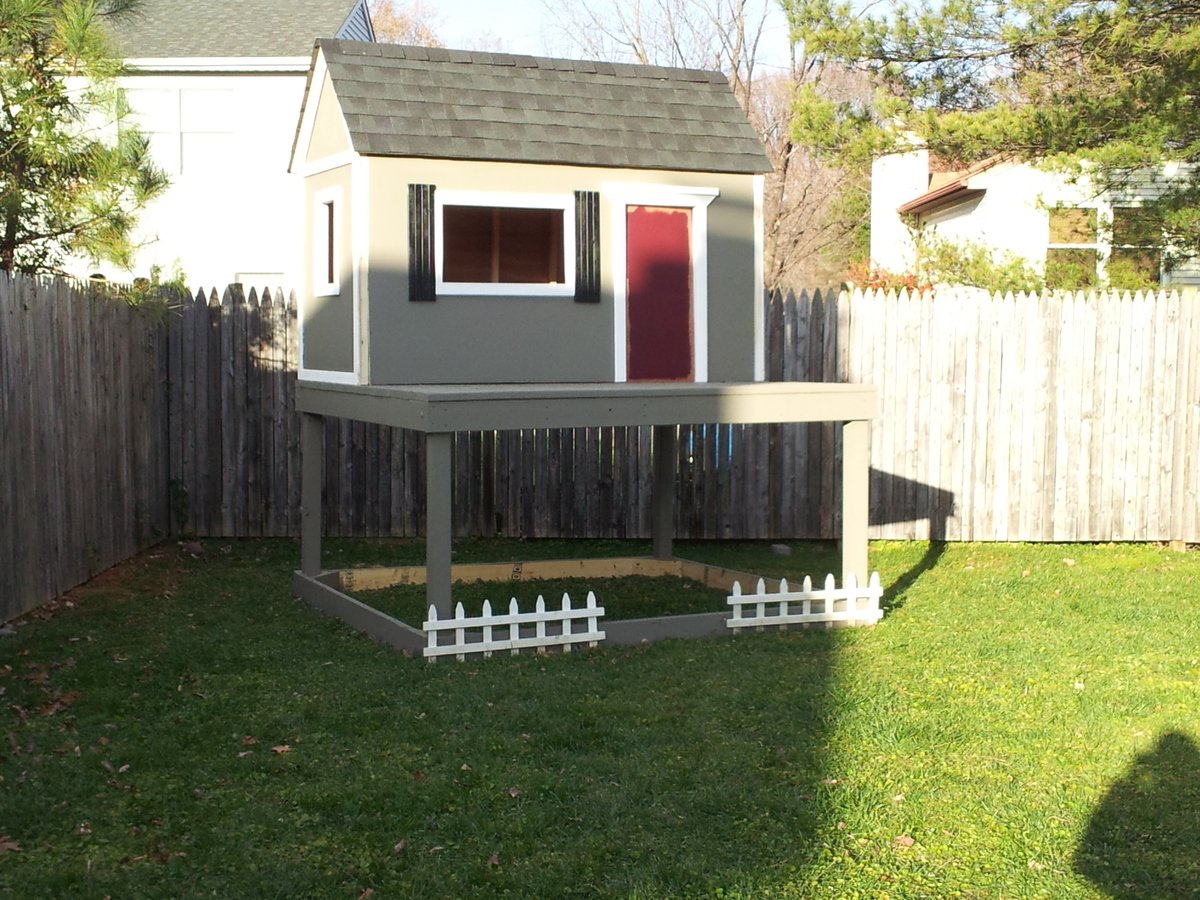
Playhouse for Christmas...almost done!

Submitted by lprollins on Sun, 11/25/2012 - 14:57

My husband and I used our Thanksgiving break to build this playhouse and deck, using Ana's plans. We are NOT builders...this is very doable for beginners with the right tools. Read the plans thoroughly before starting. Total cost (including all lumber, hardware, and paint) was under $600.

We still have door and house trim to complete, a little painting, and a handrail/ladder.

Santa may bring a slide and some other fun accessories!

Thanks Ana!!!!!

Estimated Cost
$600
Estimated Time Investment
Week Long Project (20 Hours or More)
Recommended Skill Level
Beginner

Benchright Coffee Table

Submitted by Trista5111 on Mon, 09/08/2014 - 19:16

I built this table following Ana's plans!  It turned out great!

Estimated Time Investment
Week Long Project (20 Hours or More)
Finish Used
Minwax stain, semi-gloss poly
Recommended Skill Level
Advanced

Comments

DIYER_MD

Tue, 09/09/2014 - 14:42

This table turned out great.  The stain job is very well done.  Now I may have to build one.

Console Table

Submitted by Anonymous (not verified) on Wed, 12/28/2016 - 15:50

Rustic x console Table 

Estimated Cost
$100
Estimated Time Investment
Weekend Project (10-20 Hours)
Finish Used
Varathane weathered grey stain with varathane polyurethane in a matte sheen.
Recommended Skill Level
Intermediate

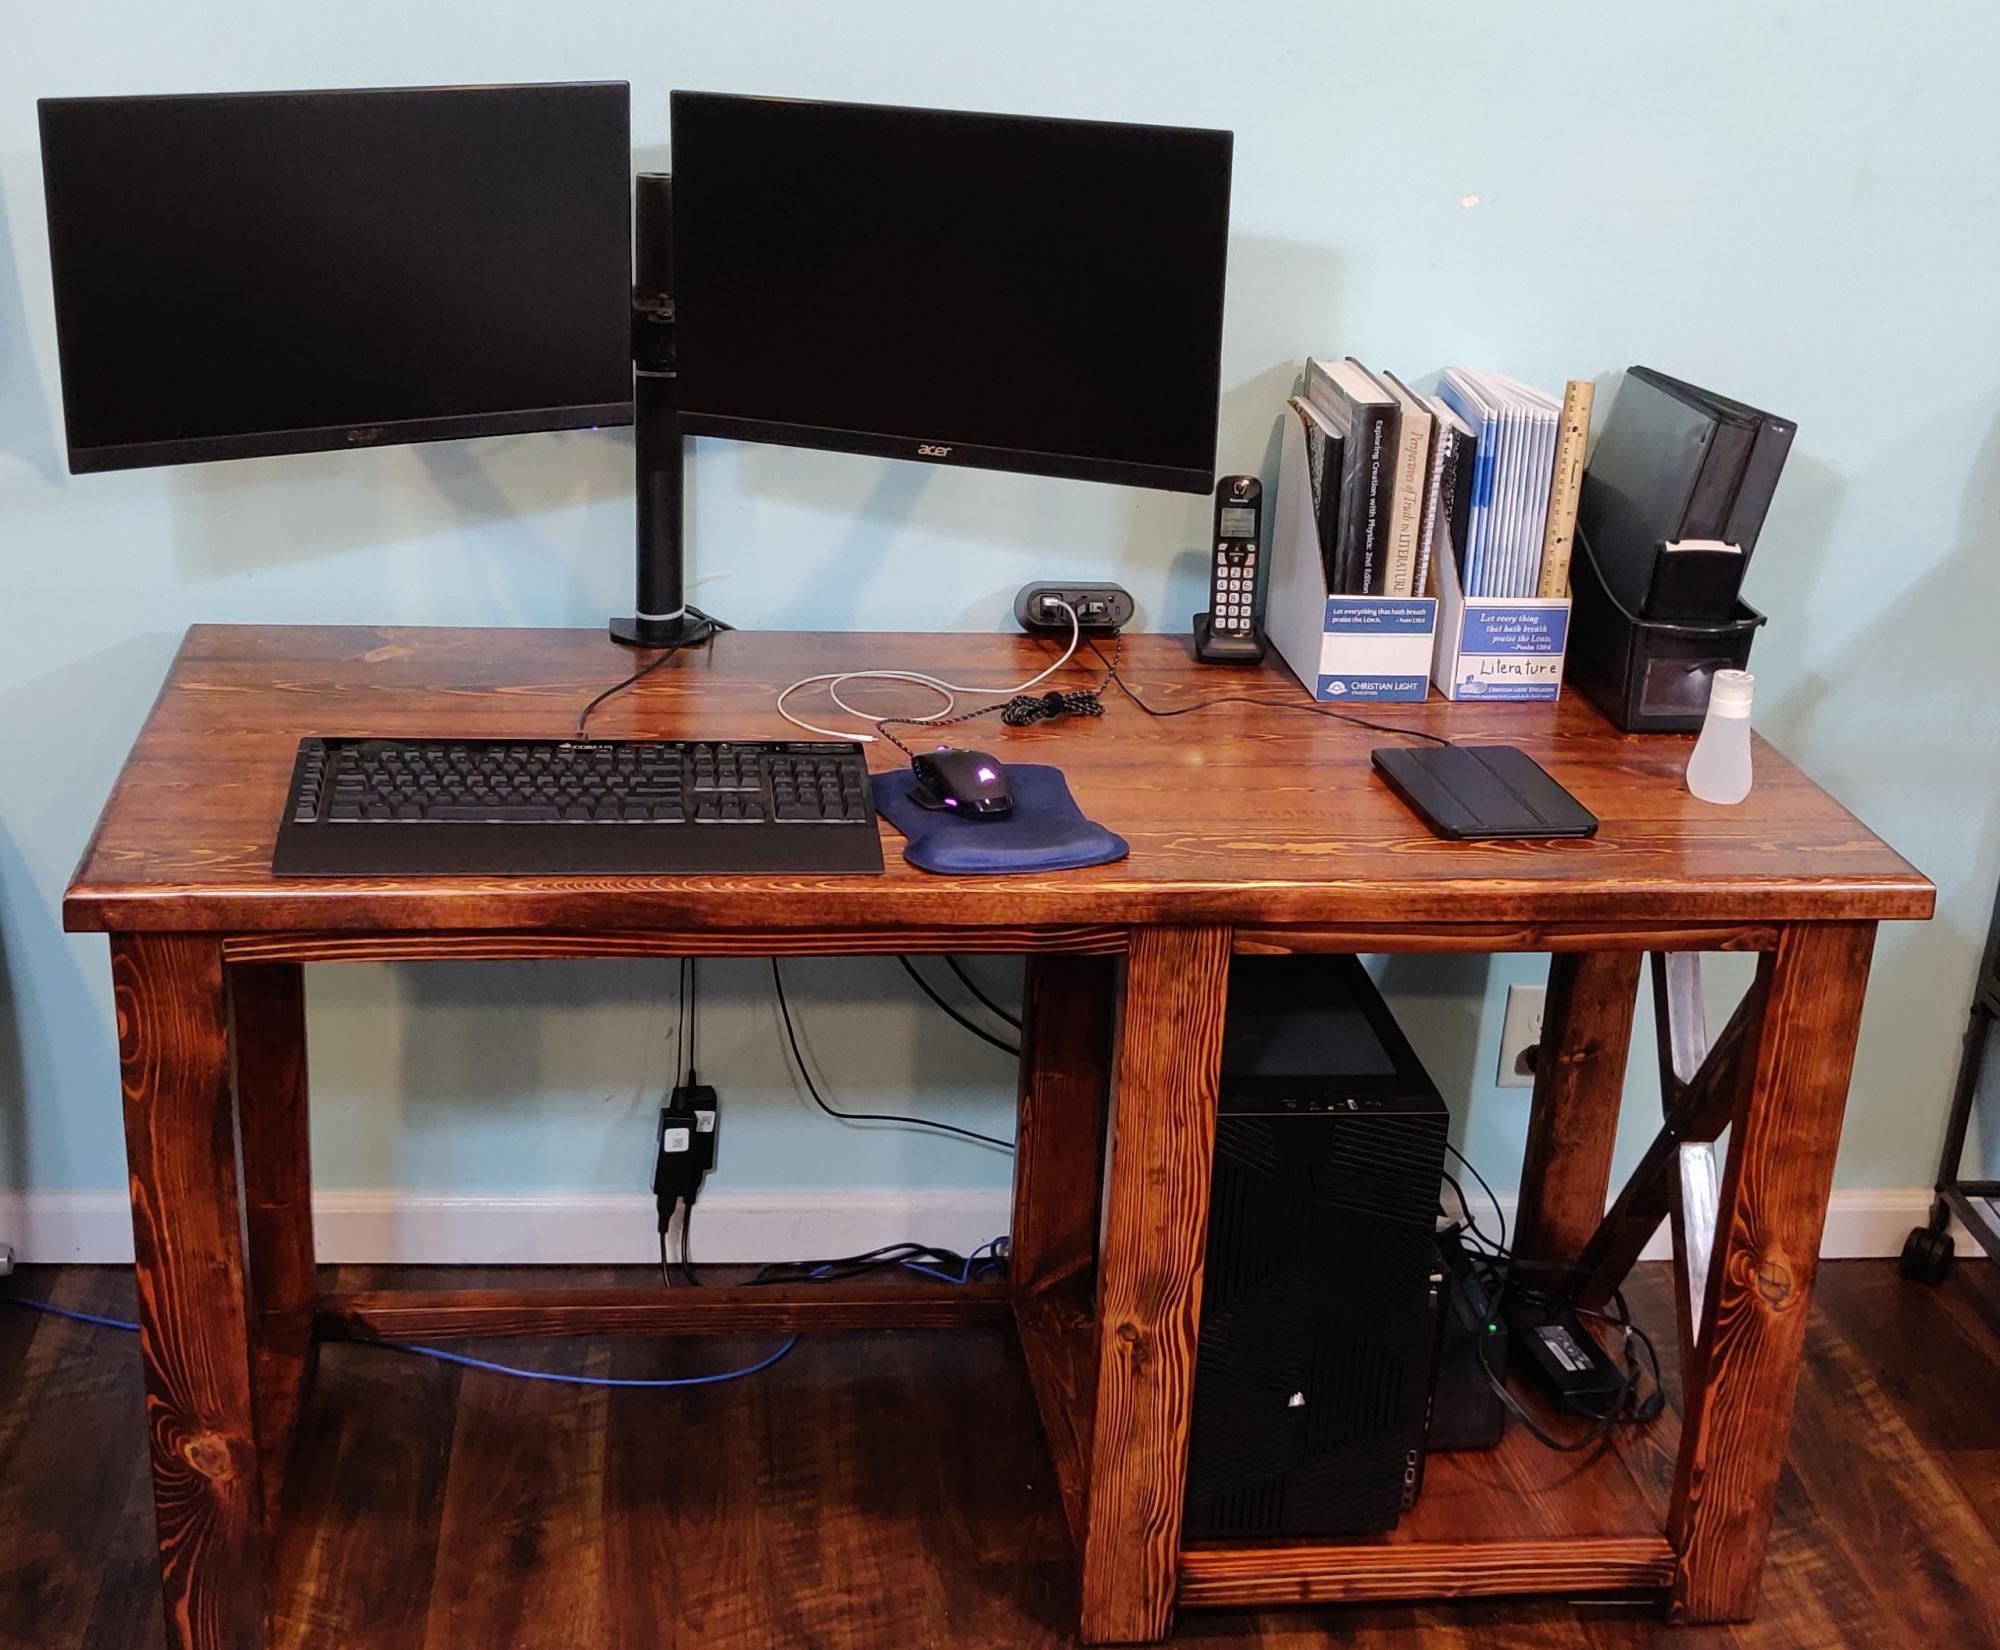
Rustic X Desk - My 1st Gen Build

I built this iteration for my second son to give him a spacious workspace for his schoolwork, dual-enrollment activities, and for the occasional moments of kicking back and enjoying a bit of PC gaming.
We stained it with Minwax #215 Red Oak and used Minwax Satin polyurethane to finish ours.
I stuck to the Rustic X Desk plan for the most part and made the following modifications:
1) I used five 2x6 planks instead of four, to give it a 27.5-inch depth.
2) I used a 3/4-inch roundover bit to round off the tabletop to give it a smooth feel.
3) I left out the "middle" X, so my son could have easy access to the "guts" of his computer
4) I left out the middle shelf so my son could stow his PC tower "below deck"
5) Not really a modification; I used a 3/4" straight router bit to cut notches into the 2x2's used for the X detail so they would sort of lock together because I wasn't happy with the way the angles and all were coming out with the two half-leg parts of the X detail.
6) I hated the selection of furring strips at the local big box home improvement store and didn't want to travel all the way across town to see if the "lumber stores" had anything better, so I ended up milling my own on my table saw from cherry-picked 2x4 lumber. It was cheaper than buying the premium pine to boot, since a 2x4 would give me a pair of 2x2s and leftover 1/4x2 that I'll be able to run through a planer and turn into something useful. Not a modification, just more of a "if you're plagued with lousy selection, try this instead" idea.
7) Installed a Wiremold WMC220BK convenience 120V/USB power center to make it easy to plug in a desk lamp, charge a cell phone, etc. without making a cable mess. (https://smile.amazon.com/dp/B0768R2JDG)
8) Added felt pads under the feet to make it slide easily on wood/vinyl flooring
9) I set the bottom of the leg assemblies 1-1/2 inches above the floor instead of 3 inches, so our indentured robotic servant "Mo" won't get trapped underneath any of them. He isn't the sharpest tool in the shed but at least earns his keep. Mo is a late-model Roomba 675, if any are curious to know.

Between the "custom" milling and the fact that I should have run all this 2x4 and 2x6 through a planer to cut down on all the sanding and resurfacing needed, this ended up taking a lot longer than the initial couple weekends to build plus the staining and finishing time. I'm in the middle of building a second one of these with some slight modifications since the need/use case is a bit different. I'm also planning a third revision and build that will include some "geek-friendly" customizations, namely integrated cable management and will have two shelf bays instead of one, just half as wide (a single 1x10 on the left/bottom and another 1x10 on the right/bottom, with the seating area in the center). The third "generation" will be a Christmas present for a computer science student (who consequently also graduates at the end of this fall semester).

Built from Plan(s)
Estimated Cost
80
Estimated Time Investment
Week Long Project (20 Hours or More)
Finish Used
Minwax #215 Red Oak stain and three coats of Minwax Satin Polyurethane

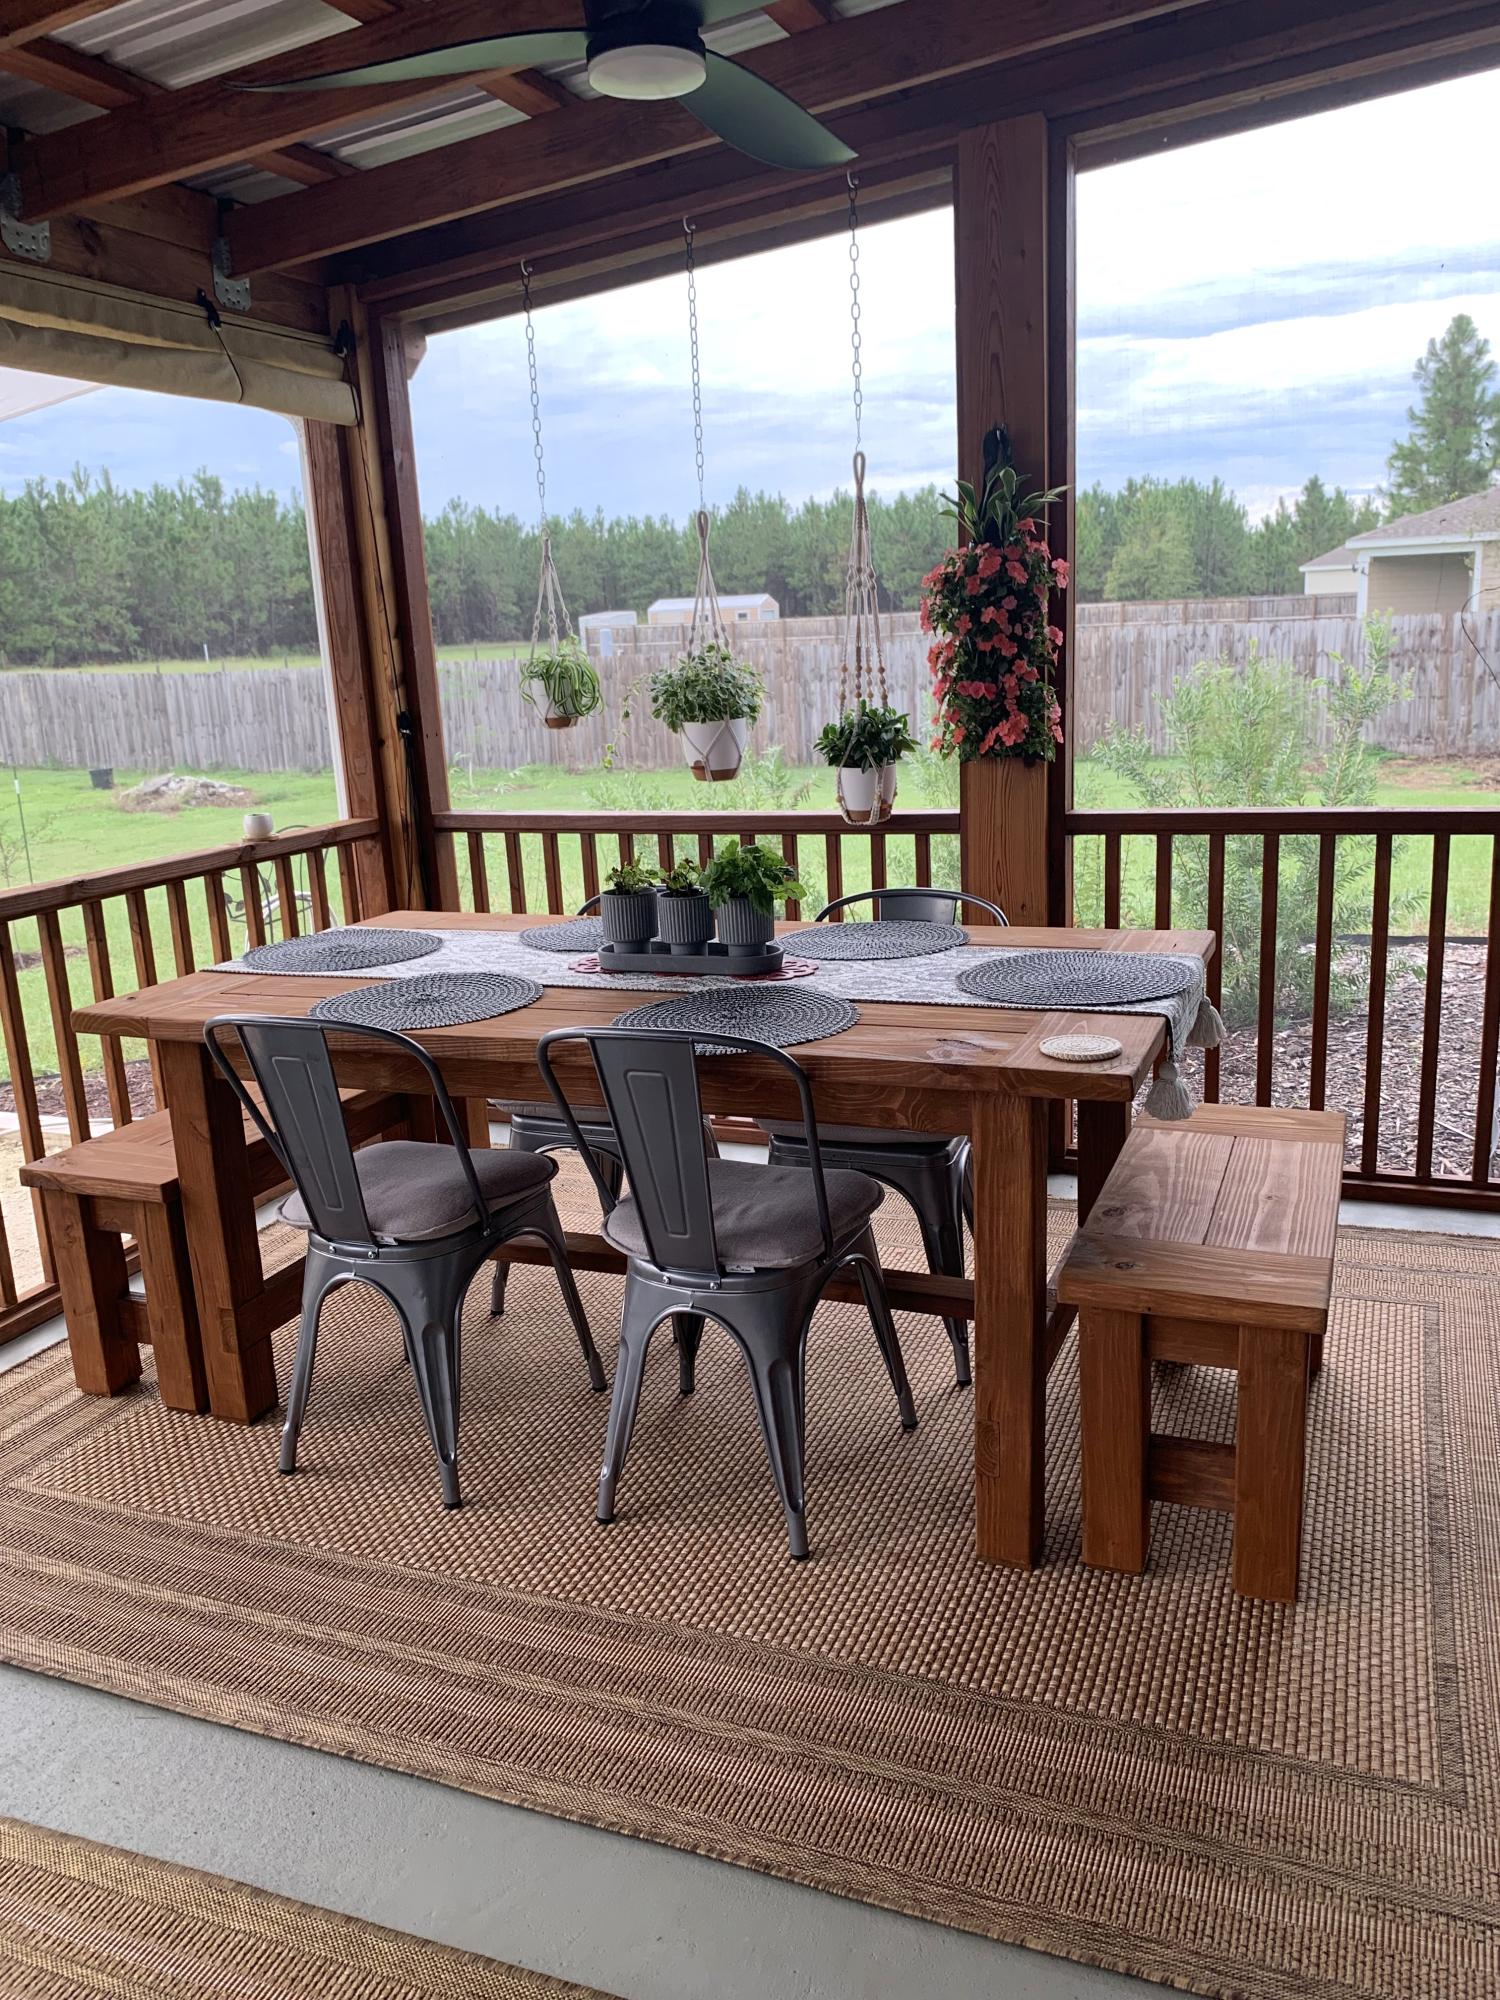
Farmhouse Table and Benches

Submitted by Anonymous (not verified) on Mon, 09/16/2024 - 08:05

We recently built the sofa, two chairs, coffee table farmhouse table with two smaller benches. Everything is so comfortable. Thank you for the plans and advice about purchasing the cushions first in order to build to the size of the cushions. My husband built it all super fast. I stained everything and selected what to build. It all is so nice on our new covered & screened in porch that we built our. - Nancy and Bob

Seasonal And Holiday

Farmhouse Table

Submitted by AArington on Wed, 11/28/2012 - 13:34

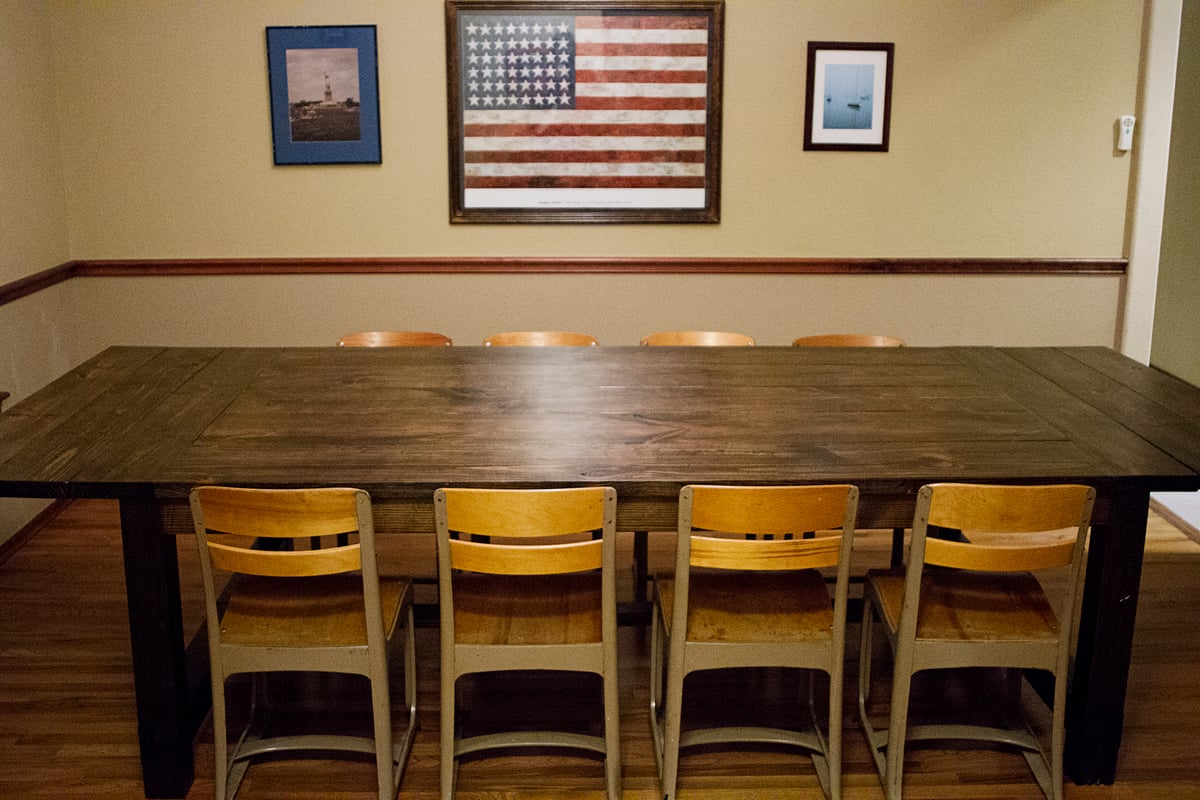
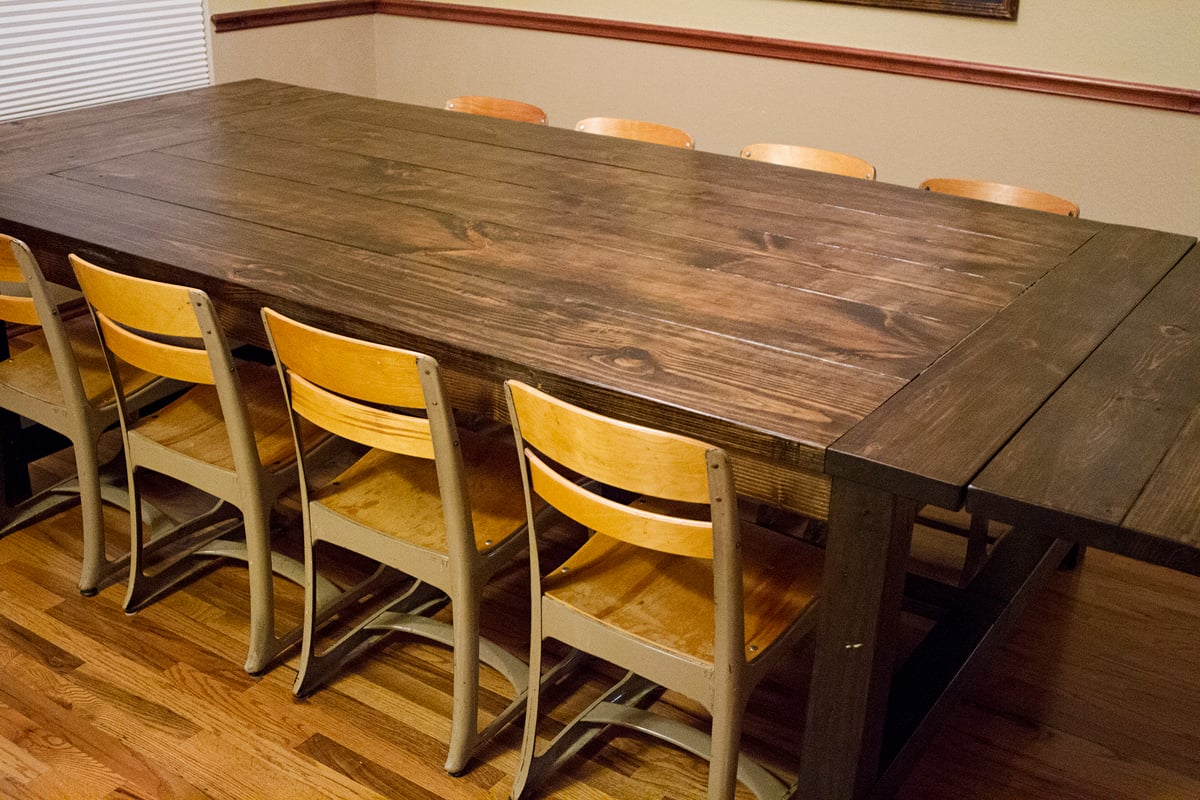
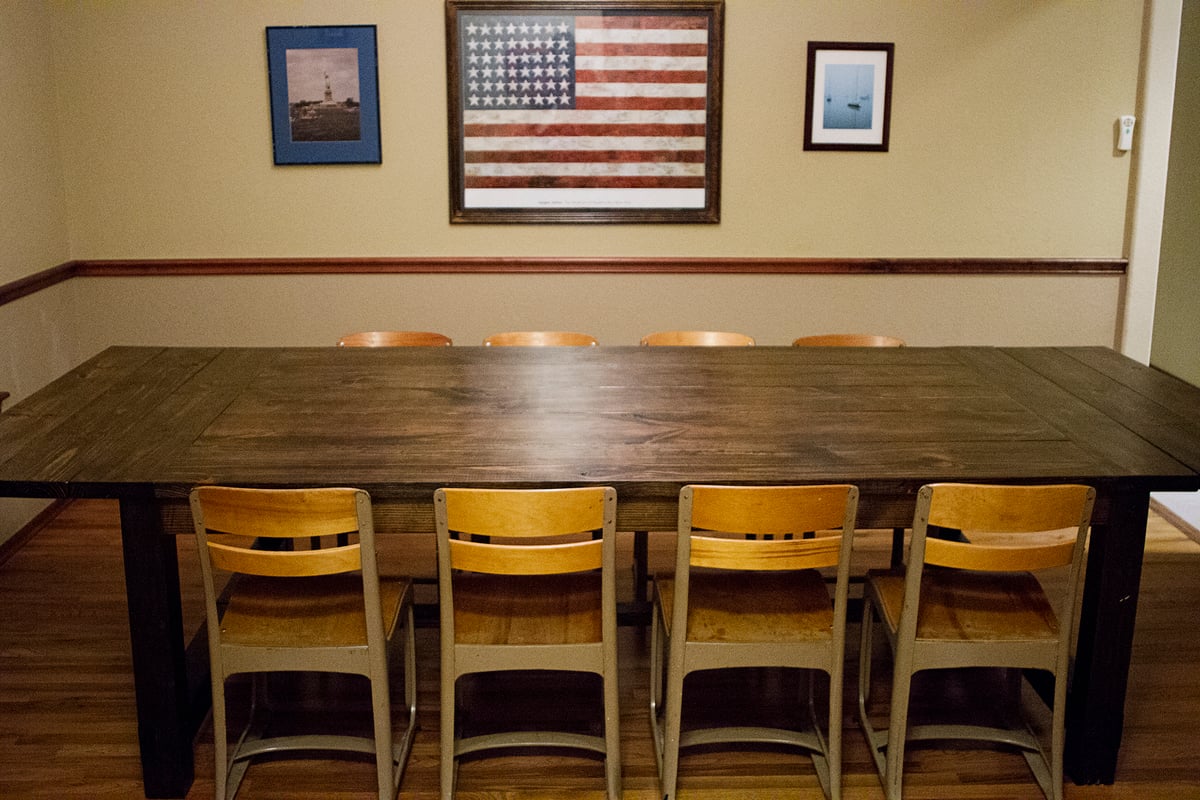
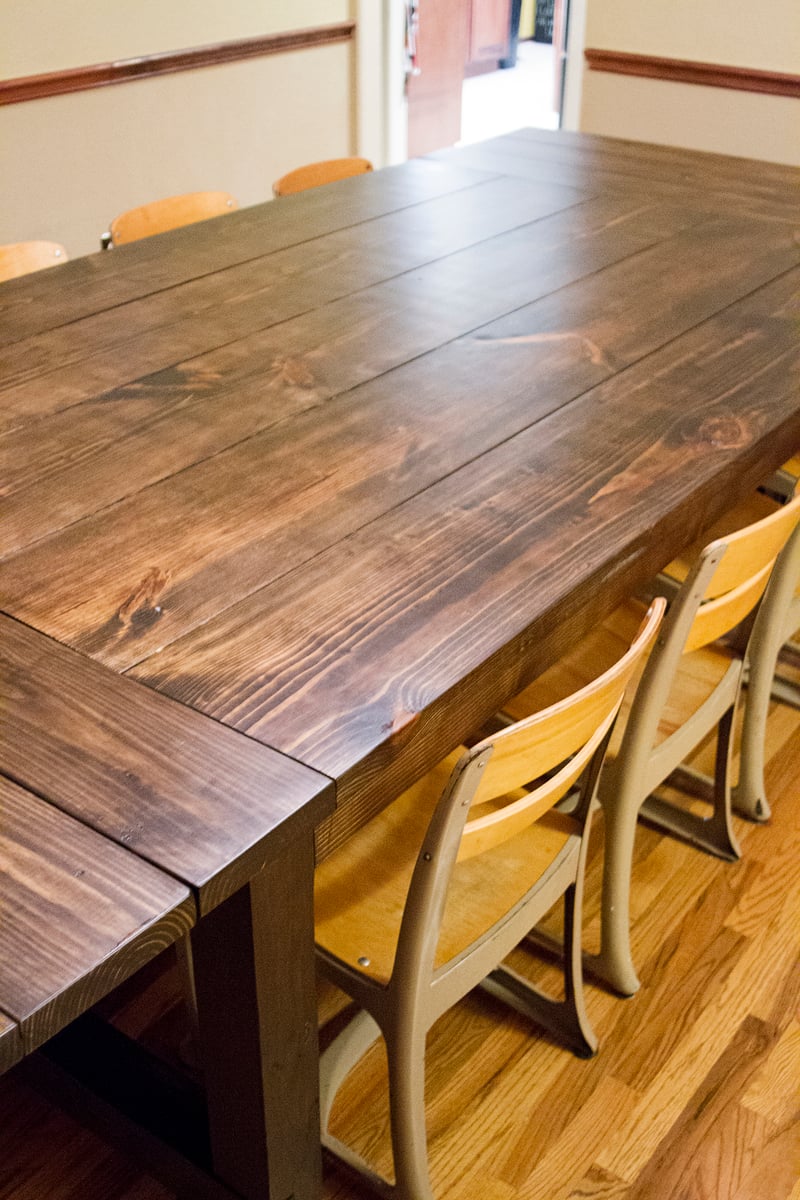
This is a massive Farmhouse Table. It measures 126" x 56" with the extensions on, as show. It is 96" x 56" without. The table top is 2x12's with 2x8 breadboards and it has 4x4 legs and end stretchers. It was modified from the farmhouse plan here on ana-white.com and from tommyandellie.com.

Estimated Cost
approx $225
Estimated Time Investment
Week Long Project (20 Hours or More)
Finish Used
We used 1 coat of Miniwax Dark Walnut and 2 coats of Poly in a satin finish.
Recommended Skill Level
Intermediate

Comments

In reply to by rjdavidson

AArington

Mon, 05/27/2013 - 17:53

The extension idea came from tommieandellie.com. The extensions are each made up of 2 beadboards each cut to the width of the table, 56" here. They also consist of a 2"x2" crossmember of 30" here and 2-2"x2"s 38" in length and cut on a 45 angle on on end. The beadboards are joined by pocket holes. the crossmember is centered on the beadboard that will be closets to the table, it is here to provide support for the last 2 pieces. These last 2 pieces are pieces that will slide into notches cut in the end apron and inside apron. They are placed with the angled edge about an inch from edge of the what will become the most outside end when the extensions are slid into place. The extensions slide into notches cut 1.5"x1.5" end apron and inside apron pieces 30" apart and centered. A lot of words that I am sure didn't explain anything. Mine are just modification of the plans on the referenced site.

Modified Farm Table

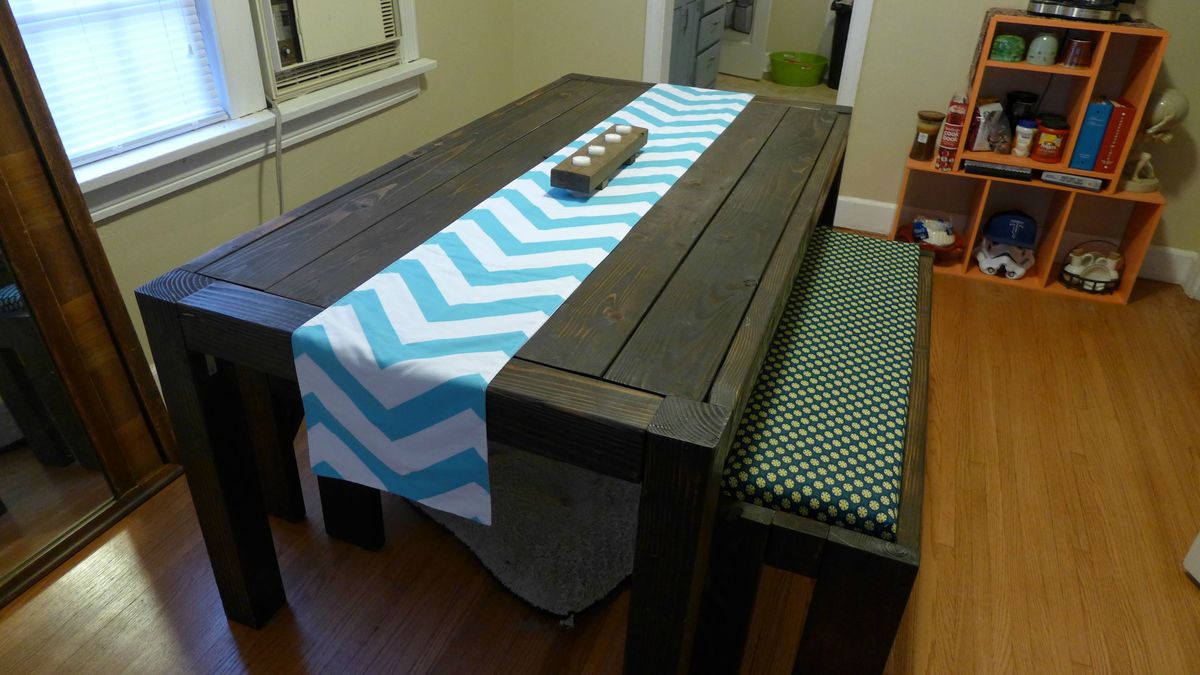
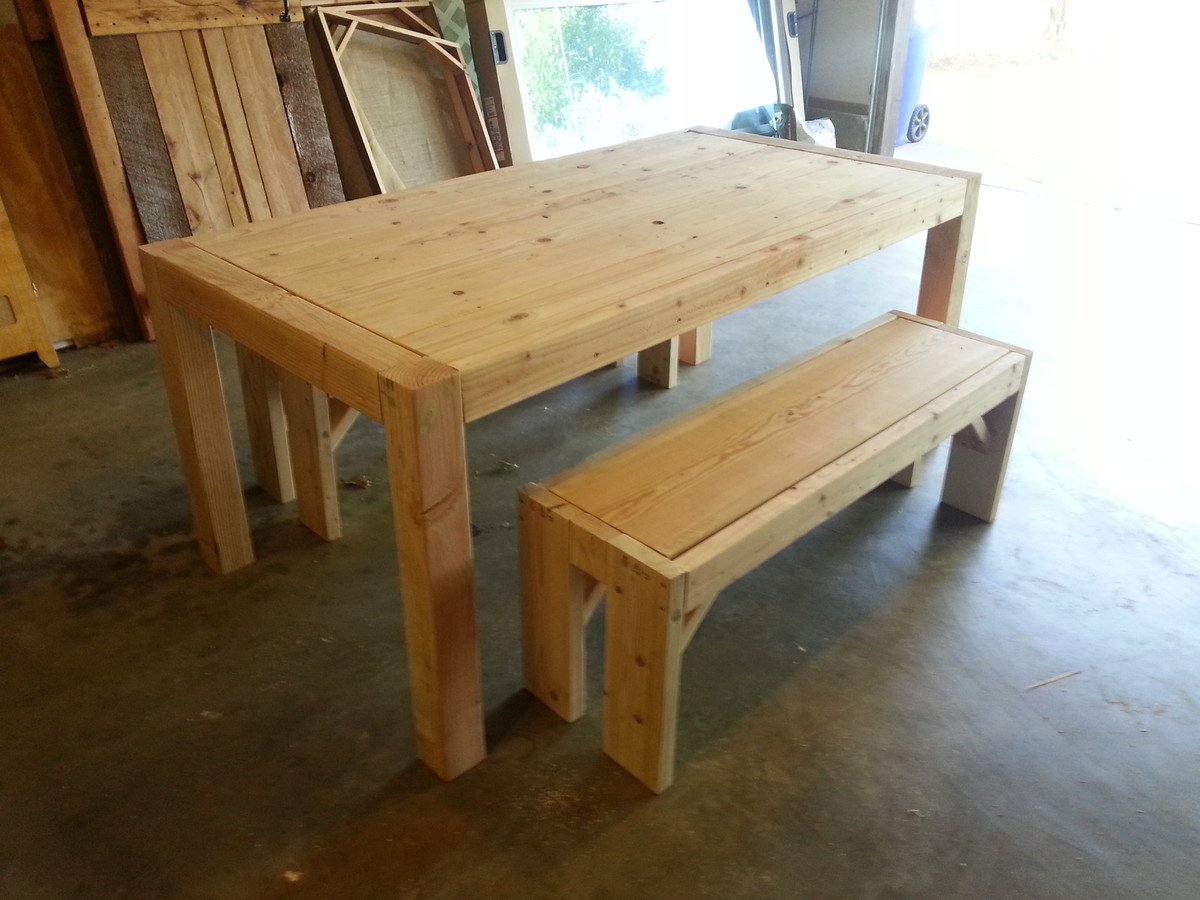
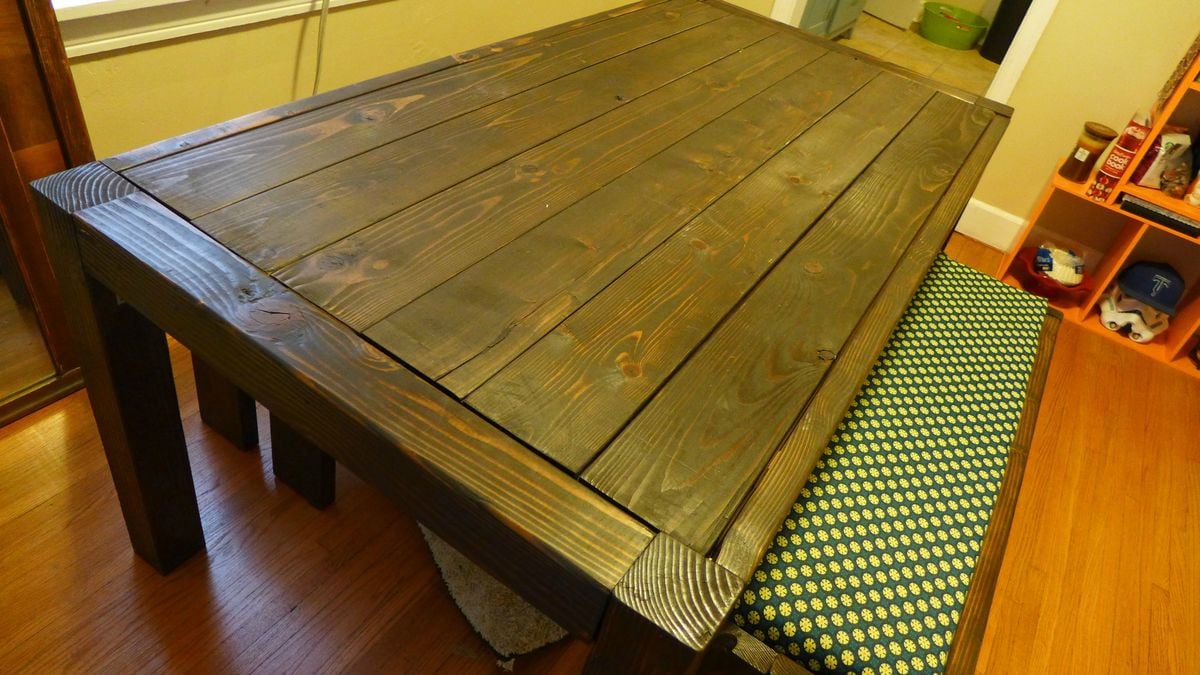
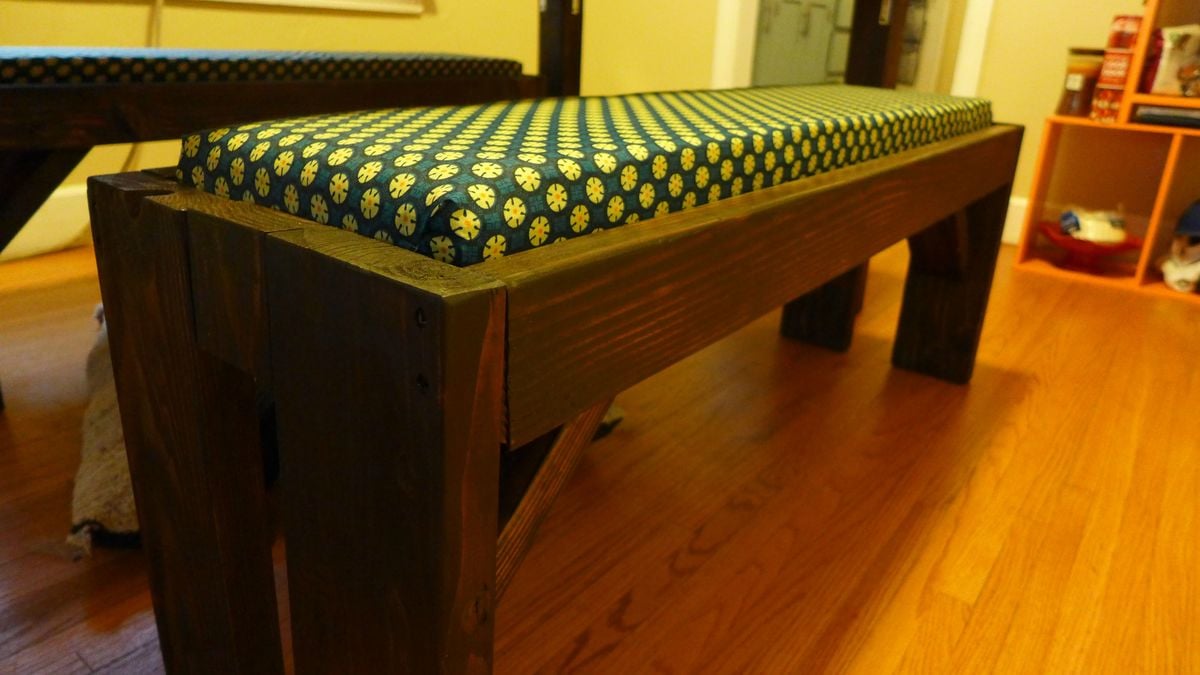
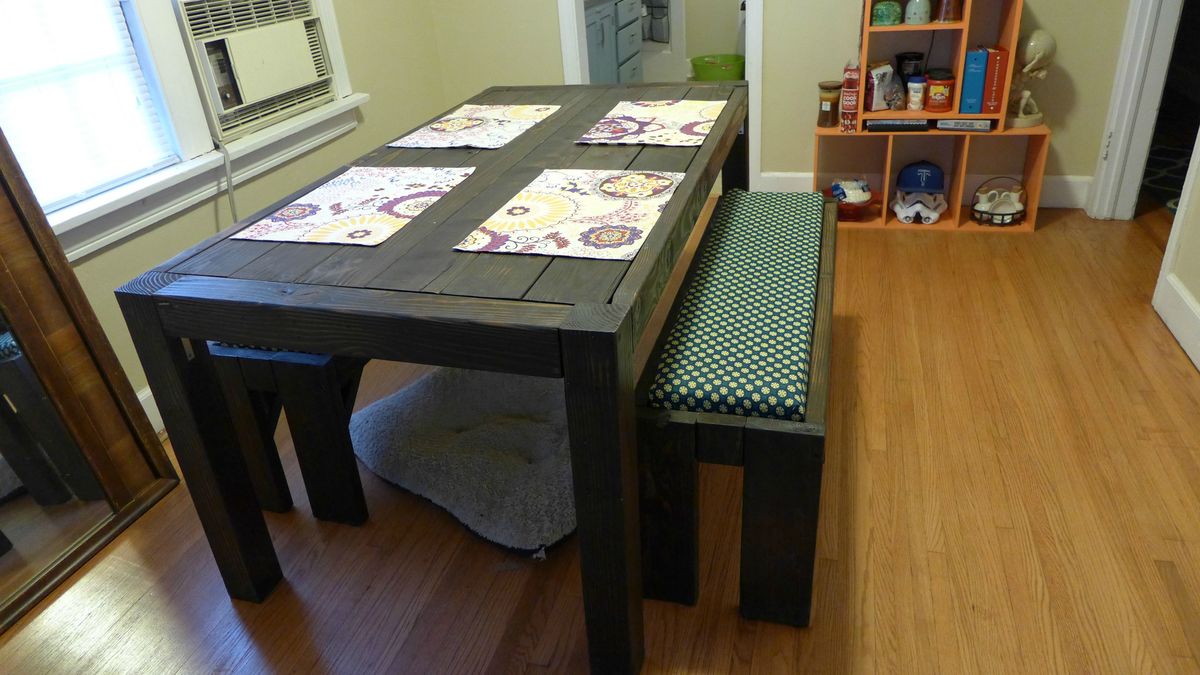
Modified the plans for the farmhouse table by using 4x4's for the legs and end pieces. Also cut 45 degree 2x4's for additional bracing on the benches. Upholstered the center 2x12 on the benches with some foam from army surplus.

Now that its all put together, I'm wishing I had went with 6x6's for the legs, but I like how the 4x4's look for now.

Built from Plan(s)
Estimated Cost
~$120.00
Estimated Time Investment
Day Project (6-9 Hours)
Finish Used
Kona stain
Recommended Skill Level
Beginner

First thing I’ve built in almost 20 years

Submitted by Anonymous (not verified) on Fri, 09/11/2020 - 08:05

Thank you Ana for the plans!! I haven’t built anything in almost 20 years, My daughter and I built these together!! It was a great way to spend time together and we are now planning on building the matching coffee table!

Built from Plan(s)
Estimated Cost
$70 (Canadian)
Estimated Time Investment
Day Project (6-9 Hours)
Finish Used
The base is painted with a left over can of paint I had, painted it on then used a rag to wipe it off to let the grain really show. And an oak stain on top
Recommended Skill Level
Beginner

Doll Daybed with trundle

Submitted by DTeague on Fri, 11/30/2012 - 12:46

Created this bed for my niece for Christmas. My son was so excited to put pieces of fabric for the sheets on it so I was able to take a great picture. I didn't make plans since I was winging it as I went, however I did kind of follow the simple day bed plans and doll bed trundle tips.

Built from Plan(s)
Estimated Time Investment
Afternoon Project (3-6 Hours)
Finish Used
White paint
Recommended Skill Level
Beginner

Comments

Mofified Rectangles Day Bed

Submitted by rob10k8 on Sun, 09/14/2014 - 13:46

I was looking at getting the West Elm Rectangles Day Bed, however, the bed was a bit too tall.  The window sill of the room was 26" high and I didn't really want the bed above the sill.  I found the plans on this site and decided to modify the plans so that the top of the bed would be flush with the top of the sill.

To make the bed fit, I removed 2" from the height of the rectangles (10" cuts instead of 12") and 1/2" from each of the top and bottom joiners (1 3/4" cuts instead of 2/1/4").  Finally, the corener legs are each cut to 26" instead of 30".  The makes the be 7" off the floor instead of 8".  Overall, I'm really happy with how it turned out.


A couple of things I learned:

1.  I used clear pine for the wood.  It was very smooth to begin with, so I didn't need to sand it.  I primed all the wood prior to cutting.

2.  The pine was not all exactly the same size.  This means that I could only have one side completely flush and needed to decide if it was the inside of the outside of the bed (I choose the inside).  I sanded the outside a bit, but all the pieces still weren't completely flush, but I didn't care since it would be facing the wall.  You may be able to get better results with more expensive wood.

3.  Get a Kreg jig.  I bought the pocket unit for ~$20.  It was very useful for creating joints.  Make sure to do a test joint as I initially set the depth incorrectly and drilled too deep (luckily I DID do a test piece)

4.  I did not buy the Kreg plugs.  Instead, I just used wood filler.  For each hole, I covered with wood filler, let dry and sanded.  I then put on a second coat and sanded again using 300 grit sandpaper.  You can not tell there are any joint holes, and am very pleased with how the joints look.

5.  I did not use the Kreg Jig on the 1/3/4" top/bottom rectangle joiners, I just used 3" wood screws and screwed throught the top/bottom in from the top/bottom.  I used a Big Gator Drill Guide to drill a pilot hole that was perfectly perpendicular (as I don't have a drill press) prior to screwing the pieces together.  Filling the holes with wood filler and sanding (twice) worked well.

6.  Sanding!! I sanded a lot to get the paint to be very smooth.  It was a bit of a pain as I did it all by hand.  I think a belt sander might have made some of the sanding go a bit quicker, but the rectangles day bed has so many inside areas to sand, you're going to have to do some by hand.

7.  I used a primer on all surfaces and sanded the primer smooth prior to the final coat(s).  For painting the final coats, I used a foam brush as the paint was pretty thin and I did not want to see any brush marks.  I considered spray painting the final coat, but it was just easier to do by hand.
Built from Plan(s)
Estimated Cost
$250 (including Kreg Jig and Big Gator drill guide)
Estimated Time Investment
Week Long Project (20 Hours or More)
Finish Used
Benjamin Moore Advance Waterborne Interior/Exterior Alkyd (high gloss white)
Recommended Skill Level
Intermediate

TONS of compliments! LOVE LOVE LOVE this table!

Submitted by Anonymous (not verified) on Mon, 01/02/2017 - 20:14

I had to scale mine down a bit in size (I didn't want a huge coffee table this time around)...I absolutely love this table. Very easy to build and only took one day from start to finish to make. I receive tons of compliments on it! People can't believe I actually made it from scrap wood I had in the garage! I have a 3 year old who plays and bangs toys on it everyday, and it only adds to the distressed, rustic look that I love! Couldn't be happier!
 

Look no further for a one-of-a-kind coffee table to complete your room!

Estimated Time Investment
Day Project (6-9 Hours)
Recommended Skill Level
Beginner

Meuble d'appoint pour le patio

Submitted by Anonymous (not verified) on Sun, 09/13/2020 - 19:26

À partir du rustic x desk, j'ai modifié pour l'adapter à mon besoin.

Built from Plan(s)
Estimated Cost
75$
Estimated Time Investment
Weekend Project (10-20 Hours)
Recommended Skill Level
Intermediate

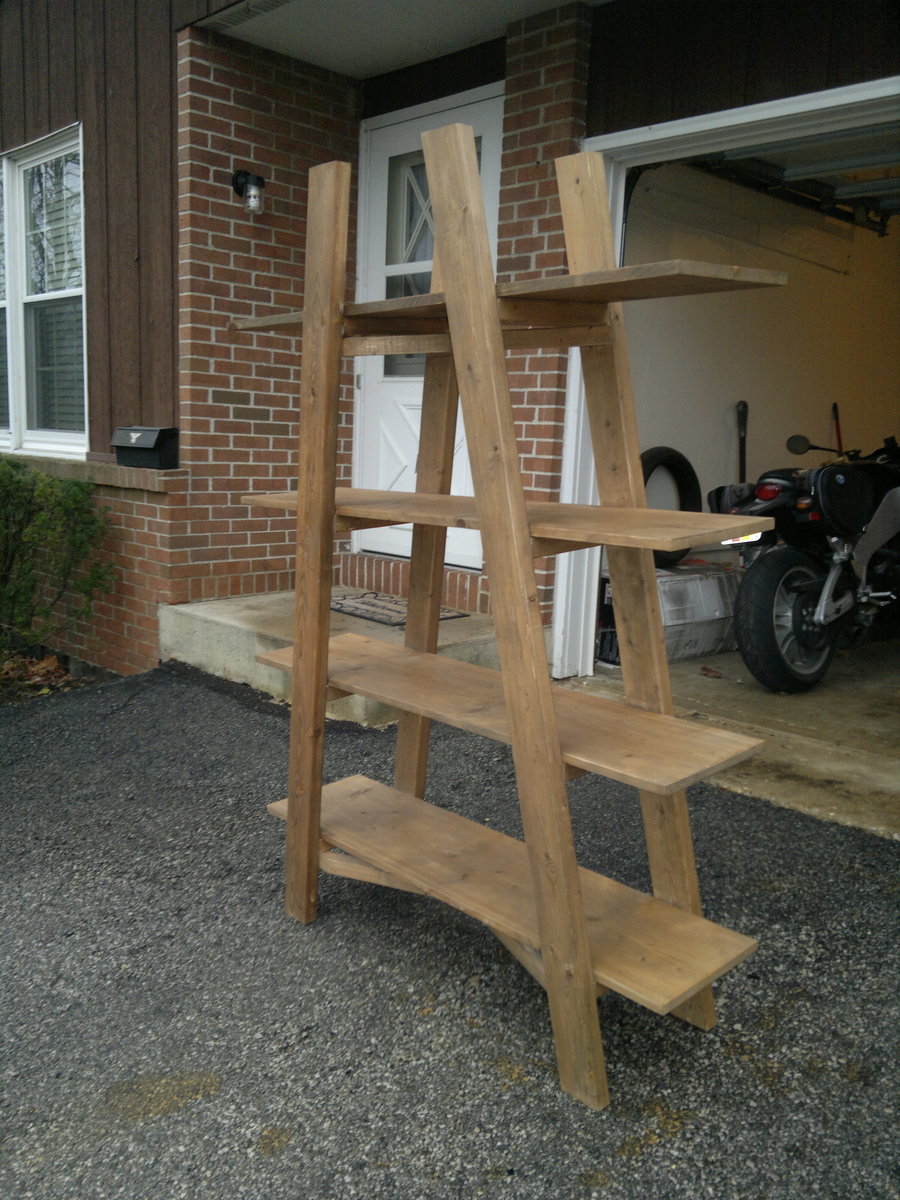
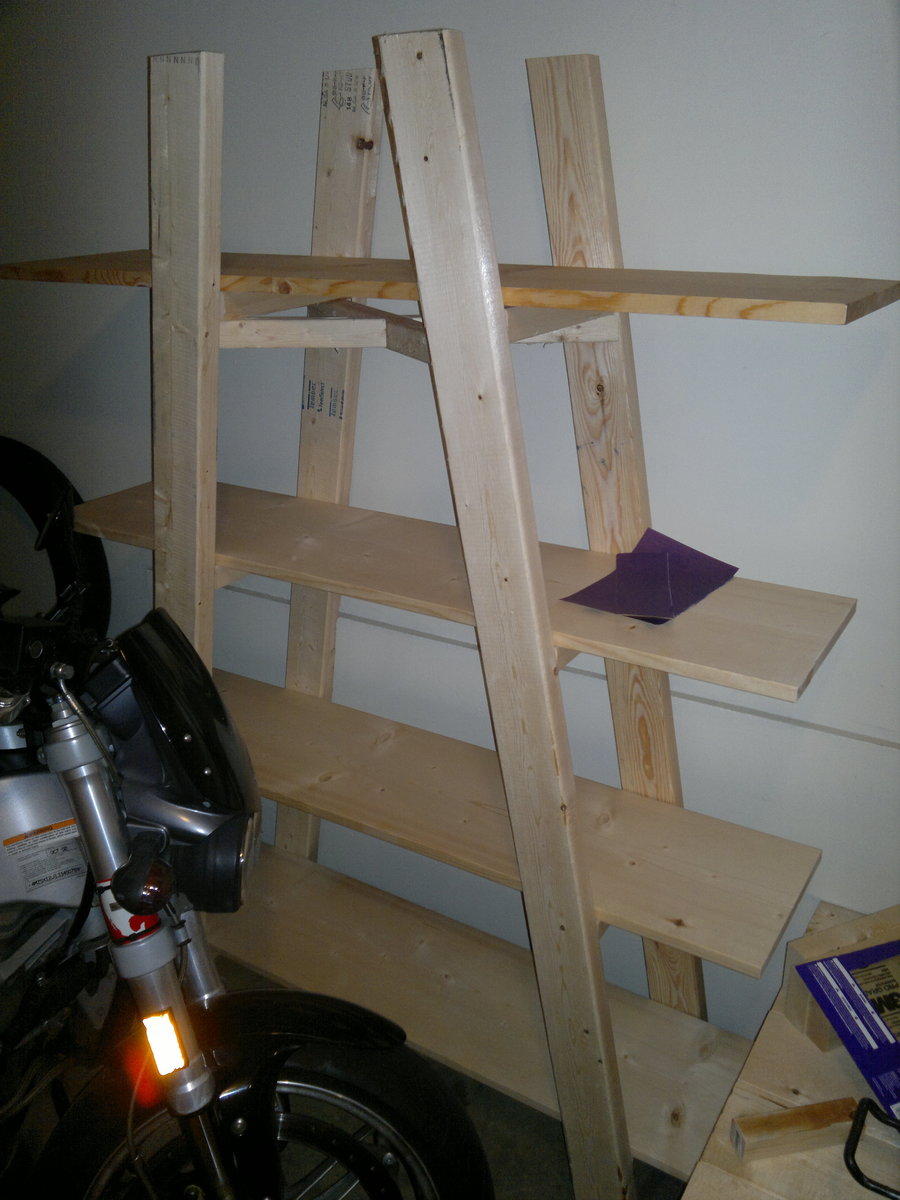
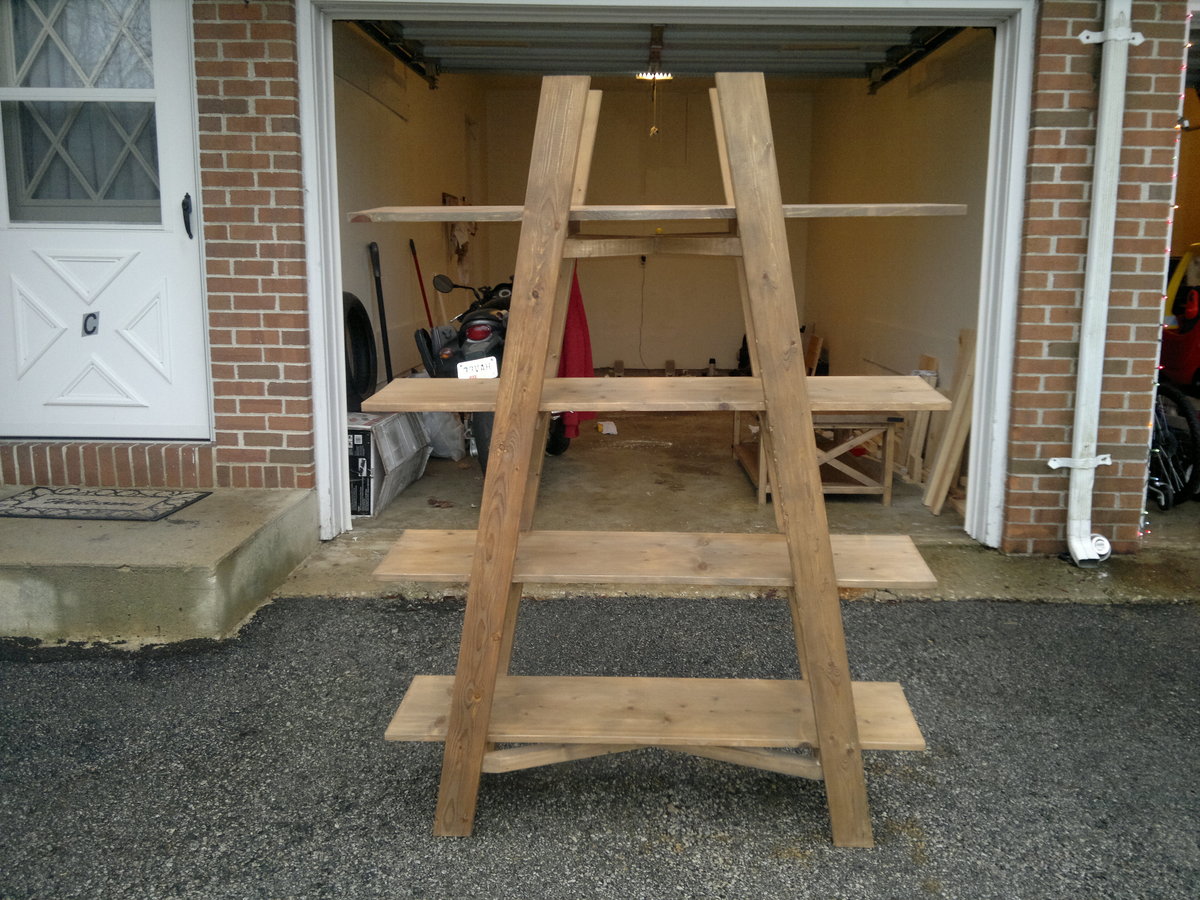
upside down V bookshelf

This project took several months of off and on work but I am very happy with the results. Followed the plans on this website and they were great. The only change I made was to add x cross braces for added support. They were necessary because this thing is wobbly as it is. Got the wood from the local lowes and the hardware from Ace Hardware. Used the Kreg Jig pocket hole system to hide the fasteners which makes a big difference.

I made some other furniture from plans on this website so I used the same rustic stain on this piece. The stain was great, really easy to make and stains really well. I covered the stain with the recommended wax which gives it a really nice shine and is very smooth.

Huge thanks to this website!

Estimated Time Investment
Week Long Project (20 Hours or More)
Finish Used
"Hillary's oxidized finish"
Recommended Skill Level
Beginner

First Major Furniture Project

Submitted by dfraley22 on Tue, 09/16/2014 - 11:57

This was my first major furniture project. My daughter wanted a changing table and this looked like it would be a good choice.I made a few modifications; it's a little taller as my daughter and her husband are on the tall side, I also added a small rail to keep the changing pad from sliding off. Overall it was a great learning experience. I have built several outdoor pens and small houses for our chickens, but this was my first attempt at a piece of furniture. I think it turned out well, and my daughter and her husband are happy with it (and that is what matters).Of course I see the mistakes but I learned from them and now know what to do (or not to do) next time.  Plans are great, easy to follow ....thank you ANA!! Can't wait to try another plan.

Built from Plan(s)
Estimated Cost
about $150
Estimated Time Investment
Weekend Project (10-20 Hours)
Finish Used
Rustoleum - American Walnut, Weathered Gray, Wheat, Willow with a top of American Walnut, and Carrigton. 3 coats of polycrylic, and the frame is HGTV Home Cream from Sherwin Williams.
Recommended Skill Level
Intermediate