Community Brag Posts

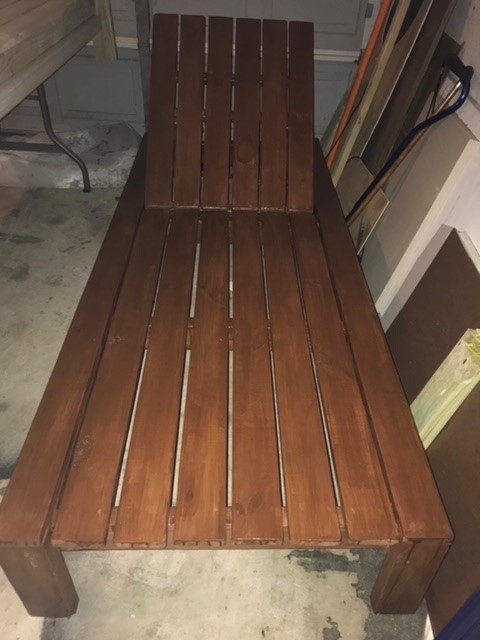
Outdoor chaise lounge

Submitted by Anonymous (not verified) on Tue, 10/05/2021 - 05:56

At the beginning of the covid lockdown my daughter who was attending college started looking for outdoor inexpensive chaise lounges to relax on since gathering in public areas was not allowed. We couldn’t find any so, I started searching for simple plans to make from scratch and ran across this plan. It came together very quickly and the instructions were very clear.

Built from Plan(s)

Comments

First Build: Bookshelves

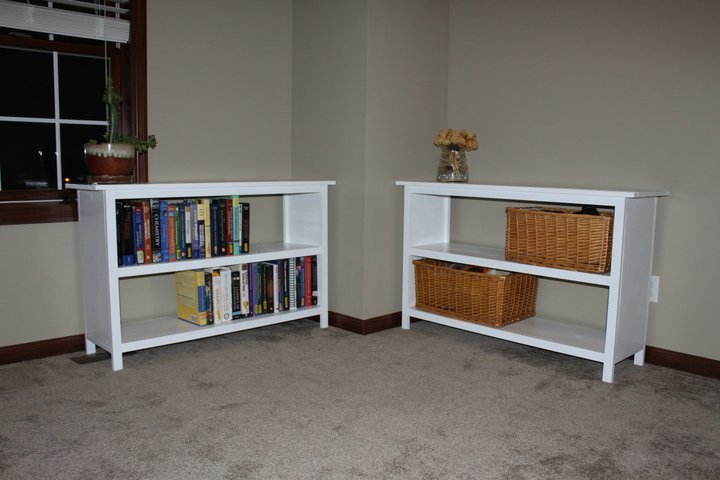
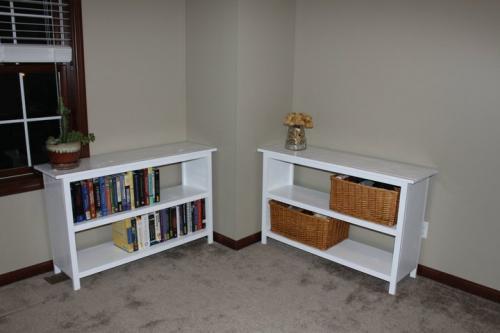
This was my first build, and it went really well. My dad helped me to cut the wood, and I was able to completely assemble, prime, and paint them by myself in the basement.
I decided not to use MDF, instead I used plywood, I think they turned out to be quite sturdy.

Built from Plan(s)
Estimated Cost
$100
Estimated Time Investment
Weekend Project (10-20 Hours)
Finish Used
Behr White High gloss paint and white primer.
Recommended Skill Level
Starter Project

Kitchen Remodel

Submitted by kablewi2 on Mon, 05/27/2013 - 19:47

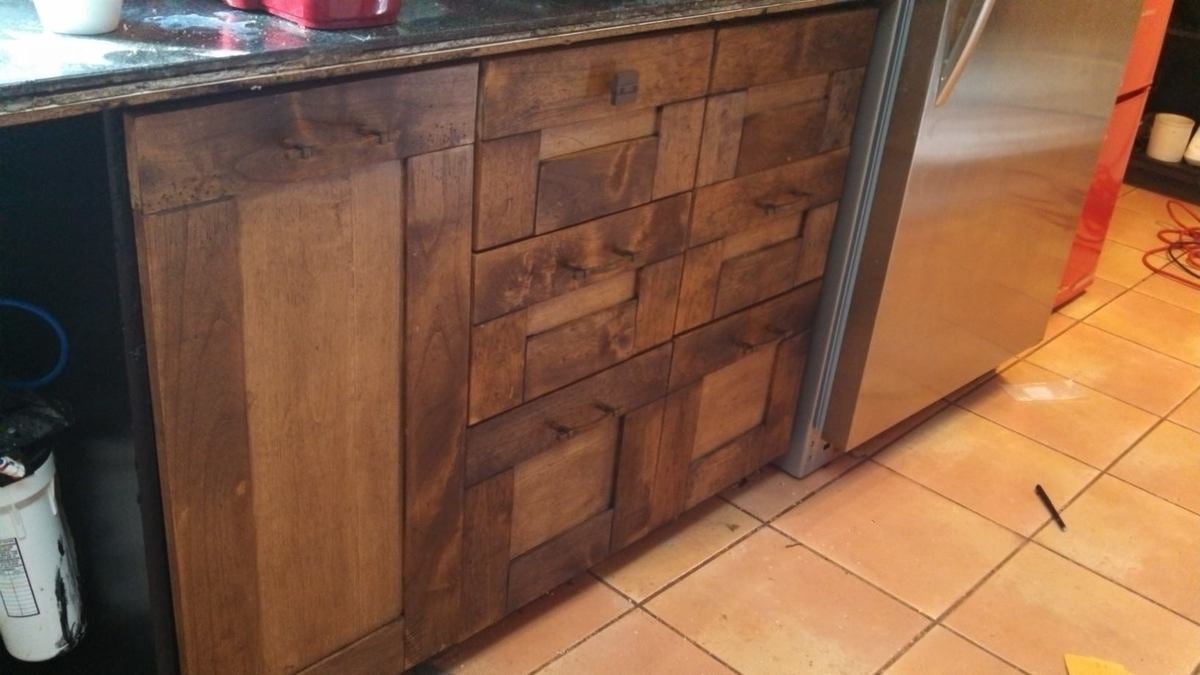
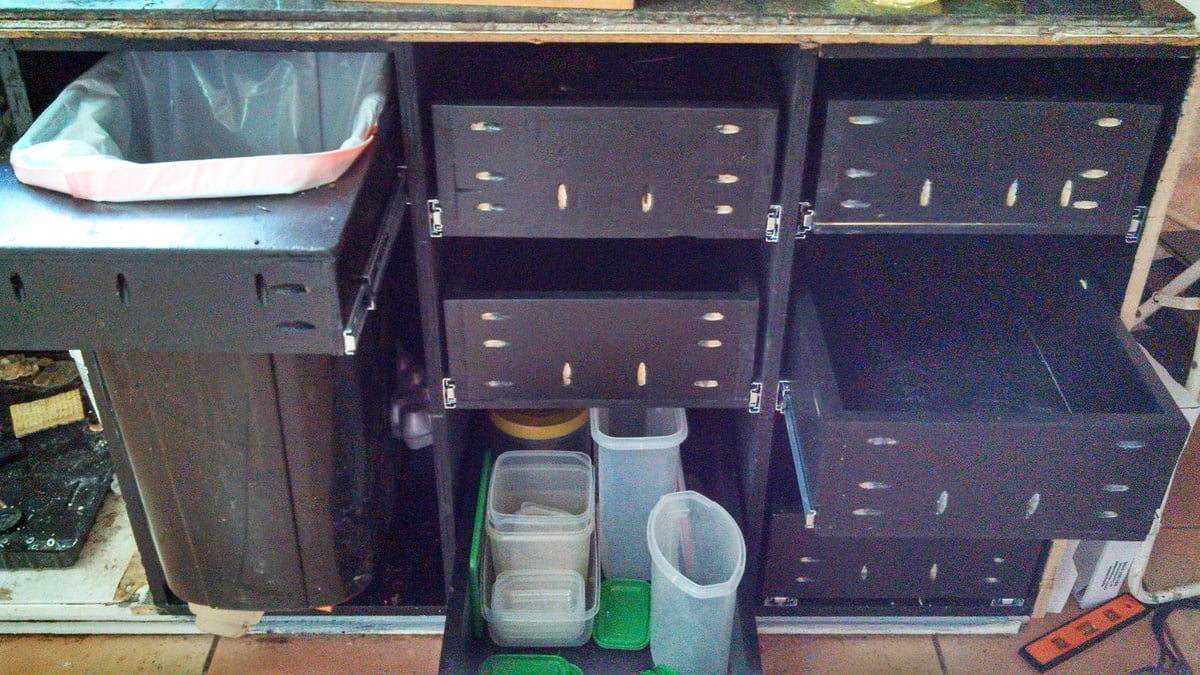
These are the original cabinets that were built with the house in 1971. They had small drawers at the top and 2 shelves. They weren't very efficient storage. I pulled everything out of the cabinet, pulled off the facing (euro-style) and restructured them to have full size pull out trash and 6 nice large heavy duty drawers. The drawer fronts I made from alder wood based on a design I saw online.

Estimated Cost
$100 - $200
Estimated Time Investment
Week Long Project (20 Hours or More)
Finish Used
walnut stain; artistic distressing; glaze made of the same walnut stain and black paint used on cabinets. I used a chisel, a hammer, an exacto knife, some nails and a rasp to distress the fronts.
Recommended Skill Level
Beginner

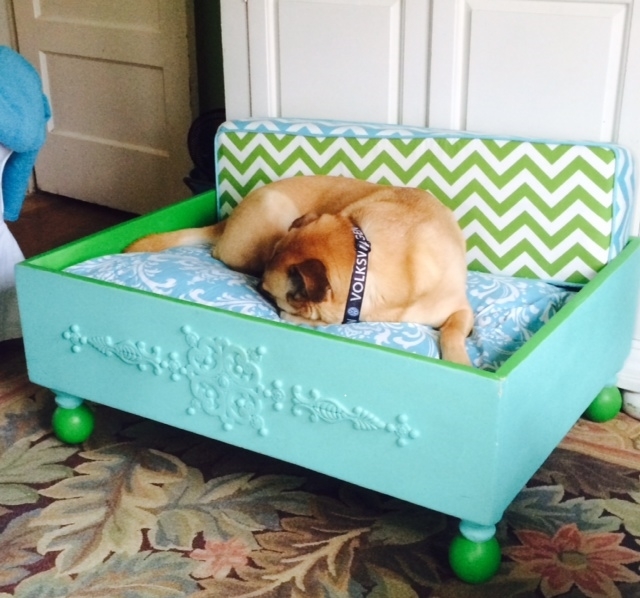
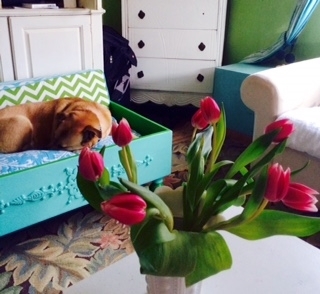
A dog bed for Roo

Submitted by sagey on Wed, 04/22/2015 - 23:08

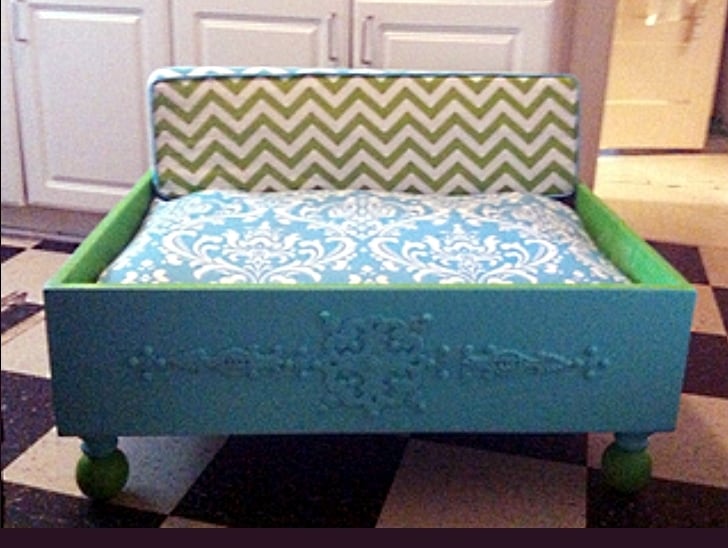
This is a dog bed for my dog Roo! considering it was my first time building anything I thought this would be a good project.

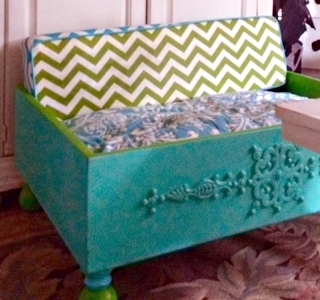
I used a kreg mini jig and bought cheap wooden ball post caps (that i sanded for an eternity) and wooden embellishments for a cute touch.

I made the removable piped box cushions using premier prints fabrics. The fabric has proven to be very durable and has stood up to frequent washing and looks as beautiful as it did on day one.

I am thrilled with my project and am thankful to Ana for giving me the confidence to try and the tools to ensure my success!

Built from Plan(s)
Estimated Cost
35.00$
Estimated Time Investment
Weekend Project (10-20 Hours)
Finish Used
matte paint
wax finish
Recommended Skill Level
Starter Project

Comments

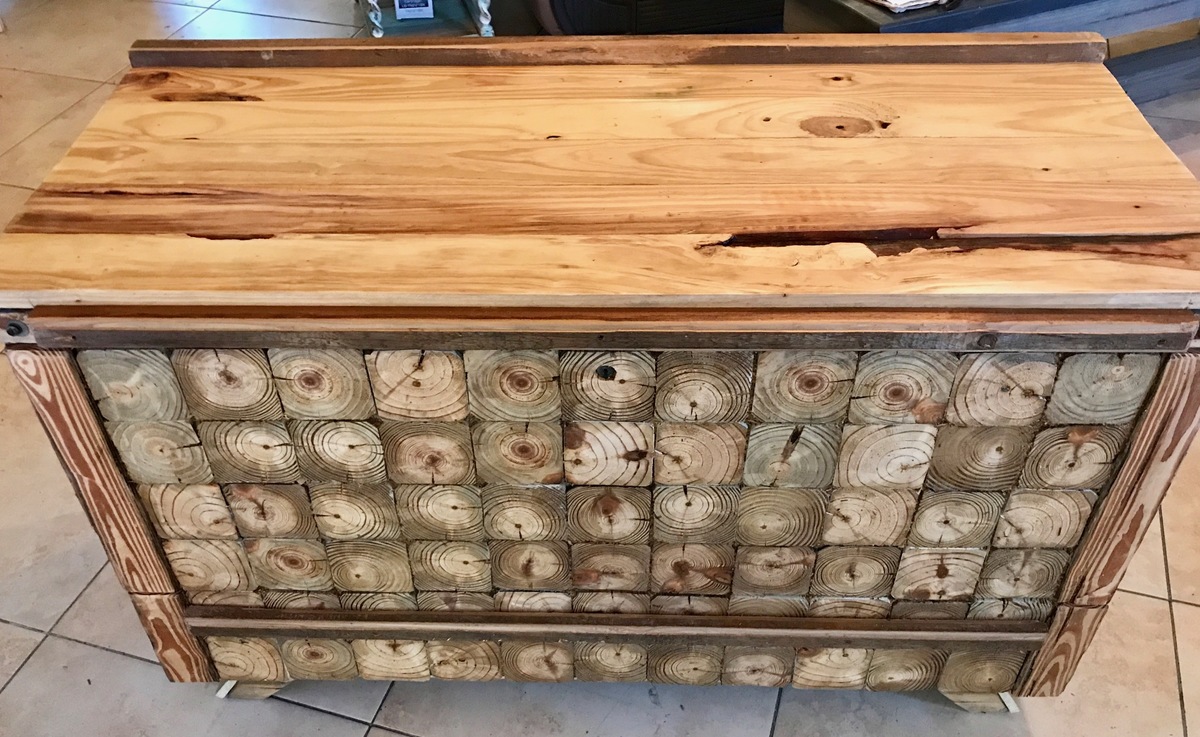
Glow in the dark Cedar Chest

Submitted by mahouna on Sat, 09/02/2017 - 18:15

I had this  idea, cut  approv 150 plus slivers of 4 x 4 and glued and nailed them on. Always wanted to try 

the glow in the dark powder, yes it works!!

Estimated Cost
not much, already had chest and old timbers.
Estimated Time Investment
Week Long Project (20 Hours or More)
Finish Used
sealed with Rustoleum Matte Sealer
Recommended Skill Level
Beginner

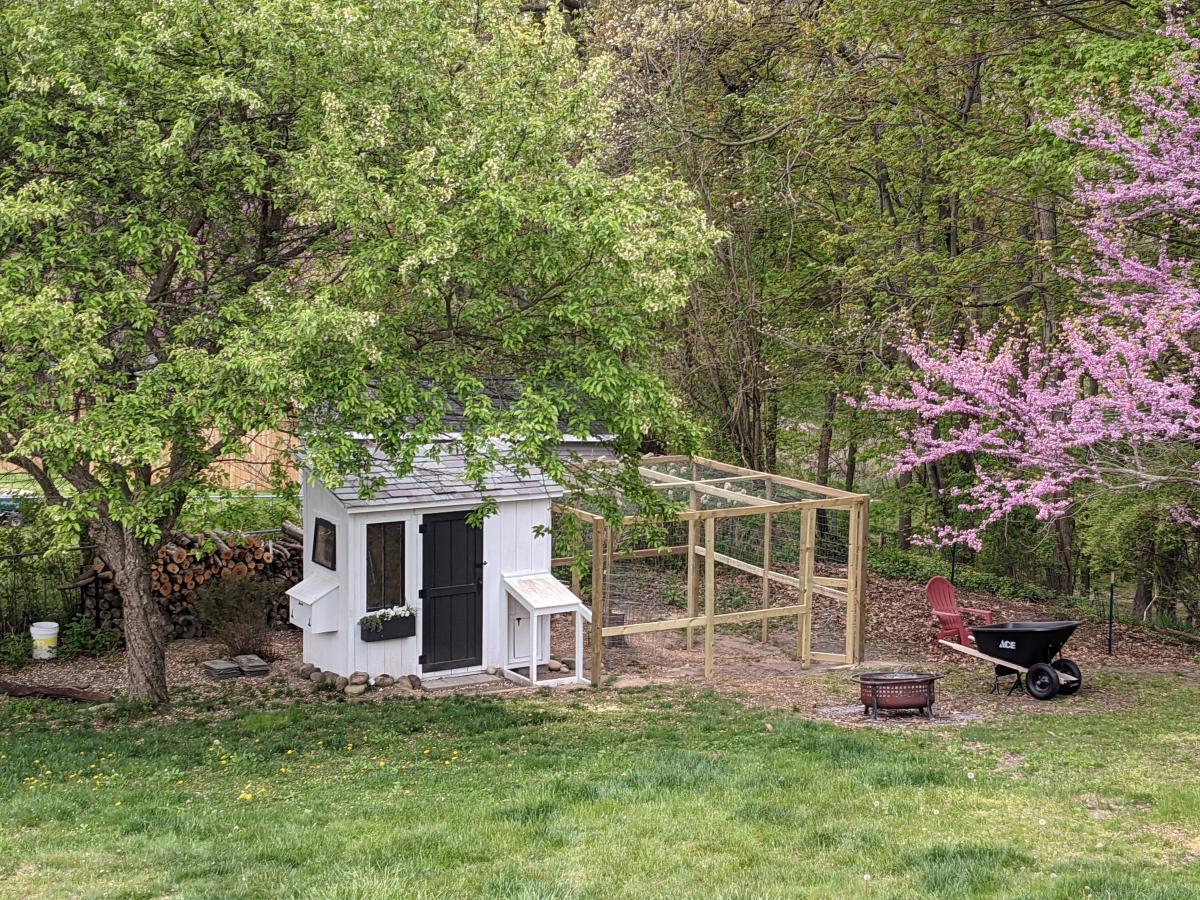
Chicken coop and run

Submitted by Anonymous (not verified) on Tue, 10/05/2021 - 11:01

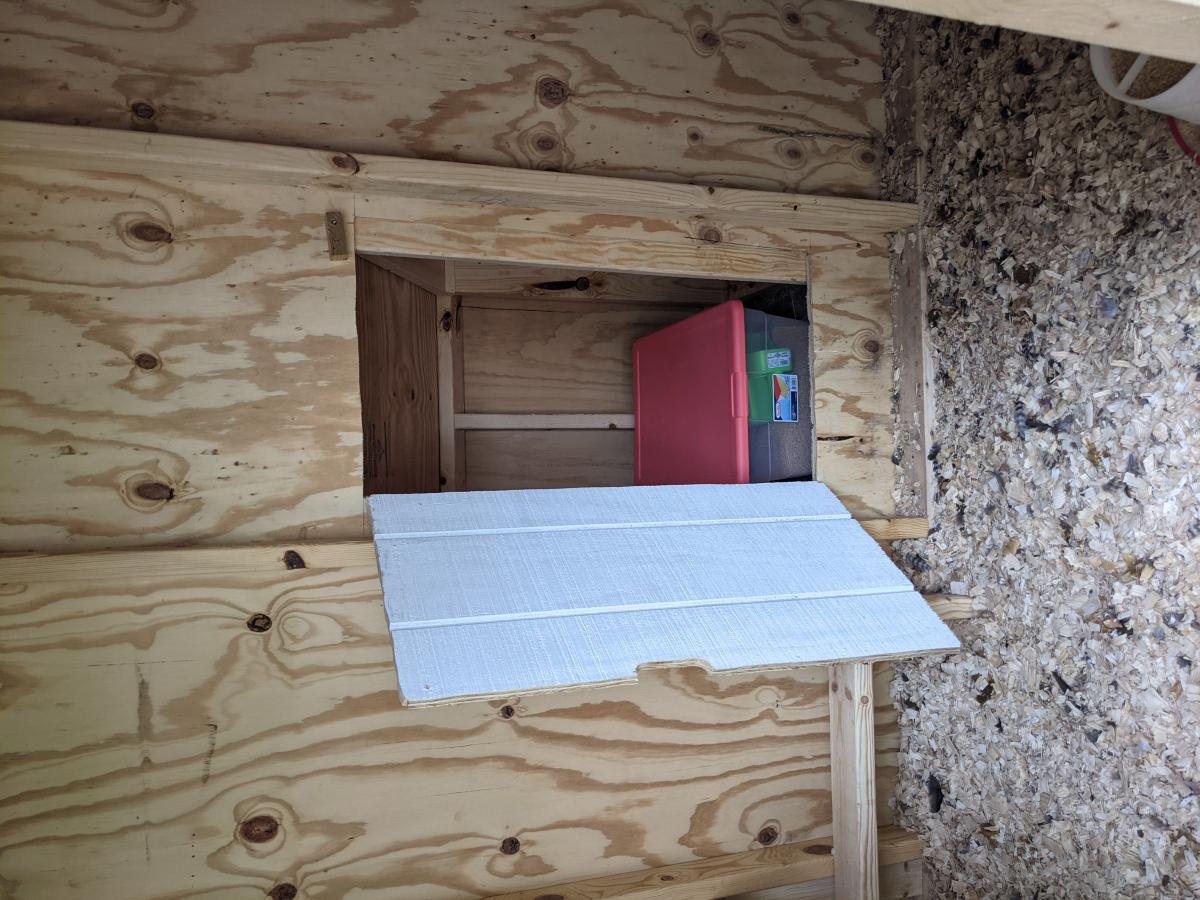
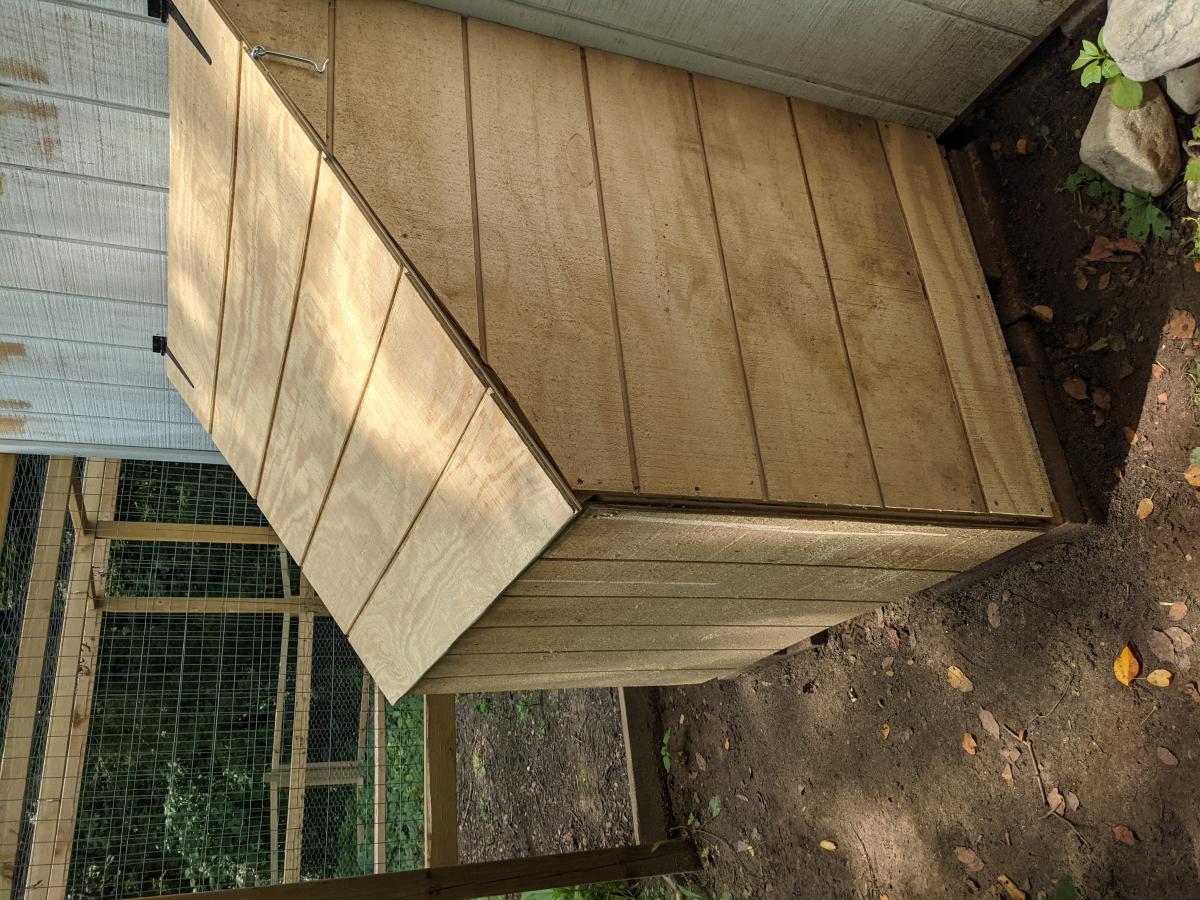
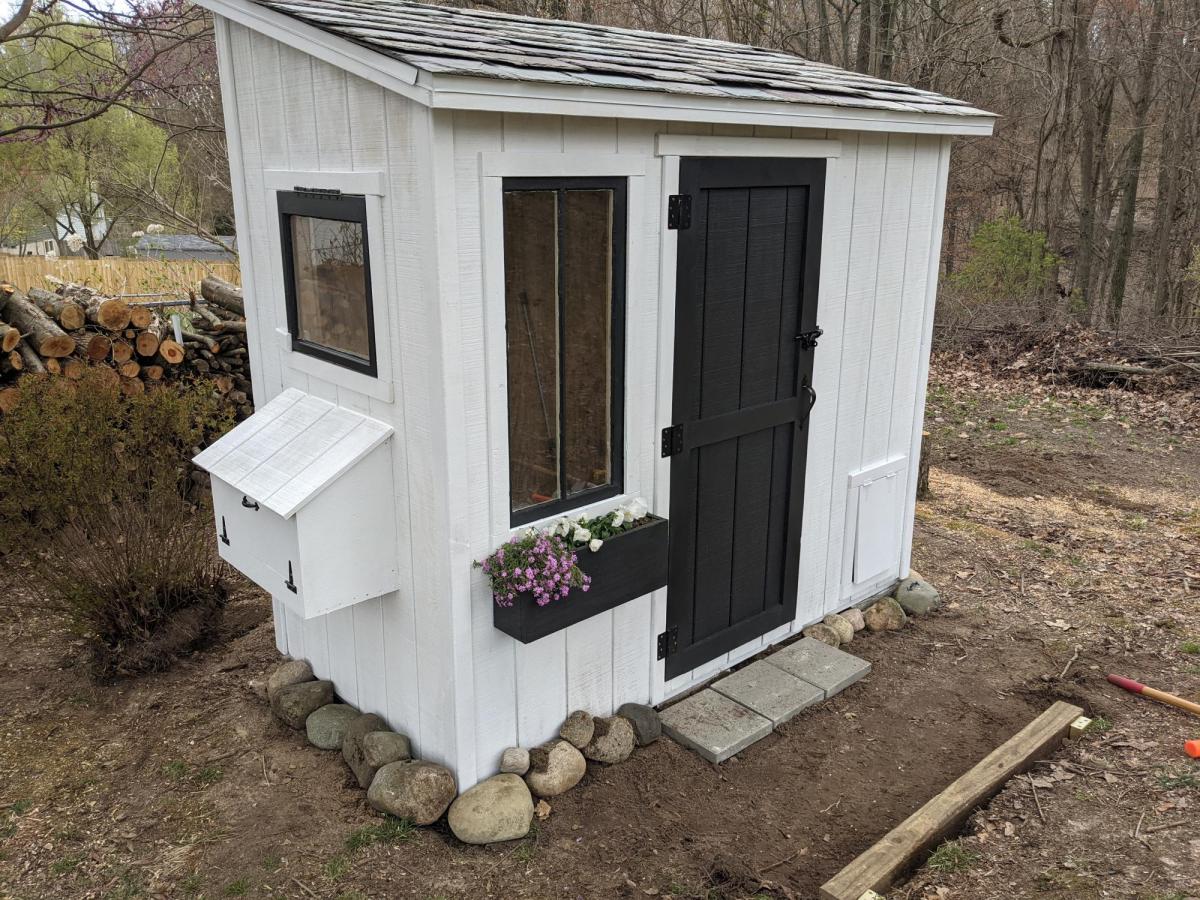
I followed the Shed Coop Plans to make this chicken coop and designed my own run. Because I wanted to view the chickens coming in and out of the coop, I moved the chicken door to the front and built a little covered area to shelter the coop door so I did not have to have the entire run extend over the front. I also made the access to the layer boxes be accessible from the front rather than the top so that my kids could more easily access the egg boxes. I thought these were great plans to follow and easy to adapt to fit what I wanted in a coop. I also ended up adding a lean-to storage on the back with an inside access so I could easily refill their feed.

Built from Plan(s)

Comments

Seasonal And Holiday

Mail Box

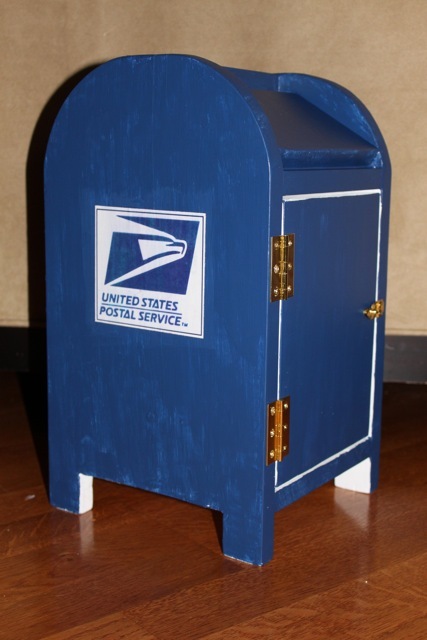
I used Ana's plan to make this mailbox for my daughter. I altered the plan a bit from the original. The hardest part was cutting the curve at the top sides, and putting on the door with a toddler helping! This piece is VERY LOVED by my daughter, and gets LOTS of play!

Estimated Cost
about $20 including lock and hinges (I used scrap wood pieces.)
Estimated Time Investment
Afternoon Project (3-6 Hours)
Finish Used
Paint, decoupage
Recommended Skill Level
Intermediate

Fancy X Picnic Table

Submitted by kayleenwj on Wed, 05/29/2013 - 18:52

My husband built this loosely based off the plans and scrap wood we had in the garage. I stained it with Minwax in Winter Sky. Thanks Ana!

Estimated Time Investment
Afternoon Project (3-6 Hours)
Finish Used
Minwax Winter Sky Stain
Recommended Skill Level
Starter Project

Comments

Emily Dresser

Submitted by Eyad on Sun, 04/26/2015 - 13:57

Emily Dresser

Built from Plan(s)
Estimated Time Investment
Week Long Project (20 Hours or More)
Recommended Skill Level
Advanced

Comments

Large Rustic X Bench

We love this bench!! It was so easy and cheap to make. I spent $15 on the wood.

Estimated Cost
$15
Estimated Time Investment
An Hour or Two (0-2 Hours)
Finish Used
I spray painted the entire bench with Krylon Blue Ocean Breeze. Then, sanded the bench to expose the wood. I brushed on MiniWax stain in Provincial and wiped it off. The stain darkened the painted areas and stained the exposed wood for a very rustic look. Love it!
Recommended Skill Level
Beginner

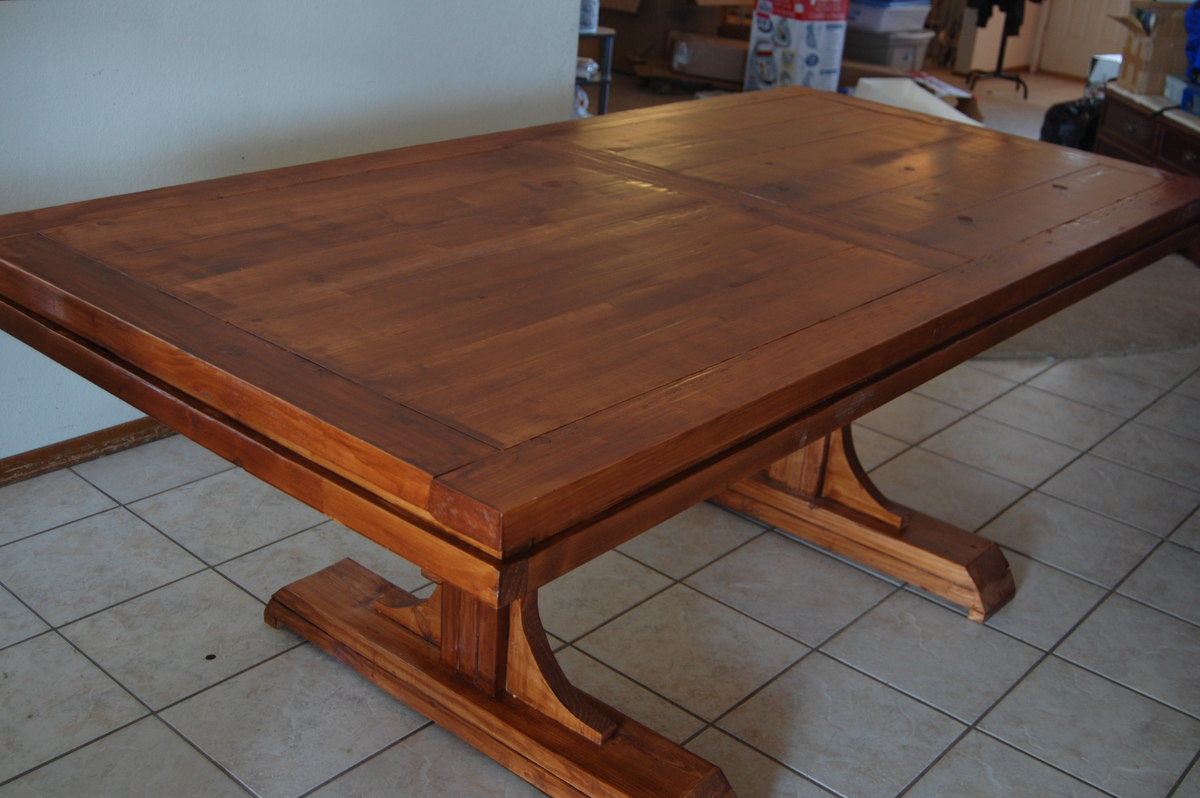
Double Pedestal Farm Table

Submitted by abrowncoat on Thu, 05/30/2013 - 17:53

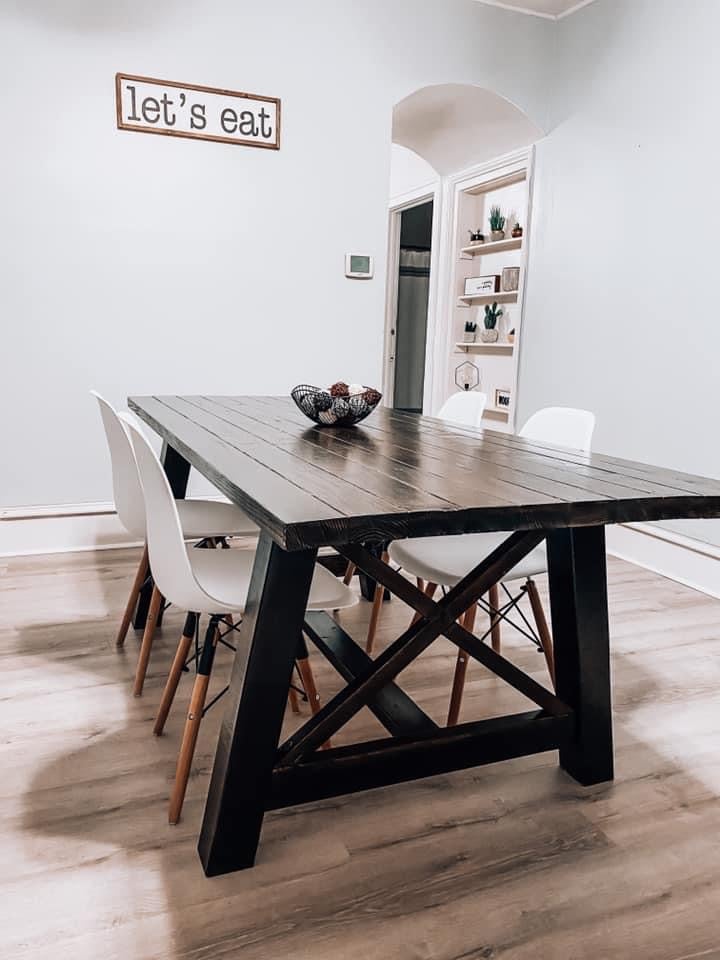
I used the Triple Pedestal Farmhouse plans, but that table would have been much too large for the space we have for a table; so I shortened the length a bit and only used two pedestals.

Built from Plan(s)
Estimated Cost
$100 - $150
Estimated Time Investment
Weekend Project (10-20 Hours)
Finish Used
Minwax Antique Walnut Satin
Recommended Skill Level
Beginner

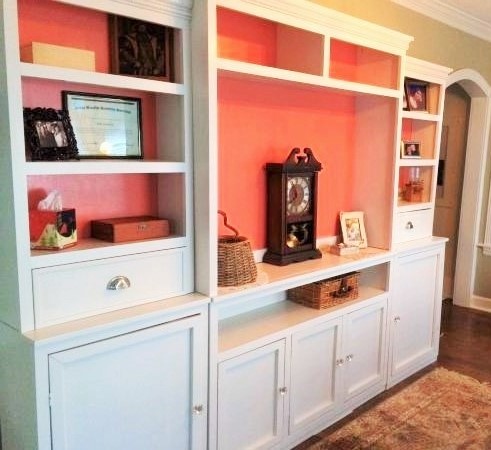
My New Office Media Center!!!

These pieces are perfect for my home office. I desperately needed storage. I have tons of room to spare.  I love the design, although I used different molding. Couldn't find small enough crown. Thank you!!

Estimated Time Investment
Week Long Project (20 Hours or More)
Finish Used
Hgtv Sherman Williams porcelain and flower lei
Johnsons Paste Wax
Recommended Skill Level
Intermediate

Comments

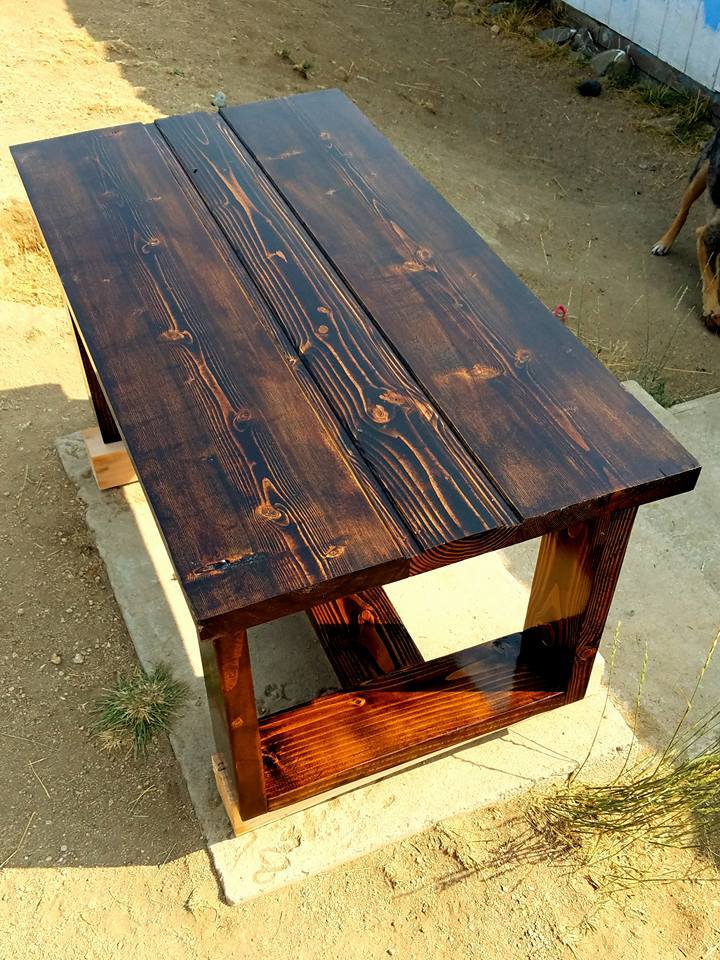
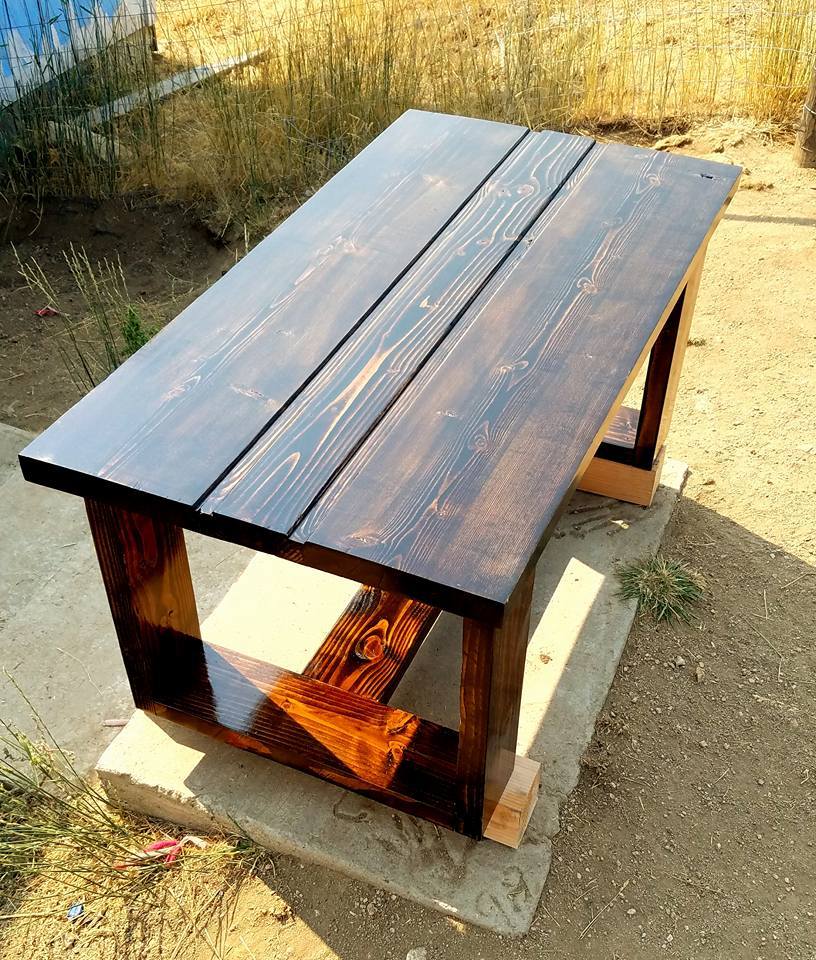
Modern Coffee Table

Submitted by Malka on Wed, 09/13/2017 - 00:52

Really liked the design of this, but I just prefer the look of wood over concrete. Used 2x6 rather than 2x4 for the base, as it gives it a more sturdy, modern look. Used 2x10 and 2x6 for the tabletop, which was biscuit joined and then given artificial seams with a router. Stained in Jacobean, and given a gloss poly finish.

Estimated Cost
$60
Estimated Time Investment
Weekend Project (10-20 Hours)
Finish Used
Minwax Jacobean stain and Minwax Fastdry Poly
Recommended Skill Level
Intermediate

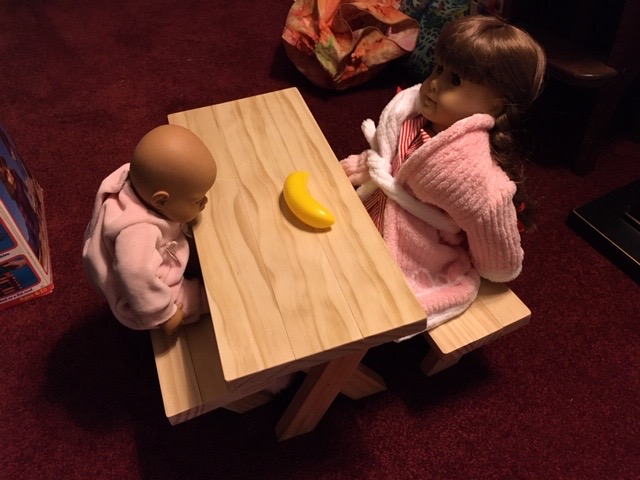
Doll X picnic table and bench

Submitted by Anonymous (not verified) on Thu, 10/07/2021 - 12:53

Using the plan,I used (3)1x3’s for the top and (3) 1x2’s for the top so would have a similar look. I also opted for Select pine boards. This table I left plain. I have also made them and painted them. Love the plan. I typically glue and use a Brad nailer to finish.

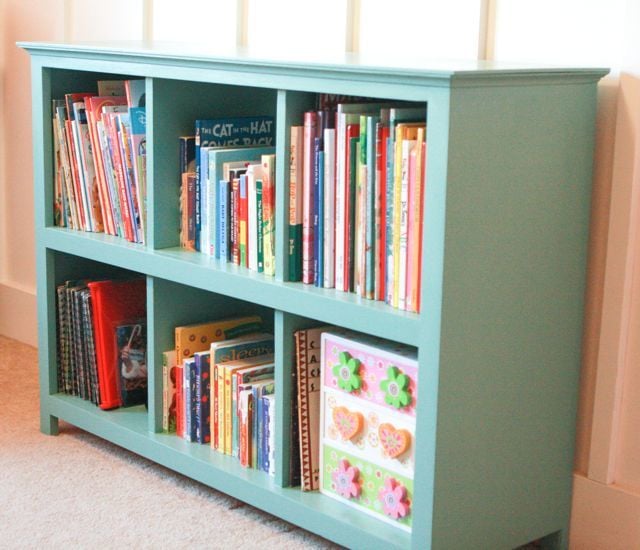
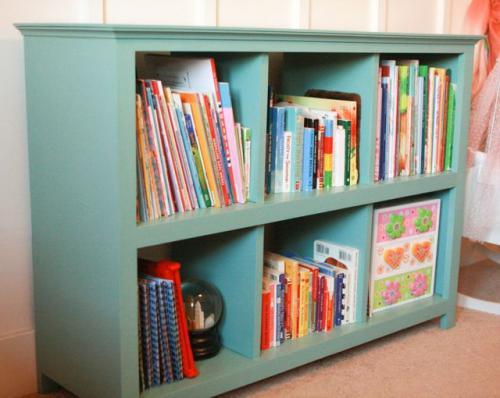
Another cube bookcase

When I find clothes I like, I buy more of the same. Apparently this habit applies to furniture, too. This fall I built two cube bookcases for my 8 year old's bedroom. Last weekend, I built another, this time for my 6 year old. What can I say? The first two worked out so well I needed another!

For this bookcase, I had the lumber (at least the big boards, not the 1x2s) cut at Lowe's. The cuts were precise and square -- everything I want in a cut!

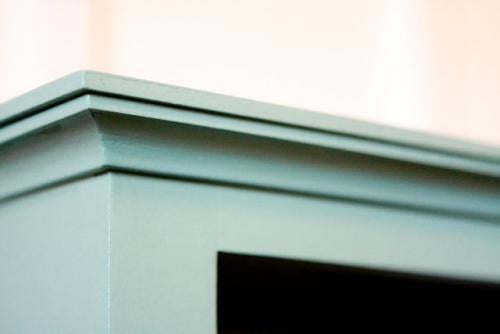
Just as I did with the first two bookcases, I used the Kreg Jig to put this one together and then I topped it with 1/4" MDF, attaching mitered cove molding underneath. At some point this winter I realized that my miter saw was out of square. I'm not good at fixing mechanical things, so my husband did me the favor of squaring the saw for me. Wow, what a difference! My cuts are so much more precise now that the saw is square again. Whew!

One change I made from the first two cube bookcases I built was in the finish. Instead of building and then finishing, I painted the surfaces that would end up on the inside of the bookcase before assembling the whole thing. Last time it was a bit of a nightmare getting into all the corners and inside tops of each cube. Painting the inside ahead of time was much simpler. Once the unit was put together, I sanded and painted the outside, touched up the inside, and then added two coats of poly to both the inside and the outside.

Built from Plan(s)
Estimated Time Investment
Weekend Project (10-20 Hours)
Finish Used
Ralph Lauren "Aged Mint" paint in a flat finish followed by two coats of satin polyurethane. I sanded lightly in between all coats.
Recommended Skill Level
Beginner

Framed Chalkboard gift

Submitted by bhoppy on Sun, 06/02/2013 - 21:31

I followed Jamie's tutorial from "That's my letter" on how to make this frame fit an existing chalkboard piece.

It was easy peasy. Finishing took longer than building.

I had all the wood, just had to buy the chalkboard from Hobby Lobby and the chalk markers.

Built from Plan(s)
Estimated Cost
7$
Estimated Time Investment
An Hour or Two (0-2 Hours)
Finish Used
Rustolem early american and 3 coats polycrylic
Recommended Skill Level
Starter Project

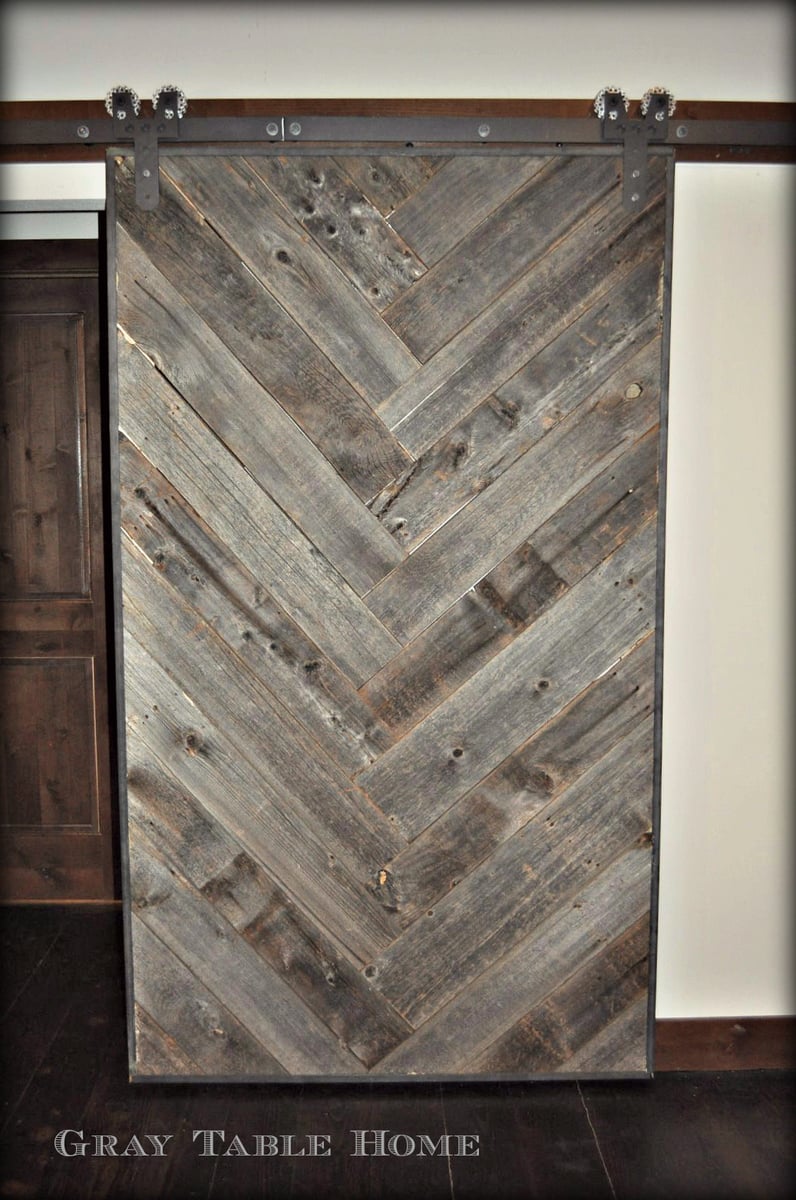
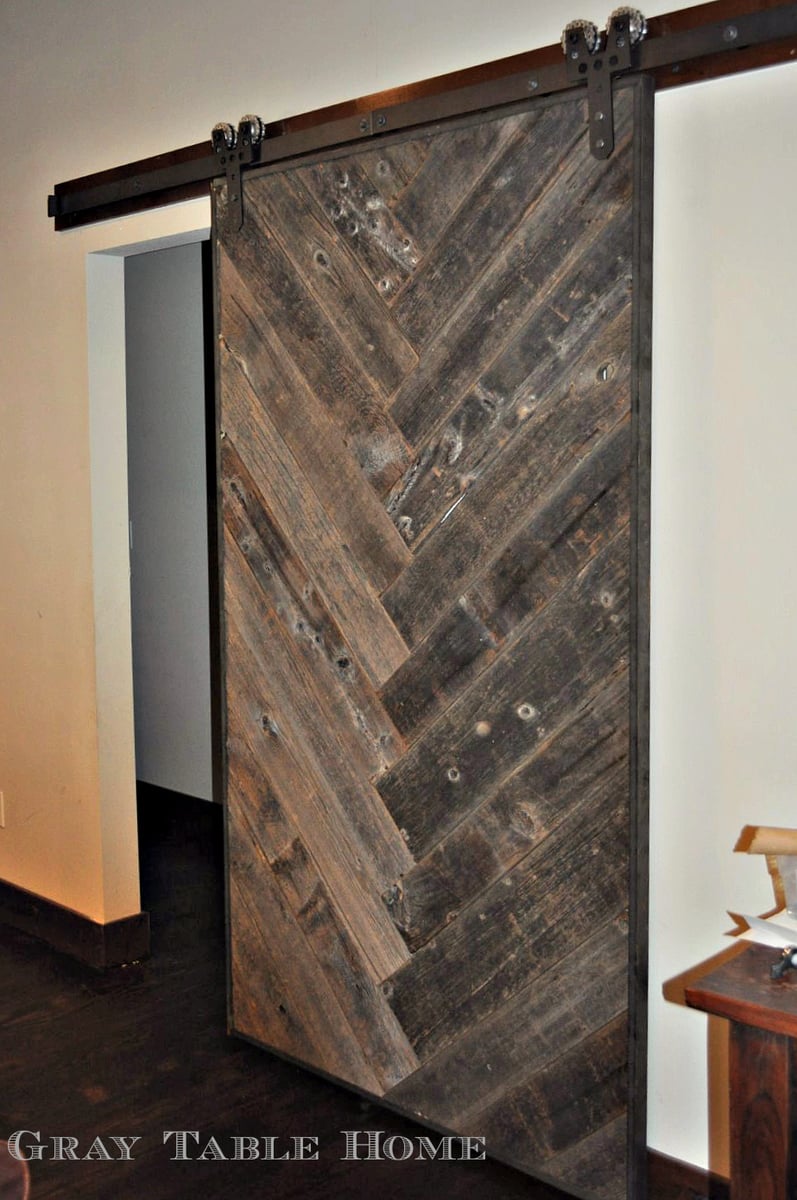
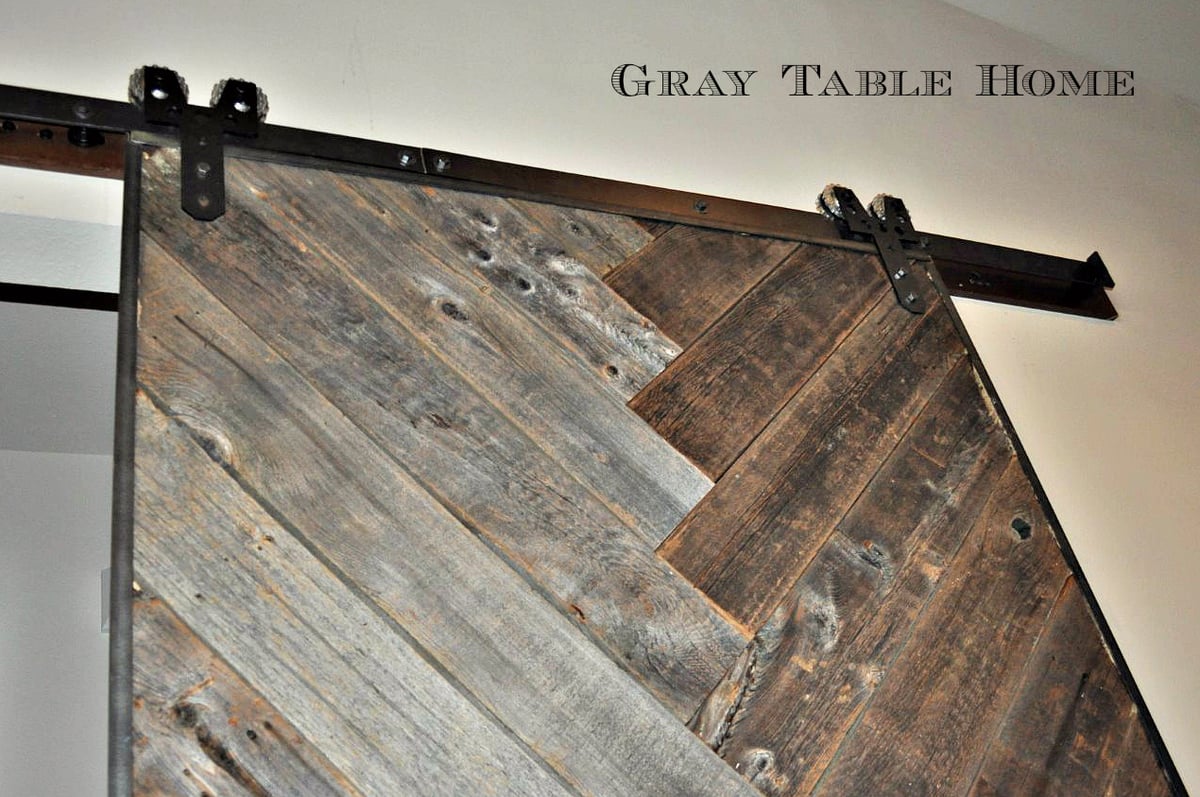
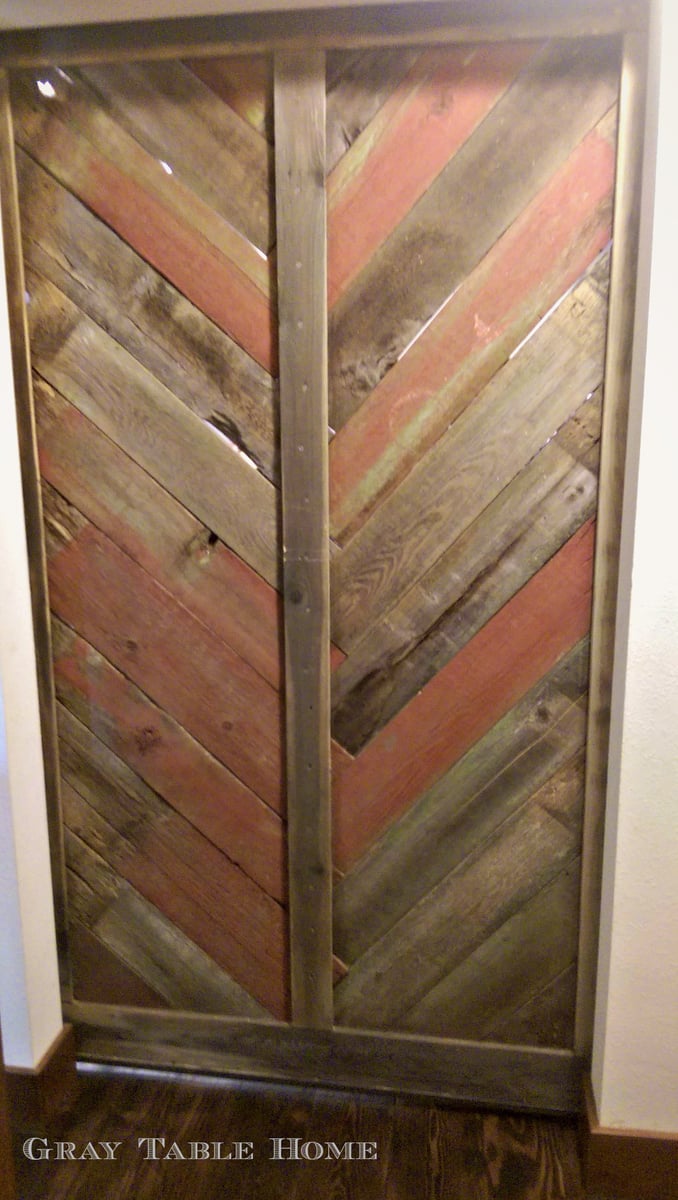
DIY Herringbone Barn Door

Submitted by susanshamp on Fri, 05/01/2015 - 22:25

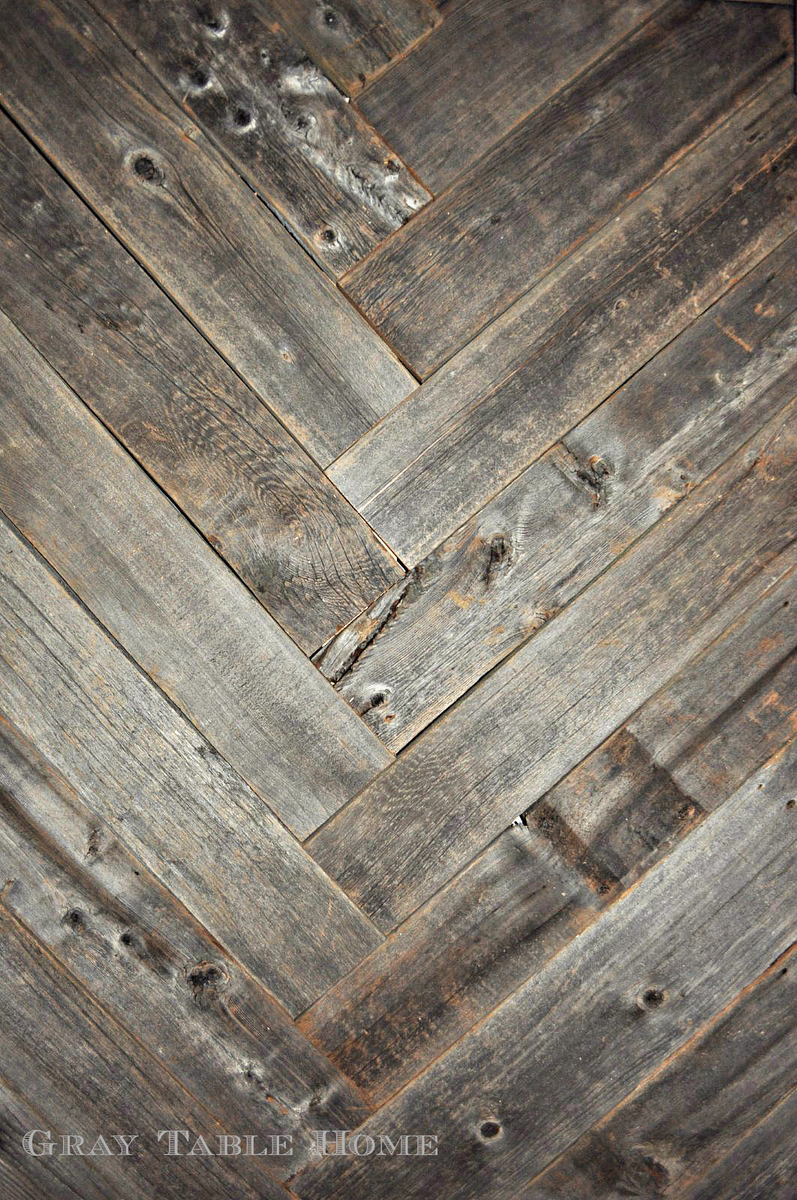
This DIY Herringbone Barn Door is used over a simple hallway opening to separate the maing living space from the kids' bedrooms. I searched this site and Pinterest for inspiration, and loved the herringbone and chevron patterns that I found. This door was made of reclaimed barn wood and wrapped in raw steel channel iron. Hope you enjoy!

Estimated Cost
$150 for the wood and steel, not including the rolling hangers and track
Estimated Time Investment
Day Project (6-9 Hours)
Recommended Skill Level
Intermediate

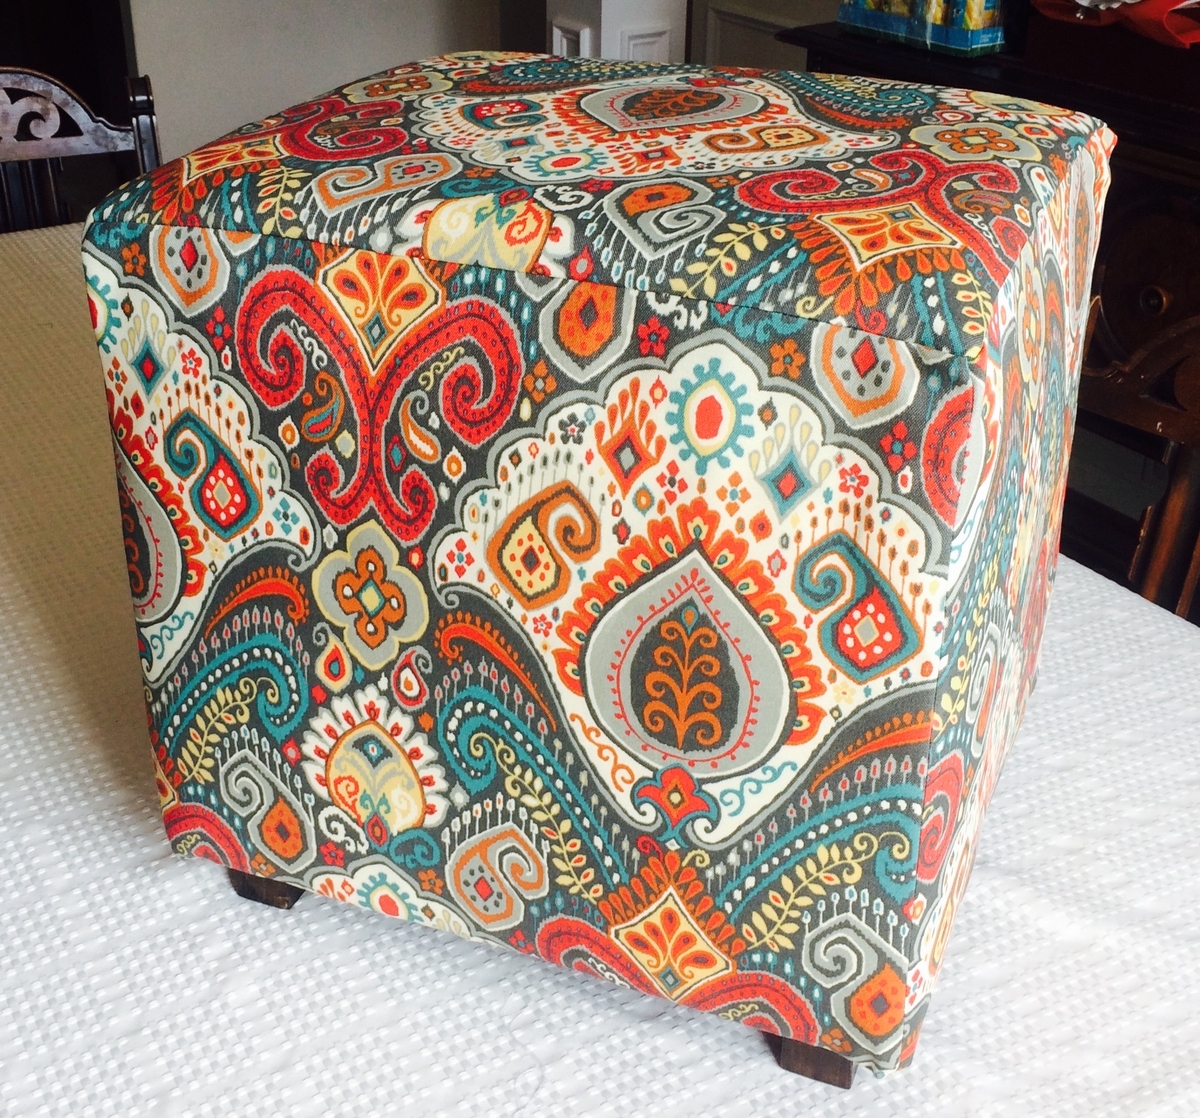
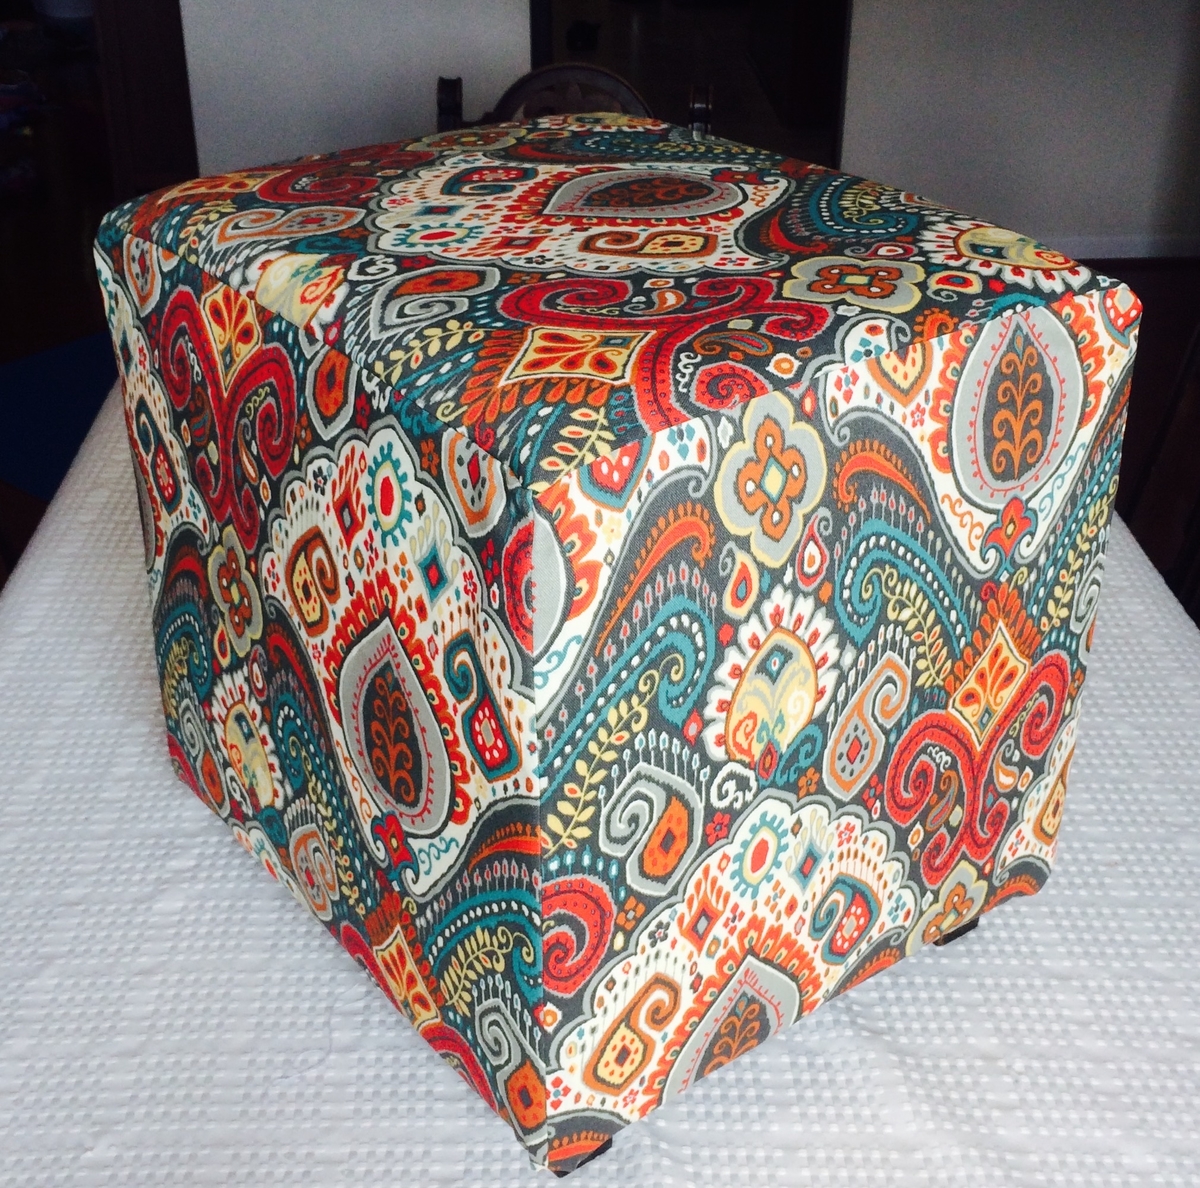
Upholstered Stool

Submitted by Anners on Wed, 09/13/2017 - 18:30

I followed the plans with 3 modifications.

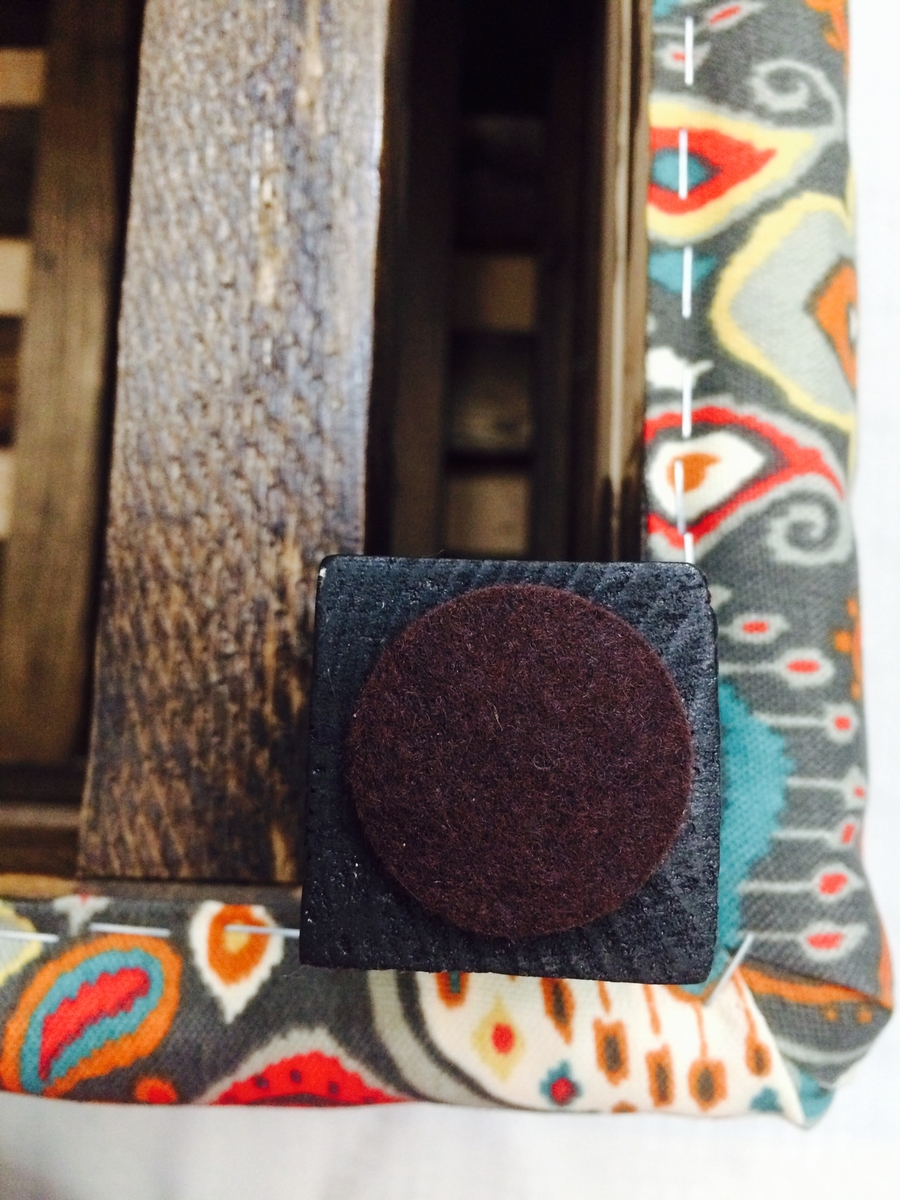
Modification #1: To add more structural support, I used 6 more 2x2s. 3 of them went directly under the 1x3s that made up the seat. 3 of them went at the bottom, flush with the lower 1x3s at the base, right by the legs. I did not pre-cut these! I measured the lengths and did the cuts as I needed them because they needed to be a snug fit-had to use the hammer to lightly tap them into place before securing with 2 in nails. For the middle 2x2s, I tonailed in a couple of 1 1/2 nails to keep the 2x2 from twisting/spinning (because I didn't use 2 nails to attach it the first time!) See the pictures for closeups. 

Modification #2: I stained and polyurethaned the legs.  Stain color is MInwax Jacobean (The other stained parts of the stool don't need staining, but mine are because I used scrap wood for this build and they were already stained.)

Modification #3: Padding and wrapping and slipcover - I purchased a 15x17x2 inch foam pad for the top of the stool. I had some 1/4 batting in my craft room. I used an upholstery stapler ($10 at Hobby Lobby + an extra box of staples) to attach the batting. I wrapped it around the sides and top, securing it along the sides of the cube with the stapler. I used a spray adhesive to glue down the foam pad. Then, I wrapped 1 more layer of the batting over the top of the foam pad, securing along the cube edges. I flipped the whole stool over, trimmed the batting edges, leaving enough to fold over and staple onto the base frame. I made the slipcover as instructed in the link provided in the plans, but I had to take the measurements from my stool NOT their measurements, due to the extra bulk created by the batting and foam pad.  I used 1/2 in seam allowances on all seams, leaving 2 extra inches at the bottom. After making the cover and fitting it, I turned the stool upside down and stapled the cover to the frame, making sure that it all looked neat and secure. Tip: Some of the staples didn't fully sink into the wood so I had to use a hammer and a nail set to get them really secure.  I added a felt slider to each leg.

Finished dimenstions are 19 in high, 18 in (long sides), 16 in (short sides).

Enjoy your build and hope it turns out great!
Built from Plan(s)
Estimated Time Investment
Day Project (6-9 Hours)
Recommended Skill Level
Intermediate

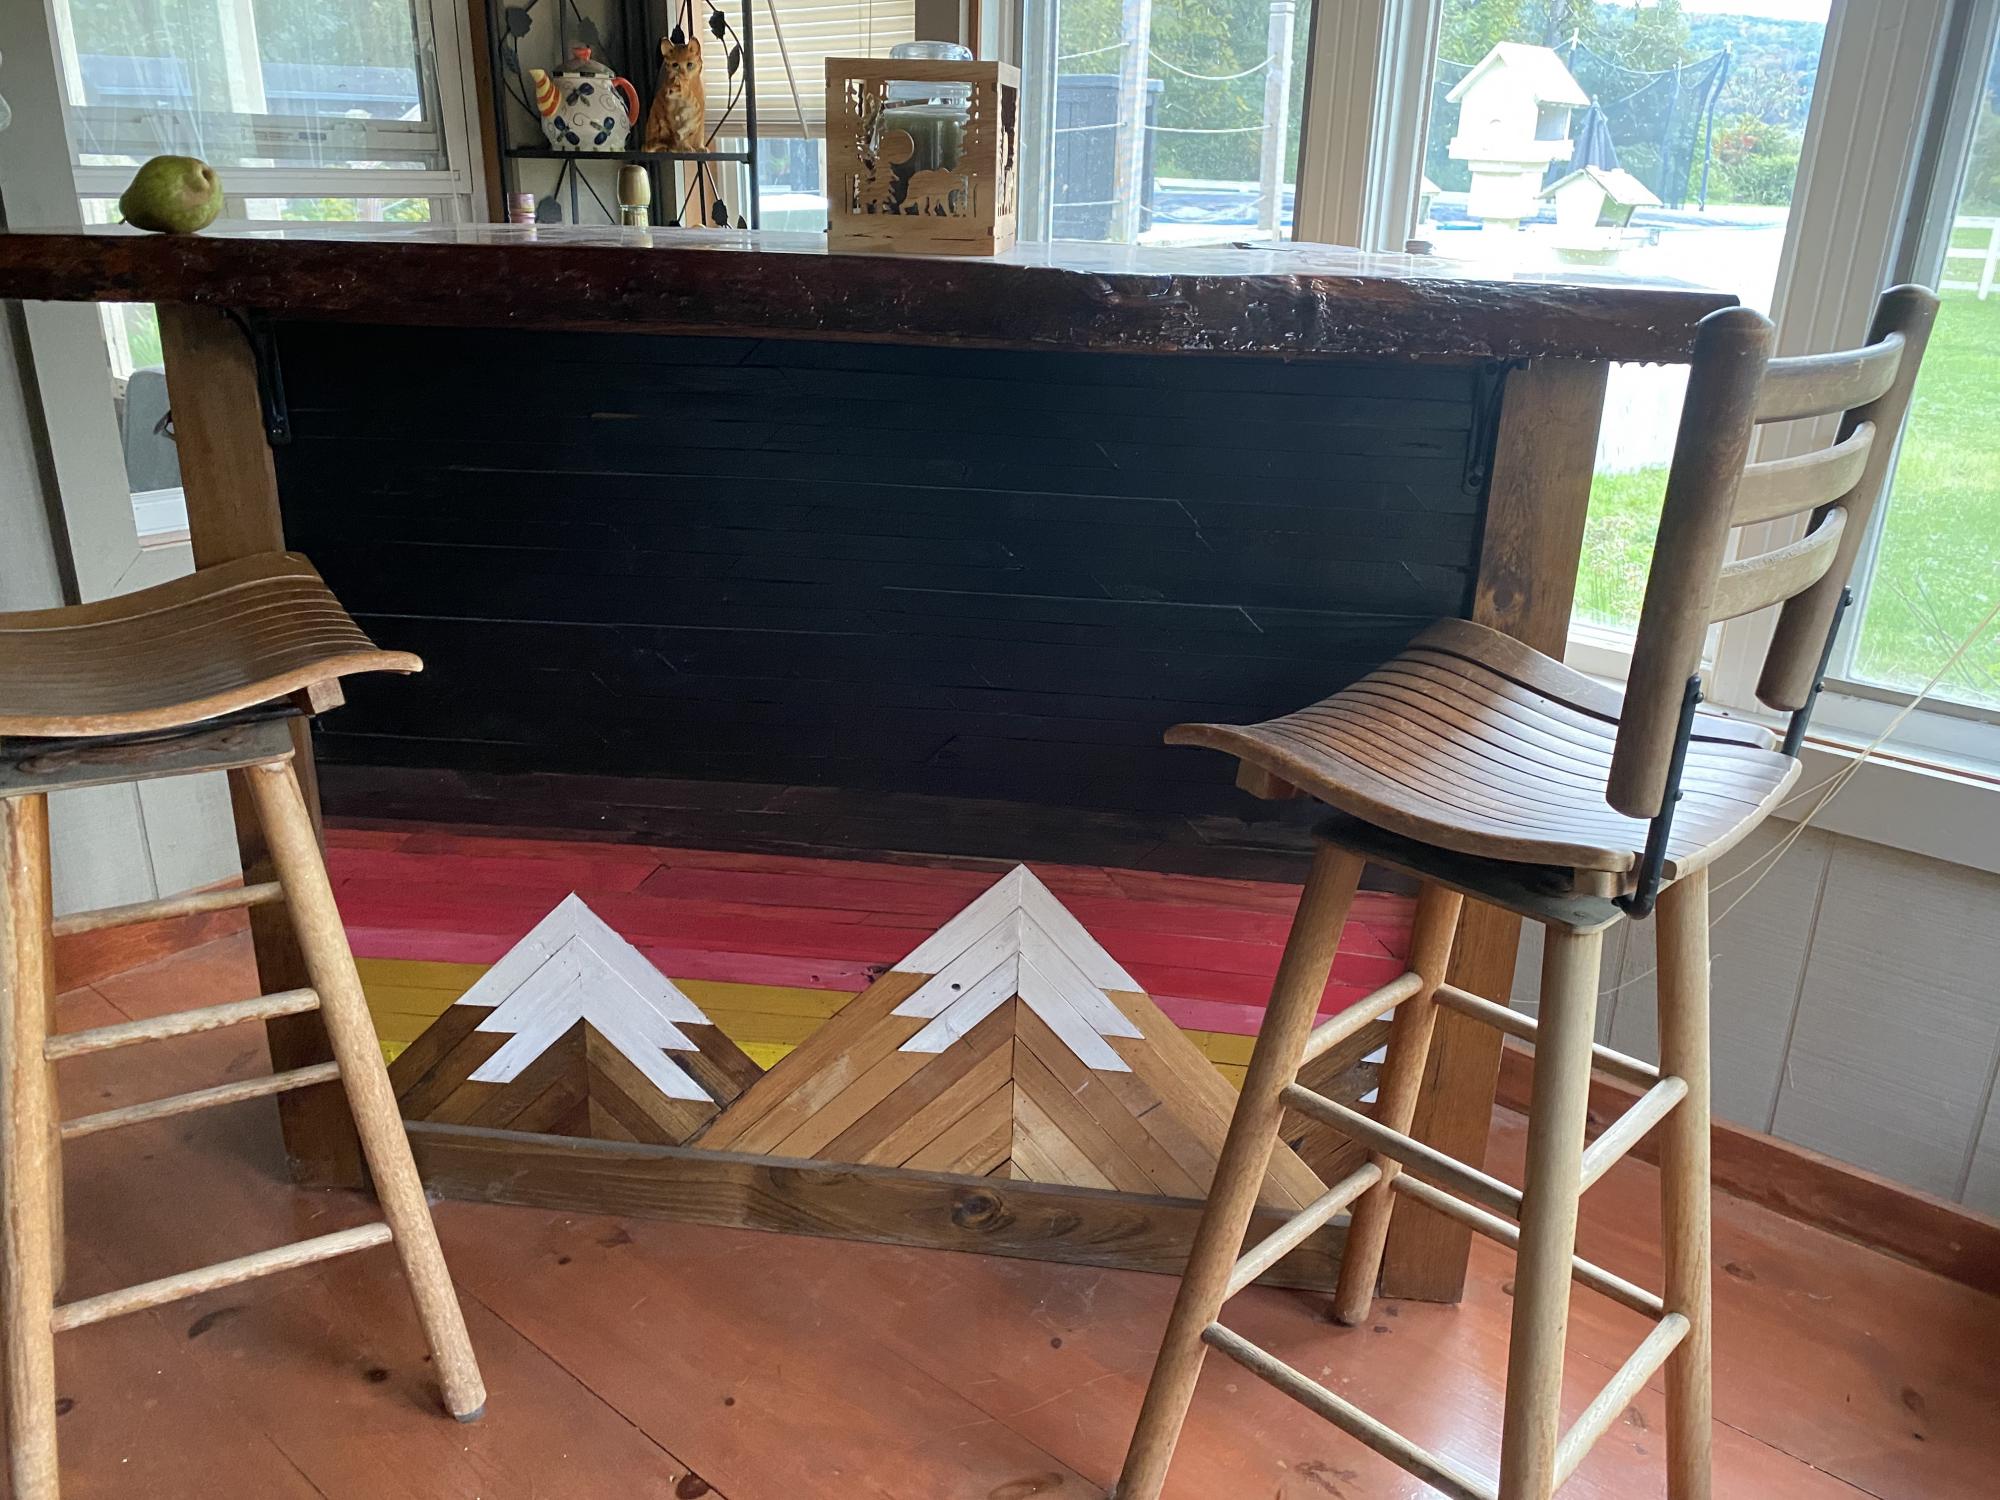
Mountain Bar

Submitted by Anonymous (not verified) on Sat, 10/09/2021 - 02:10

My covid time build . I piece quilt so the mountain seemed natural. The top is a 2’ thick pine with a resin coat. I didn’t have a pattern