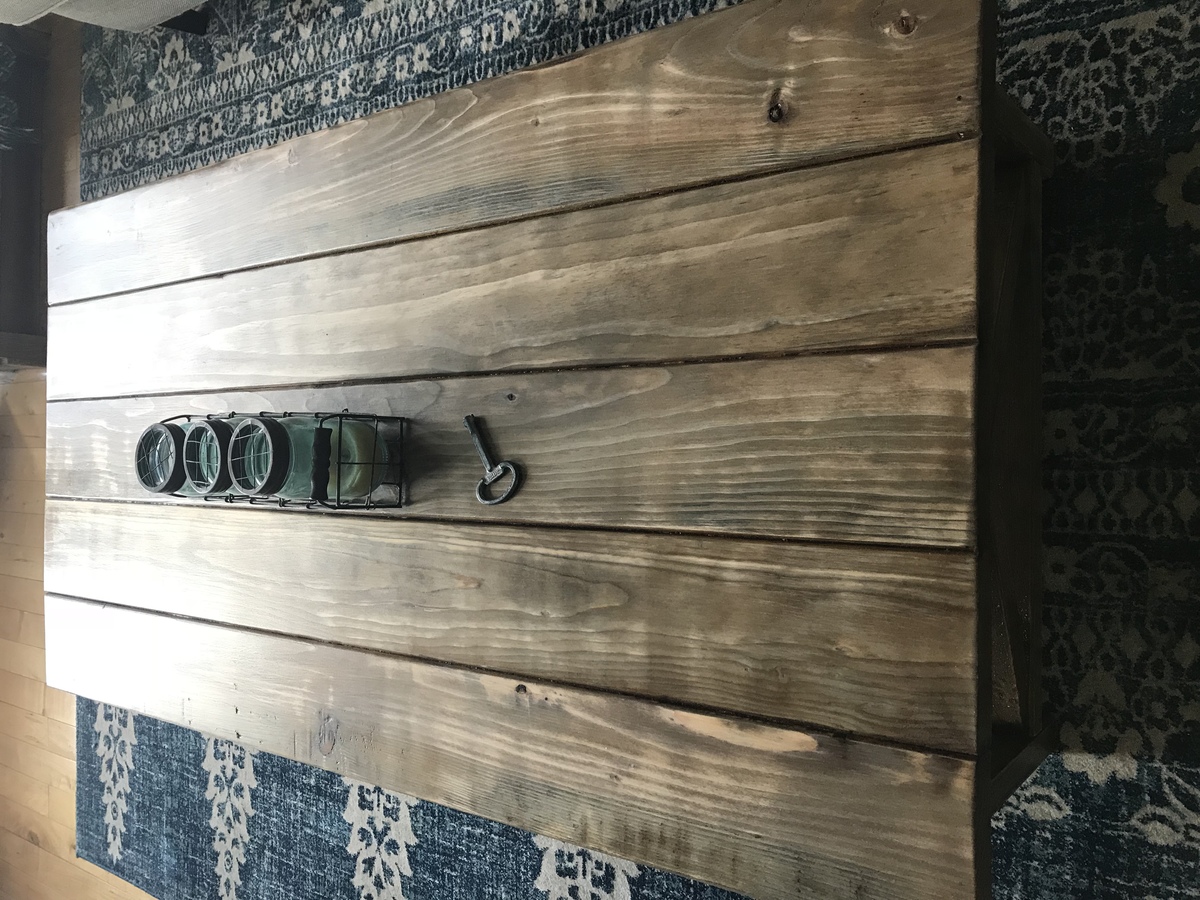
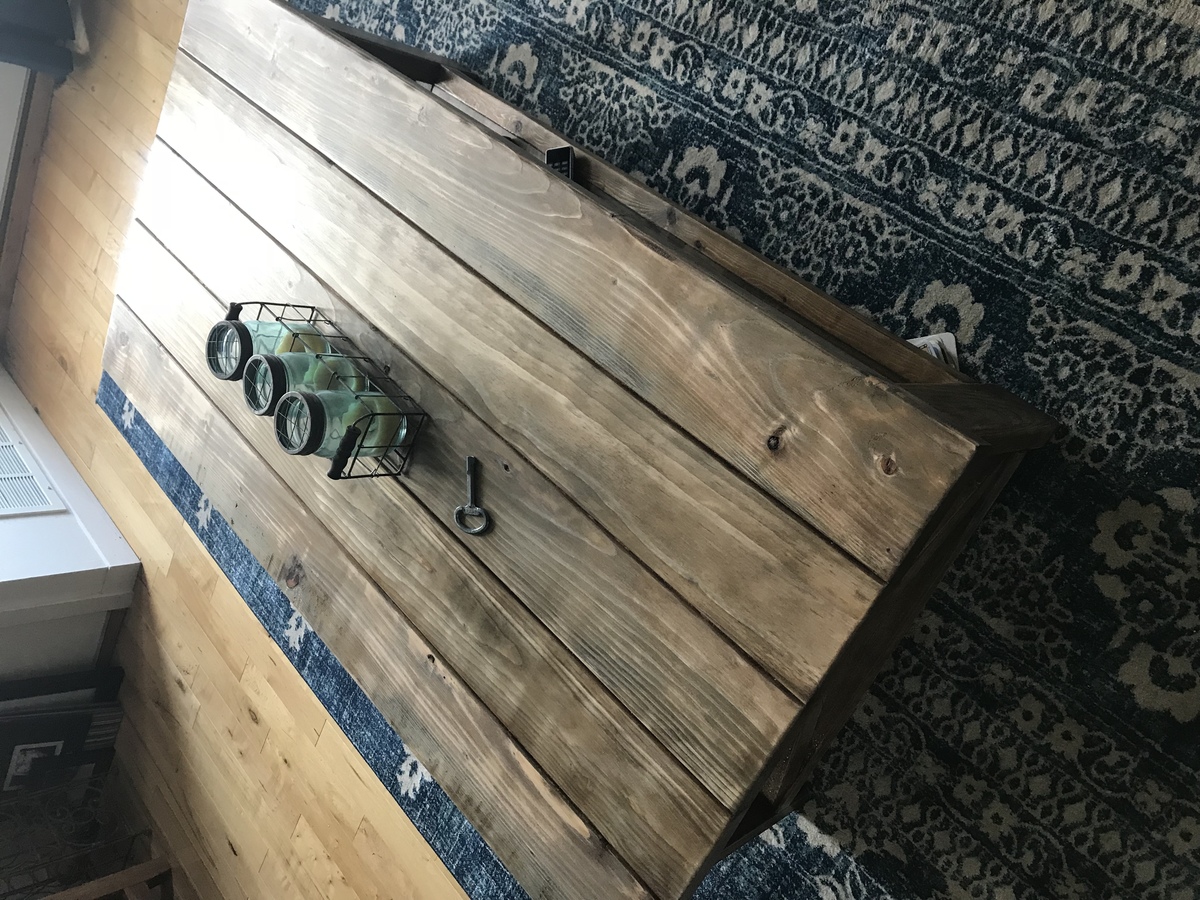
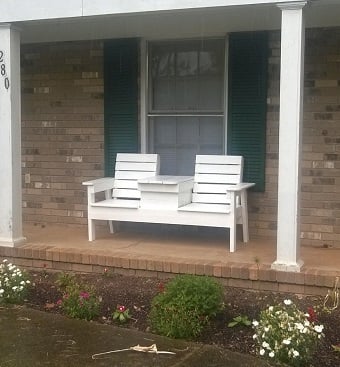
Rustic 4x4 Bench
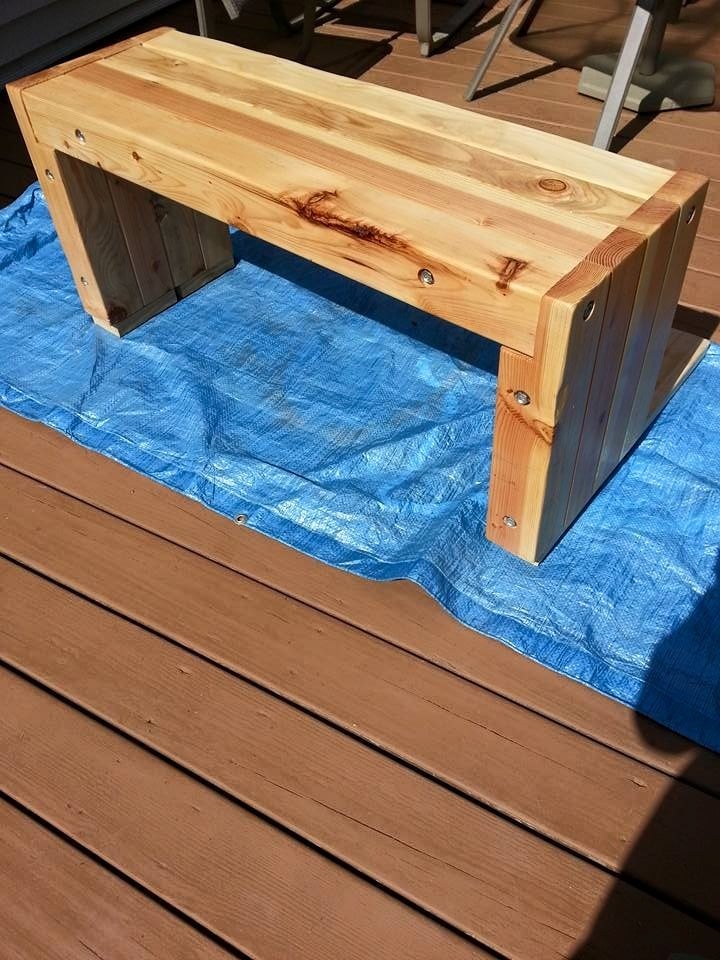
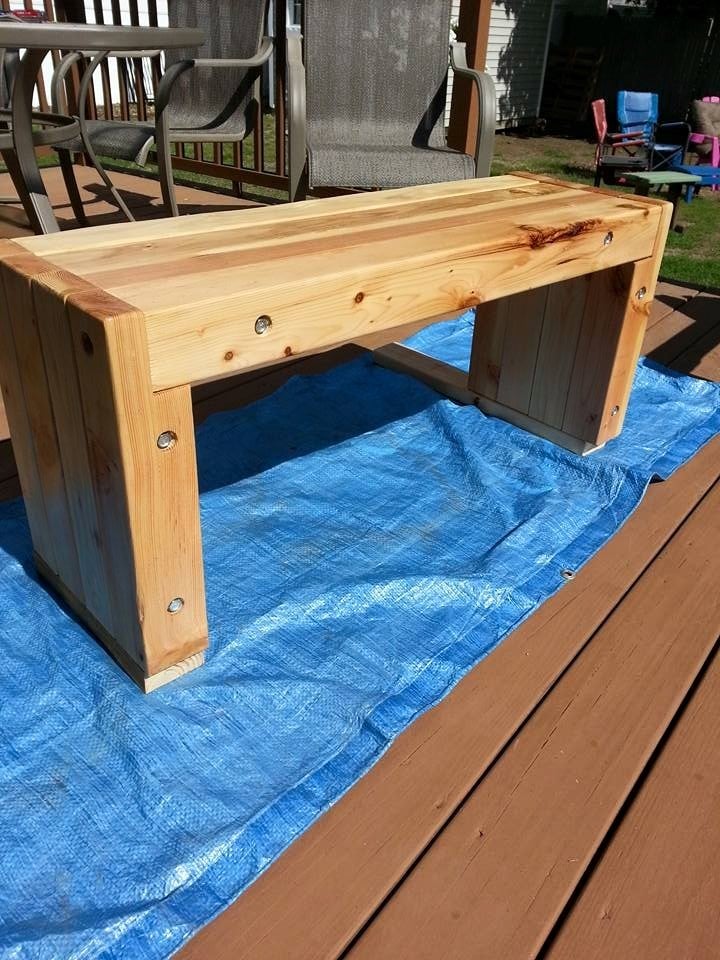
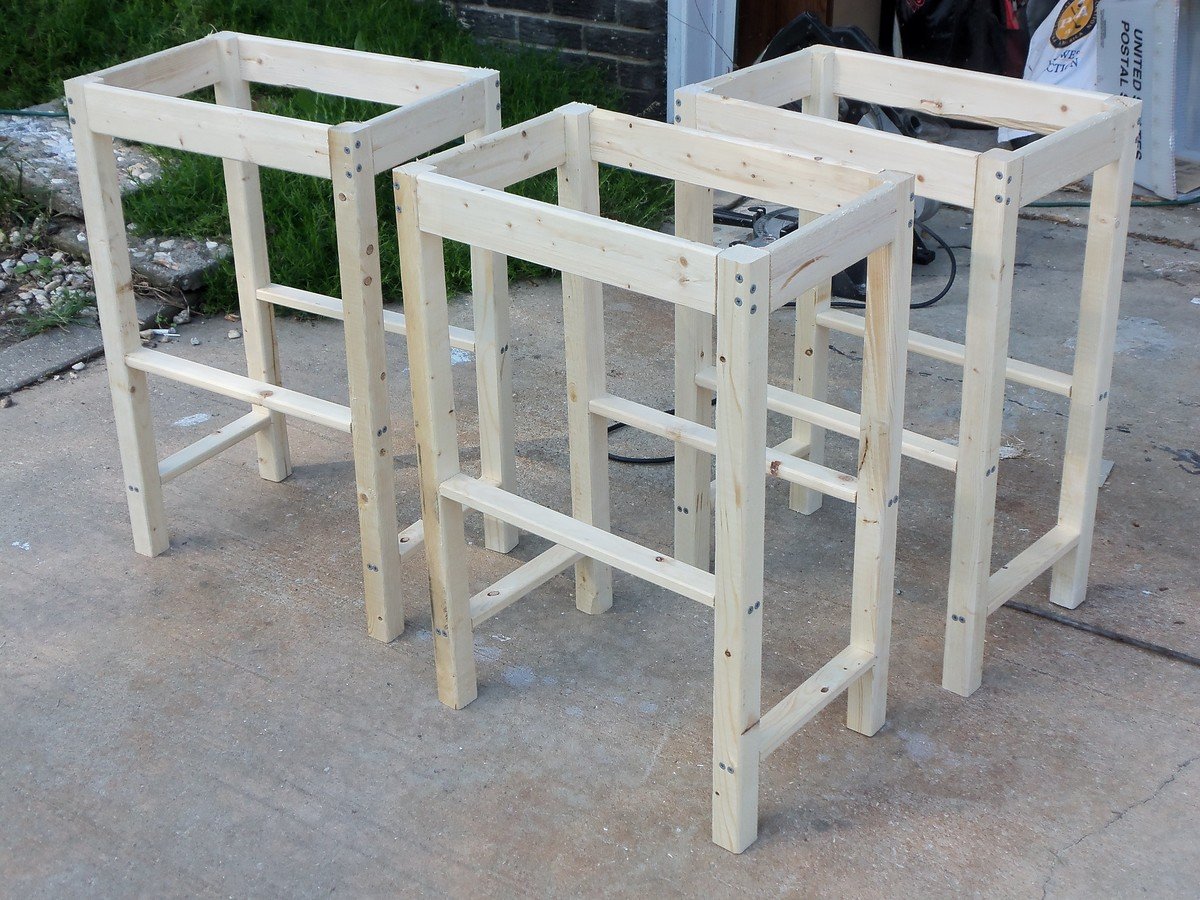
Modified the Cherished Bliss plan a bit to include Carriage bolts instead of pocket holes and I notched the top of the legs to make a shelf for the top.
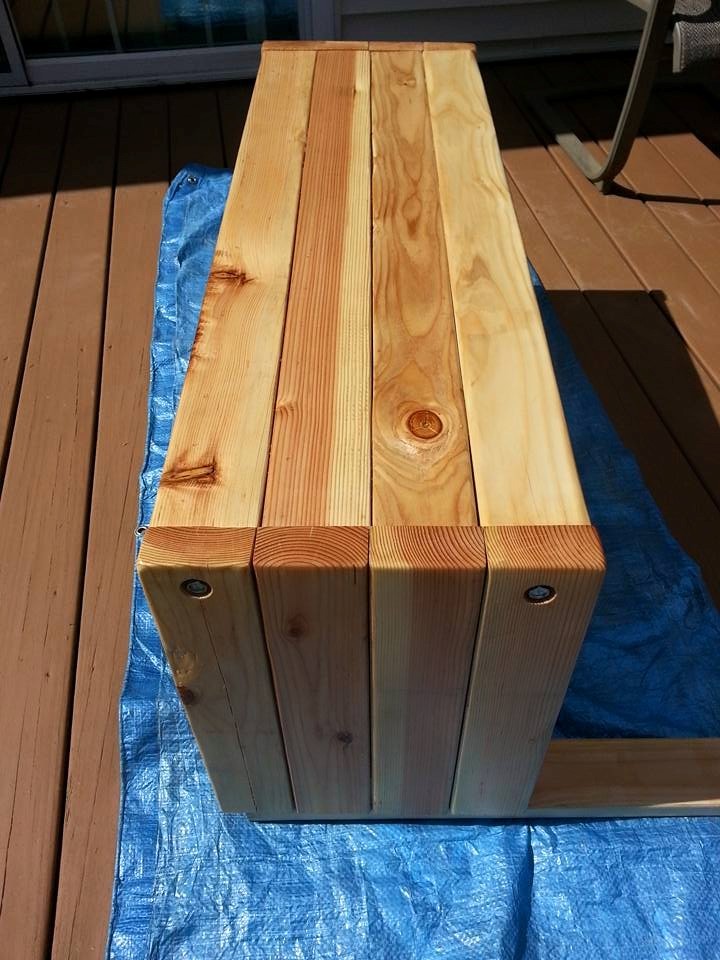
Legs were cut at 18" and the top is 40". The two center 4x4's are connected with two internal (and smaller diameter) carriage bolts and glued together. The end 4x4's are glued and then a 1/2 x 6" carriage bolt with a pre-drilled "Head" hole (using 1" paddle bit).
Very easy to make but this baby is heavy!!!
Estimated Cost
$50-$75
Estimated Time Investment
Afternoon Project (3-6 Hours)
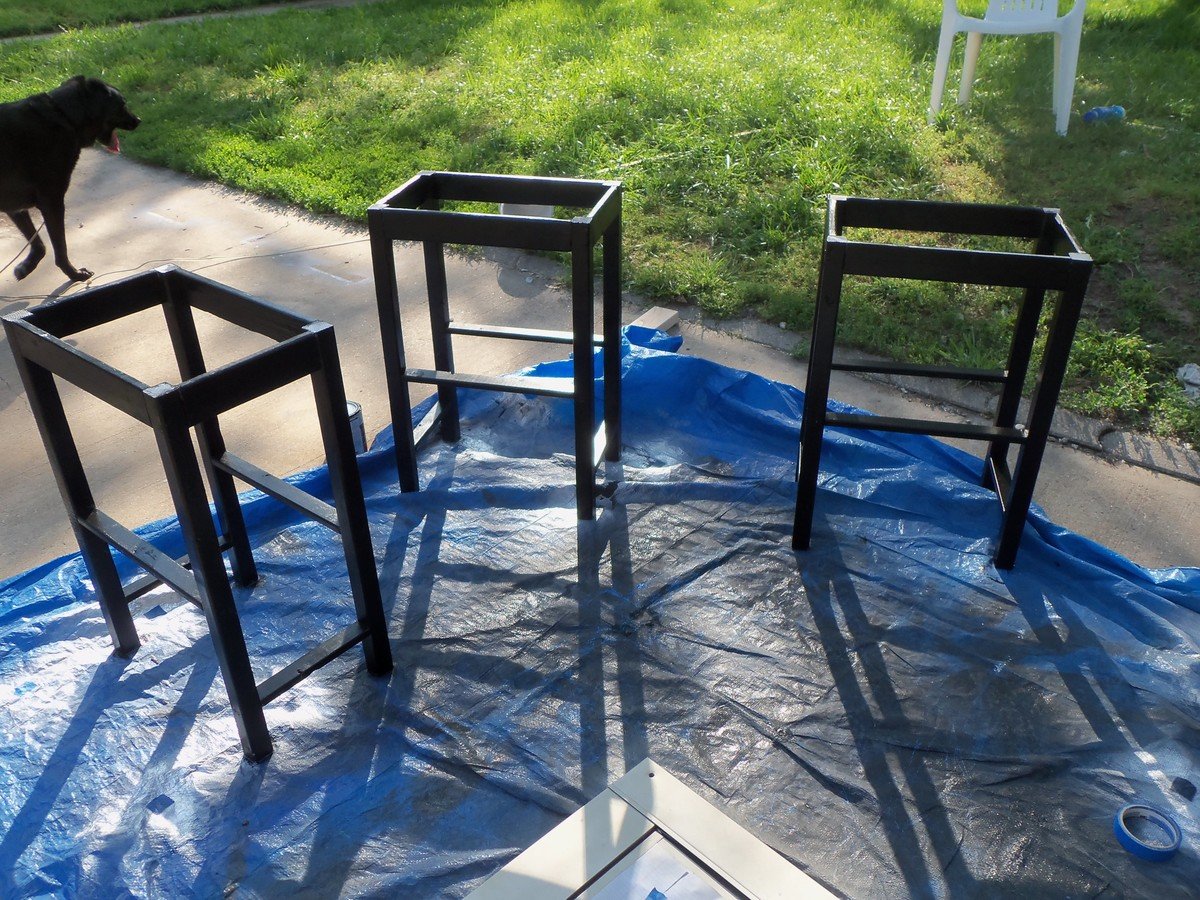
Finish Used
Clear Watco Dutch Oil and Varathane 3x Poly.
Recommended Skill Level
Beginner


Comments
Ana White Admin
Fri, 05/22/2015 - 18:22
Nice!
Looks great! Thanks for sharing!