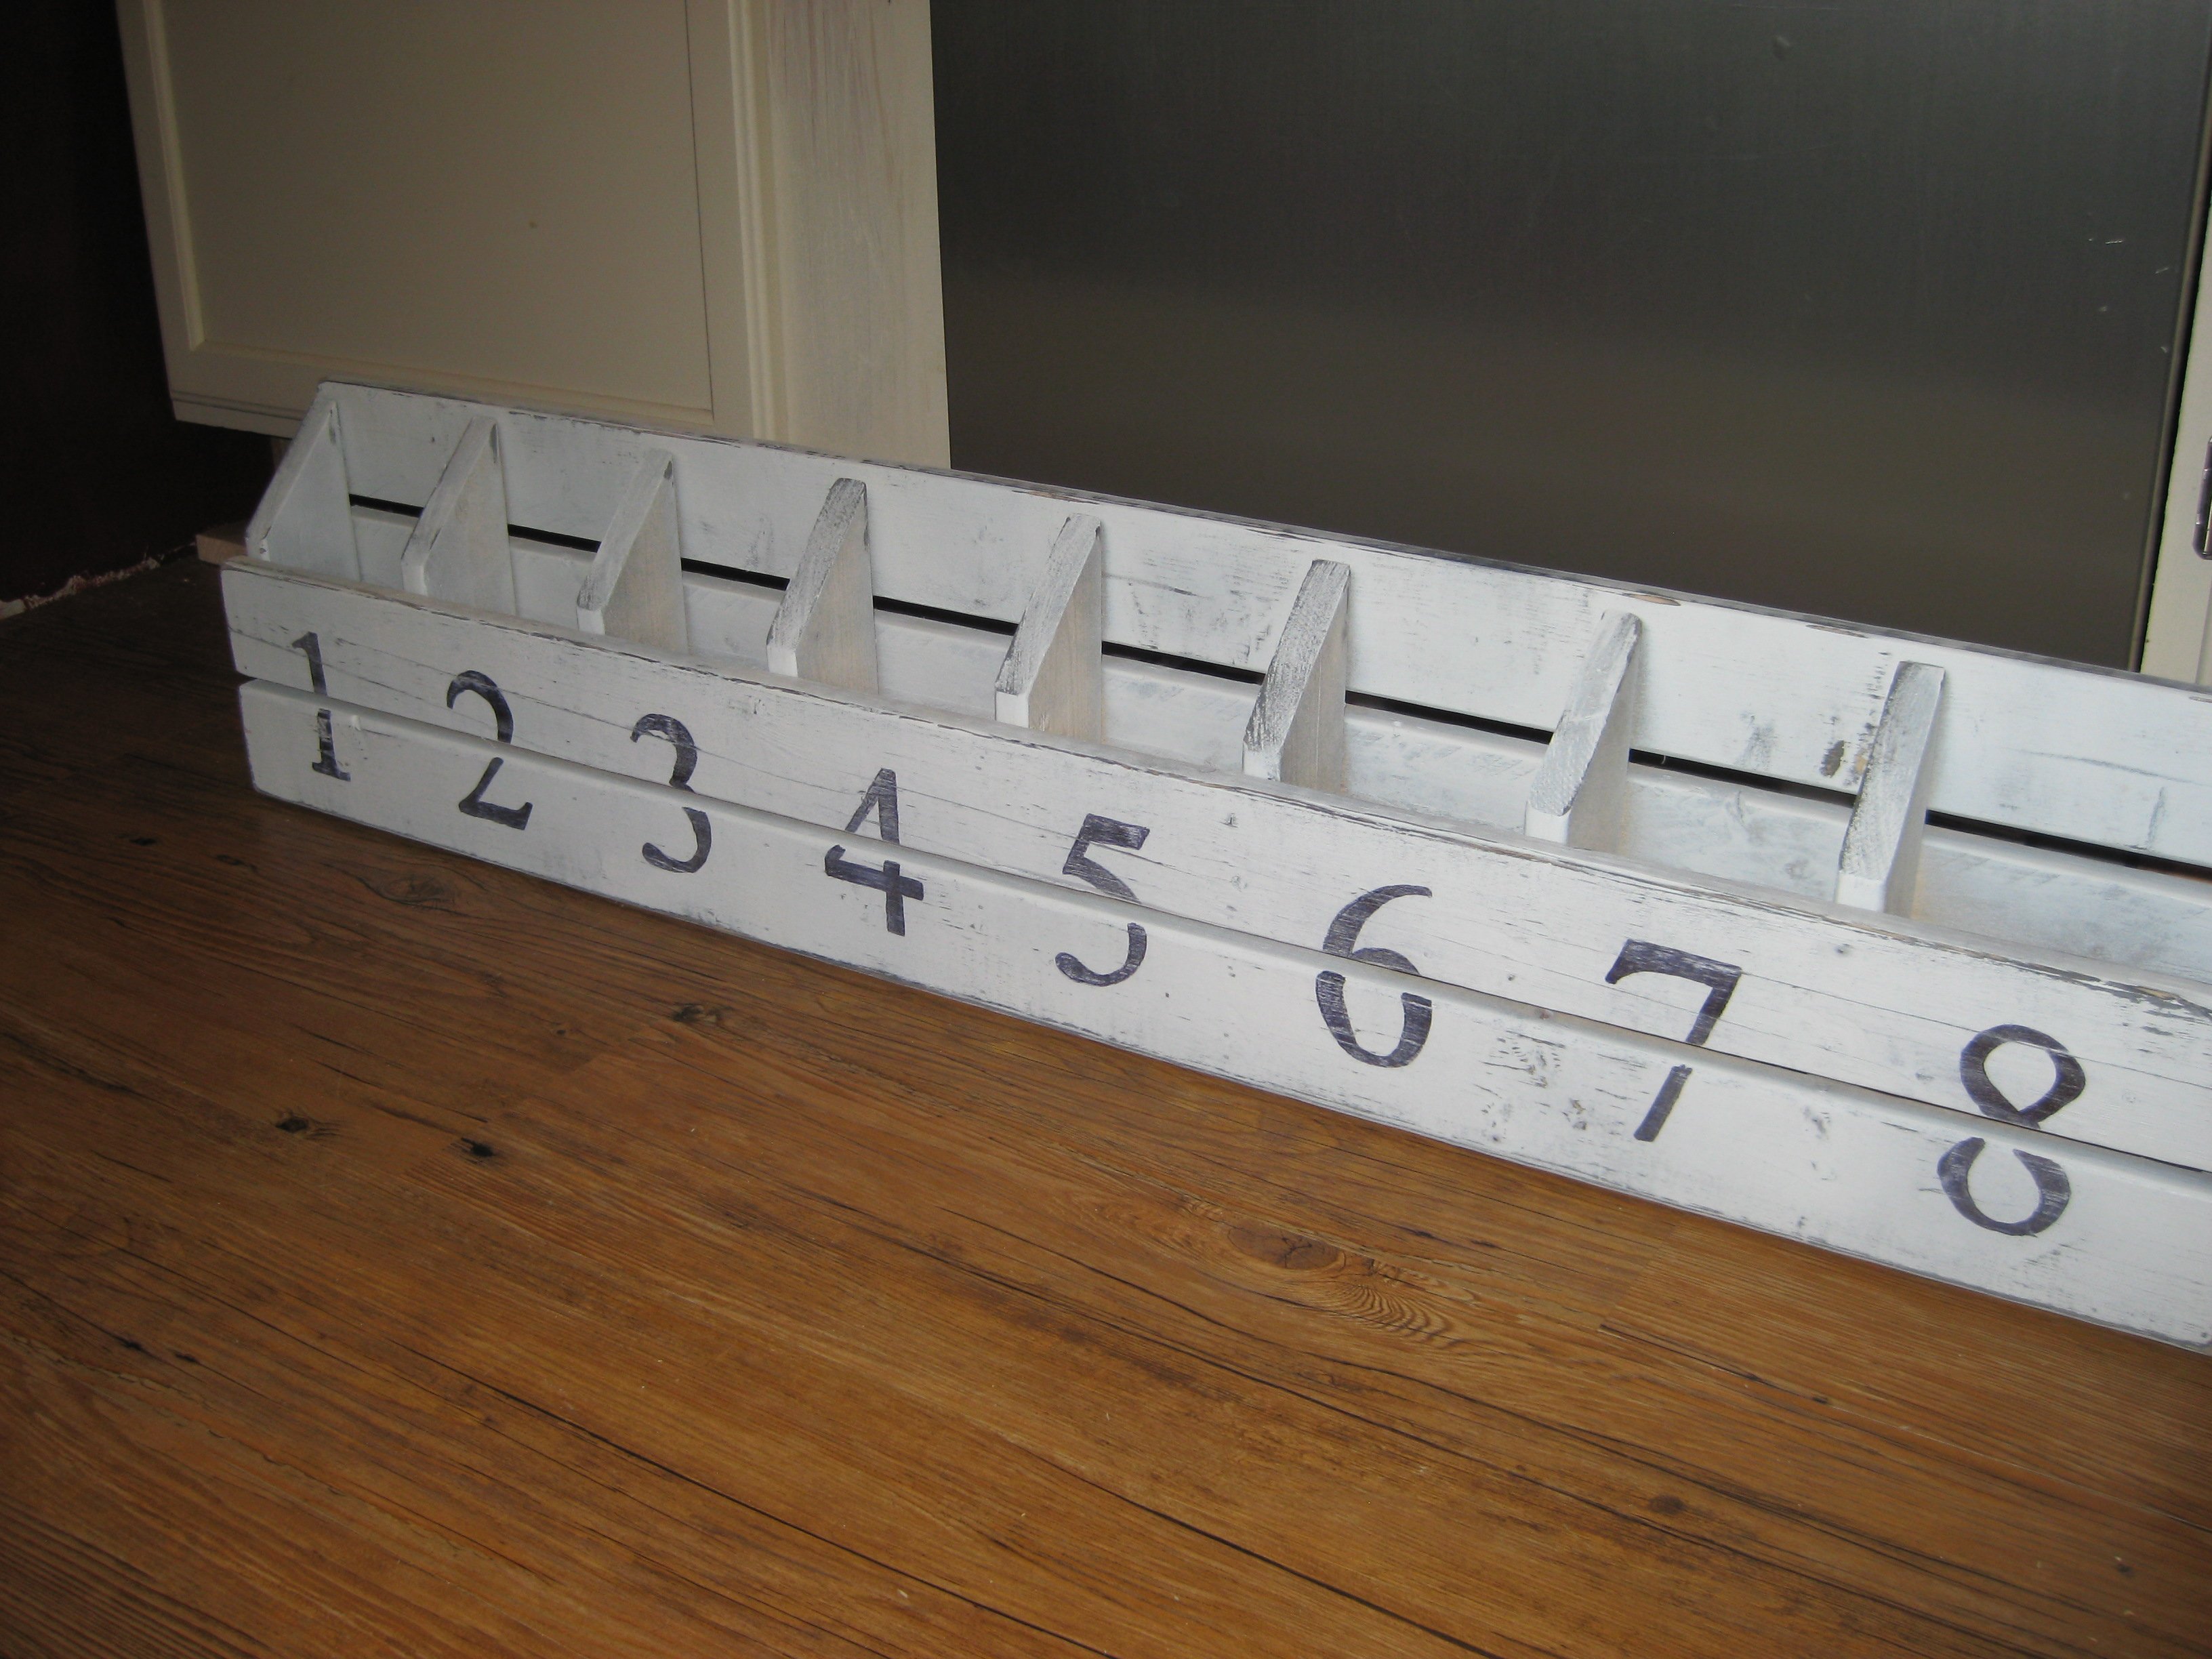
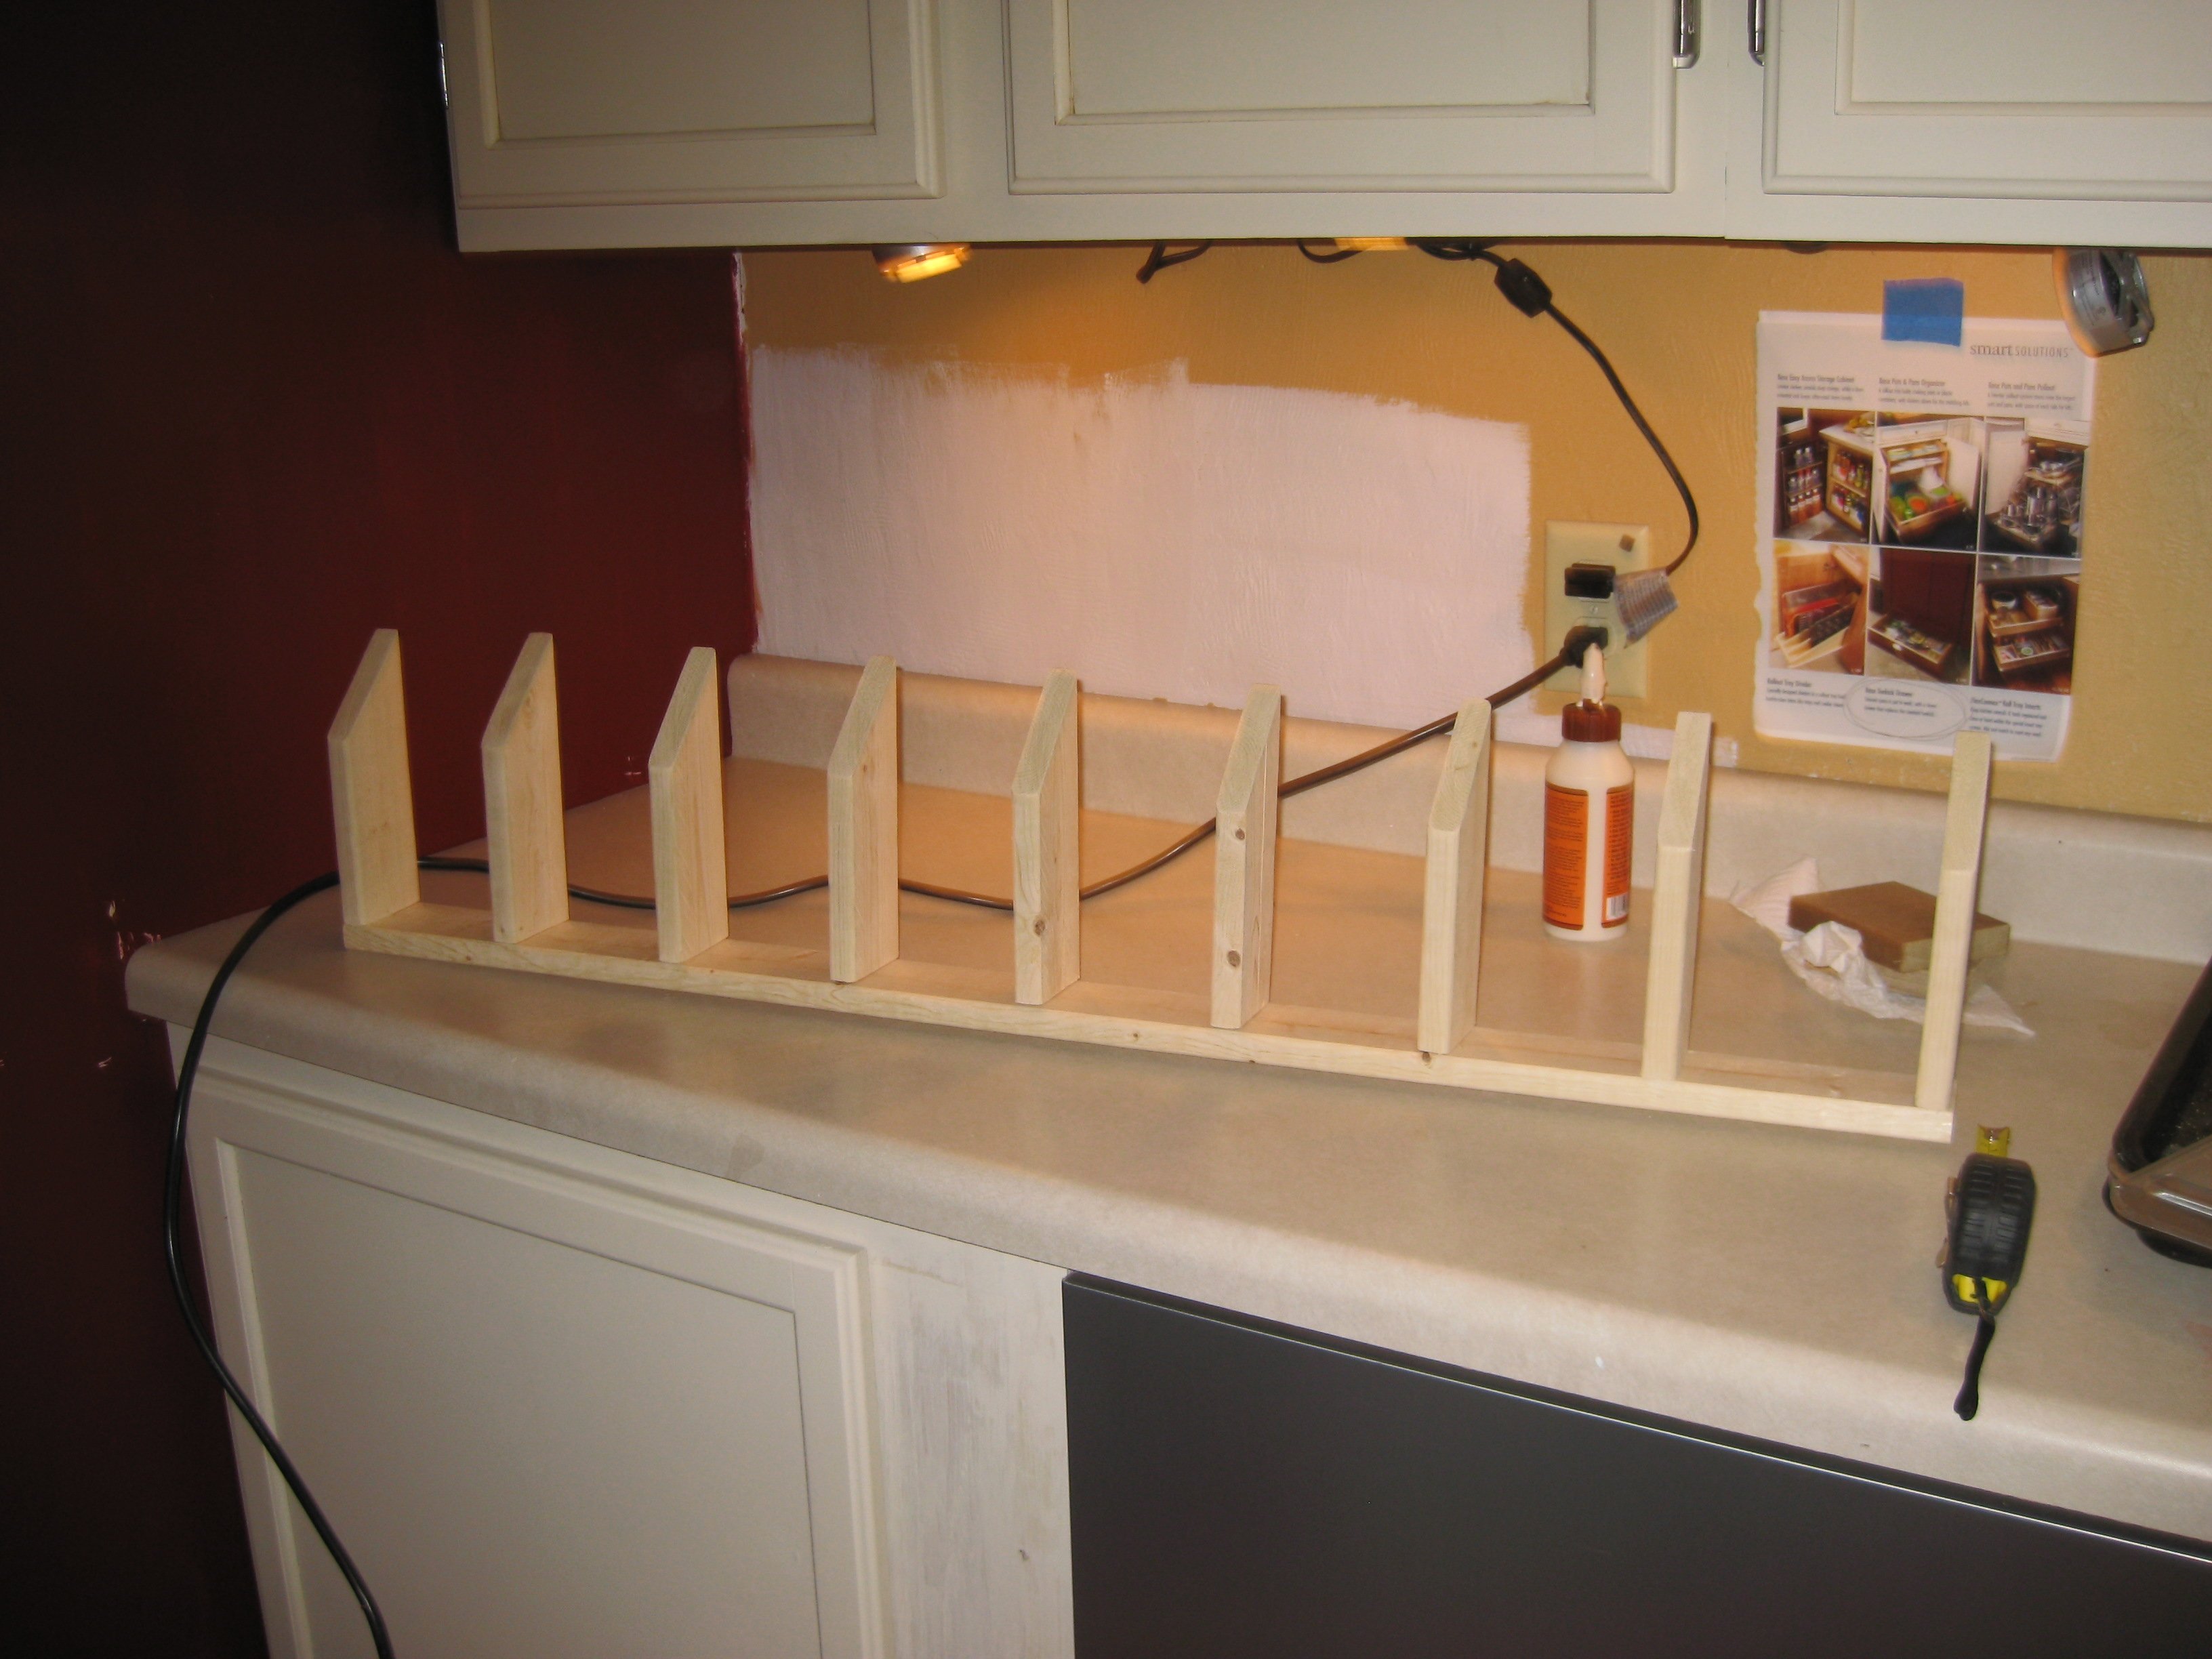
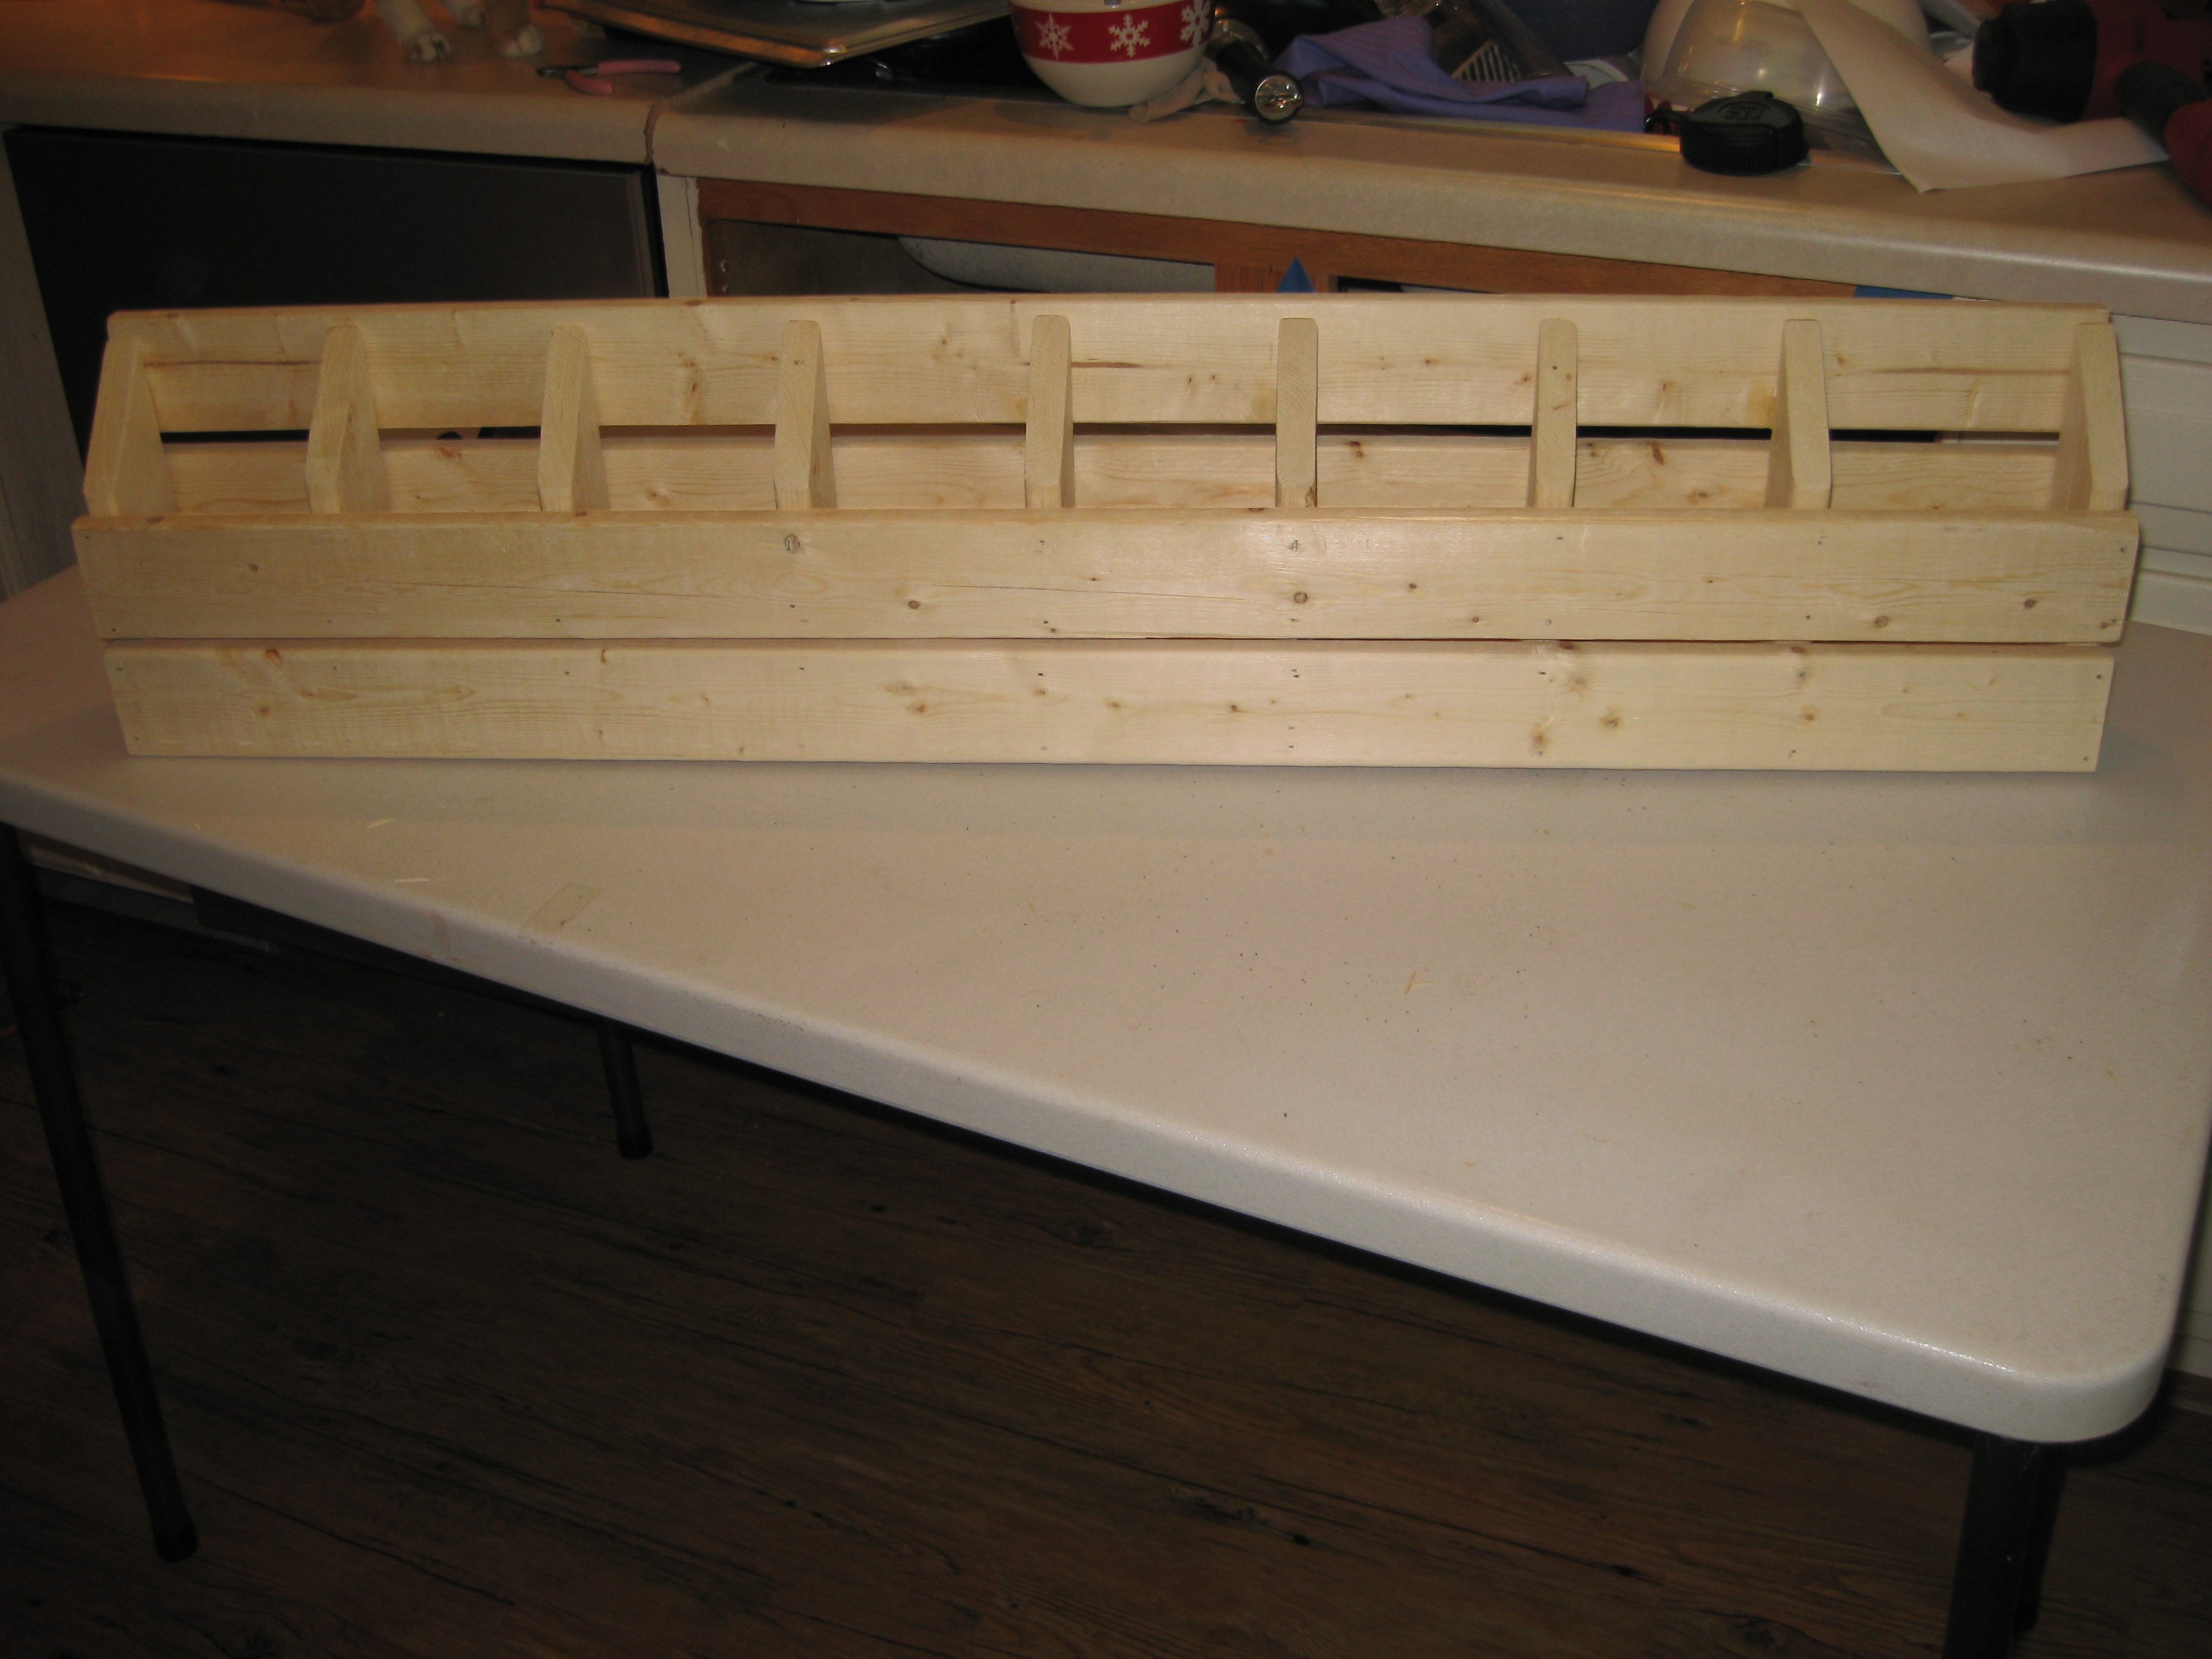
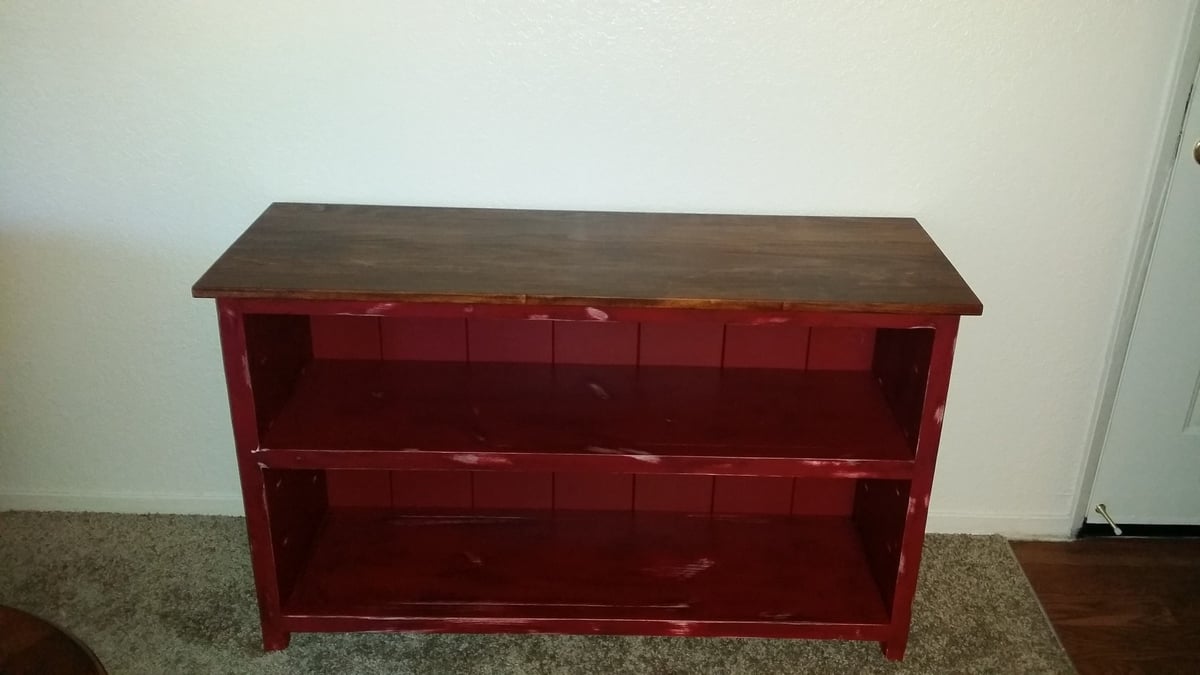
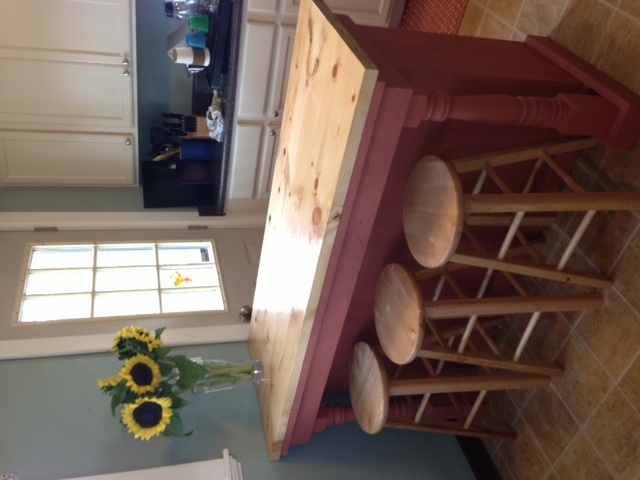
DIY Kids Art Table
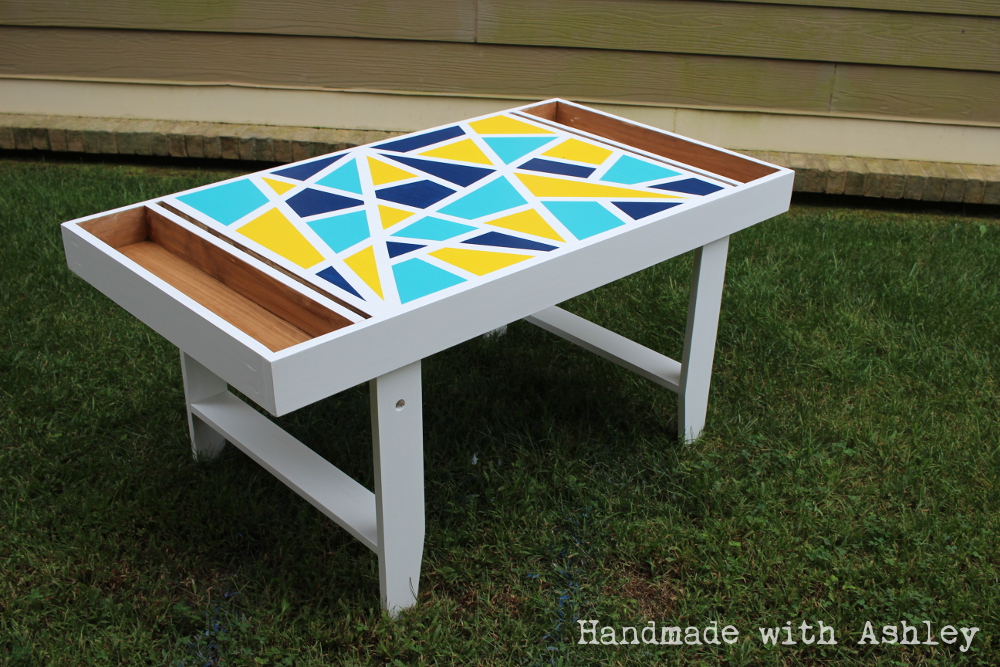
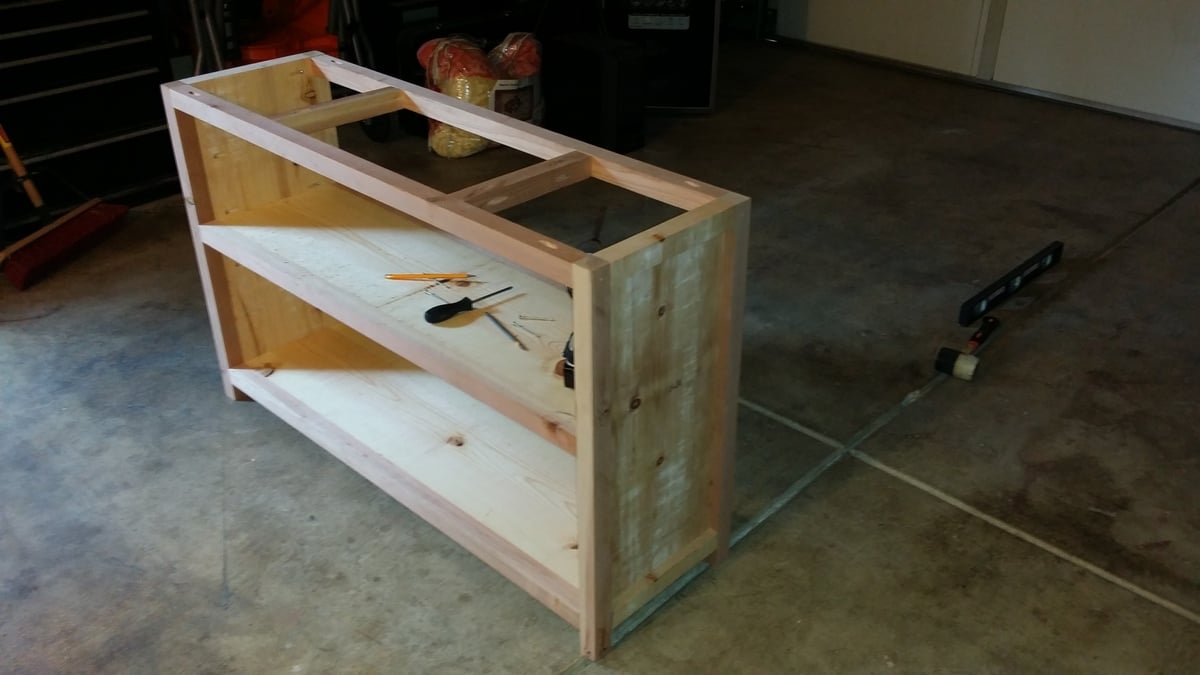
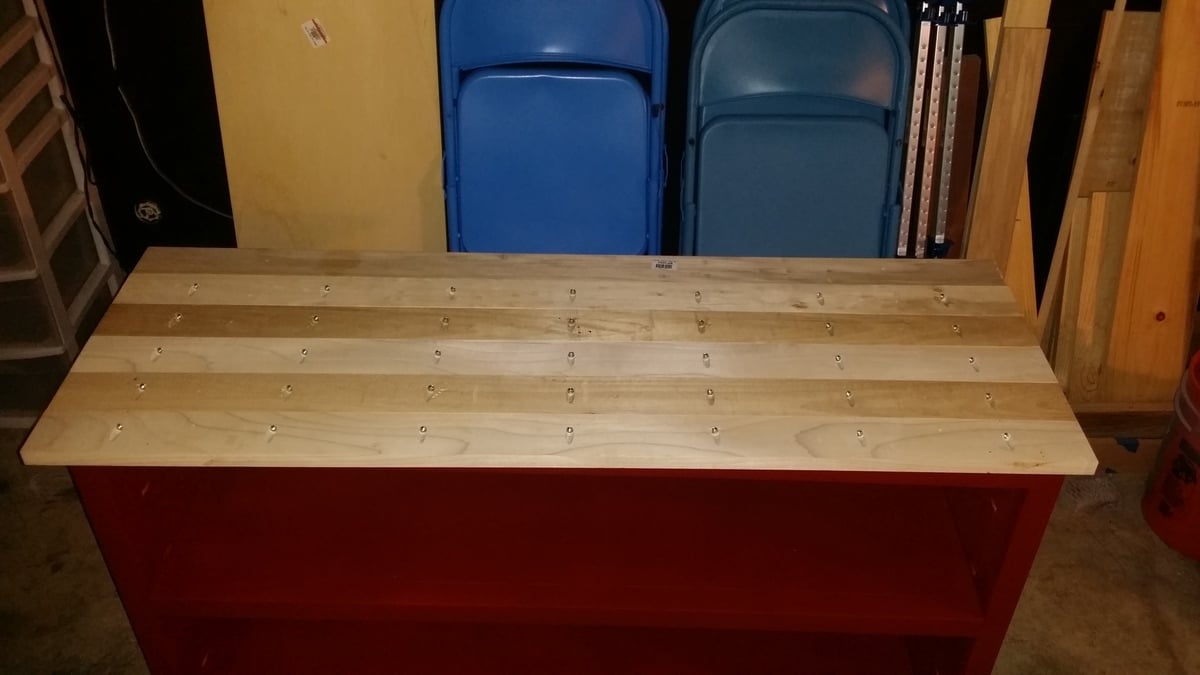
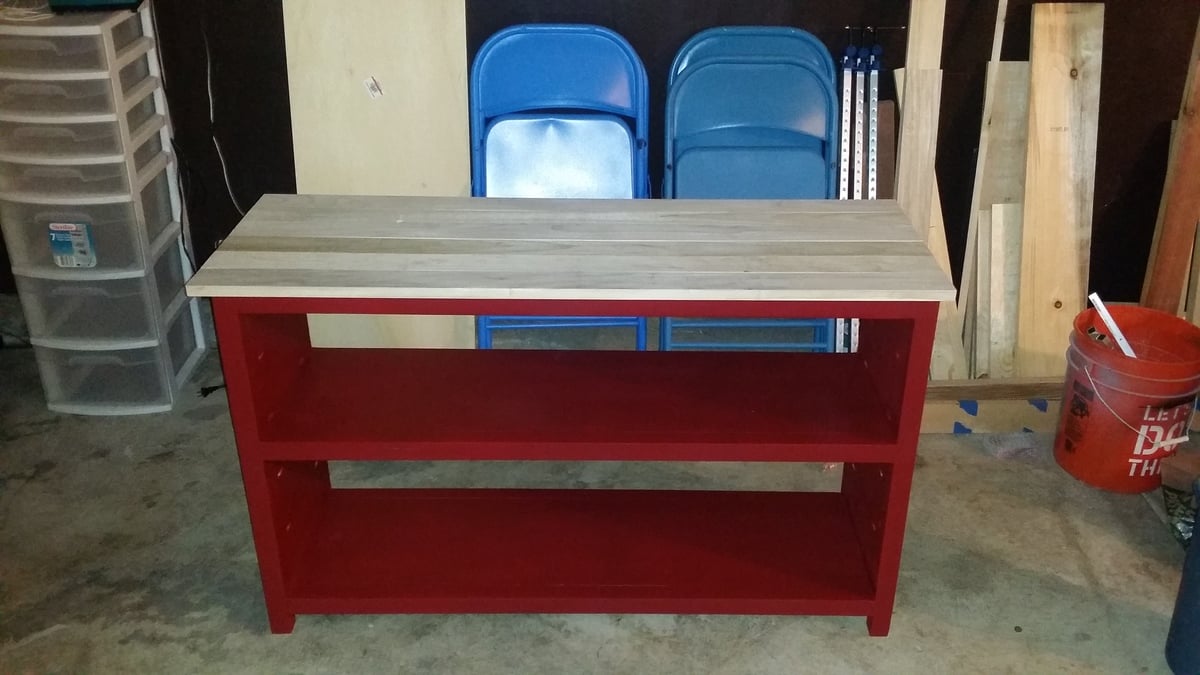
I'm so excited Ana created plans for this table! When I first came across it on Pottery Barn Kids it was love at first sight. :D I built it over the weekend for my little toddler. Unfortunately, he's too short for it, but he'll grow into soon enough. :) (I secretly wished it was an art table appropriate for my height!)
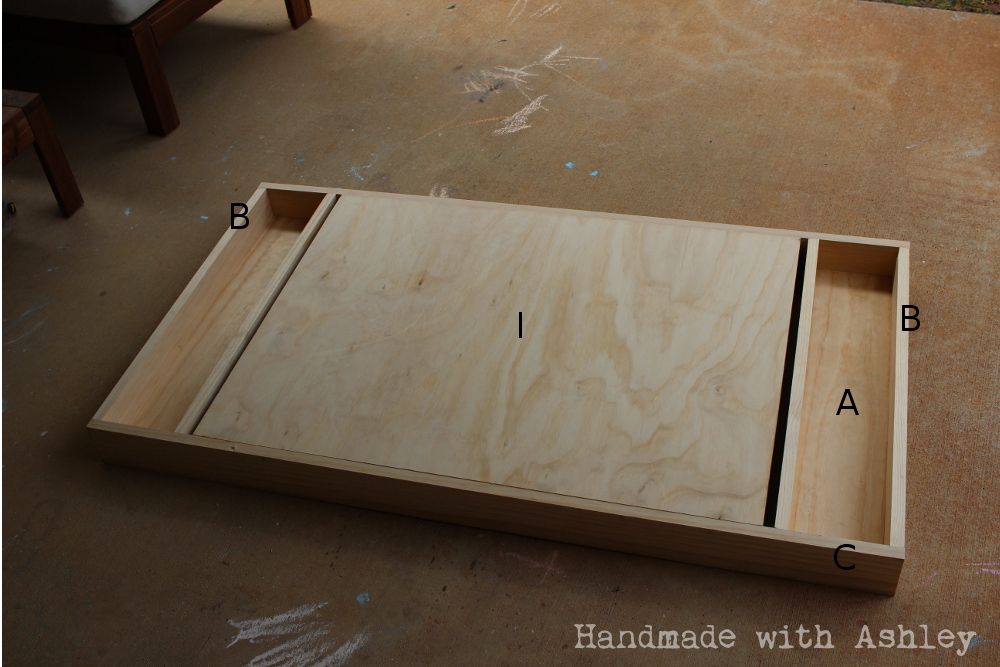
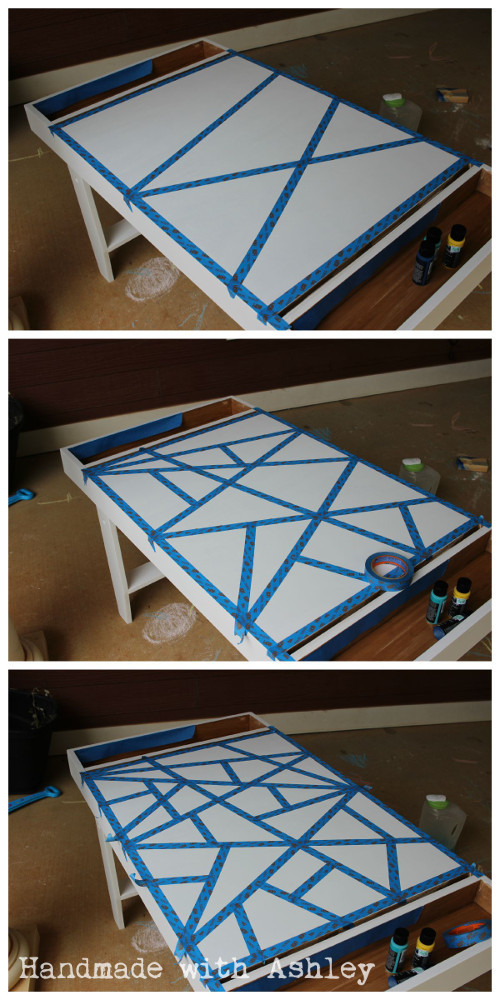
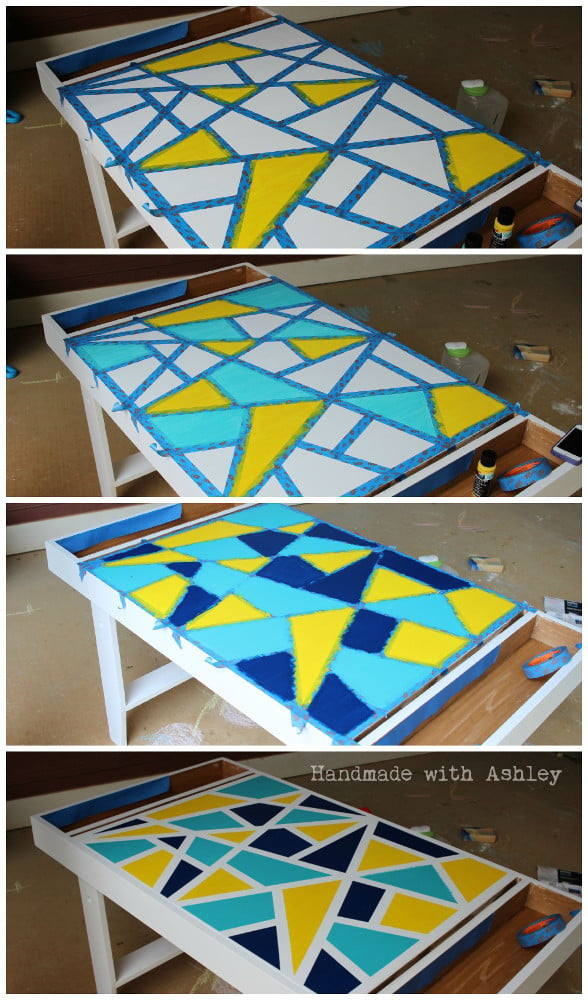
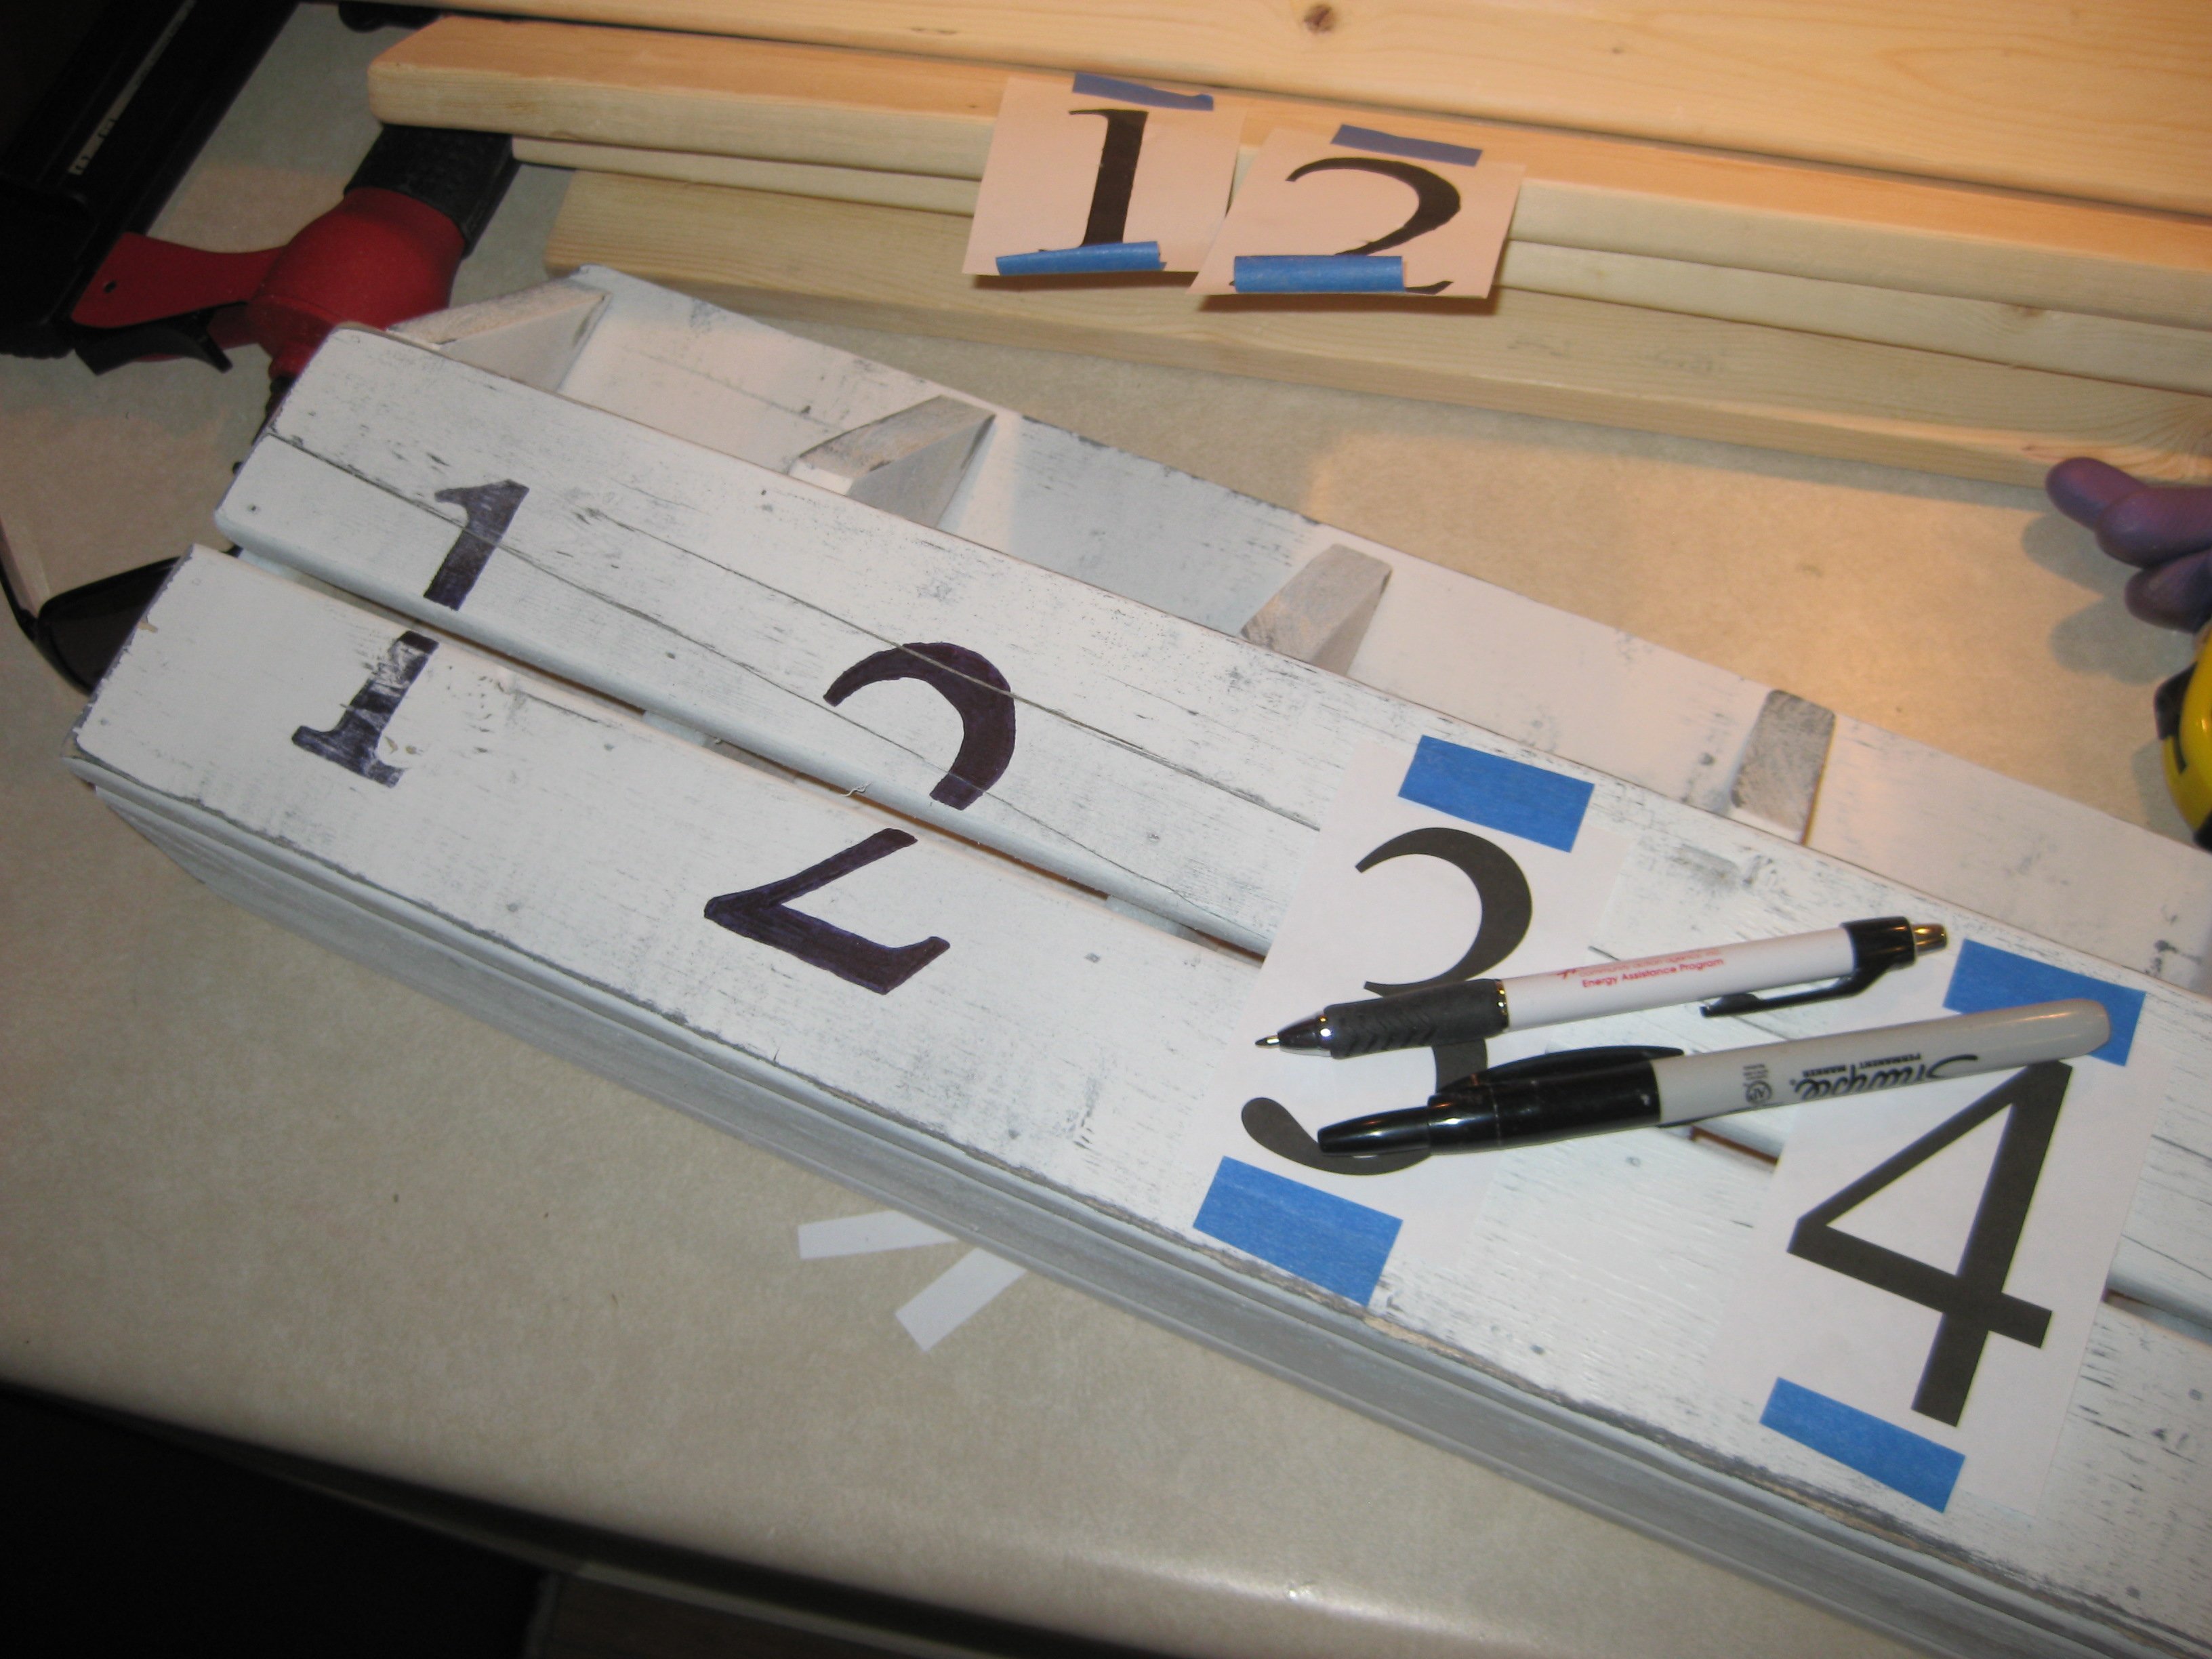
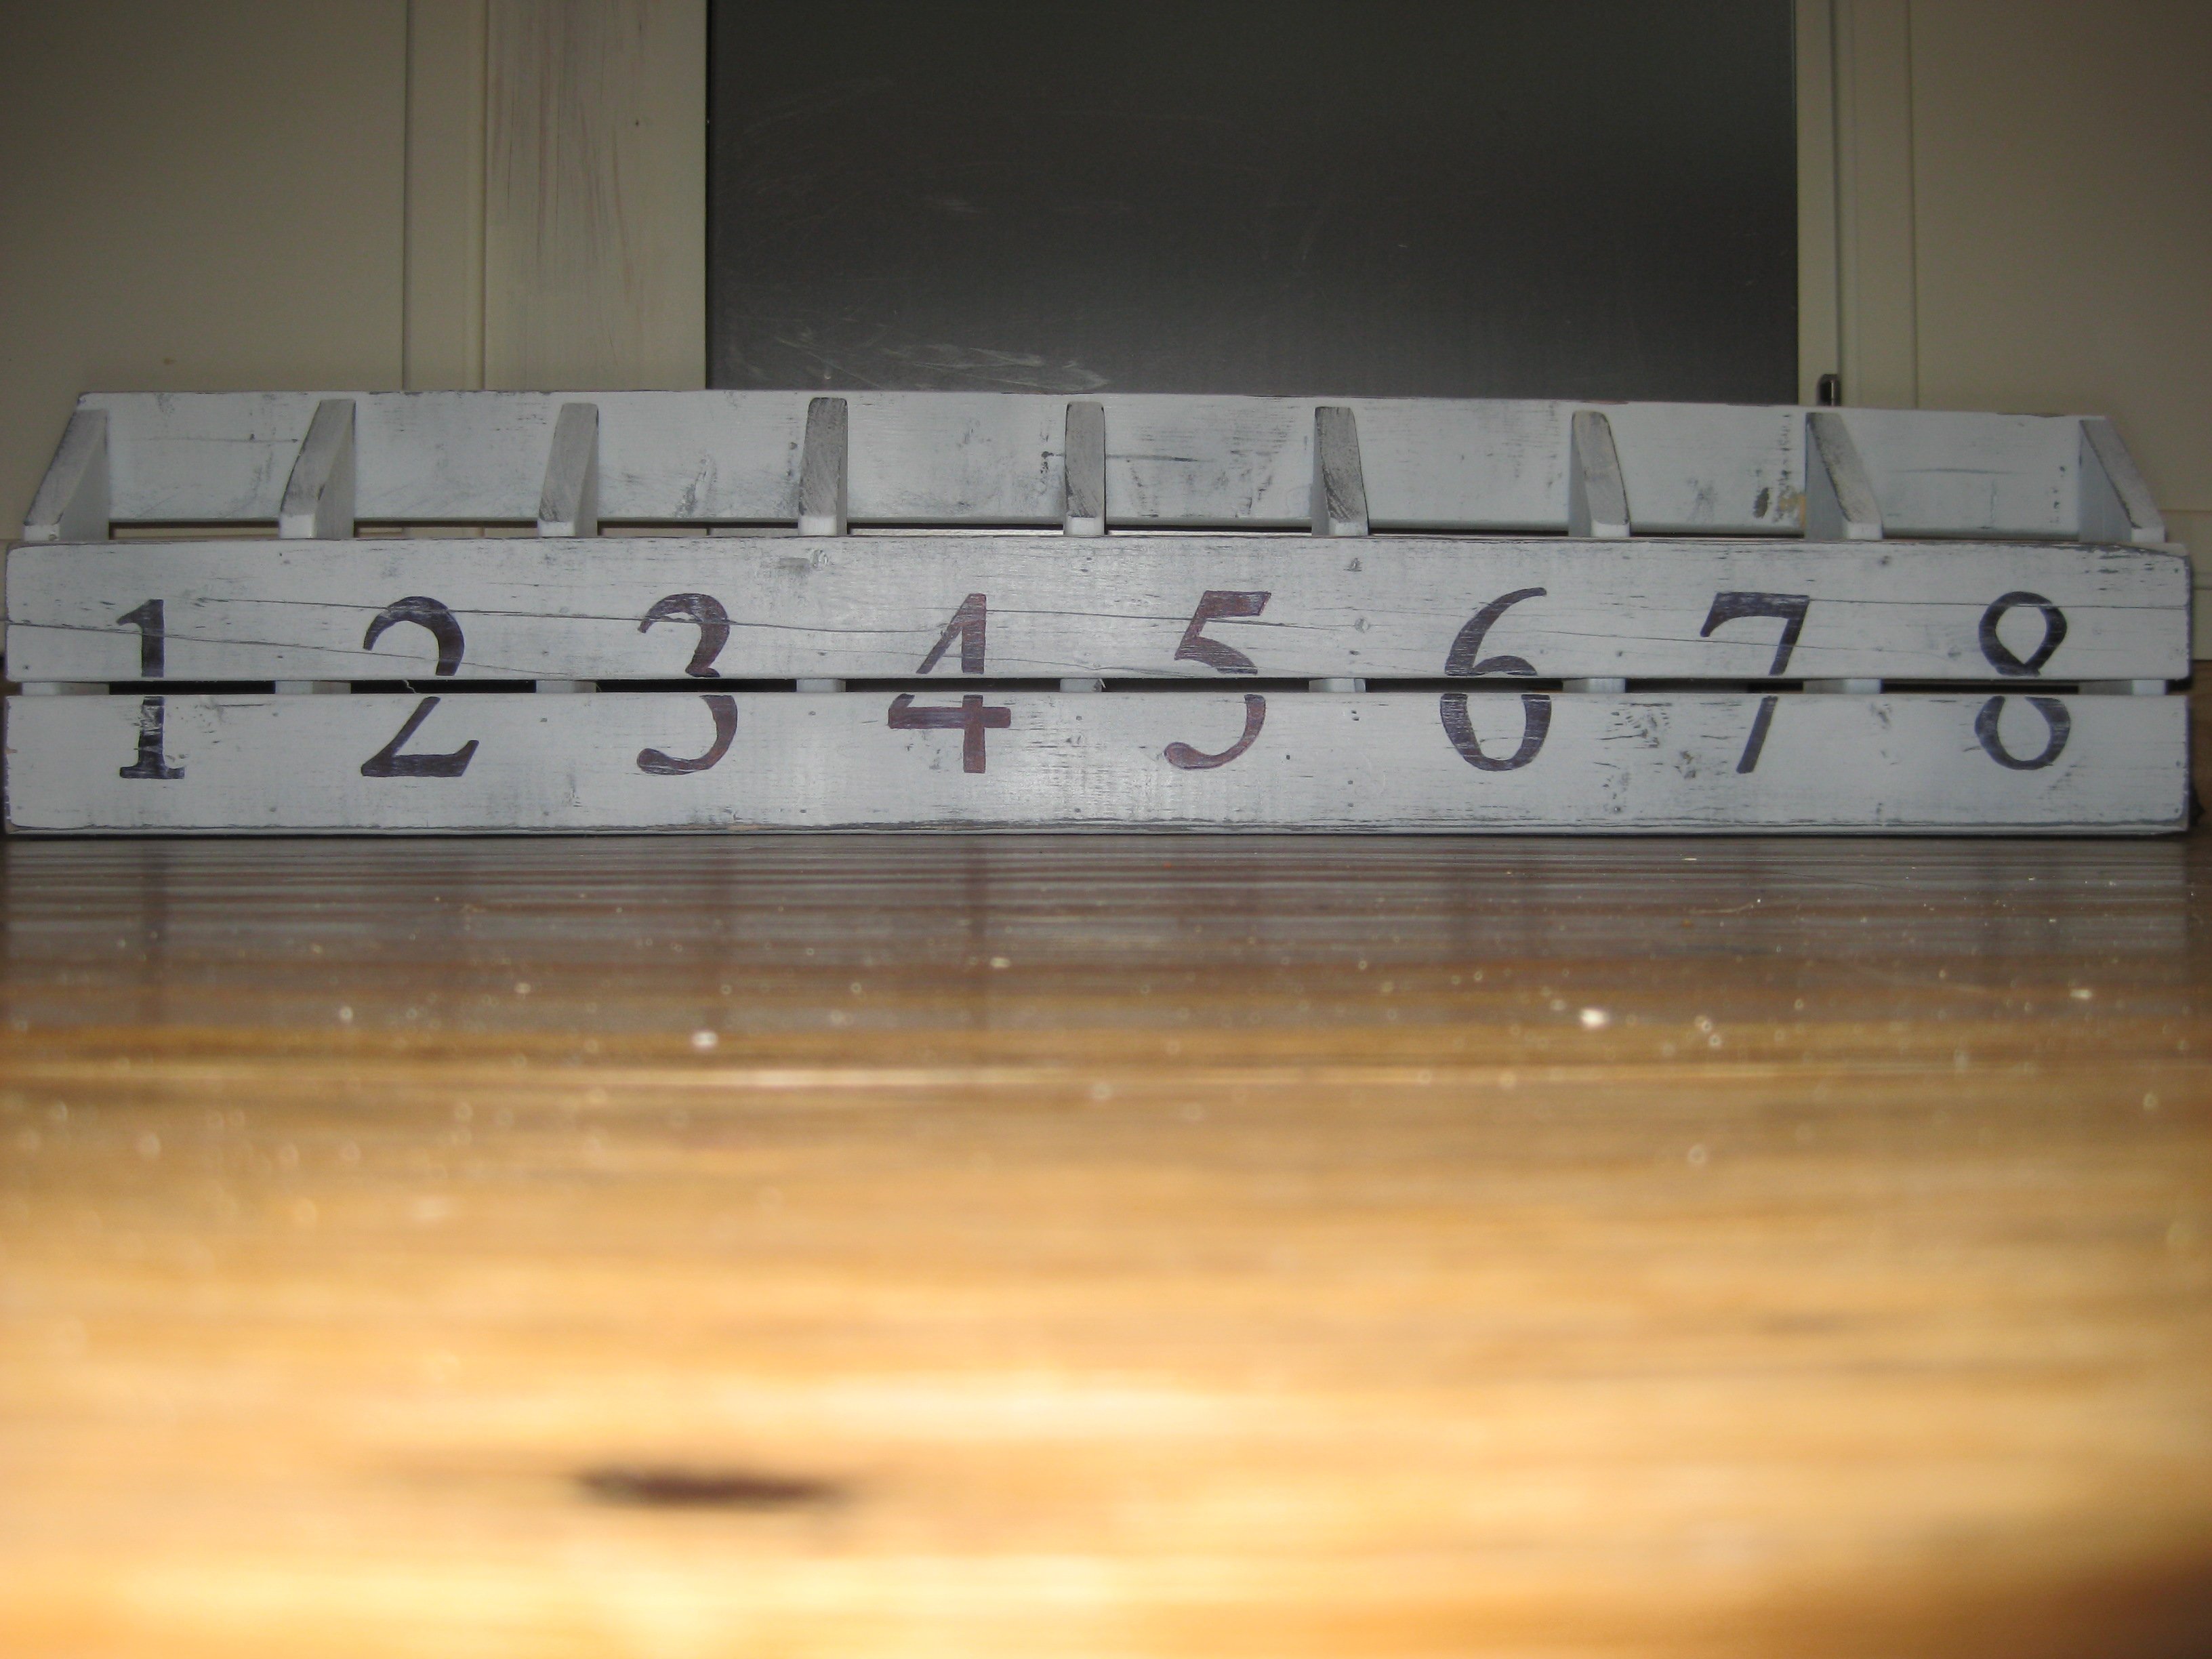
It cost me about $75 to build. I splurged and bought select pine boards for the project. The art table was also my submission for September's Fab Furniture Flippin' Contest. September's sponsor is General Finishes and the theme was geometry!
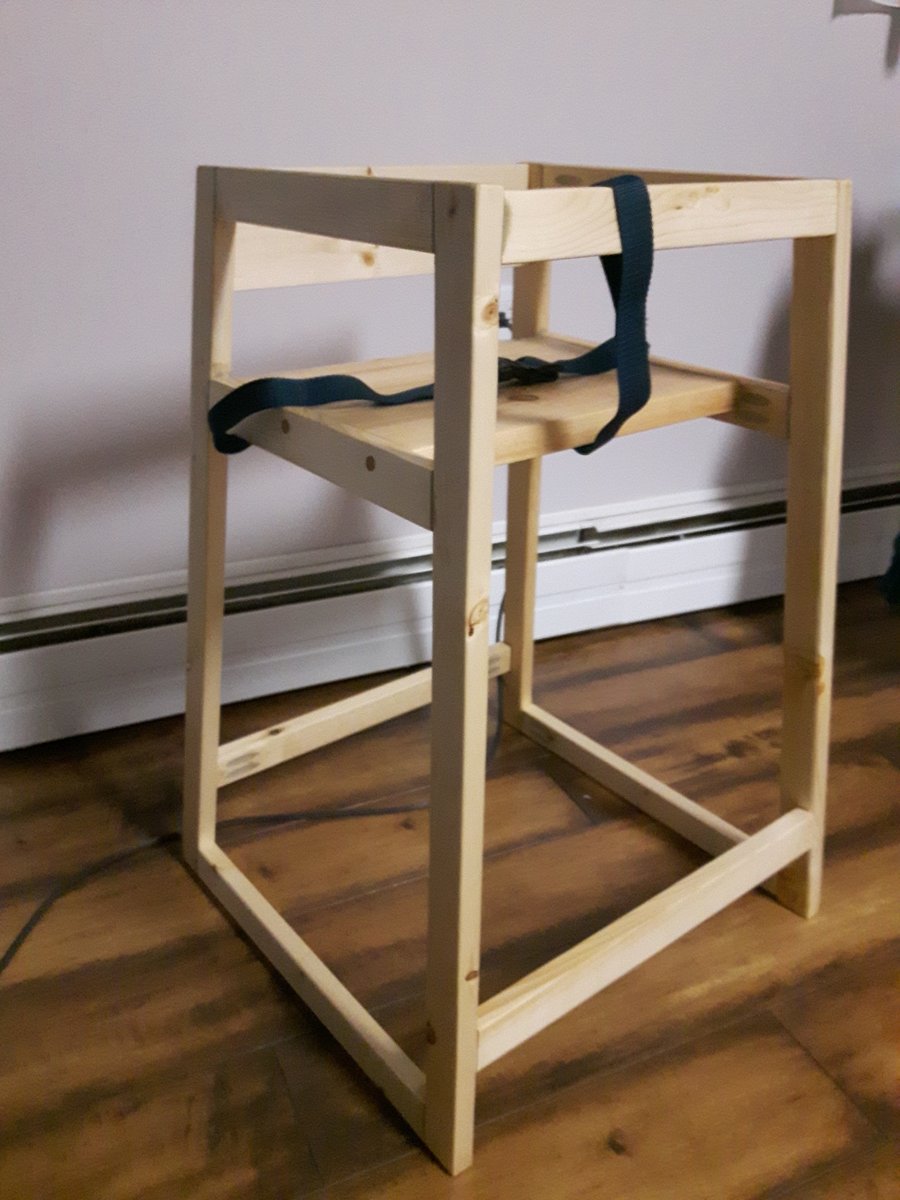
Now, I just need to build matching seats! I love the little stools Ana built; maybe I'll do something sorta like that. :)
Thank you Ana for inspiring me to build!

Built from Plan(s)
Estimated Cost
$75
Estimated Time Investment
Weekend Project (10-20 Hours)
Finish Used
General Finishes Milk Paint (Snow White), Acrylic craft paints for the geometric pattern, ECOS Paints Woodshield in Pine Needles for the cubby stain, and ECOS Paints Gloss Varnish
Recommended Skill Level
Beginner


Comments
Ana White Admin
Thu, 10/01/2015 - 10:55
Super Cute!
Love your sweet little table! Thanks for sharing!