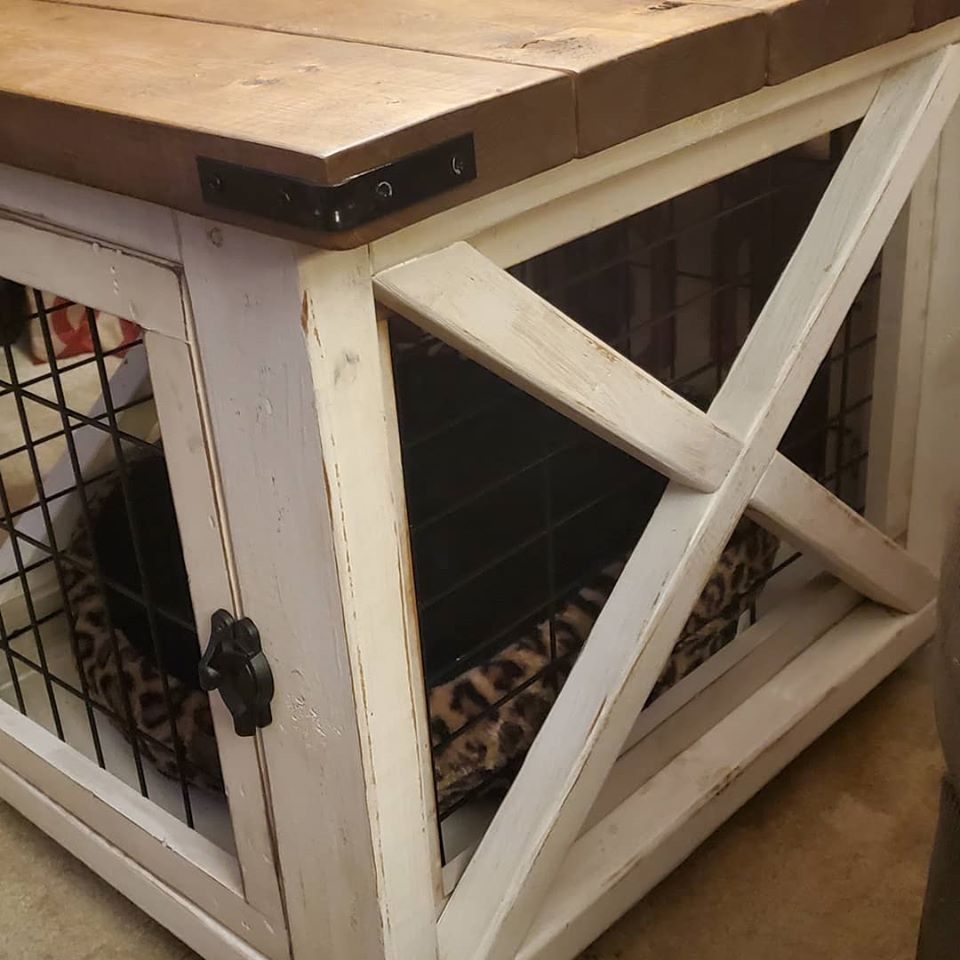
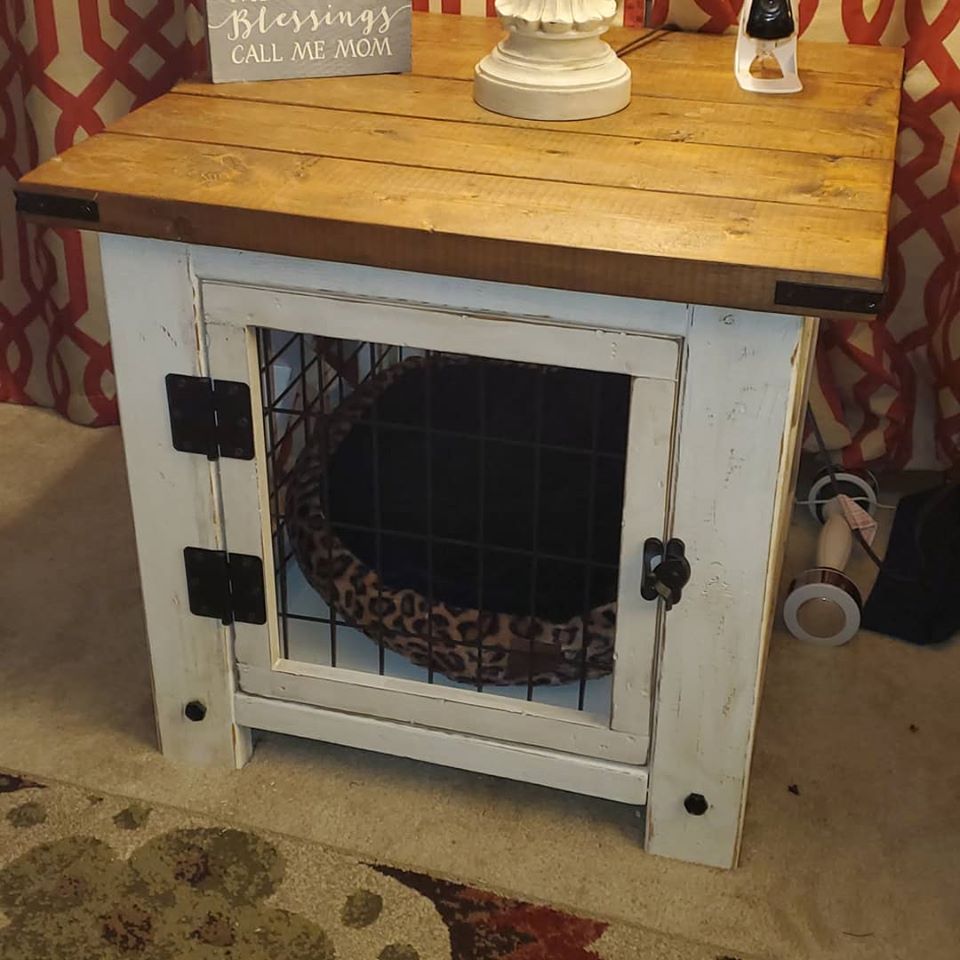
X Frame End Table Kennel
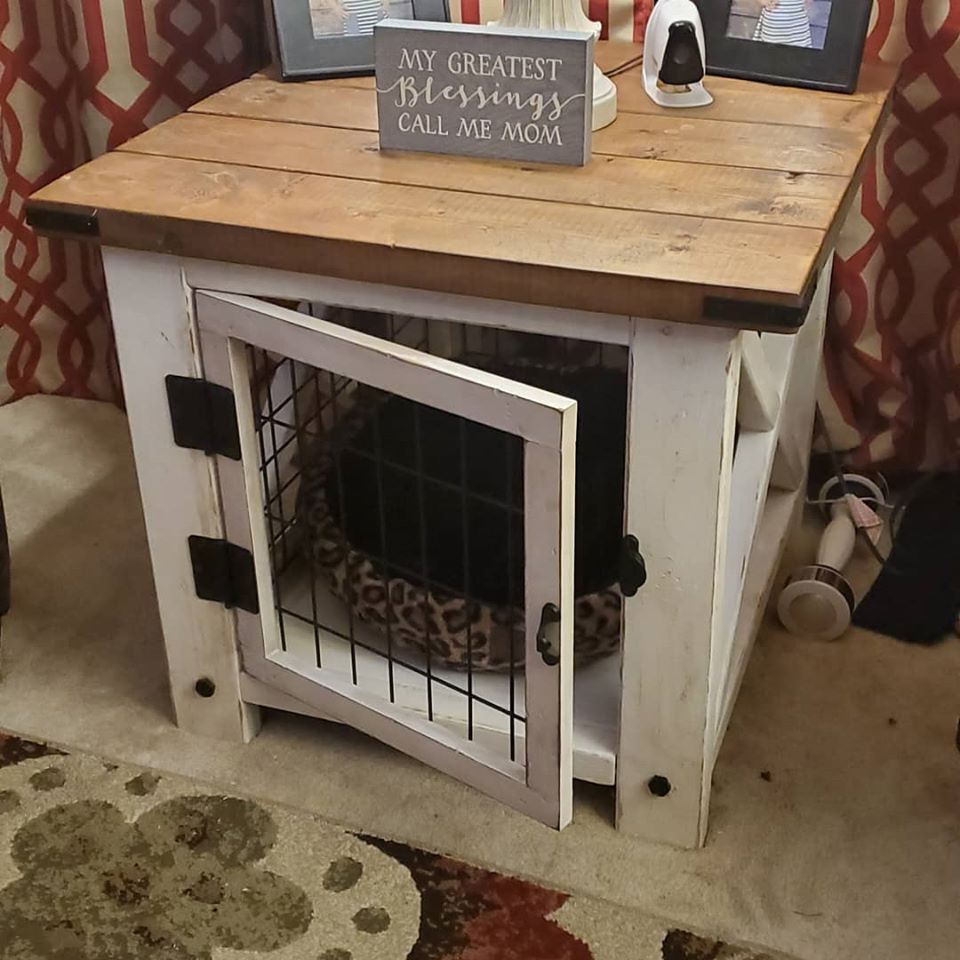
I took Ana's X-frame end table plans and created a kennel for our small breed dog, she LOVES it!!!
Built from Plan(s)
I took Ana's X-frame end table plans and created a kennel for our small breed dog, she LOVES it!!!
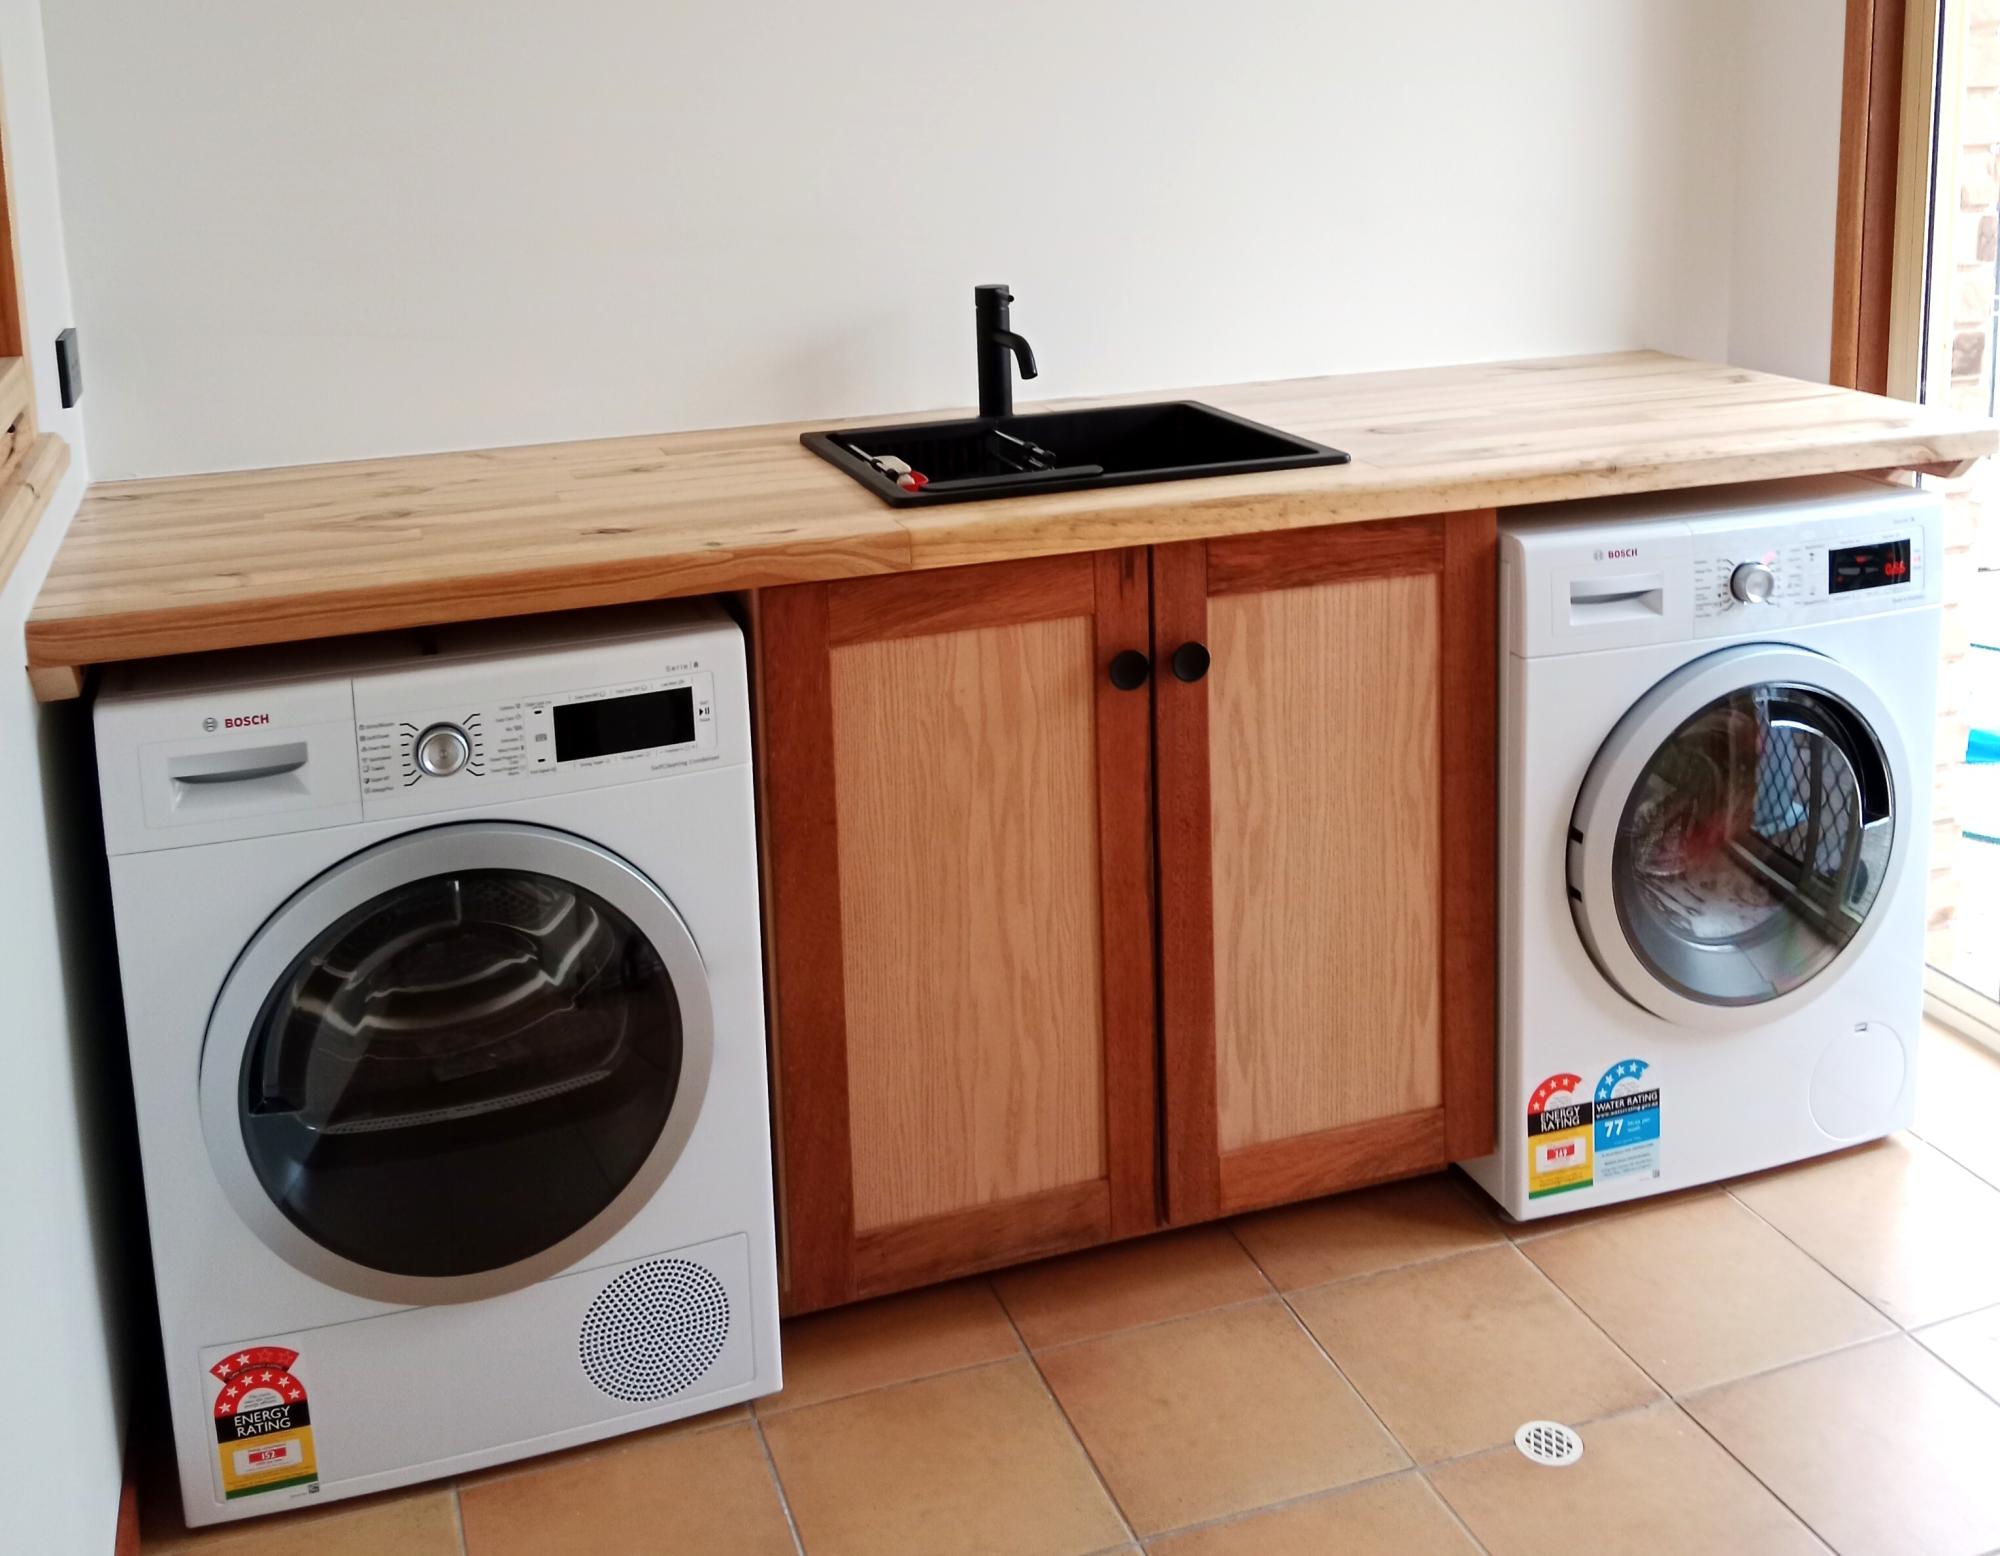
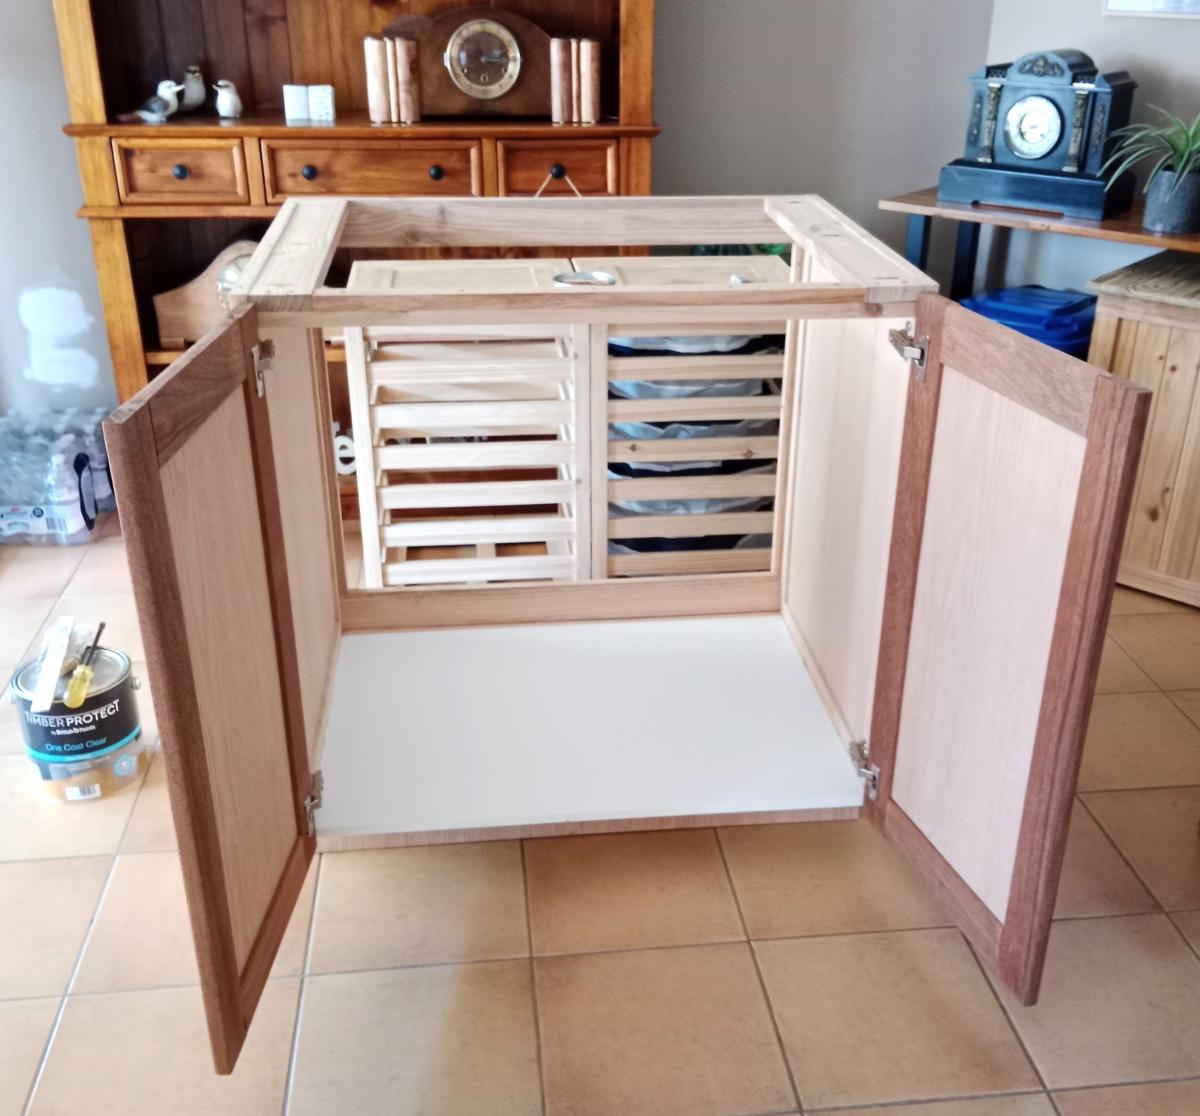
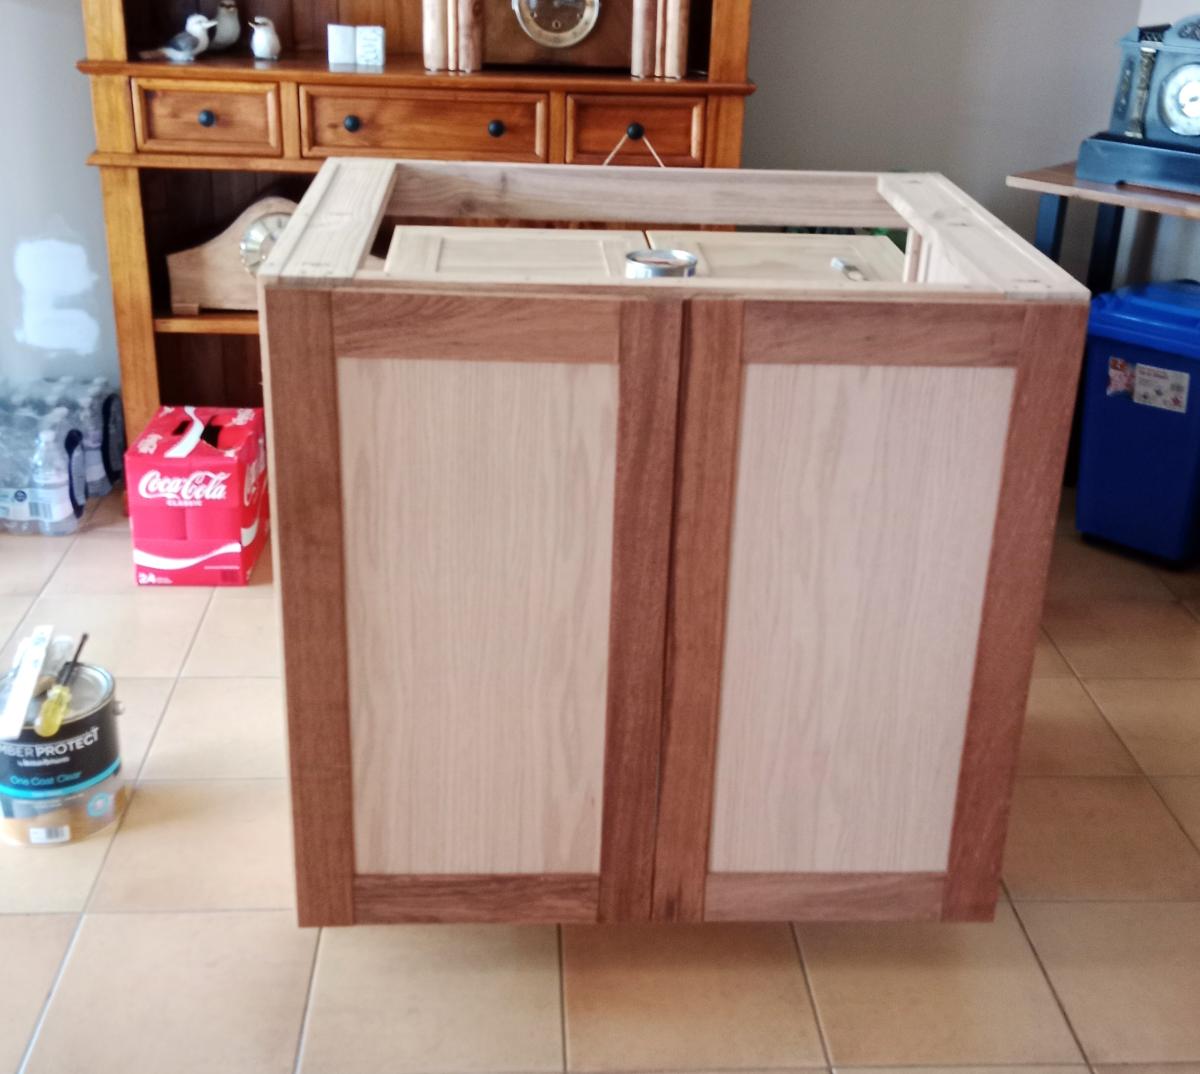
Our laundry renovation with the cabinet loosely based on the Ana's kitchen cabinet plan. I used 7mm red oak plywood for the door and side panels with some with Baluster hardwood for the doors frame.
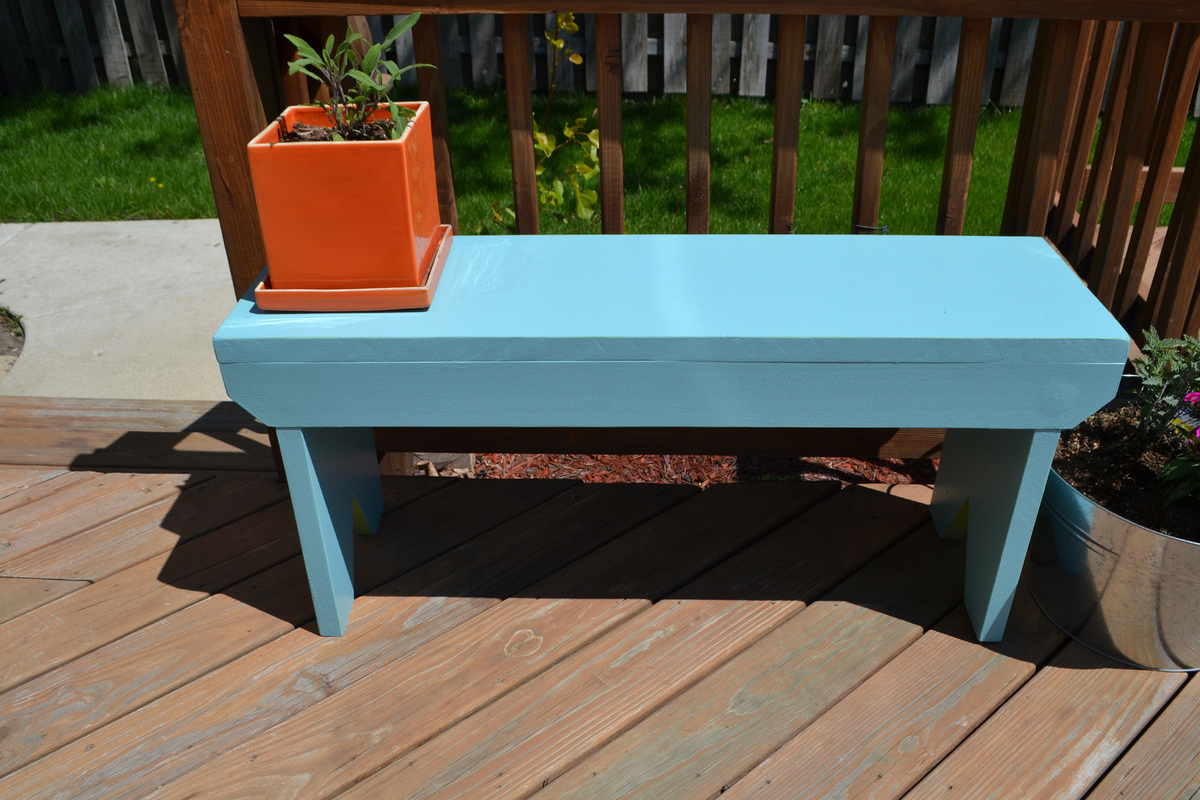
The benchtop was all cut from my usual 200mm x 50mm pine landscaping sleepers.
Mark
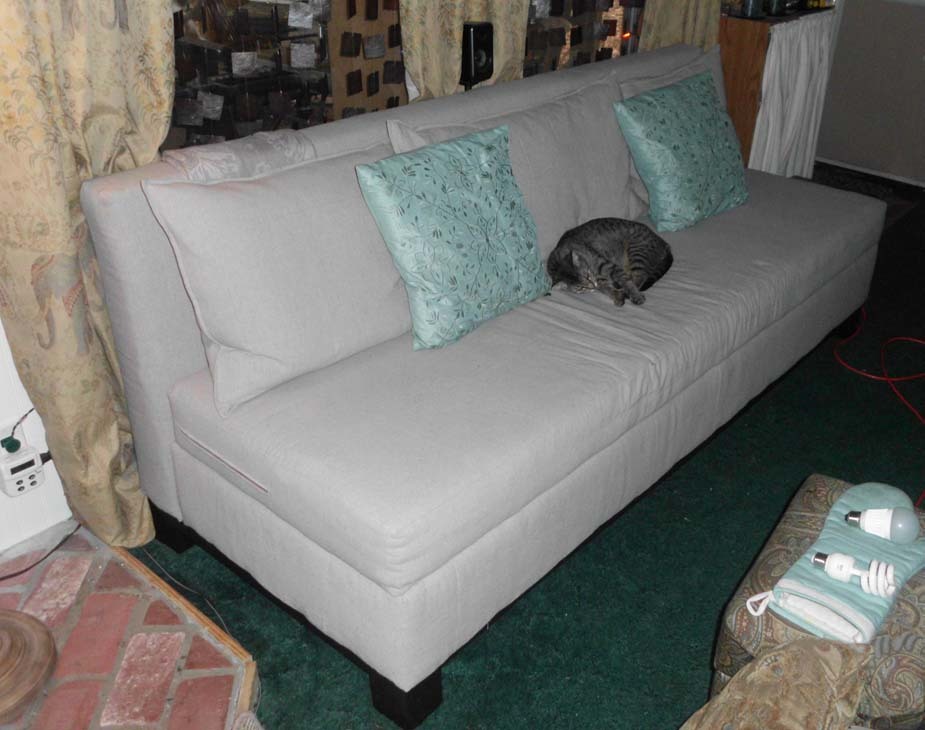
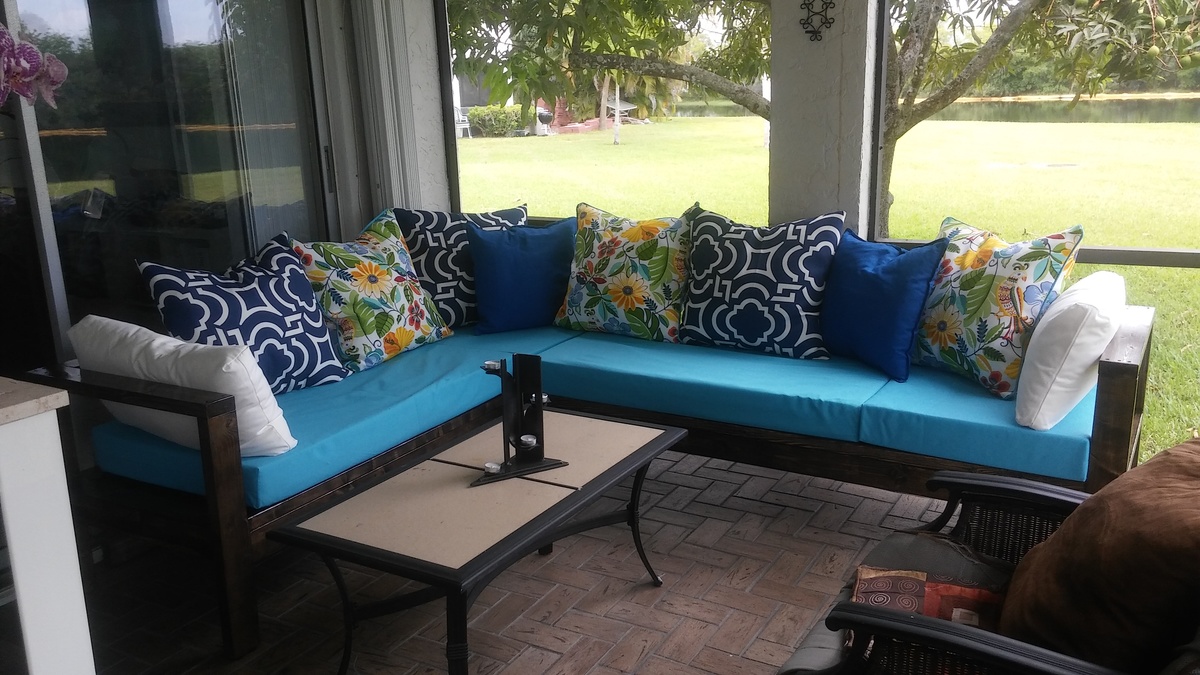
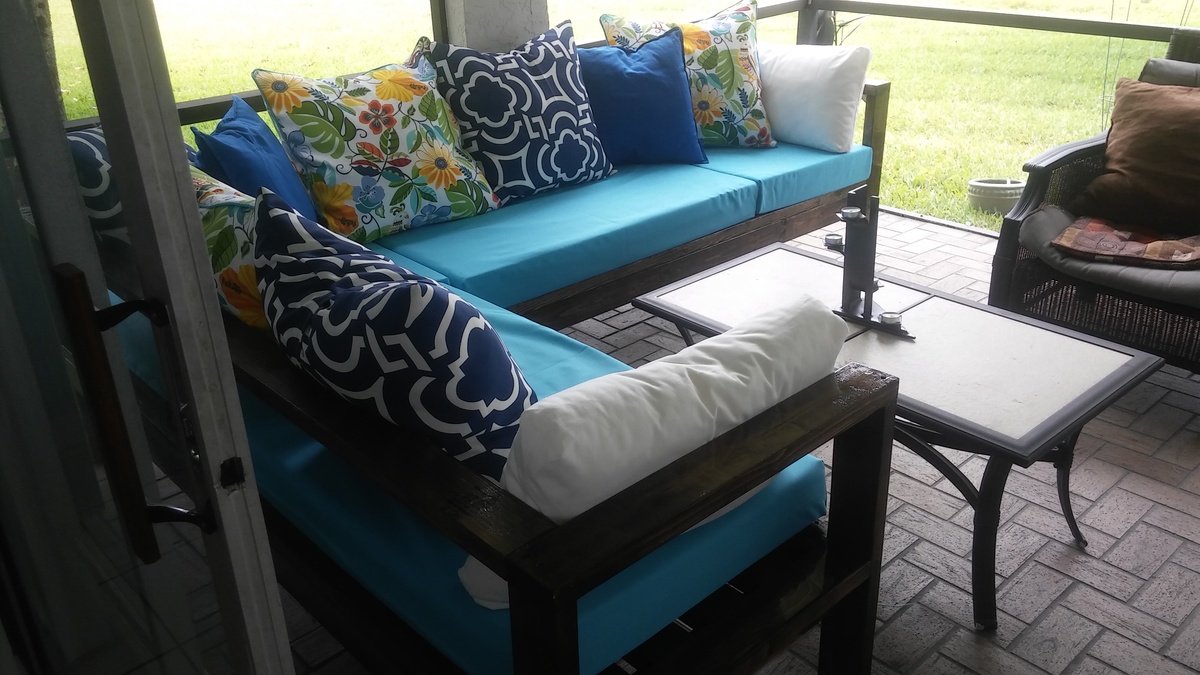
I loved the idea of the storage sofa! Such an easy build and I tweaked the plans to fit my needs... I used 5" high density foam, I lengthened the sofa to 84" (so I wouldn't have any wasted foam and also so my extremely tall son could stretch out on it without his feet hanging off the edge), I used a 2x8 for the box, and used 1/2" plywood for the seat because 1/4" ply was too flexible. I also made the seat with a zippered cover to encase the foam, batting, and plywood. This way, I can easily remove it to wash it. It's my favorite place to sit while I'm working!

Sun, 04/22/2012 - 03:41
OH MY GOSH!!!
beautiful!!! looks storebought, great job!!
Mon, 05/21/2012 - 14:44
very nicely done and im going to have to do this as well thanks again.
Thu, 08/15/2013 - 13:01
It cannot be denied that storage sofa provide sufficient space to keep your various household articles and clothes. They can be perfectly used for adding storage space in small houses.
Regards
Thu, 08/15/2013 - 13:02
It cannot be denied that storage sofa provide sufficient space to keep your various household articles and clothes. They can be perfectly used for adding storage space in small houses.
Regards
Fri, 09/06/2013 - 13:21
It is really a fantastic idea to use storage sofa, as it can be used for dual purposes of storage plus sofa. Moreover, it will not occupy much space in the room. Anyway, please click here to see my site.
Tue, 11/19/2024 - 23:32
No doubt that you have writing a wonderful article thanks for share this one. Find blank T shirts
Wed, 11/20/2024 - 01:56
Informative article! This is the type of information that are meant to be shared across the internet. https://viralsbloggings.com/
Sun, 11/24/2024 - 23:54
Very nice article, I enjoyed reading your post, very nice share, I want to twit this to my followers. Thanks! circle clothing

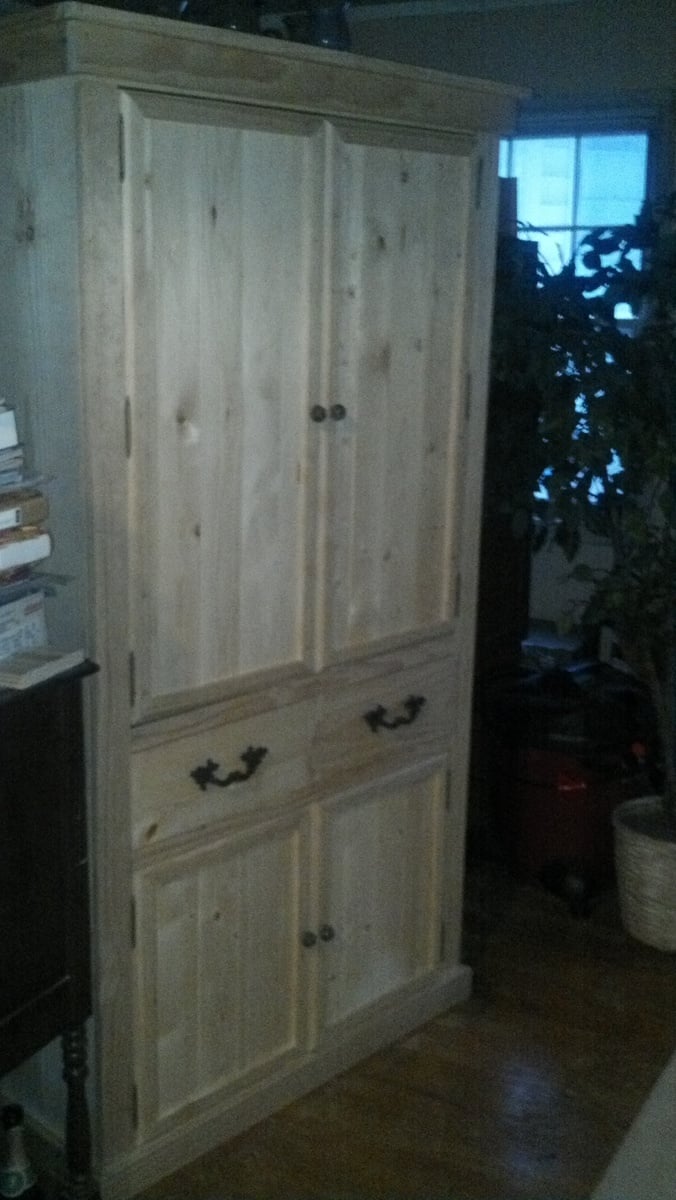
I loved the tall corner cabinet but hate to have my television out in view all of the time so I used the plans and made an additional door opening for the tv. I adore it and now have so much space I chat wait to tackle many more projects!


Loved making this...conquered my fear of doors and drawers during naptimes!
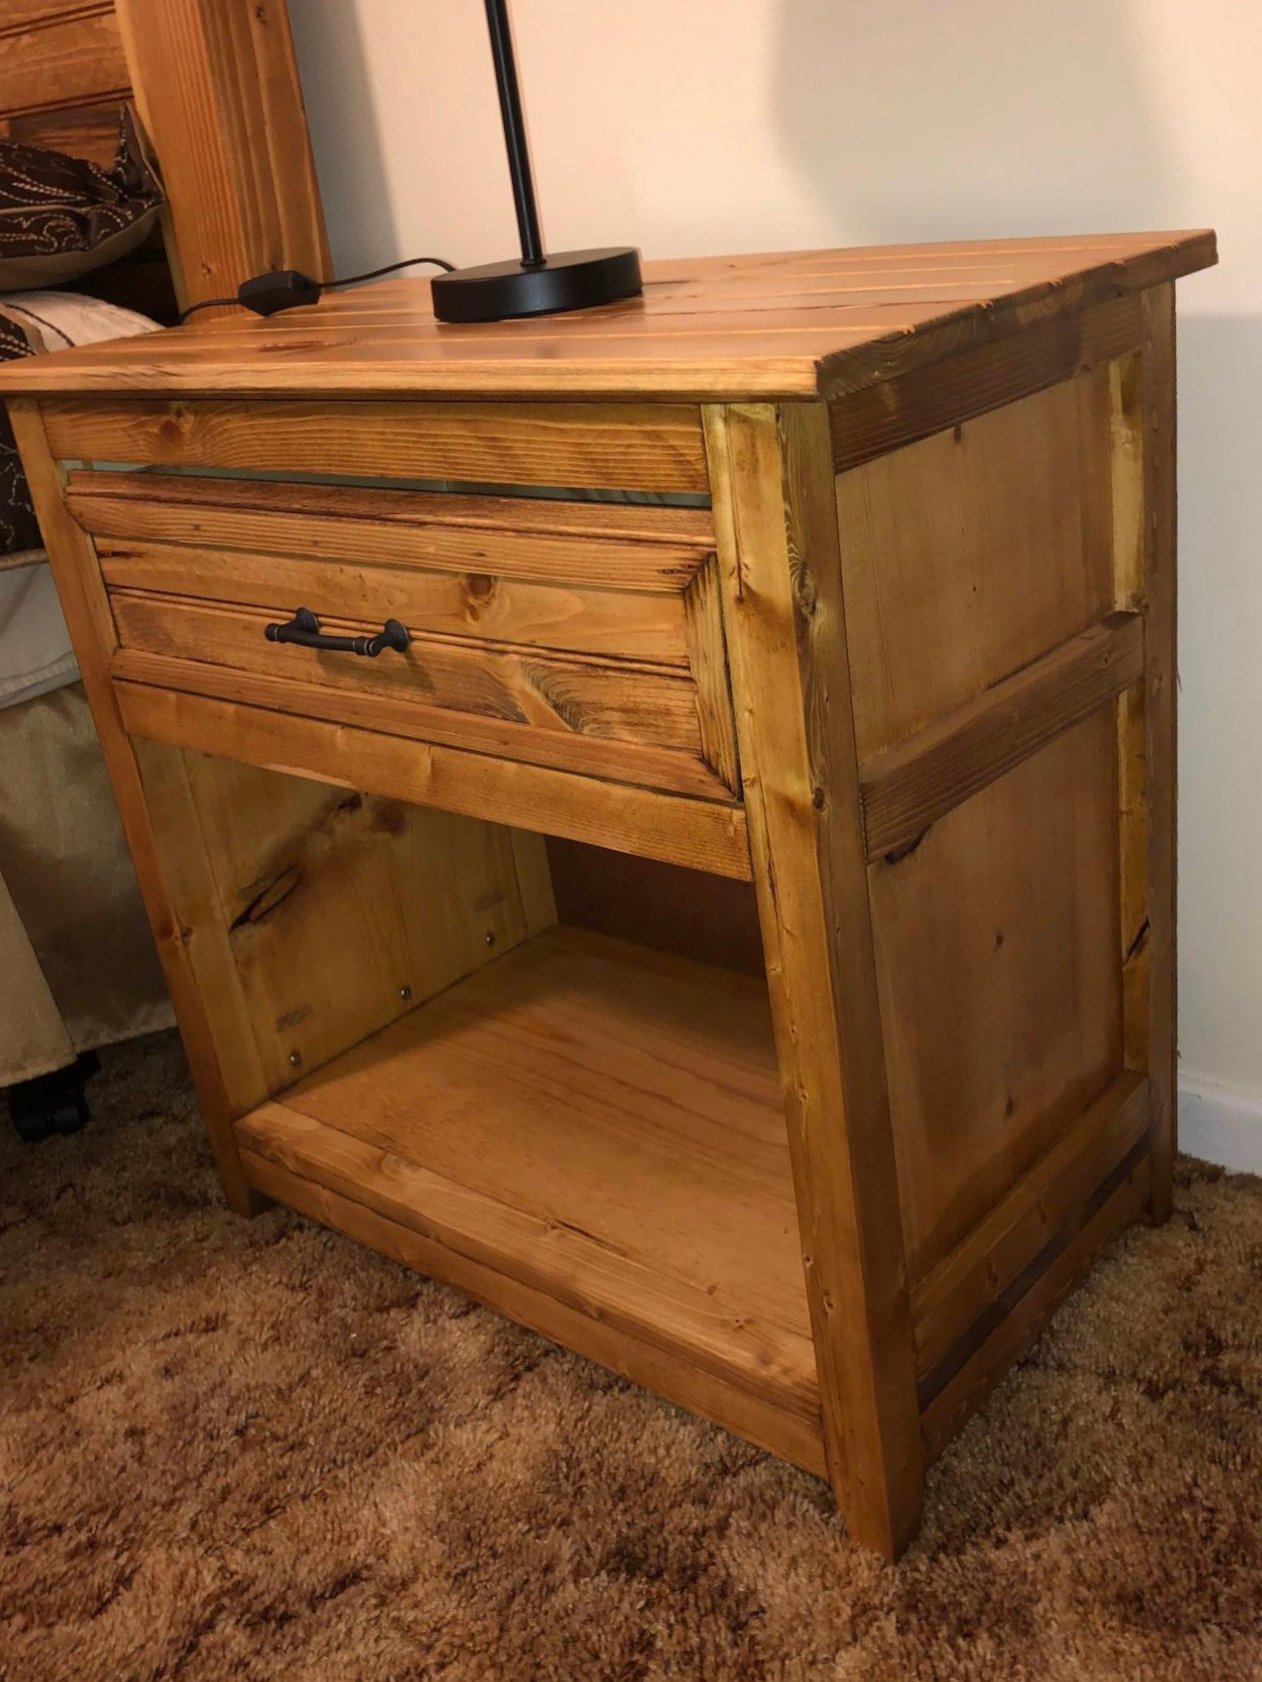
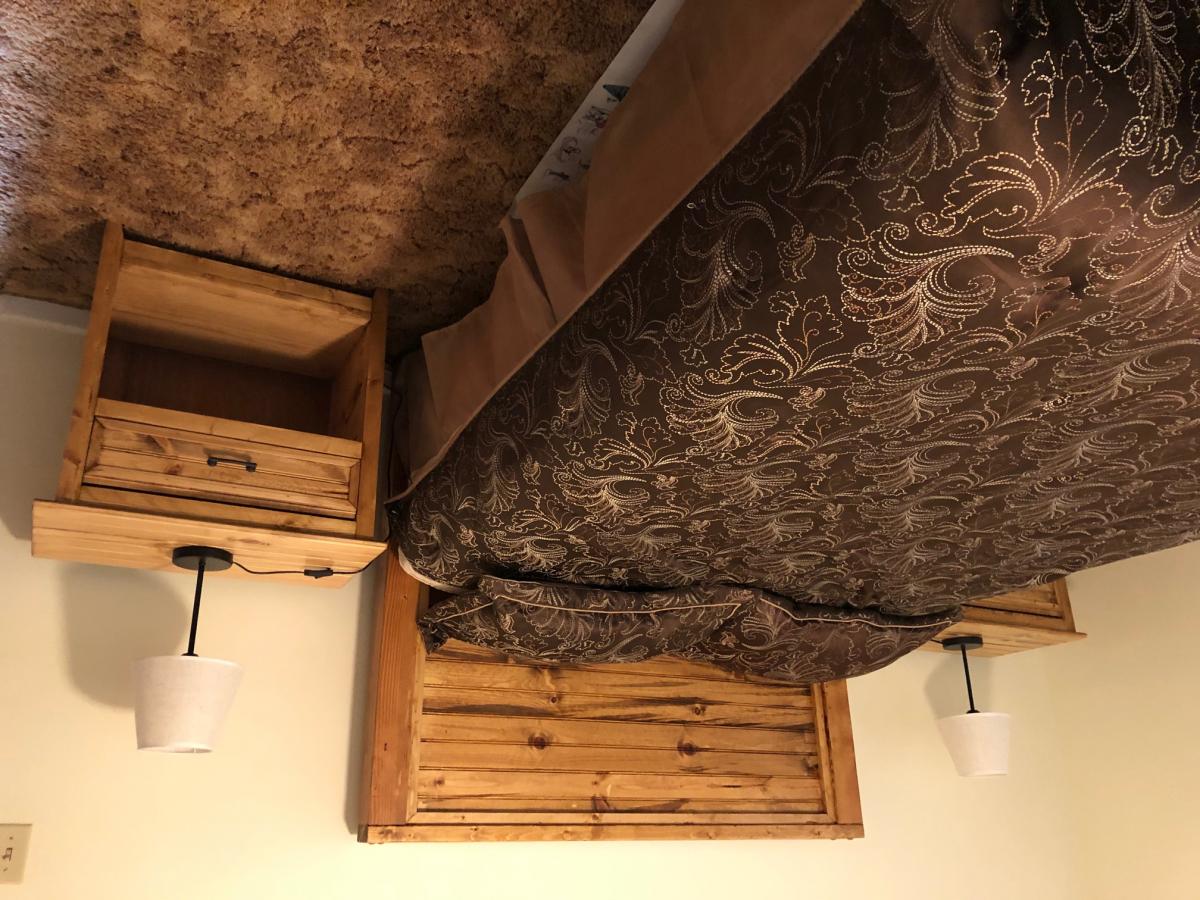
I built a pair of these nightstands to go with the Farmhouse Headboard that I made from plans elsewhere on this site.
I used tongue and groove bead board for the tops and drawer fronts.
Decent 2 x 2's are hard to find so I ripped down 2 x 4's for the legs on my table saw.
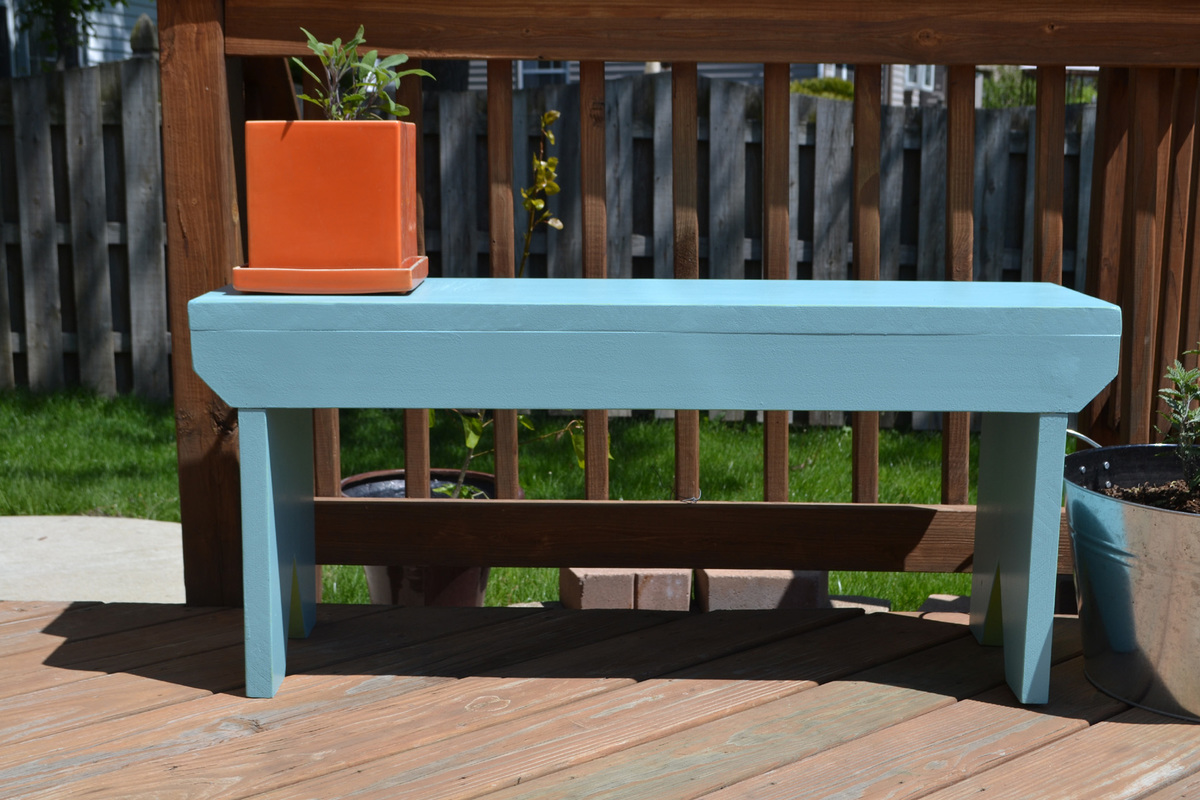
My partner purchased one of these benches for $100 at a shop in Michigan, but we gave up it over a year ago, and have missed it ever since. I decided to make one myself, using project board for the top and legs instead of 1x12s to make it sturdier. The bench will actually be used both indoors and out, but I applied Behr exterior paint to help it weather to elements.
Though it is tough to see in these pictures, the under layer of paint is actually a spring green, while the top coat is bright blue (both custom mixes), and the edges have been sanded. My partner wanted the V in the legs to remain green, and so they are. We're both very happy with the bench, and so glad we found the plans on this site. What a savings!
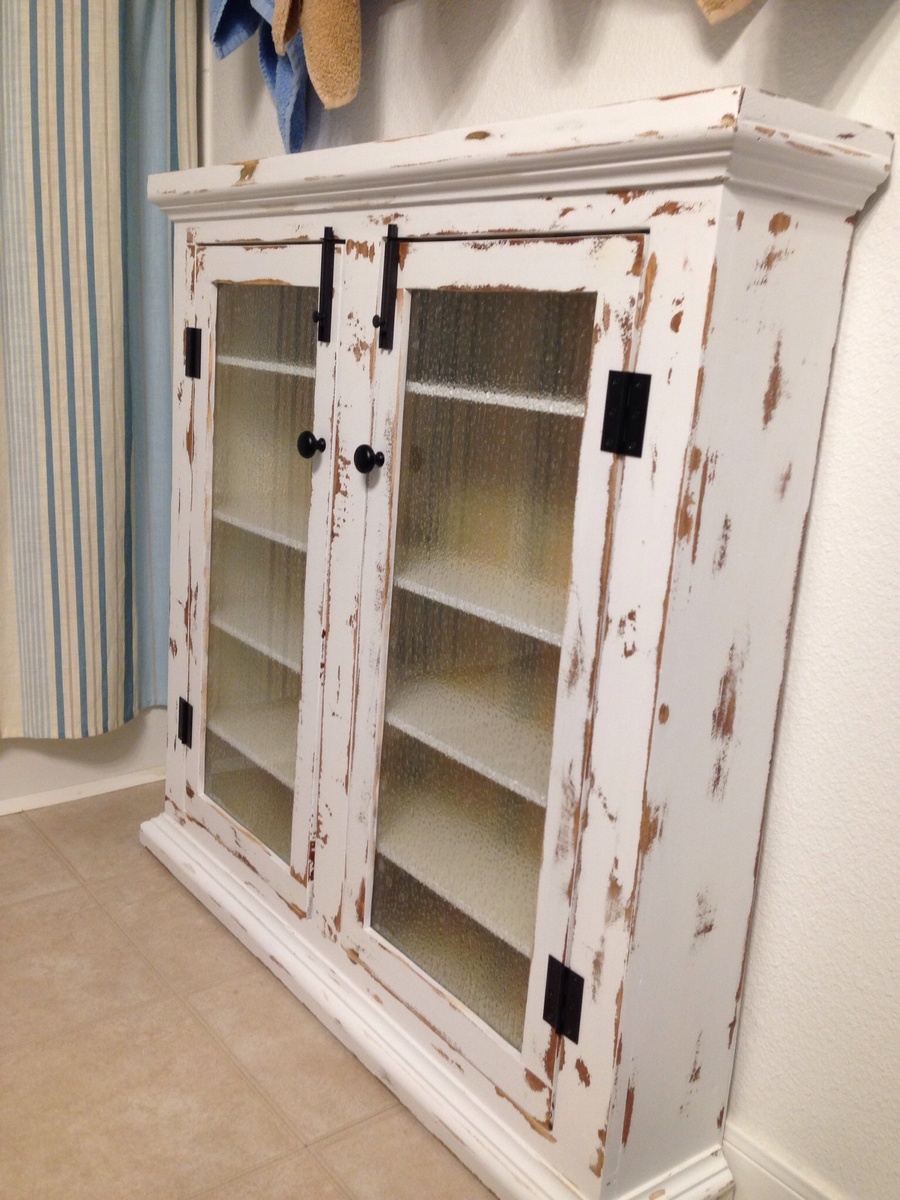
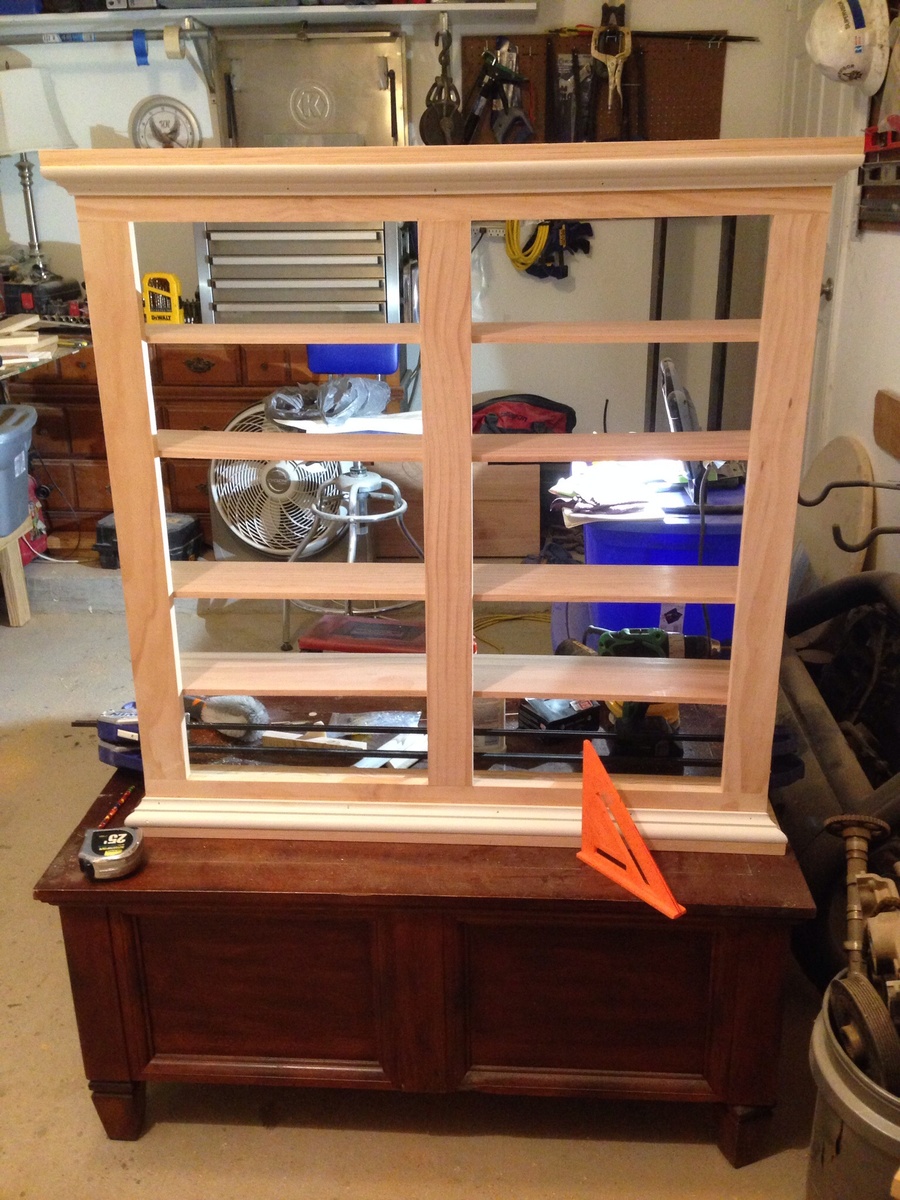
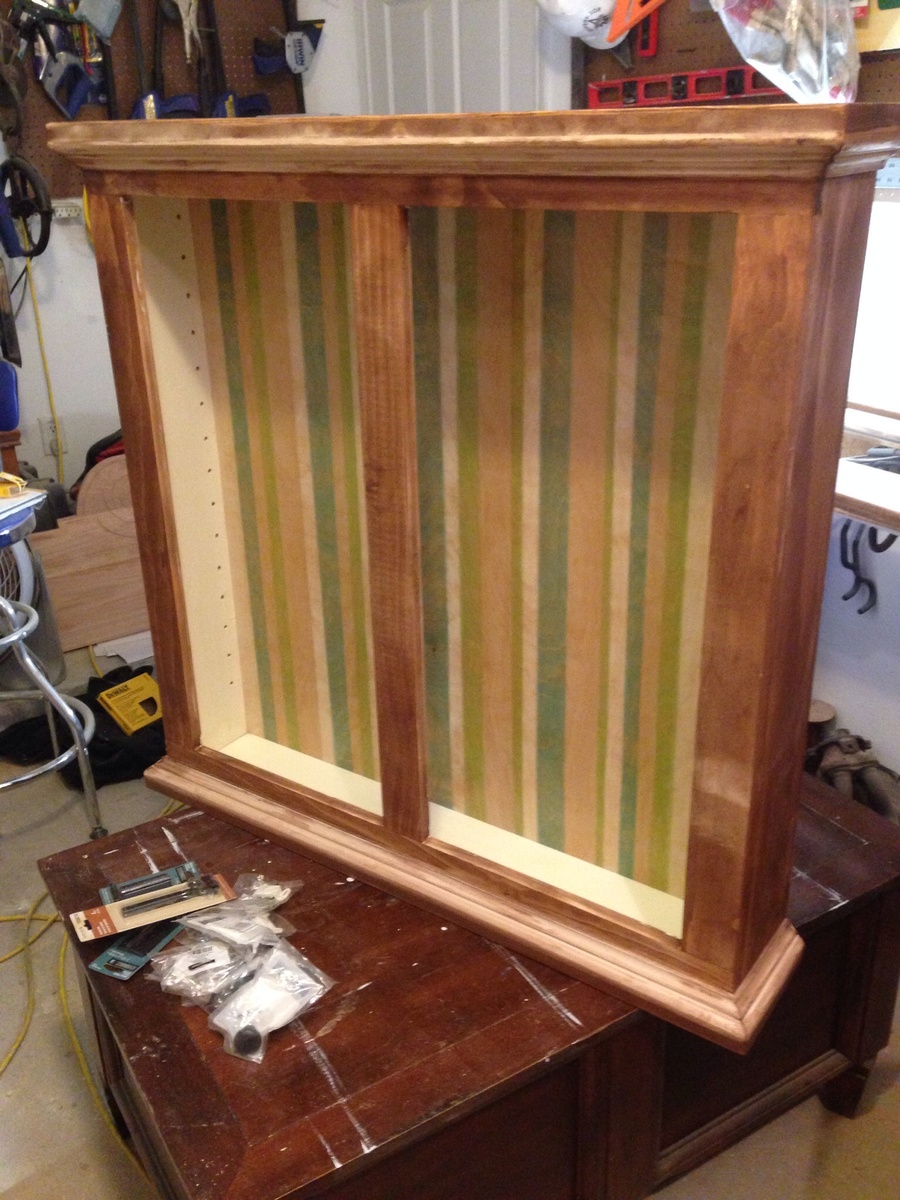
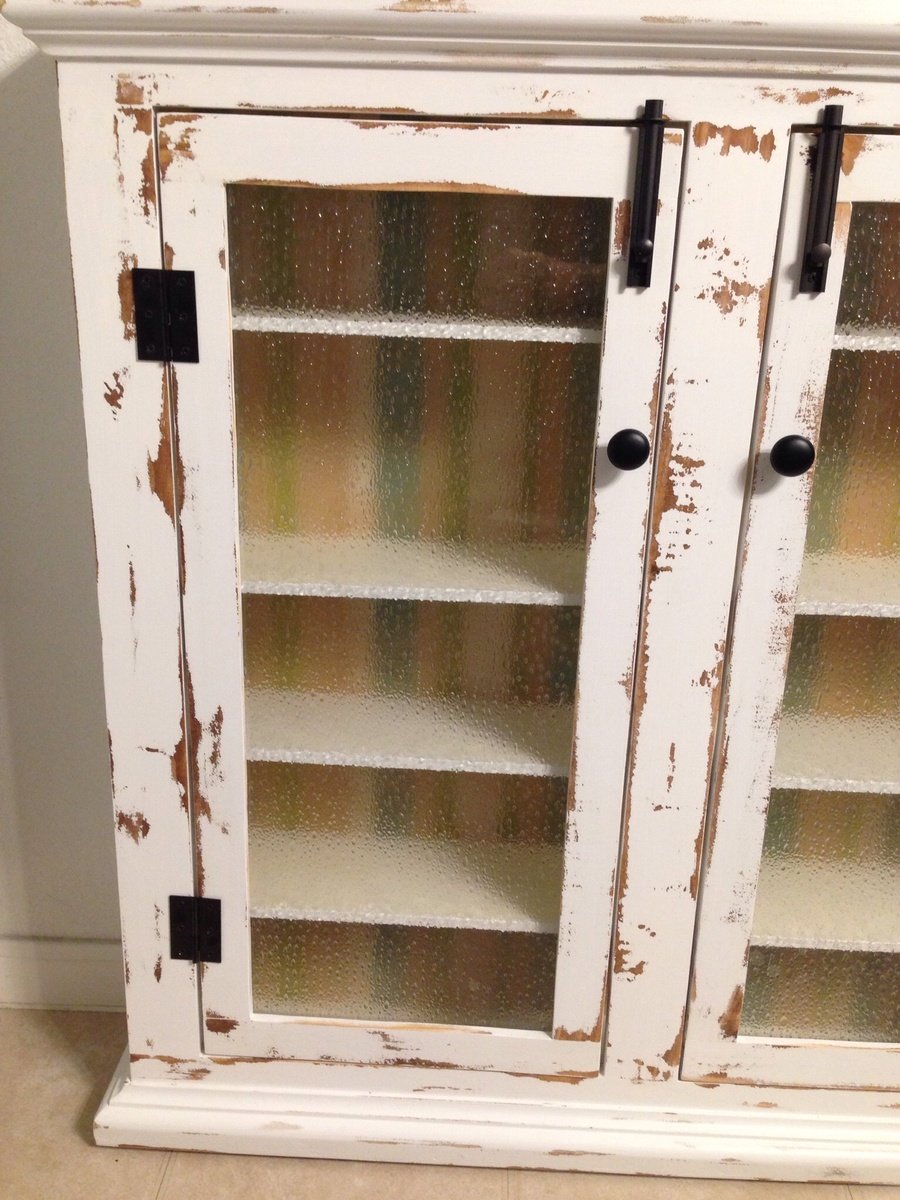
3'x3'x6".
Used to store all of those meds and vitamins and bandages for kids, adults, pets, etc.
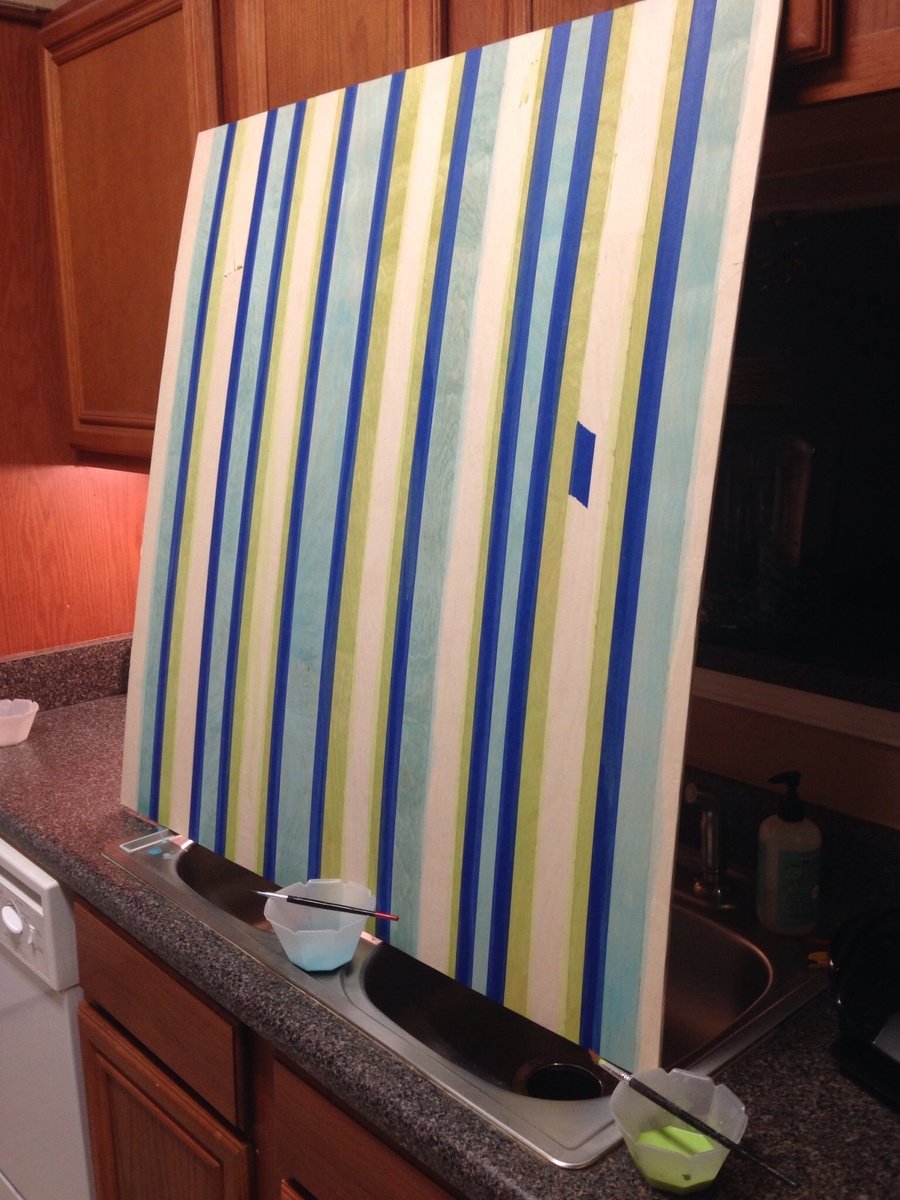
Pine wood, painted stripe backer board, rubbed bronze hardware, dark stain and distressed white finish, seeded glass, adjustable shelves.

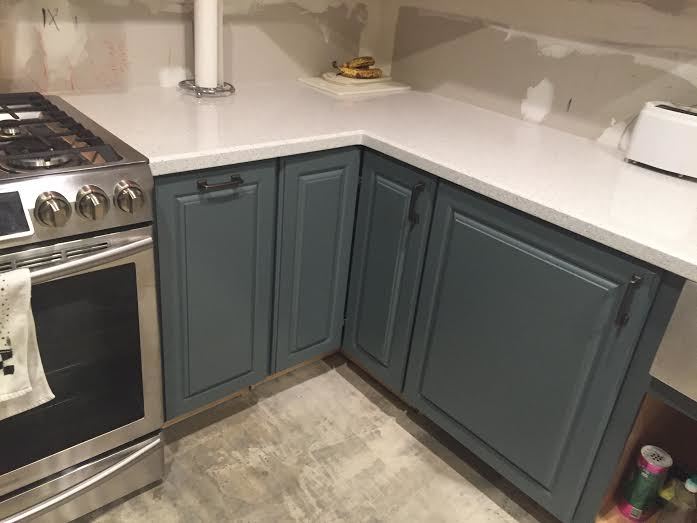
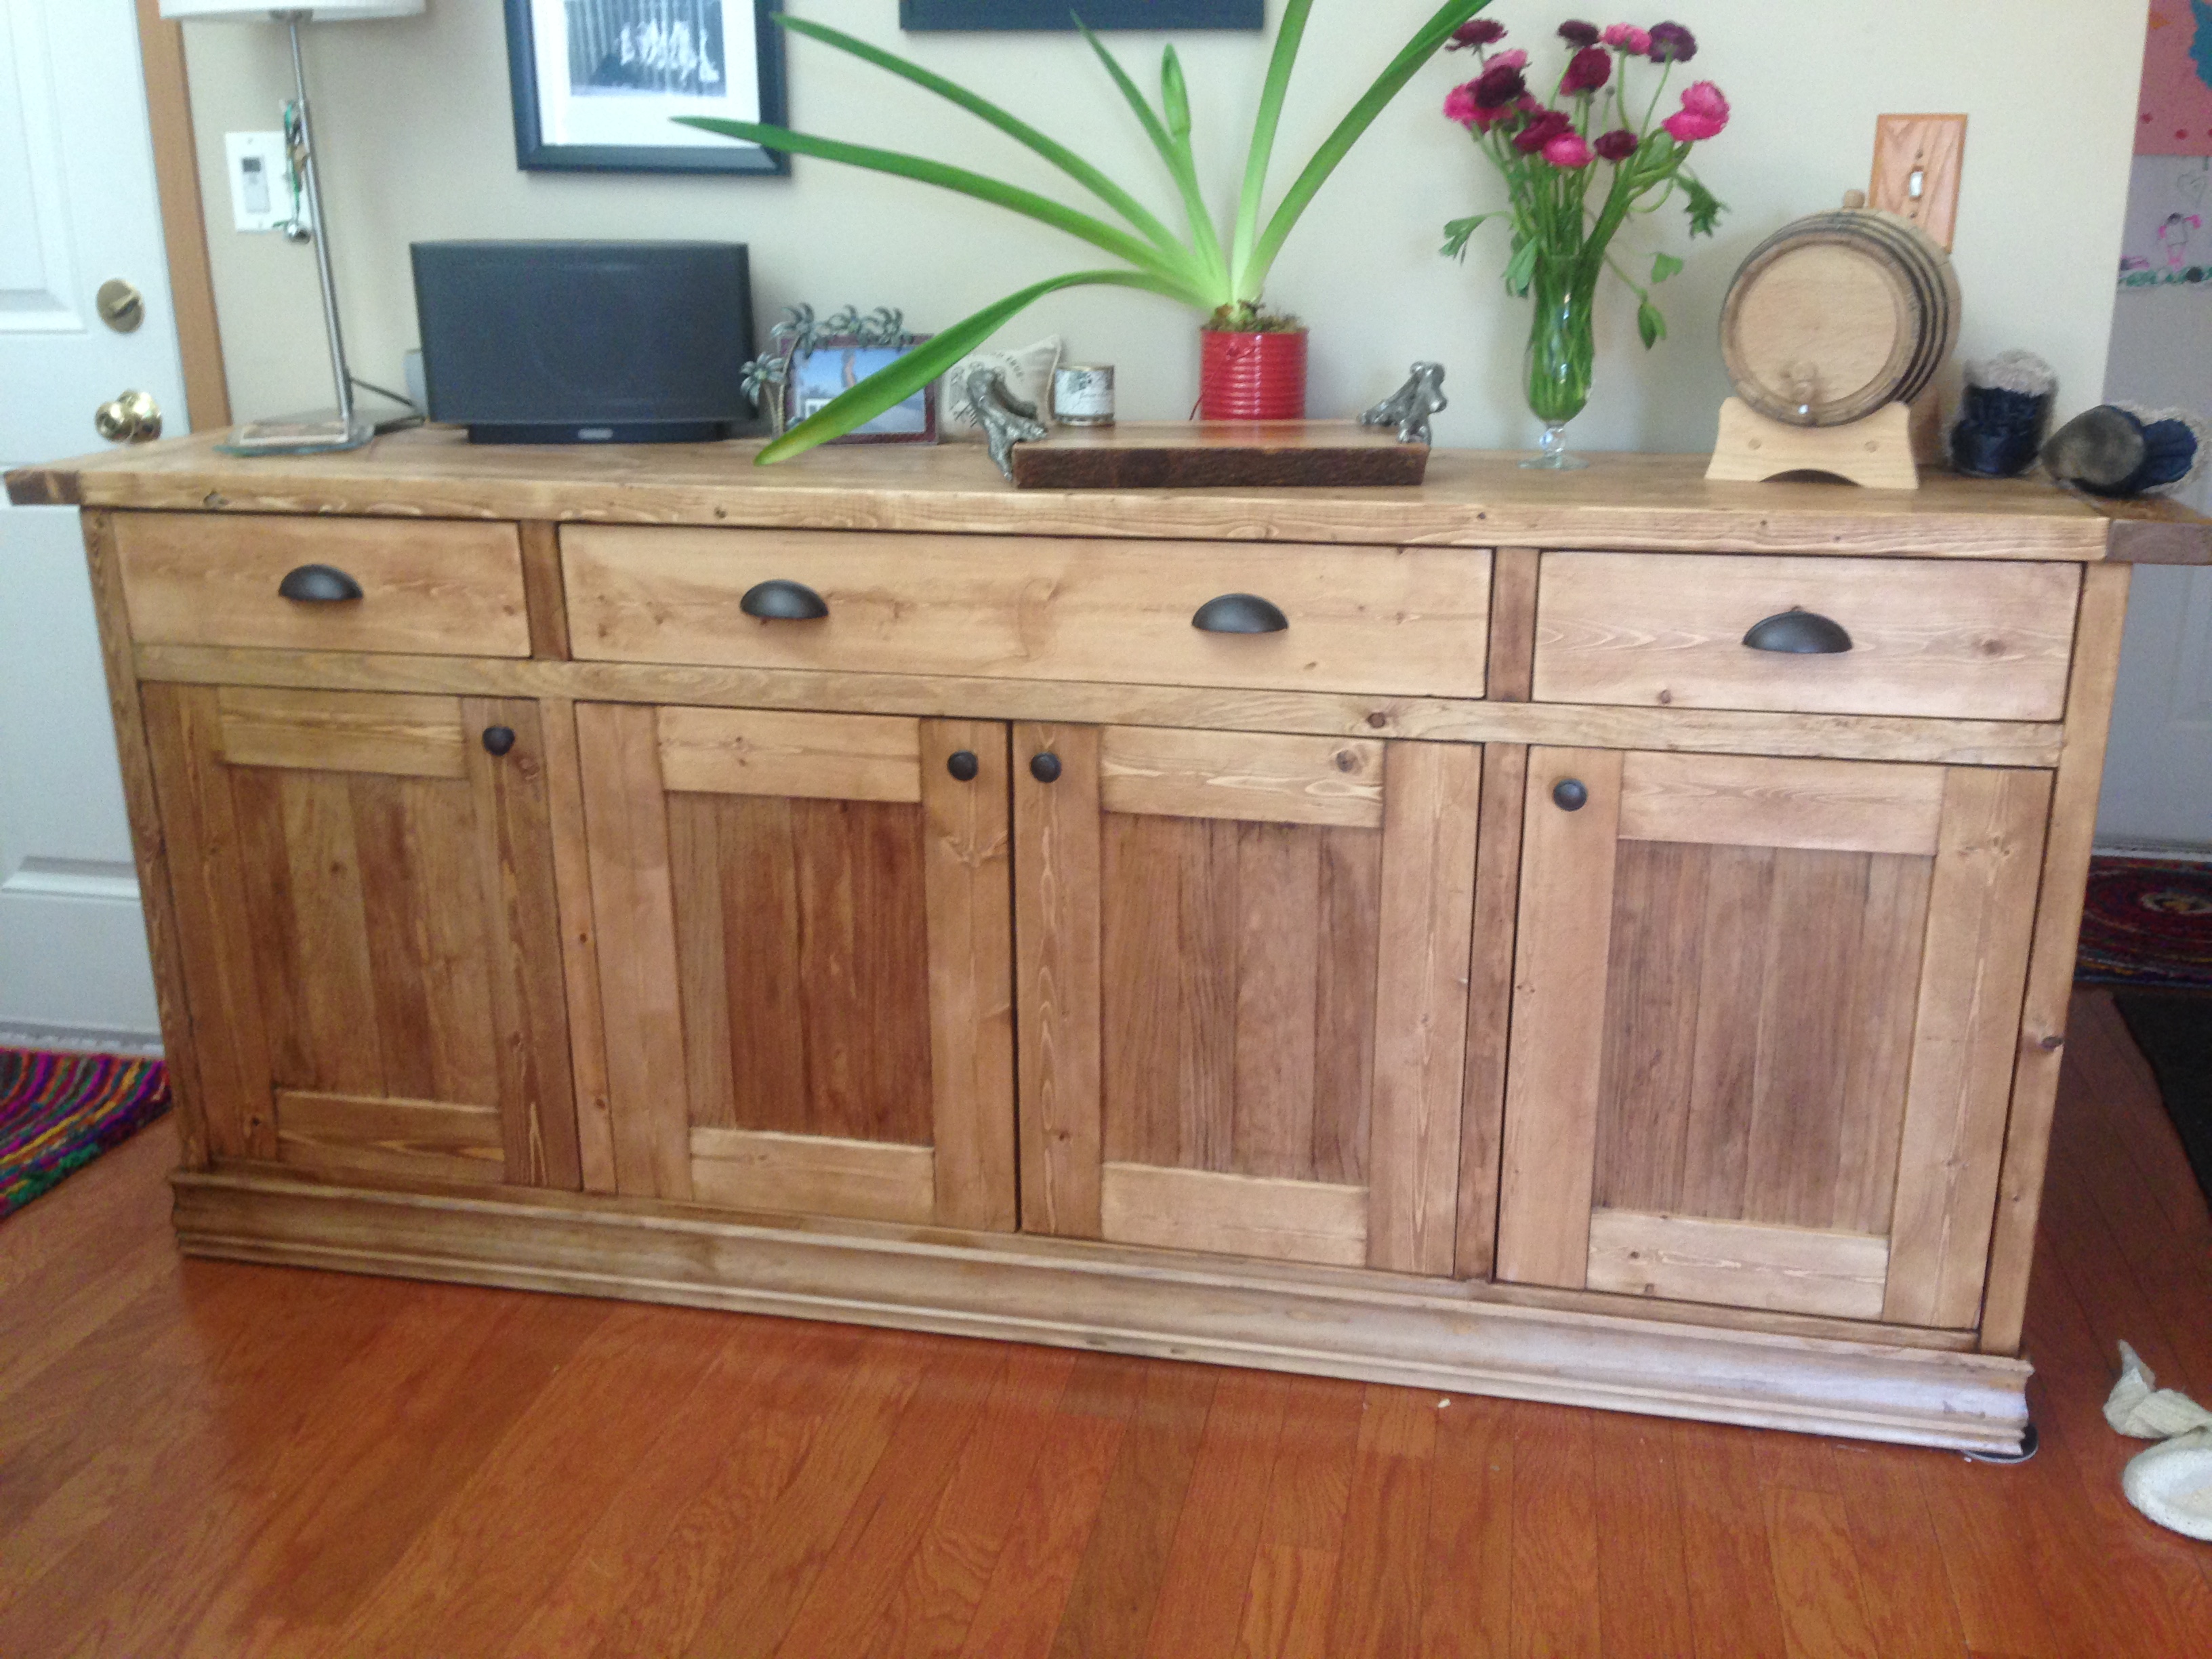
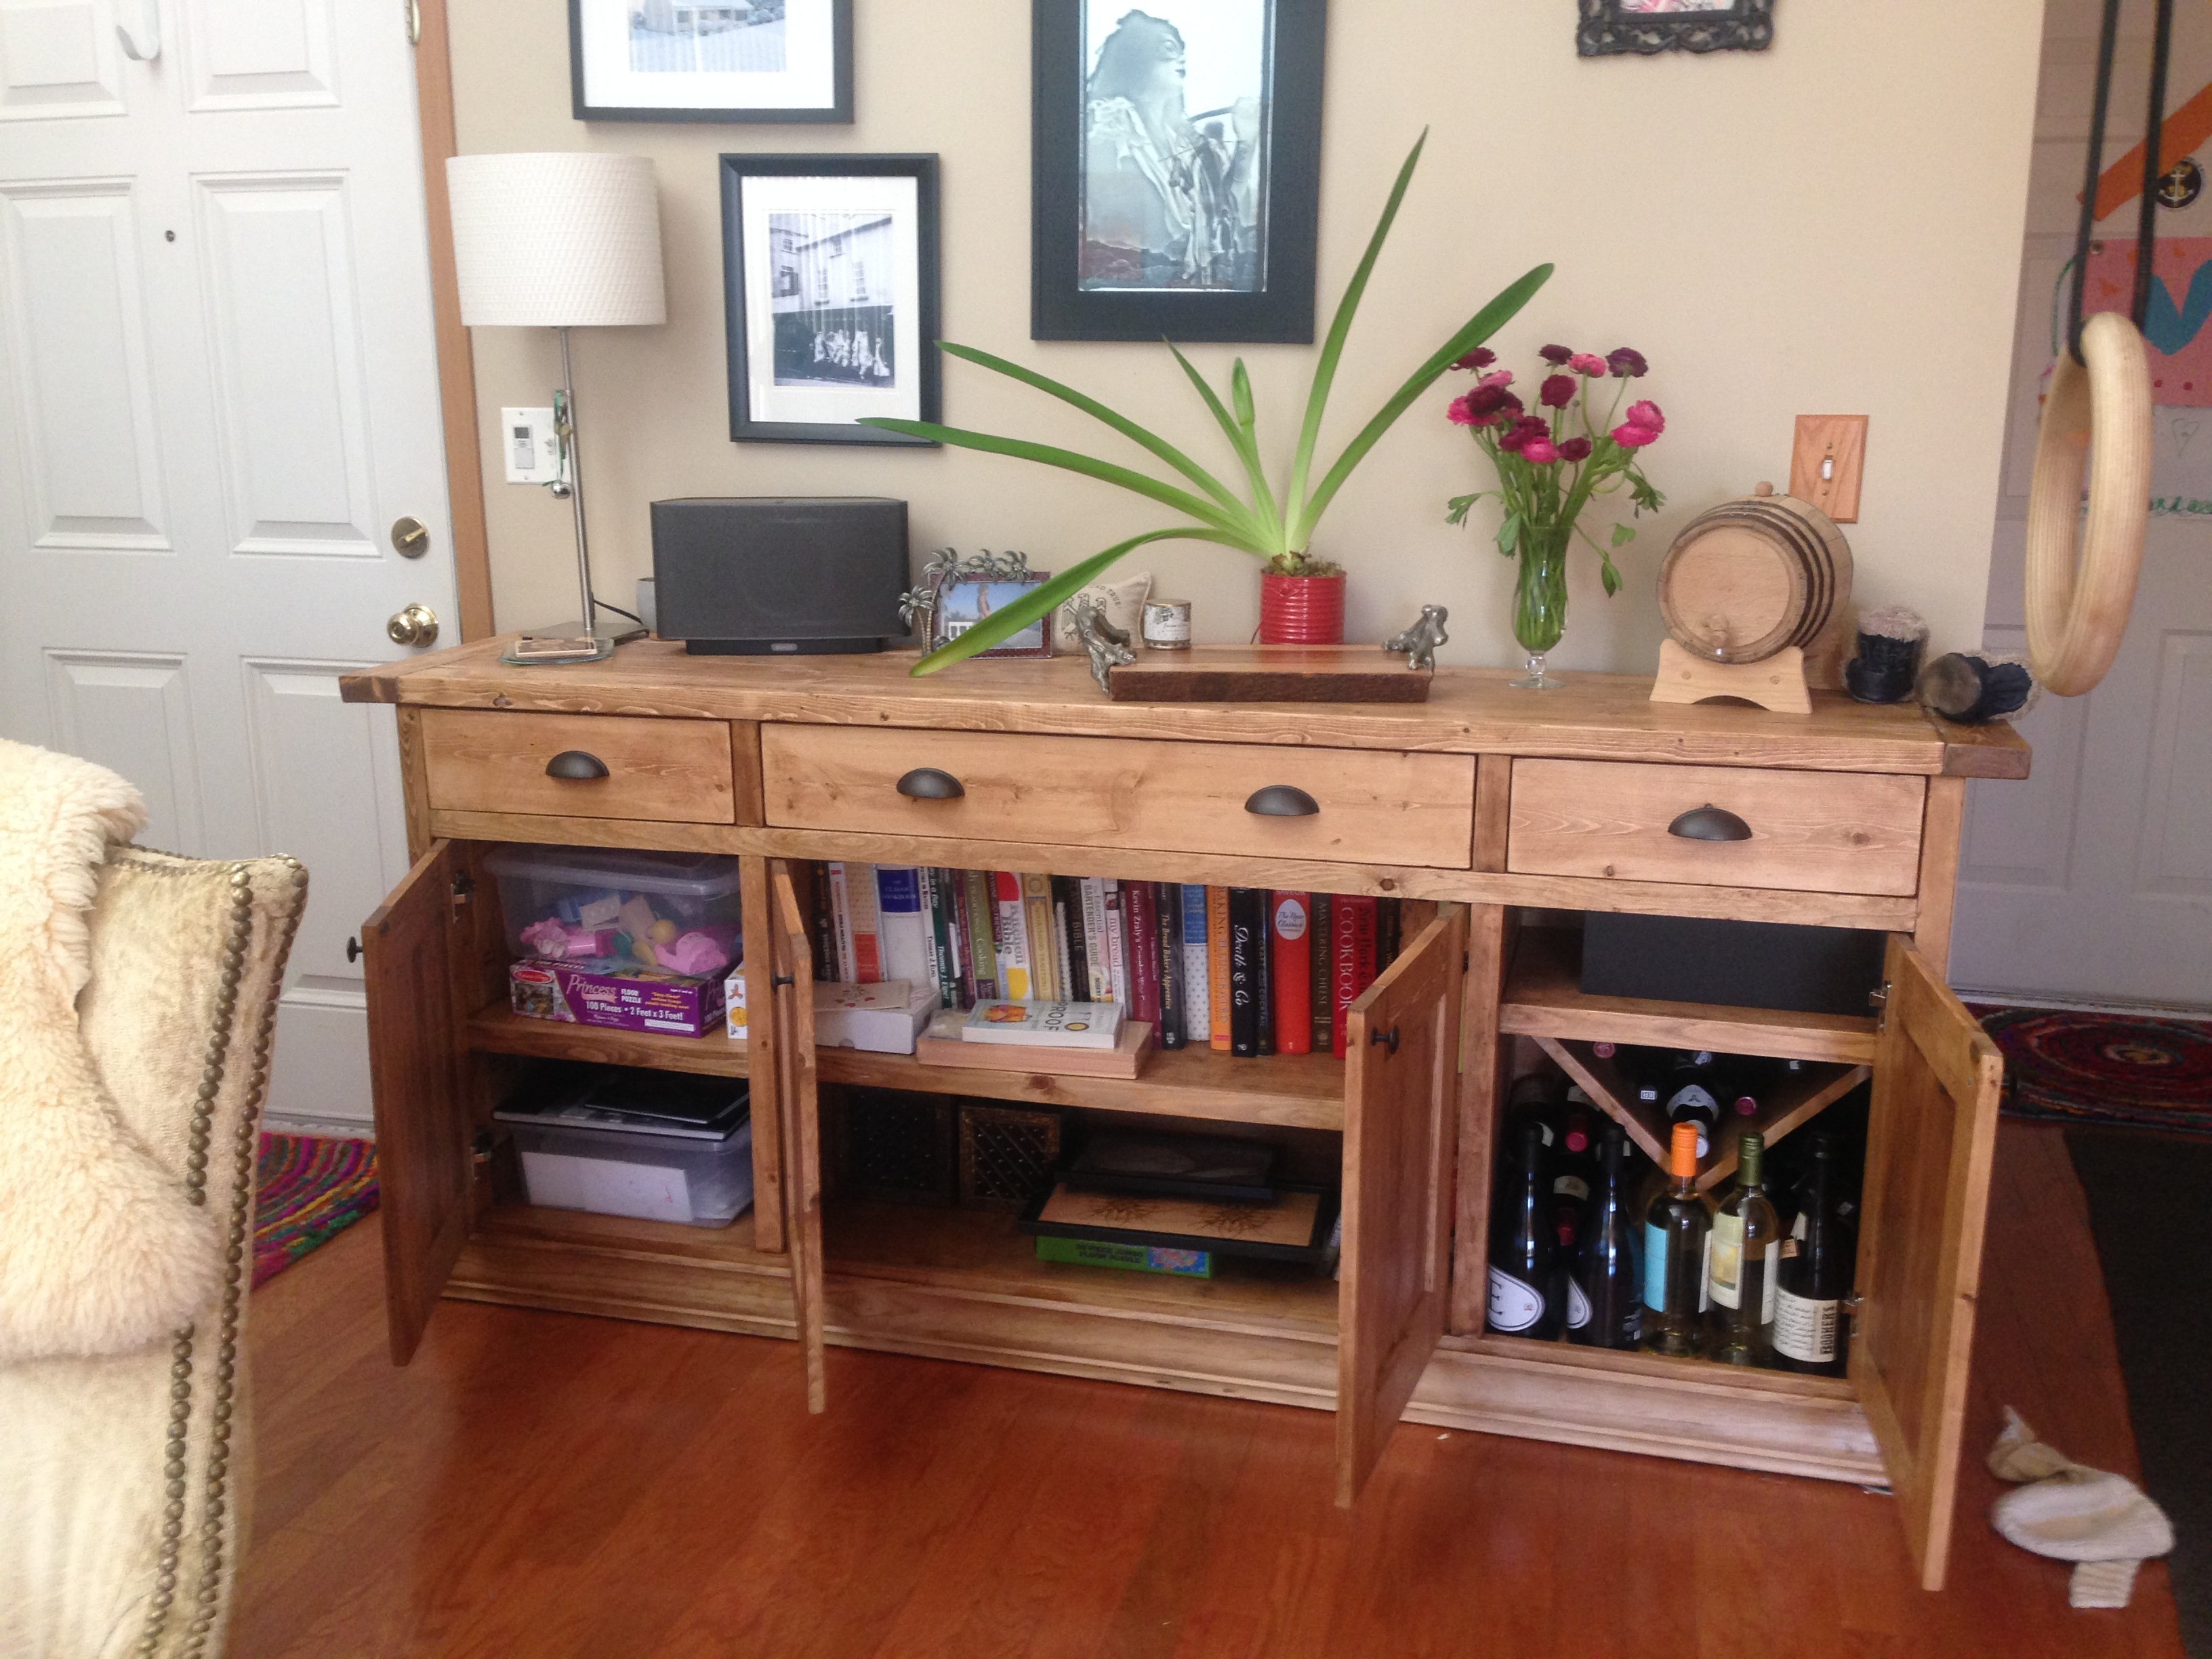
This was the first time my husband has build kitchen cabinets. We have used many wood working plans from this website. The cabinets are made of two sided prefinished maple wood.

I designed this headboard on the back of a napkin, after we couldn't find one at a box store that met our needs. I used Douglas fir 2x10 for the headboard/shelves and Pine T&G for the backing. My fiance etched a mountain range into an unframed mirror, which I then framed from the scrap fir wood, and stained to match. Also attached an LED Lightbar above the mirror, Dimmer switch LEDs on each bookshelf, and a recessed USB/Plug port. This wasn't the cheapest project with the electrical accessories added, but we now have a custom wooden headboard with bookshelves, lighting and chargers that will last us years and be far beyond anything we could have bought at a big box store for the same cost.
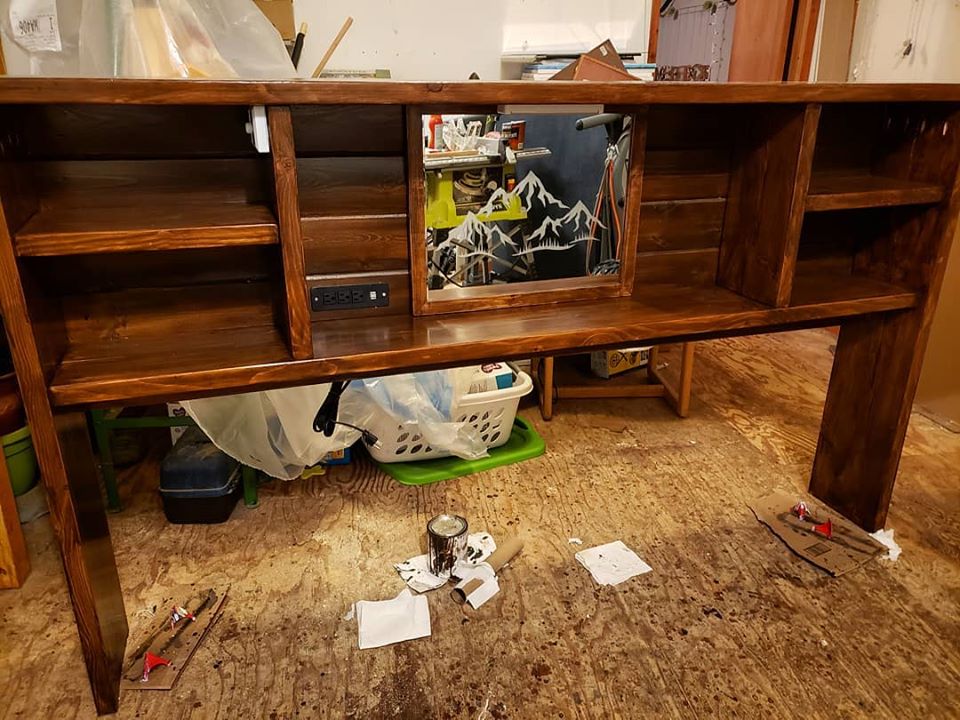
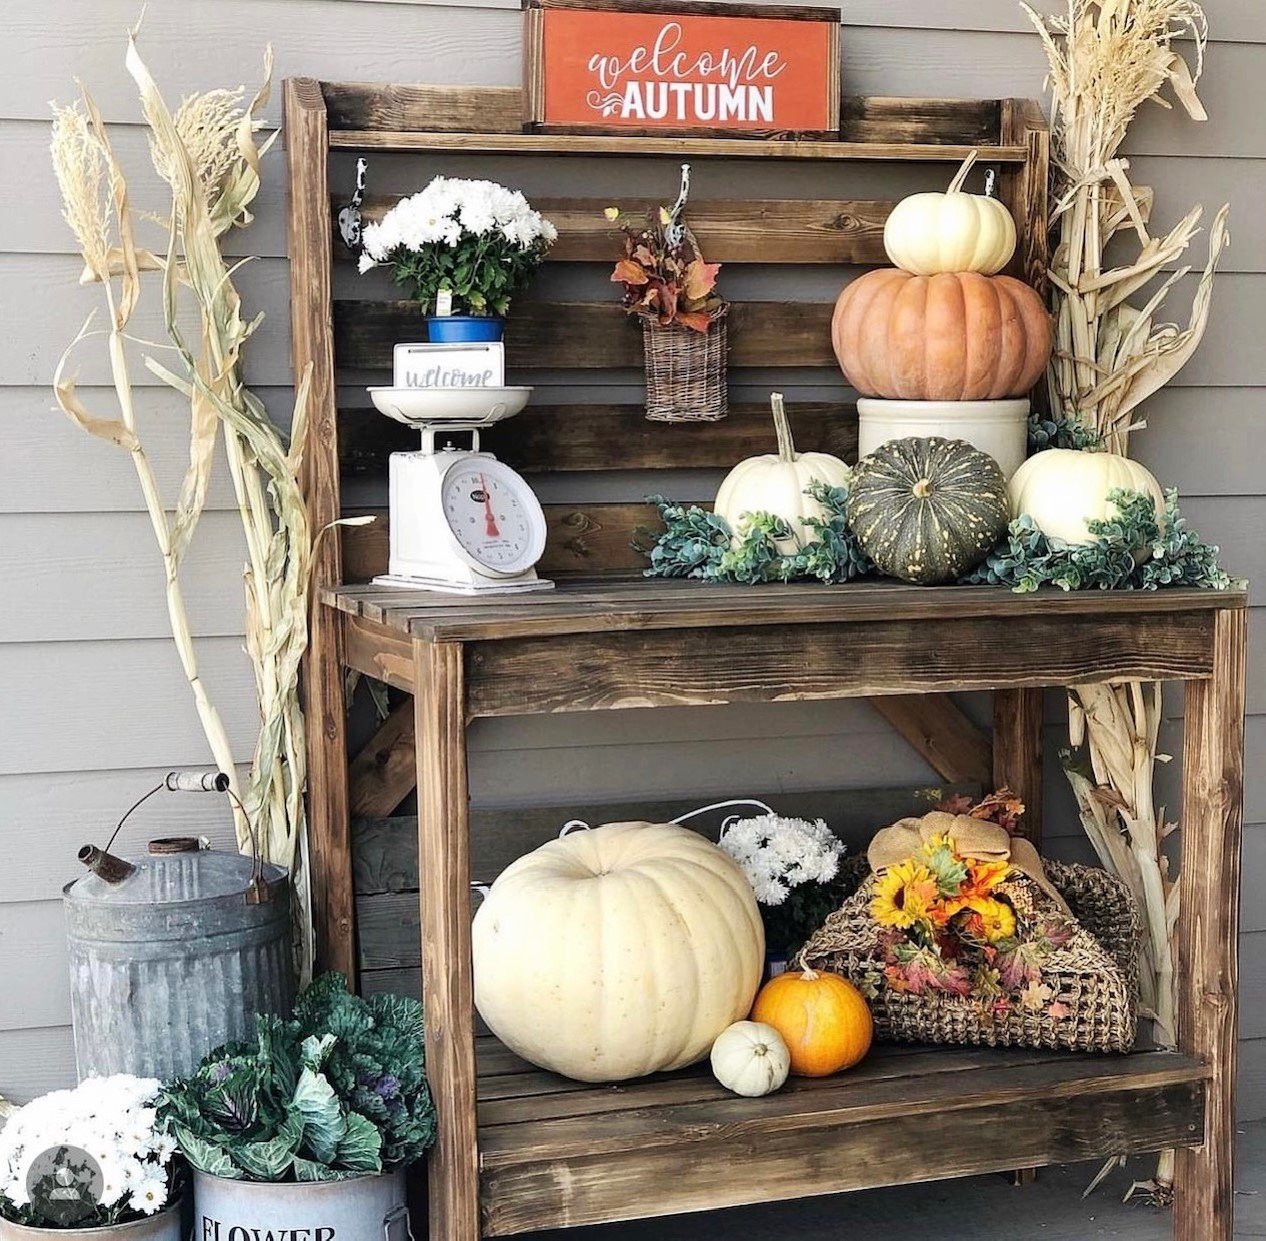
Fall potting bench
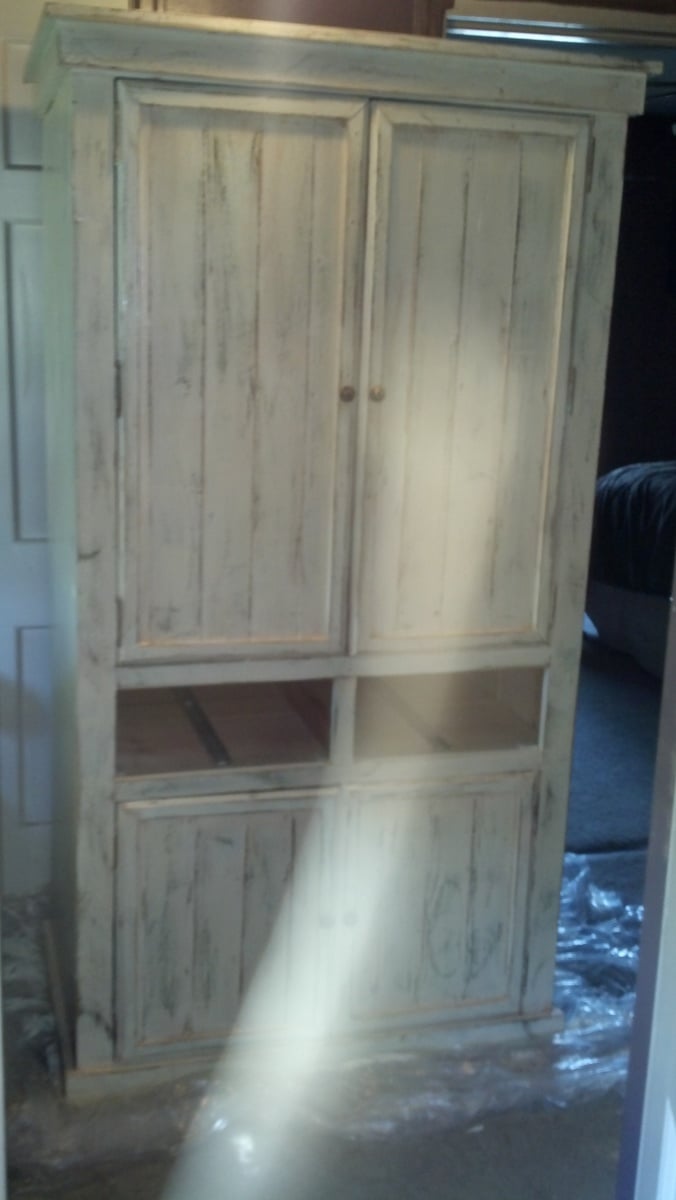
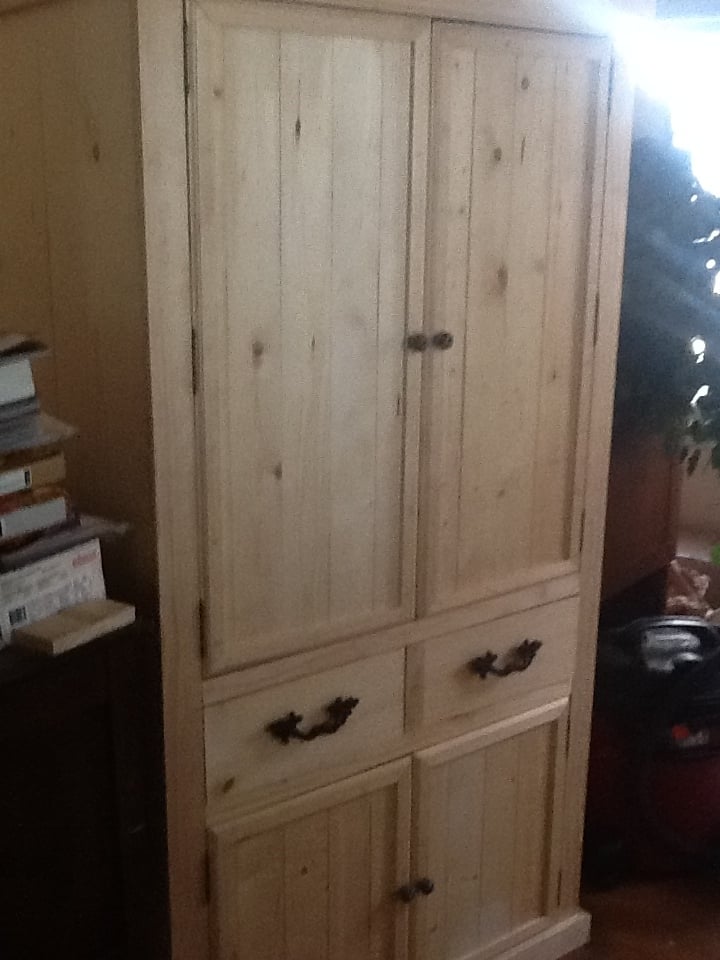
I altered the nursery armoire and made this!
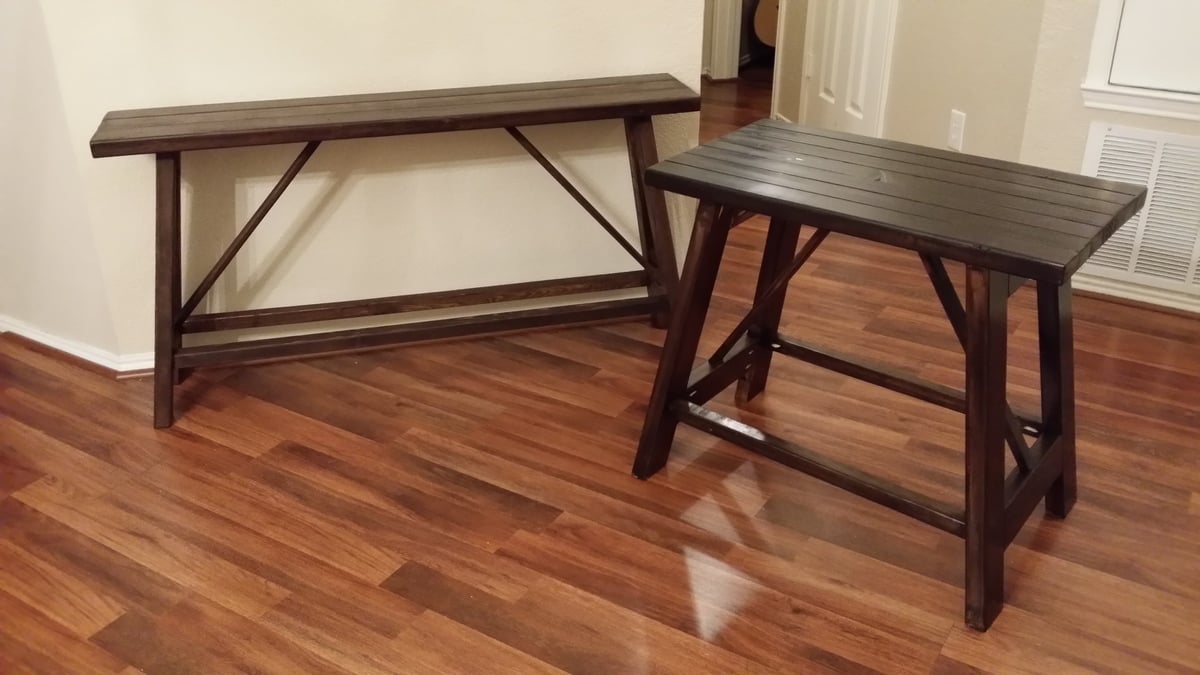
These were so easy to make. I actually messed up on the smaller one and used the 2x4's on the legs. By the time I realized it, I had to use the 2x3's on the top. I just used more of them. It still turned out great. My wife had me make another one for an empty space we had. I used the same basic layout and just modified my length and width. Thanks for the great plans.
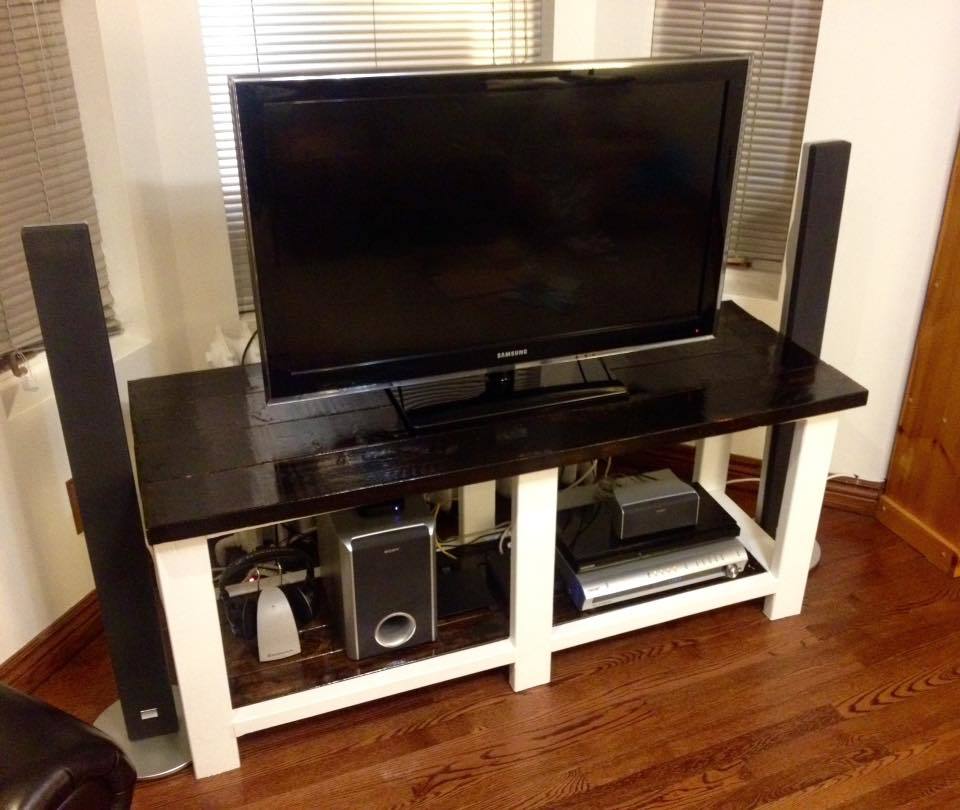
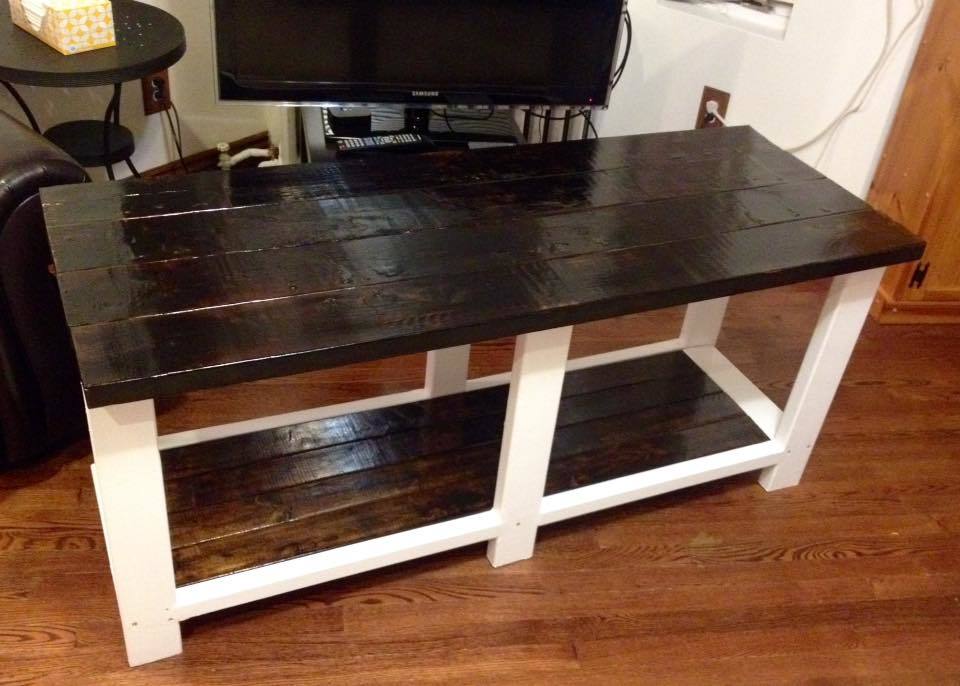
This was my very first DIY wood working project and I'm very pleased with the final result. I learned a lot along the way and after completing the TV table, felt confident enough to make a matching coffee table and side table.
This is a great project for a novice DIYer.

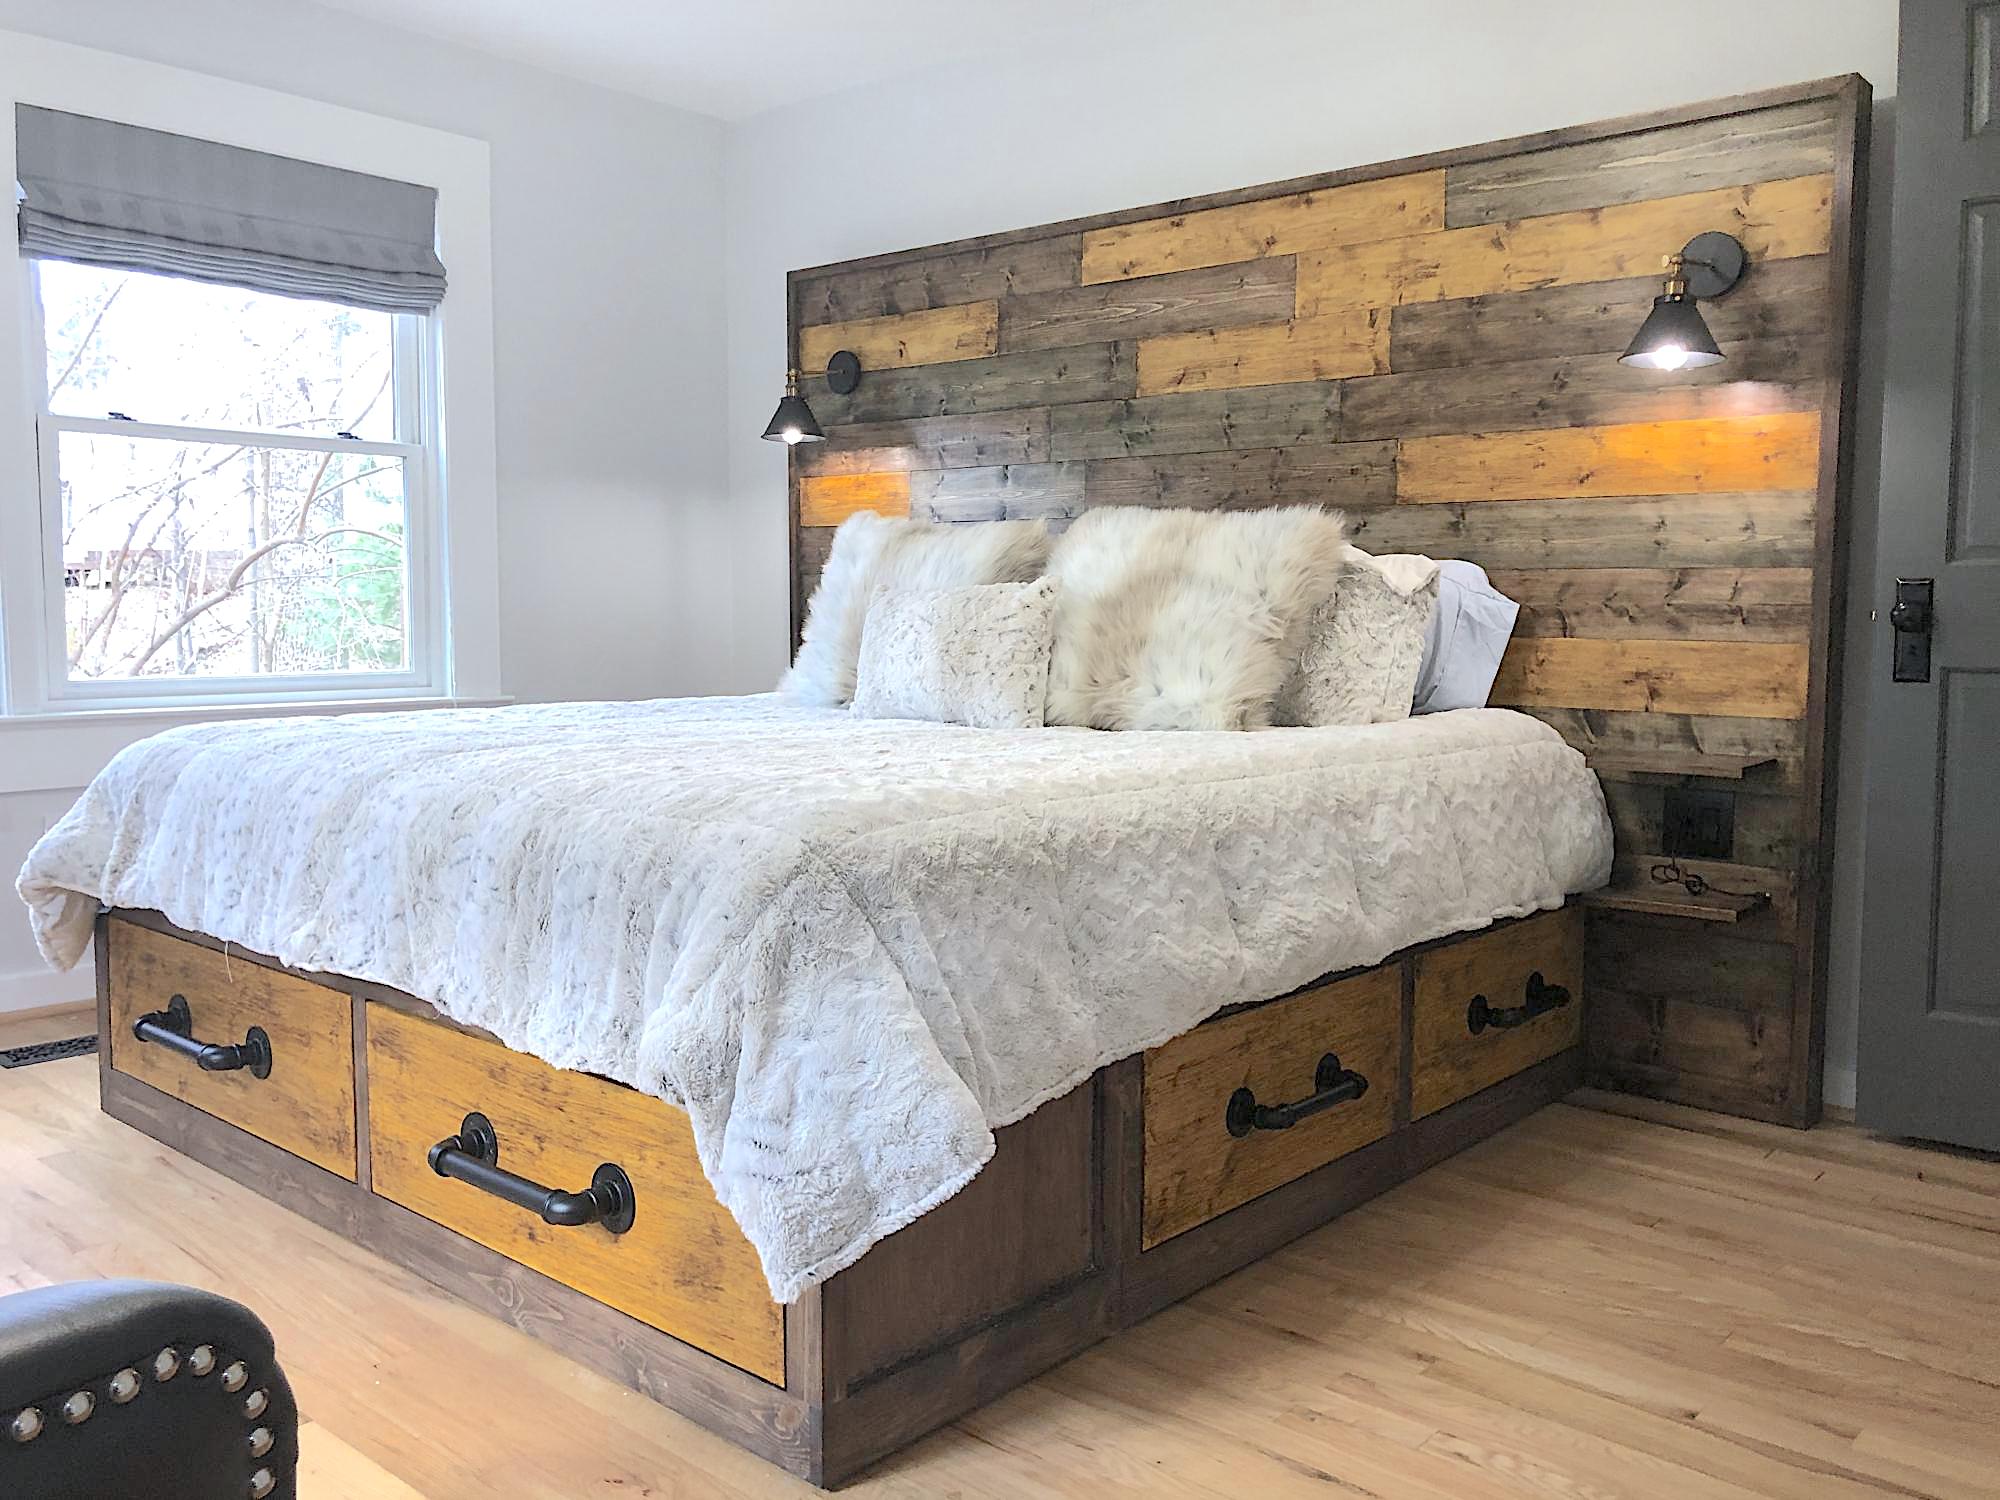
Base is classic storage king and the headboard was custom made to fit the size of the room. Enjoyed this project and the extra storage the drawers are providing. Thanks for the sharing the design plan; worked perfectly.
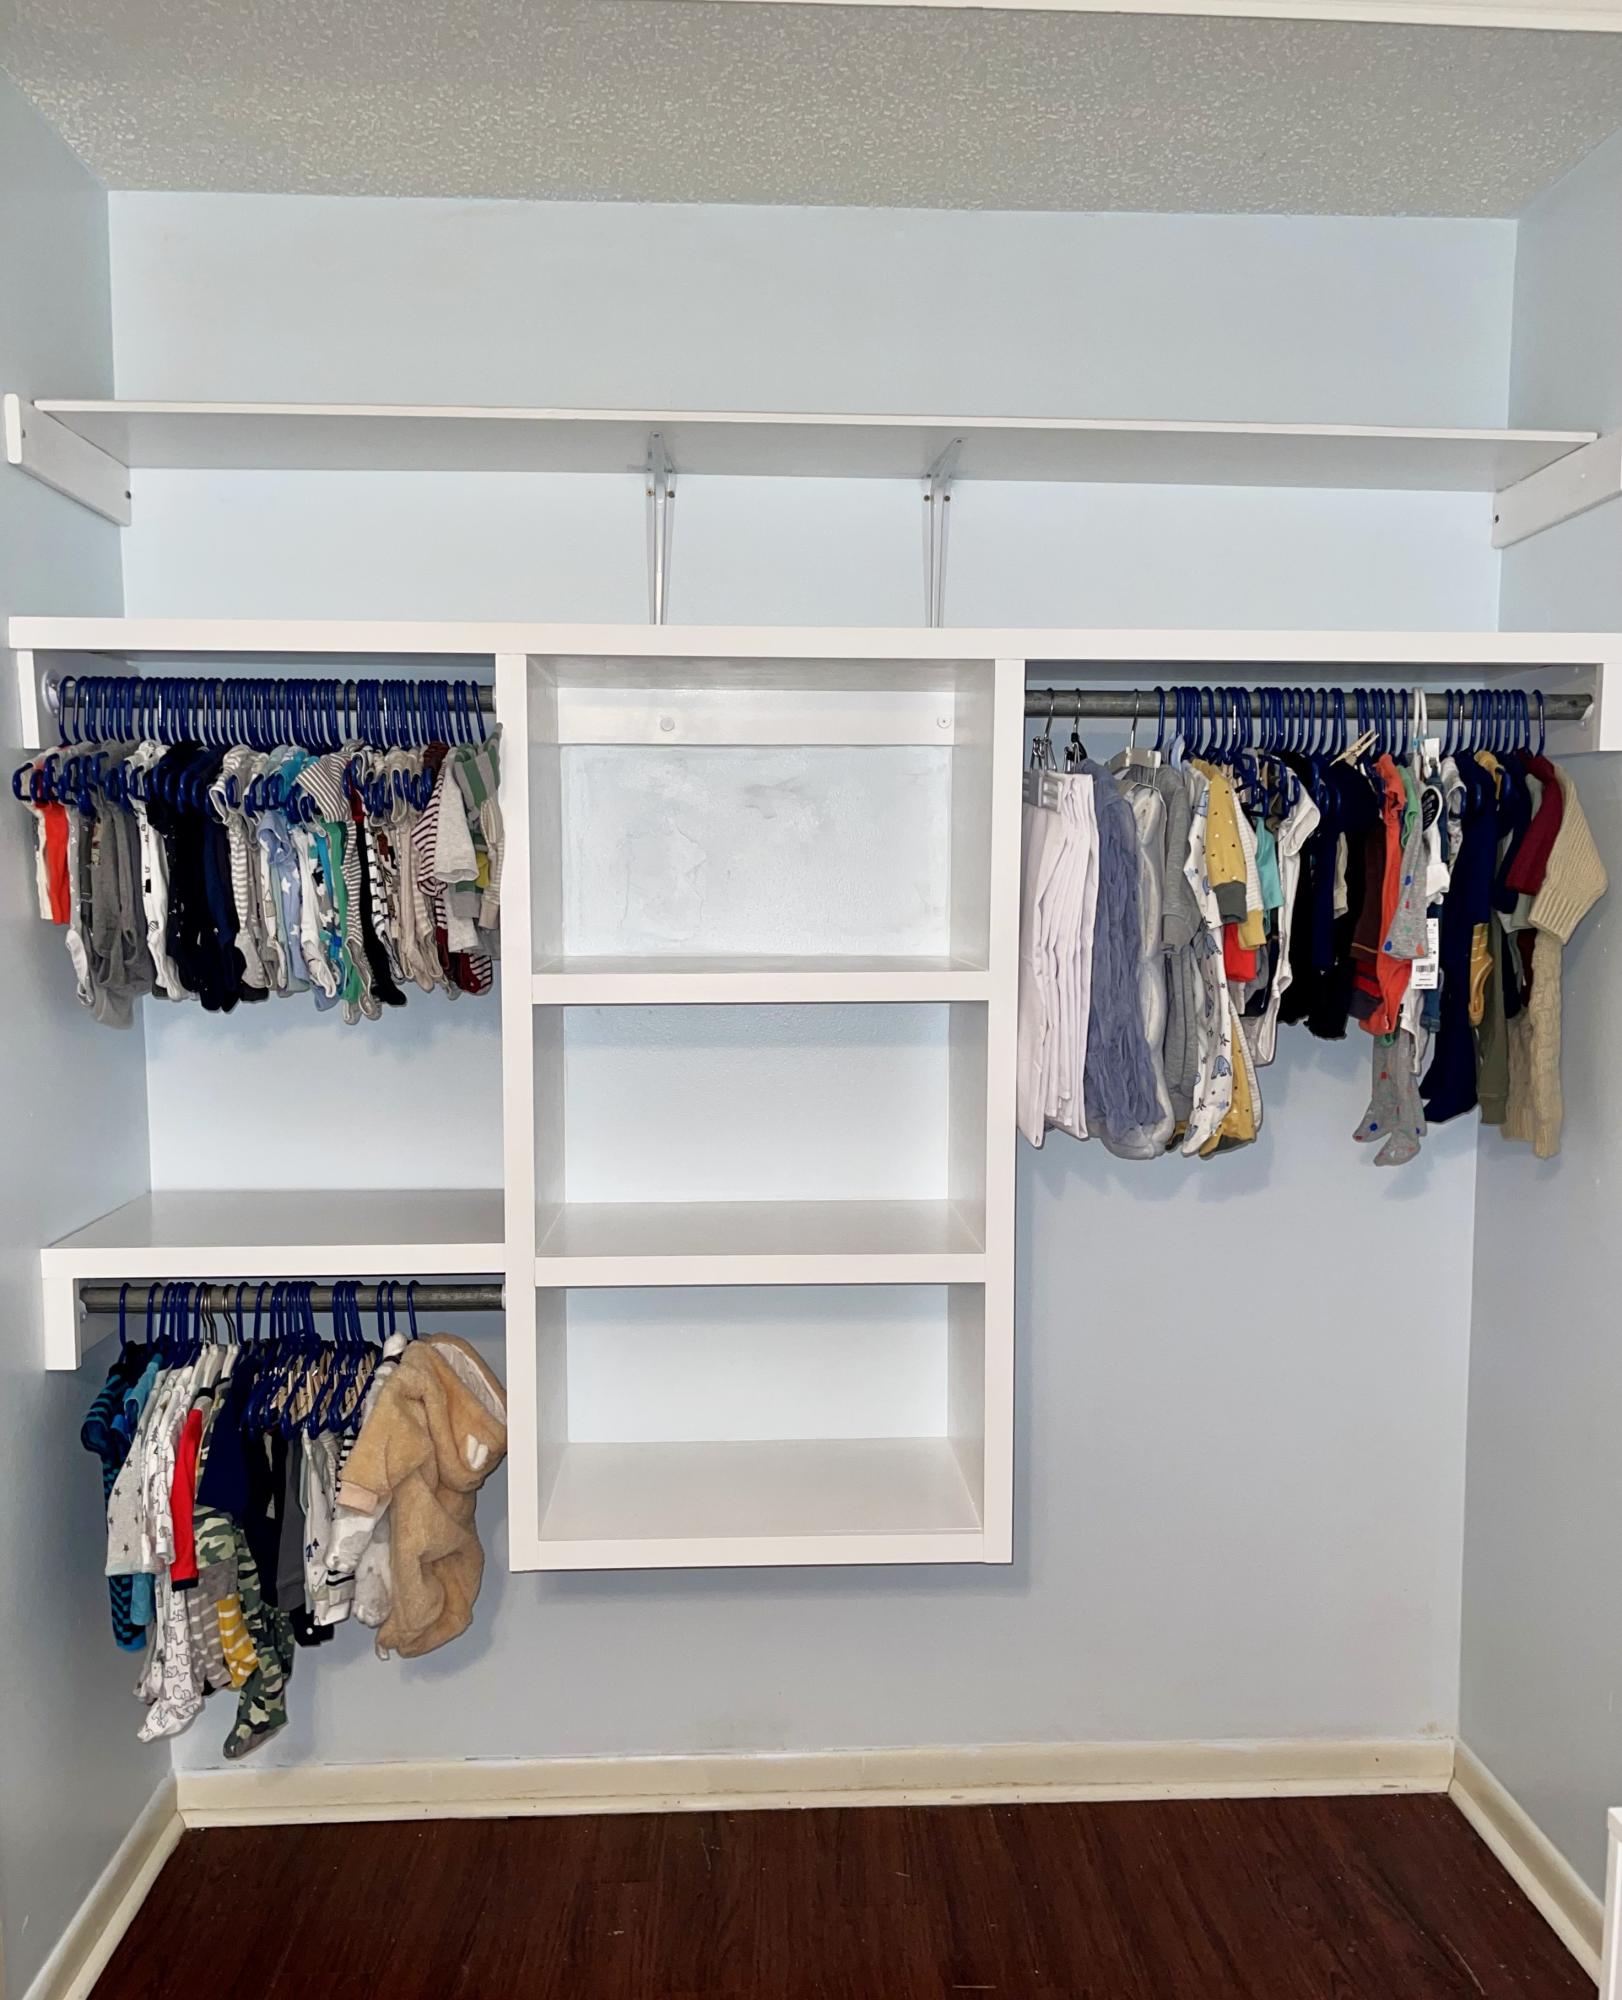
This project is based on the floating closet tower build. This is the first time I’ve attempted a renovation project of this size, and I feel satisfied with the results. I did not purchase my boards from shelf help, I cut mine from a sheet and a half of plywood. Thank you for providing your plans for free. They are very helpful for beginners like me!!
Charity P
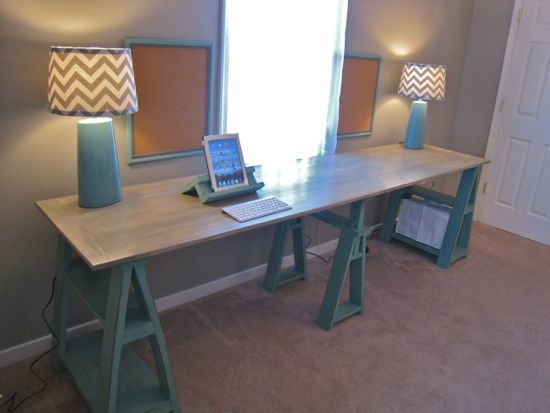
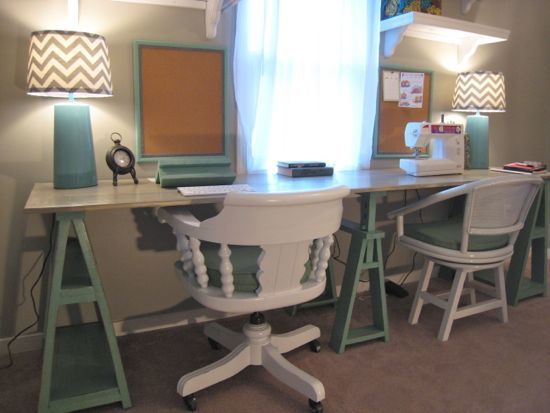
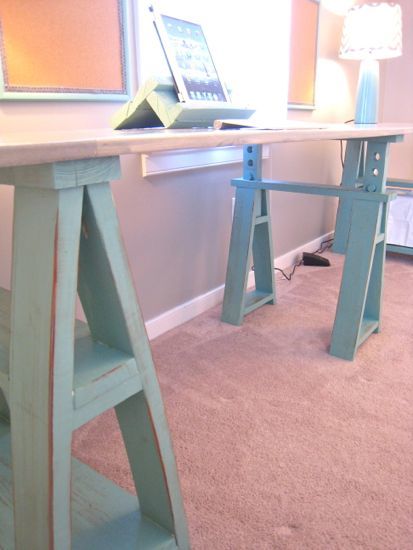
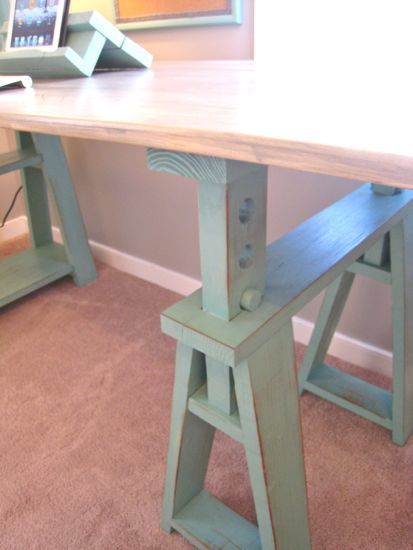
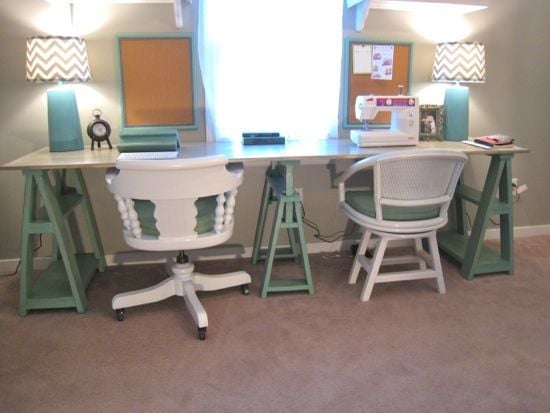
I started out following the plans to a "t" and was going to make two of them. I got about half way through the first and decided to just turn it into a double work station. I decided to make the middle sawhorse slightly different for visual interest. I was also worried about how the desktop would line up with our window sill.
I documented the whole build process here;
http://tommyandellie.com/index.php/2012/01/22/sawhorse-double-desk-deta…
The paint and distressing is in this post:
http://tommyandellie.com/index.php/2012/01/26/sawhorse-paint-and-distre…
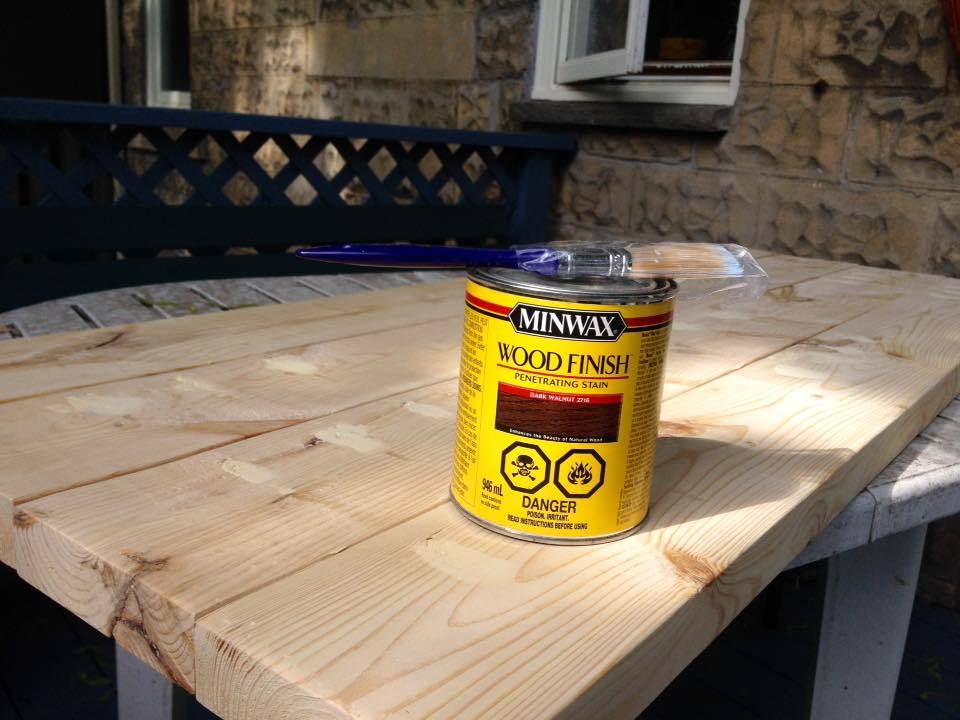
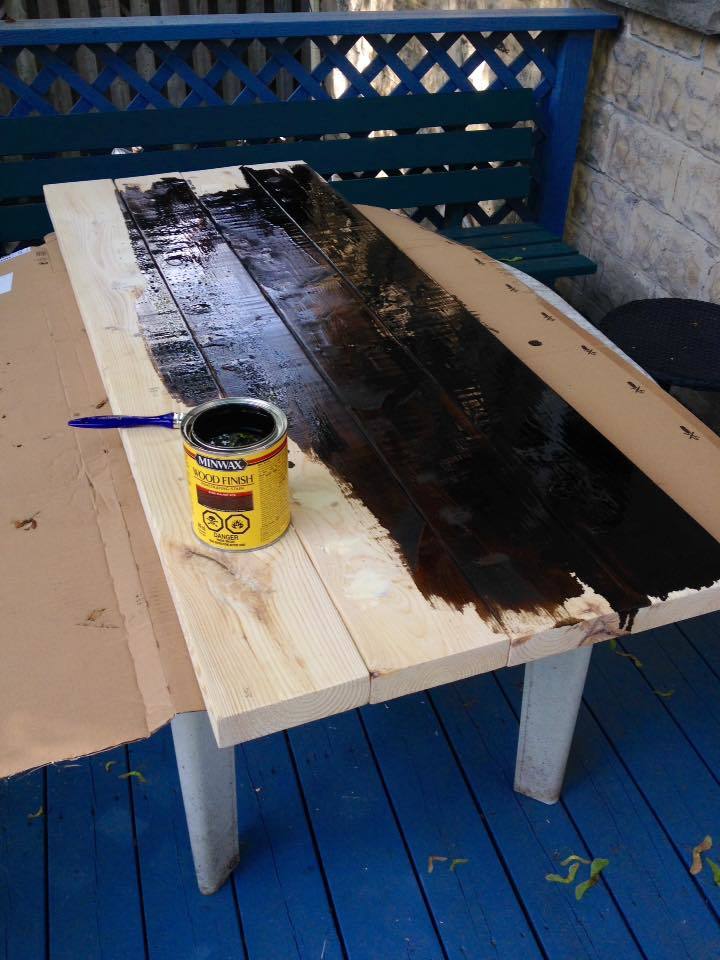
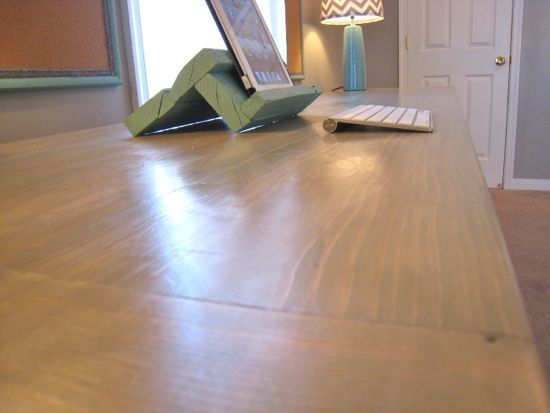
And the stain on the desktop is here;
http://tommyandellie.com/index.php/2012/01/28/sawhorse-steel-wool-aged-…

Sat, 04/28/2012 - 10:48
gorgeous room and styling. It looks straight out of a magazine! I love the shade of green/blue you used on the sawhorses.
Sun, 08/05/2012 - 05:19
Perfect for a schoolroom! My homeschool room to be eact. It's beautiful!
Sun, 08/05/2012 - 05:20
Perfect for a schoolroom! My homeschool room to be exact. It's beautiful! This might be the one for us. :-)
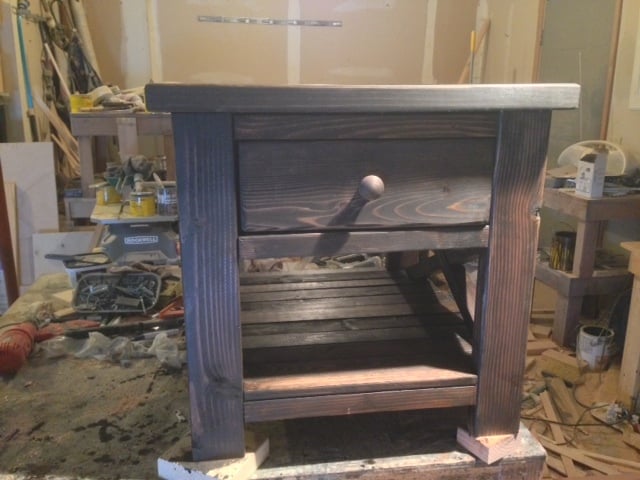
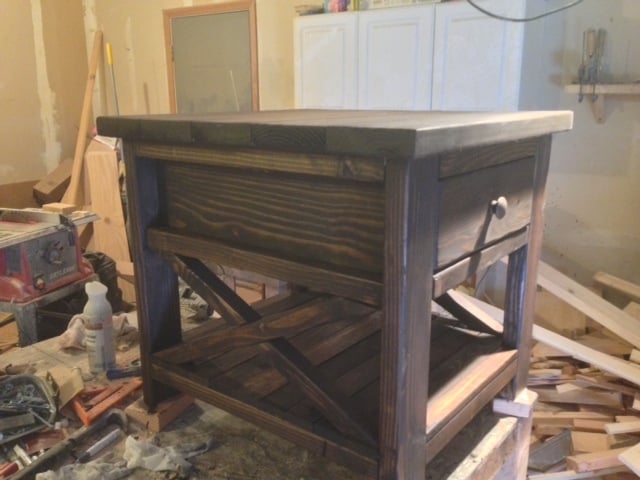
Well I combined the rustic x end table with the mimi nightstand and BAM! I had new end table. LOL

Tue, 03/11/2014 - 07:34
Dear Woodbuilder, would you happen to have any detailed info for this table. I really like it.
Zorro
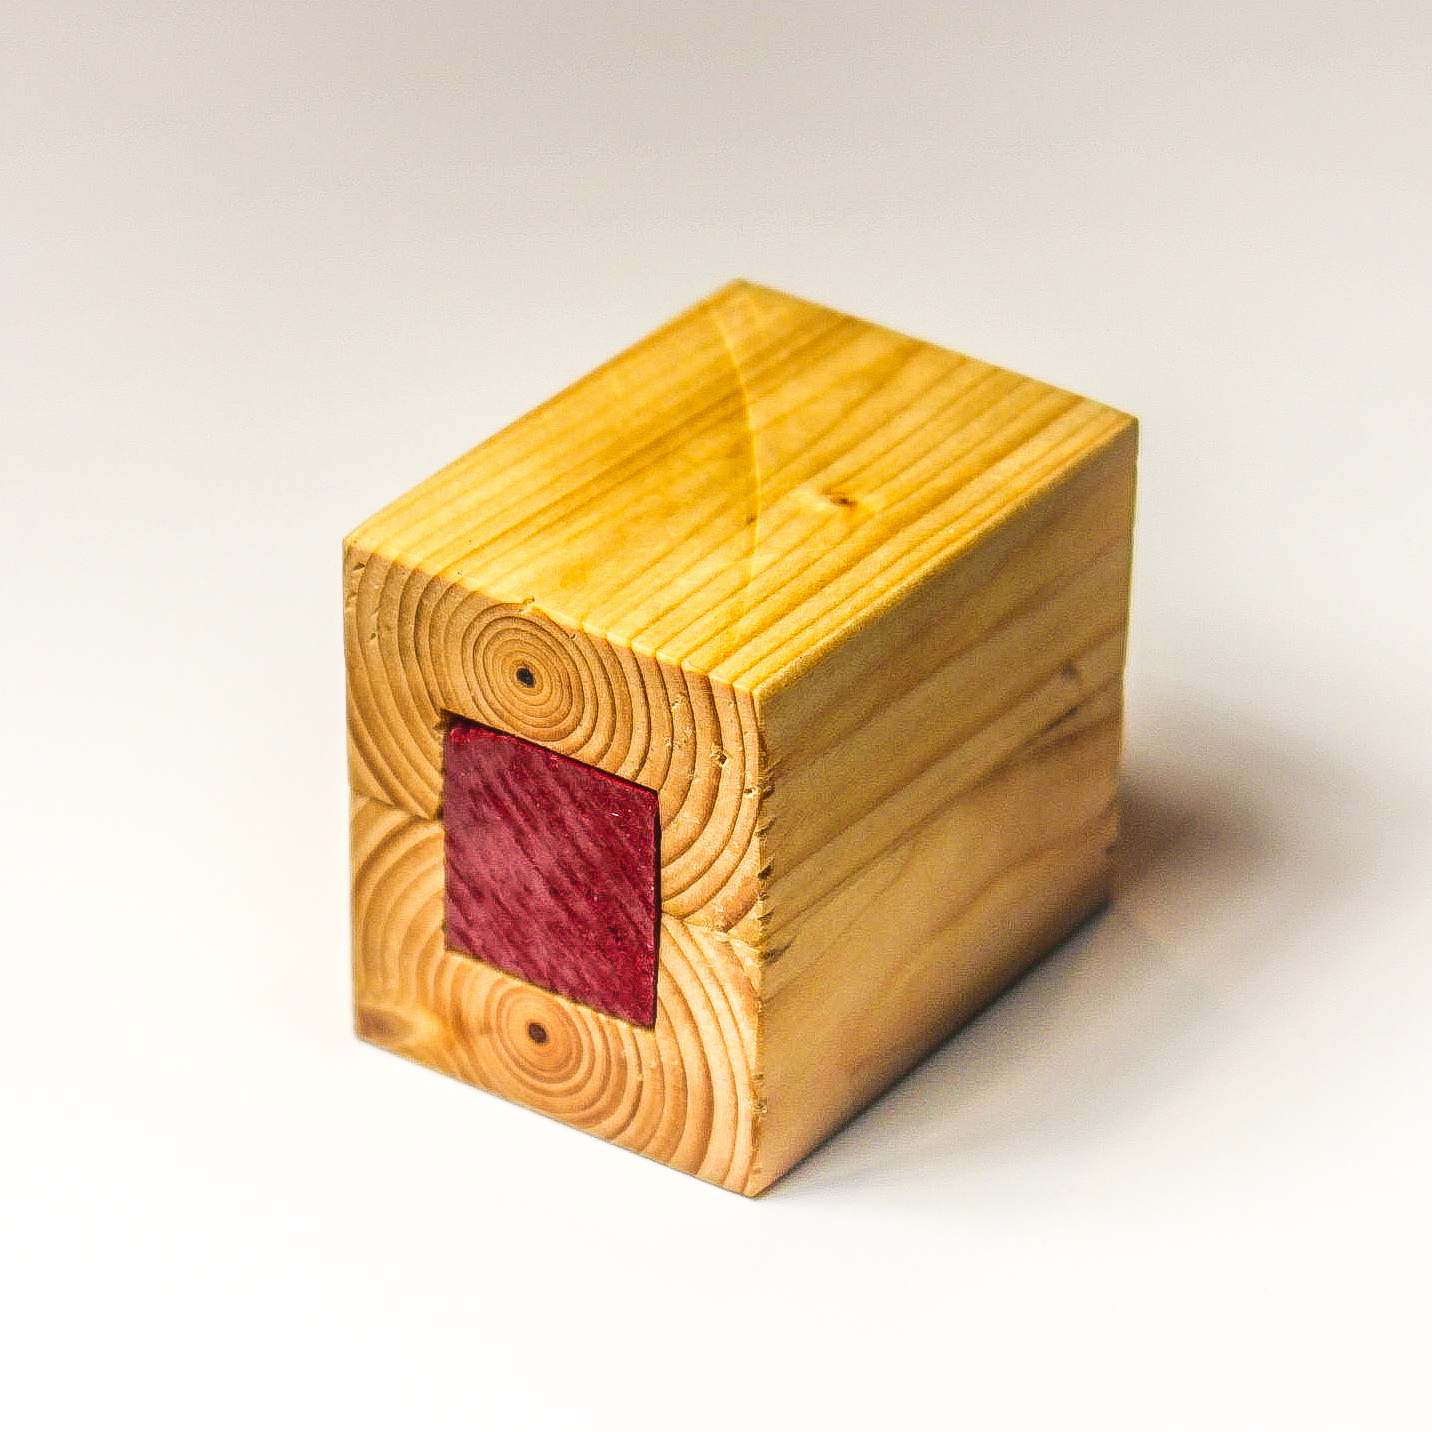
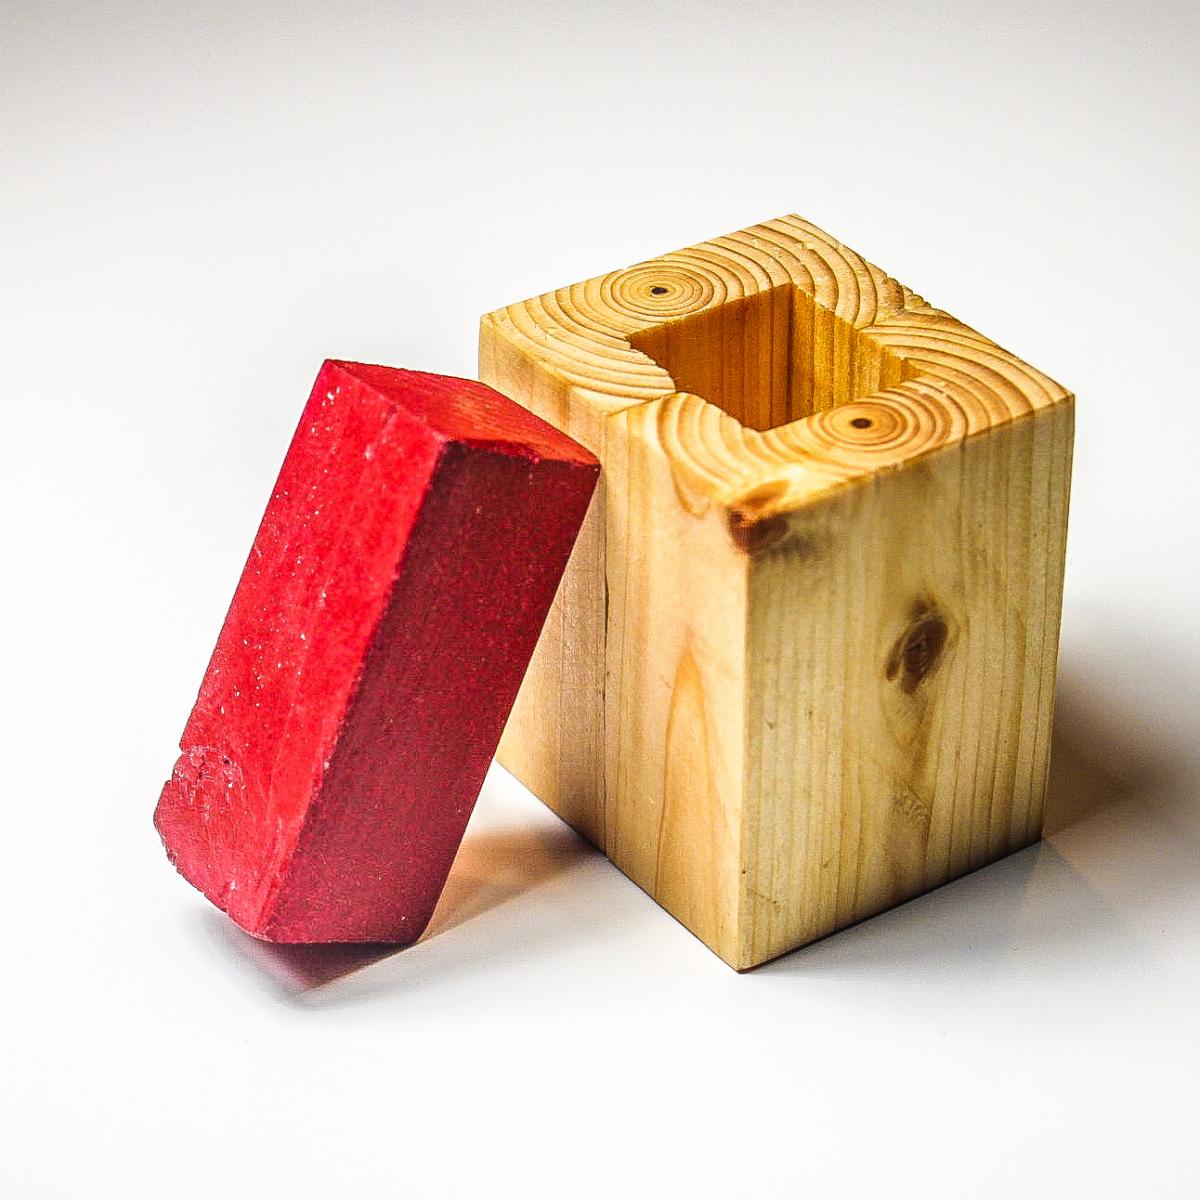
This little puzzle was pretty fun to make and allowed me to use up some of the magnets from my last project. The goal of the puzzle is to remove the center piece from the tube. You will quickly notice that there isn’t much to the puzzle – no buttons, latches or any other obvious locking mechanism.
Build Instructions: https://www.instructables.com/id/Tube-Puzzle/
How it Works / Solution: https://youtu.be/N4ID3-wBdik