Lift top table with storage

I used the lift top table for inspiration, we needed more storage in our livingroom for throws and blankets. This was the perfect solution as fall approaches. Thank you for your original design!

I used the lift top table for inspiration, we needed more storage in our livingroom for throws and blankets. This was the perfect solution as fall approaches. Thank you for your original design!
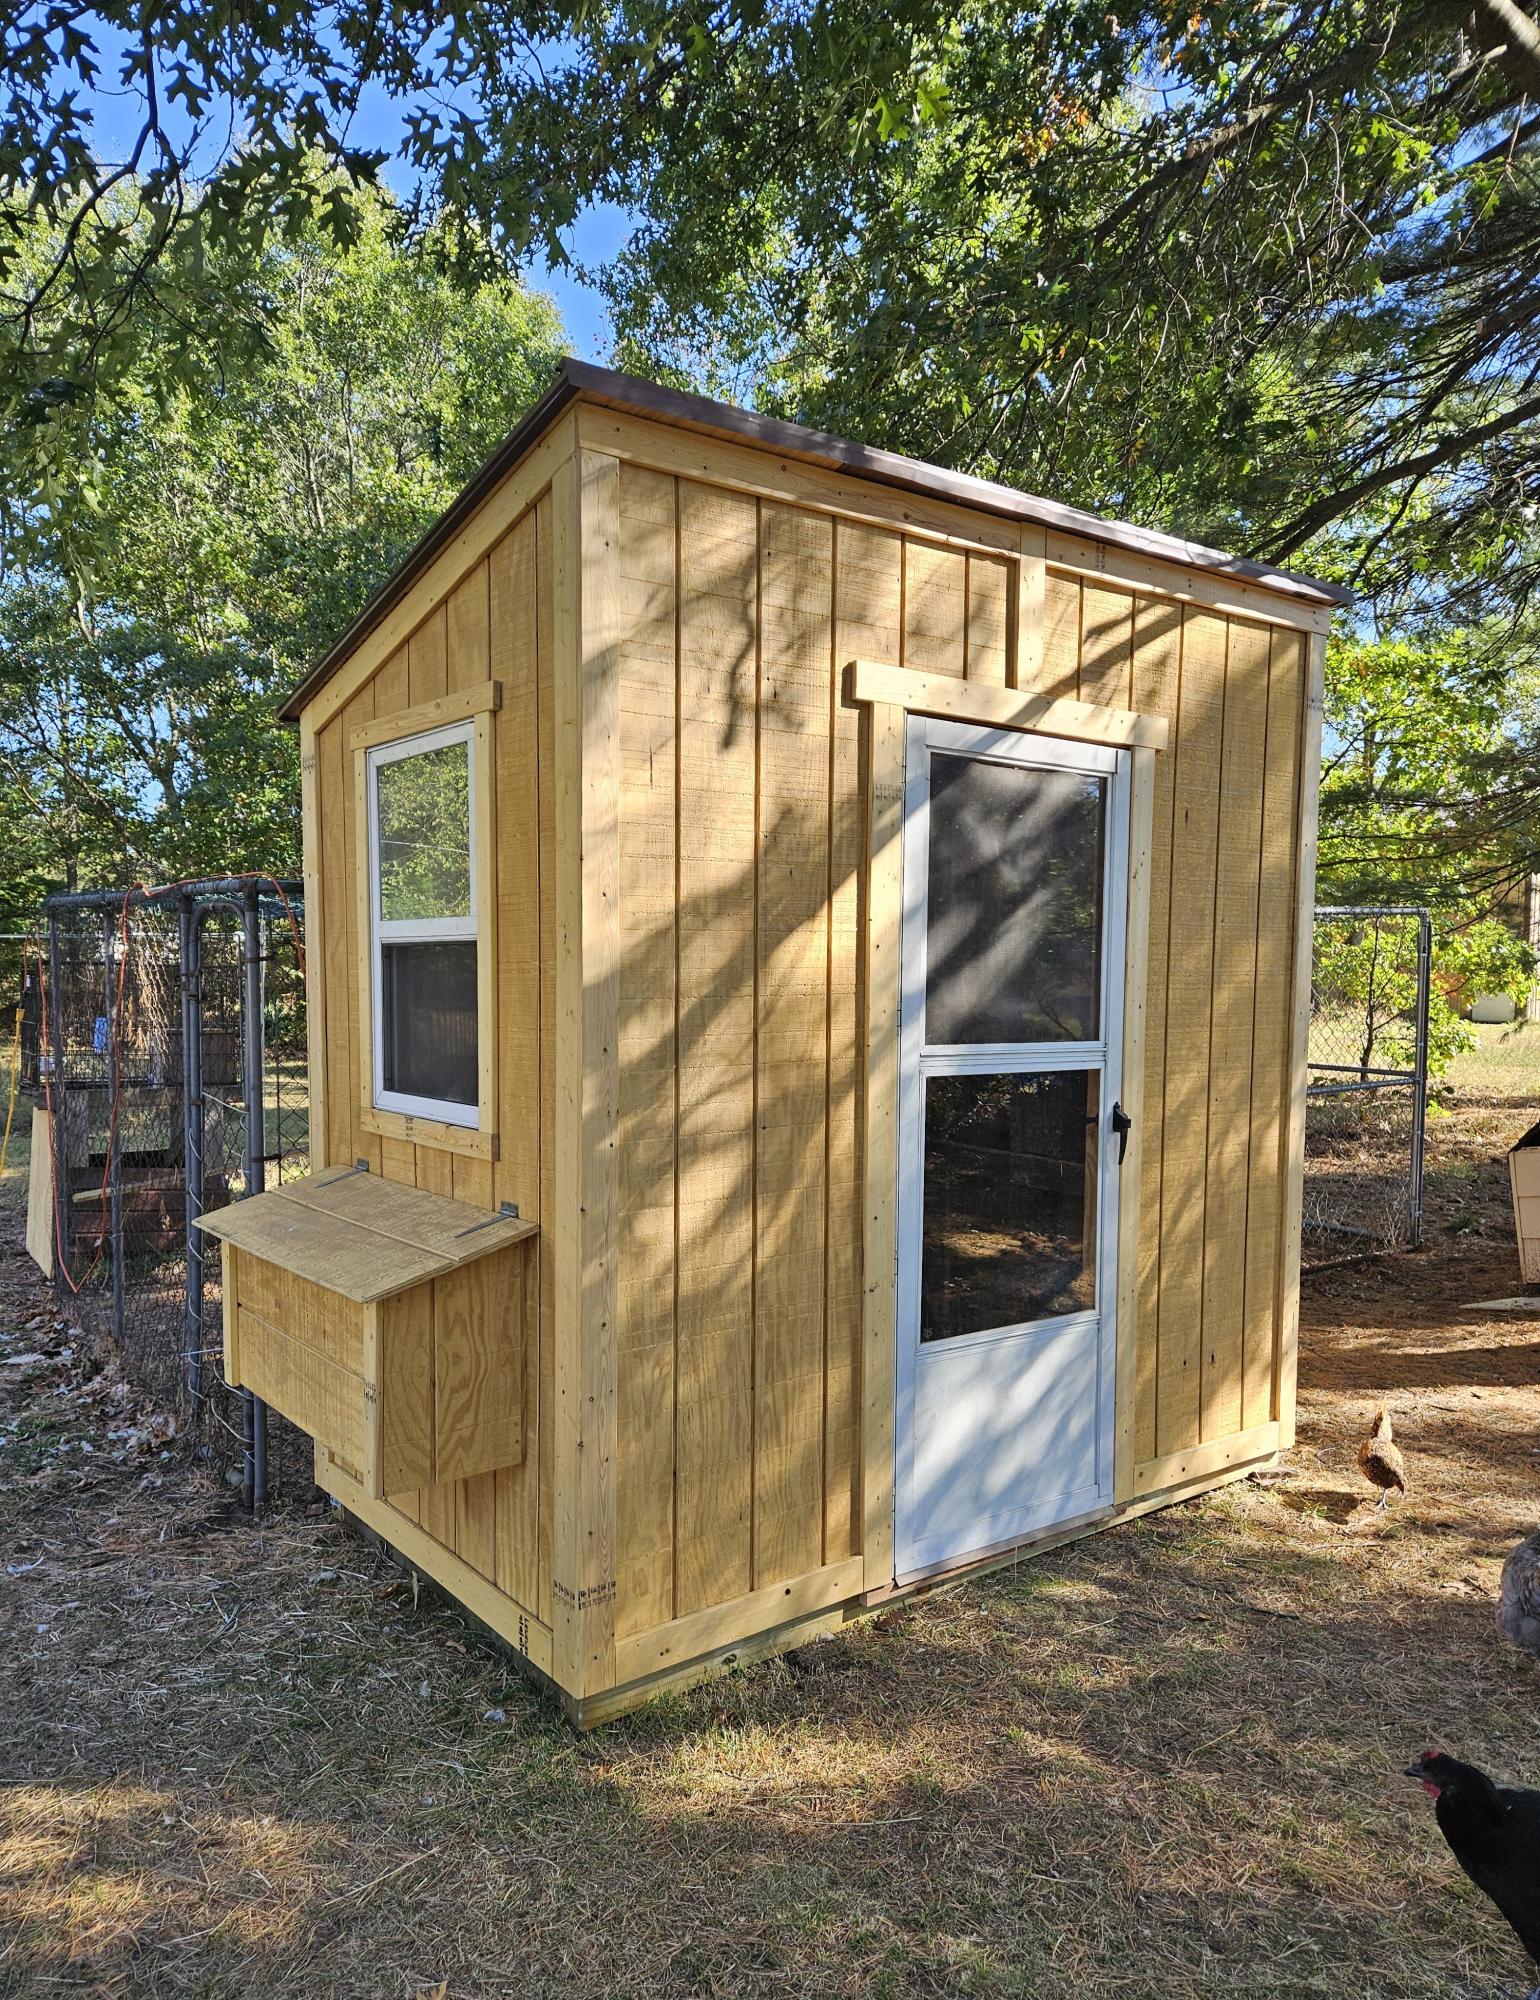
We modified the plan and added 8 inches vertically and widened the foot print to 55 inches. This was to cut down on lumber waste and pressure treated 4x4s on hand for the base. A used window and storm door was recycled for this build. We also moved the storm door to the high side wall due to the storm door's 80 inch height. Sealed in clear Acryllic. Our hens love their new home and reward us with fresh eggs everyday. - Shelley
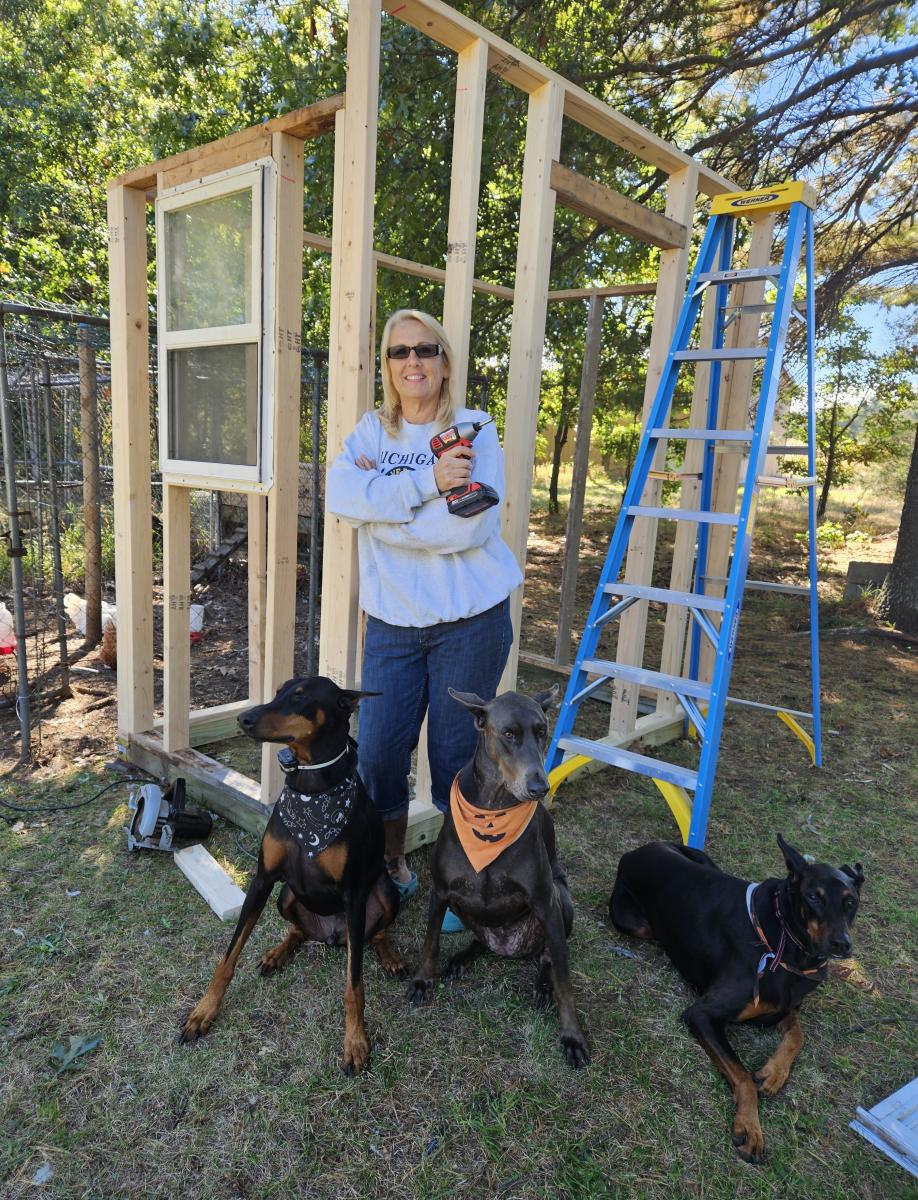
It was a great project for my dad and I.
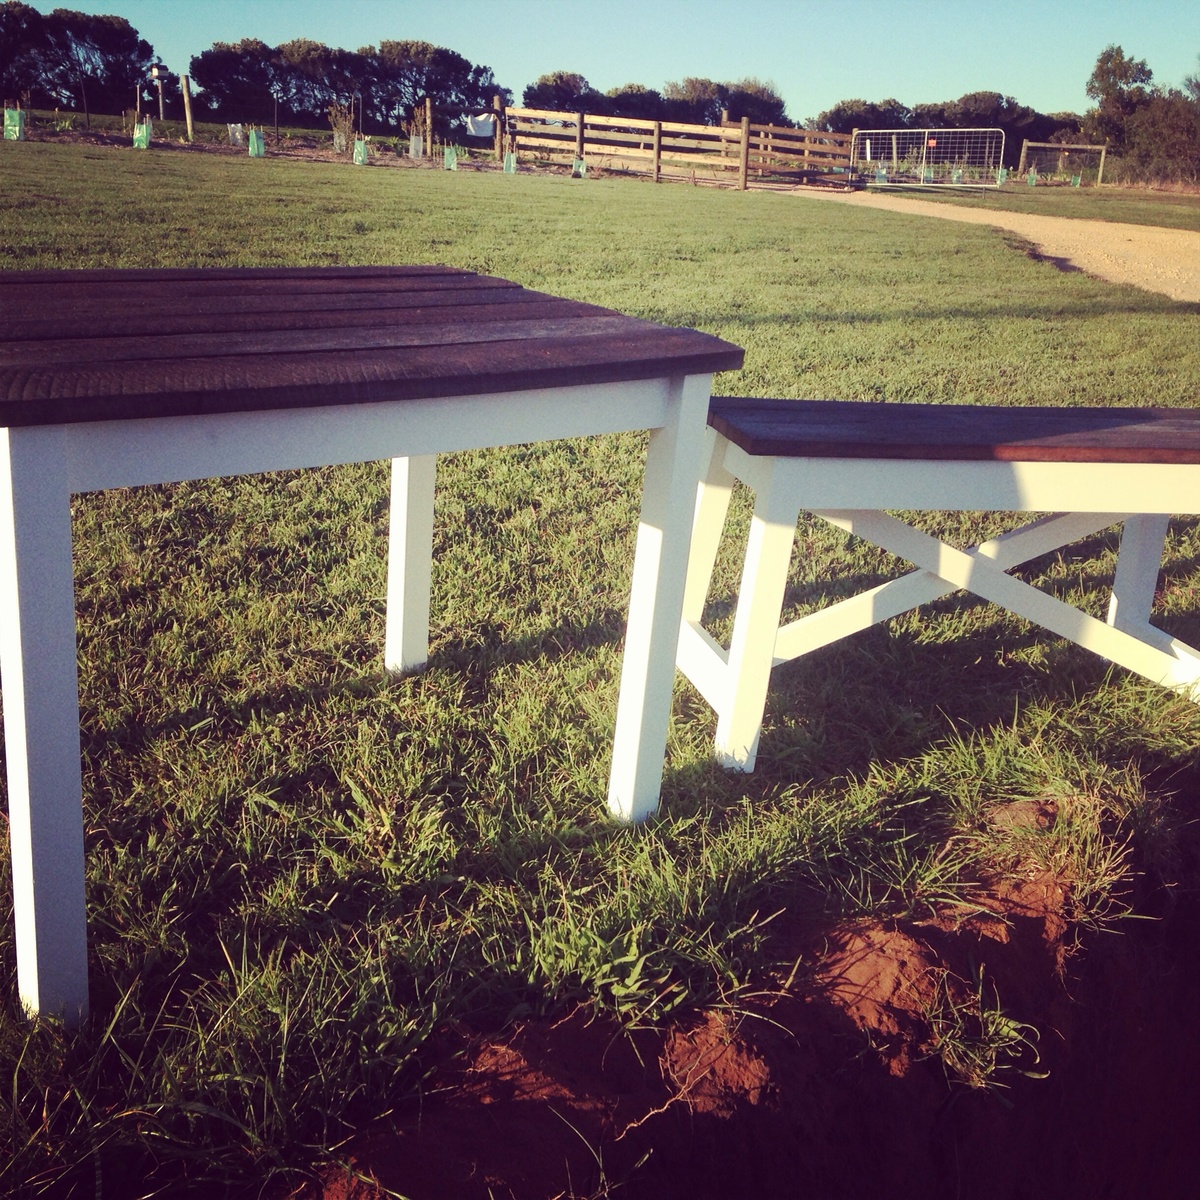
This was my first attempt at furniture. My husband helped a little but I did most of the work. Worked out beautiful, an excellent birthday pressie for my daughter. Started cutting wood one afternoon, and finished painting and assembling the following afternoon (had a birthday cake to bake otherwise it would have been finished earlier). I used recycled timber for tops, the rest of the wood cost $50, so guessing Australian timber is way more expensive than USA. Bought Kreg jig specially for this project. Pocket joins give an excellent strong join. Had trouble getting crosses on bench correct, required many rescaling a to get right. Also had a wonky table because I screwed to the recycled timber top (some of that wood is warped) so fixed with a choc under two legs. Very pleased with result, look forward to my next project!
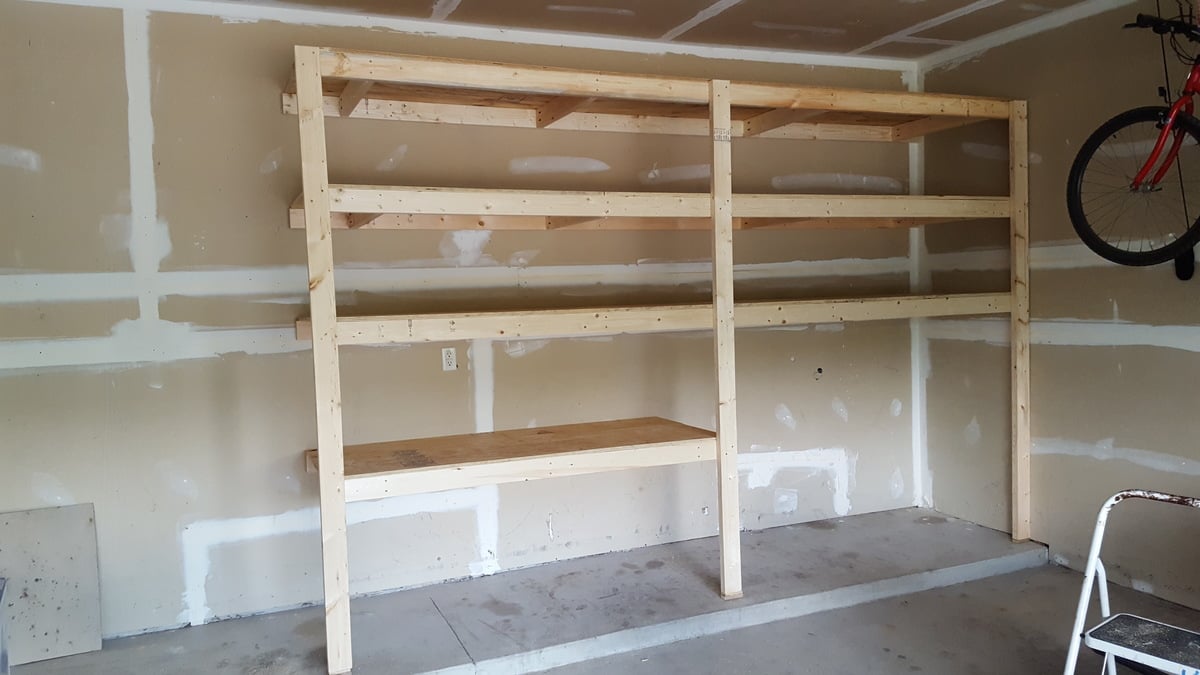
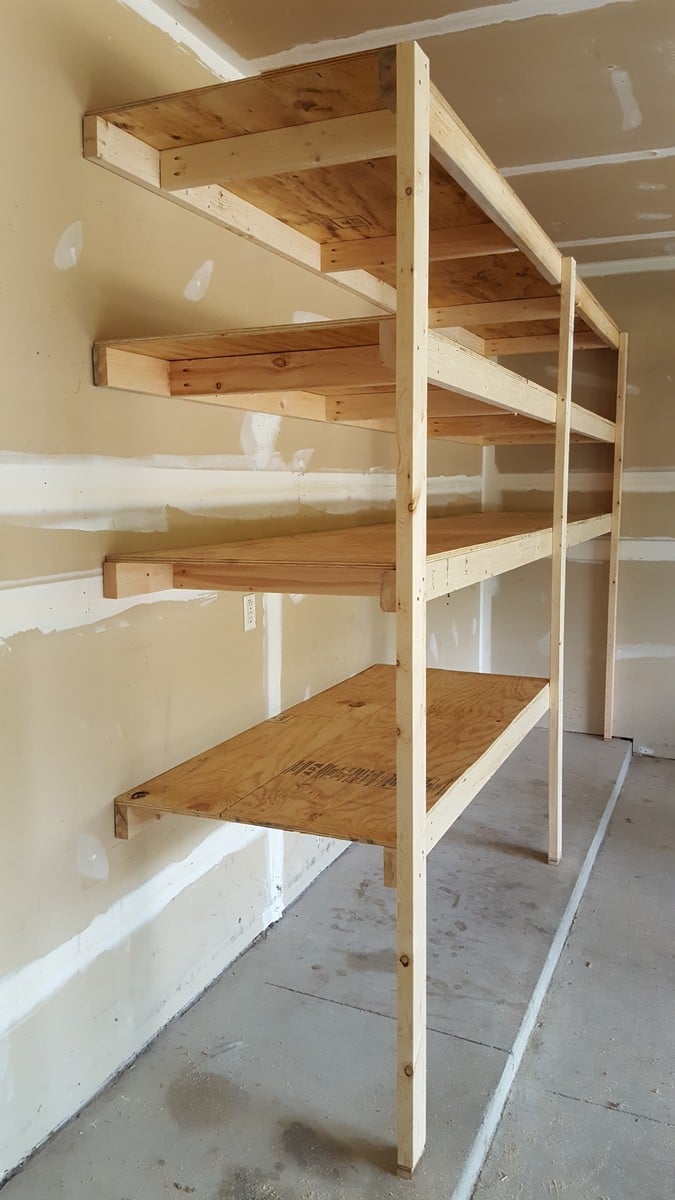
I am loving my new garage shelves. They were my first woodworking project and very easy to do! I left the bottom right side open to fit my outdoor table and chairs in the winter (I live in Michigan). I also used thicker plywood than plan because my shelves are a bit deeper.
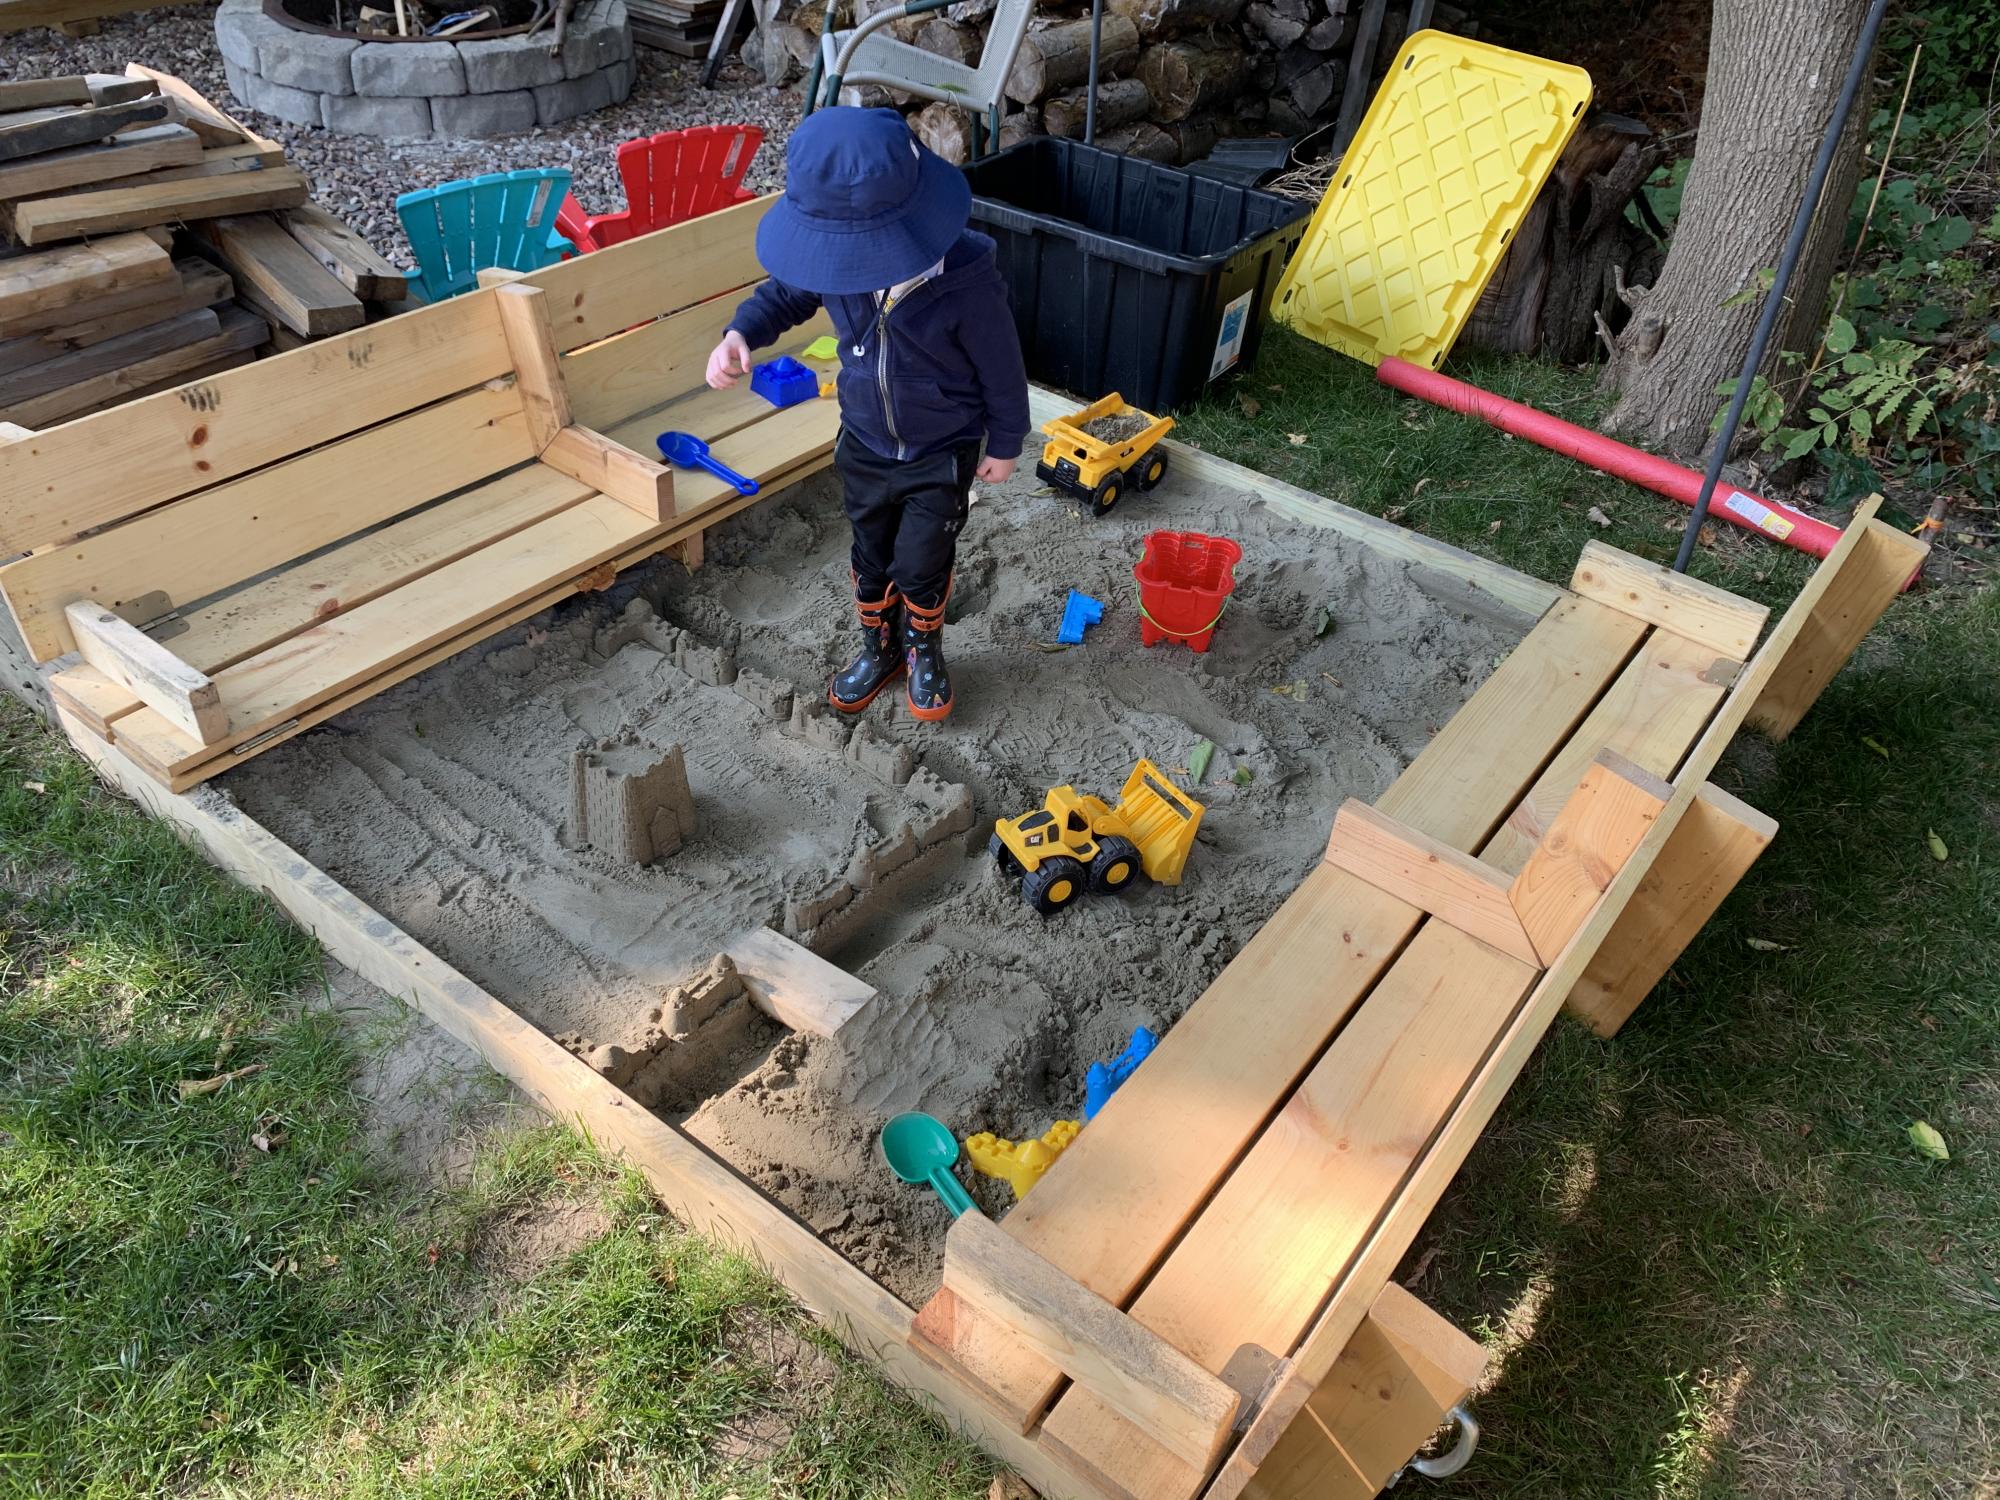
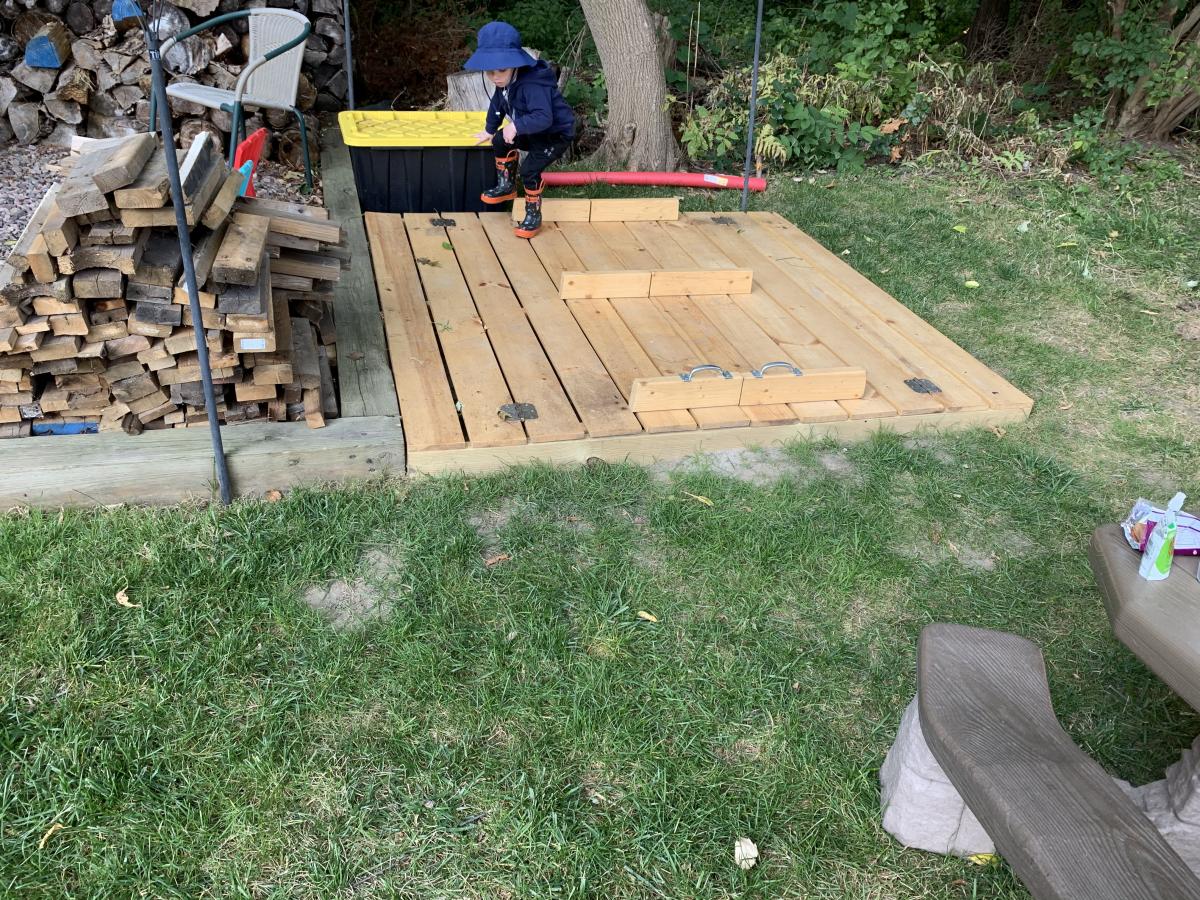
Made the sandbox 6x6. Recessed it so it sits flush with the timber’s around our fire pit area. I added extra armrests in the middle that double as supports when the lid is closed in case anyone wants to walk on it. Filled the sandbox full enough that the armrests sit on the sand when closed. It’s very sturdy now for walking on and the kids have tons of room to play. Thanks for a great plan to work from.
This was our first project from Ana-white. Make sure you notice that the dimensions on the cut list & drawings are different! We went by the cut list. We made a slight change to the frame on the end supports: instead of a 2x2, we used a 2x8. We felt more secure about people/kids pushing down on the edge of the table since we were able to both notch and put two screws into that end piece.
We used Aspen for the top, which I would not suggest. It ended up soaking up the stain very unevenly and blotching, even after using pre-stain.
For hardware, we used a 5 foot black iron pipe from Lowe's. Once we had the table assembled and the holes drilled, we remeasured and had Lowe's trim it by a few inches and re-thread (for free). We also used four square washers from McMaster-Carr (part no. 91128a140) which were $11after shipping.
We made our own wood putty out of sawdust, craft glue, and a little bit of the stain that we used for the table. It worked like a charm.
The two of us spent maybe 5 hours for assembly and another 6 for finishing.
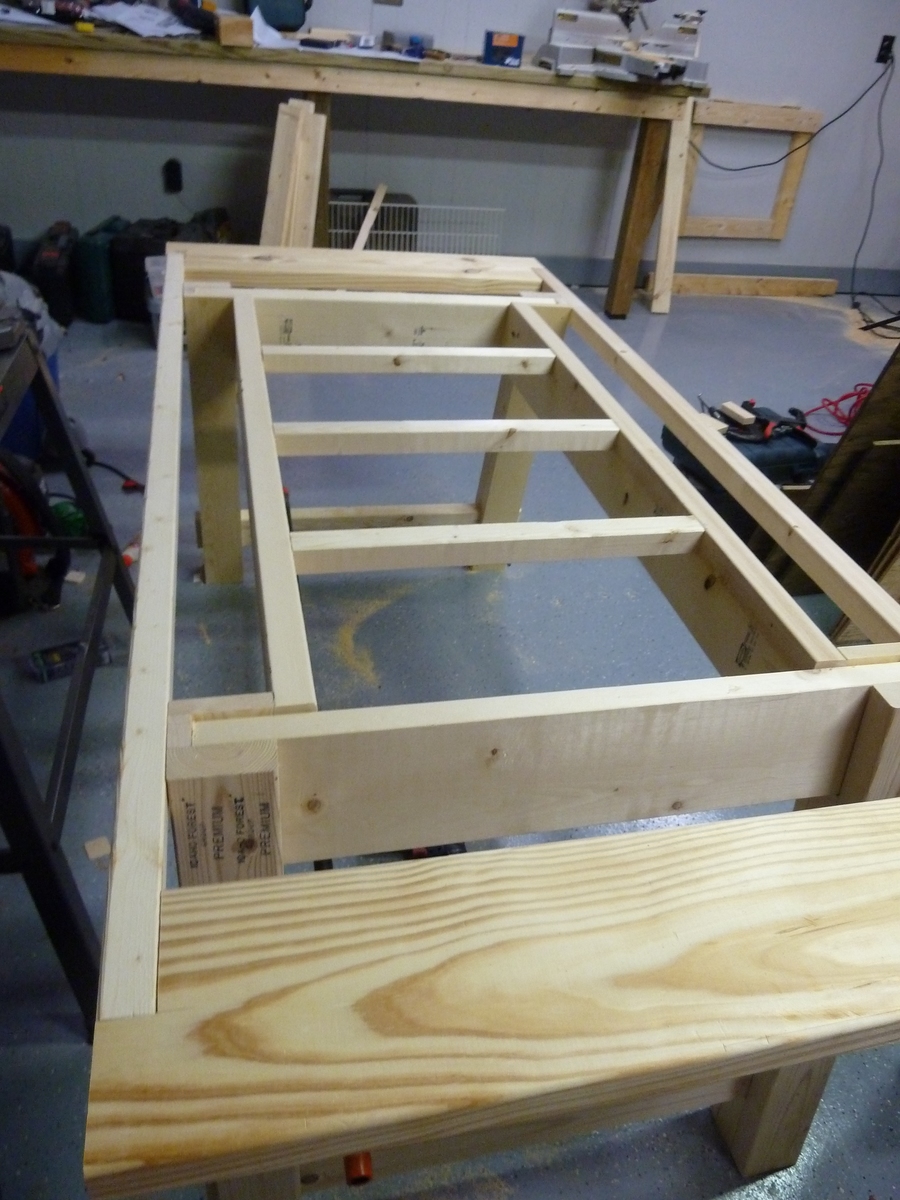
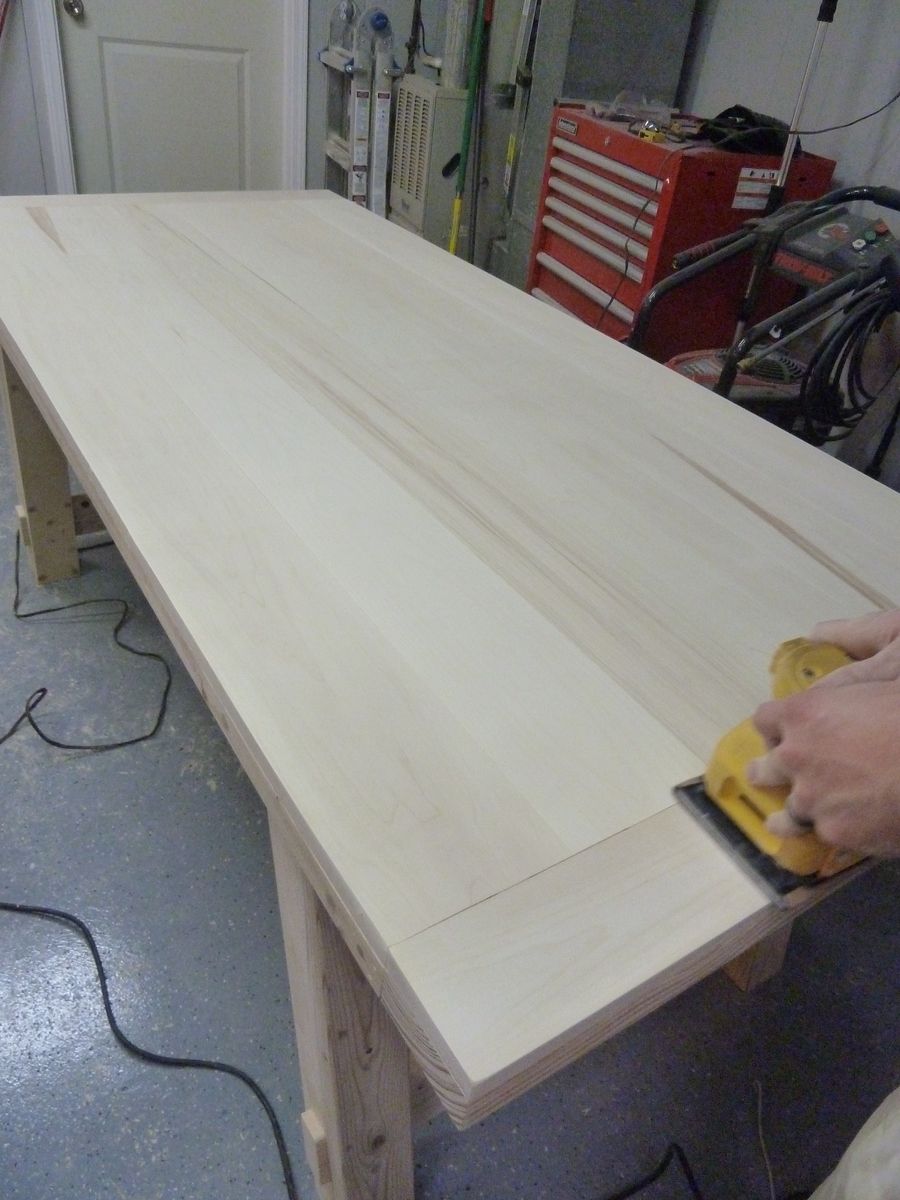
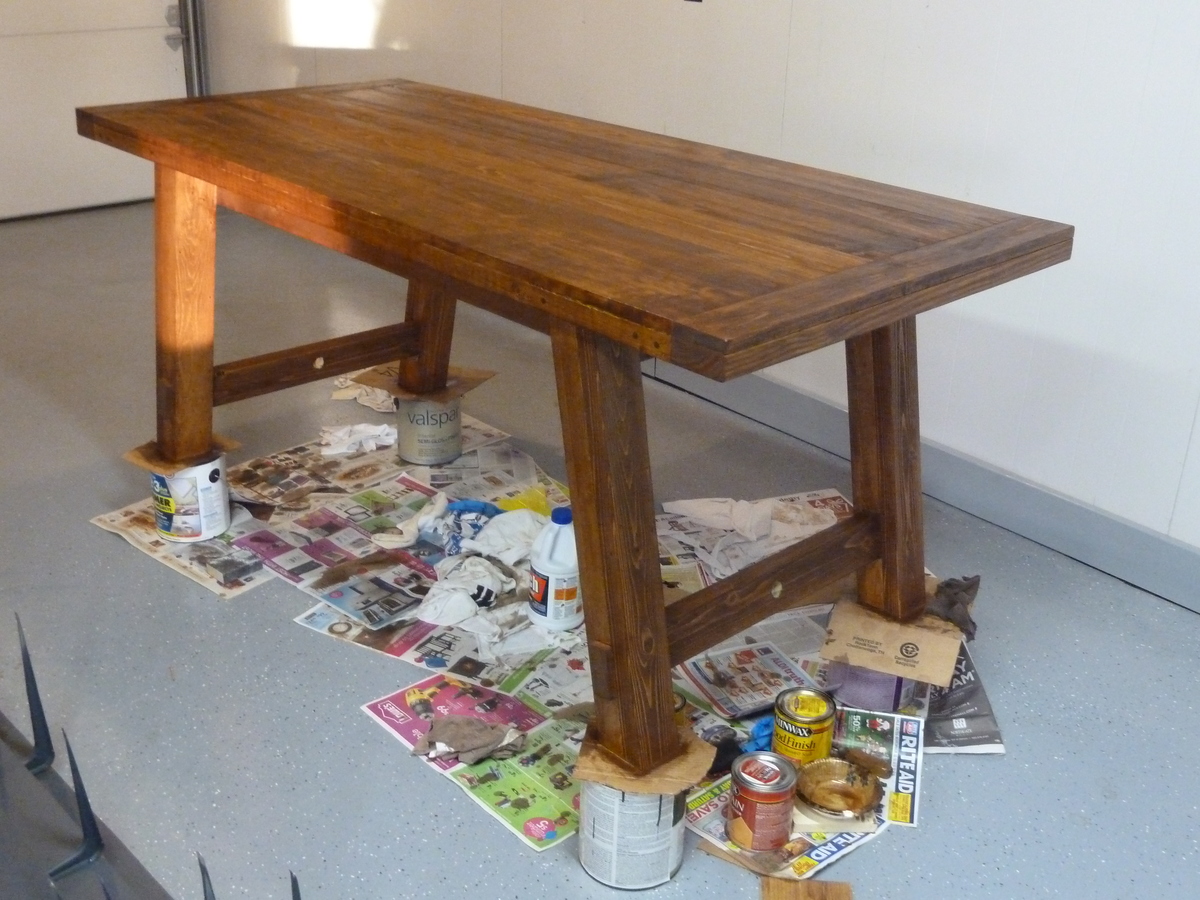
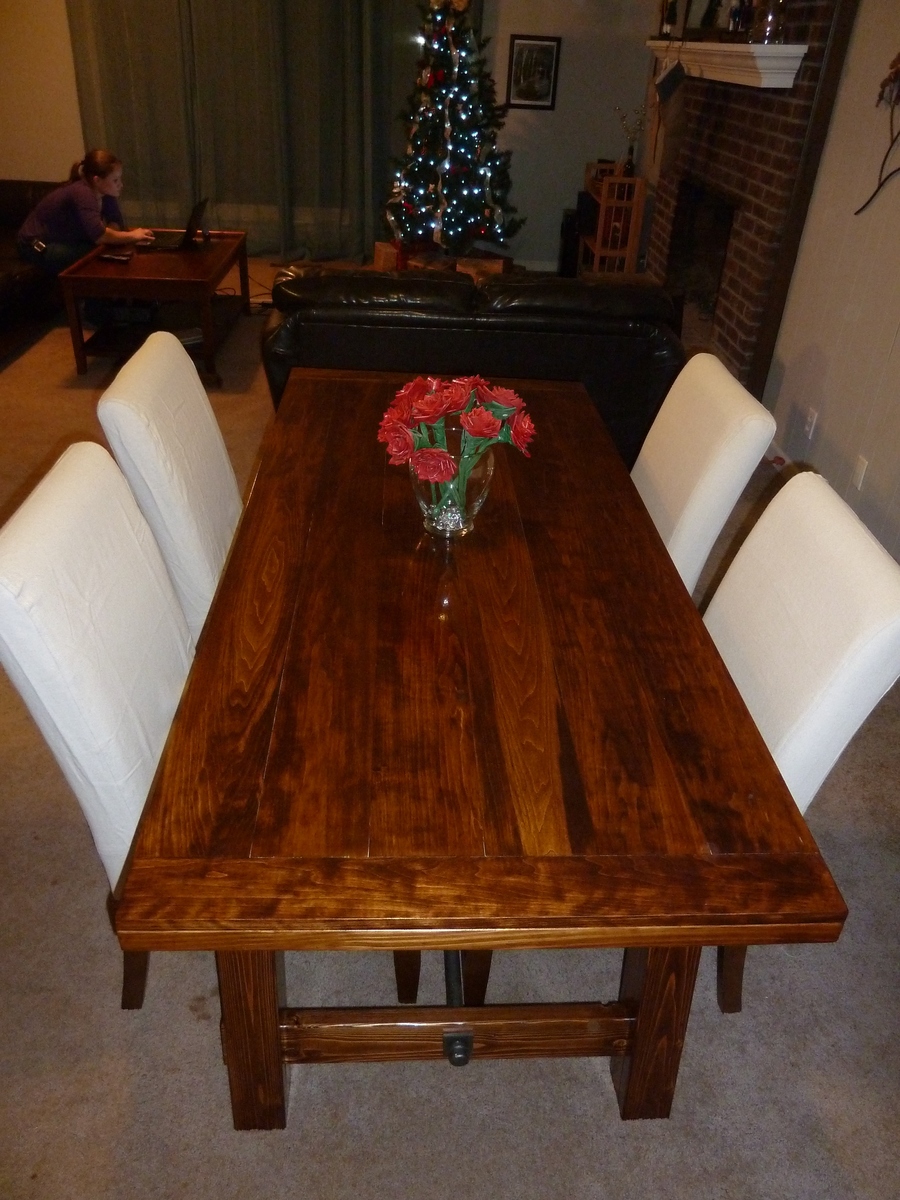
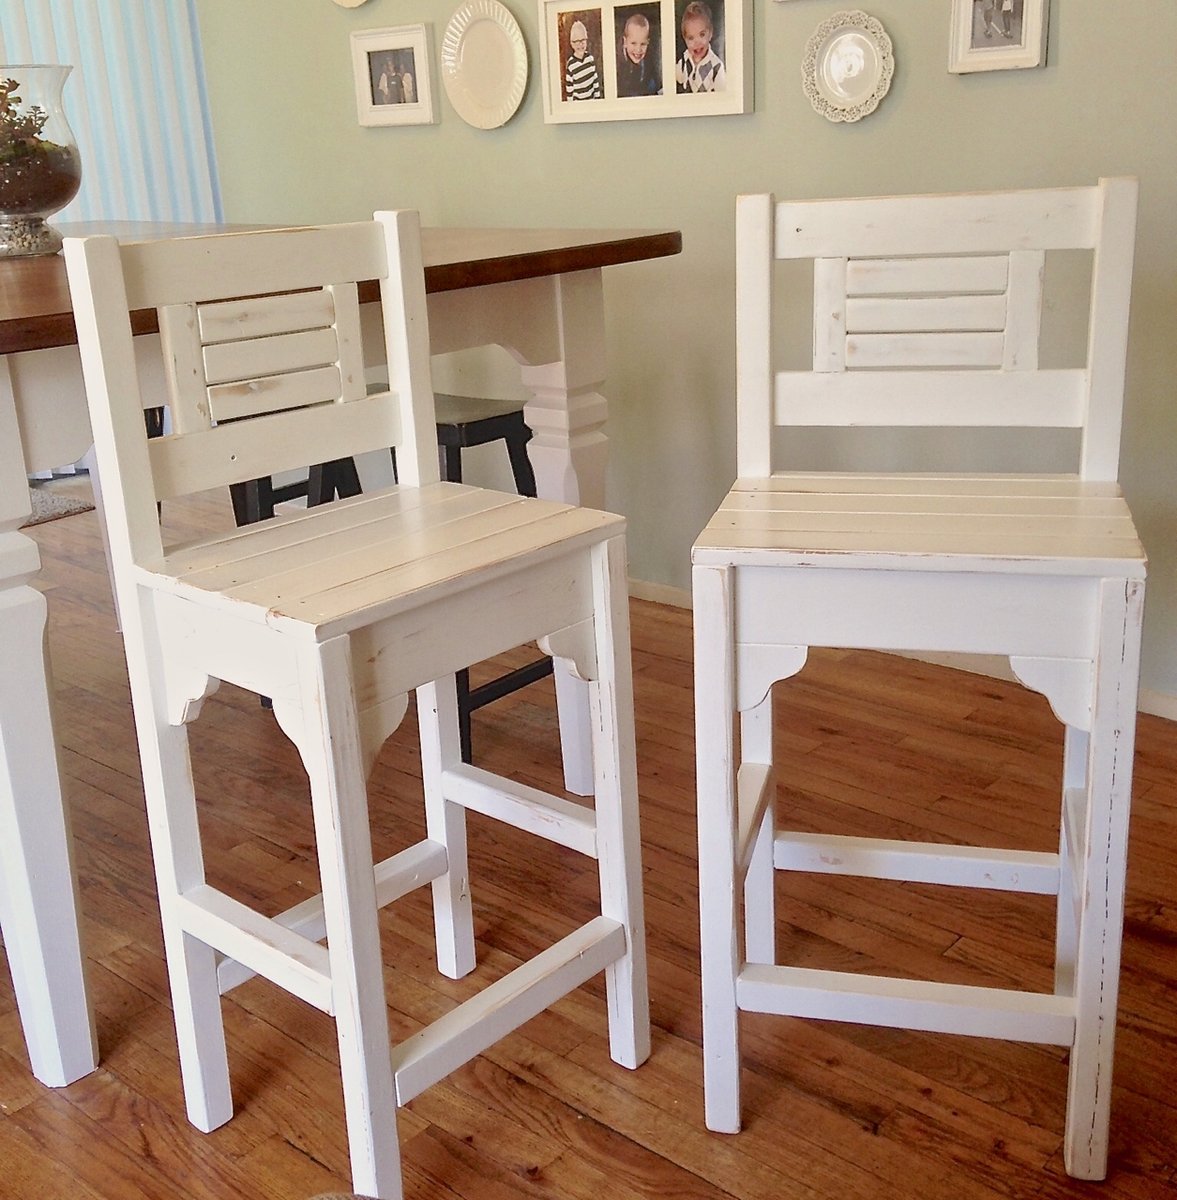
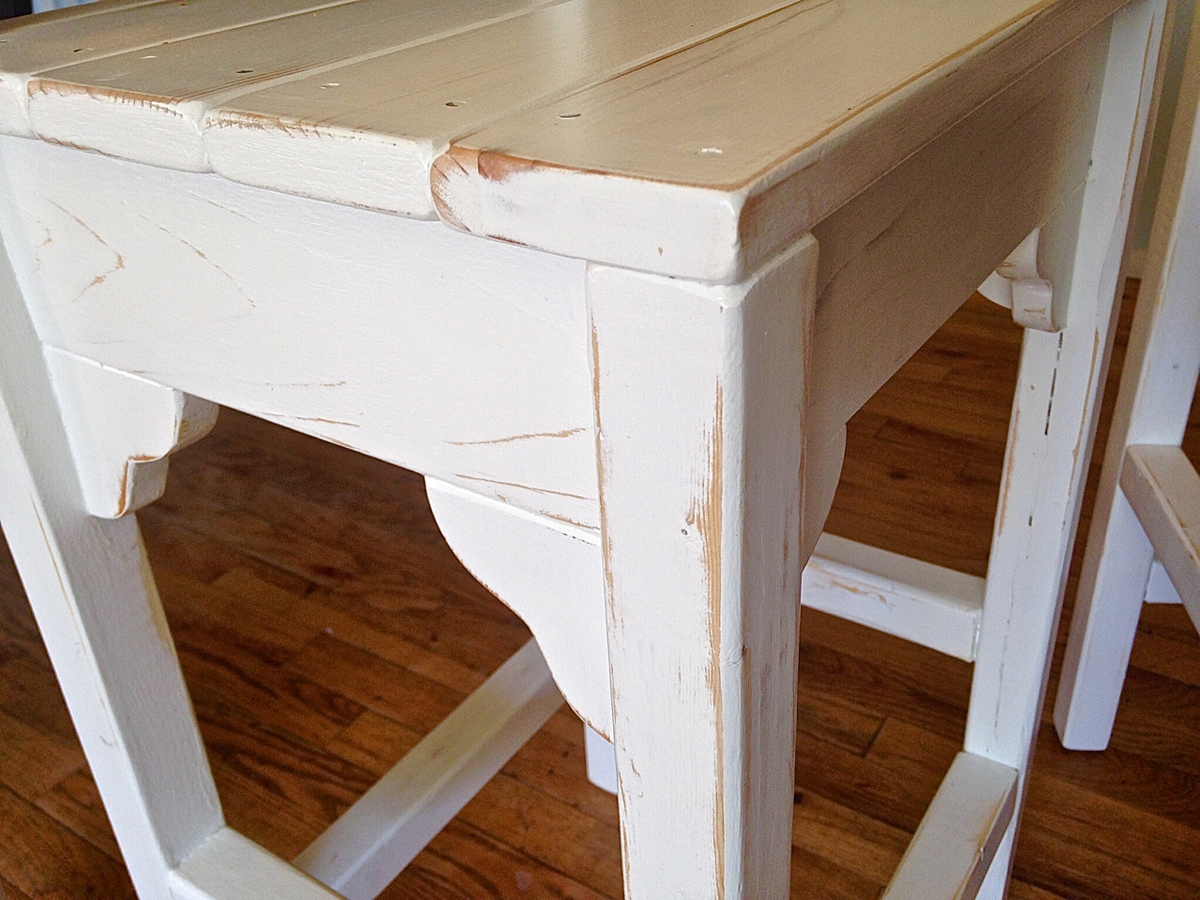
I did a little search to find a barstool and when I saw these plans on Ana White I fell in love. They were an easy build and didn't cost a lot. I made my stools shorter and altered the overall footprint. I like to plug all visible pocket holes which is easy to do and looks great.


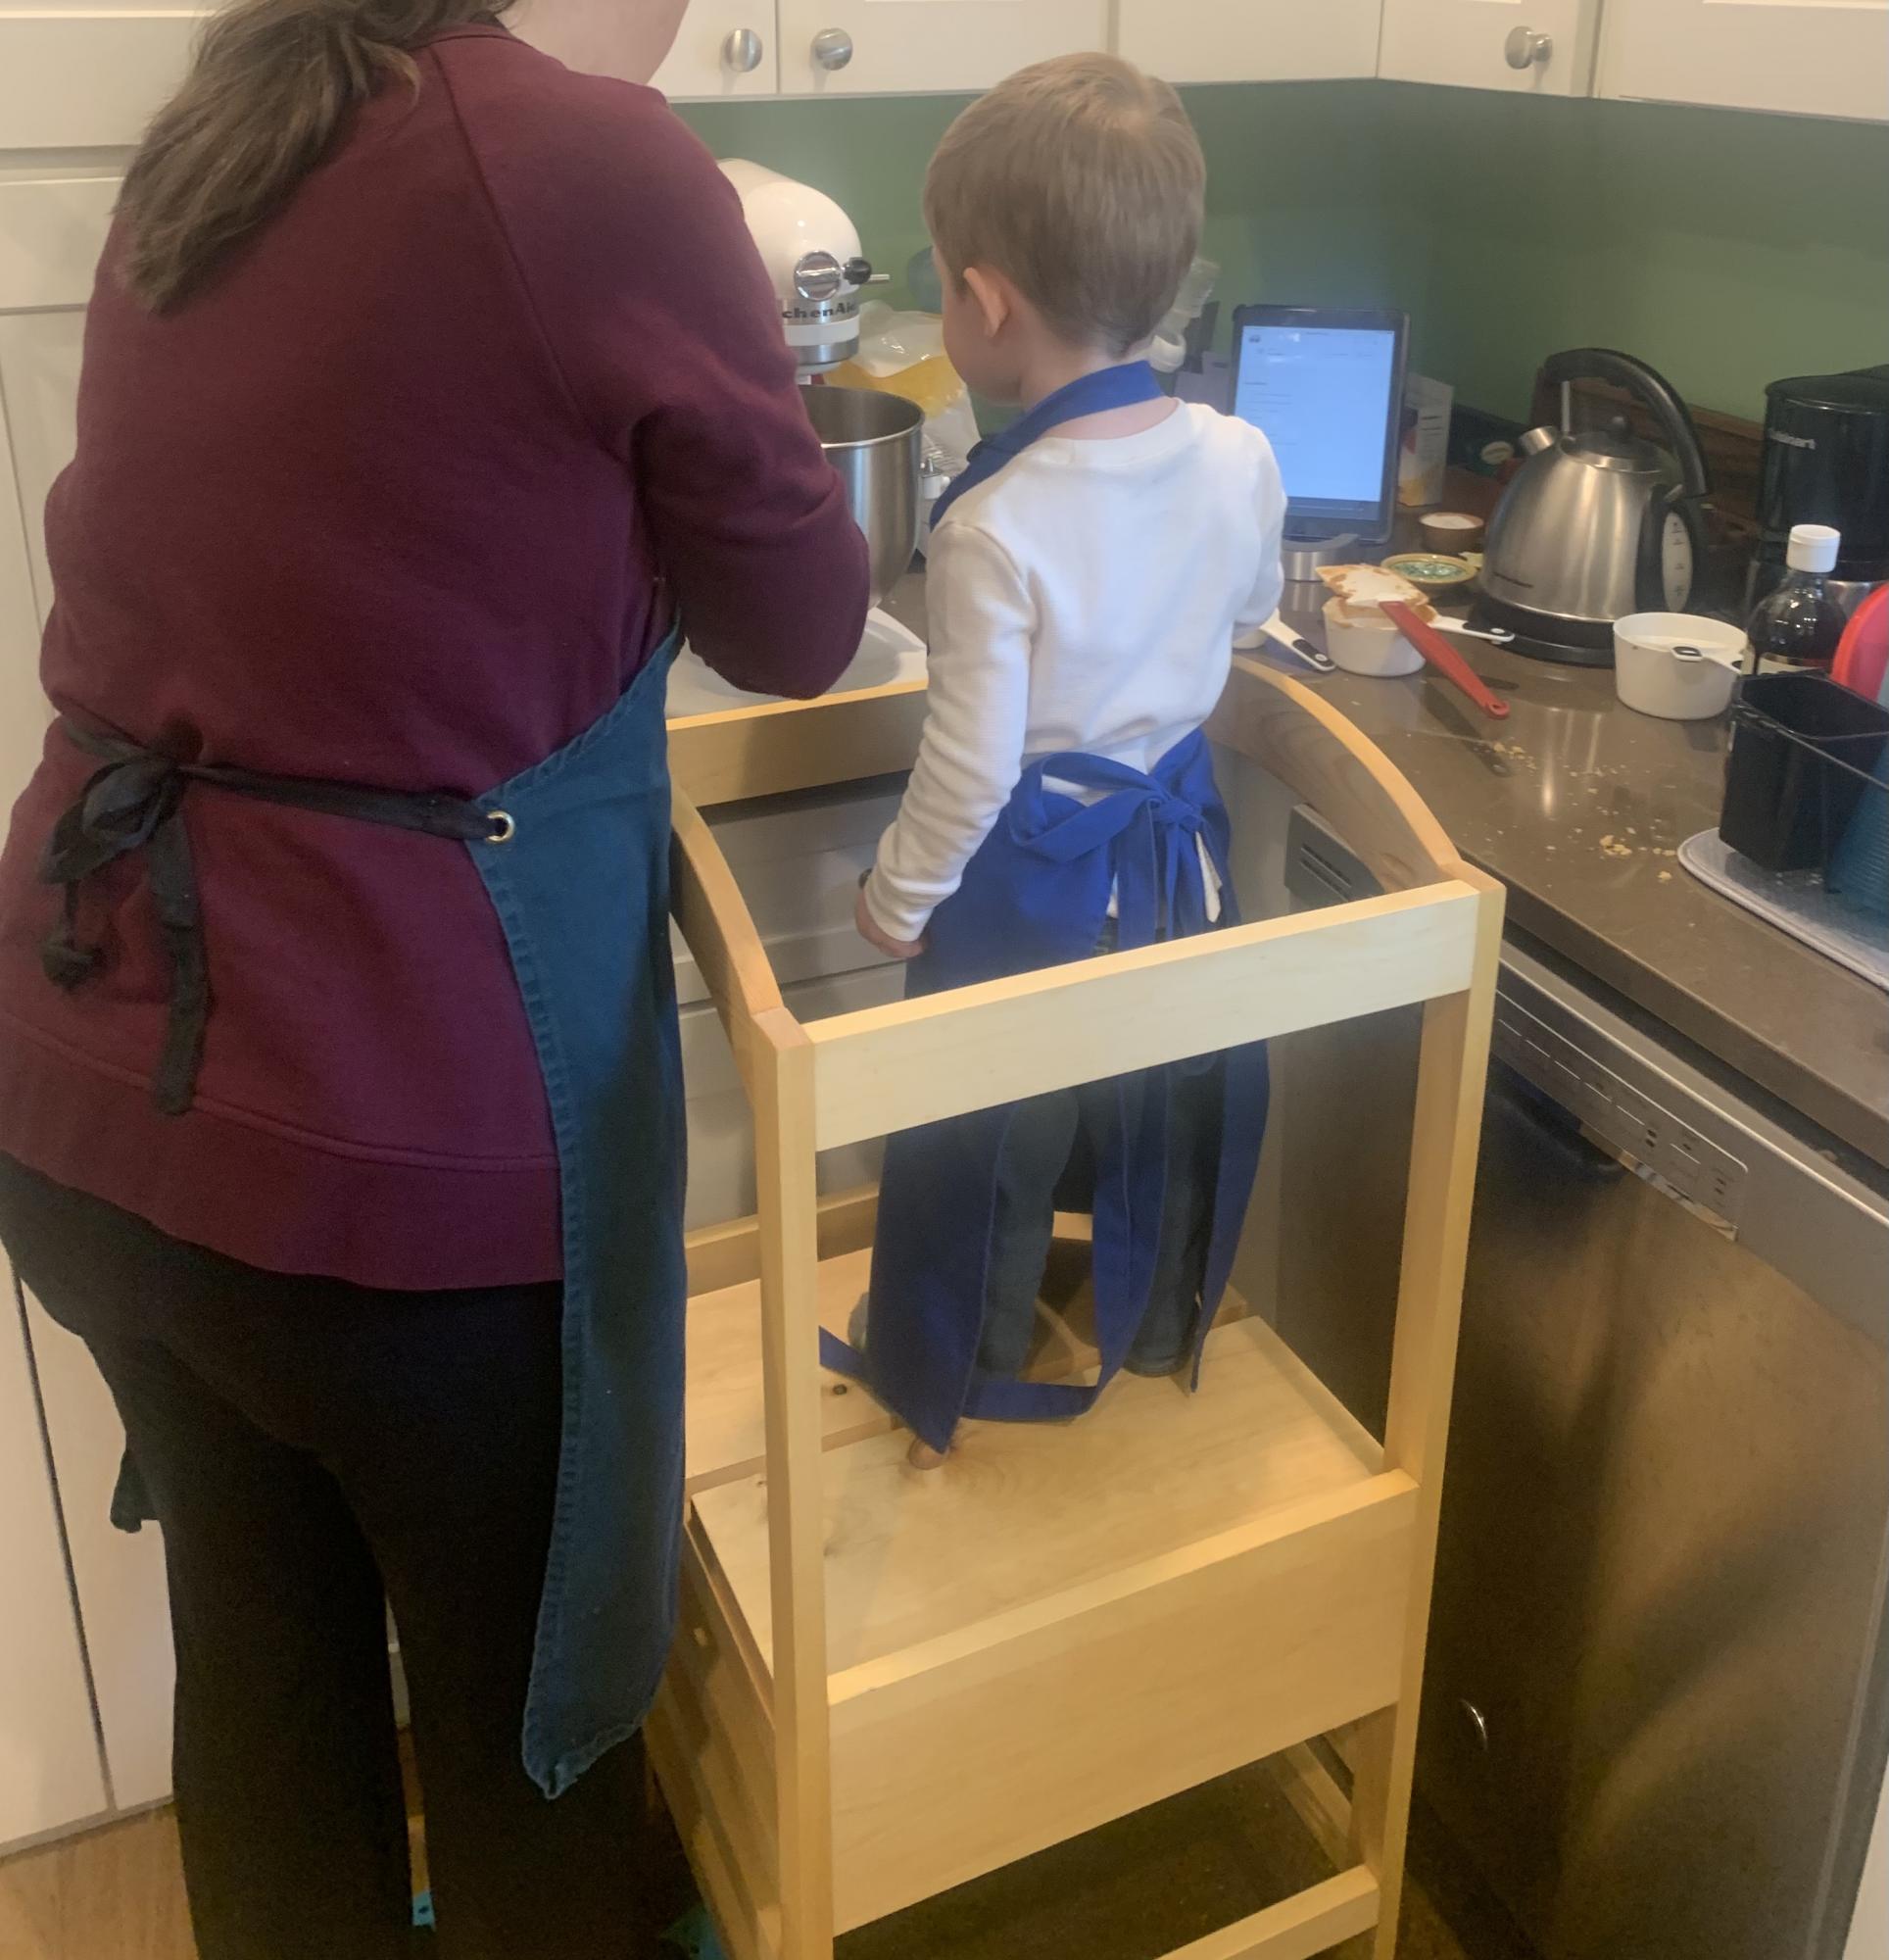
What a great help for mom in the kitchen. Very stable even without the extra feet. Only thing I wish I had done differently is make it two inches shorter so it would slide under the edge of the counter. My kids love helping to bake now.
Thu, 09/24/2020 - 11:07
Thank you for sharing, I bet they love it just as much as you do!
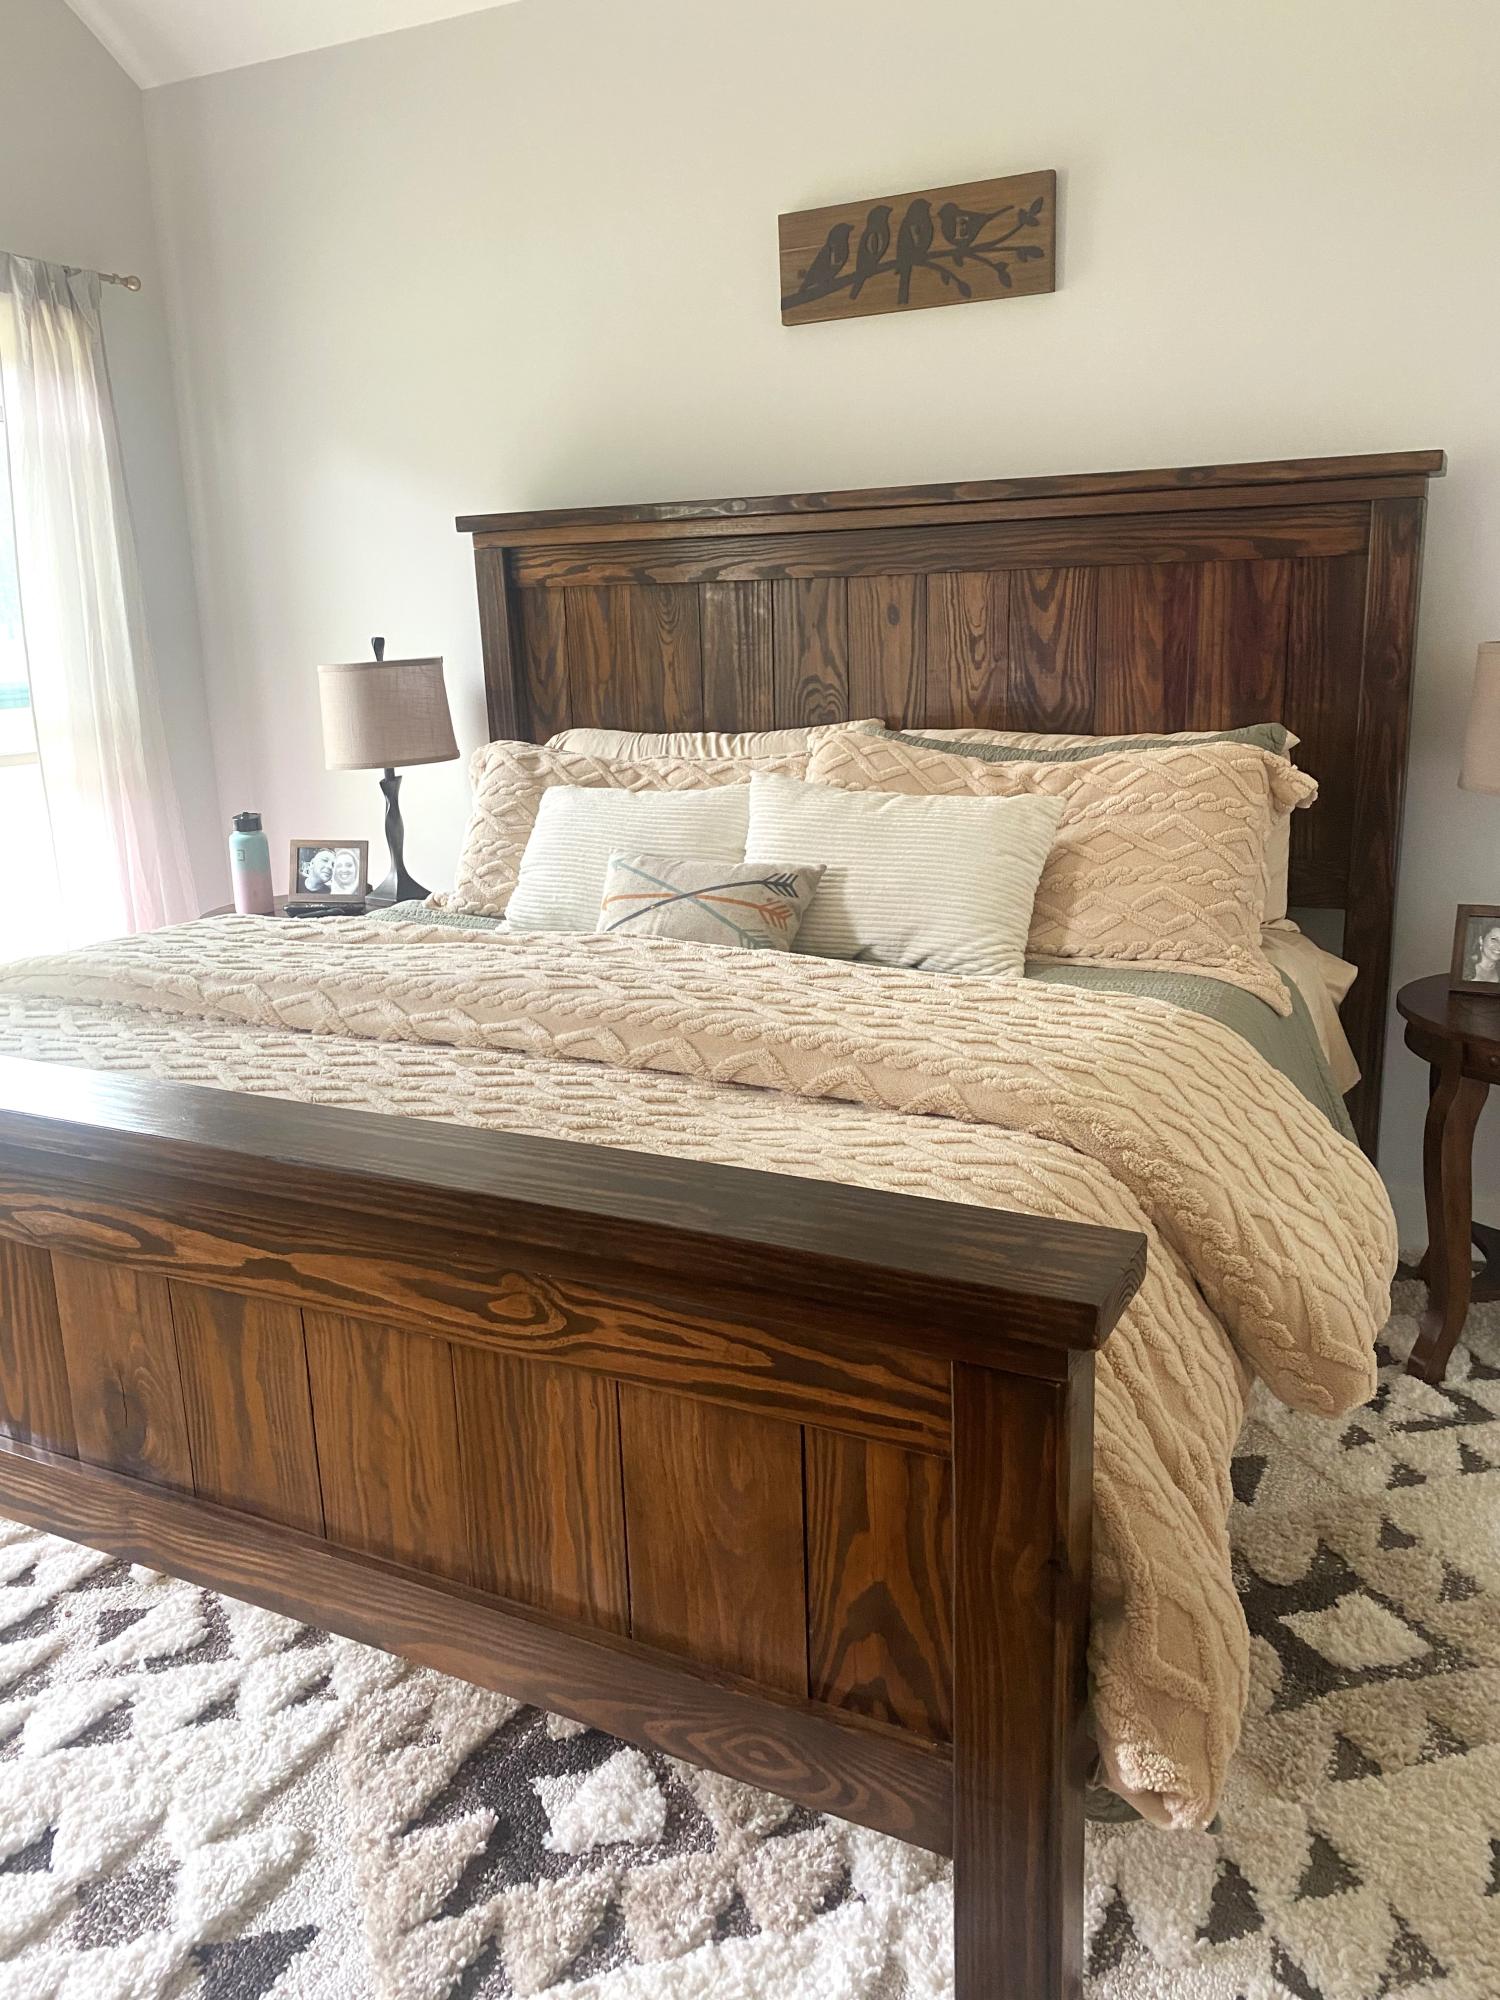
My husband slightly modified the height of the footboard of the farmhouse bed plans. We truly love this bed. It’s extremely sturdy and we have friends and family lined up to have him build them one!
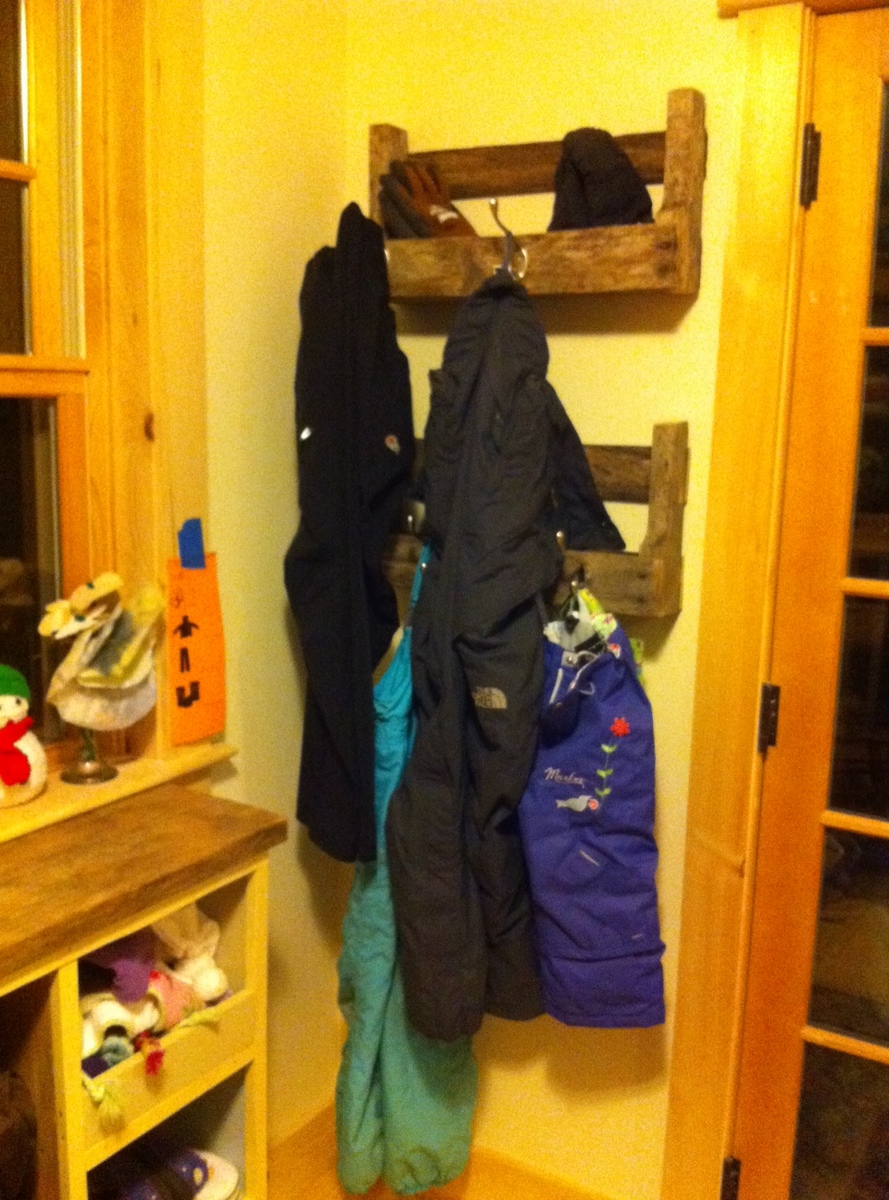
The first time I saw Ana's pallet shelves I knew I had to build them! It took a while but I found the perfect application. A place to hang the kids bibs and our snow pants that are a bit too long for the coat rack, and the bonus shelf for wet hats/mittens or chicken gloves that you don't exactly want in with your clean stuff ;>
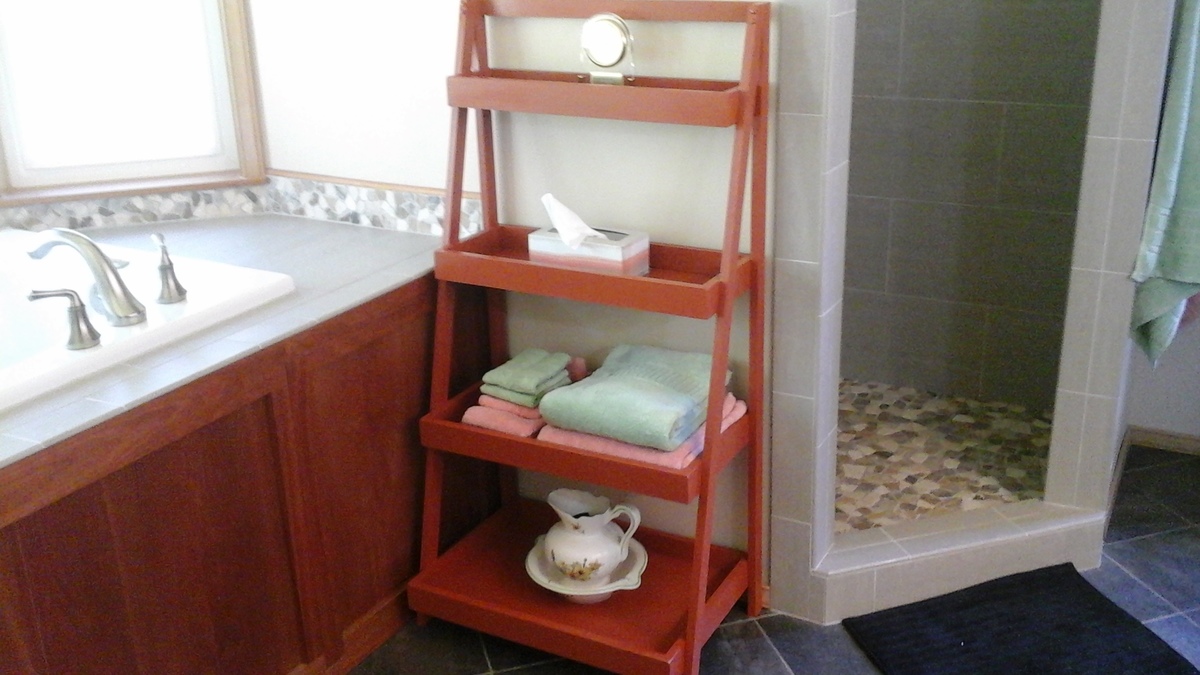
My wife saw a painter's ladder shelf at IKEA and wanted one for our master bathroom. I showed her the shelf on Ana's site and she liked that one much more. So ... a few hours later we had our new shelf and my wife couldn't be more pleased.
This took me forever to do even with the plans and I still had to rig it cause I just couldn't get it square. Im working on that but I'm very new at wood working and took this project on but I absolutely love it. This really cleared up my shed and space combined with extra tables to work on. I got to use it for the first time today and it was awesome. I think everyone should have one of these !!!
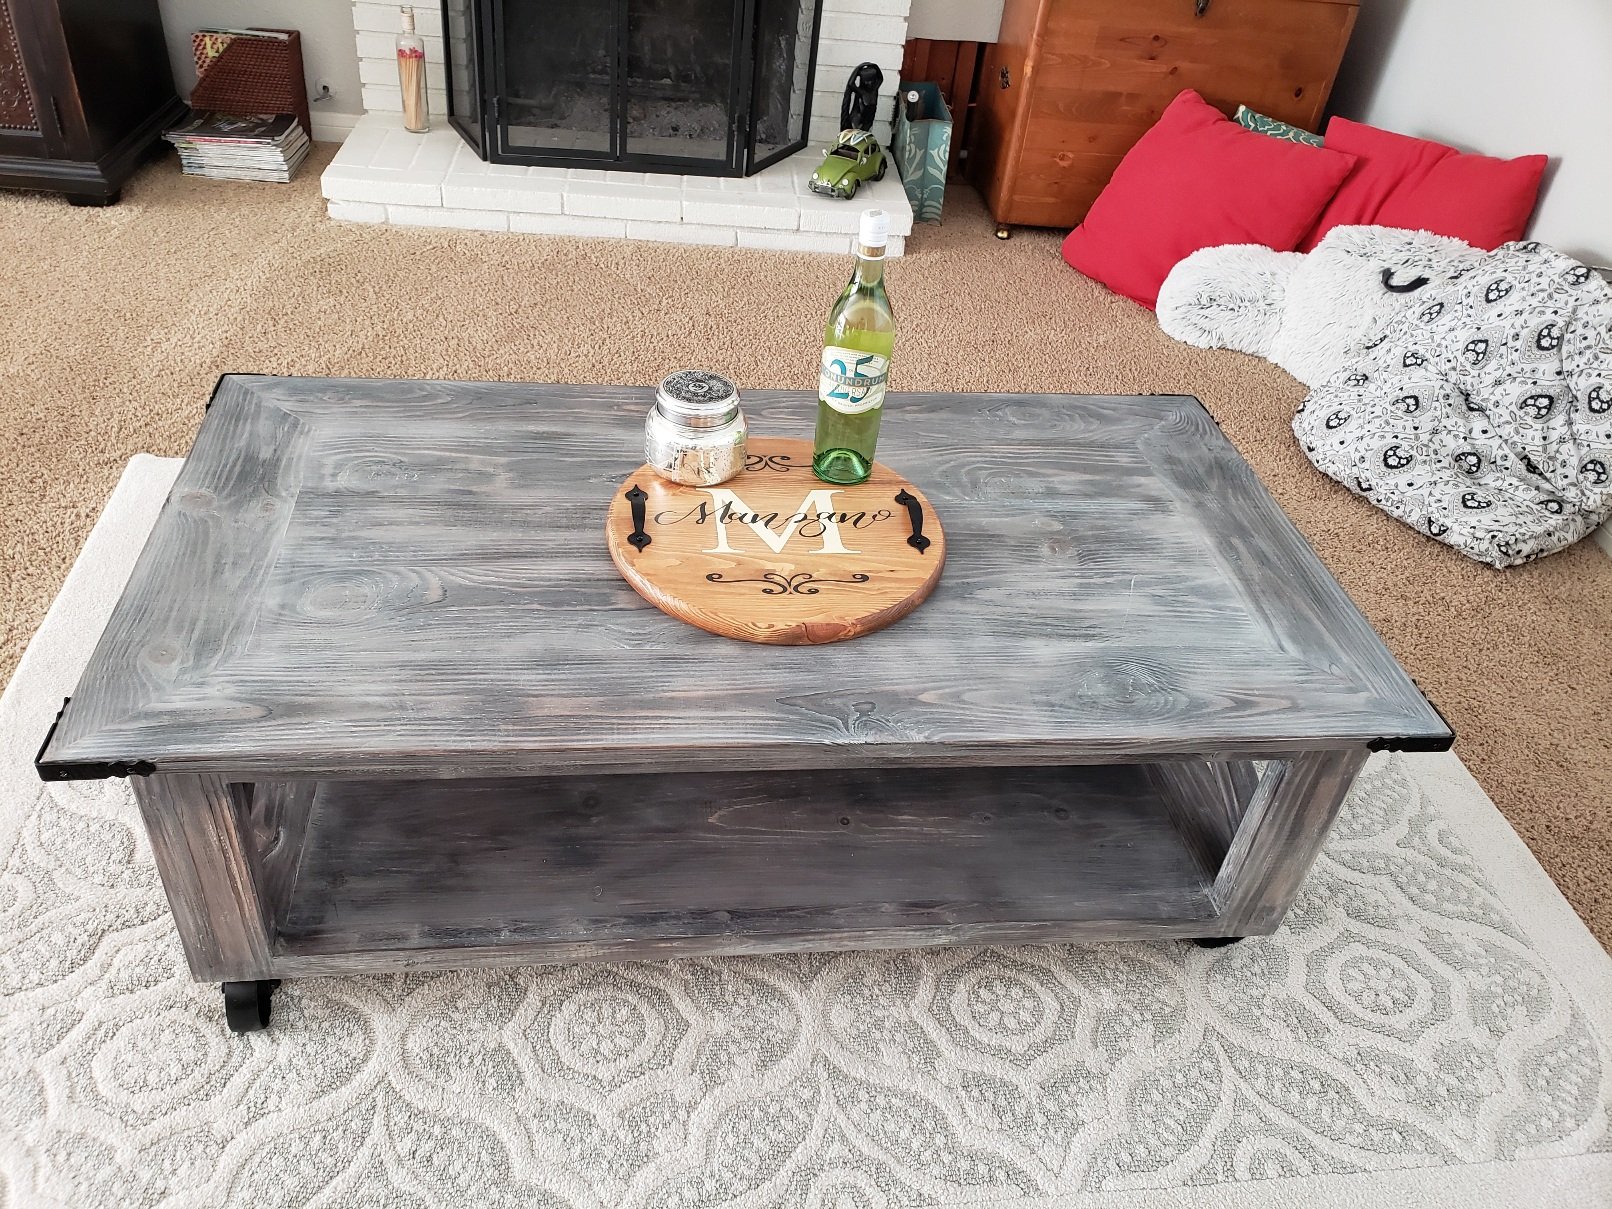
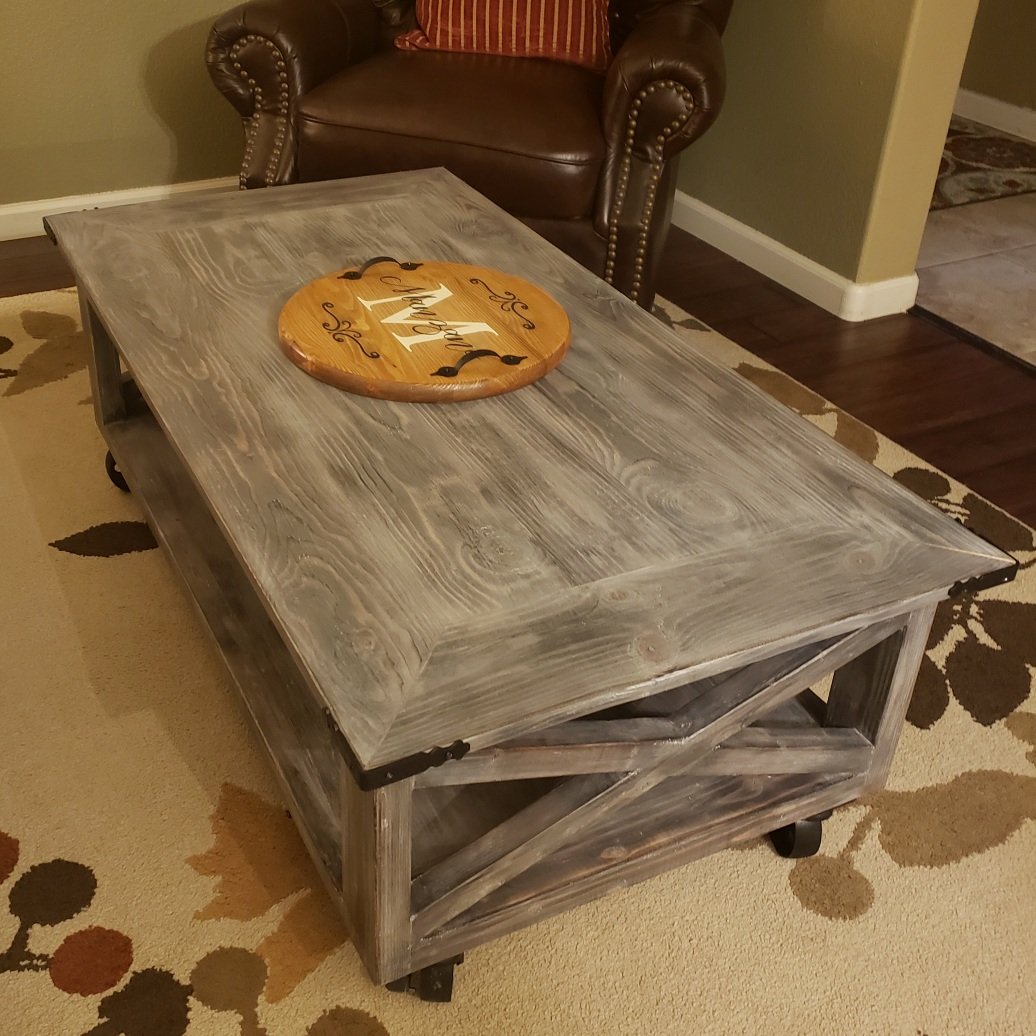
I built this using the Rustic X Coffee Table Plans, but modified by using 1x stock for the top instead of 2x. I also built mitered breadboards for the top. Finally, I added casters for mobility and an industrial look.
Sat, 09/26/2020 - 18:29
Thanks for sharing, love the finish and casters!
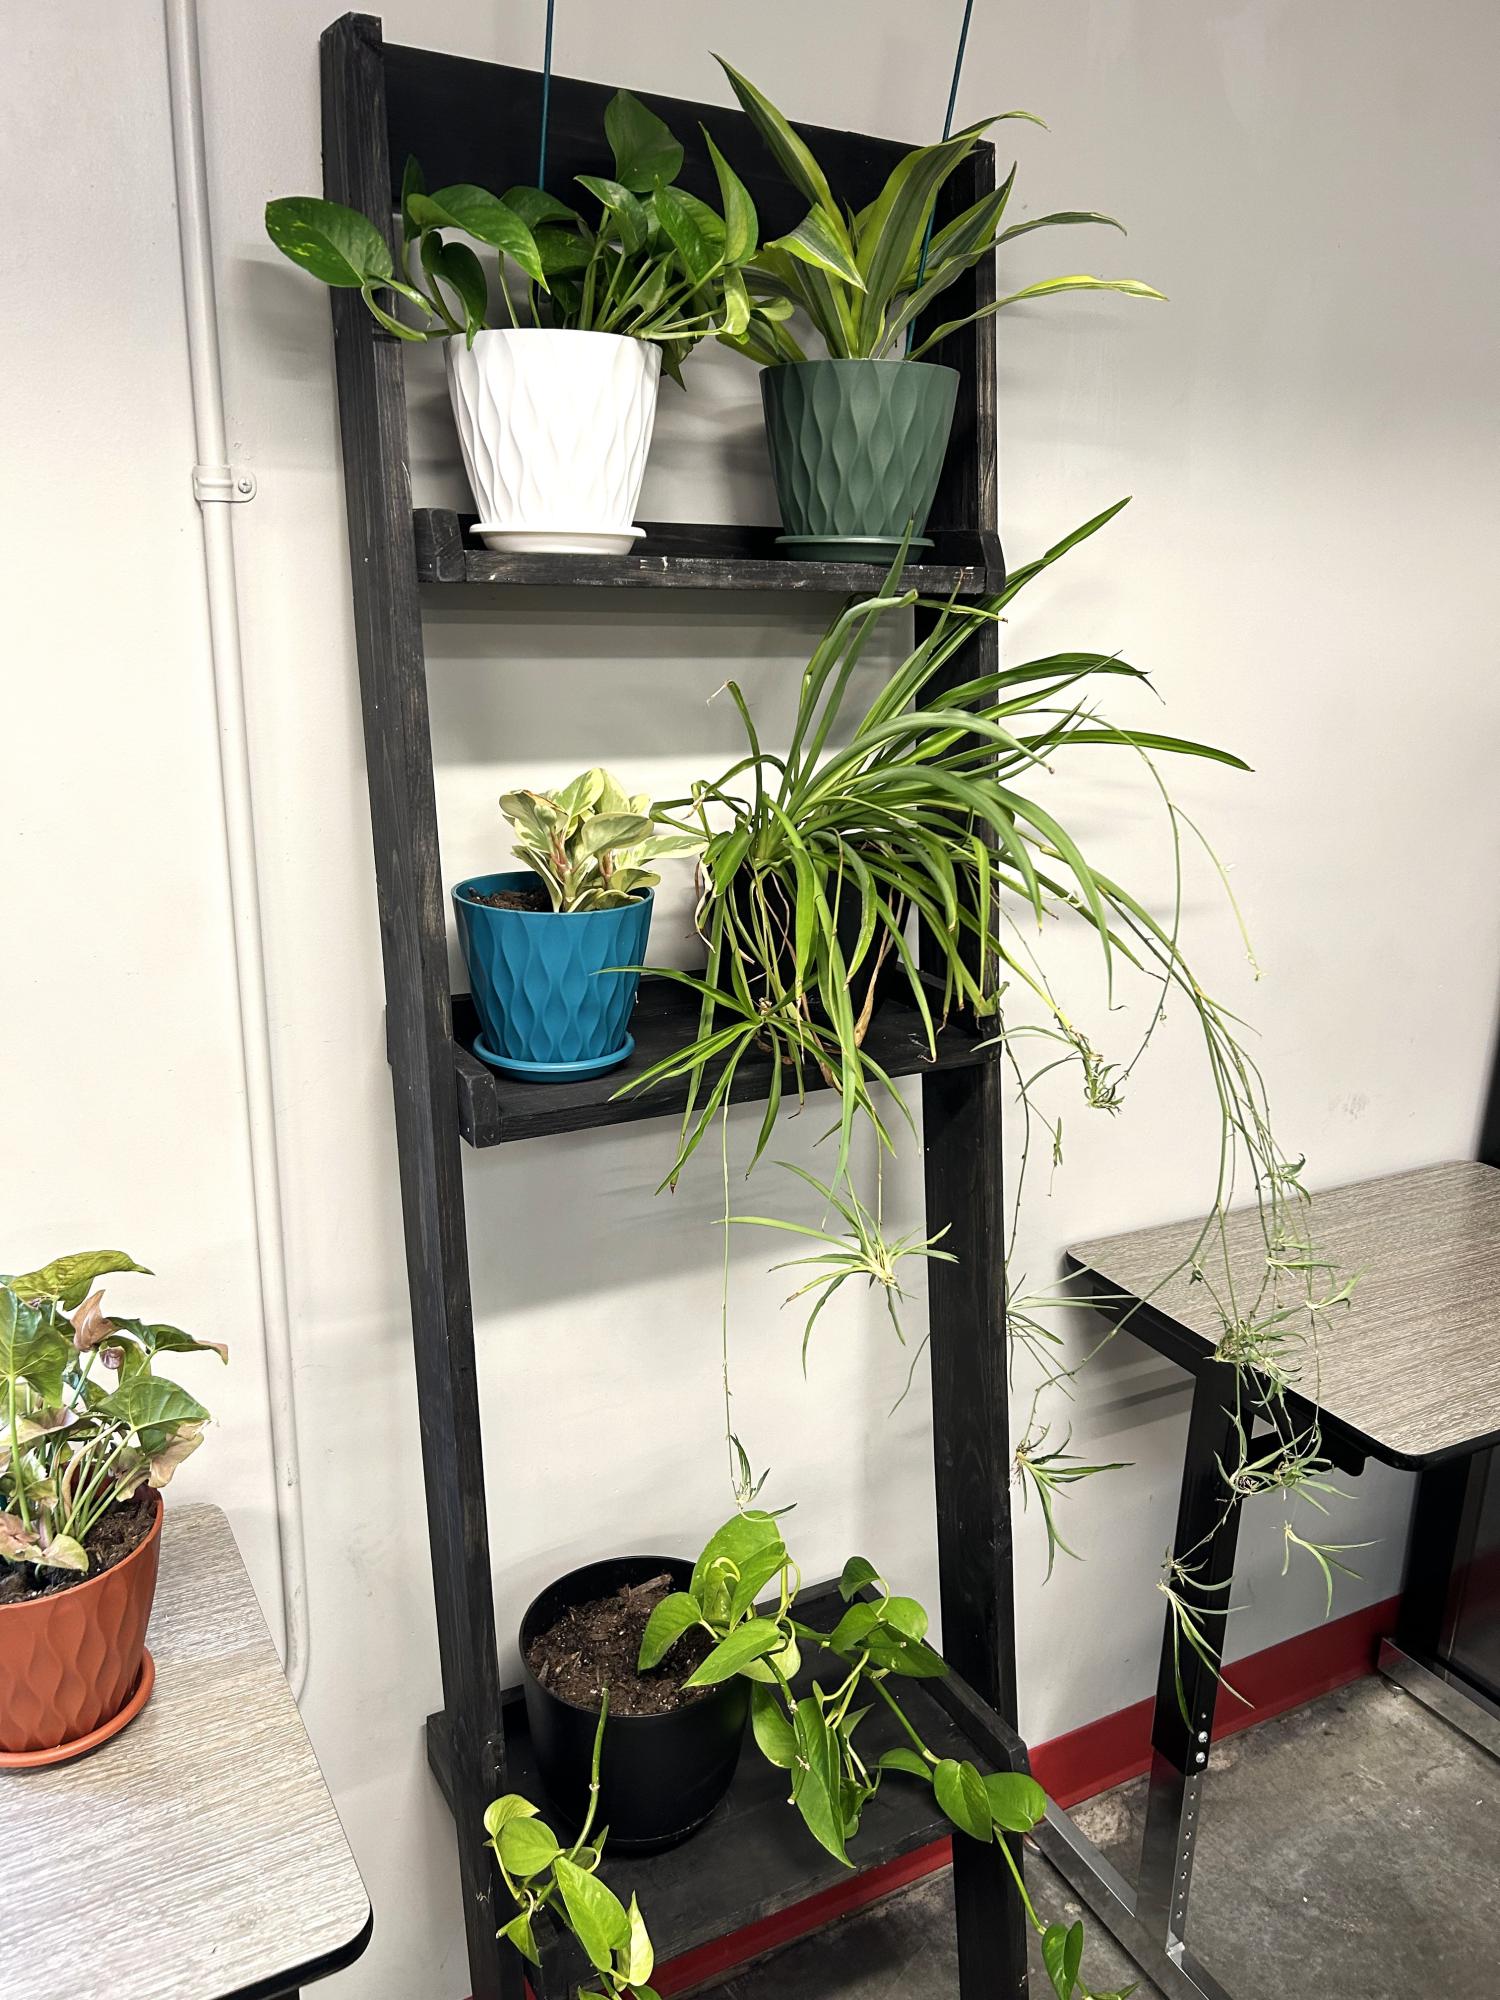
I needed a place to put extra plants in my classroom, and this was easy and fit the bill perfectly. I left out one shelf to allow space for plant growth. - Jennifer
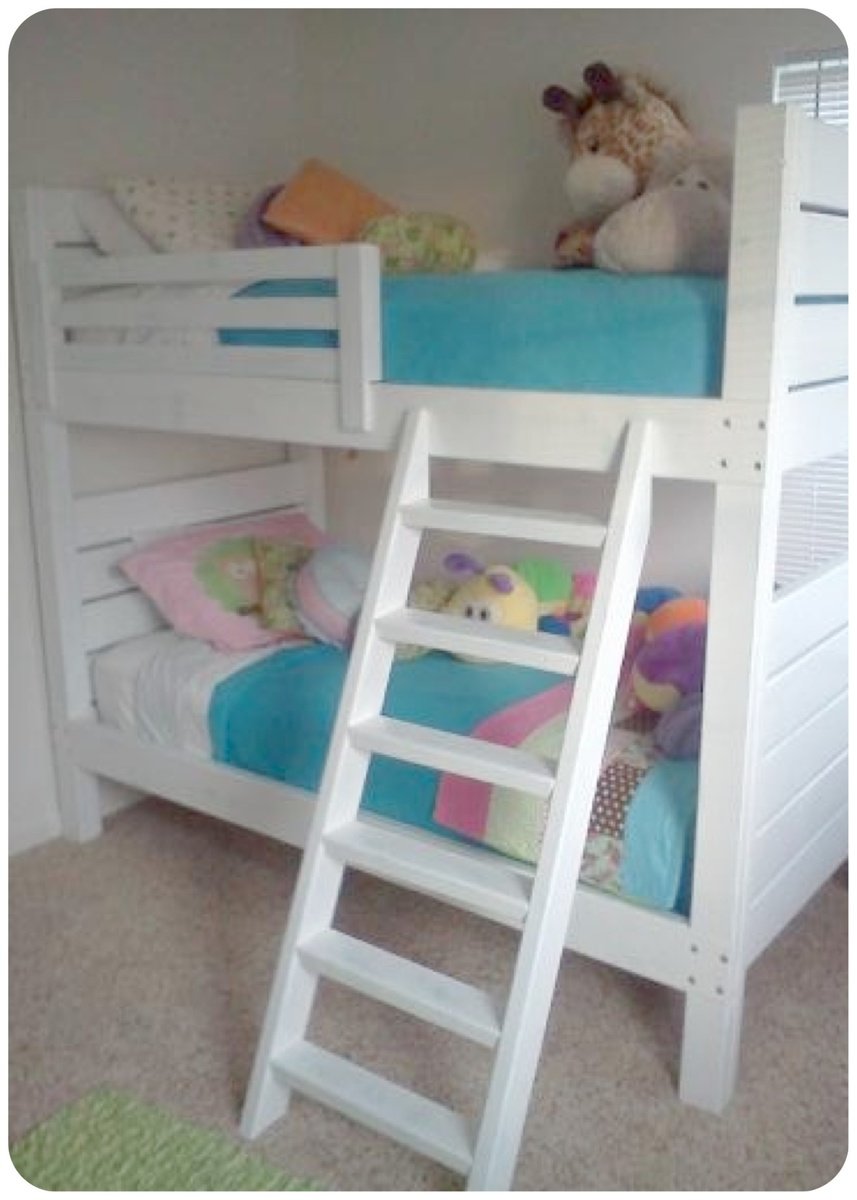
I followed the plans for the Side Street Bunk Beds and added the ladder and guard rail from the Simple Bunk Bed plans. I modified the angle on the ladder so that it wasn't as steep of an angle as called for in the plans. I'm not sure the length for the ladder stated in the plans was correct anyhow as mine came up too short, leading me to modify my angles and not completely scrap my boards. I don't recall the angles I used at the moment. This was a "side" project that I completed this Fall in between the normal duties of mom and being in 3rd trimester of pregnancy! Not a hard build, but a heavy one! I used 1/4" lag bolts for the rails so we could easily disassemble it.
Sanding proved to be a big task. I thought I had skimped a little on this task, but once we applied our paints, it all smoothed out just fine. We distressed it, so it has a slightly rugged look, yet a shiny, satin finish. I didn't focus too much attention in painting the slats and inside rails (one coat of white plus one clear top coat). We sanded down the rails that are exposed to the bottom bunk, and slacked on the ones closest to the floor.
The beds are gorgeous! The picture doesn't do it justice. Well worth the effort and savings as opposed to buying a $1500 bed. Plus, my girls got to see mommy create something practical! When they are old enough, they can help!
Sun, 03/09/2014 - 10:40
This looks amazing, exactly what I need for my girls!! Can you email me these plans to [email protected], Thanks!
Sun, 03/09/2014 - 10:40
This looks amazing, exactly what I need for my girls!! Can you email me these plans to [email protected], Thanks!
Tue, 03/11/2014 - 08:05
The links to Ana's plans are in the post. I changed the ladder dimensions a little, but I don't remember what I did.
Tue, 03/11/2014 - 08:05
The links to Ana's plans are in the post. I changed the ladder dimensions a little, but I don't remember what I did.
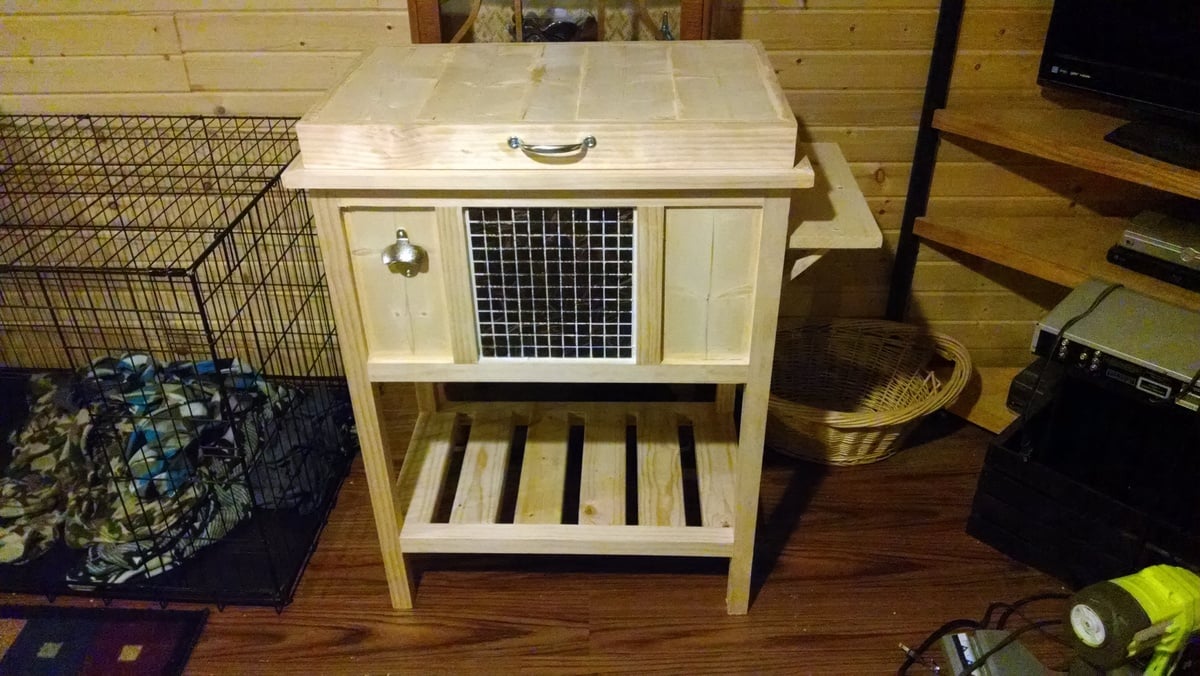
Built this for my father for Father's Day he loved it.
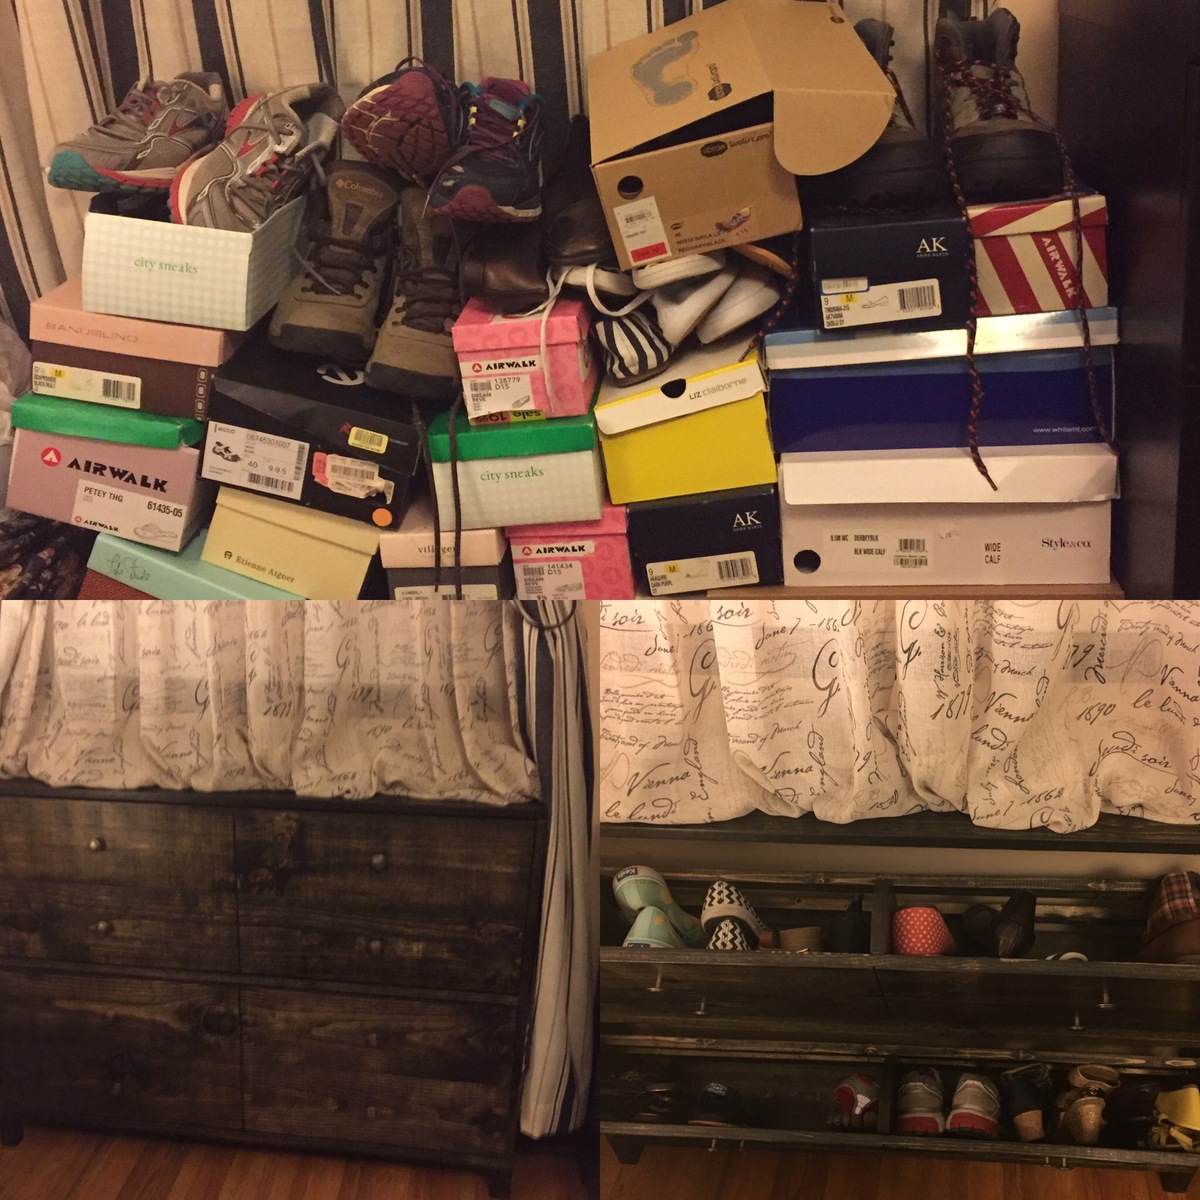
I gave up my closet for a bathroom remodel last year...totally worth it. Since then my shoes have been stored in a pile next to my bed. So happy I found this wonderful pattern. I love my new shoe dresser!! Thank you Ana!!
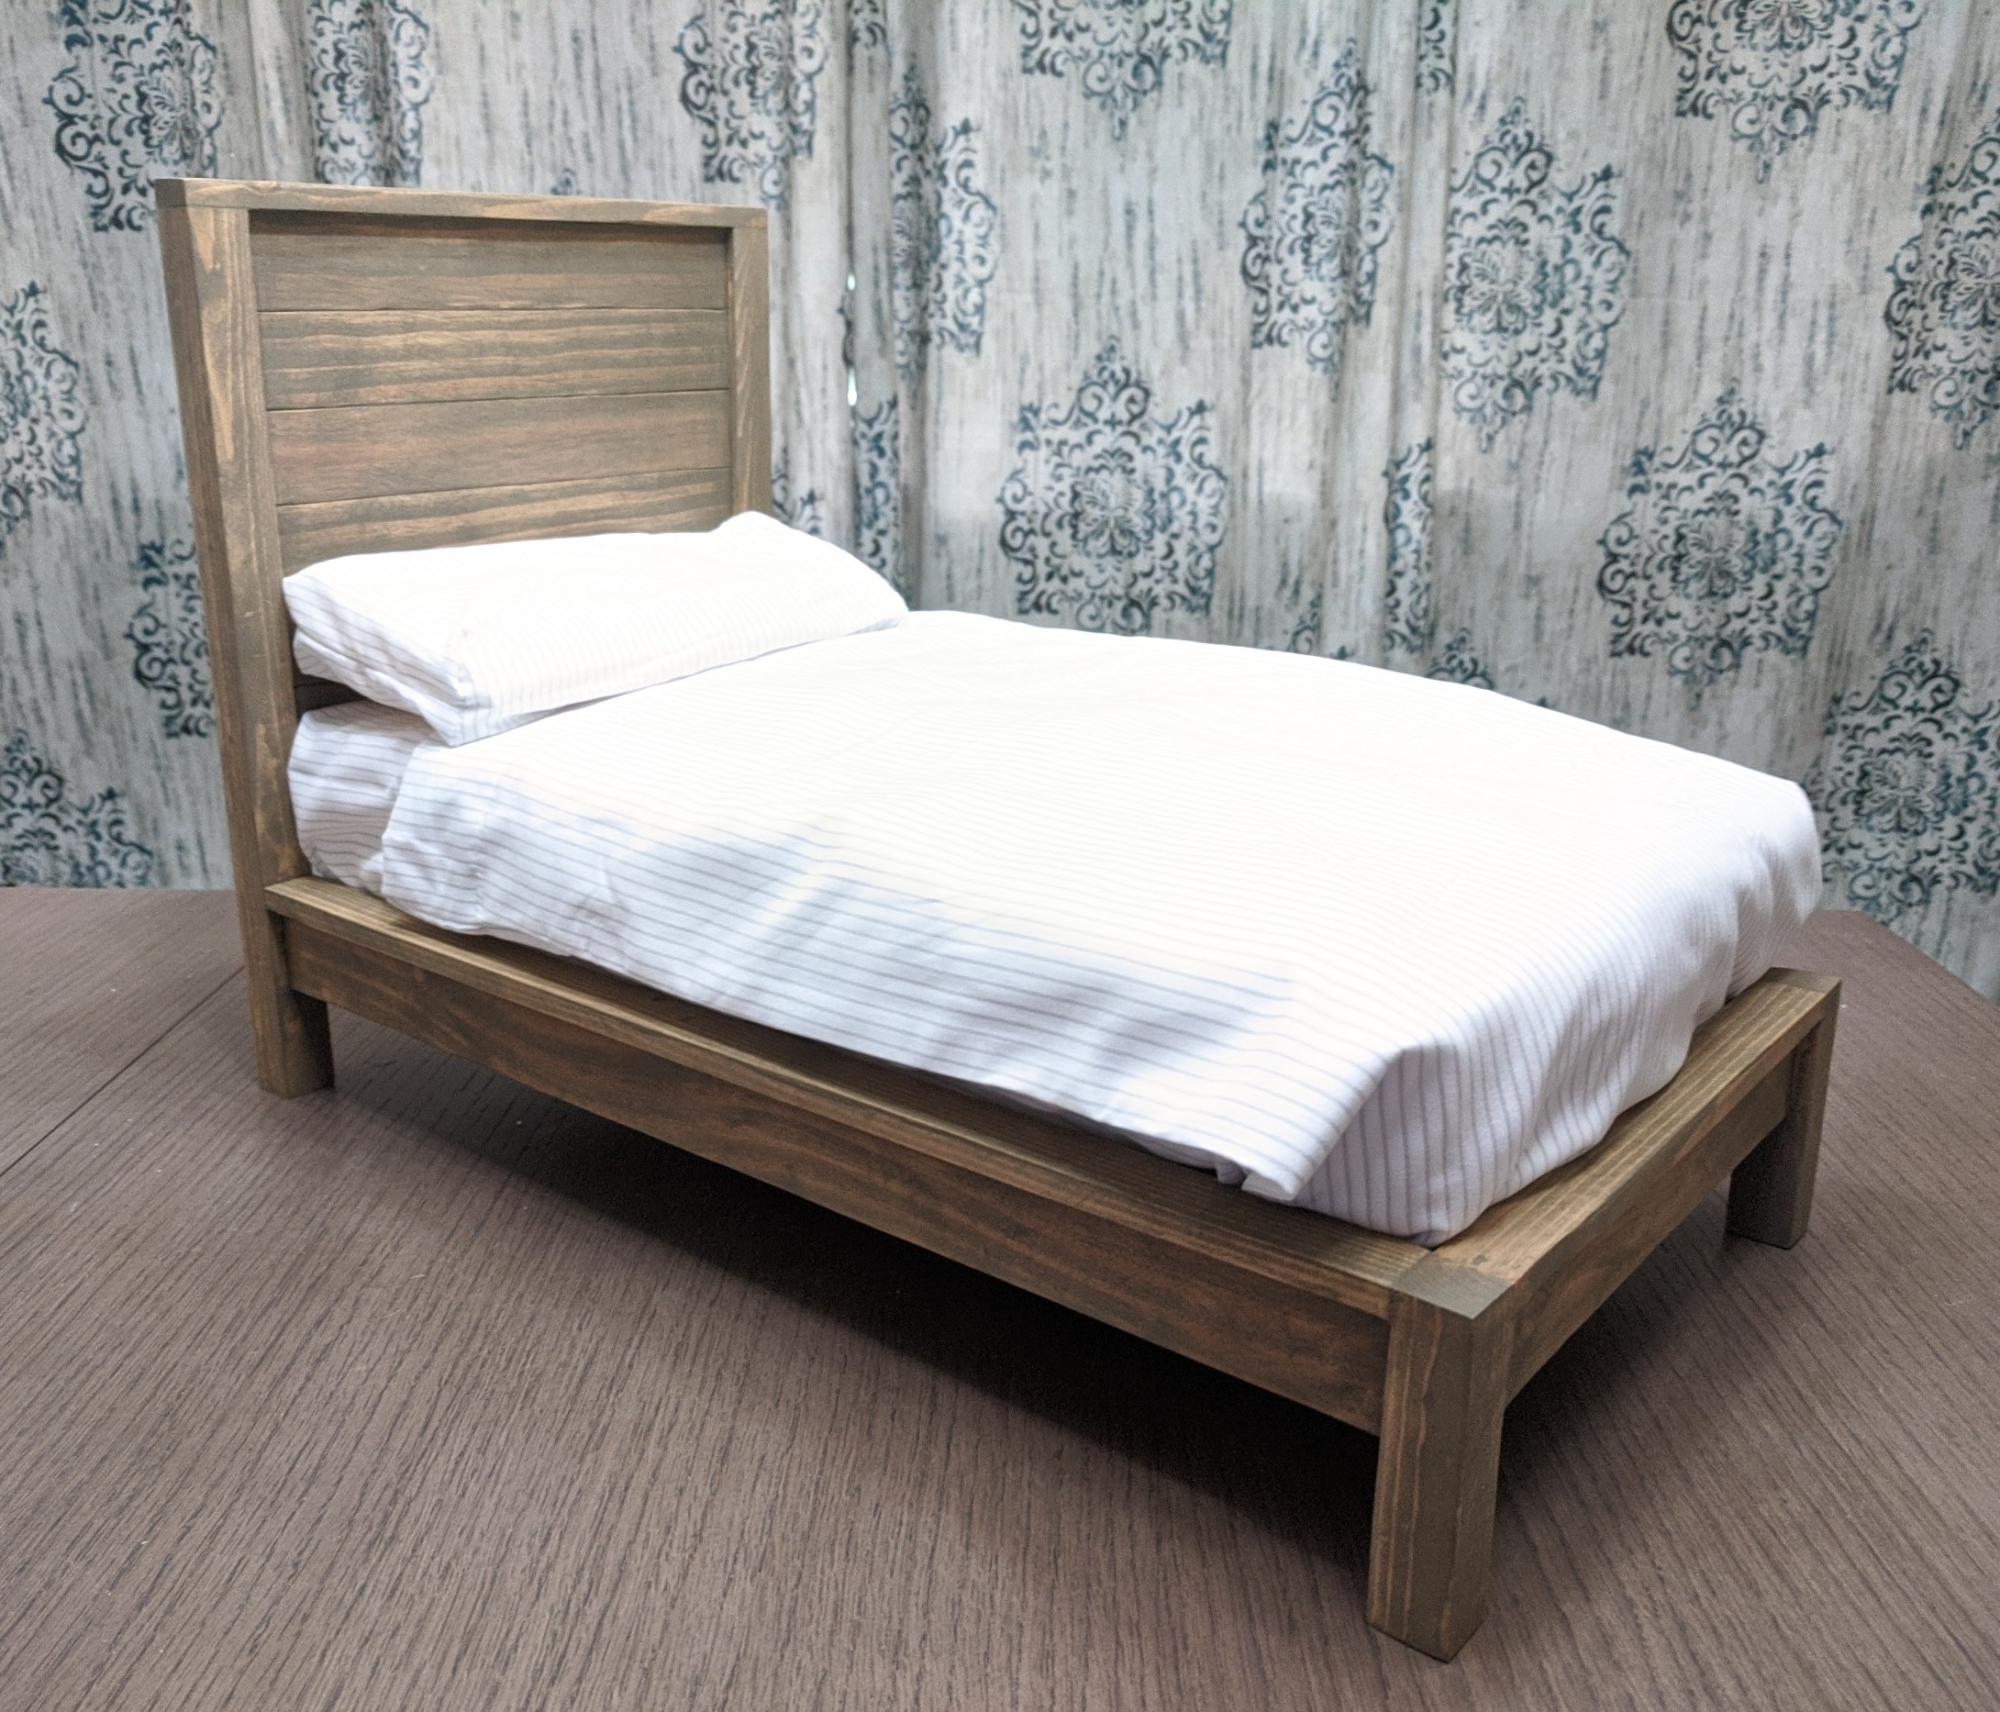
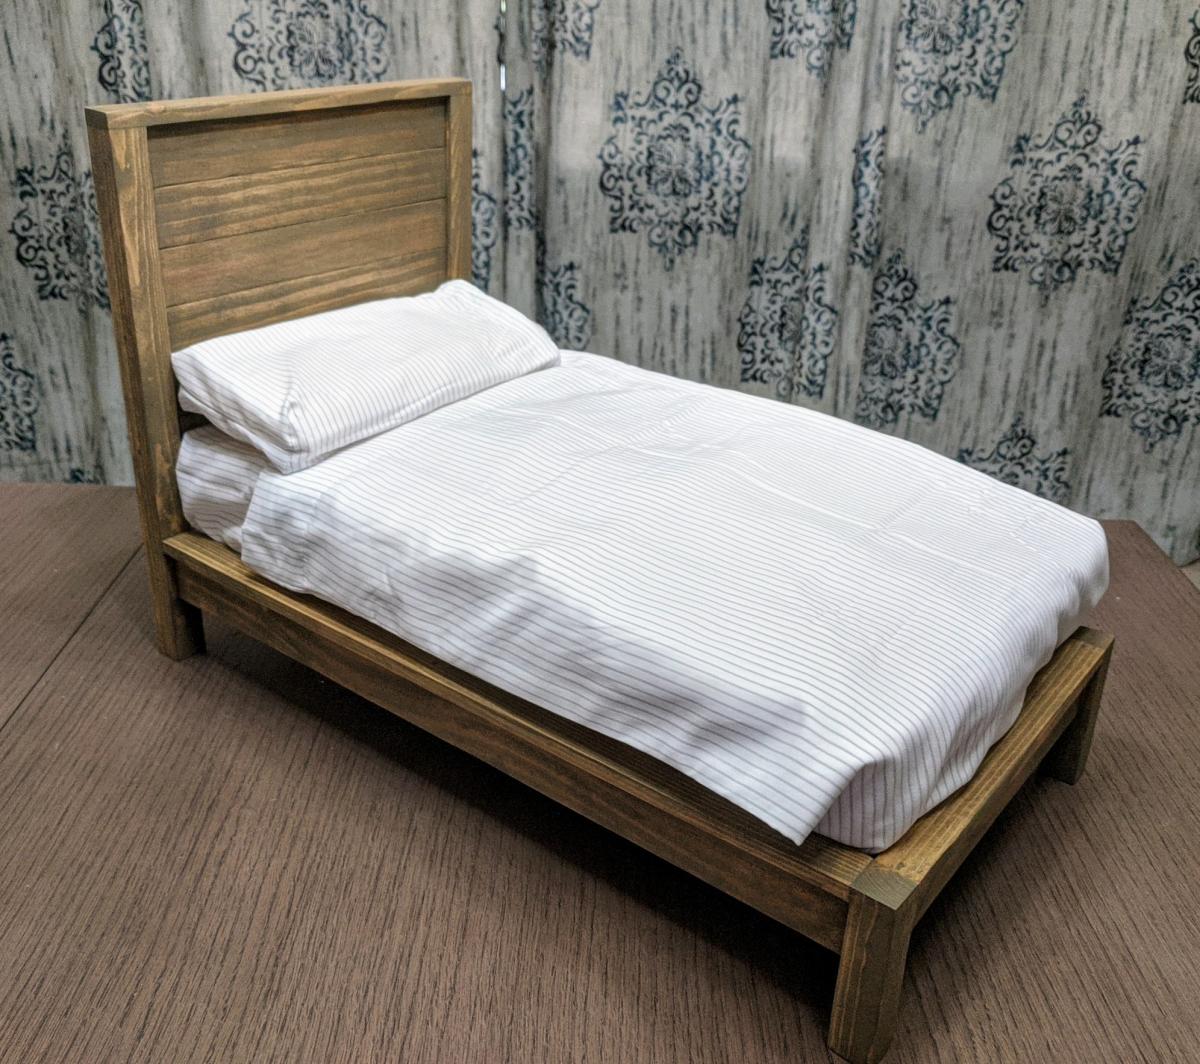
I made a 1/4 scale model of The Modern Farmhouse Bed as a doll bed for one of my granddaughters. I just divided all the measurements by four to get the dimensions and cut my "lumber" from a single 2 x 4. I cut shallow slots in the headboard posts for the planks to fit into, then glued them and secured with clamps and tiny nails. I made the slots where the side rails met the headboard and footboard posts a little deeper, 1/4", glued, clamped, and tacked with the tiny nails. All the nails were countersunk and the holes filled. Stained with "Aged wheat" stain. Foam rubber mattress and pillow covered by fabric.
