Community Brag Posts

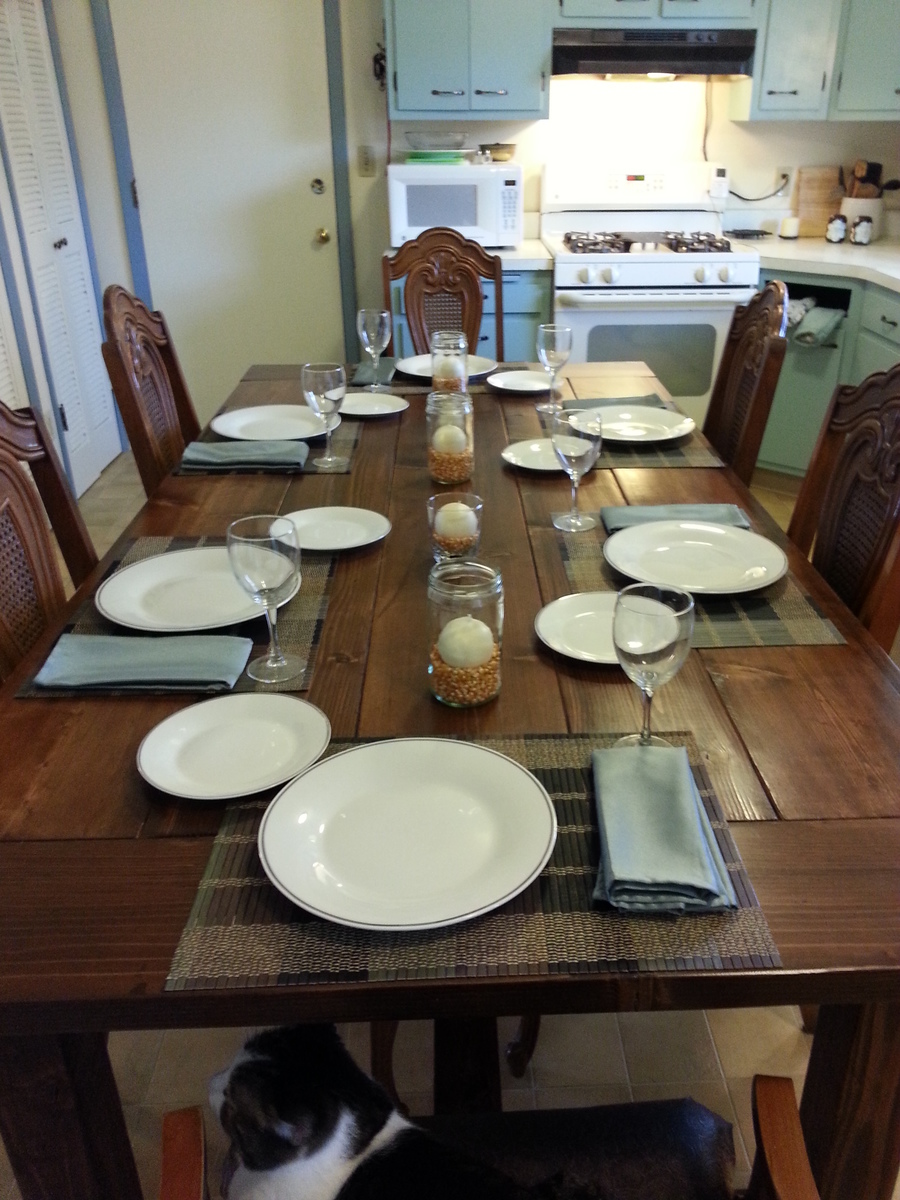
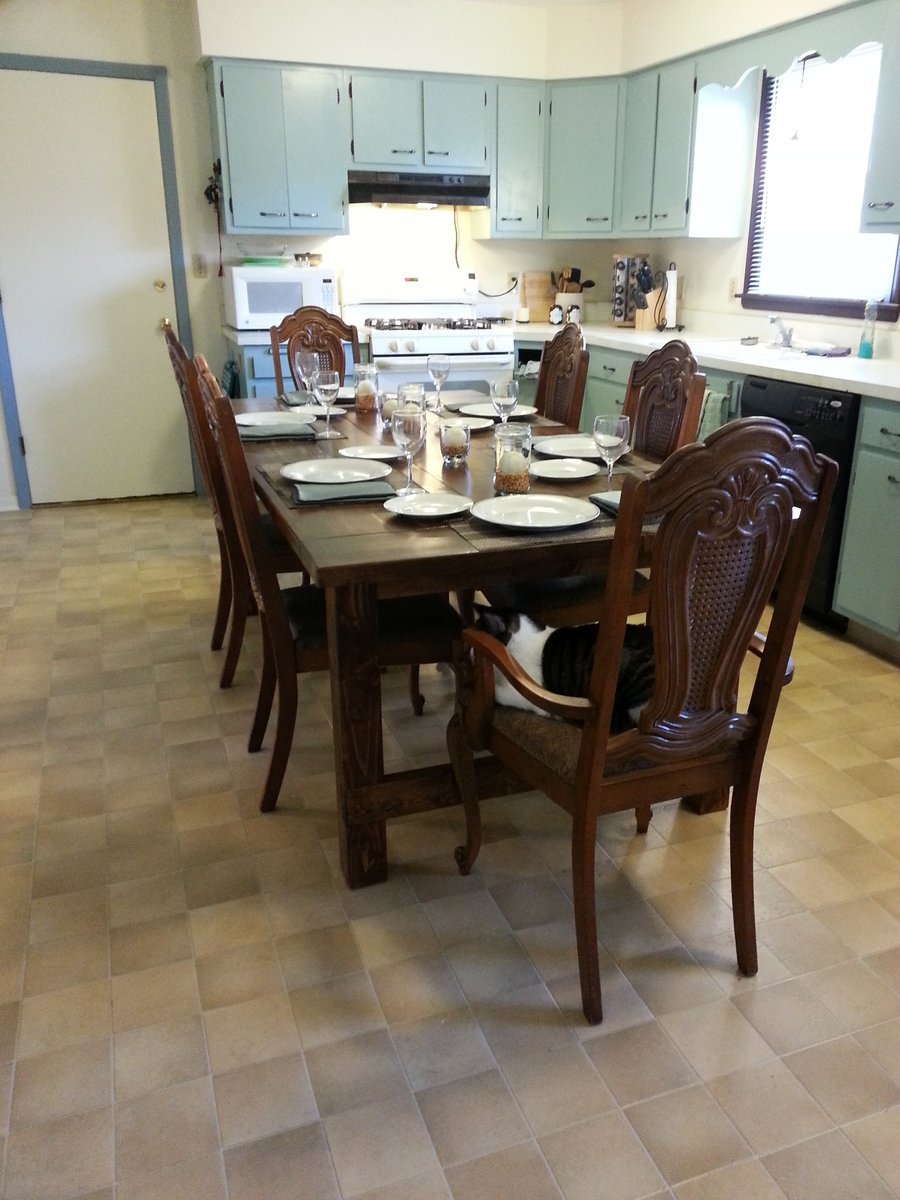
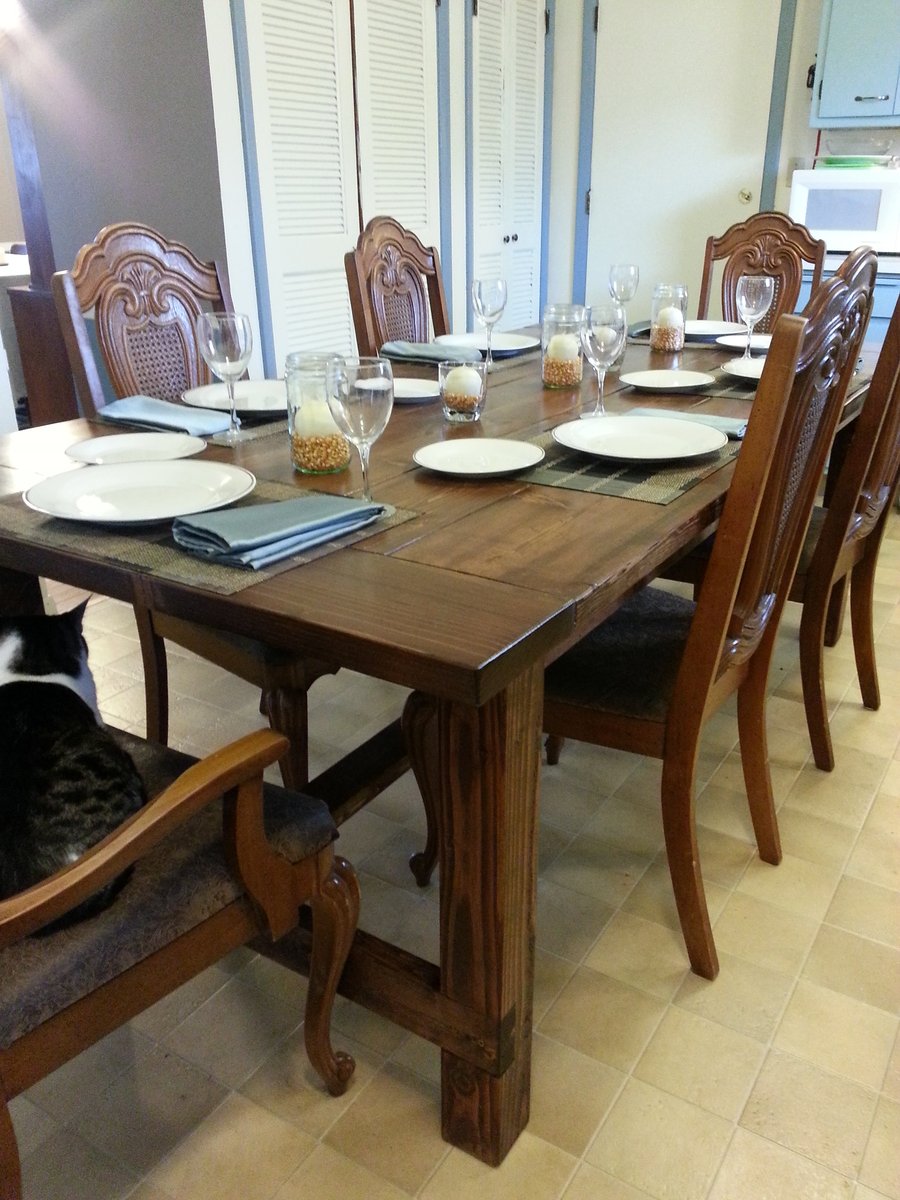
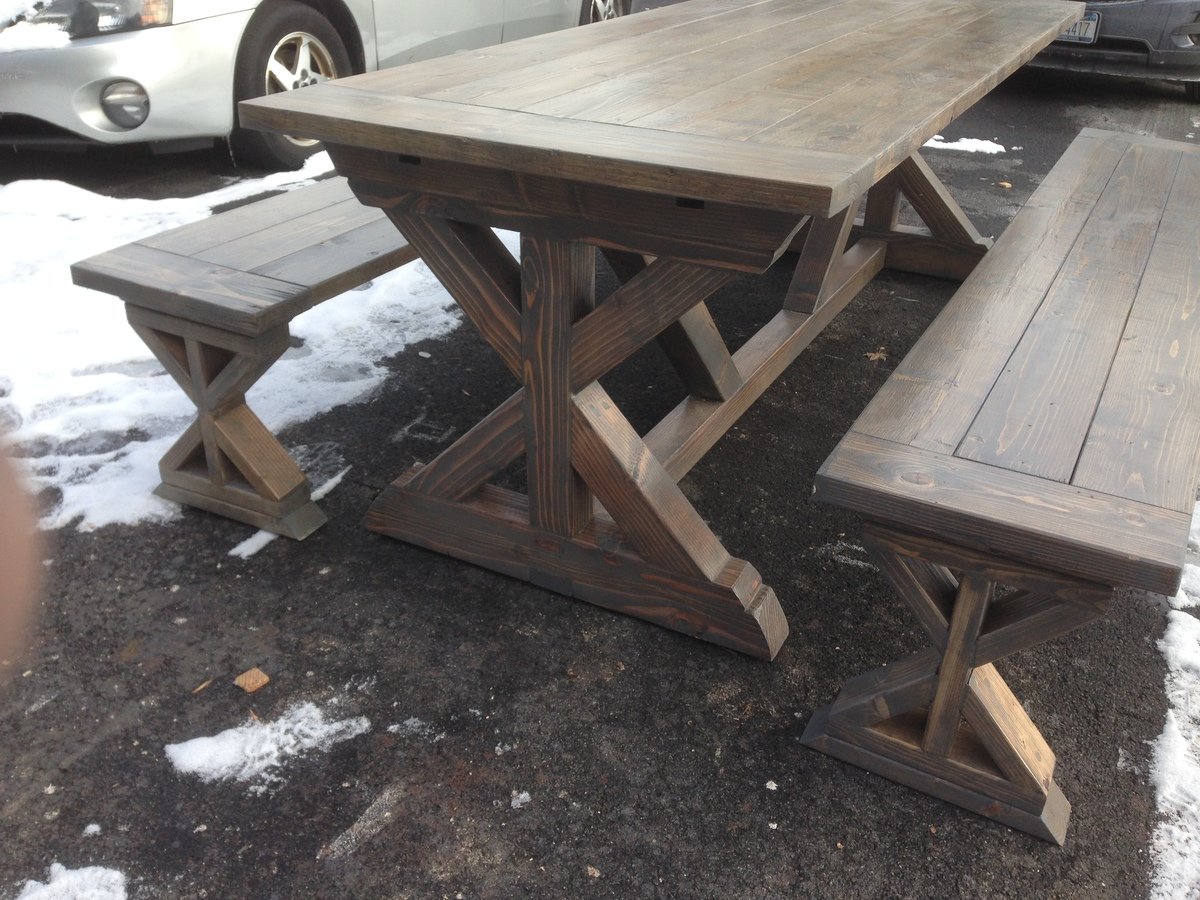
X Base Farmhouse Table and Benches

modeled after the Restoration Hardware Salvage Wood X Base Table which at this 8' table listed for $3395 just for the table. LOL

Used the Fancy x farm table plans and used all 4 x 4 on table, and followed plans for benches with 2x4

Estimated Cost
350
Estimated Time Investment
Week Long Project (20 Hours or More)
Finish Used
First stained with special walnut let dry, and then coated with weather grey, poly finish
Recommended Skill Level
Intermediate

Comments

Autumn's Cabin Bed

Submitted by Anonymous (not verified) on Tue, 02/16/2016 - 12:33

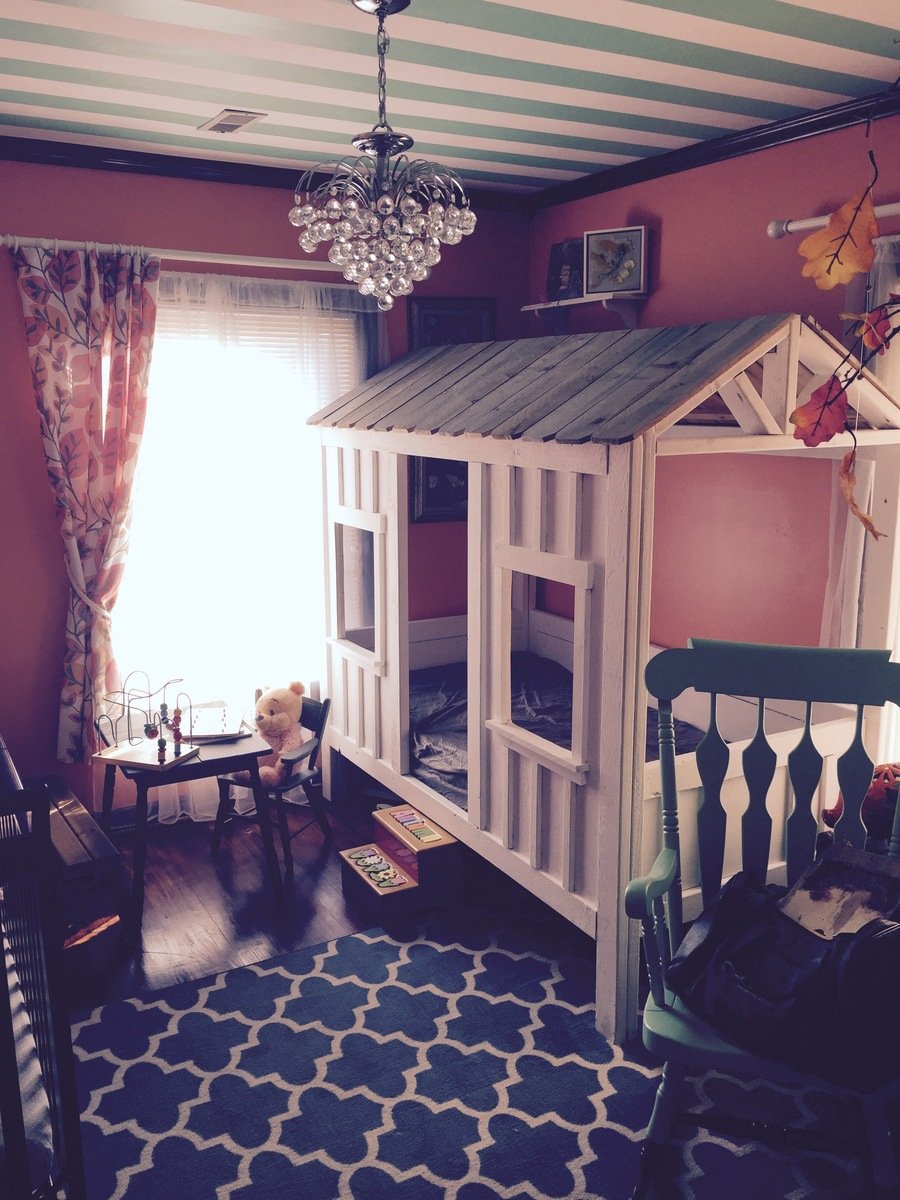
I saw this on Pinterest and immediately had to make it for my 2 year old daughter Autumn. It took only 1 weekend to do from start to finish. The instructions were very easy to follow. I did substitute 1 item though. I swapped out the 1x6 boards for the roof paneling and used cedar privacy fence pickets instead. The pickets were sitting outside at my local Home Depot and already had the great grey age to them. I simply cut them into 3 equal lengths and dog eared the ends to match.

Built from Plan(s)
Estimated Cost
$130
Estimated Time Investment
Weekend Project (10-20 Hours)
Finish Used
white paint
Recommended Skill Level
Intermediate

Comments

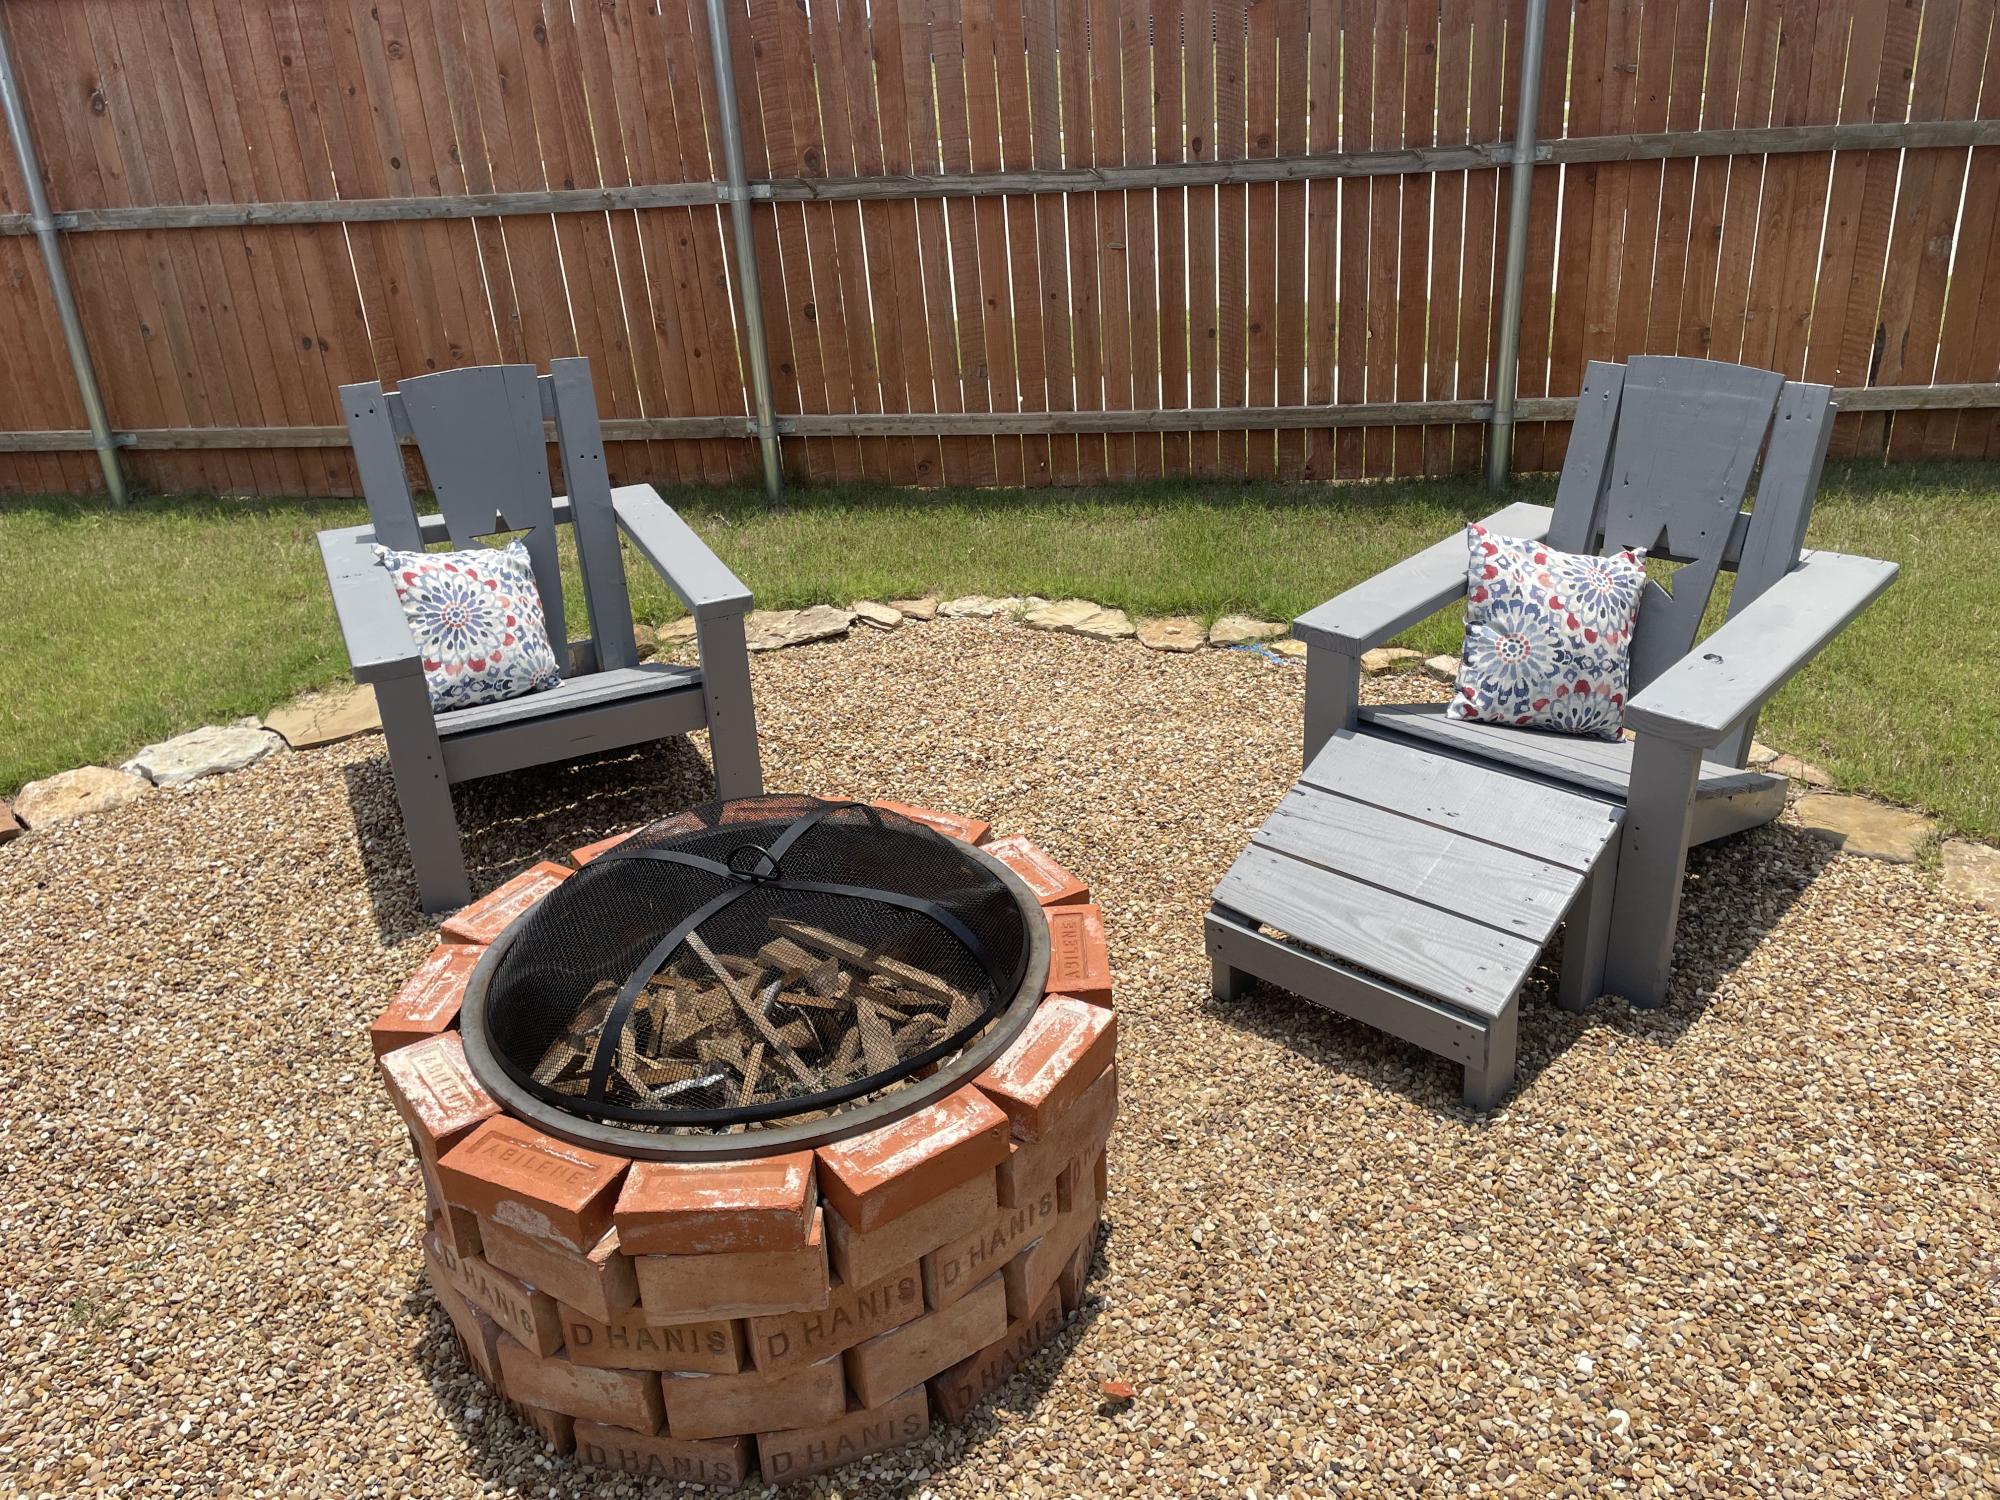
Repurposed Rocking Chairs to Adirondacks!

Submitted by Anonymous (not verified) on Sat, 06/03/2023 - 06:31

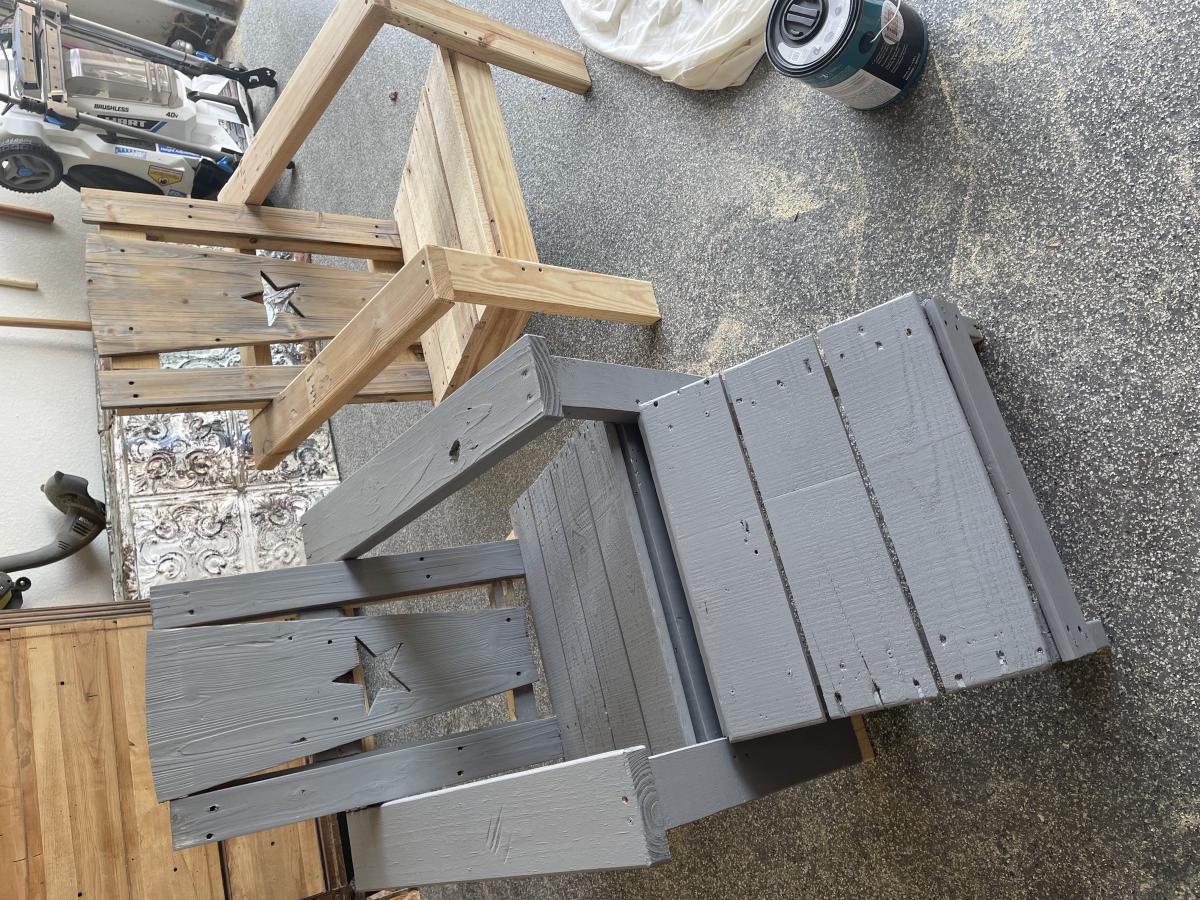
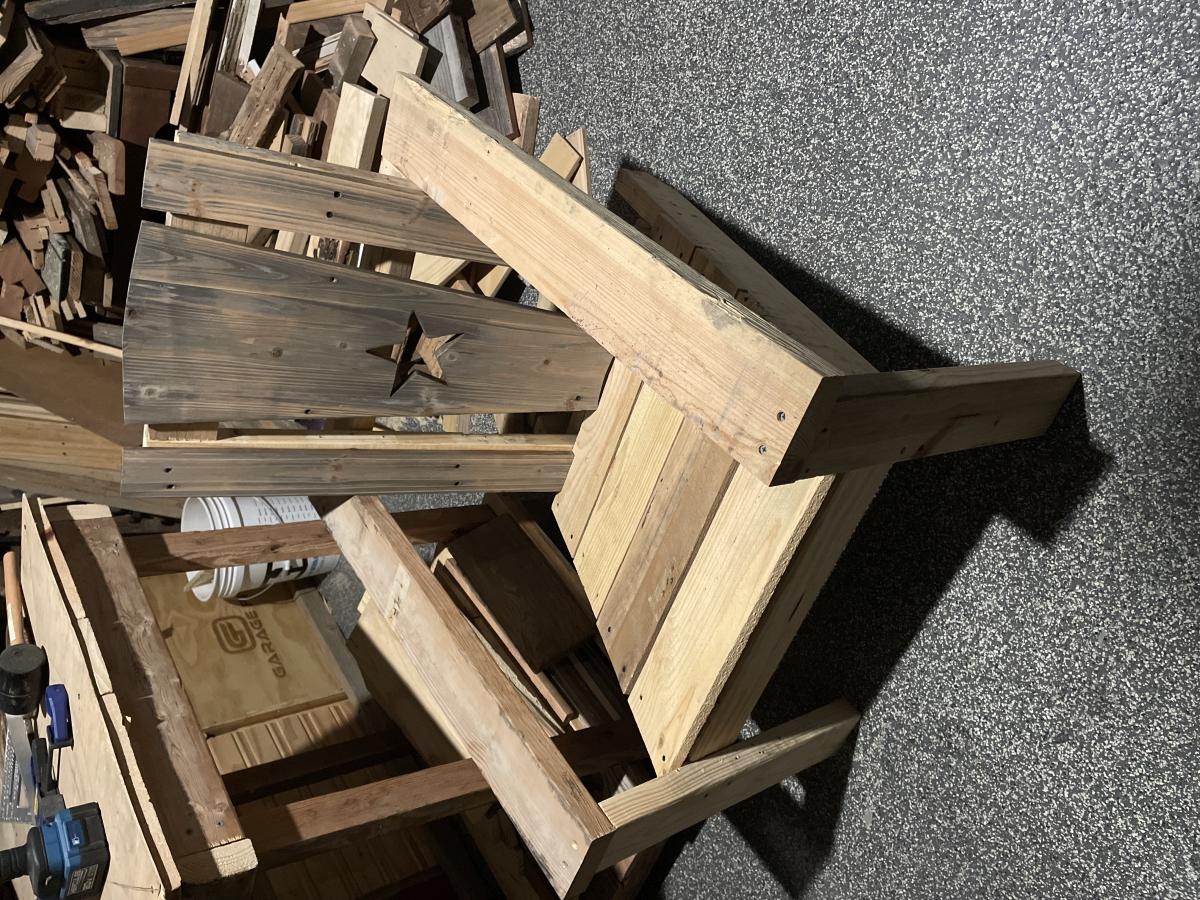
I've done a couple of things from plans on this site but this turned out awesome. We had some old weathered rocking chairs that I dismantled and was able to use some of the wood for these Adirondack chairs.

Could have gone with a dark stain but the gray really worked well on this. Pretty simple build and very sturdy chairs. I loved this project and will certainly be making more of these.

Comments

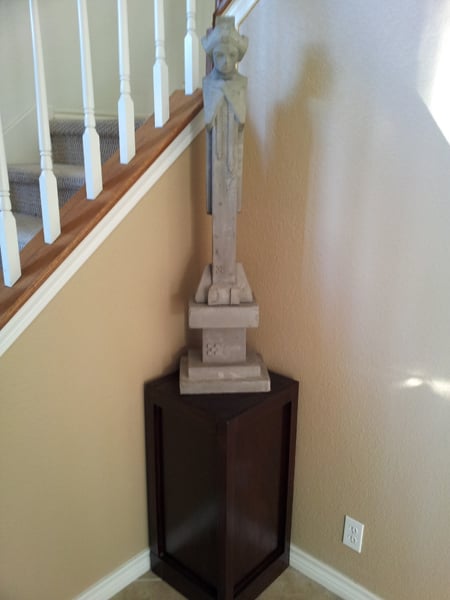
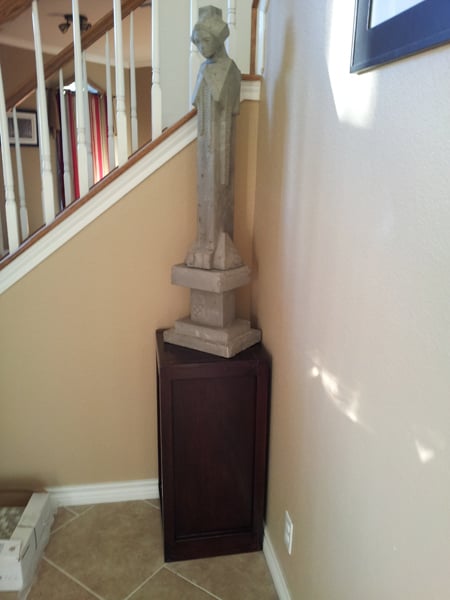
Statue/Plant Stand

Submitted by Polysoup on Wed, 01/18/2012 - 21:24

This isn't directly from a project but it was heavily influenced by the Benchmark Media Tower. I had made two of the towers (pictures coming soon) and had some left over wood. I used the same process to attach the 2x2 poplar boards to the 1x12 and added a 1x3 at the base to give it some visual weight at the bottom. I plan on digging through the rest of my scraps and make more of these to put vases and pots on. Why not! (sorry for the camera phone quality shots) :(

Estimated Cost
Mostly scraps from Benchmark Tower project
Estimated Time Investment
Afternoon Project (3-6 Hours)
Finish Used
General Finish Rosewood then Minwax Mahogany (maybe the double coat was overkill but I was having fun). Afterwards I used Sherwin Williams Quickdry clear coat.
Recommended Skill Level
Beginner

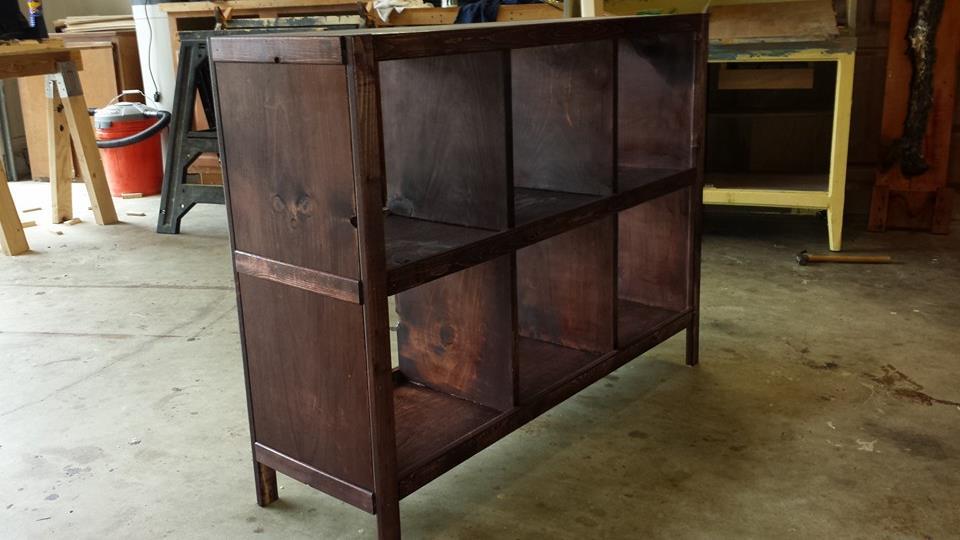
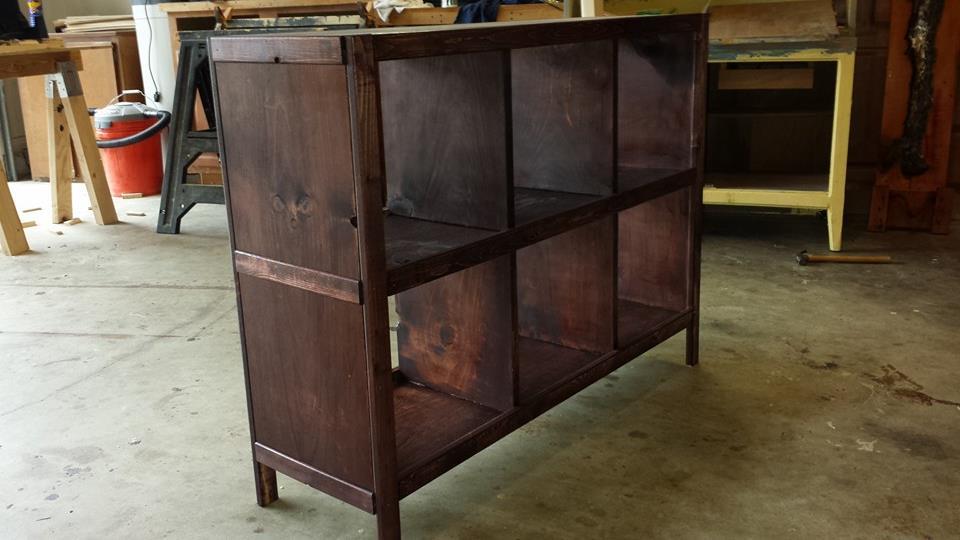
6 Cube Book-shelf

Submitted by Drew.heym on Wed, 12/04/2013 - 21:20

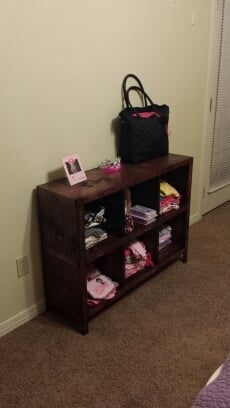
I made this more for baby clothes instead of books. I just got it done a few hours ago, but my wife did not want to wait for the bins to put all of the upcoming baby's clothes in there spot. I ended up ripping the 1x1 into 1/8ix11.5/8 strips to help cover up my screw holes. Thank you Ana for having these plans on your site

Built from Plan(s)
Estimated Time Investment
Day Project (6-9 Hours)
Finish Used
Min wax Red mahogany, min wax spray clear gloss
Recommended Skill Level
Beginner

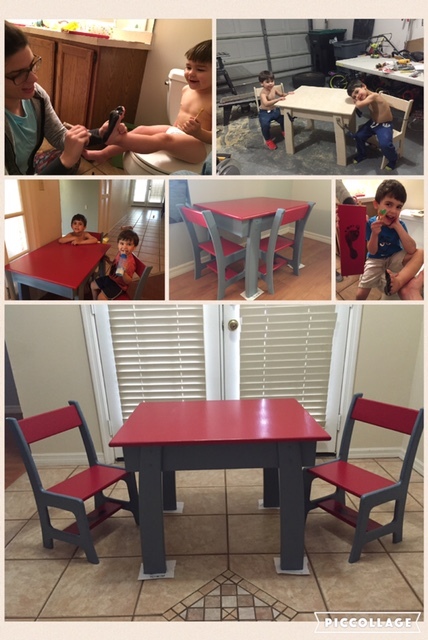
Wood Workers Fighting Cancer - KIDS TABLE AND CHAIRS

Submitted by jbayer80 on Fri, 02/19/2016 - 13:22

This was a really fun project. I wasn't able to build it int time for the WWFC donation but suggest everyone do it this year (2016) around November. 

Estimated Cost
$50 for 1 sheet of plywood
$15 for 1 can of Polycrylic
$12 for 4 sample size paint (would be cheaper to buy the qt.)
The original plan called for certain hardware
Estimated Time Investment
Weekend Project (10-20 Hours)
Finish Used
BEHR Ultra - Adirondack Blue and Timeless Ruby
5 coats of Polycrylic
Recommended Skill Level
Beginner

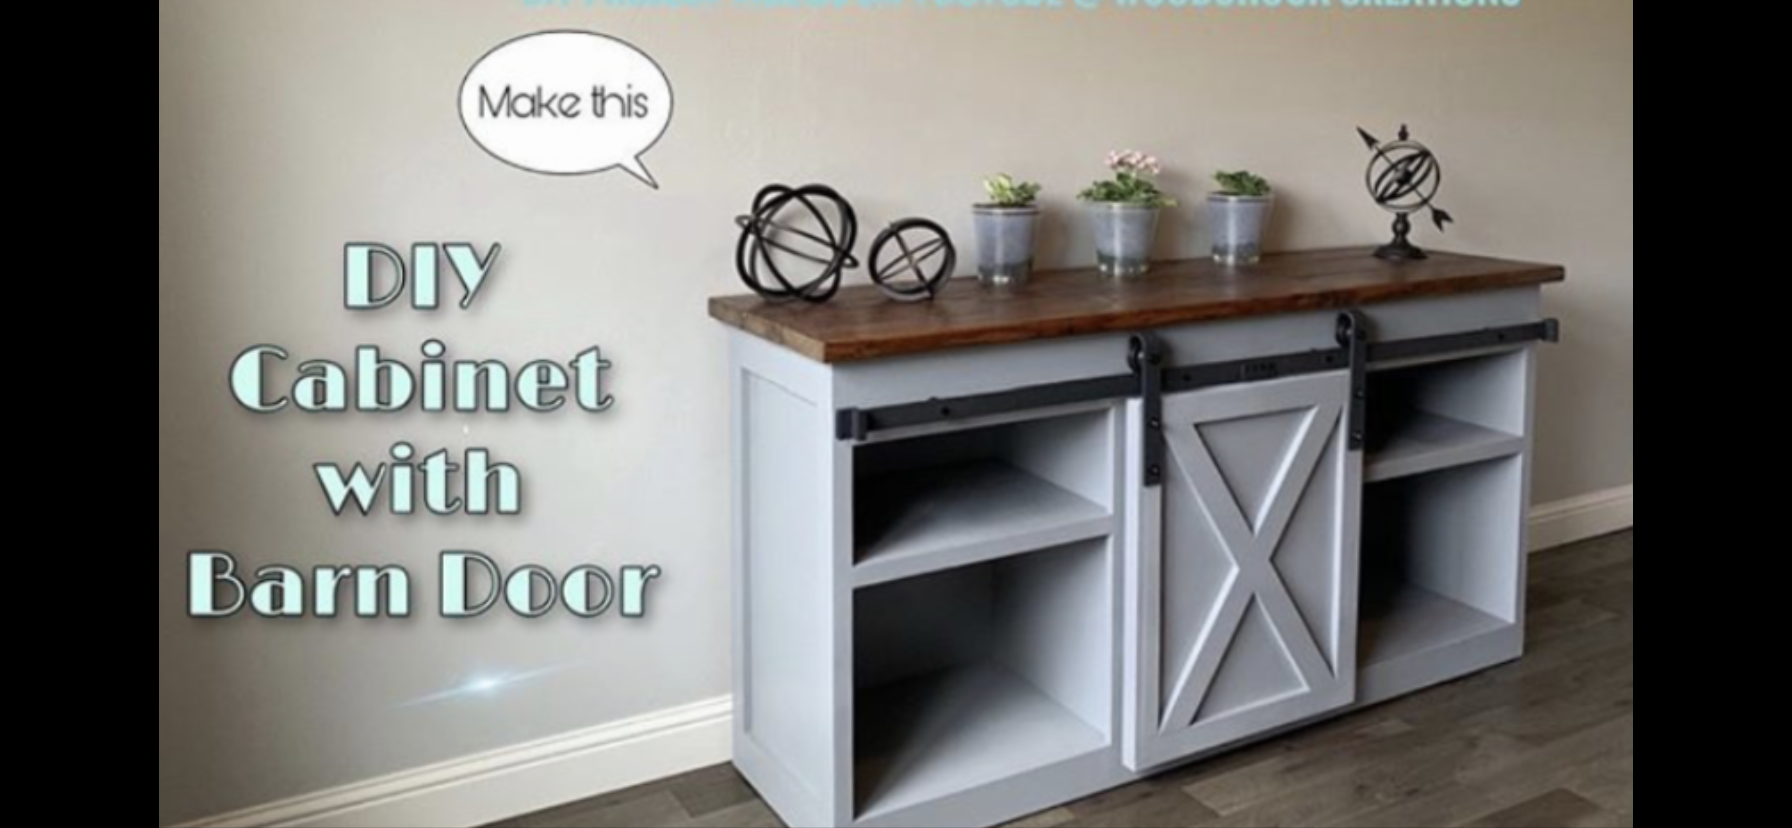
Grandy Barn Door Console Table

Submitted by Anonymous (not verified) on Wed, 10/02/2019 - 13:23

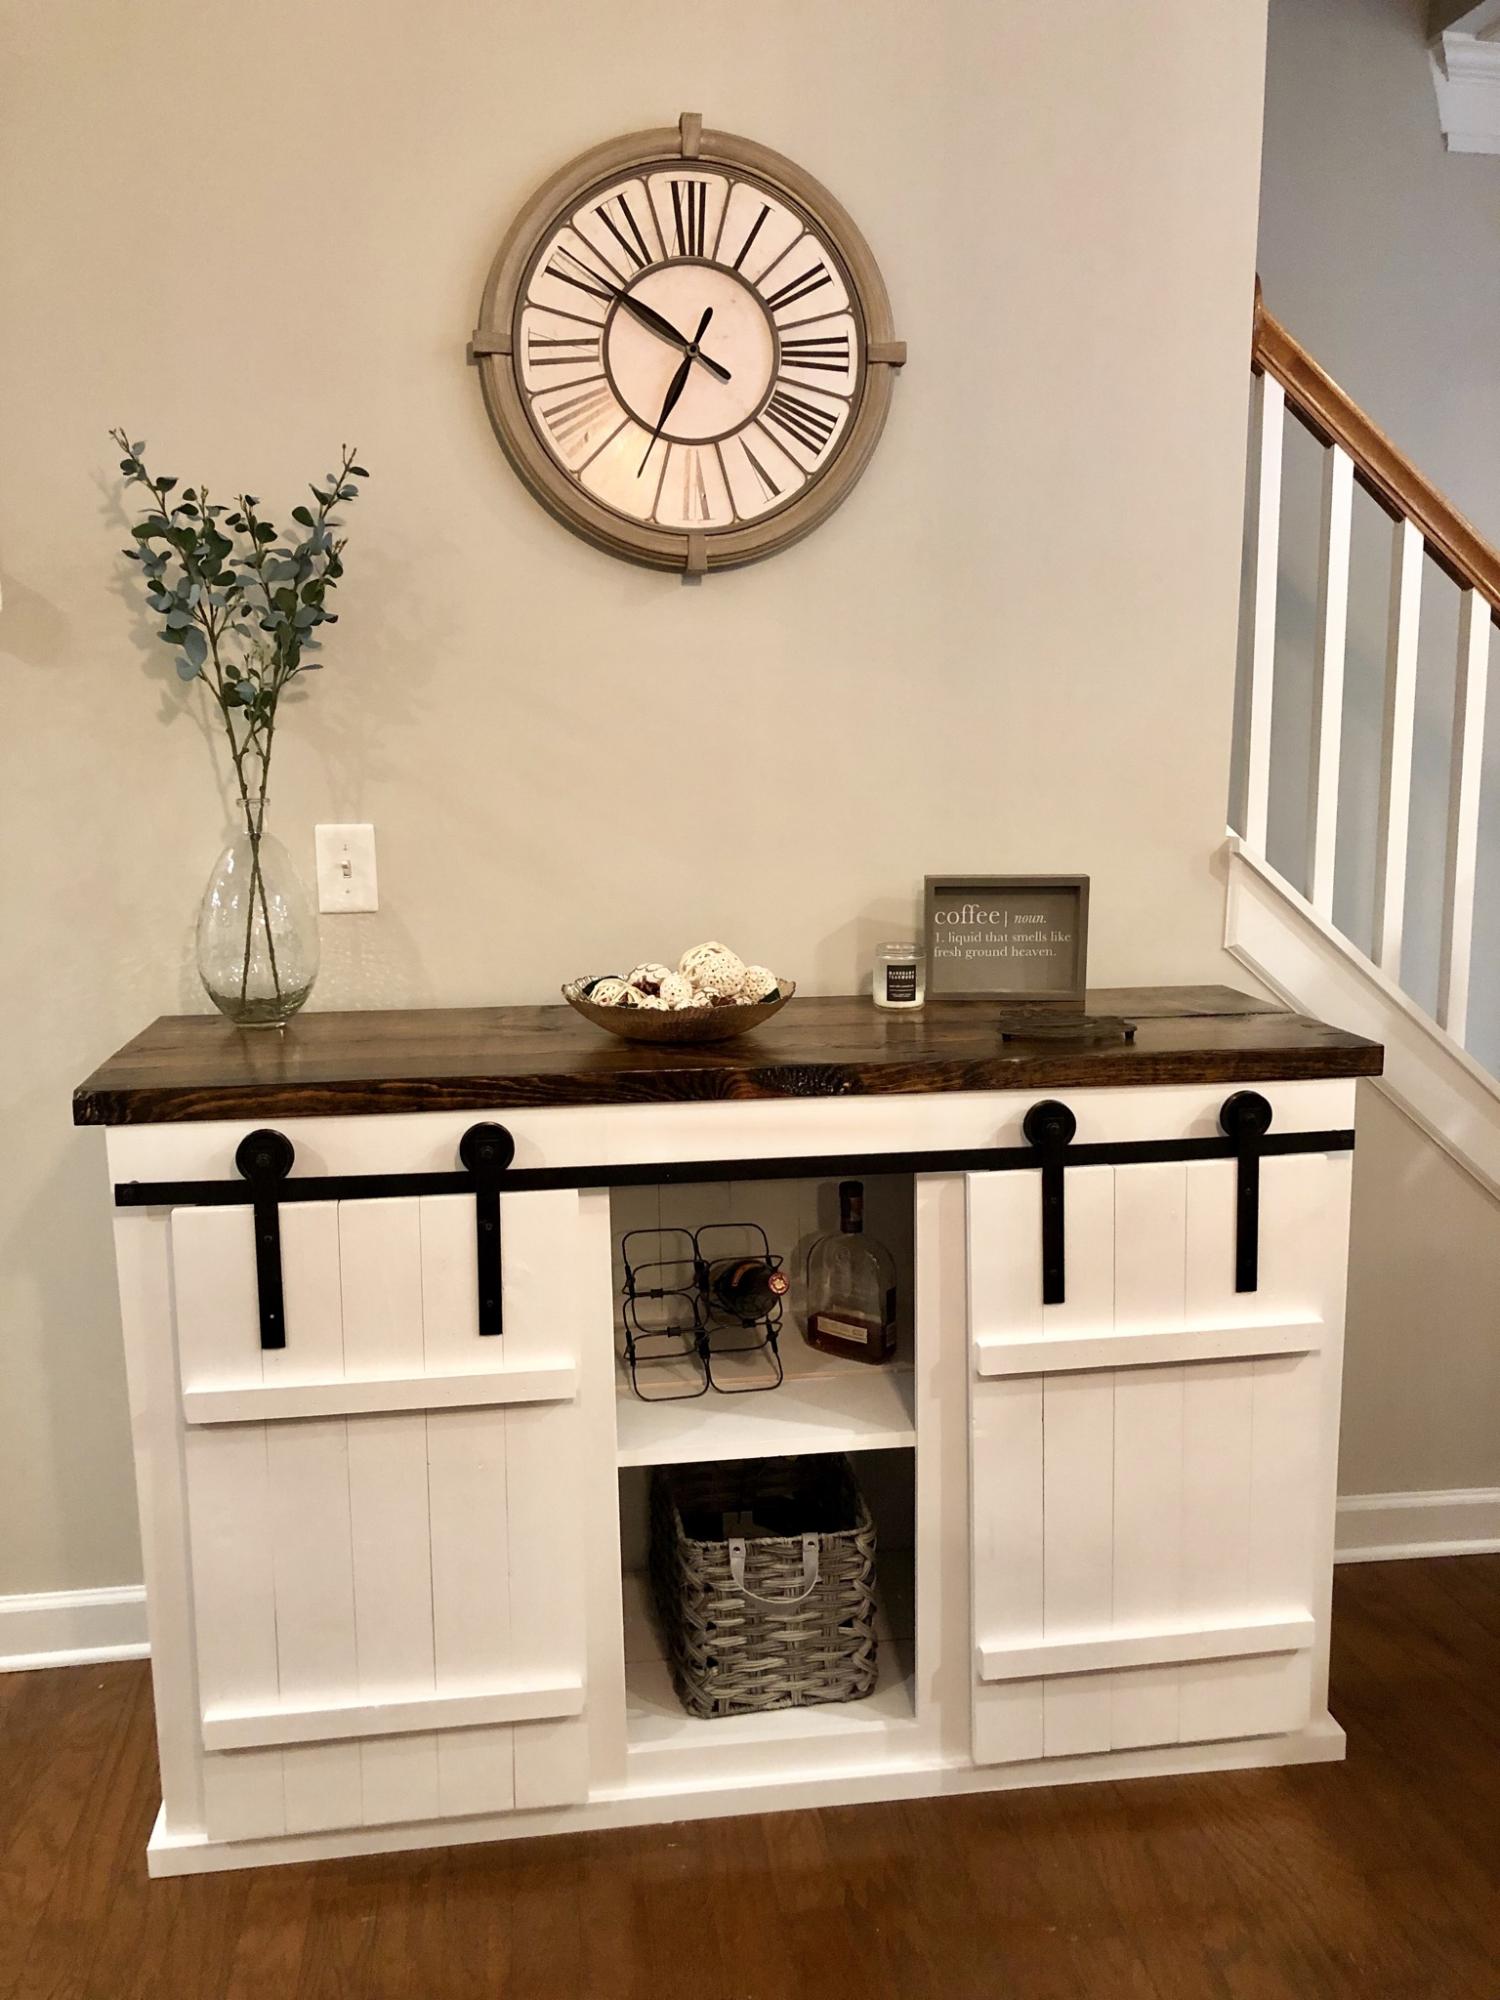
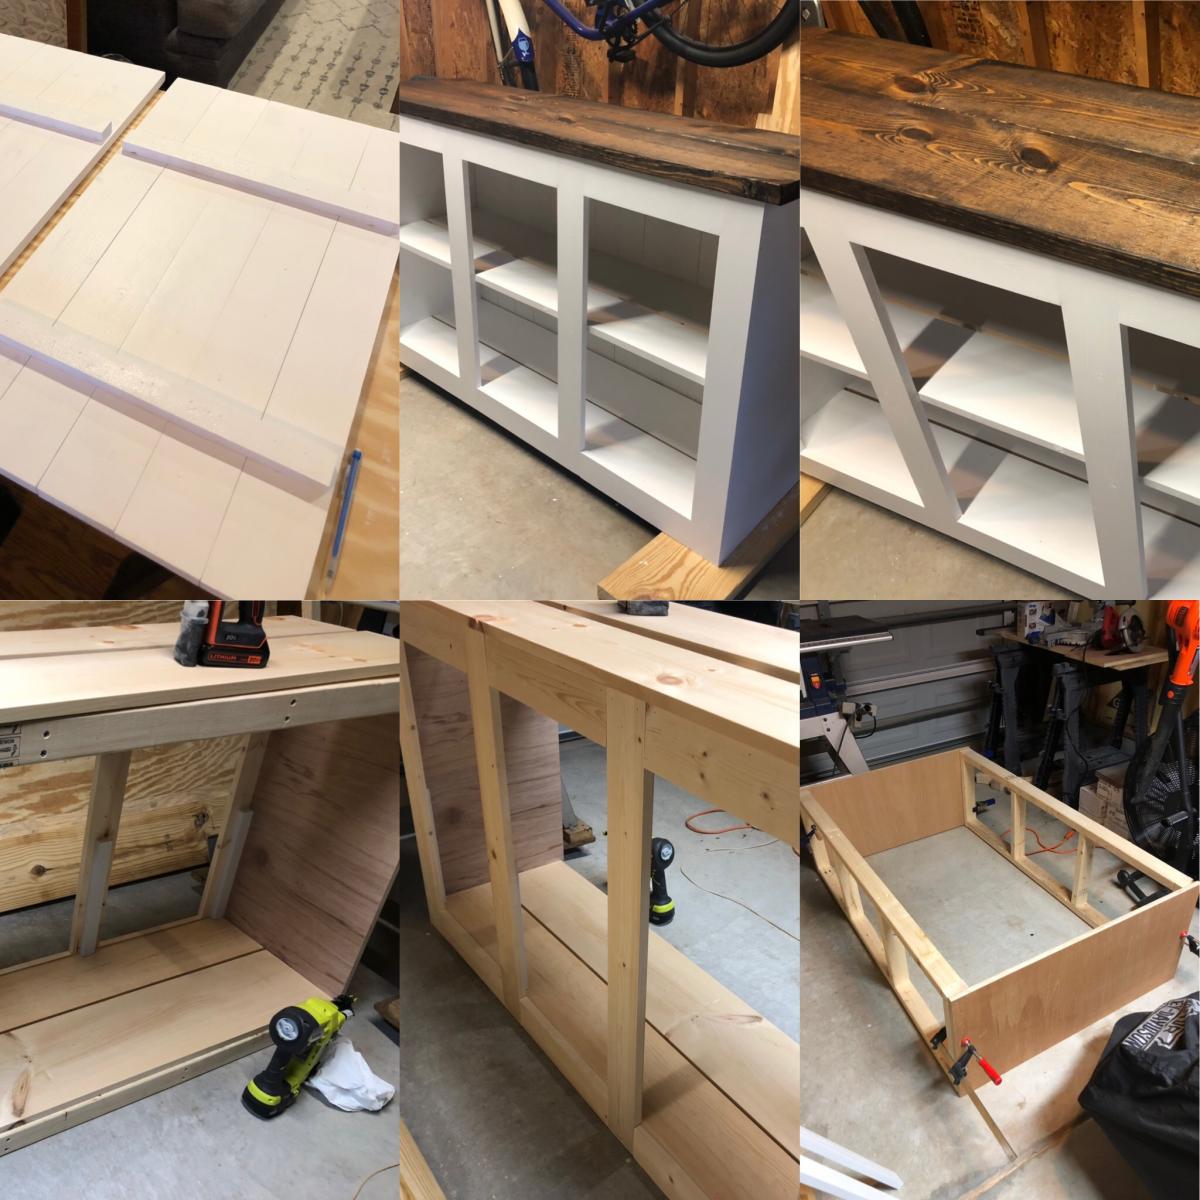
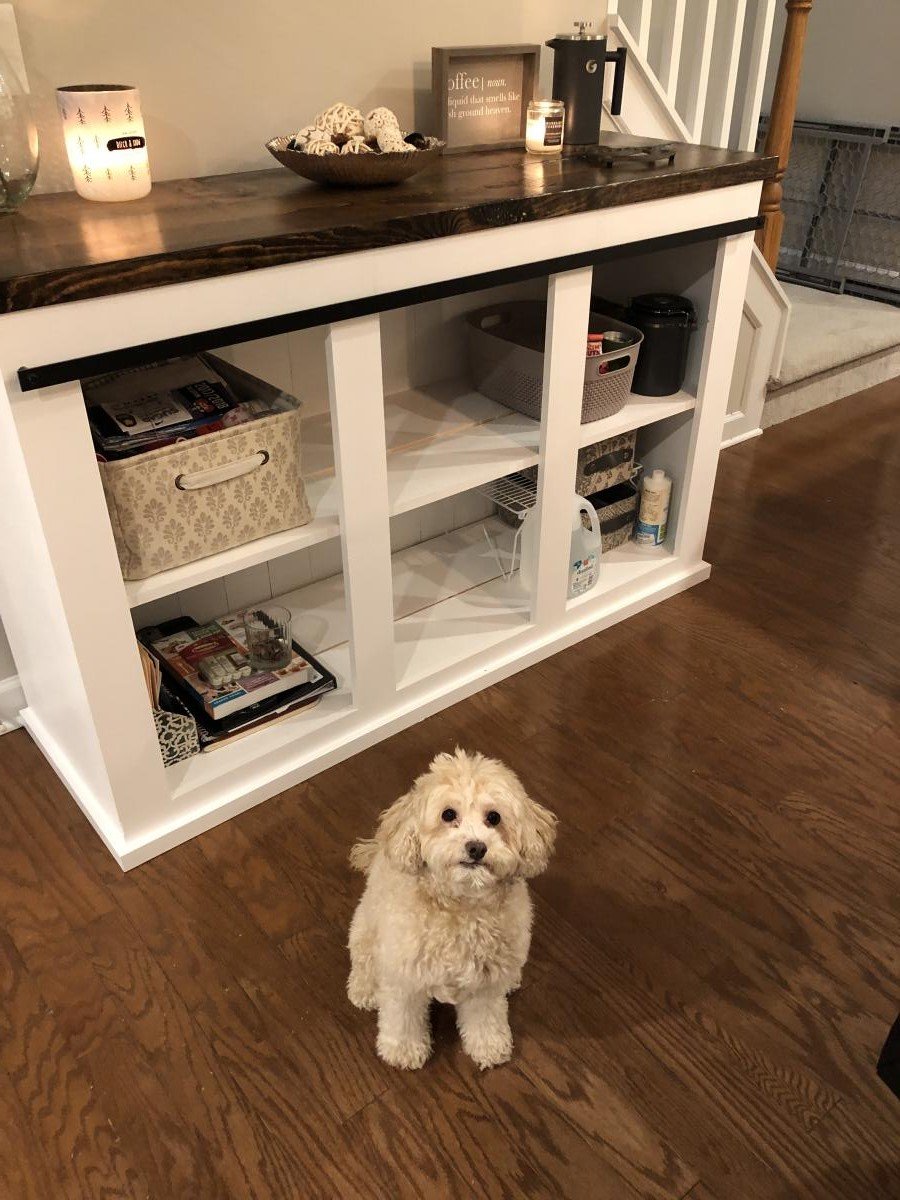
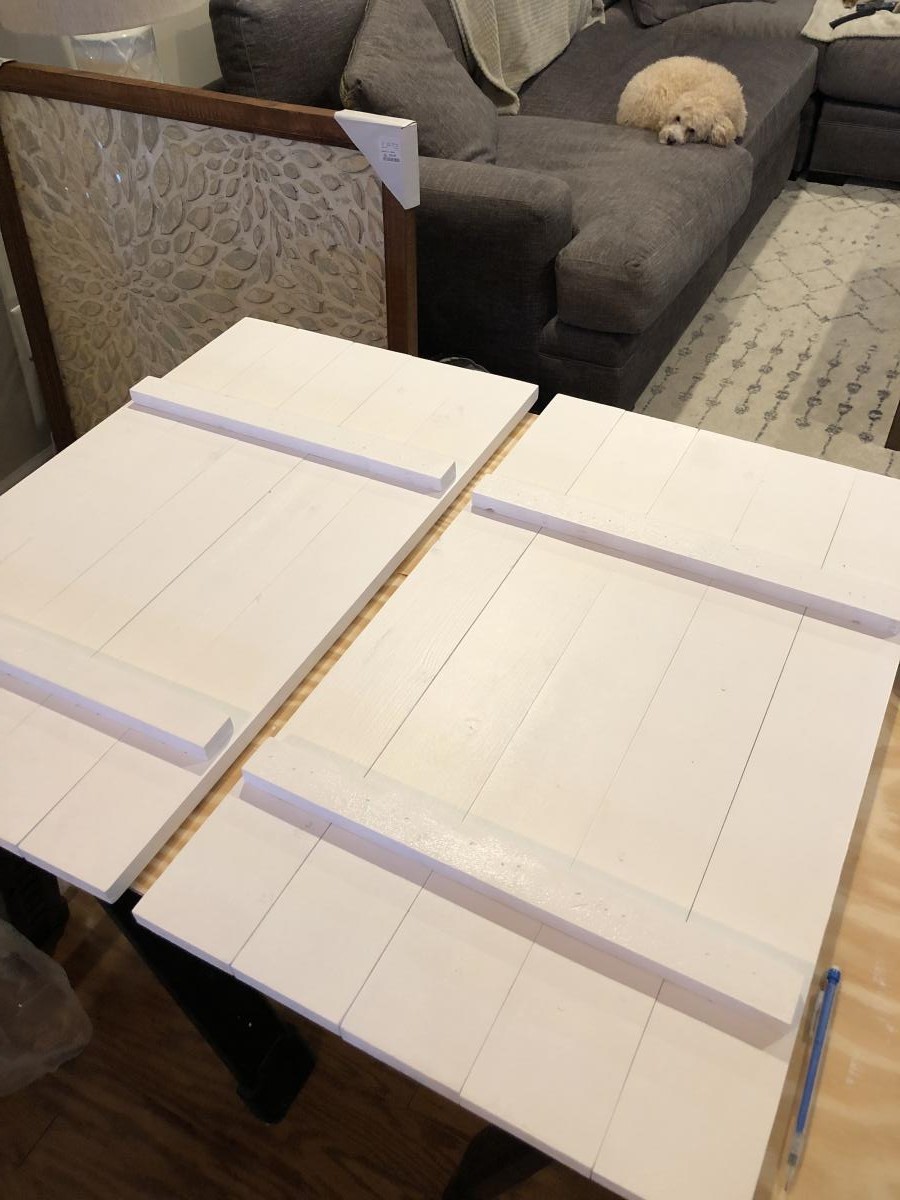
Tailored this to fit our space to provide us with more storage that is easy on the eyes 😍 took our time completing it and love how it turned out. First big woodworking project I’ve completed!! My furry assistant is featured in some of the pictures 🤩

Built from Plan(s)
Estimated Cost
250
Estimated Time Investment
Week Long Project (20 Hours or More)
Finish Used
White chalk paint with espresso stain top
Recommended Skill Level
Beginner

Comments

Console Table

Submitted by Anonymous (not verified) on Fri, 06/09/2023 - 11:44

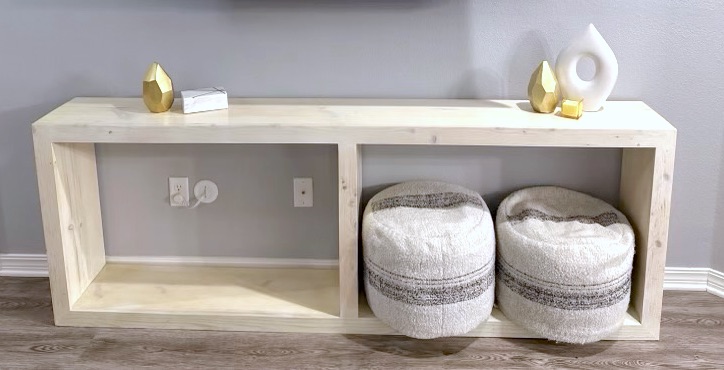
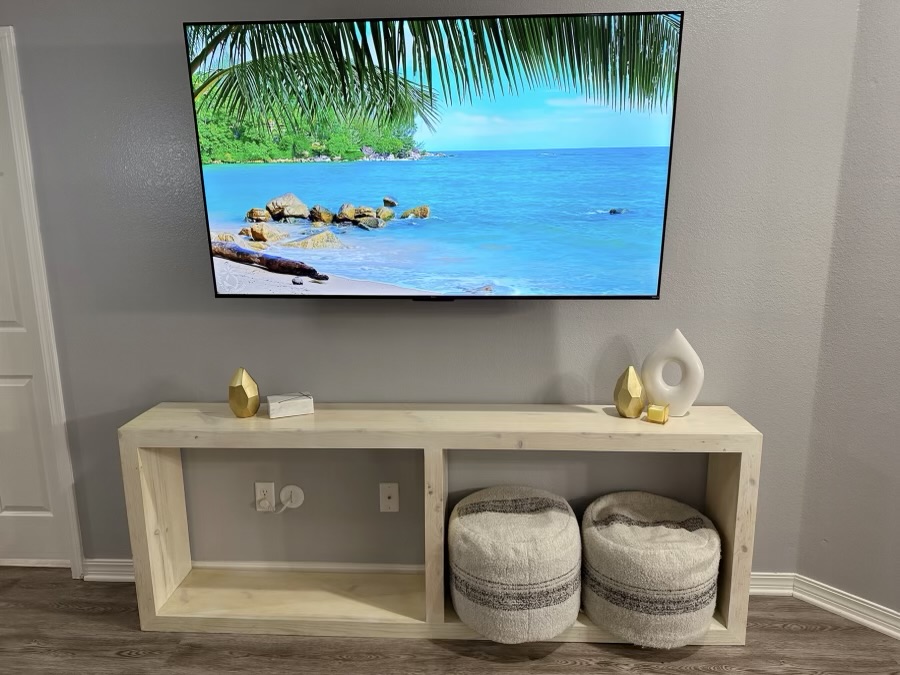
Very fun! Thanks for providing the plans!

Comments

Planked wood sideboard

This is now my fourth project, I built it as a gift for my sisters wedding, she was very pleased! She wanted something white so I went with a Annie Sloan chalk paint, which is pretty pricy I found out ($30-40 per quart) and her clear soft wax to finish. For the top I used a Drift wood finish and a weathered drift wood wax. Because is was a media center I just did fold down faces instead of drawers as in the plan and added some trim that I made on my router table to give it a more antique look. The Build was quite simple however the finishing to give it the right look took quite a bit of playing around!

Built from Plan(s)
Estimated Time Investment
Week Long Project (20 Hours or More)
Finish Used
Annie Sloan Chalk Paint and clear wax. Driftwood stain and weathered driftwood wax
Recommended Skill Level
Intermediate

Rustic X Coffee Table

Submitted by Anonymous (not verified) on Mon, 02/22/2016 - 06:18

I had a blast building this rustic x coffee table. Fun project

Estimated Cost
$200 plus labor
Estimated Time Investment
Weekend Project (10-20 Hours)
Finish Used
MinWax Mission Oak Stain with MinWax polyurethane Satin finish
Recommended Skill Level
Intermediate

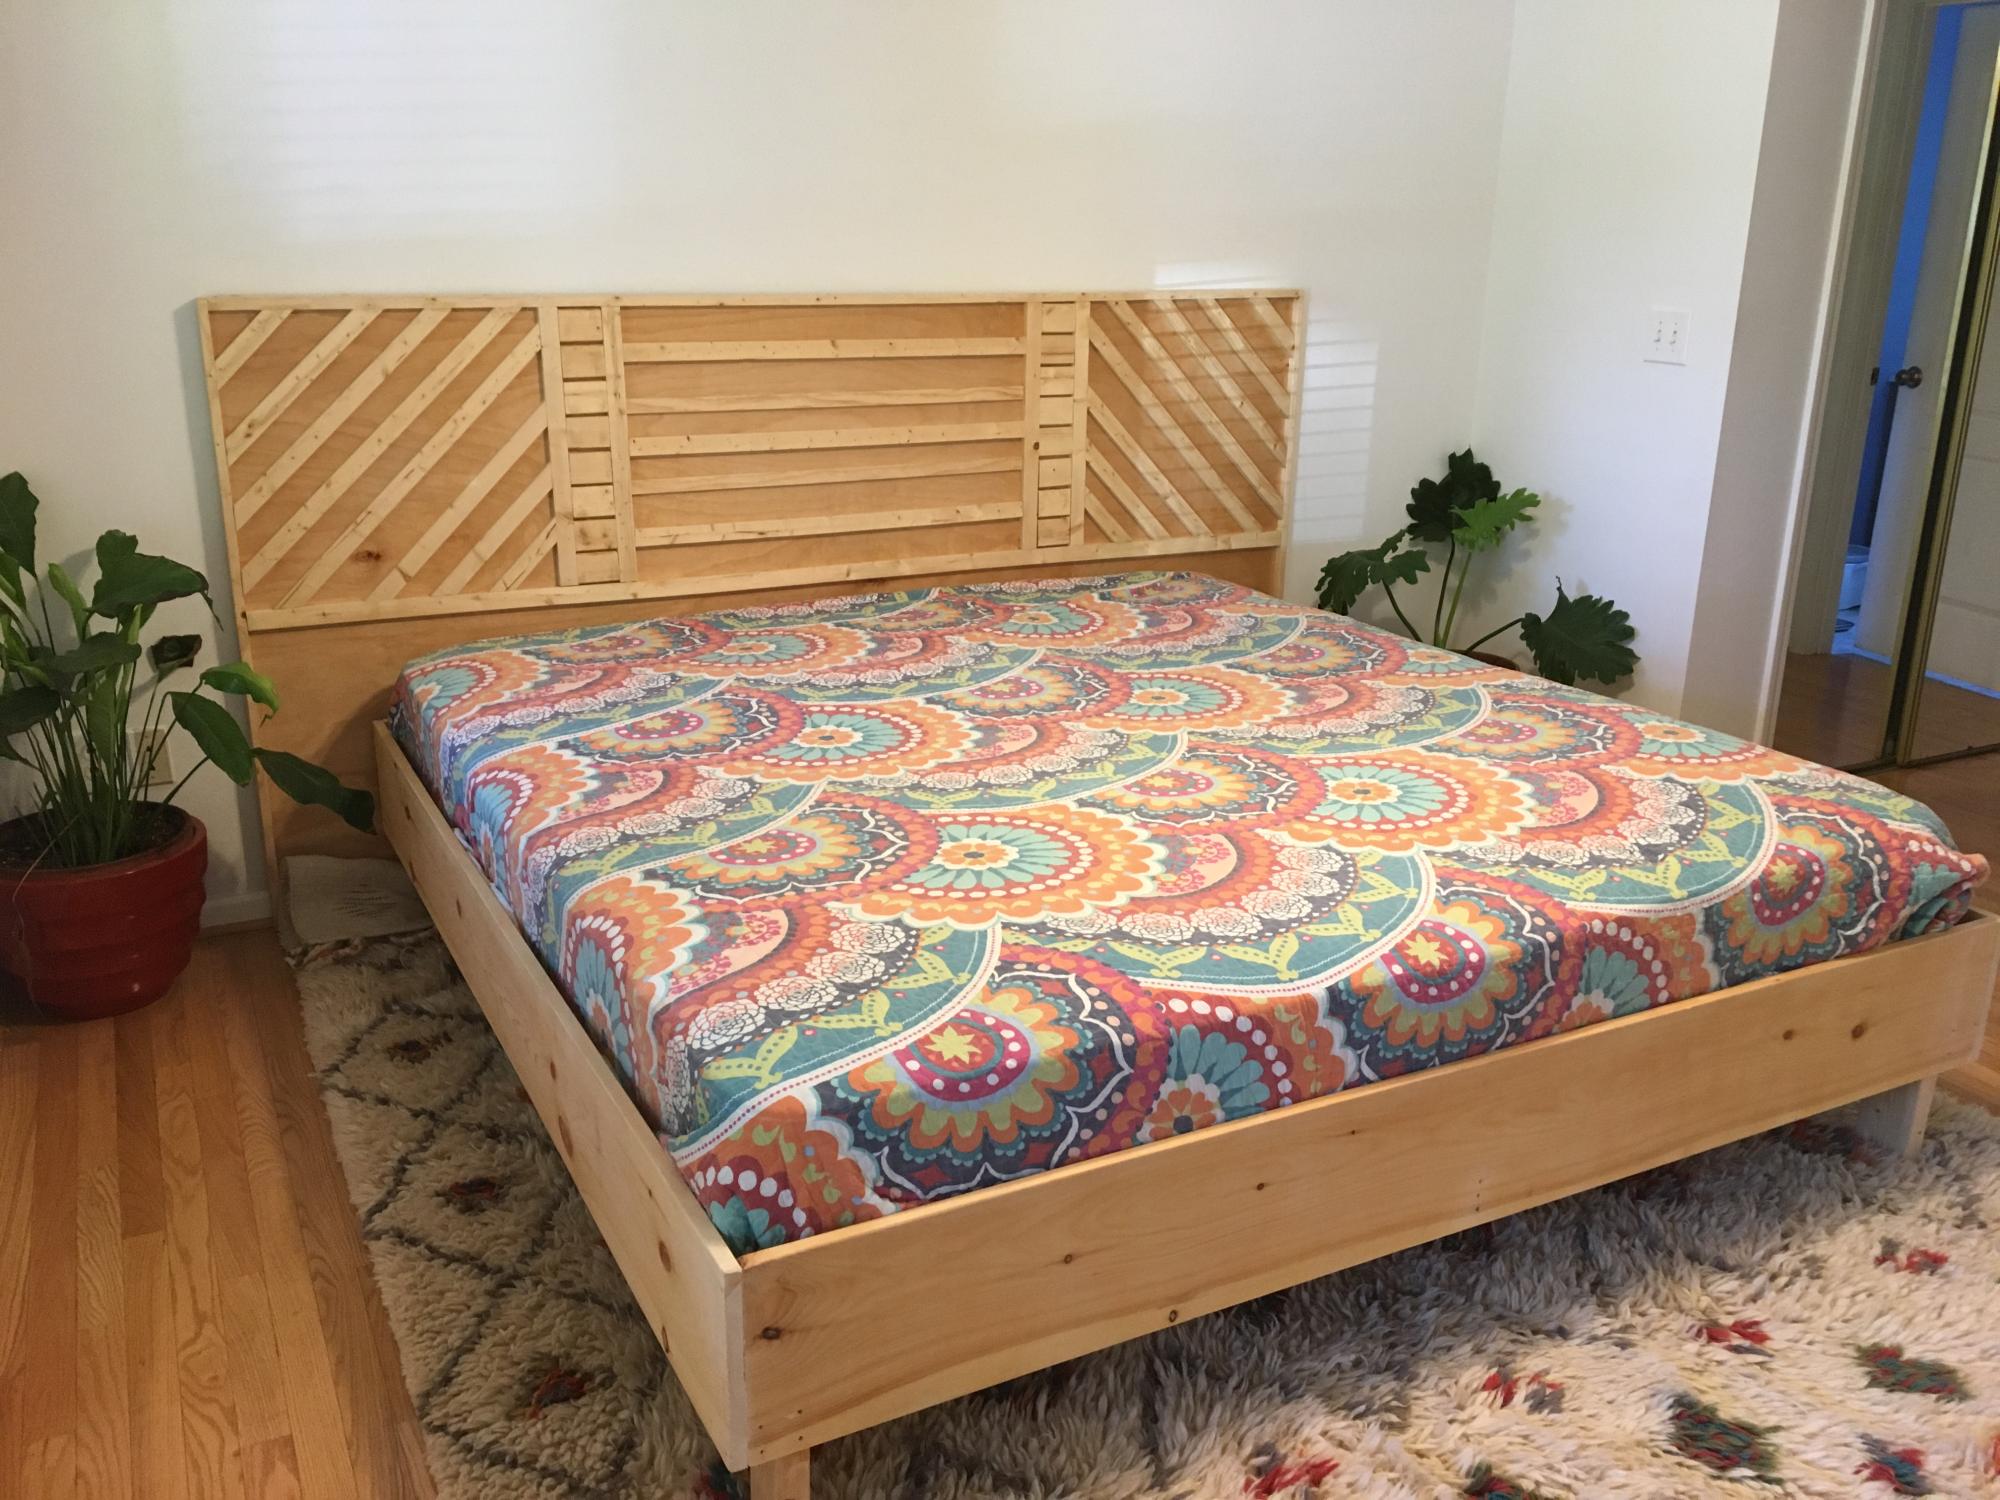
Bed frame and headboard upgrade!

Submitted by Anonymous (not verified) on Thu, 10/03/2019 - 09:03

We decided to upgrade to a king sized bed and so my queen sized bed frame and headboard had to go. I based the whole idea off of Ana White’s modern headboard plans. Just using one sheet of plywood and some common board was super easy and made the geometric design fun and quick.

Built from Plan(s)
Estimated Cost
$150
Estimated Time Investment
Weekend Project (10-20 Hours)
Finish Used
I used just satin clear poly to finish the wood but it could easily be stained. I did have to rebuild the entire project and make the gap between the mattress and the wood smaller. I changed it to a 3/4 “ gap around the entire mattress which looks good and still allows you to make the bed. I just used sanded 2x4 legs but may upgrade to hairpin when my budget allows.
Recommended Skill Level
Beginner

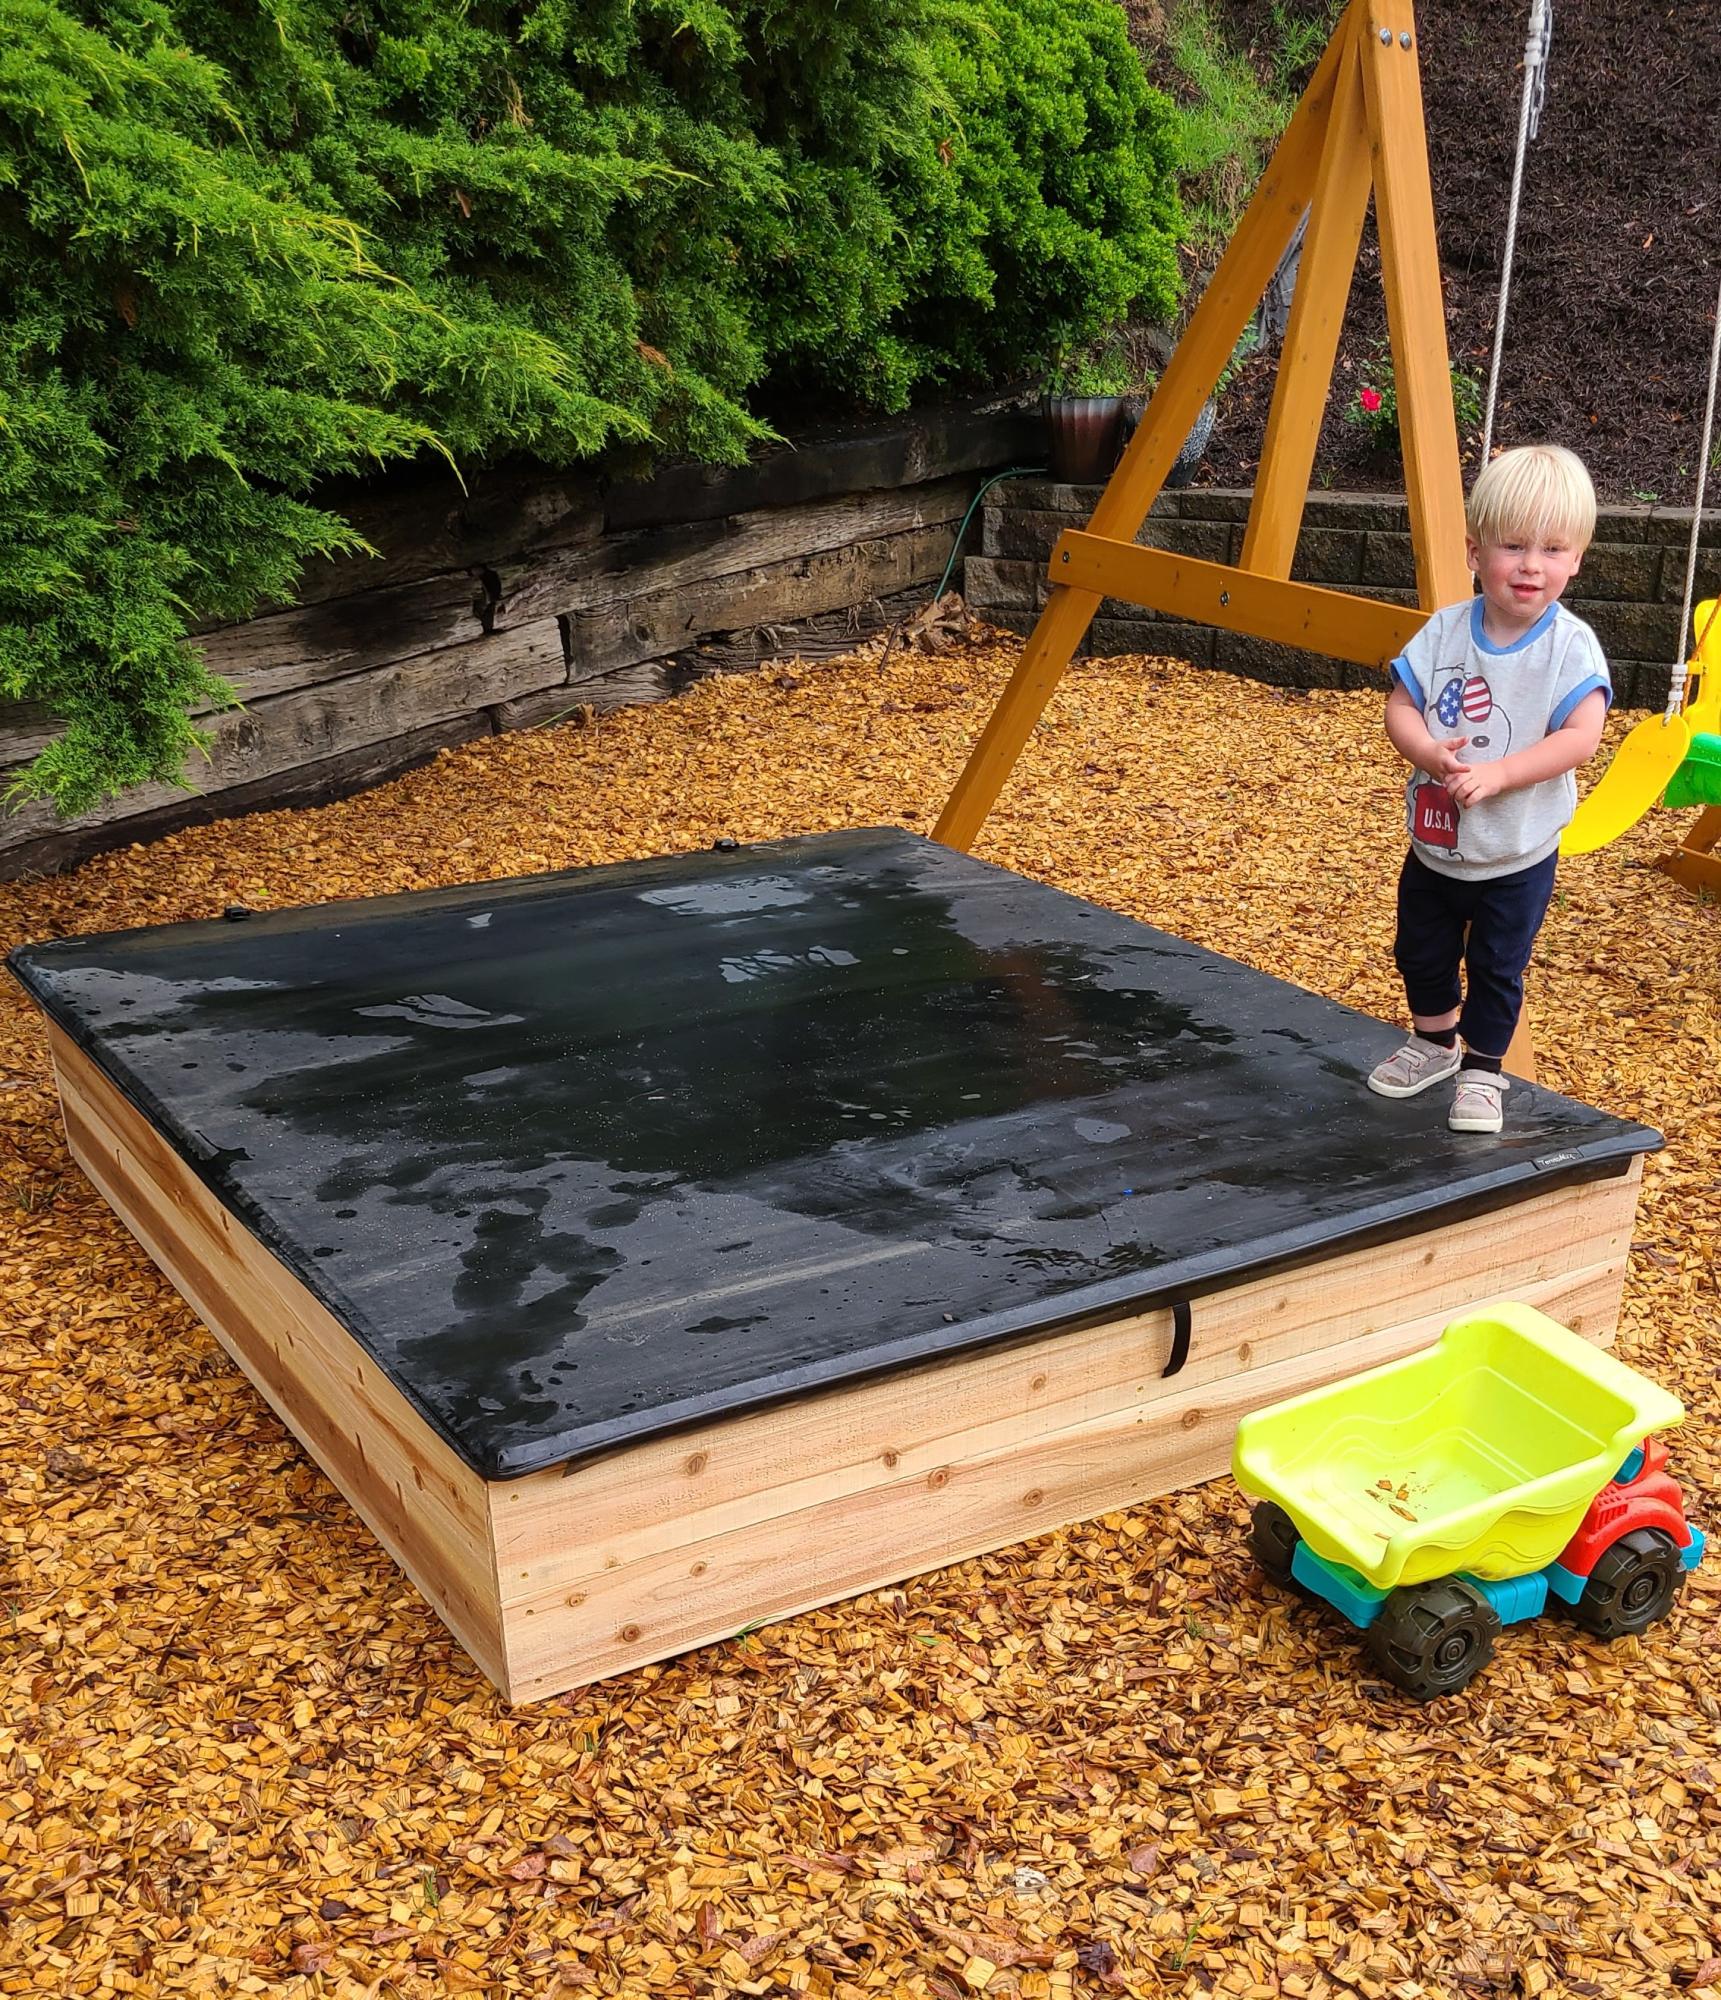
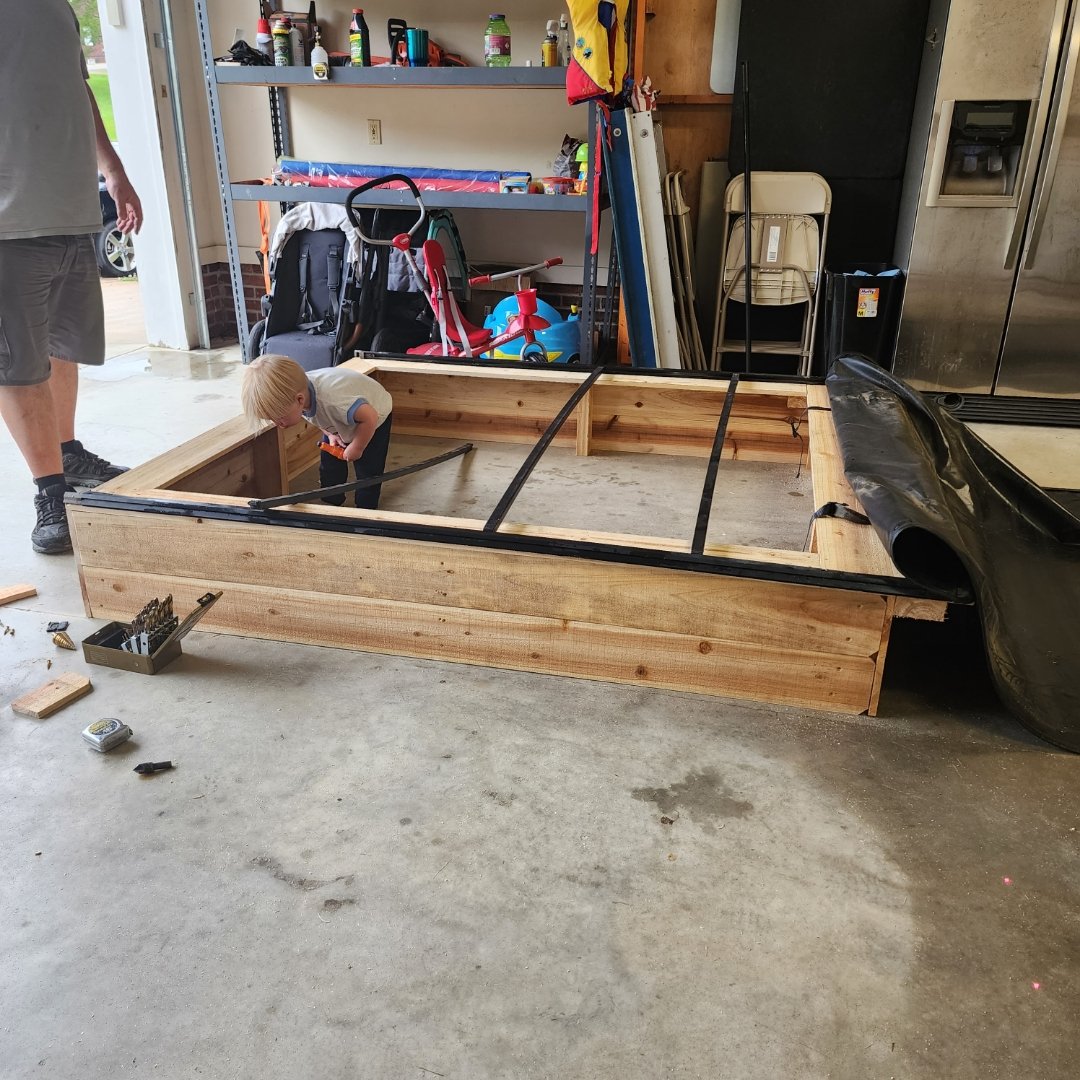
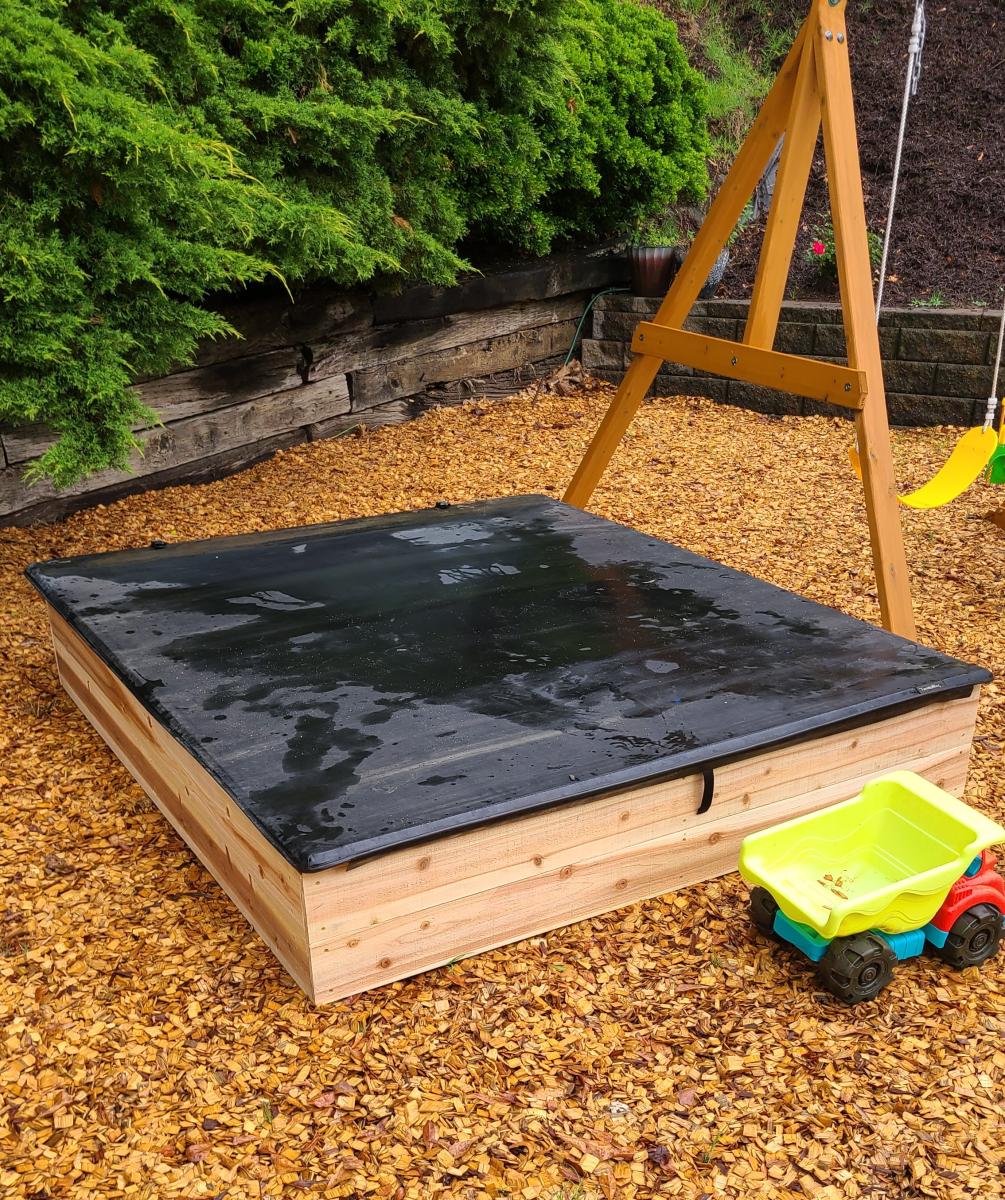
Sandbox with Cover

The cover is a tonneau cover for a pickup truck. It's for a 6.5' truck bed so if you notice, I had to ad a 2x4 and one more picket on top to accommodate the extra length. 

The cover would add a ridiculous amount of money to the project but it was repurposed.  I found it on a truck that was in an accident and going to the scrap yard. I think it it came out great and my grandson loves it.

John

Built from Plan(s)

Modified Michaela's Kitchen Island

I tripped over some boards in my attic a few times before I realized how perfect they would be for my island! I planed, biscuited, poly'ed the boards and, along with a few other modifications, tada!! My new island! Love it. Now I just gotta get over the "new car smell" long enough to actually use it!

Built from Plan(s)
Estimated Cost
$150
Estimated Time Investment
Week Long Project (20 Hours or More)
Finish Used
White semi-gloss, poly
Recommended Skill Level
Intermediate

Comments

JoanneS

Wed, 02/08/2012 - 18:33

Super job! You gave those floor boards a new life in a beautiful island. This is sure to become a family heirloom. :)

sally251251

Sat, 02/18/2012 - 21:58

Now on to some sort of cabinet to go against a 12 foot wall in my living room. I'm itching to try the vinegar / steel wool idea.... up and onward!

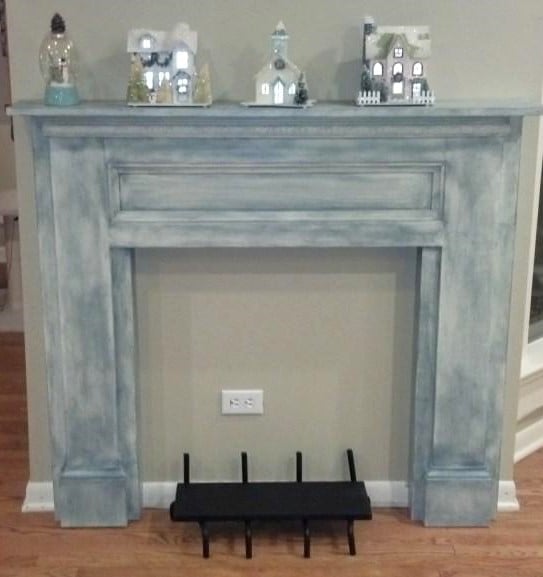
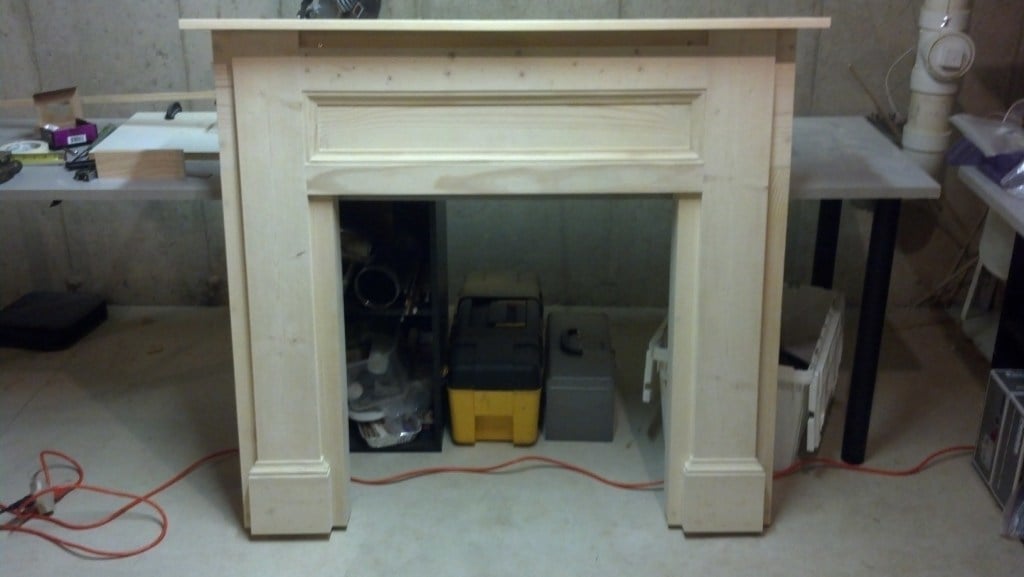
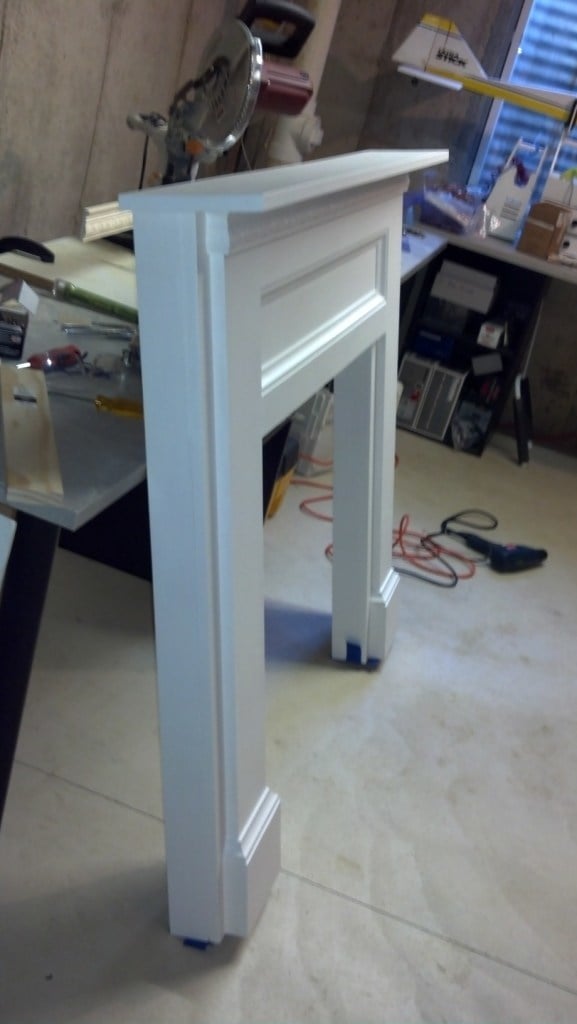
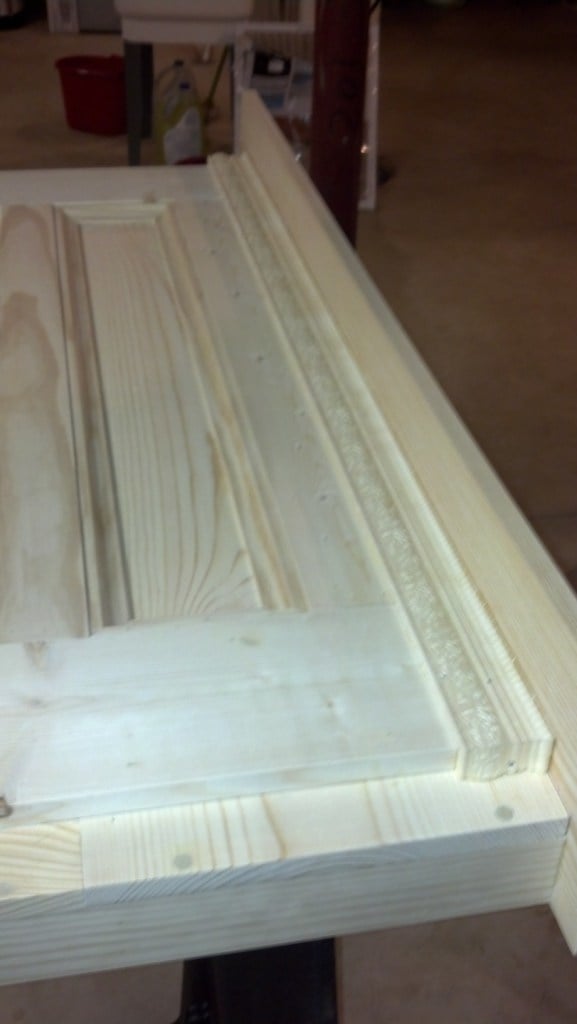
My faux fireplace build

Submitted by dfroula on Thu, 12/12/2013 - 22:31

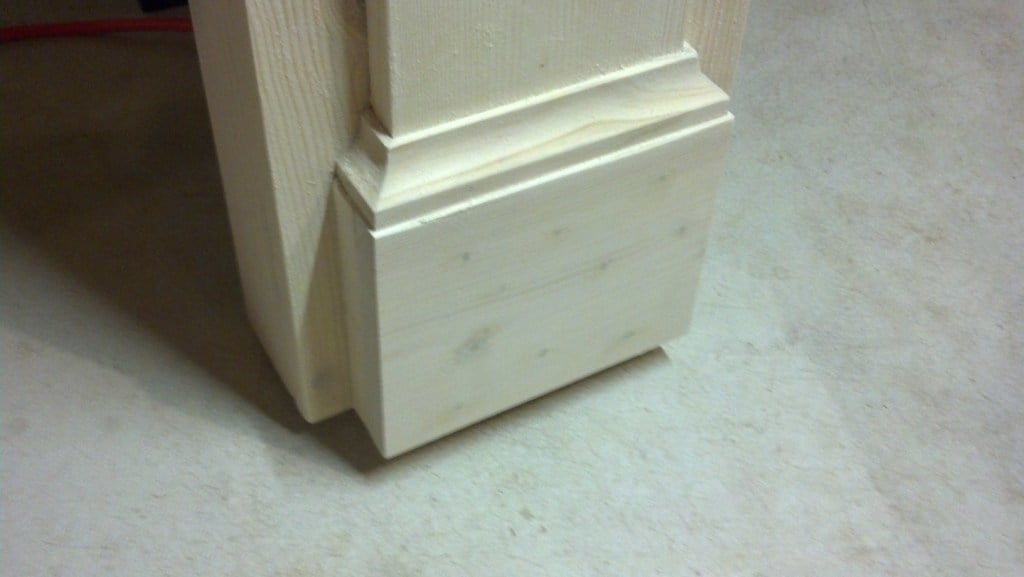
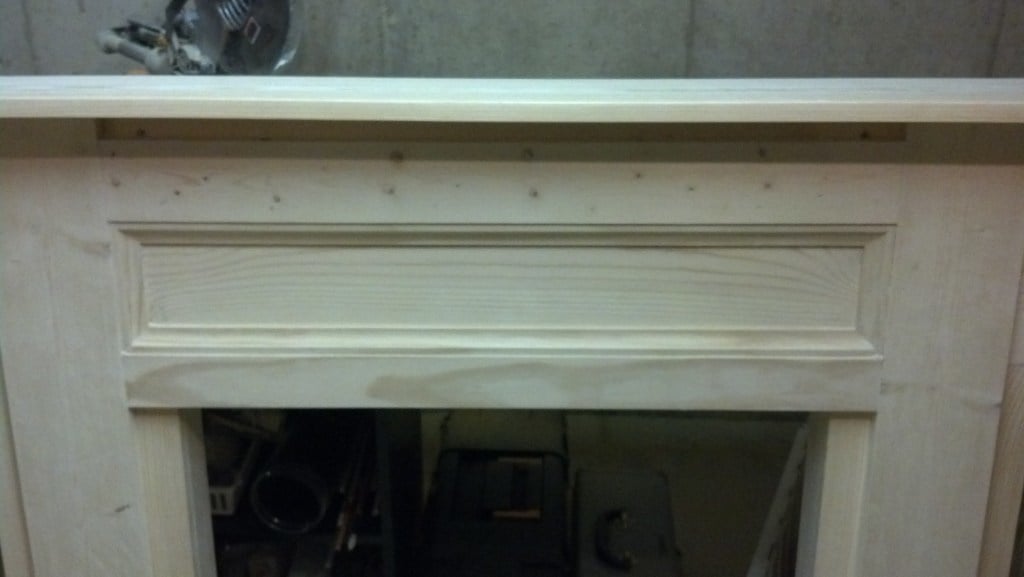
My daughter asked if we could build this together for her new apartment. We had fun putting it together over a month or so. I was easily able to duplicate the plans, even with my limited woodworking experience. I think it came out rather well. It was a lot of fun! We mounted it to the wall with a 1x4 board installed between the fireplace uprights and flush with the back edge of the mantle. I built a mounting bracket by overlapping two 1 inch thick, wide boards 50% and nailing them together. The width of the bracket boards were about 4 inches shorter than the mounting board on the fireplace to allow horizontal adjustment. I screwed the bracket to the wall. The bracket forms a pocket. The fireplace is lifted up and over the bracket so the fireplace mounting board slides into the pocket between the wall and the upper bracket board. I screwed the bracket a bit lower on the wall so the weight of the fireplace is supported by its legs. The bracket just keeps the fireplace snug against the wall. It worked great. Just be sure to screw the bracket into studs. I also removed the base board trim from the wall and cut it to fit around the fireplace. I also cleaned up an old fireplace log grate I had with a wire brush and flat black Rustoleum. I used a scrap piece of board painted flat black to put on the grate as a shelf for candles.

Estimated Cost
120.00
Estimated Time Investment
Week Long Project (20 Hours or More)
Finish Used
Two coats of latex primer, one light-colored latex base coat, blue-grey tinted glaze dry-brushed finish, two coats of satin polyurethane.
Recommended Skill Level
Starter Project

Full-Size Storage Bed

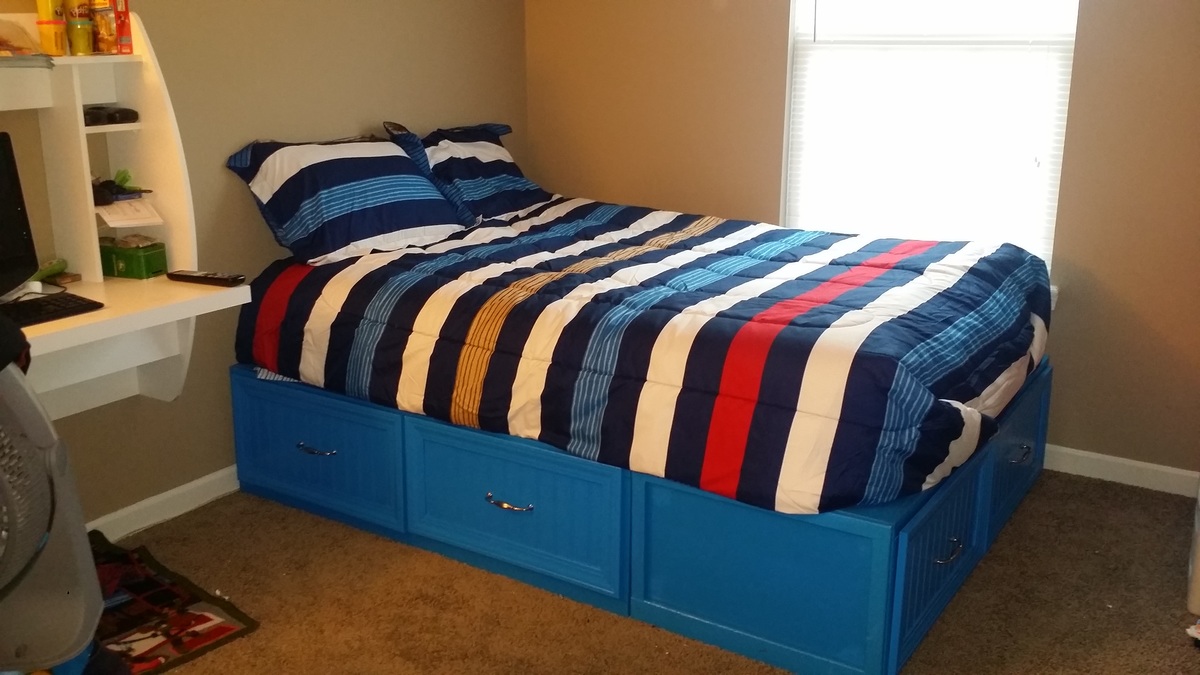
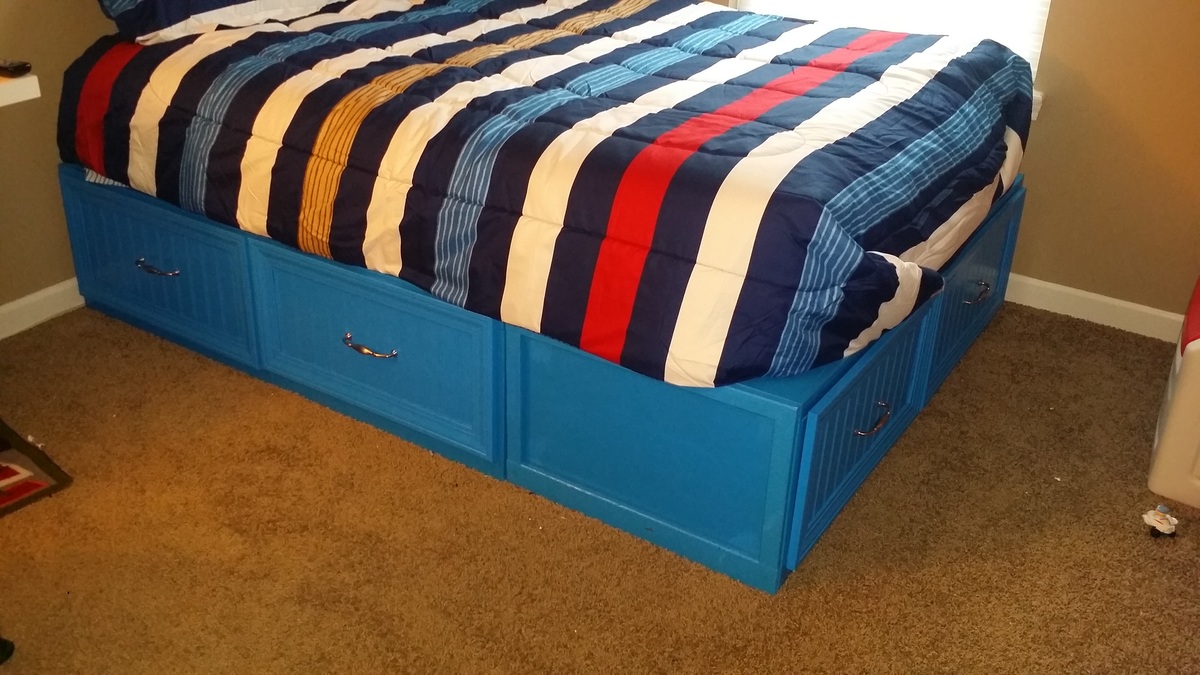
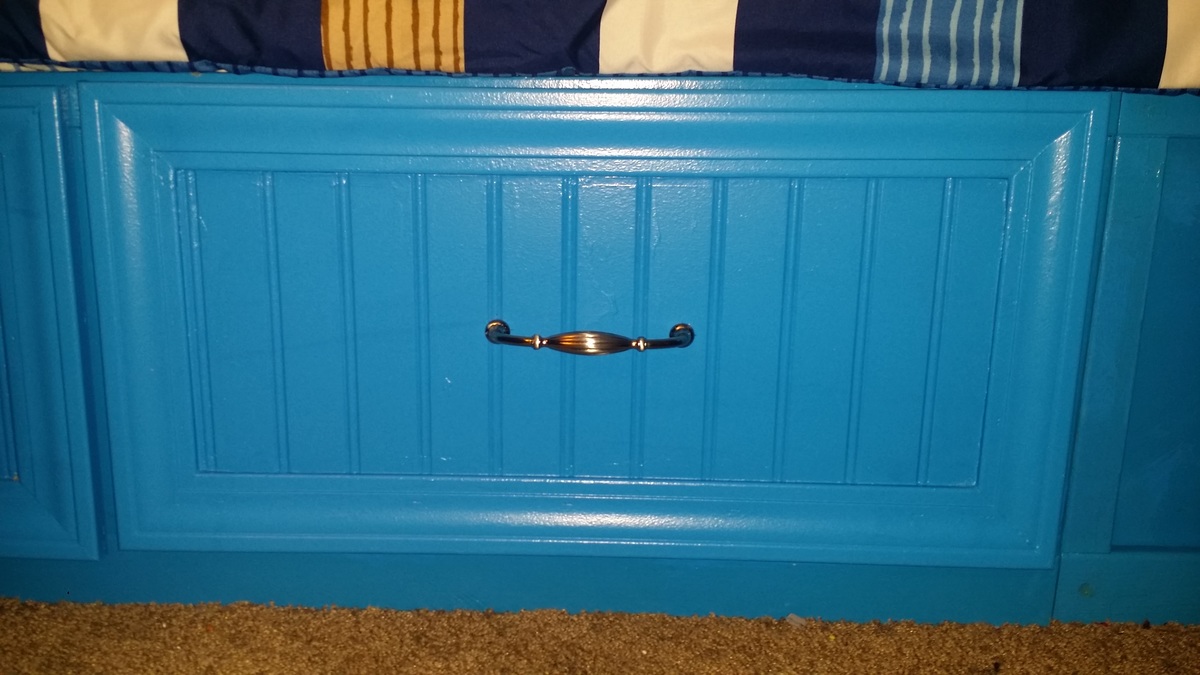
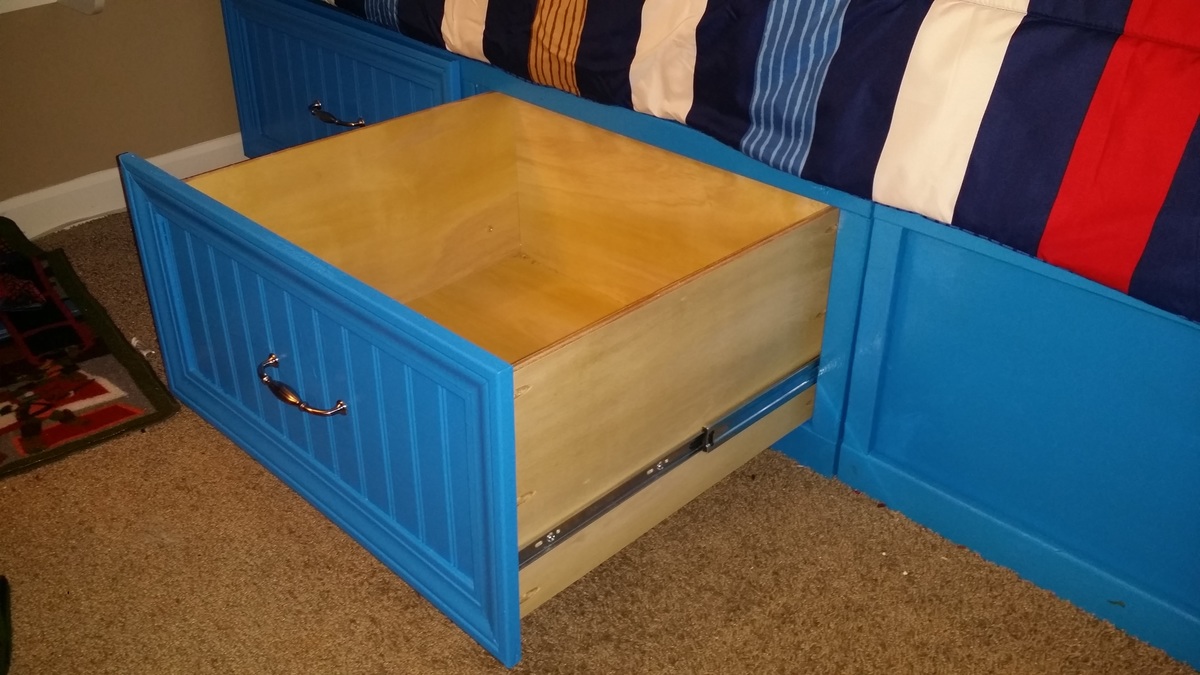
This (so far) is my best creation yet! I had previously made a bed for my son but my joinery skills were not up to par so it didn't make it. After re-evaluating his room I realized he was lacking on space so we needed to ditch the dresser. So glad I ran across this plan on Ana's website!

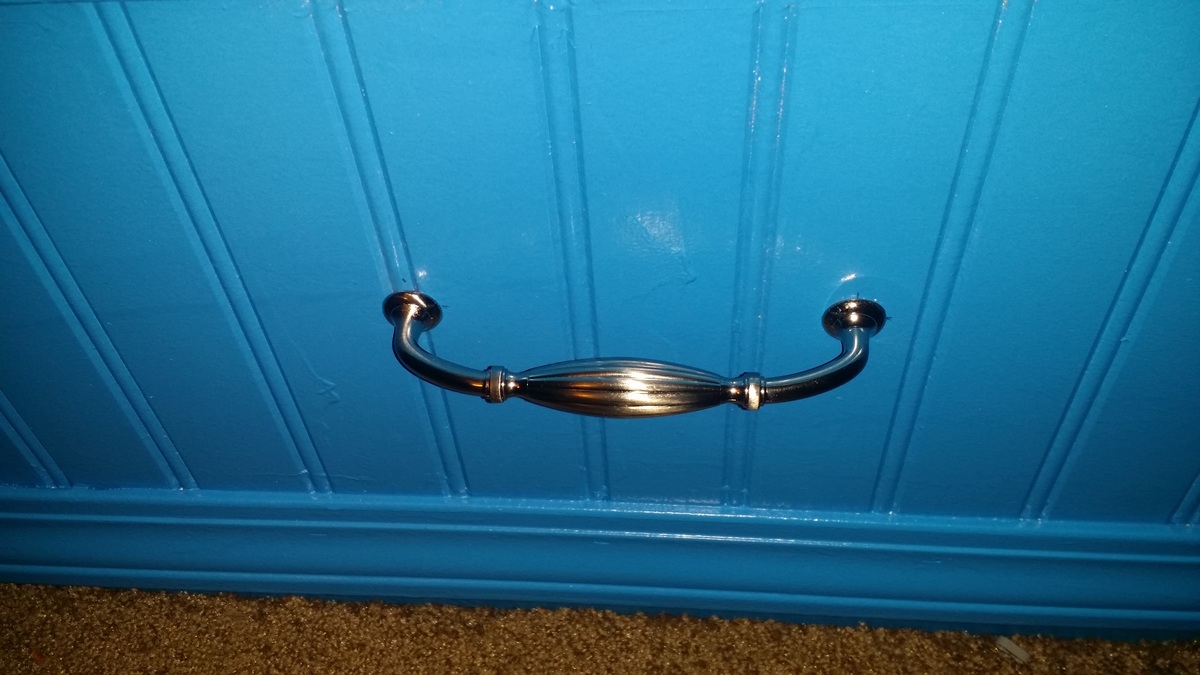
Since I was ditching the dresser in his room I needed to make sure the drawers were deep (25"x18"x10.5"). I once again ran into some issues where I was not paying full attention to the instructions and ordered side-sliding drawer slides instead of under mounting ones. So I had to alter the plan a tad bit. Not to mention my drawer openings were not completely square so I added some door trim and beadboard to the face and let it cover the imperfection. I must say it was well played!

I didn't have all the tools needed right away so as I got to different parts of the project I bought so many tools!!!
Estimated Cost
$260 (not including the tools I had to buy)
Estimated Time Investment
Week Long Project (20 Hours or More)
Finish Used
I used Glidden High Endurance Grab-N-Go Interior Eggshell/Satin Colbalt Blue and Minwax Matt Finish Polyurethane
Recommended Skill Level
Beginner

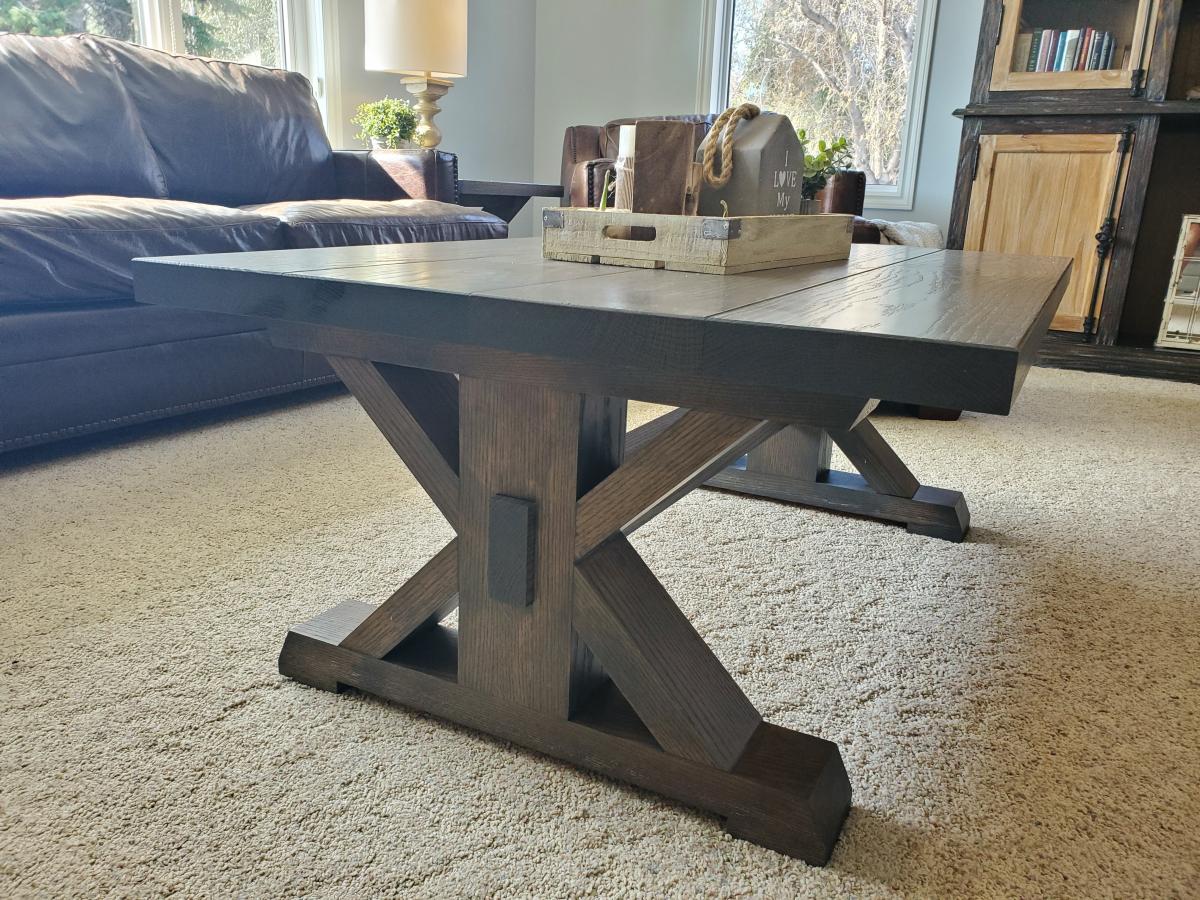
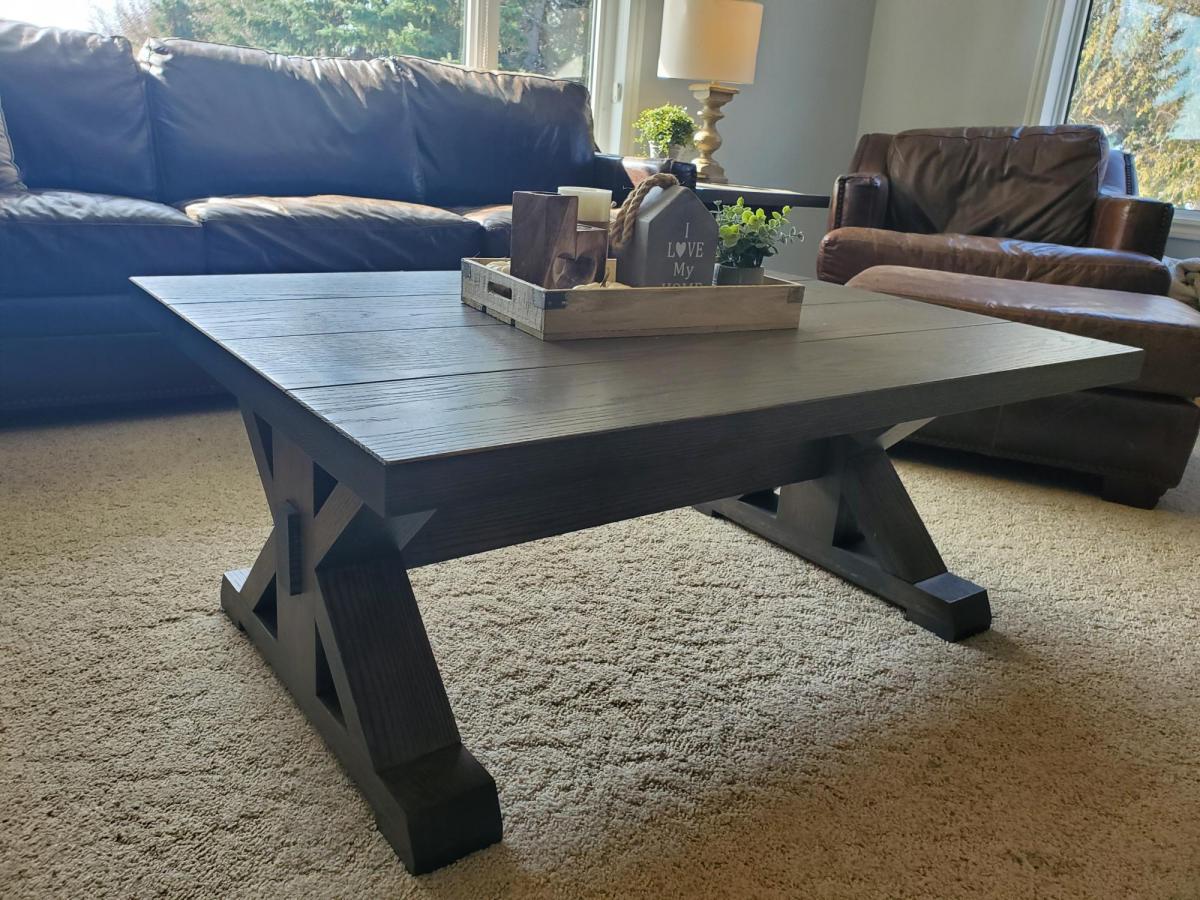
Farmhouse coffee table

Submitted by Anonymous (not verified) on Fri, 10/04/2019 - 10:56

For this coffee table I actually used the triple pedestal farmhouse table as an inspiration and just made it smaller and made 2 rather than 3 pedestals! I made the top the size I wanted it to be and then I made the pedistals really short to get the look I was after!

Built from Plan(s)
Estimated Cost
$250
Estimated Time Investment
Weekend Project (10-20 Hours)
Finish Used
Used a grey stain and a dull lacquer.
Recommended Skill Level
Intermediate

My First Project

Submitted by Anonymous (not verified) on Mon, 06/19/2023 - 15:34

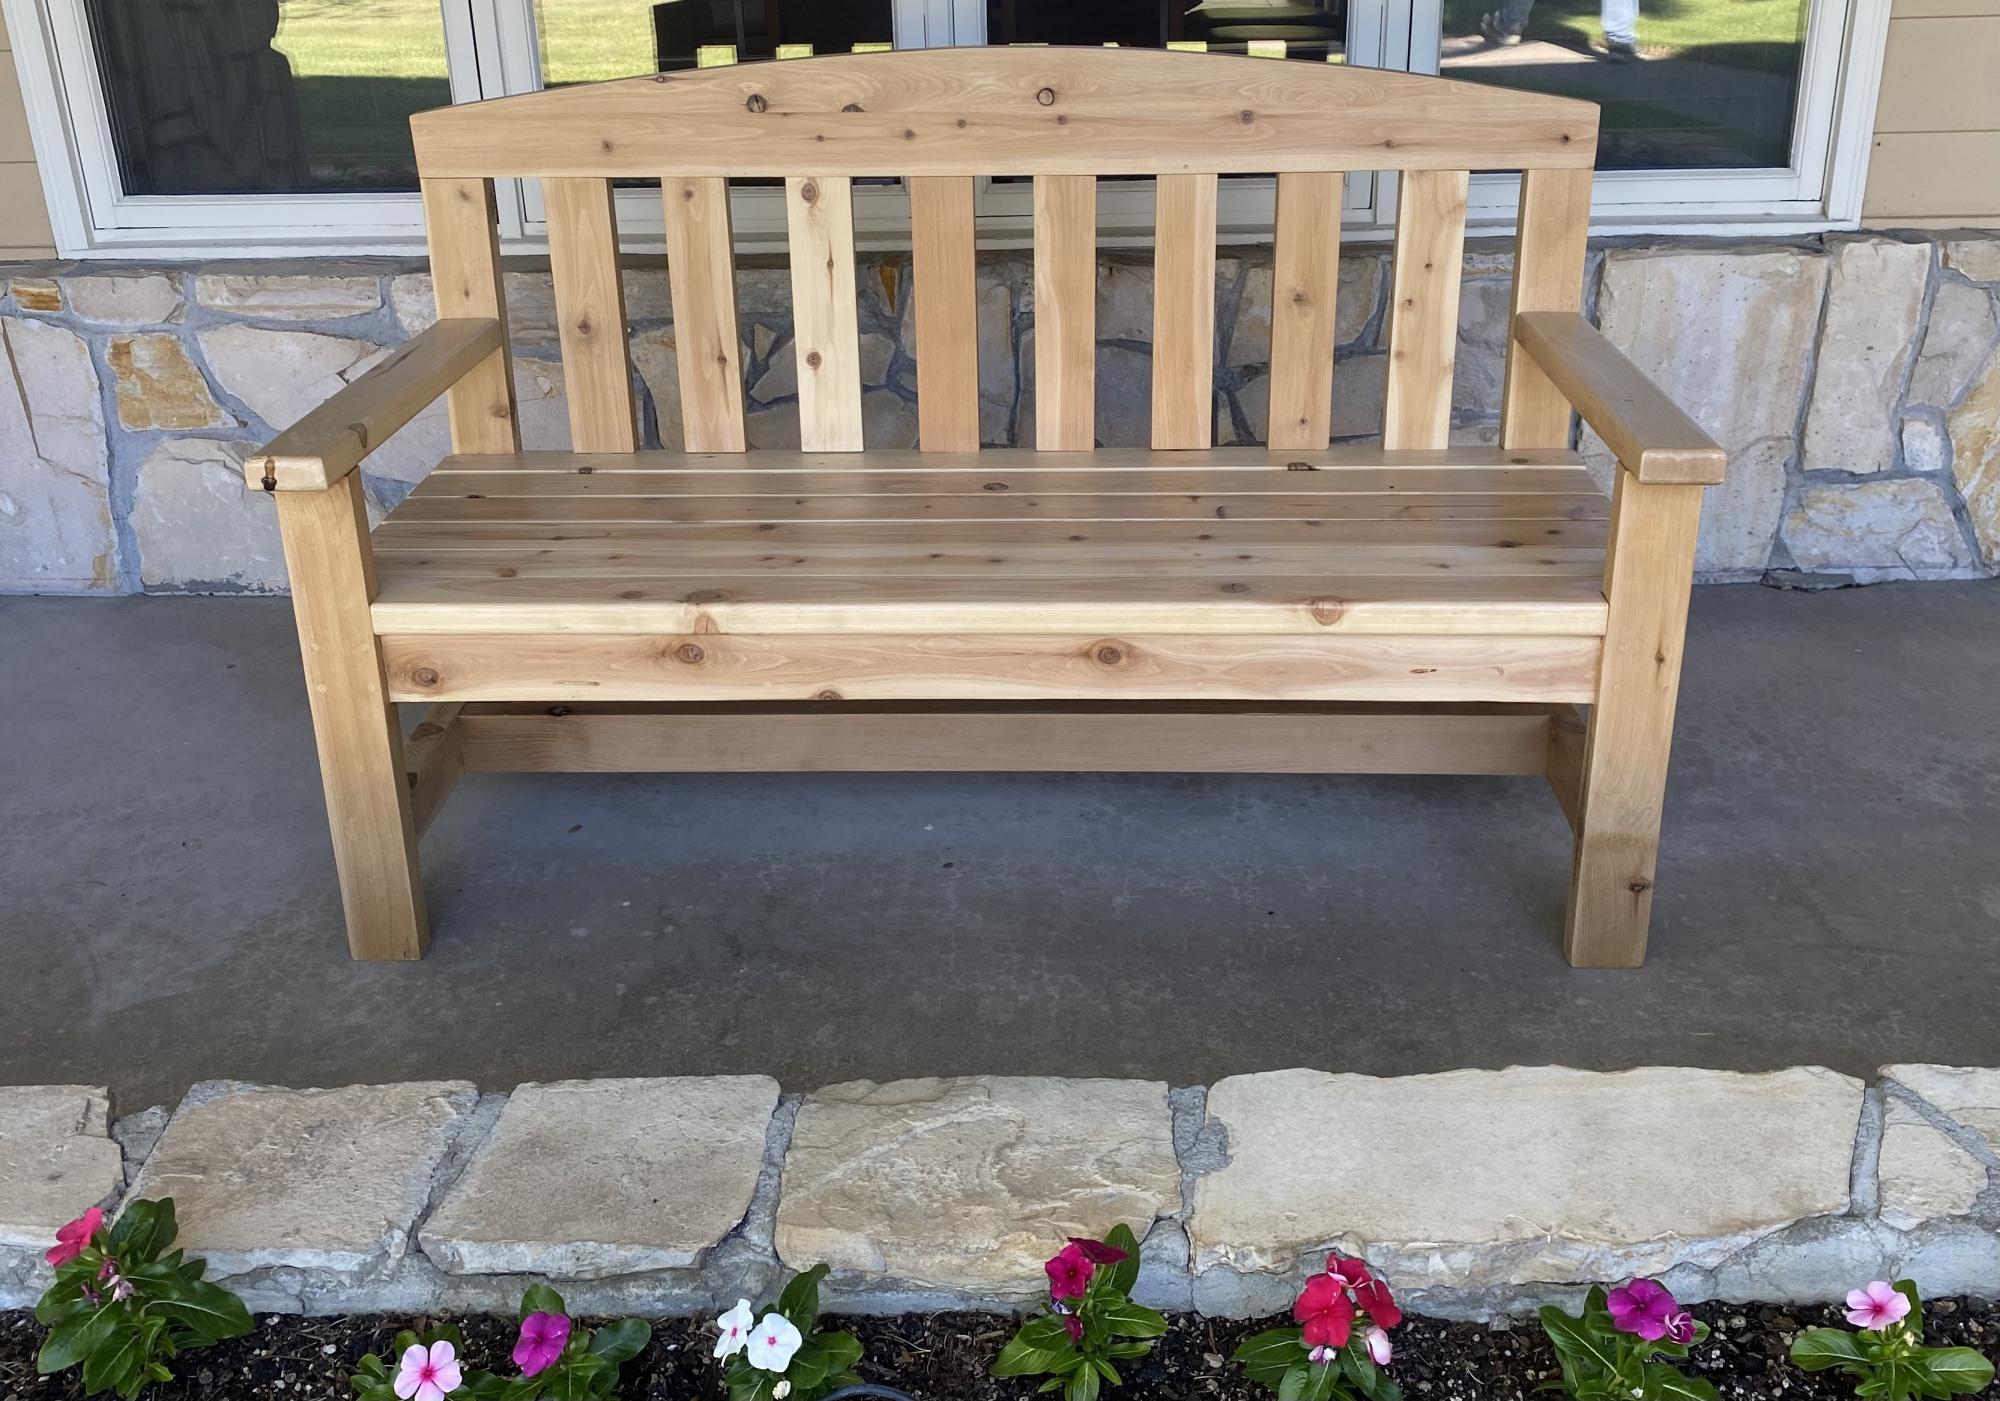
I took a woodworking course through the community college and built this cedar bench for my front porch. I learned so much throughout this process and am proud of how it came out. I am now building up my own arsenal of tools and supplies. I can’t wait to choose my next project!

Plans from myoutdoorplans.com/2x4benchplans

Comments

My FIRST build!!
Submitted by MandaPanda on Mon, 12/16/2013 - 16:38

This is my first build and I learned a lot along the way. I have to say I am very happy I used my scrap before I cut into my "real" wood. Definitely helped with the nerves!~~Sorry for the sideways photos can't seem to get them to straighten out~~

Estimated Time Investment
Week Long Project (20 Hours or More)
Finish Used
Minwax English Chestnut (2 coats)
Recommended Skill Level
Starter Project

Comments

paziameira

Tue, 12/17/2013 - 11:20

Loved watching you build this table, Panda, and taking pictures for you to look back at! It turned out beautiful!! Can't wait for your next project! - Mom