Community Brag Posts

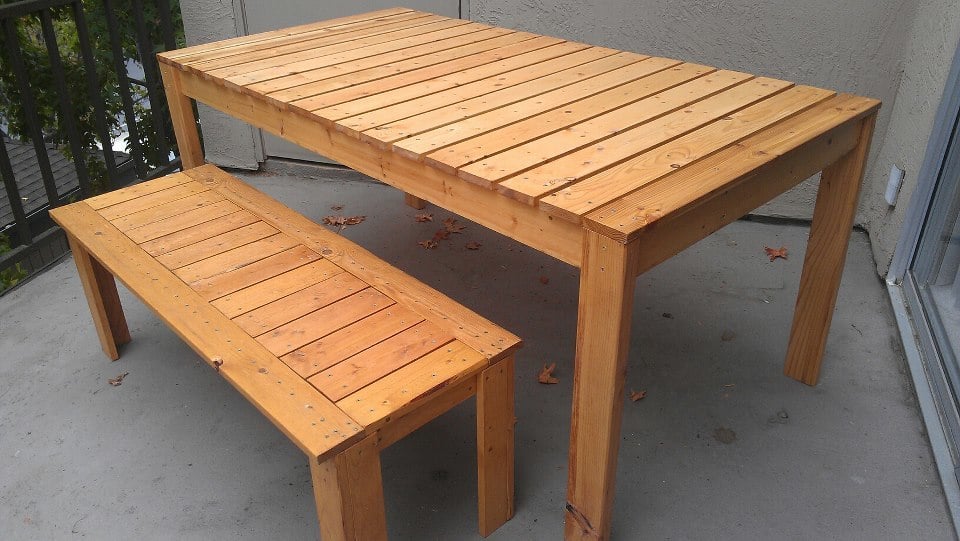
Mom's Outdoor Dining Set - Thus Far

I'm slowly working on building the whole Simple Outdoor Dining Collection.
When my Mom and I moved into our new apartment, we spent all our money on new indoor furniture, and we have this really huge porch with a nice view and nothing to put on it. So as a surprise after we moved in, I made her the bench. She loved it so much that I decided to make the matching table for her birthday. The stack-able chairs will be her Christmas present, so stay tuned for that if you'd like to see how they turn out.

-The bench was about $20 for lumber, a total of $40 or so with stain and screws and everything.

-Table was about $60 for lumber since I couldn't fit the the 12-footers in my car. I probably spent a good amount extra on a bunch of 8 footers instead. Also wasted a lot of wood that way, but I will find a use for it. Definitely get the 12 footers if at all possible. No need to buy the rest of the materials again if you have left-overs from the bench.

I didn't modify anything on this set at all, it was pretty much perfect the way it was designed. Although I did add some 1x3's to the legs on the bench to make them sturdier- notice the corner leg rather than just a 1x4 by itself. Thanks for these plans Ana, you make me look good!

Estimated Cost
$100
Estimated Time Investment
Weekend Project (10-20 Hours)
Finish Used
Minwax's full line: Pre-satin wood conditioner, Ipswich Pine stain, and clear coat
Recommended Skill Level
Beginner

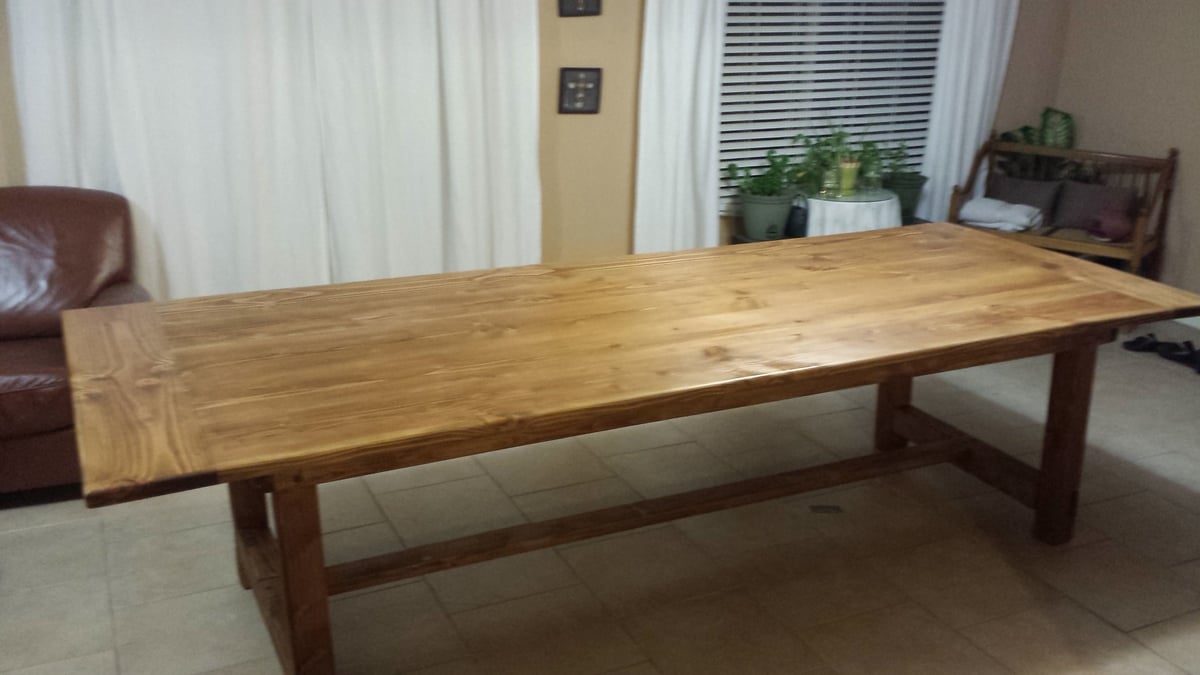
BIG Farmhouse Table

Submitted by kterrell on Wed, 07/23/2014 - 00:02

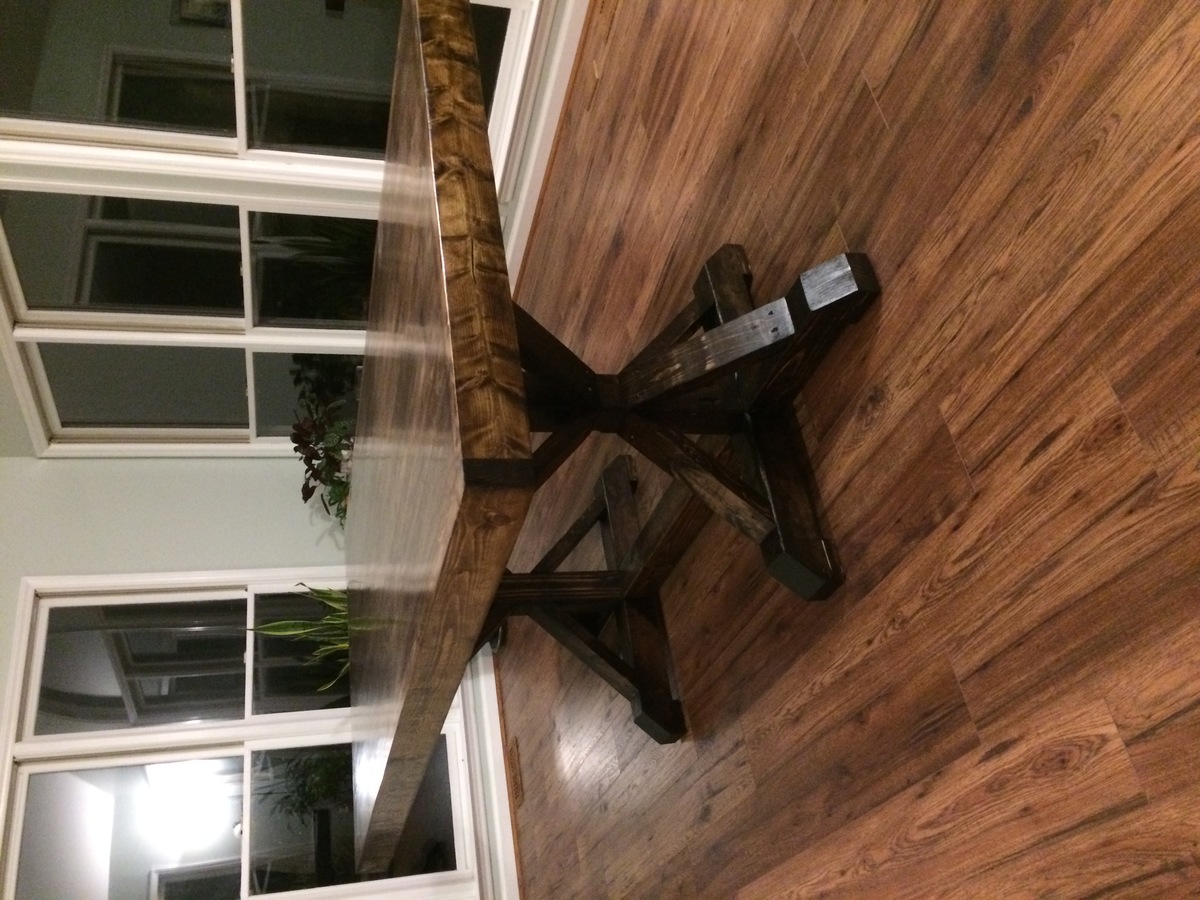
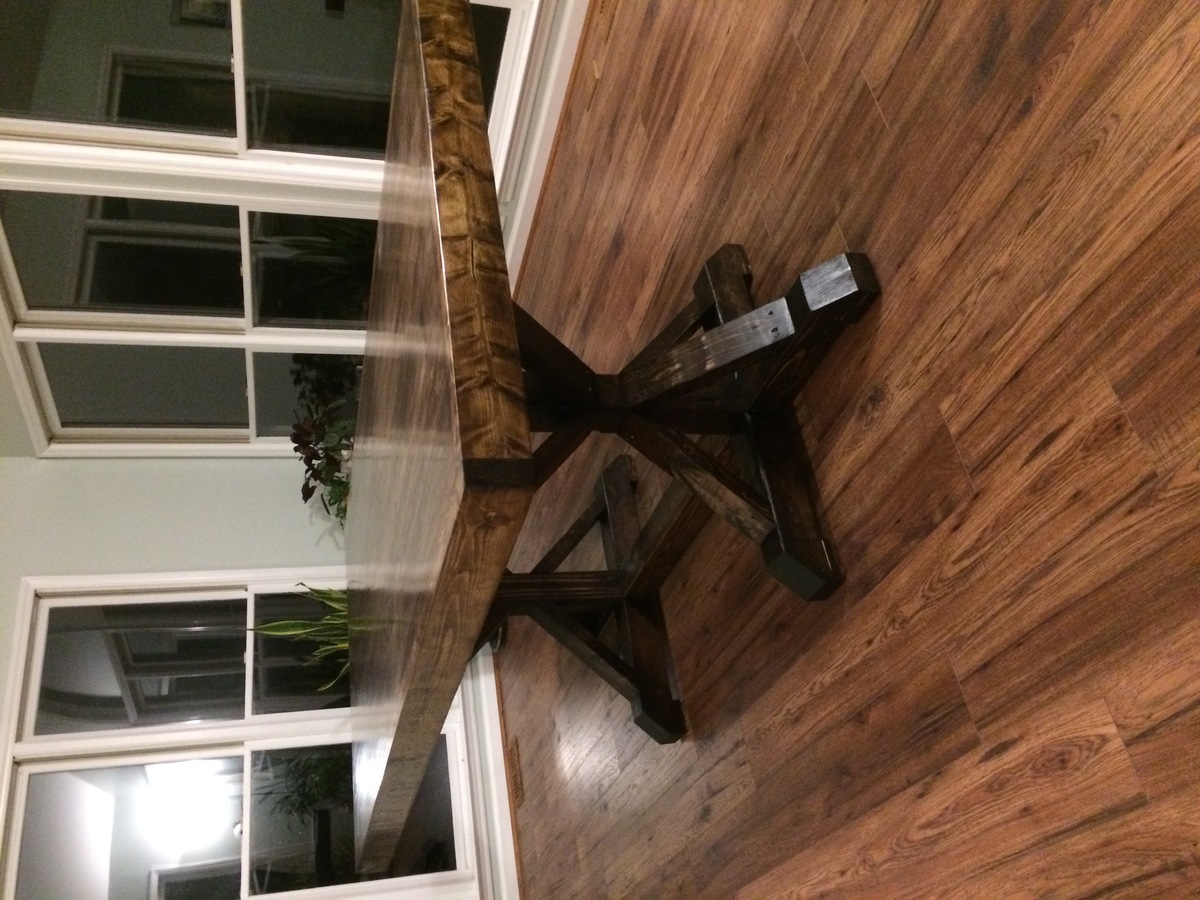
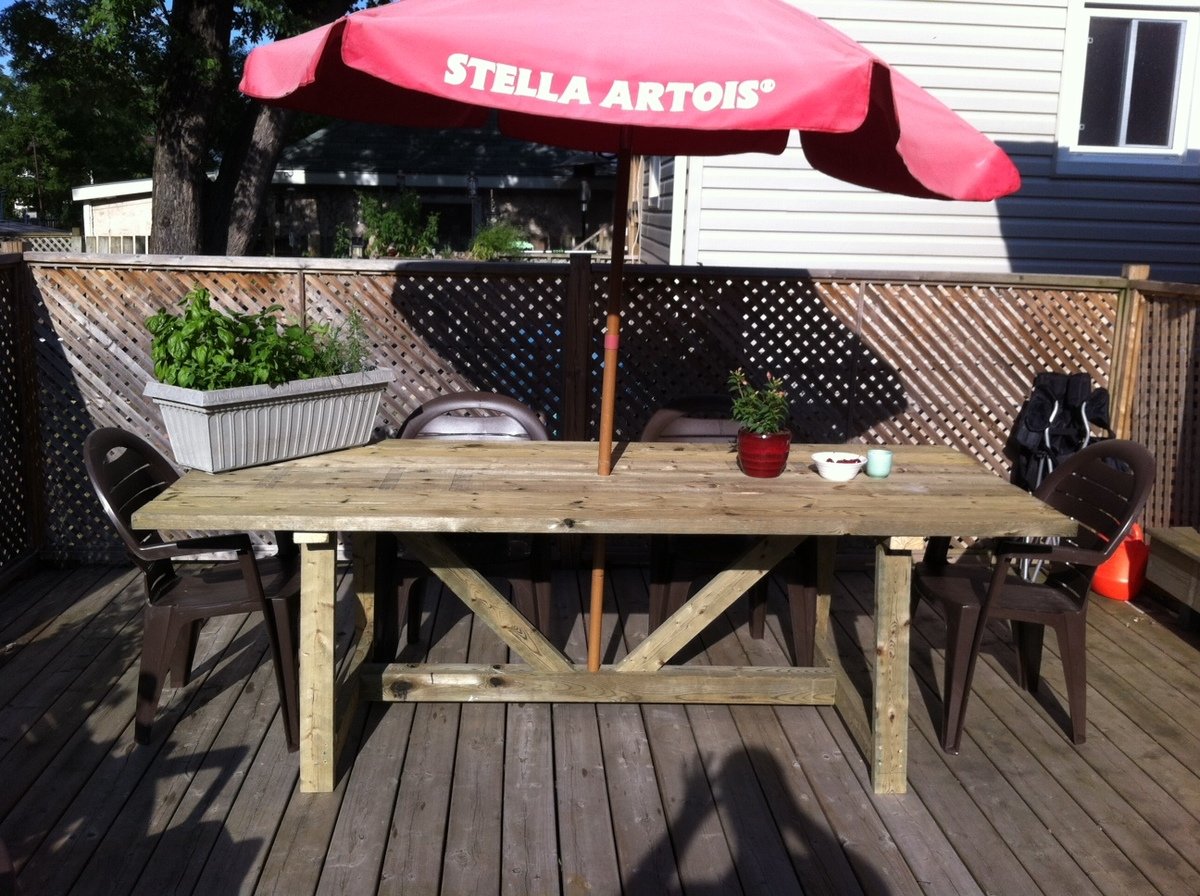
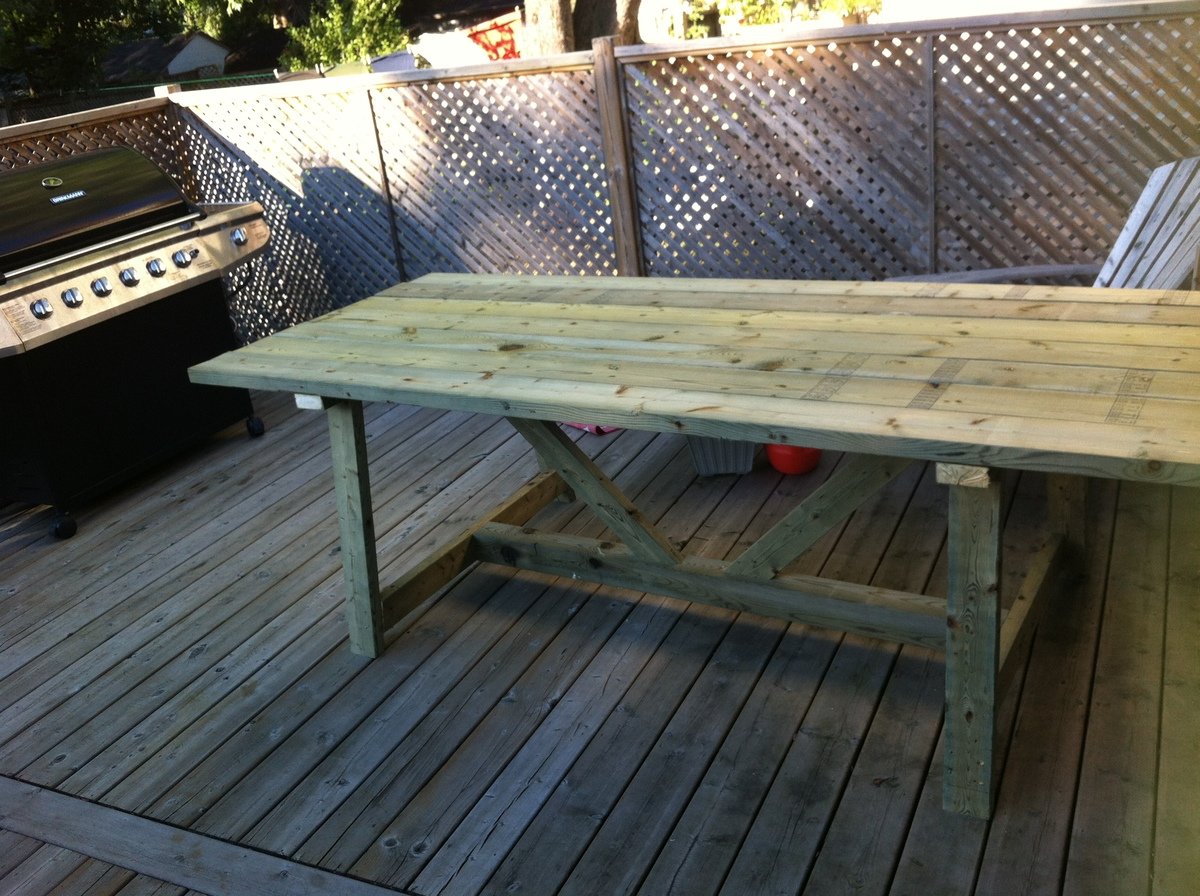
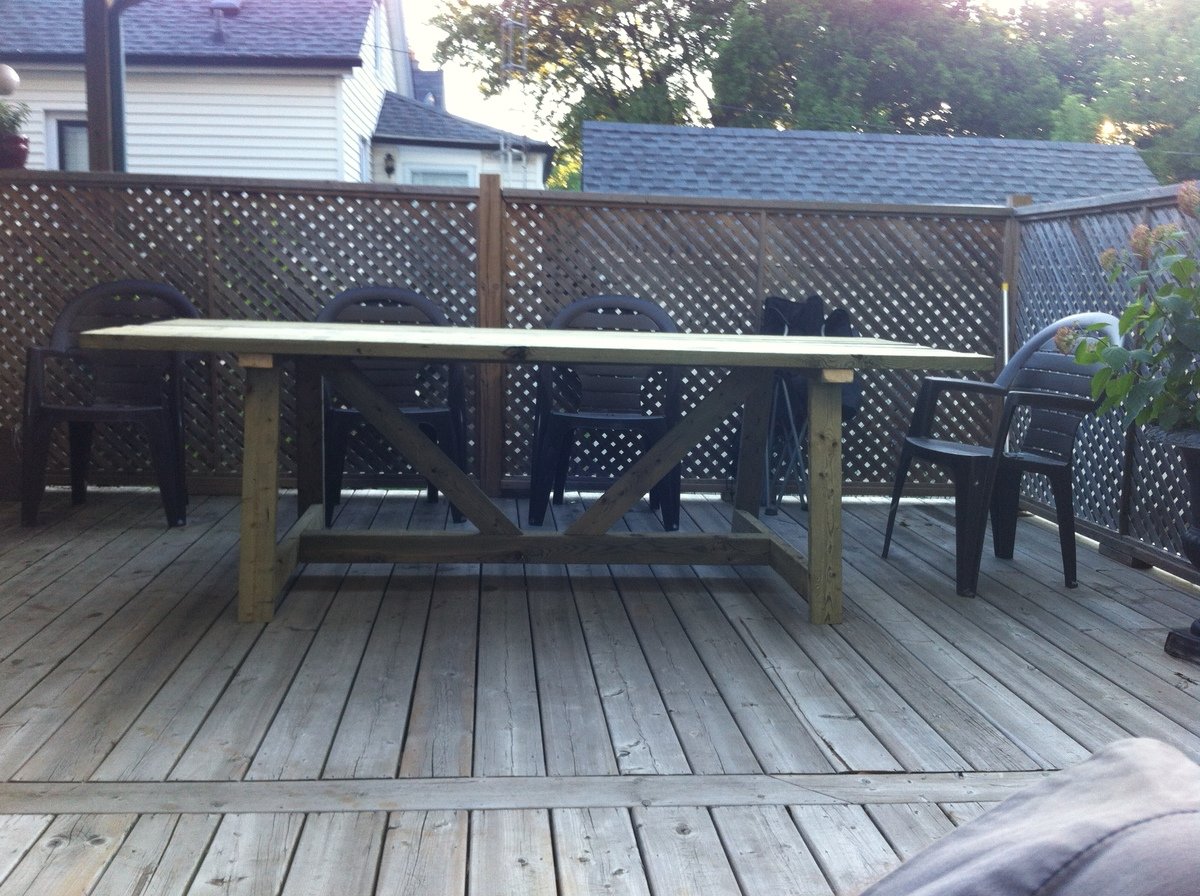
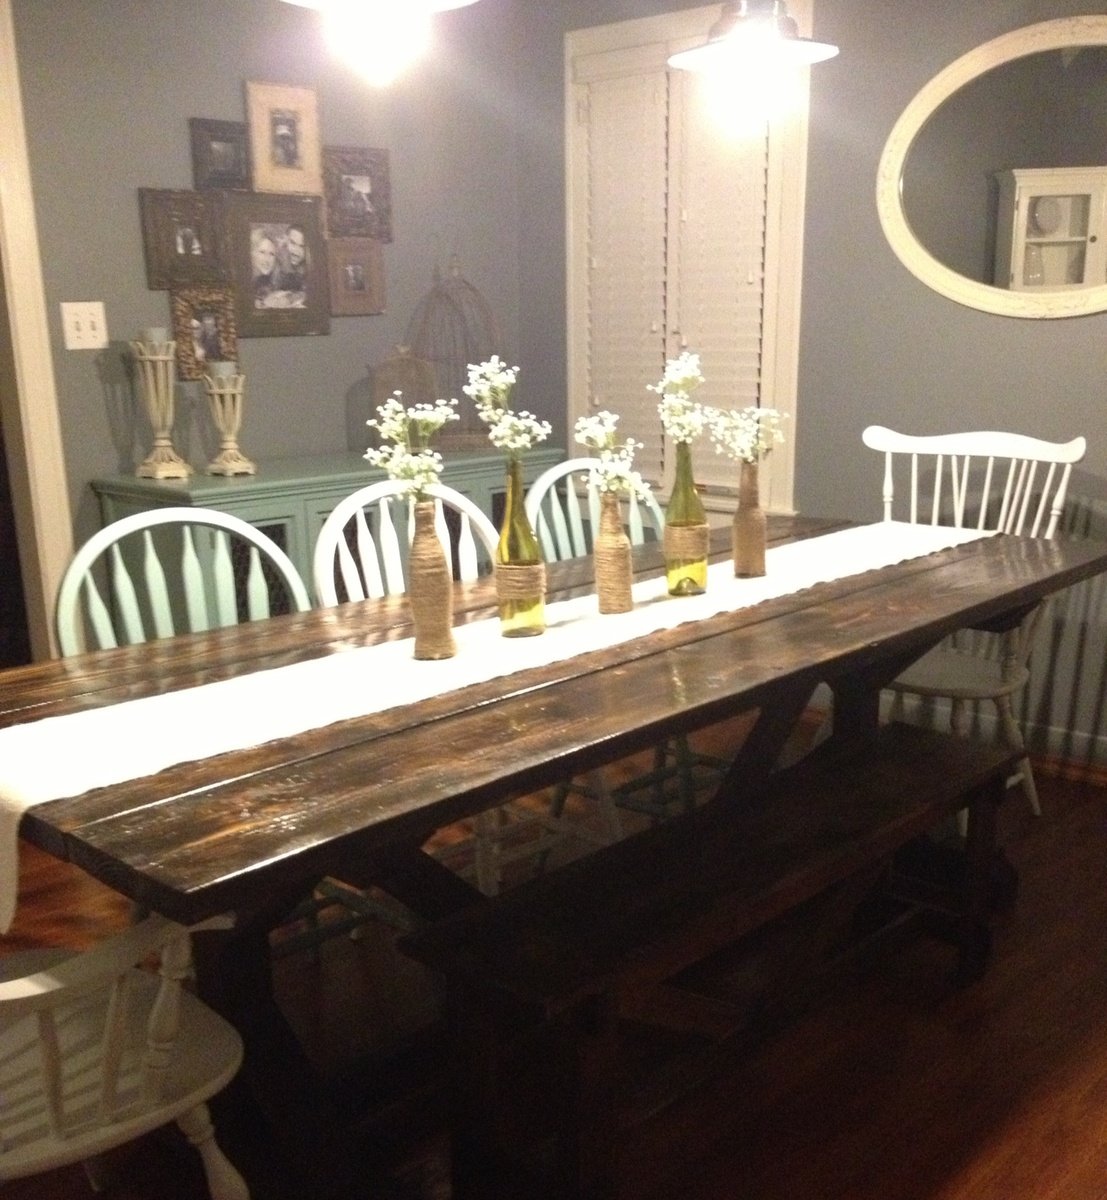
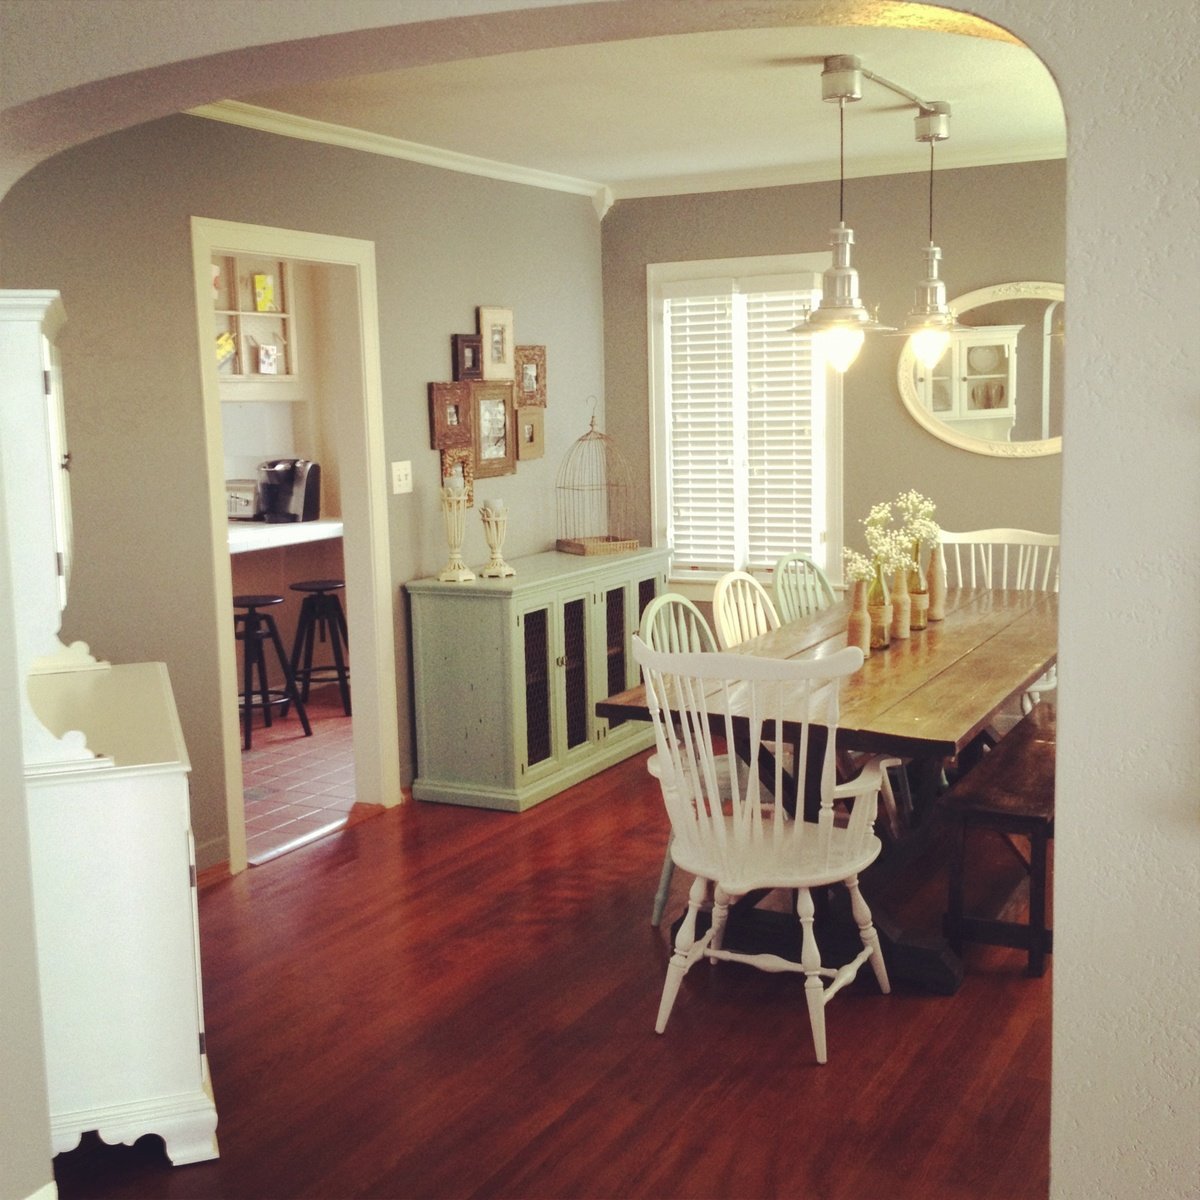
So I was inspired by the Ana-While posted Farmhouse Table a few months back.. Honestly I was a little concerned about building such a large piece as my first project but I decided to invest into some common pine lumber to give it a shot. I could have bought better woodworking stock, but I was concerned I was going to mess it up anyway so I chose to stick with Home Depot / Lowes grade stock to keep the cost down.

I made a few changes from the published design:

I wanted a very large table for entertaining during the holidays. I extended the design to about 10 feet long by almost 4 feet wide.

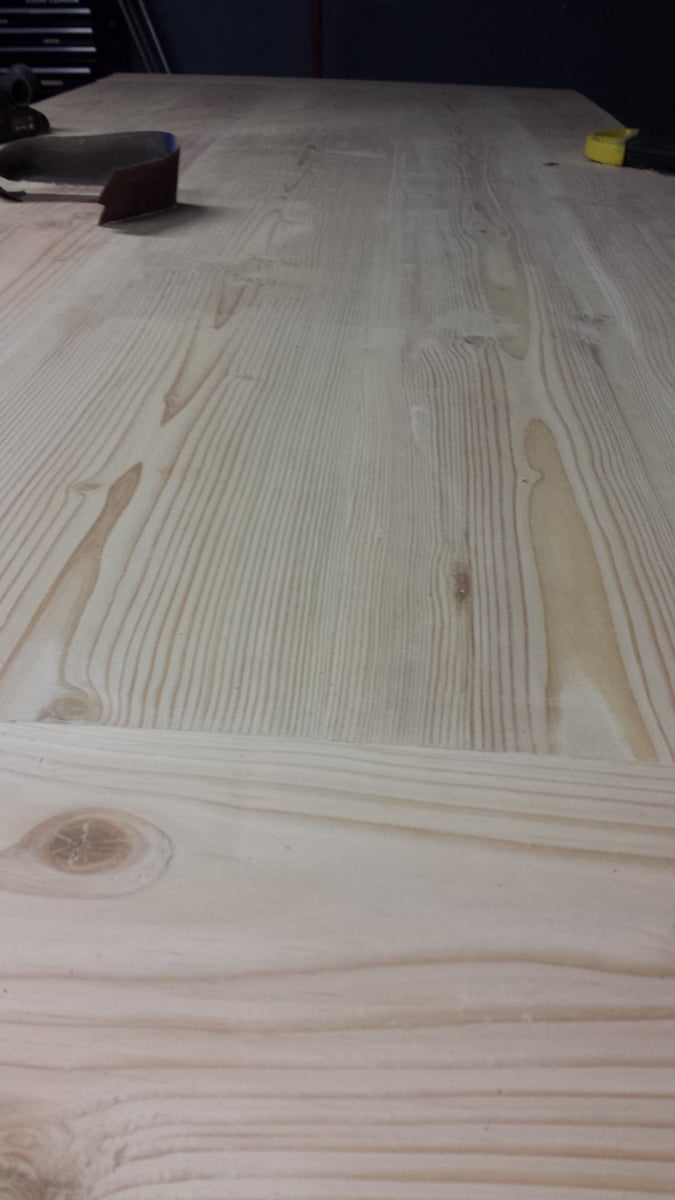
I also am not a big fan of the seams that are left between the boards when doing butt joints using common lumber. It was a bit of work, but I trimmed off about 1/4" of material from the side of each board to make their corners square instead of the normal slightly rounded profile. With enough planing and sanding, I was able to get a reasonably tight seam with just normal garage tools.

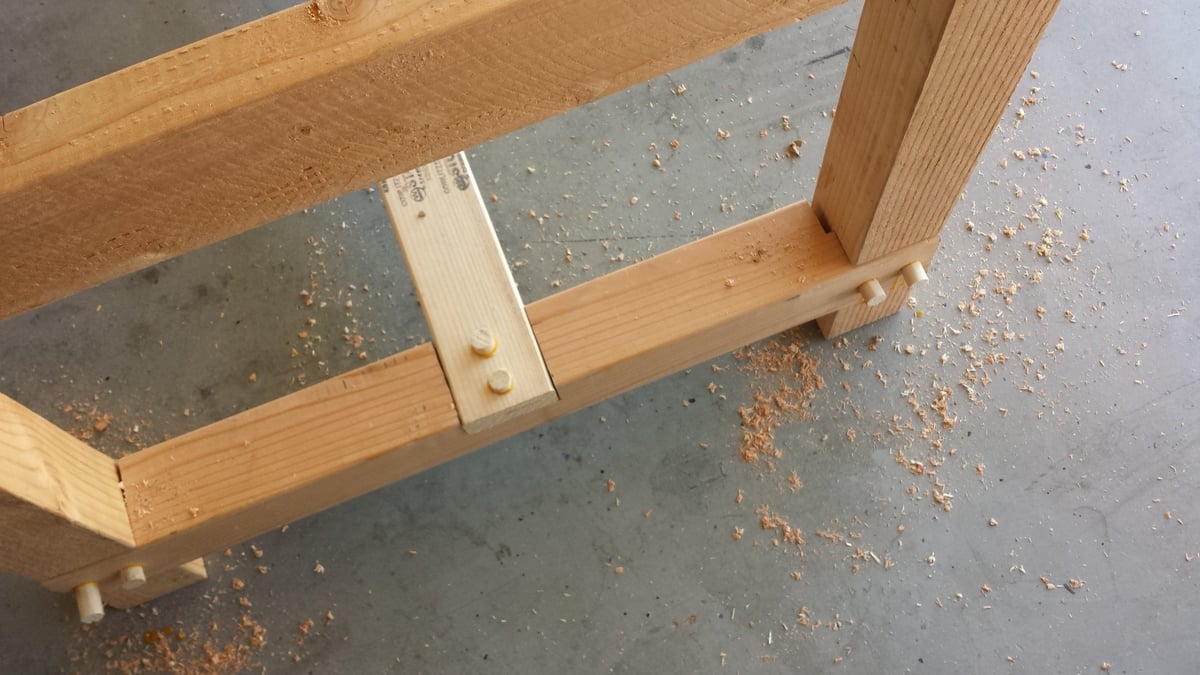
The third design element I added was pre-drilling each of the exposed screws with a 3/4" bit about 1" deep and filling those holes with a wooden dowel. This dresses up any screws used and in my mine makes the table look a bit more traditional. Im sure some people would say just use the dowel to secure the joints, but I just wasnt that brave for an inexperienced builder.

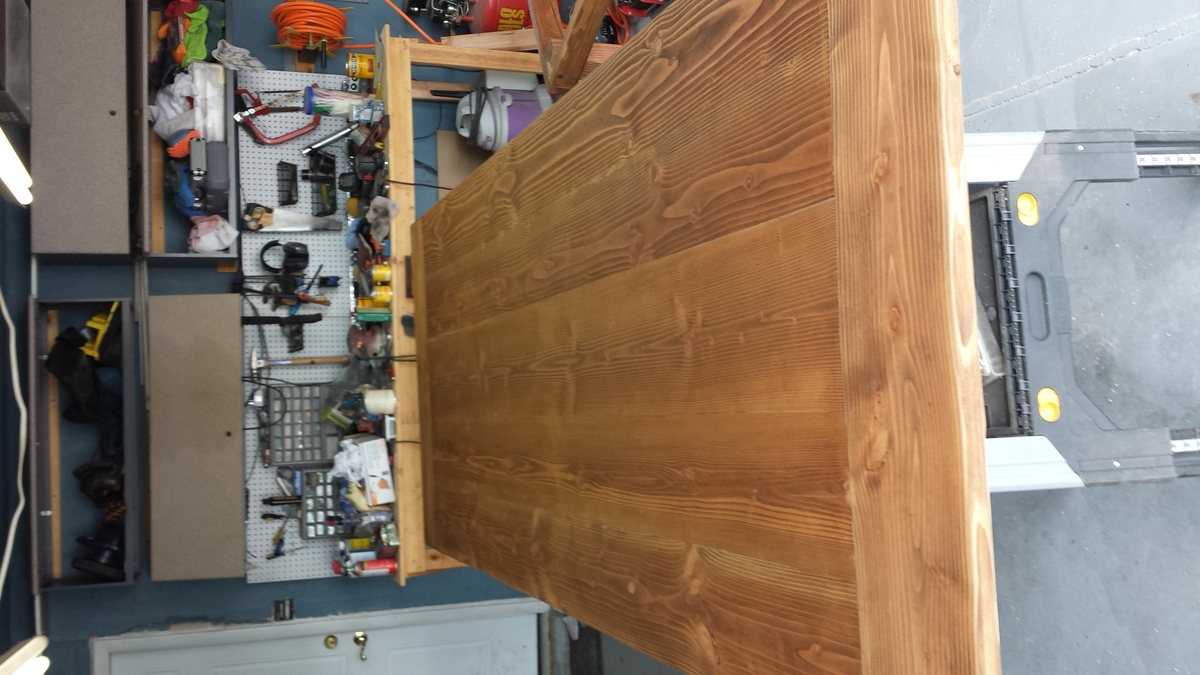
The finish was intentionally left uneven. THere are raises and small grooves in the surface that I sanded down with 80 grit, but then only lightly went over with 150 and 220. The effect I was looking for was a surface that looked hand sawn / worked but that was still smooth to the touch and not 'dangerous' to use daily. There are some visible sanding and planing marks, but they are all soft and smooth, and help add depth and character in my opinion.

More pics available on my public facebook album: https://www.facebook.com/media/set/?set=a.10152583224649571.1073741829…

Supplies cost about $300 for lumber and finish materials. 

The face is made from 4 2x10's and 1 2x12 in the middle. 

The legs are 4x4, all other pieces are 2x4.

Tools needed to finish the table this way:

Circular saw

Table saw (to trim edges if you want tight seams)

Kreg Jig (essential for pocket holes!)

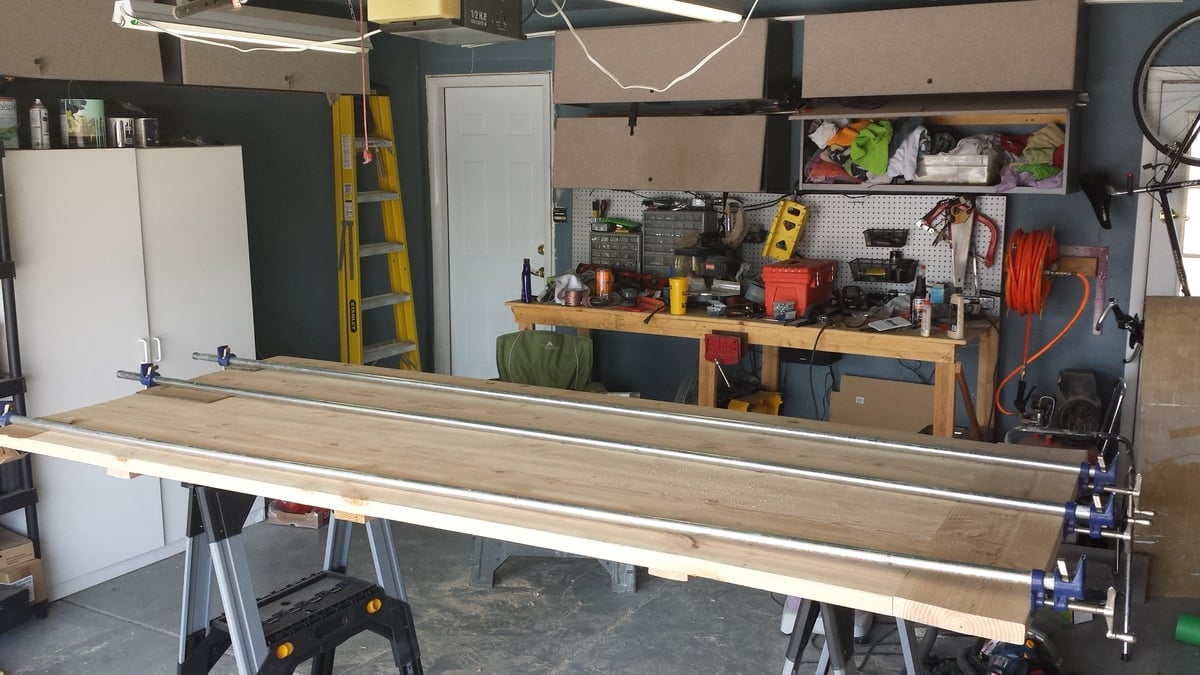
Very big clamps!   I did not have these and spent $90 or so on the 3

Hand saw

Chisel

Drill

Sander (or a LOT of patience!)

Planer (I used a cheap power planer to help level out the cheap big box lumber and to even out the joints)

STRONG sawhorses.  I broke a set of 600# rated horses re-positioning the face.   A 10ft table face is very heavy!  get help!

Finishing the table this way took a long time.  Im going to guess 60 - 80 hours went into it.  A ton of time is used getting the joining work right.  The rest of it goes together pretty quickly.

Estimated Time Investment
Week Long Project (20 Hours or More)
Finish Used
The finish was conditioned with minwax pre-conditioner, then stained using a cloth rag with a single coat of minwax 'traditional american' before being rubbed down with 6 coats of low-gloss tung oil finish. This type of finish I preferred over poly as it looks more natural and has less artificial reflection. The finish does contain some protection, but will need to have a new coat applied every year or so.
Recommended Skill Level
Beginner

Comments

Dania

Wed, 07/23/2014 - 12:30

Love it! and is just your firts project!!! Wooooowww Im just getting the tools to start my own projects and by seeing this I feel so encouraged. Thanks for sharing :)

Dining table

Submitted by Anonymous (not verified) on Tue, 11/01/2016 - 18:51

First big project. First time with the Kreg jig.  Some hidden defects but looks great in pictures!

Estimated Time Investment
Week Long Project (20 Hours or More)
Finish Used
Dark walnut, tung oil, satin poly
Recommended Skill Level
Advanced

Barn Door Pantry

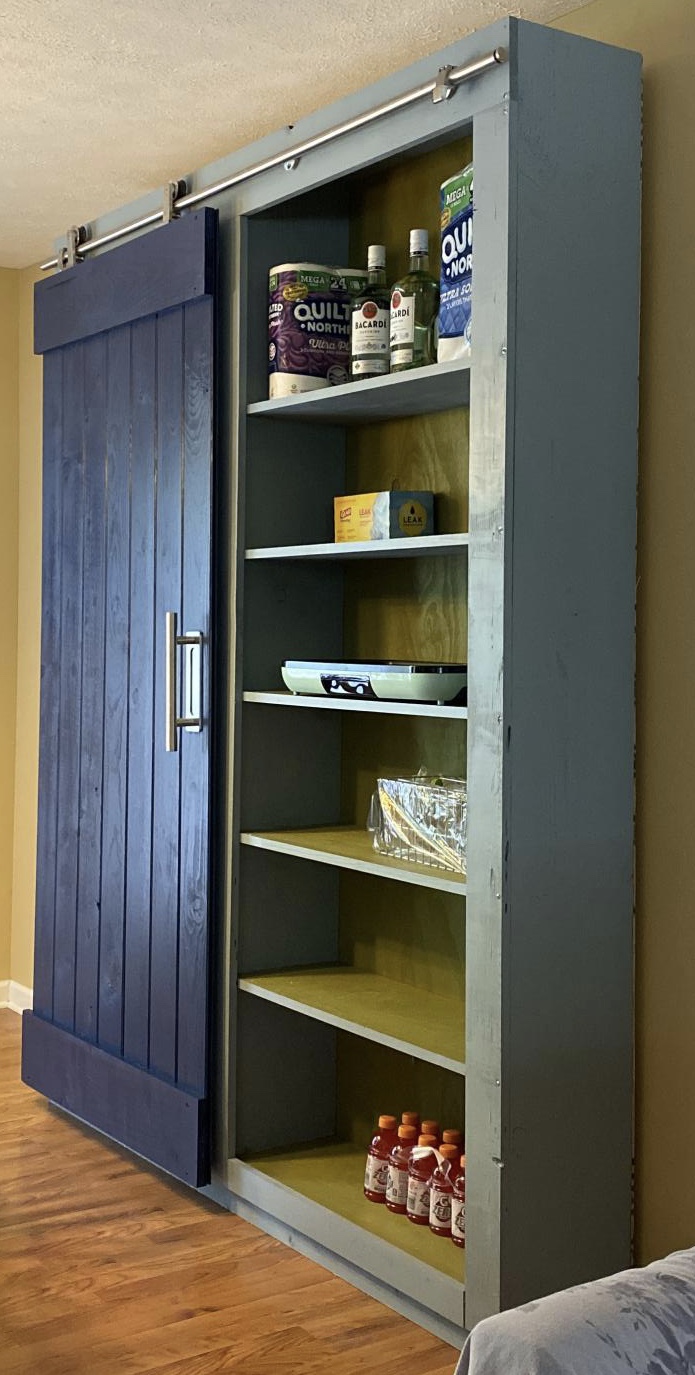
We didn’t have much storage space in our little galley kitchen. Imagine how excited I was to find this plan on my favorite site.
This was my first build using my new circular saw. For previous projects, I’d take both the shopping list and cut list to Lowe’s and have them cut the wood. This time, I made all my cuts. I was nervous but love how it turned out.
I anchored it to the wall because with the barn door and the hardware weight, it felt a little front heavy.
We used the same color as our kitchen cabinets (AH13 Salty Dog) and then selected coordinated colors for the body (AH18 Debonair) and shelves (AH15 Rural Green).

Built from Plan(s)
Estimated Cost
500
Estimated Time Investment
Weekend Project (10-20 Hours)
Finish Used
Sherwin Williams paint:
Barn Door (AH13 Salty Dog)
Cabinet (AH18 Debonair)
Shelves & Back (AH15 Rural Green)
Recommended Skill Level
Intermediate

Comments

Farmhouse Nightstand

Submitted by Kimbers on Tue, 10/02/2012 - 13:42

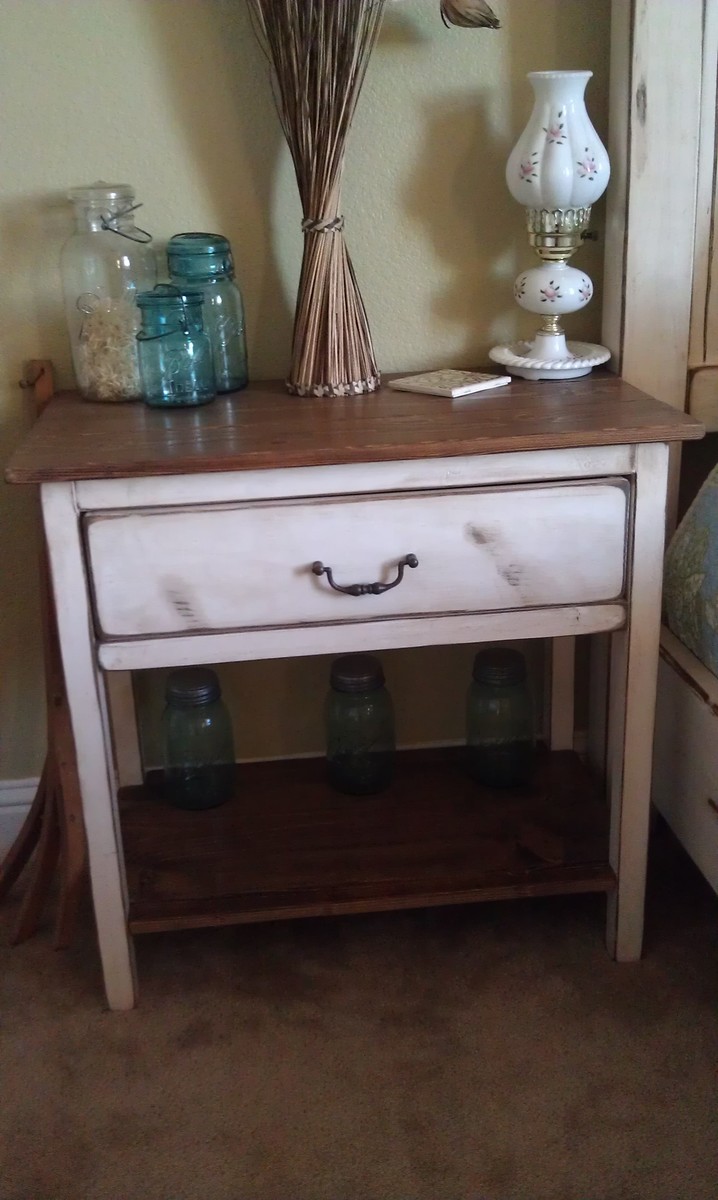
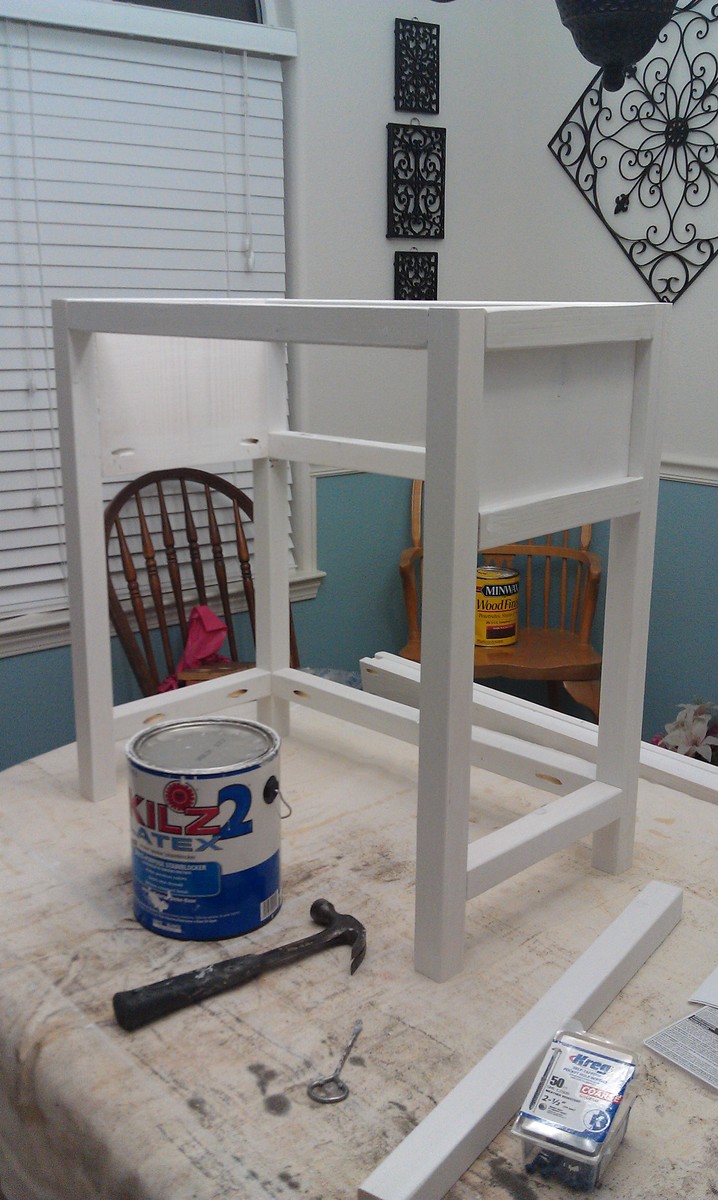
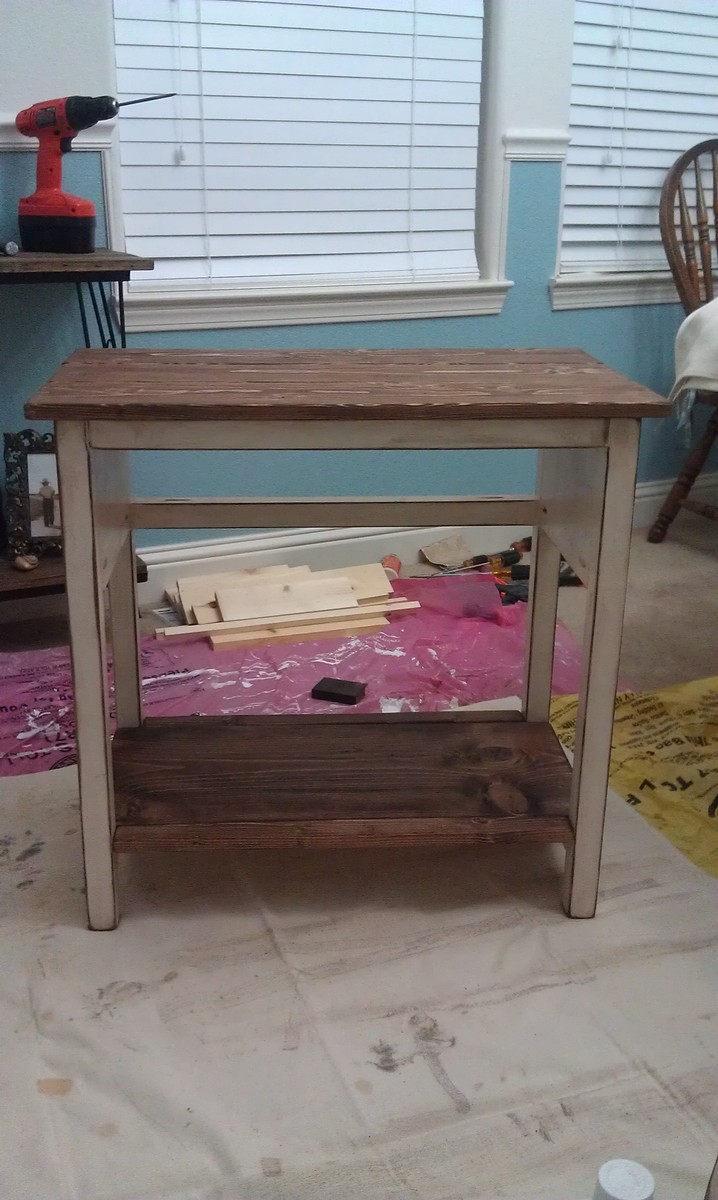
I wanted a nightstand to match my farmhouse bed. I used the cheapest pine boards I could find to build this and it turned out great!

When I first built it I just used a scrap of fabric tied in a knot for the handle but added a real drawer pull when I built the matching dresser.

(sorry the pictures are crappy cell phone shots)

Built from Plan(s)
Estimated Cost
$40
Estimated Time Investment
Afternoon Project (3-6 Hours)
Finish Used
I used Kilz 2 Primer then painted with Behr Silk Pillow. I sanded down all the edges then wiped on a coat of Minwax English Chestnut and sprayed with krylon matte clear sealer.
I totally stole the finish idea from boxermum here http://ana-white.com/2011/04/king-farmhouse-bed-1
Recommended Skill Level
Intermediate

Full sized and off the ground

Submitted by Kayusiwok on Fri, 07/25/2014 - 13:19

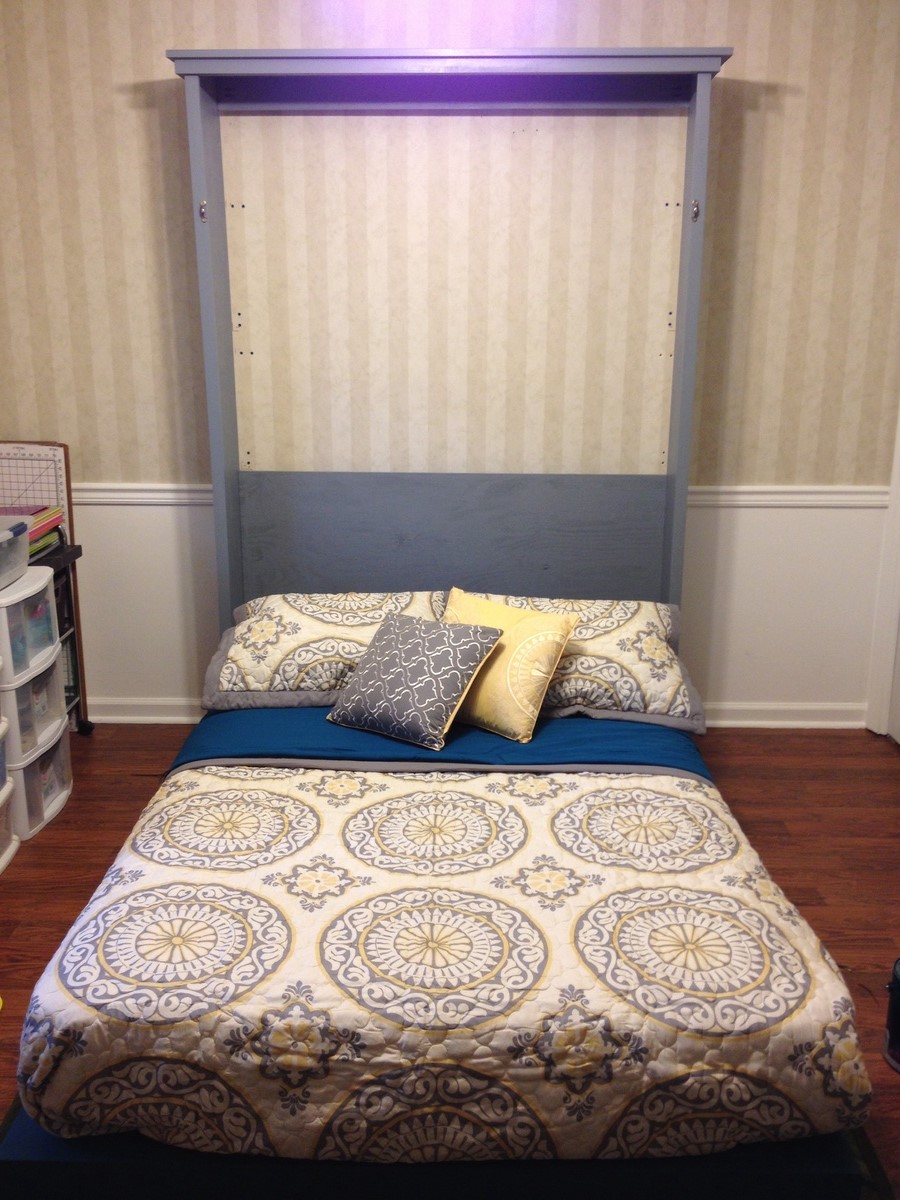
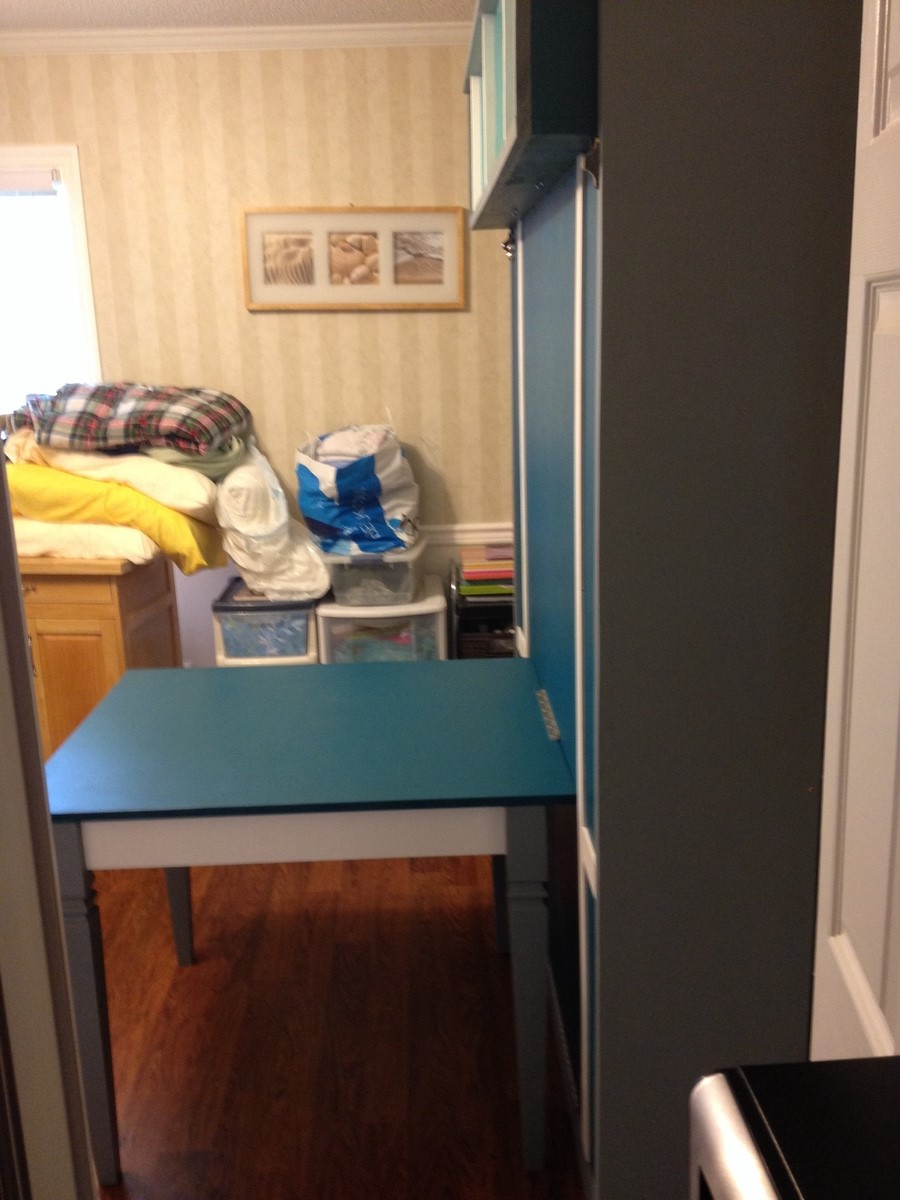
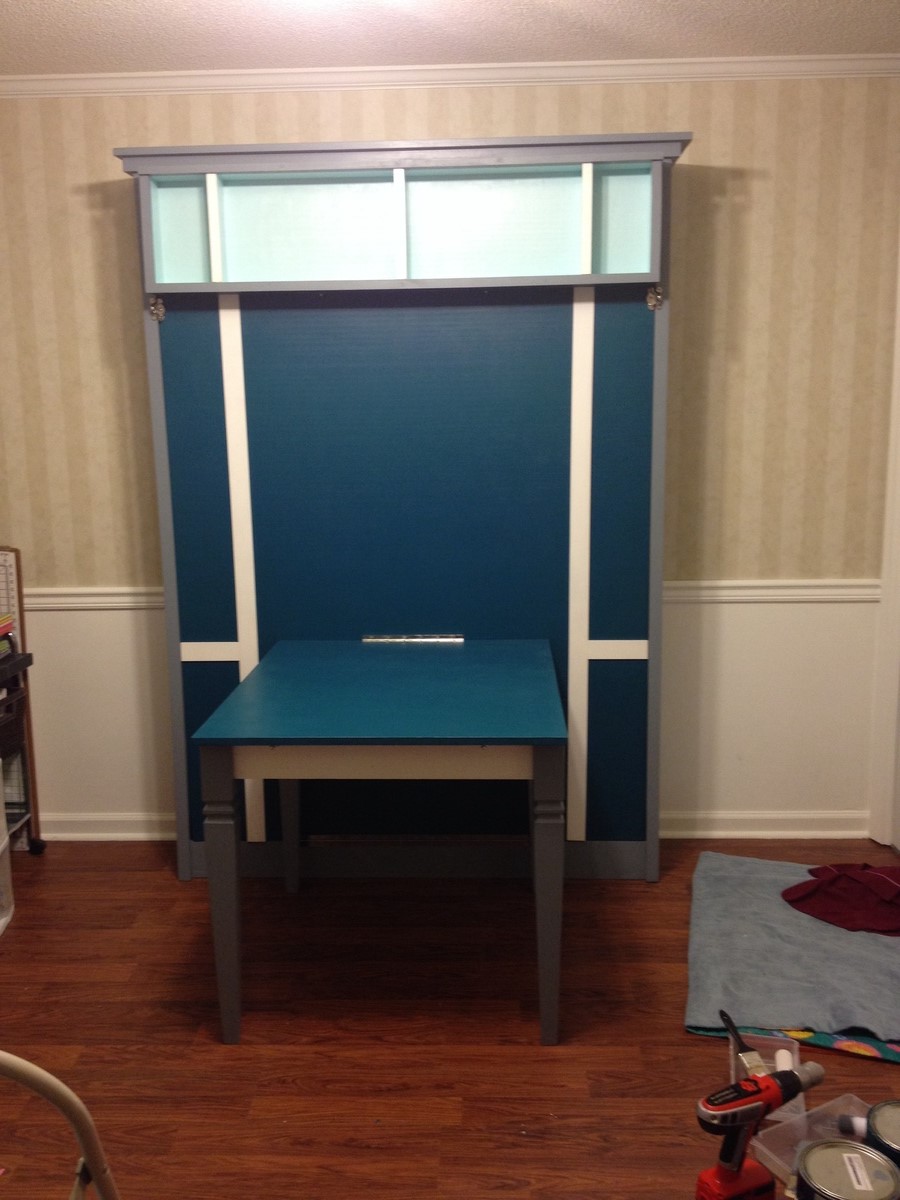
I followed most of the measurements with the Murphy bed with added dimensions for a full sized bed. I also added a shelf to provide support while the bed is down since I brought the platform off the floor. The table is also hinged to the bed platform so that it folds up and locks in place for a center support for the bed.

Estimated Cost
300
Estimated Time Investment
Week Long Project (20 Hours or More)
Finish Used
Cal spar gypsy teal, shark fin grey, and oyster all in satin finish.
Recommended Skill Level
Beginner

Comments

JoanneS

Fri, 07/25/2014 - 16:52

What an awesome project! Love how the added shelf at the top creates the "legs" at the end of the bed when it is lowered (looks like it keeps the bed about 4" off the floor?). Are those window sash locks for closure? Those will keep it in place nice and tight when it's closed. The fold down desk is brilliant also, and love the legs and the colors!

Farmhouse X Console Table

Submitted by Anonymous (not verified) on Sun, 11/06/2016 - 15:59

Console table!

Estimated Cost
$100
Estimated Time Investment
Weekend Project (10-20 Hours)
Finish Used
white latex interior paint; tea & vinegar/steel wool + custom mixed stain.
Recommended Skill Level
Starter Project

Simple Playhouse

Submitted by Anonymous (not verified) on Mon, 07/27/2020 - 12:06

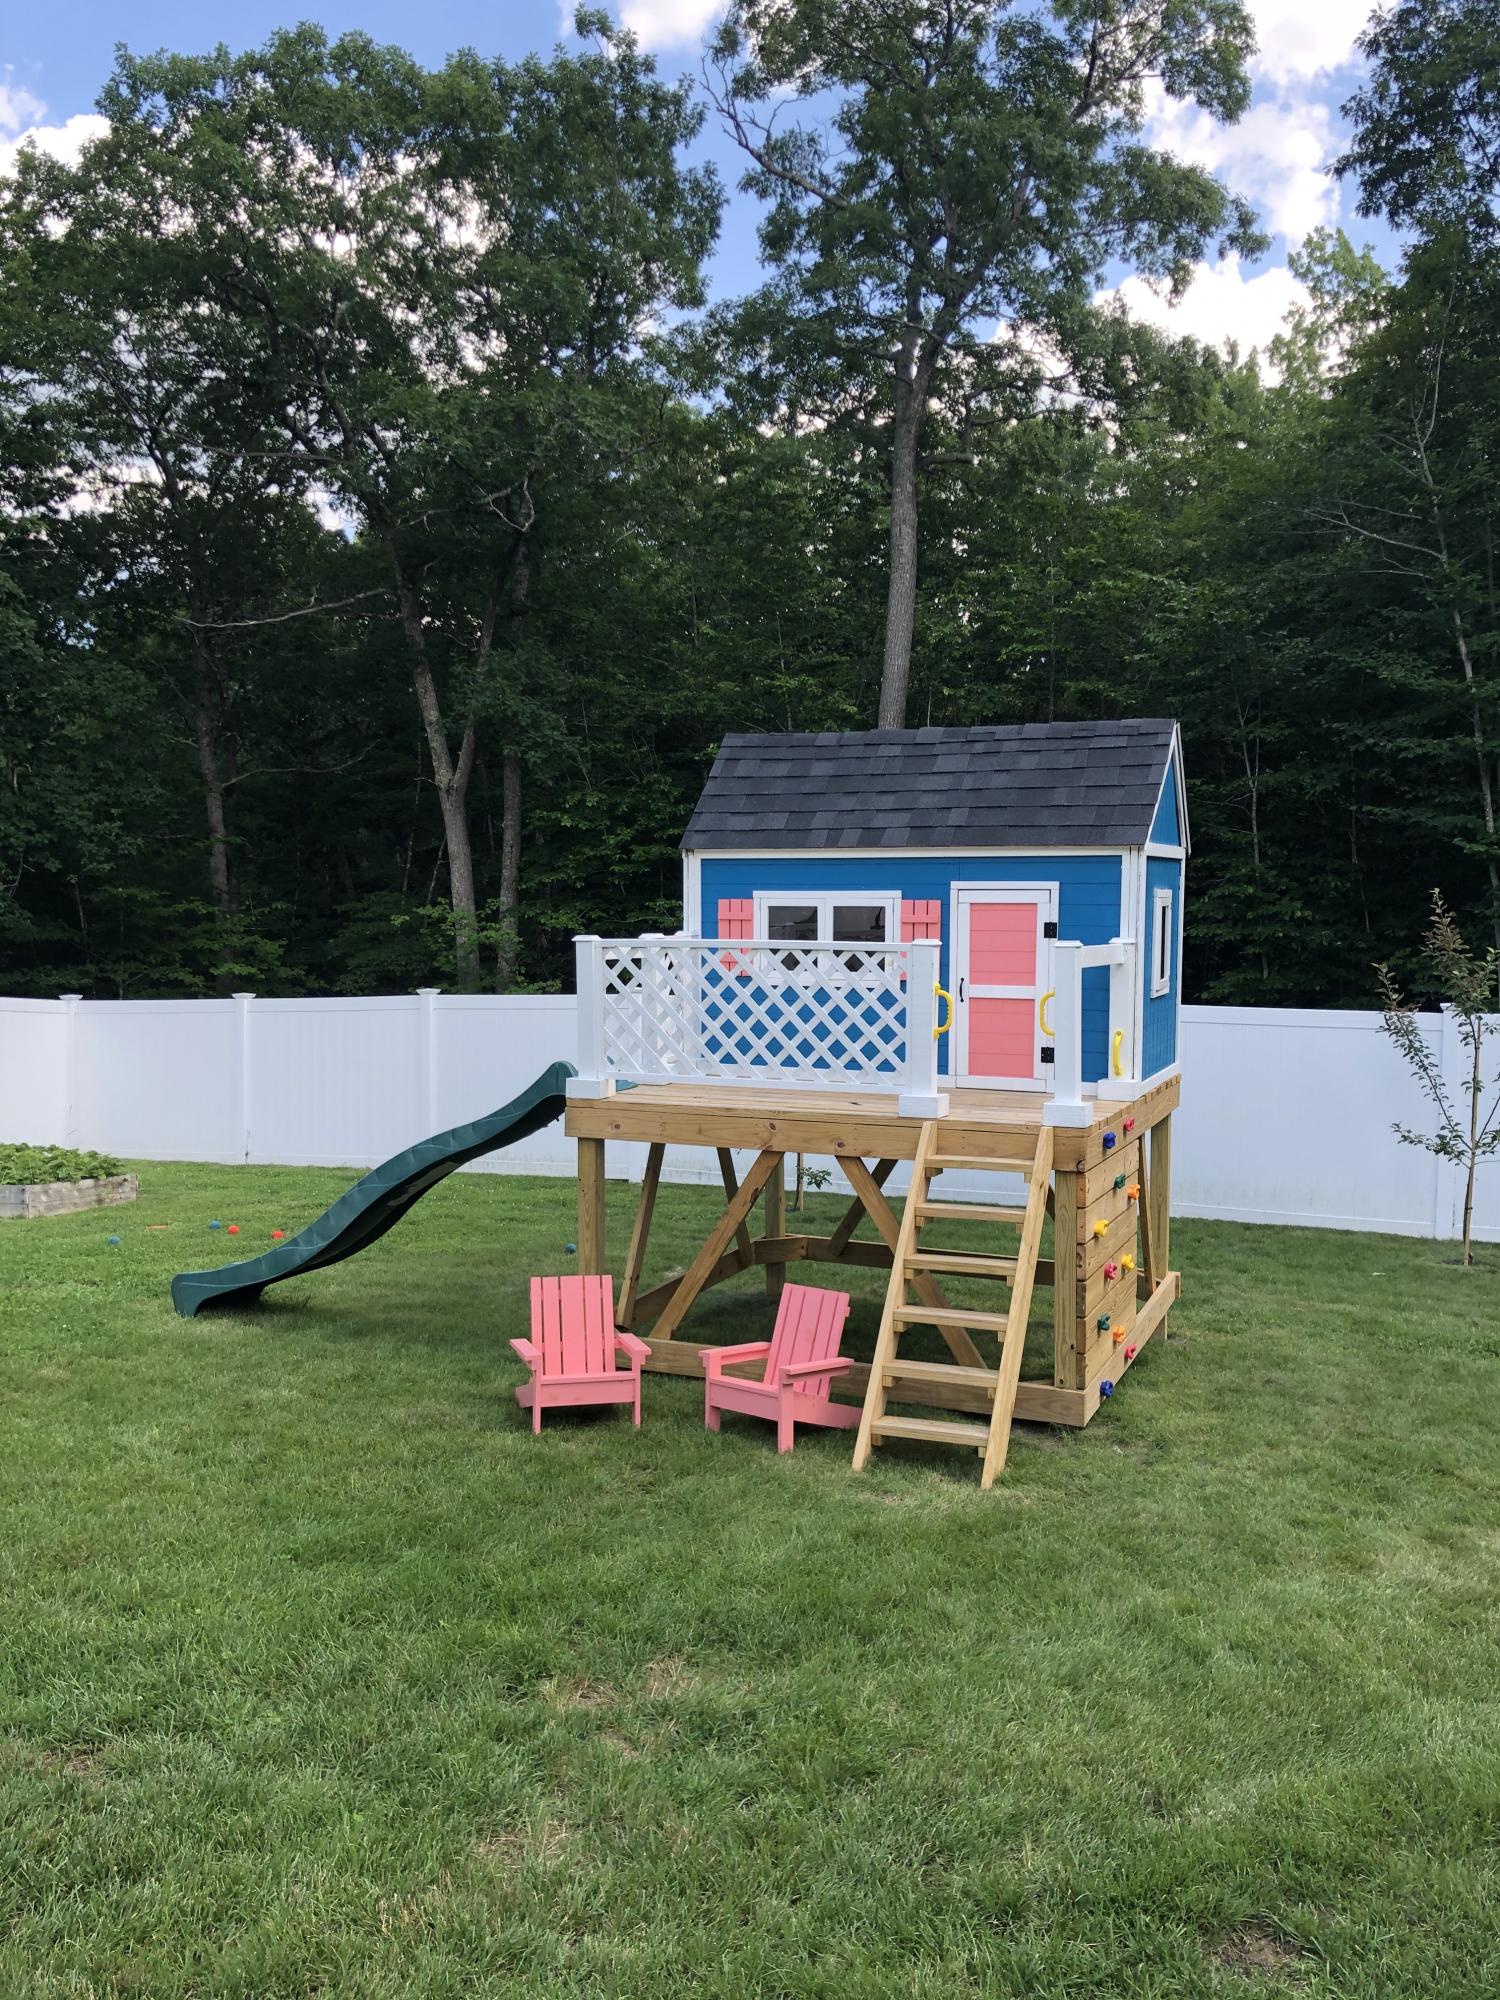
My first big project and my kids couldn't be happier. I'm pretty proud too, just don't take a square or level anywhere near it :)

Comments

Seasonal And Holiday

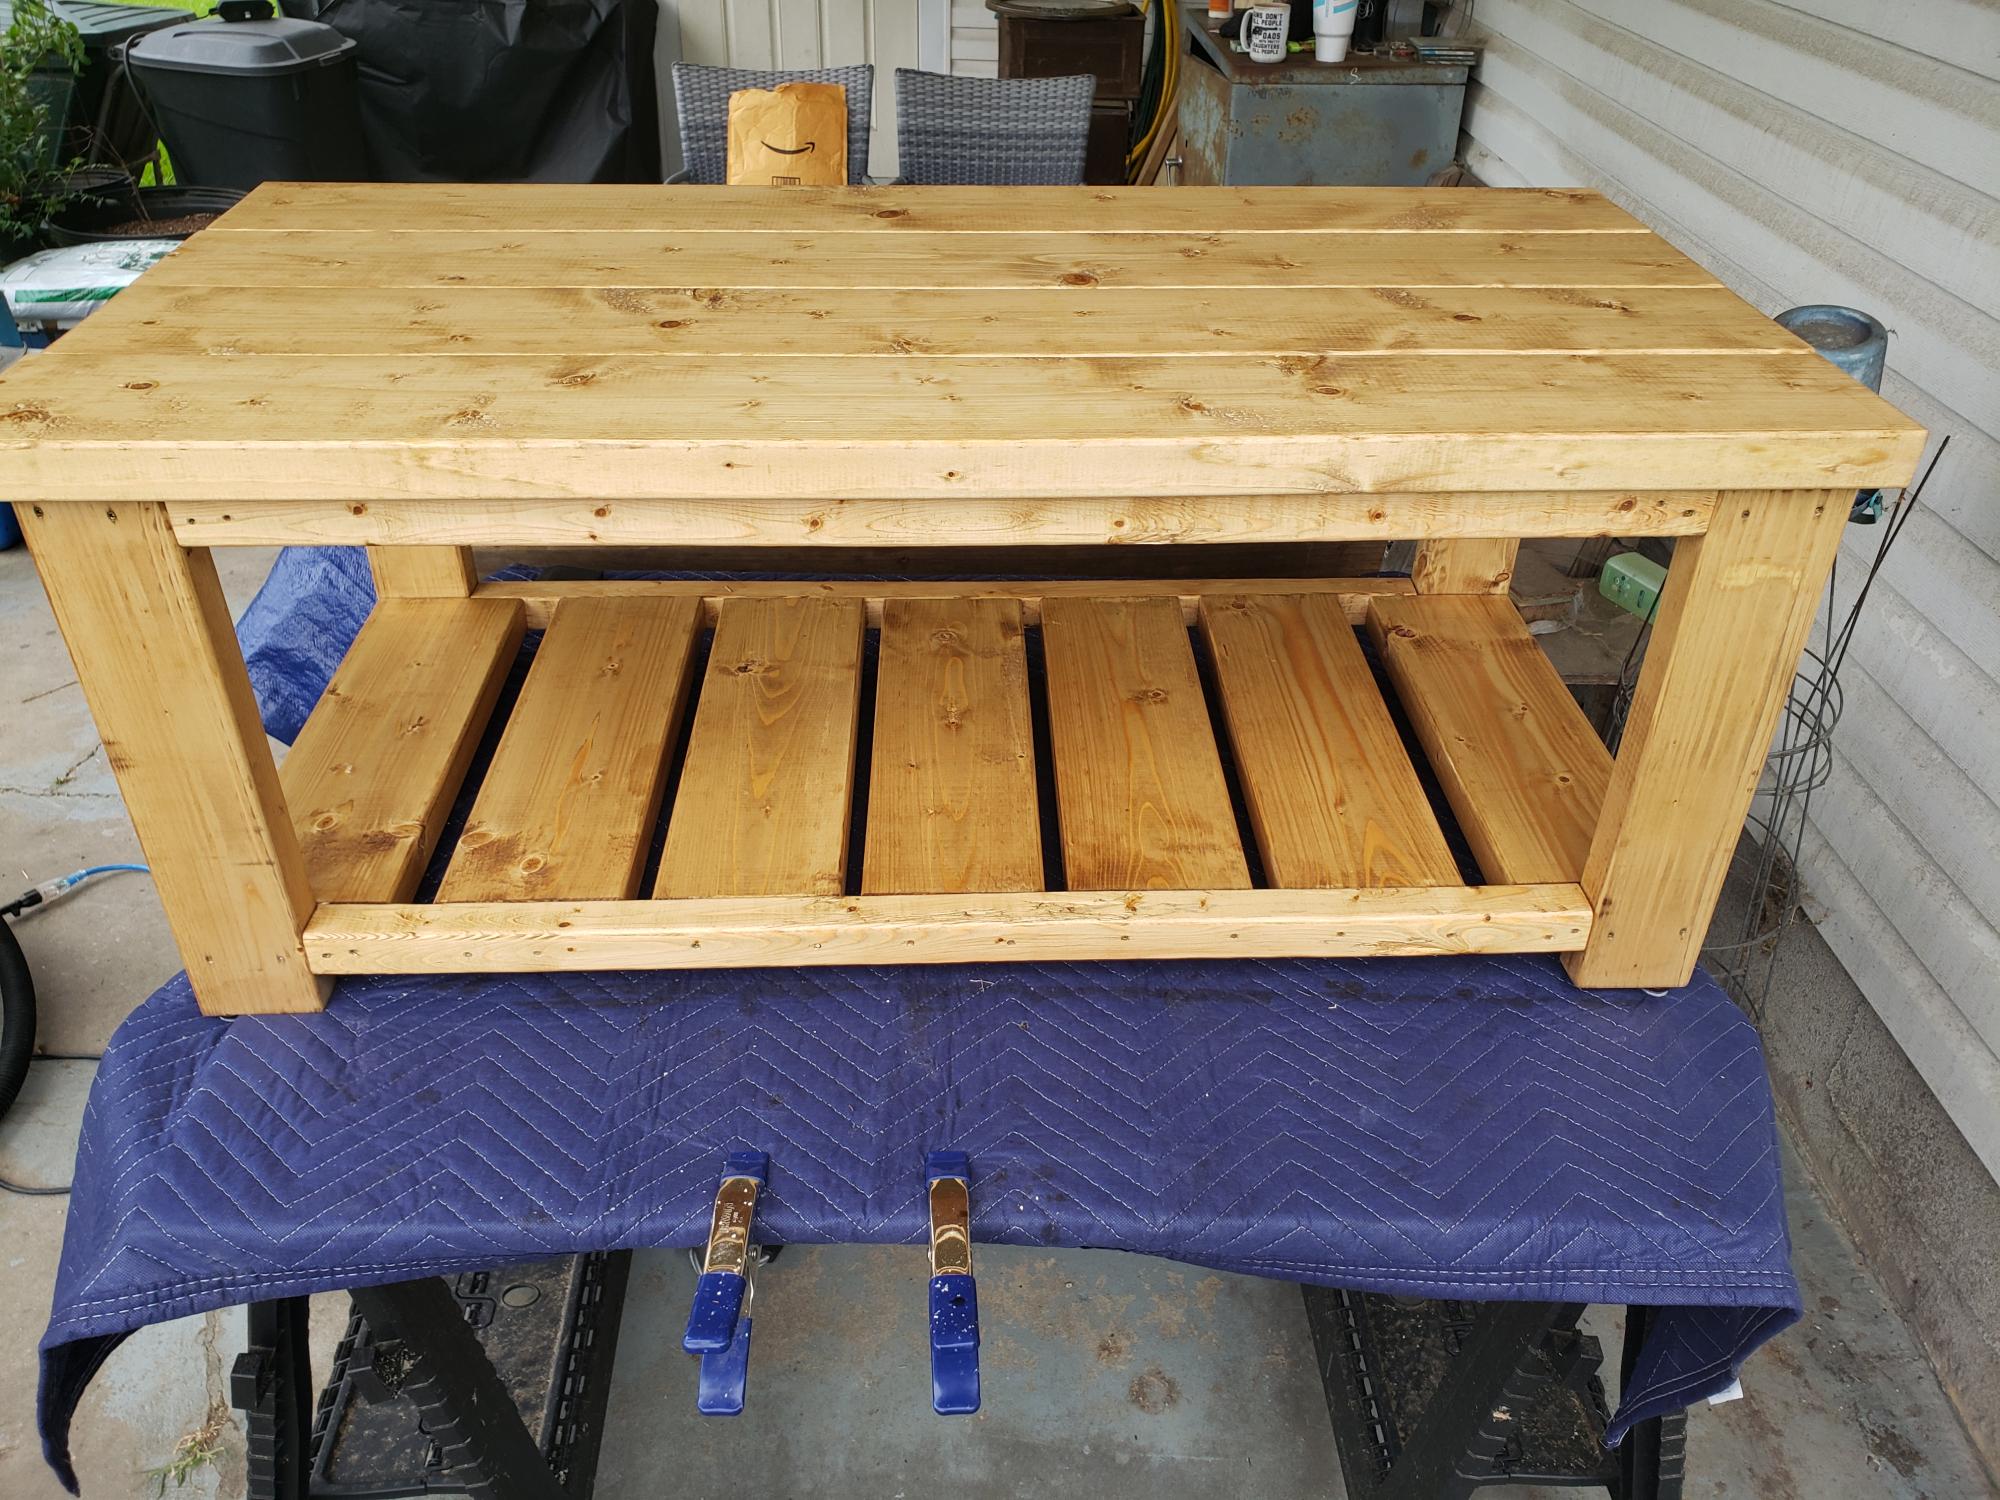
Providence table

I really like how this table turned out. This table is a beast its very heavy but very sturdy also. I used a 4x4 on the bottom so i could cut a hole out for the umbrella which worked great all I used was a spade bit for the hole.

Built from Plan(s)
Estimated Cost
$75
Estimated Time Investment
Afternoon Project (3-6 Hours)
Finish Used
Im thinking about leaving it unfinished because it is pressure treated and that way i wont have to keep staining it every year or two
Recommended Skill Level
Intermediate

The Little Helper Tower

Submitted by kmh4482 on Tue, 07/29/2014 - 00:54

I made this for my friend's daughter. I can't believe how easy this was to make. It is sturdy and really light weight. I put it together in one afternoon and painted it the next day.

Built from Plan(s)
Estimated Cost
$60
Estimated Time Investment
Afternoon Project (3-6 Hours)
Finish Used
Glidden Very Berry Semi-Gloss paint and primer in one. Three coats.
Recommended Skill Level
Beginner

My New Farmhouse Bed!

Submitted by JanaDee on Wed, 11/09/2016 - 09:58

This was my first project and I am hooked. This was an easy build. I only ran into challenges attaching the headboard and footboard to the frame because I really wanted to be able to disassemble it and reassemble just in case.. fortunately I located a website selling threaded metal inserts and I ended up just bolting it on with hex bolts. 

I was  just surprised by how fast I could build it and how long it took to finish it. Sand, wood filler, sand, caulk, prime, sand, paint, sand, paint. Get interrupted by my kids 100 times. 

Already plotting my next 3 builds..

Built from Plan(s)
Estimated Cost
$200 using leftover paint and primer
Estimated Time Investment
Weekend Project (10-20 Hours)
Finish Used
Sherwin Williams Trim Paint base white
Recommended Skill Level
Beginner

Farmhouse table

Submitted by Boles on Thu, 07/30/2020 - 10:52

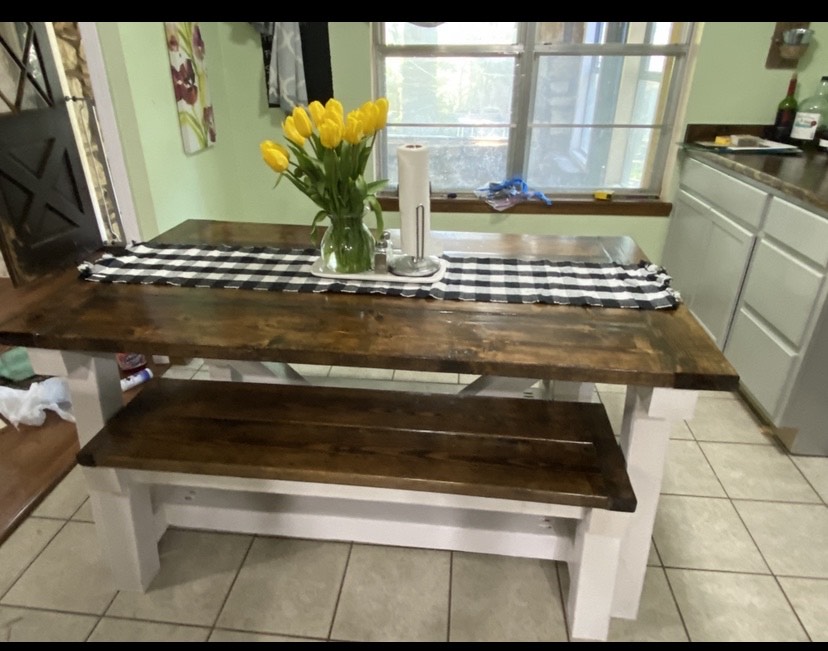
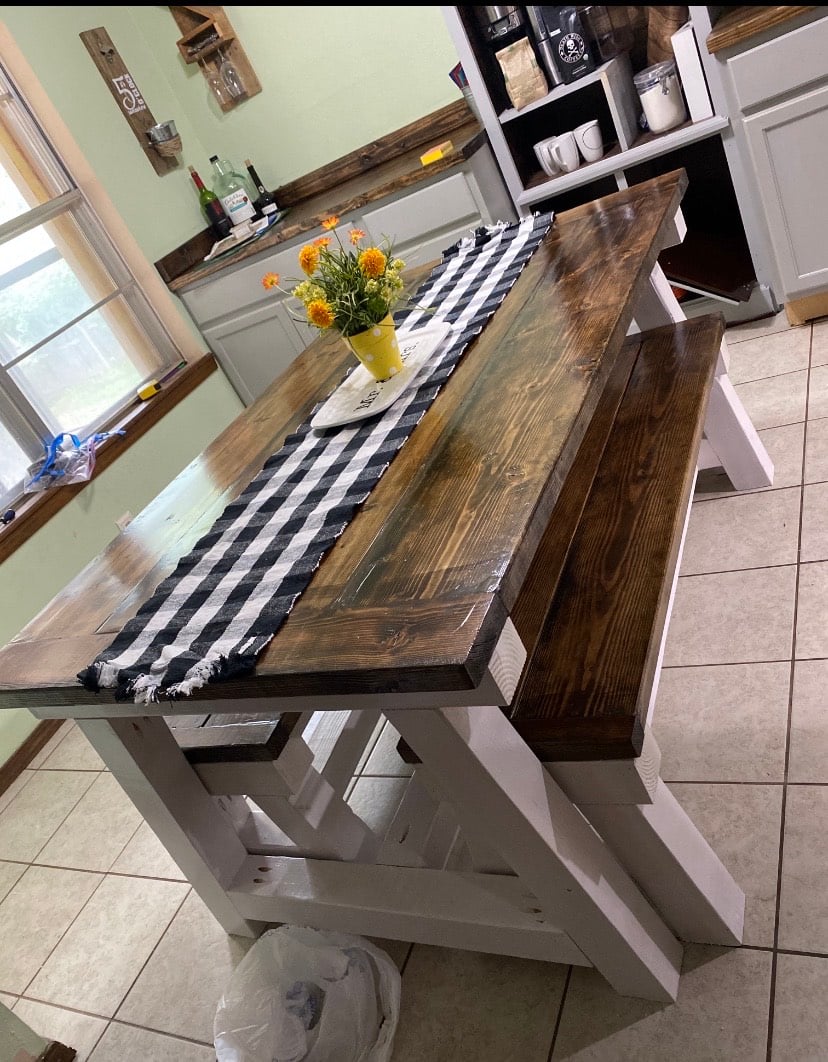
This was our first project off of here. Made this to go along with our complete kitchen remodel.

Estimated Time Investment
Weekend Project (10-20 Hours)
Finish Used
semi gloss white for the bottoms and dark walnut stain and clear coat for the top

Wood Outdoor Seating Set

Submitted by Anonymous (not verified) on Fri, 07/05/2024 - 10:49

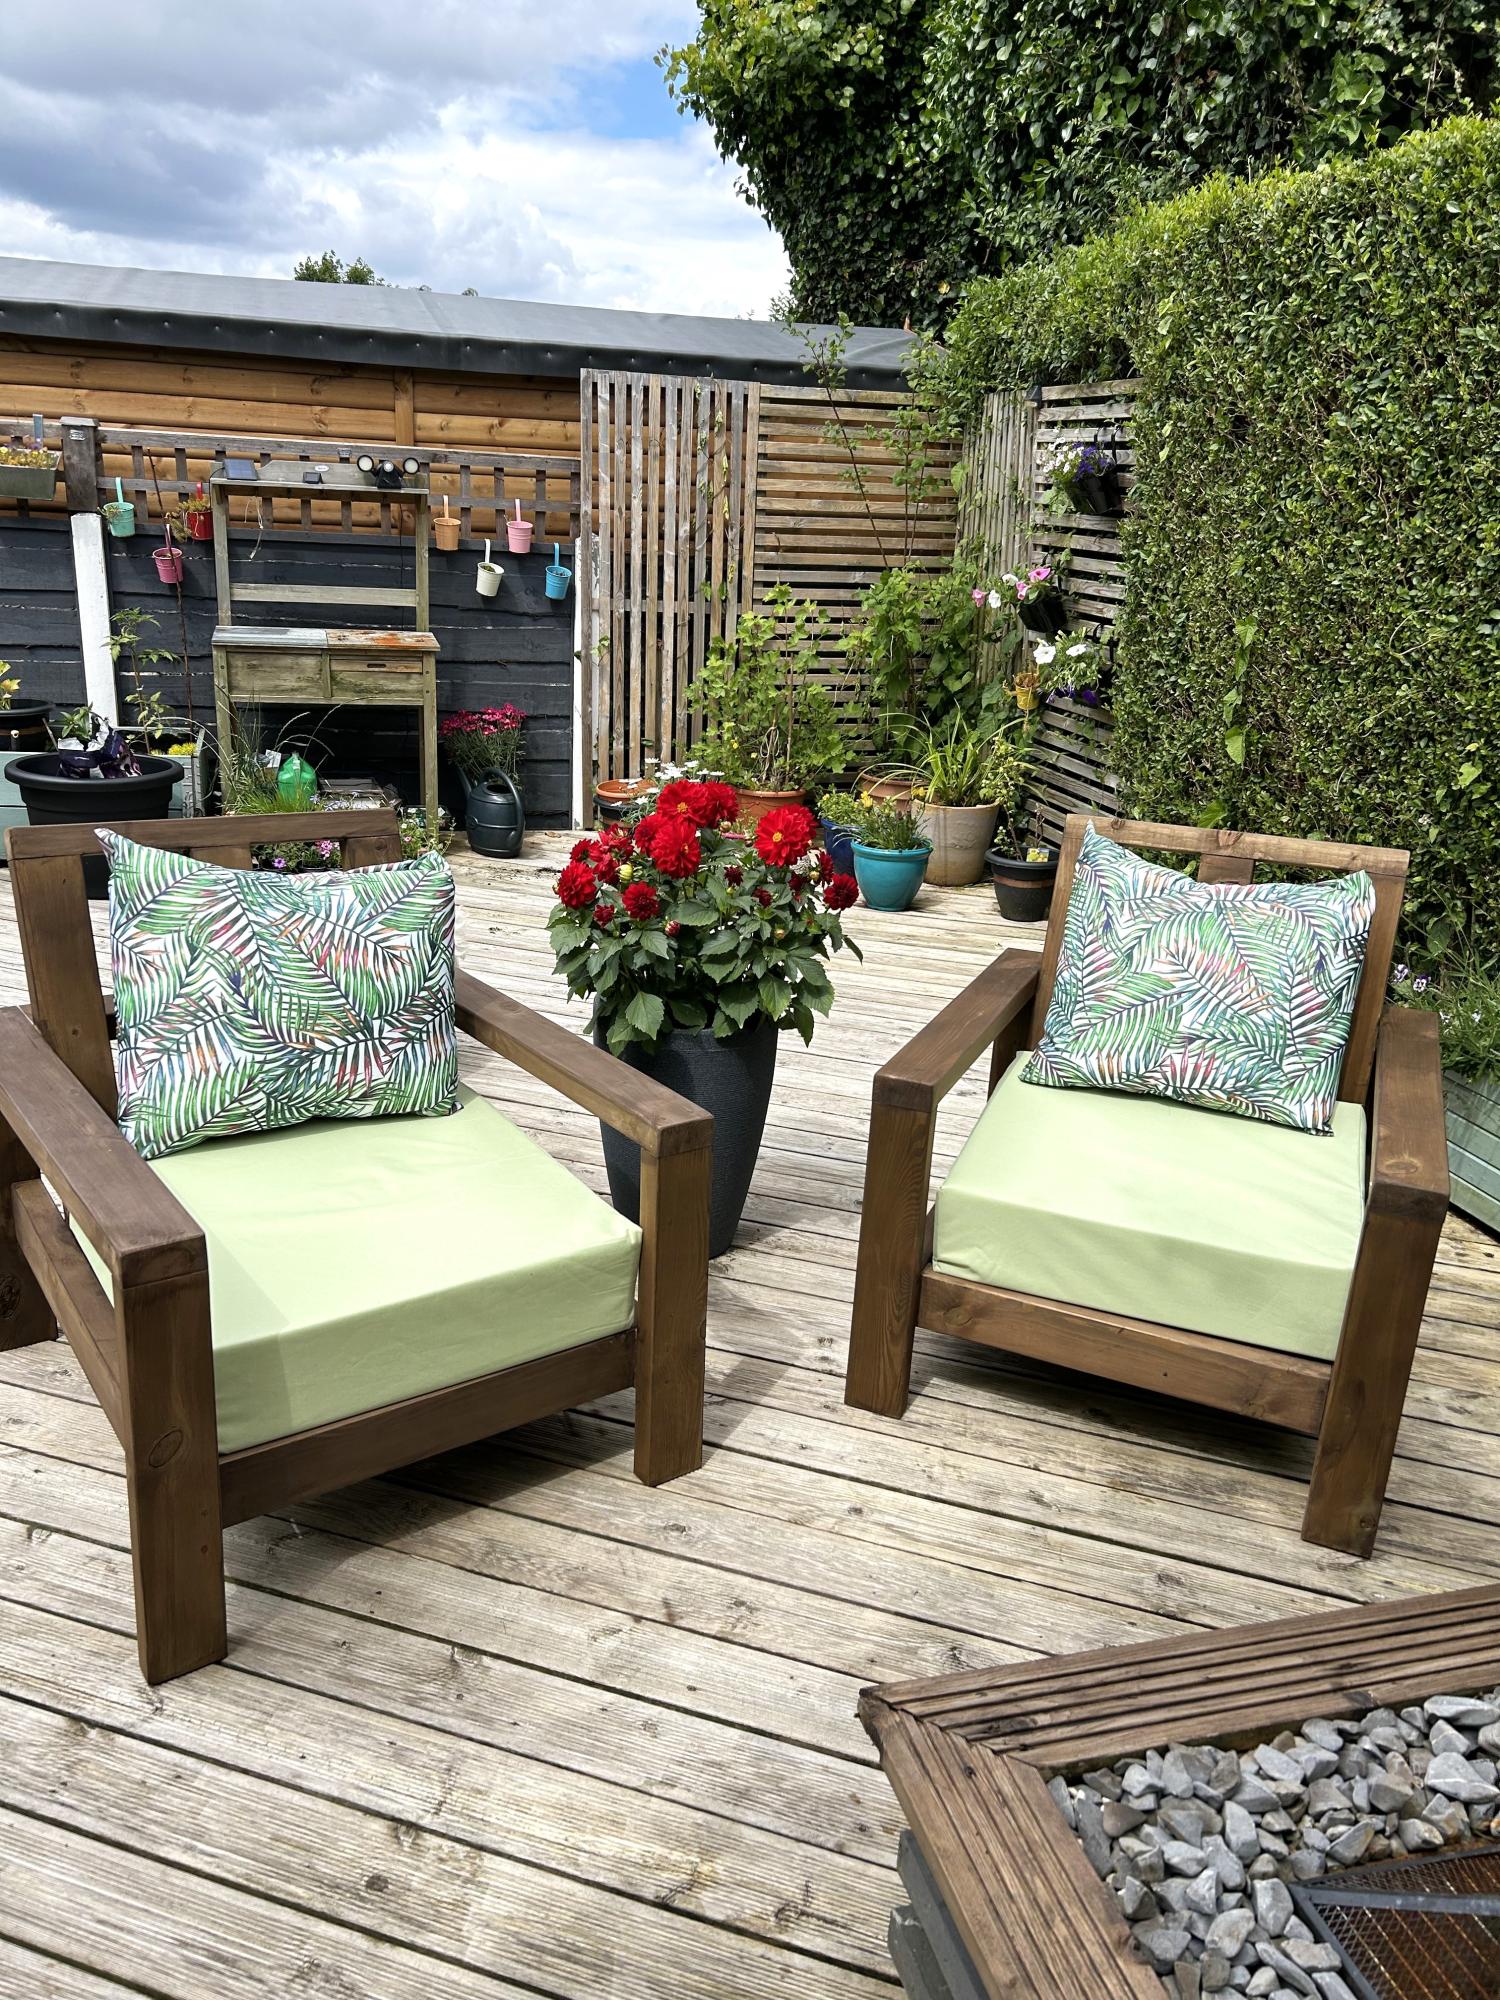
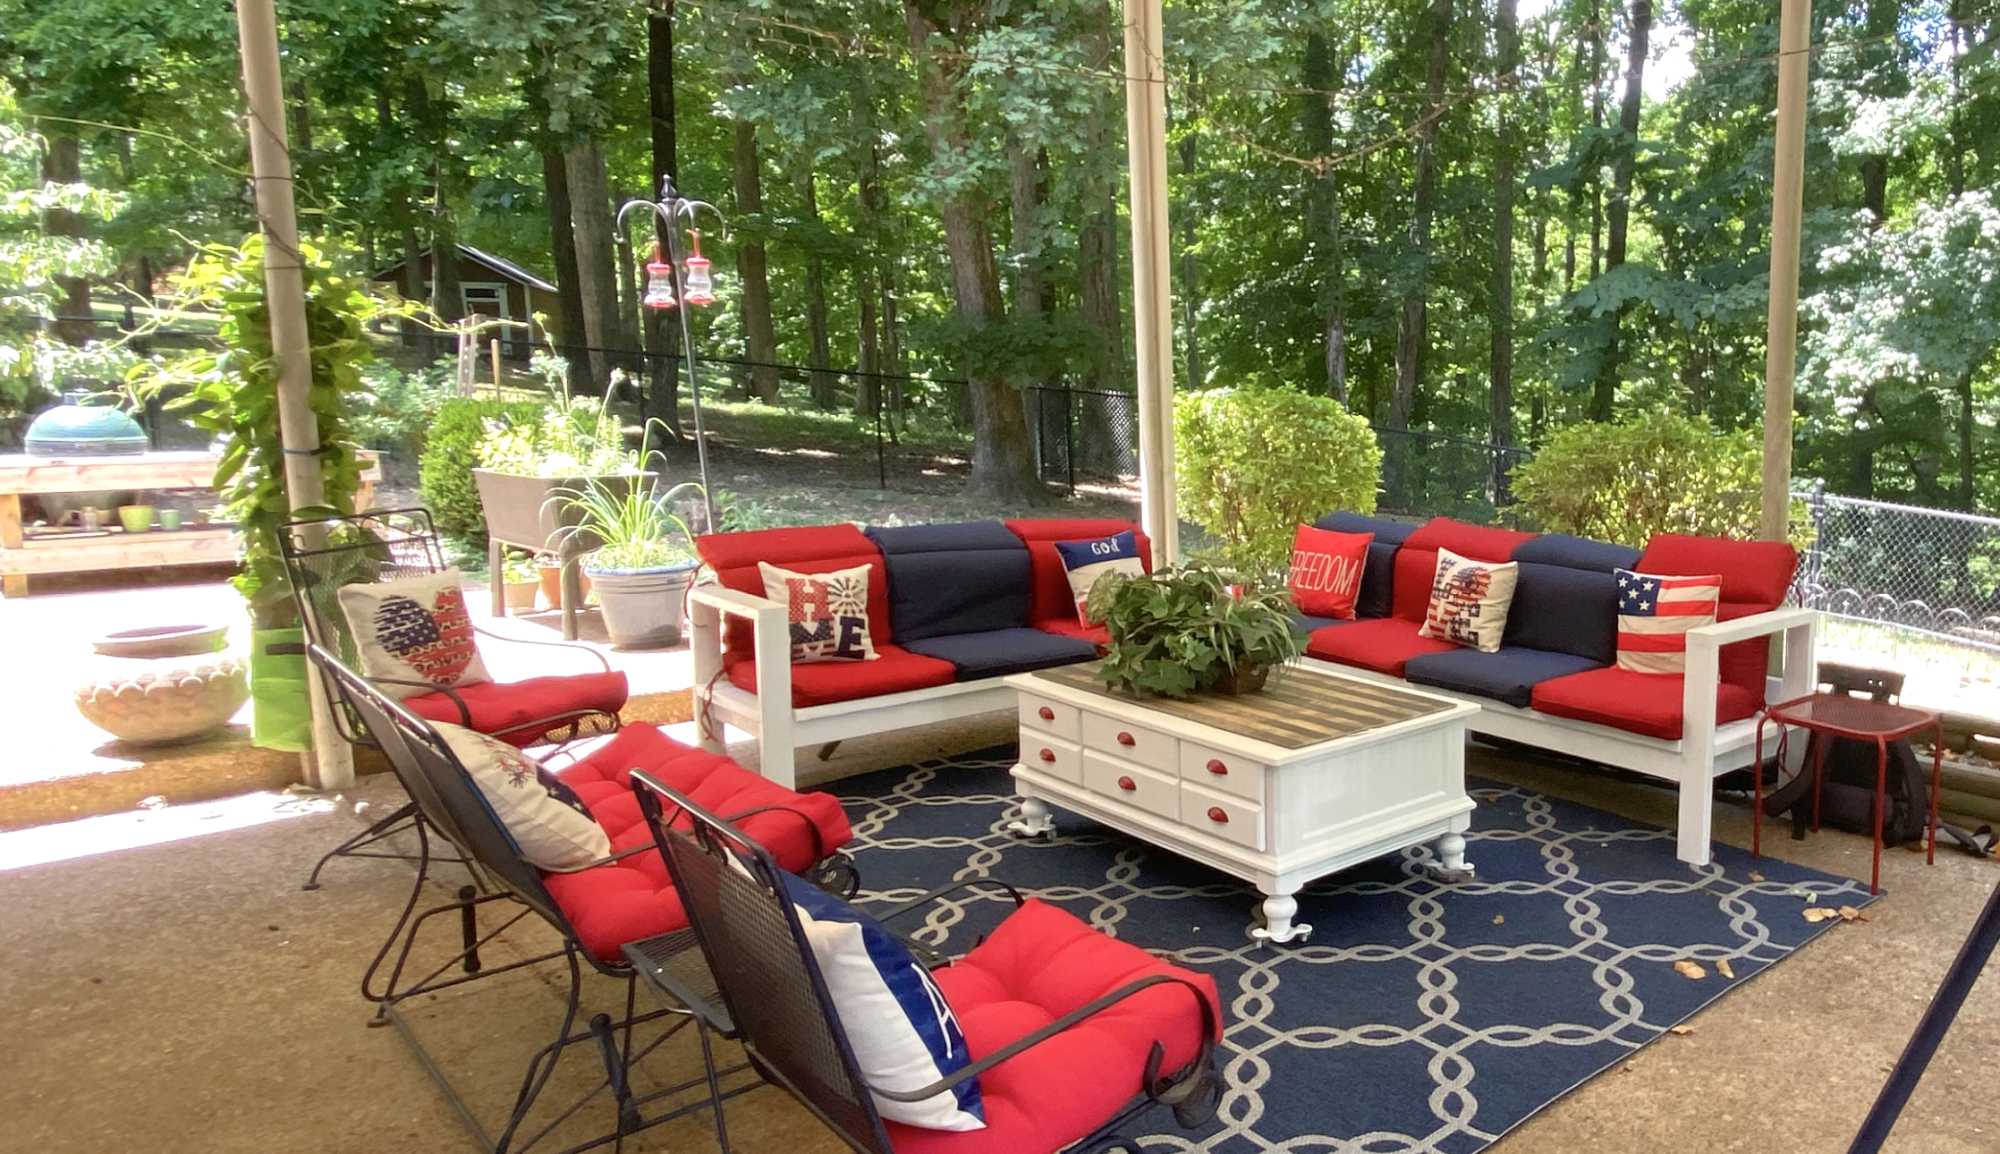
I wanted an outdoor lounge. My partner had to work so he helped me get started and I finished it alone. He surprised me a build a corner table to complete the look.
I love it !!

Donna H.

Built from Plan(s)

Bristol Outdoor Lounge Chair

Submitted by monkeyboy on Mon, 10/08/2012 - 15:36

I am a computer programmer by trade, a husband/father/cook/baker by avocation. I can read and write music. I am new to woodworking, and look forward to building with Ana's excellent plans.

Bristol Outdoor Lounge Chair

Friends,

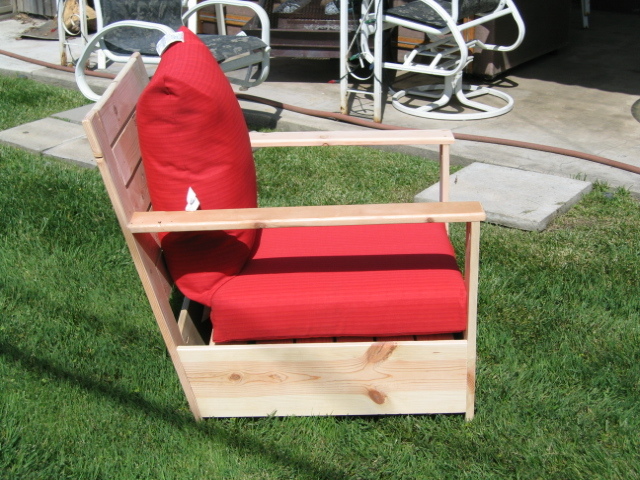
This is my first woodworking project in a long time. When I found the plans from OPD at Ana's site, I thought, I can do that! It turns out I was both right and wrong.

I bought the wood; I ordered a Kreg Jig from amazon; I searched for inexpensive pillows. My wife is a terrific seamstress, and we looked for fabric and foam. Yikes, is foam expensive!

Anyhow, I measured everything twice, made my cuts and figured out how to cut the 15º angled cuts. Then I drilled all of the pocket holes - what a chore.

My good friend has a complete wood shop. He has more power tools than Sears. Me, I've got a hollow-core door on two plastic sawhorses, a jig saw, chop saw, power drill and screw gun. I wanted to do this myself, so I did not use any specialty tools.

I built the chair without glue. Since this is a prototype, I wanted to be able to dismantle it. I built it to the specs provided, and discovered three things:

1. Attaching the back as a separate piece at a 15º angle is weak. "Weak as water," someone has said.
2. Butt joinery is an imprecise science when soft wodd is used.
3. The chair was too dang big!

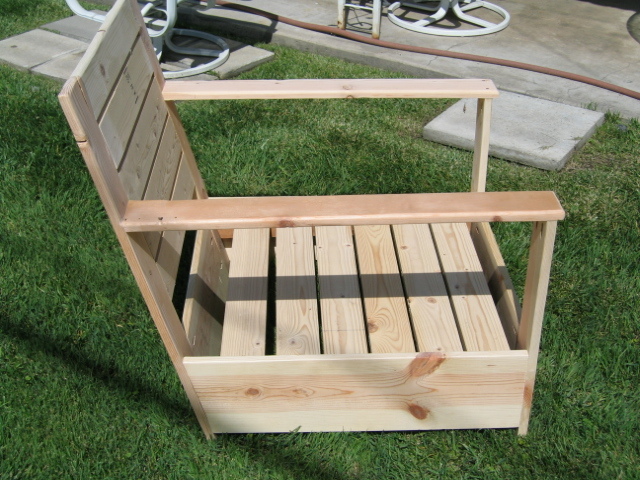
So I took it apart. I changed the width of the front and back panels to 20 1/2", and re-used the arm supports.

I cut one end of each side panel to 75º.

The two back supports are a single piece of 1" x 4", 32" in length. This, coupled with the angled cut on the side panels, eliminates the weak joint at the back.

I shortened the depth (from front to back) by about 3", but the box for the bottom cushion is still too big. Next time the box will be 25" square.

In using butt joinery, I found that the back supports and side rails and the front apron all went together well. Perhaps I set the depth gauge incorrectly on the Kreg drill bit, because the 90º joints are not as clean as the flat joints. Then again, the more I do this, the better at it I will get.

I know that some of the joint holes are too deep, and this let the screw penetrate through the joint. Careful measurement before drilling all of the holes is crucial, and demands one's attention. I found myself checking the stop ring on the drill bit several times as I progressed, to make sure it was still set properly.

Using the Kreg Jig is not hard; it takes a bit more effort than they lead you to believe. I found myself wishing for three hands when joing 90º joints.

When the chair was assembled, I rounded the edges with a 3/8" router bit, followed by a thorough sanding. We found very inexpensive 4" foam pillows at Wal-Mart, and you can see the result.

I think the chair looks good, it is really comfy, and there will be more projects before the leaves fall this autumn.
Built from Plan(s)
Estimated Time Investment
Day Project (6-9 Hours)
Finish Used
None - it's a prototype ;-)
Recommended Skill Level
Beginner

The Simple Rolling Bar Cart

Submitted by jputz2014 on Fri, 08/01/2014 - 05:29

This project has been modified to fit our microwave.
Estimated Time Investment
Afternoon Project (3-6 Hours)
Finish Used
Valspar Primer Spray Paint with a Valspar Red top coat.
Recommended Skill Level
Beginner

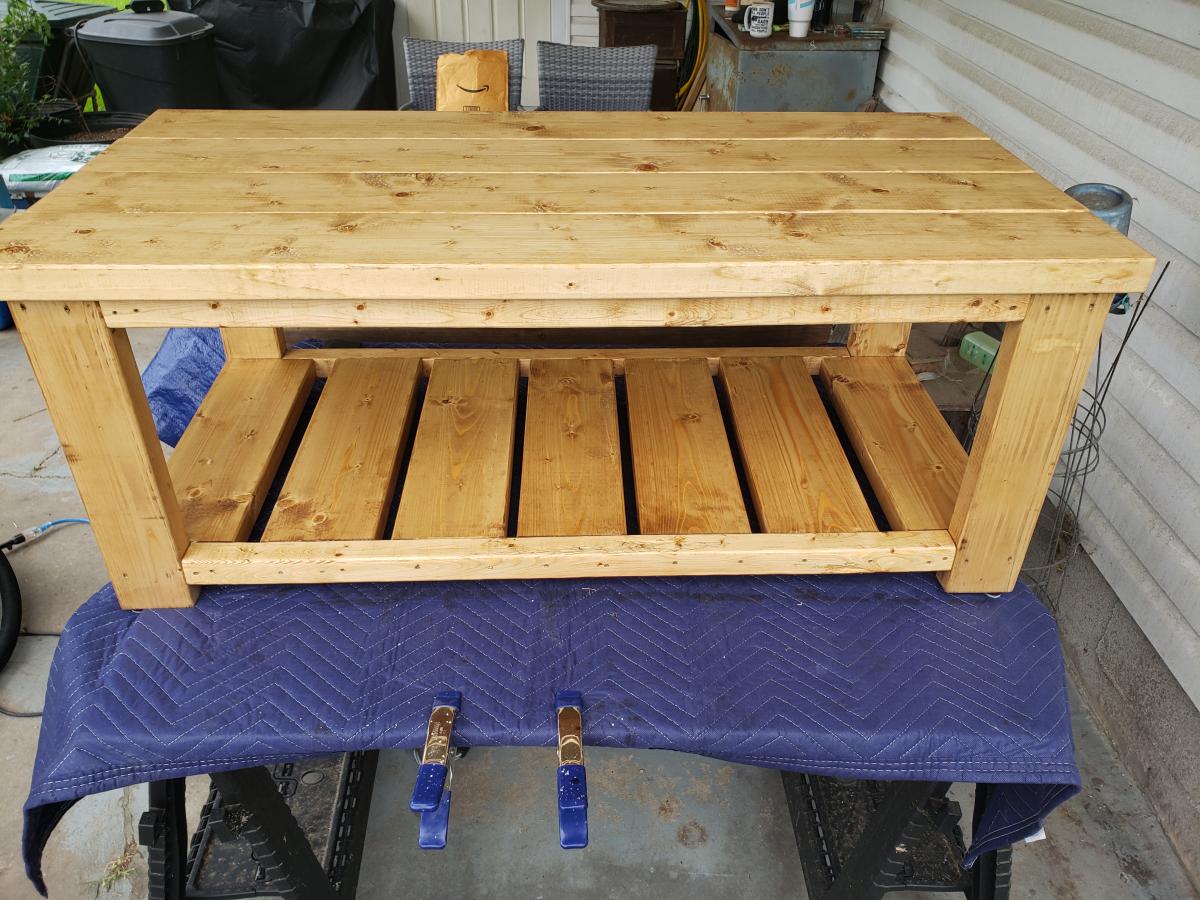
First woodworking project - Coffee table

Submitted by Anonymous (not verified) on Mon, 11/14/2016 - 00:49

This coffee table was my first woodworking project ever. I followed the plans exactly but left the X off each end. They seemed a little daunting for the first time around, plus I like it without them better. Great plans and great result!

Built from Plan(s)
Estimated Cost
$60
Estimated Time Investment
Day Project (6-9 Hours)
Recommended Skill Level
Starter Project

First build

First build to sell. Has a few faults of my own doing. But, sold it in 24hrs. 😁

Estimated Cost
$60
Estimated Time Investment
Afternoon Project (3-6 Hours)
Finish Used
Watco Danish Oil. Medium Walnut. Sanded with 120 grit.
Recommended Skill Level
Beginner

Fancy X Farmhouse Table

Submitted by Jbyrd09 on Thu, 10/11/2012 - 20:59

Fancy X table and bench

Built from Plan(s)
Estimated Time Investment
Weekend Project (10-20 Hours)
Finish Used
Minwax ebony
Deft semigloss clear coat lacquer
Recommended Skill Level
Beginner

Comments

Back