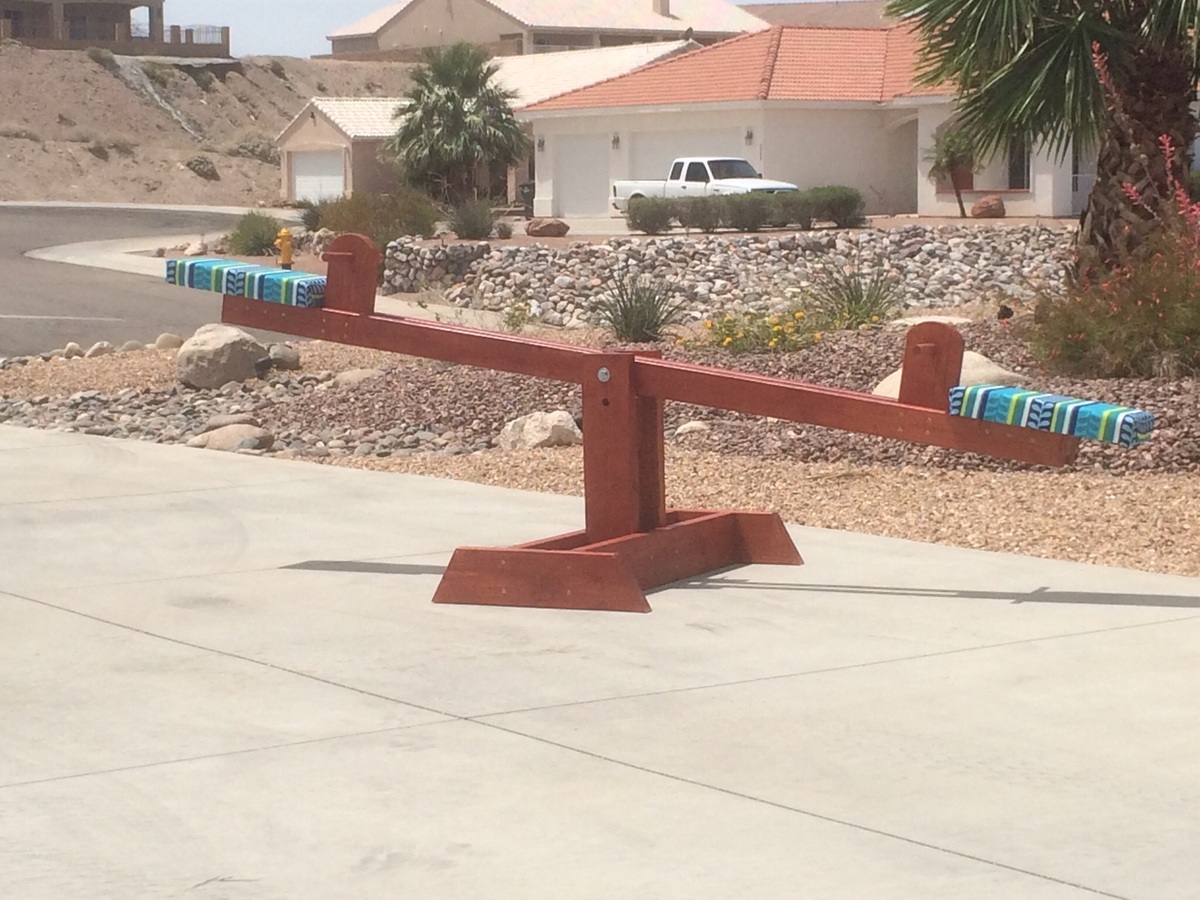
Community Brag Posts

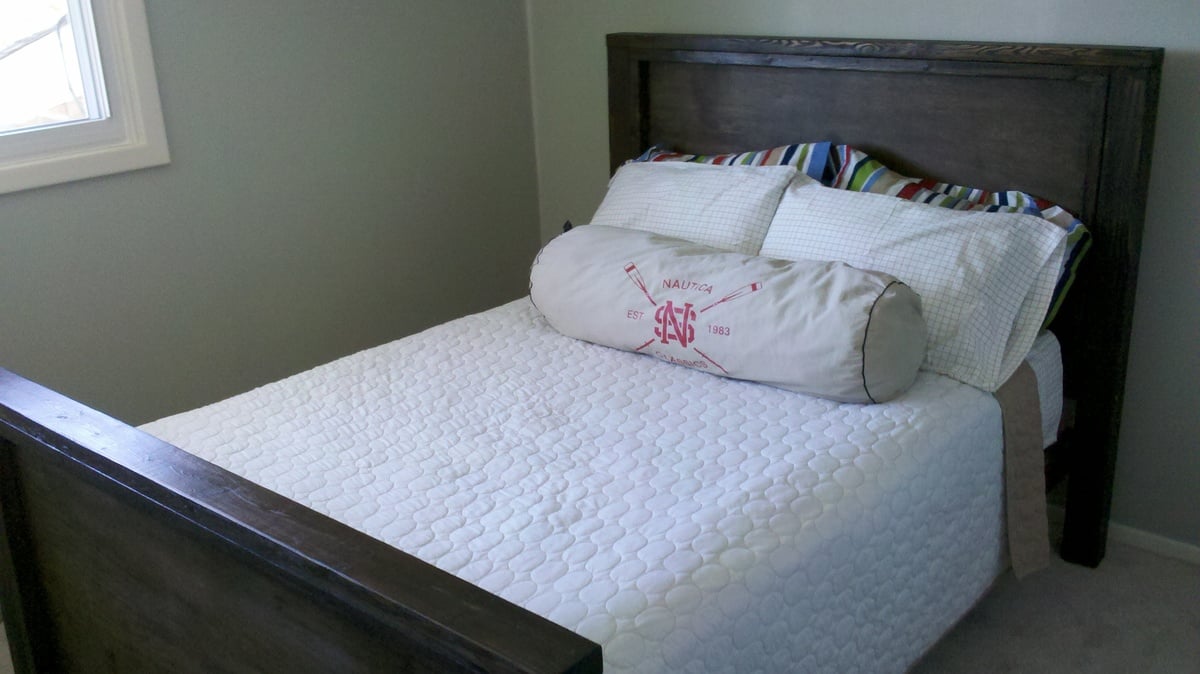
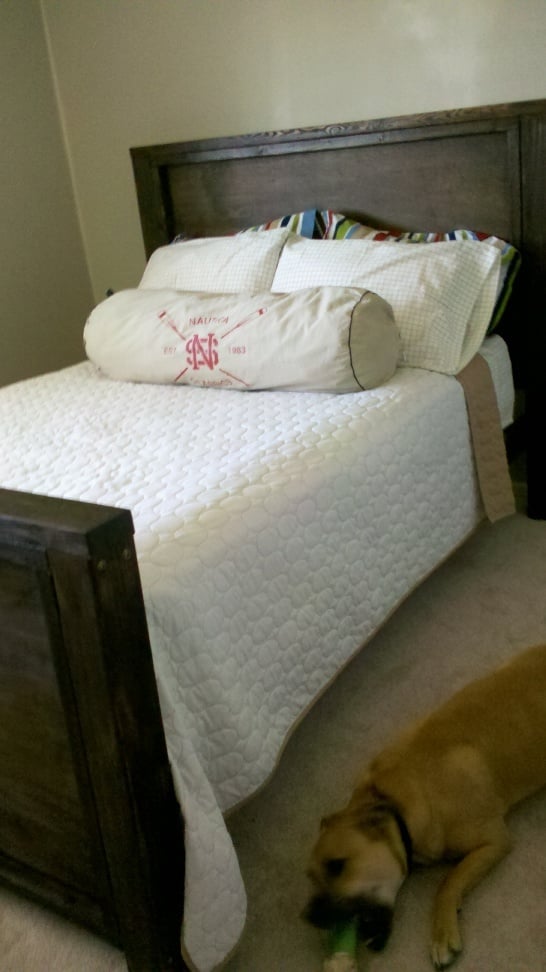
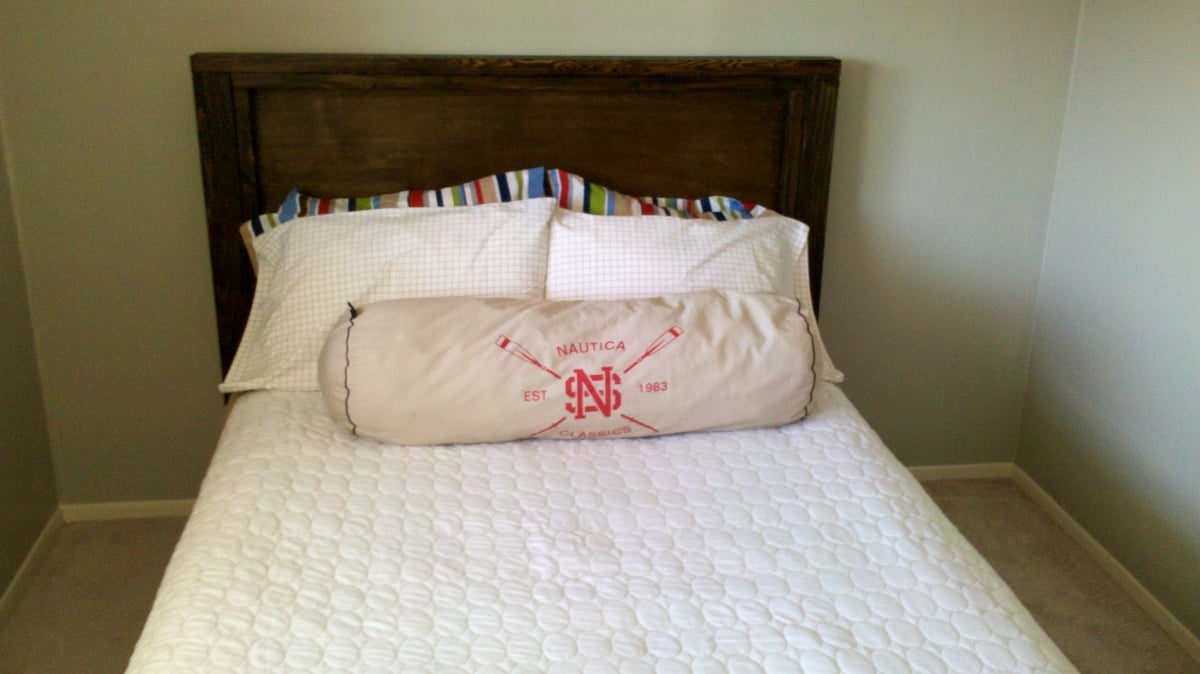
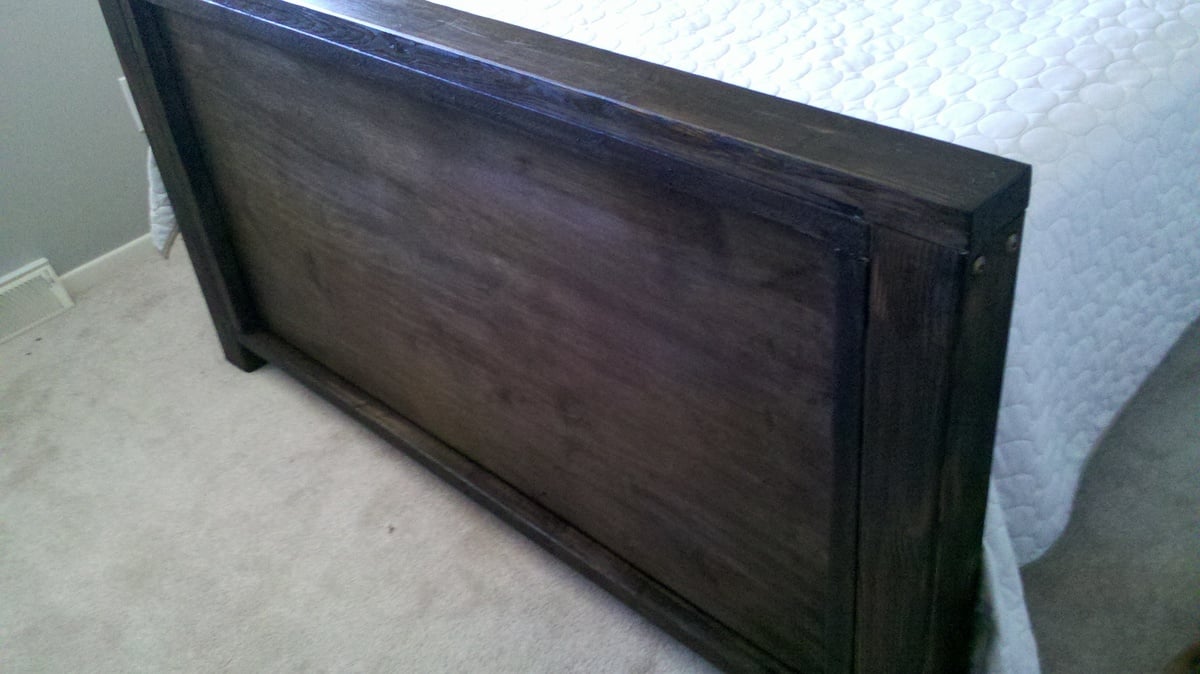
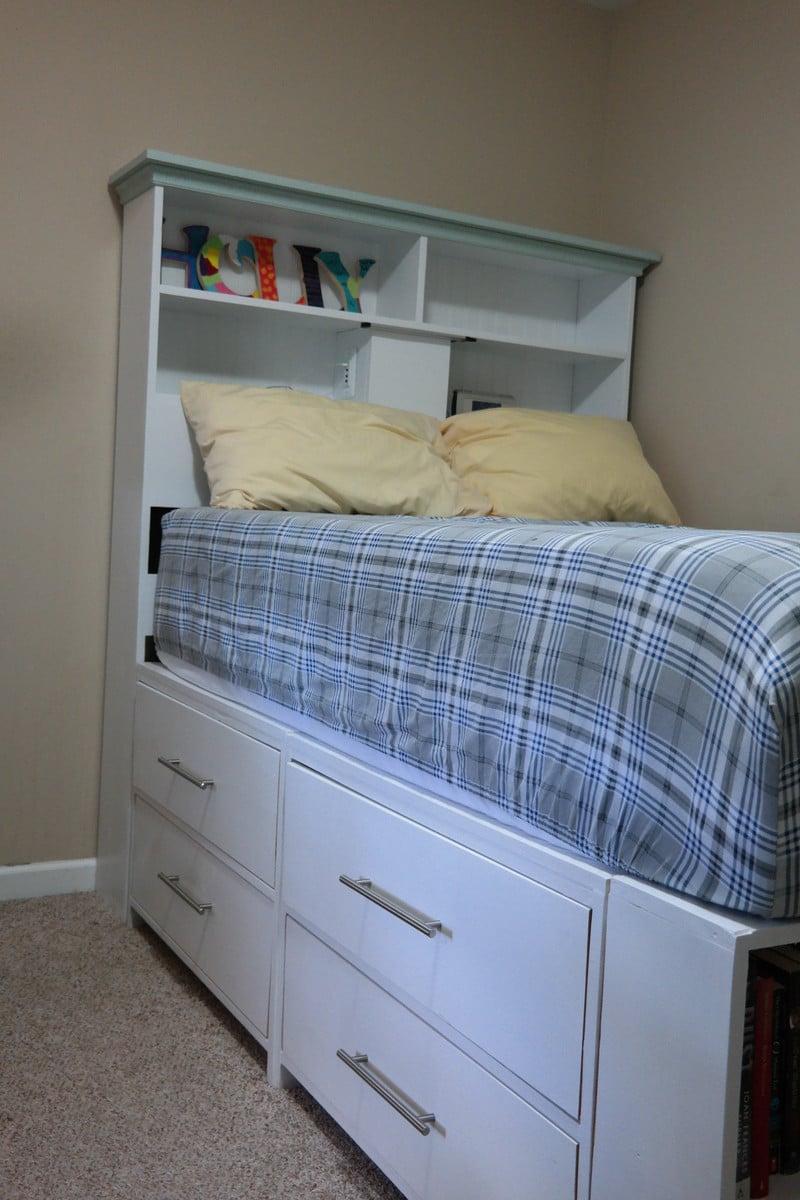
Farmhouse queen bed with arch
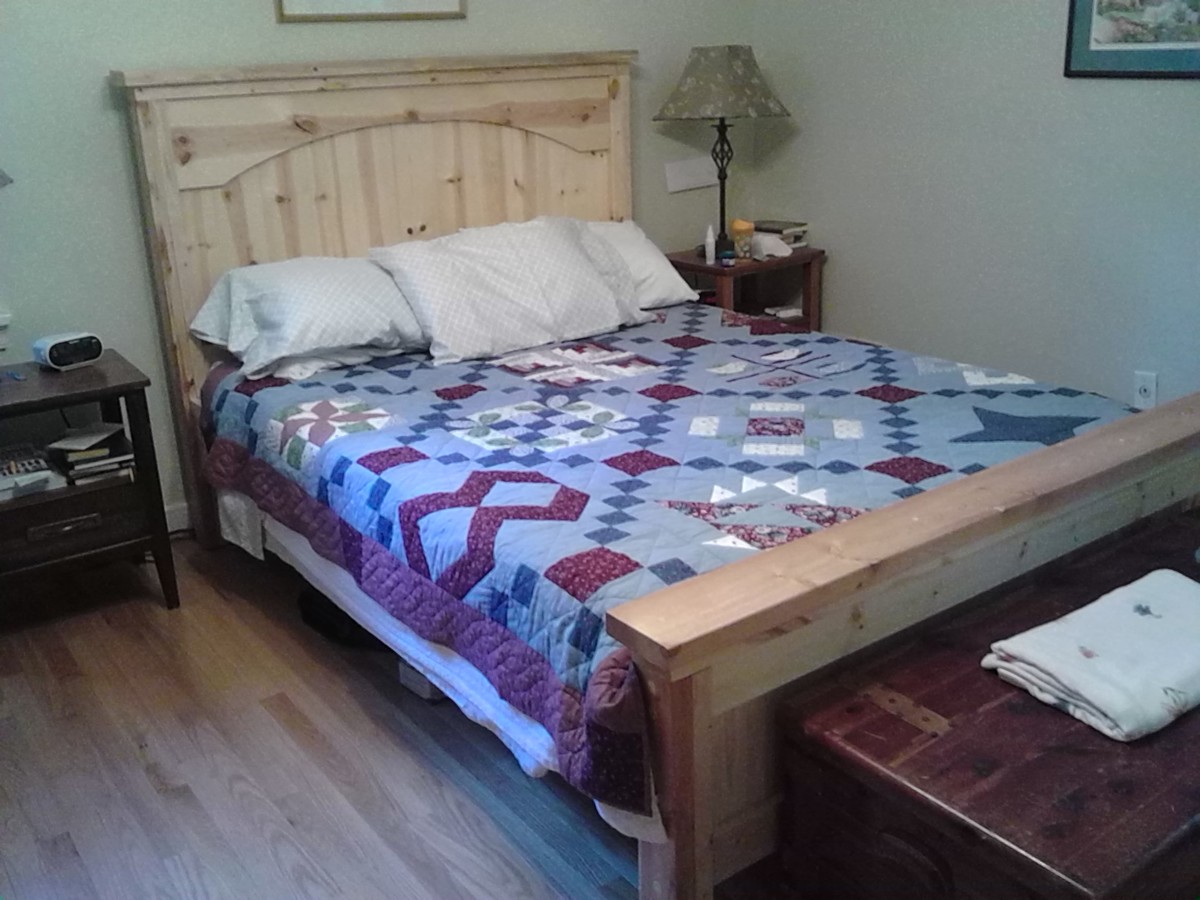
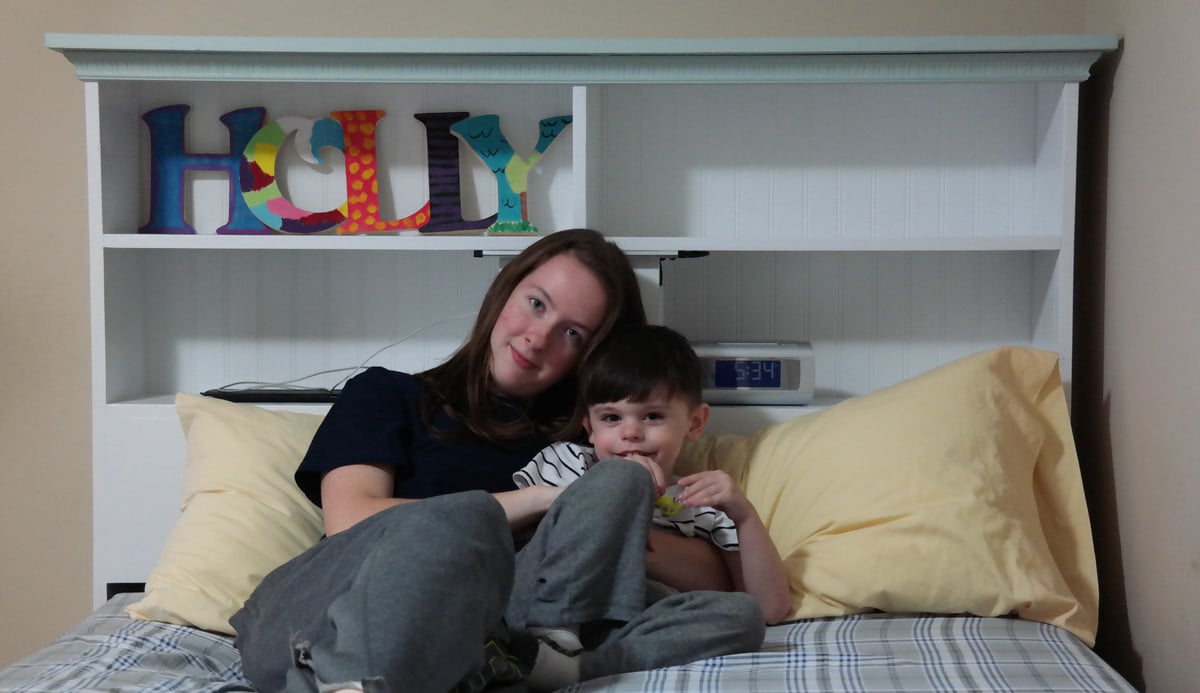
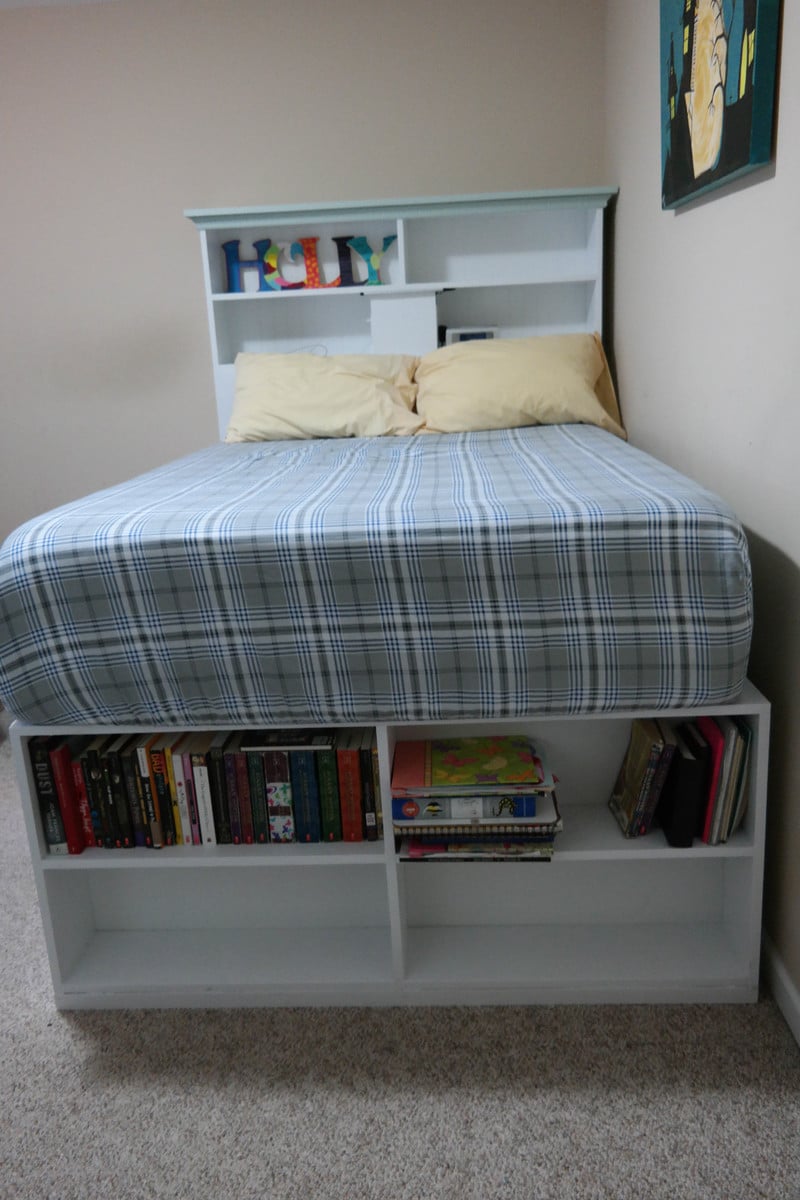
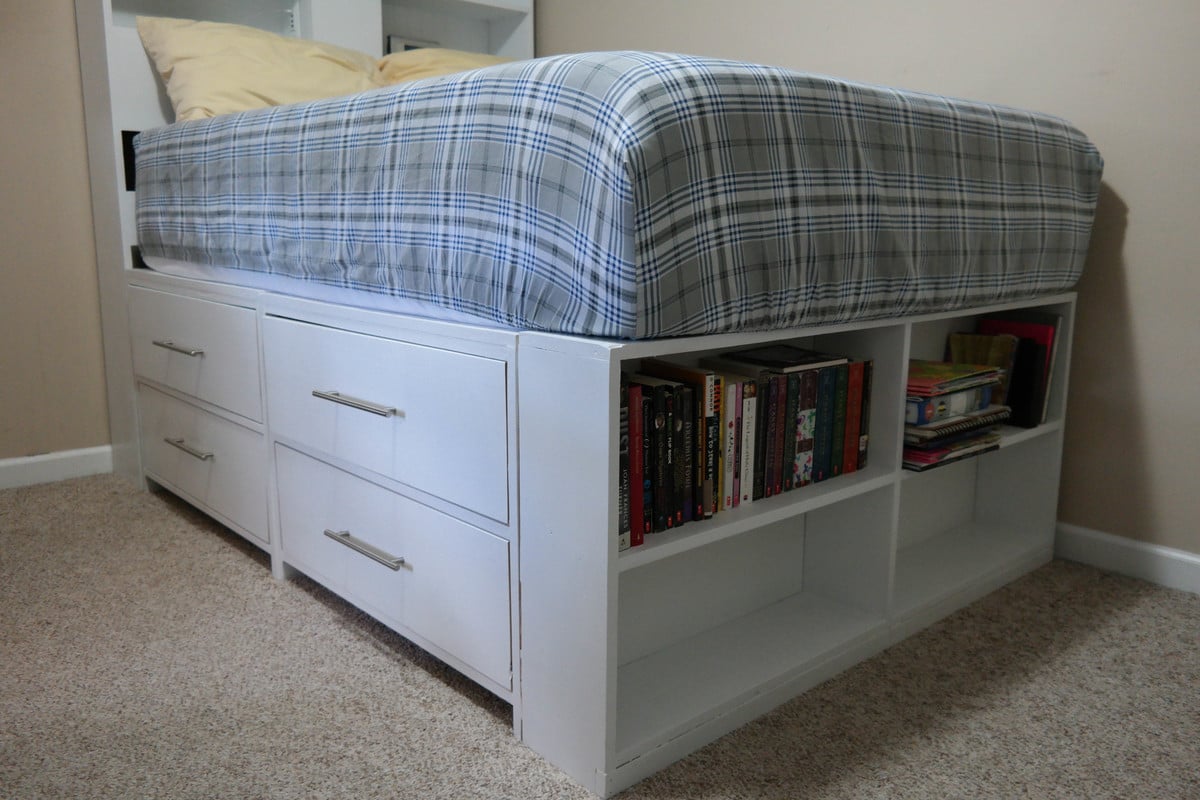
I was so happy to finish this bed and get it set up today, one month and one day shy of my 20th wedding anniversary.  My husband and I had never been able to agree on a bed but we got a new memory foam mattress after Christmas and found Ana's website through an "IKEA hack" type of page.  We finally found something from Anna we agreed on and was affordable.  : )  I used non-mortising bed rail brackets as well as a center beam support, all from Woodcraft, so that this bed could be easily disassembled if needed.  I used a combination of 1x2 and 1x4 to create slats, 17 in all, about 2-3" apart, placed on cleats, all to hold the mattress and simulate the bed slats from IKEA.  I sanded 80-120-220 then covered with a wipe-on poly product from Watco, which was easier to work with than stains etc that need to sit, since I had to work in my dining room (else risk getting lots of maple "flyers" and pollen in my finish...)  Thank you, Ana, for all your great ideas and encouragement!  One tip: maybe sand some of the pieces, especially in the head and footboards, before assembling.  It was tricky to get into the tight places with the power sander and by hand.
Built from Plan(s)
Estimated Cost
I had to buy pretty much everything new so it cost me probably over $300.
Estimated Time Investment
Week Long Project (20 Hours or More)
Finish Used
Watco Wipe-on Poly, satin finish; old turtleneck shirts cut up and used as rags
Recommended Skill Level
Beginner

Chicken Run with Turkey House

Submitted by vendo on Wed, 10/13/2021 - 10:03

My daughter helped me build this enclosure. We used Ana's chicken run plan, but just made it taller so we could walk in easily. We added an overhang to store food and pellets under, for the supports we used Ana's easy shelves angle support plan, and finally we used the playhouse base plan for the base of turkeys house. All plans used are linked below. We ran the chicken wire out under the structure and still need to bring in some large rocks or pavers, but so far no issues with predators. Turkey was getting too big to fit in the smaller coop, so we decided to have fun with his house and used cedar fence pickets and some treated 2x4's, built a box and jig sawed the shape of a turkey. As you can see in the first photo the ladder for turkey wasn't big enough, all the other chickens were in his house, lol. So I beefed up the ladder and he happily can put himself up at night now:) Overall a super successful project, I wasn't sure what to do with the top and just at that point, the neighbor walked over and offered the metal, talk about a huge win and the perfect solution! We attached the run to the previous smaller structure and now they have so much more room and are laying like crazy:) Finally, I think this would make a great dog kennel as well...

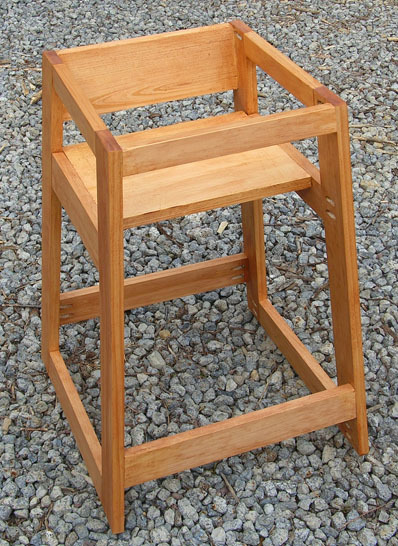
Restaurant High Chair

Submitted by mplauger on Mon, 03/21/2011 - 15:32

highchair is finished! I used mostly 1x3's instead of the 1x2's and had to adjust the measurements accordingly. This project talked me into buying that pocket jig.. and I LOVE it! This is only my 3rd project but it took longer than "20 minutes to assemble". I have to build after my son goes to bed so I completed it over two evenings.

Built from Plan(s)
Estimated Cost
$38
Estimated Time Investment
Afternoon Project (3-6 Hours)
Finish Used
Ipswich Pine stain by Minwax
Recommended Skill Level
Beginner

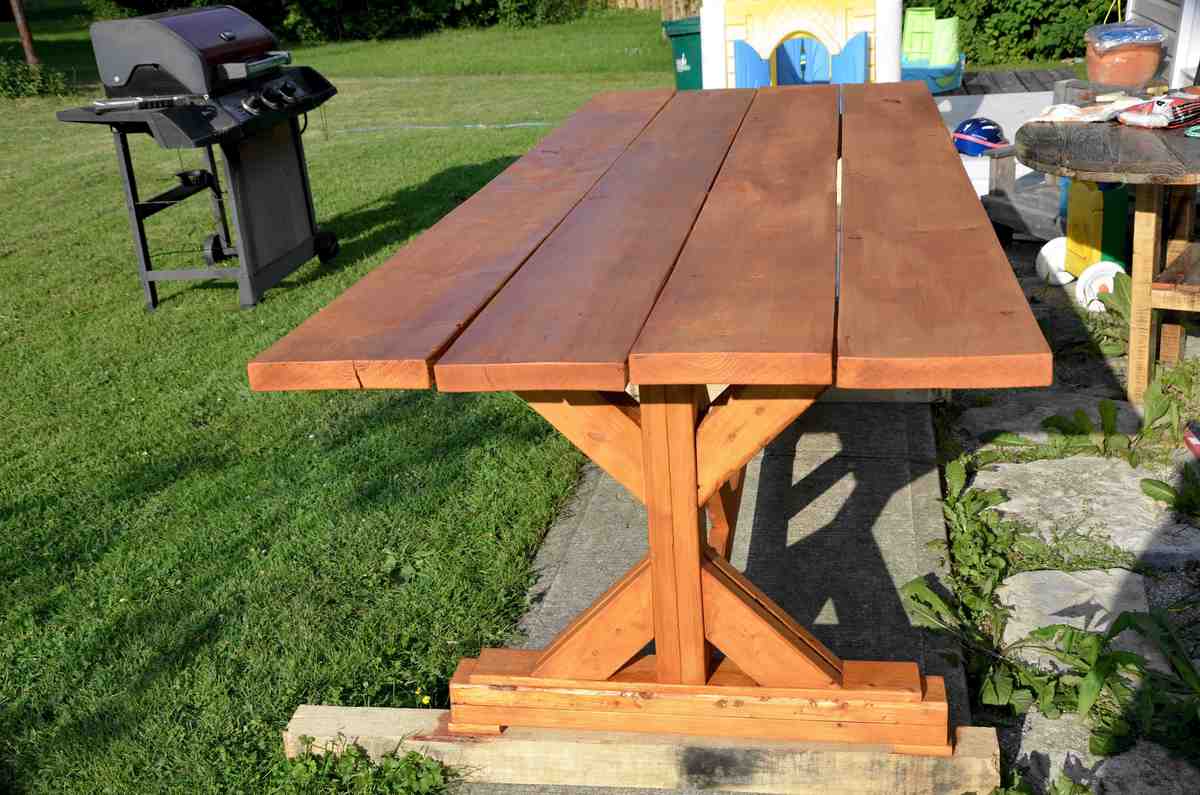
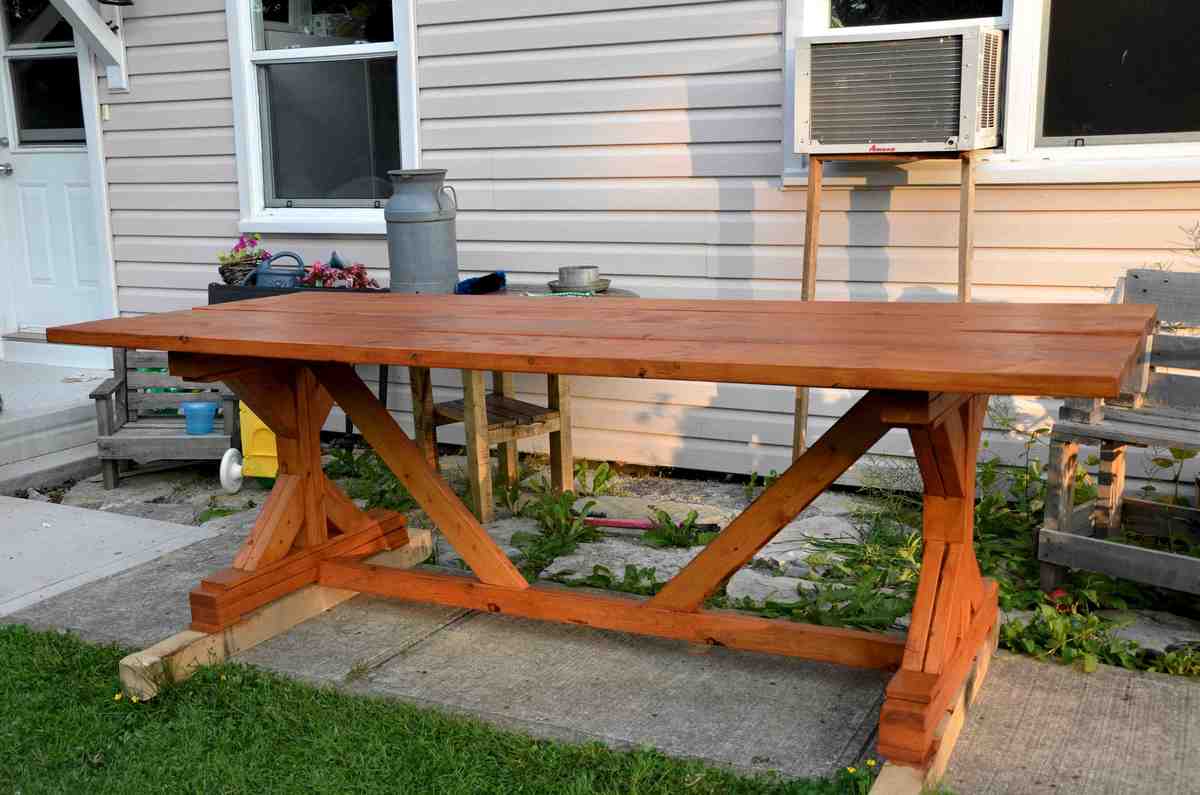
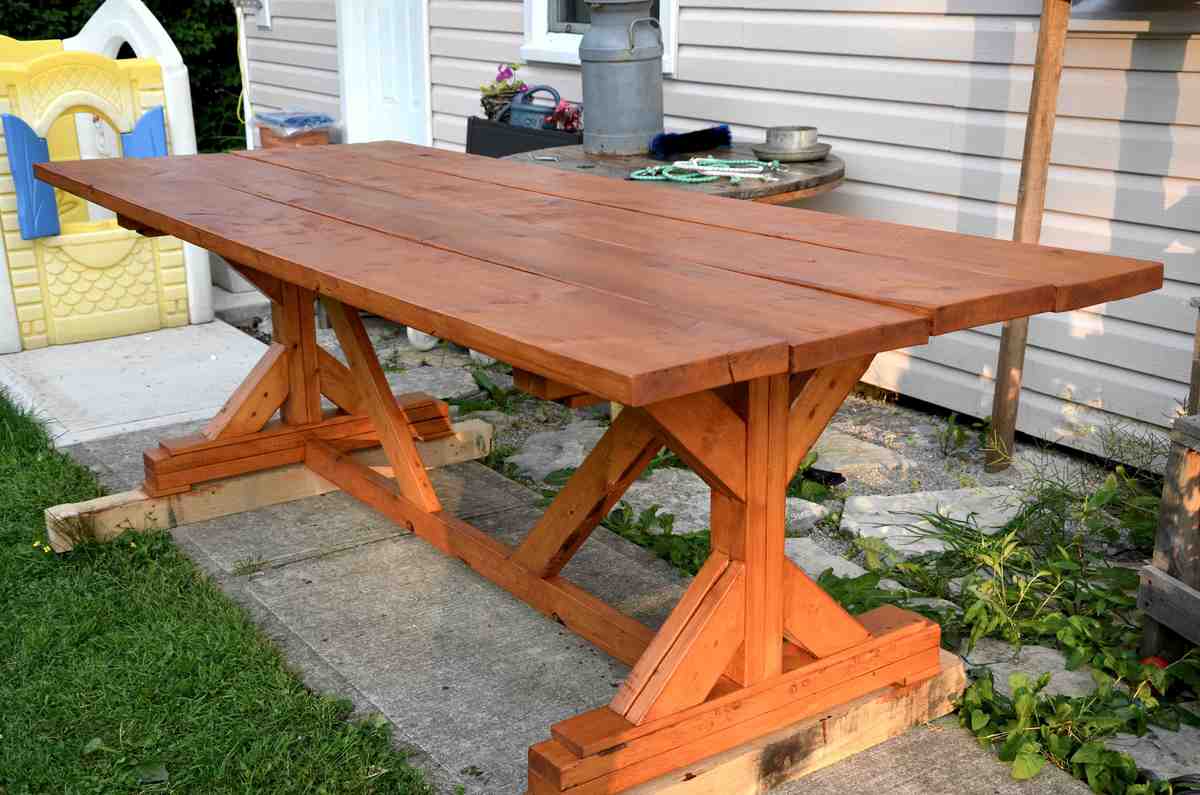
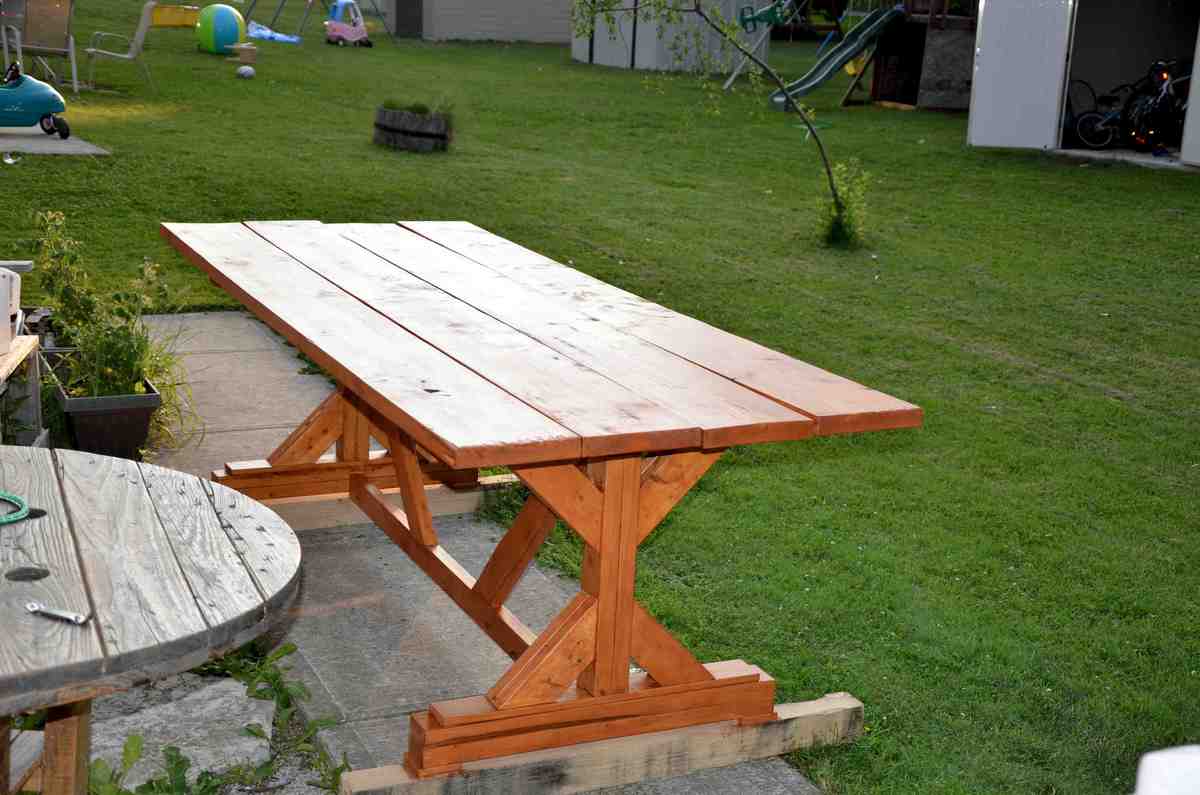
Fancy X Farmhouse Table

Submitted by worrow on Wed, 06/05/2013 - 18:29

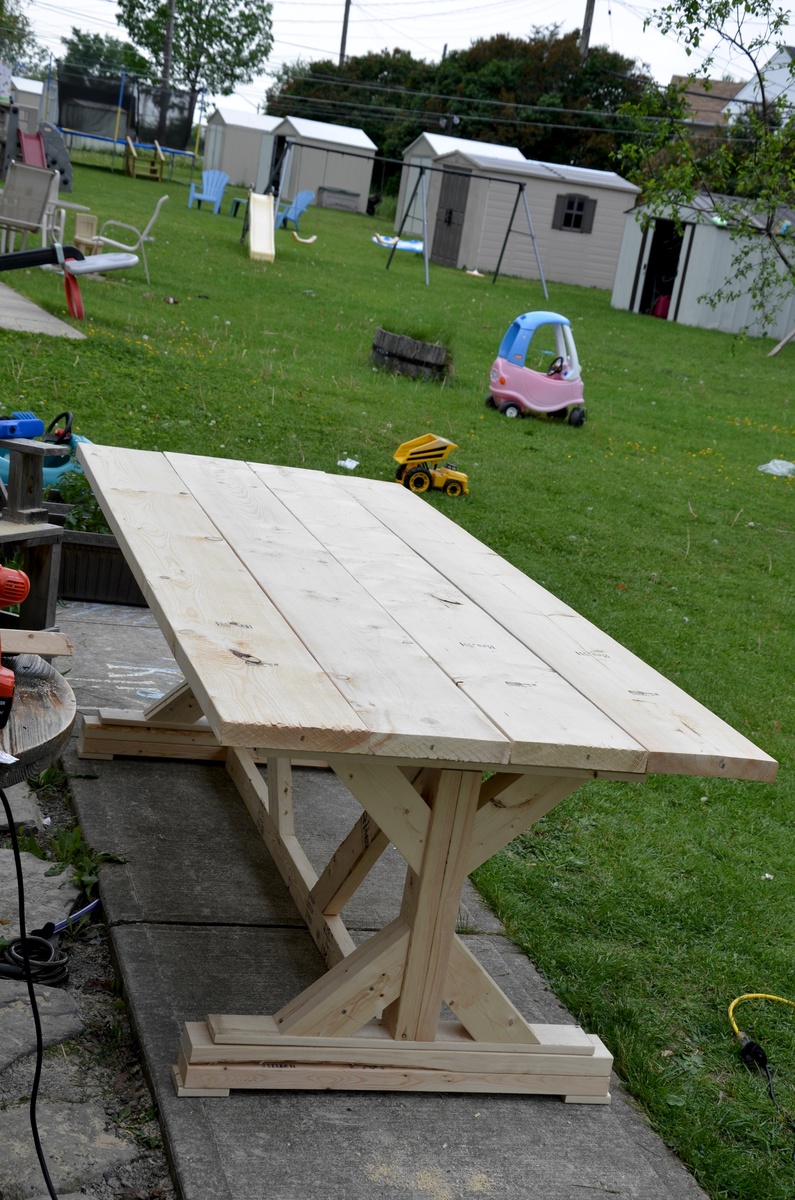
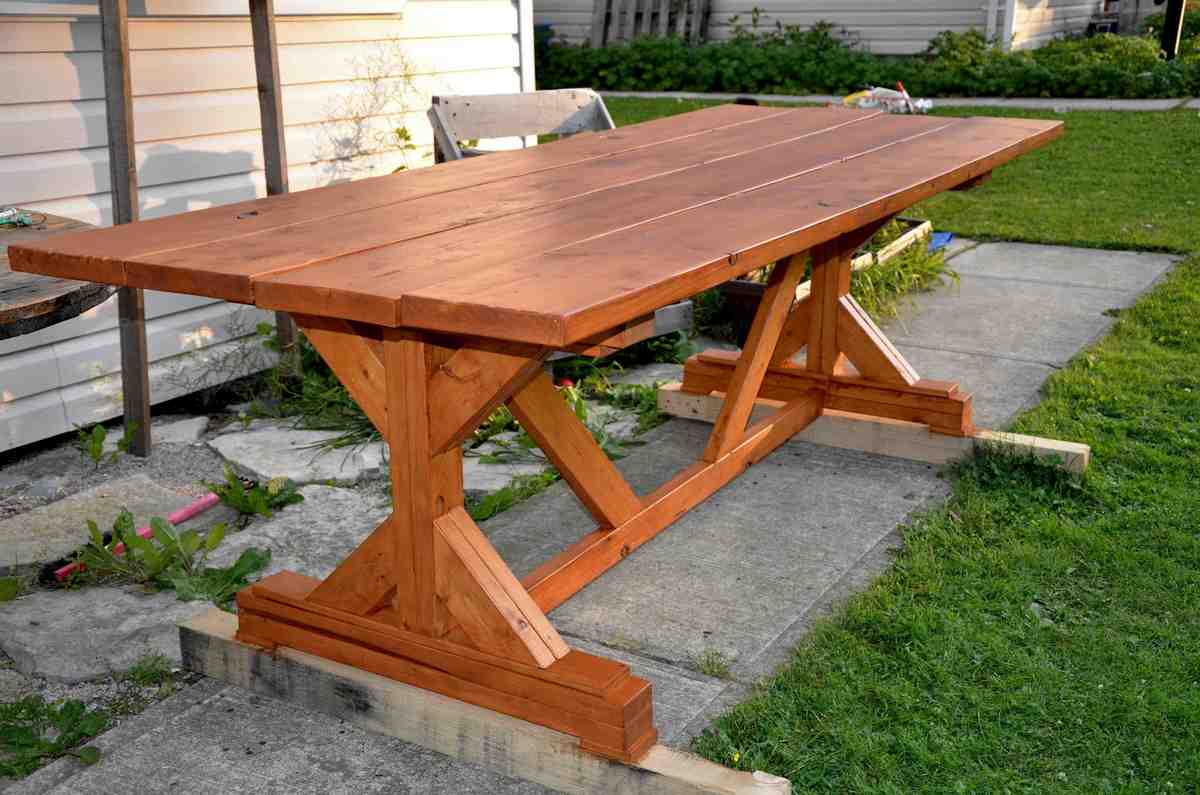
I followed Ana's plans http://ana-white.com/2012/06/plans/fancy-x-farmhouse-table Total cost for me was $150 thats lumber,screws and stain. Total time for me was approx 6 hours and it was most time consuming for the legs. I build this in my yard as I don't have a shop. I put my old table saw on a pallet and my chop saw on the table saw. I altered a couple pieces to make the look different and bulkier for me. This is going to make an excellent gift. I just need to put a finish on it and seal it. Oh and I made mine from spruce. *Update* So we finally were able to put a finish on it with a 24 hour window of no rain. We used 2 coats Behr Cedar stain. It is an all in 1 and turned out beautiful.


*Note*

Not pictured, but I did add a strip of wood under each end to pull the board ends flush with one another. I used 2 1x2's with ends cut at 45 degrees. Length was cut to fit. This isn't something that was in the build plans, but it was very hot out when I was building this and the boards were starting to run up and down if you can see that in the photos.

Estimated Time Investment
Day Project (6-9 Hours)
Finish Used
Behr Cedar Deck/ourdoor furniture stain from Home Depot.
Recommended Skill Level
Intermediate

Providence Bench at Master Suite

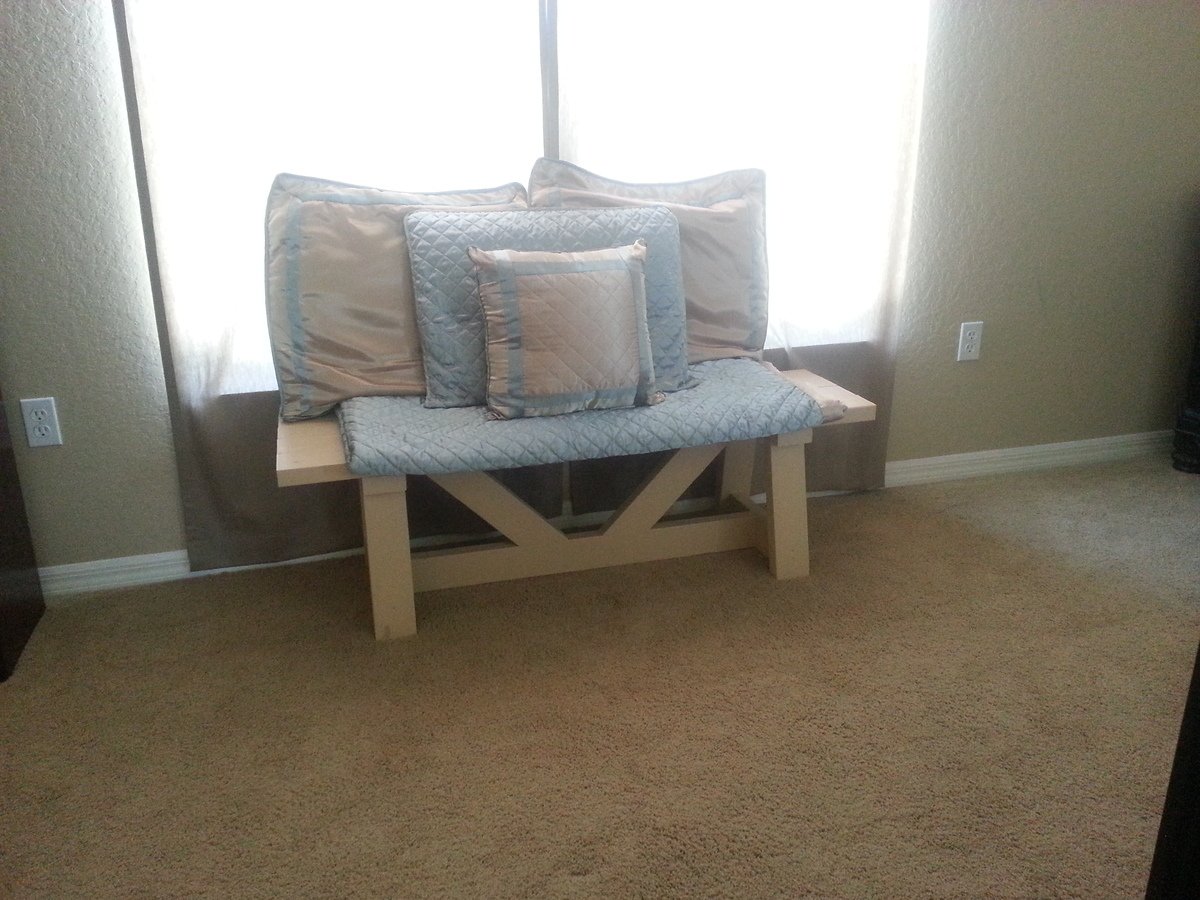
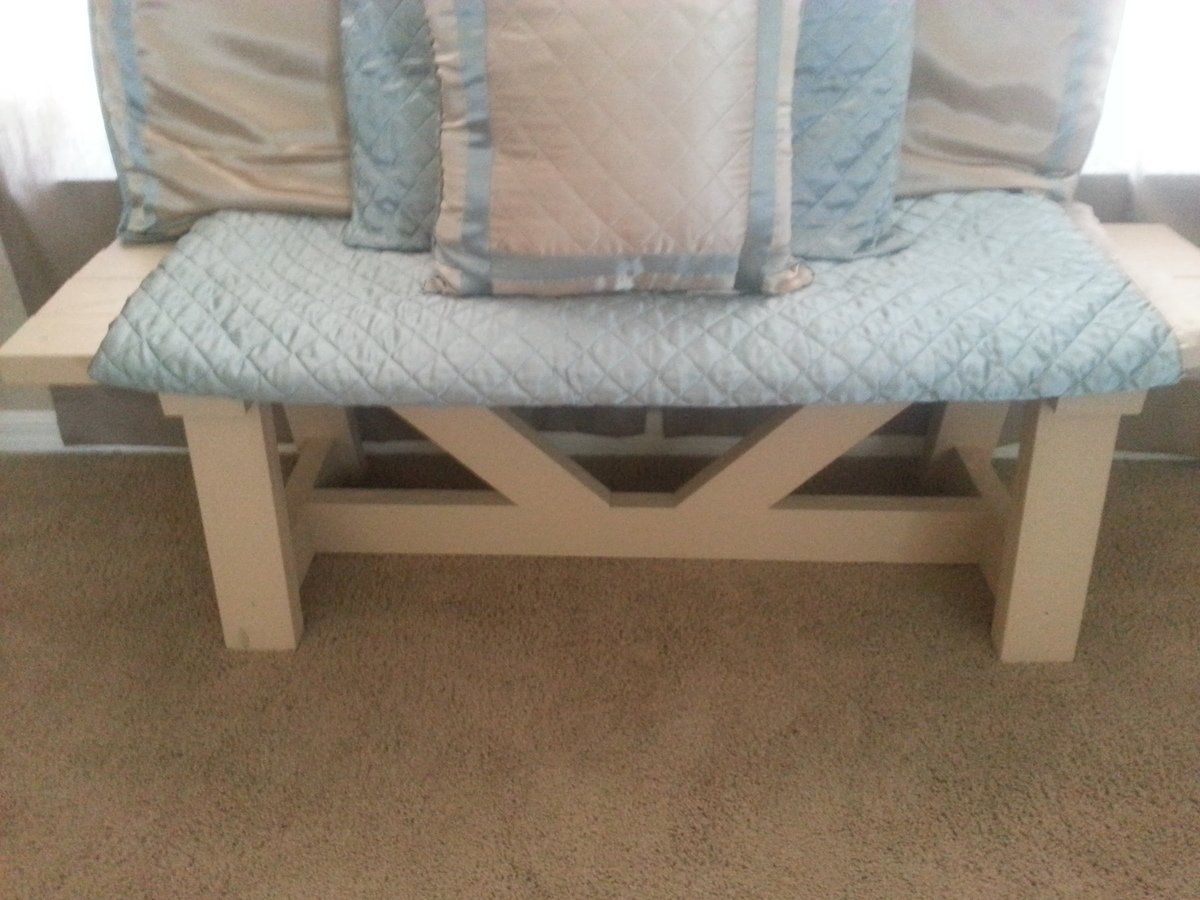
This bench was very easy to make and perfect for a family who hasnt tackle any wood projects. We are so happy and pleased not only with the results but how satisfying it was to make your own piece of furniture.
I recommend this project not only for the bedroom but for many places in the house, specially in the Entry way.

Built from Plan(s)
Estimated Cost
$22 - $25
Estimated Time Investment
Afternoon Project (3-6 Hours)
Finish Used
The bench was painted in a champagne color that we found in Lowes called upps paint. The paint has primer and it can be used on wood materials as well so it was perfect.
Recommended Skill Level
Beginner

Farm House Table

Submitted by LisaSwen on Thu, 09/28/2017 - 12:50

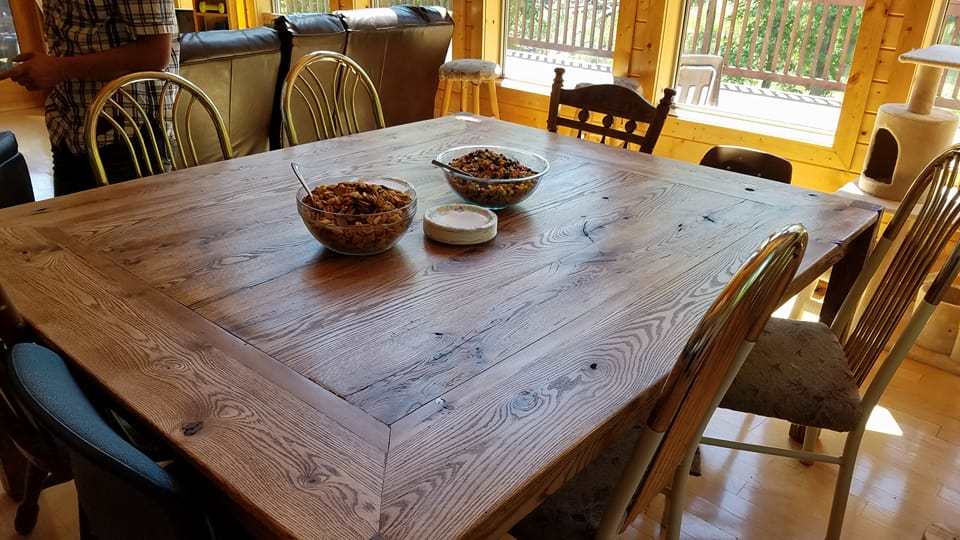
This was a fun and unique project. I've always wanted a farm house table. But to make this project so special my Father gave me Oak wood from the land that I grew up on. There is a small "accent" trim of Iron wood. I remember that tree before it was cut down. Being that all the boards were rough cut; I had to plain them all to equal thickness. But not one board was exactly equal width. So we made the outside "bread board" ends all the same, then let the inner boards remain slightly uneven in width. So the table ended up being 71" x 61" Iwas going for a very large square table and came close. But it fits our space perfectly! The other unique element of this table is that we designed it so the top of the legs show as part of the table top. The legs are 4 x 4 oak posts that came from the white fence in the front yard of my childhood home. We had to take them down to 3 x 3 and they even have some nails still in them. So much characher in this table. It is rock solid and doesn't move! And my daughter has already claimed it when it gets passed down. It will out live me for sure! :)

Chairs are next ;)

Estimated Cost
Almost free!
Estimated Time Investment
Week Long Project (20 Hours or More)
Finish Used
Pre-stain, Early American and Poly
Recommended Skill Level
Intermediate

Desk / nightstand combo

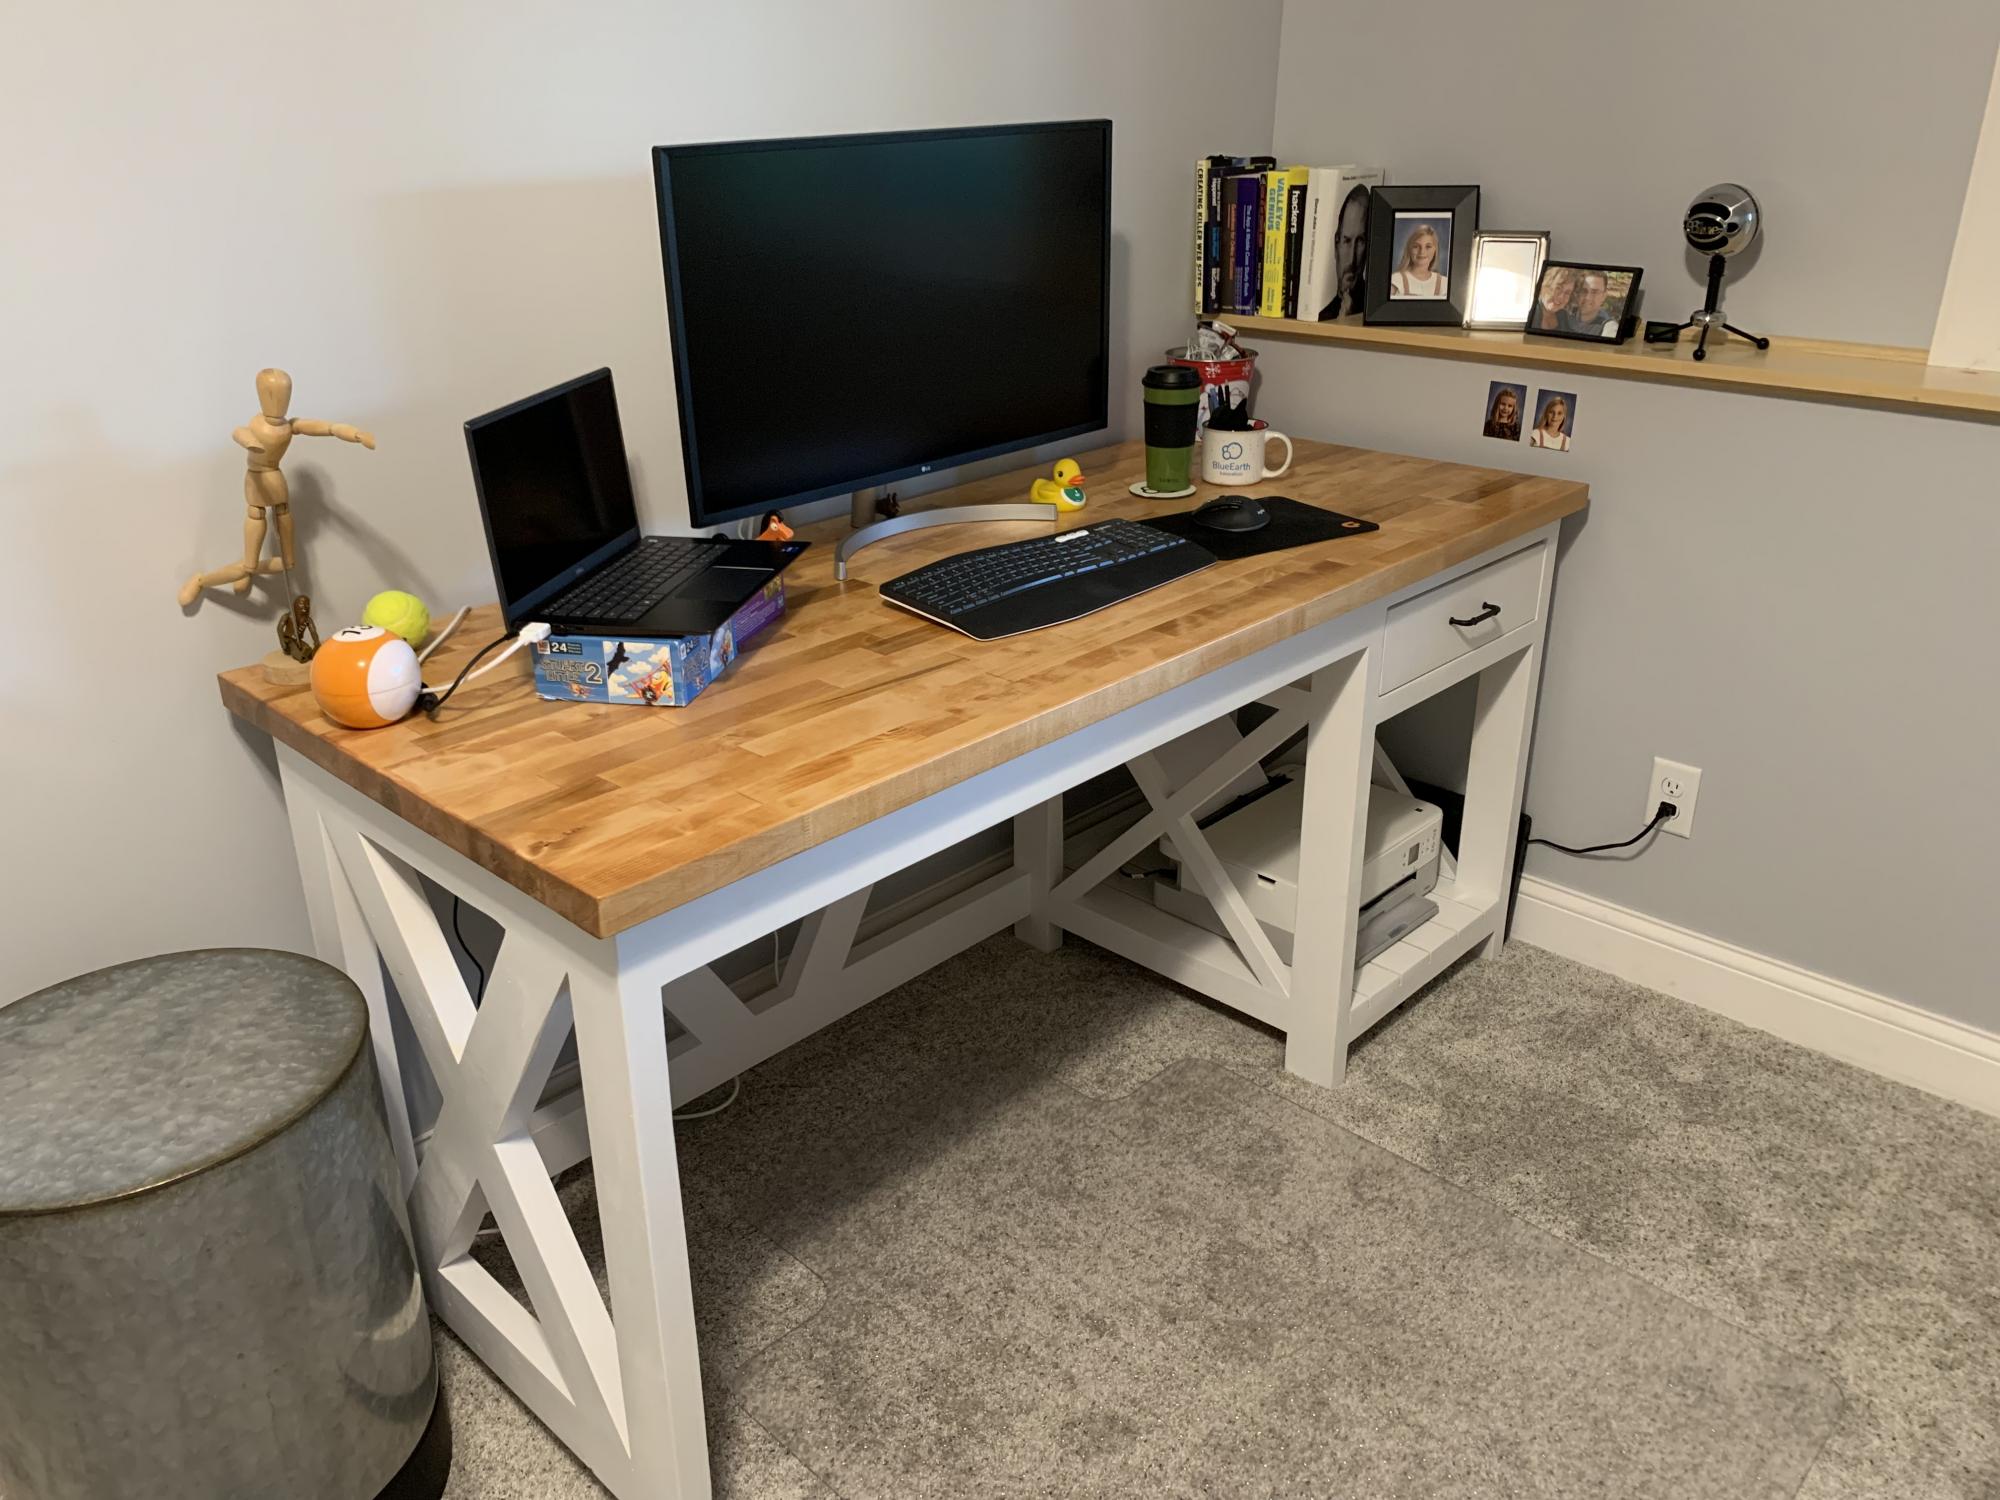
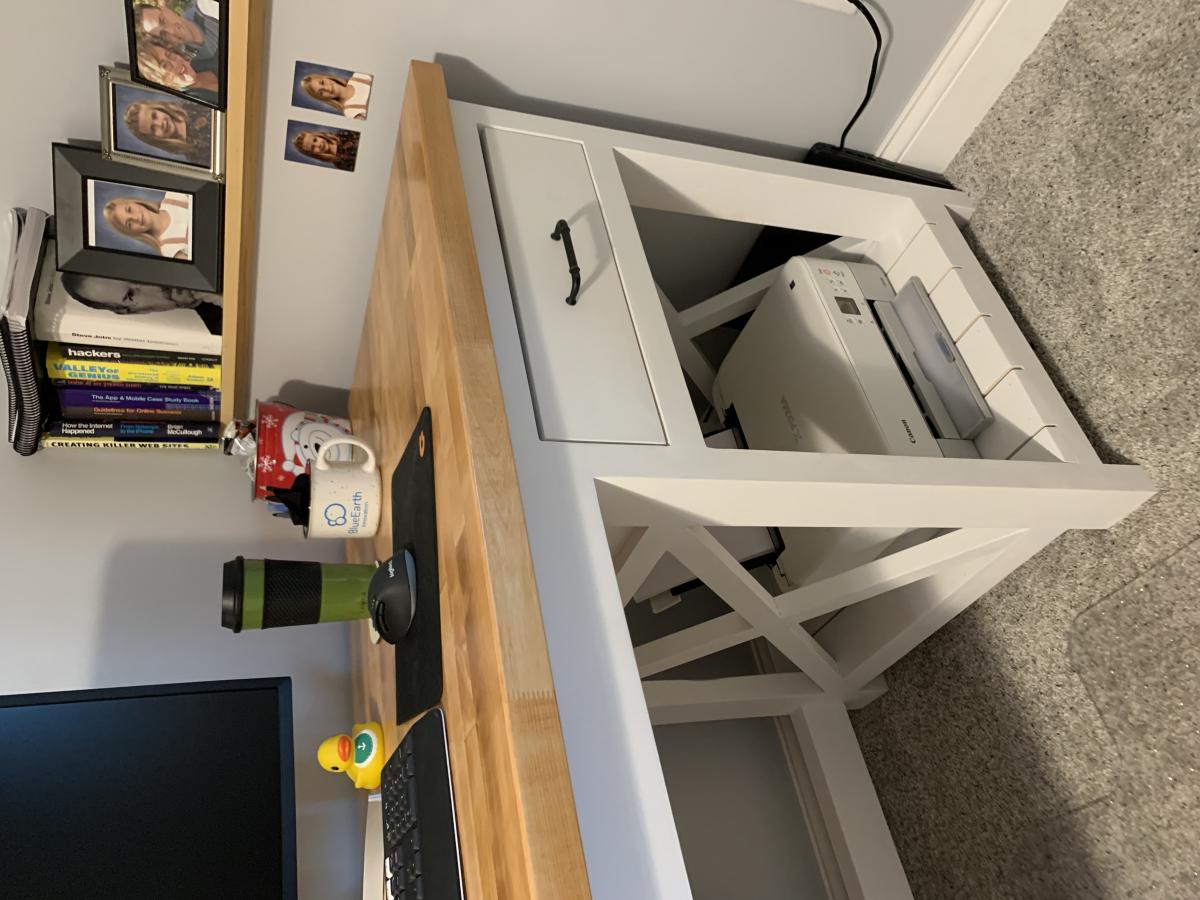
I took the plans for the Farmhouse X Desk and combined it with a (slightly) modified nightstand since I liked the 1x4’s better than the plywood base and also wanted a drawer instead of 2 shelves.

Also, I milled the side and took about 1/8” off the rounded 2x4 edges so that the squared sides fit together MUCH tighter. The joints were a lot easier to sand putty and sand seamlessly flat/smooth.

Very happy with the results and my brother and wife both want me to build them one now!

Built from Plan(s)

Comments

PB & Ana Inspired Hampton Bed

This started out a project driven by inspiration. I wanted a bed similar to the Hampton Bed in the Pottery Barn Teen Catalog, and I wanted a handful of beds from the newest Crate and Barrell Catalog. So, I sat down with a piece of paper, and a felt tip marker, and sketched out the bed. I had just built the farmhouse bed, and knew it was strong, so thats how I designed the frame. Then I used plans from the Simple Bed to get another reference point and for full size dimesniosn. Then I built it. I journaled each step of the way on my blog, if you want more info on how building went, or the learning process. I am truly very proud of this bed. Thank you Ana for giving me the courage to do this one without step by step instruction. You rock. 

Estimated Cost
$100
Estimated Time Investment
Day Project (6-9 Hours)
Finish Used
General Finishes Water Based Stain: Walnut
General Finishes Polyacrylic top coat, 4 coats
Recommended Skill Level
Intermediate

Church Pulpit

Submitted by BBLinda on Sat, 06/08/2013 - 10:34

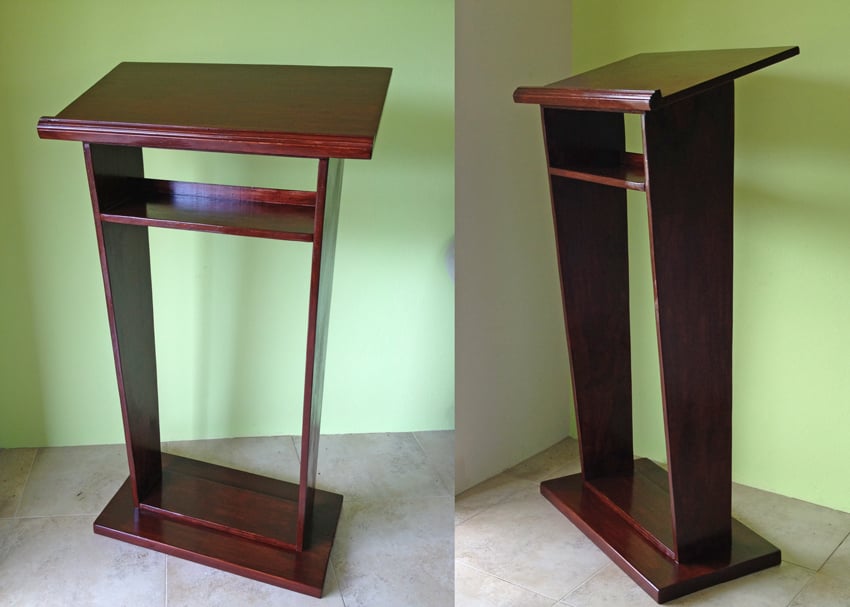
A good friend of mine, a pastor of a local church, asked me to build a pulpit for their recently finished church up in the countryside of Grenada. She showed me a picture of what she had in mind and based on that, I drew my own plan in SketchUp, and then built it out of Yellow Pine boards and Plywood.

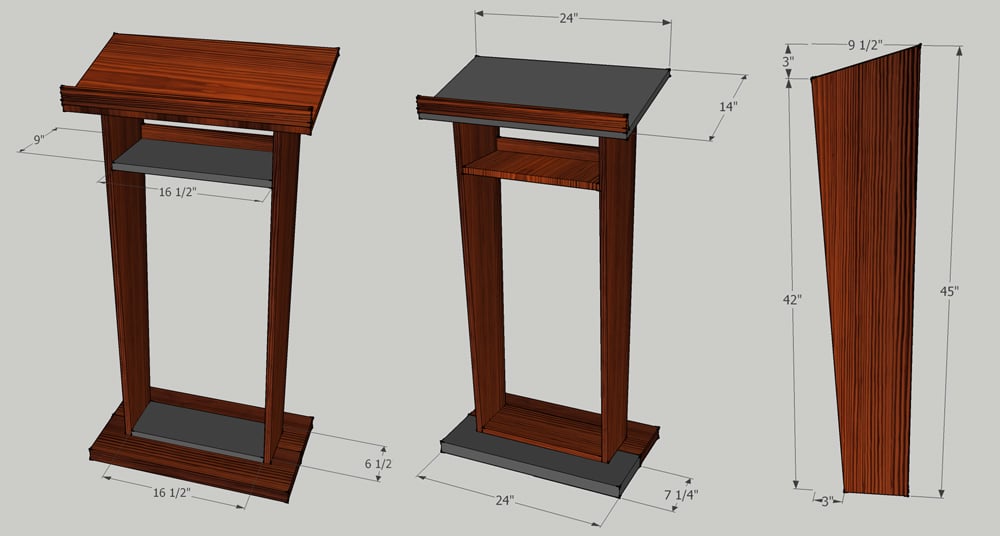
Note to the dimensions:
After I drew the plan, and just when I was at the lumberyard to have the plywood and boards cut, I thought I might have had it estimated not wide enough, so I decided on the spot to make it 2" wider and the top panel 2" wider and deeper too. So if you'd like to build based on my plans, please consider if it's wide enough for your purposes.

This is what I used (corrected measurements here):

2x 2x8 26" long YP Boards (Base)
1x 18 1/2" x 6 1/2" Plywood (Base Support Panel)
1x 26" x 16" Plywood (Top)
1x 18 1/2" x 9" Plywood (Shelf Panel)
2x 45" x 9 1/2" Plywood (Side Panels ) - these are cut angled, see plans
1x 44 1/2" Wood Moulding (for the "stopper" on the top panel, and the "back" of the top shelf.

Estimated Cost
~ US$ 115 (material is very expensive here on the island, and I guess you could build it for about half or 2/3 of this in the USA)
Estimated Time Investment
Weekend Project (10-20 Hours)
Finish Used
MINWAX Polyshades / American Chestnut Satin (375)
Recommended Skill Level
Beginner

Built in Desk

Submitted by rosiejane on Mon, 05/11/2015 - 23:38

This desk is massive at 3.4m long (over 11 feet). Initially it was going to be a homework station for the kids but my husband decided that he'd like to use it as his office.
I'm somewhat embarrassed that this took well over 12 months to complete and I was easily distracted by other projects along the way. I made many mistakes but I learnt something from every one of them.
I modified plans to suit my space and used sketchup to plan it all out.

Estimated Cost
AUD$750. (incuding all paint and hardware) Drawer slides alone cost $180.
Finish Used
walnut stain & varnish
aquanamel semi-gloss - vivid white
Recommended Skill Level
Intermediate

Comments

amandabc123

Thu, 01/30/2020 - 09:19

I love this!  Do you have more information on how you did the top?  It looks like one solid piece, and I'm just curious where you purchased the panels and how you built the top to look so nice.

Fancy X table

Submitted by Lukilla on Thu, 10/28/2021 - 17:01

We had a good time building this table. We made it smaller (6 feet) than the original plans, and also changed up the breadboard a little bit. We are a military family so made it so it assembles/disassembles with carriage bolts instead of screws. Hopefully that helps it hold up over time with frequent moves.

Varythane golden oak stain on the top and rustoleum charcoal chalk paint for the base. Sanded lightly and a light touch of the paint on the tabletop to create a distressed look.

Built from Plan(s)

Comments

I love reclaimed wood!

Submitted by melaniesue on Mon, 03/28/2011 - 21:45

Built from Plan(s)
Estimated Cost
FOR FREE
Estimated Time Investment
An Hour or Two (0-2 Hours)
Finish Used
I made my own version of milk paint and stain and stenciled a bird I drew, then heavy sanding to create the, "old look". I have tons of pallets, my neighbors are always dropping them off at my house, my RV pad is a WRECK from all sorts of old wood, and pallets. I love it, but I am looking like a hoarder, I.AM.NOT!

I also made this table out of an old shutter my neighbor dropped off for me, I took it apart, and that was the hardest part, other than the sanding... so much sanding! I finally got out the belt sander, which I really try not to use. The table is not quite finished, it's still wet in the pics, and not attached, I am painting the bottom white, and adding one more coat of stain on the table top. My number one rule, sand, sand, sand!
Recommended Skill Level
Starter Project

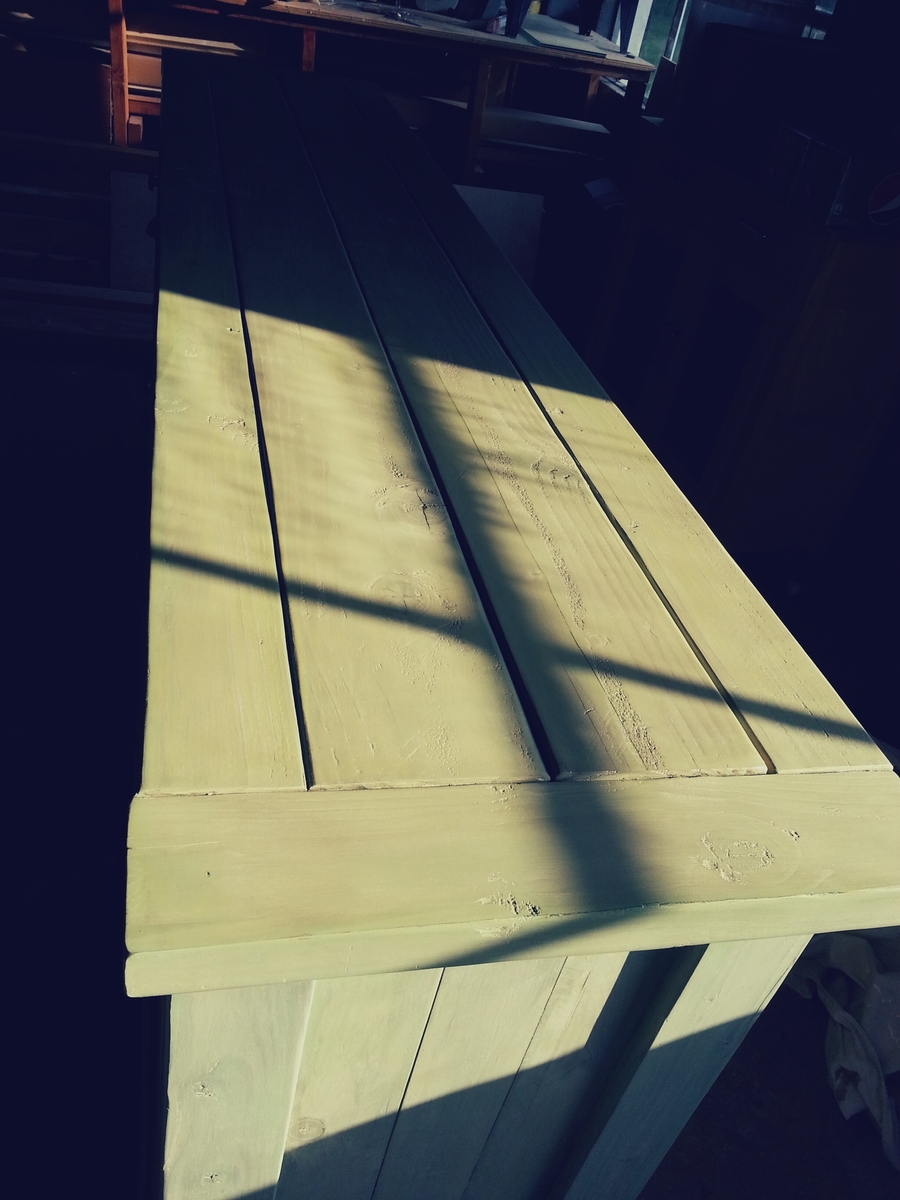
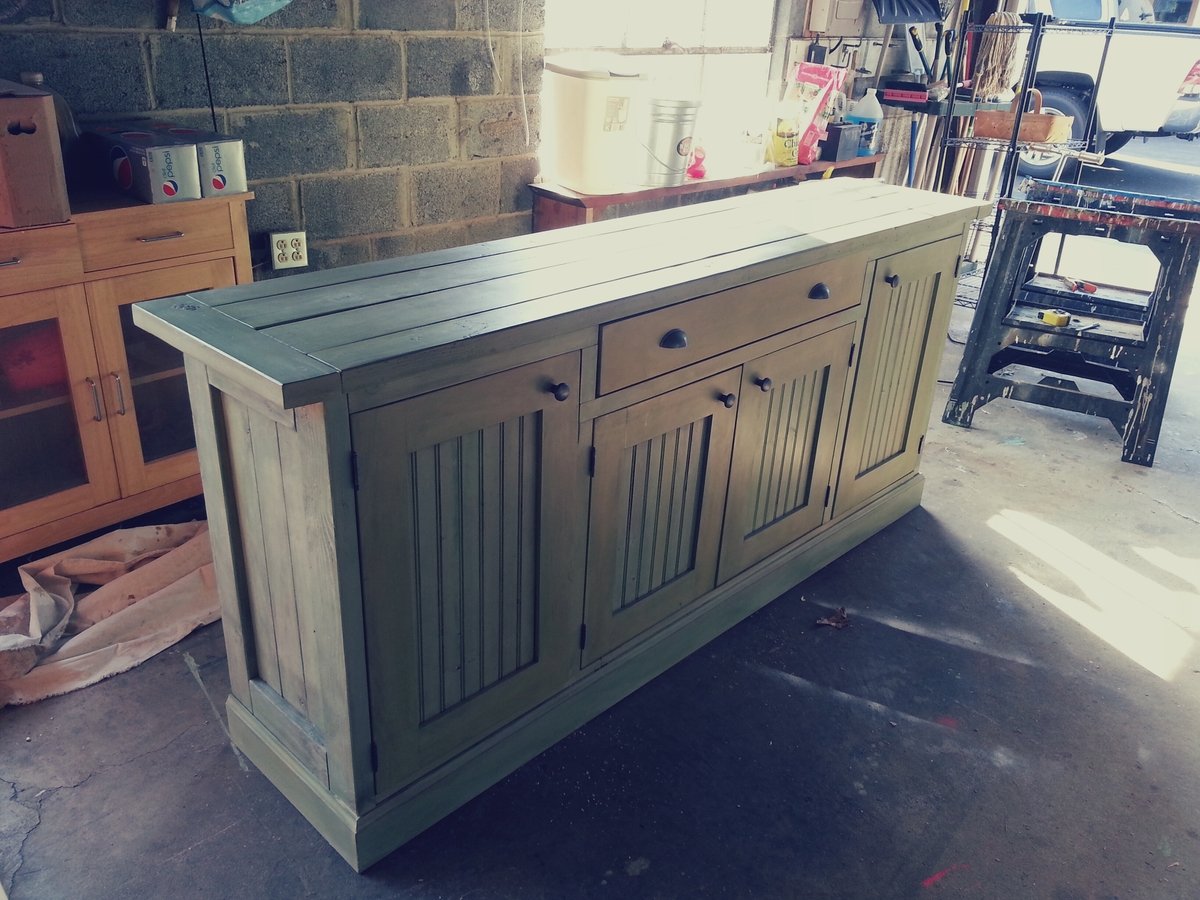
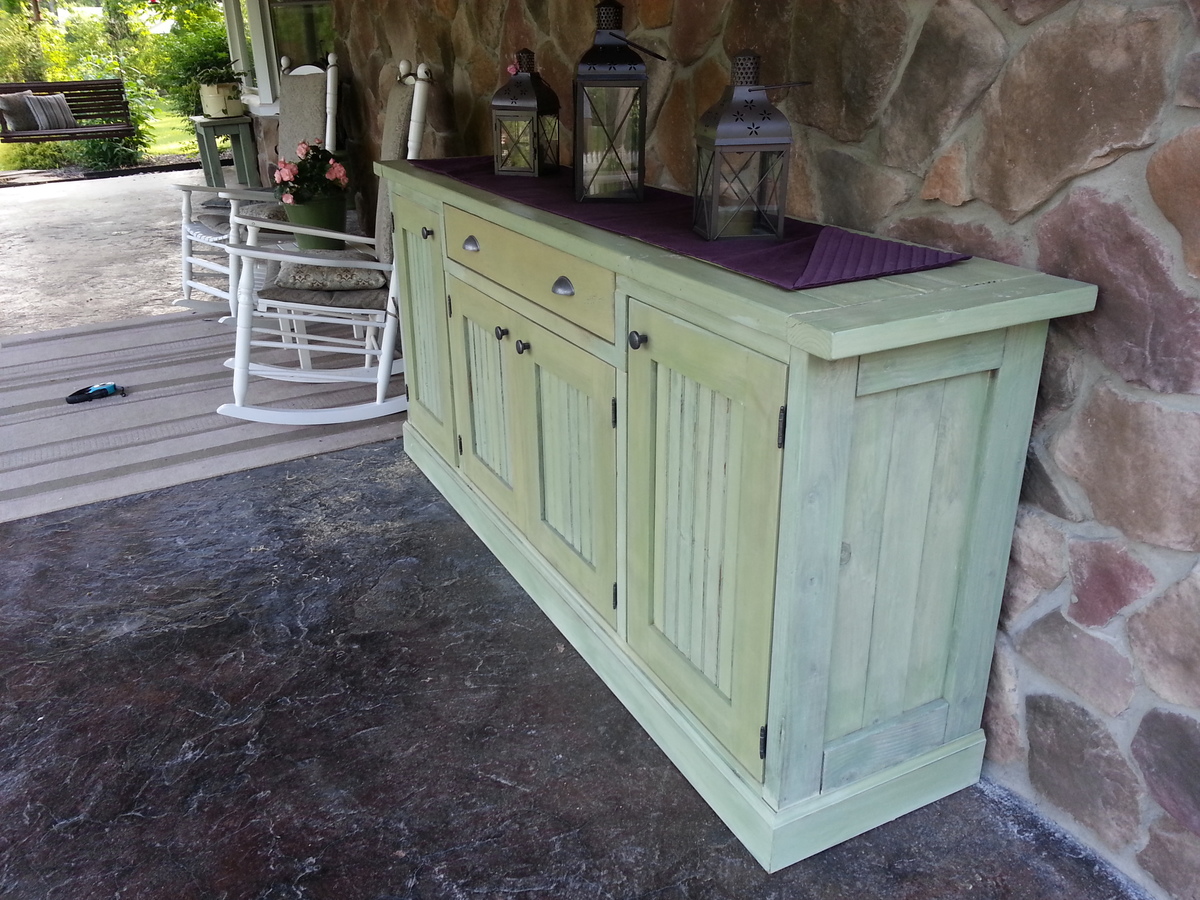
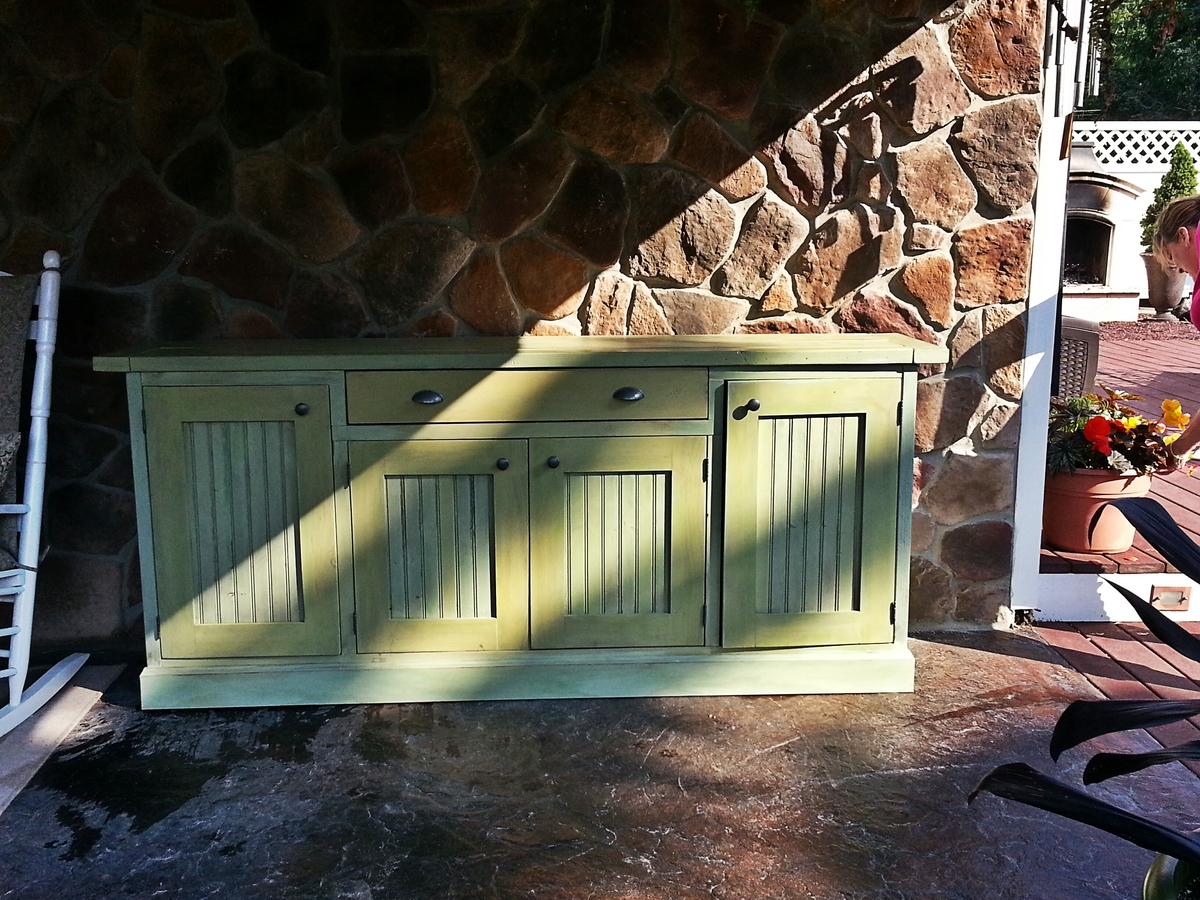
Rustic Sideboard

Submitted by Chopper on Sun, 06/09/2013 - 18:59

Rustic Sideboard Project.

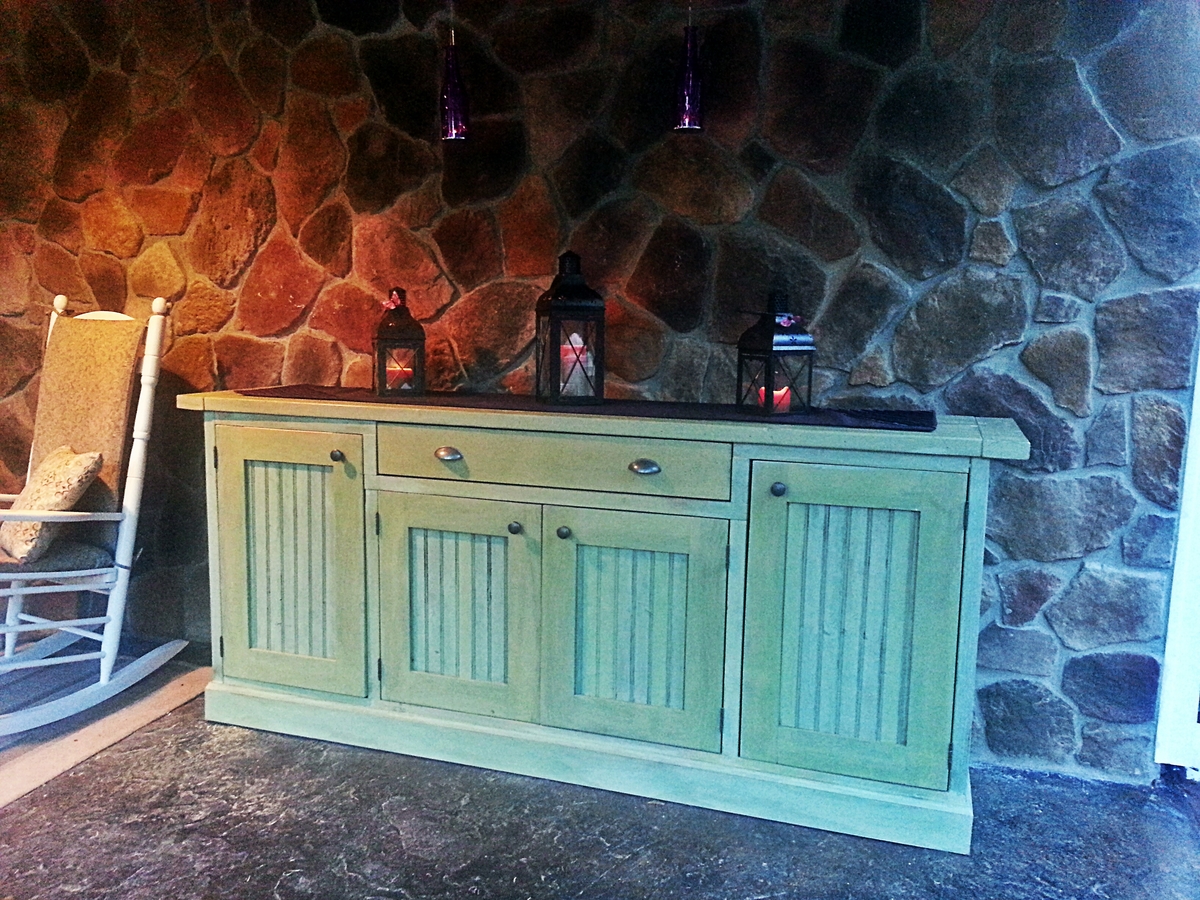
We had so much fun doing this! Took about 3 weeks with significant effort.

We only made it with the center drawer. The cabinets were enlarged on the outside to account for this.

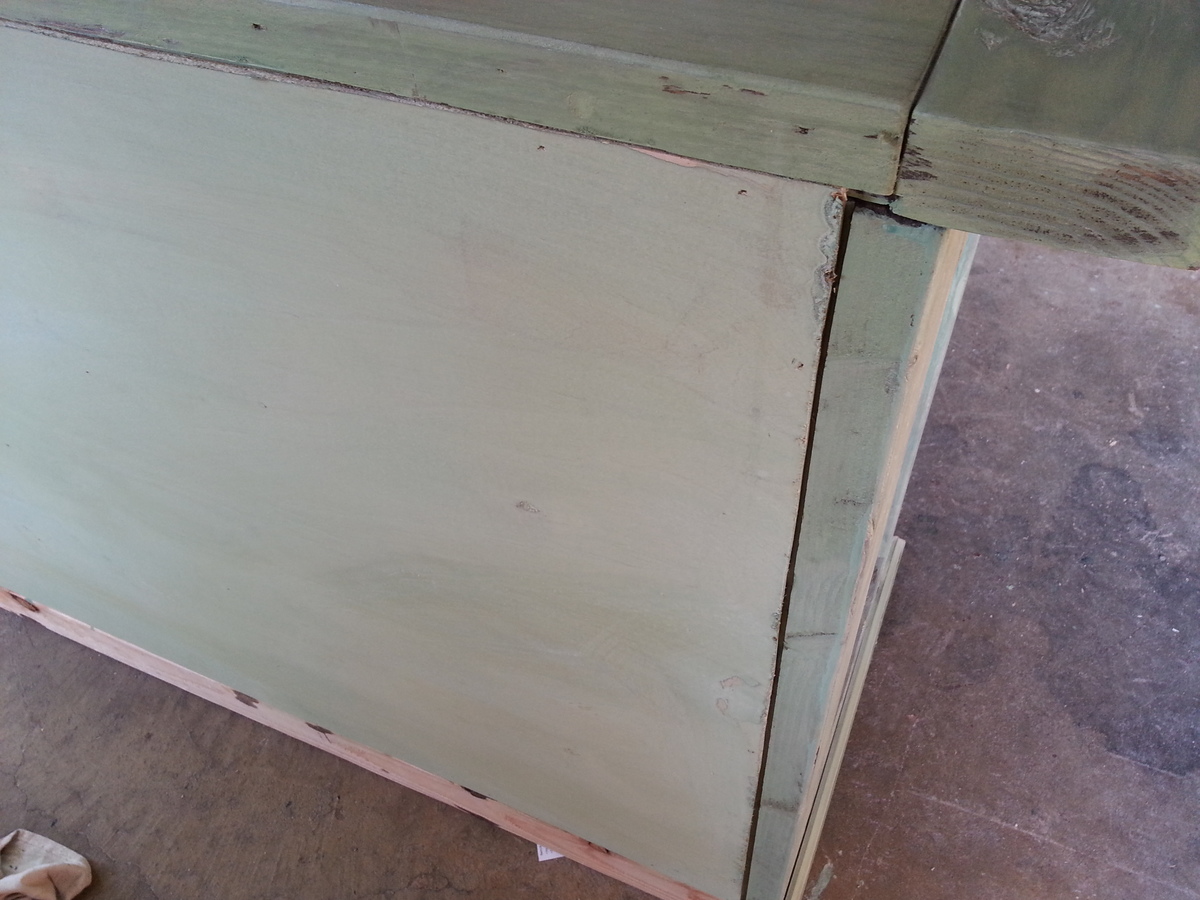
We didn't tack the backing on. We routed in 1/4 inch in the back to inset the entire back. Very simple and easy.

The finish was fantastic. We did the following (Sanding heavily between each step):
-Minwax Provincial Stain
-Miss Mustard Seed Luckets Green (1 coat)
-Minwax Furniture wax.

We used the same hardware as on the website. Lowe's and Home Depot don't care a lot of inset hinges and I was concerned about ordering on line.

The plans were great and the project came out fantastic. Thanks for the plans and guidance!

Estimated Cost
400
Estimated Time Investment
Week Long Project (20 Hours or More)
Finish Used
-Minwax Provincial Stain
-Miss Mustard Seed Luckets Green (1 coat)
-Minwax Furniture wax.
Recommended Skill Level
Intermediate

Comments

Rustic X End Table

Thank You Ana White and The Friendly Home for making the Original! These end tables are a little different because I decided to make an "X" with 2 1x2s on each side (from top to bottom), to give it a little different look and depth. It was pretty easy to make!

Built from Plan(s)
Estimated Time Investment
Day Project (6-9 Hours)
Recommended Skill Level
Beginner

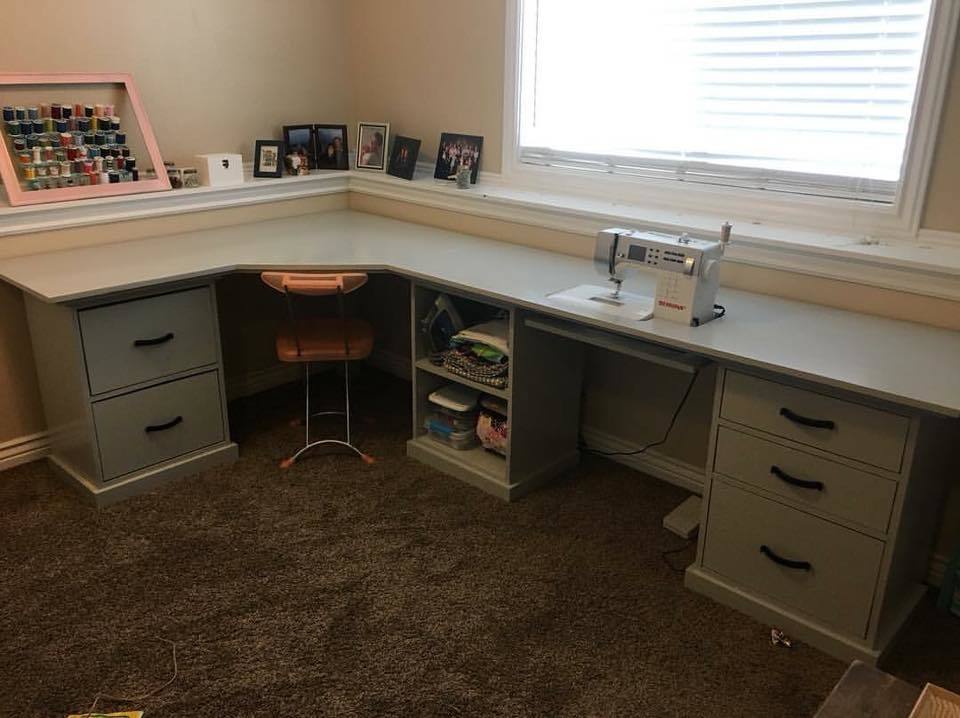
Corner Desk for Craft Room Sewing - DIY

Submitted by Anonymous (not verified) on Mon, 10/23/2017 - 11:02


We made this sewing/craft table by combining plans from the modular office. It was a big job but SO worth it! We love your plans and use them all the time!

Submitted by Candace Ann Williams

Comments

melkaye

Wed, 02/19/2020 - 13:49

Could you tell me how much extra did you add on to the one side? And how did you fit your sewing machine in there? 

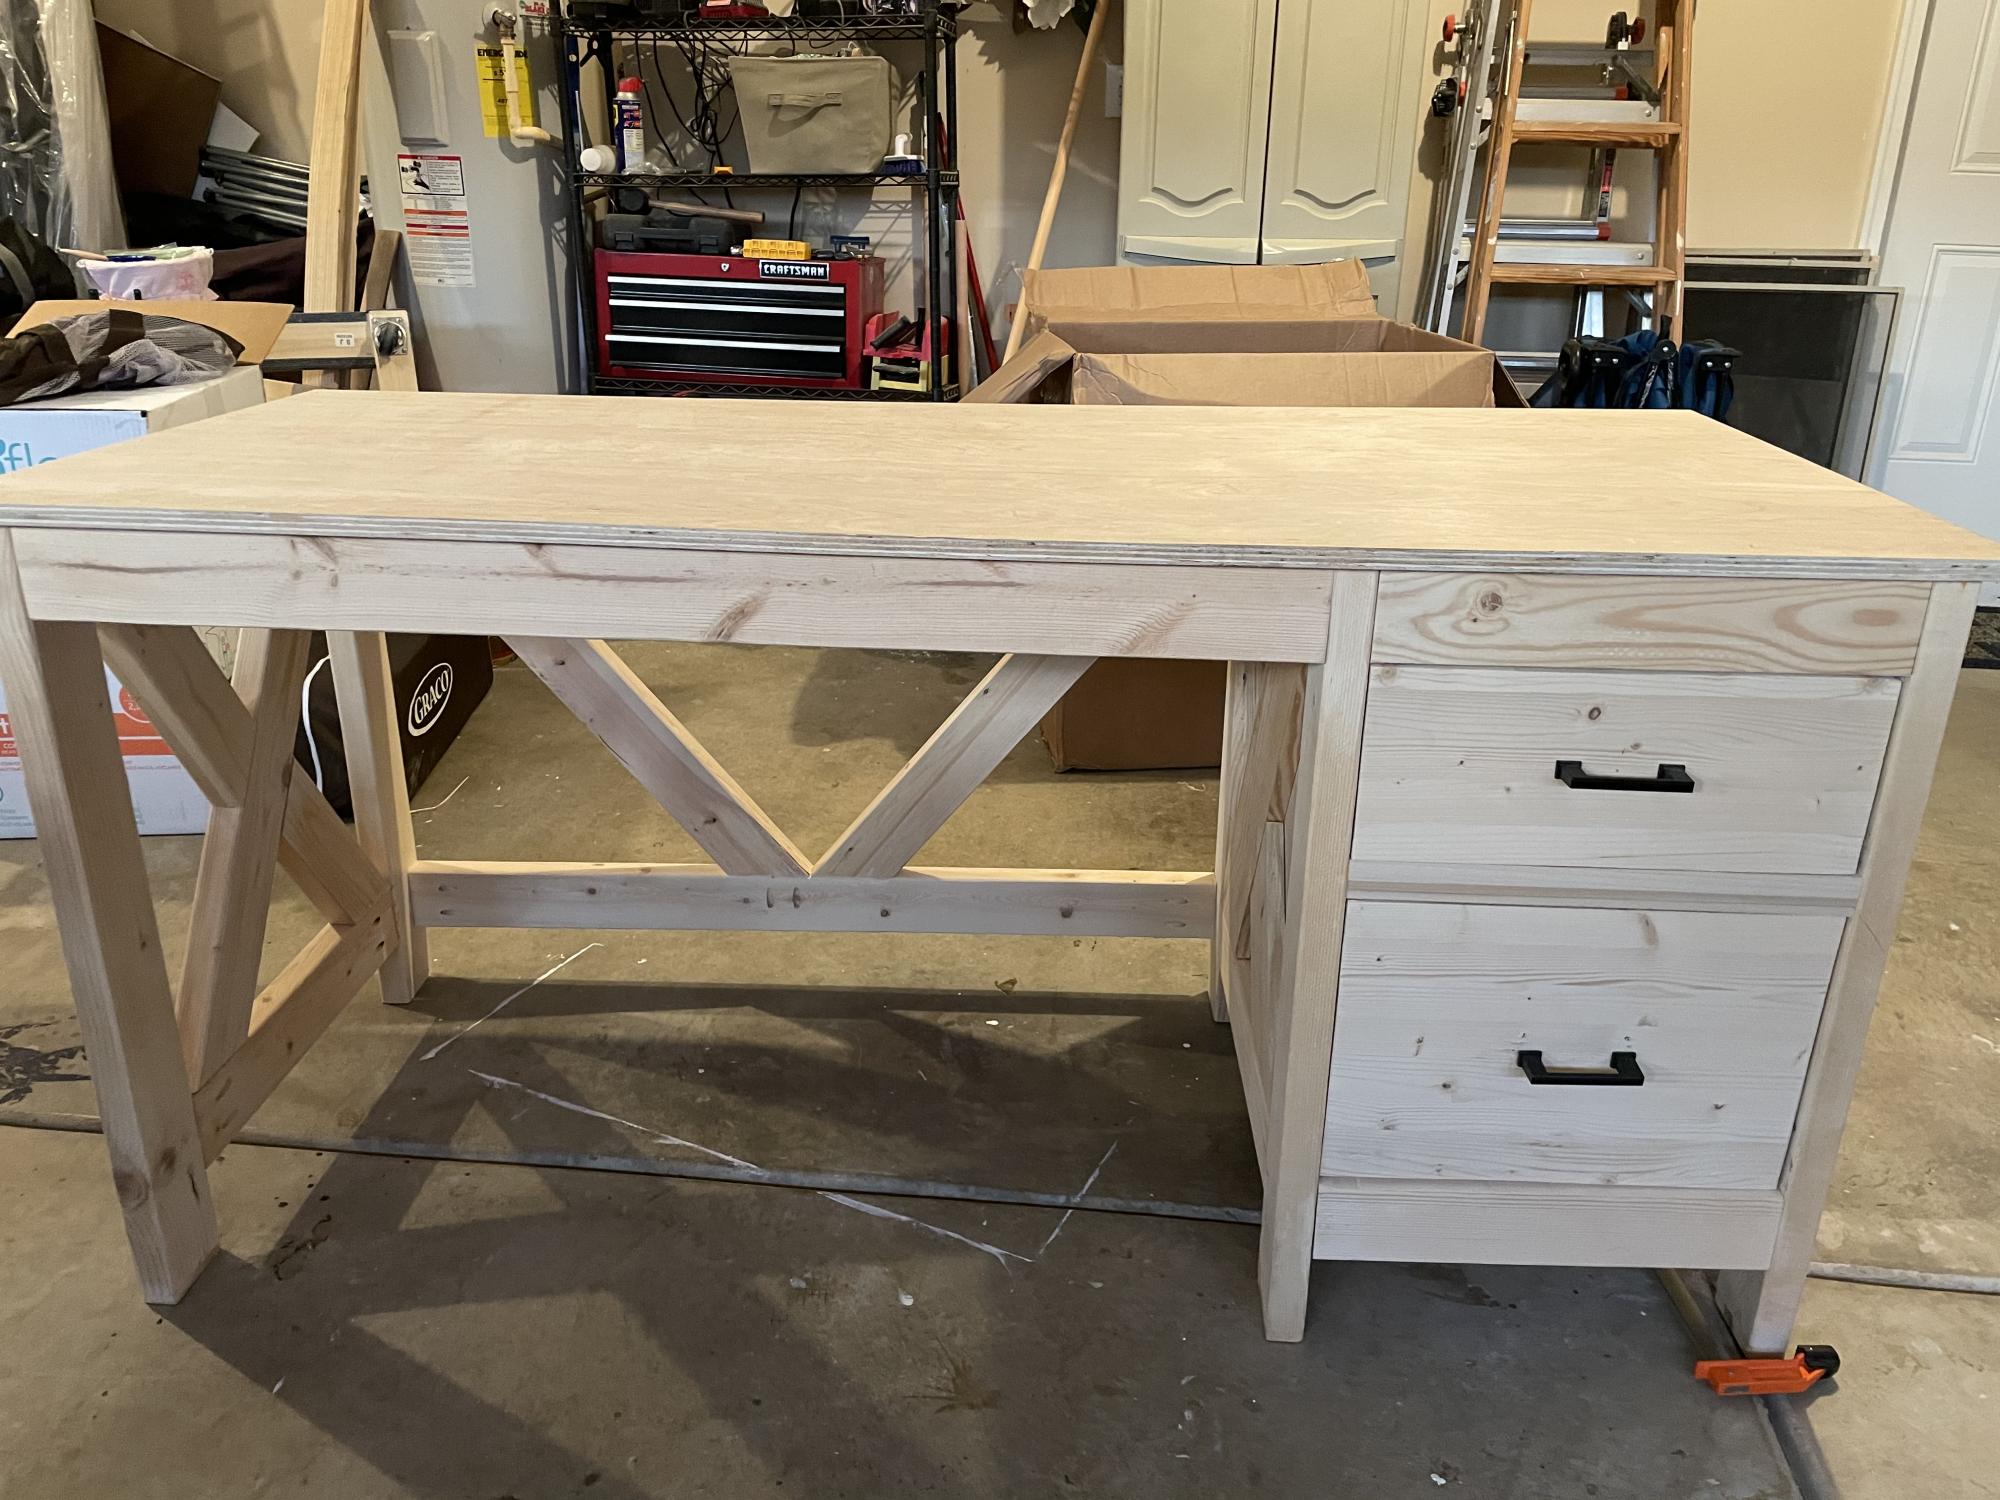
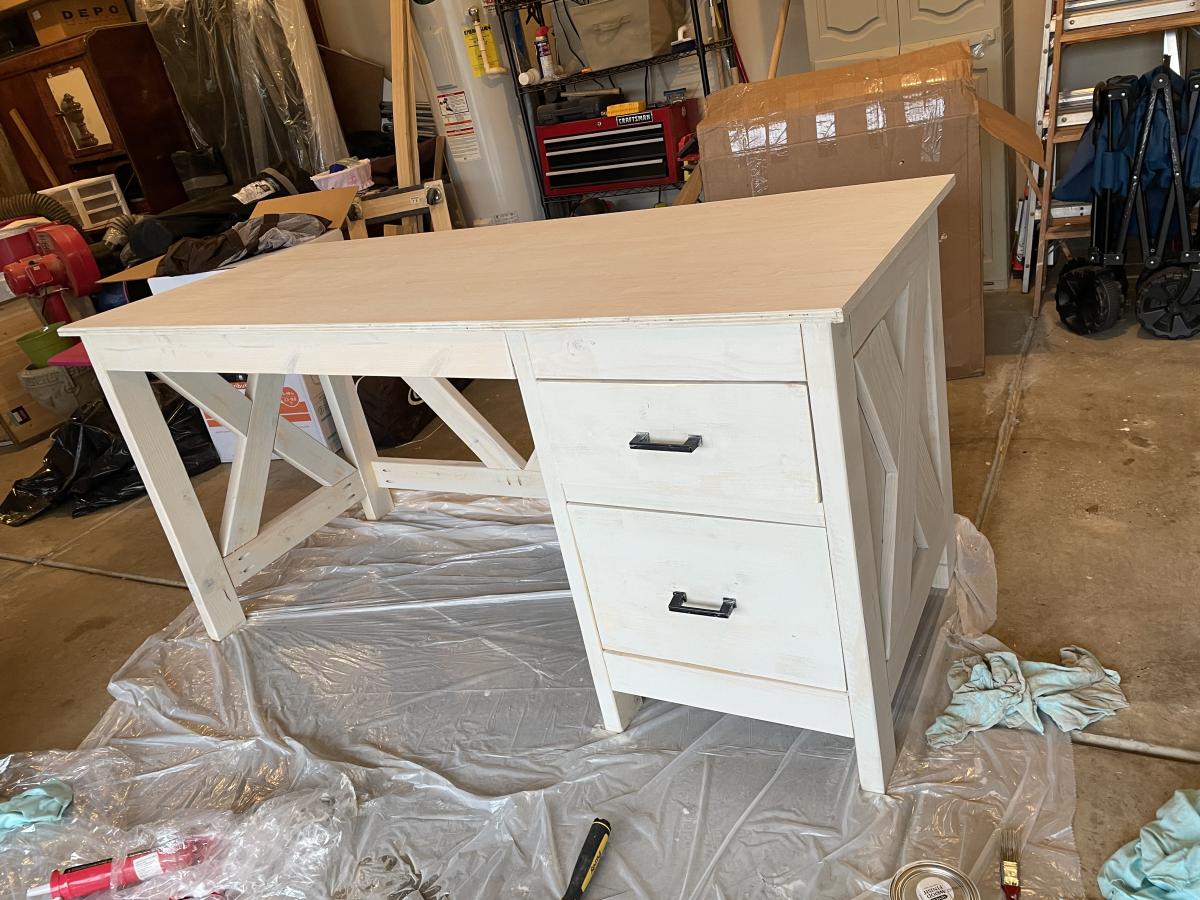
Farmhouse desk

Submitted by Anonymous (not verified) on Fri, 11/05/2021 - 16:02

My first “big” piece of furniture! I have over the last year realized I had a little sawdust in my blood! My dad is a 3rd generation carpenter, he is the youngest of 5 boys and he is now 79. I started with a couple of quilt/blanket ladders for my daughters, then graduated to a headboard. Then last Christmas I surprised my dad with an oak bookshelf (because oak is the best 😉) I knew that’s what my dad loved. It brought him to tears! So, then my daughters began showing me pictures of desks, tv chests, etc and I gained a little confidence with each piece.

Built from Plan(s)

Comments

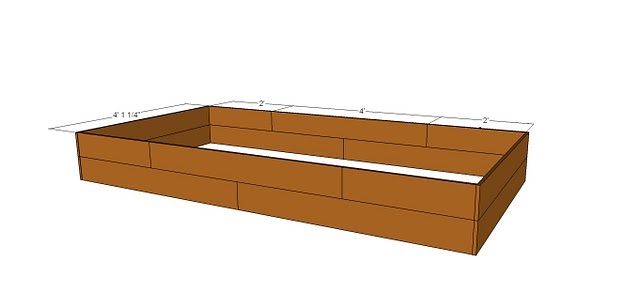
Three 4'x8' Raised Cedar Beds for $45 total.

Submitted by amberhibbs on Fri, 04/01/2011 - 13:41

I finished these last weekend and finally took pictures.

I found 44 5' cedar pickets on craigslist for $30 and built these raised beds. I built them according to Ana's instructions except I made them bigger (4'x8'). Since my boards were 5' long I couldn't span the entire length and went with a brickwork style overlap so there wasn't one seam in the center or a weird off-center seam. And, of course, I blogged about it.

Estimated Cost
$15 per bed, $45 total
Estimated Time Investment
Weekend Project (10-20 Hours)
Finish Used
None.
Recommended Skill Level
Intermediate

Master Bedroom closet organizer. Before and After.

Submitted by jmtlaw5 on Tue, 06/11/2013 - 08:40

The closet had a divider when I moved in. I removed that. It opened up the room nicely. I modified the master bedroom closet plans just a bit to fit my needs and space. The closet divider had to first be removed which opened up the room nicely.
It is roughly 94 inches wide, 18 deep, and approximately 84 inches tall.

I used Soft-Close drawer slides. I also installed motion lights under the top to both add a touch of something special and simply because it was kind of dark with the floor being black wood and the closet system stained black. I sanded it to 400 grit smooth by hand. It soaked up over 4 coats of minwax polyshades ( black) applied with a brush and then rubbed smooth with a soft cloth.
Estimated Cost
master bedroom closet
Estimated Time Investment
Week Long Project (20 Hours or More)
Finish Used
polyshades by Minwax, black.
Recommended Skill Level
Intermediate

Our finished project

Submitted by Jmetom on Thu, 05/14/2015 - 12:11

For the grandkids

Recommended Skill Level
Beginner

Comments

Building-At-Home-Mom

Fri, 05/15/2015 - 06:08

This project is awesome. How did the grandkids like playing on it? Do you have building plans for this?

Again, great work!