Sectional
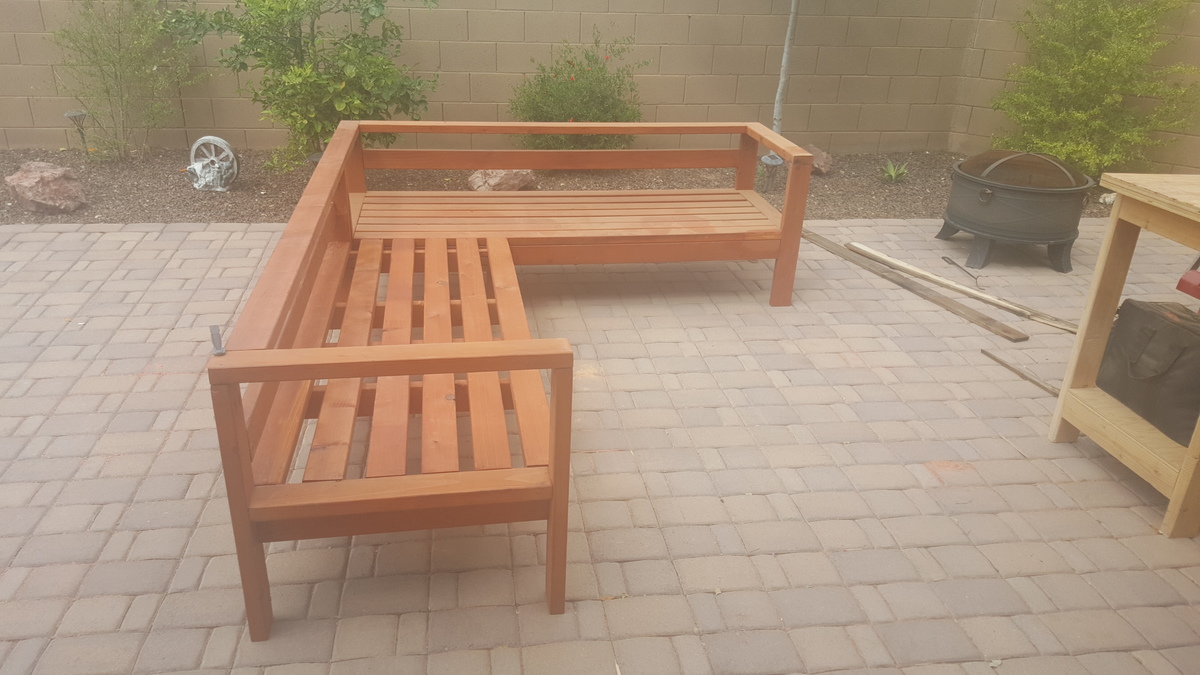
Here is the outdoor sectionAL I built with redwood.

Here is the outdoor sectionAL I built with redwood.
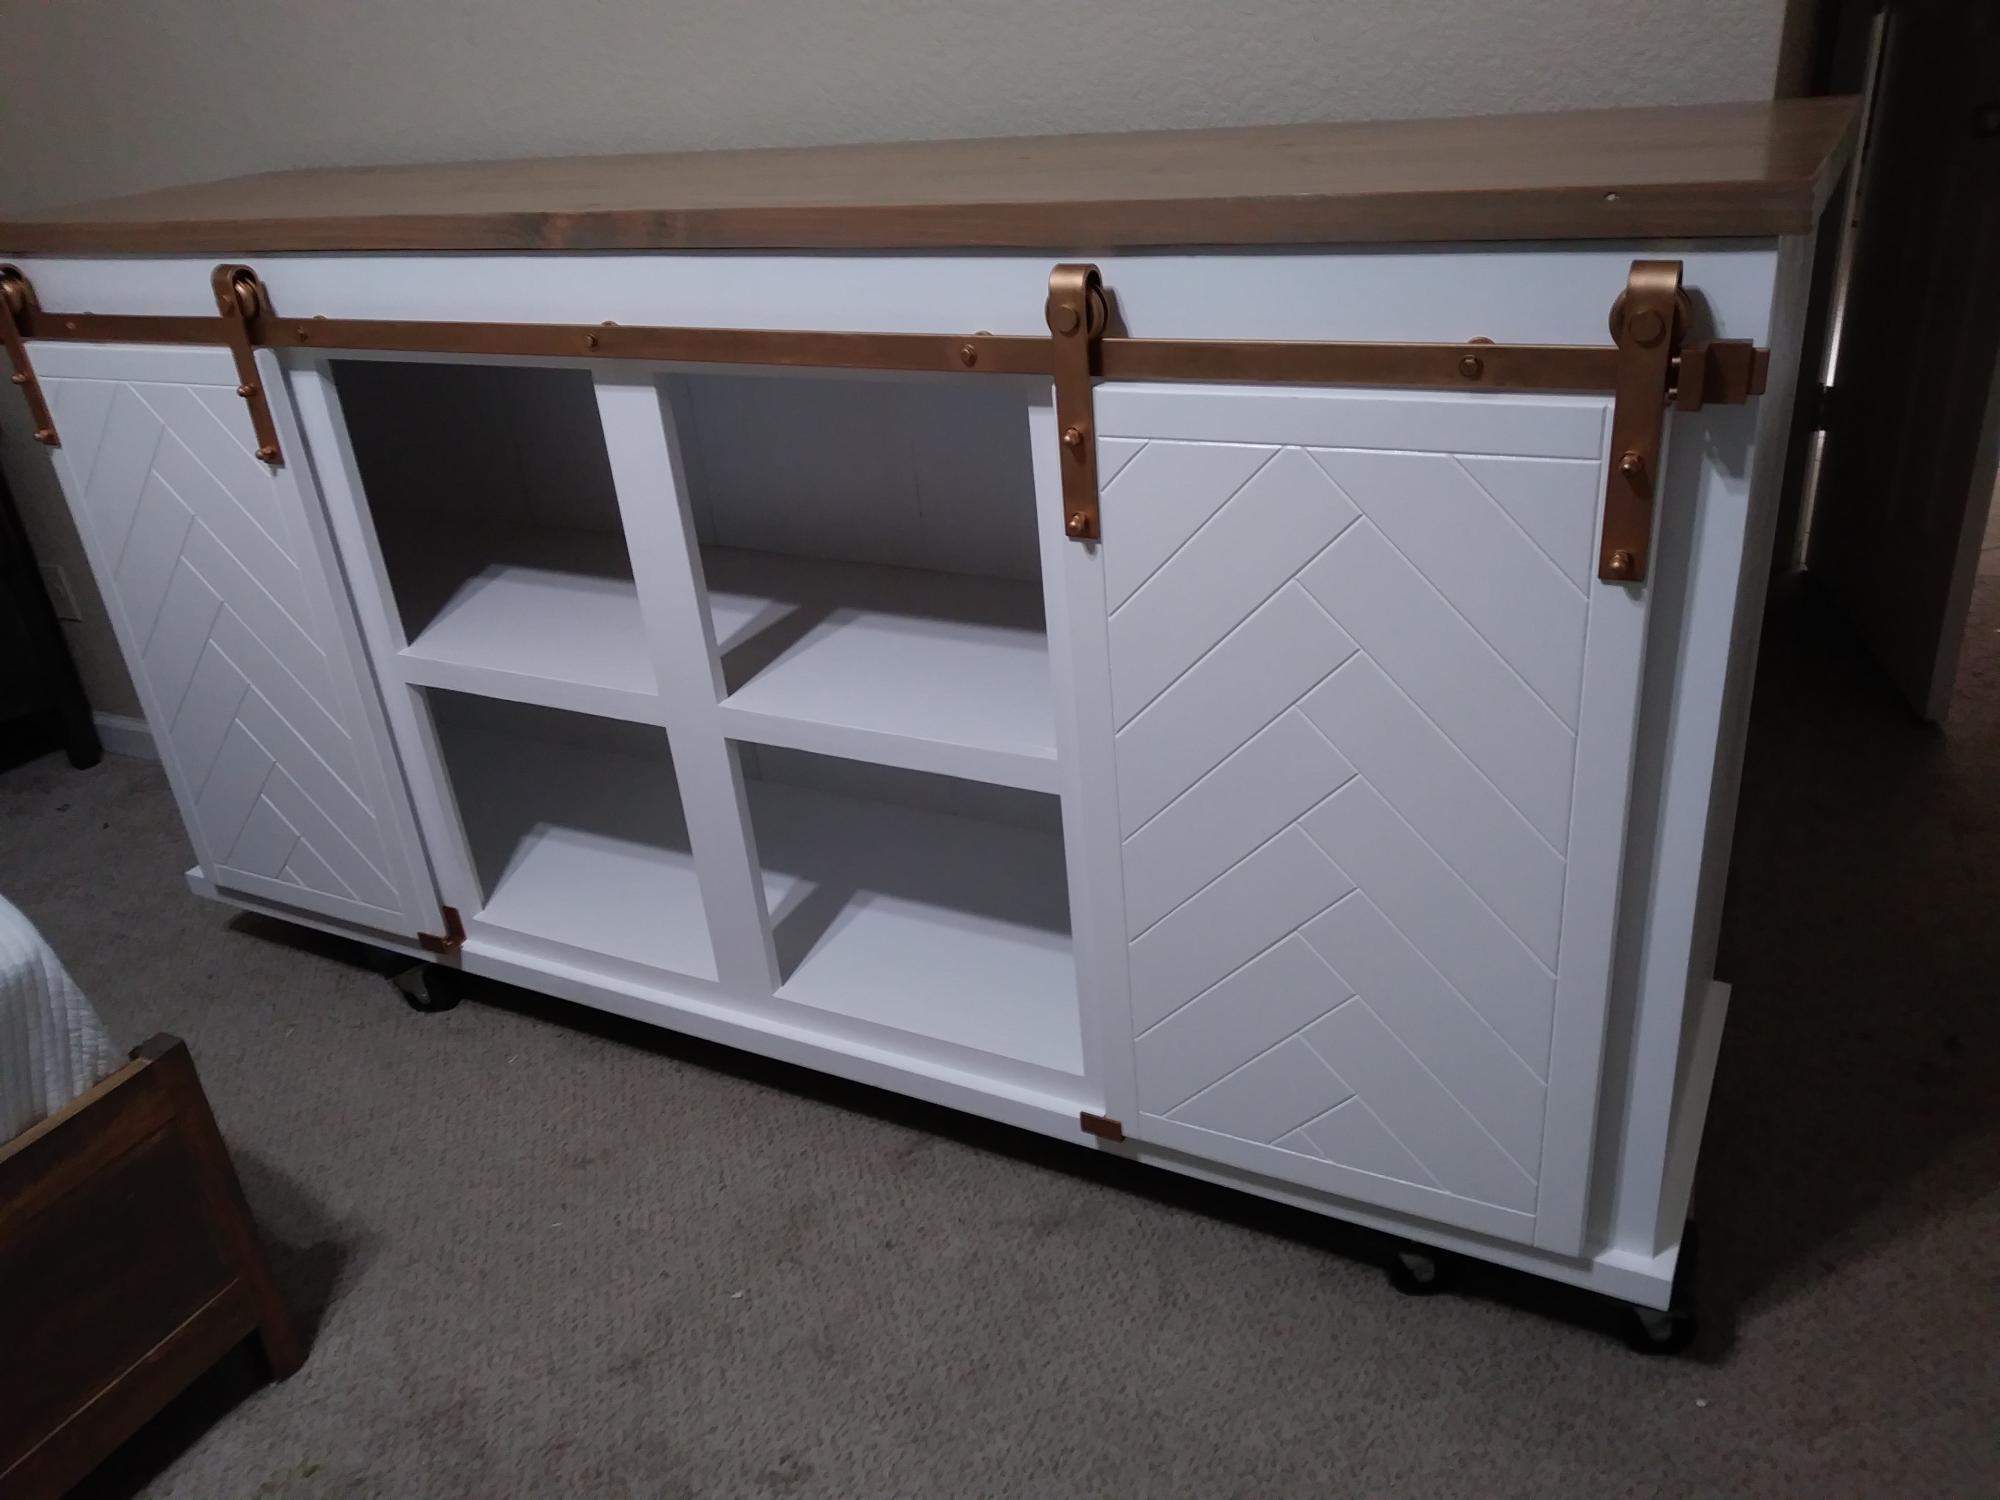
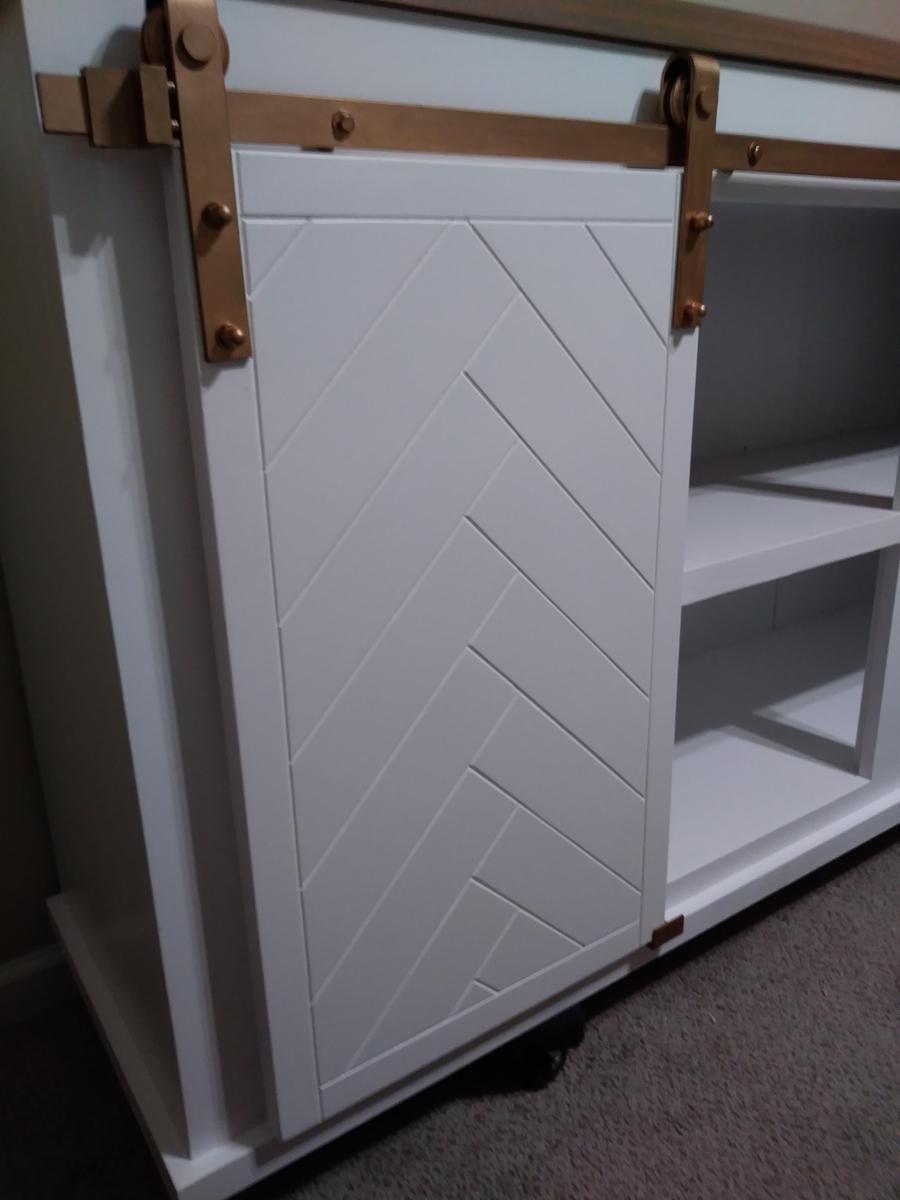
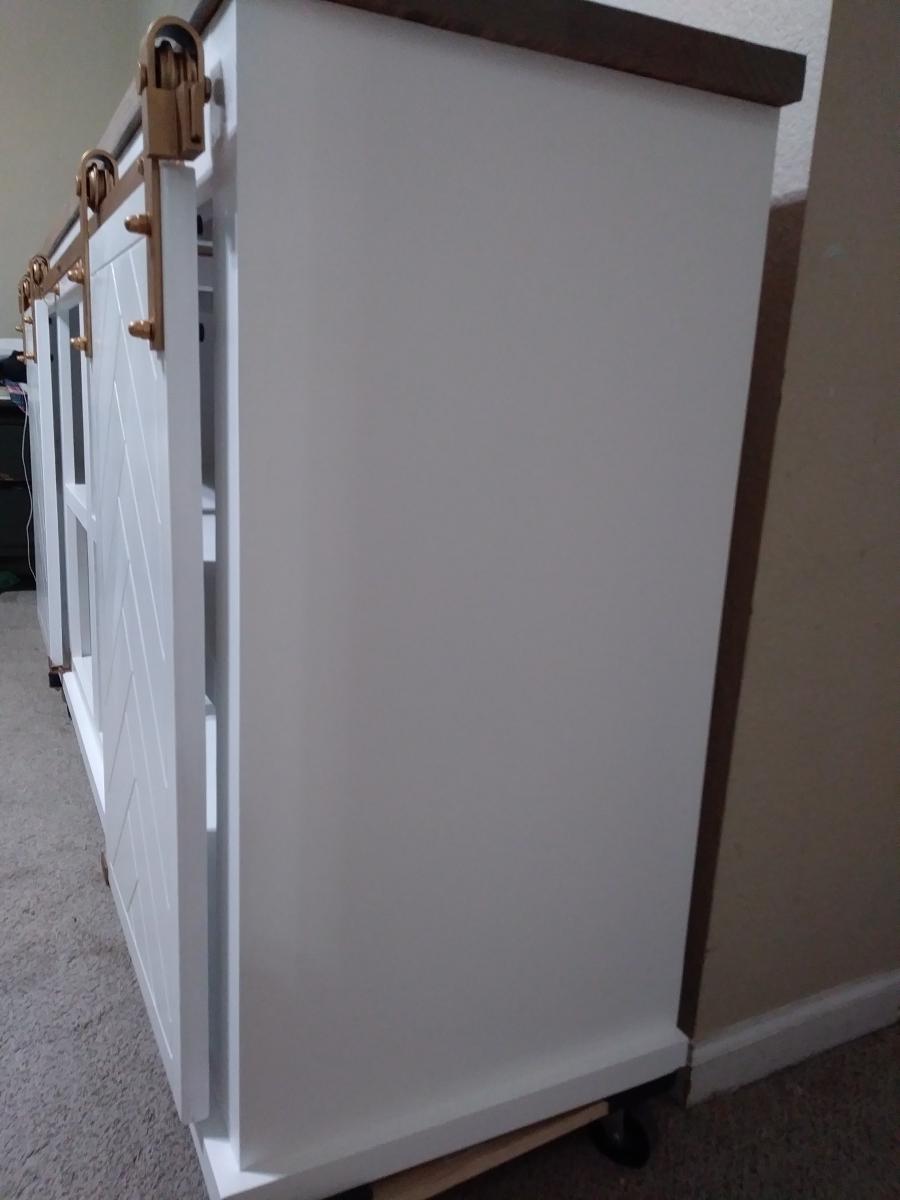
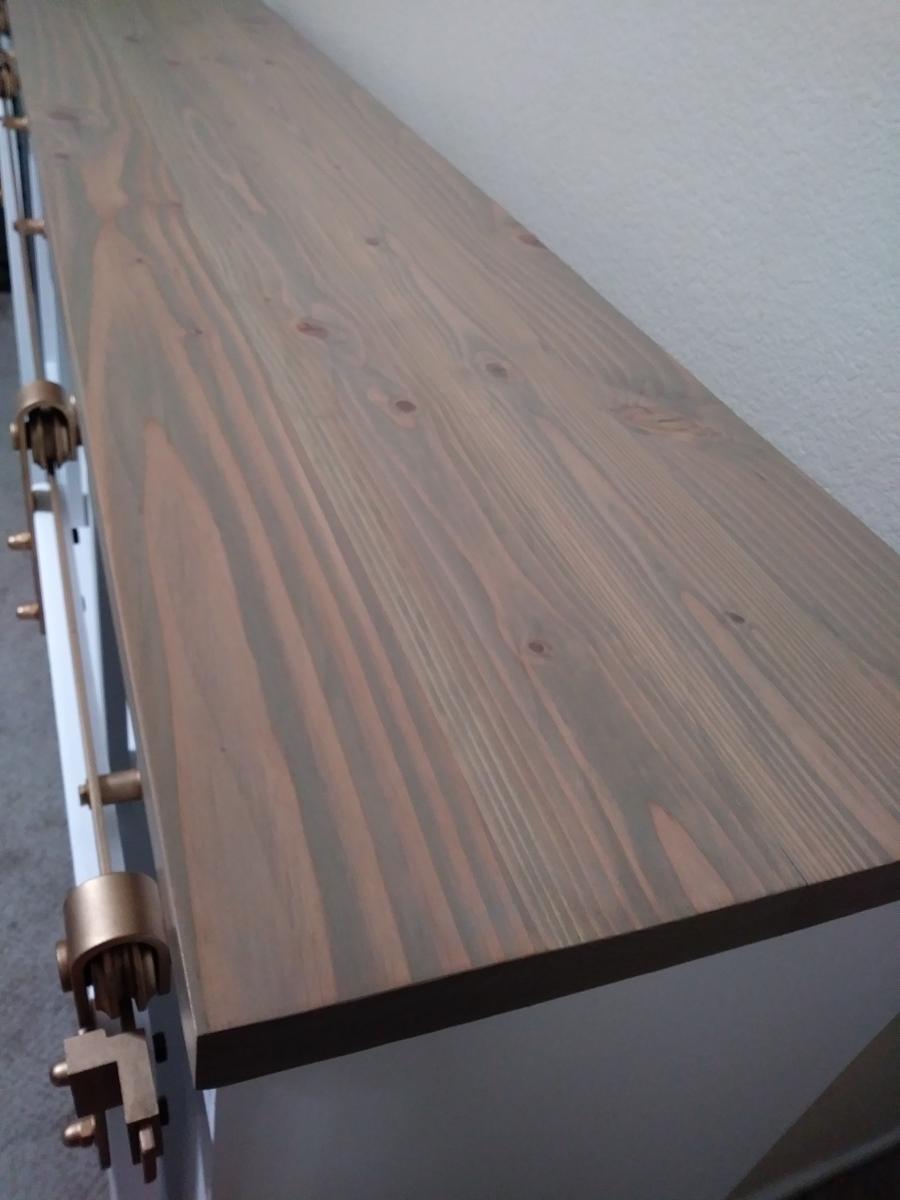
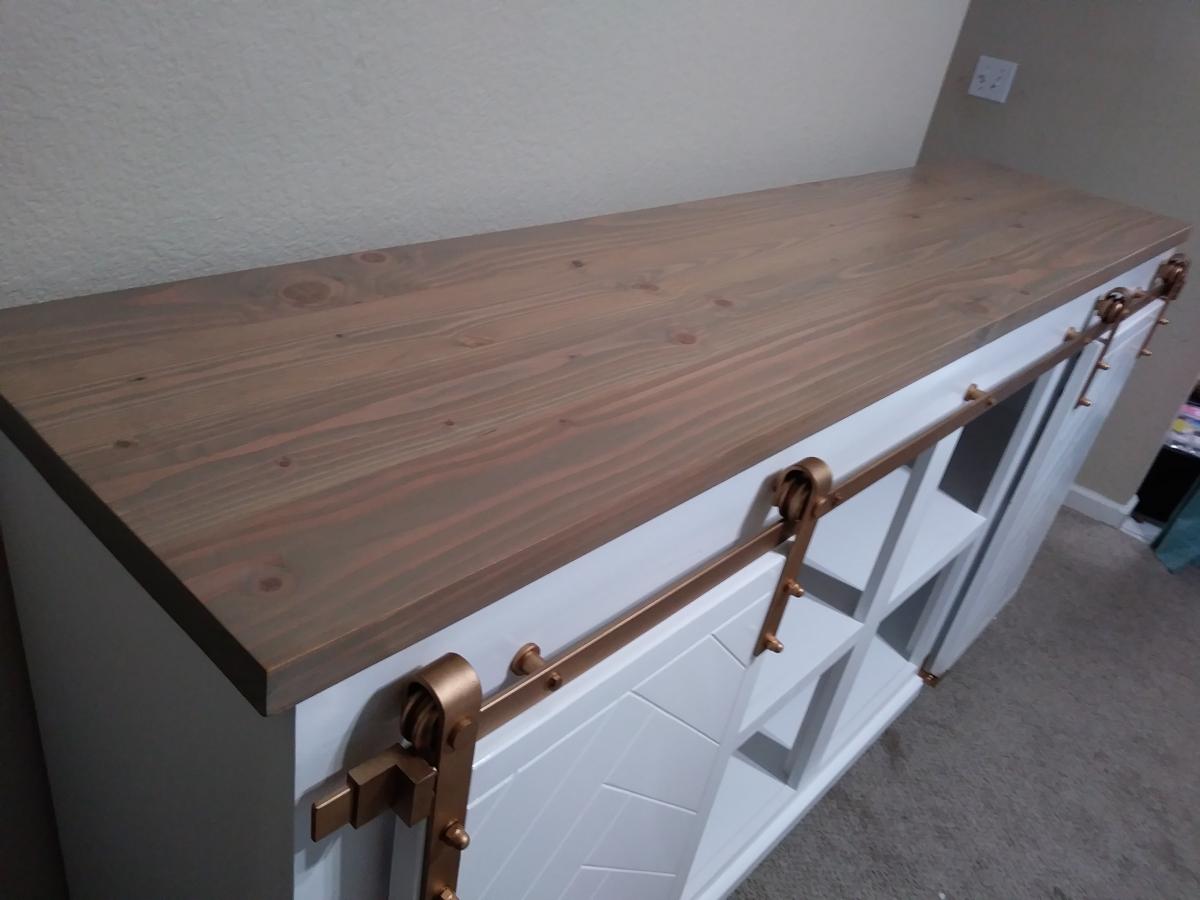
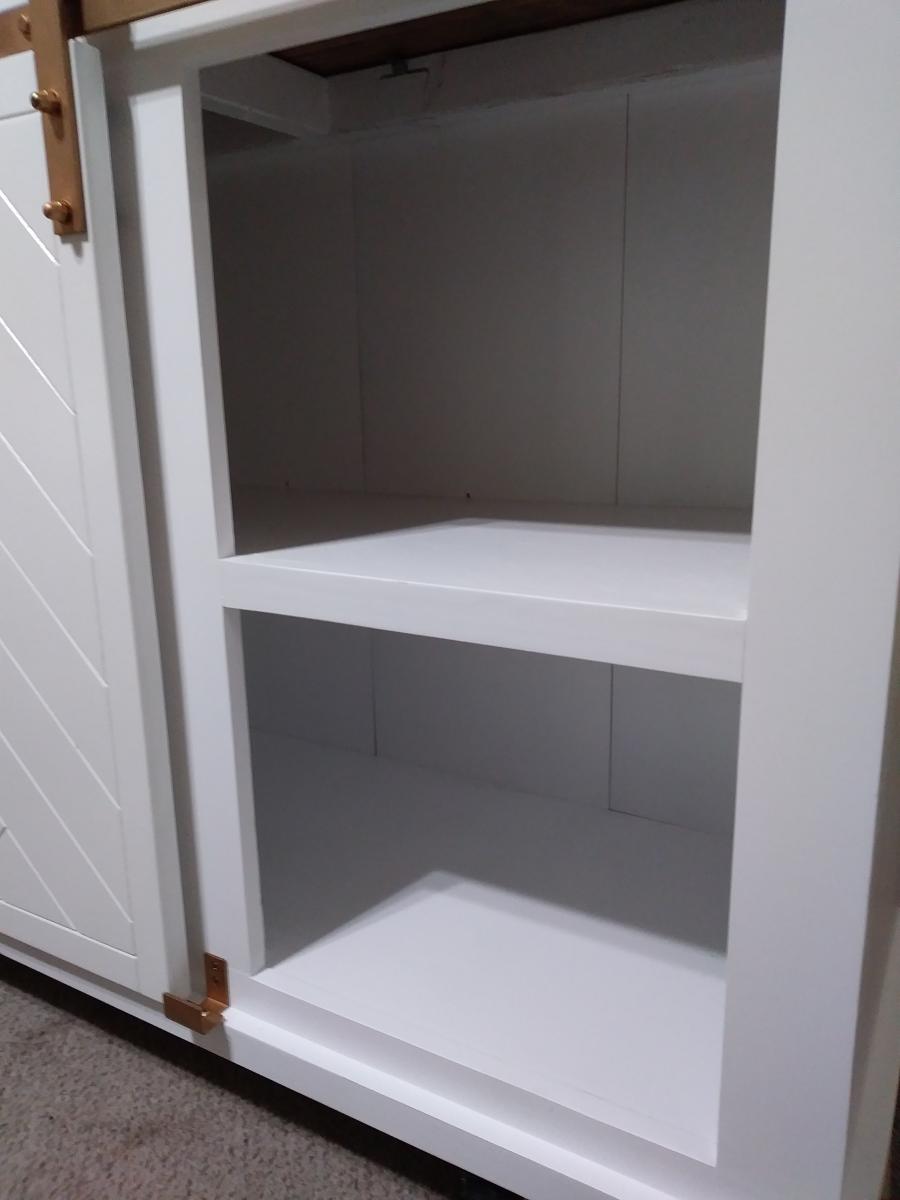
This console was made with herringbone doors and gold hardware. Everyone who sees it wants me to make them one :)
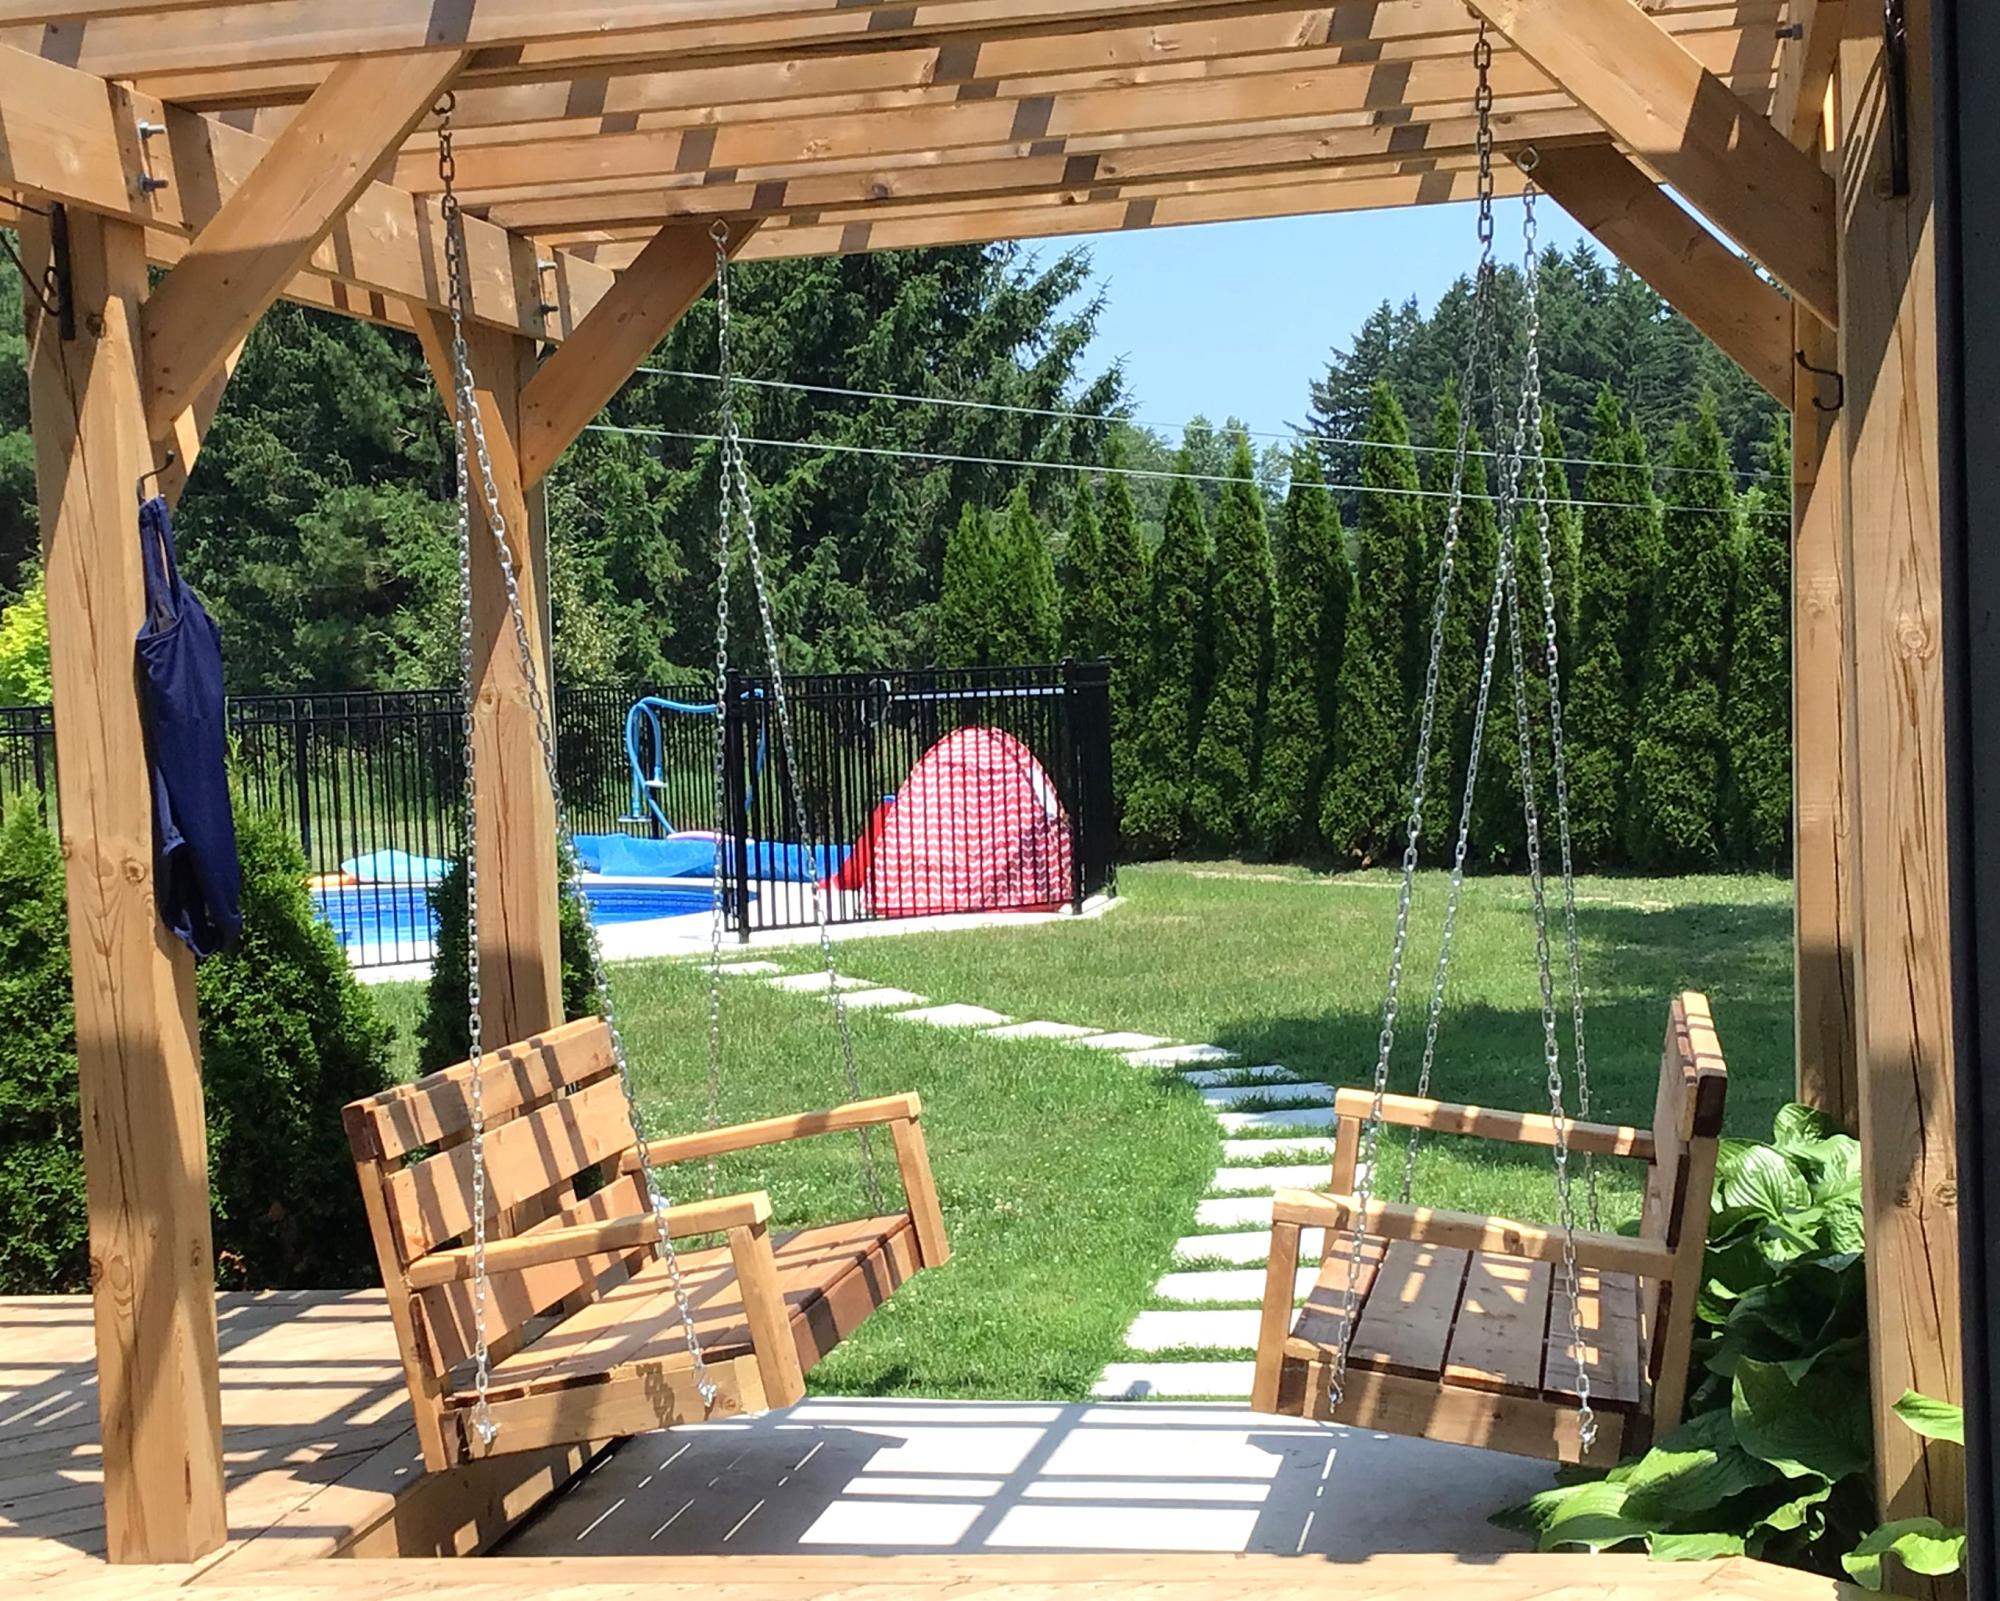
I’m no carpenter but this went well. I did it all with pressure treated because it is in the open. They filled in the area where there used be a hot tub. Surprisingly comfortable, too. Thanks Ana
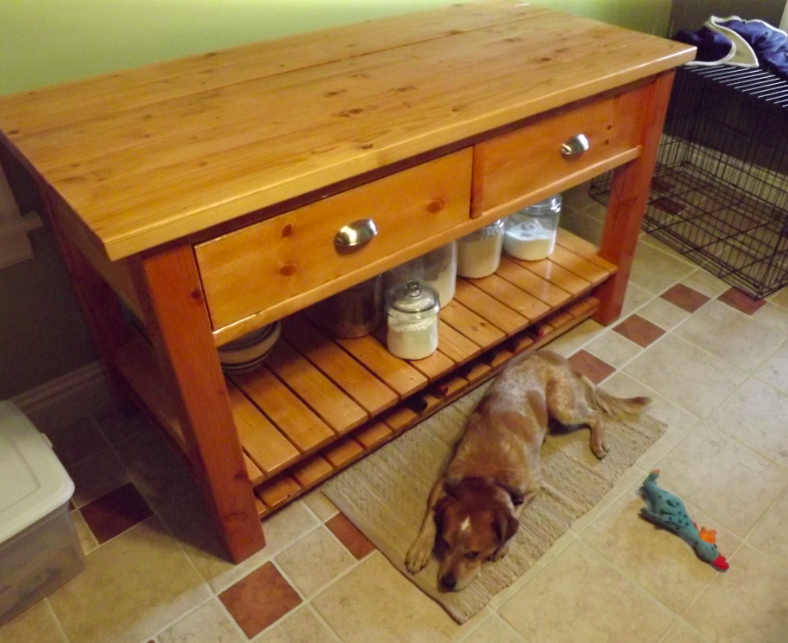
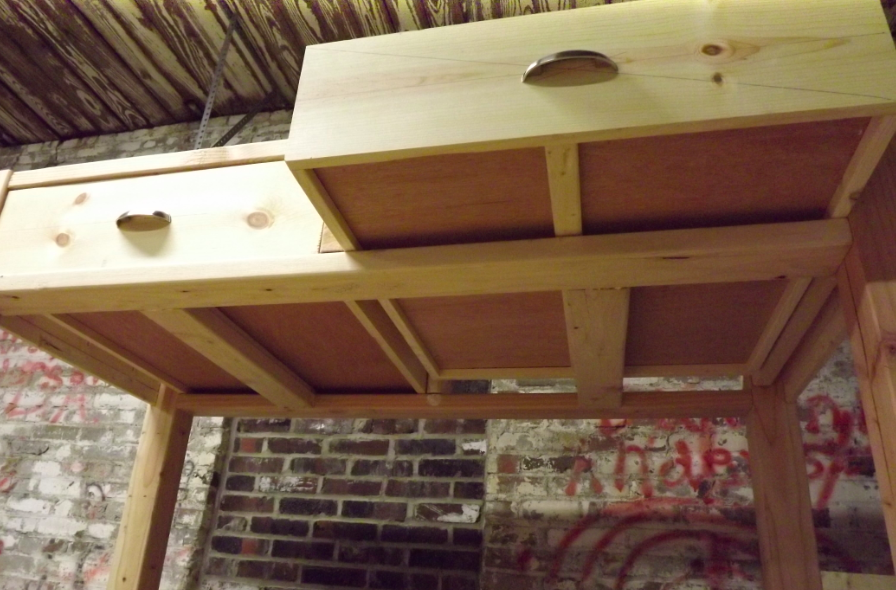
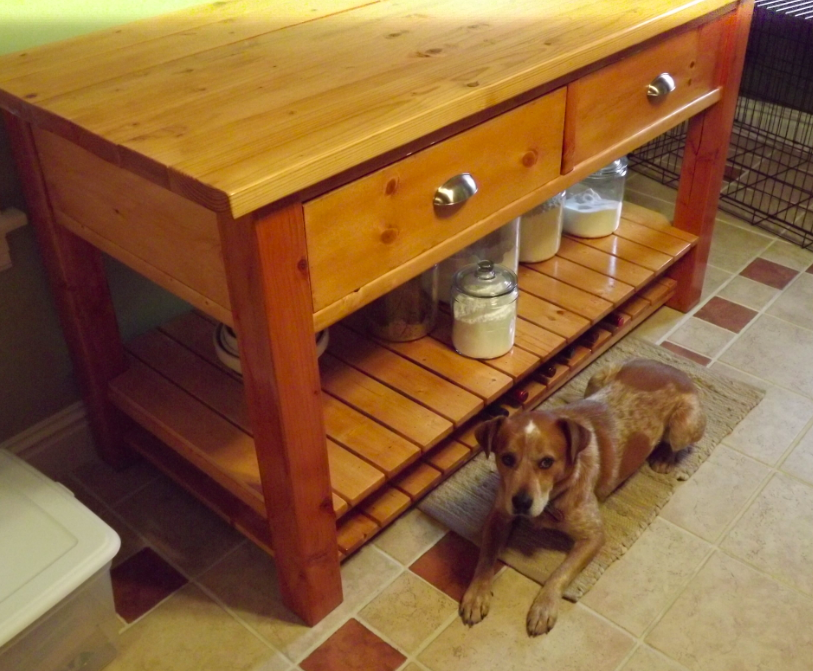
I needed something to fill an empty wall in my kitchen. I wanted something for both baking and wine storage so I modified a couple of things I saw on this website. Wine storage on the very bottom (the slats are wide enough apart that the wine bottles sit in the cracks and stay snug) with baking stuff above that. I think I'll build a matching shelf or two for the wall above it
Fri, 07/06/2012 - 15:17
I want to build a kitchen island and yours is very nice. Great Job!
Mon, 02/25/2013 - 11:22
What kind of material did you use for the table legs? Looks like 4x4?
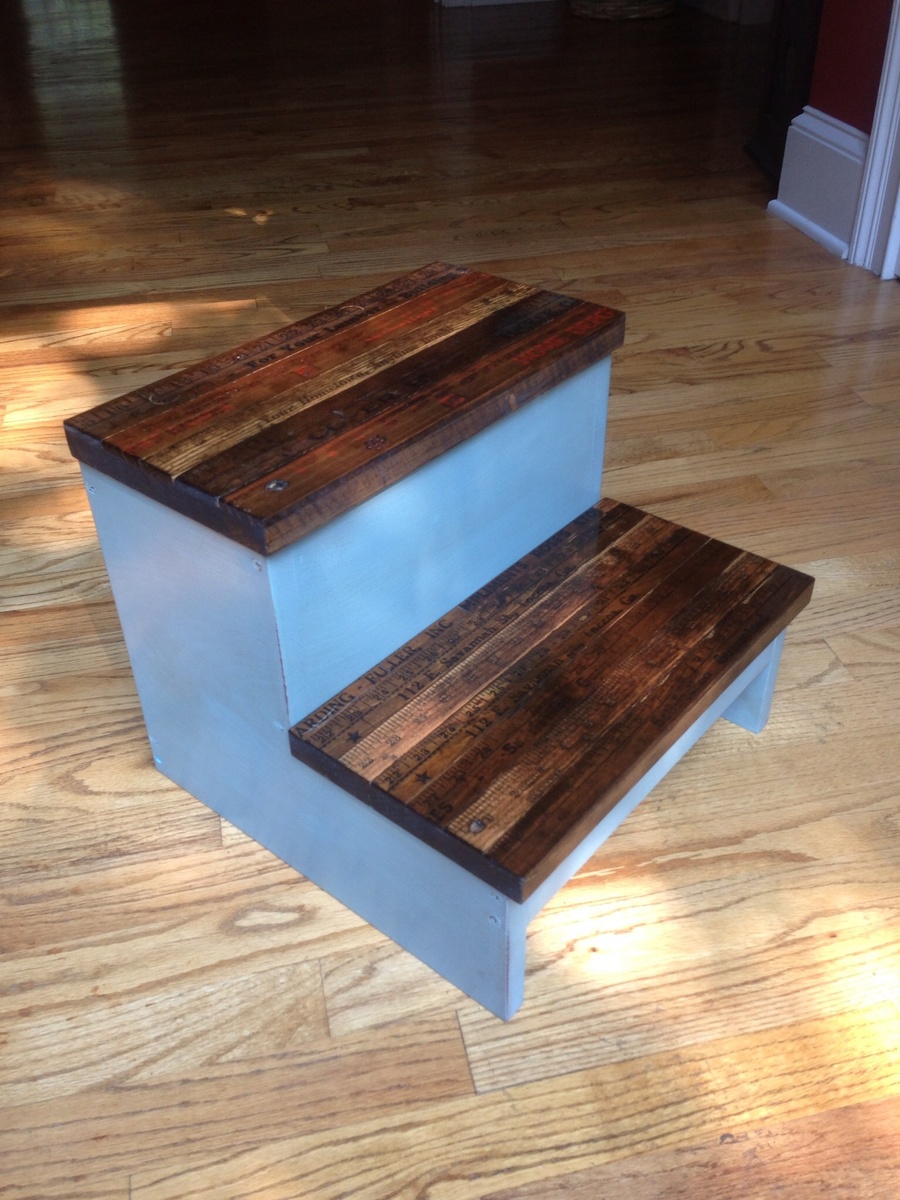
I built this stool for my 2 yr old grandson. Added yardsticks to the top of the steps for a different look, and painted the stool, then sanded randomly, added stain and wiped off for an aged look.
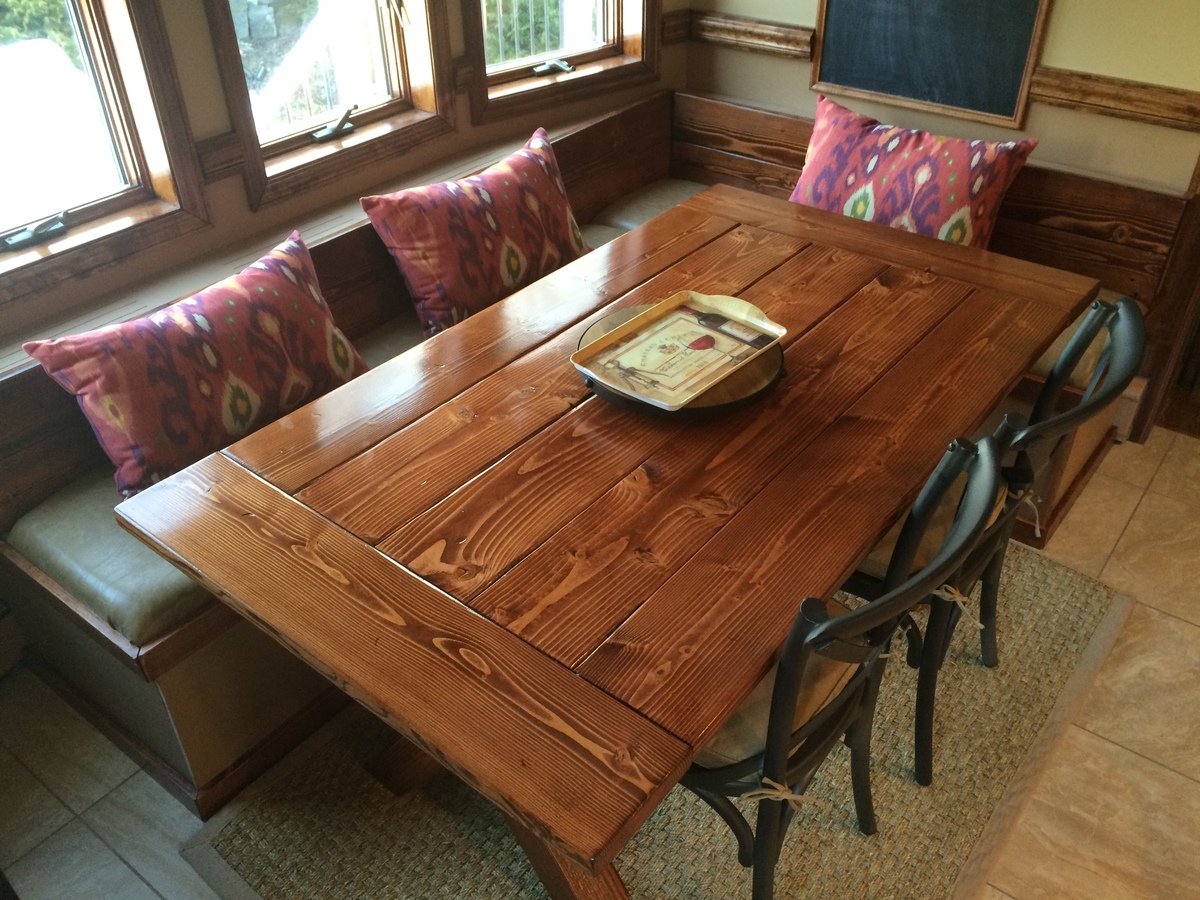
Inspired by one of your older farmhouse tables, then my wife found a pottery barn type farmhouse, few tweaks later I ended with this. Then decided we needed a bench for the kids so built in a corner bench and then made the cushions. Lots of good meals to come. Email me at [email protected] if any questions.
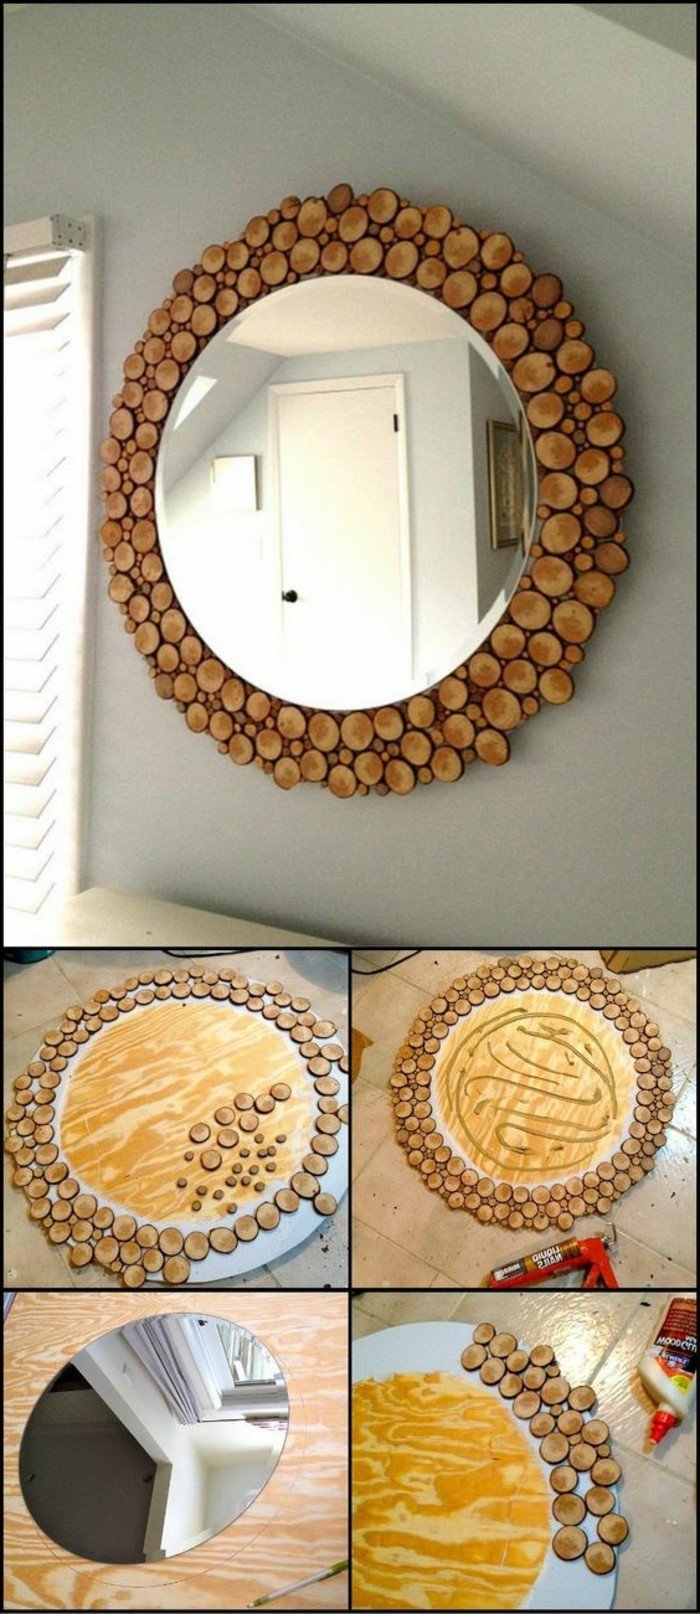
Für den Bau dieses Spiegels benötigen Sie eine Unterlage aus MDF. Eine dünne MDF-Platte zum Beispiel wäre Optimal.
Before you be be be be be be be be be be be be be be be be be be be be be be be be be be be be be be be be be be be be be be be be be be Damit Sie wissen, wohin Sie den Rahmen aus Holzscheiben kleben sollen.
Nachdem die Holzscheiben verklebt sind, kleben Sie den Spiegel fest in die Mitte des Spiegels. The whole can same method also with a eckigen mirror and wood scheiben made. Schickt uns euer Exemplar und wir veröffentlichen die Bilder hier auf dieser Seite. Falls Sie auch so einen Spiegel haben möchten, aber keine Zeit, um sich ein Angebot zu machen. Wir produzieren Ihnen den Spiegel dann.
Lieben Gruß und viel Spaß bei der Ausübung des Projektes. Wir sind auf eure Bilder gespannt!
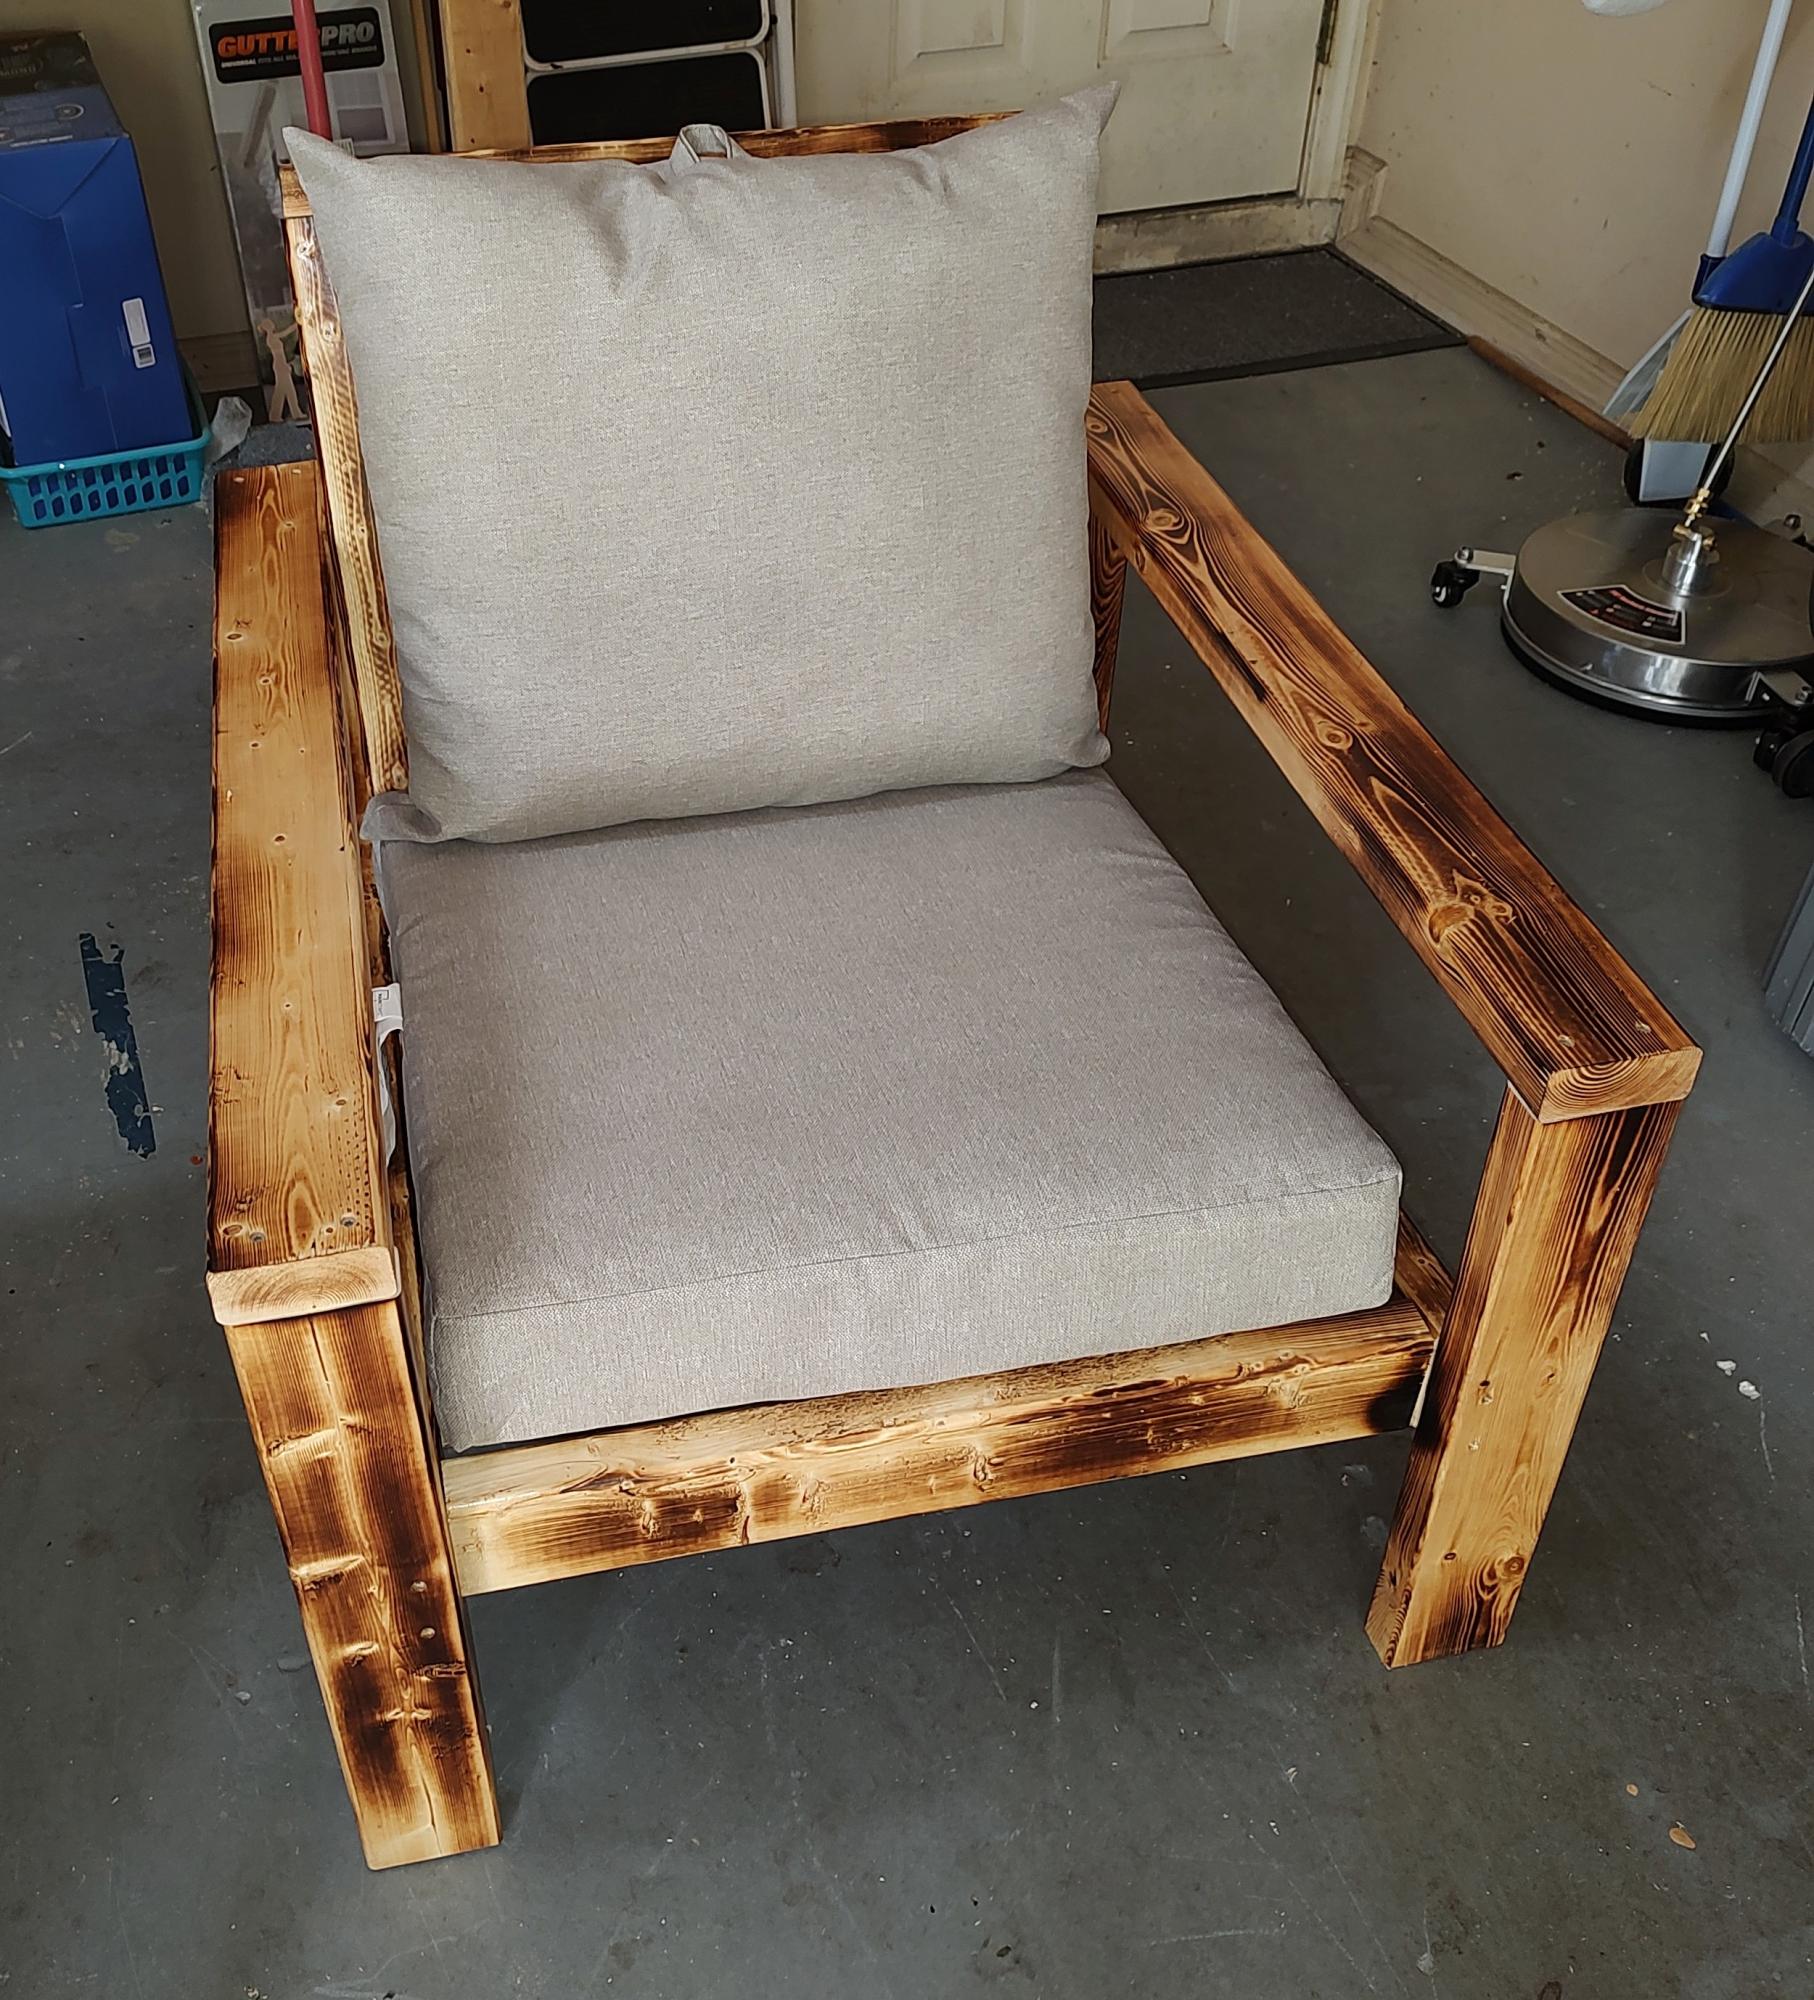
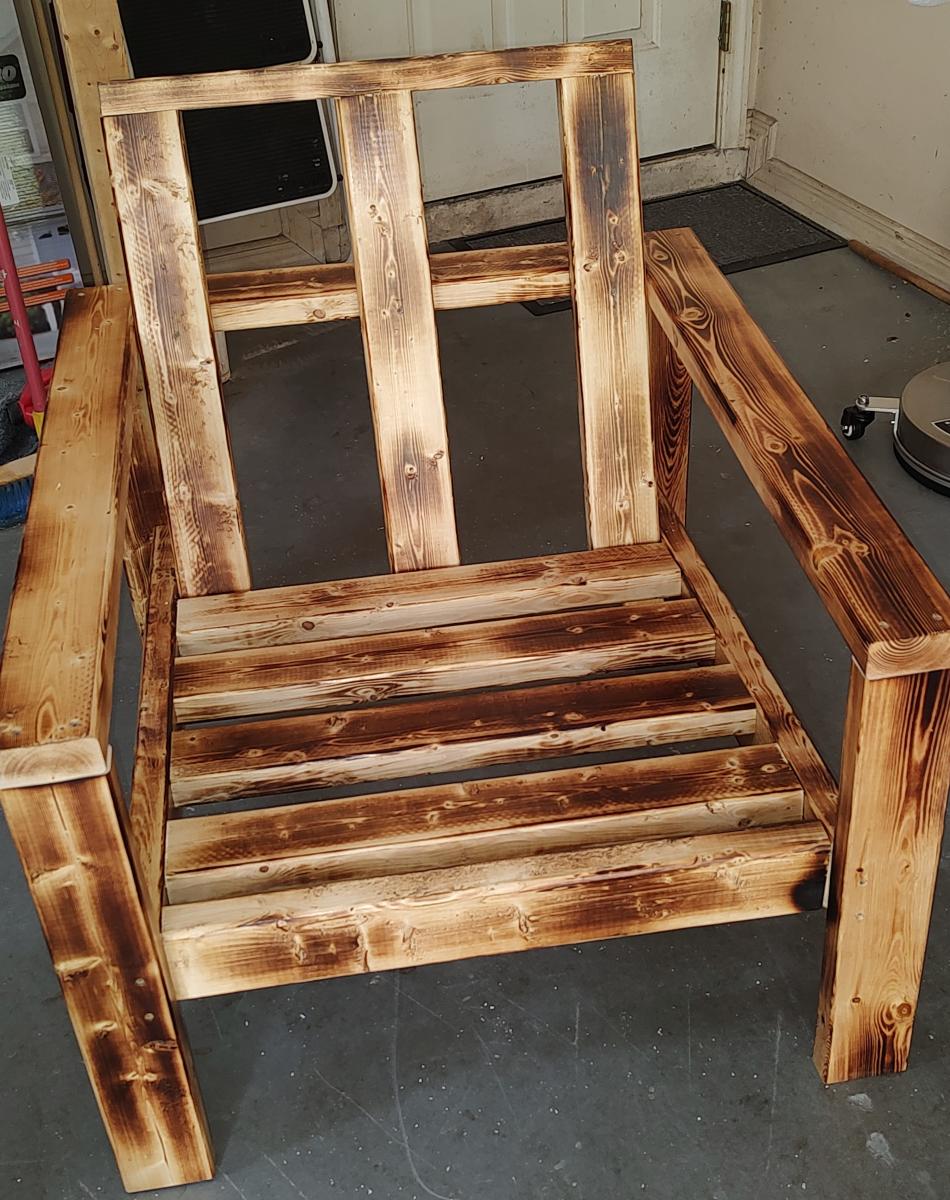
Was very easy to put together even with pocket screws.
Retired firefighter Joe
I really don't know where I got the inspiration for this shelf. We went to a primitive collections store a couple of weeks ago and I found this cool window off of a 1920's house. A couple of issues you run into with this is: 1. Windows from this time used leaded paint to paint there windows, so make sure when you sand you are in a well ventilated area. 2. Finding a window with no broken glass. Once you get all this the it's pretty easy to build. This is pretty much a backwards version of the media shelf with the door up top and the shelf on the bottom


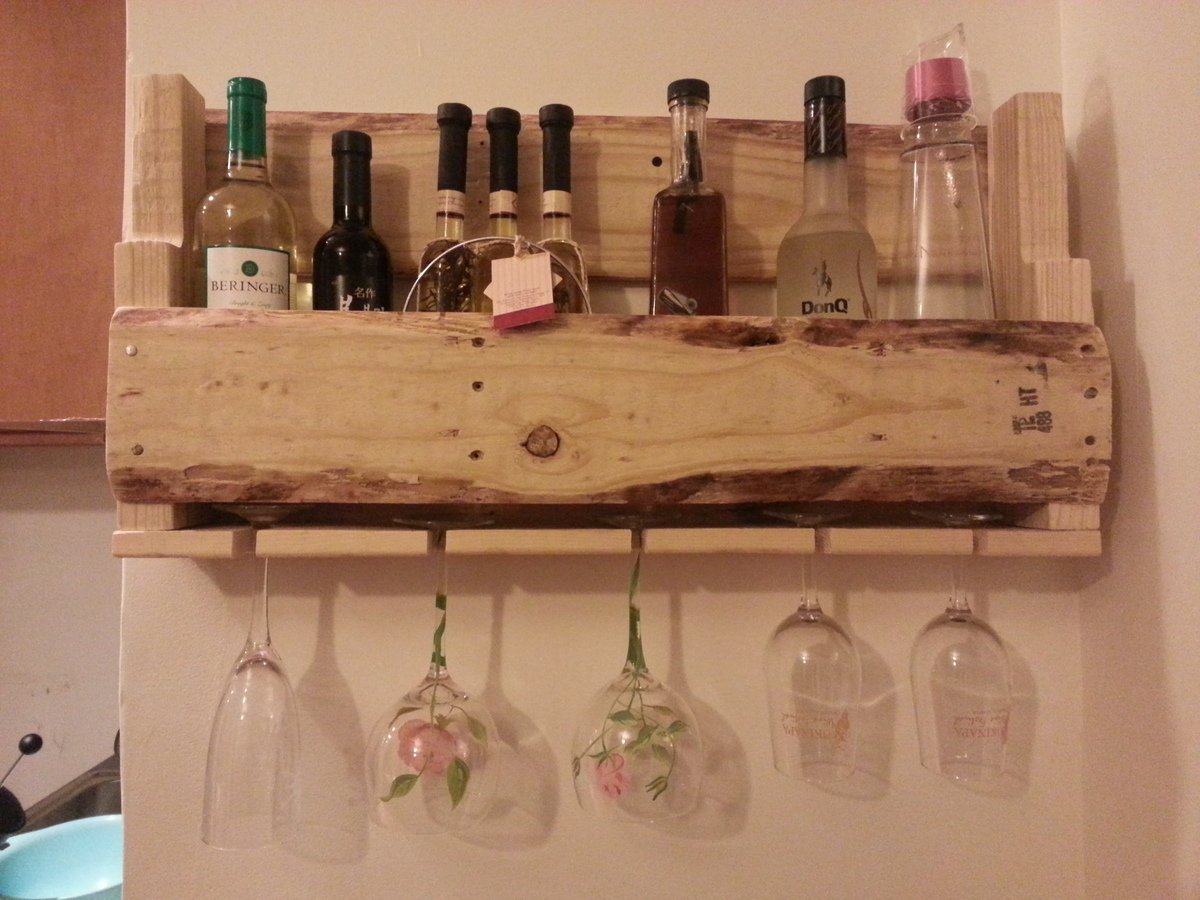
My first project! Dragged home some pallets and out came this. Theoretically, you could really do this in less time than I did but I had to customize it to fit it in the space that I wanted. I also took a lot of time sanding, as I was deathly afraid of getting splinters!
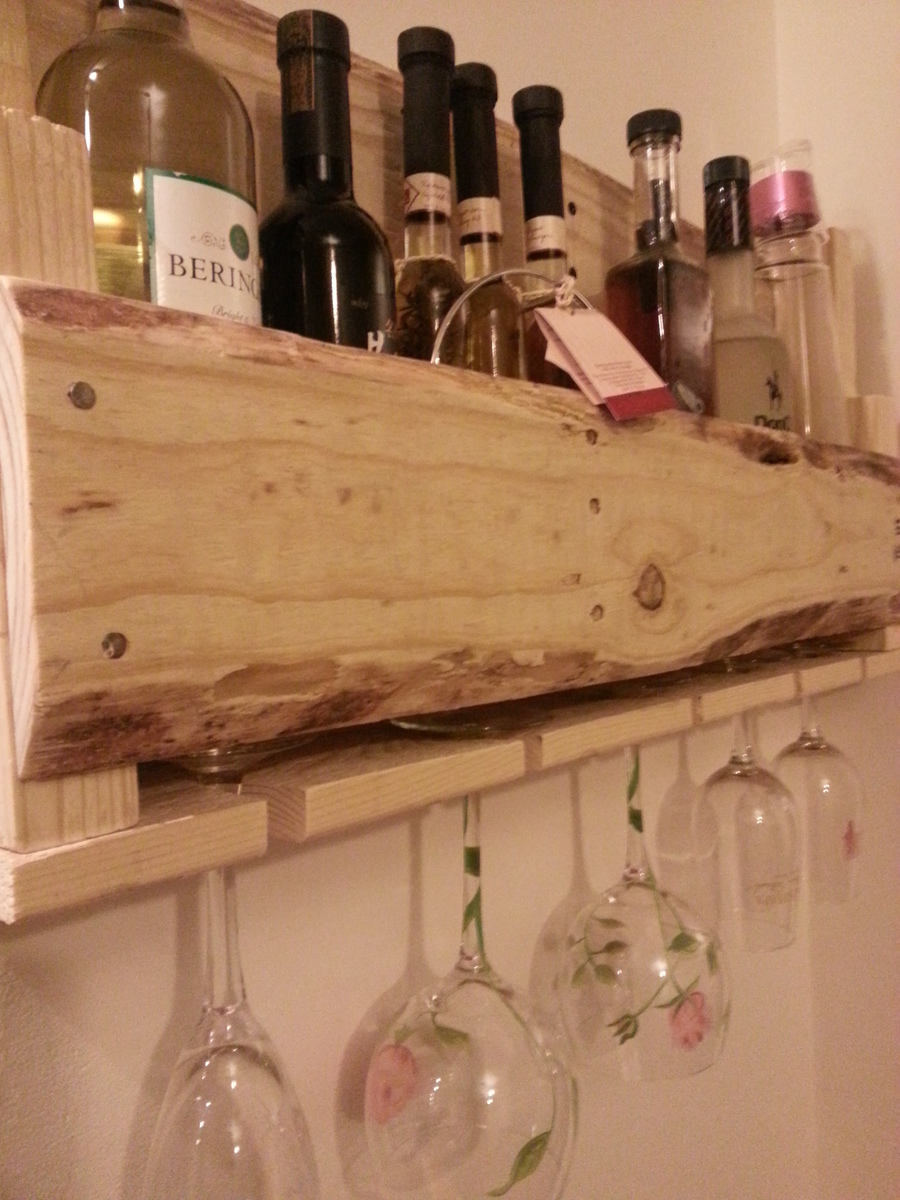
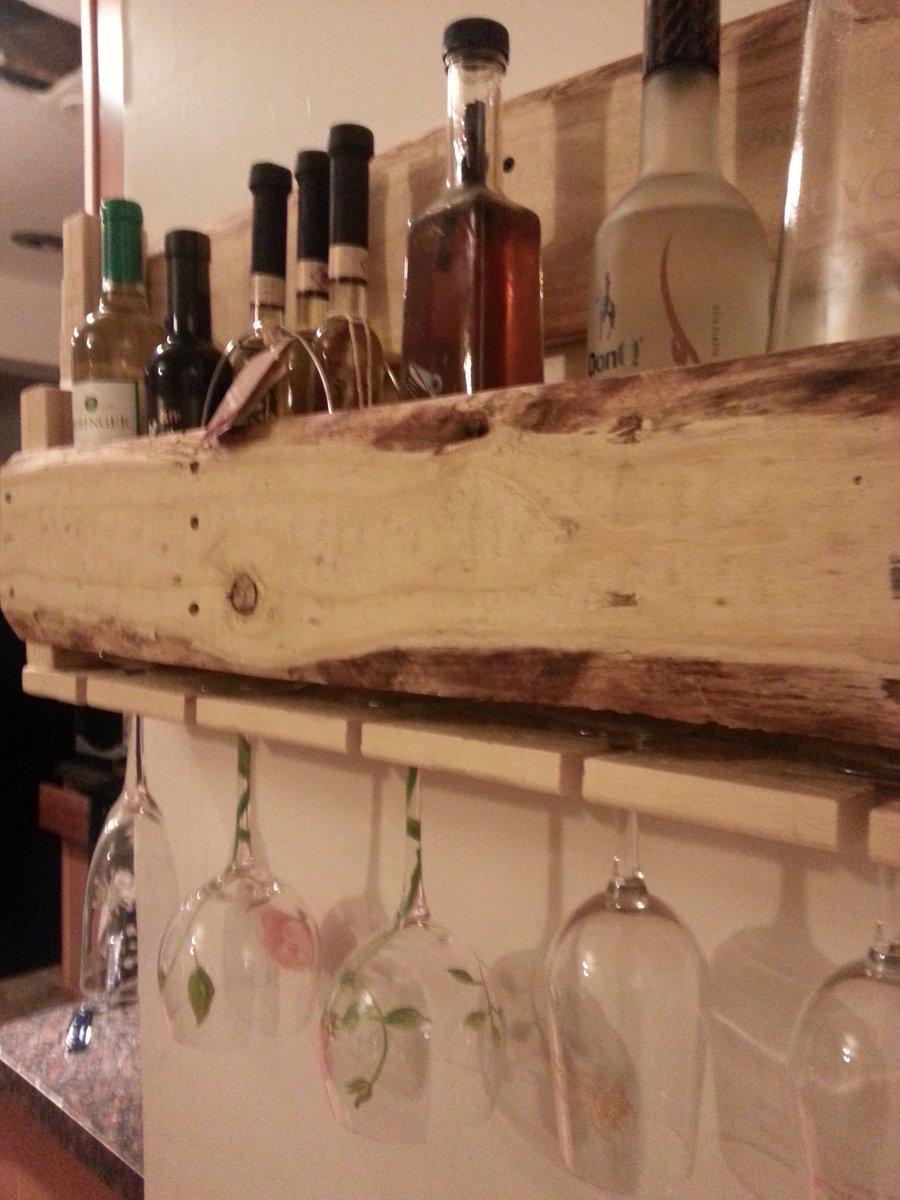
Mon, 01/13/2014 - 23:43
this is exactly what I want to build! thank you for idea!
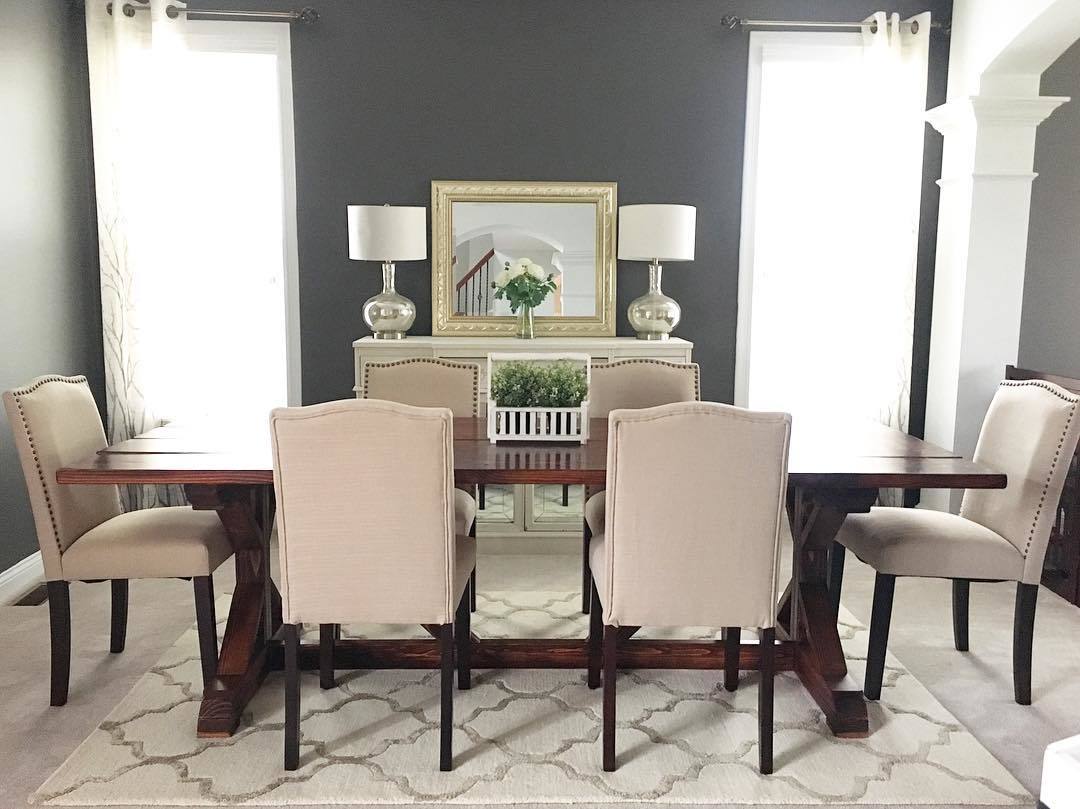
Pine wood with 2 coats of Minwax Mahogony Gel-Stain and 2 coats Minwax Semi-Gloss Polyurethane.
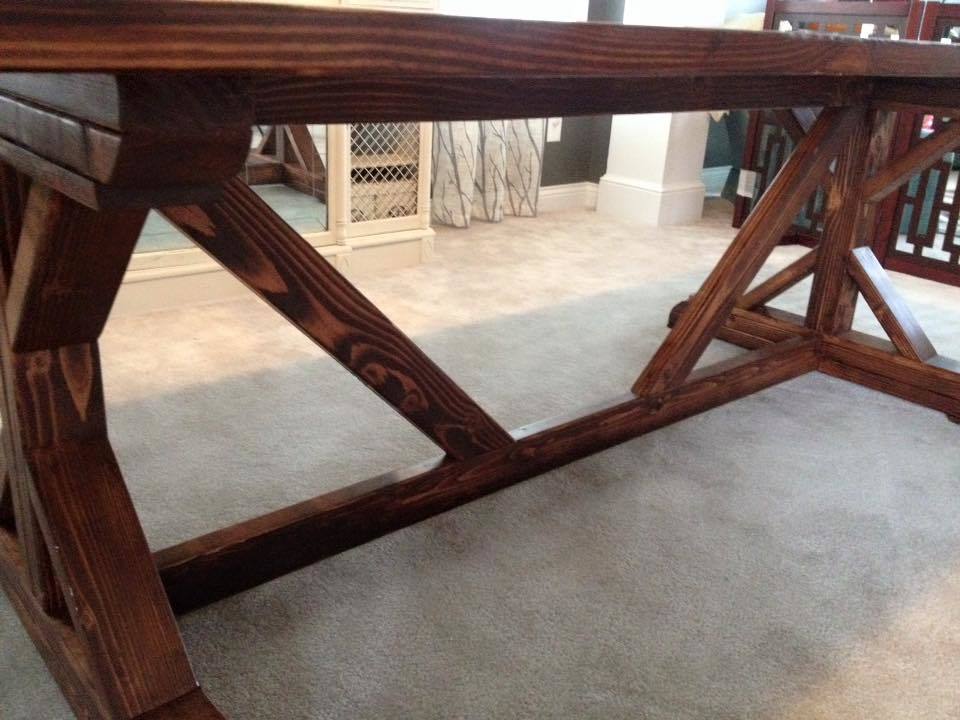
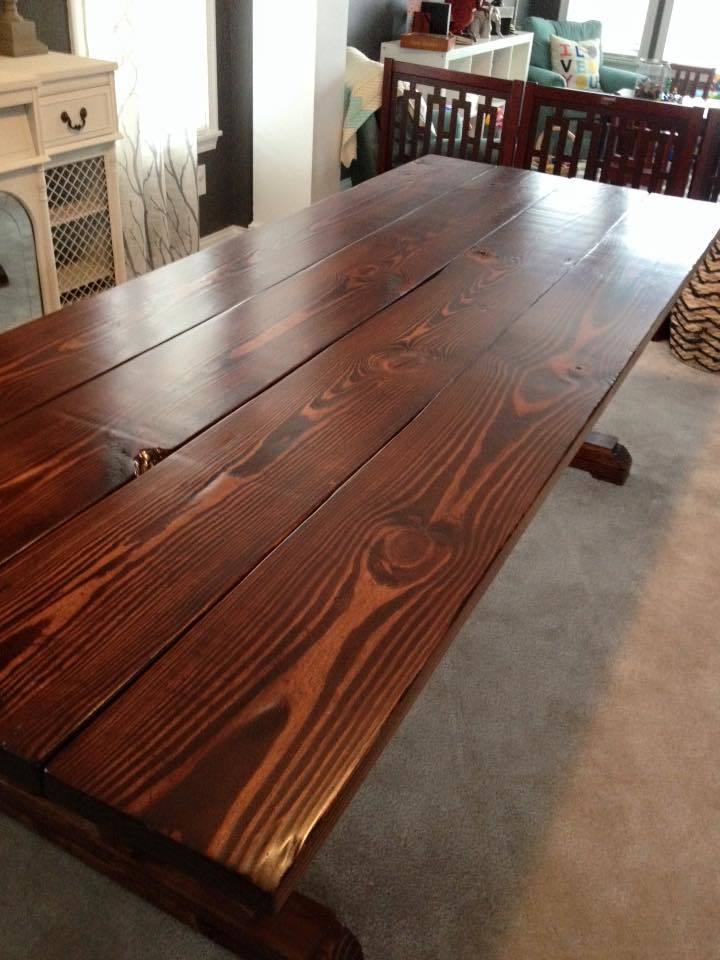
This my first-ever custom, DIY farmhouse dining table that I built for my amazing in-laws! They just moved into a beautiful new home with a large, open dining area, and they've been looking for a large table that our growing family can gather around. This table seats up to 12 people at one time, and it 2.5' tall, 3.4' wide, and 10' long (with the extensions out.)
I've repurposed many tables and/or wood projects before, but this is my first table made completely from scratch. It took me approximately 2 weeks to fully complete, and cost less than $300, (including "investment tools" such as large wood clamps, electric sander, etc.)
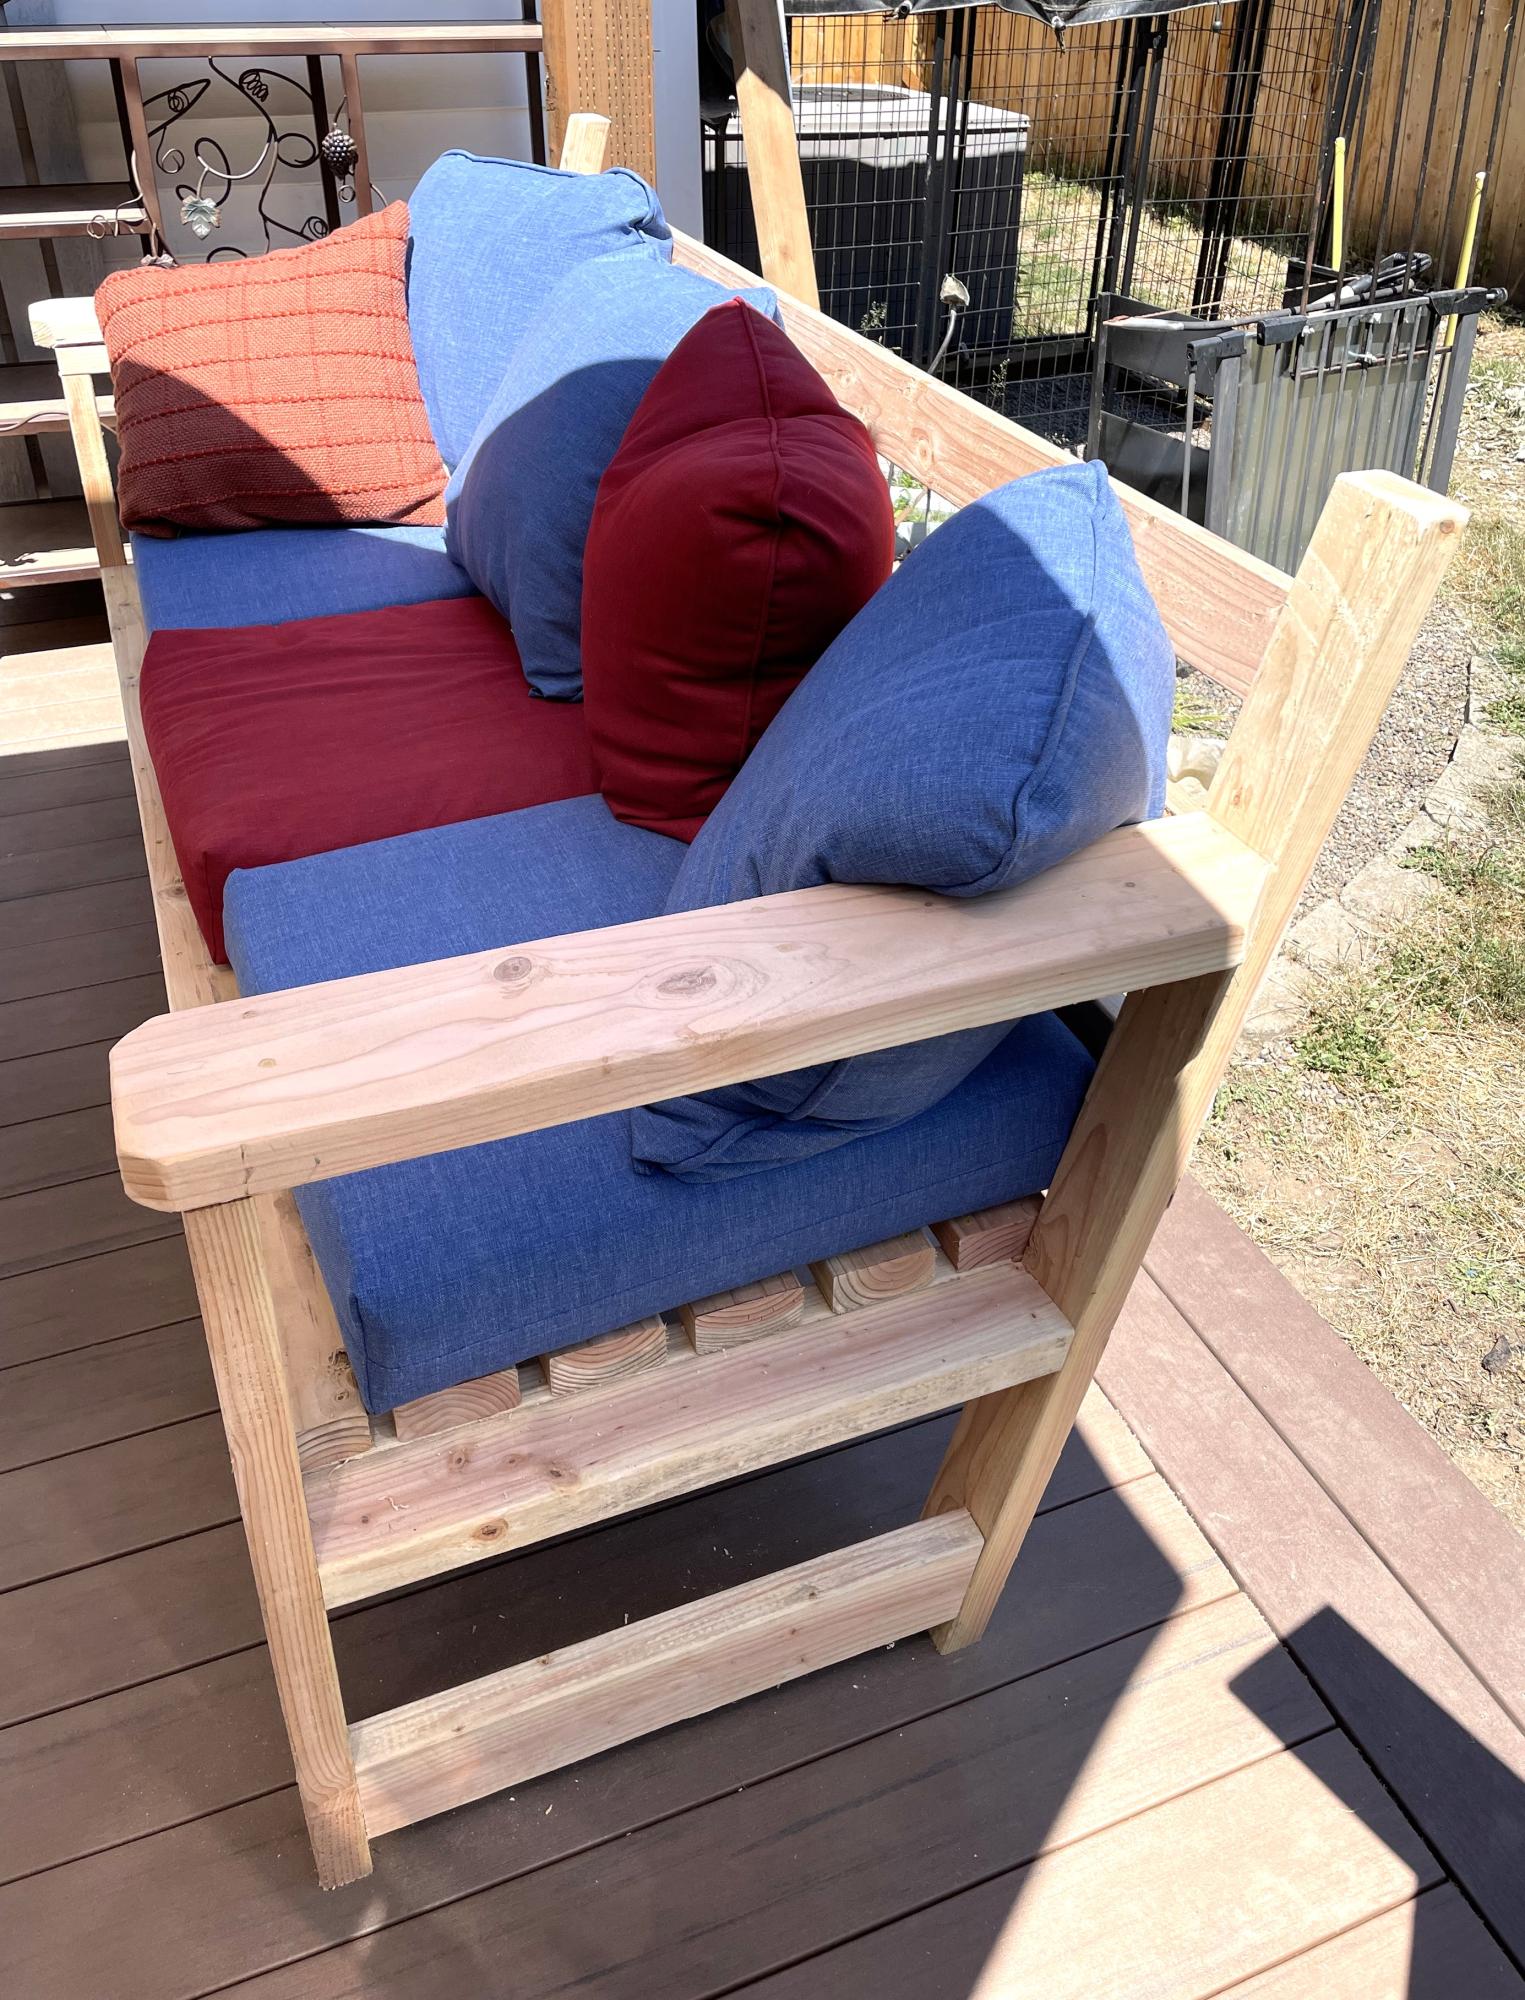
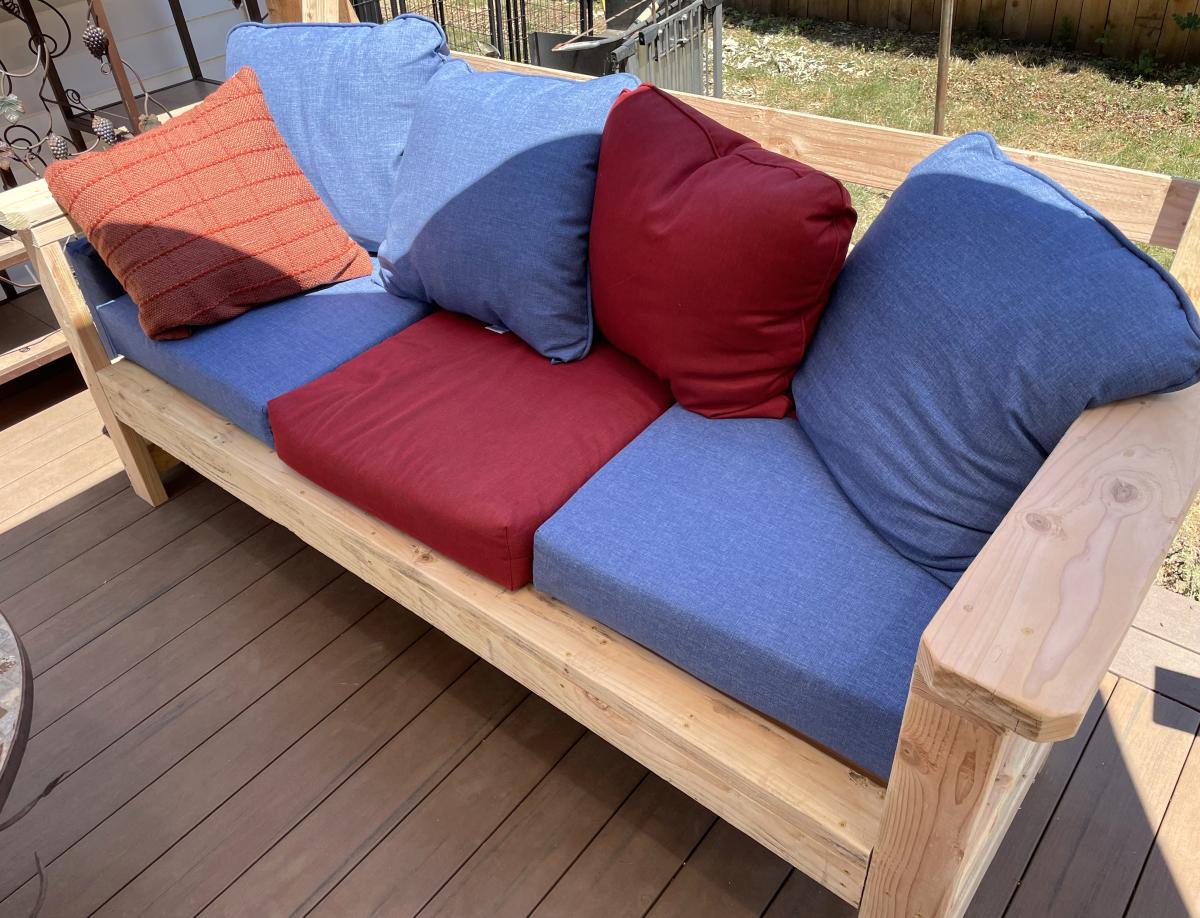
Used you basic 2x4 bench / couch plan but added a sloped backrest and more 2x4s across for more support.
Jerry
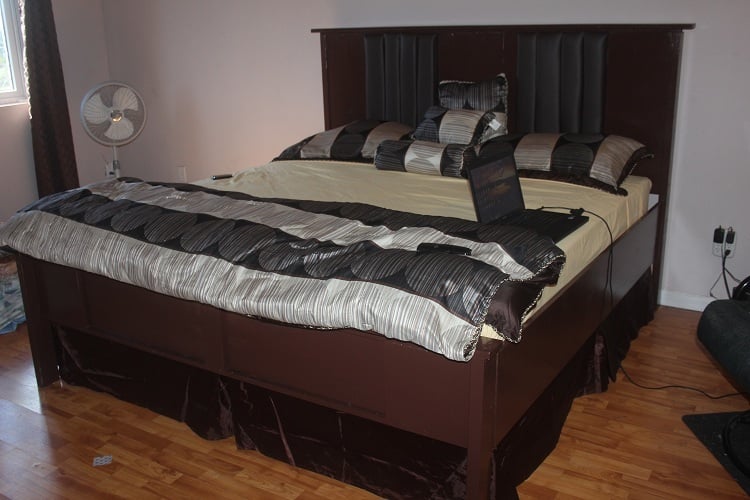
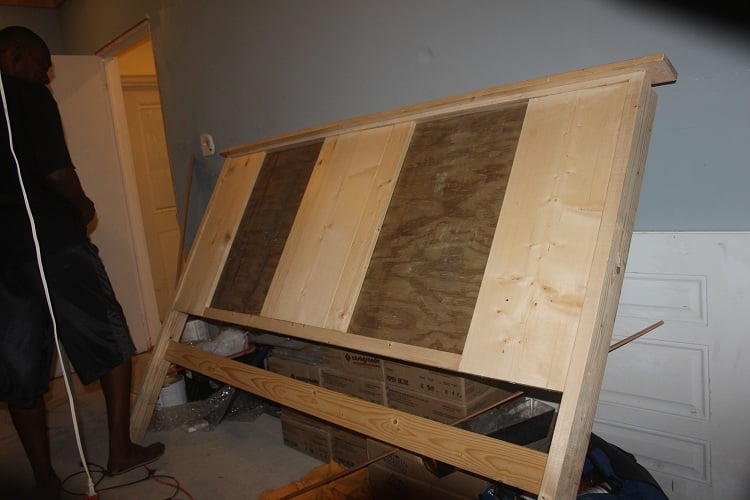
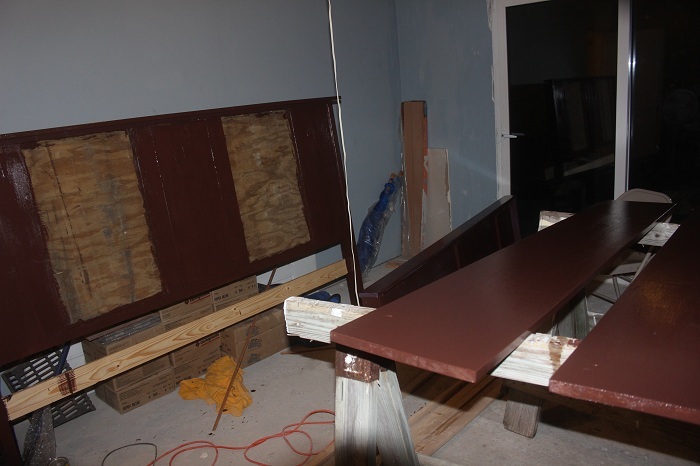
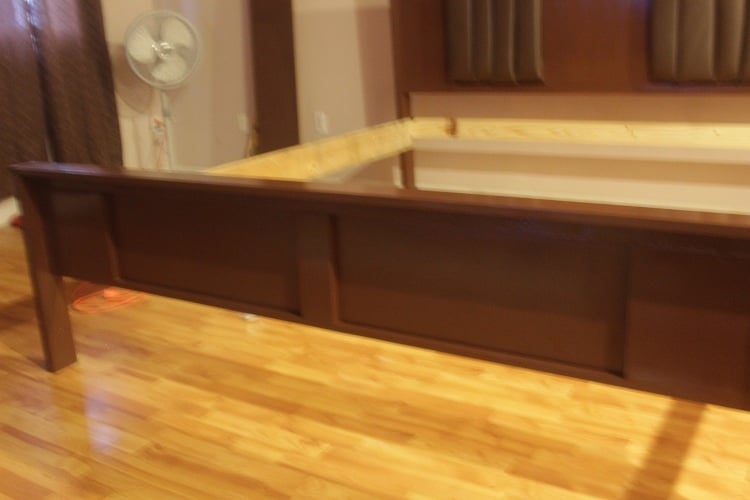
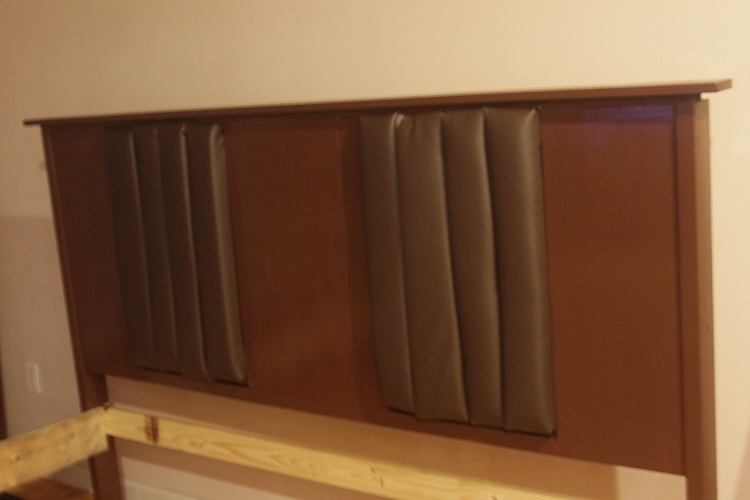
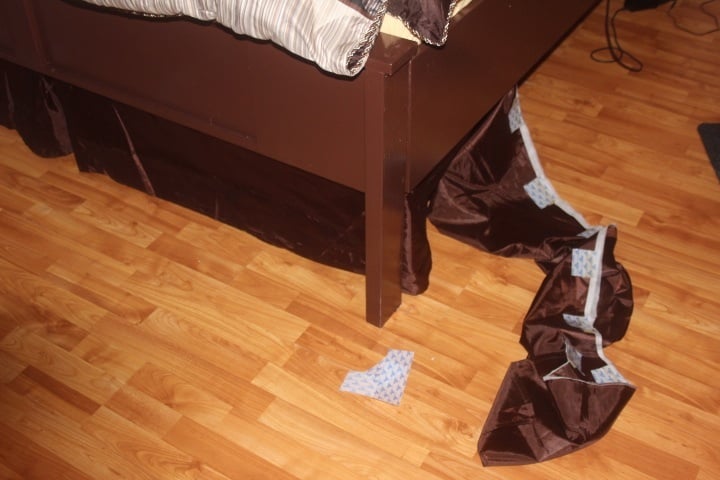
We modified the plans because I had a specific idea of what I wanted and we needed a king size bed. We are so proud. We used left over foam from a previous project and covered it with the faux leather for the back rests. Because I love the look of dust ruffles but couldnt use it because of the slats to support the bed I cut out the material from which the dust ruffle is sewn and attached velcro to it and then to the bed and I got the look I wanted. Ana is awesome!
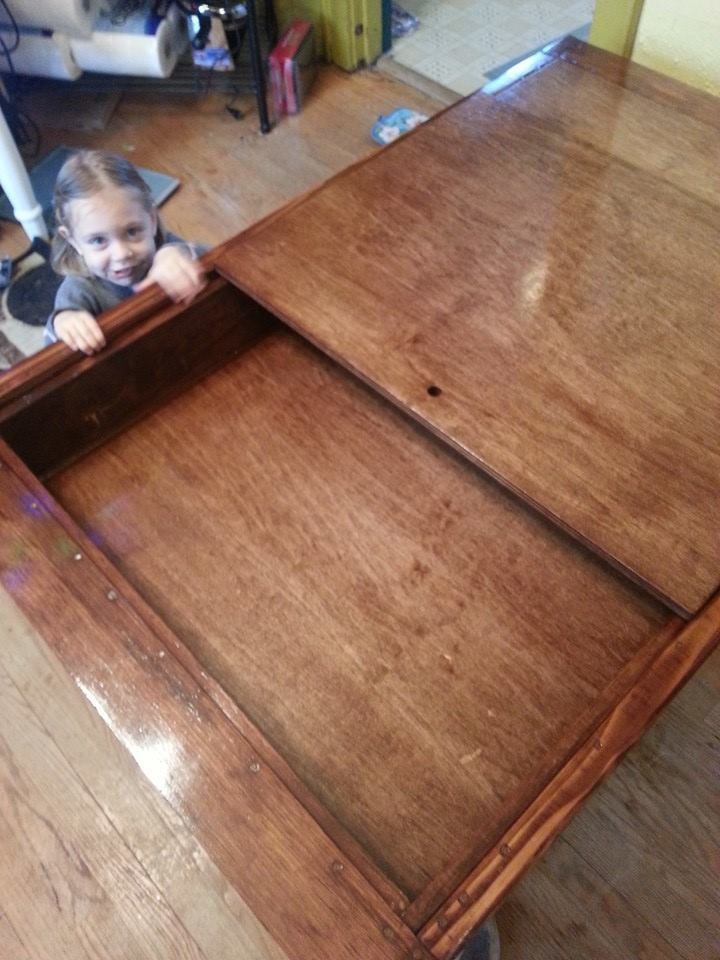
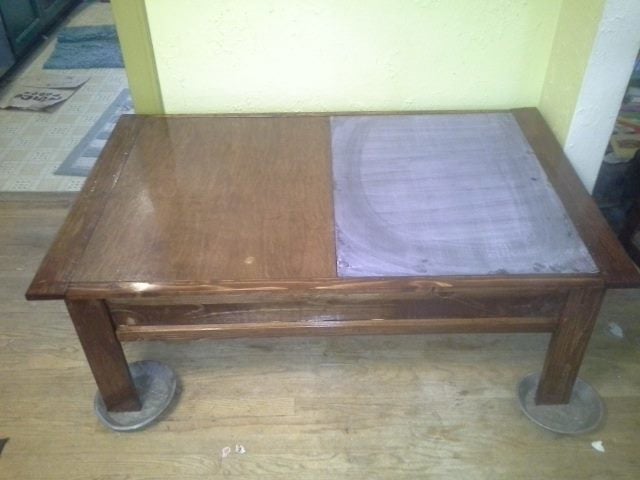
My daughter is OBSESSED with trains and I've been yearning to make a project from ana's page for YEARS. This was a perfect opportunity to start my first project and I'm pretty proud of myself with the results!
I scouted out wood for a few weeks and bought all my 1x6's and 1x3's at a discount wood place and the 1x2's were on sale at Home Depot for .80 cents a pop. All cuts were free cuts with the 'big machines' at the lumber shops.
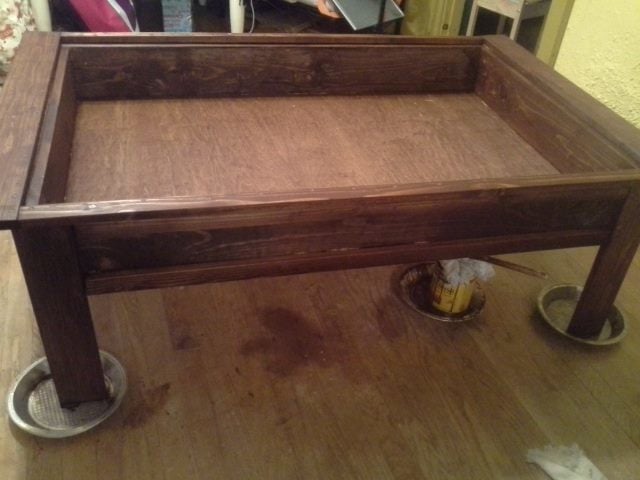
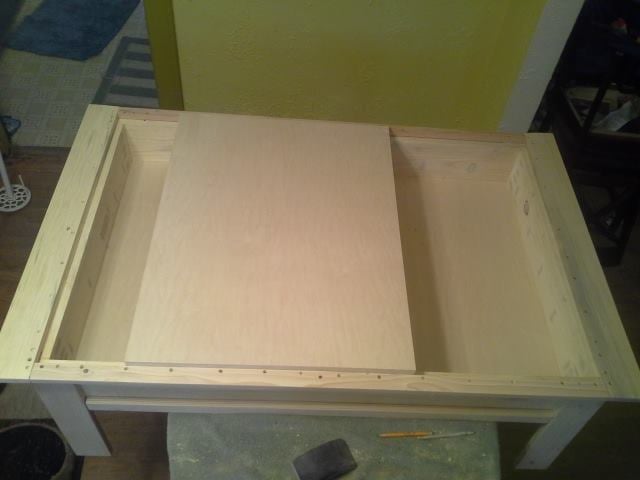
I used pocket holes to attach the frame and the frame to the bottom plywood and plugged the holes.
I hand sanded all the wood before building and then at a finer grade after and finer still between finish coats.
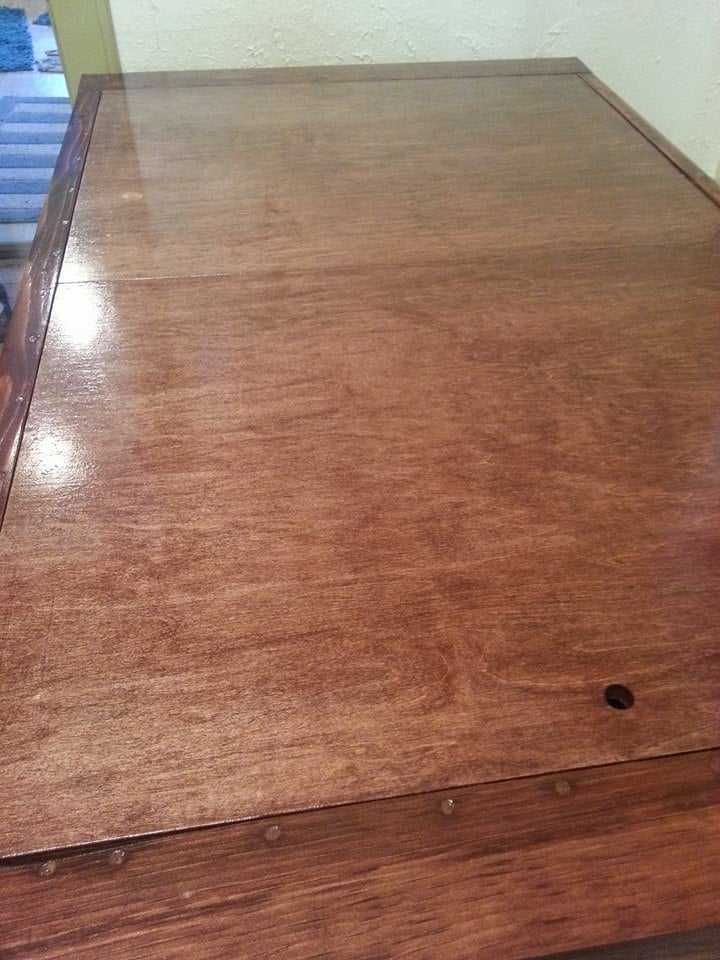
Wood conditioned and stained in English Chestnut (2 coats) and 3 coats of high gloss clear finish over a period of 3 days. All Minwax.
Aside from a few wonky pocket hole screws going through the other side (my first time using a kreg is this project) and having to fix 'em, this was a pretty easy/fun project to do. My 2 year old helped plug holes and sand a little.
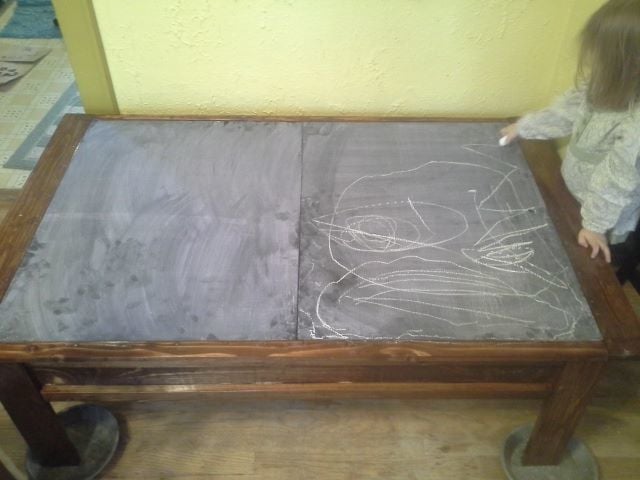
The flip-side of the shiny stained table top is a chalkboard which has been a HUGE hit because it is almost tripple the size kiddo has been drawing with and it's pretty nice. The chalkboard paint was the latex stuff found in home-depot...some can be coloured but i went with standard black.
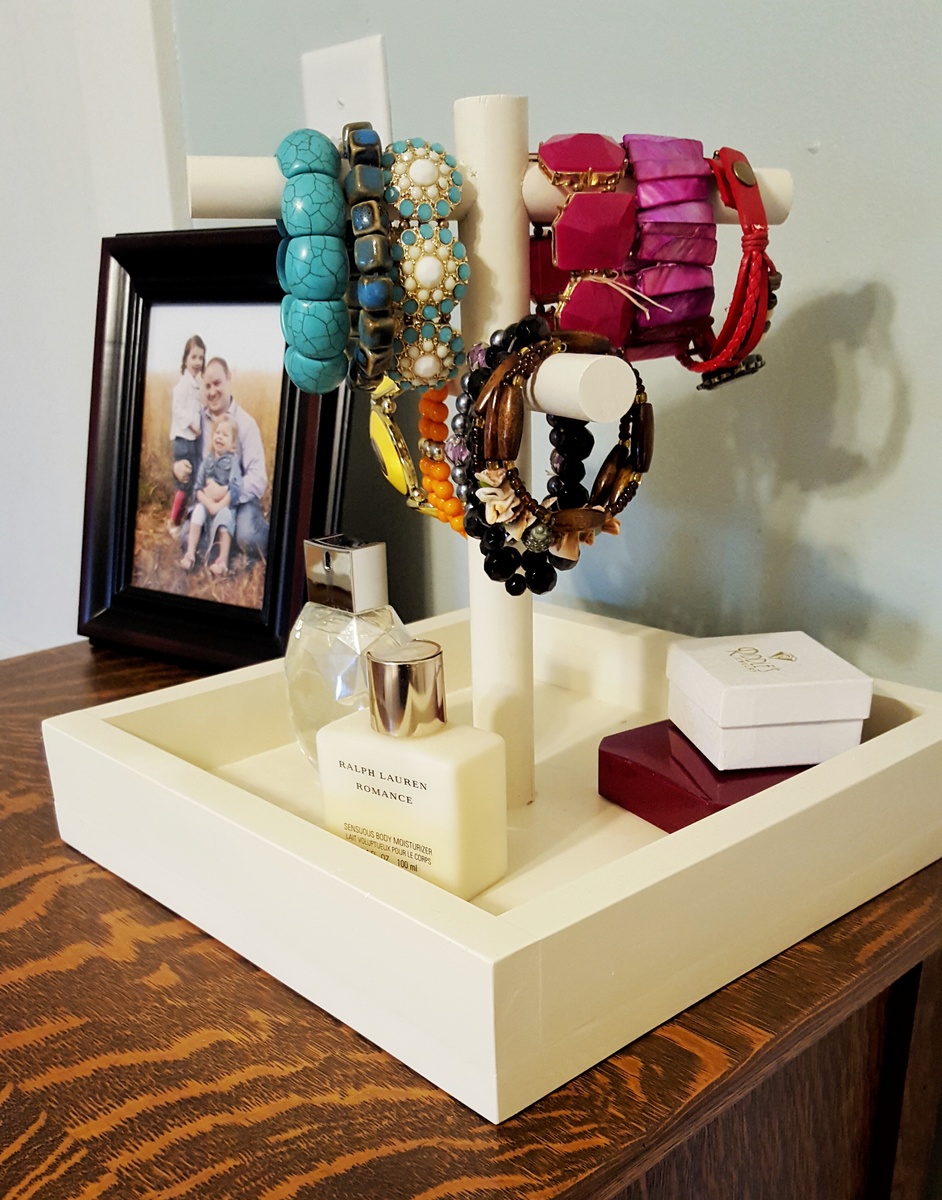
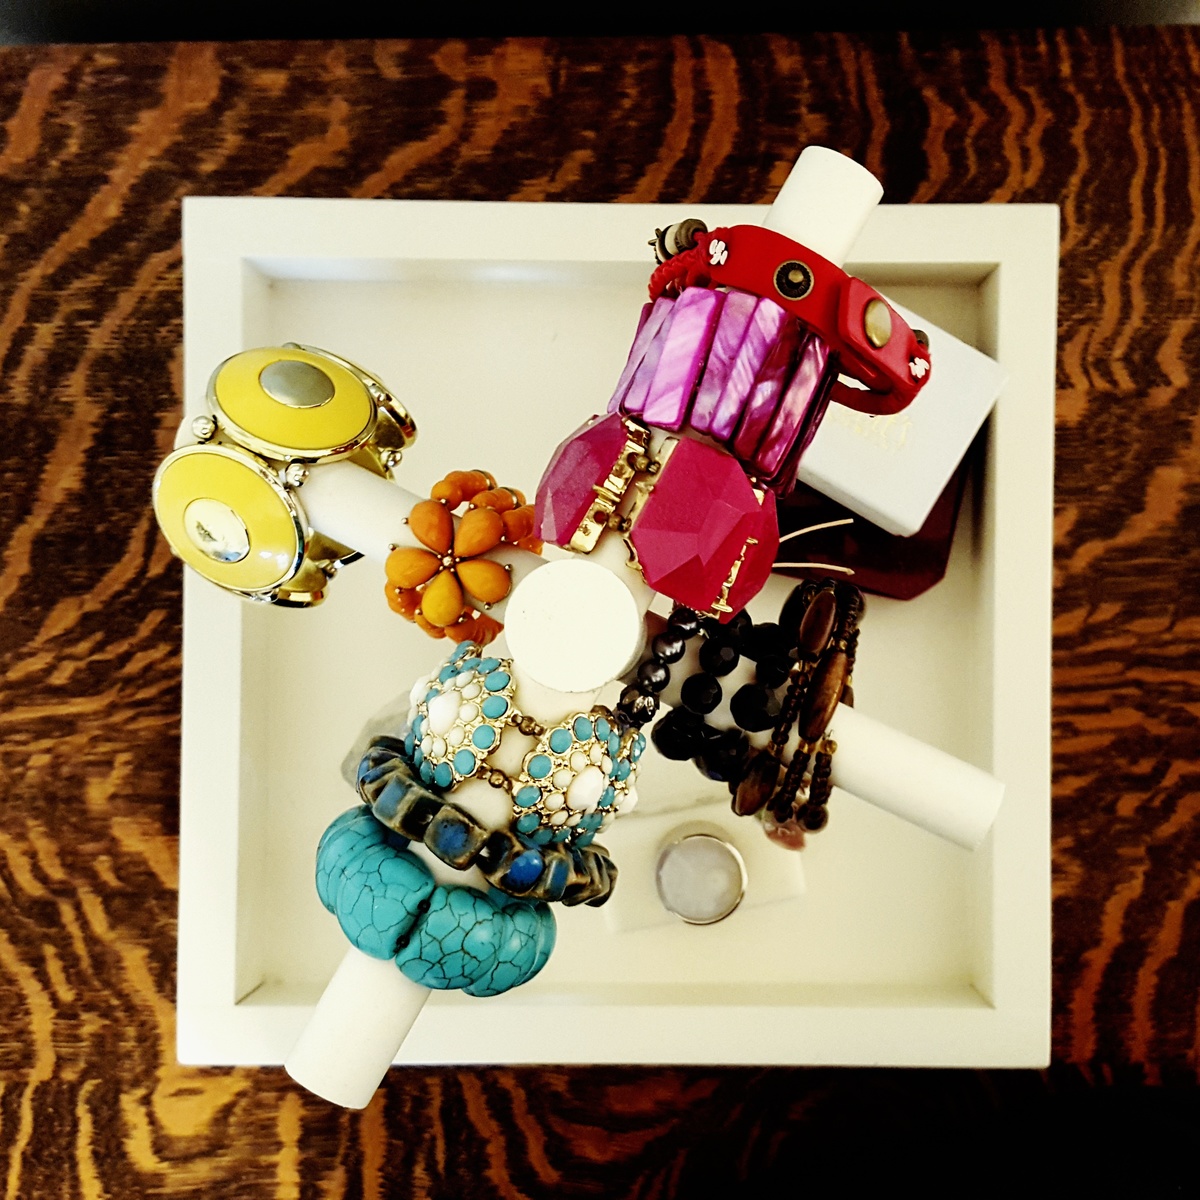
Love this plan from that's my letter! I modified the base slightly by using 2x2s secured to 1/4" hardboard. I also increased the base dimensions to 11x11 so it could accommodate additional storage.
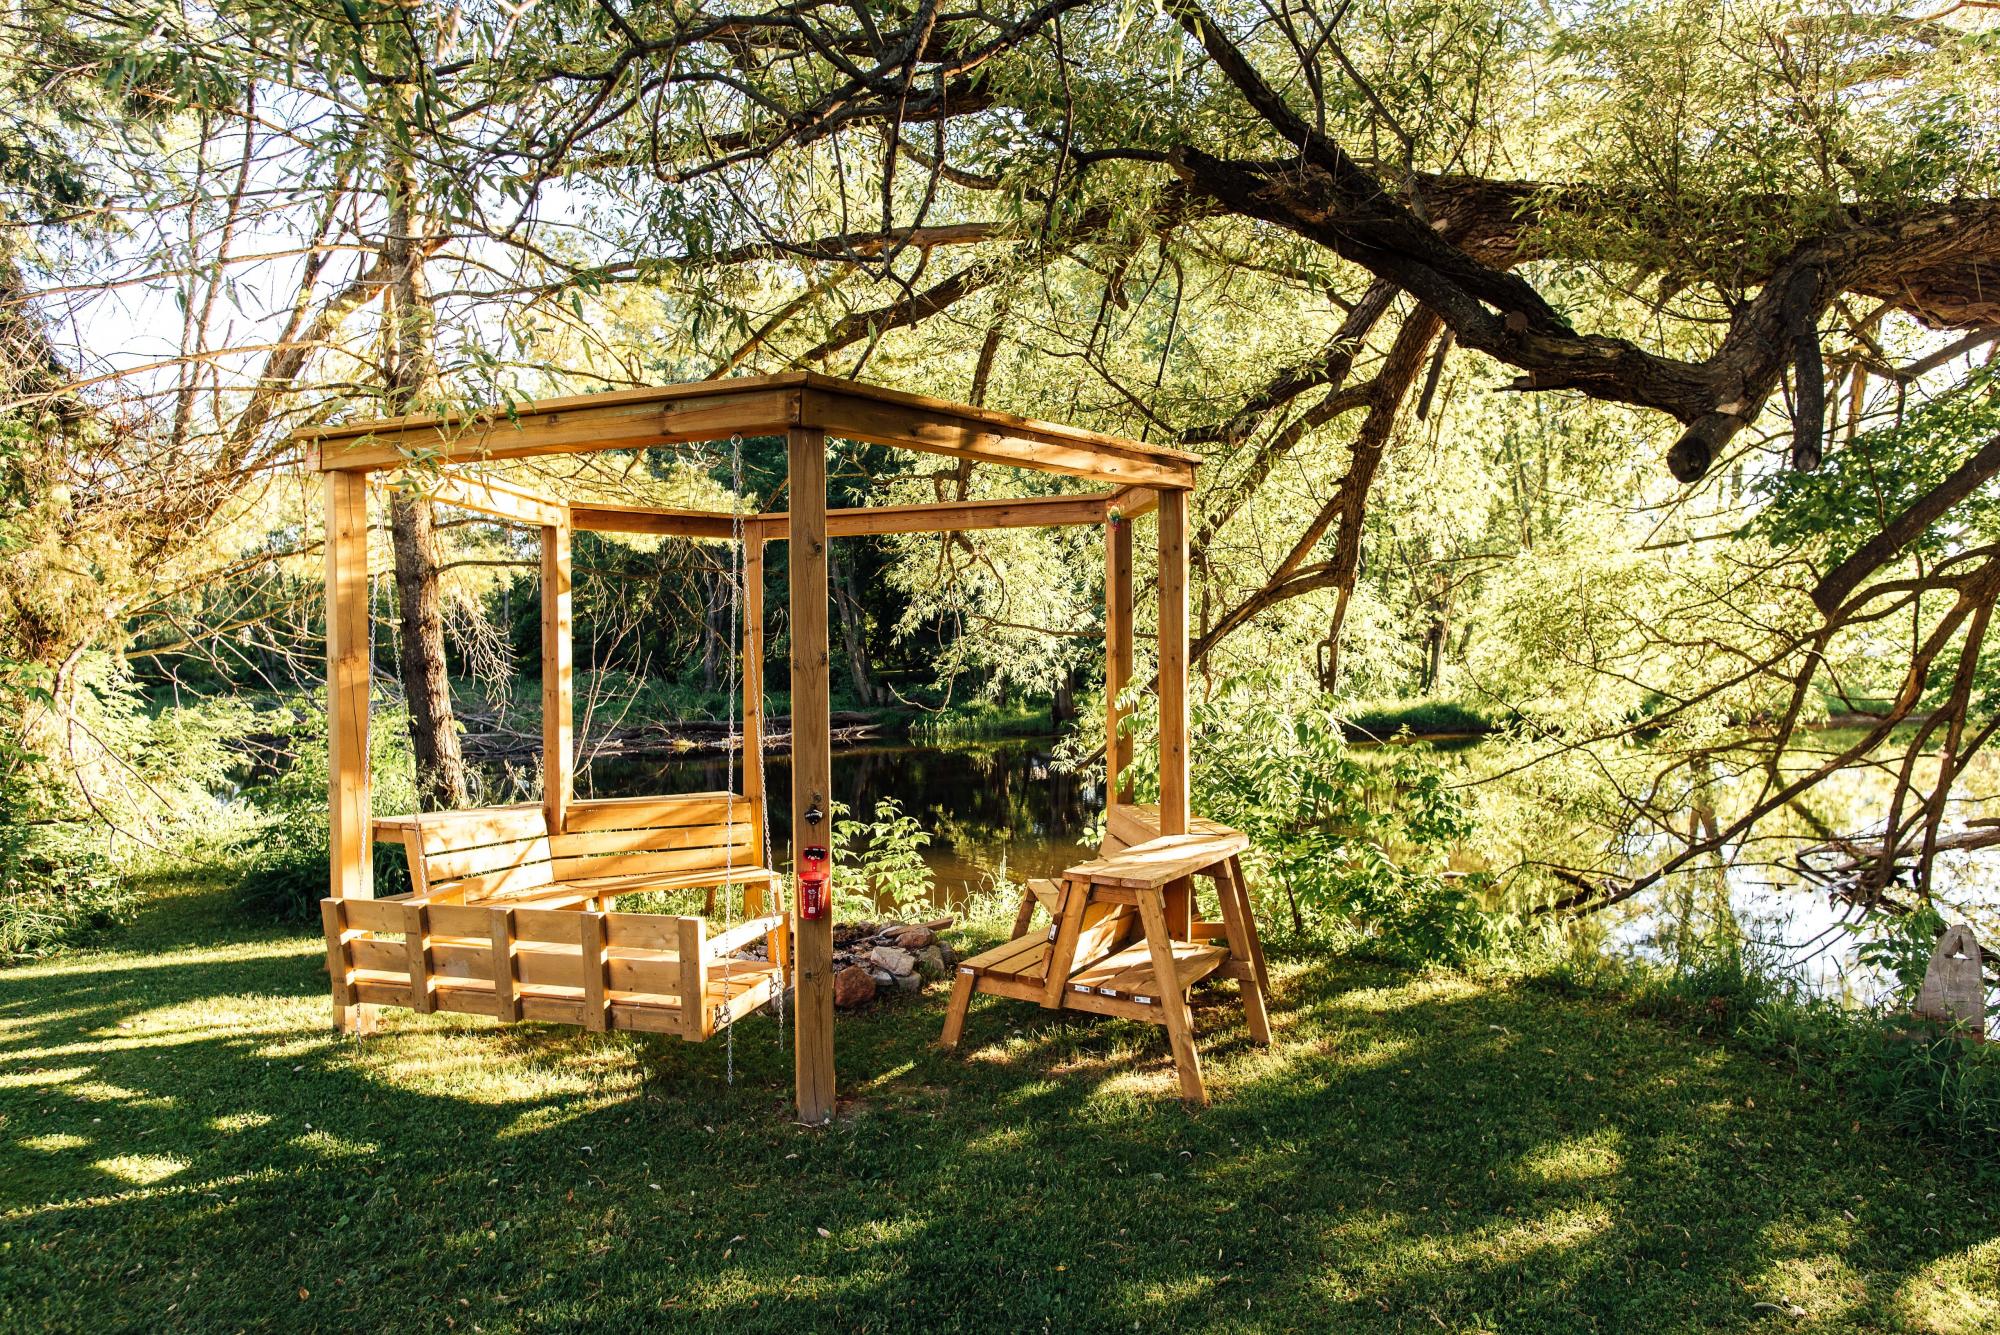
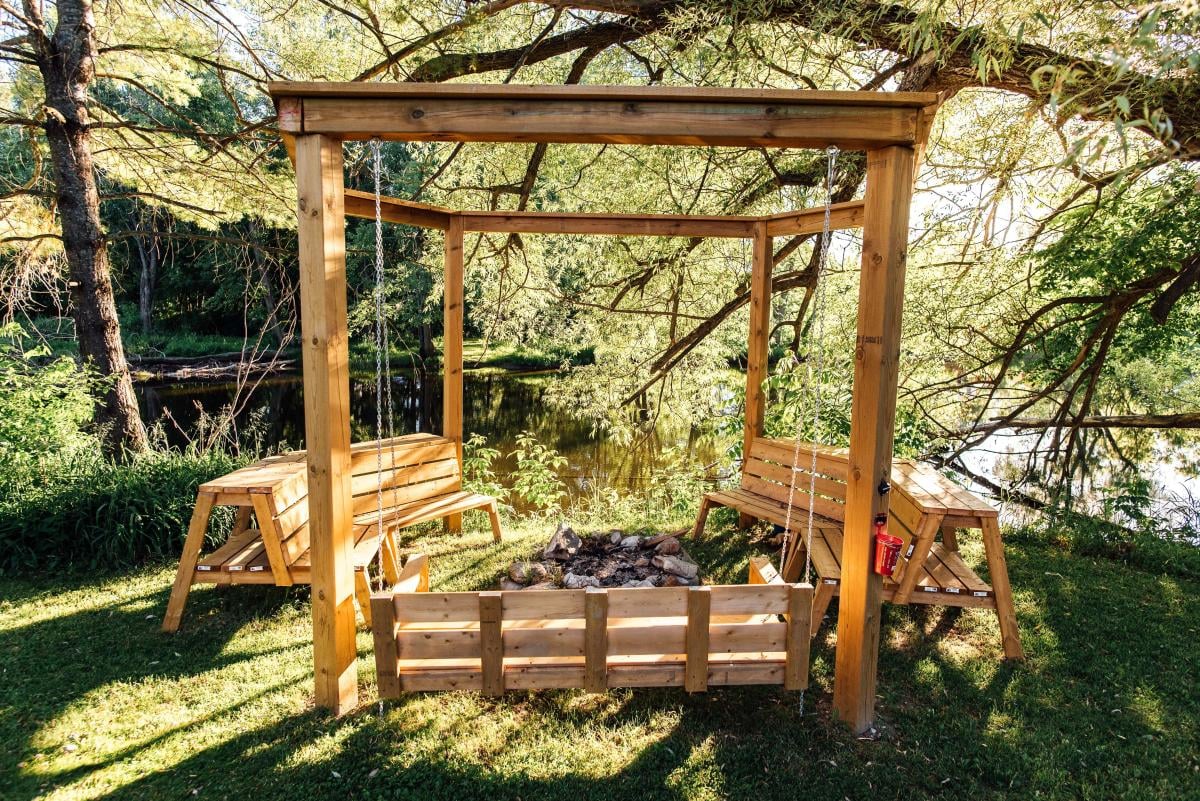
Fortunate enough to live on a beautiful river, my wife and I decided we were done bringing the folding chairs out for each weekly bon fire. Our three girls love s’mores and we wanted a great atmosphere with a place to easily grab wood and snacks in the dark while we enjoyed the outdoors. The combination of plans took us about a week to finish. The kids were away for the weekend and we rented an auger to drill the post holes. This proved to be the most difficult part of the project. It took nearly the whole weekend to dig out the unexpected granite and all the patience that we had in reserves. Once the posts were set, it was only a slightly uphill battle.
My wife made the bench in the time it took to return the auger and come home. The fire pit benches were also a pleasure to assemble and the most functional part of the project. I suspect the whole thing would have been faster if the large posts were easier to cut through. That treated lumber can eat saw blades! When setting the top posts it was also a two ladder and two person job. They were quite heavy and a little nerve wracking to set if you don’t love heights and a heavy load. We would do this project again in a heartbeat as it is a feature in our yard and makes for many enjoyable family and friend gatherings. The fire pit bench top is also great for hosting the entire bbq meal assortments to select from.
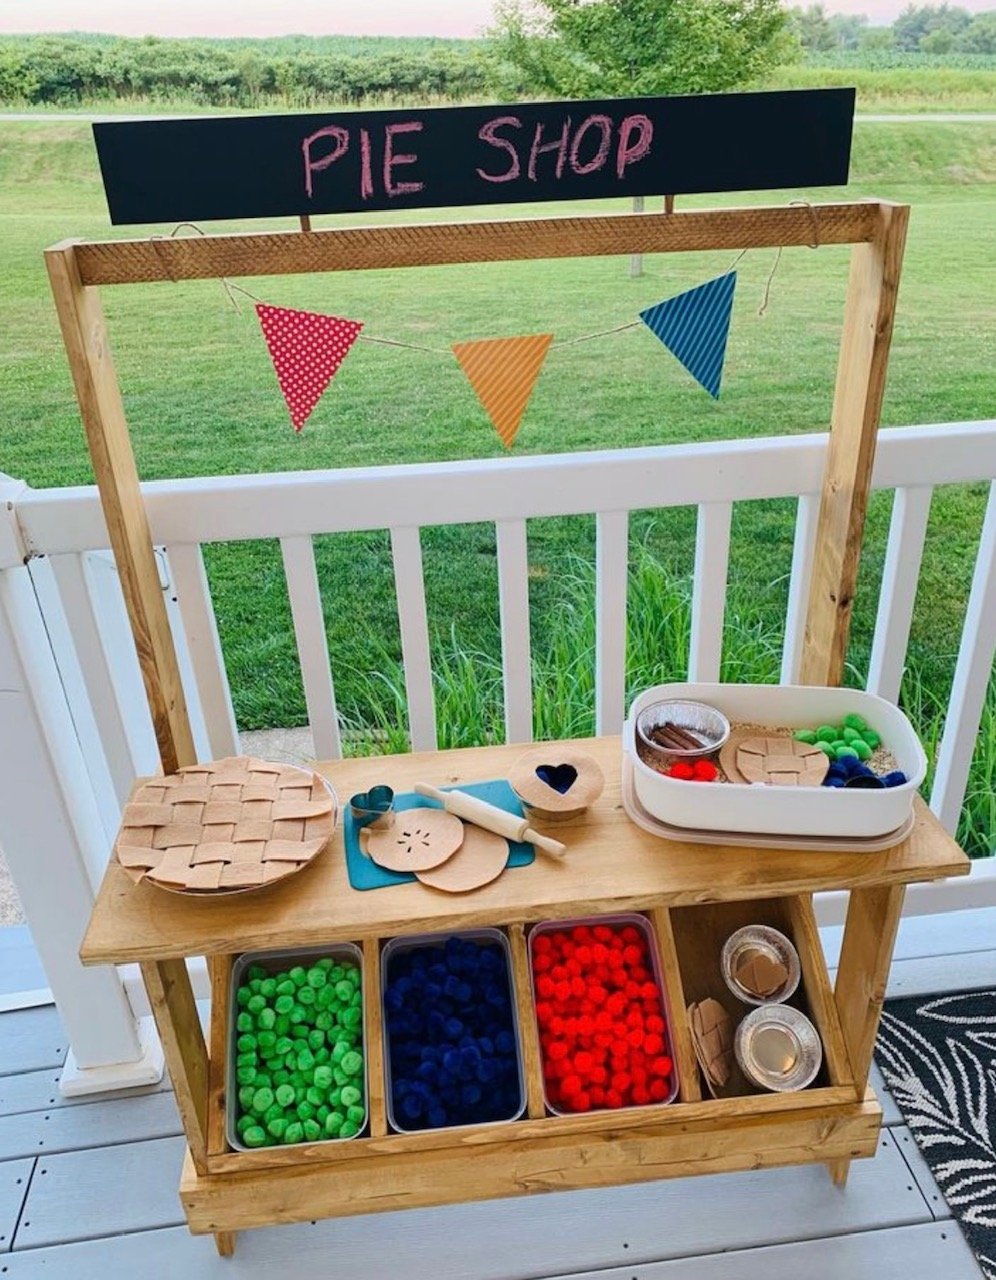
For a 4-H project this year, I want to make the Play Farmer’s Market Stand. I currently work at a daycare and I think the kids would love it.
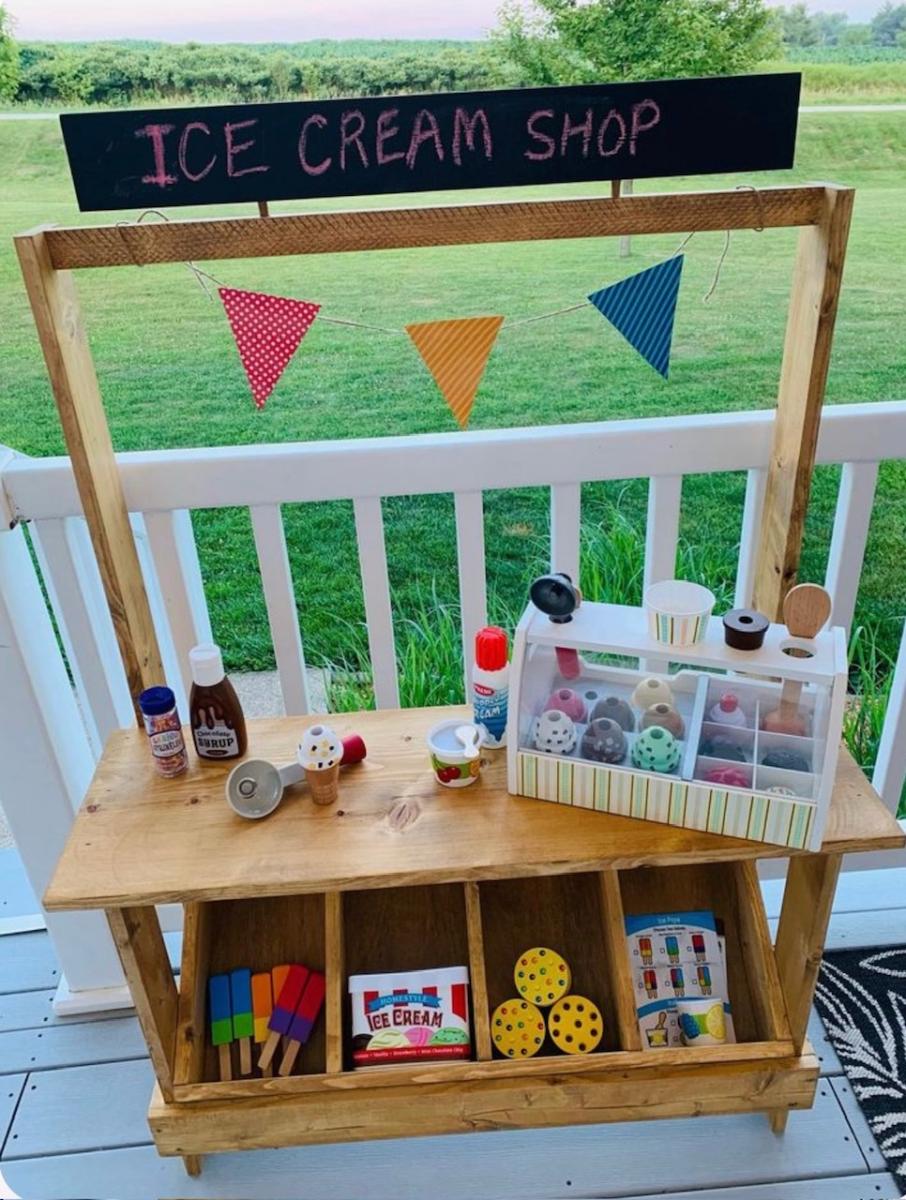
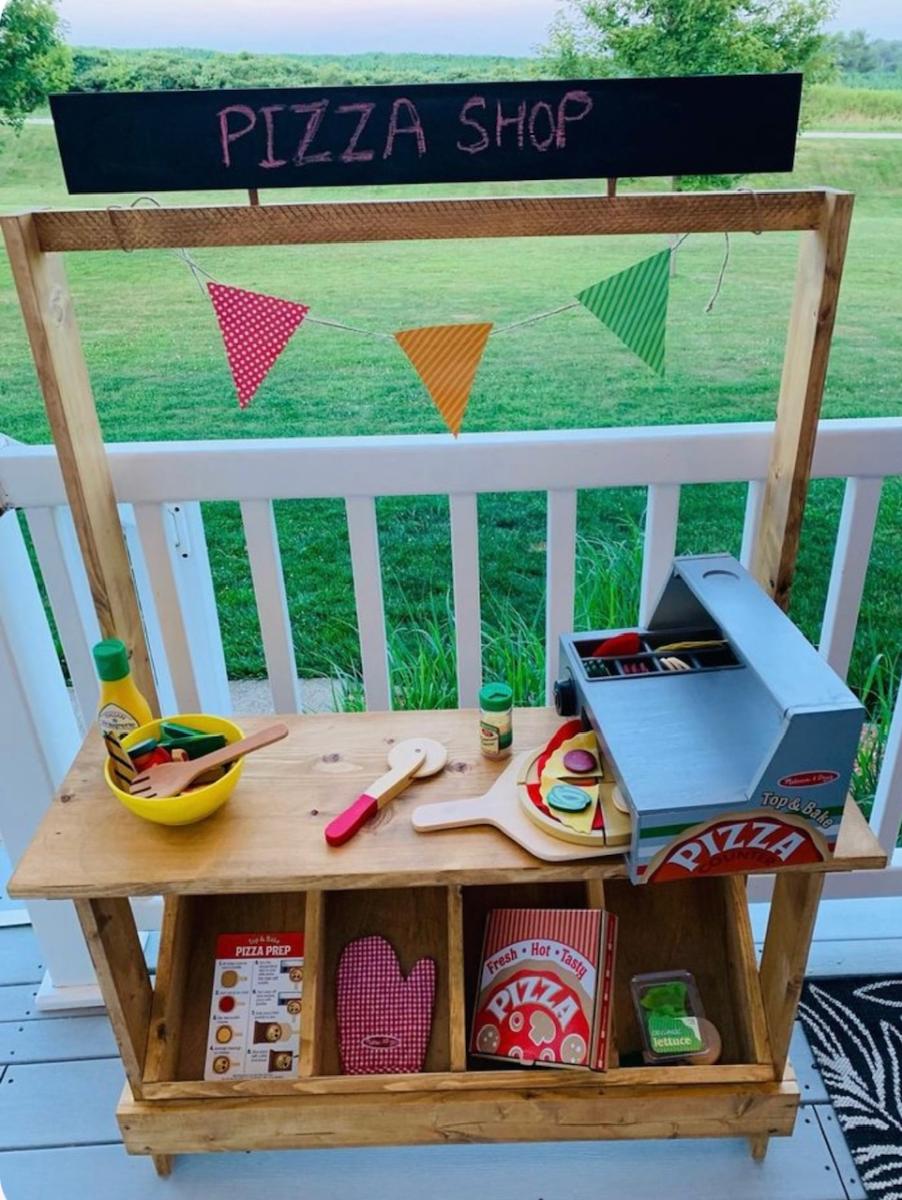

I built a farm house dining room table last week and wanted to add more seating to it. I found this bench on here and decided to add my own touch to it. Was going to be a cheap project but 2 inch foam is a lot more then I thought.


I just finished setting up my bedroom, not a lot of cash for the furniture and look I wanted so I decided to tackle your farmhouse designs and do it myself. I found these scrolled wood panels at homegoods (homesense here in Canada). I used two panels, each had 5 sectioned scrolled squares so I cut one section off of each panel to use on each of the side tables. I still have to finish the bed's footboard and side rails with the last 4 sectioned panel piece that I have left.
I was surprised how these turned out. I got the old world look at a very good price...for a total cost under $300. I think I got a pretty nice deal.
I think I might try and do some more projects maybe the buffet next.


Tue, 01/07/2014 - 16:53
What a great look! Wonder if our HomeGoods has anything like that...
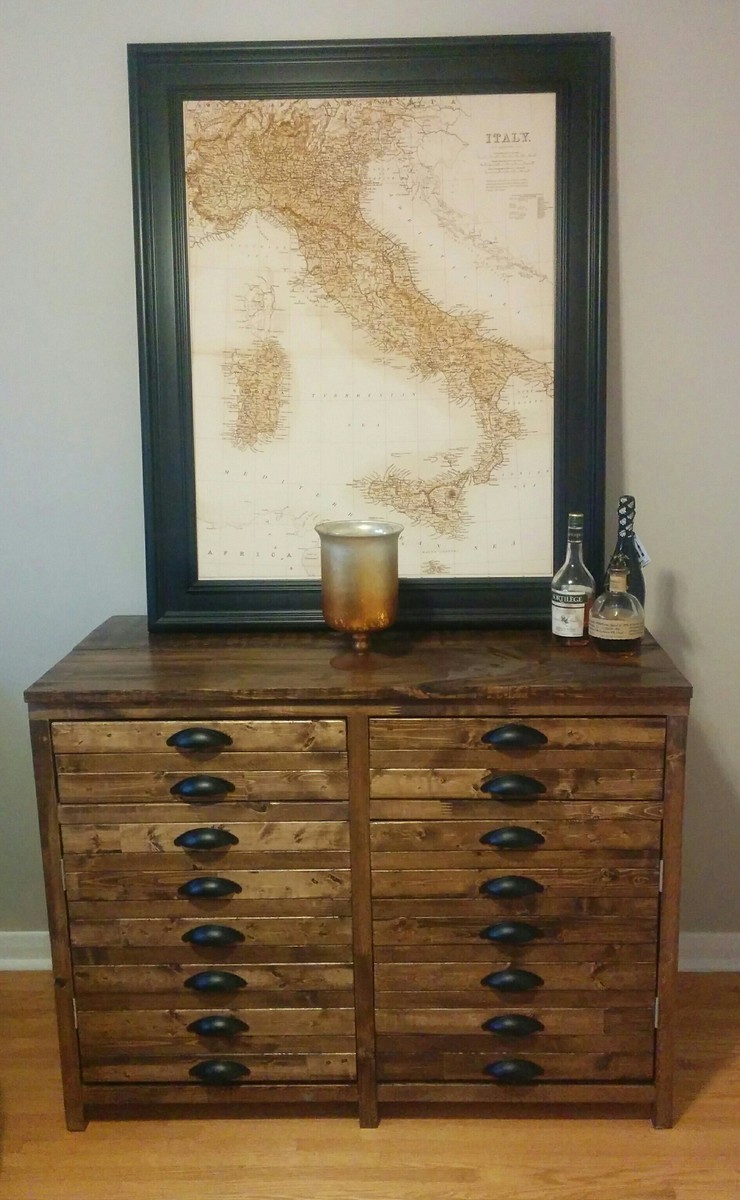
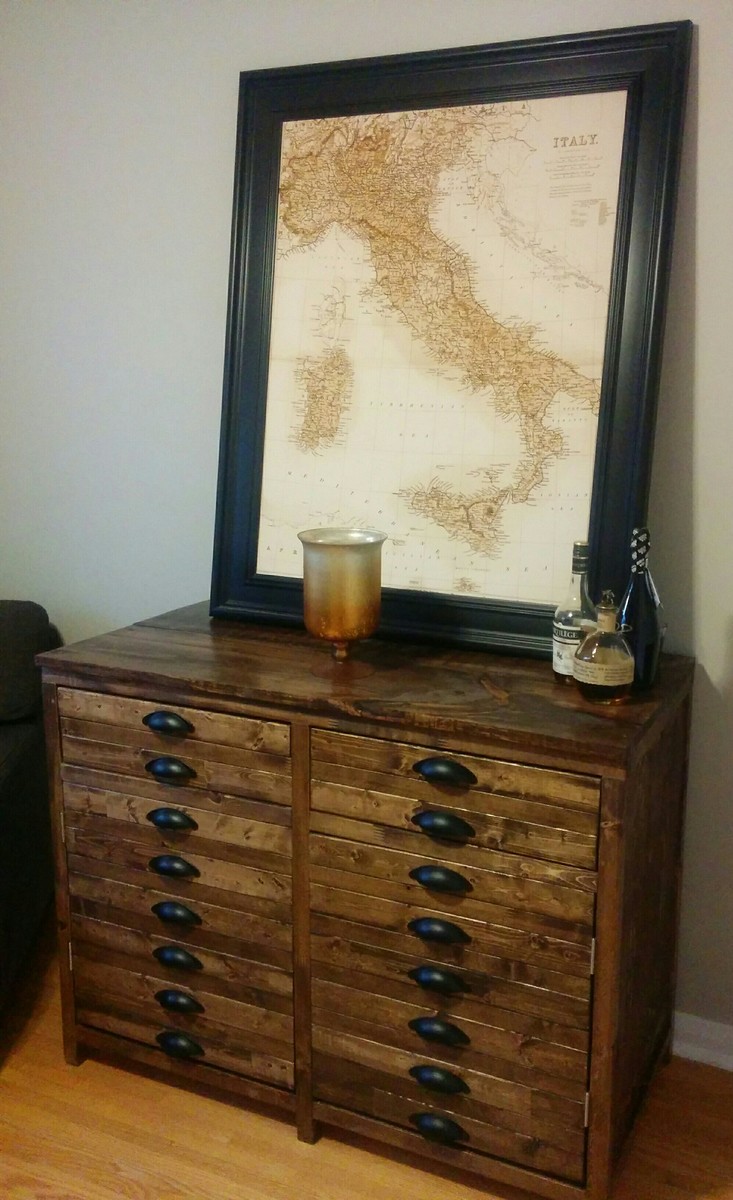
This was a Great Project! my First bigger project!. I modified it from the original plans to reduce the size into a double door rather than a 3 door, for space reasons. I also made it a little wider to store my gigantic printer. It is currently serving as a cabinet for my home office. This project was pretty strait forward and lots of fun. I was a little weiry about all the hardware that was necessary, however i found a great deal on amazon.ca i got a 25 pack of pulls for $48! so that was a relief. This project took me about 2 weeks to complete working on and off. i was also building in cold garage at start of January so Stain took a while to set/cure/dry. Over all great project and easy to follow and modify the plans!
Sat, 04/02/2016 - 16:07
Looks awesome! I just showed my husband that same plan day before yesterday telling him I want us to build this! :)
Comments
jwood4
Sun, 08/01/2021 - 18:37
Looks great! How did you…
Looks great! How did you fasten it together? Pocket holes, or another method?