Community Brag Posts


Console table

Built from the Balin Console Table plan. I needed more storage for my entryway table, so I added the extra drawers. First, I had it stained but found this chalk paint in the mistints at Lowe's. Perfect color!

Built from Plan(s)
Estimated Time Investment
Weekend Project (10-20 Hours)
Finish Used
Dark walnut stain underneath a custom dark green chalky finish paint by Valspar.
Recommended Skill Level
Beginner
DIY Outdoor Wood Chairs
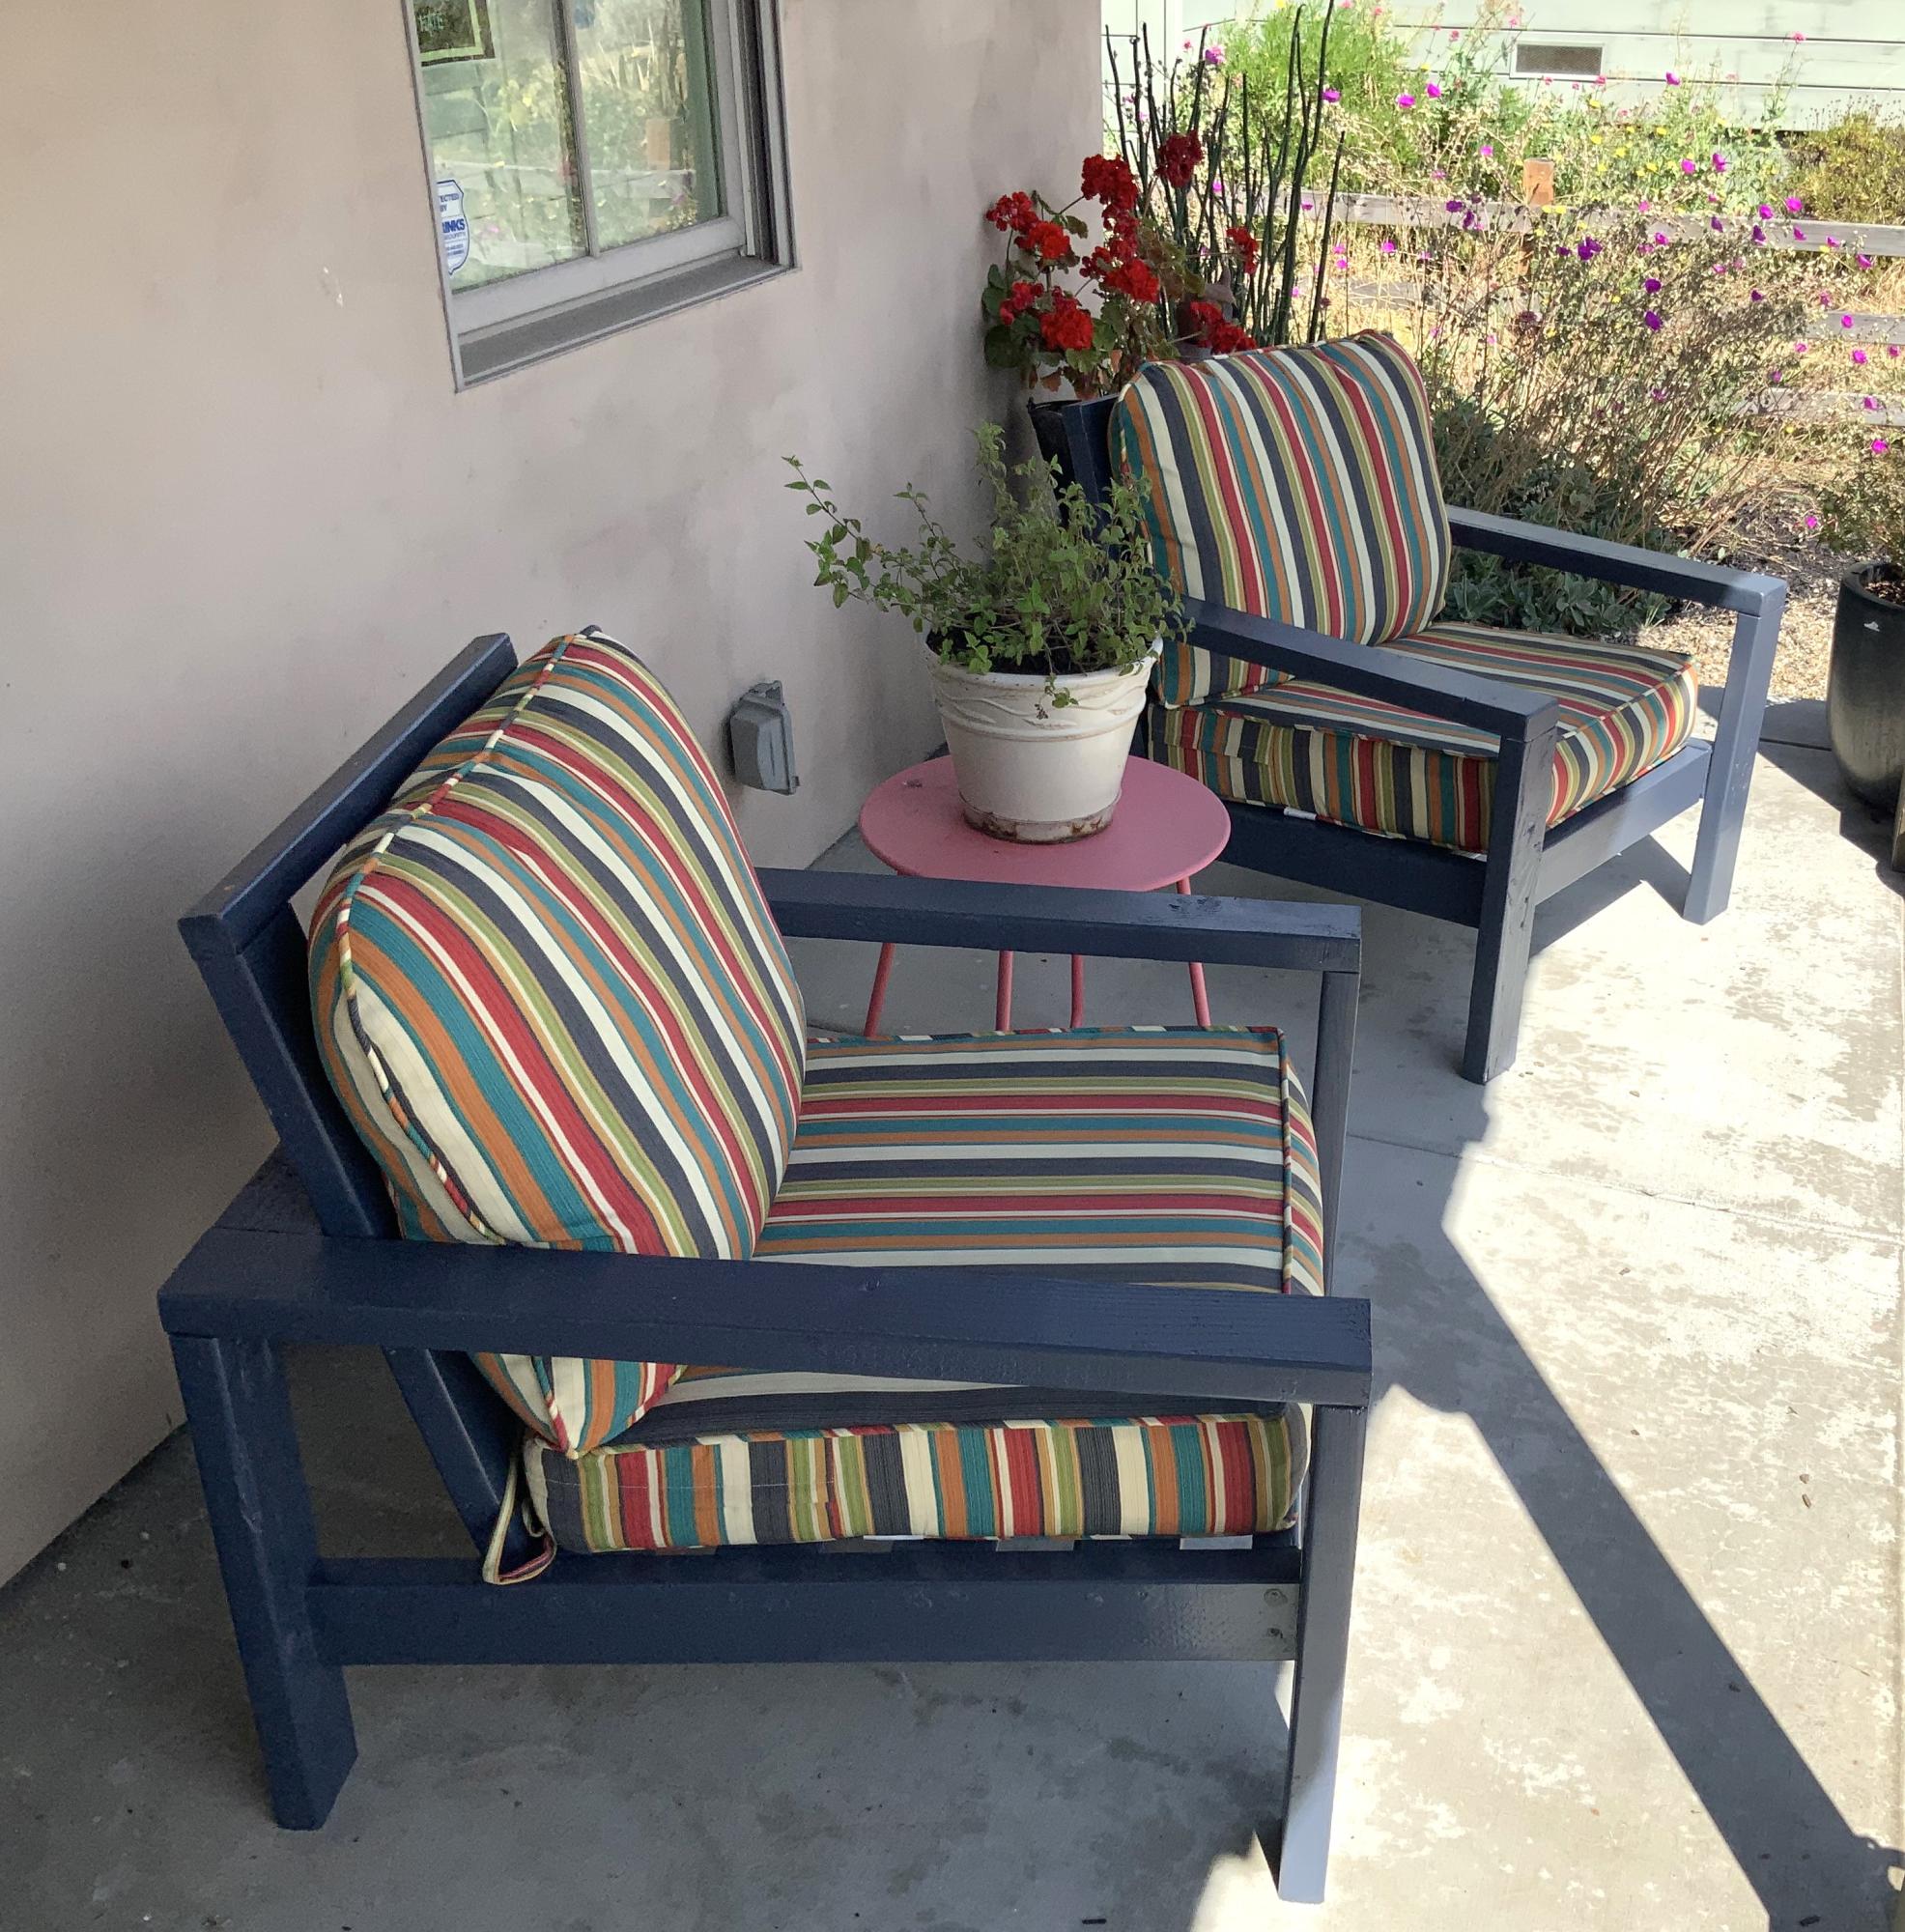
Thanks Ana! Appreciate all the plans and how much I’m learning.
Built from Plan(s)
My First Project

My husband and I got sick of buying particle board furniture and having it fall apart. I was so excited to see these desk plans and decided to build each child one of their own.
I tweaked the plans a lot. I learned a little SketchUp in the process. Each of these desk tops sits on 4 16x16" bases. Each desk has one drawer base, one fixed-shelf base, and two adjustable shelf bases. The bases can be rearranged as desired and can later be used as shelves when we don't need the desktops anymore.
All 3 desks took me just over 4 months to complete. Of course, Christmas happened during that time.
I used Fir based on some misguidance at the lumber yard. I'm still a little upset by that. I used pine edgebanding and am pleased with the finished look though. I just hope the wood is hard enough to not suffer too much damage.
I really enjoyed this project and my kids are loving the results. Their desks don't wobble and they have a lot of space.
Thanks for the jumping off point and all the instructions here. My next project is a built-in entertainment center. Should be fun!


Built from Plan(s)
Estimated Cost
$325 each
Estimated Time Investment
Week Long Project (20 Hours or More)
Finish Used
MinWax Water Based Stain in Golden Harvest (or Harvest Gold, I forget the right term)
MinWax Water Based Poly - Clear Semi-gloss
MinWax Water Based Poly - Clear Semi-gloss
Recommended Skill Level
Beginner
One Piece Play Kitchen
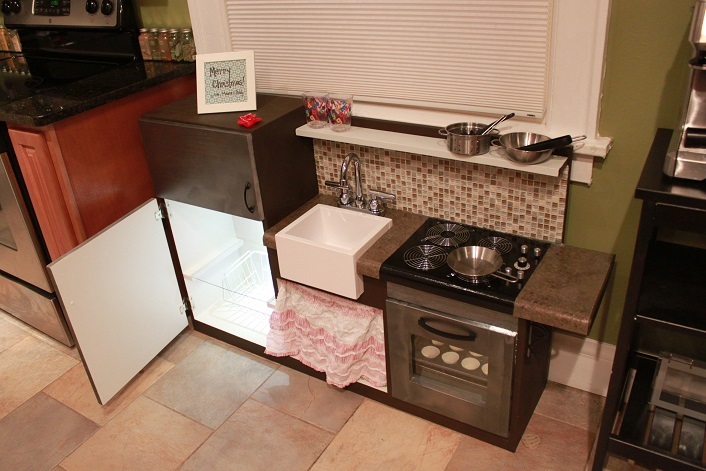
This was my first project and I learned a lot about drilling and sawing. I love the cute kitchens people have built with this plan, but we went for realistic with neutral colors since it is going to be in our own kitchen and not in a playroom. The biggest challenge was was that I was continually finding components I wanted to add, but then I would have to redo things I'd already done to fit them in.
For someone doing this plan, my only suggestion is to put the pocket holes inside the oven area instead of inside the sink area, as the countertop is easier to screw in that way.
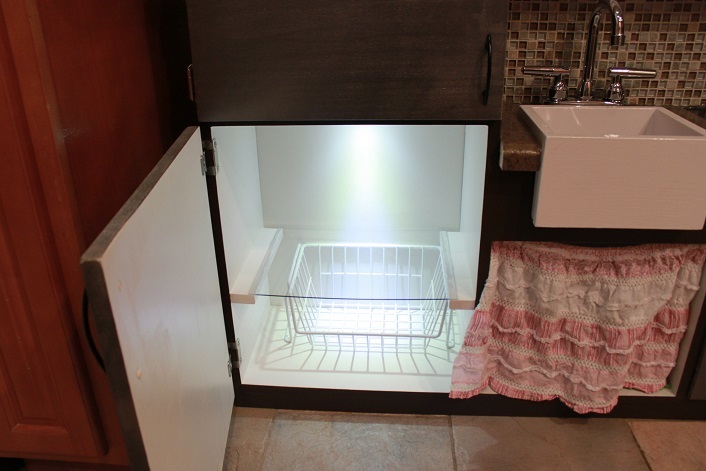
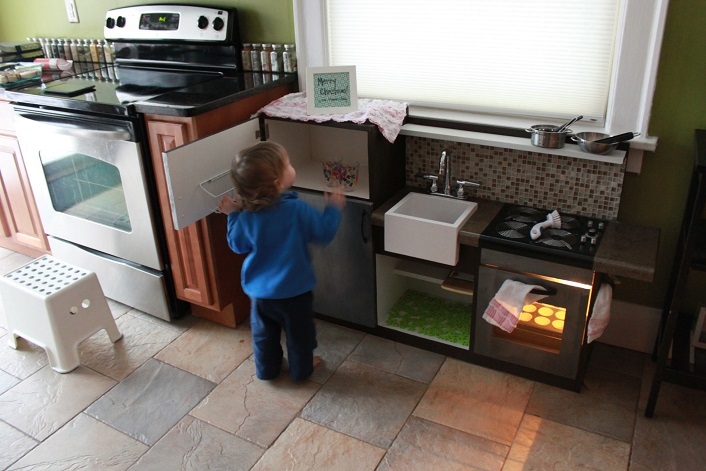
For the fridge, I used 11x14 clear acrylic for the shelf and glued in a motion sensing light. For the farm sink, I used glidden super glossy white paint, which is supposed to not show brush strokes but it did for me. I also made the shelf under the sink a half shelf. For the oven, I used cookie racks from the dollar store and a push-on light inside. The counter top is a realistic looking laminate I found in the shelving dept of Menards for $2. I found the wire disks for the stove top at a surplus supply shop for 75c each. My husband tiled the backsplash and we added that board after the grout had dried so the rest of the kitchen wouldn't get grout on it.
Built from Plan(s)
Estimated Time Investment
Week Long Project (20 Hours or More)
Finish Used
paint
Recommended Skill Level
Starter Project
Comments

Mon, 01/06/2014 - 17:59
Great play kitchen!
Great job on this play kitchen! It looks awesome, love all the details you used. That counter top looks very real, and I love how you put the white inside the fridge with the light! Clever and super creative! Fantastic job on your first project!
Tue, 01/07/2014 - 10:05
Wonderful build!
This is one of the most realistic-looking play kitchens I've seen. I love the look of the farmhouse sink, the white interior of the fridge, and the tile backsplash. This will be wonderful to pass down to a future generation!
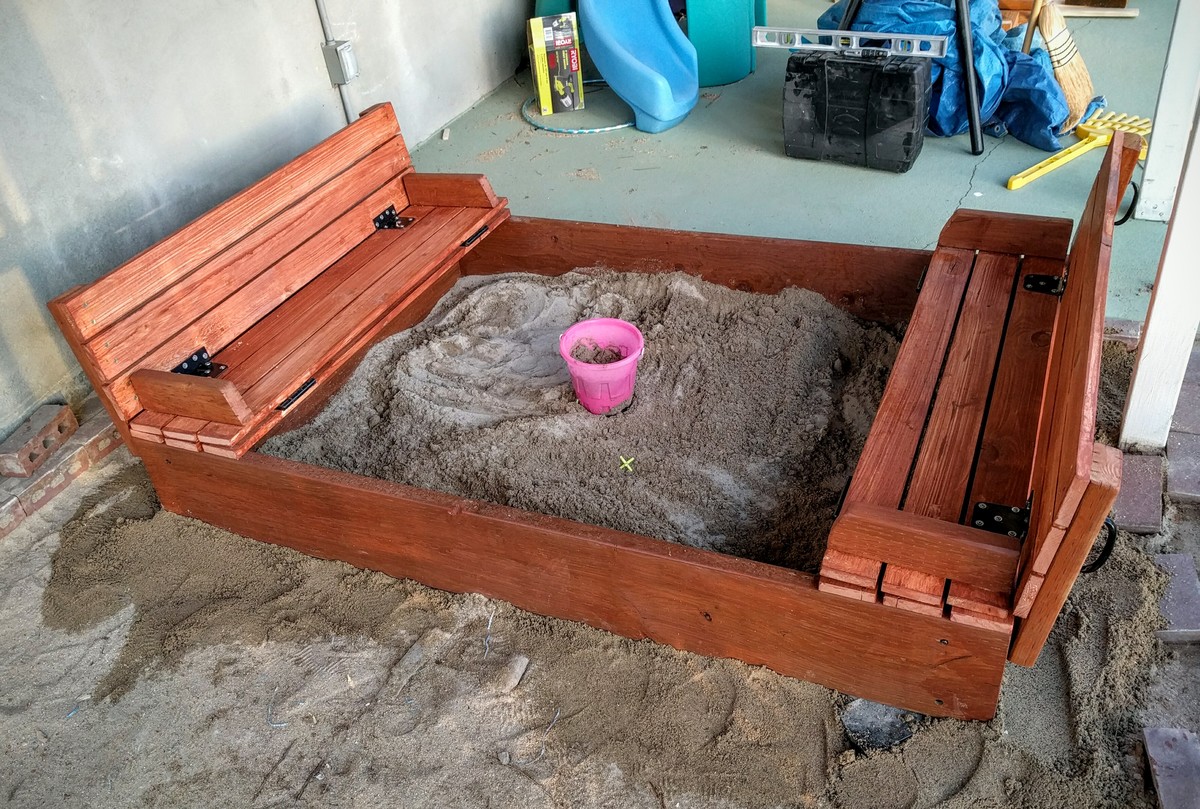
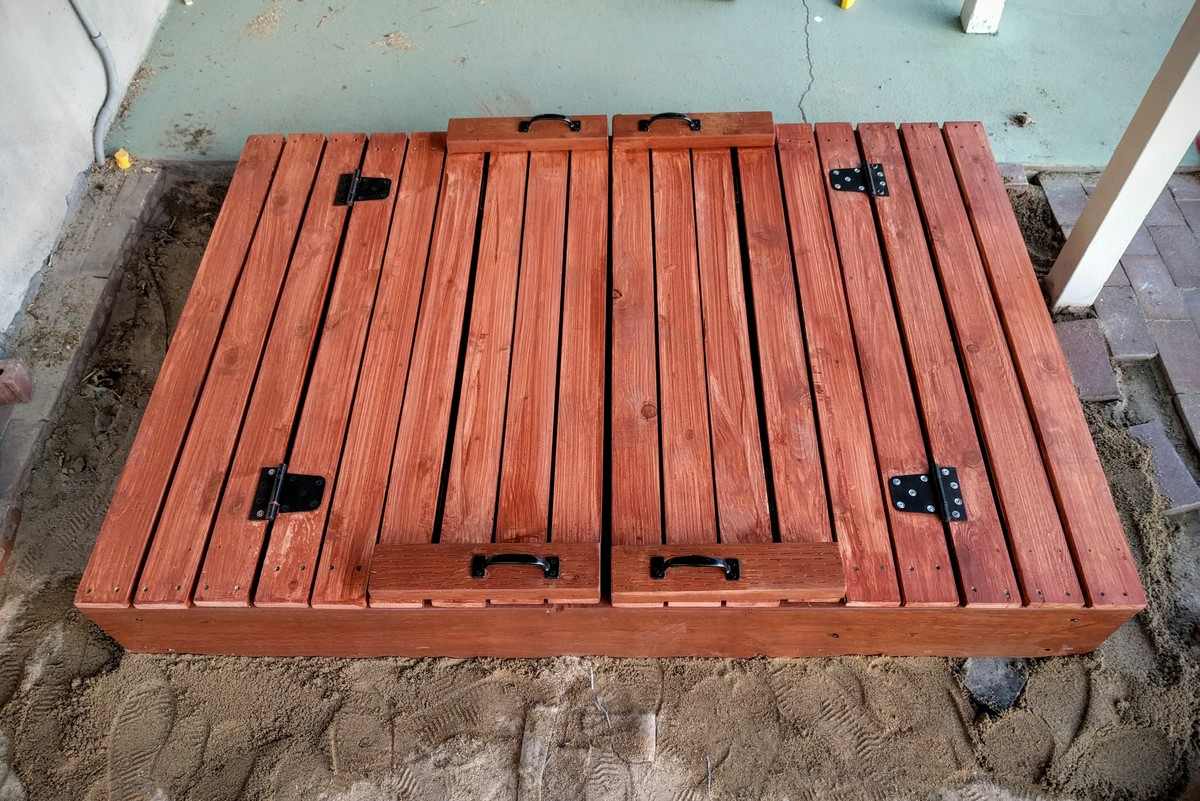
4x6 Version
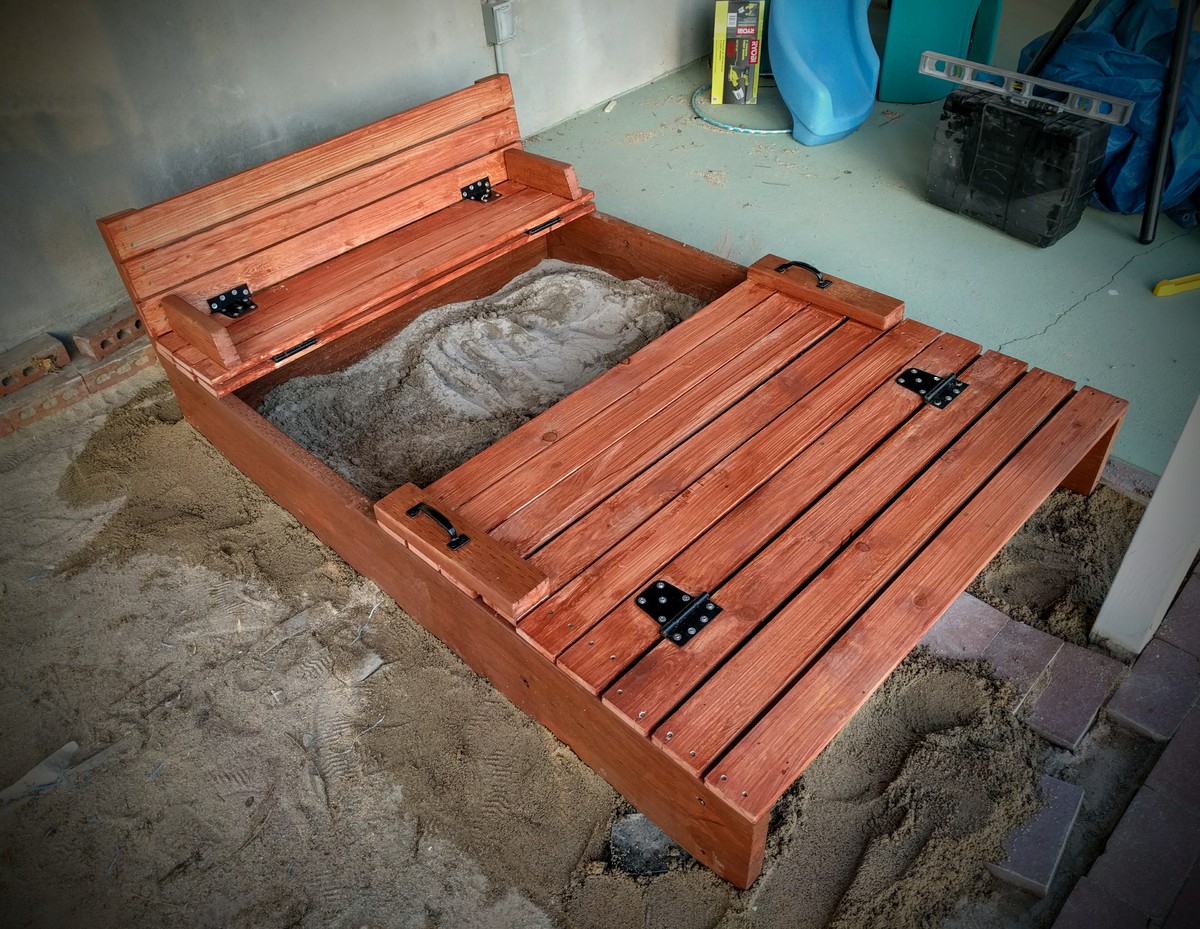
I made a few modifications that I think people starting this project may want to know. 1. 4x4 box gets a little tight for more than one kid. I chose 4x6 so that the bench dimensions would scale up to 3 slats per section correctly, but the length of 1x4 boards would not have to be lengthened, which would required additional support. 2. As a rule of thumb, any outdoor lumber that may have prolonged exposure to water (IE. Touching the ground) should be pressure treated. I couldn't find 1" thick treated boards, so the box uses 2x10 boards. 3. Used a redwood semi-transparent stain.
Estimated Cost
$150
Estimated Time Investment
Day Project (6-9 Hours)
Finish Used
Redwood semi-transparent stain
Recommended Skill Level
Intermediate
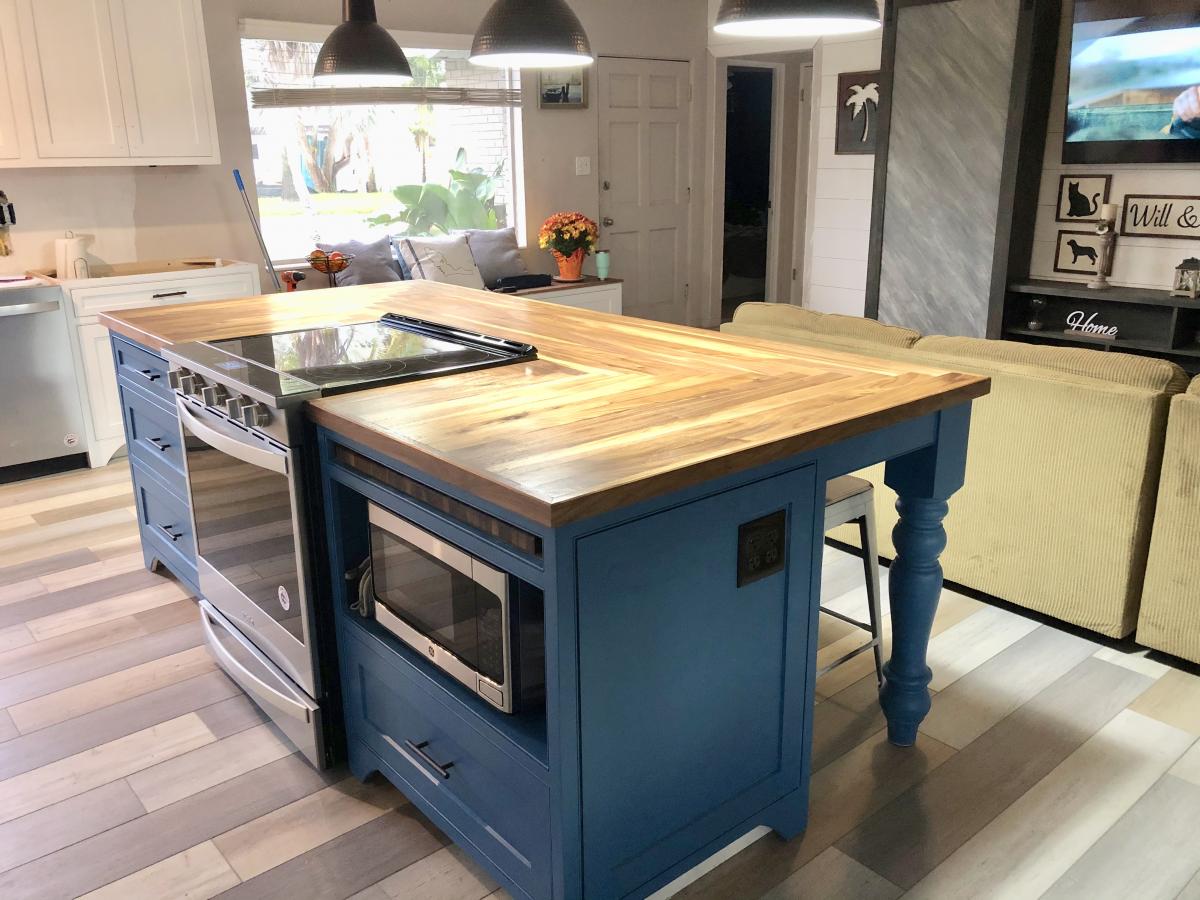
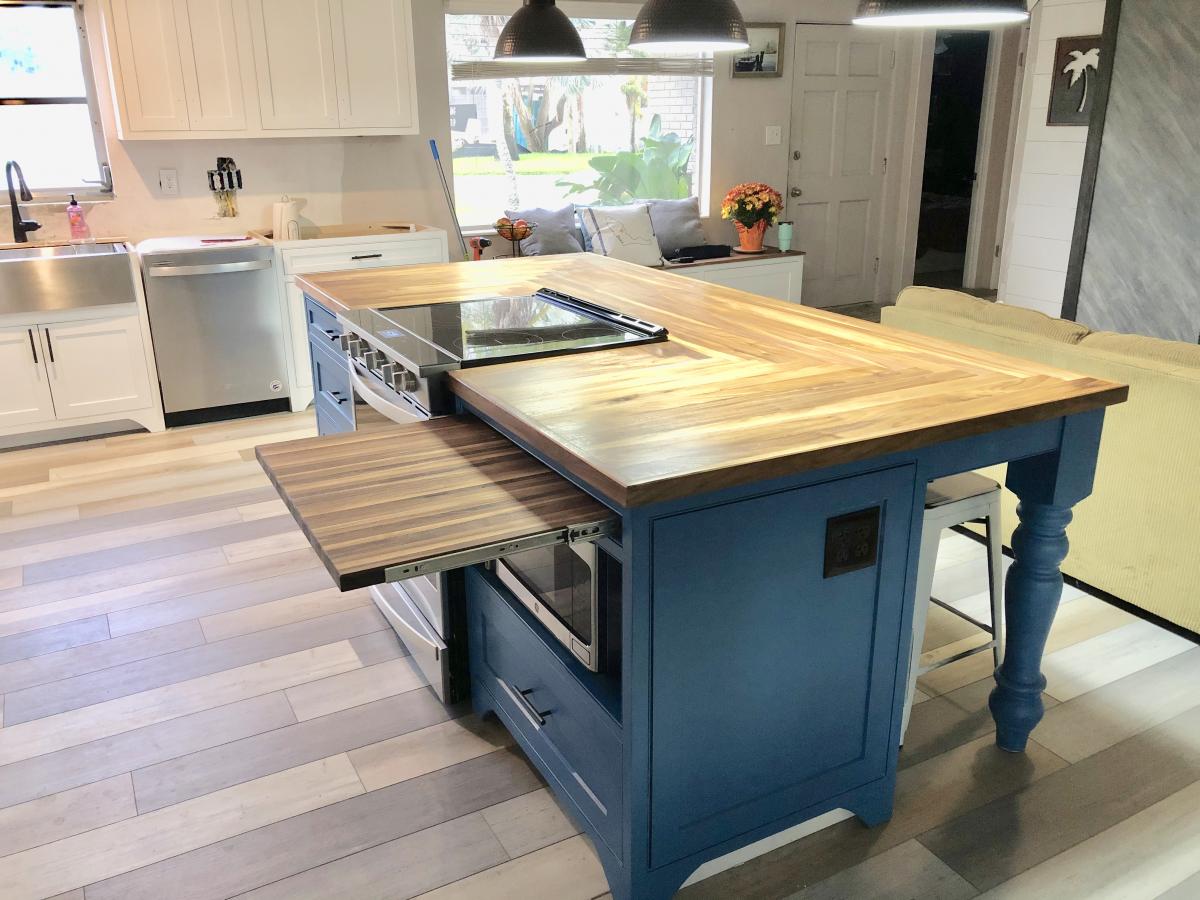
Kitchen island
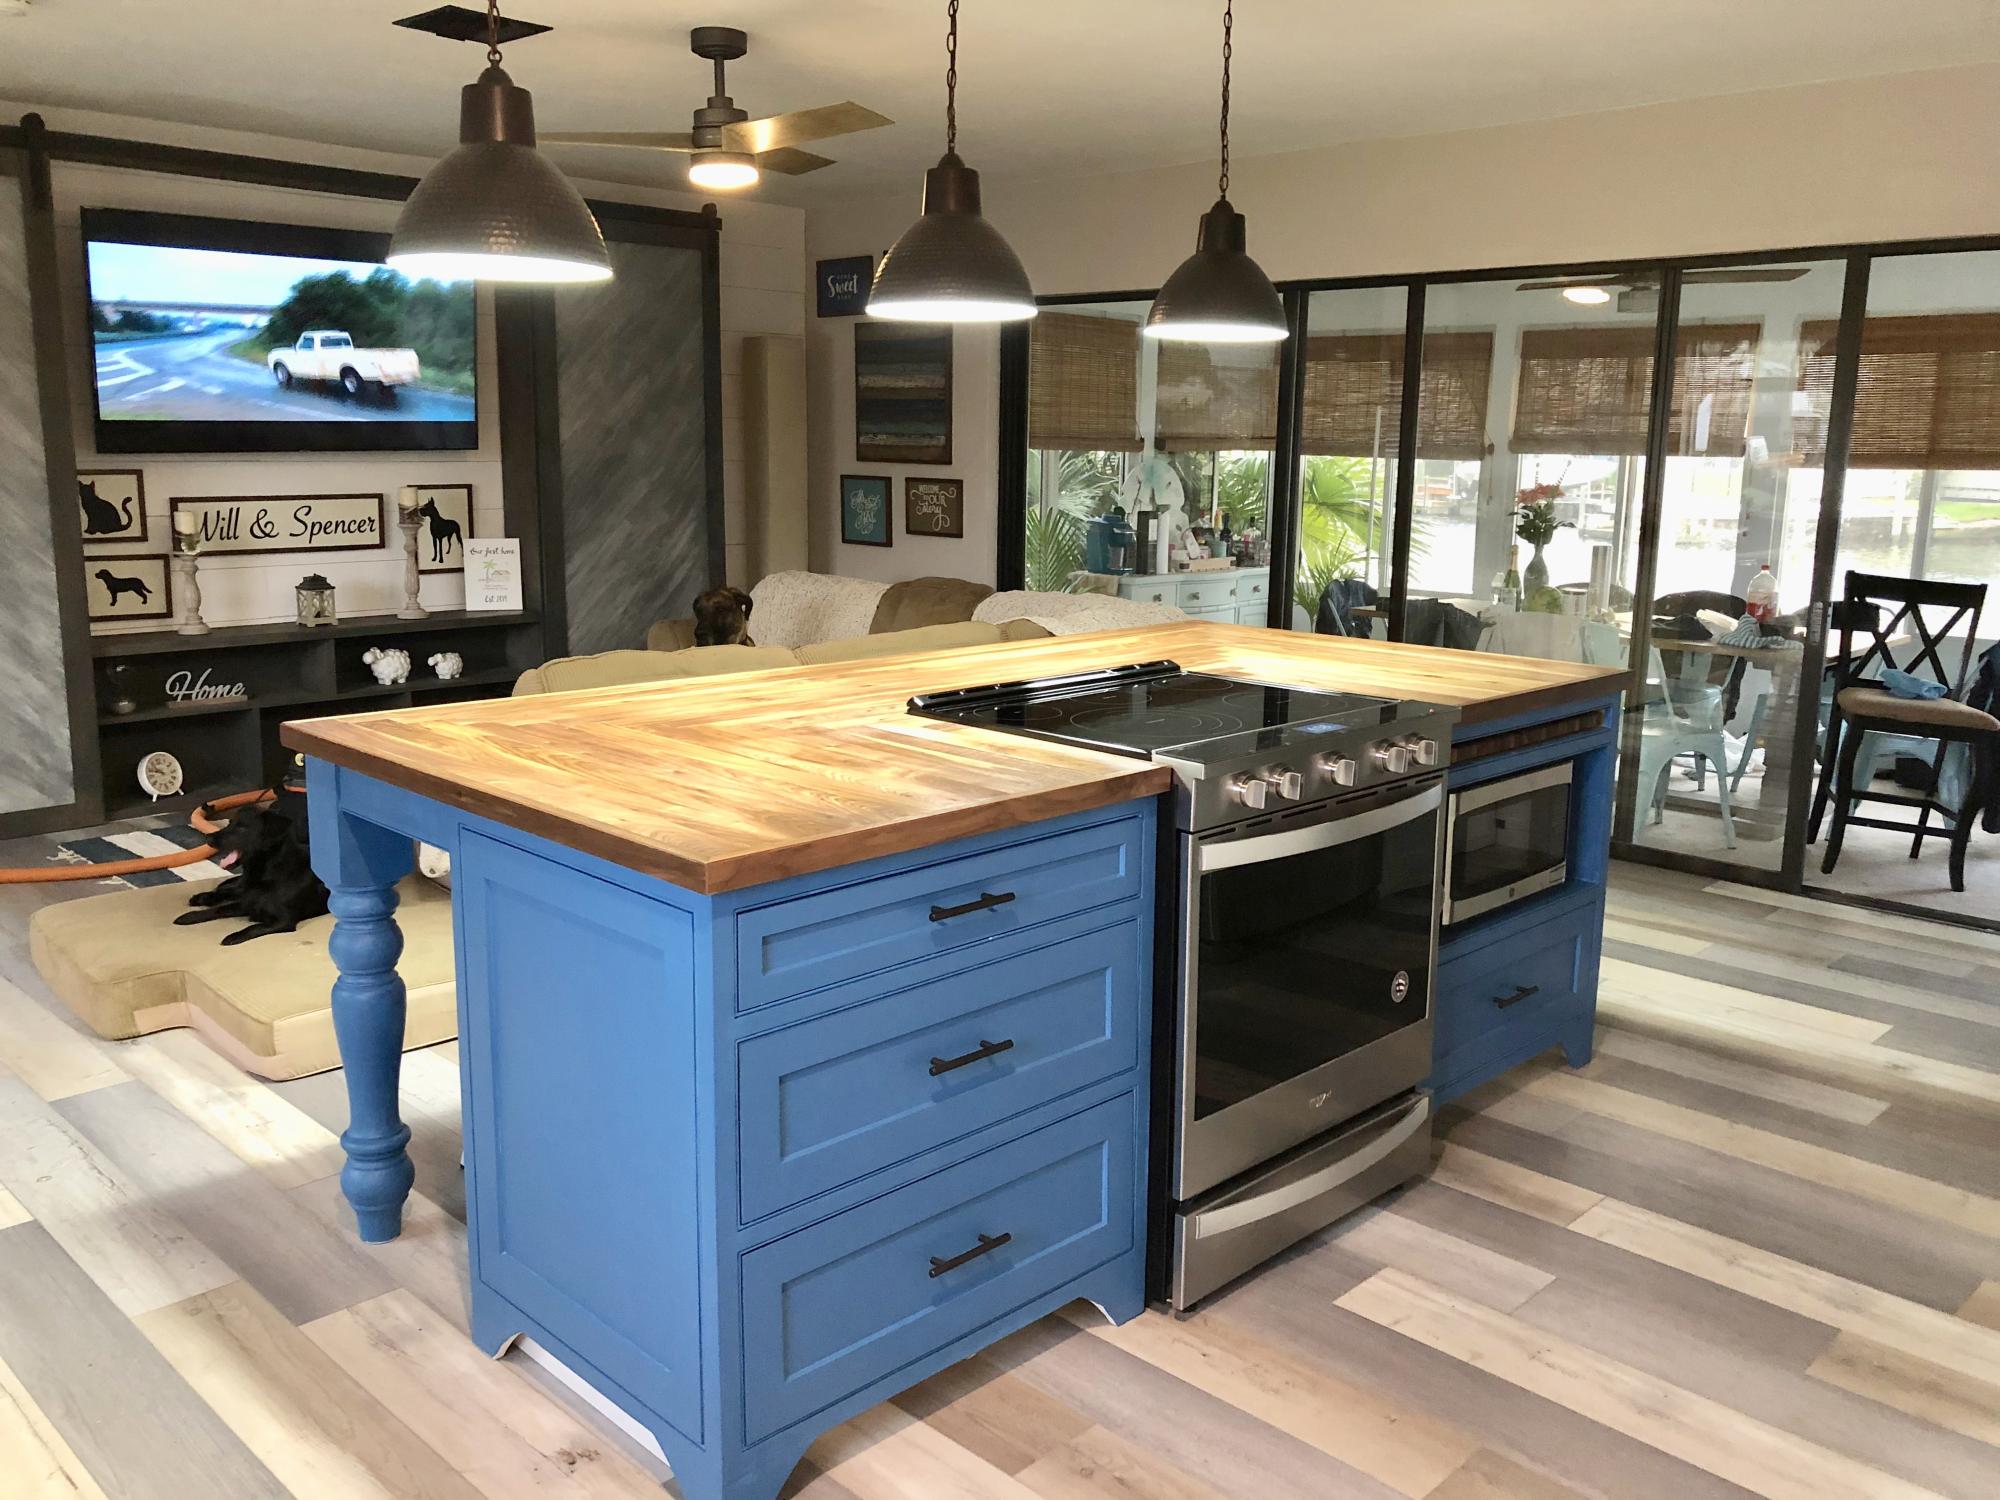
I designed and built this kitchen island for my daughter and her husband along with the cabinets. the island top is made of walnut.
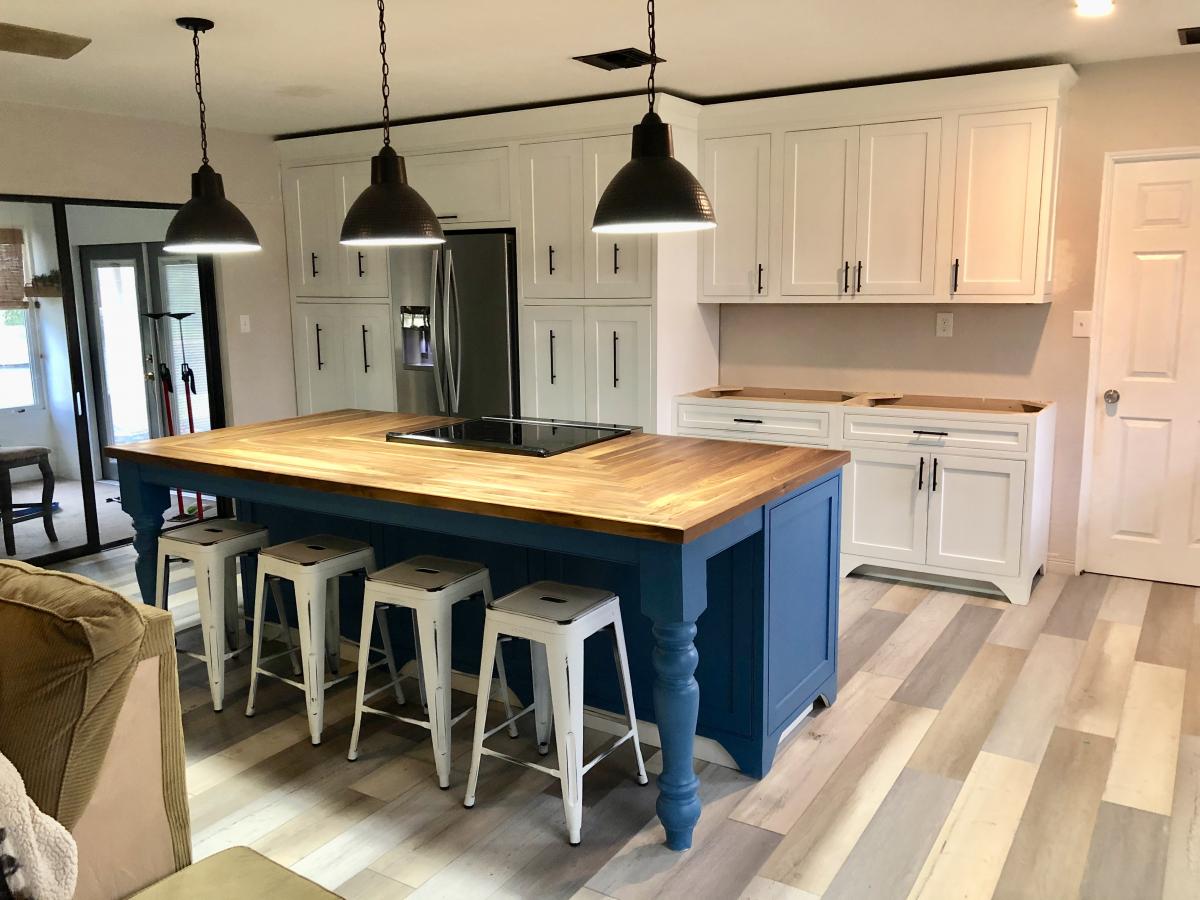

Estimated Cost
800 dollars
Estimated Time Investment
Week Long Project (20 Hours or More)
Finish Used
Benjamin Moore paint
Recommended Skill Level
Advanced
Comments
Outdoor Couch
Outdoor couch is a delight.
Damian
Built from Plan(s)
Kitchen breakfast bar with built in trash receptacle

I wanted to add a breakfast bar to our kitchen but had nowhere to place the garbage can. An Internet search eventually led me to Ana's site and the perfect solution. I used the trash receptacle idea and integrated it into my breakfast bar. I added a cookbook shelf and incorporated shelves on the other side to use wasted space where leg room was not impeded. I also built a hidden shelf for cell phones, keys and wallets. The top is from Ikea and I cut to fit. The structure and base was all cut from a sheet of MDF and I added bead board for a bit of design. This site is fantastic! I've built modified versions of plans from this site including the shed, tv stand with side DVD shelves, mud room lockers, and have plans for more projects. I will post these projects soon. Thanks Ana!


Built from Plan(s)
Estimated Cost
$200
Estimated Time Investment
Week Long Project (20 Hours or More)
Finish Used
White paint
Recommended Skill Level
Intermediate
Comments
Wed, 01/08/2014 - 20:10
Looks great!
I love your design and the incorporation of the trash can. Very practical.
Wed, 01/08/2014 - 20:27
Thanks Linda!
The trash can space was originally going to be an area to store wine...thanks to my wife's suggestion I had to think of a way to store the trash can. That led me to this site and I've now been inspired to do several other projects based on plans found here. This site is terrific and inspirational!!
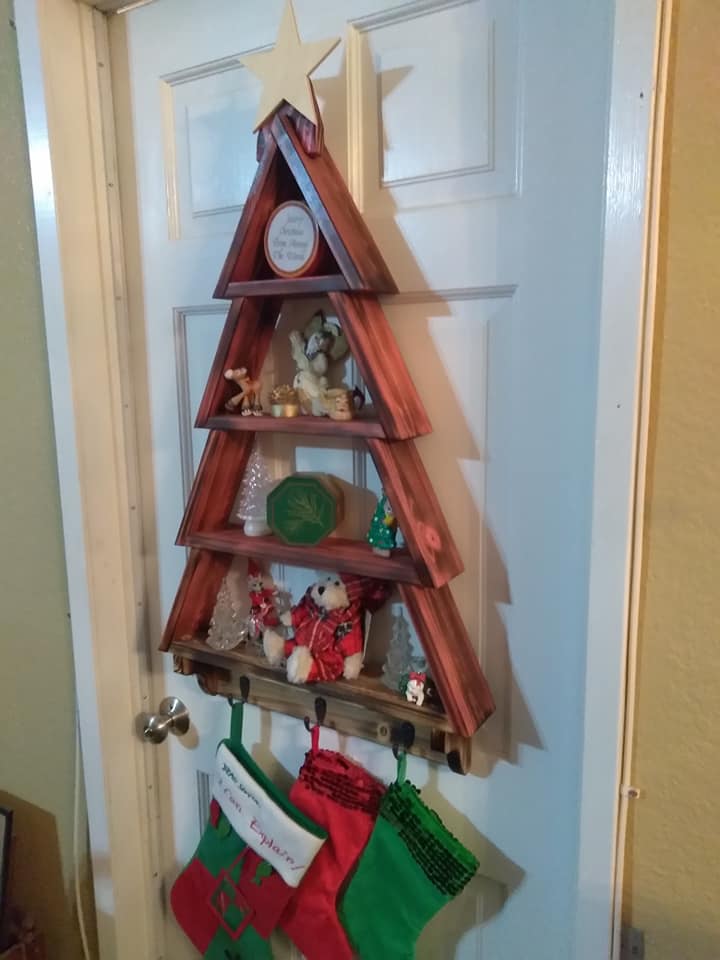
Christmas tree
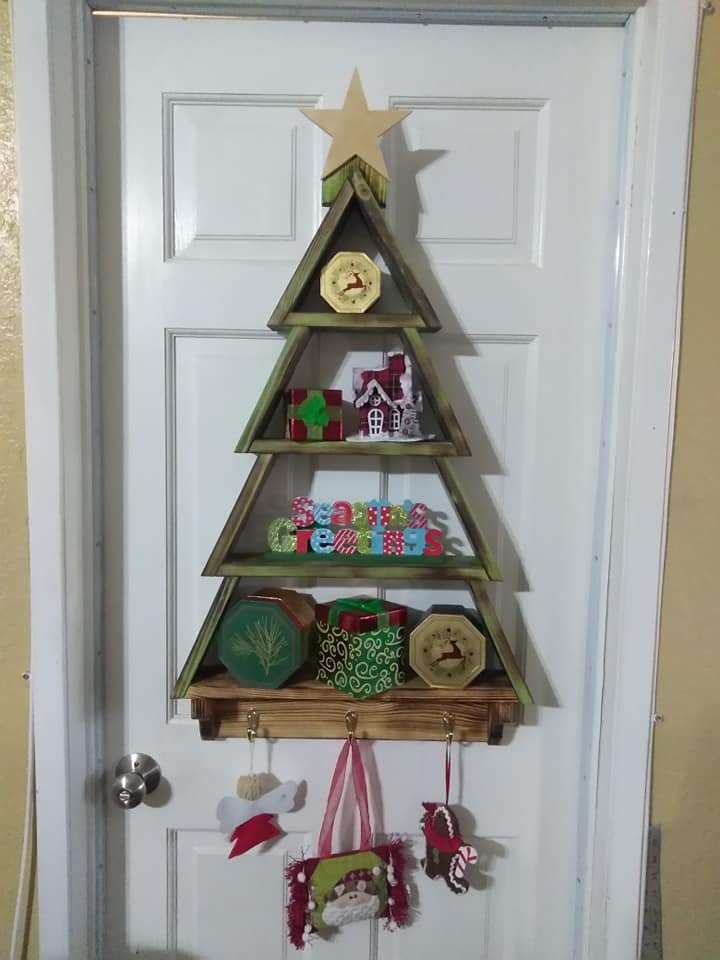
Thank you very much for the Christmas tree plans, was a nice and fun project, I added a star, can be removed if people wants to use the tree year long.
Thank you again
Sergio
Built from Plan(s)
Estimated Cost
$15
Estimated Time Investment
Afternoon Project (3-6 Hours)
Finish Used
I burnt the wood with a torch to begin with, then I mix water base paint with water , (more water then paint) brush it and wipe it off, then I use a clear finish. I did stained everything before I put them together. Took me 20 minutes to cut the wood for 2 trees, the time consuming was waiting for the stain to dry. Awesome project and fun.
Recommended Skill Level
Beginner
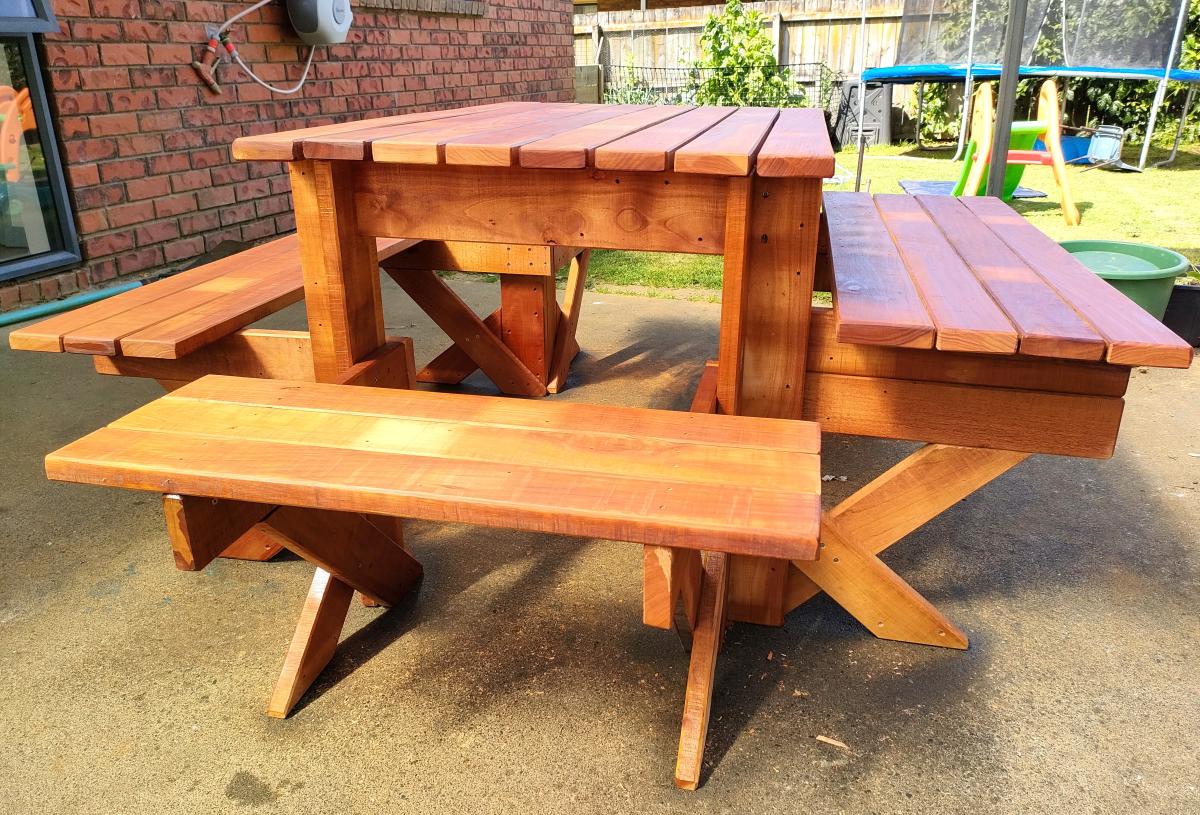
Square Outdoor Picnic Table
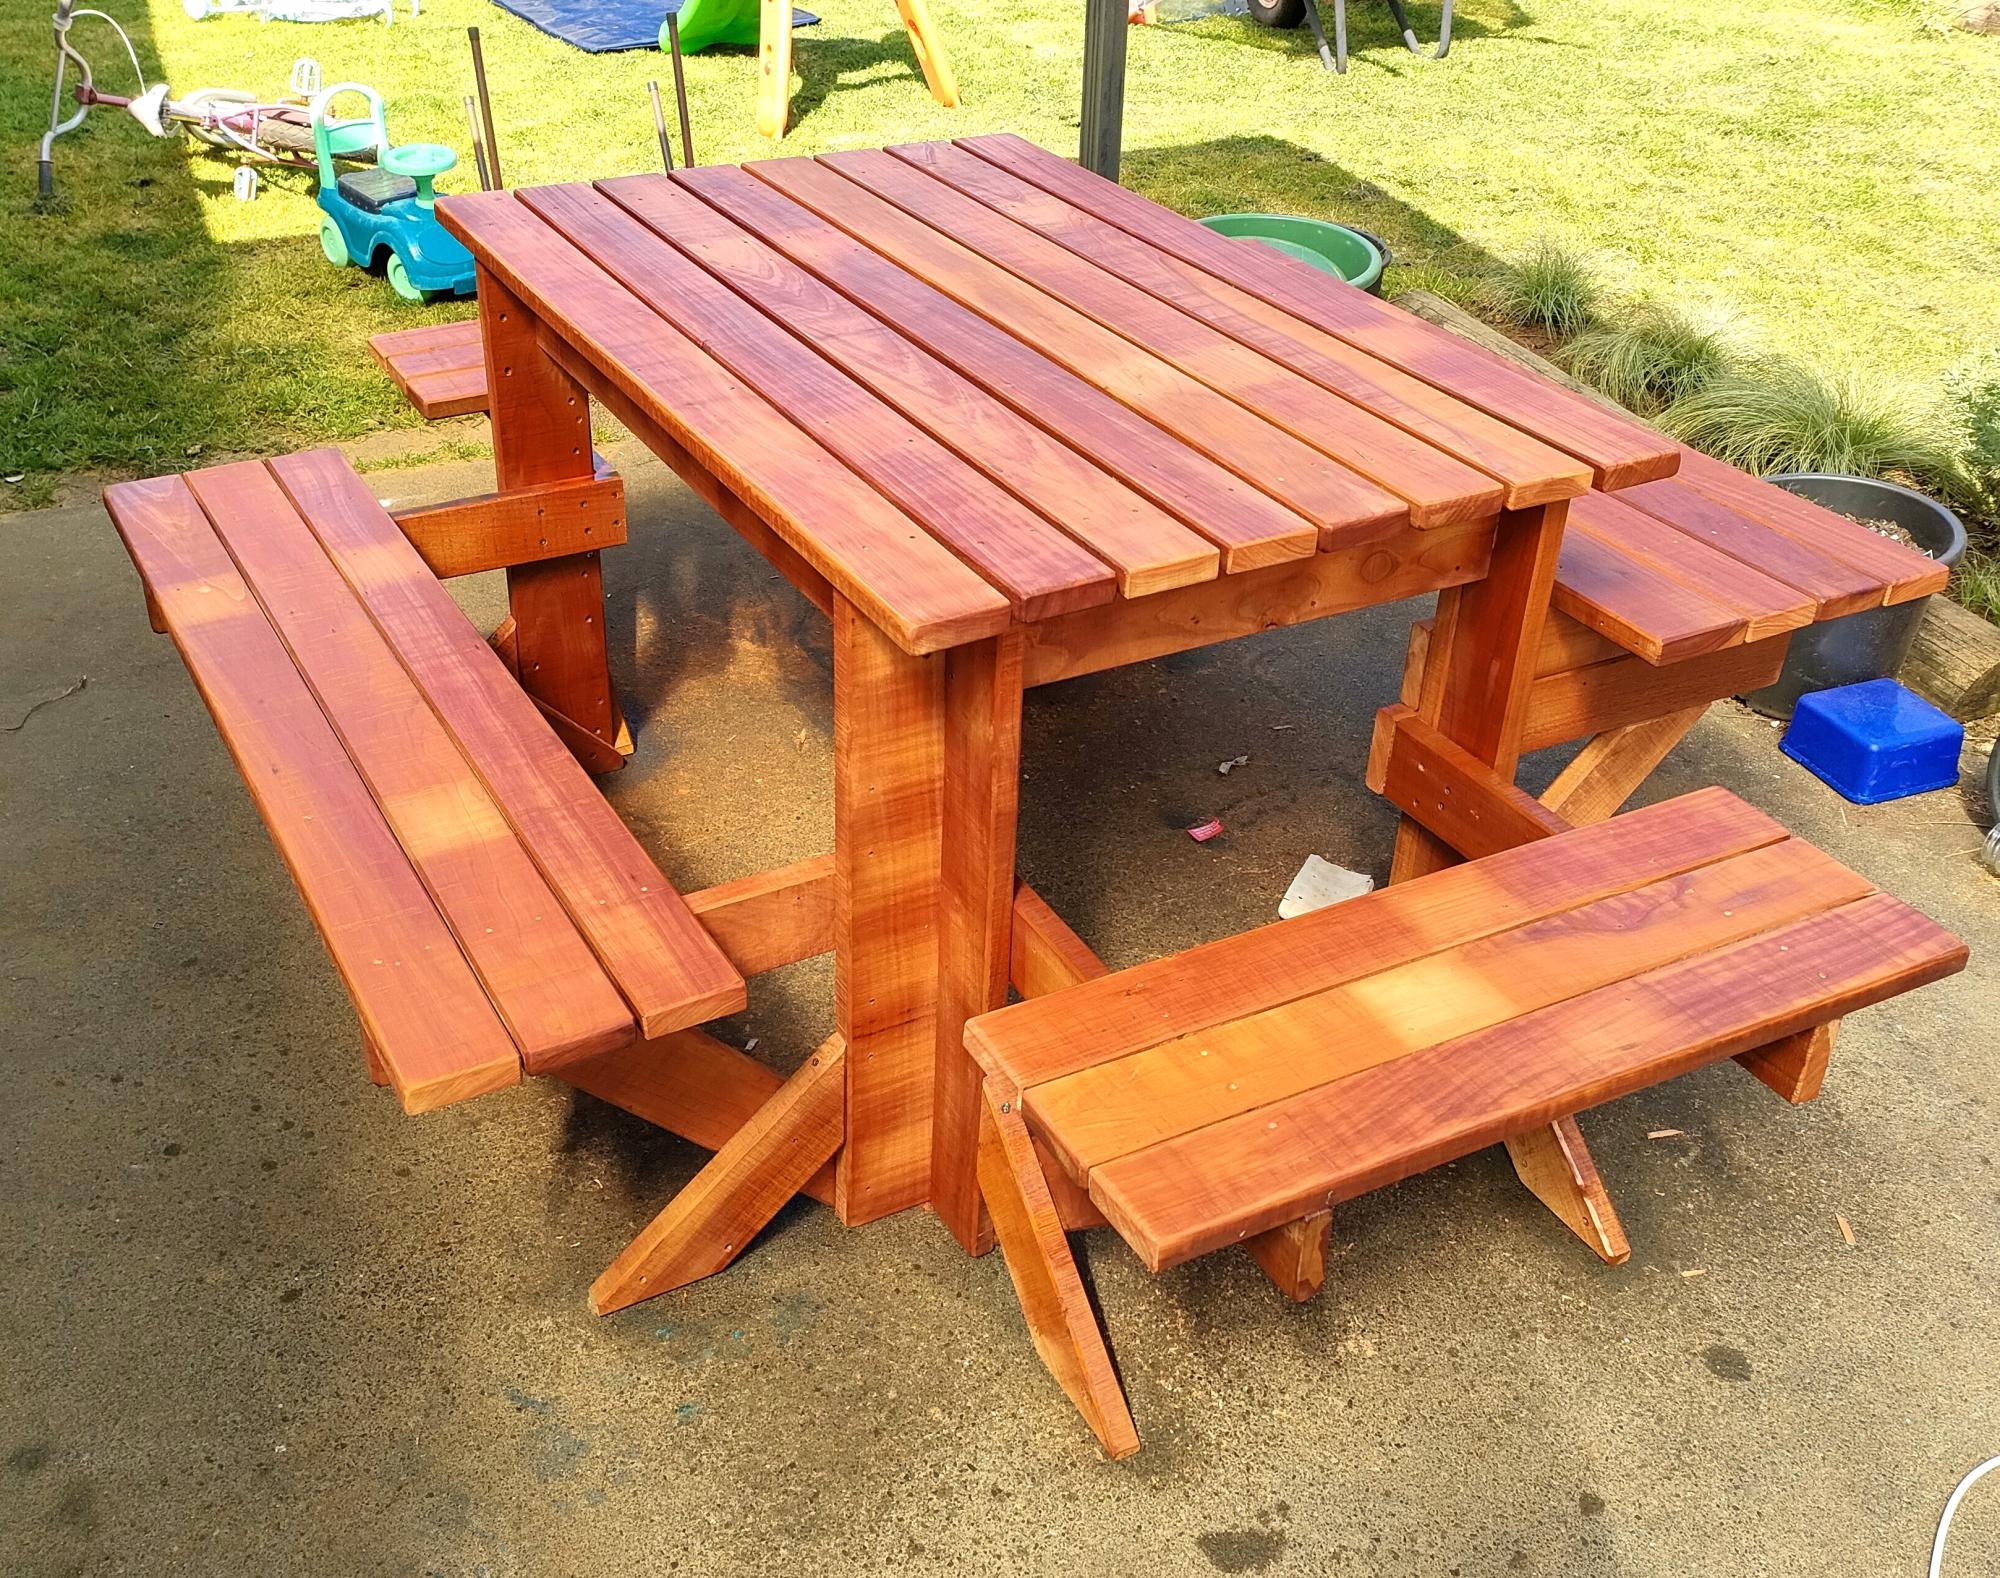
6 seater Recycled Fijian Kauri with extra leg supports, one side higher & closer for kids.
Marty
Built from Plan(s)
Comments
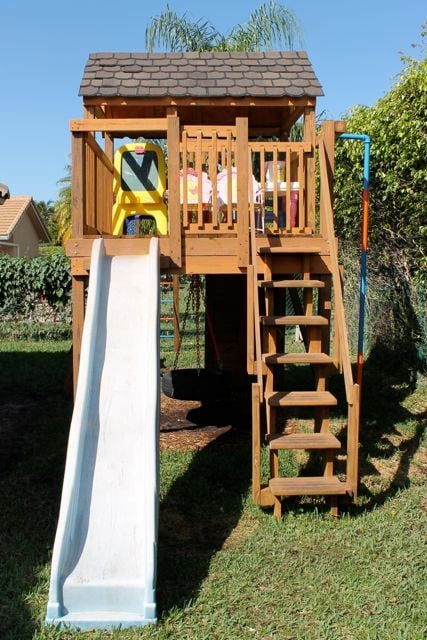
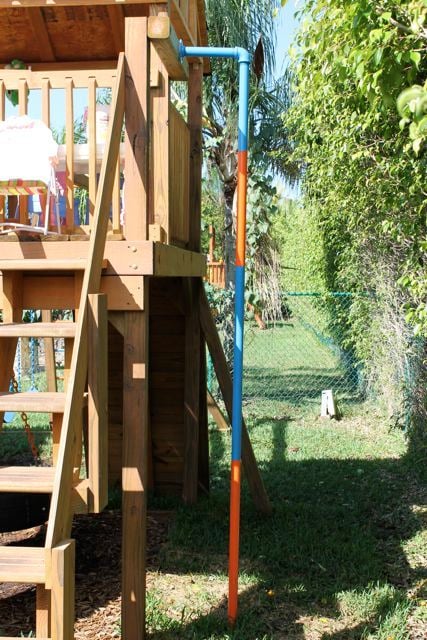
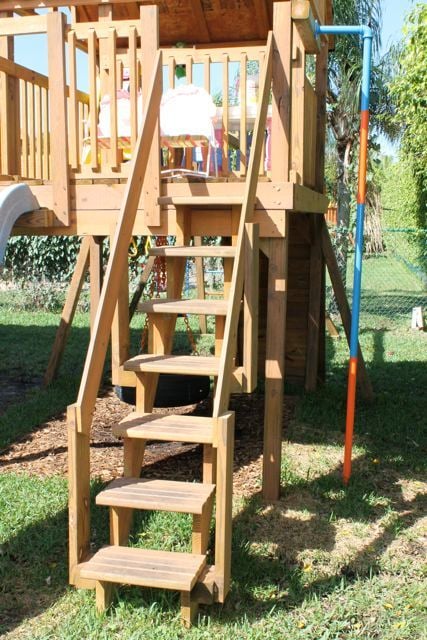
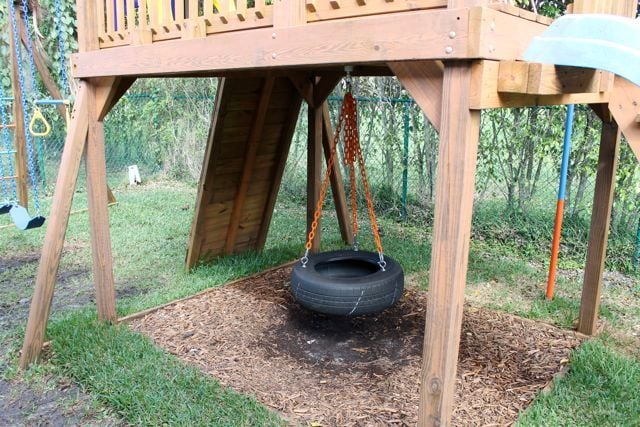
Florida Gator Themed Playhouse
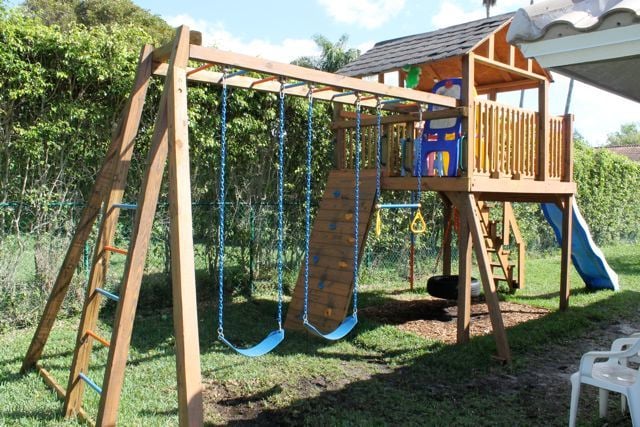
My husband Jon recently built this playhouse with/for a friend of his from work. It took them two months to complete and it's awesome! Jon's friend is also a die hard Gators fan so they made sure to add blue and orange as much as they could. Thanks Ana for giving them the courage to take on such a feat!

Built from Plan(s)
Estimated Cost
$2000
Estimated Time Investment
Week Long Project (20 Hours or More)
Finish Used
None
Recommended Skill Level
Advanced
Comments

Wed, 03/21/2012 - 01:51
Great Job! All this says is
Great Job! All this says is "GO BRONCOS!" I'm an Idaho girl and I love the BOise State colors, lol! "Playhouse" is an understatement. This is a jungle. This is a huge play structure! and it is awesome.

In reply to Great Job! All this says is by birdsandsoap
Sat, 04/14/2012 - 07:08
Haha! Thanks birdsandsoap! I
Haha! Thanks birdsandsoap! I think it's awesome that you saw something special in a totally different way. Glad you liked our color scheme and project! ;)
Pink Adirondack Chairs
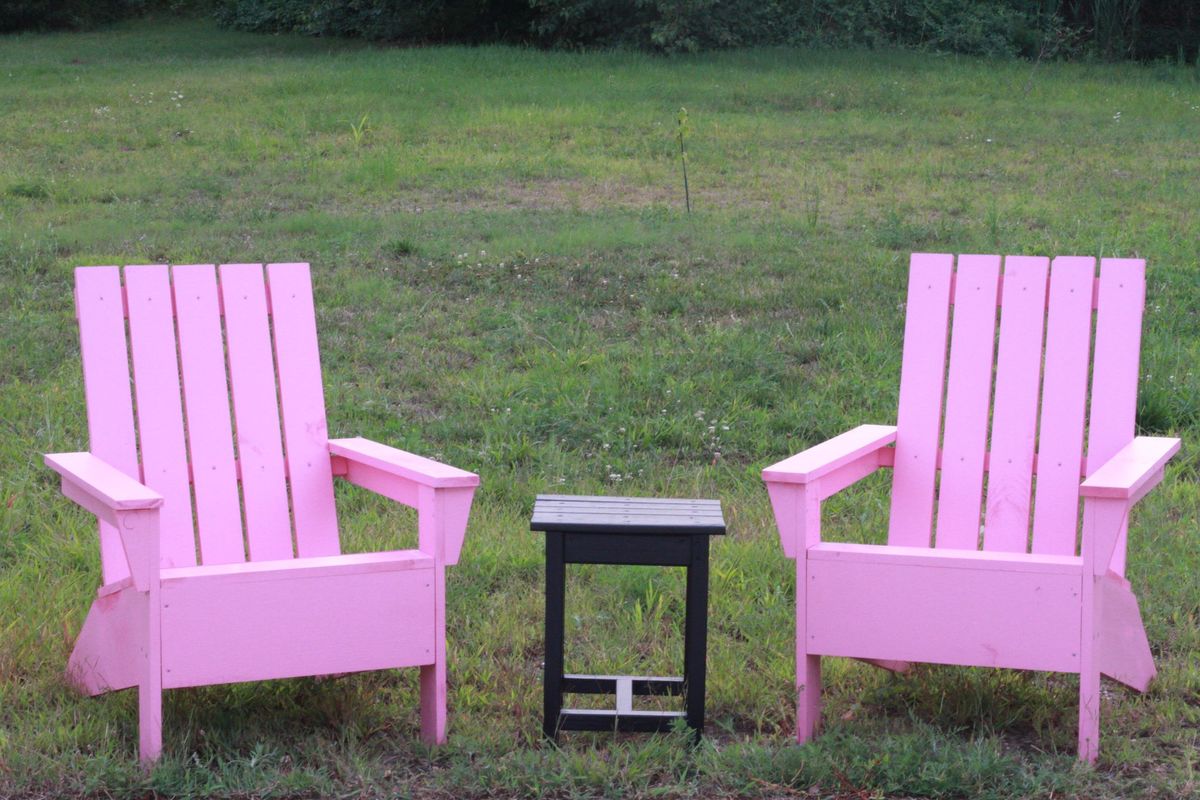
Two Pink Adirondack Chairs
Built from Plan(s)
Estimated Time Investment
Day Project (6-9 Hours)
Finish Used
Exterior Polyurethane Varnish and Pink Exterior Paint
Recommended Skill Level
Beginner
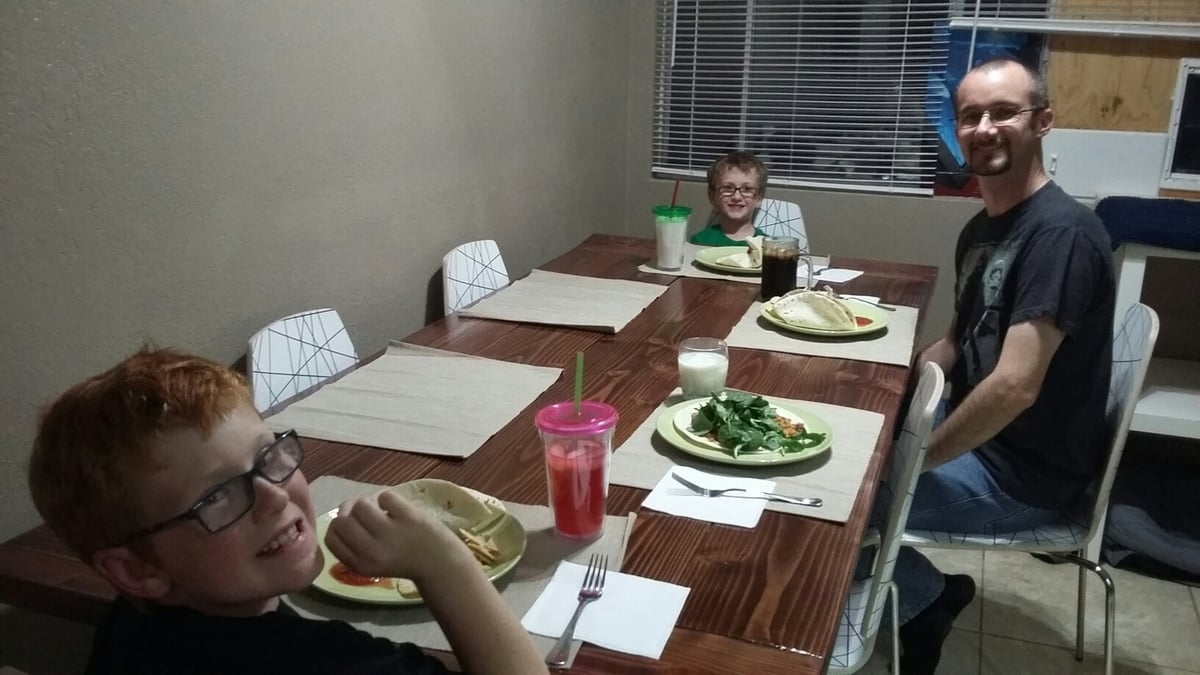
Jons Home Made Table
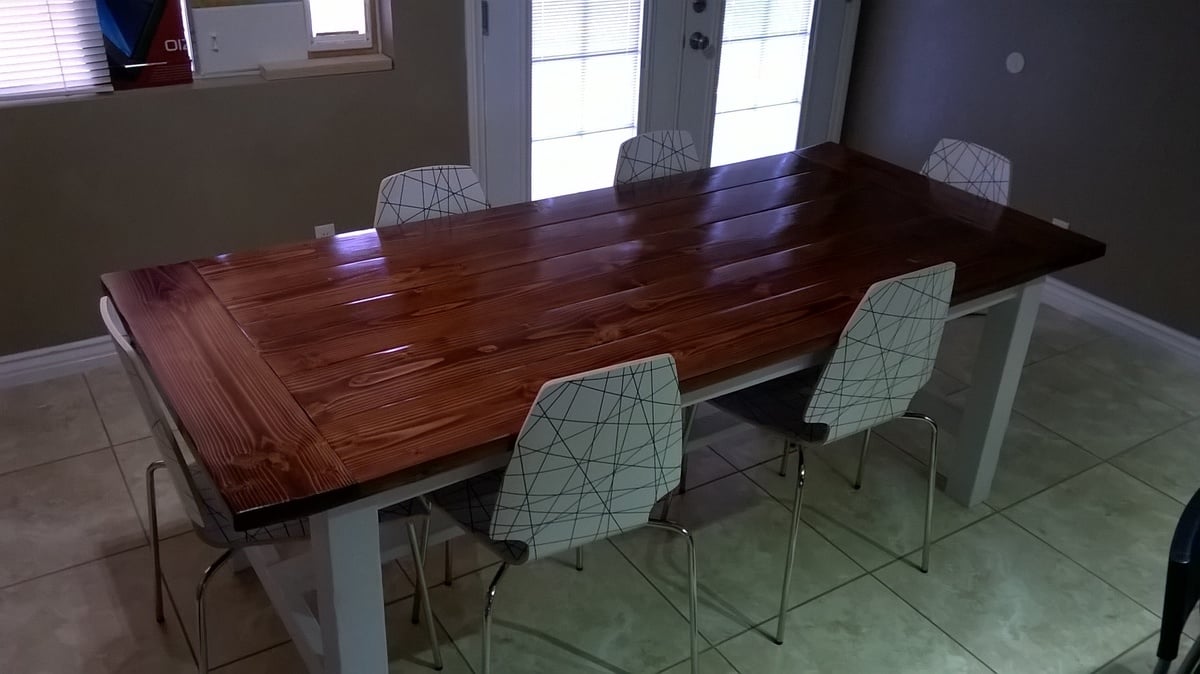
Built from the
Farmhouse Table - Updated Pocket Hole Plans. I used pine for all the wood, painted the bottom with white
Valspar Storm Coat, and table top with Miniwax Red Mahogany stain.
It's not purfect but, it turned out great.
Lessons learned
I need is a planer to make the boards straight, Belt sanding took a long time.
Built from Plan(s)
Estimated Cost
About $120
60 for wood
20 for paint
10 for stain
20 clear coat
10 for screws
60 for wood
20 for paint
10 for stain
20 clear coat
10 for screws
Estimated Time Investment
Weekend Project (10-20 Hours)
Finish Used
Red Mahogany stain
Recommended Skill Level
Beginner
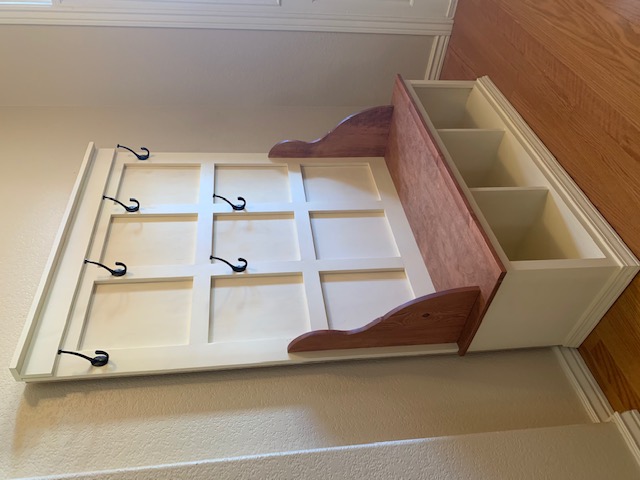
Farmhouse Hall Tree
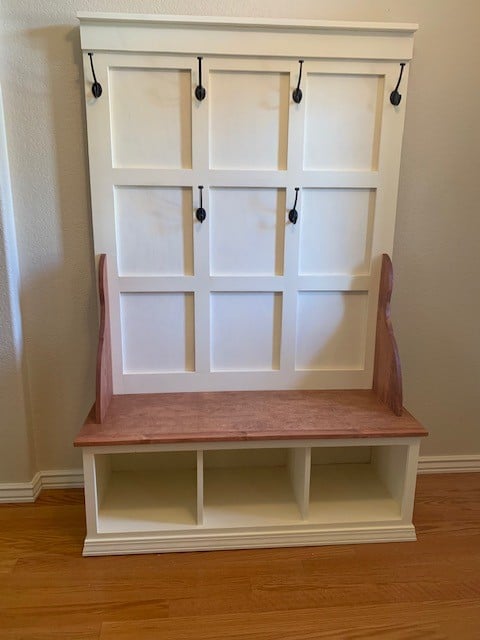
I made this hall tree for my daughter for Christmas . I am a beginner with woodworking and this is the first piece of big furniture I have made.
Built from Plan(s)
Estimated Cost
$140, but i used an expensive chalk paint on it
Estimated Time Investment
Week Long Project (20 Hours or More)
Finish Used
Valspar Chalk paint and minwax cherry wood finish. I put 2 coats of the stain on the seat and sides . the chalk paint did not cover well and took 3 coats .
Recommended Skill Level
Intermediate
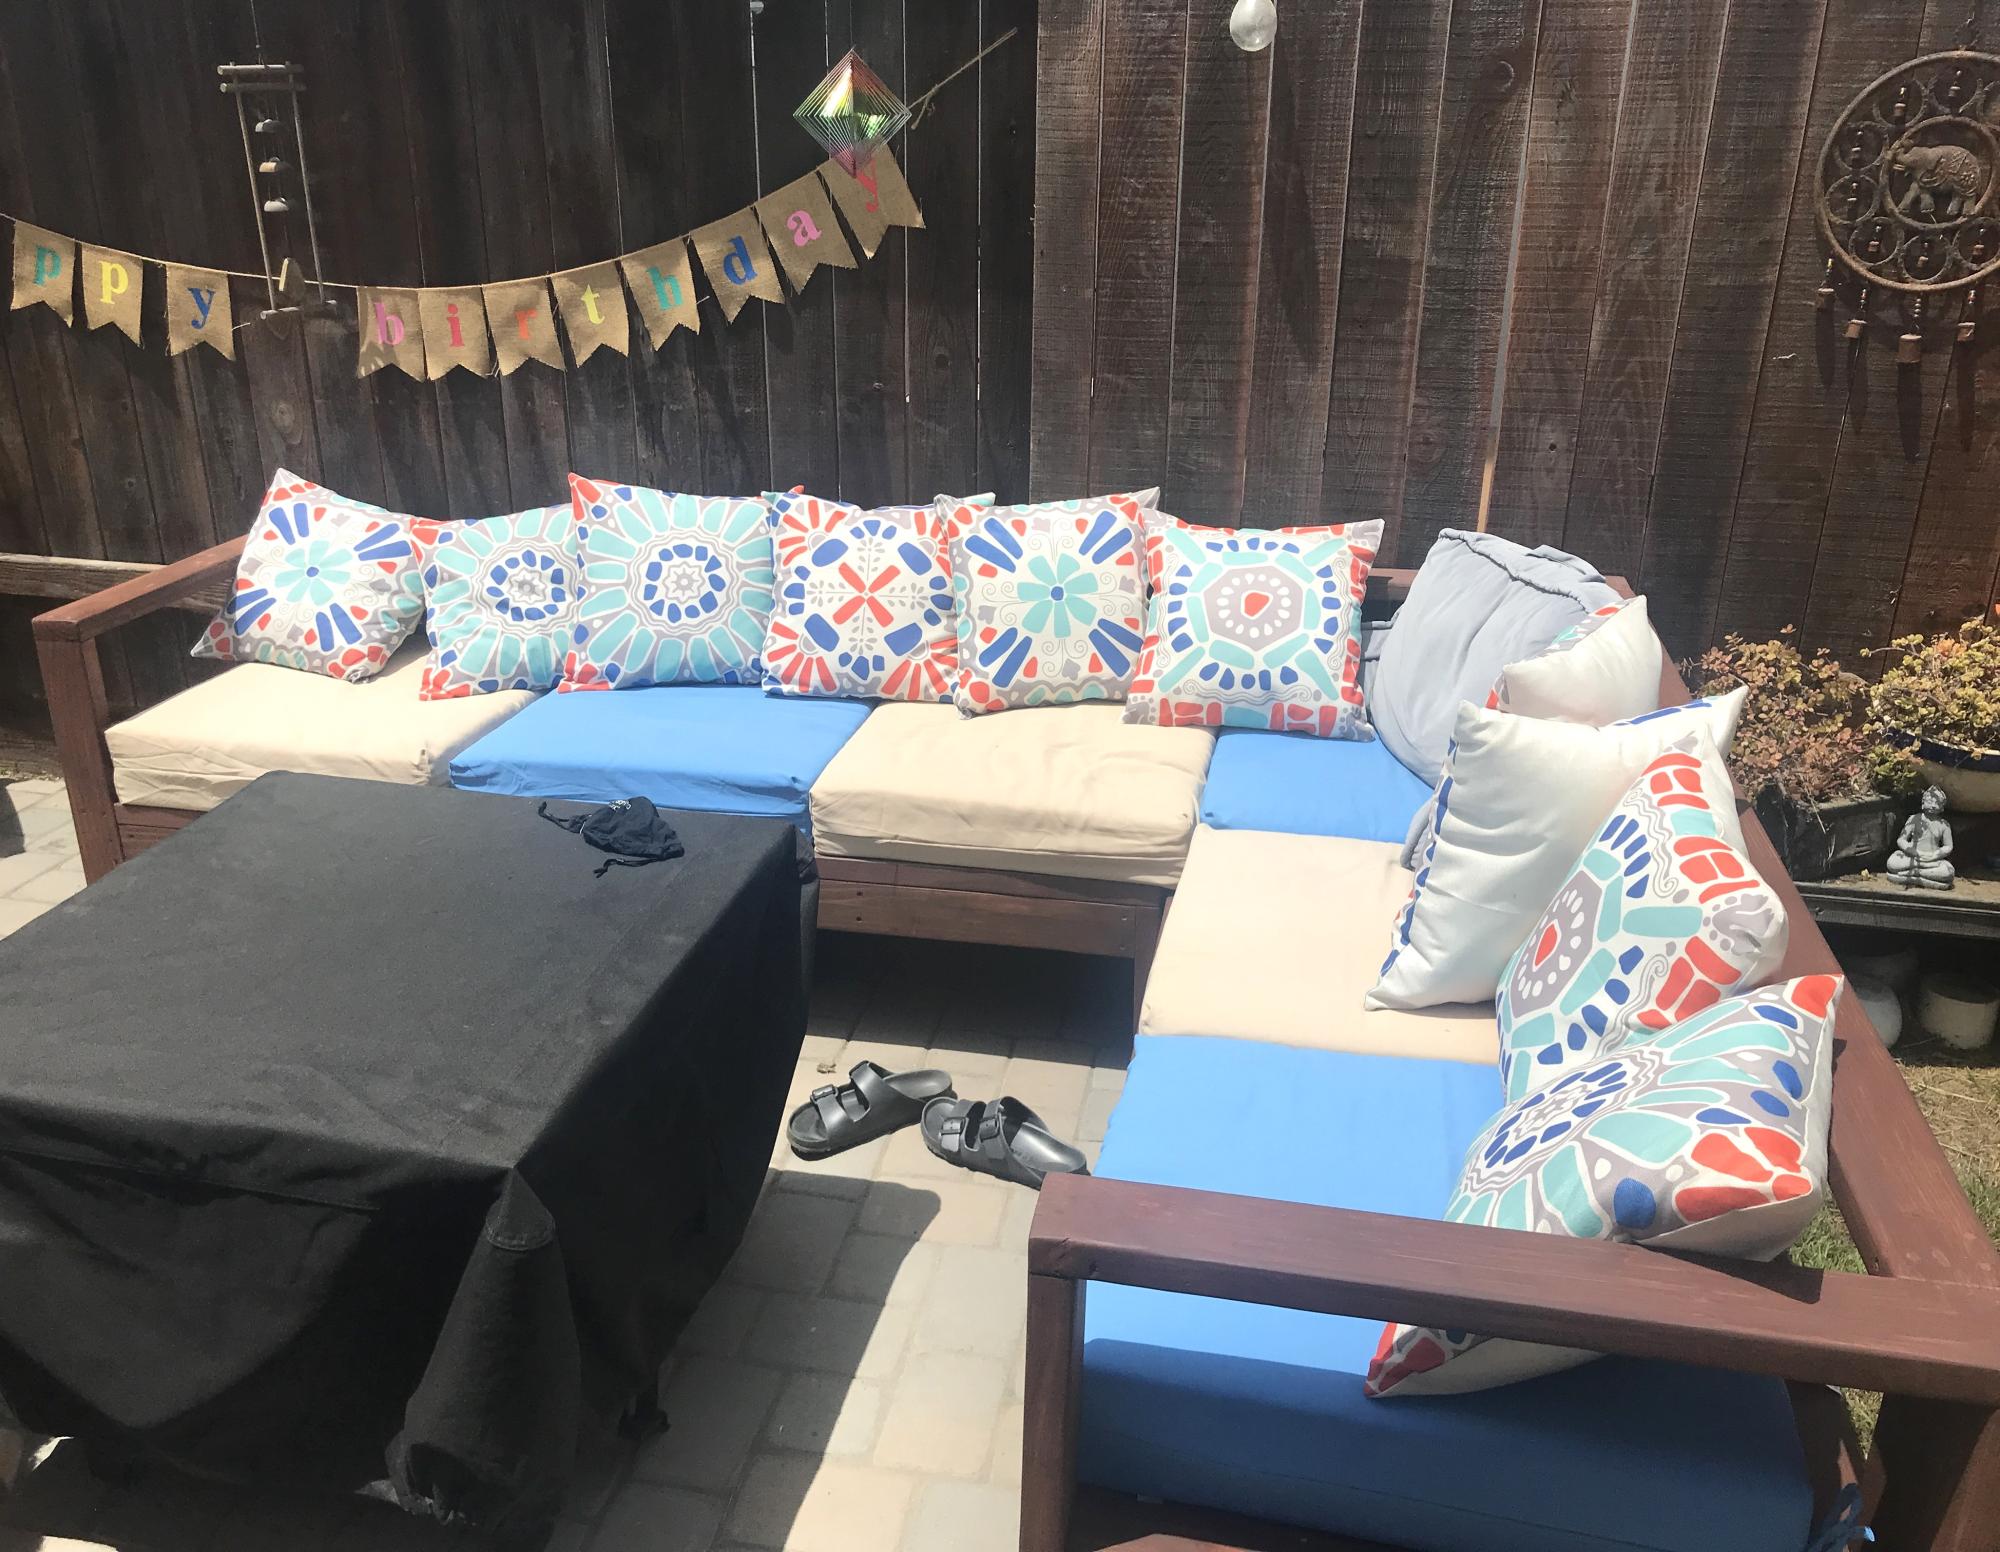
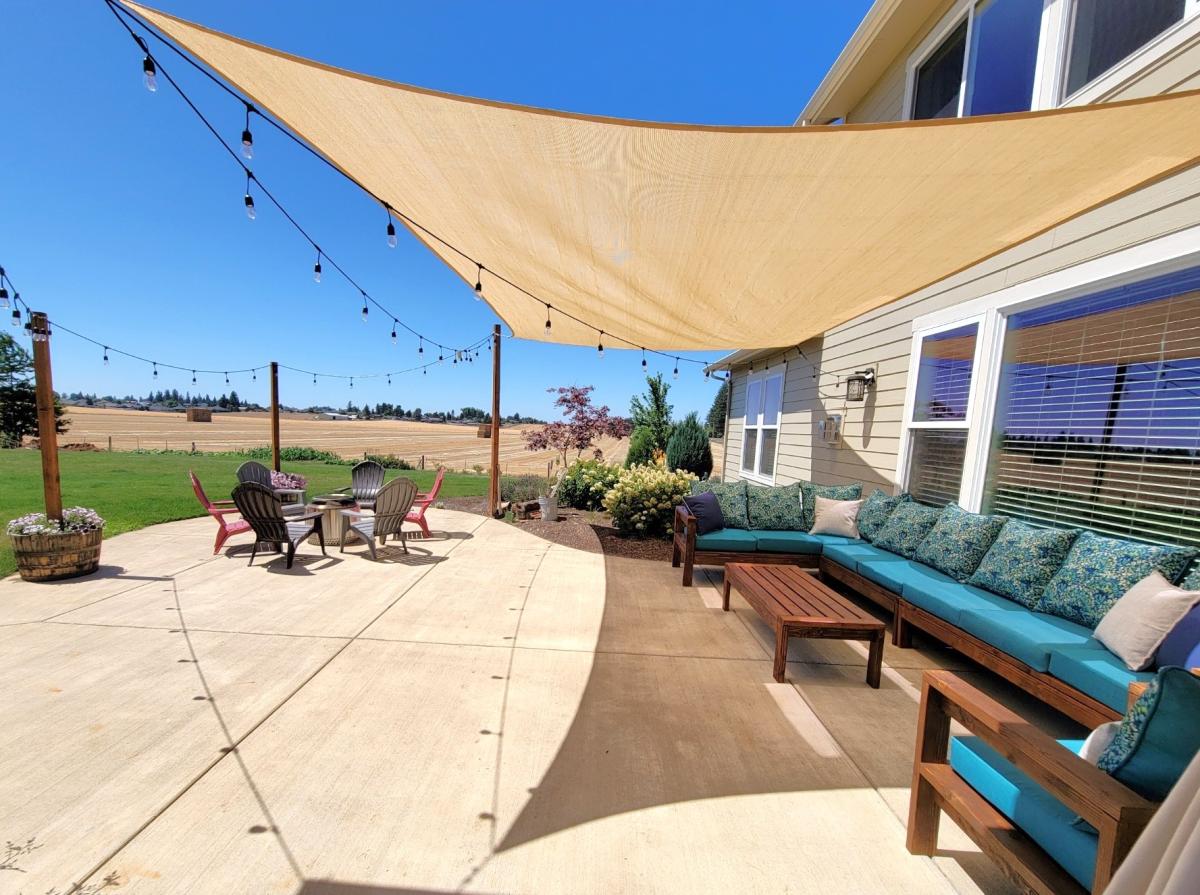
Outdoor L Shaped Sectional and Table
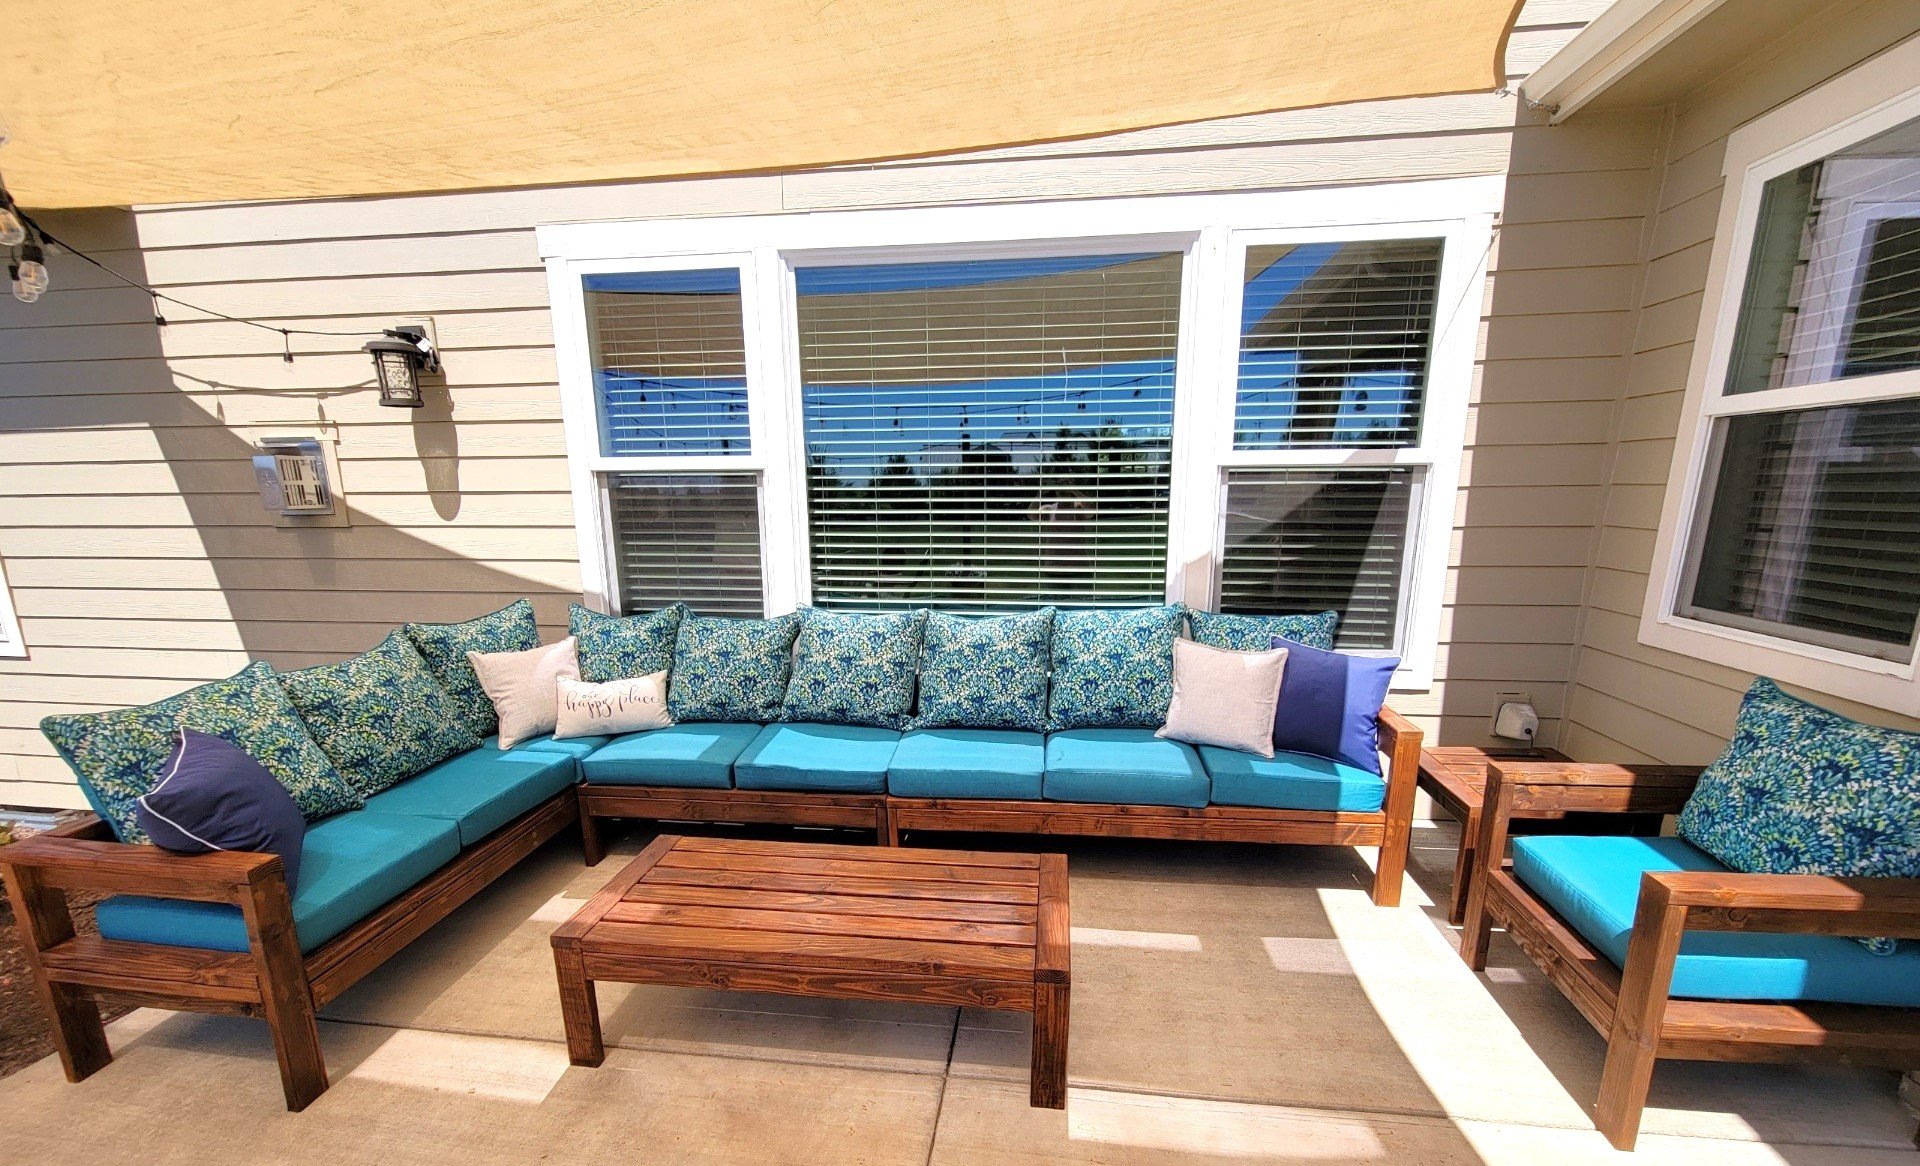
My wife used you patio sectional and table plans to make herself a summer oasis. She built it specifically to fit a corner of our patio that we were never using. Now it is used almost daily for reading, visiting or just sitting outside watching the birds.
Tony for Julie
Built from Plan(s)
First Project Rustic Farm Table

This the first project my husband attempted. I hope I can be more involved in the next project. I'm very proud of his first table! We plan on putting it on the screened in porch of our new house we are getting ready to build.


Built from Plan(s)
Estimated Cost
30-50
Estimated Time Investment
Afternoon Project (3-6 Hours)
Finish Used
We used "Early American" as the stain color for the top. We used Olympic paint color "Admiral Blue" for the legs, then distressed them.
Recommended Skill Level
Beginner
Comments
Mon, 04/09/2012 - 08:33
Paint and Stain
I have a question. When you stained the top, how did you ensure that your paint was not affected by the stain? I am working on m y first project. I have it all together, painted the bottom, but am stumped by how to stain the top with out ruining all my hard work. Any advice would help.
Sun, 05/13/2012 - 12:29
So sorry I just saw your
So sorry I just saw your comment! We used a scrap piece of cardboard to put up against the table when "edging" the stain or paint. We could get in the corner alone the bottom where the stain and paint meet without having to have super steady hand or be completely stressed. Hope this helps!
Rustic X Bench

Took a day to build a bench to match my table! I am in love with this bench.
Take a little extra time on your angles to make sure you get them right or you will end up with a gap!
Built from Plan(s)
Estimated Cost
$20
Estimated Time Investment
Afternoon Project (3-6 Hours)
Finish Used
Valspar Satin Black Paint, Minwax English Chestnut, Poly Semi-Gloss on seat top only
Recommended Skill Level
Beginner
Extra long, no middle shelf Rustic X Console

We have a huge sectional and loved this table, so we modified it a little to fit our needs. Took out the center shelf, made it 10 feet long, and added breadboard ends to the top. Came out perfect! Couldn't be happier.
Built from Plan(s)
Estimated Cost
$115
Estimated Time Investment
Week Long Project (20 Hours or More)
Finish Used
One coat of Rustoleum Sunbleach, allow to dry completely. Really, like one or two days. If the base coat isn't completely dry the following step will lift the first coat right off. Then one coat of Rustoleum Kona with some Sunbleach mixed in to lighten it a little, about a 5 parts Kona to 1 part Sunbleach blend. Lightly wiped Kona mixture back immediately, wipe with the grain, and only once (product is more like a paint than a stain in many ways and will get sticky and splotchy if you fiddle with it too much). I had to move fast on a table this long and I still got some splotches! I wanted it a little rough looking, so to me that was fine.
Finished with three coats of wipe on satin poly (gentle knockdown with very fine steel wool between coats), and finally a coat of clear wax. Buff until arms give out.
Finished with three coats of wipe on satin poly (gentle knockdown with very fine steel wool between coats), and finally a coat of clear wax. Buff until arms give out.
Recommended Skill Level
Beginner
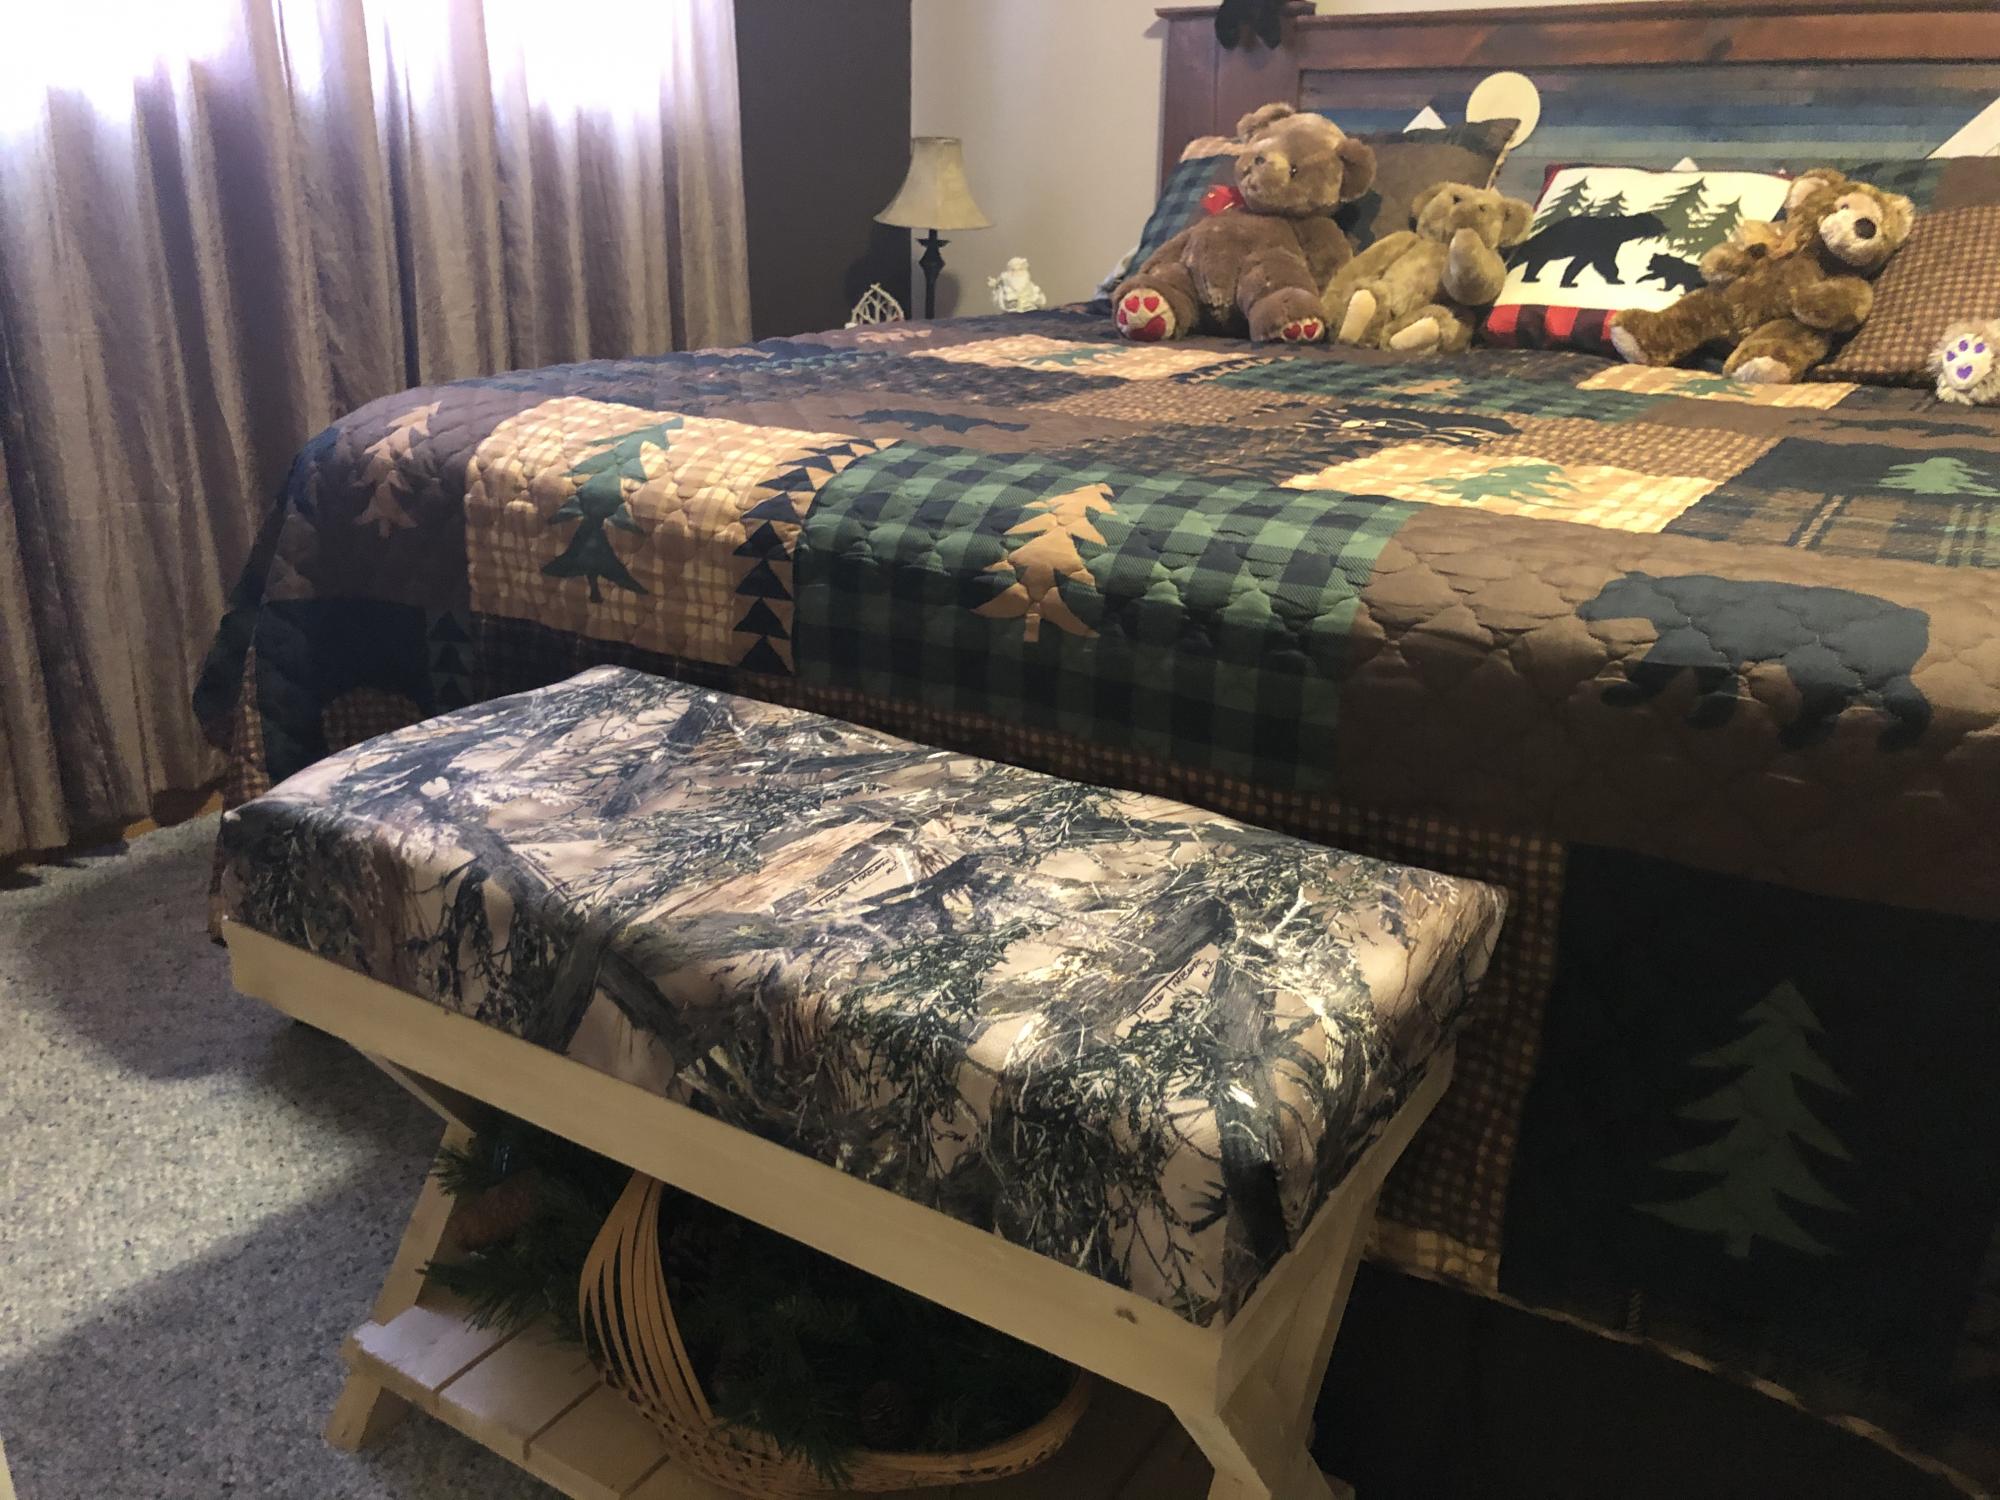
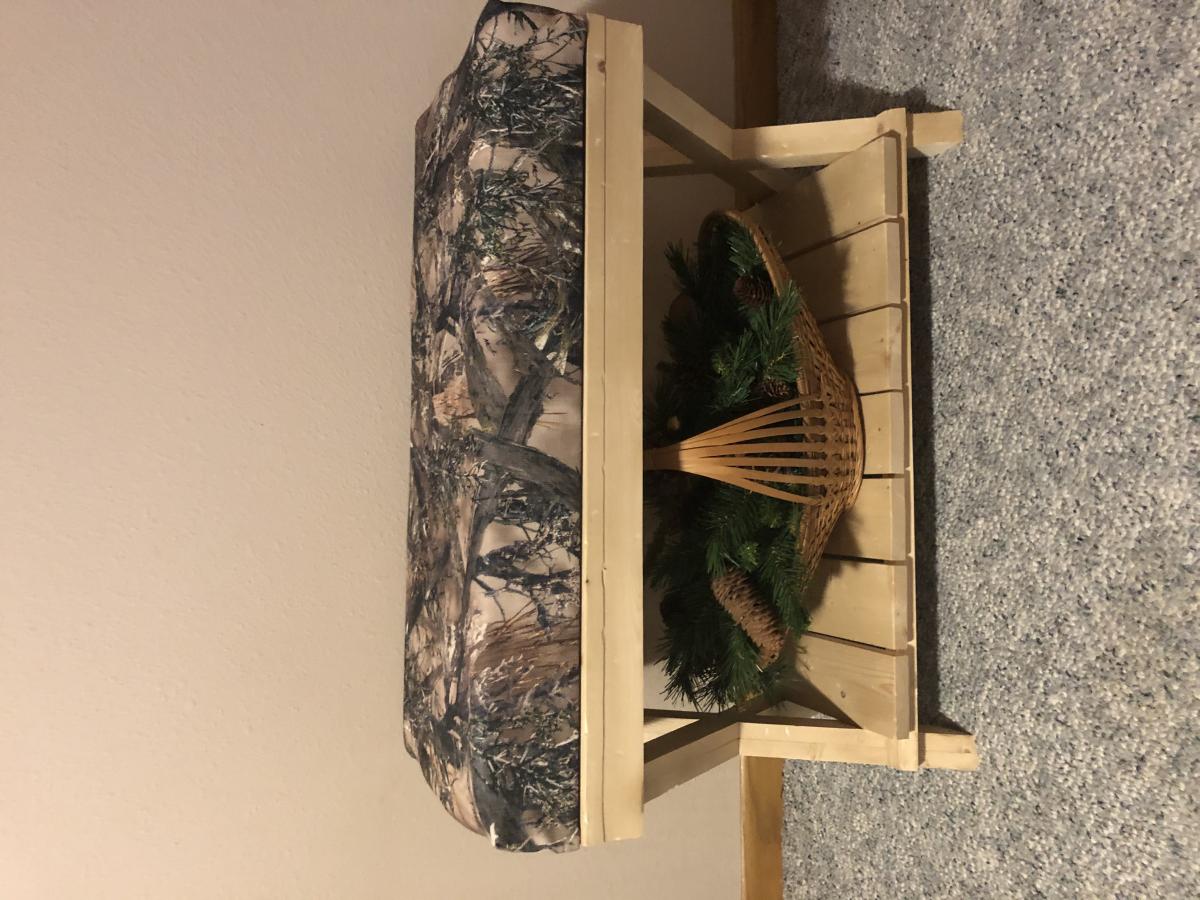
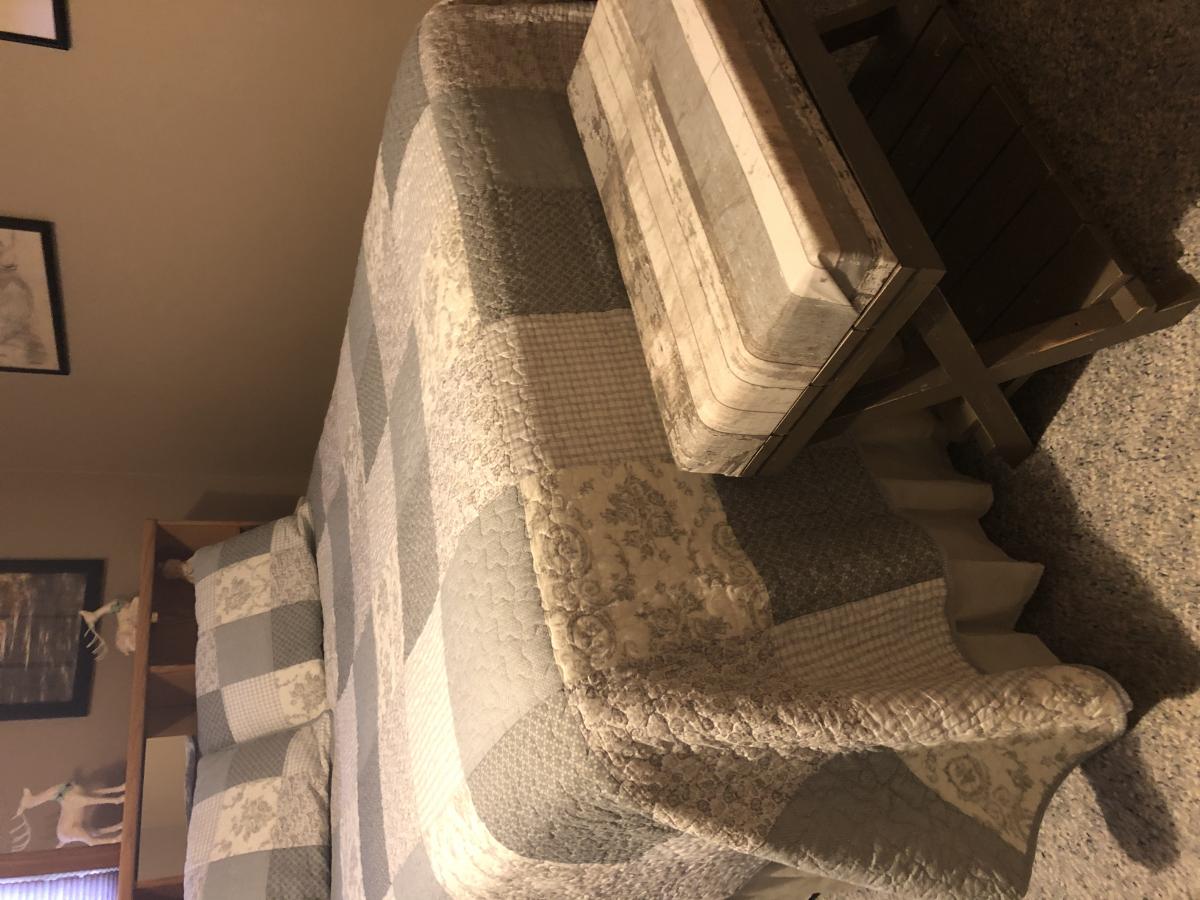
Upgraded Luggage Rack or Suitcase Stand Benches
Made from
Upgraded Luggage Rack or Suitcase Stand Benches
just added the seat cushions

Estimated Cost
$15 each
Estimated Time Investment
Afternoon Project (3-6 Hours)
Finish Used
Toned water based varnish
And distressed paint and varnish.
And distressed paint and varnish.
Recommended Skill Level
Beginner
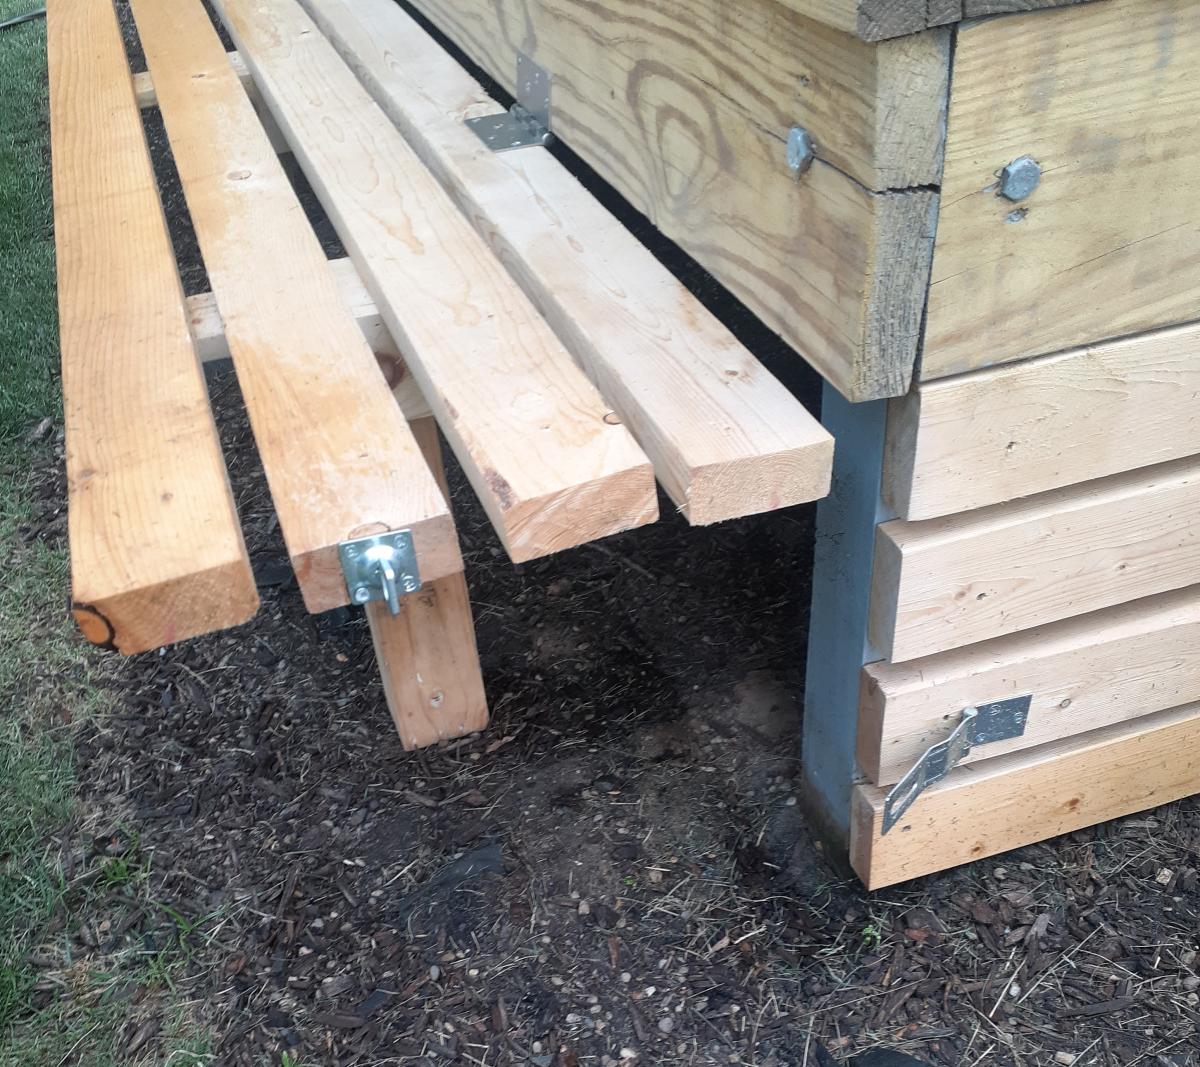
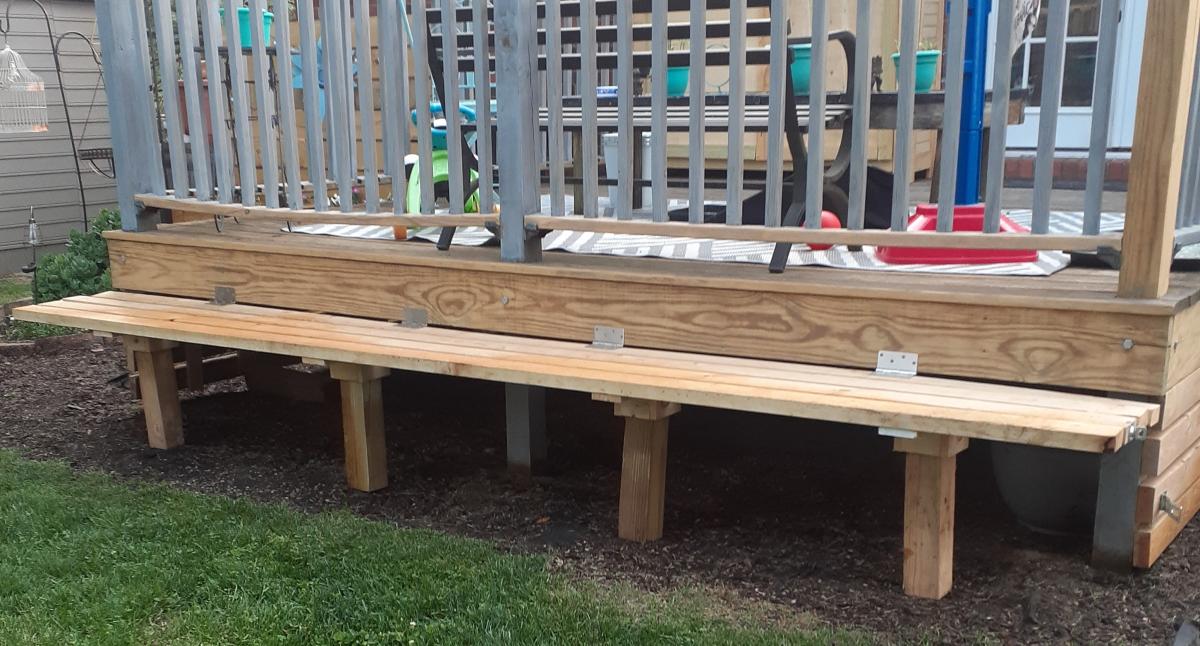
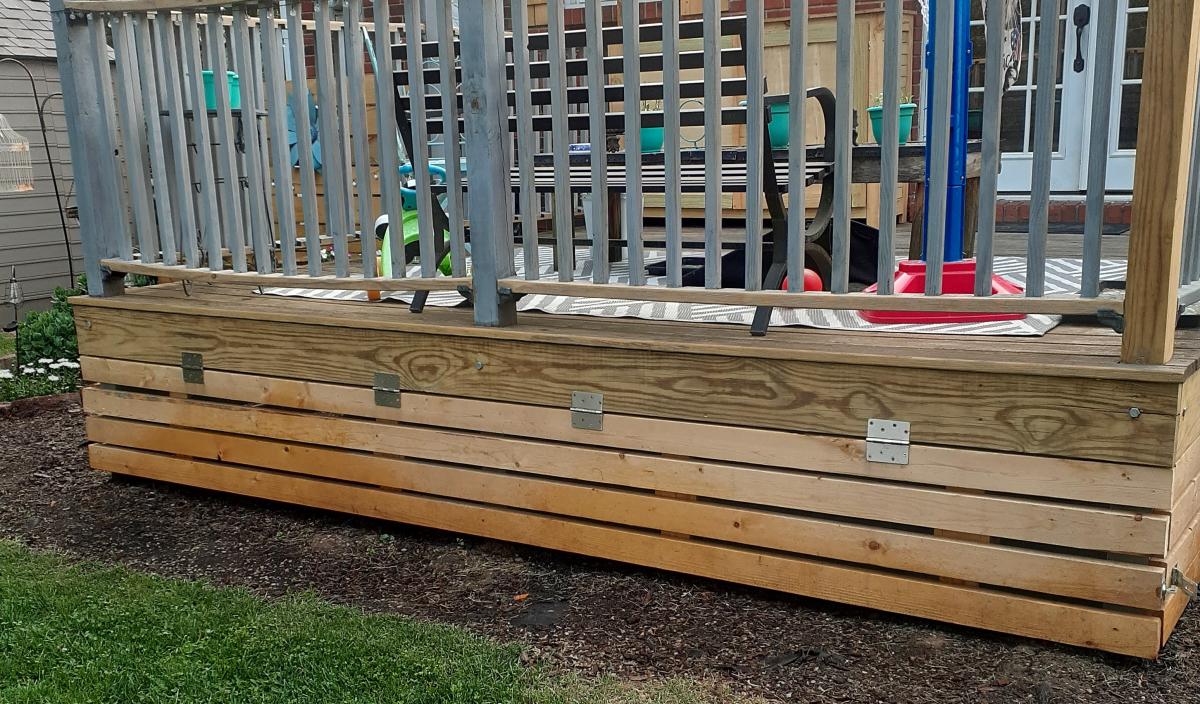
Privacy Planter and Under Deck Storage
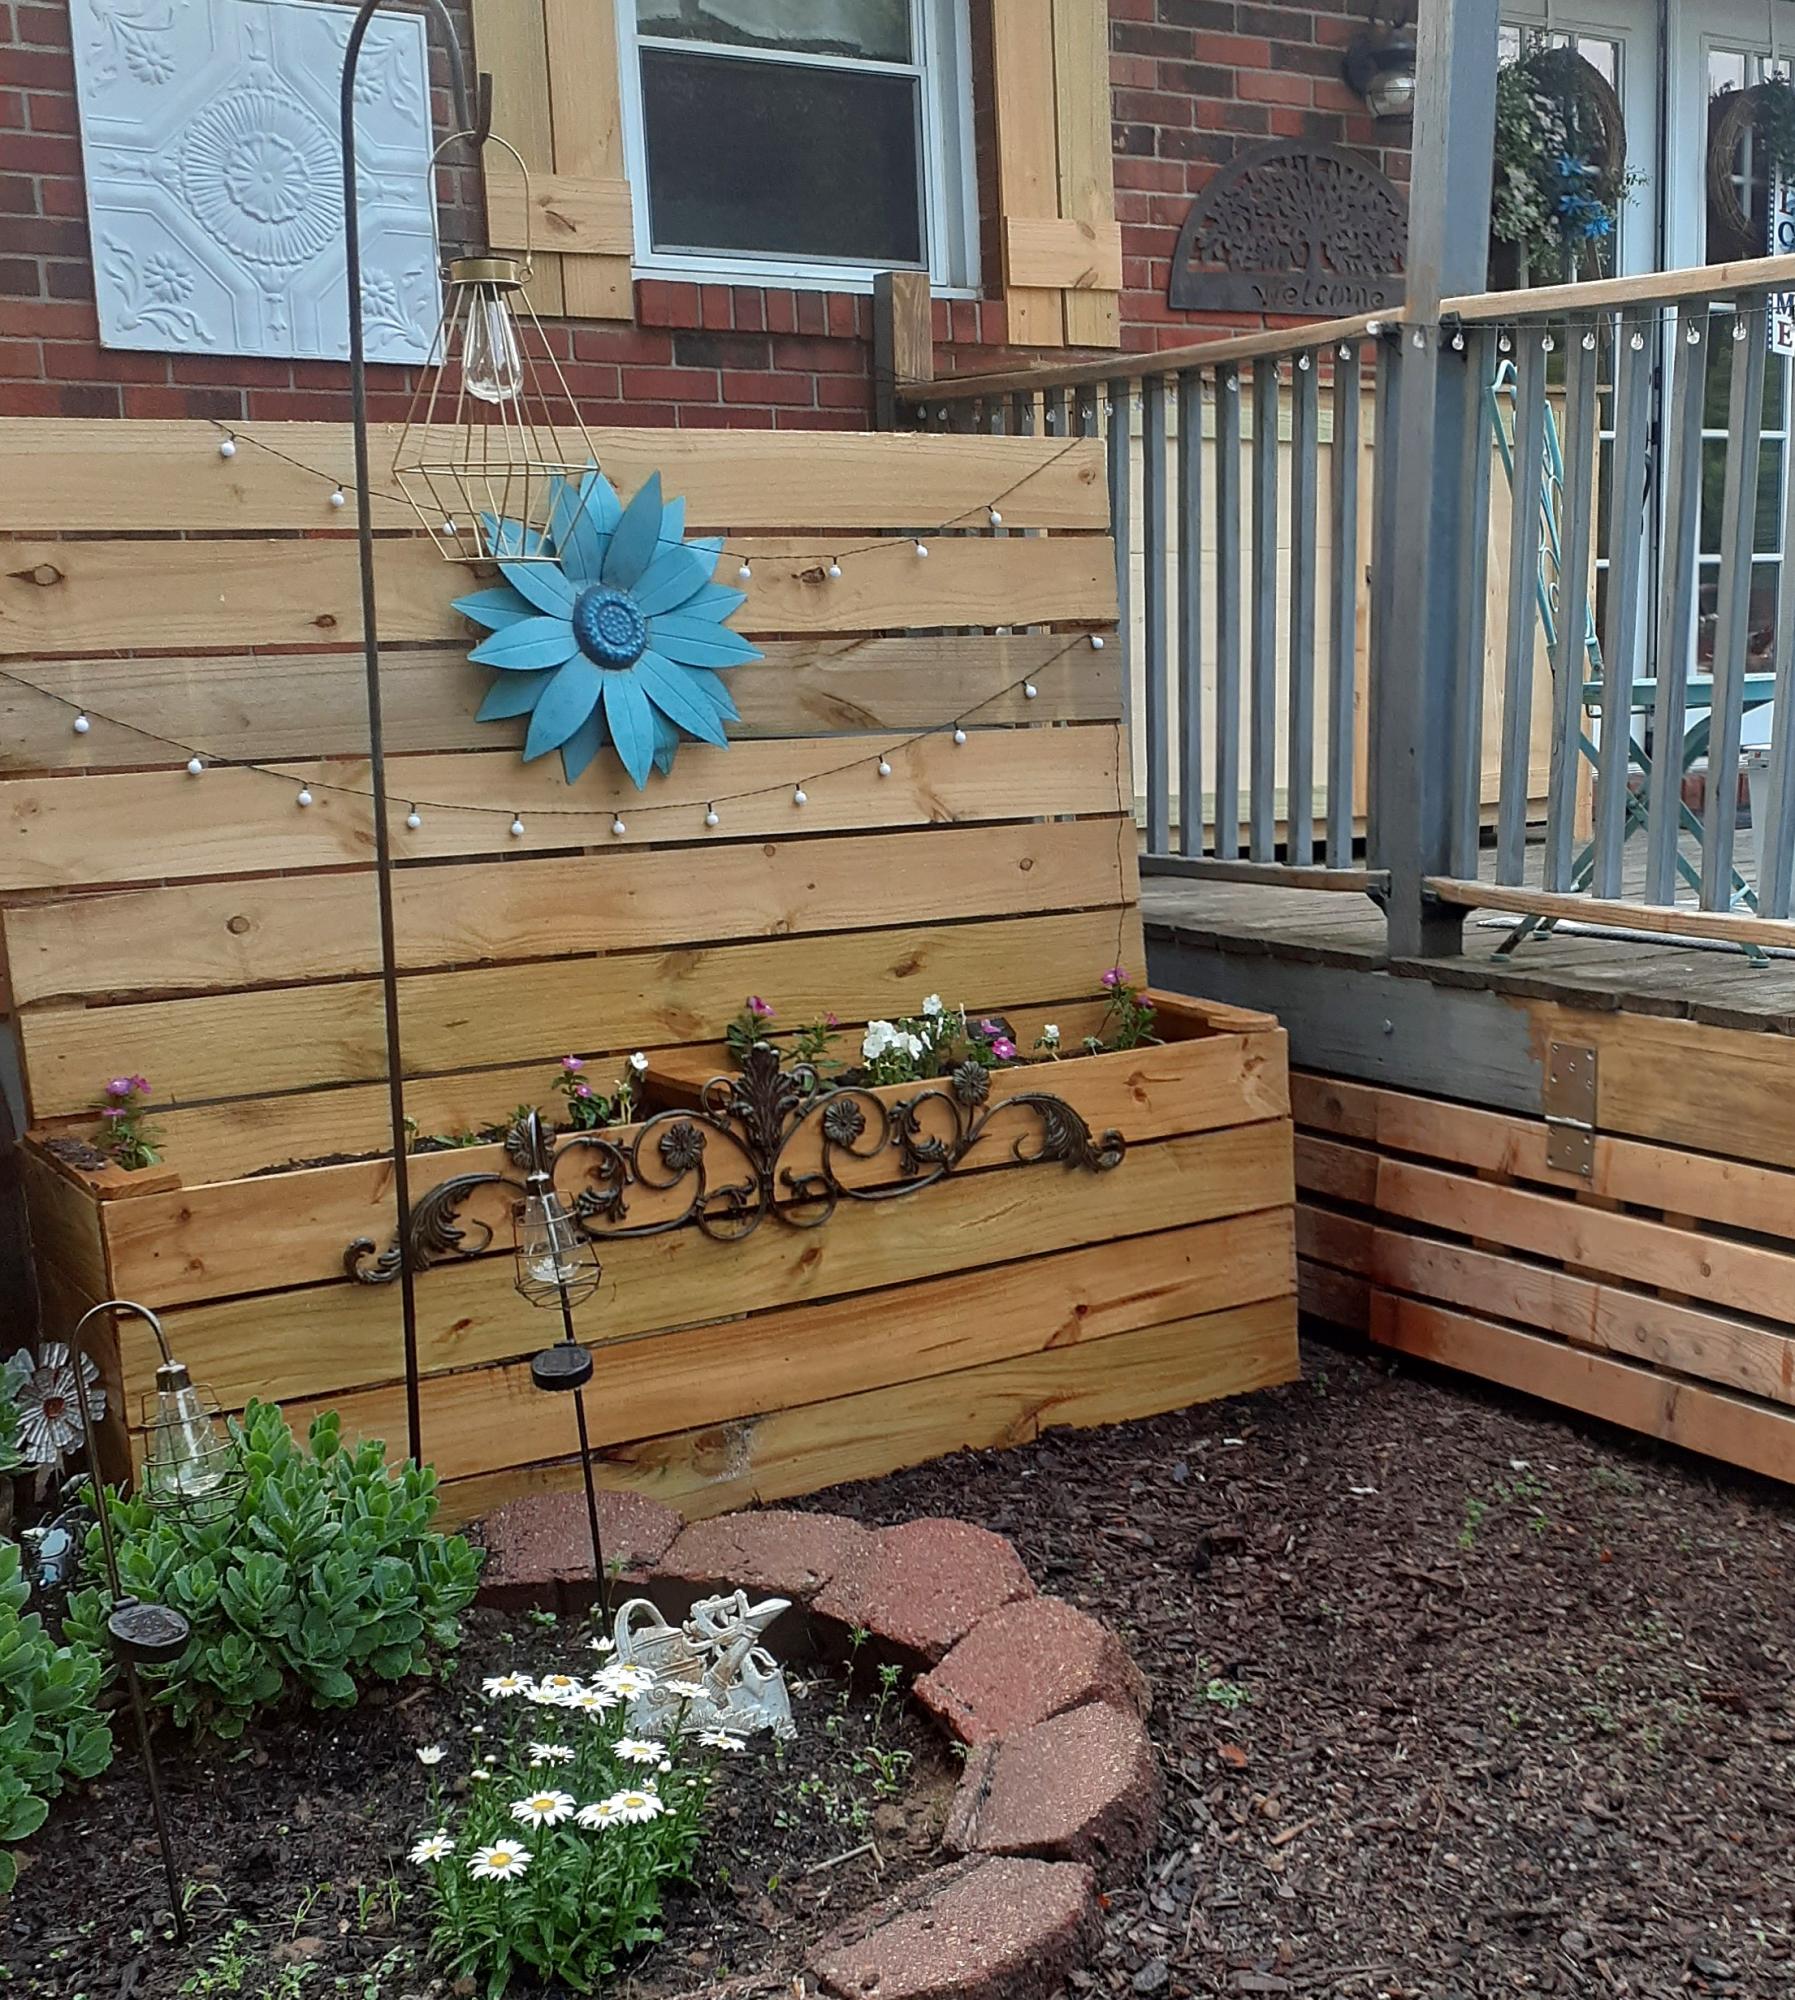
In the middle of a much needed makeover on our back deck! We did not have skirting around the deck and decided that we would like to close it in for extra storage(ladders,compost bin...) and we came up with this little something as a bonus. We are always hosting backyard get togethers and seating is a challenge. Setting up and putting away chairs,ugh. This has been the perfect solution. This was completely an "as we went" plan but the biggest need to know is, heavy duty hinges! (As I said,the deck is getting a makeover so go easy on the appearance:)
Jodi and Matt B.
Built from Plan(s)