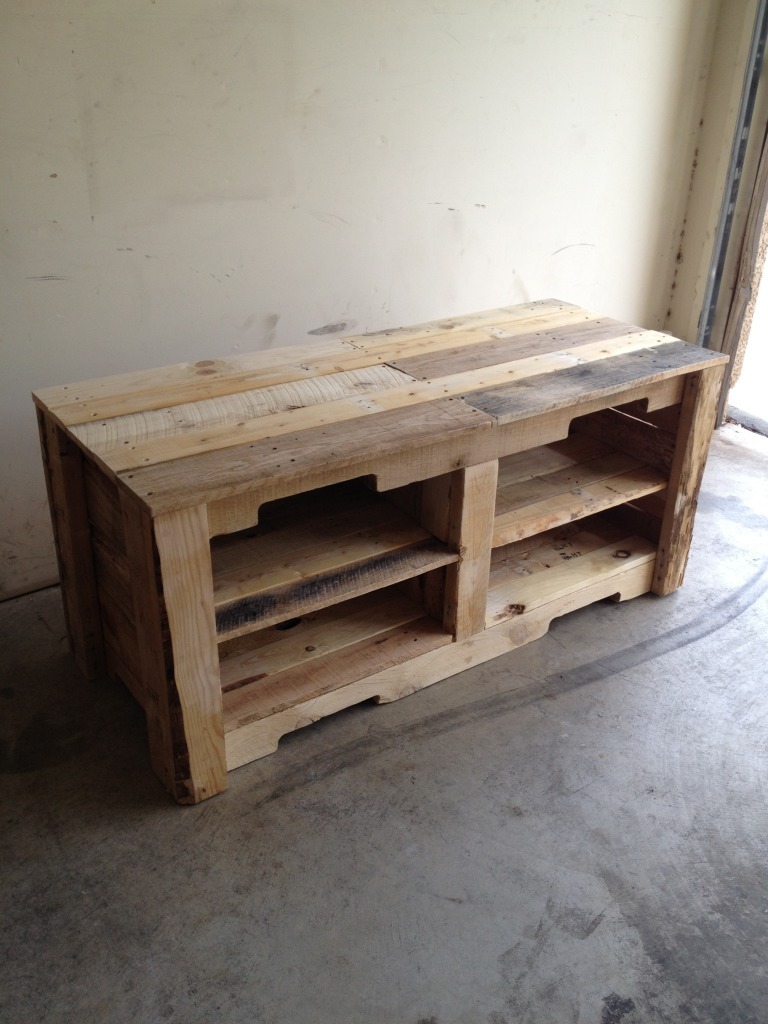
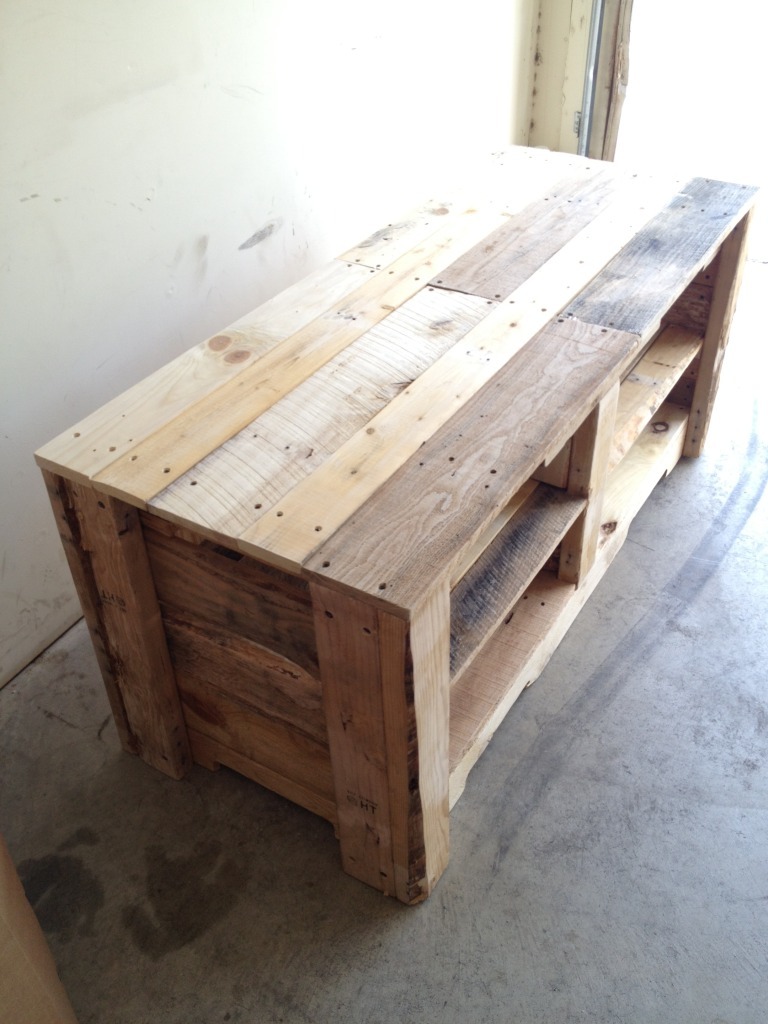
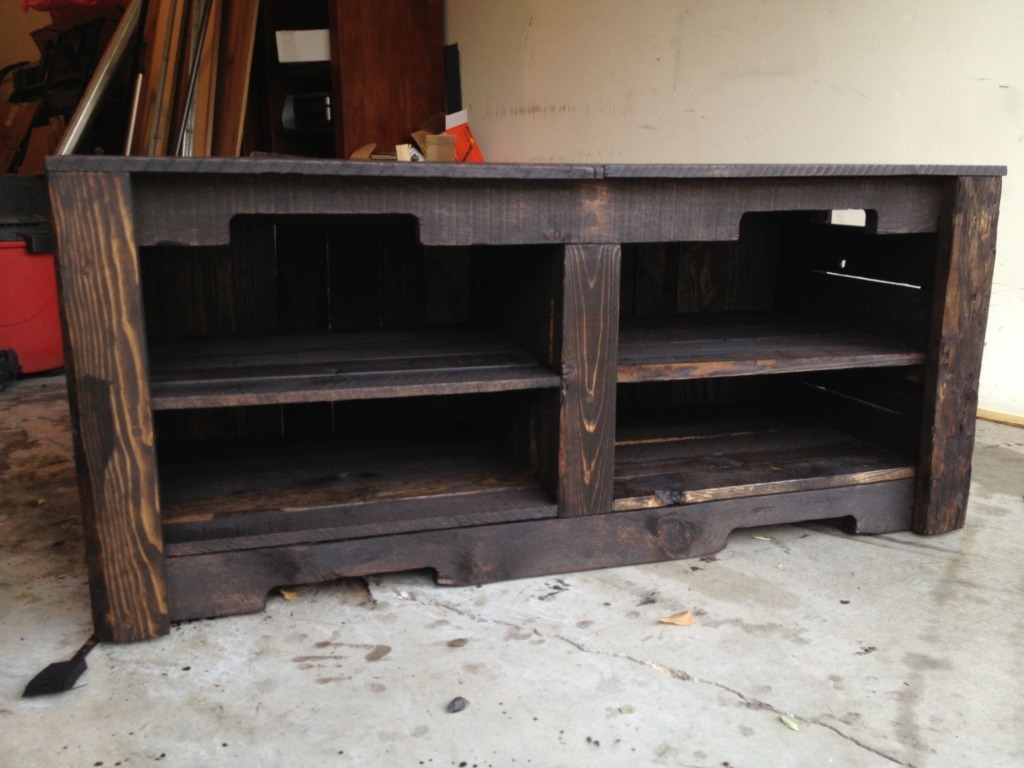
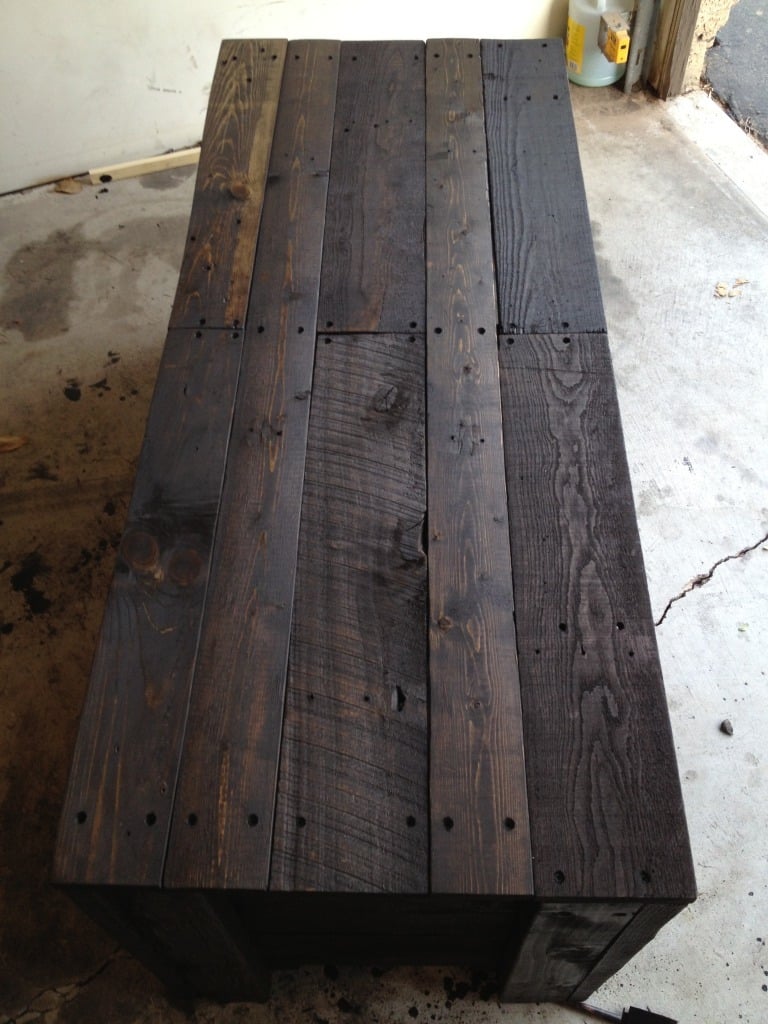
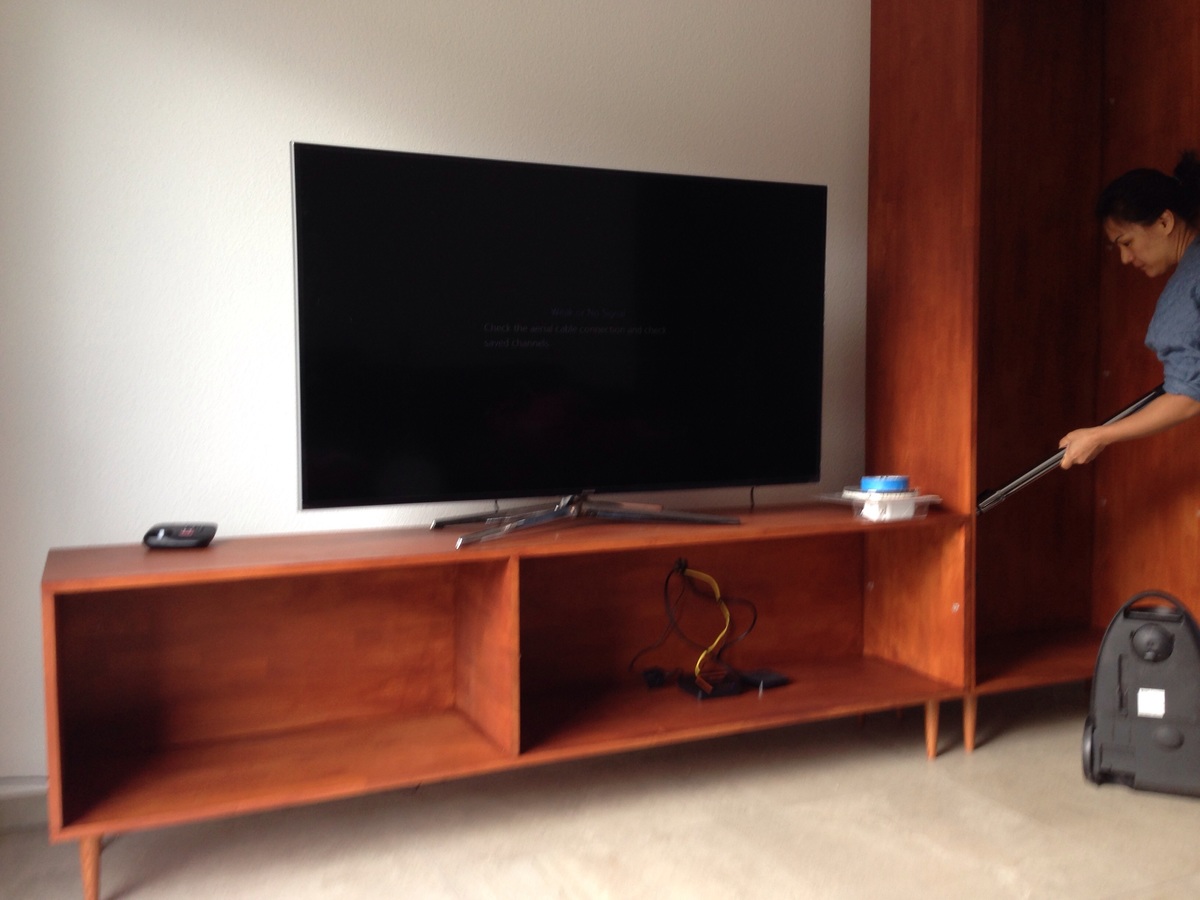
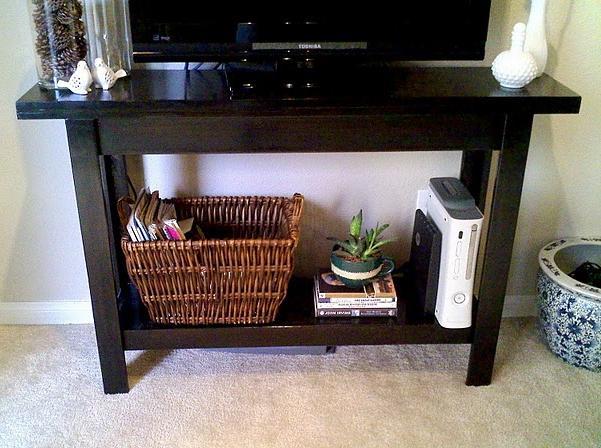
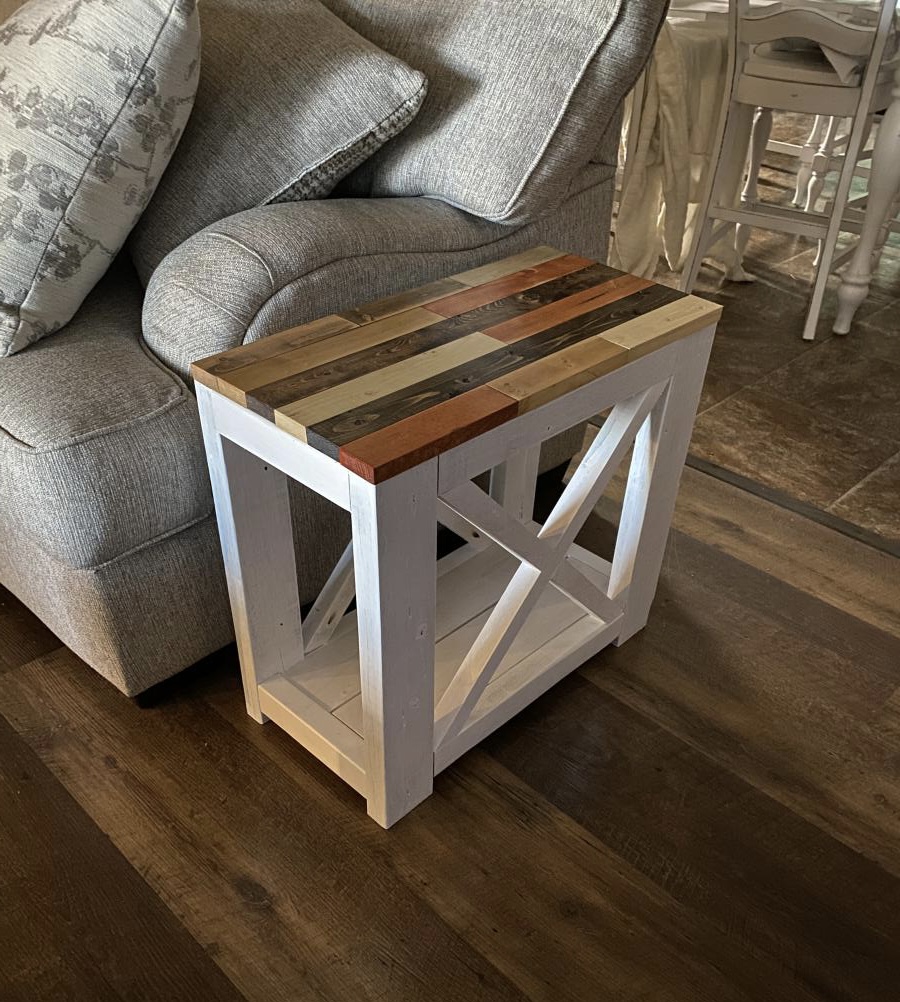
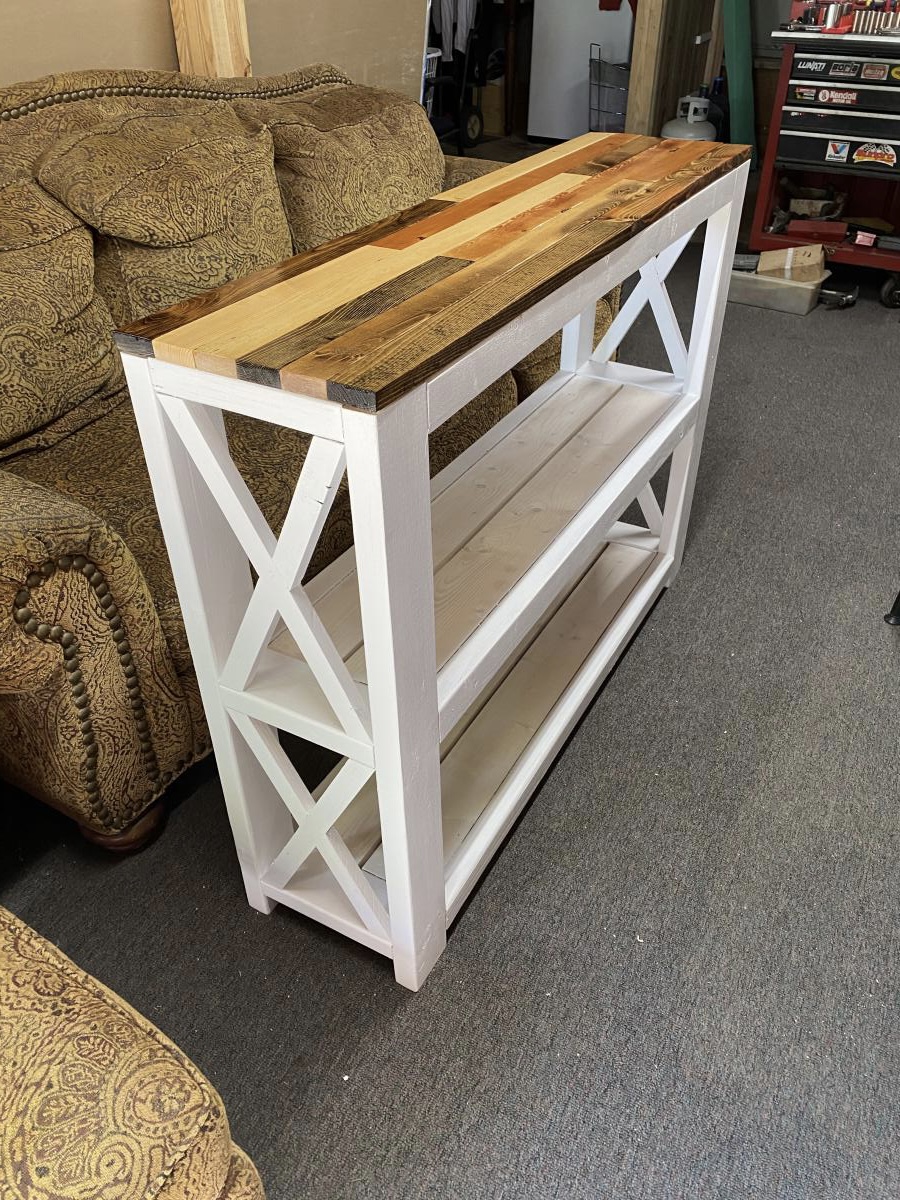
Very first build...Rustic Media Center
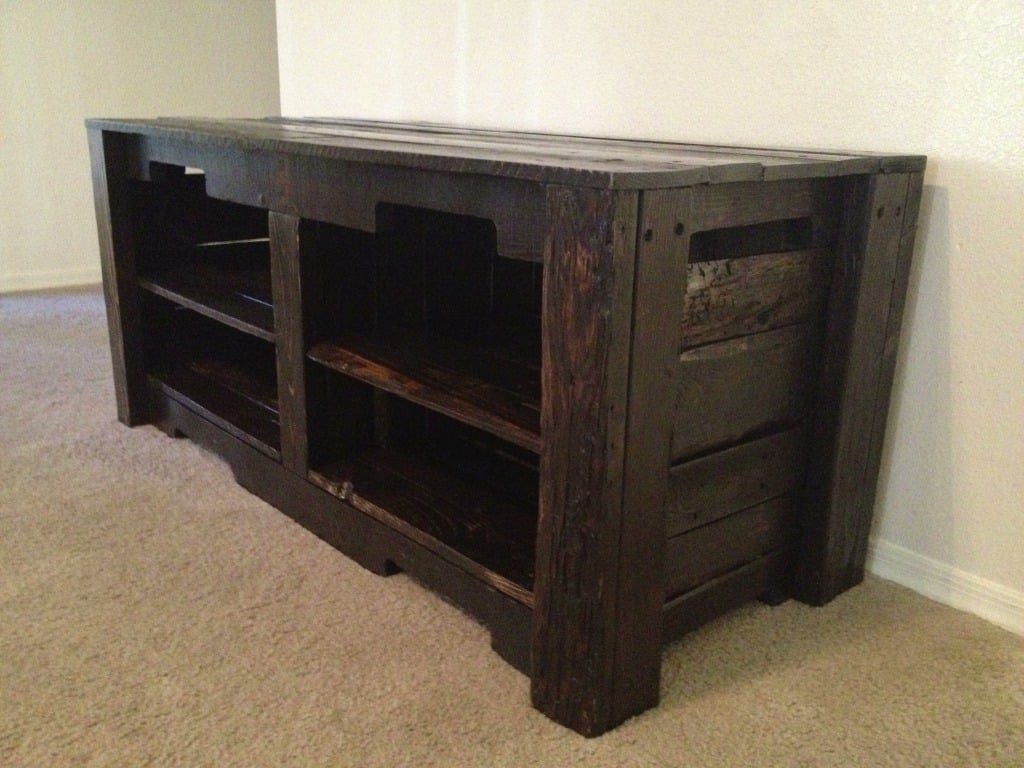
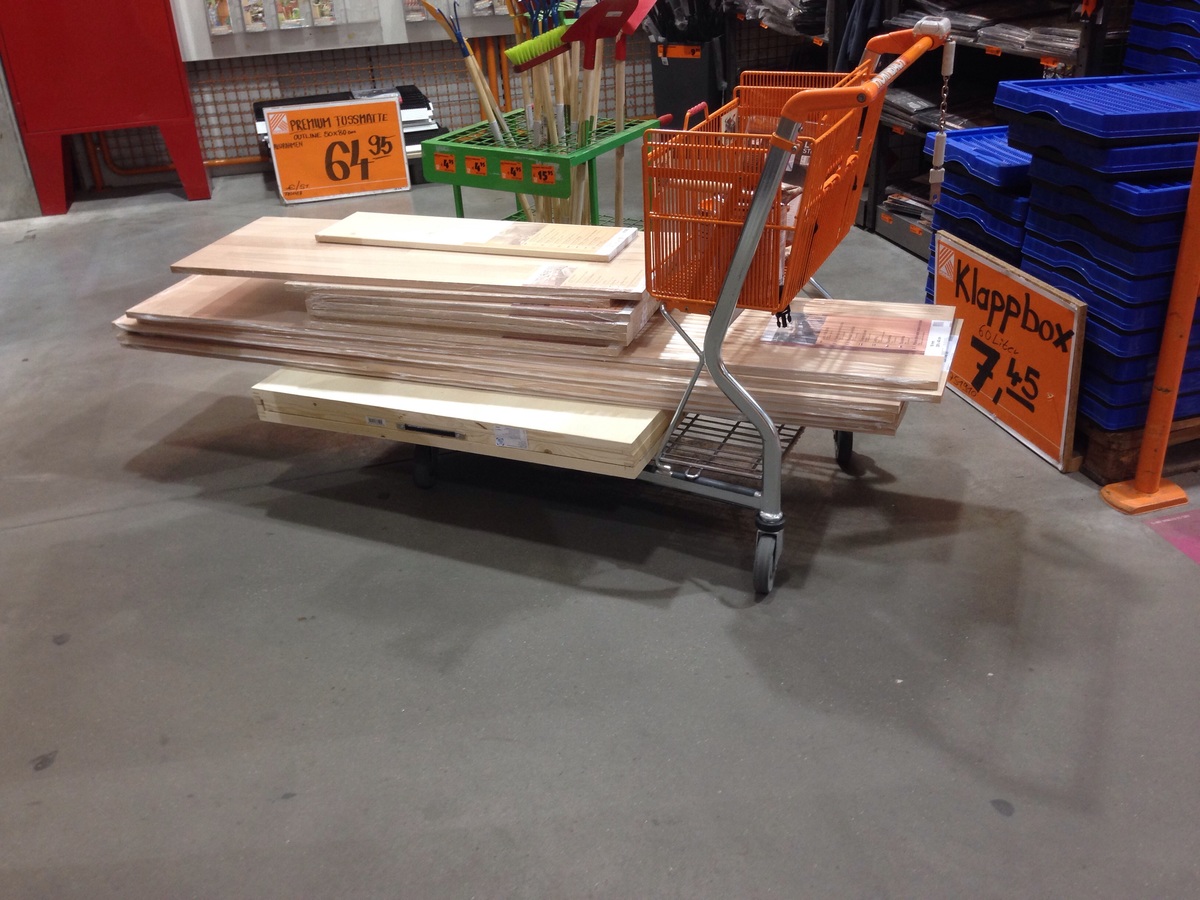
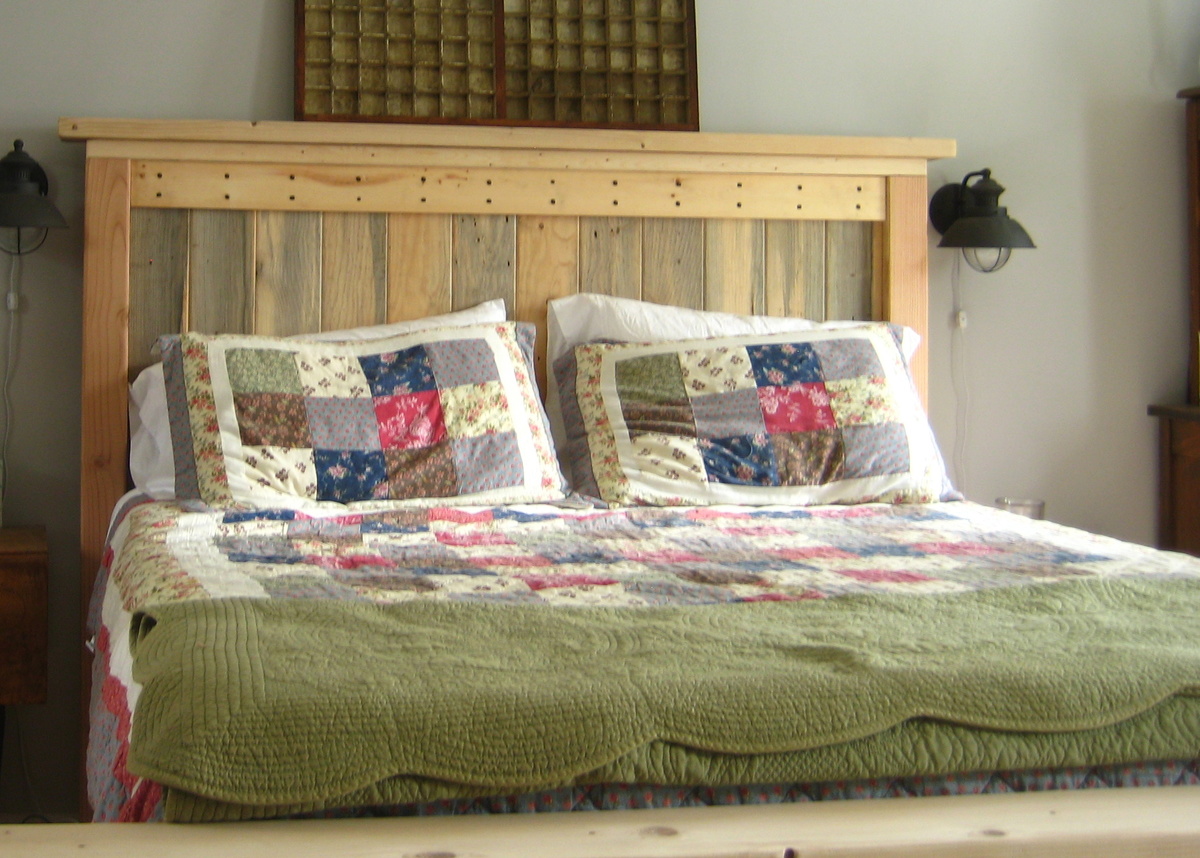
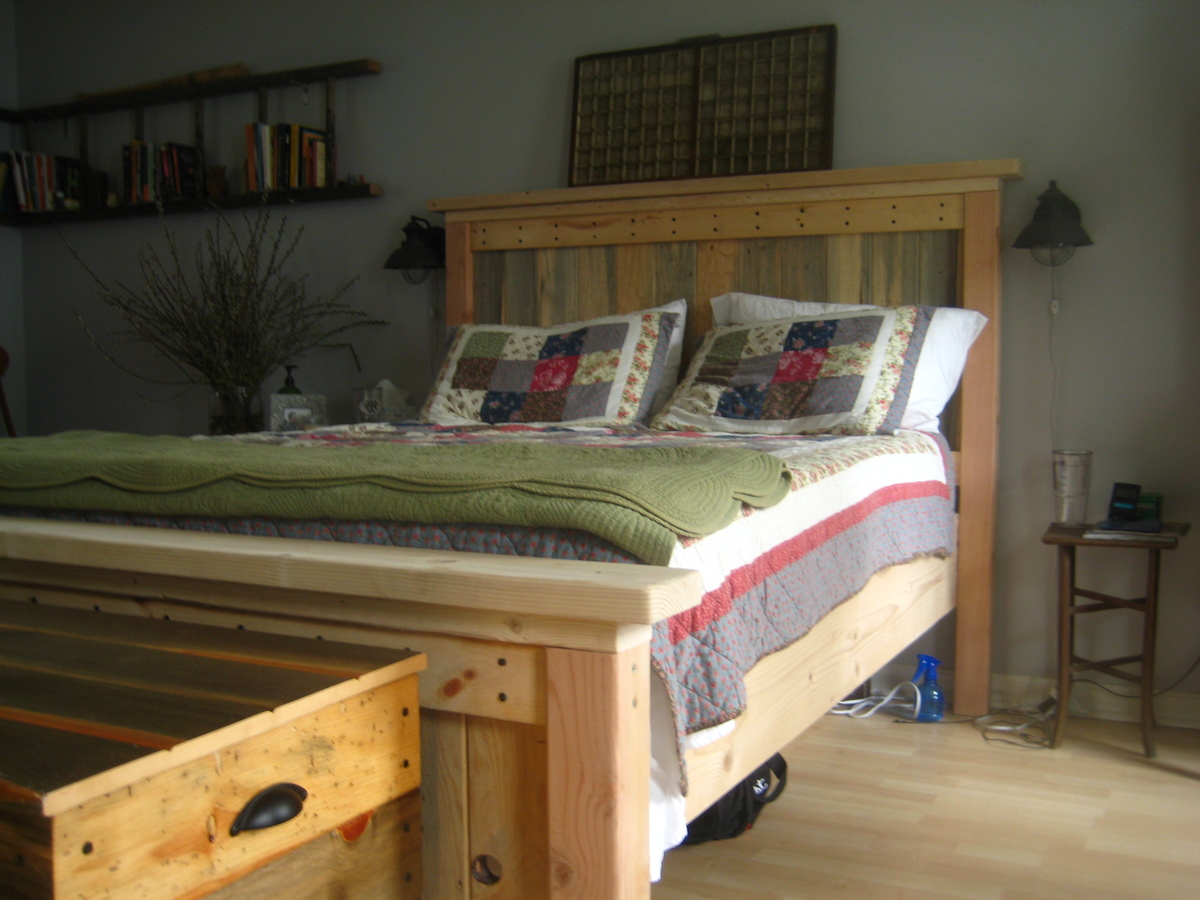
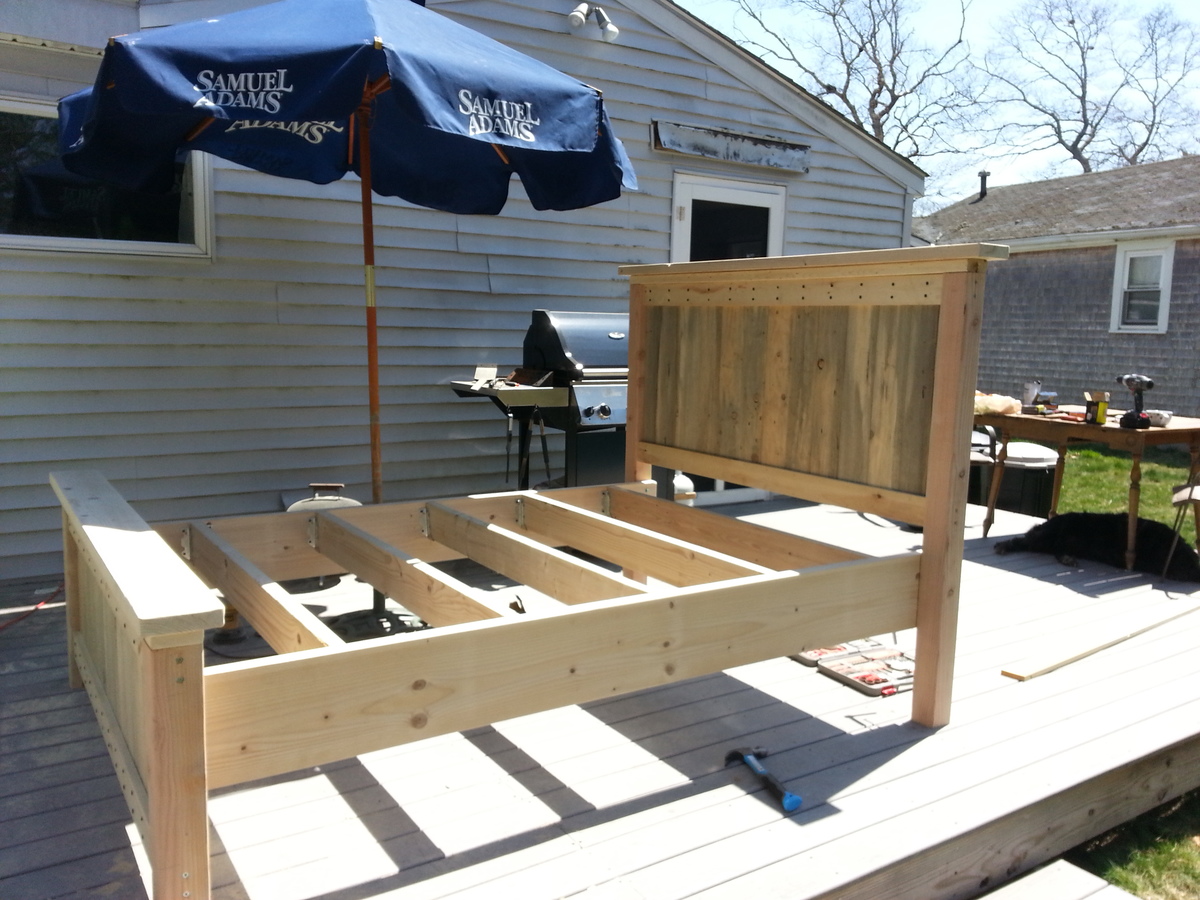
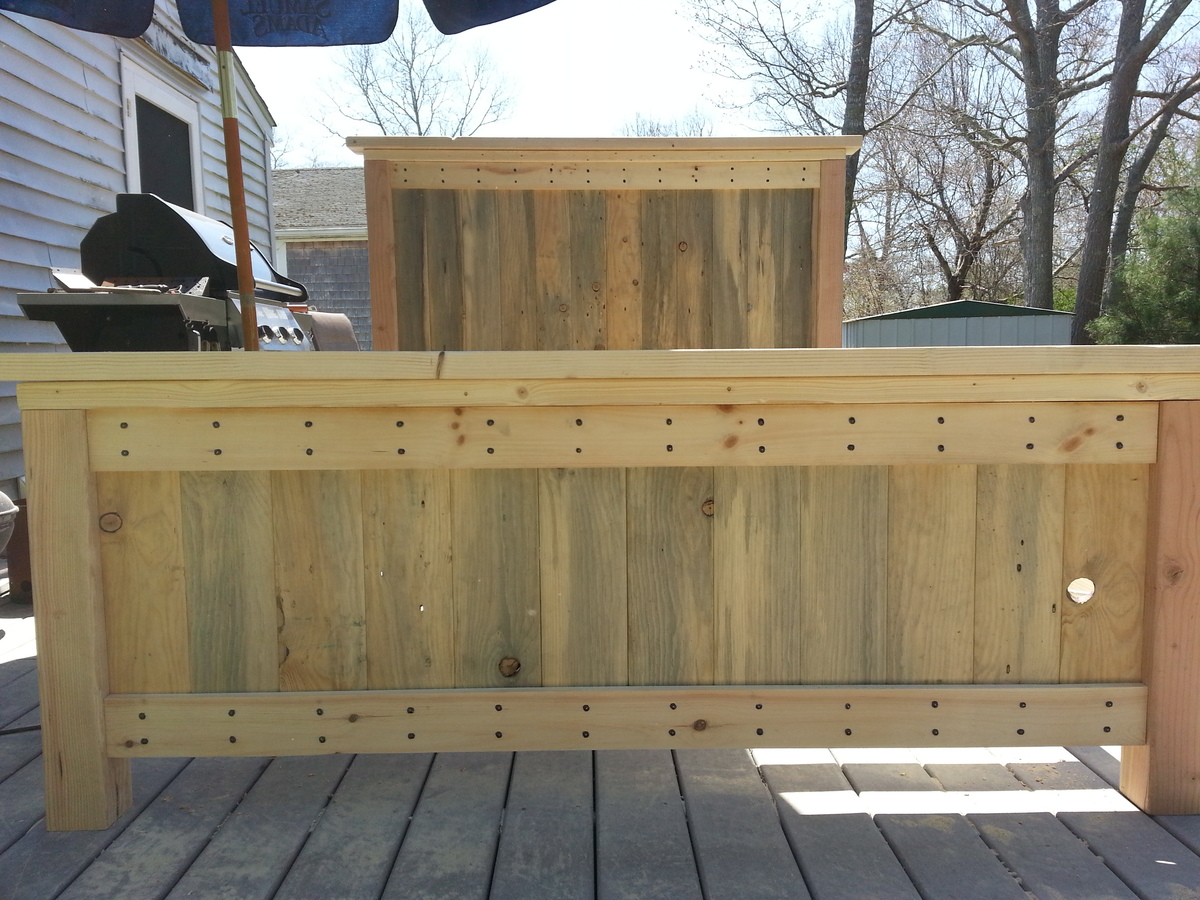
I really dont have any plans for this build. I wanted to purchase a nice rustic media center for my living. I am mounting my flat screen on the wall and wanted a cool media center to sit below it. So I came up with this project. I still plan on lightly sanding it some to bring out the grain and have that look of streaks. I also still need to add polycrylic, clear gloss. I literally just got done staining it. The pictures really dont do it any justice. It looks wayy better in person. Being that this is my first project it took me 1 week to build, sand and stain. Still have some work to put it to it, just a coat of polycrylic and light sanding. I probably have over 30 hours in to this build and around 40 bucks for screws, sandpaper, stain, glue and countersink bits. I think that is it, if you have any questions or comments please let me know! :)


Comments
Val Manchuk
Sun, 05/05/2013 - 22:38
Rustic Media Center
Wow, looks pretty incredible! Nice job with the stain, too.
tcoche
Tue, 05/07/2013 - 19:09
Thank you!! I appreciate it.
Thank you!! I appreciate it. While I was staining it in my garage, with the garage door open. I had a few couples that walked by stop to talk and ask questions about the piece. Made me feel good that your hard work is appreciated. Thanks again!